Looping With a RileyLink IPhone X Case
by BozillaY in Circuits > Electronics
544 Views, 0 Favorites, 0 Comments
Looping With a RileyLink IPhone X Case
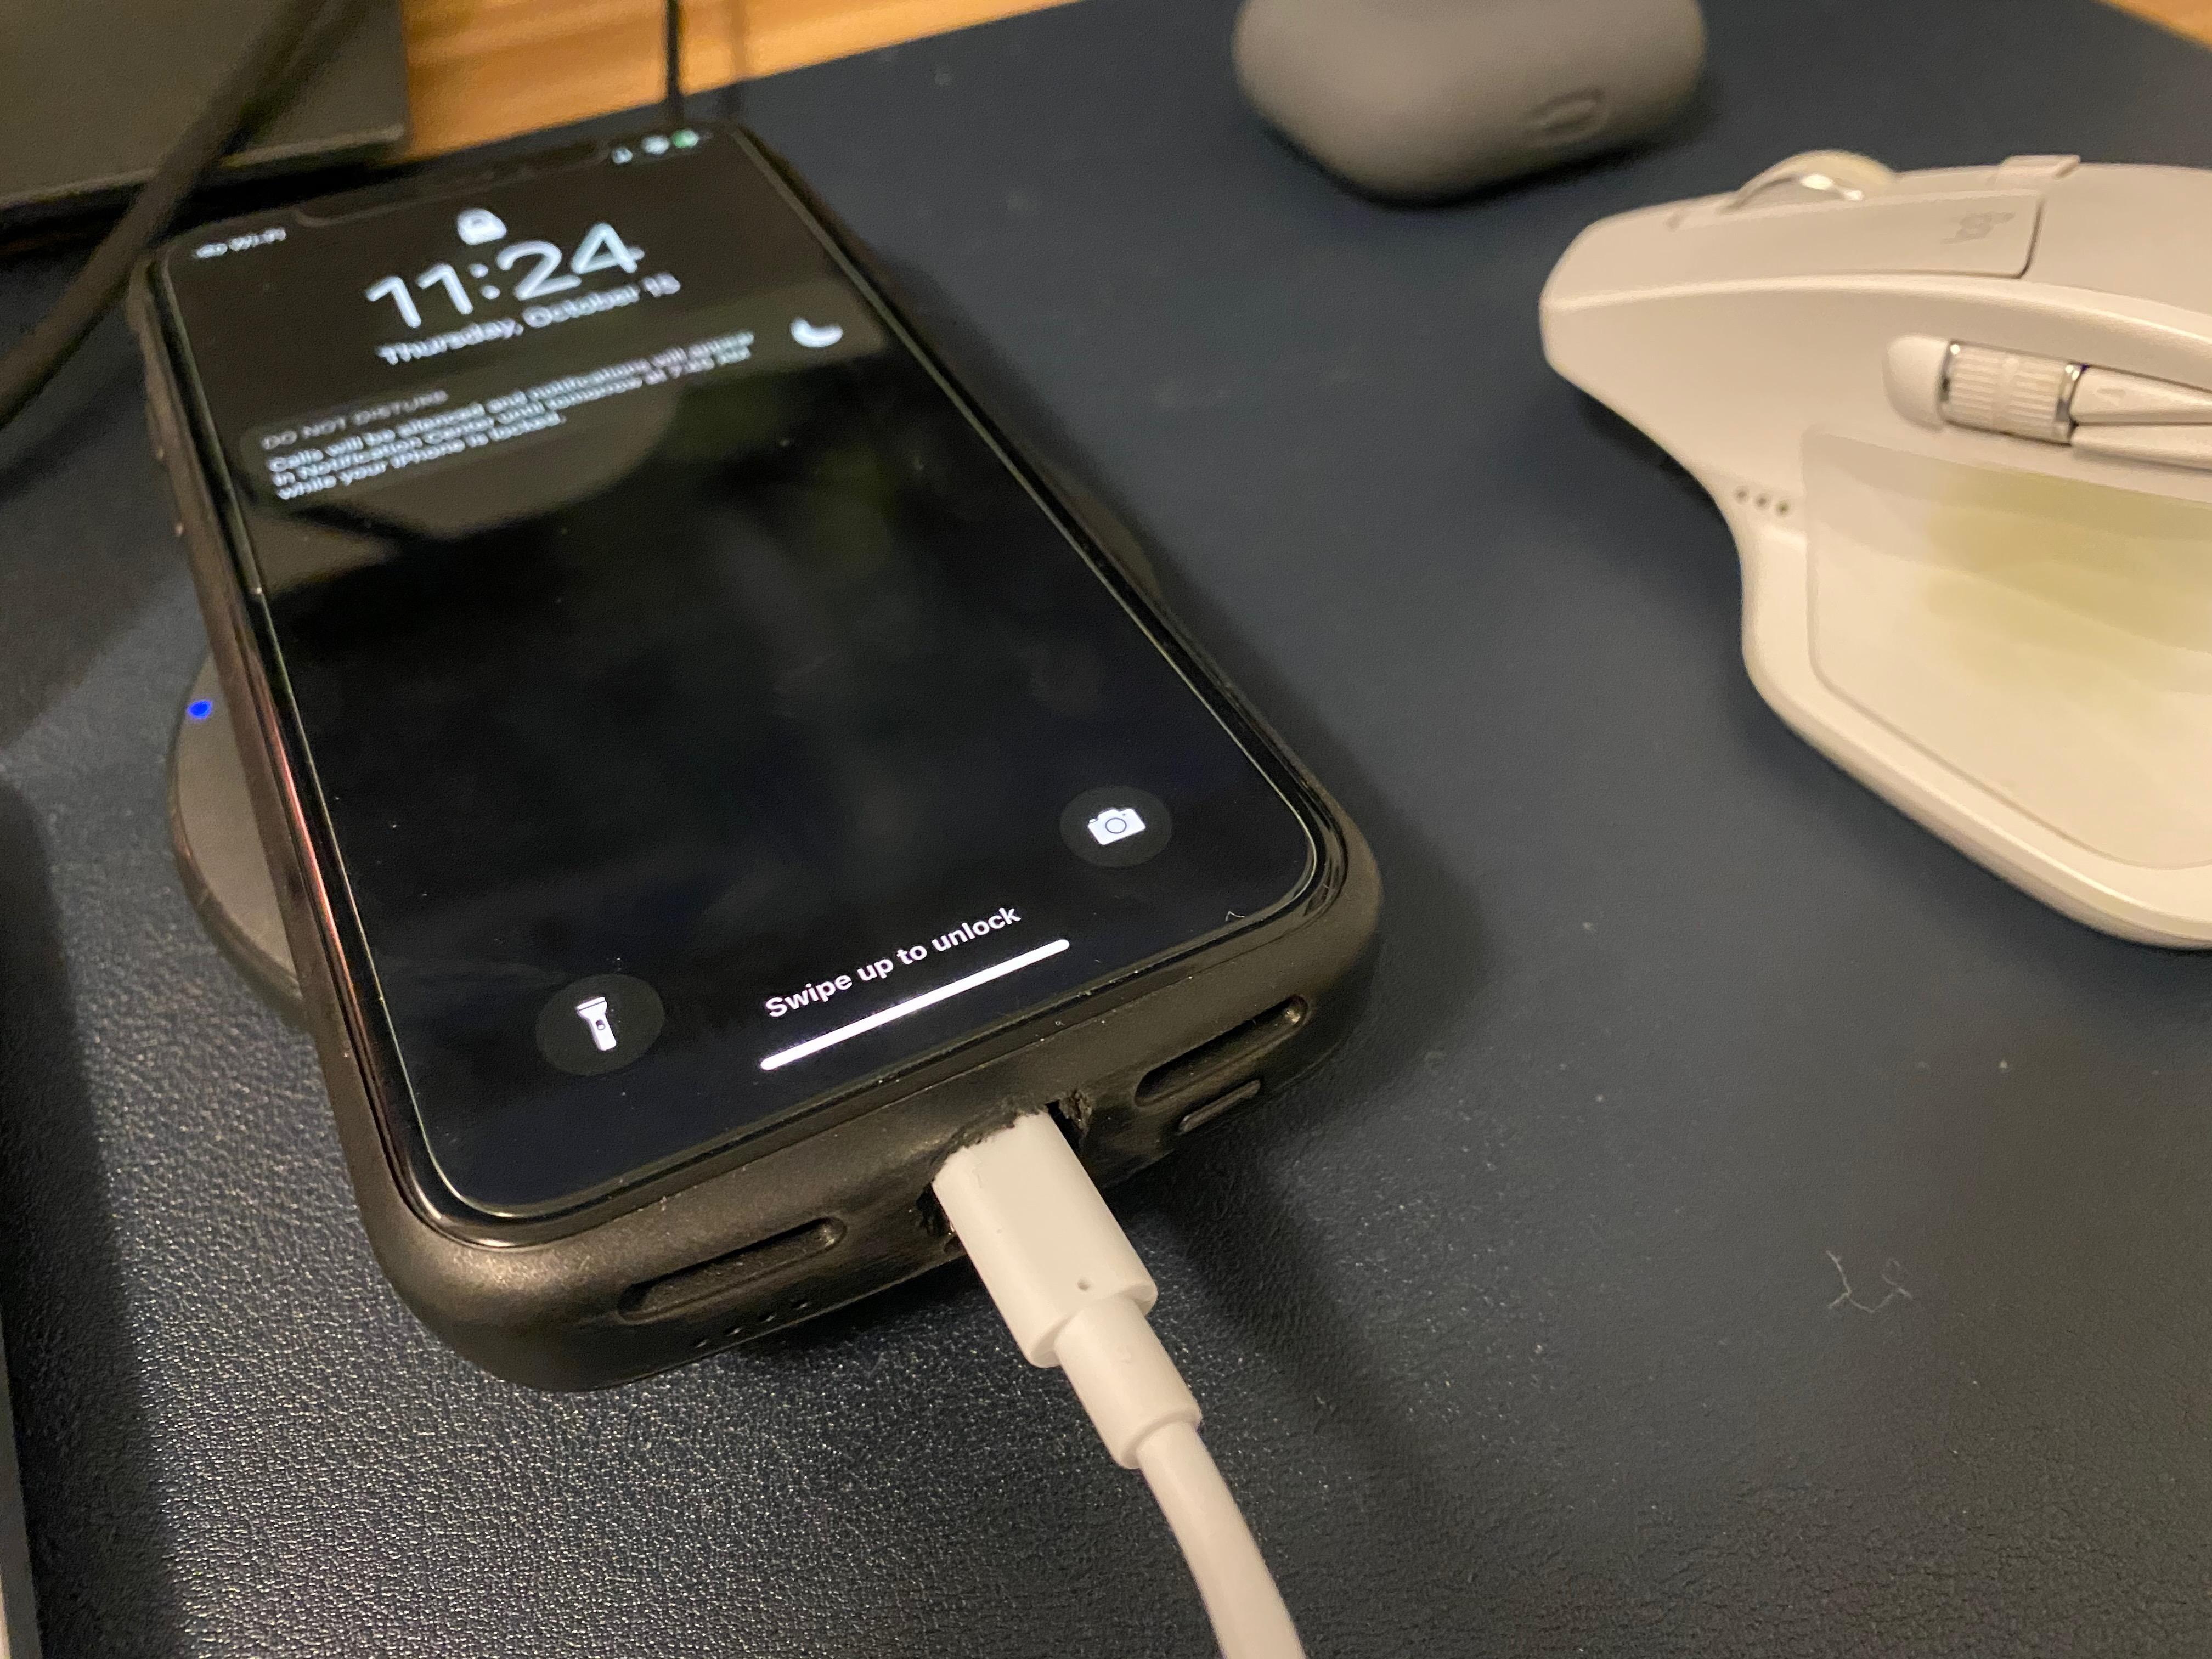
This Instructable covers how to integrate a device called RileyLink into an iPhone X Battery Case.
This information is built heavily on @Phil Garber who wrote a wonderful article on Medium about making an iPhone 6/7/8 case. See his article HERE.
Who would want this?
- Type 1 Diabetics who are using Loop to manage their diabetes
- If you don't know what Loop is you can find out more here: LoopDocs
What problem does this solve?
- For users of Loop, there are several required items
- Supported insulin Pump
- Supported Continuous Glucose Monitor
- RileyLink (Get RileyLink)
- In most cases, users of Loop need to bring their Phone in one pocket and their RilelyLink in another
- There is a good chance you might forget the RileyLink or lose it in a couch cushon
- People never usually forget their phones
The RilelyLink iPhone X case modification takes a normal battery case for iPhone and modifies it so you can put the RileyLink inside the battery compartment making for a single item to bring out with you.
DISCLAIMER
- Looping is inherently dangerous and NOT supported by your nurses, doctor, or your insulin pump and CGM vendors. Please read about it carefully before proceeding. This instructable only provides instructions on how to place a RileyLink into a phone case and makes no suggestions on the usage of the software Loop.
- Modifying your RileyLink may invalidate your warranty
Supplies
- RileyLink device (Get RileyLink)
- An iPhone Battery case of your choice
- For this instructable I have chosen one that also supports Qi charging (you will see why)
- Newdry iPhone X Battery Case with Qi Support
- A soldering iron or a friend with one
- Solder
- Some spare small AWG wires (just in case)
- Wire stripper
- Exacto Knife
- Small Screwdriver (philips and flat head)
- A multi-meter
- Tweezers
- A spare RileyLink (in case you muck it up) - The soldering is simple so I didn't have a backup
- Electrical Tape (or re-use the tape found in the case)
- Drill or Dremel to cut open the charging port on the case
Remove the Sticker in the Inside of the Case
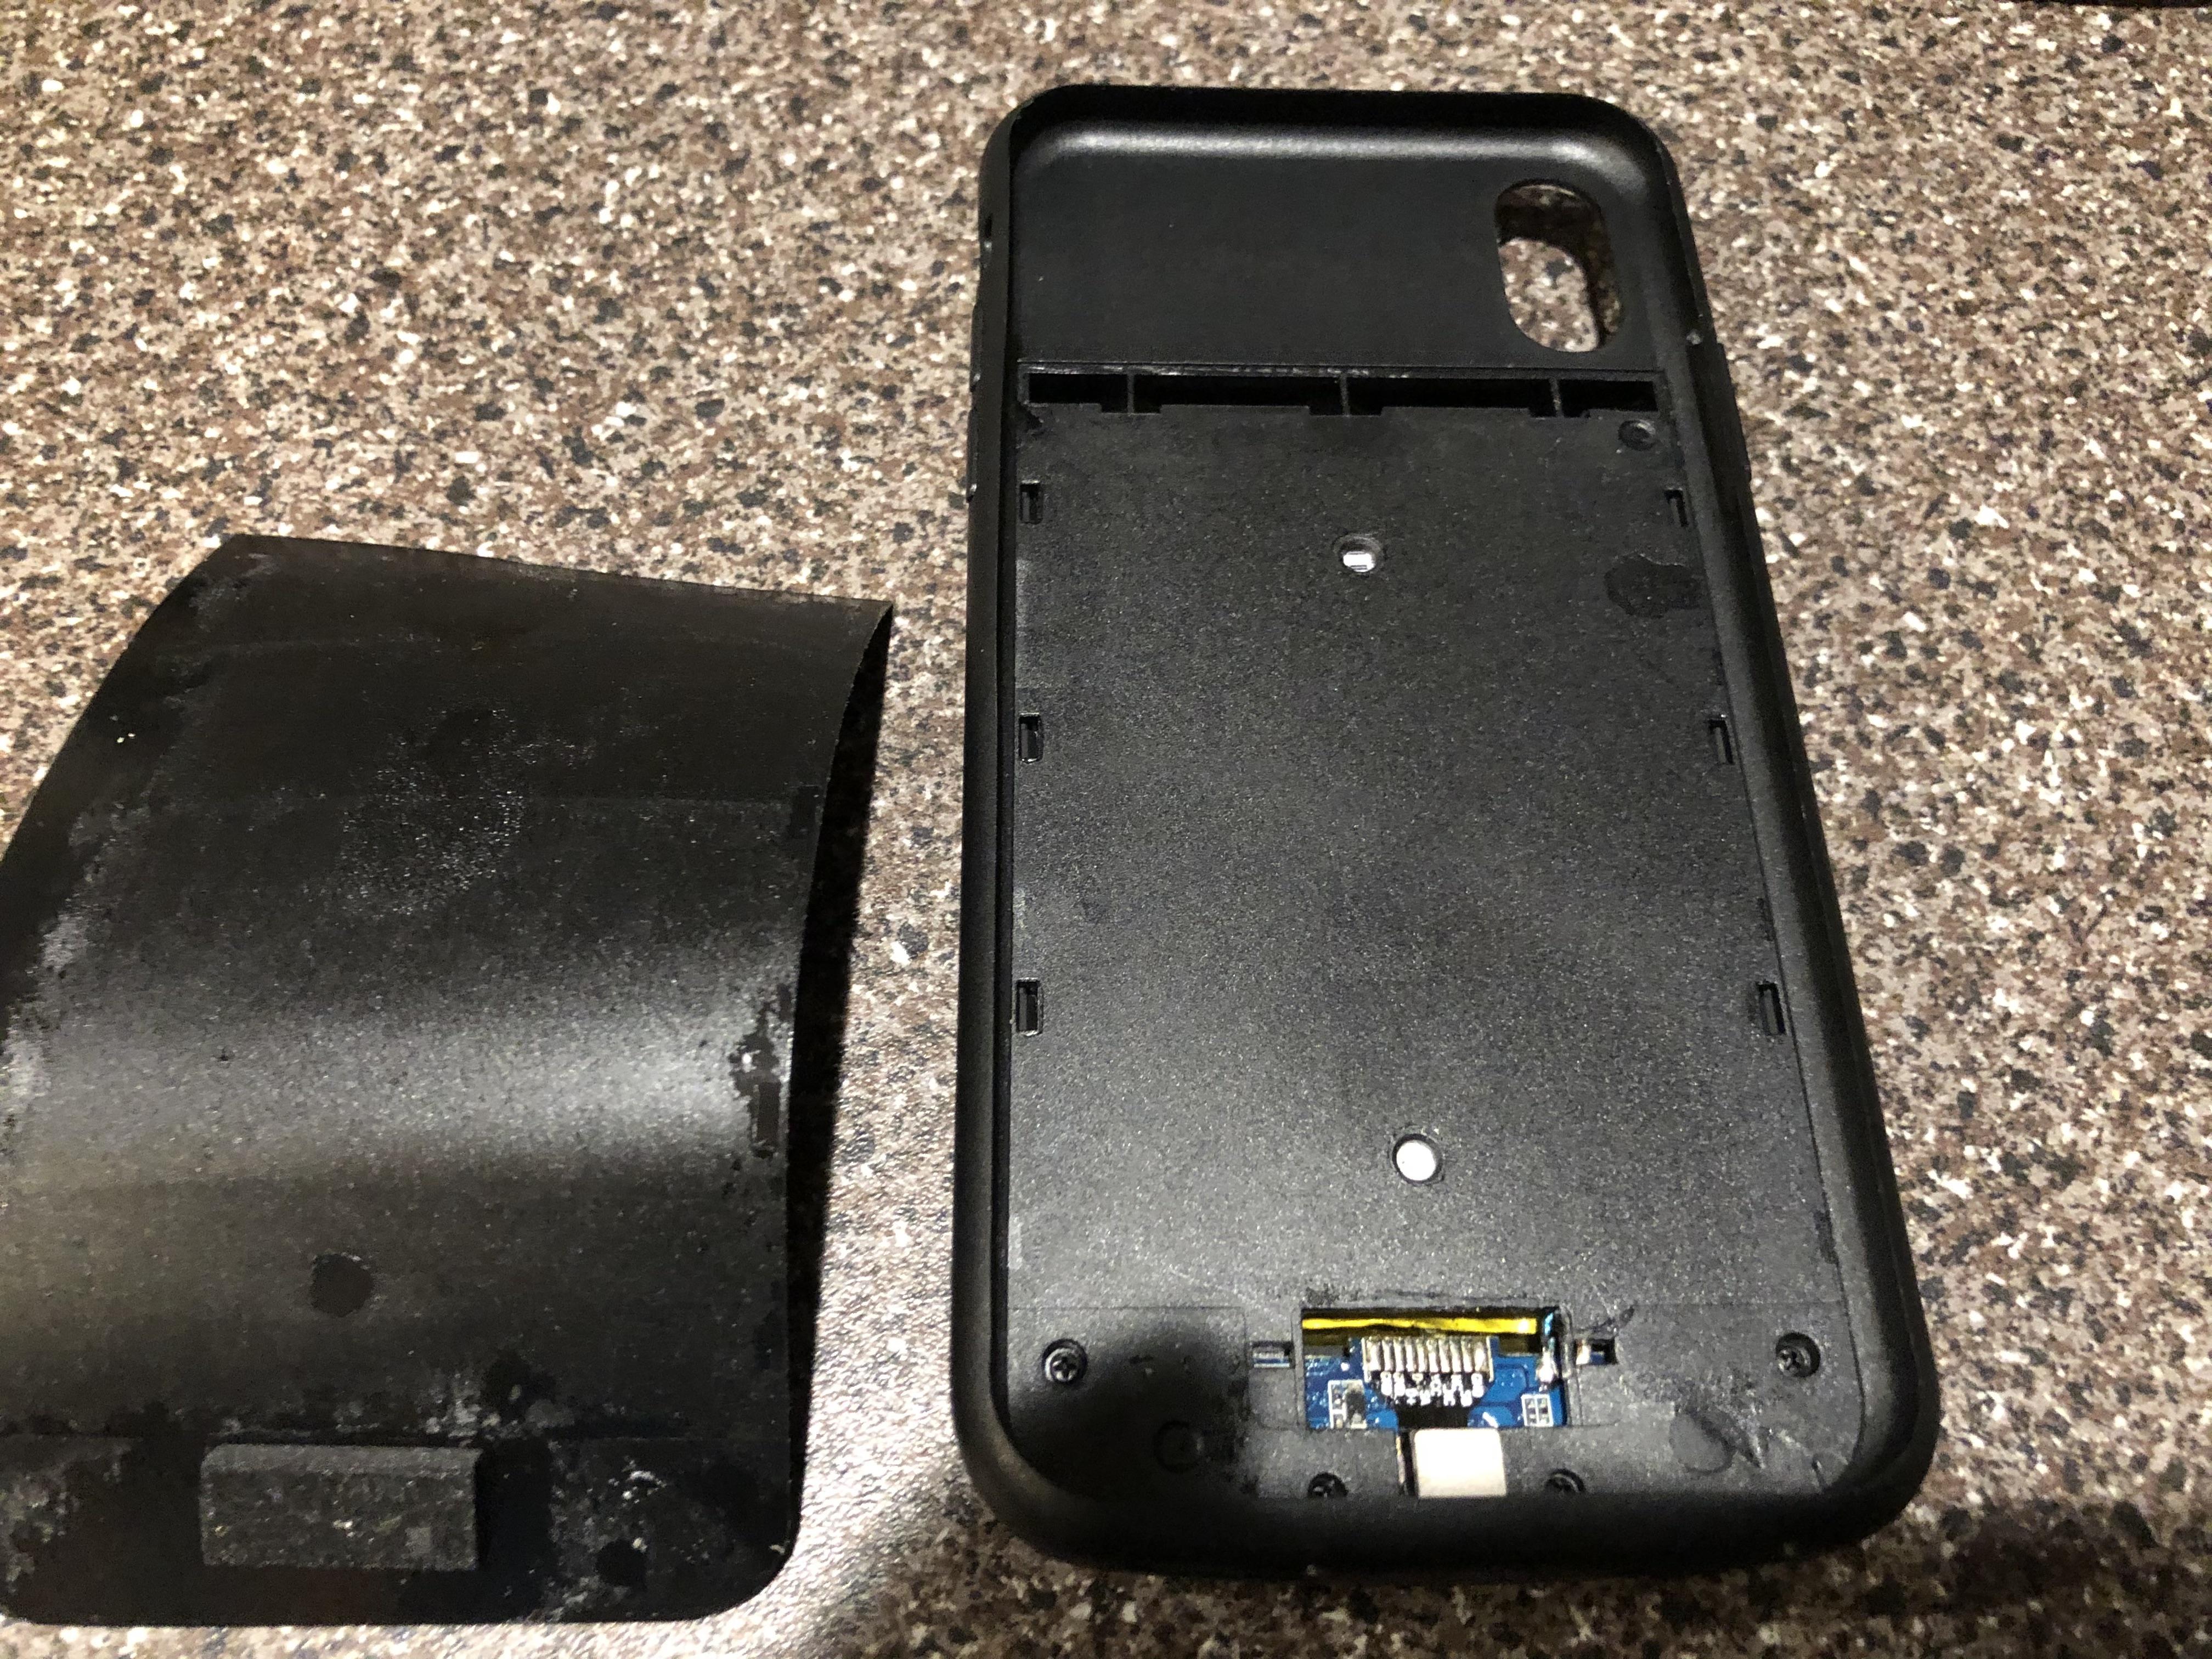
You will find the inside of the case has a sticker telling you how to slide the phone in. Simply use an exacto knife or similar item to pry it open and peel it off.
Save the sticker.
Locate the Little Holes on the Top/bottom/left/right
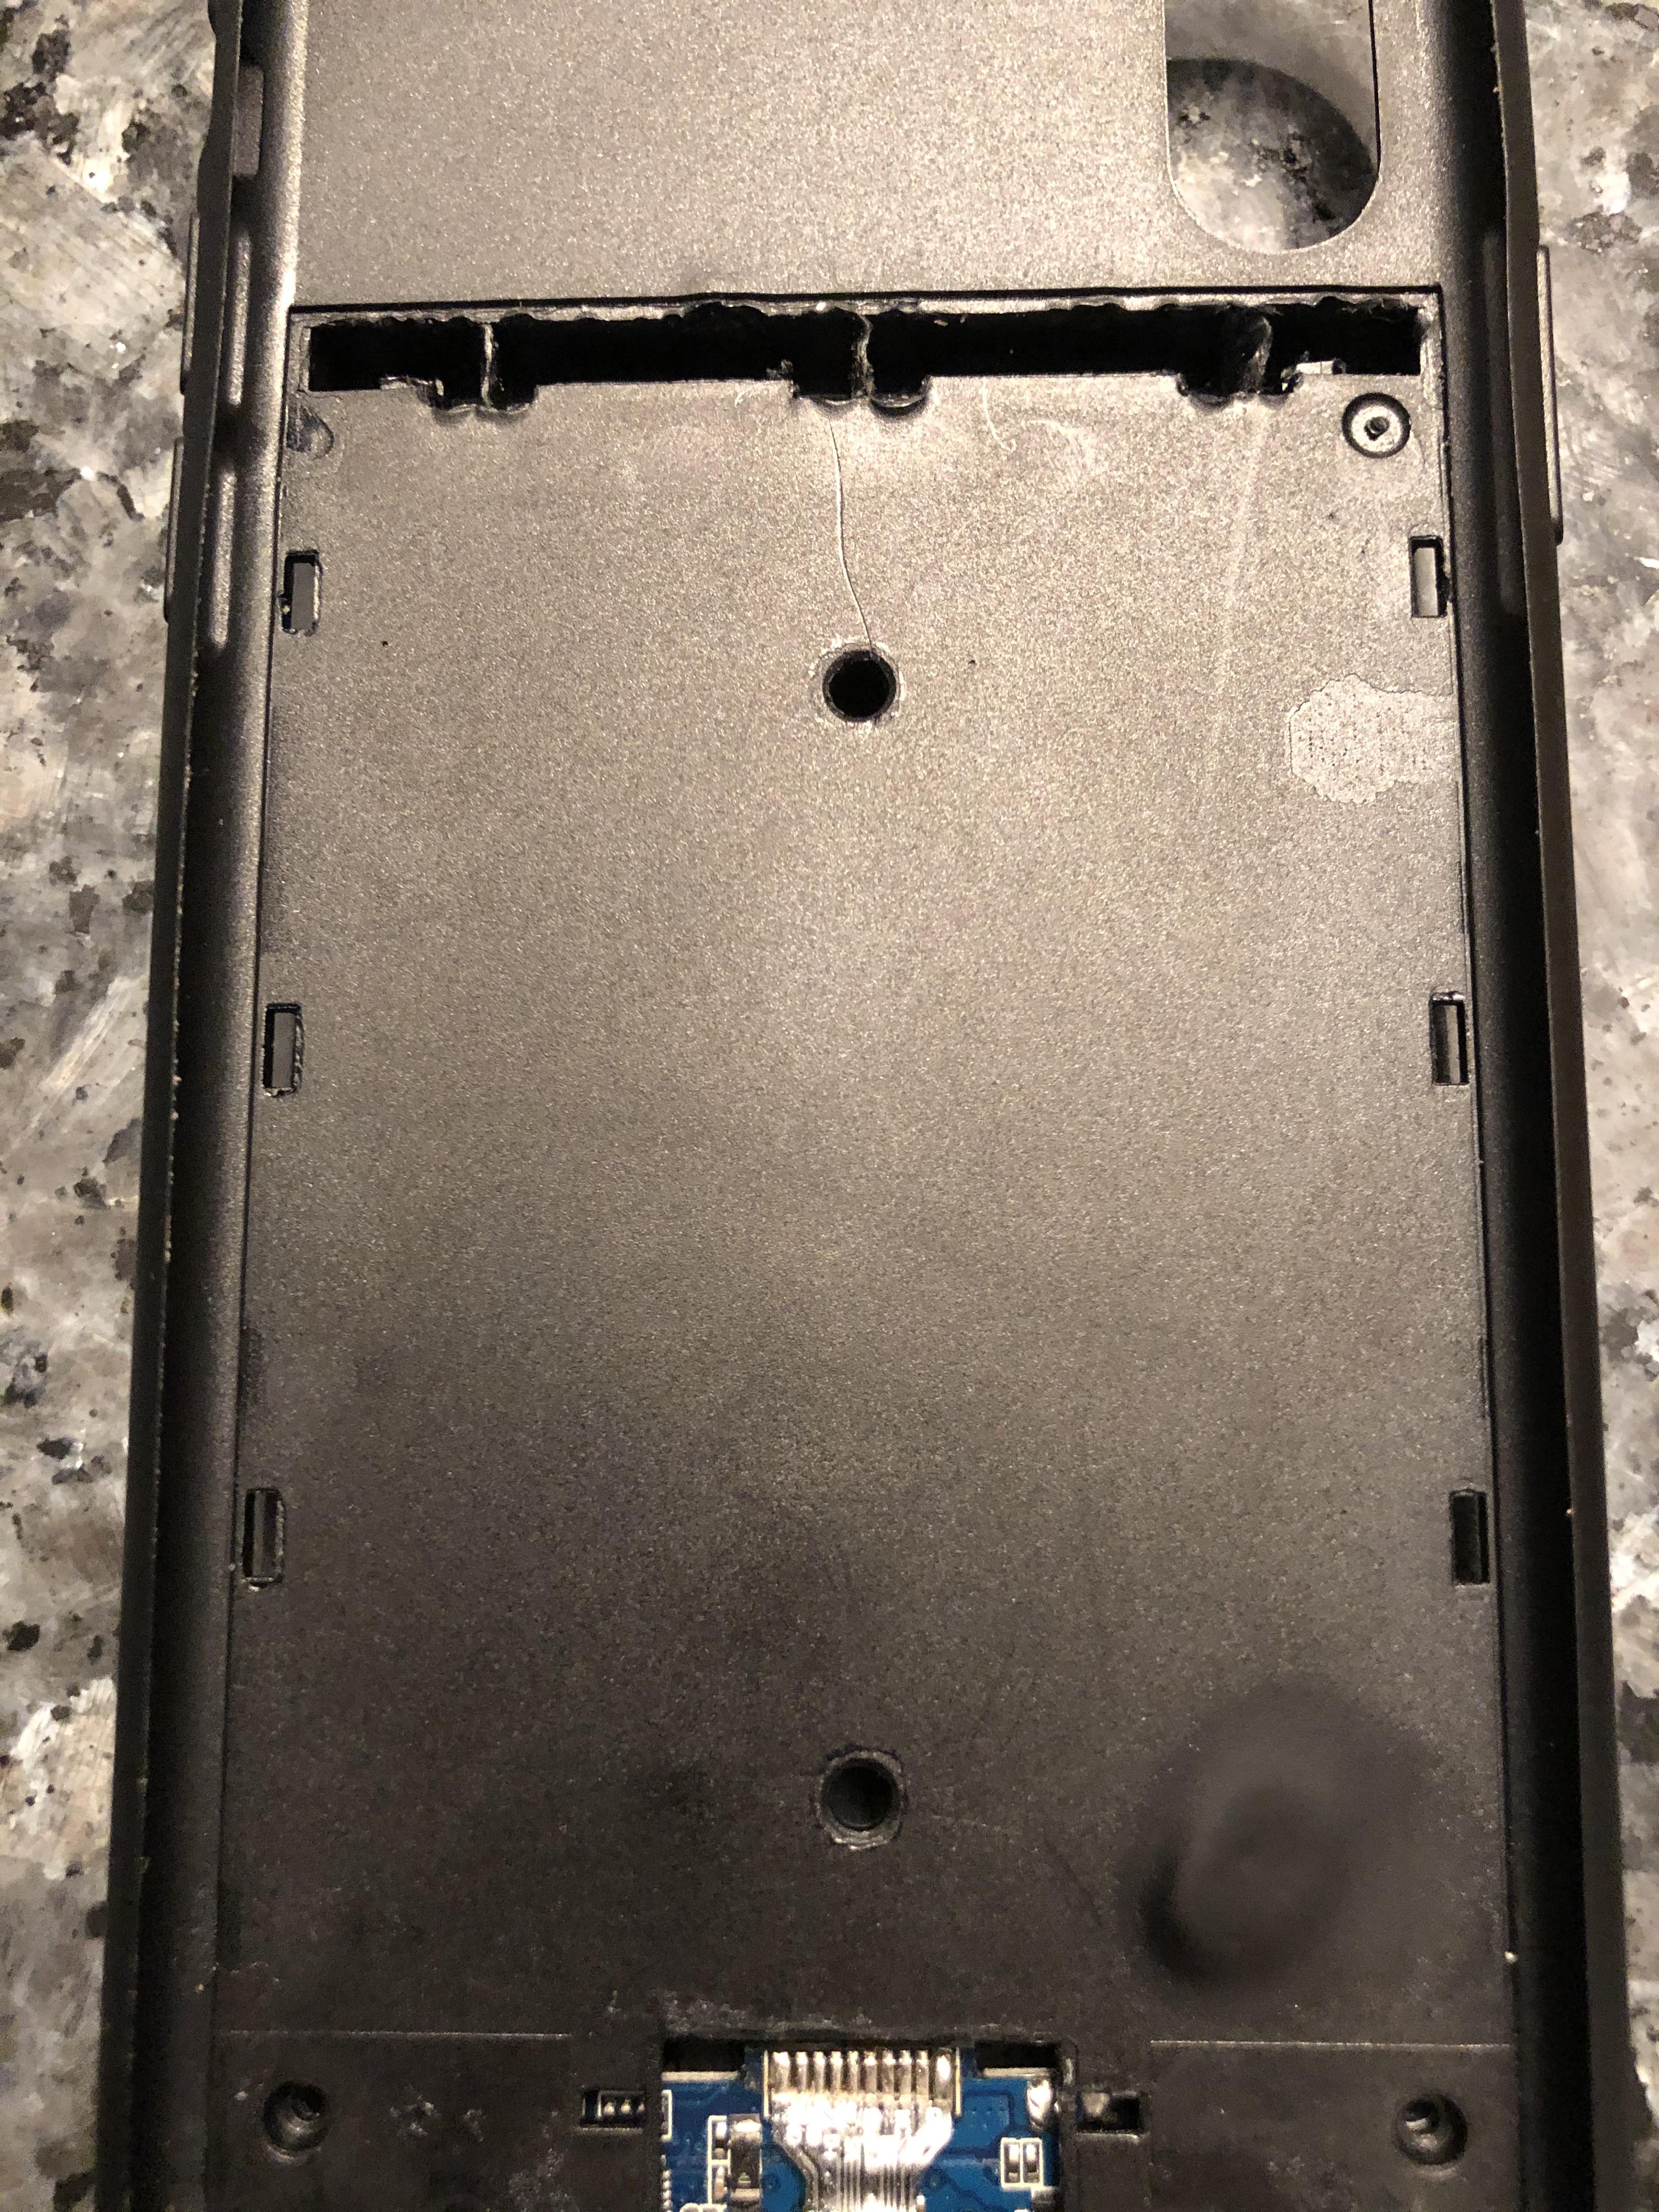
Locate these tiny holes in the case and use a small screwdriver to push them. This part is tricky. The holes allow you to unhook the plastic clasps holding the back cover on.
I found it easiest to poke the bottom holes first and then gently pry the back cover while I worked around to the other holes.
Marvel at the Contents Behind the Back Cover
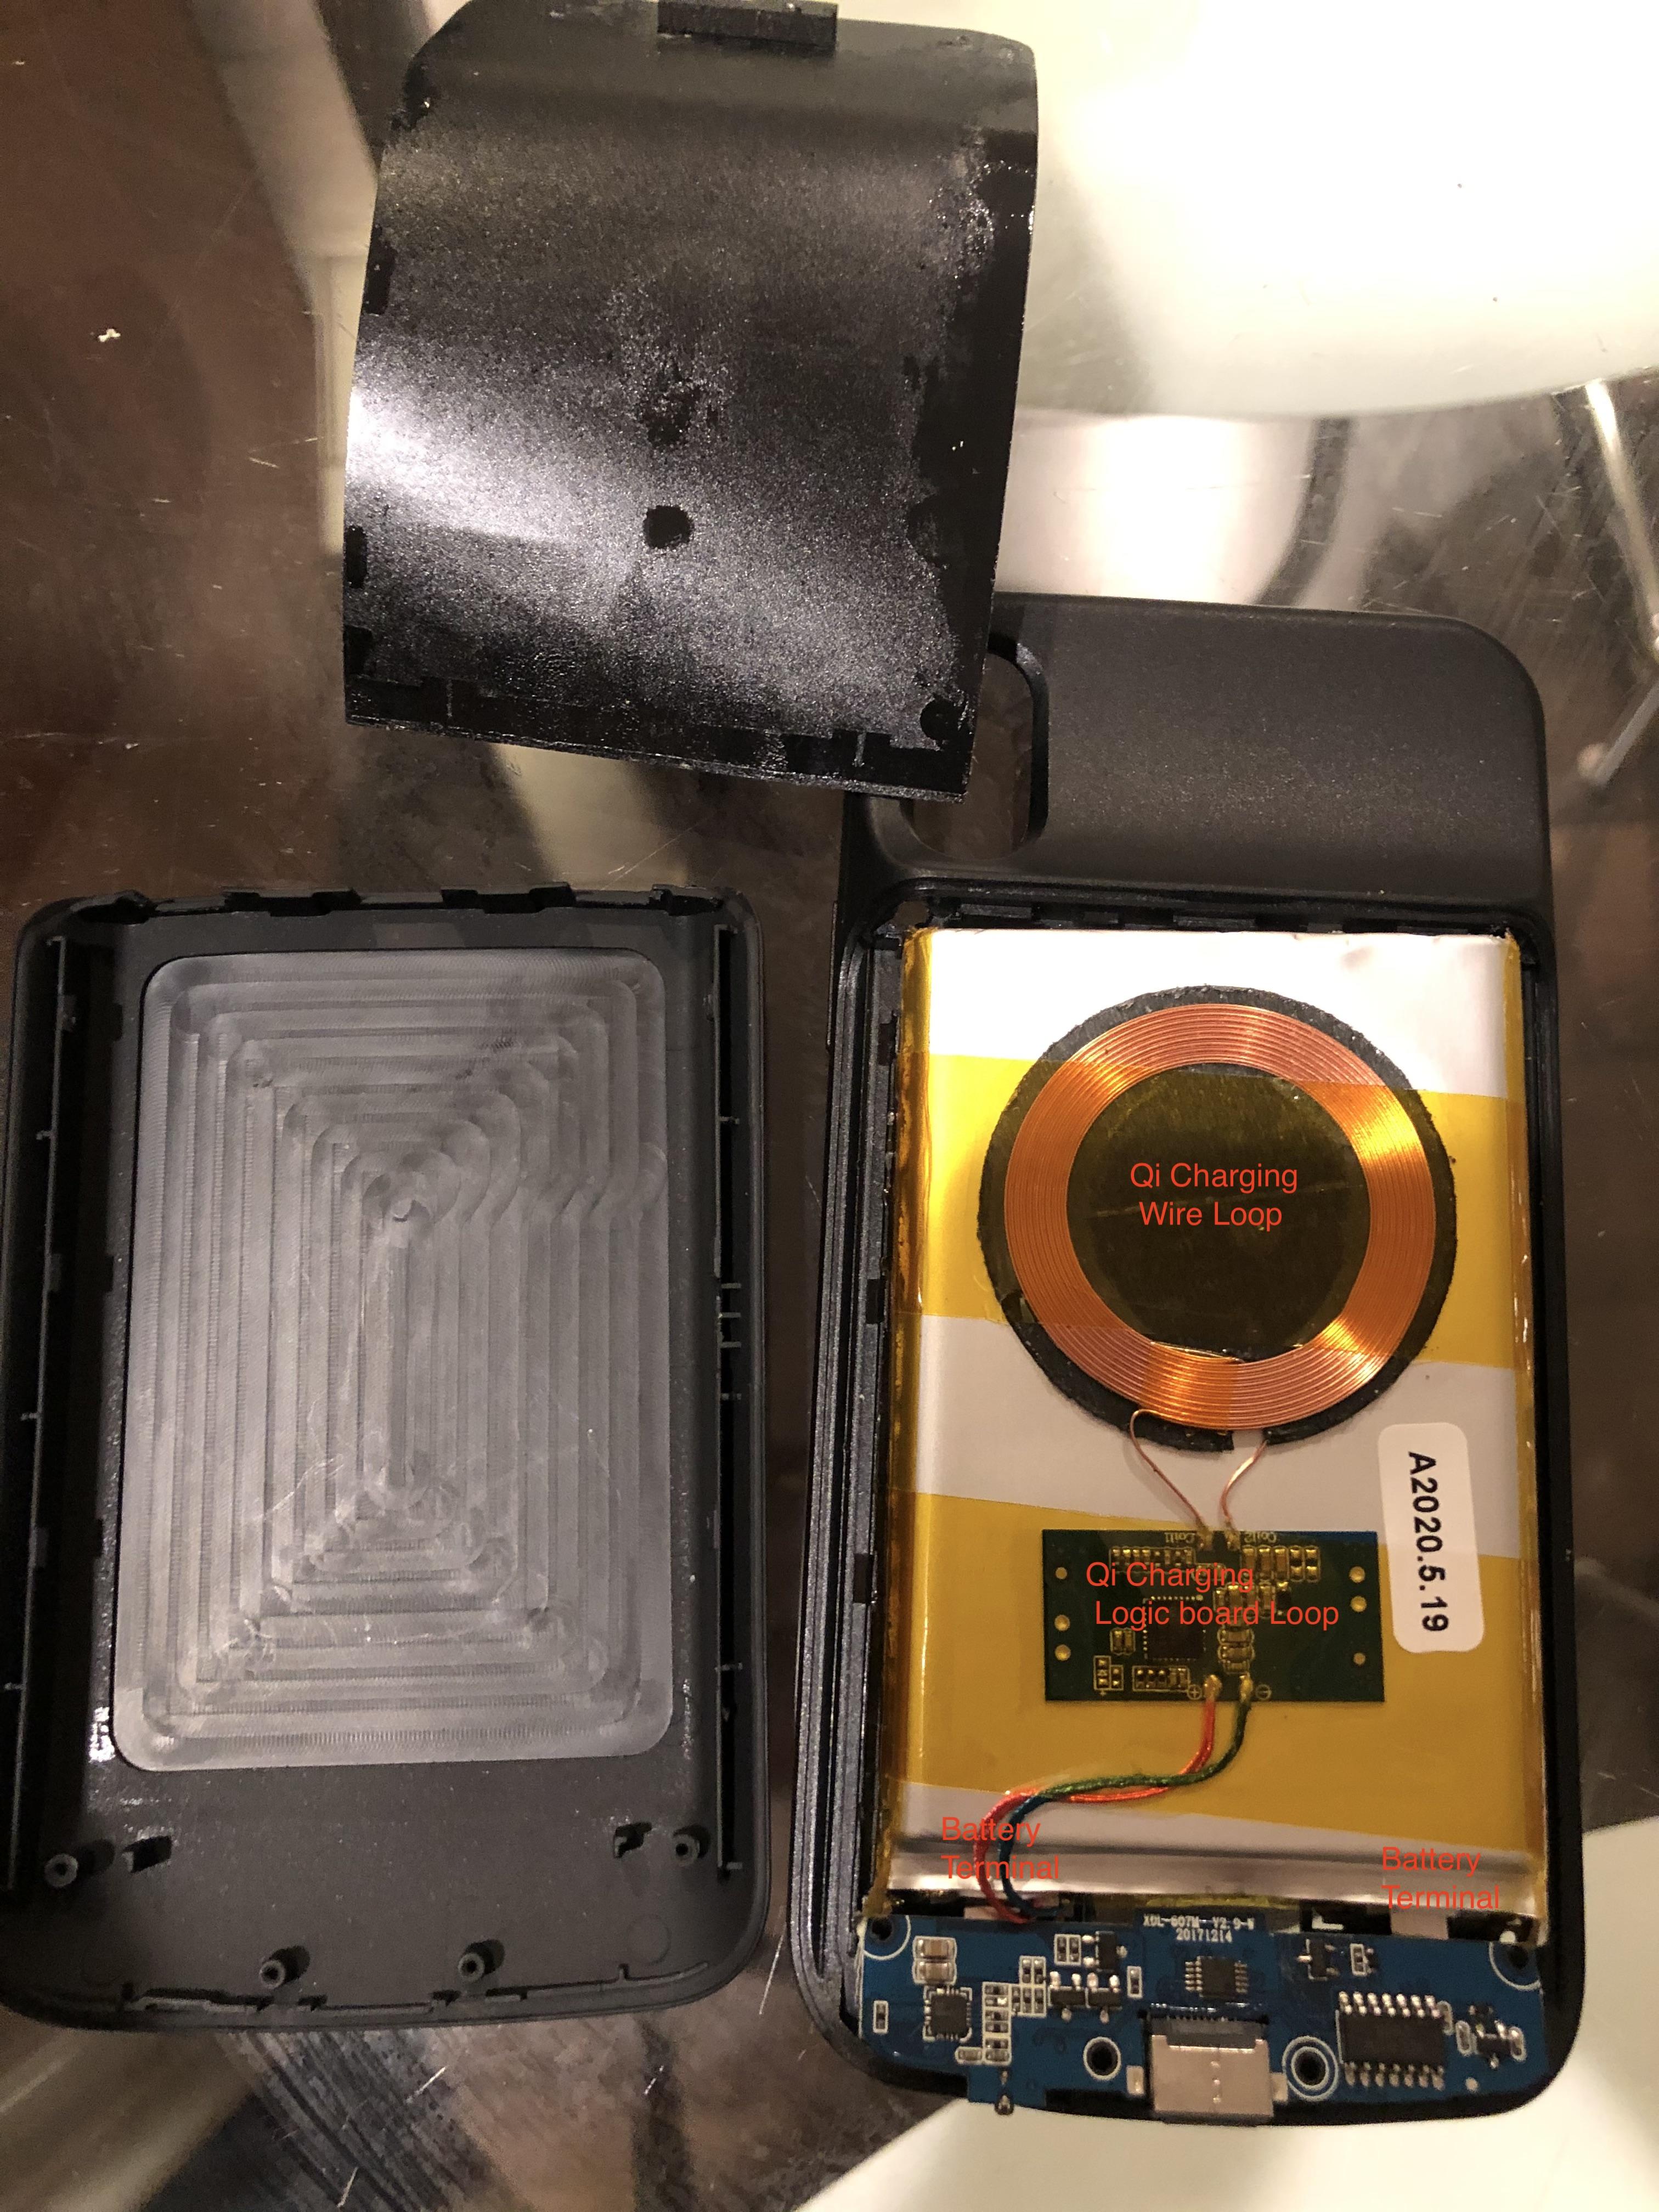
The back cover will pop off (eventually). You will be able to identify the following:
- The loop of copper wire is the Qi charger. It is attached to a controller board and soldered to the main board at the bottom
- The battery is soldered to the main board in two places
- Don't worry about the main board, we will be cutting it out
Remove the Thermal/teflon (yellow) Tape
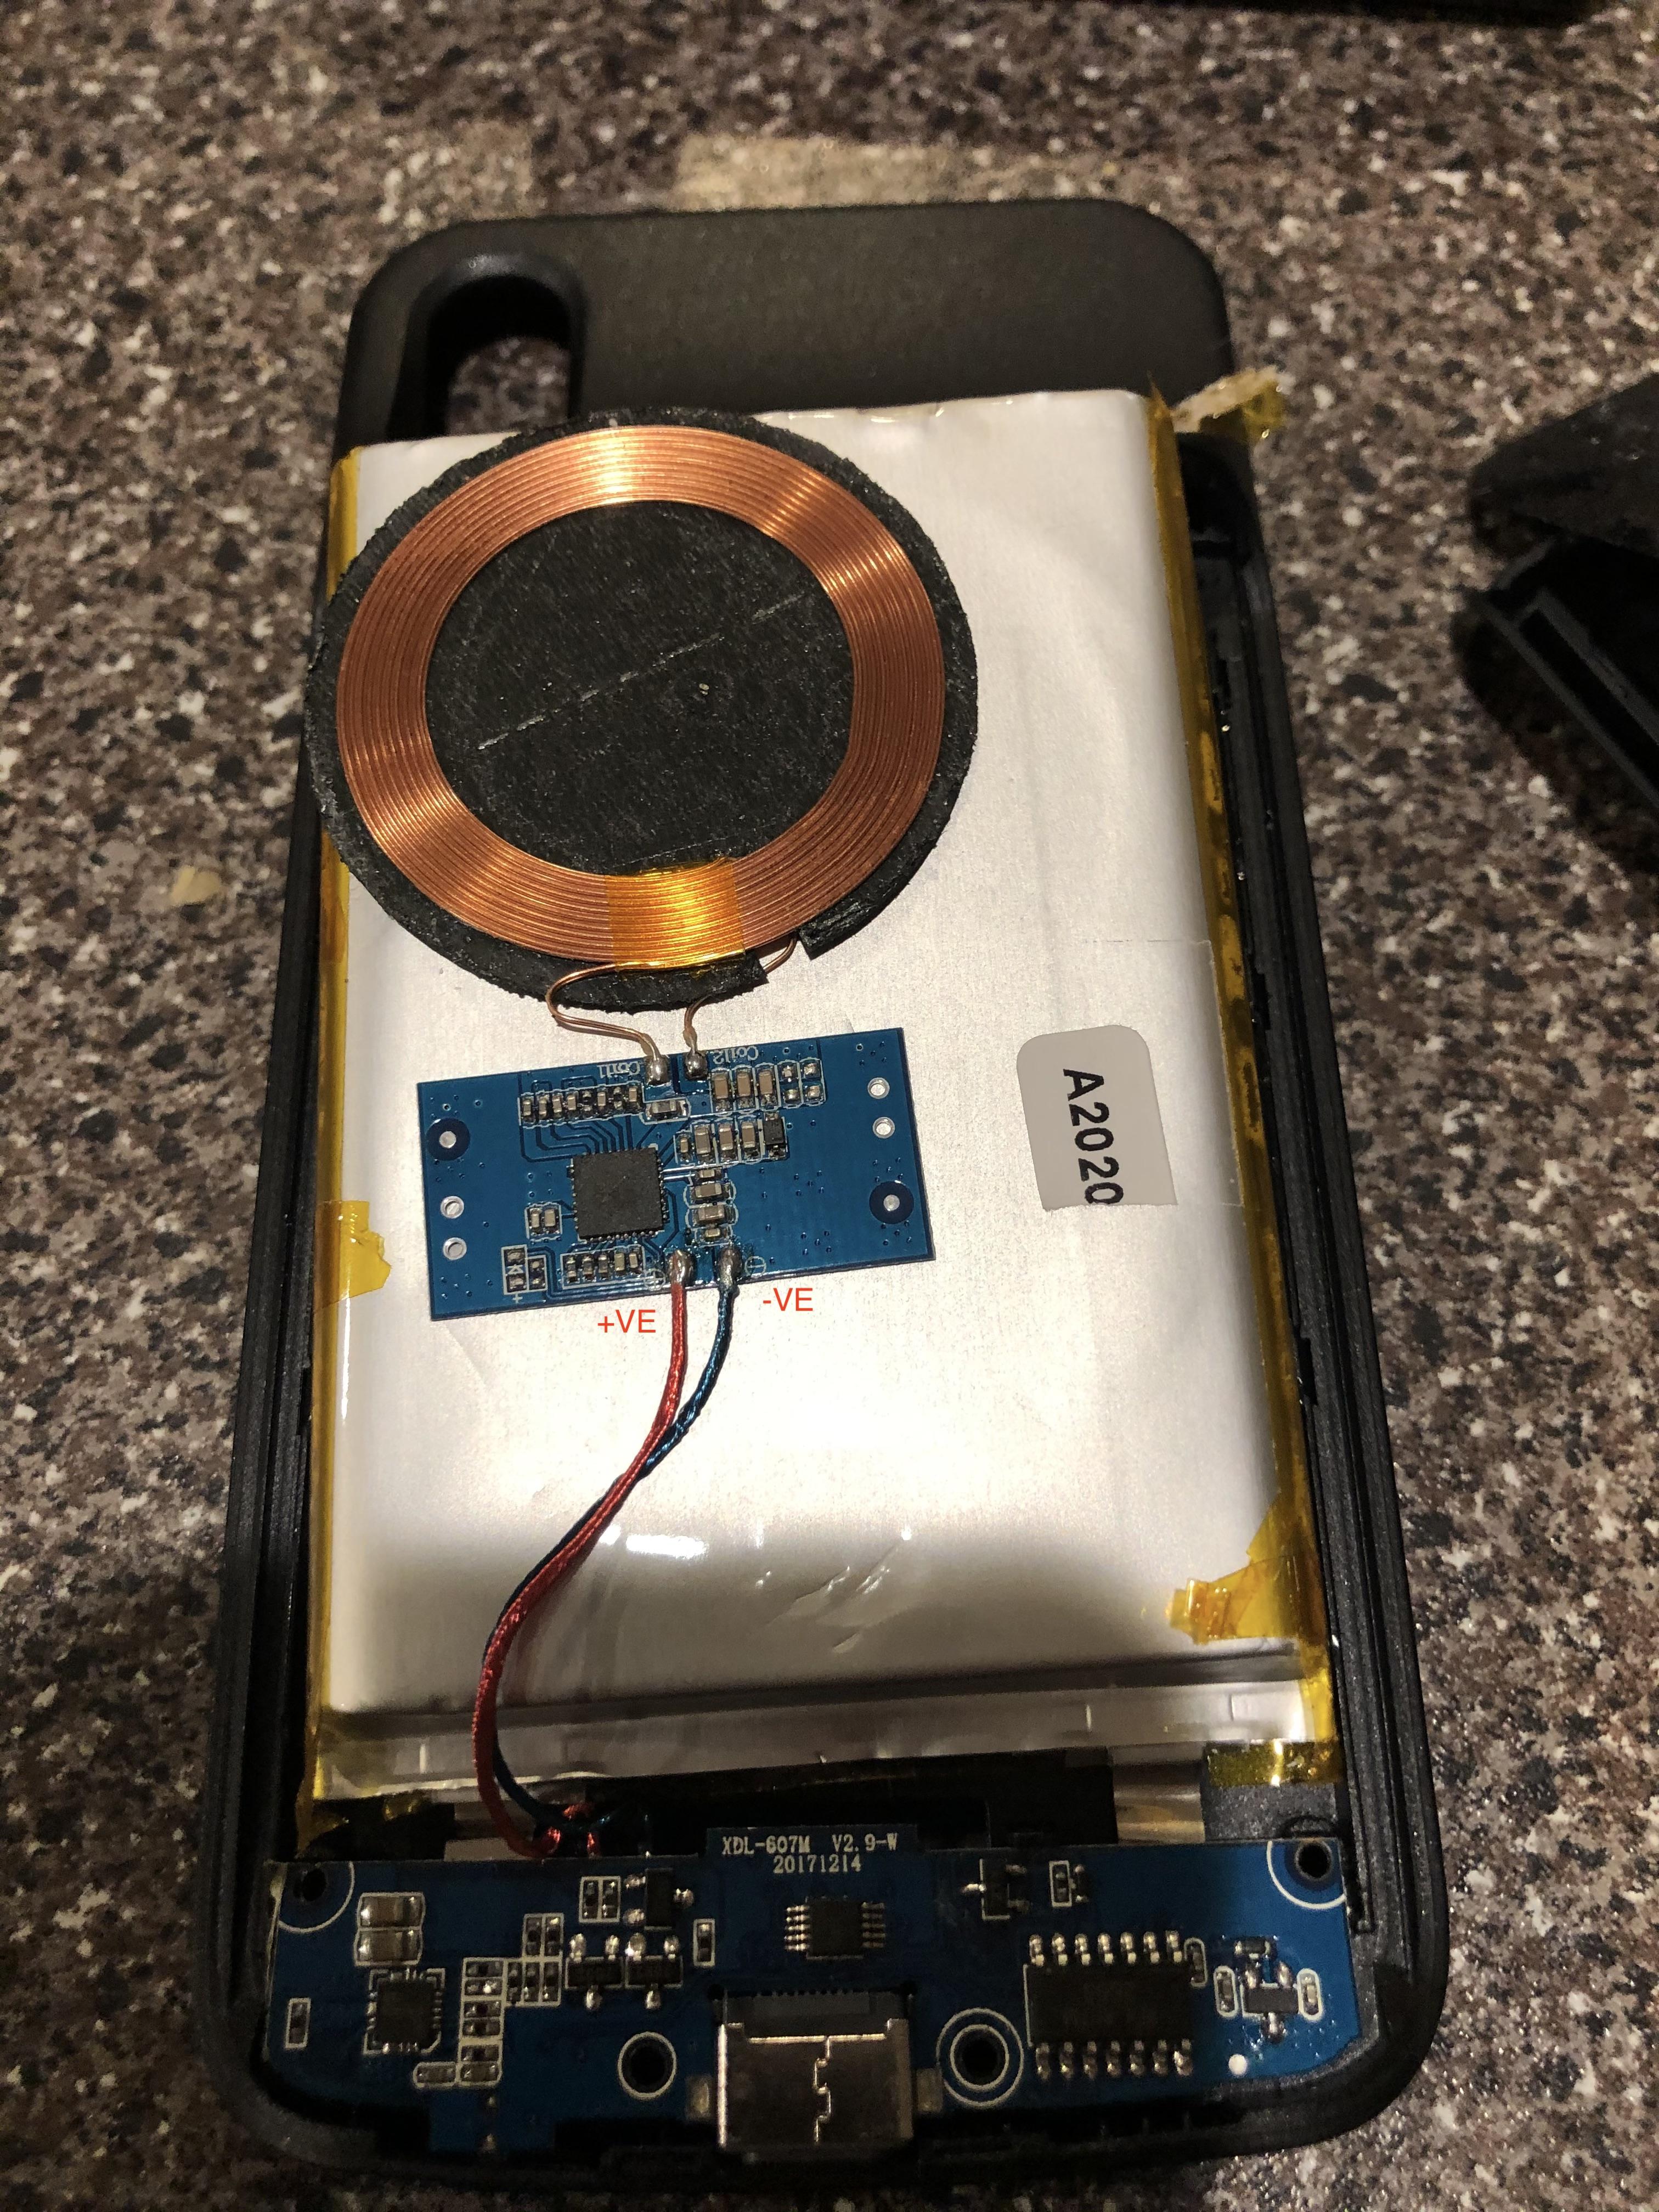
Peel the tape that is holding the Qi charger and board to the battery. Save the tape!
Bend the Control Board Over to Reveal the Soldering Points
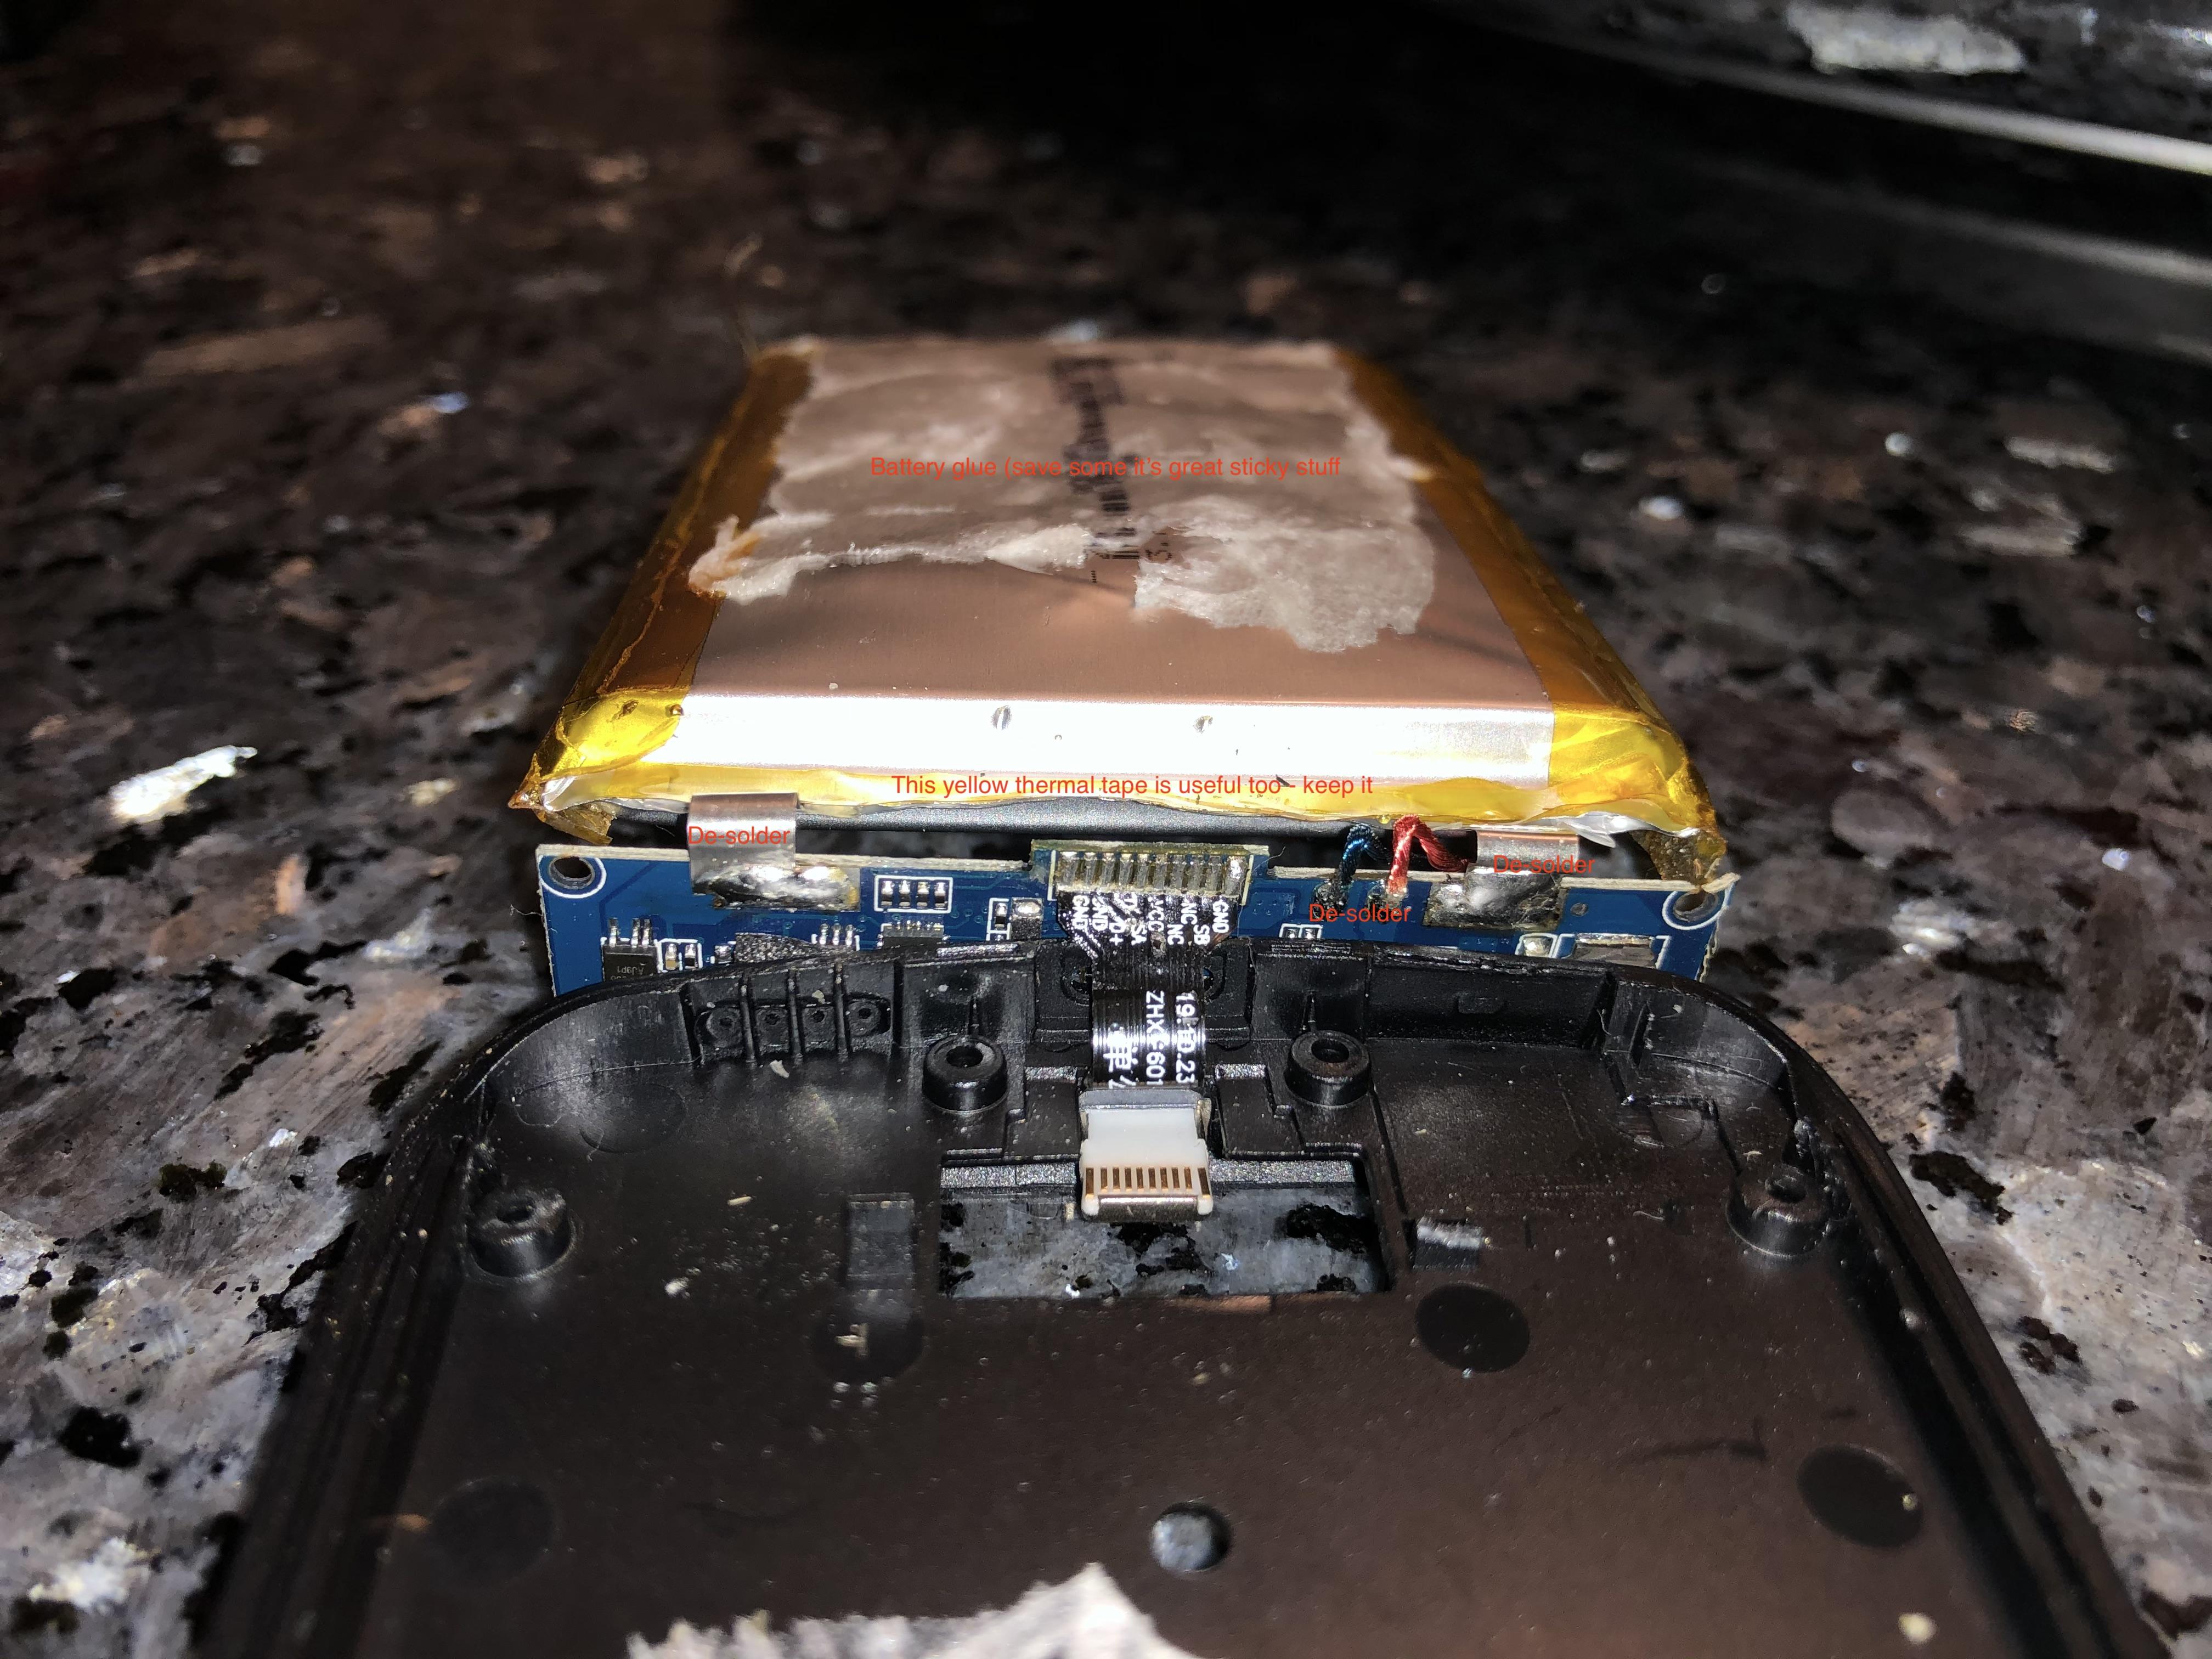
Peel the batter off the case and then bend it over and towards the bottom where it is connected to the control board. This will reveal where the Qi charging board and the battery are connected to the control board.
We will be using the soldering iron here to remove the solder and wires from the two battery terminals and the blue and red wire to the Qi charger board.
Pro tip: Use solder on your soldering iron to add some "flux" to your iron before touching on the blobs of solder on the board and then use tweezers to remove the wires one at a time.
Remove the battery from the case and recycle
Remove the Qi charger and Qi board from the case
Assess Your Parts
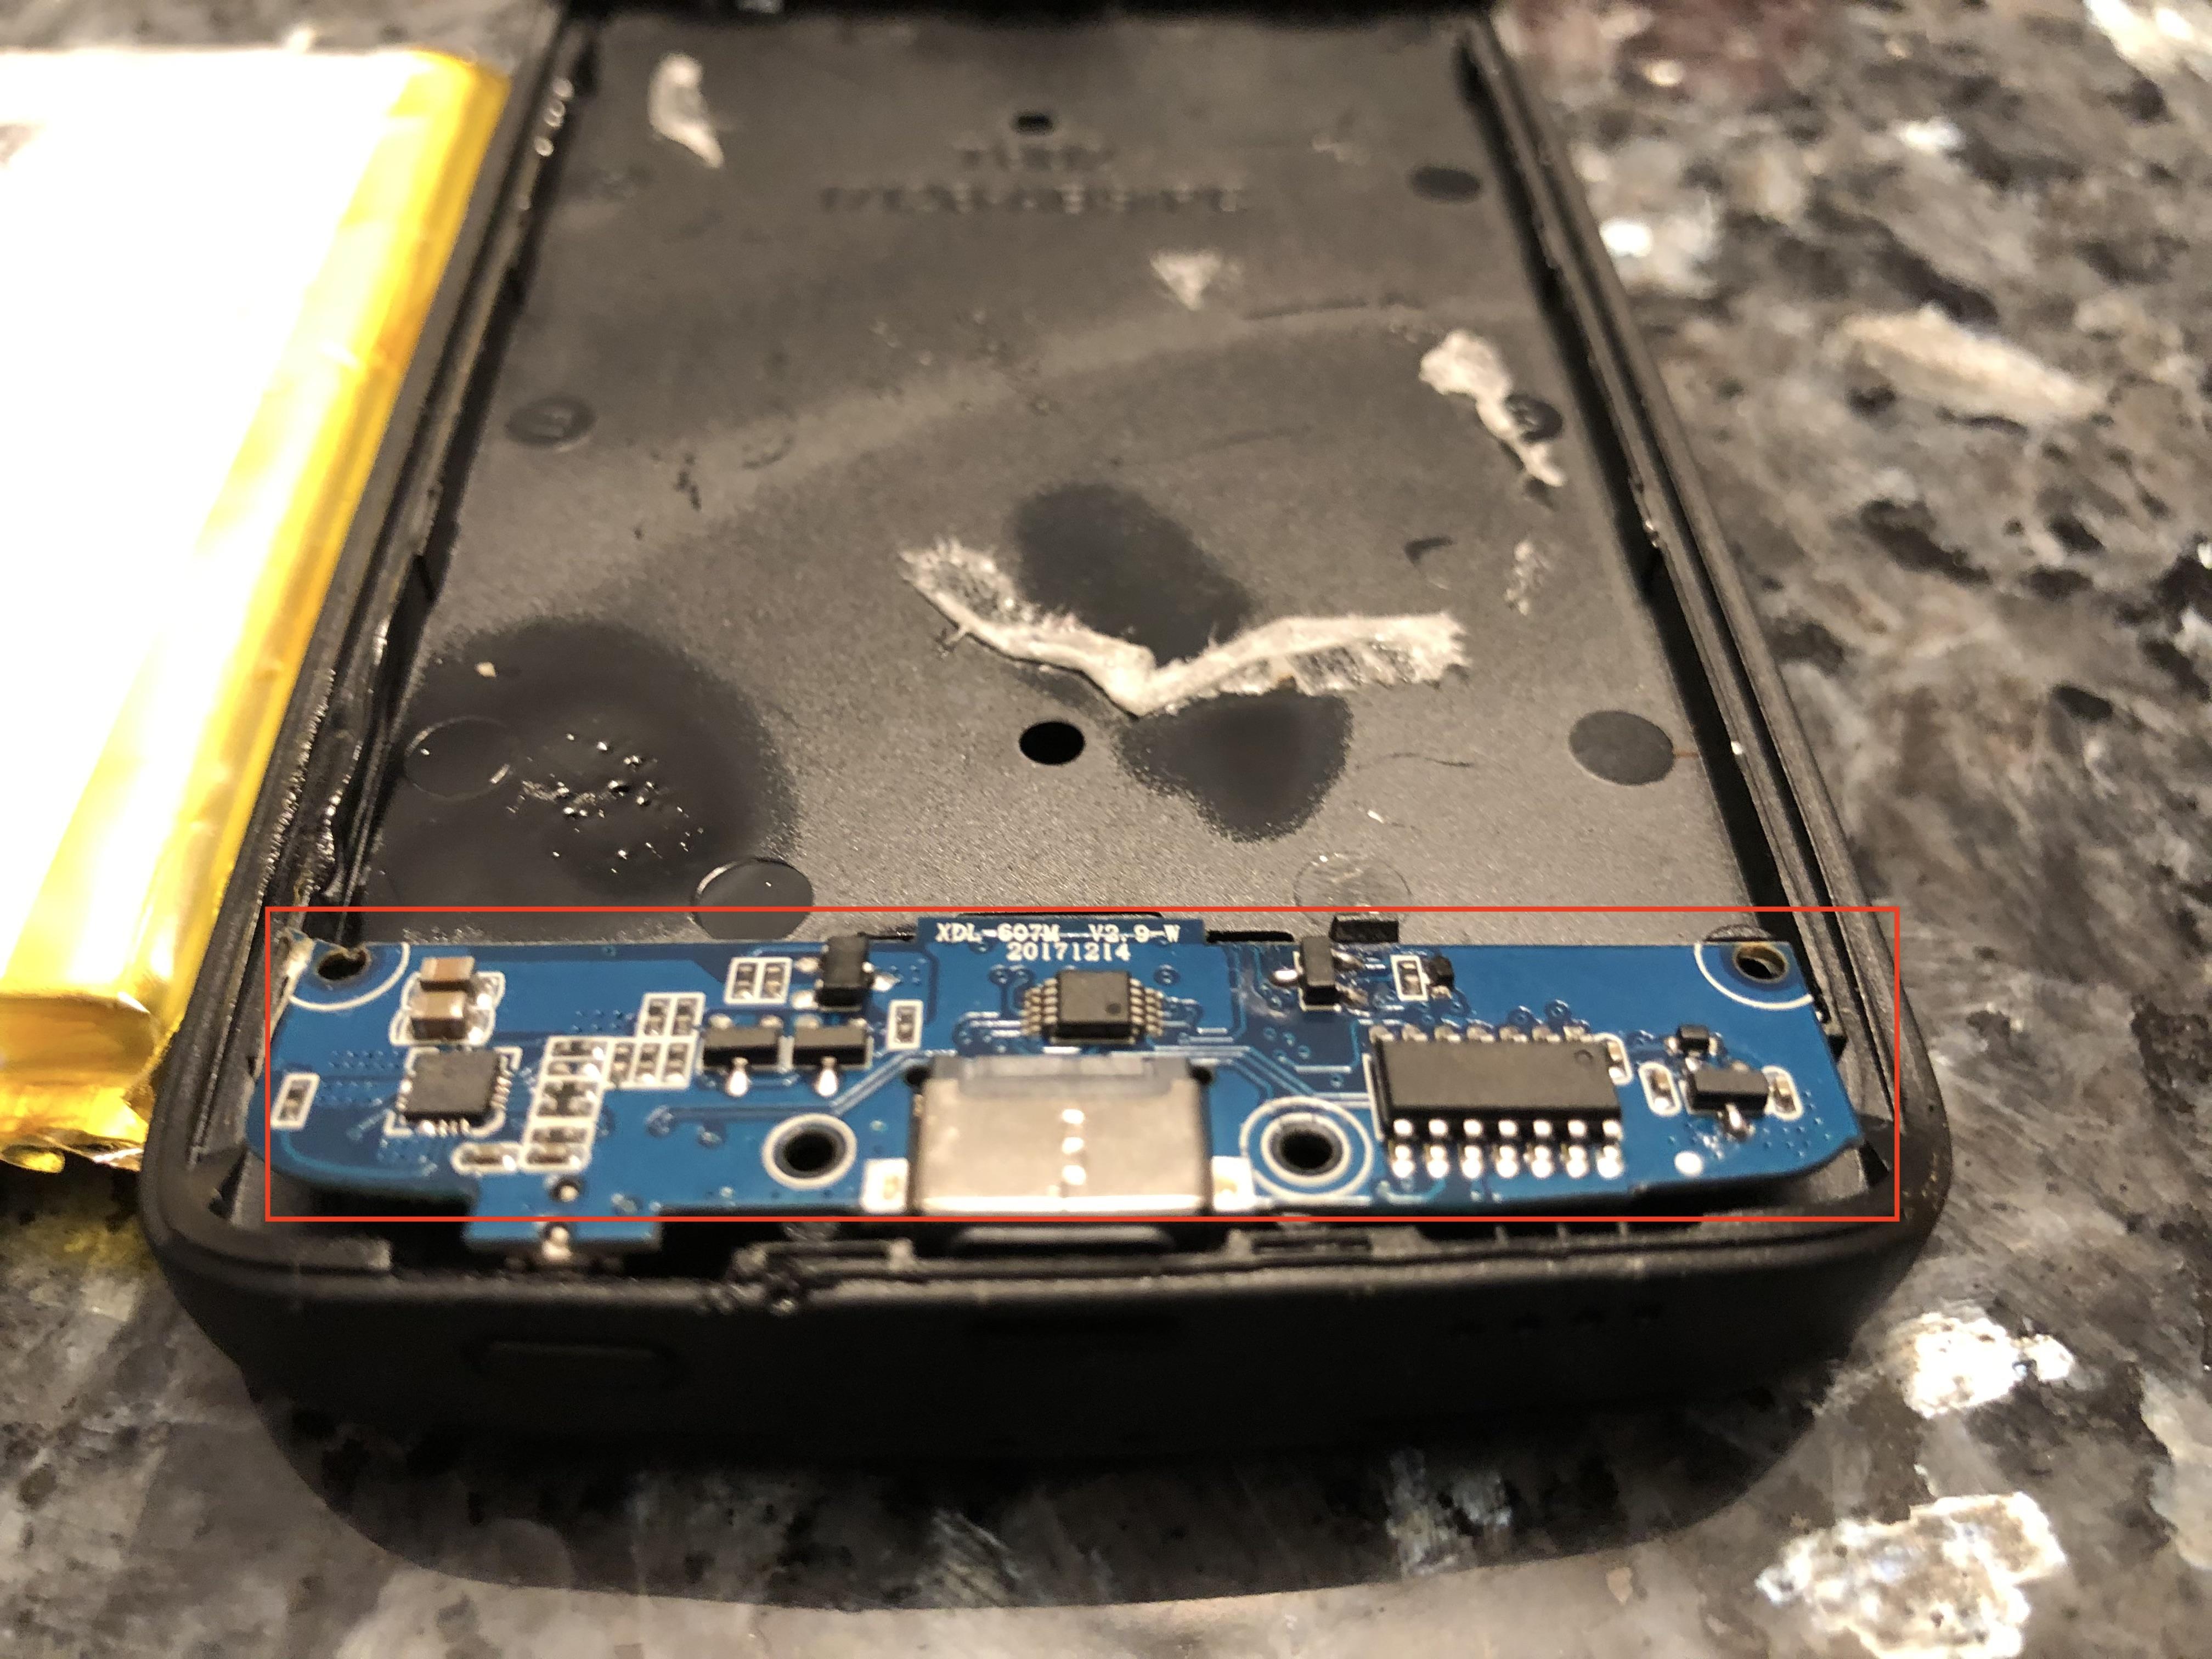
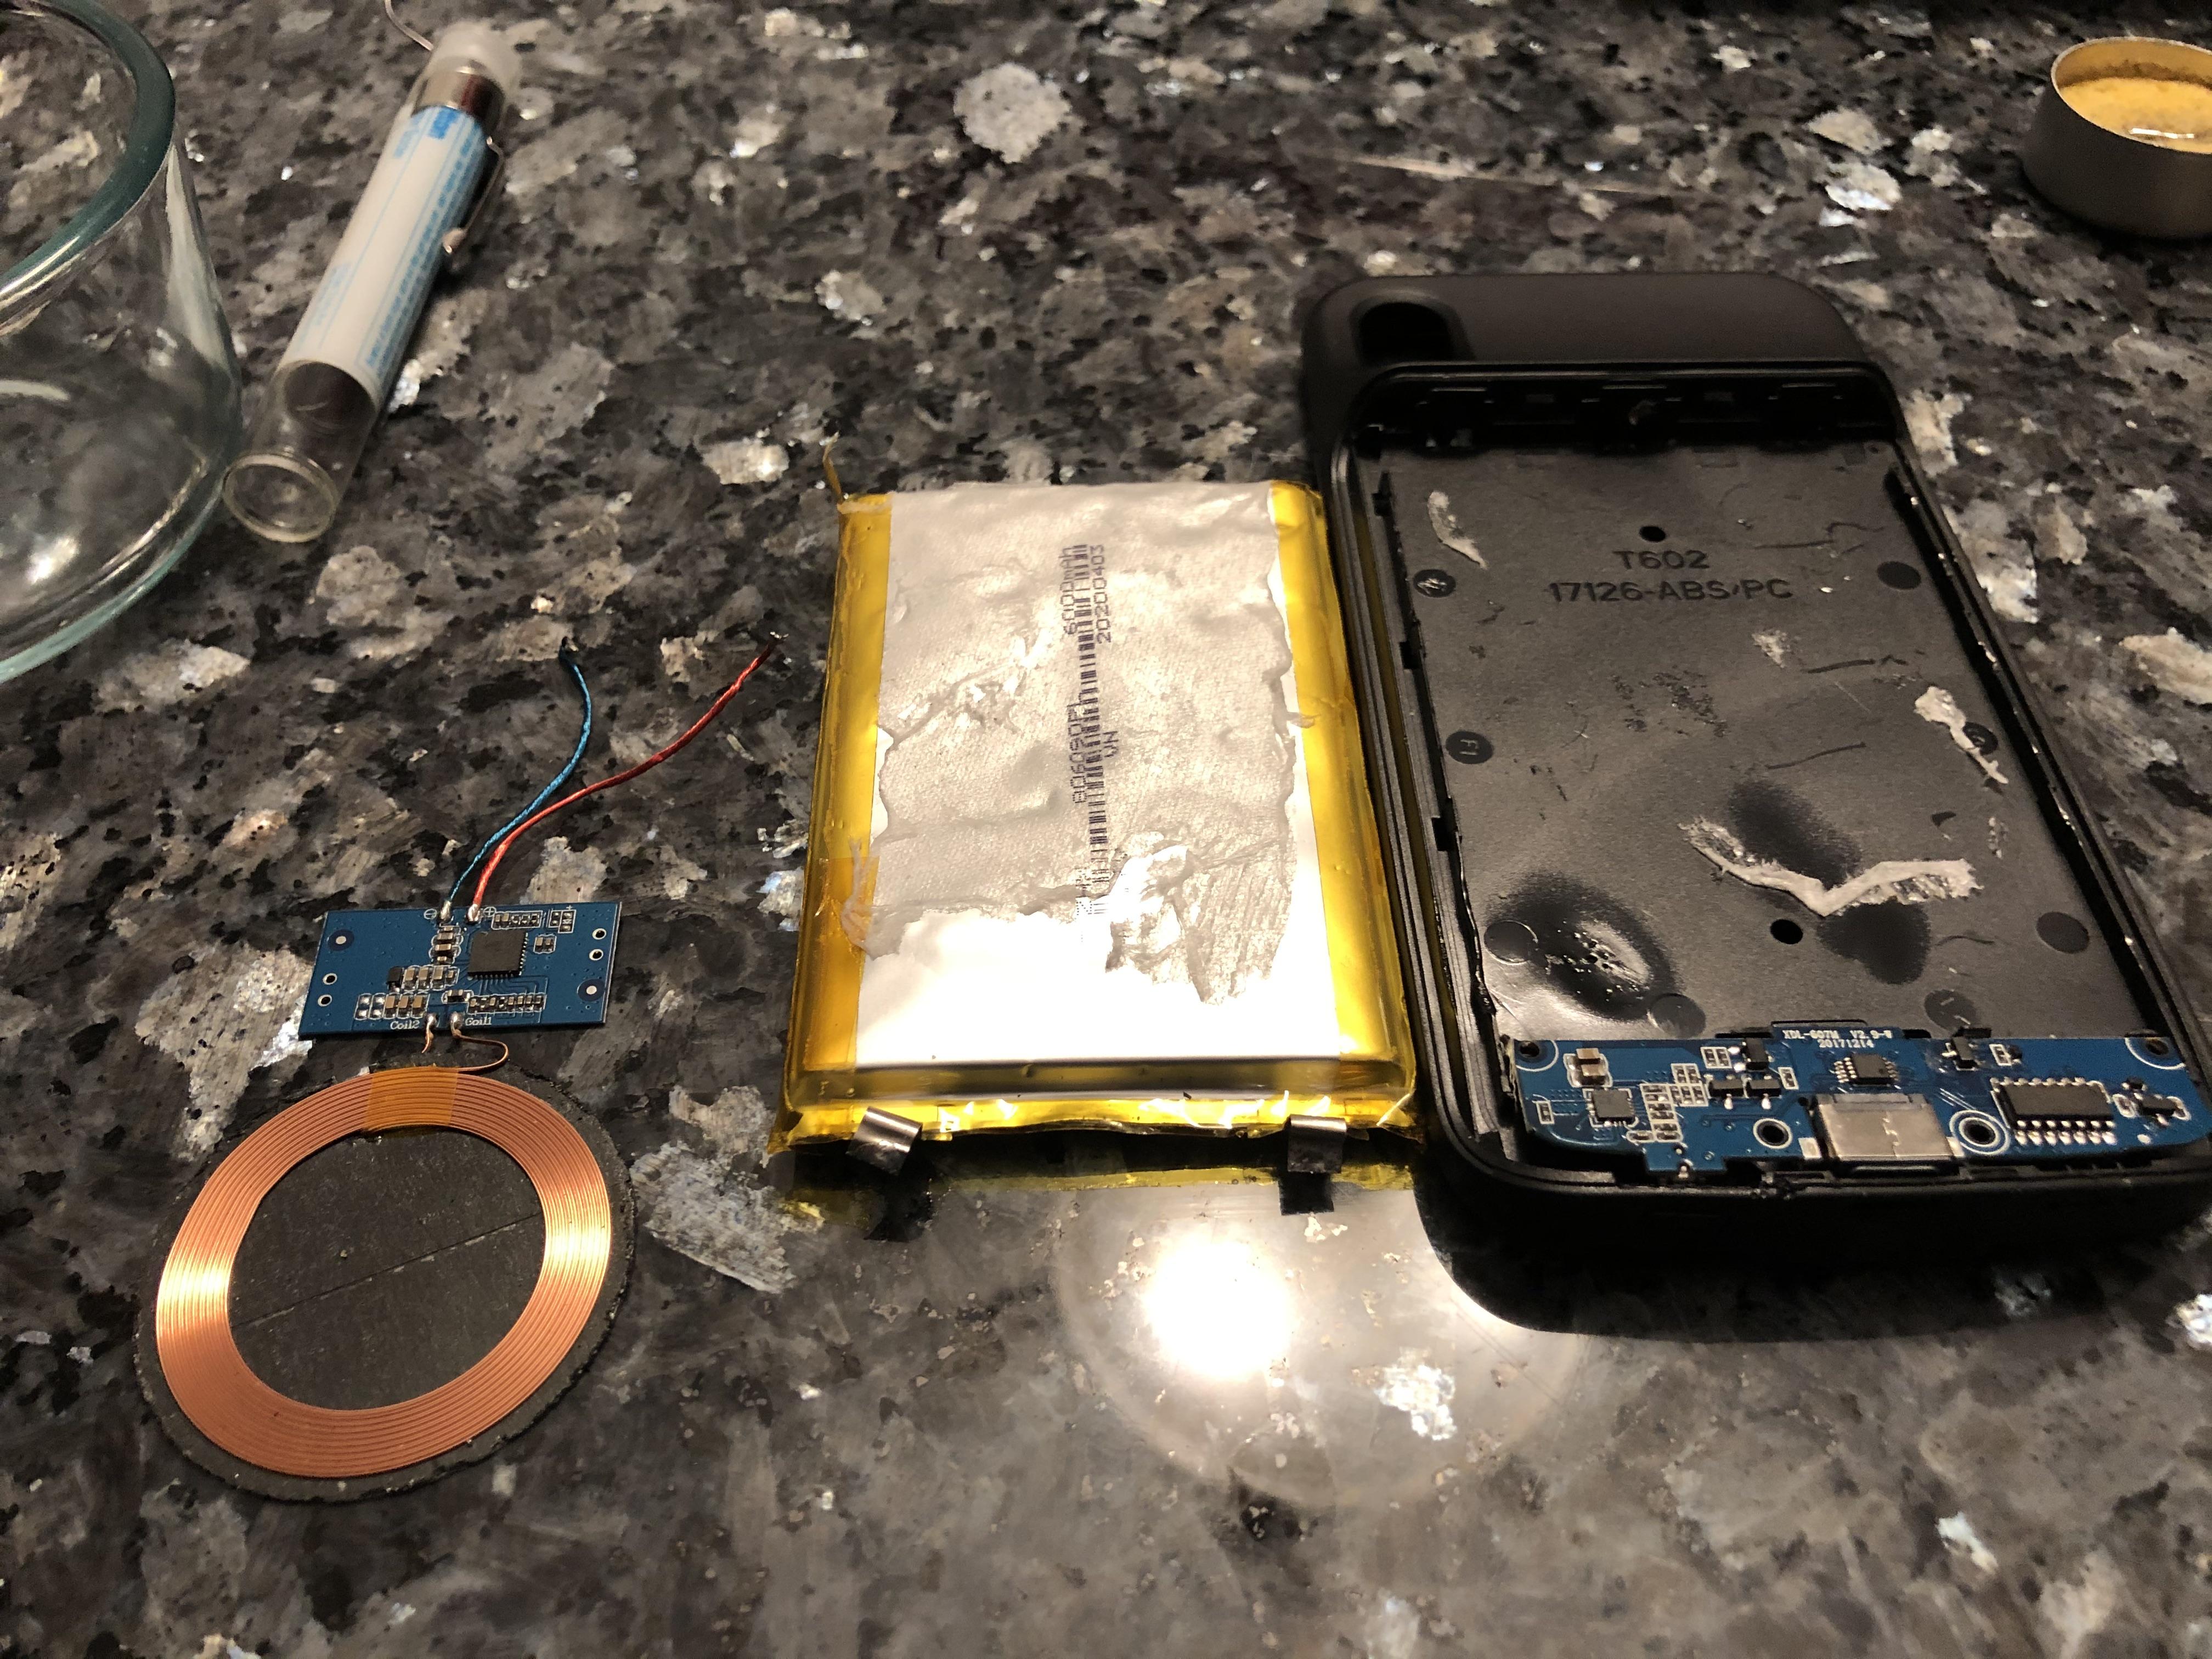
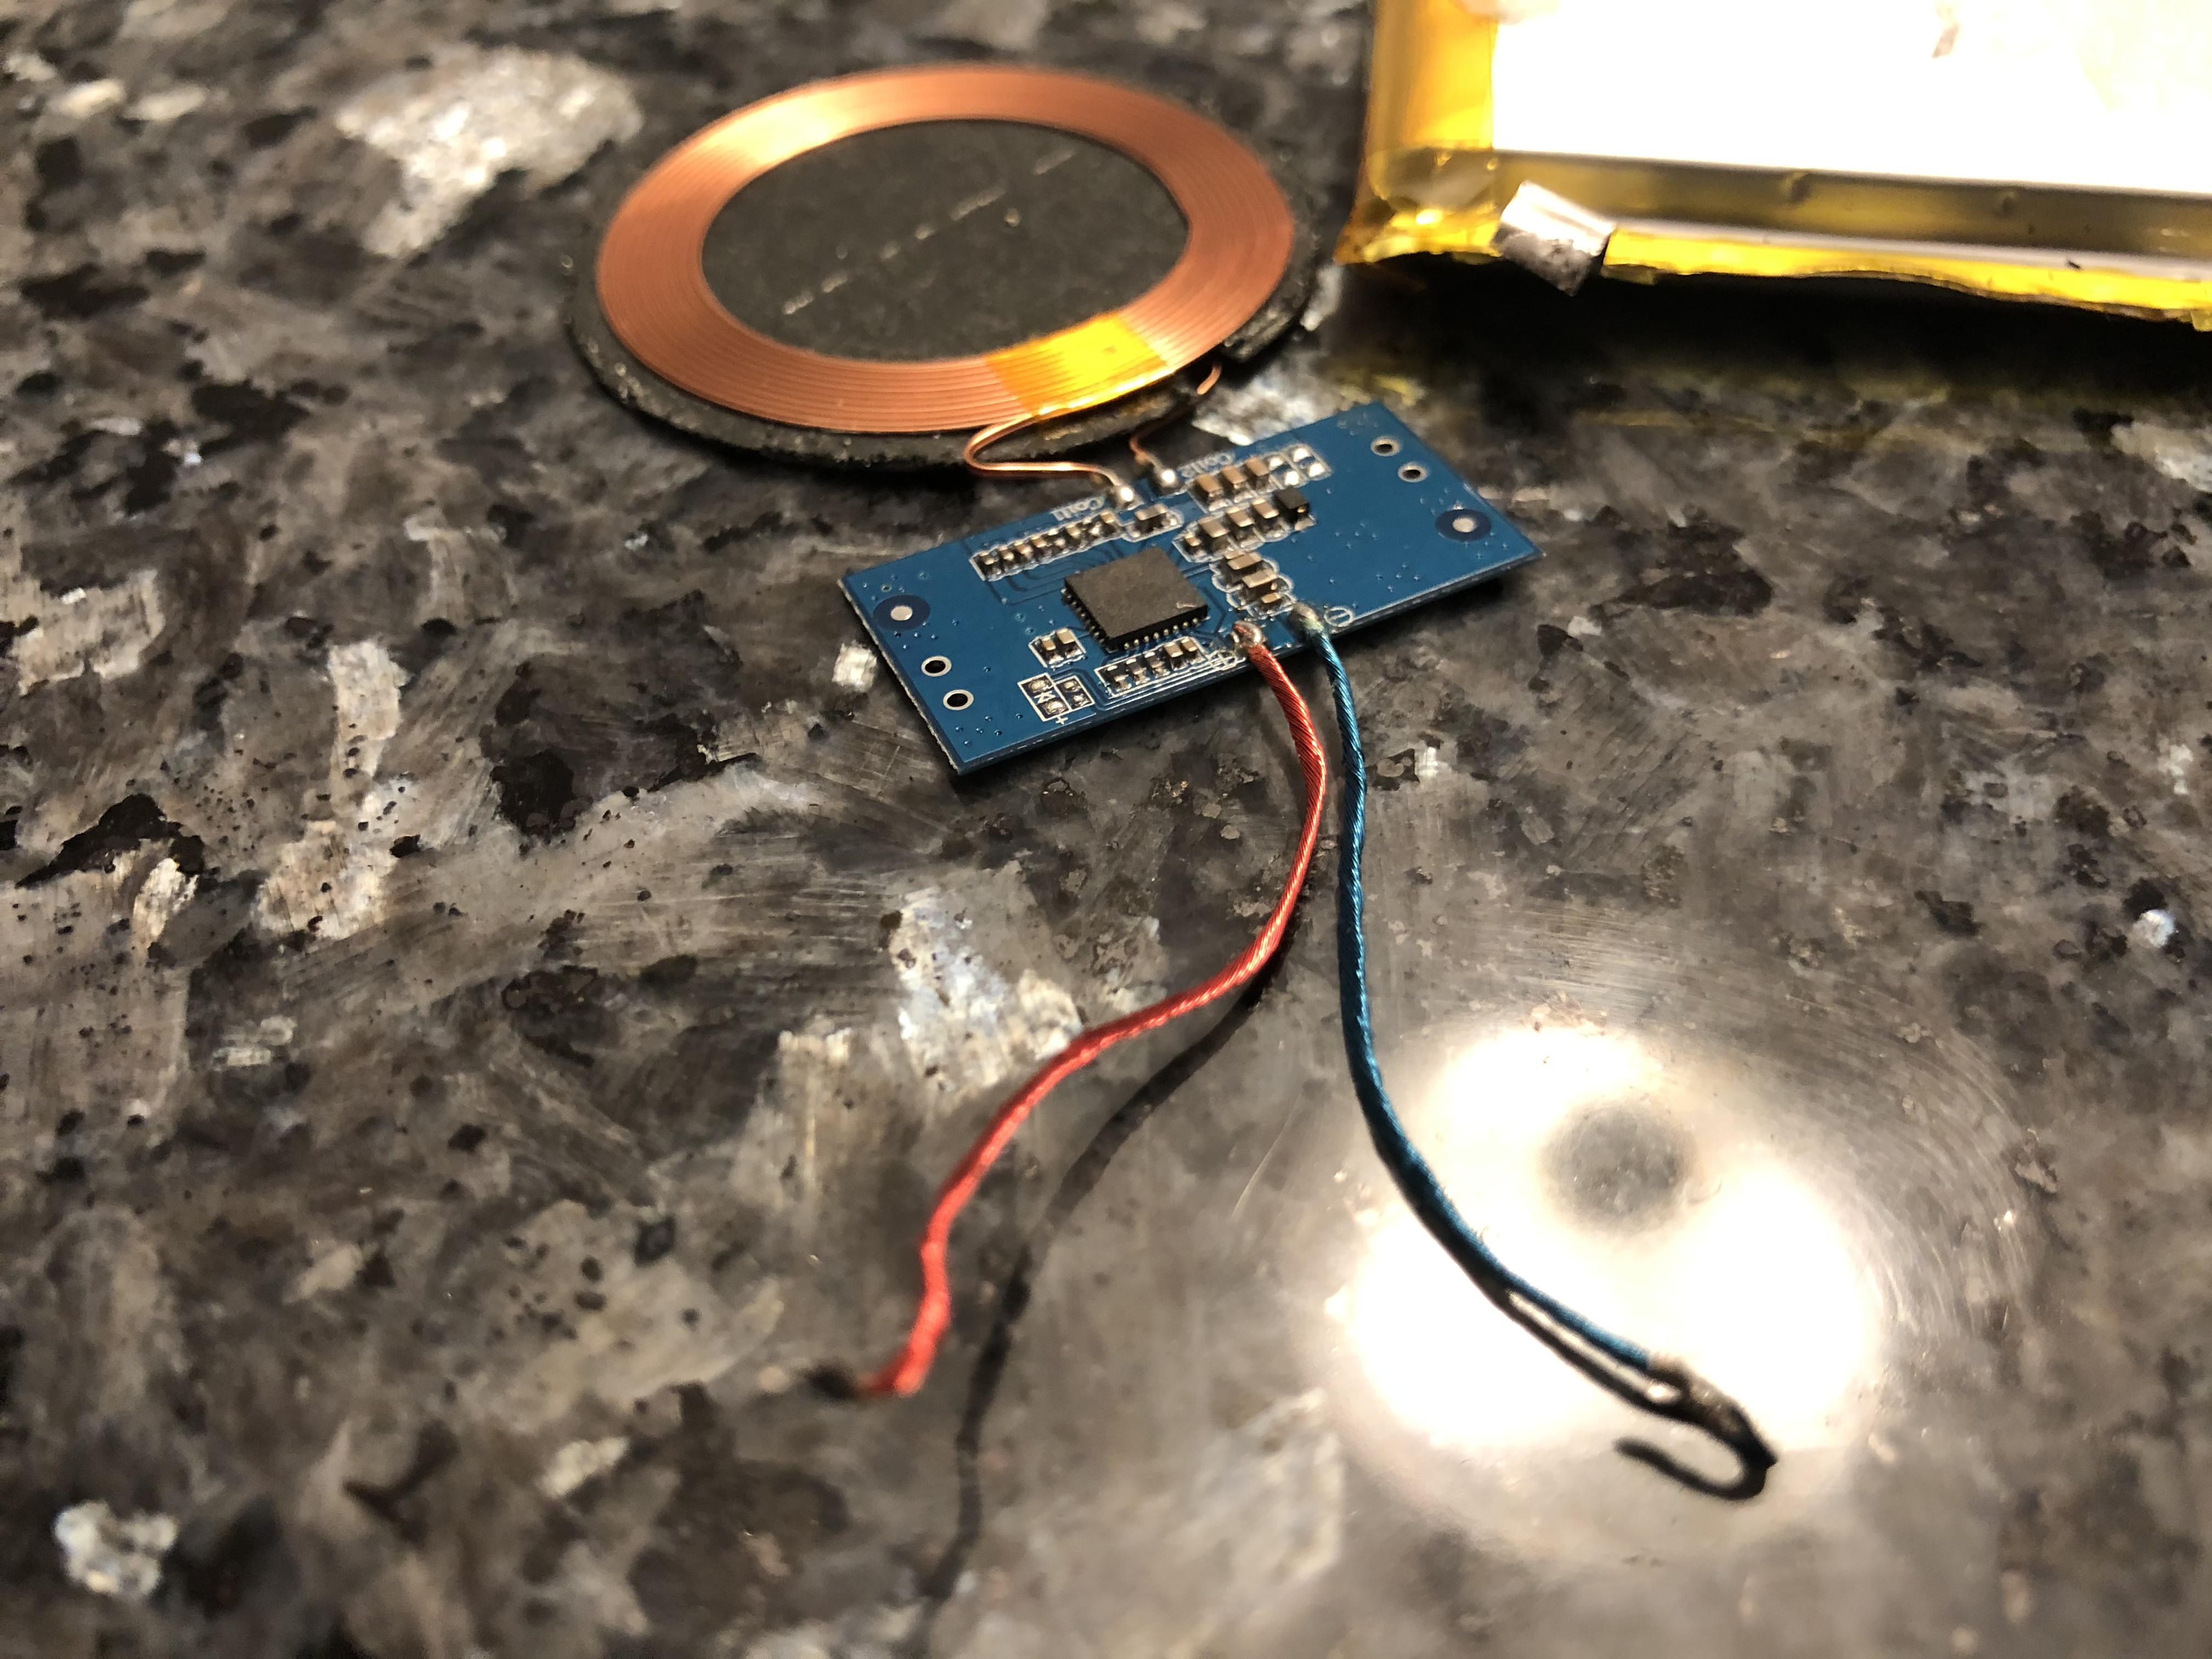
You should have
- A case with a control board still there
- A battery pack that is now on its own and should be recycled
- A Qi charger and board with two wires (red/blue)
Assess the RileyLink Pieces
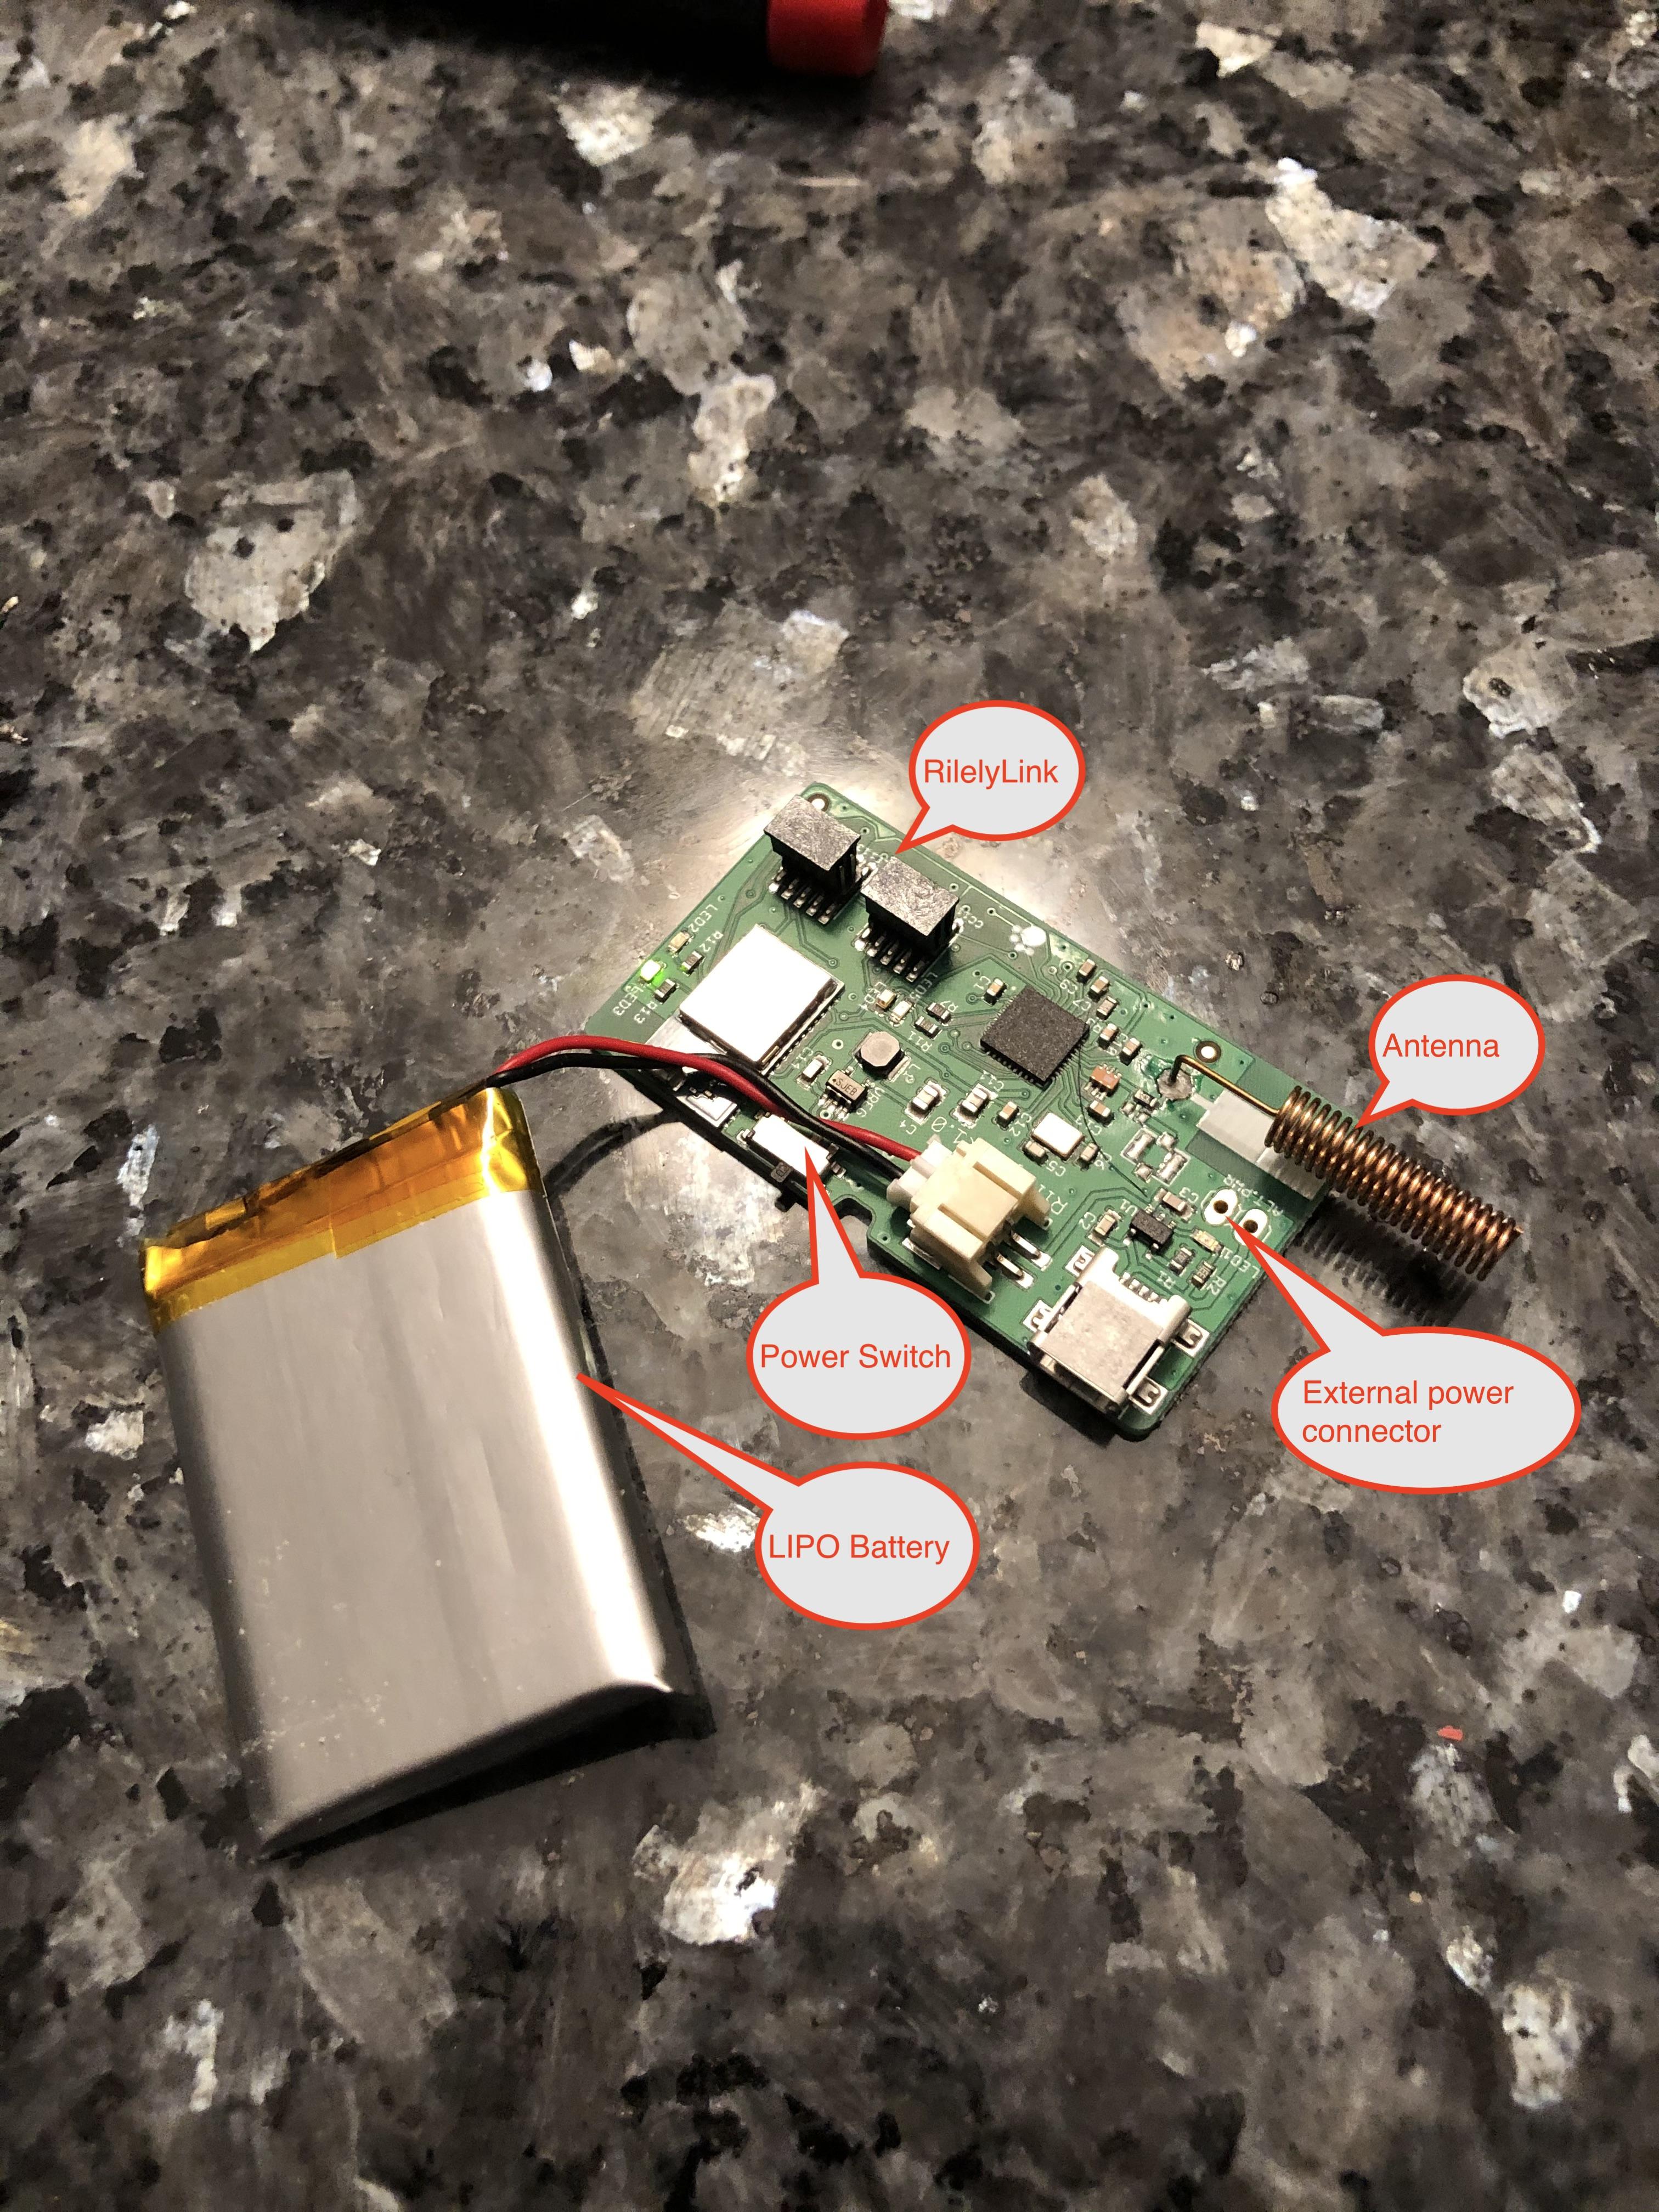
If your RileyLink is in a case, remove it.
You should have
- A LIPO battery pack
- A RileyLink main board
Locate the two terminals on the RileyLink board that say "AUX_POWER". We will need it later.
Play Around With Placement
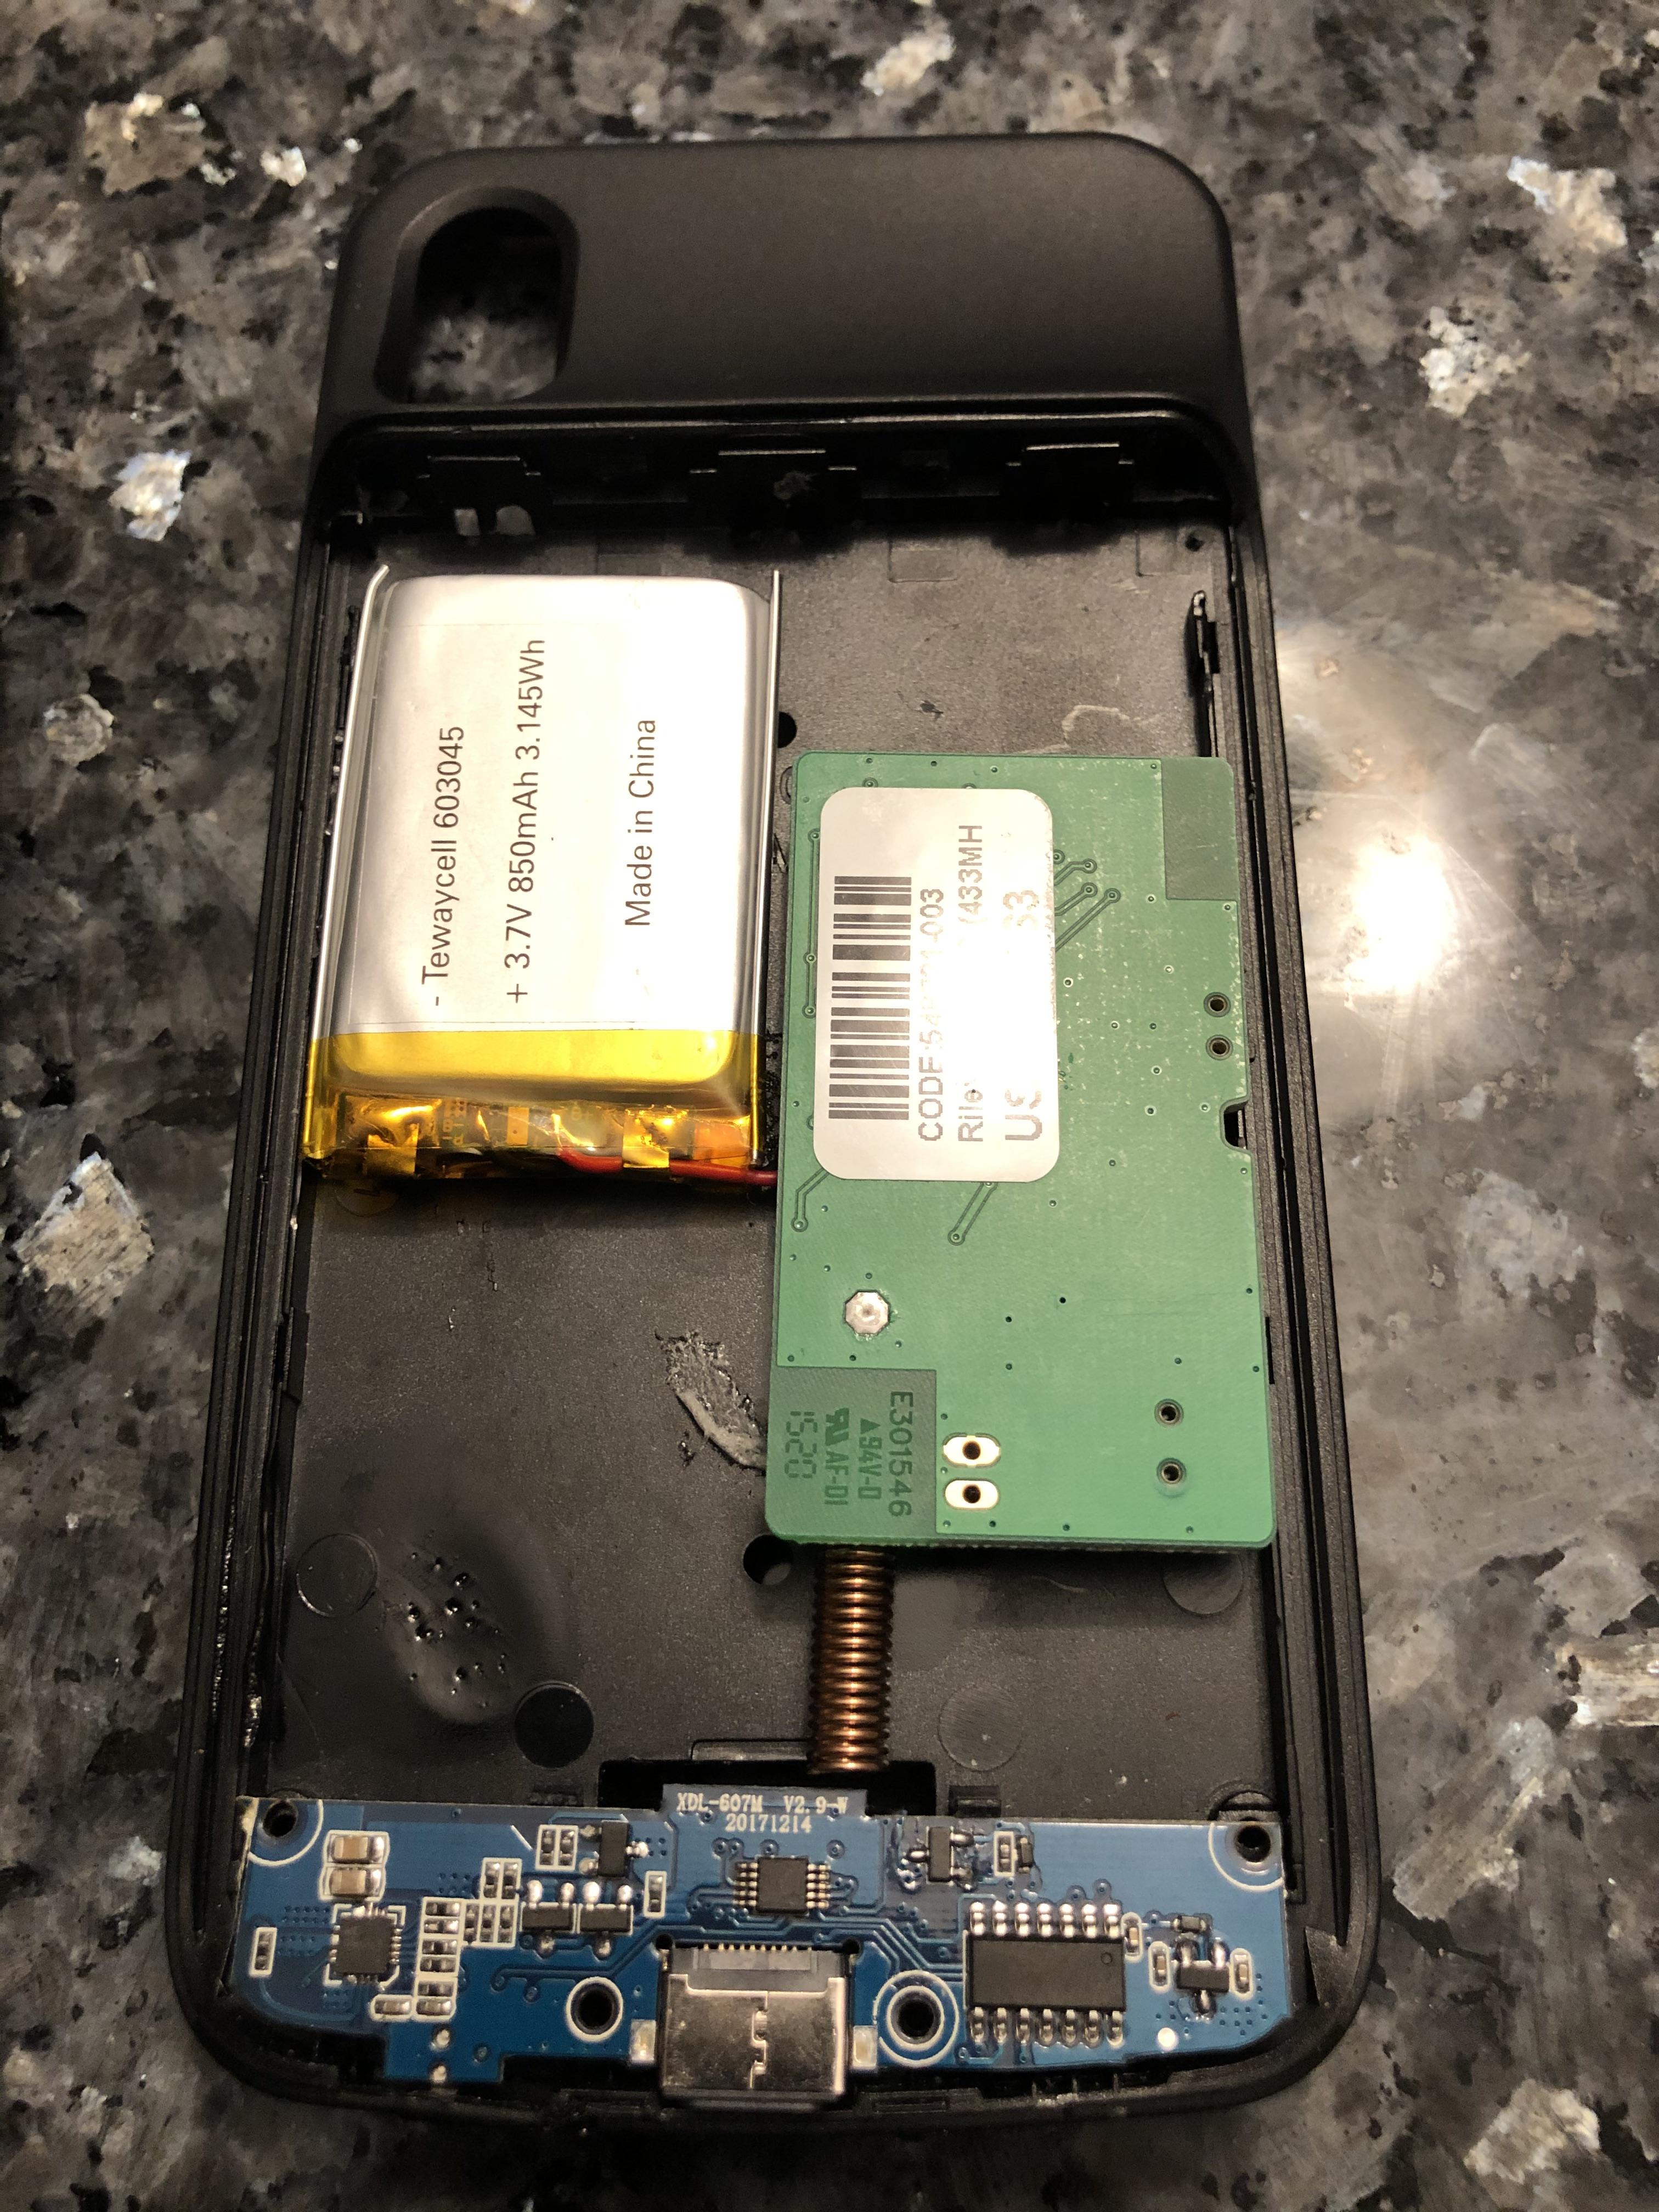
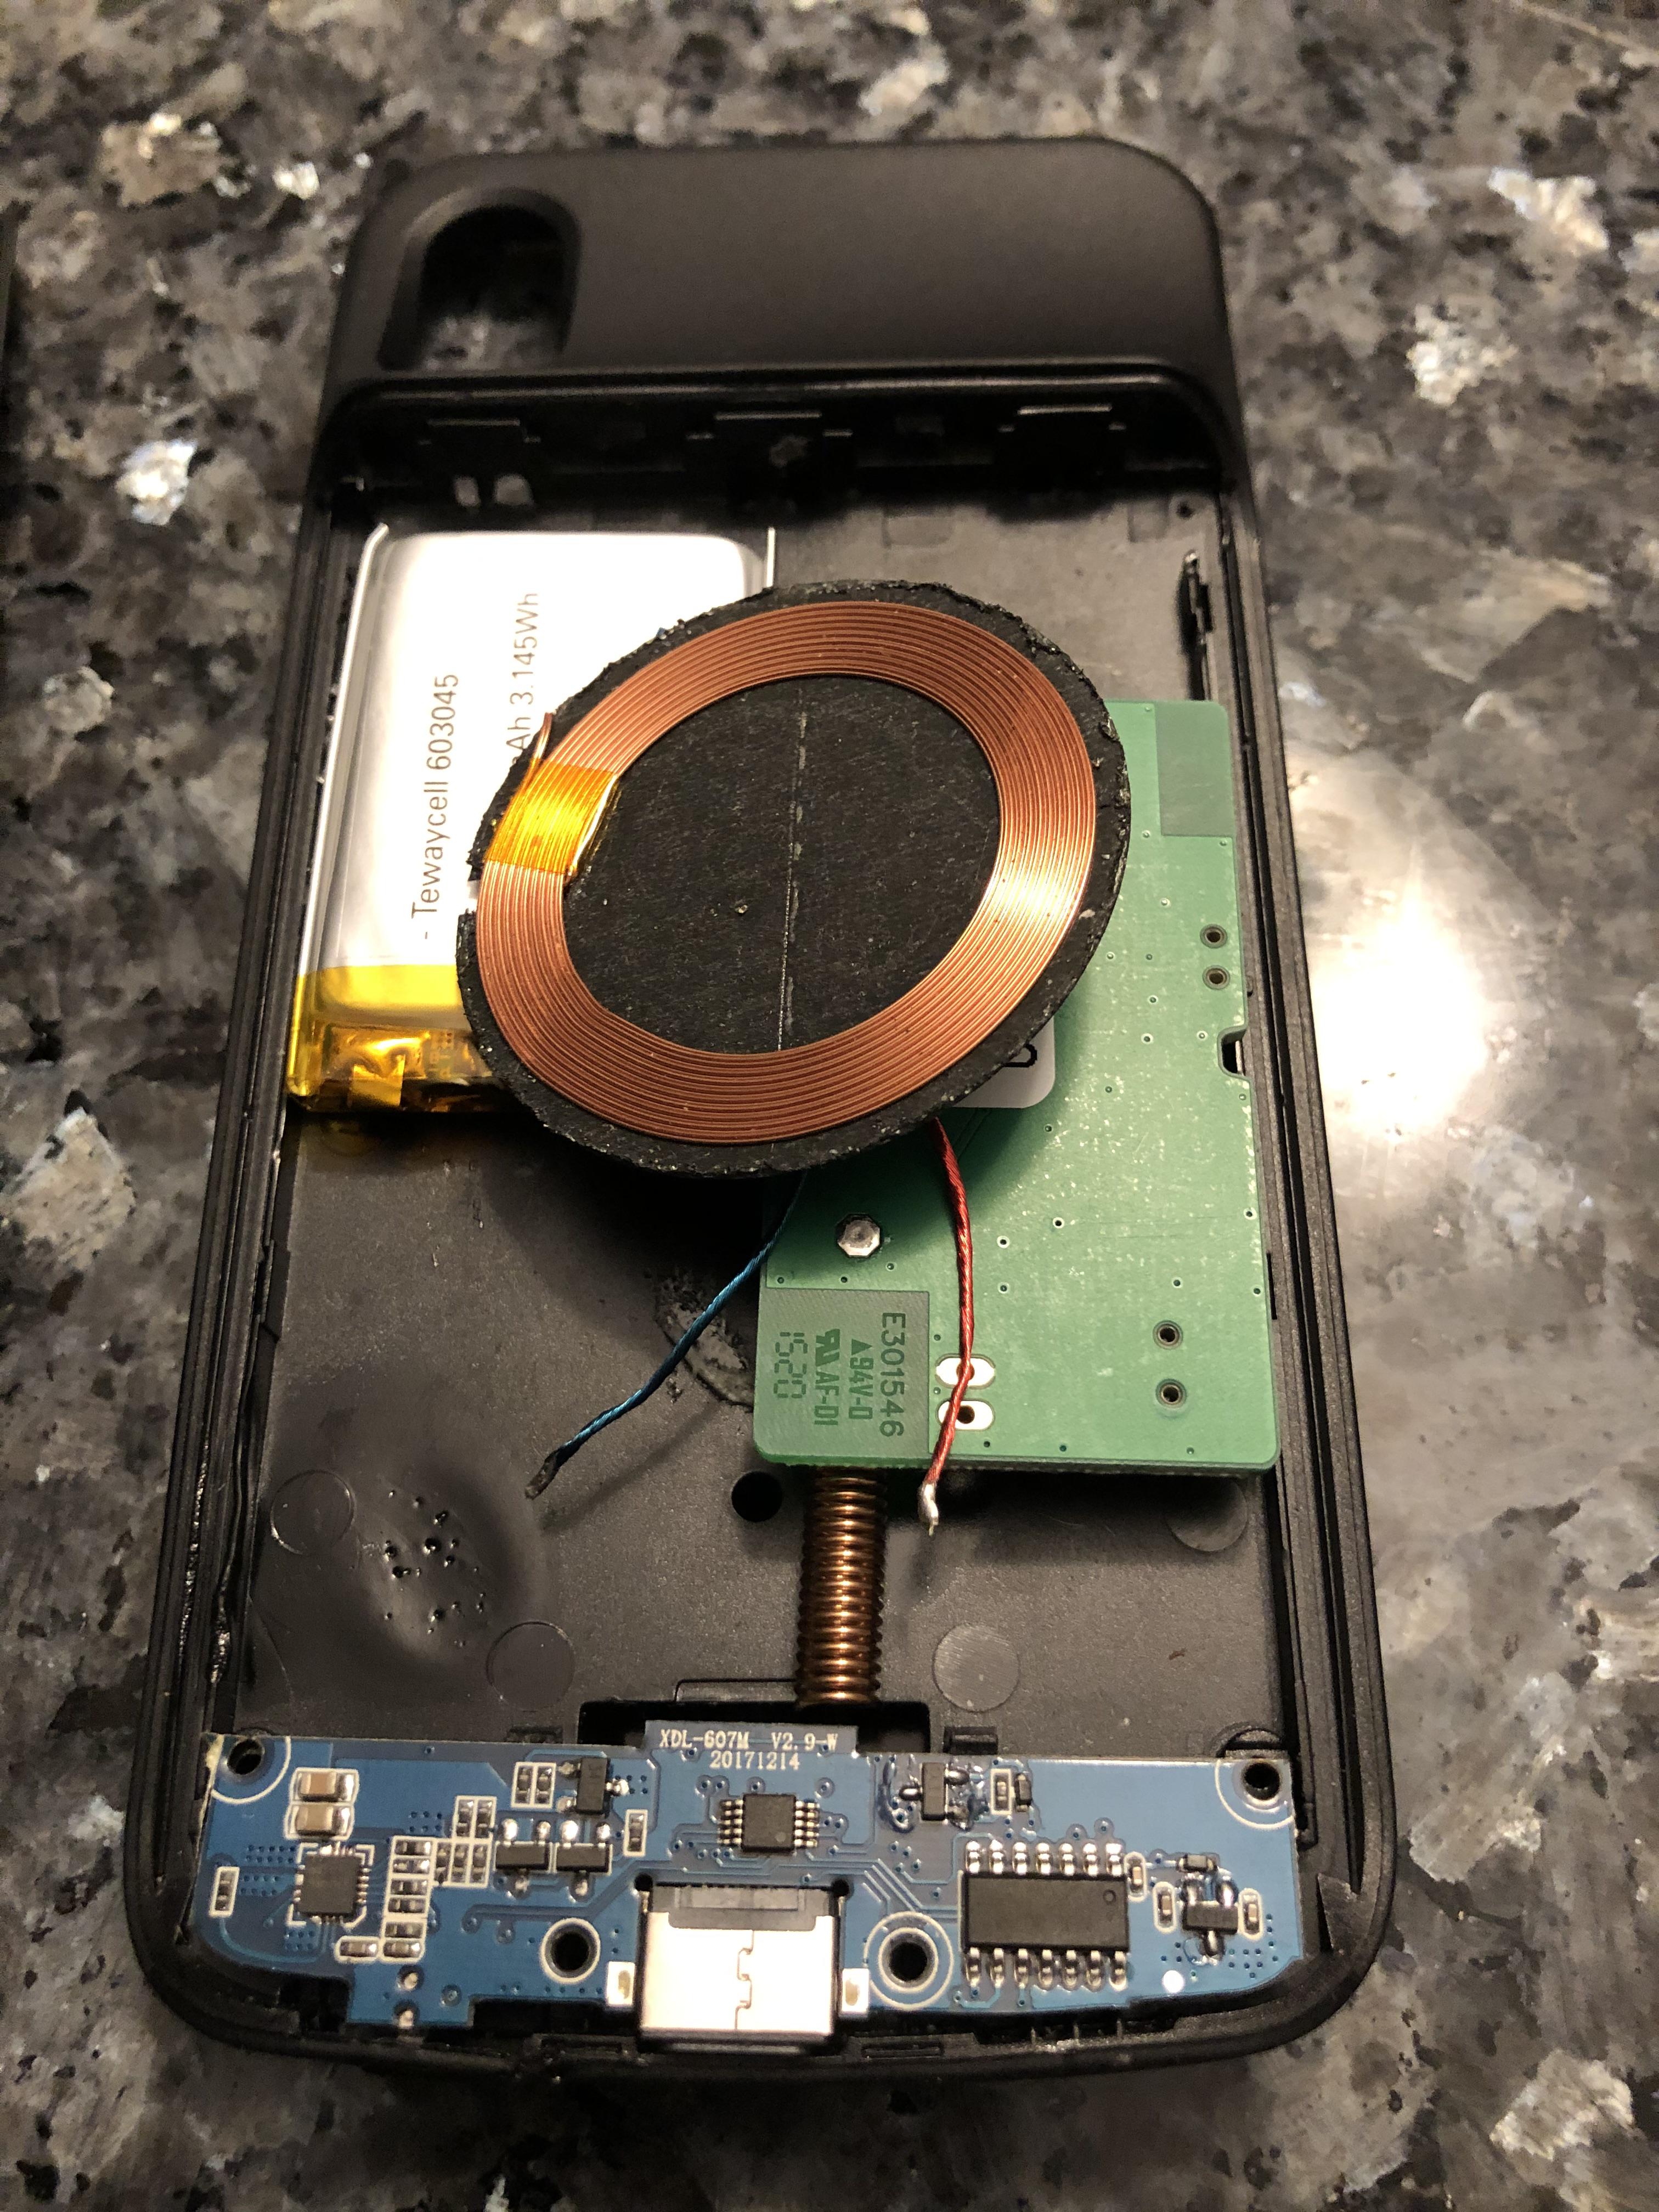
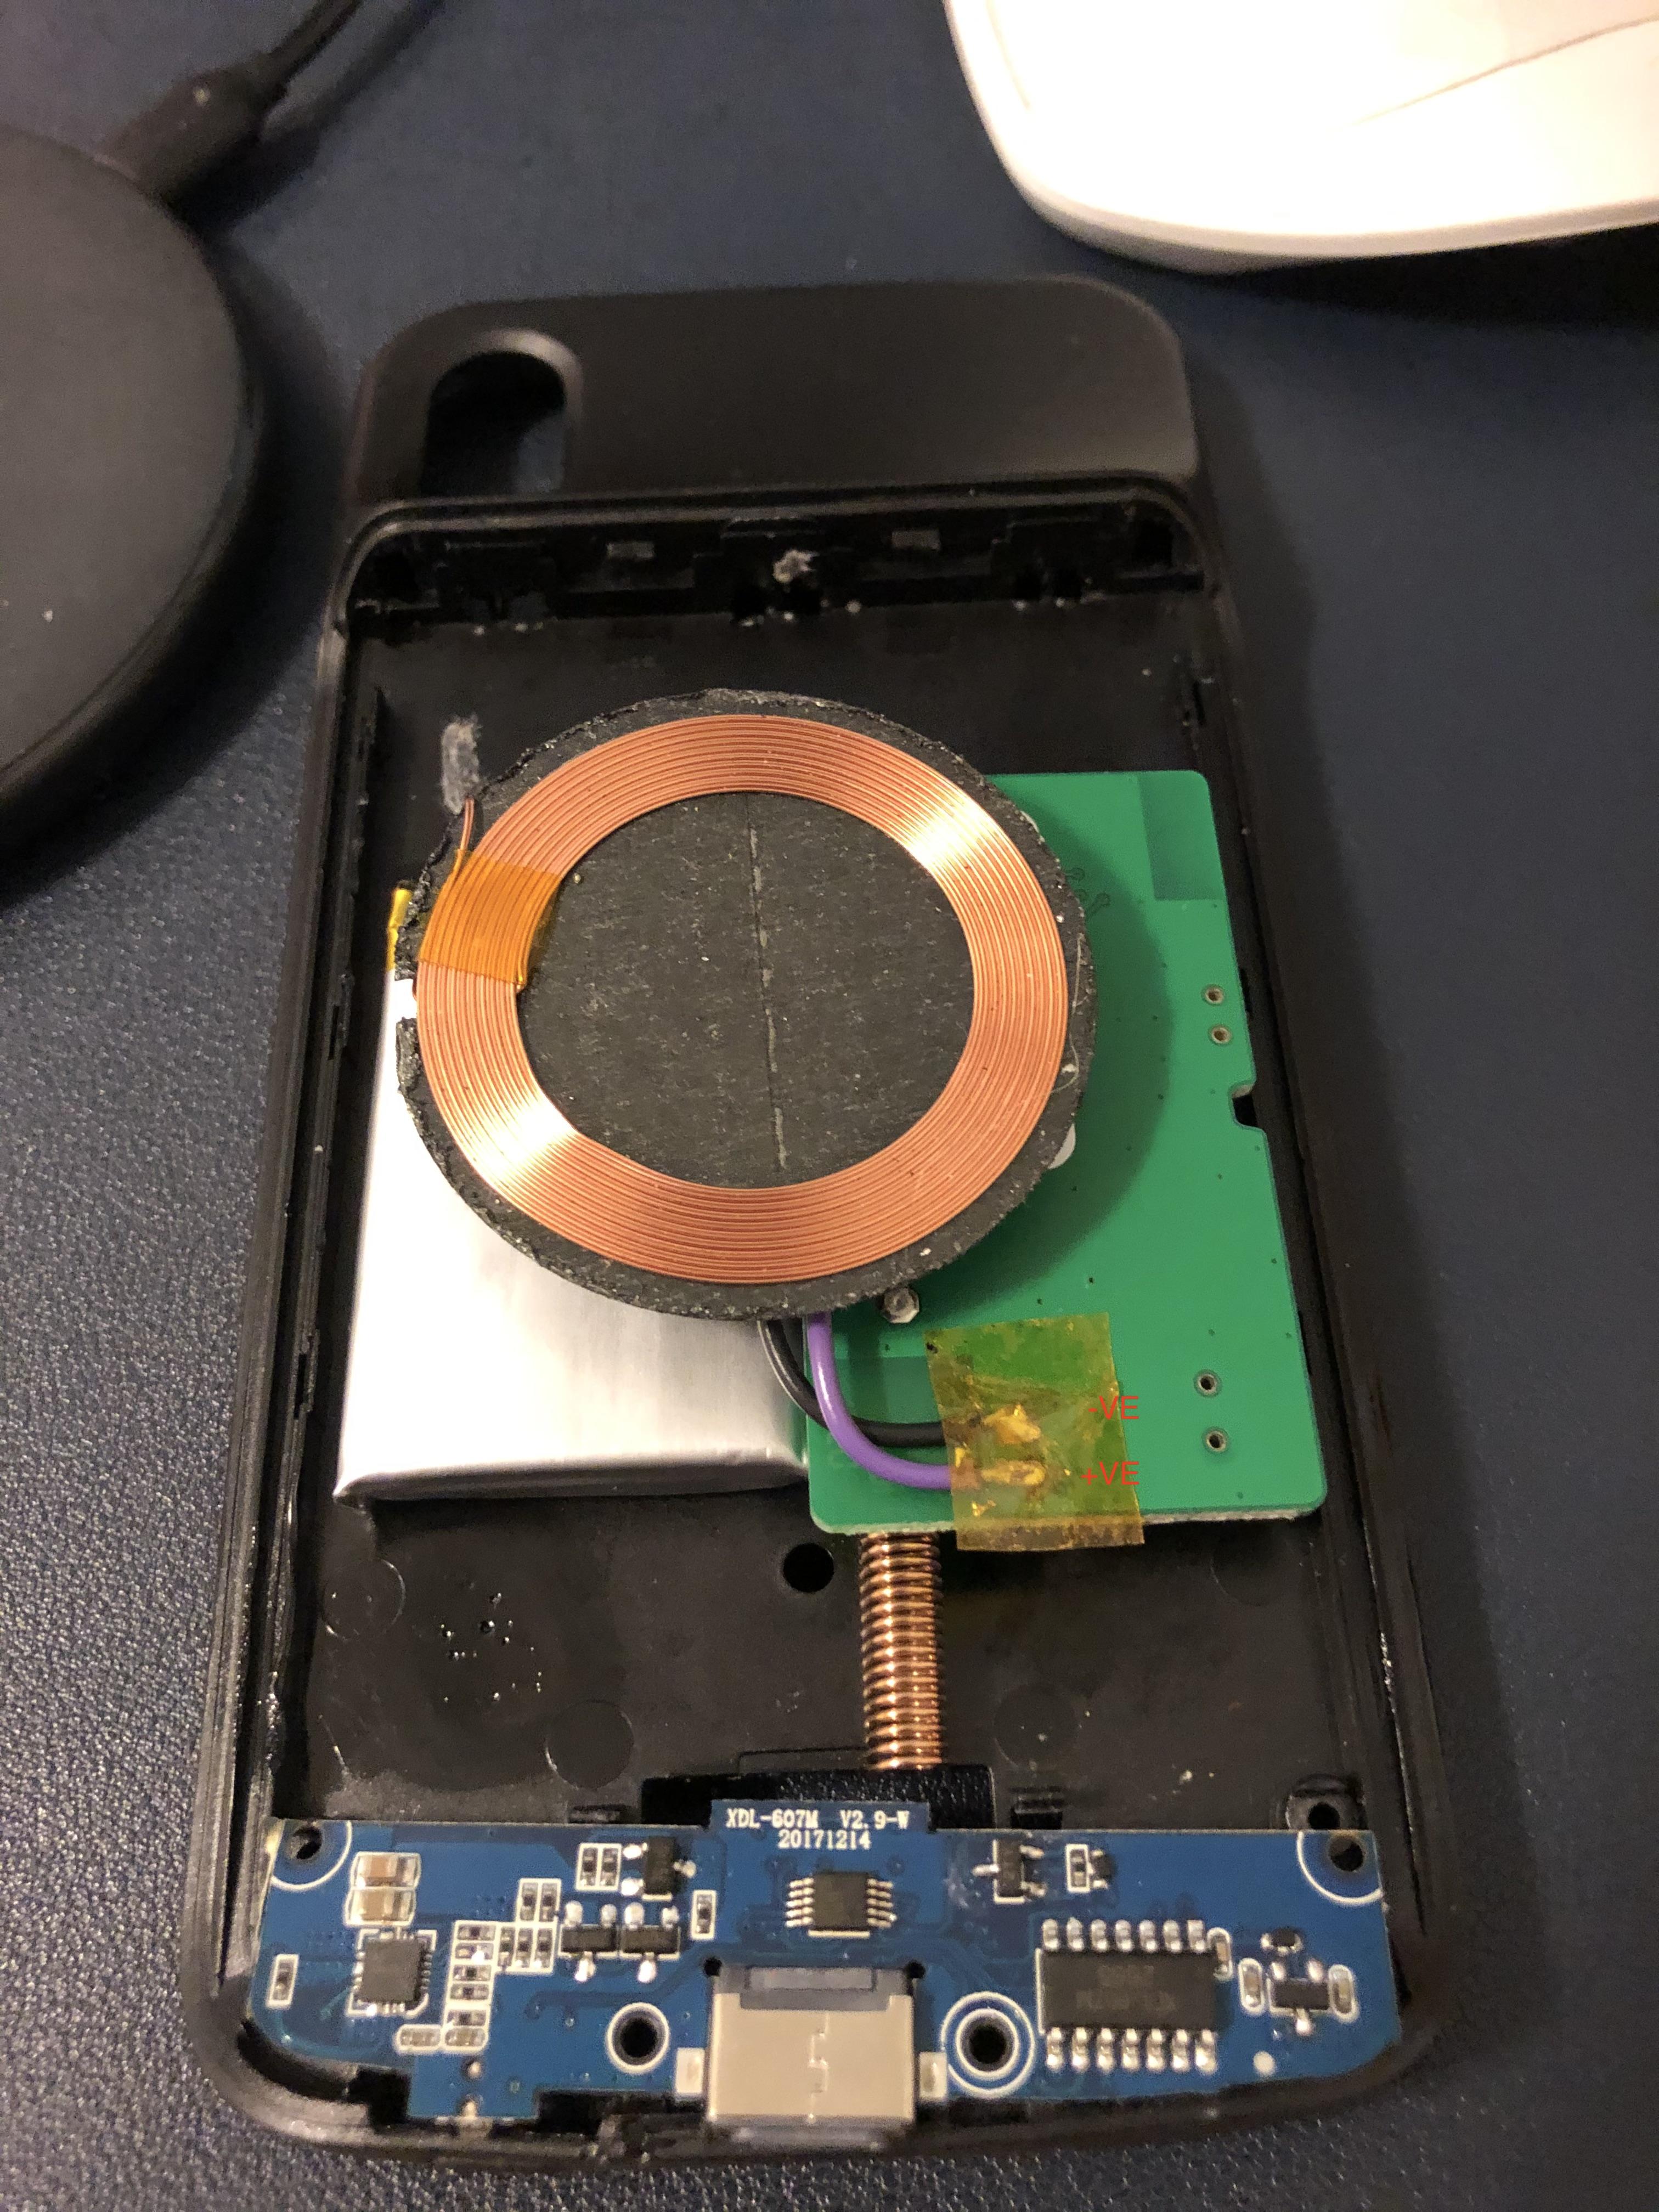
Here is where you get to play around with placement to see what fits best
Suggested Constraints
- The RileyLink Antenna needs a clear path and should face DOWNWARDS to avoid interfering with the other antennas in your phone
- The Qi coil should be dead center on the back of the case
- I wanted my RileyLink power switch to face towards the outside of the case as well
Polarity Check
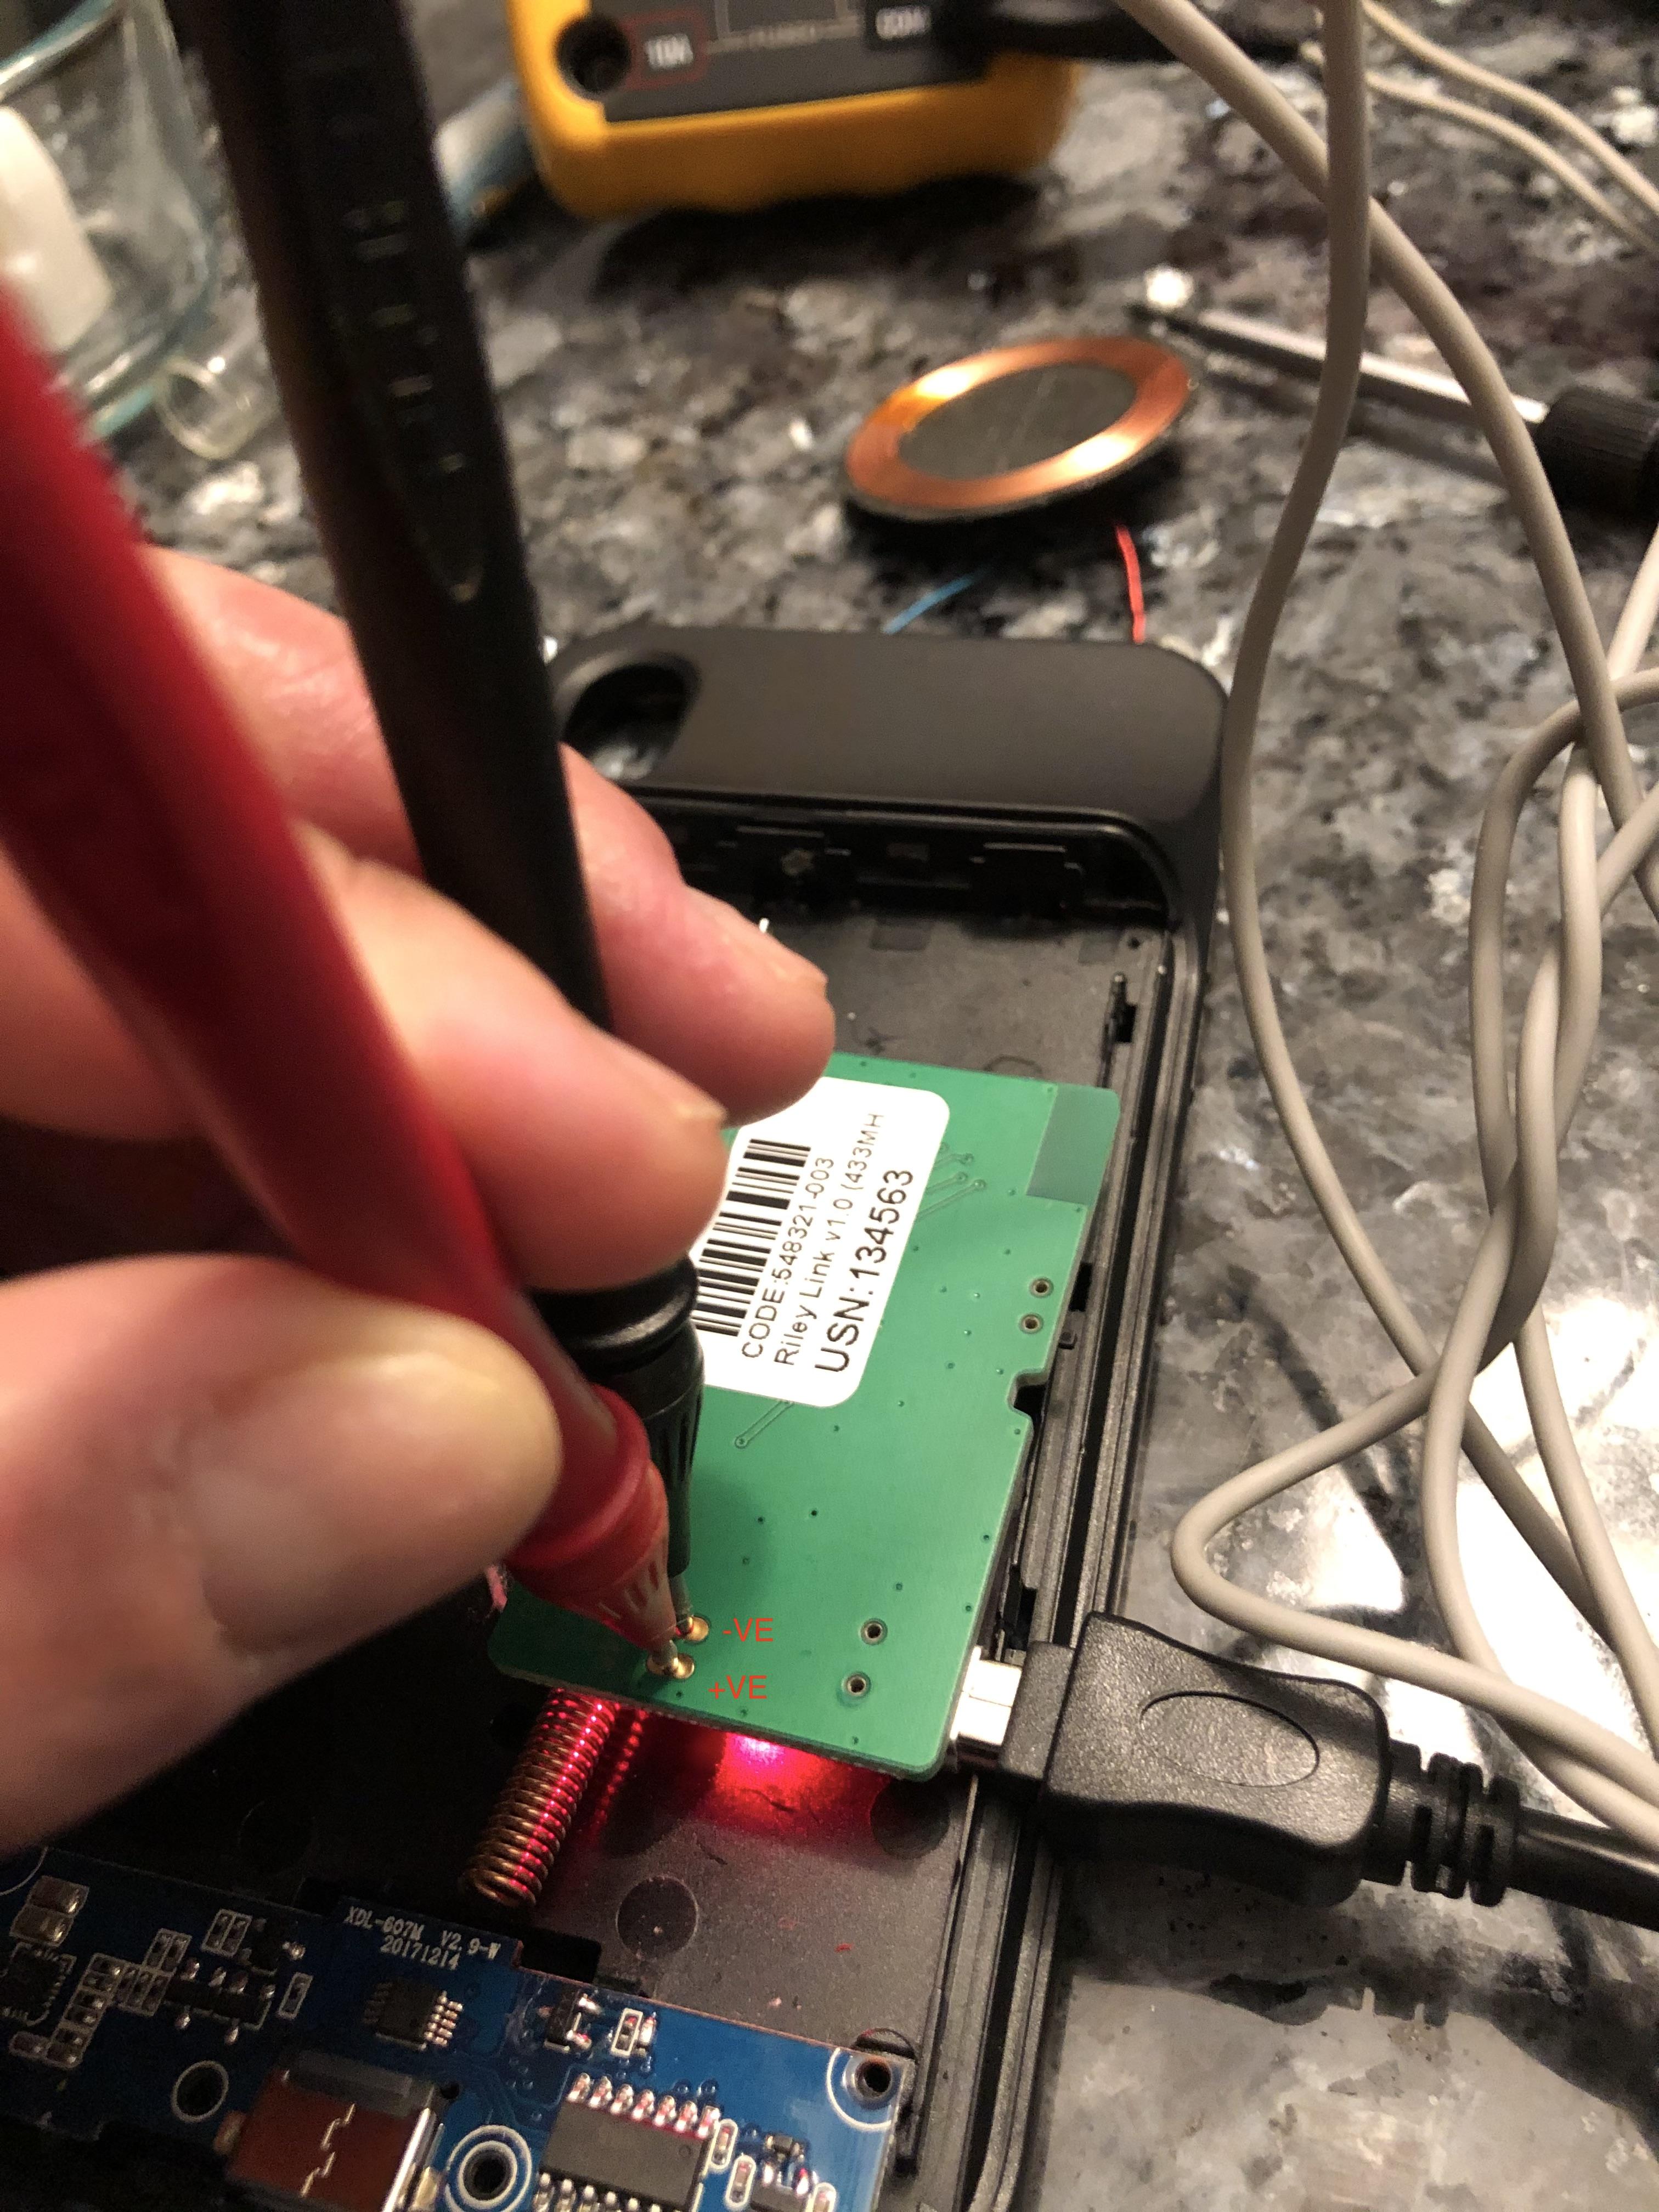
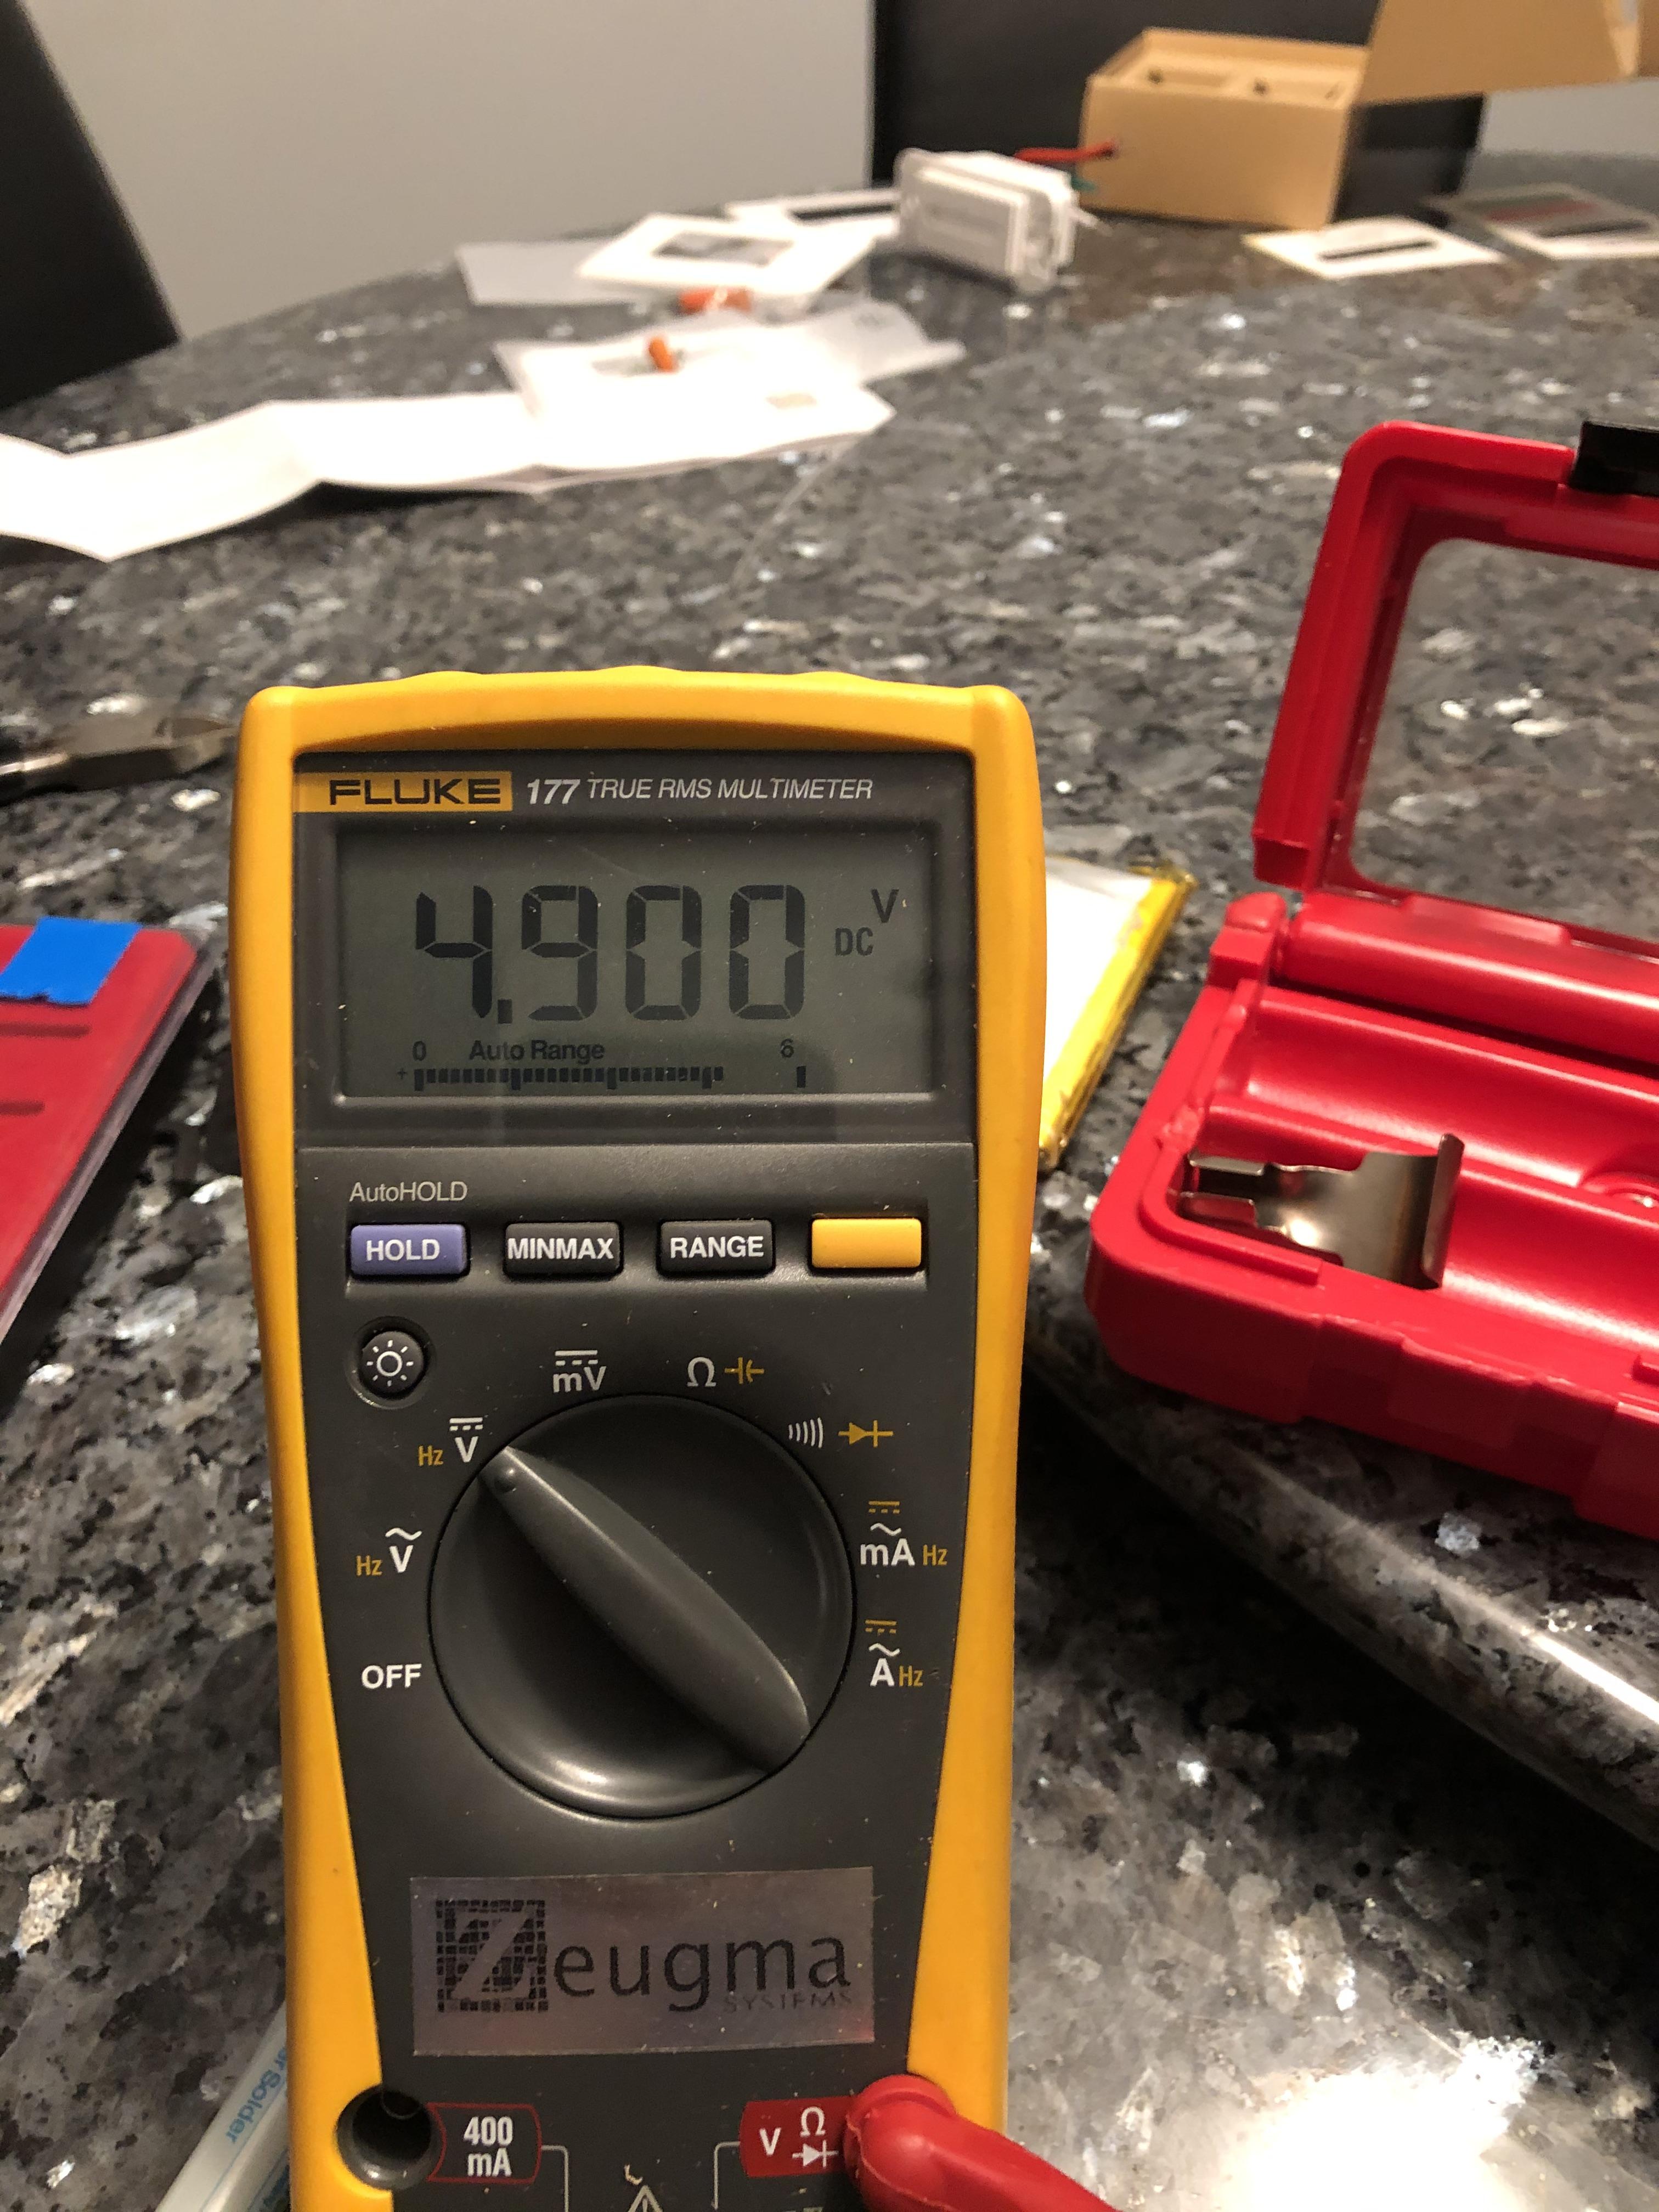
We want to do a polarity check first to make sure we know which pins on the RileyLink are +ve/-ve
Here you can see the terminal closest to the EDGE of the board is +VE
I tested this by plugging in the USB-mini cable to the RileyLink and measuring the voltage
Extra Credit
- You should probably confirm the voltage and polarity of the Qi Charger too by placing an inductive charger on the coils and then measuring the voltage between the red and blue cables.
Solder the Qi Charging Wires to the RileyLink
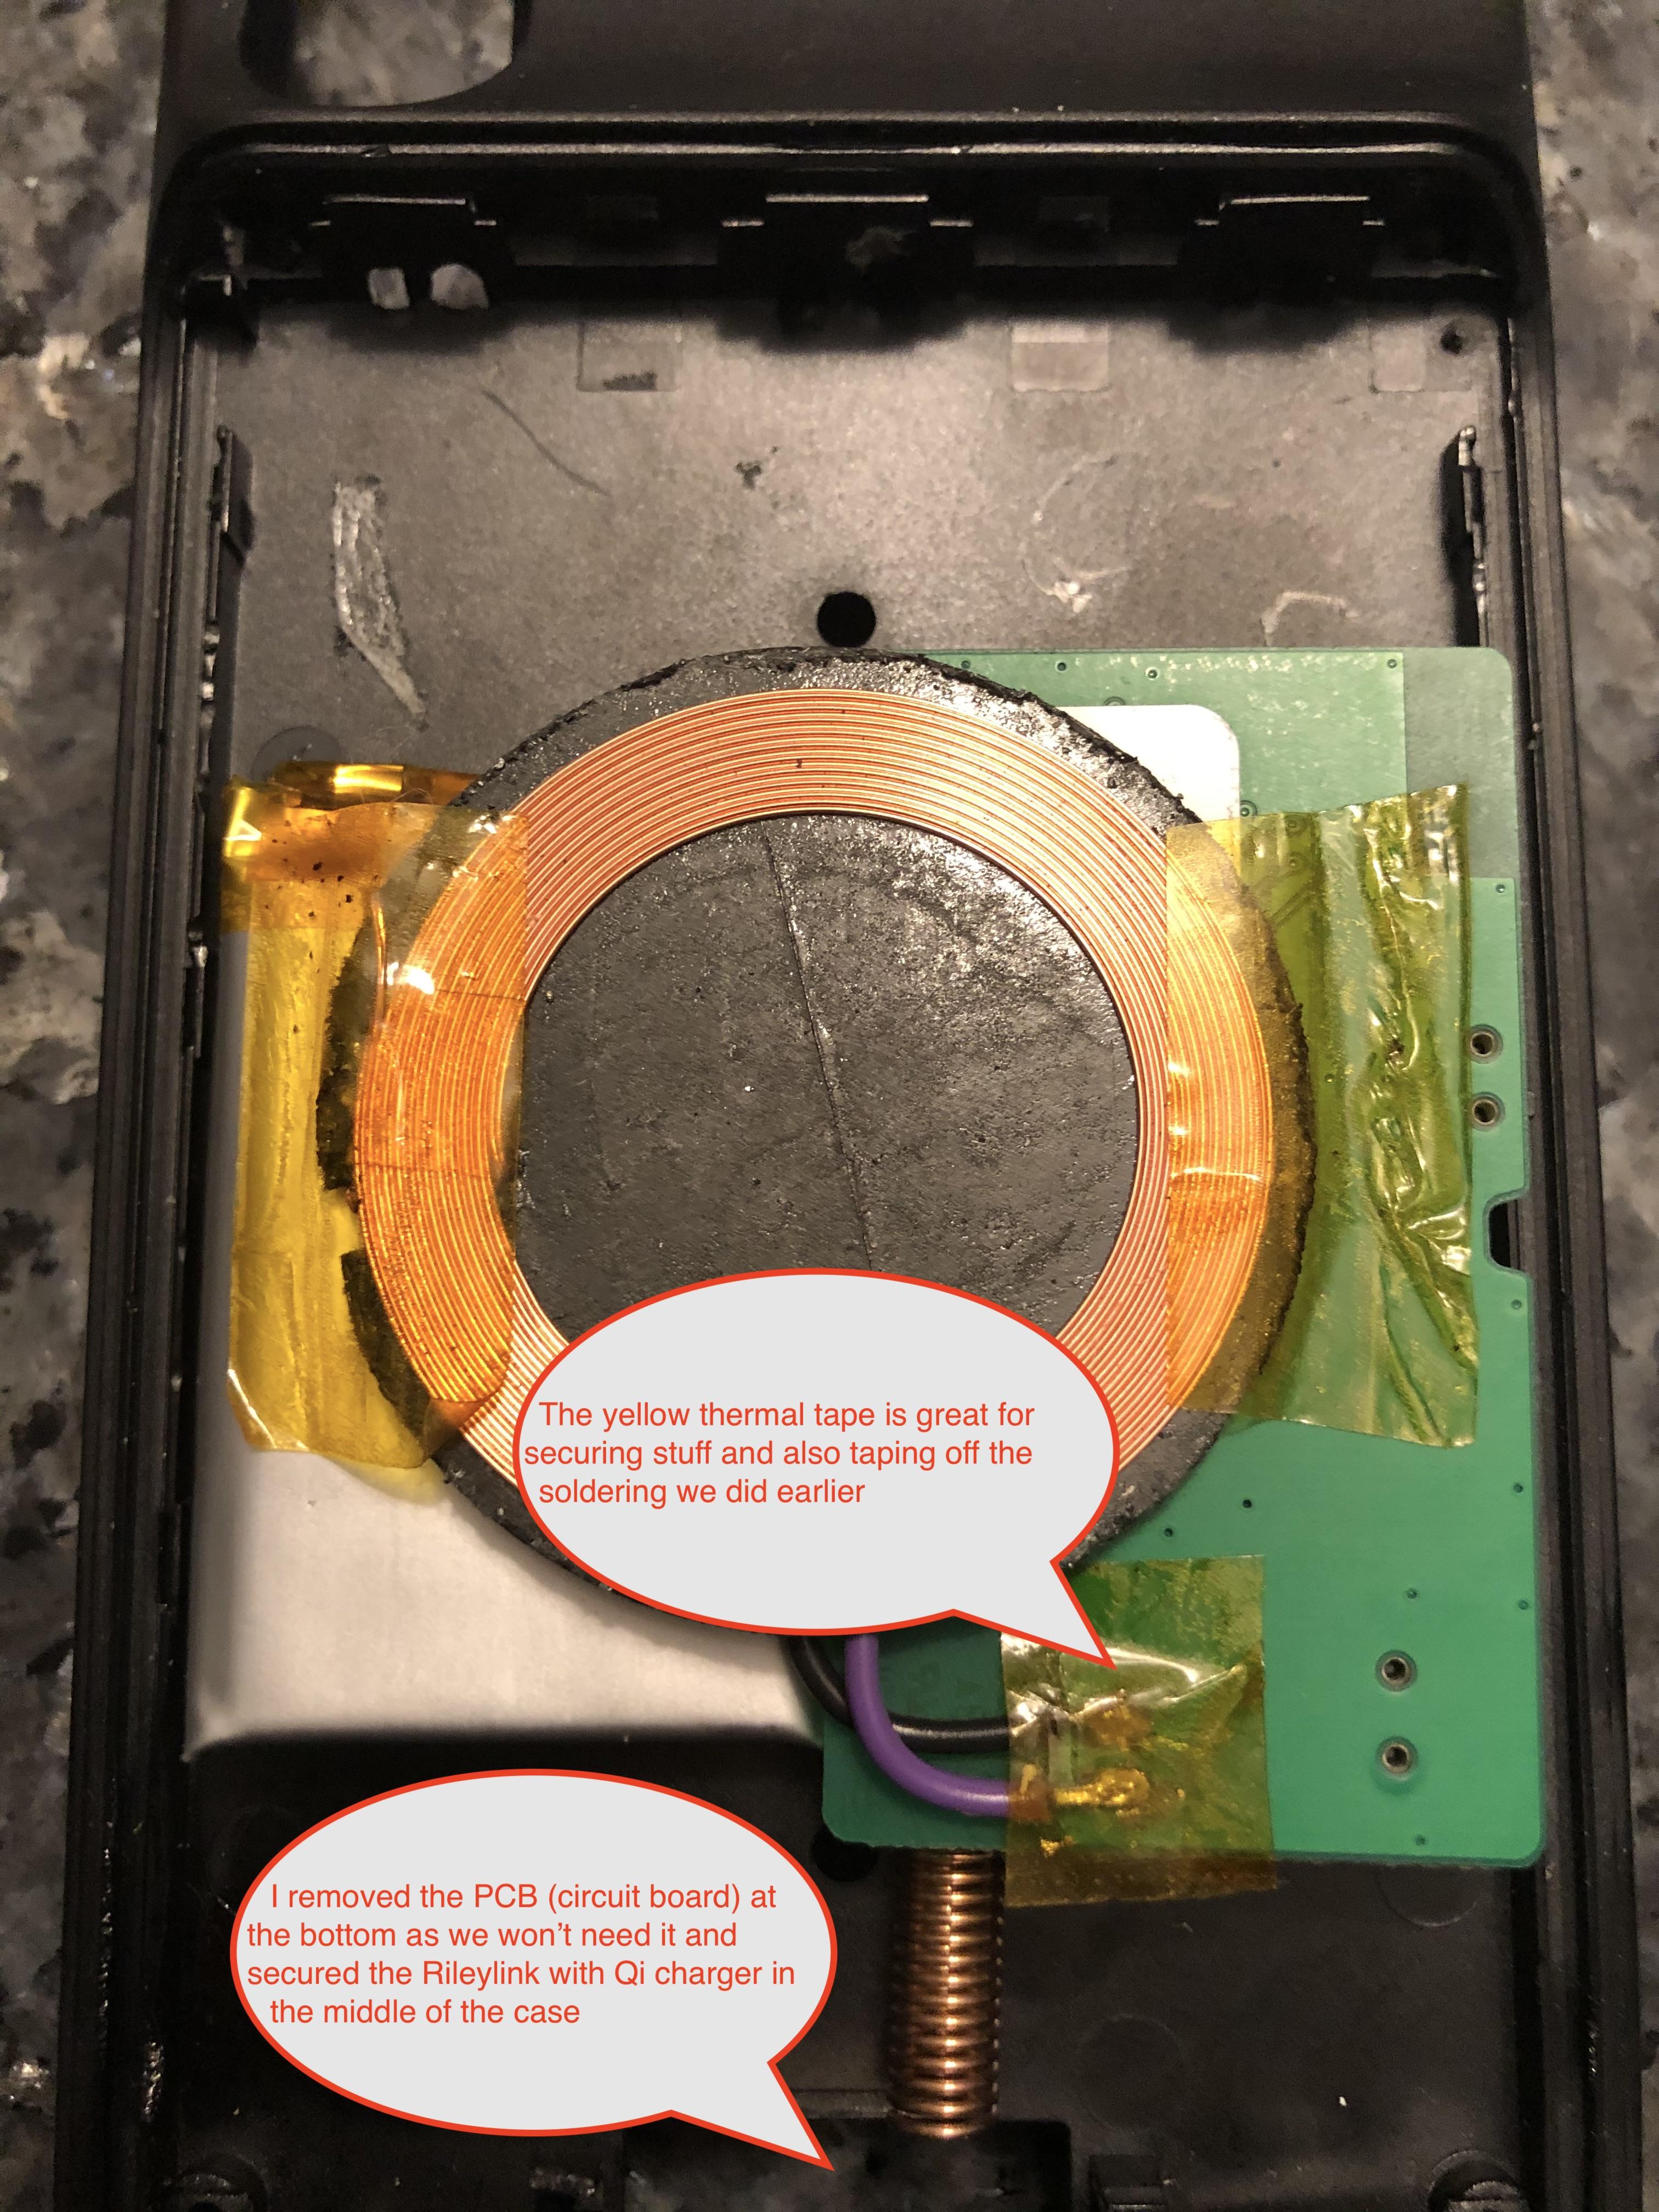
Depending in your placement, solder the red wire to the +ve terminal on RileyLink and the blue wire to the -ve terminal.
Pro Tip
- Apply solder to your iron and then apply some to the bare wires as well as a small blob to the RileyLink AUX_POWER terminals.
- This applies flux and solder to both and "tins" them so the are easier to solder together
I actually made a mess of this and decided to swap in my own wires re-using the ones already there.
In my case, the RileyLink is upside down so I soldered to the back side of the RileyLink board.
Check the Qi Charging of RileyLink
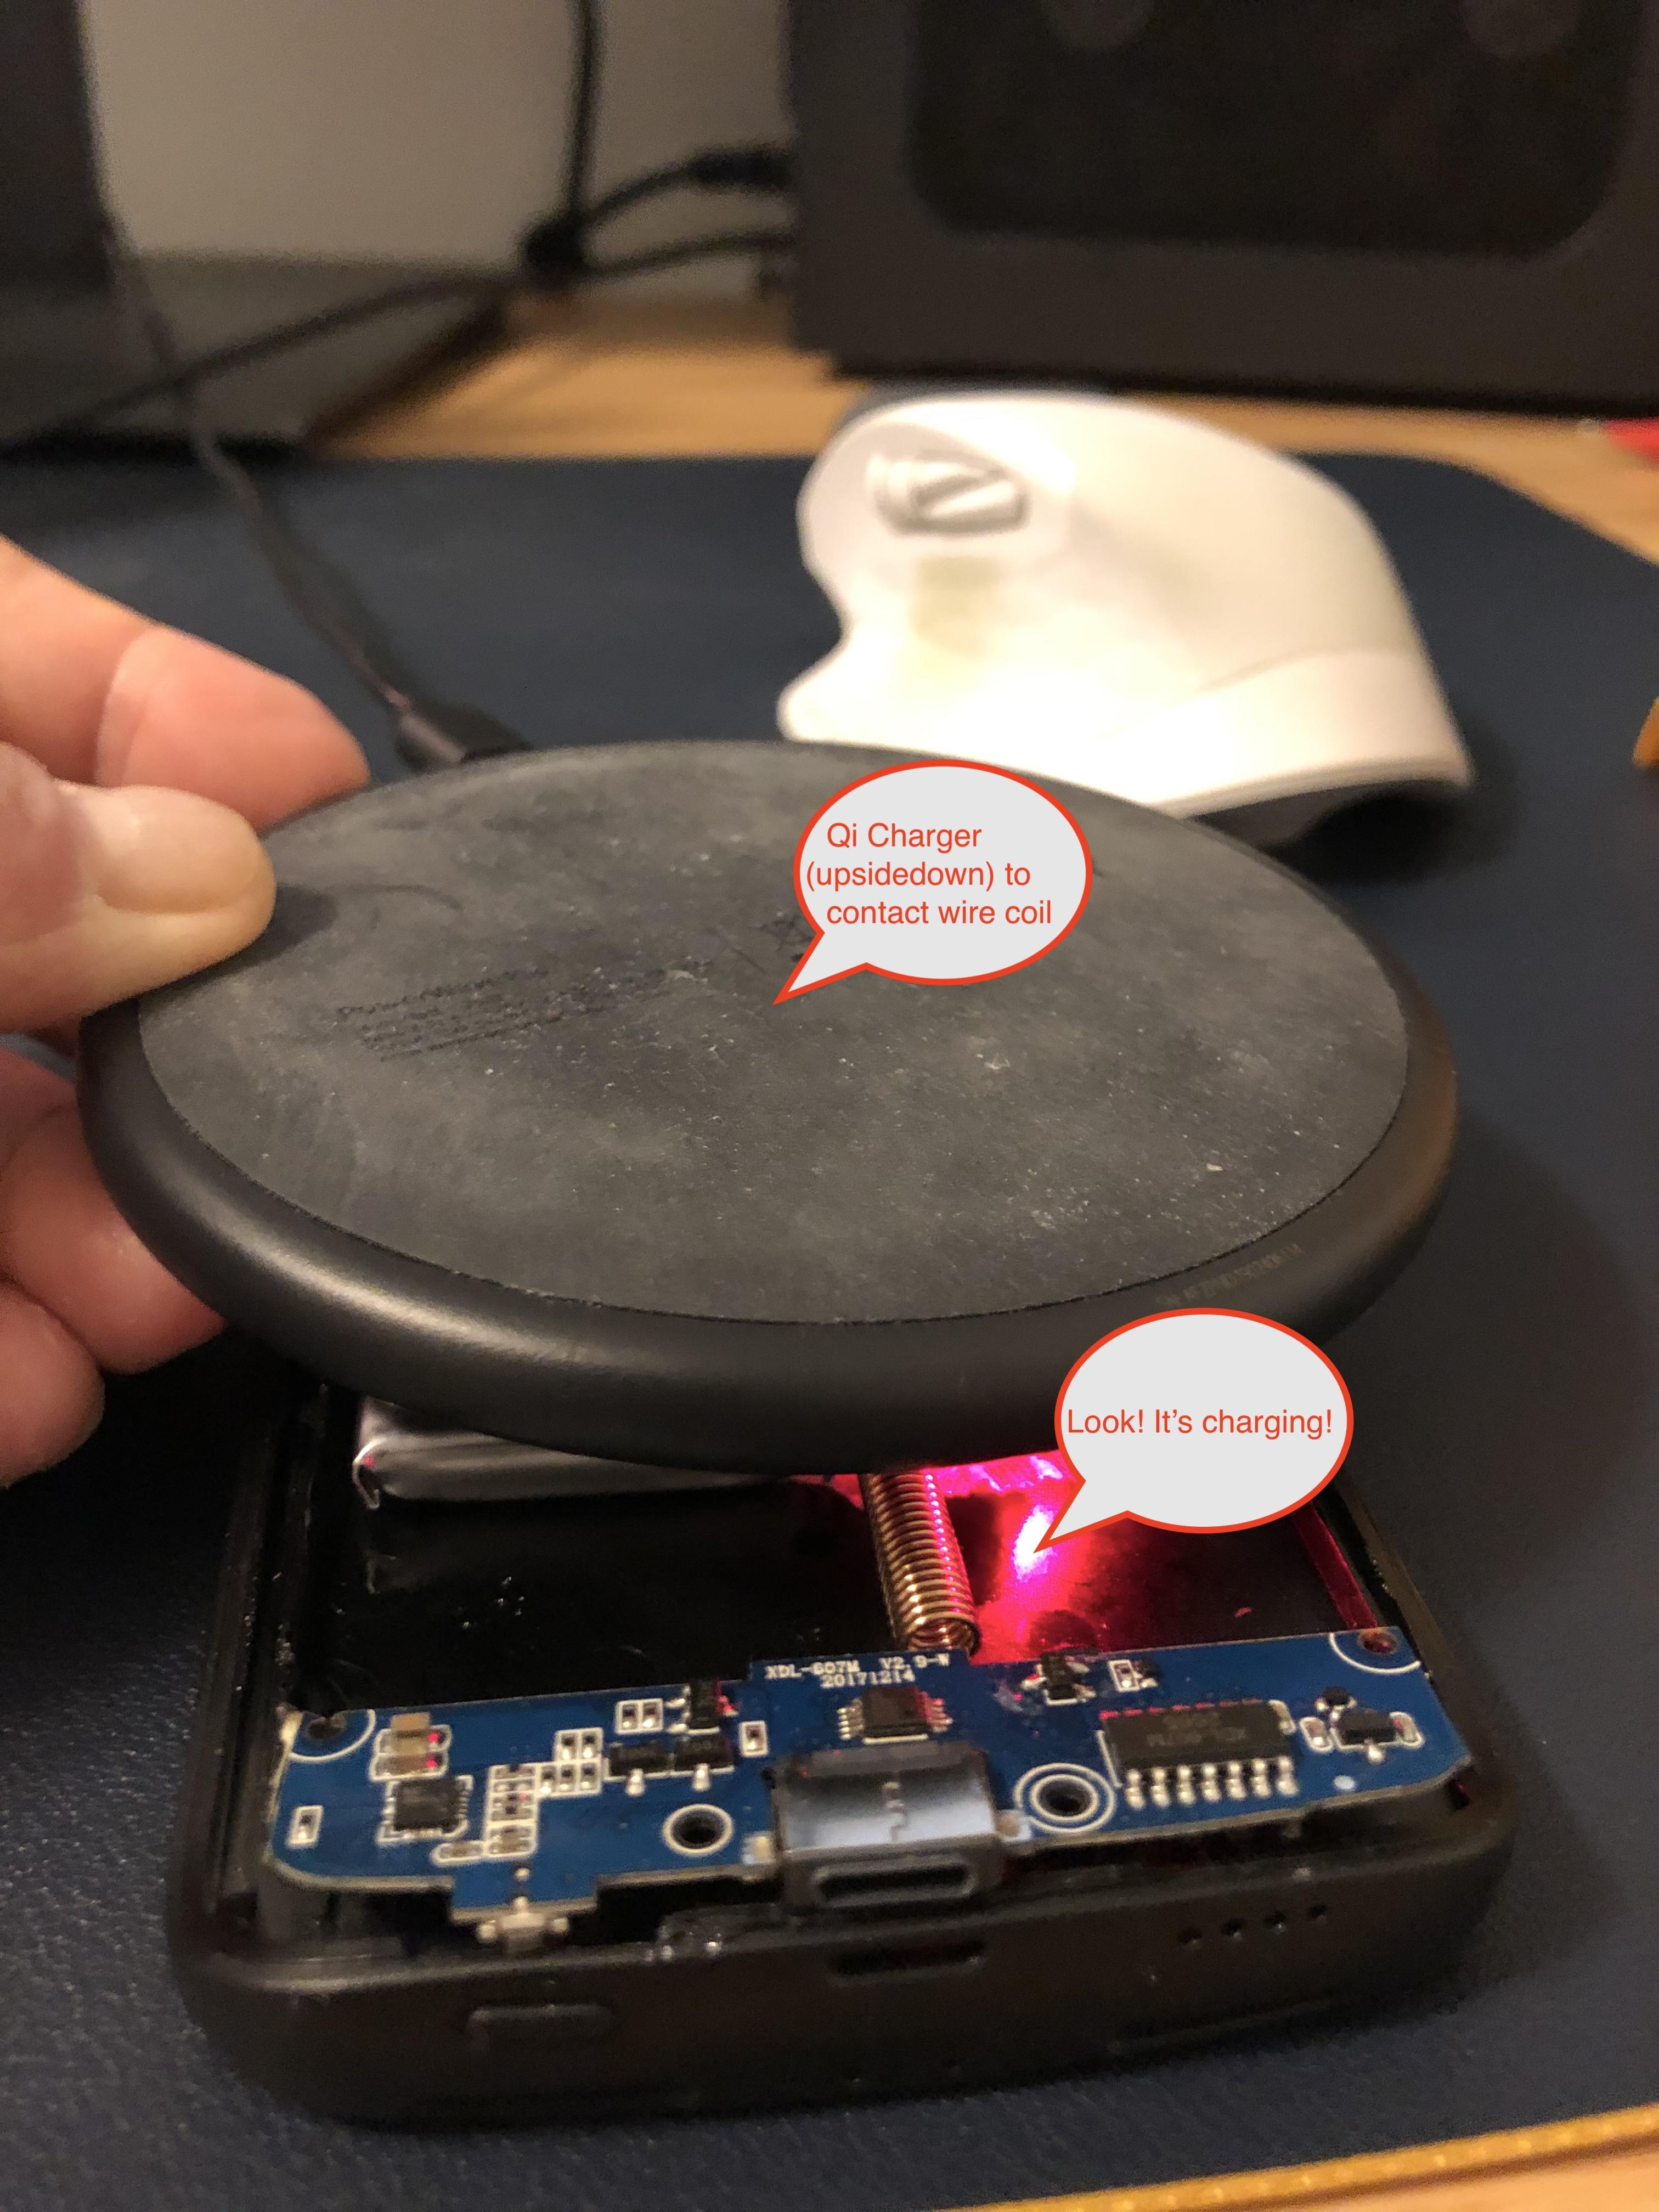
This setup allows the RileyLink to be on a completely separate circuit to the iPhone which minimizes any risk to either components. This also means the RileyLink can also be removed from the case easily as its entire charging infrastructure is self-contained. You can also still use the mini-USB port.
Place an inductive charger on the coils and see whether the RilelyLink Charging LED (red LED) lights up. It did! Woo!
This will now allow you to charge the RileyLink using inductive charging.
Remove the IPhone Case Control Board and Drill
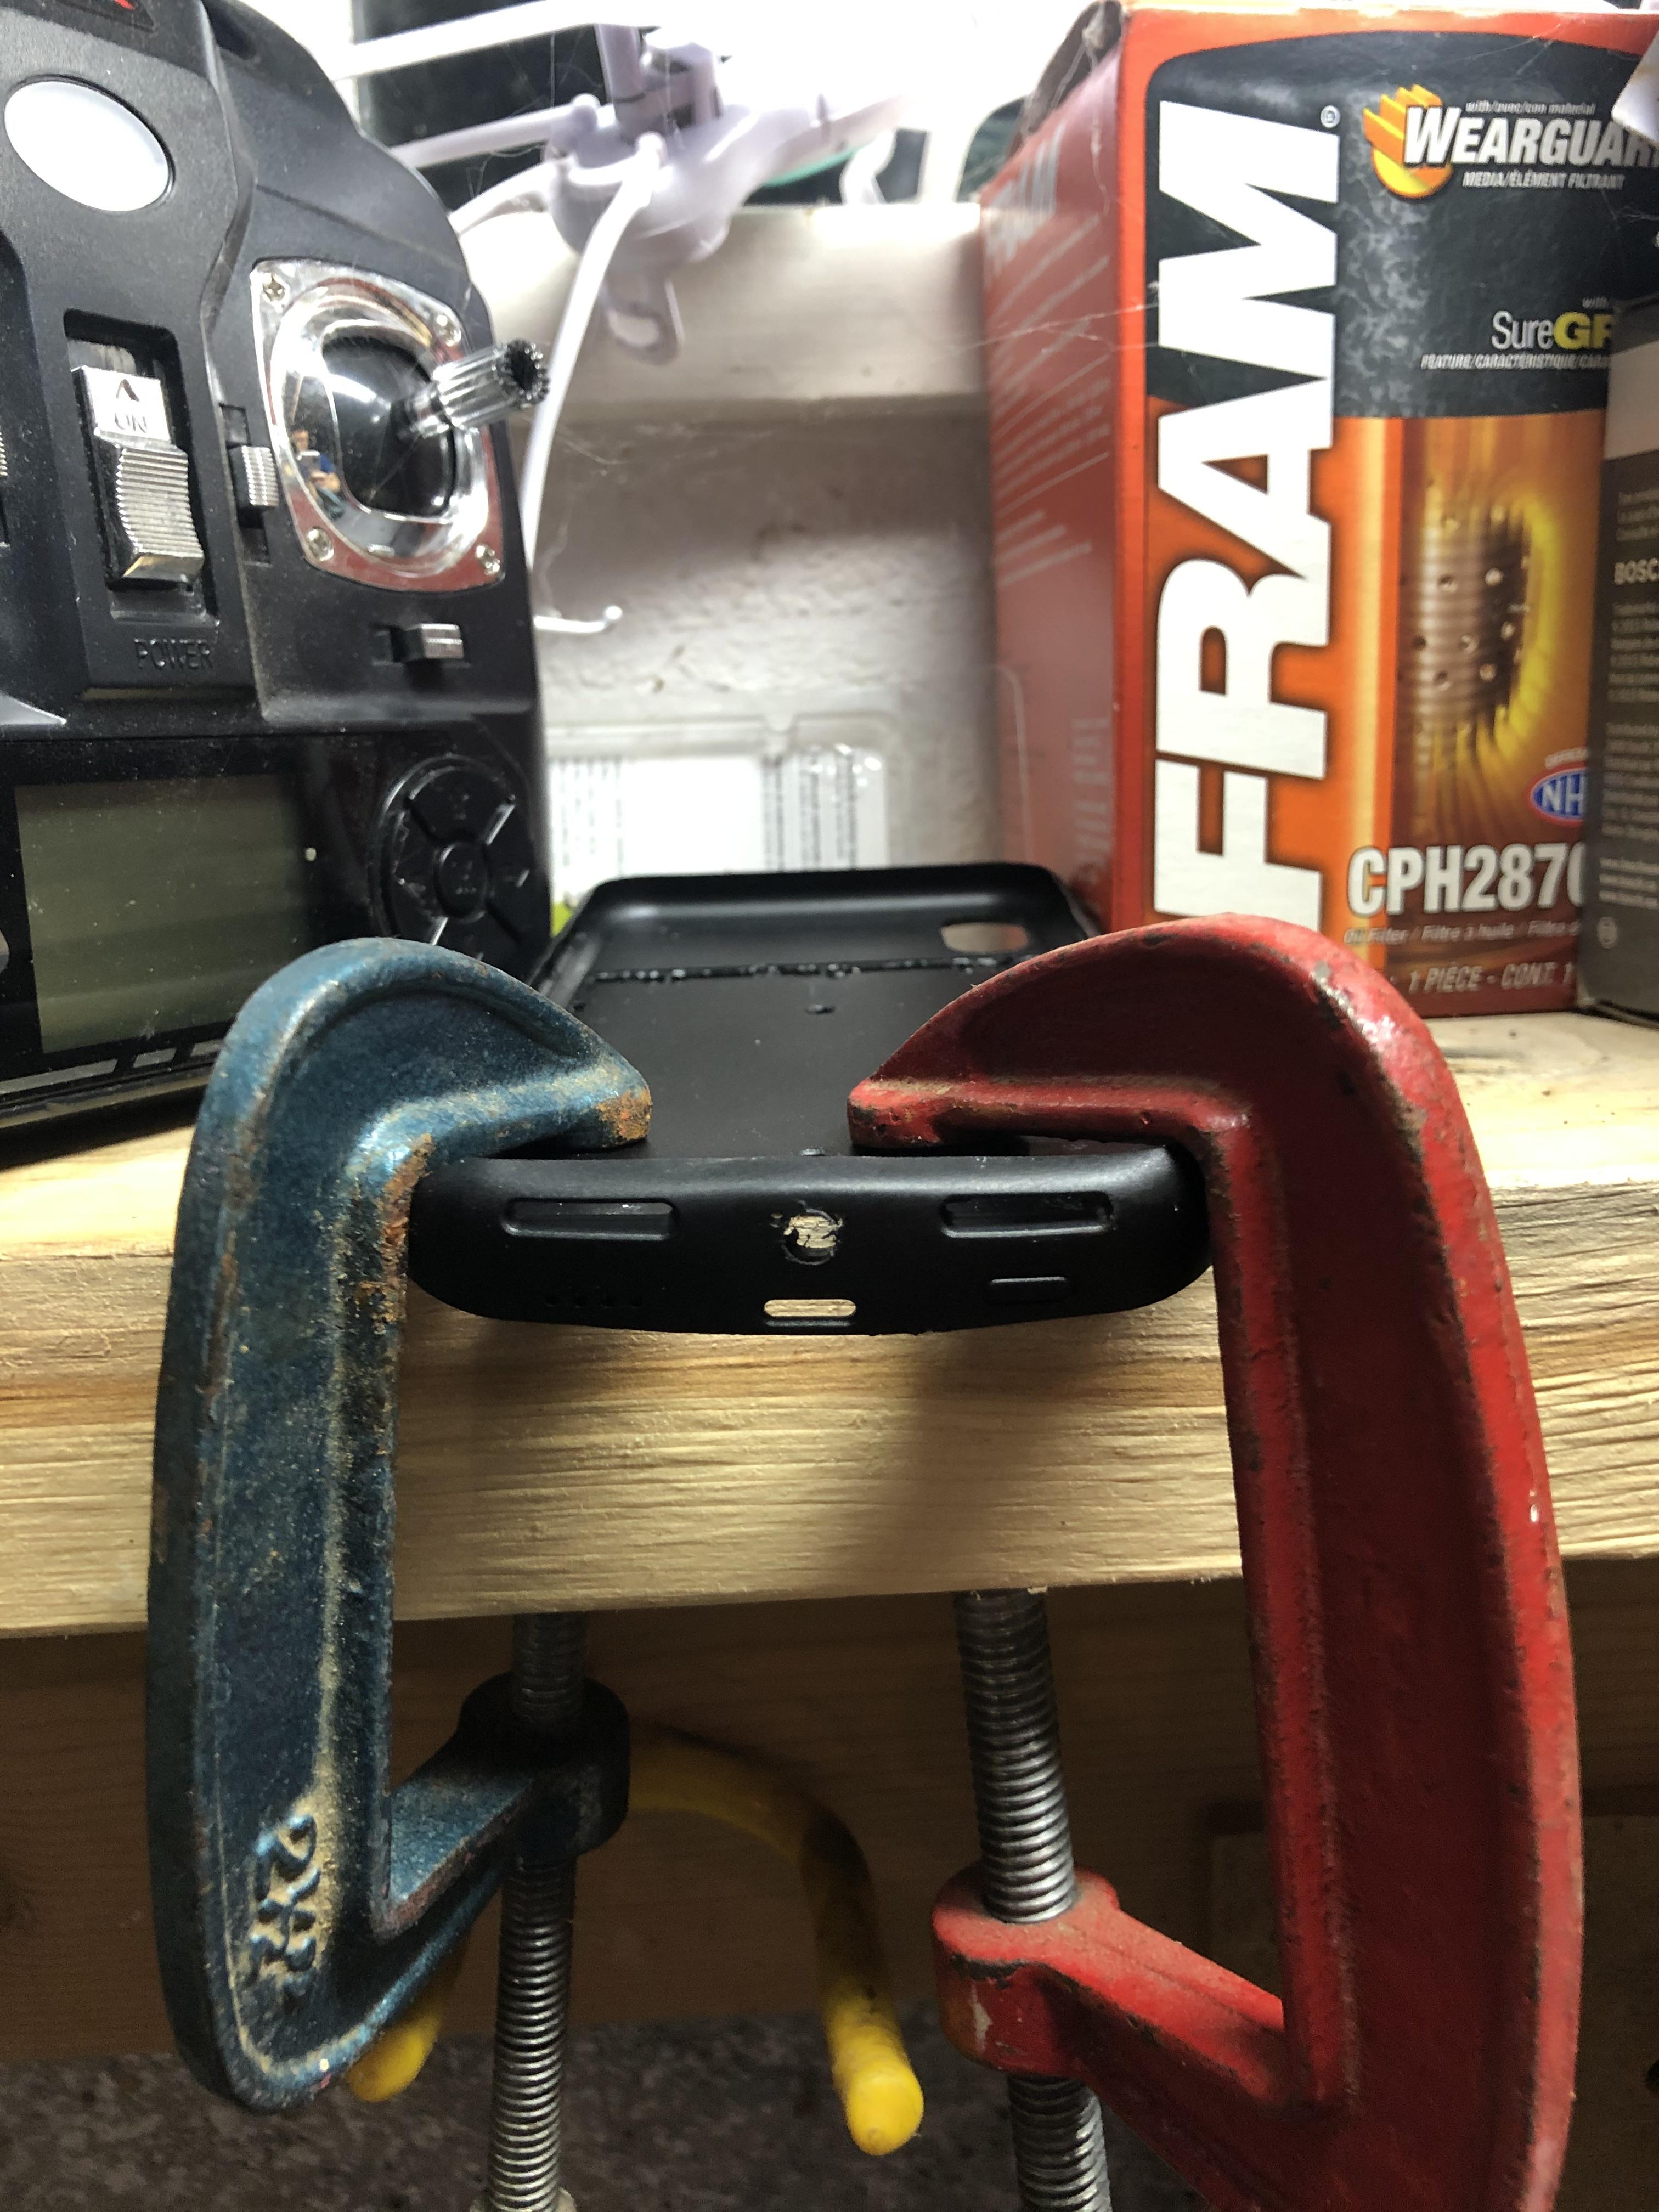
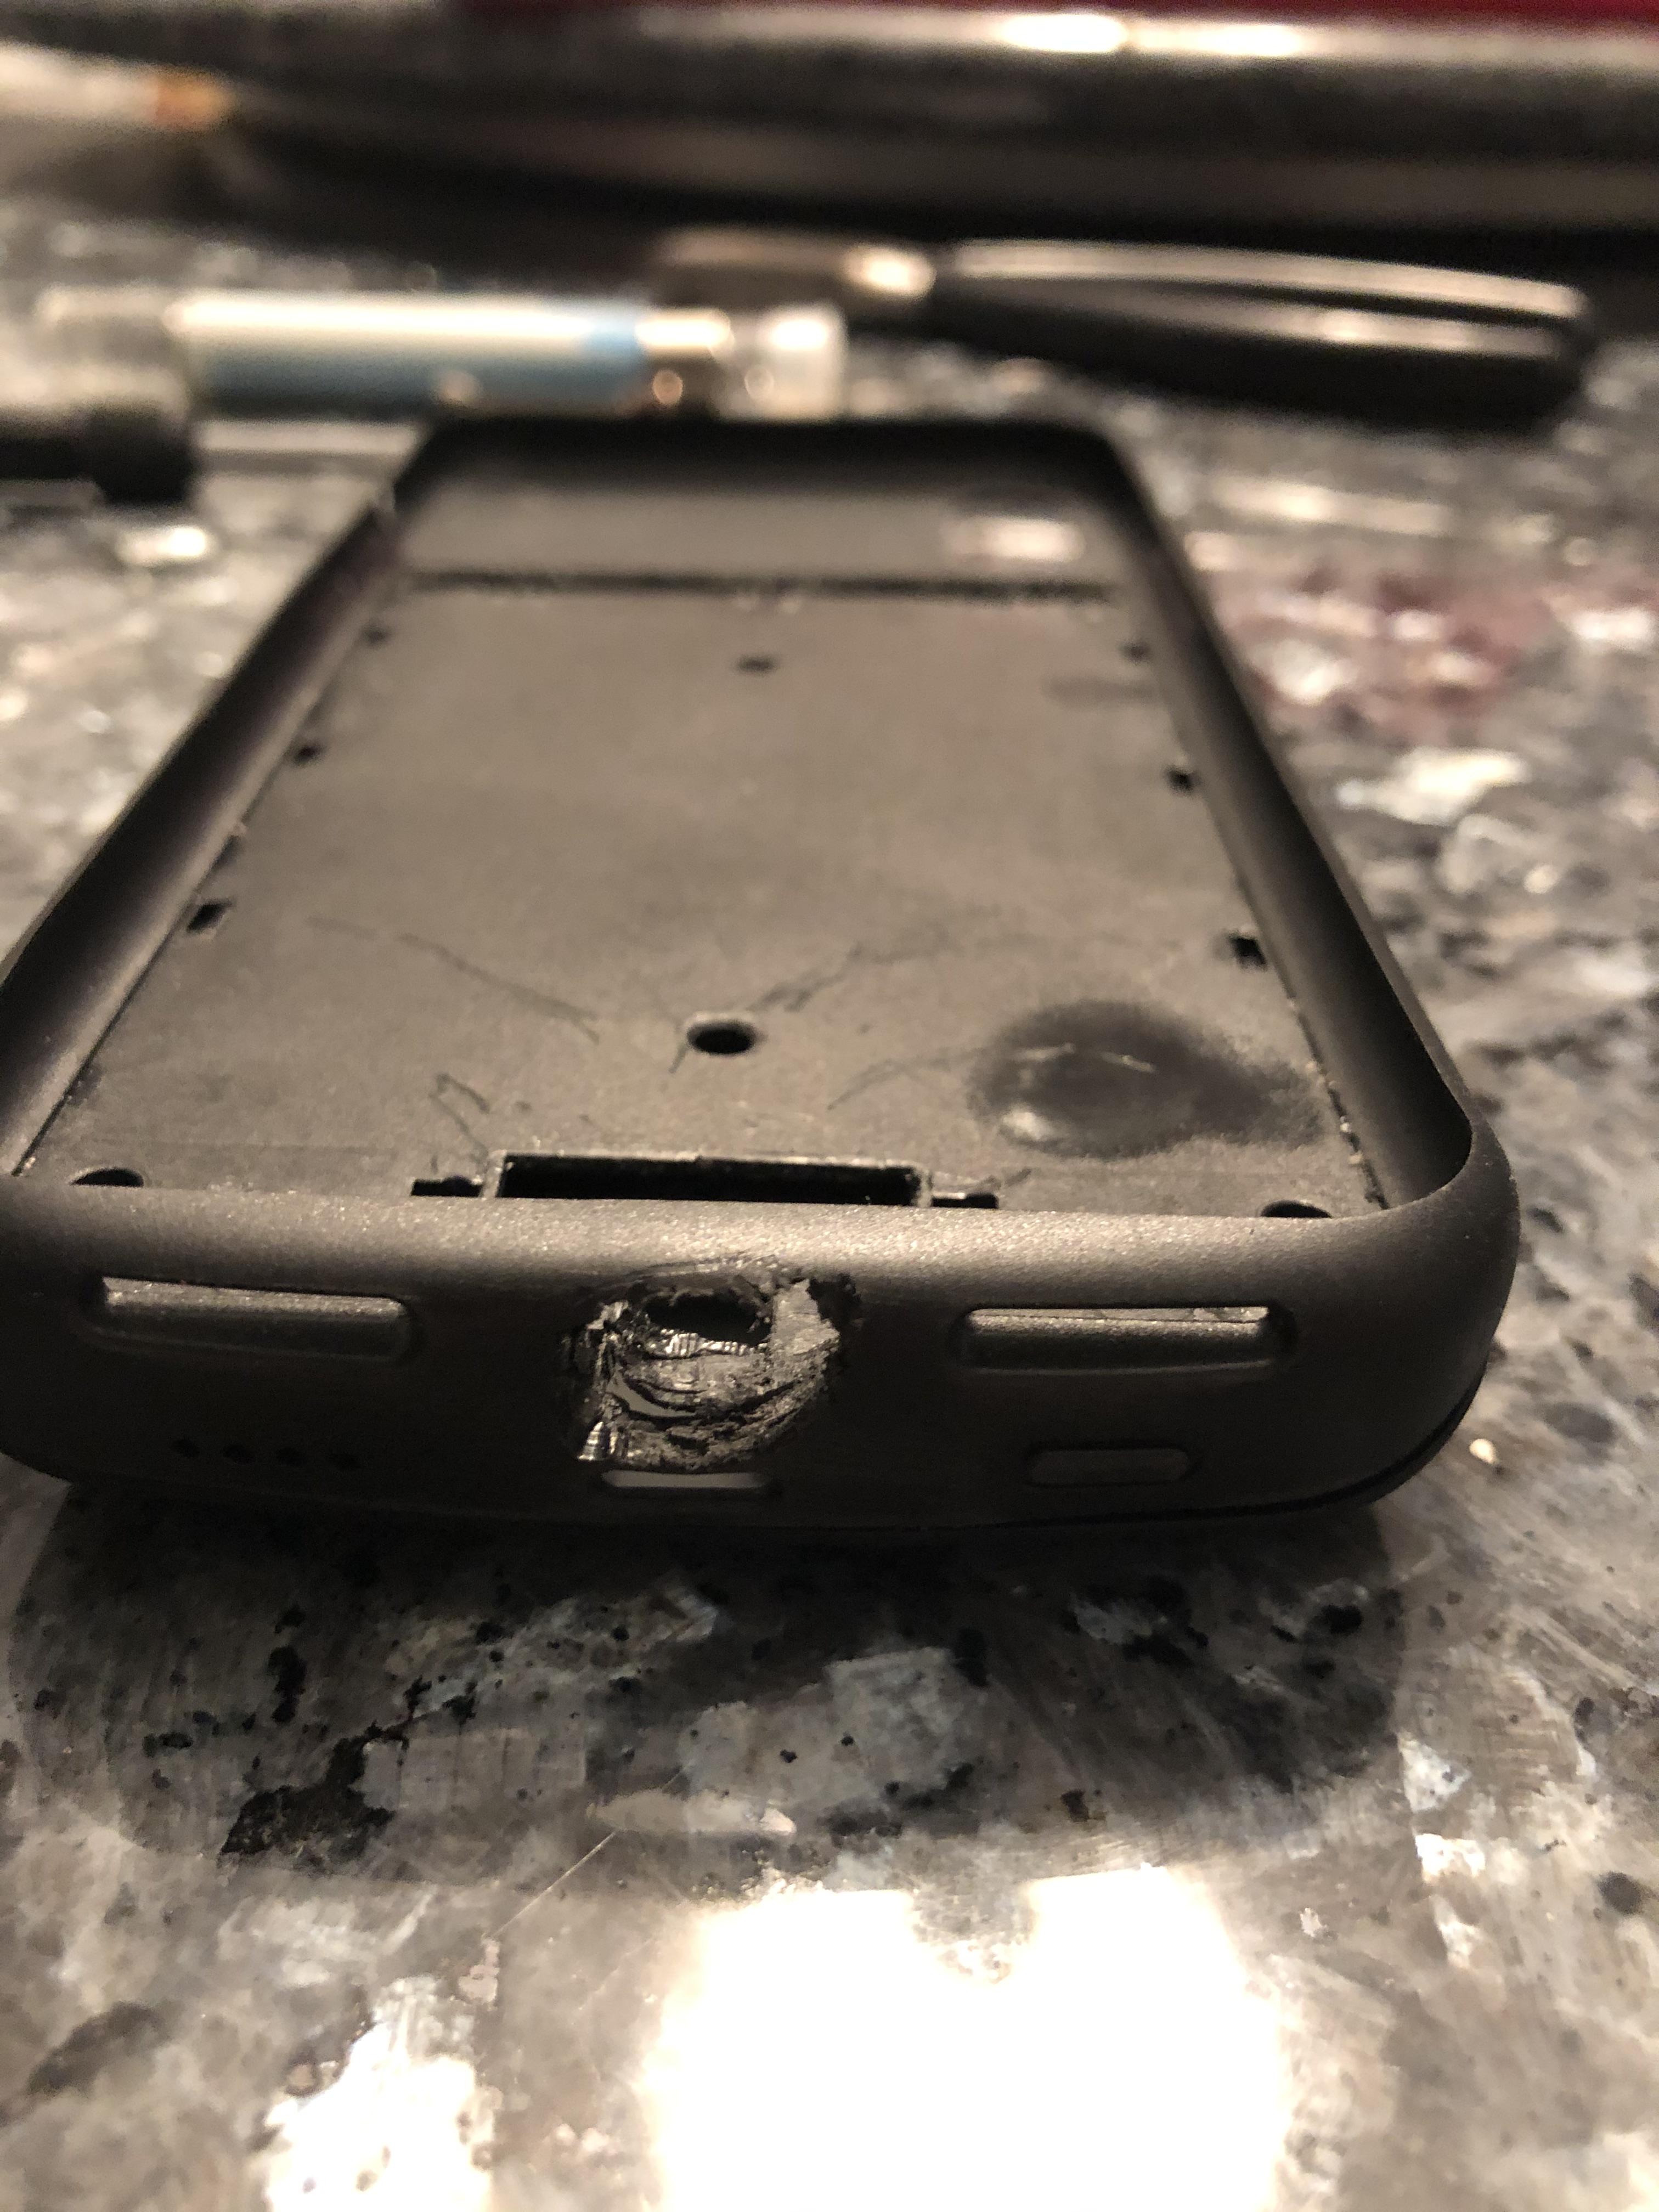
I had dreams of using the included iPhone case charging port. Plug my phone into the inside iPhone plug and just use it. But...the battery is gone so the charging control board doesn't like that.
So PlanB
- I clamped the case to my bench and drilled a progressively larger and larger hole
- A Dremel works too, but this silicon stuff is brutal to cut nicely. Would love some suggestions next time.
The advantages of this setup:
- The iPhone is directly charged with a cable so there's no risk of problems
- Headphones work as is
- It's just less complicated without the control board
Re-apply the Sticker on the Inside of the Case
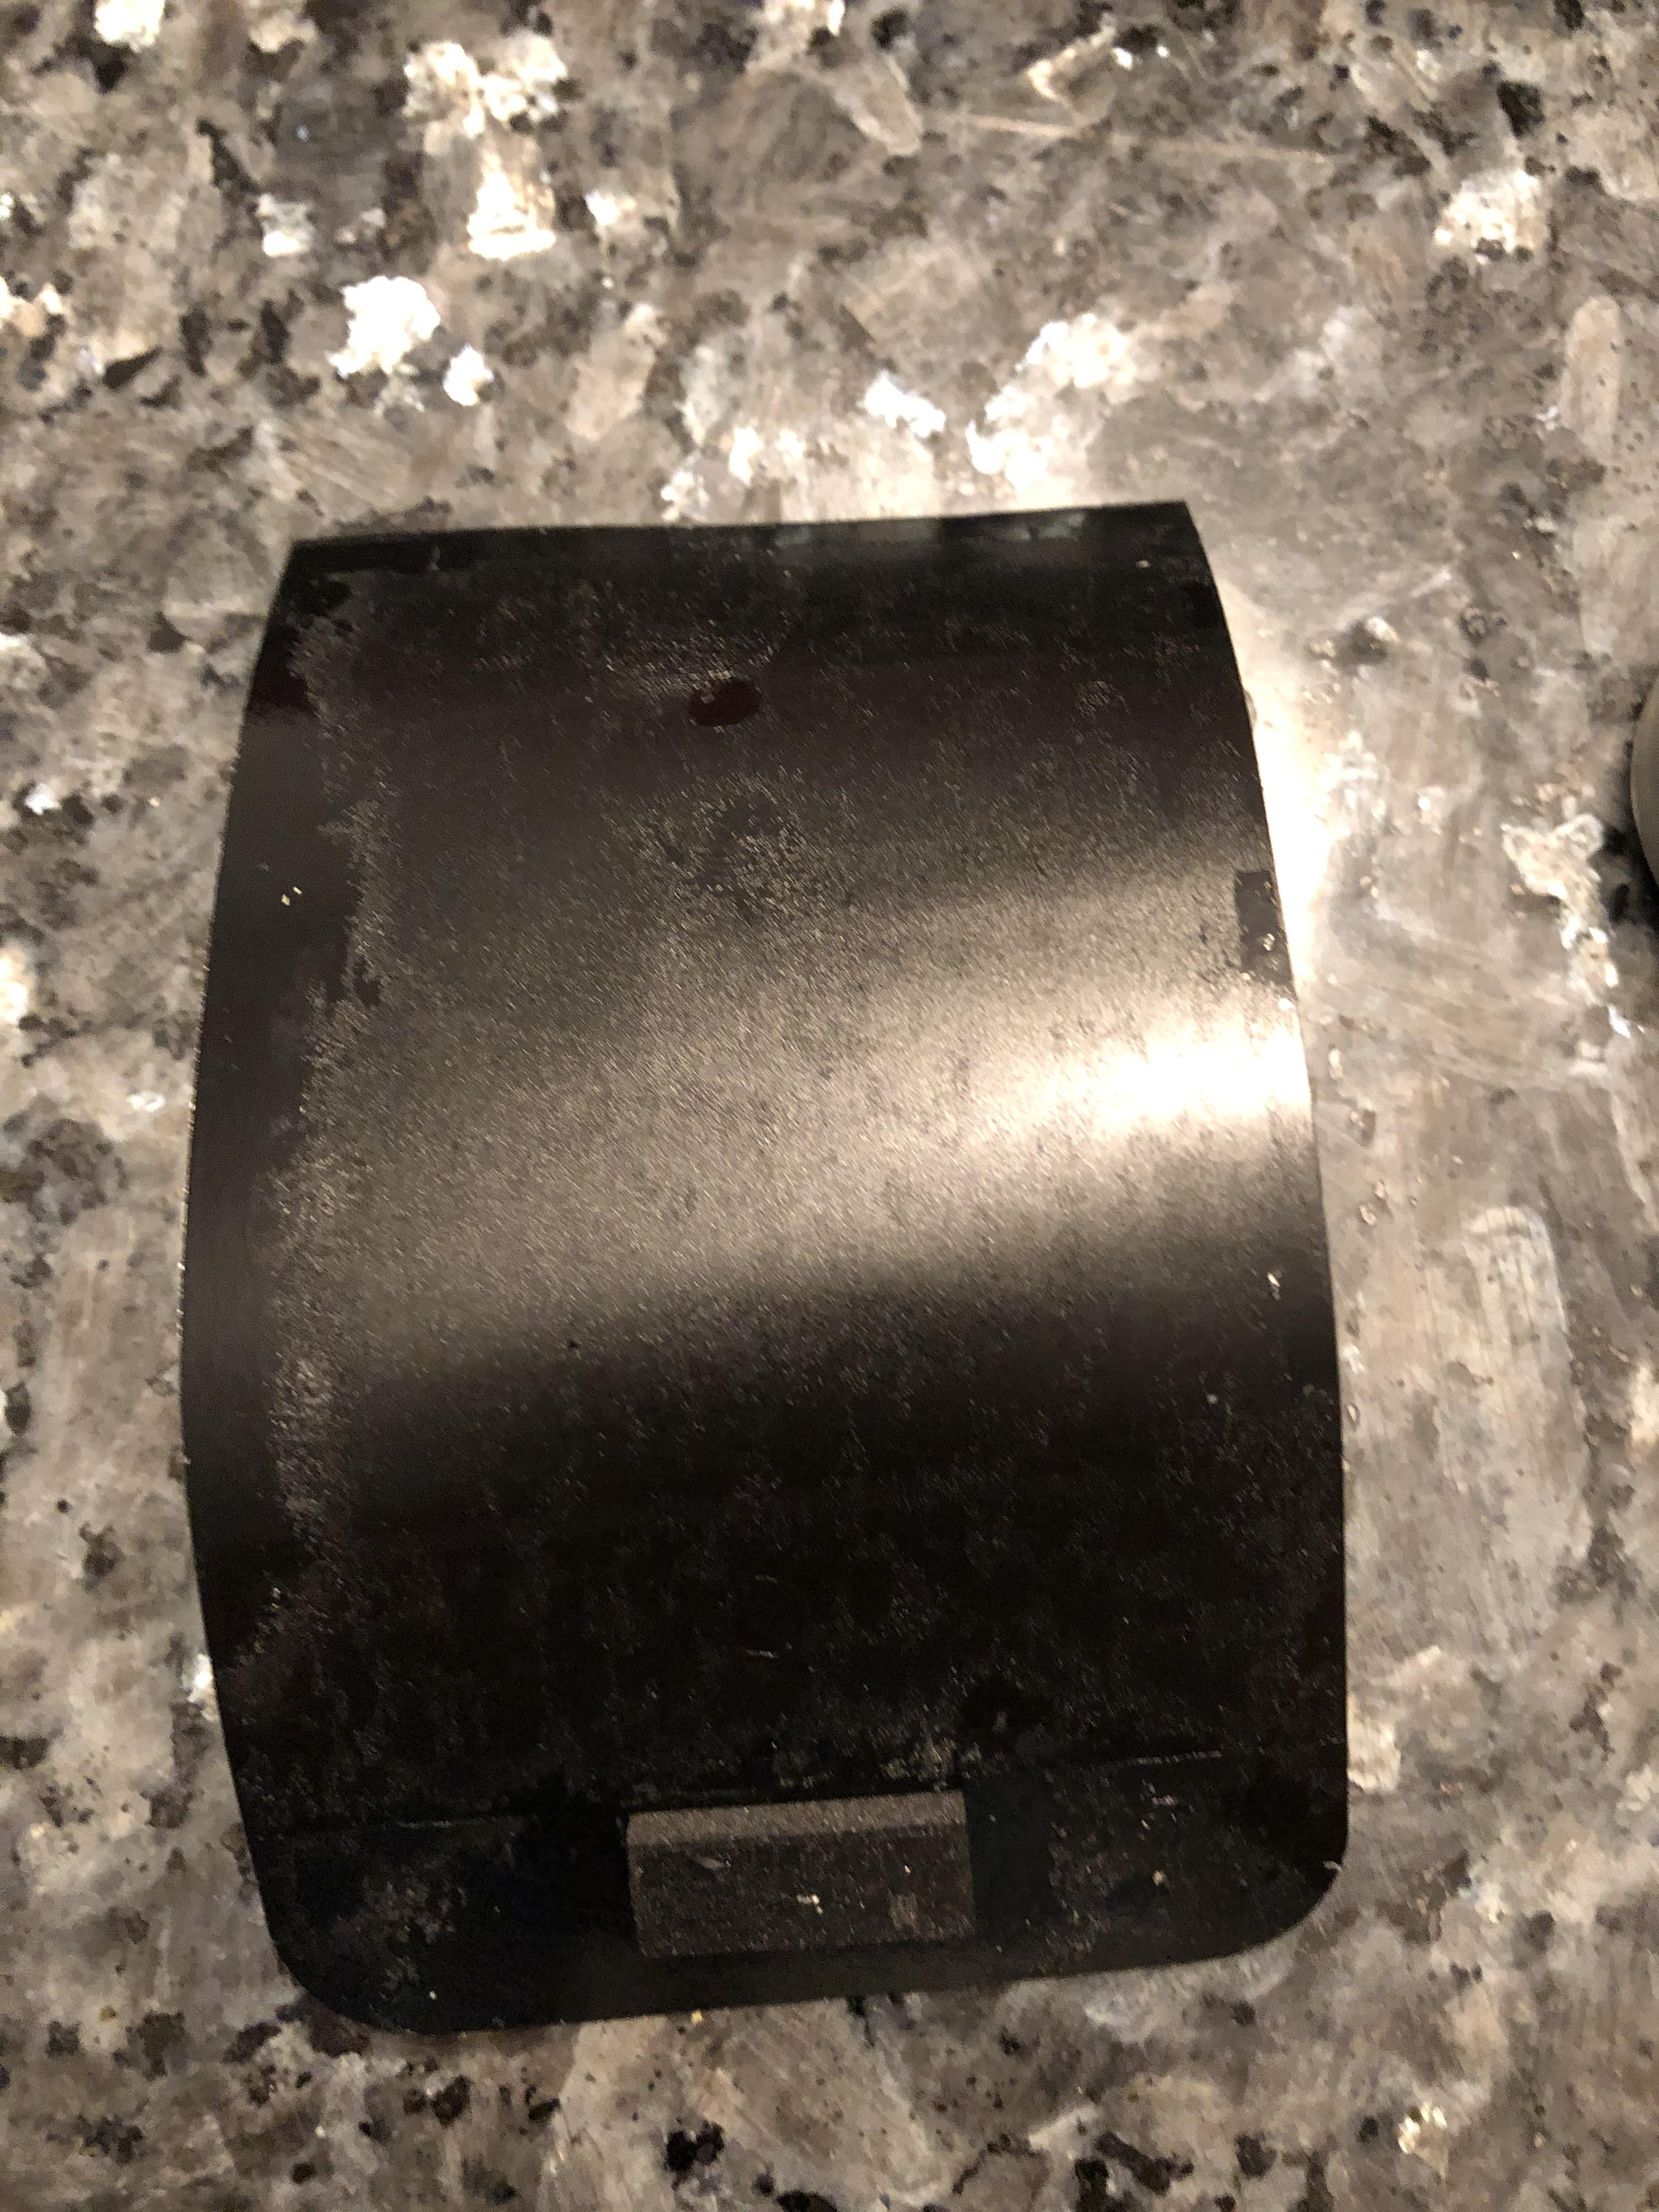
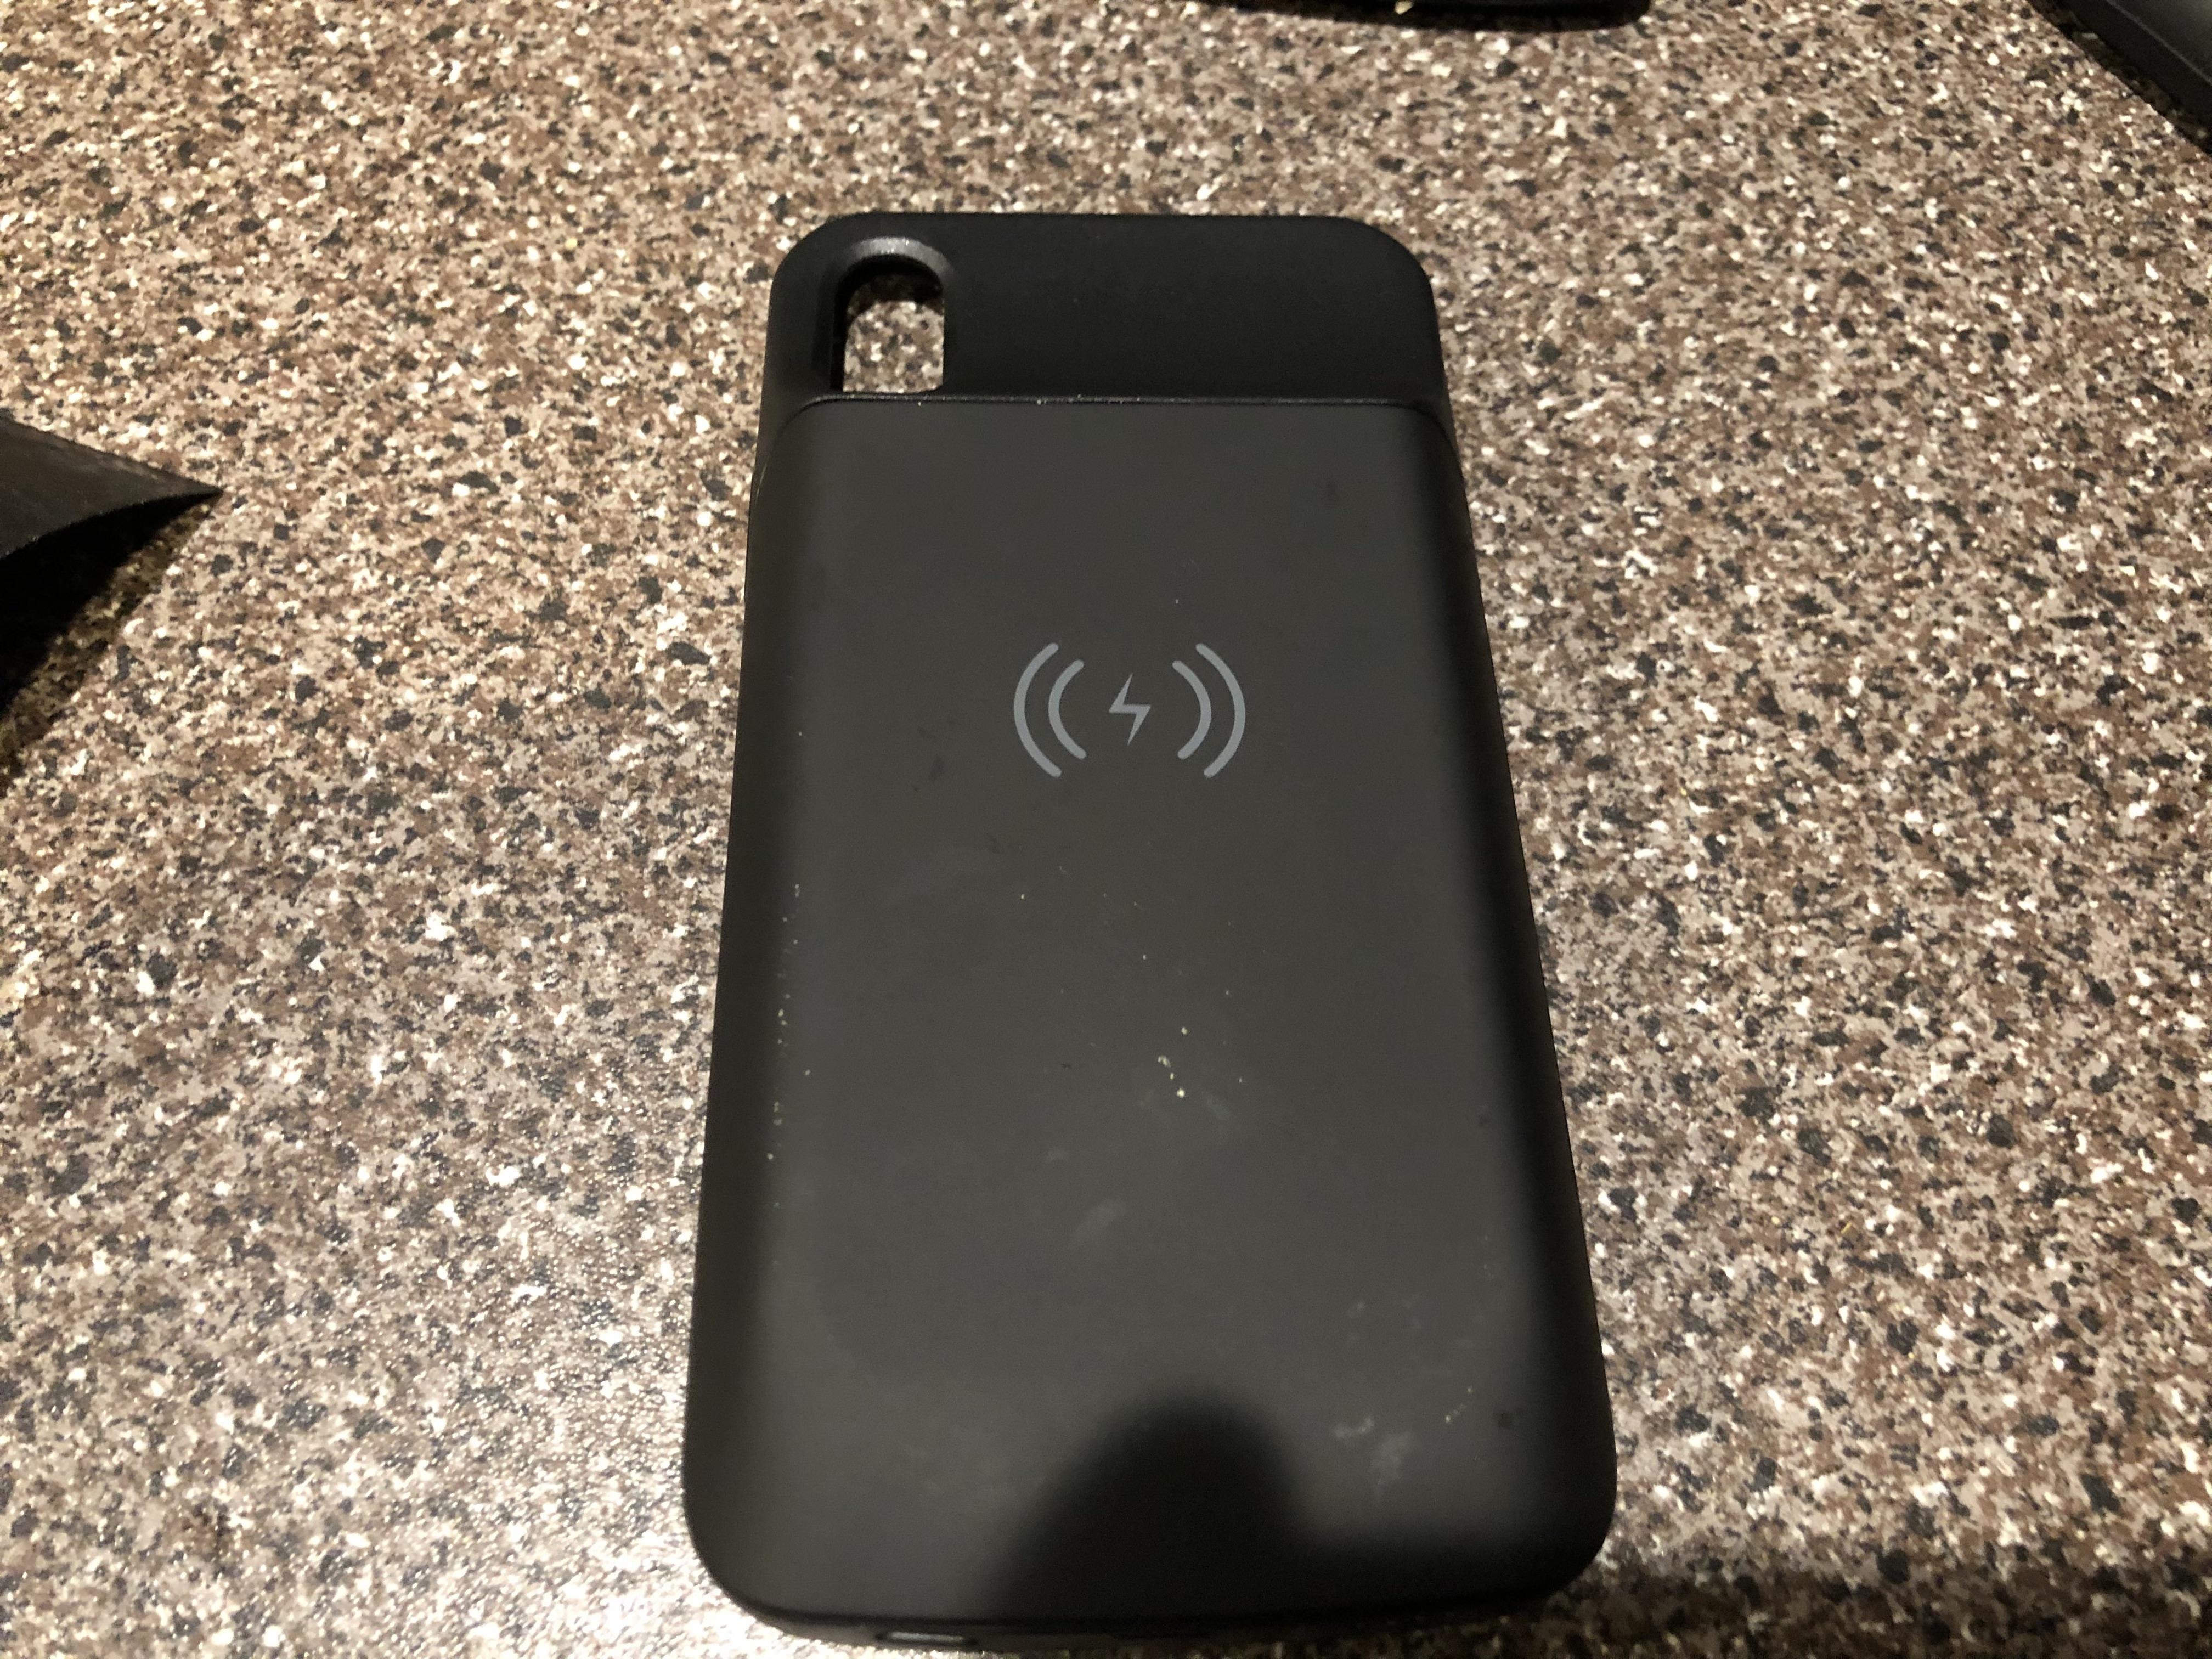
*** Don't forget! to Turn ON your RileyLink :) ***
This will hide some of that prying we did and also make it look more pro.
Install your phone and close up the back cover. It should just snap into place.
Verify That RileyLink Signal Is Good

Looks solid.
Marvel at Your Work!
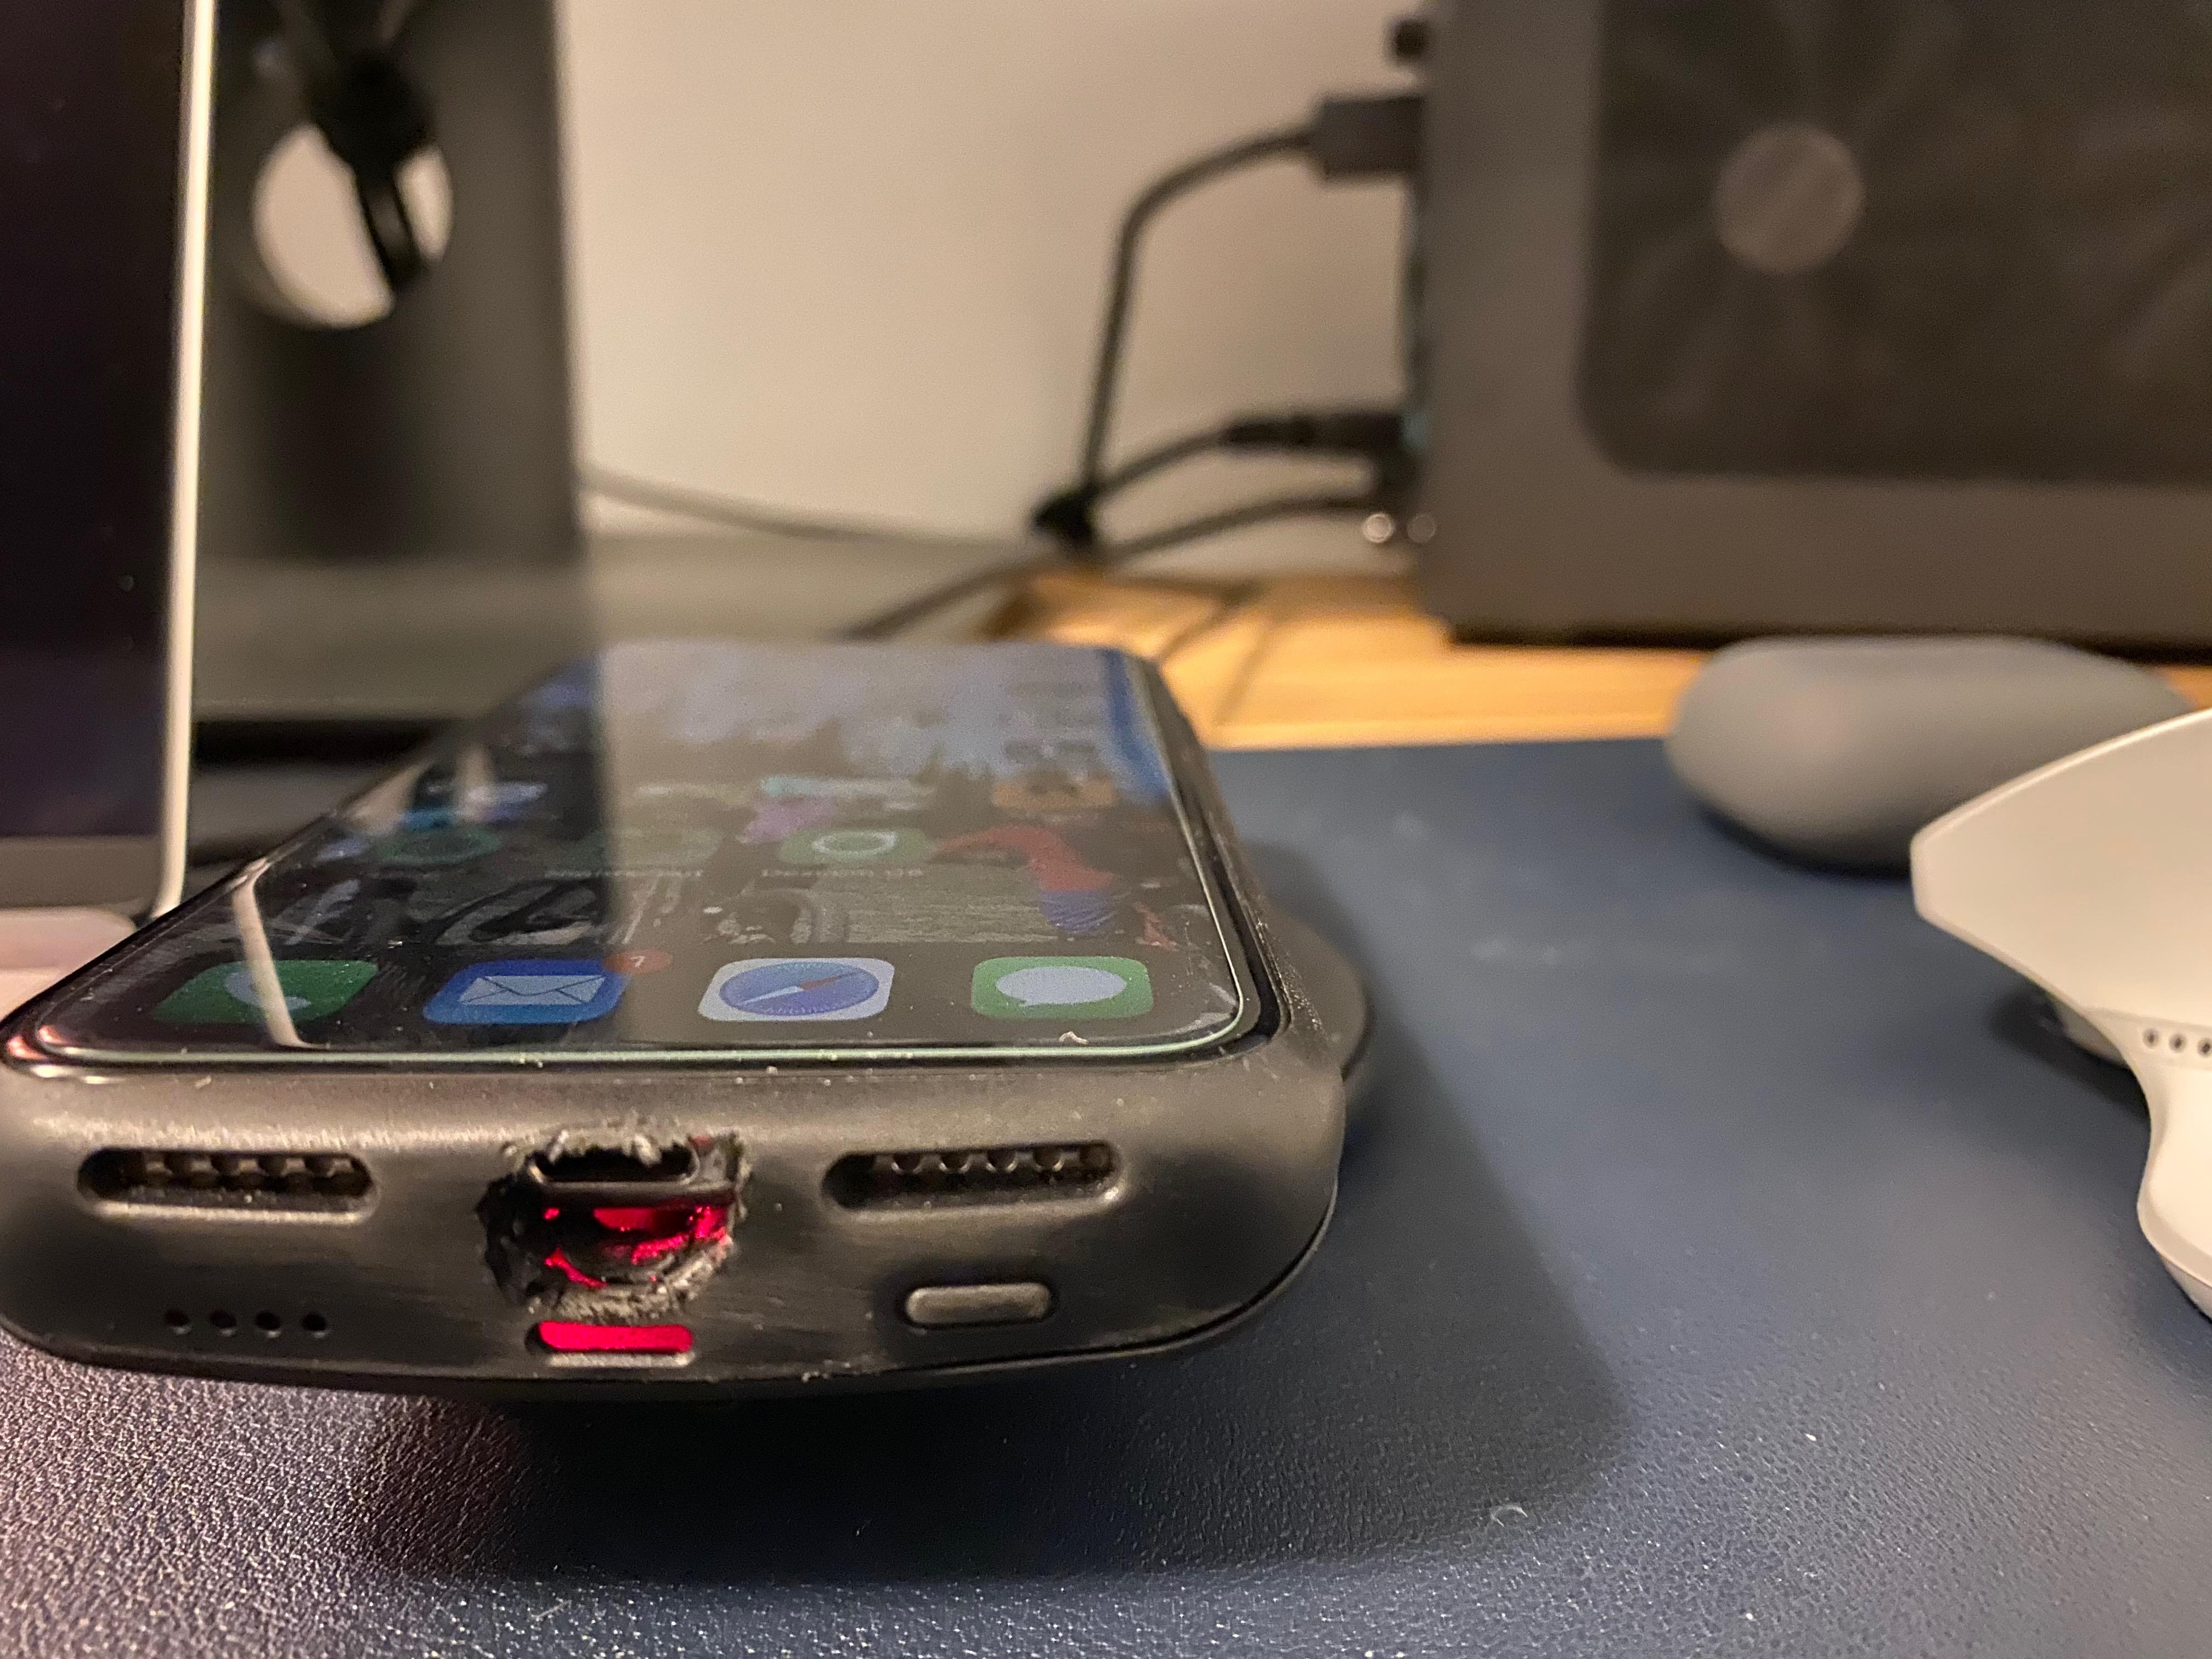
Secure your hardware with the teflon tape and then close the case backing.
Look! The phone is charging the RileyLink and if I plug a lightning cable into the phone, it will charge too!
Enjoy your integrated Loop hardware!