Loki TVA Portrait
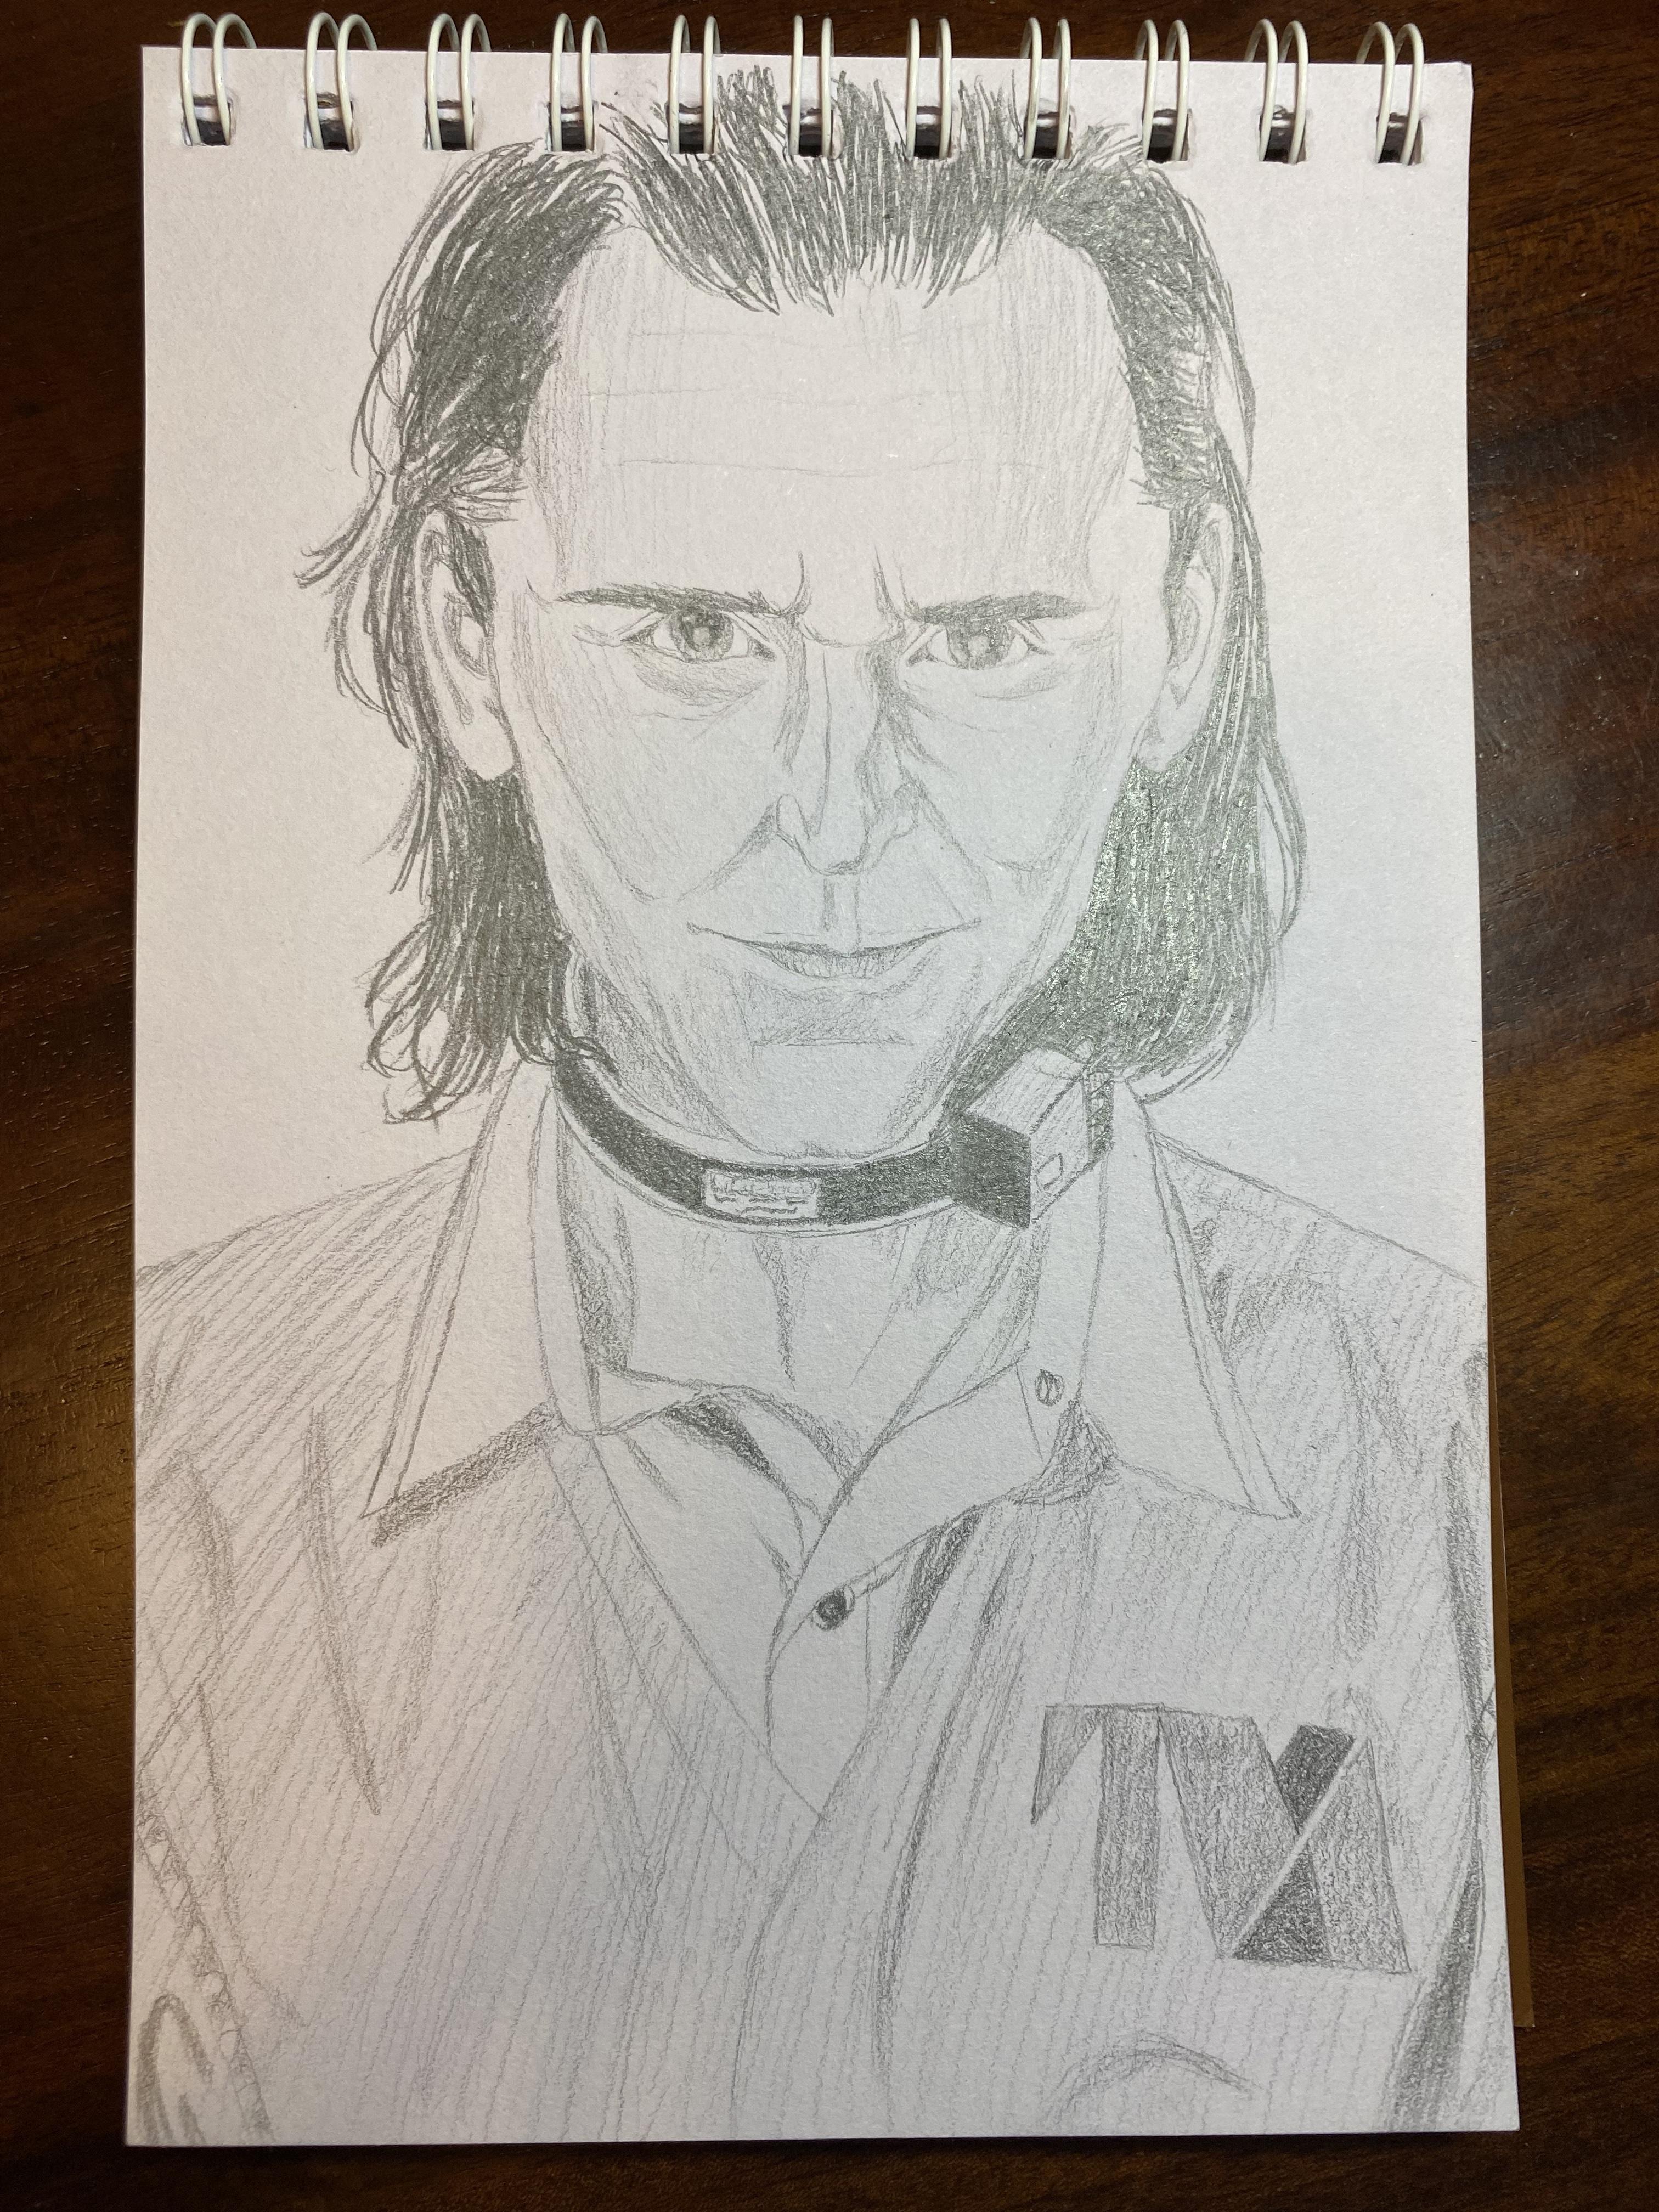
I love trying cool projects - what's not cool is lacking the necessary 3D printer or other fancy materials to do them. Being a poor student, I also don't have the funds to get them.
However, I love to sketch, and I'm willing to bet at least 99% of humanity can easily get access to a pencil and piece of paper. I also know a lot of people feel like they can't manage more than a stick figure when they draw.
So, I put together this demonstration of how anyone, following small steps, can create their own masterpiece. Plus, with an eraser, mistakes can easily be corrected! And, who better to sketch than the notorious, fan-favorite Loki?
*following the pictures is the easiest way to do this project. However, I've included some tips if you need extra help on a step.
Supplies
1 pencil (with an eraser)
1 piece of paper
Outline
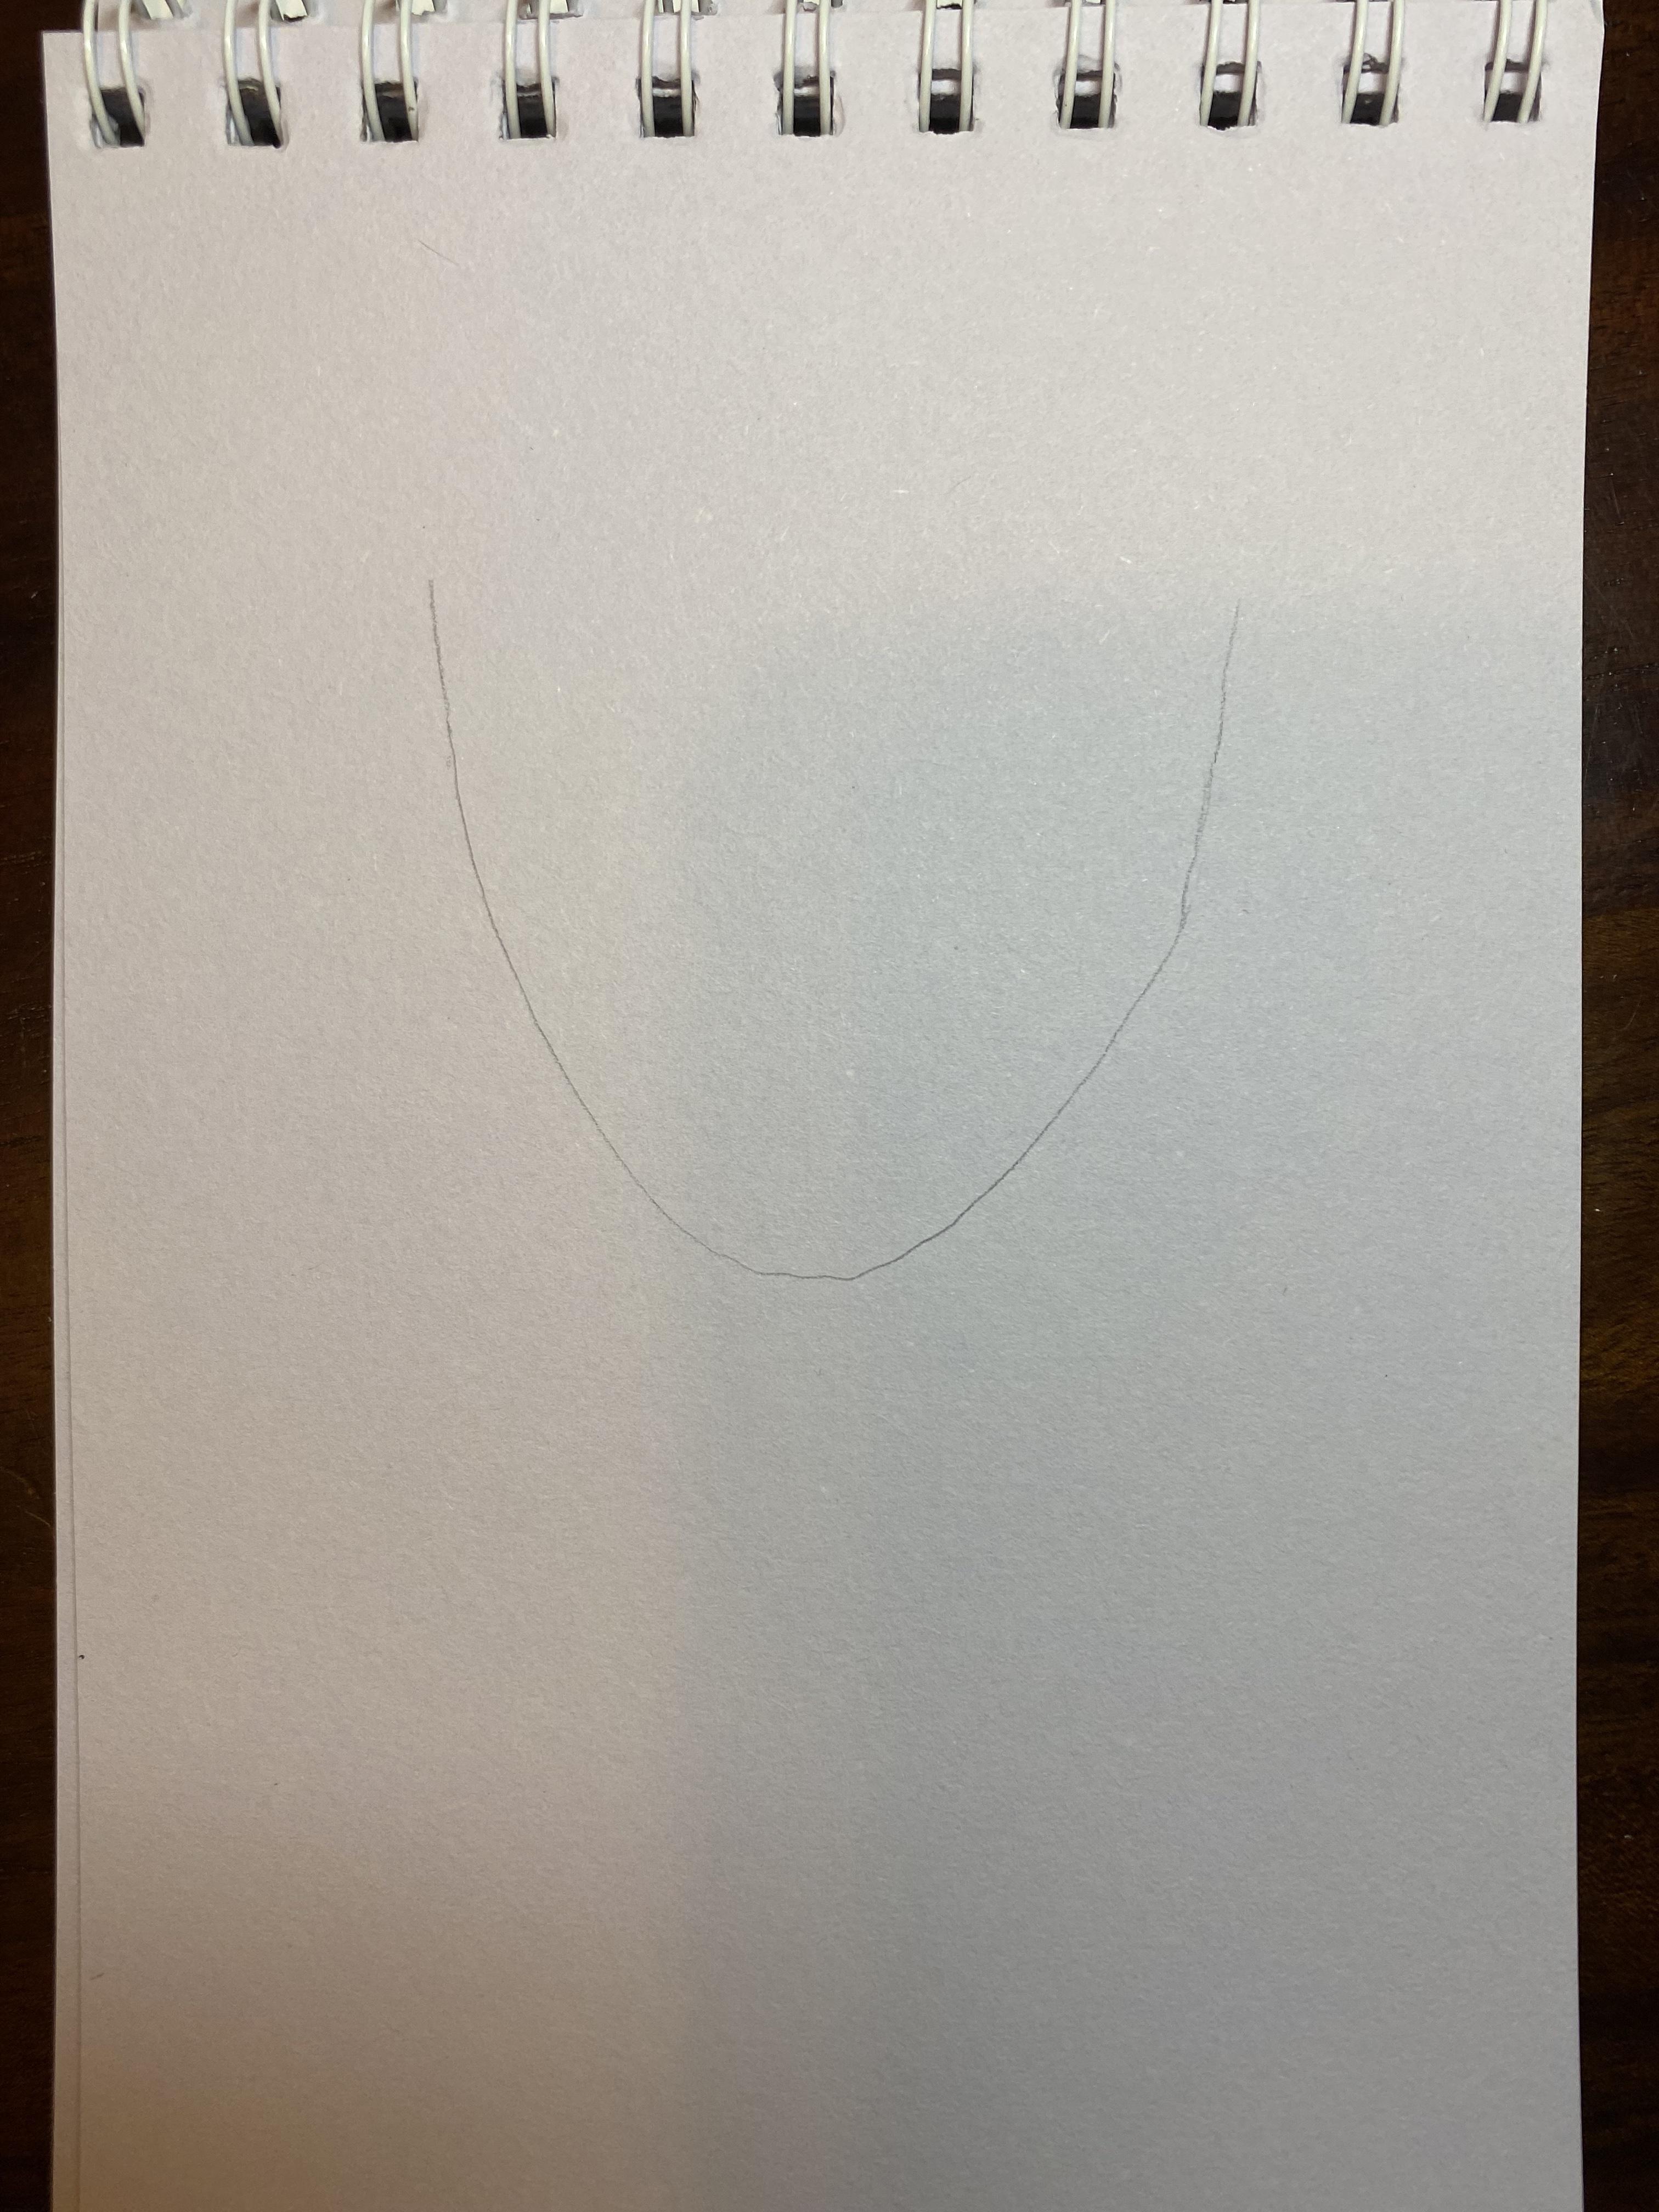
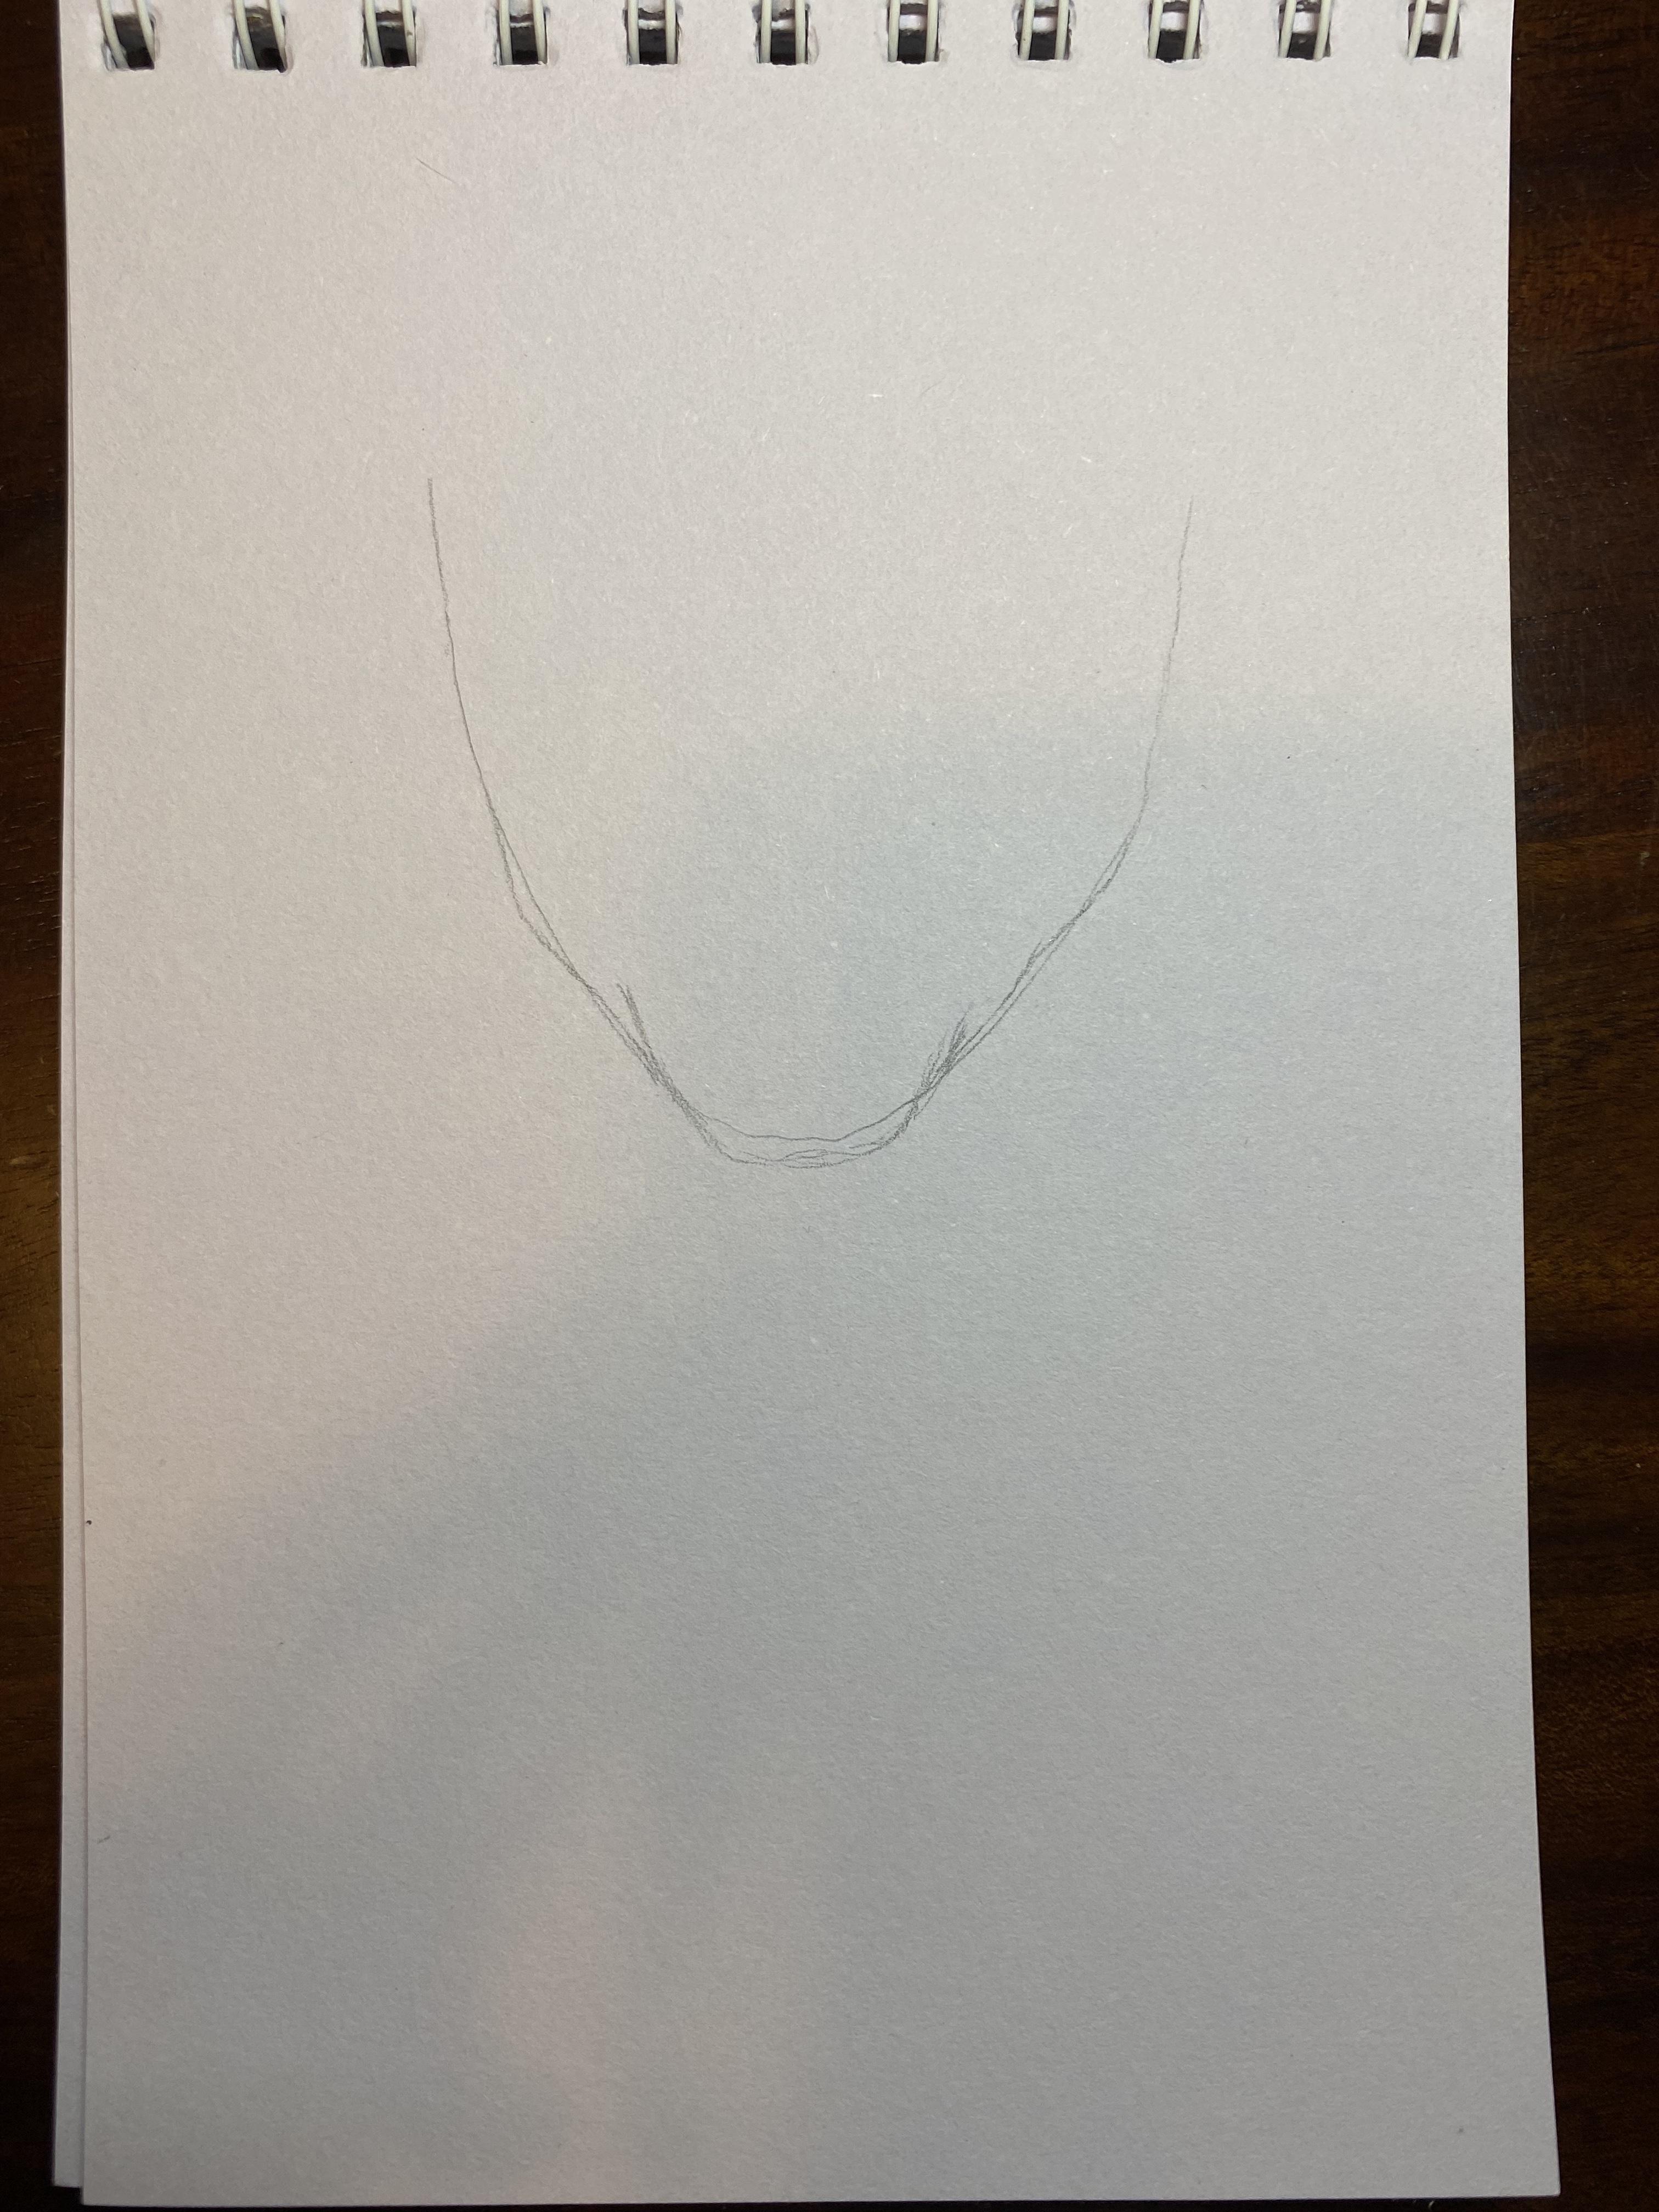
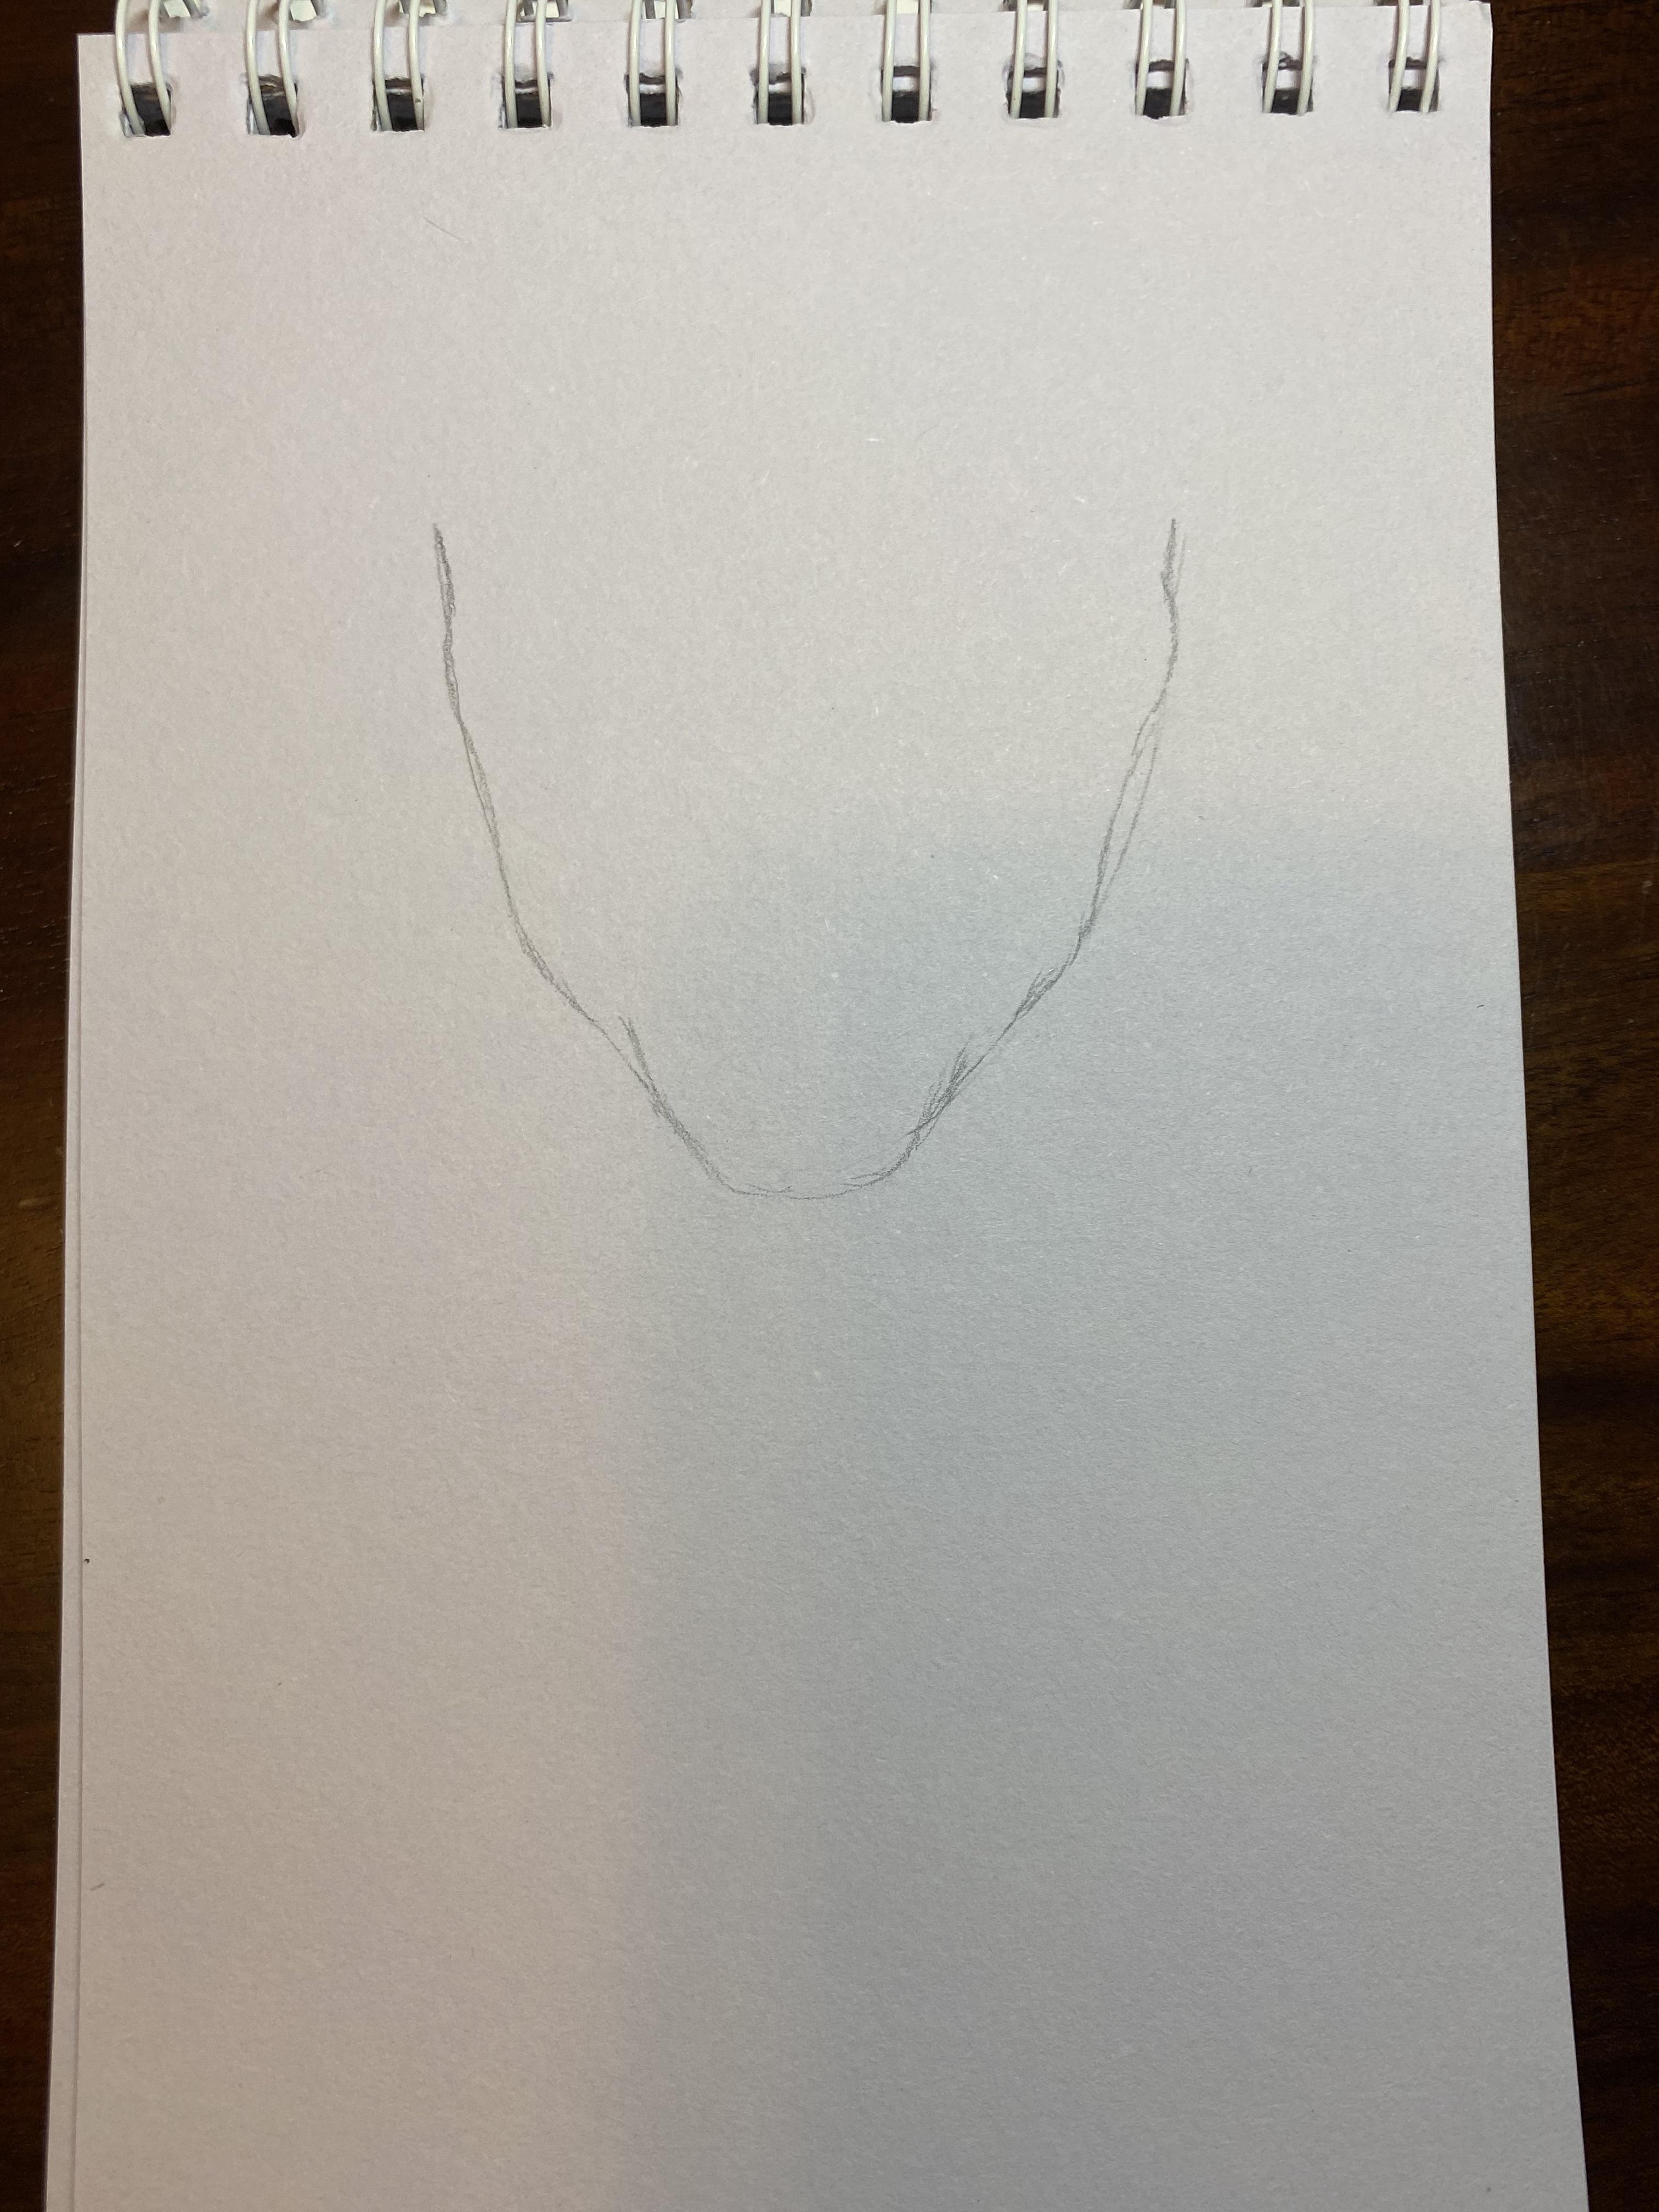
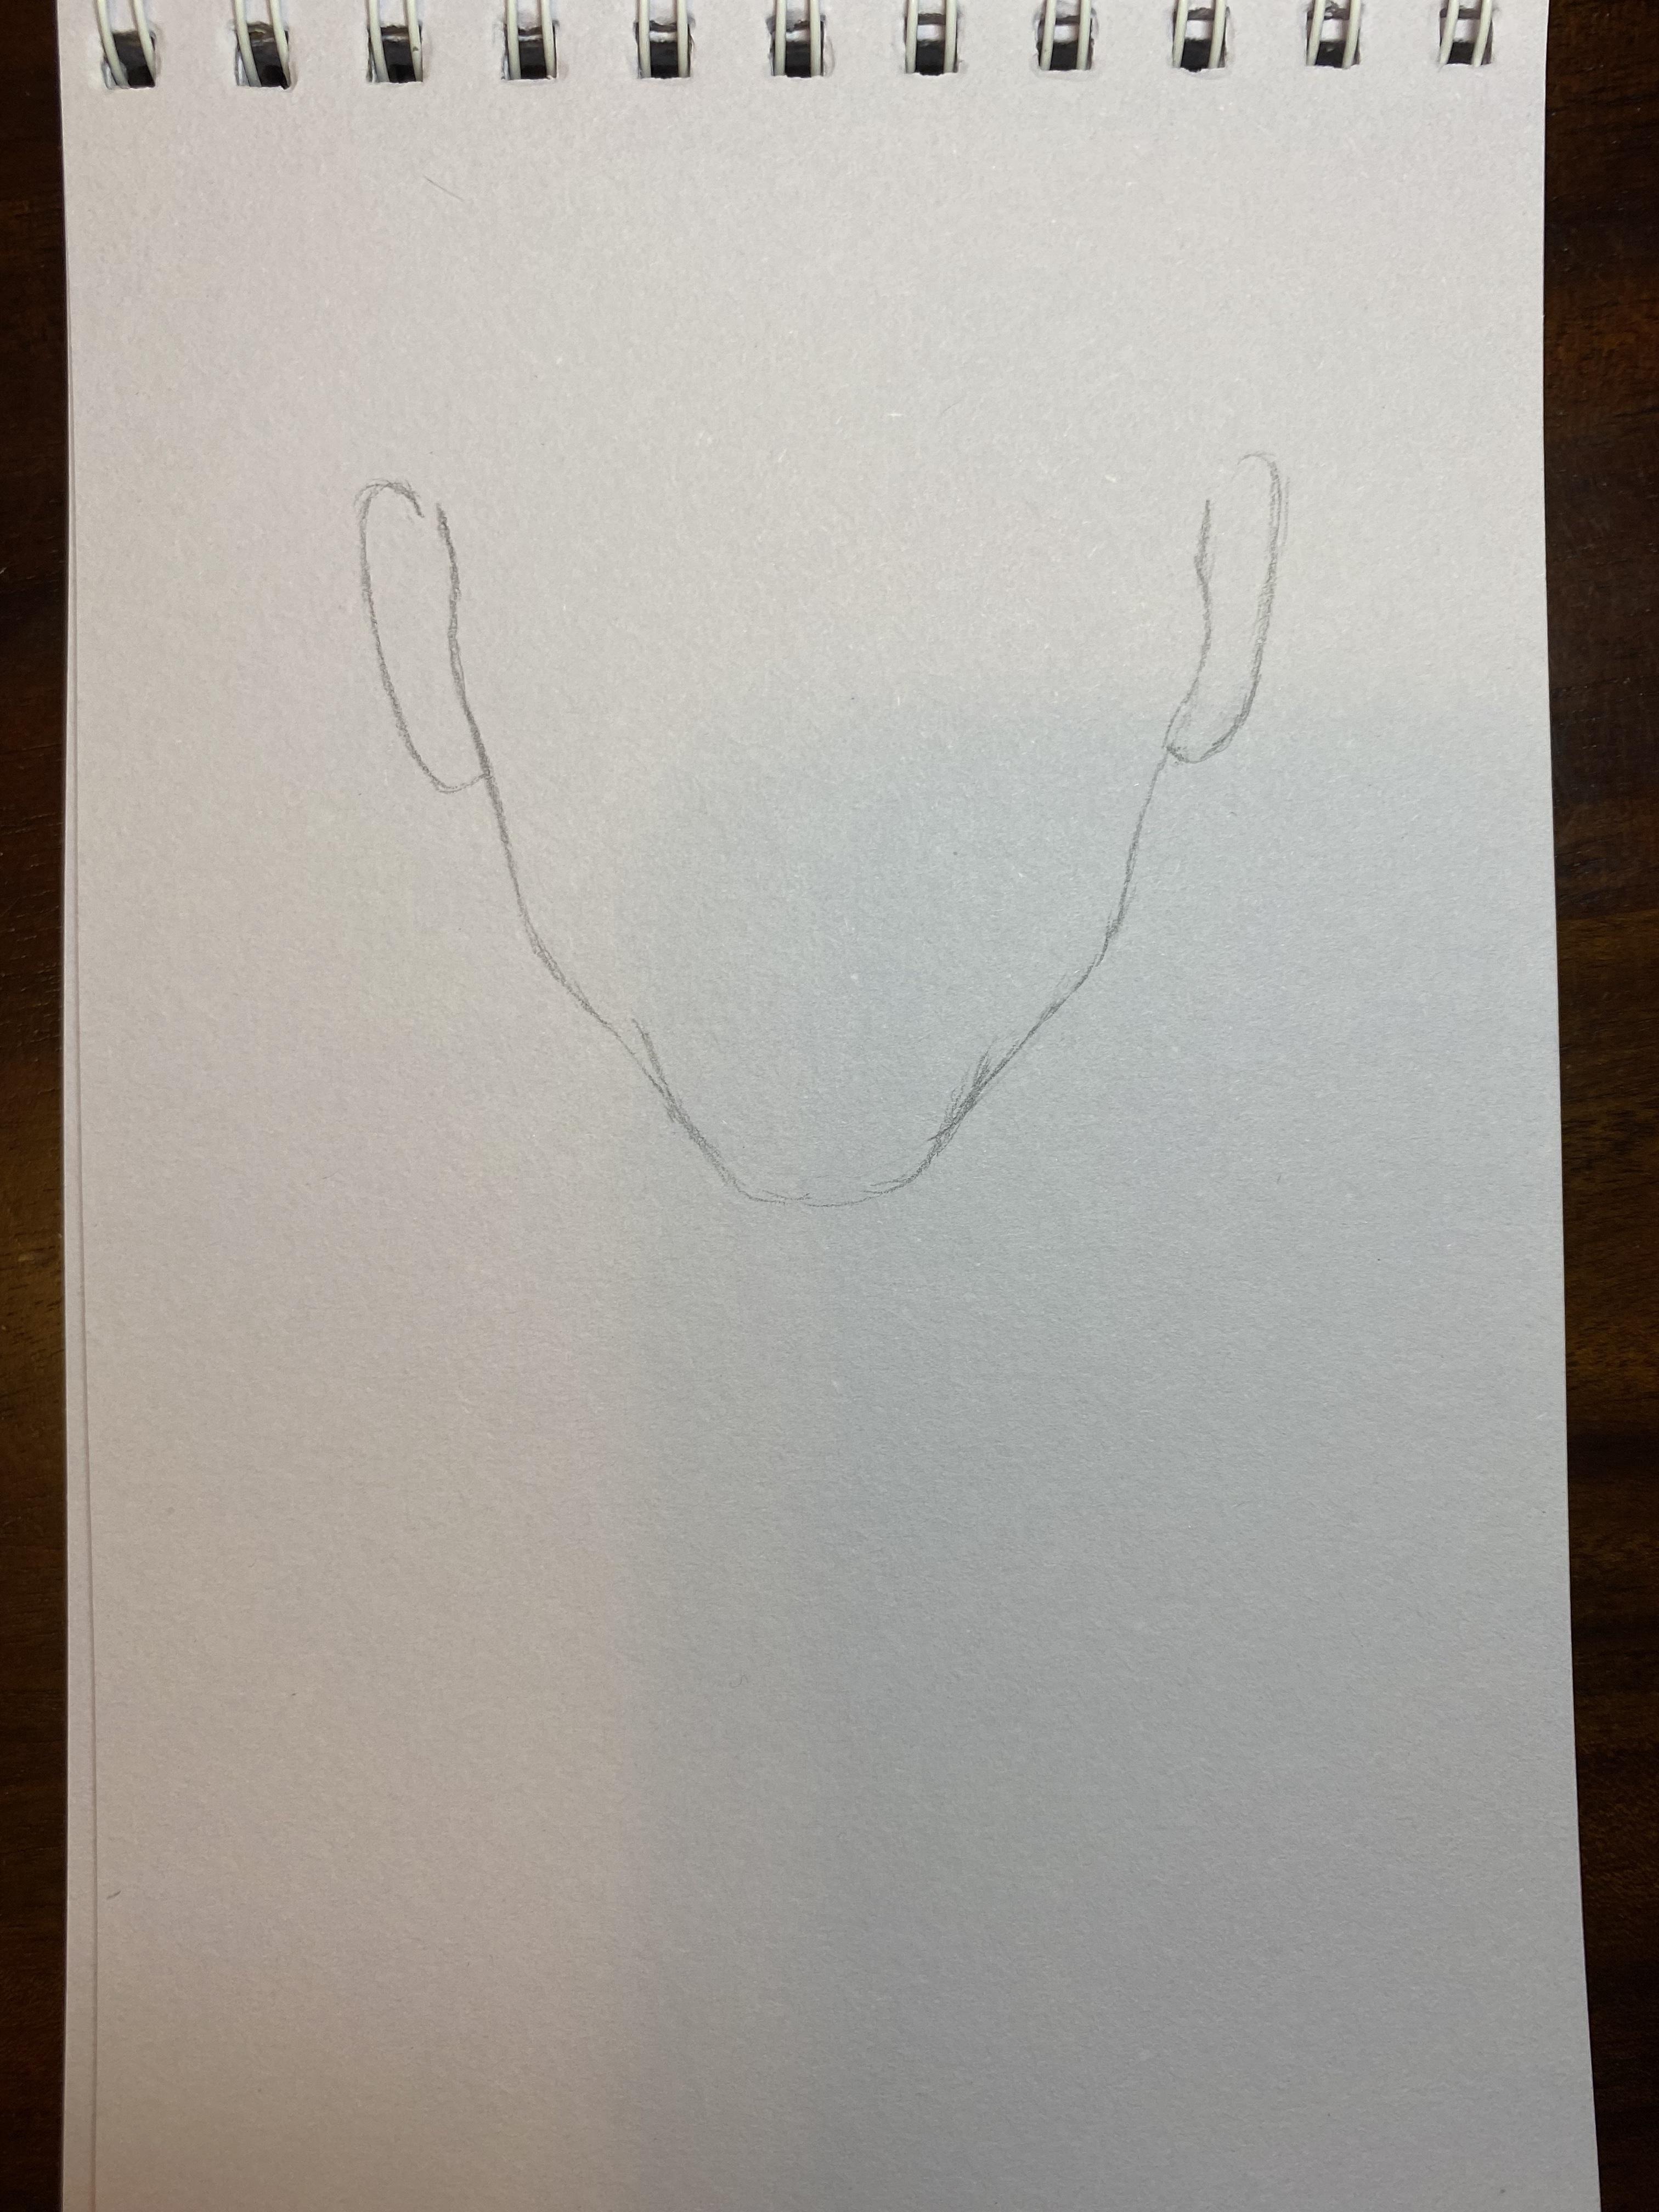
You can draw a simple half-oval and add any lines you want to make it look more like a face (adding a smaller half oval at the bottom for a chin, etc.). Then you can erase any lines you don't want to keep.
Beginning of Facial Features
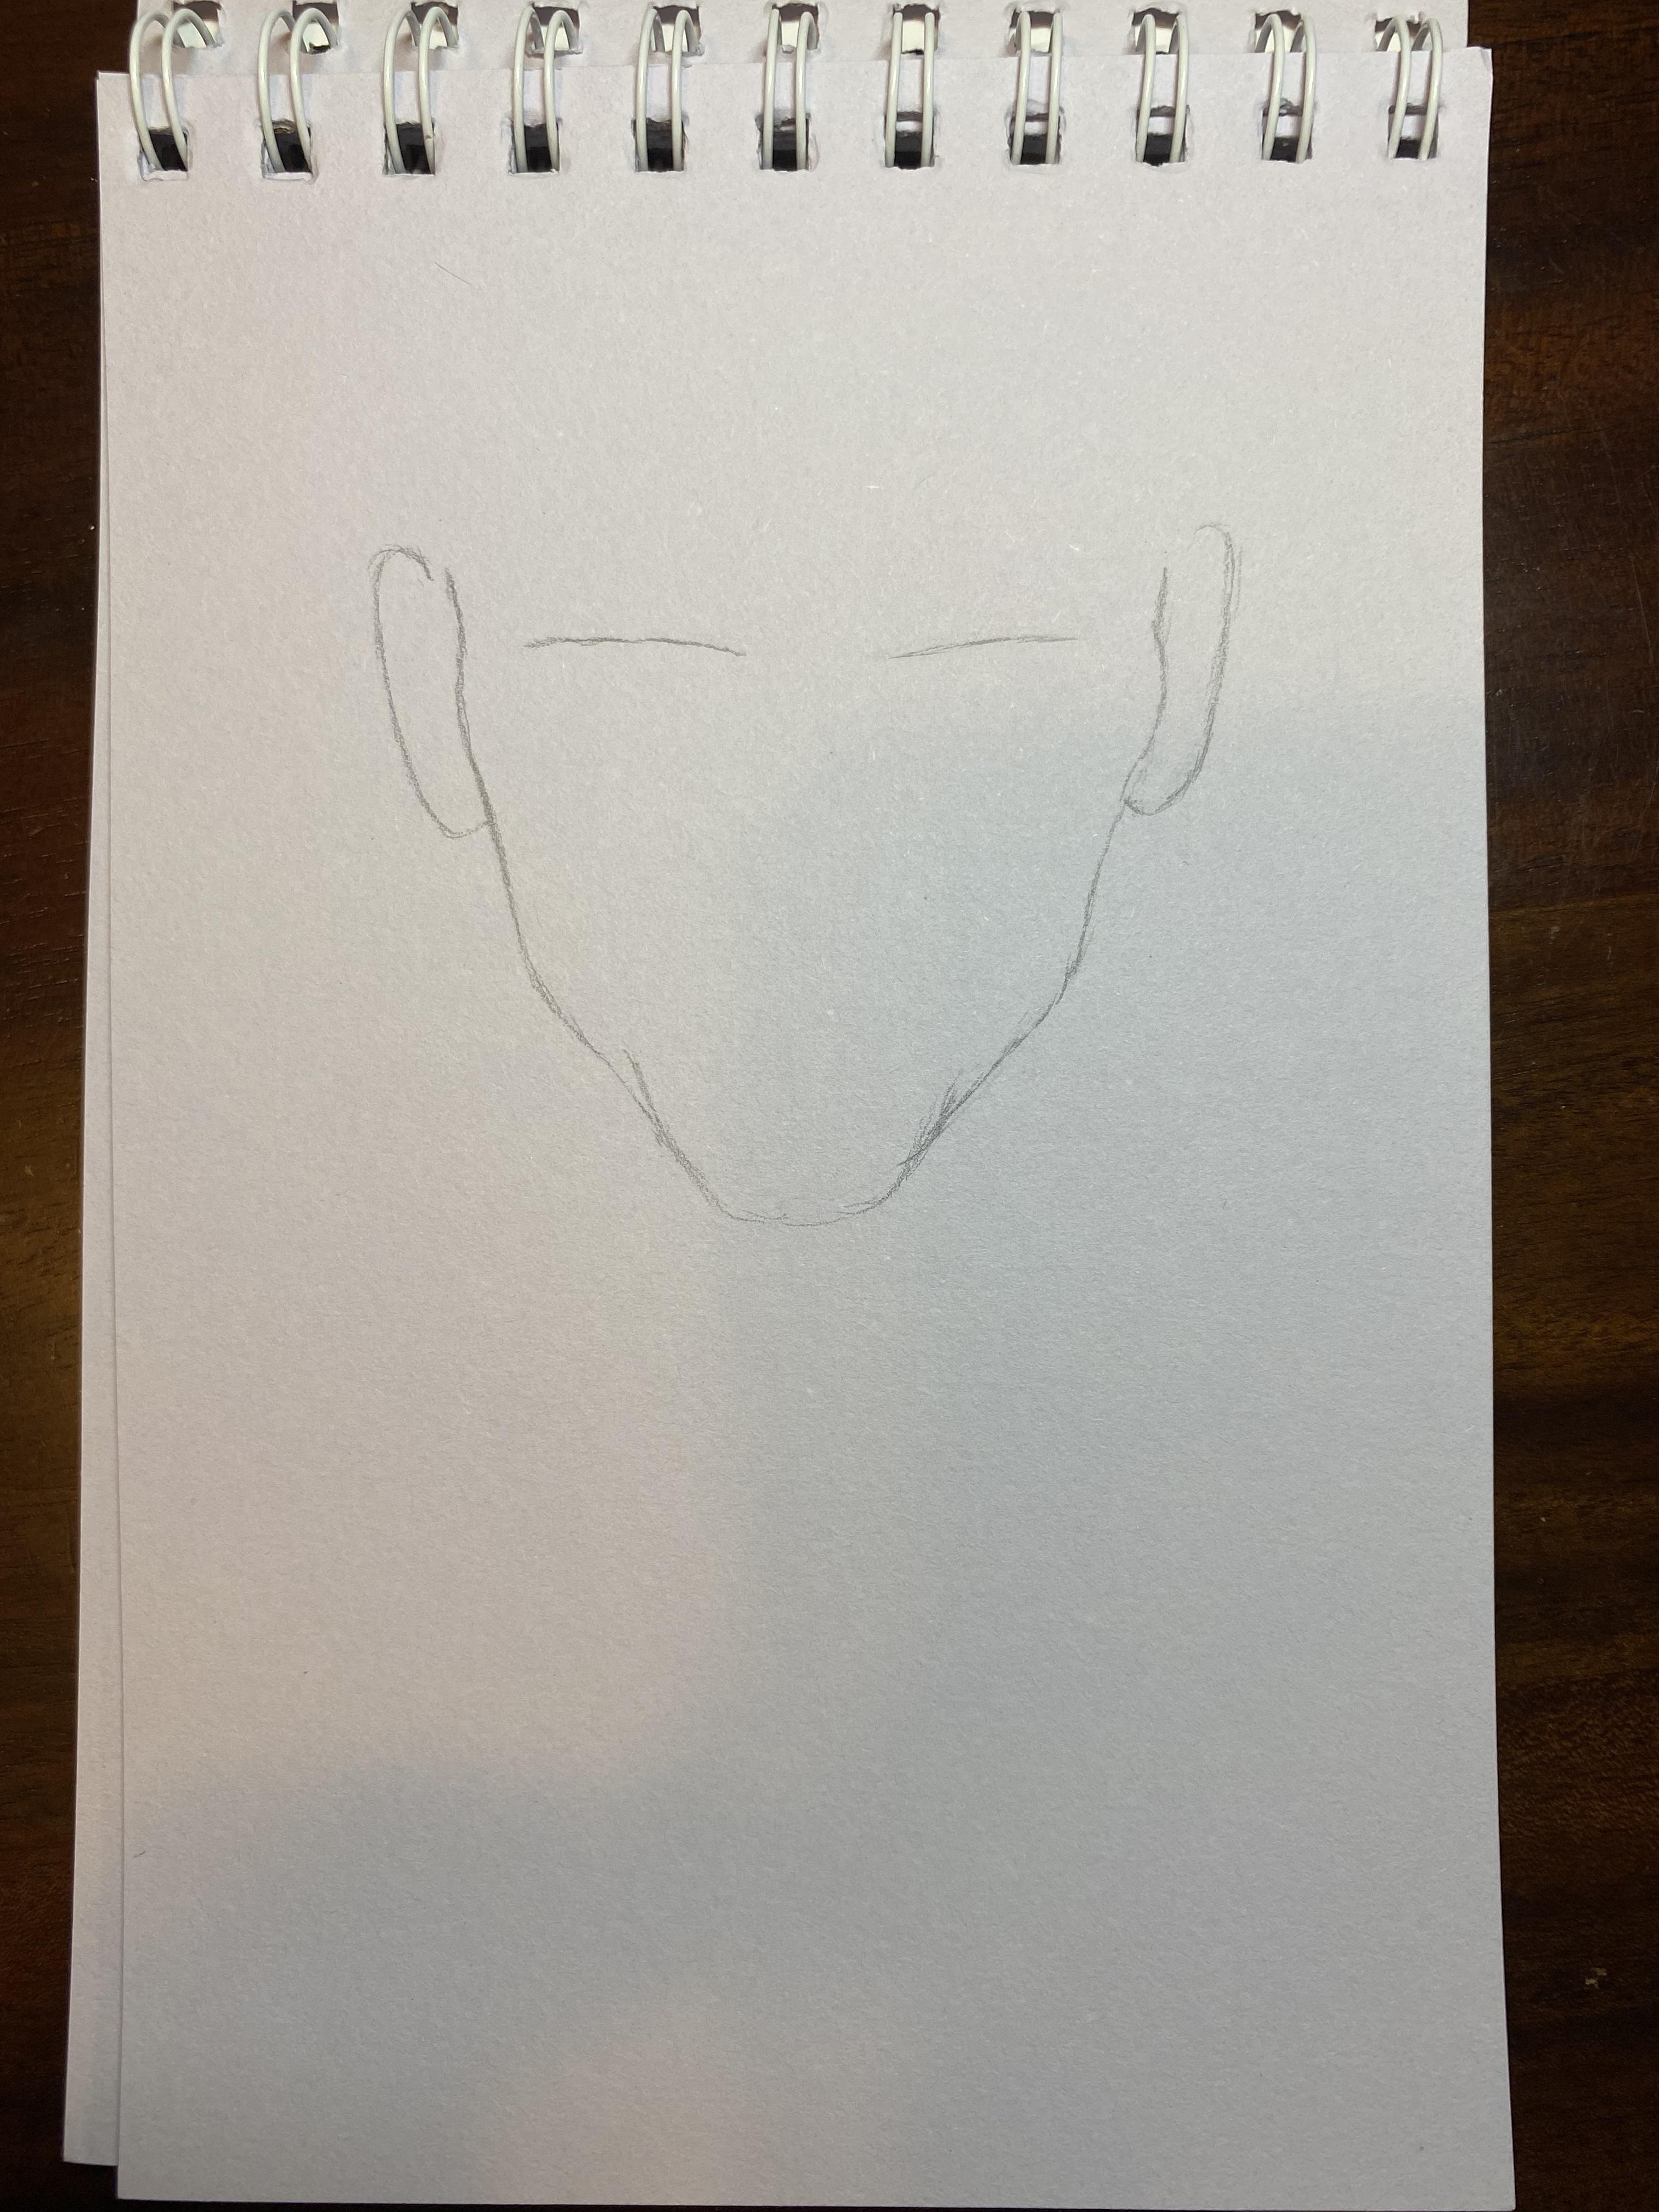
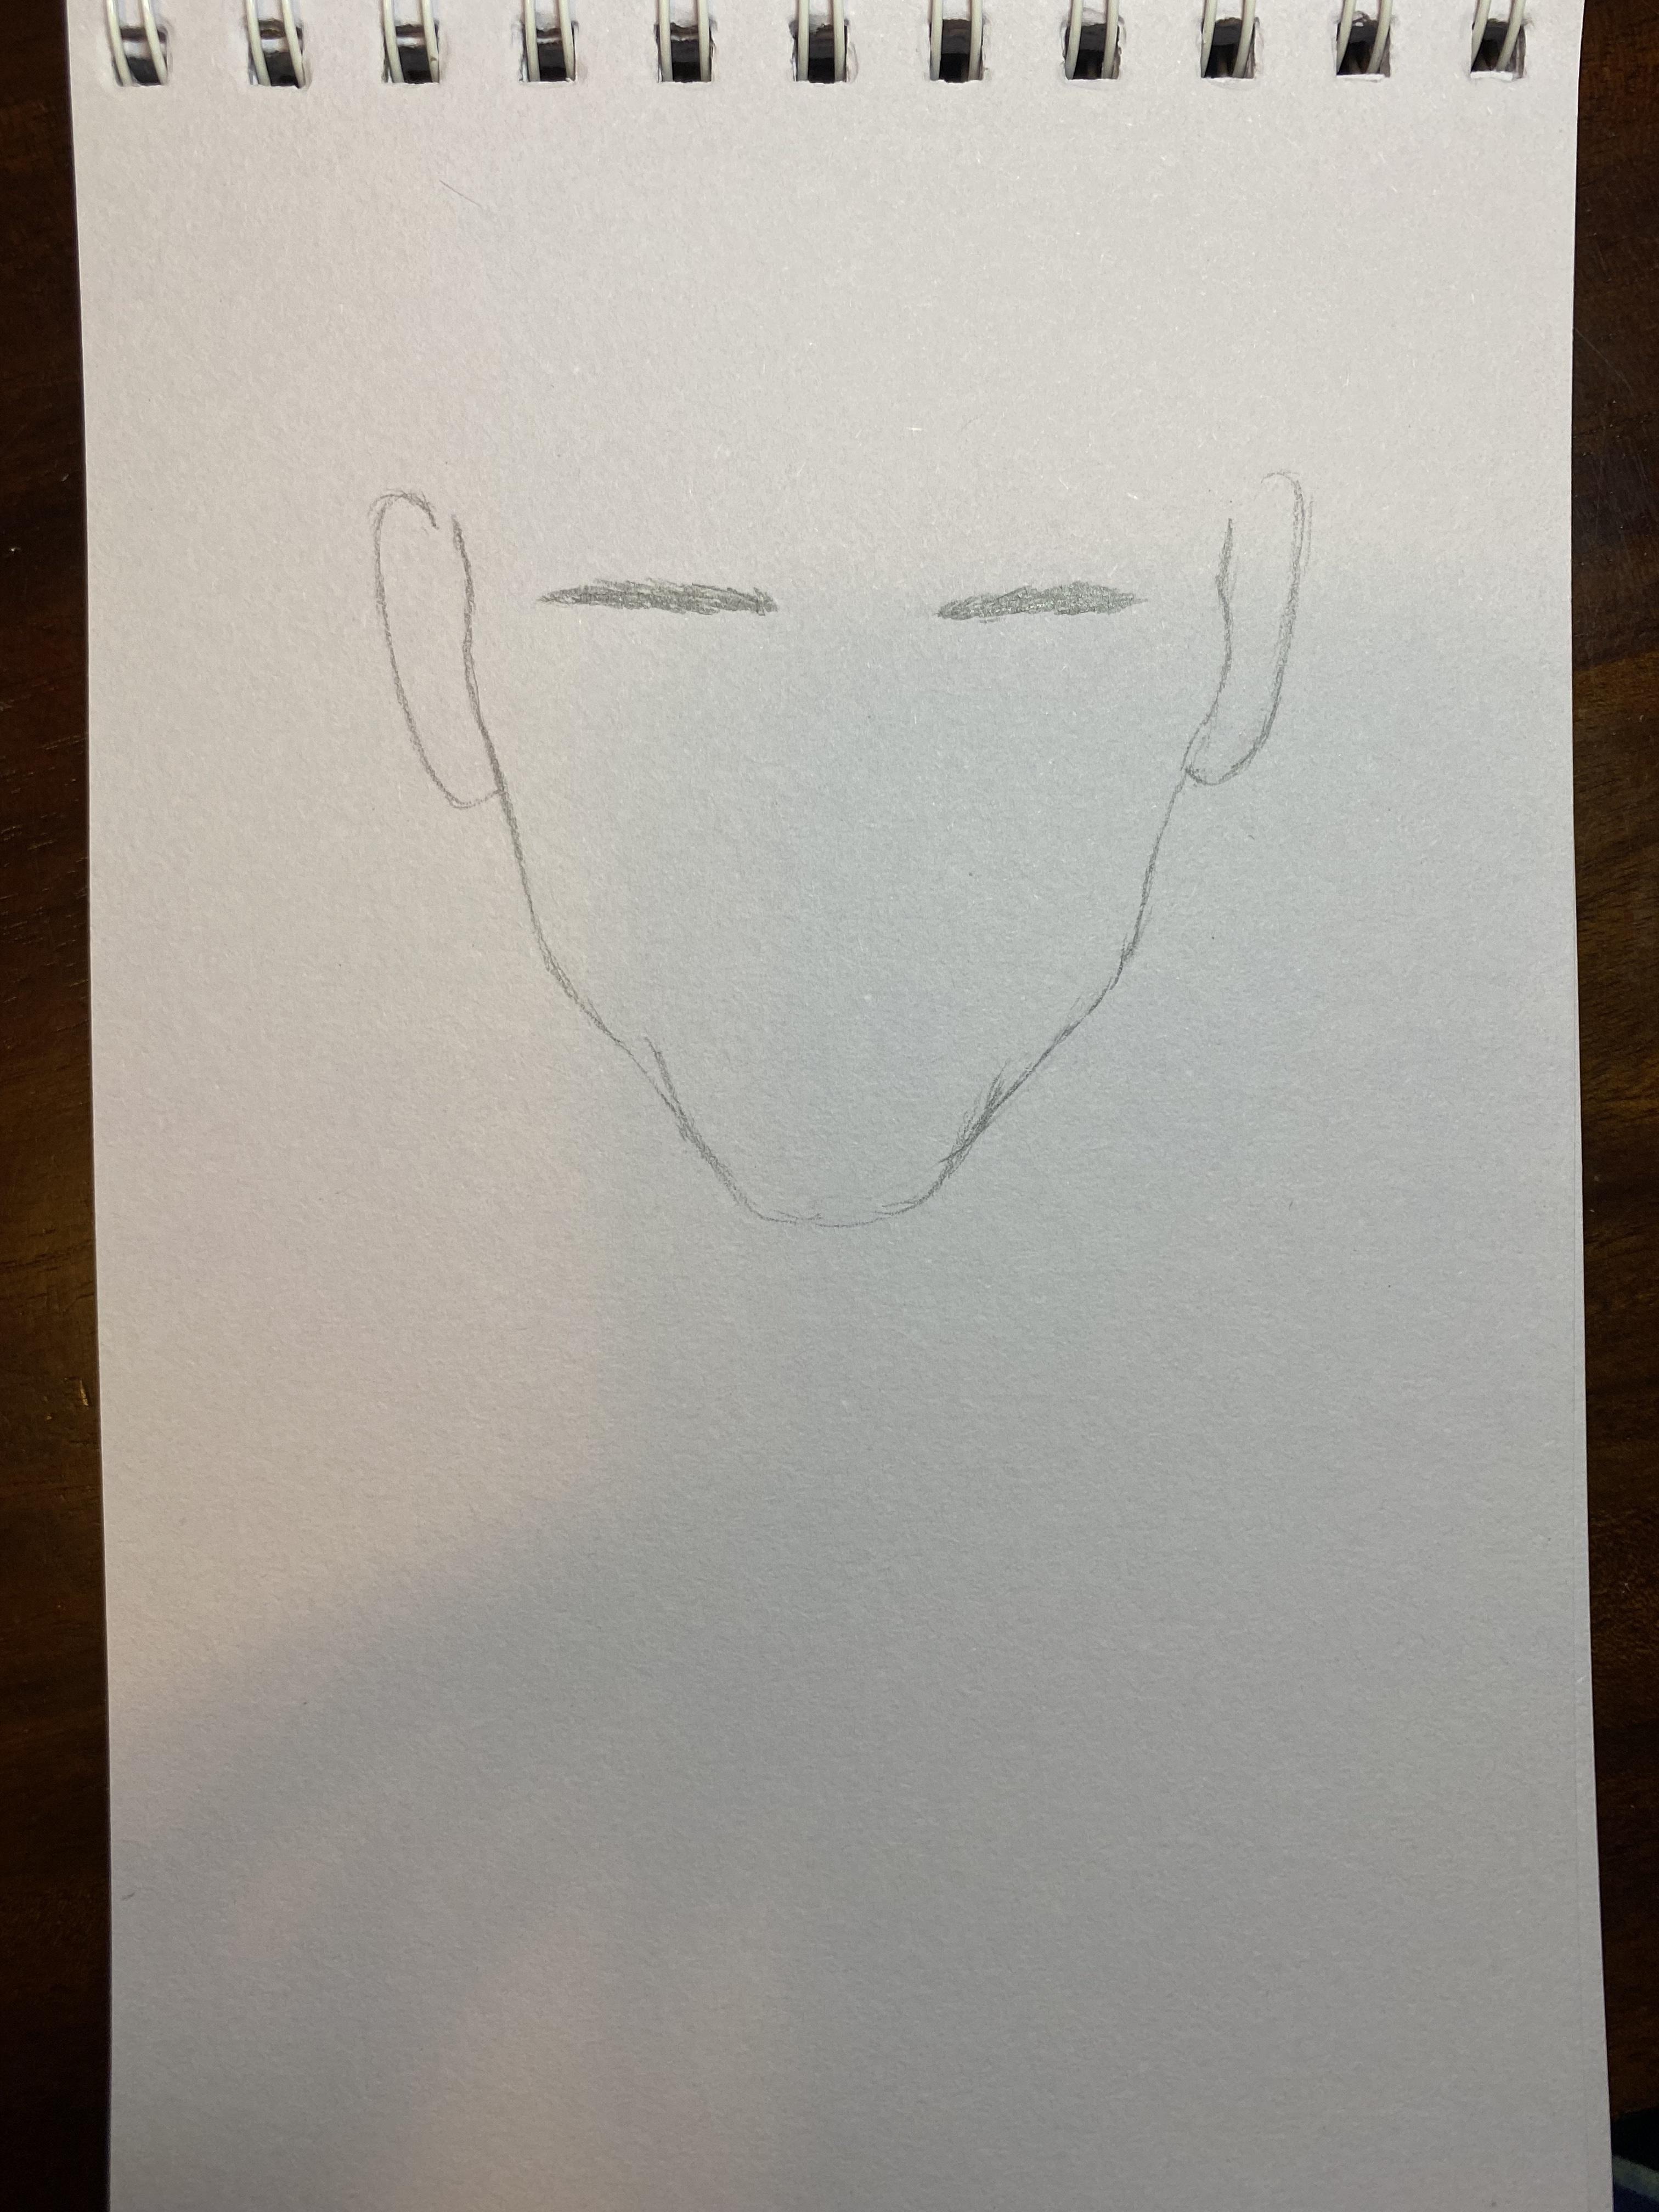
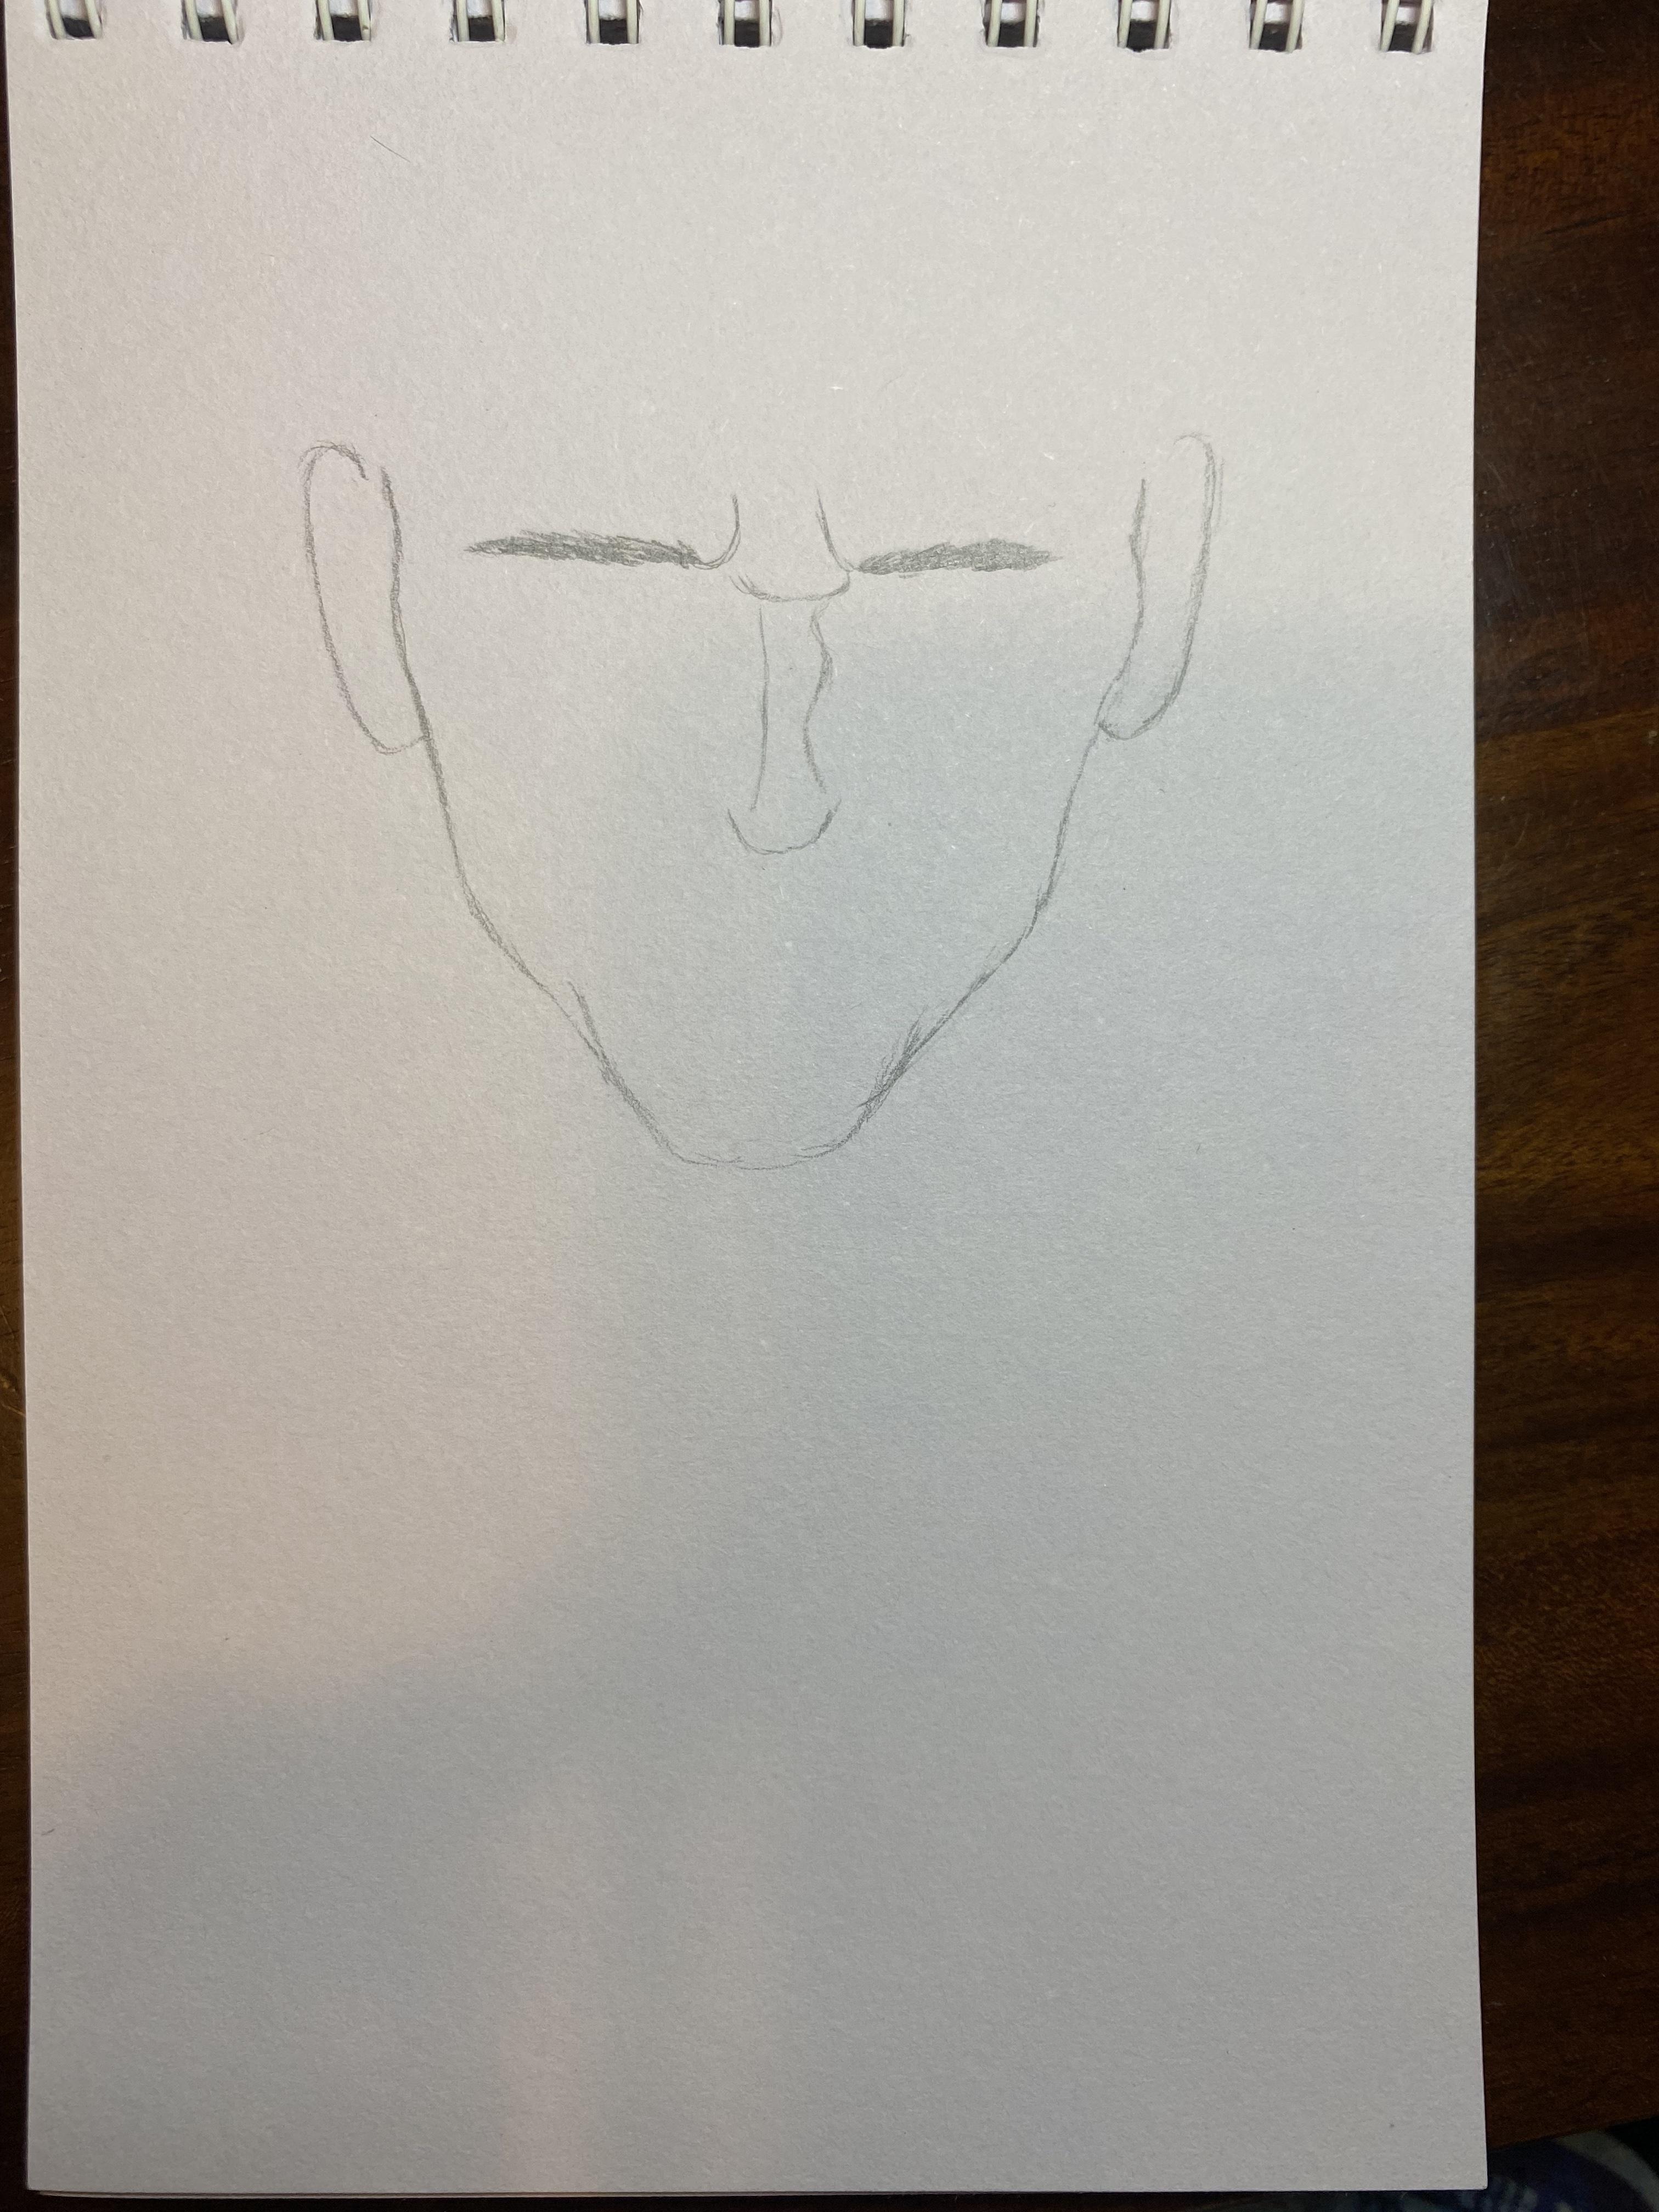
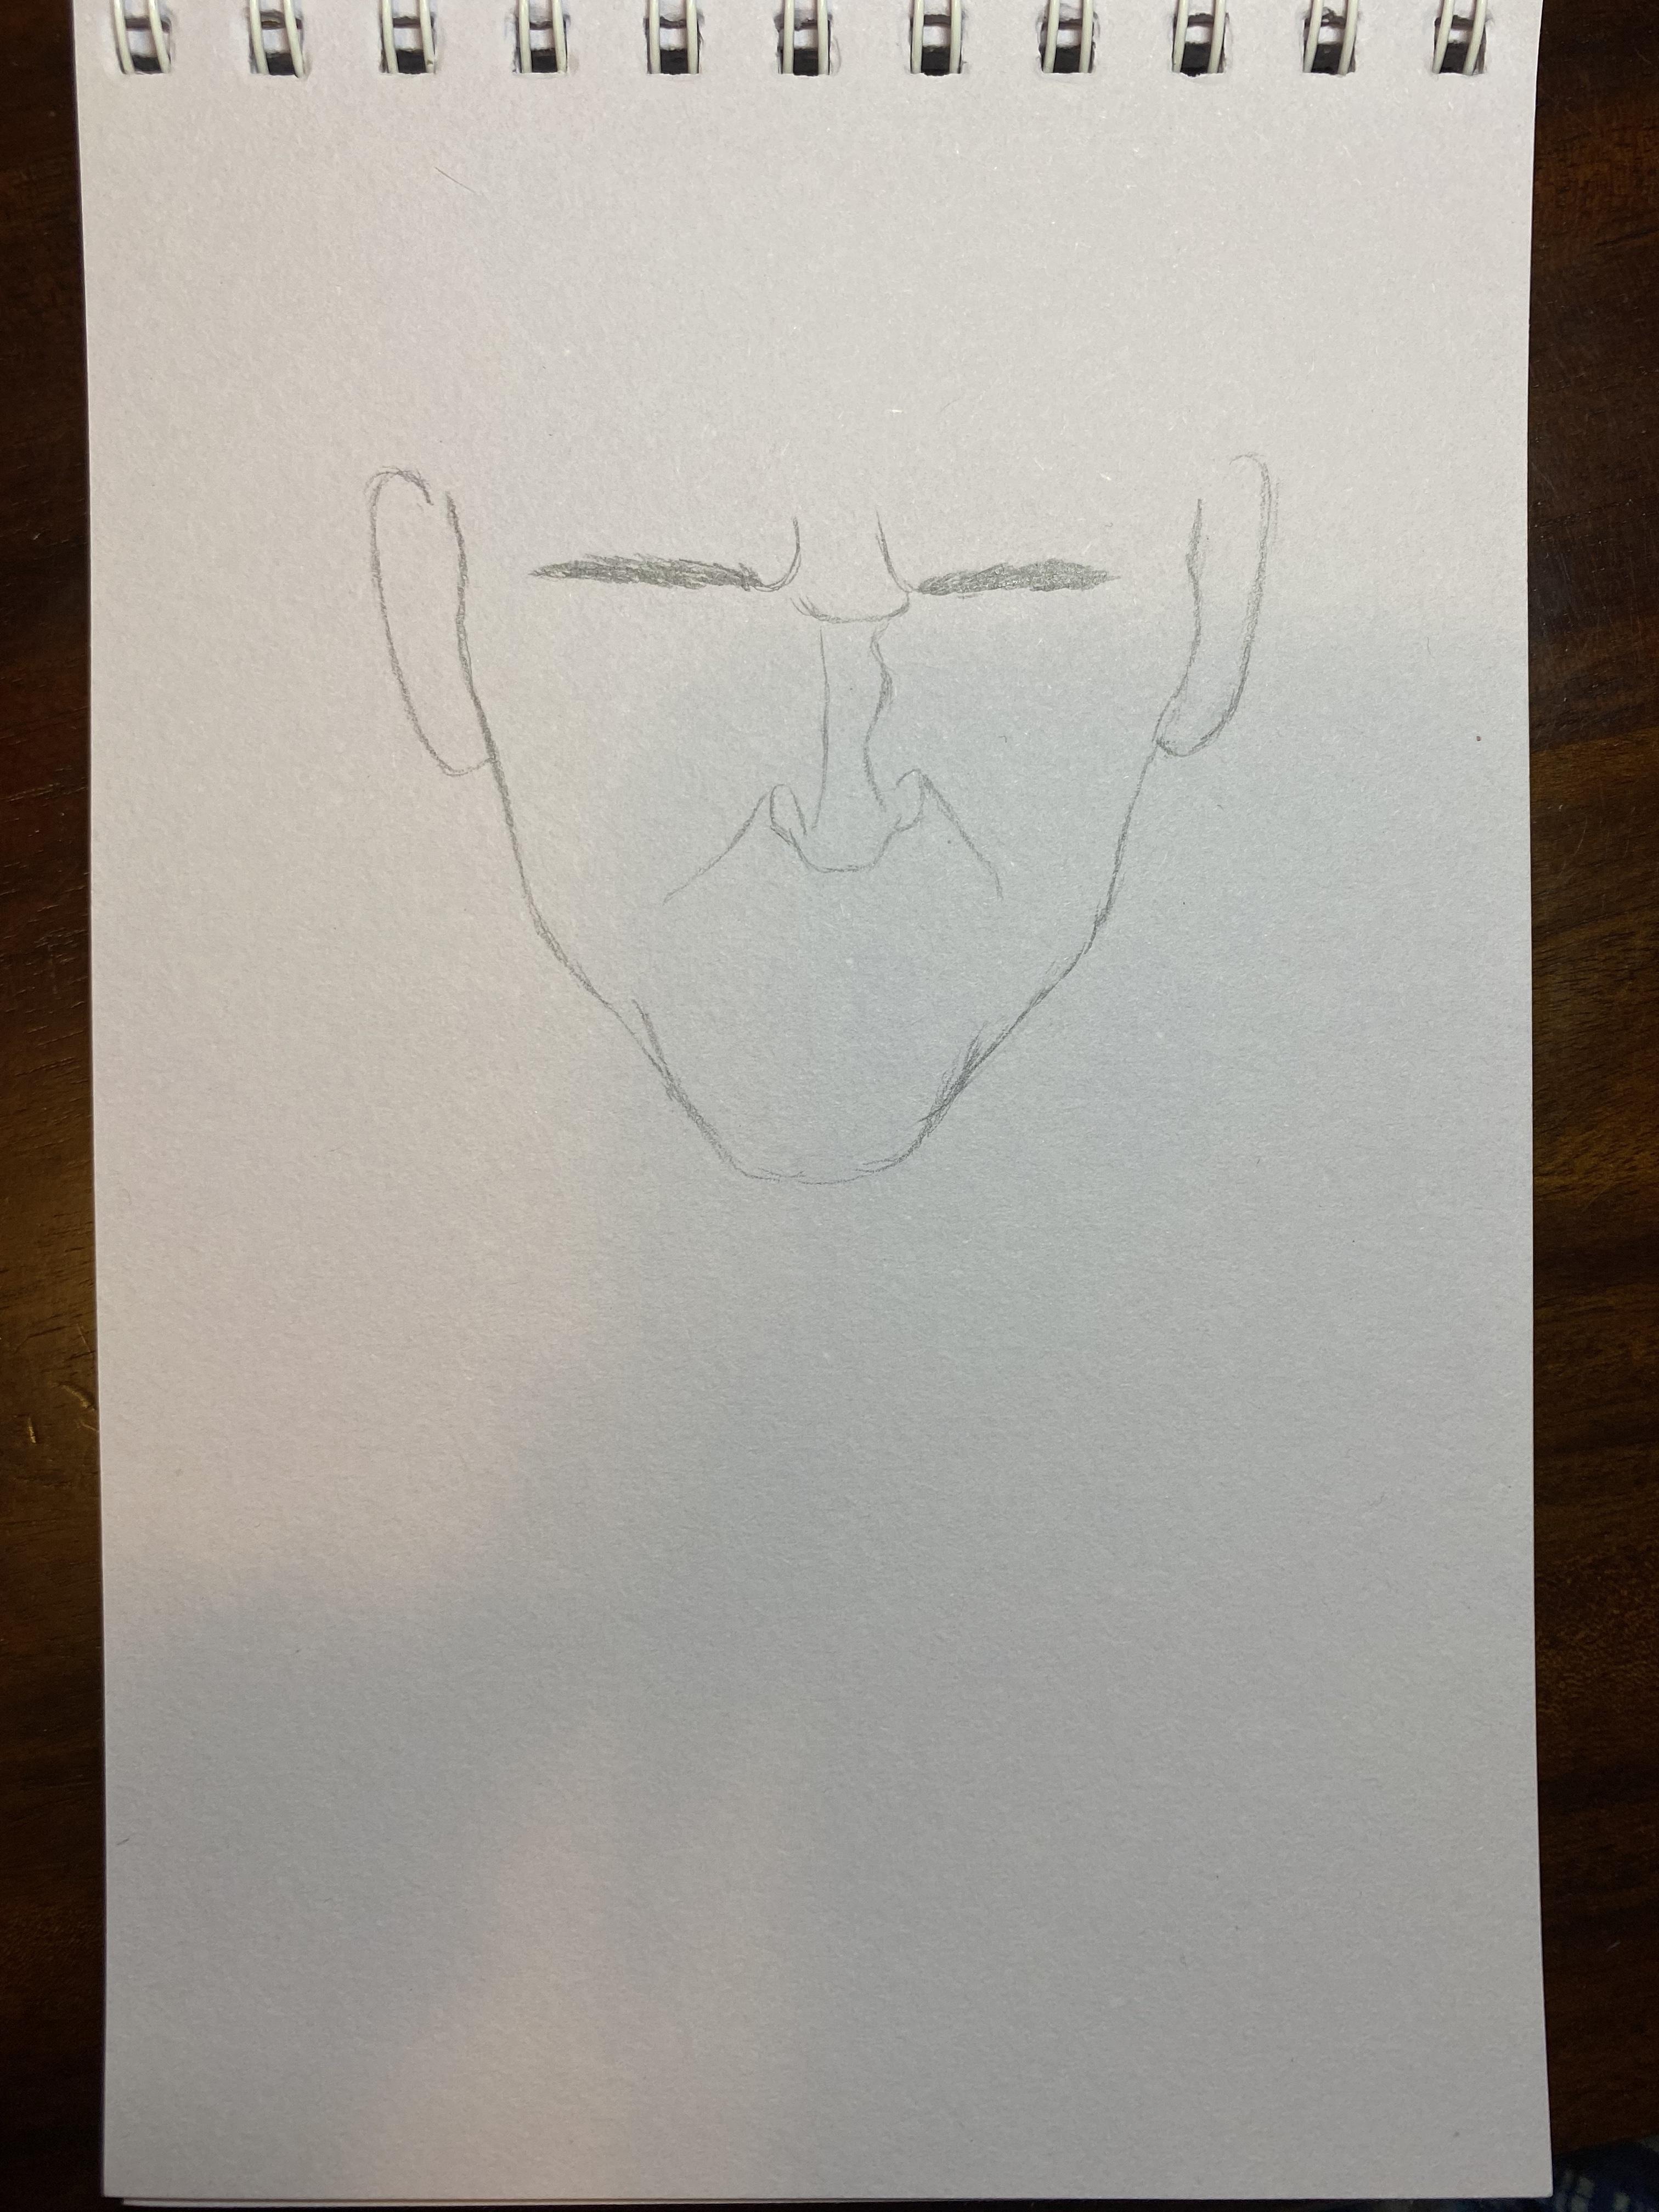
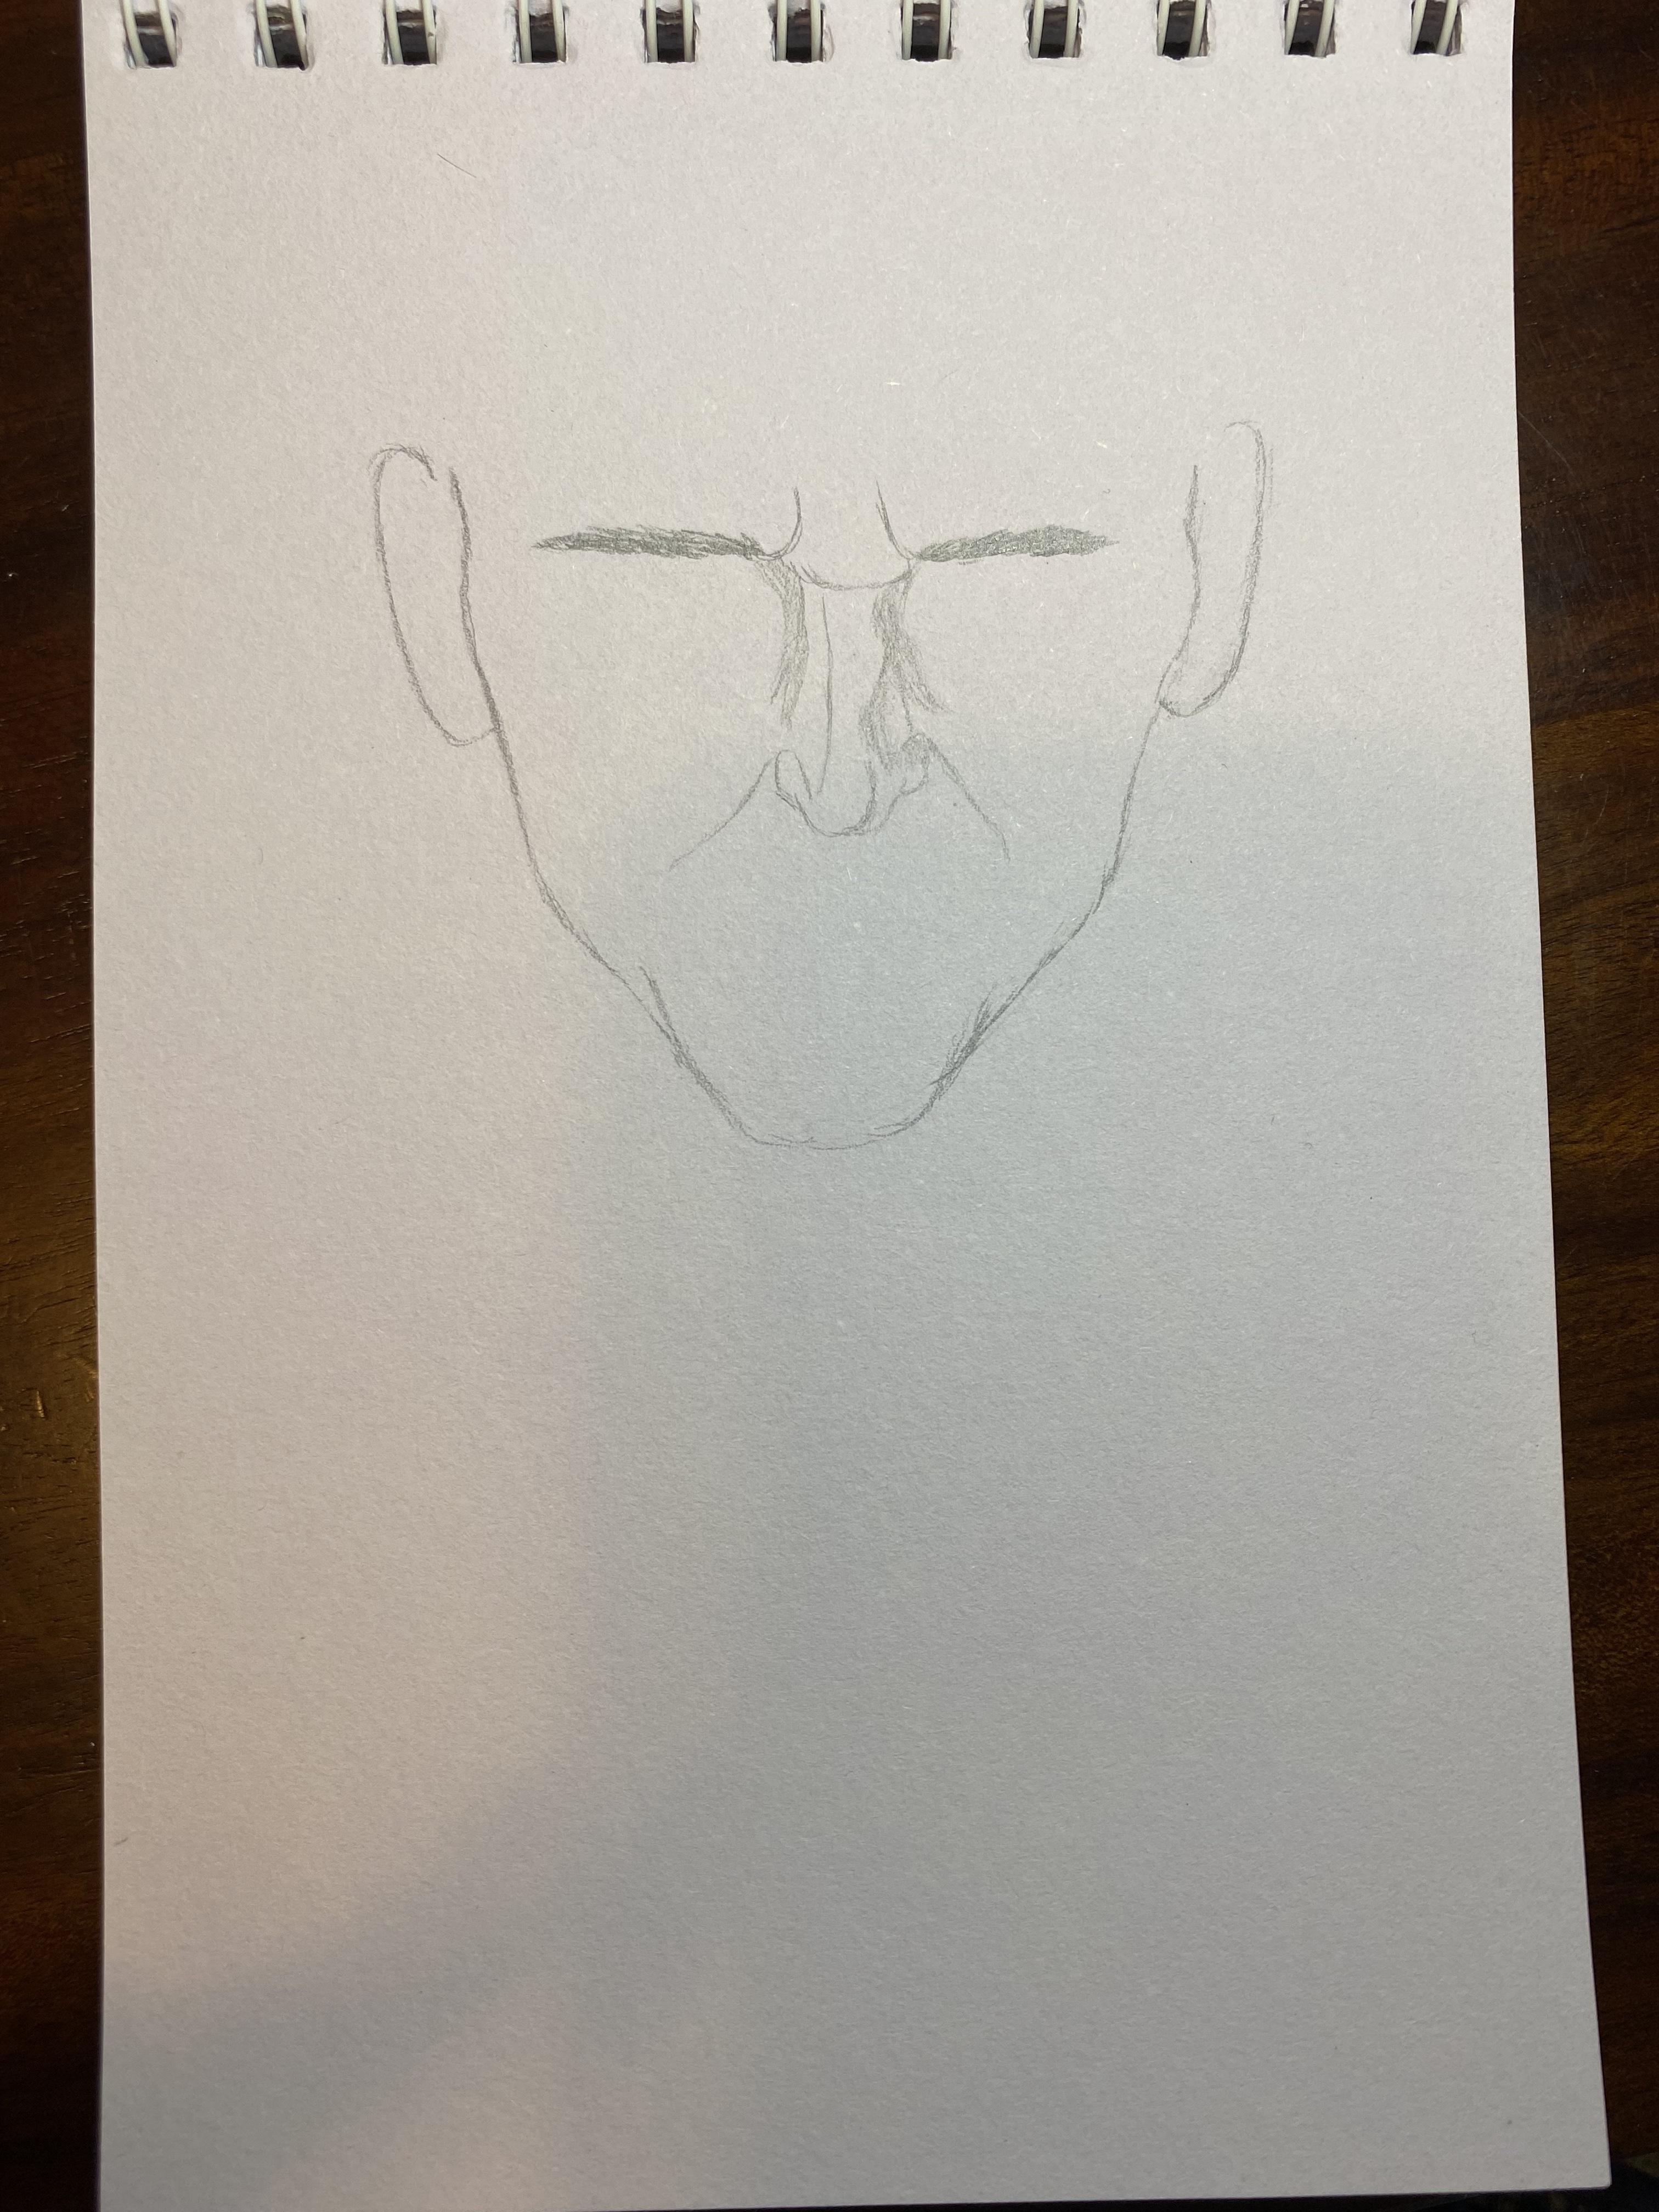
If you're stuck with the nose, try drawing a light line down the center of Loki's face. Then, draw another line from left to right at the point where you want the end of the nose to be. Use these lines to help keep the nose centered, adding rounded lines on either side to give it shape. Lightly & quickly move your pencil in small movements for shading on either side of the nose.
Eyes & Hair
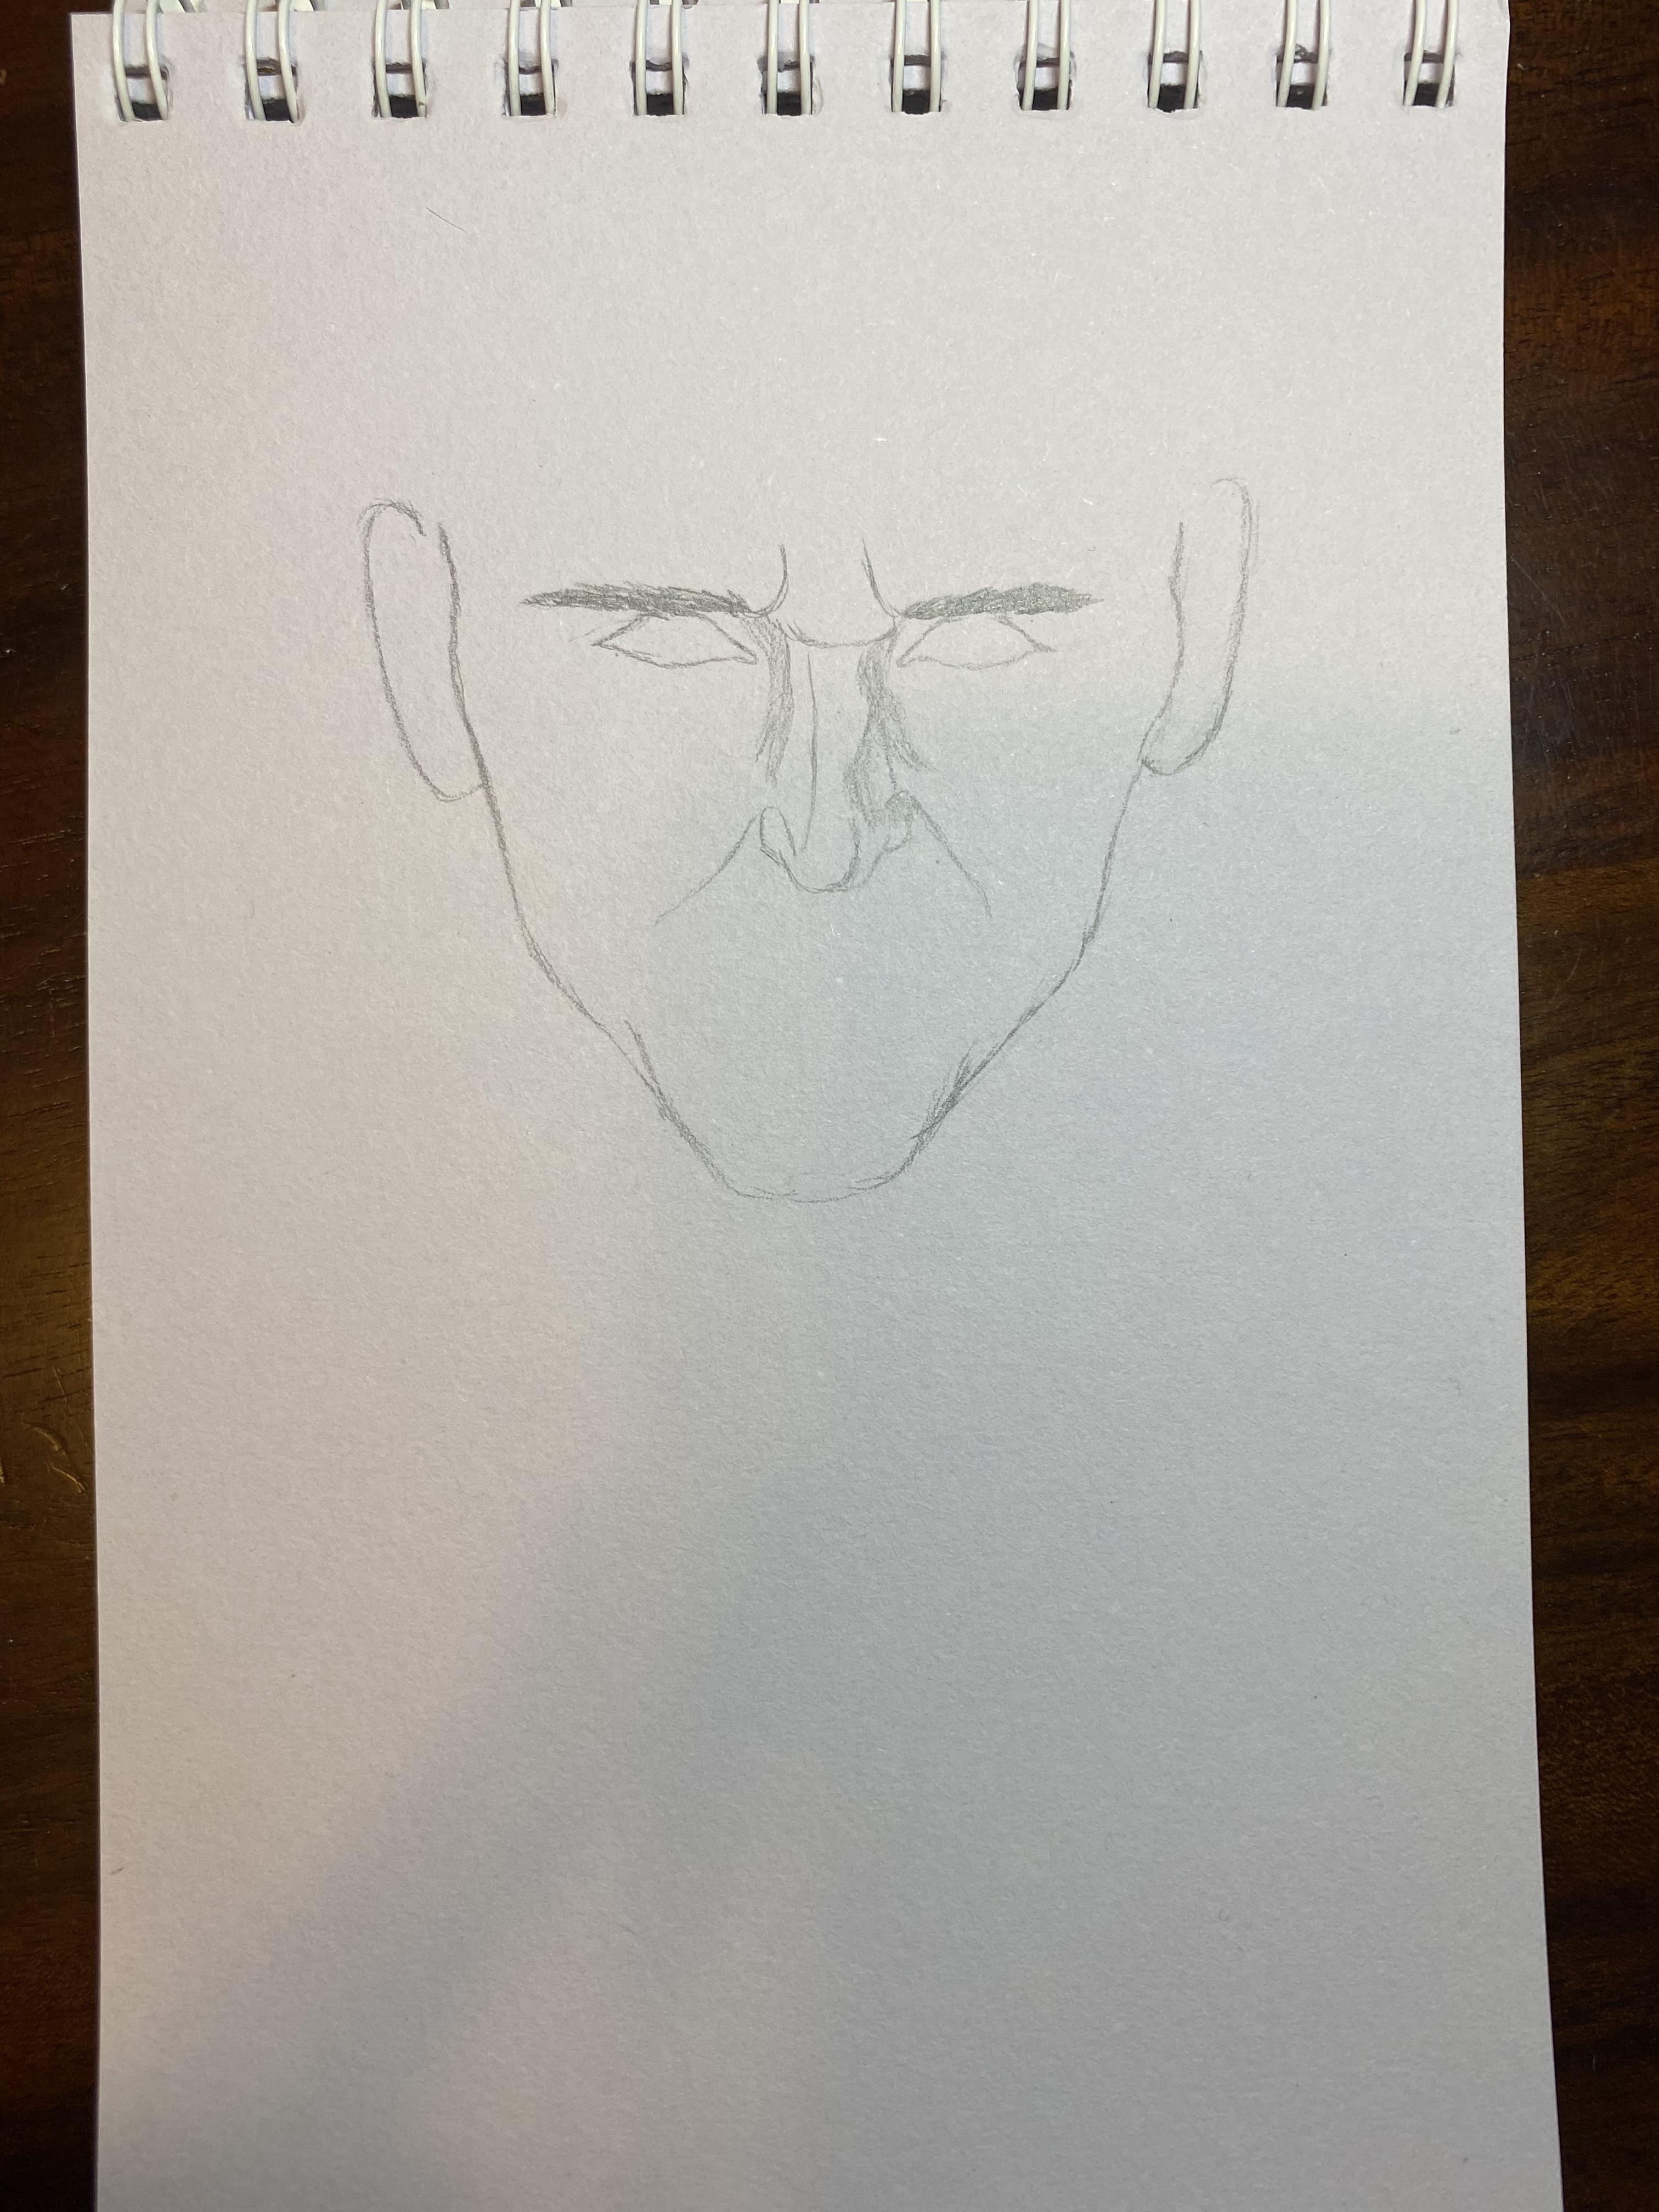
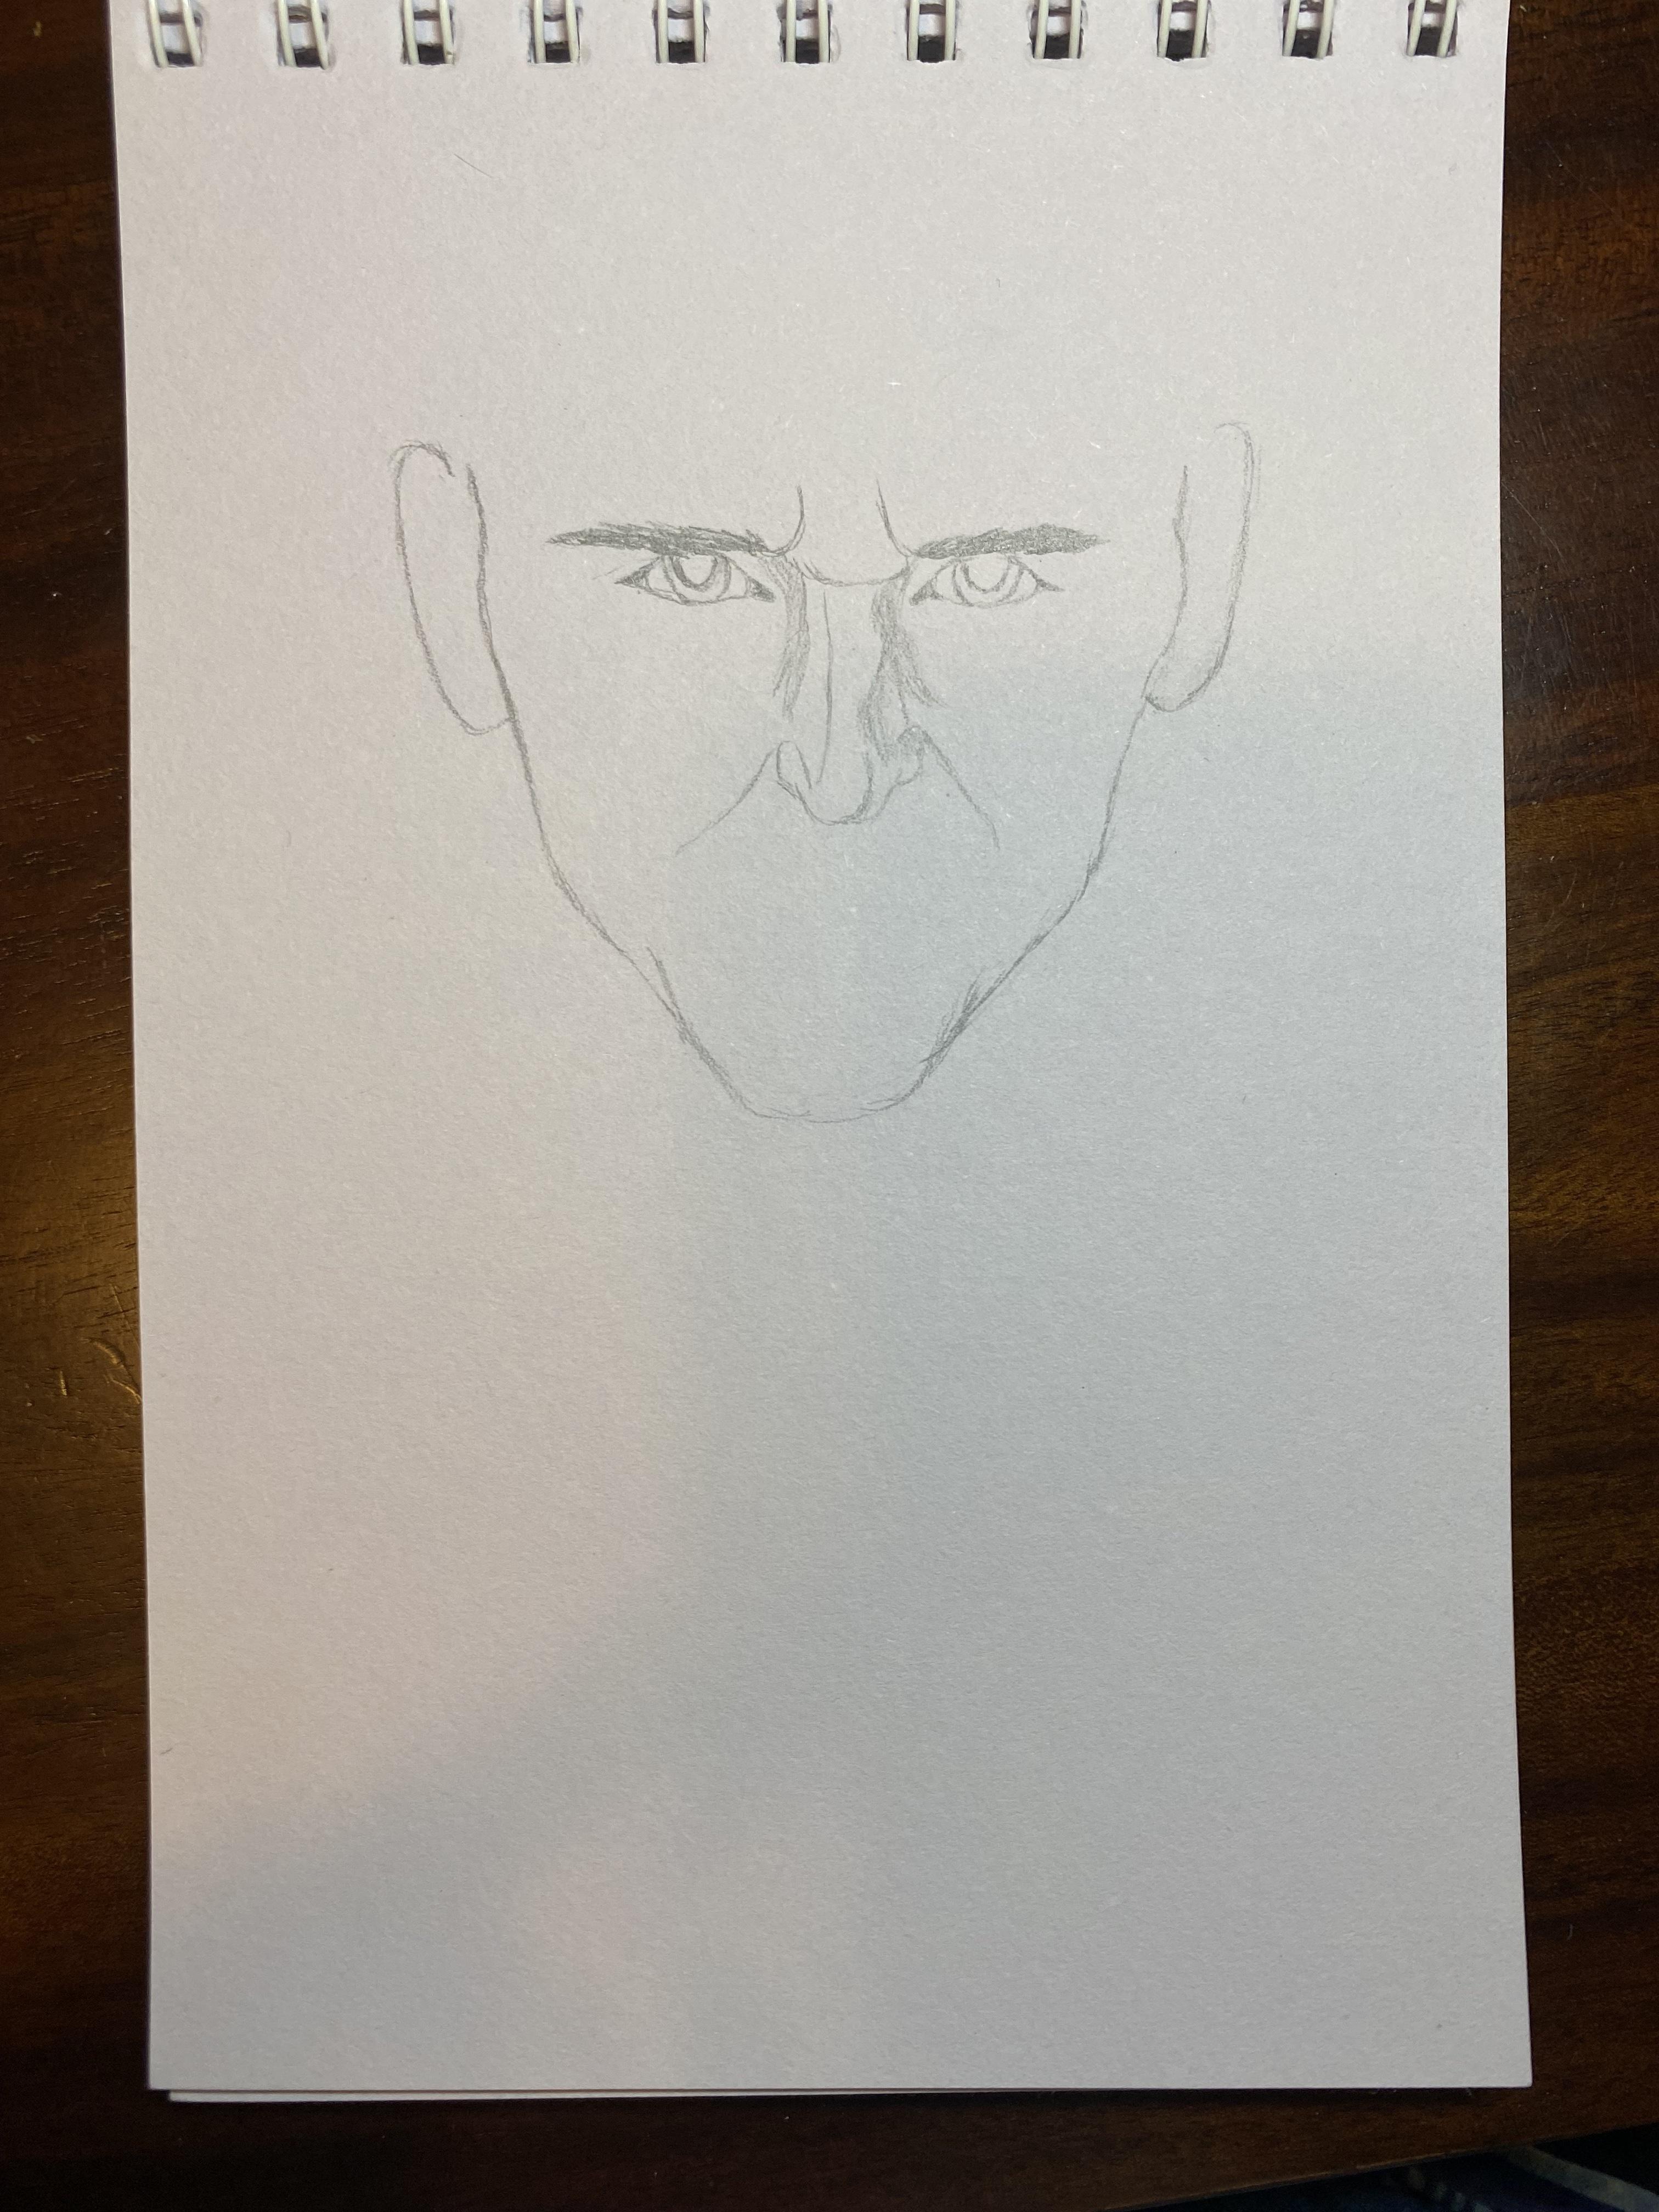
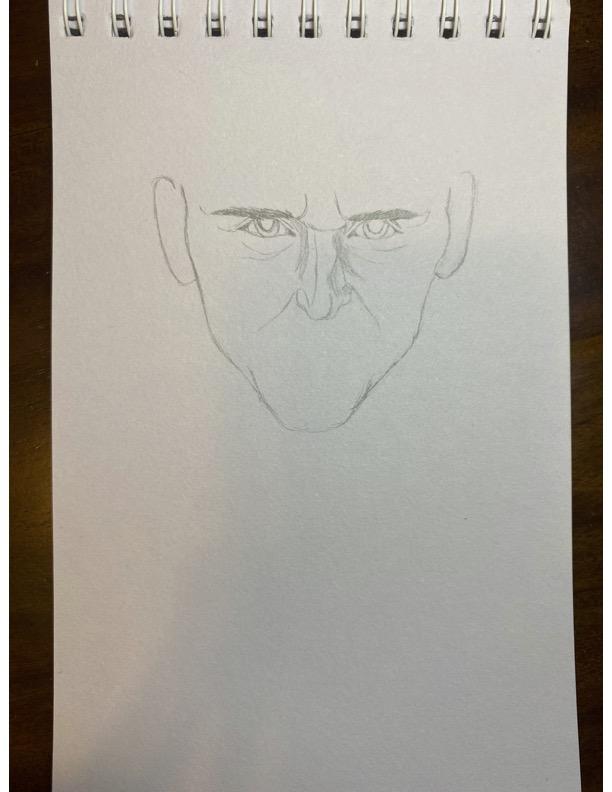
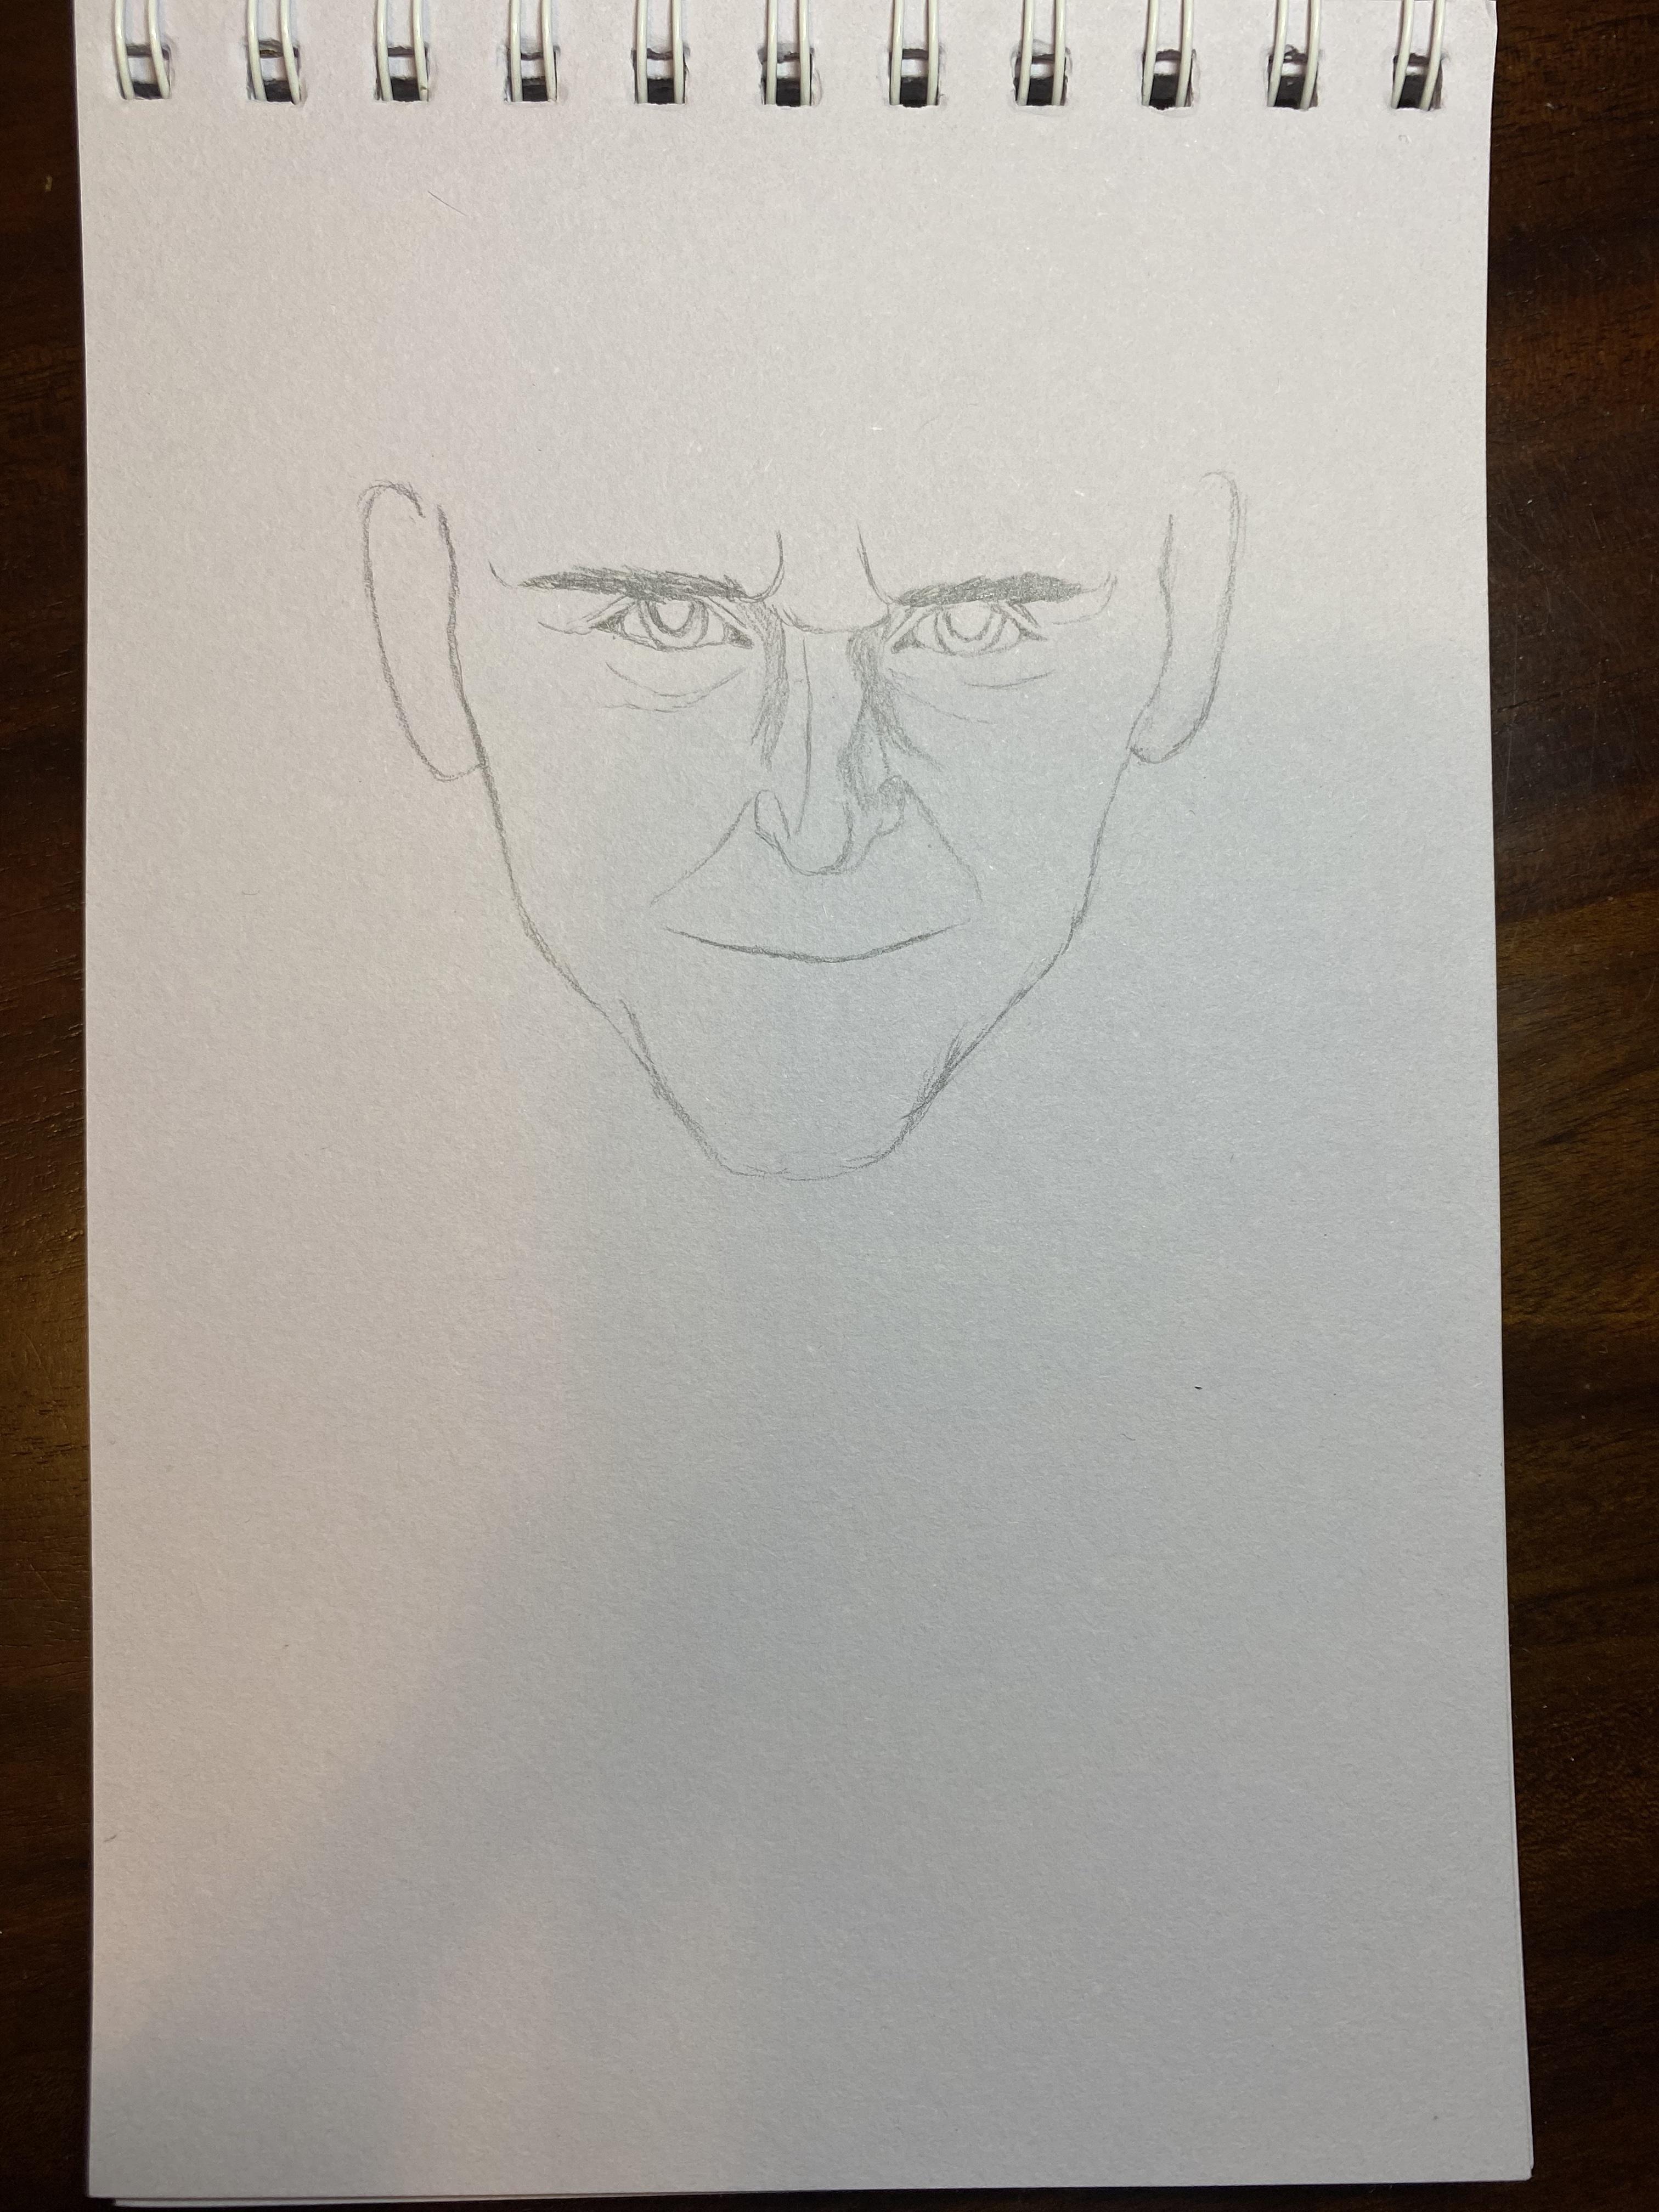
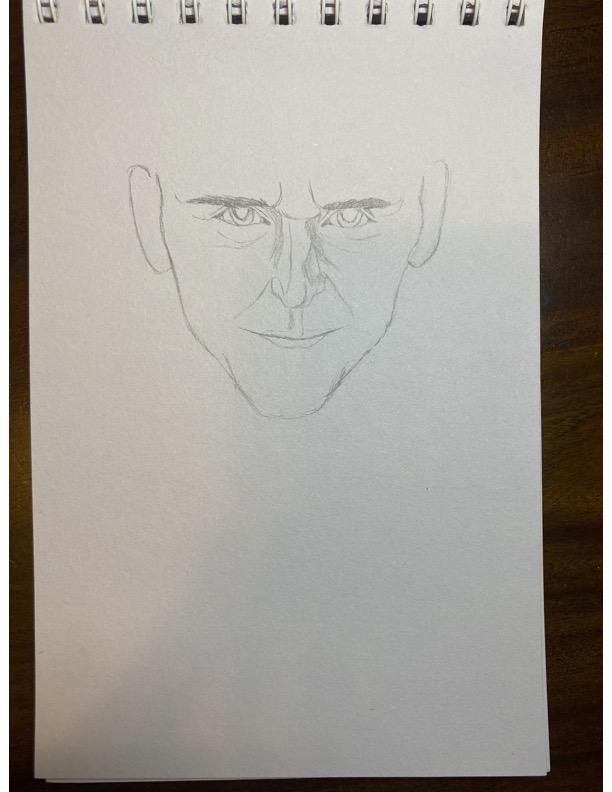
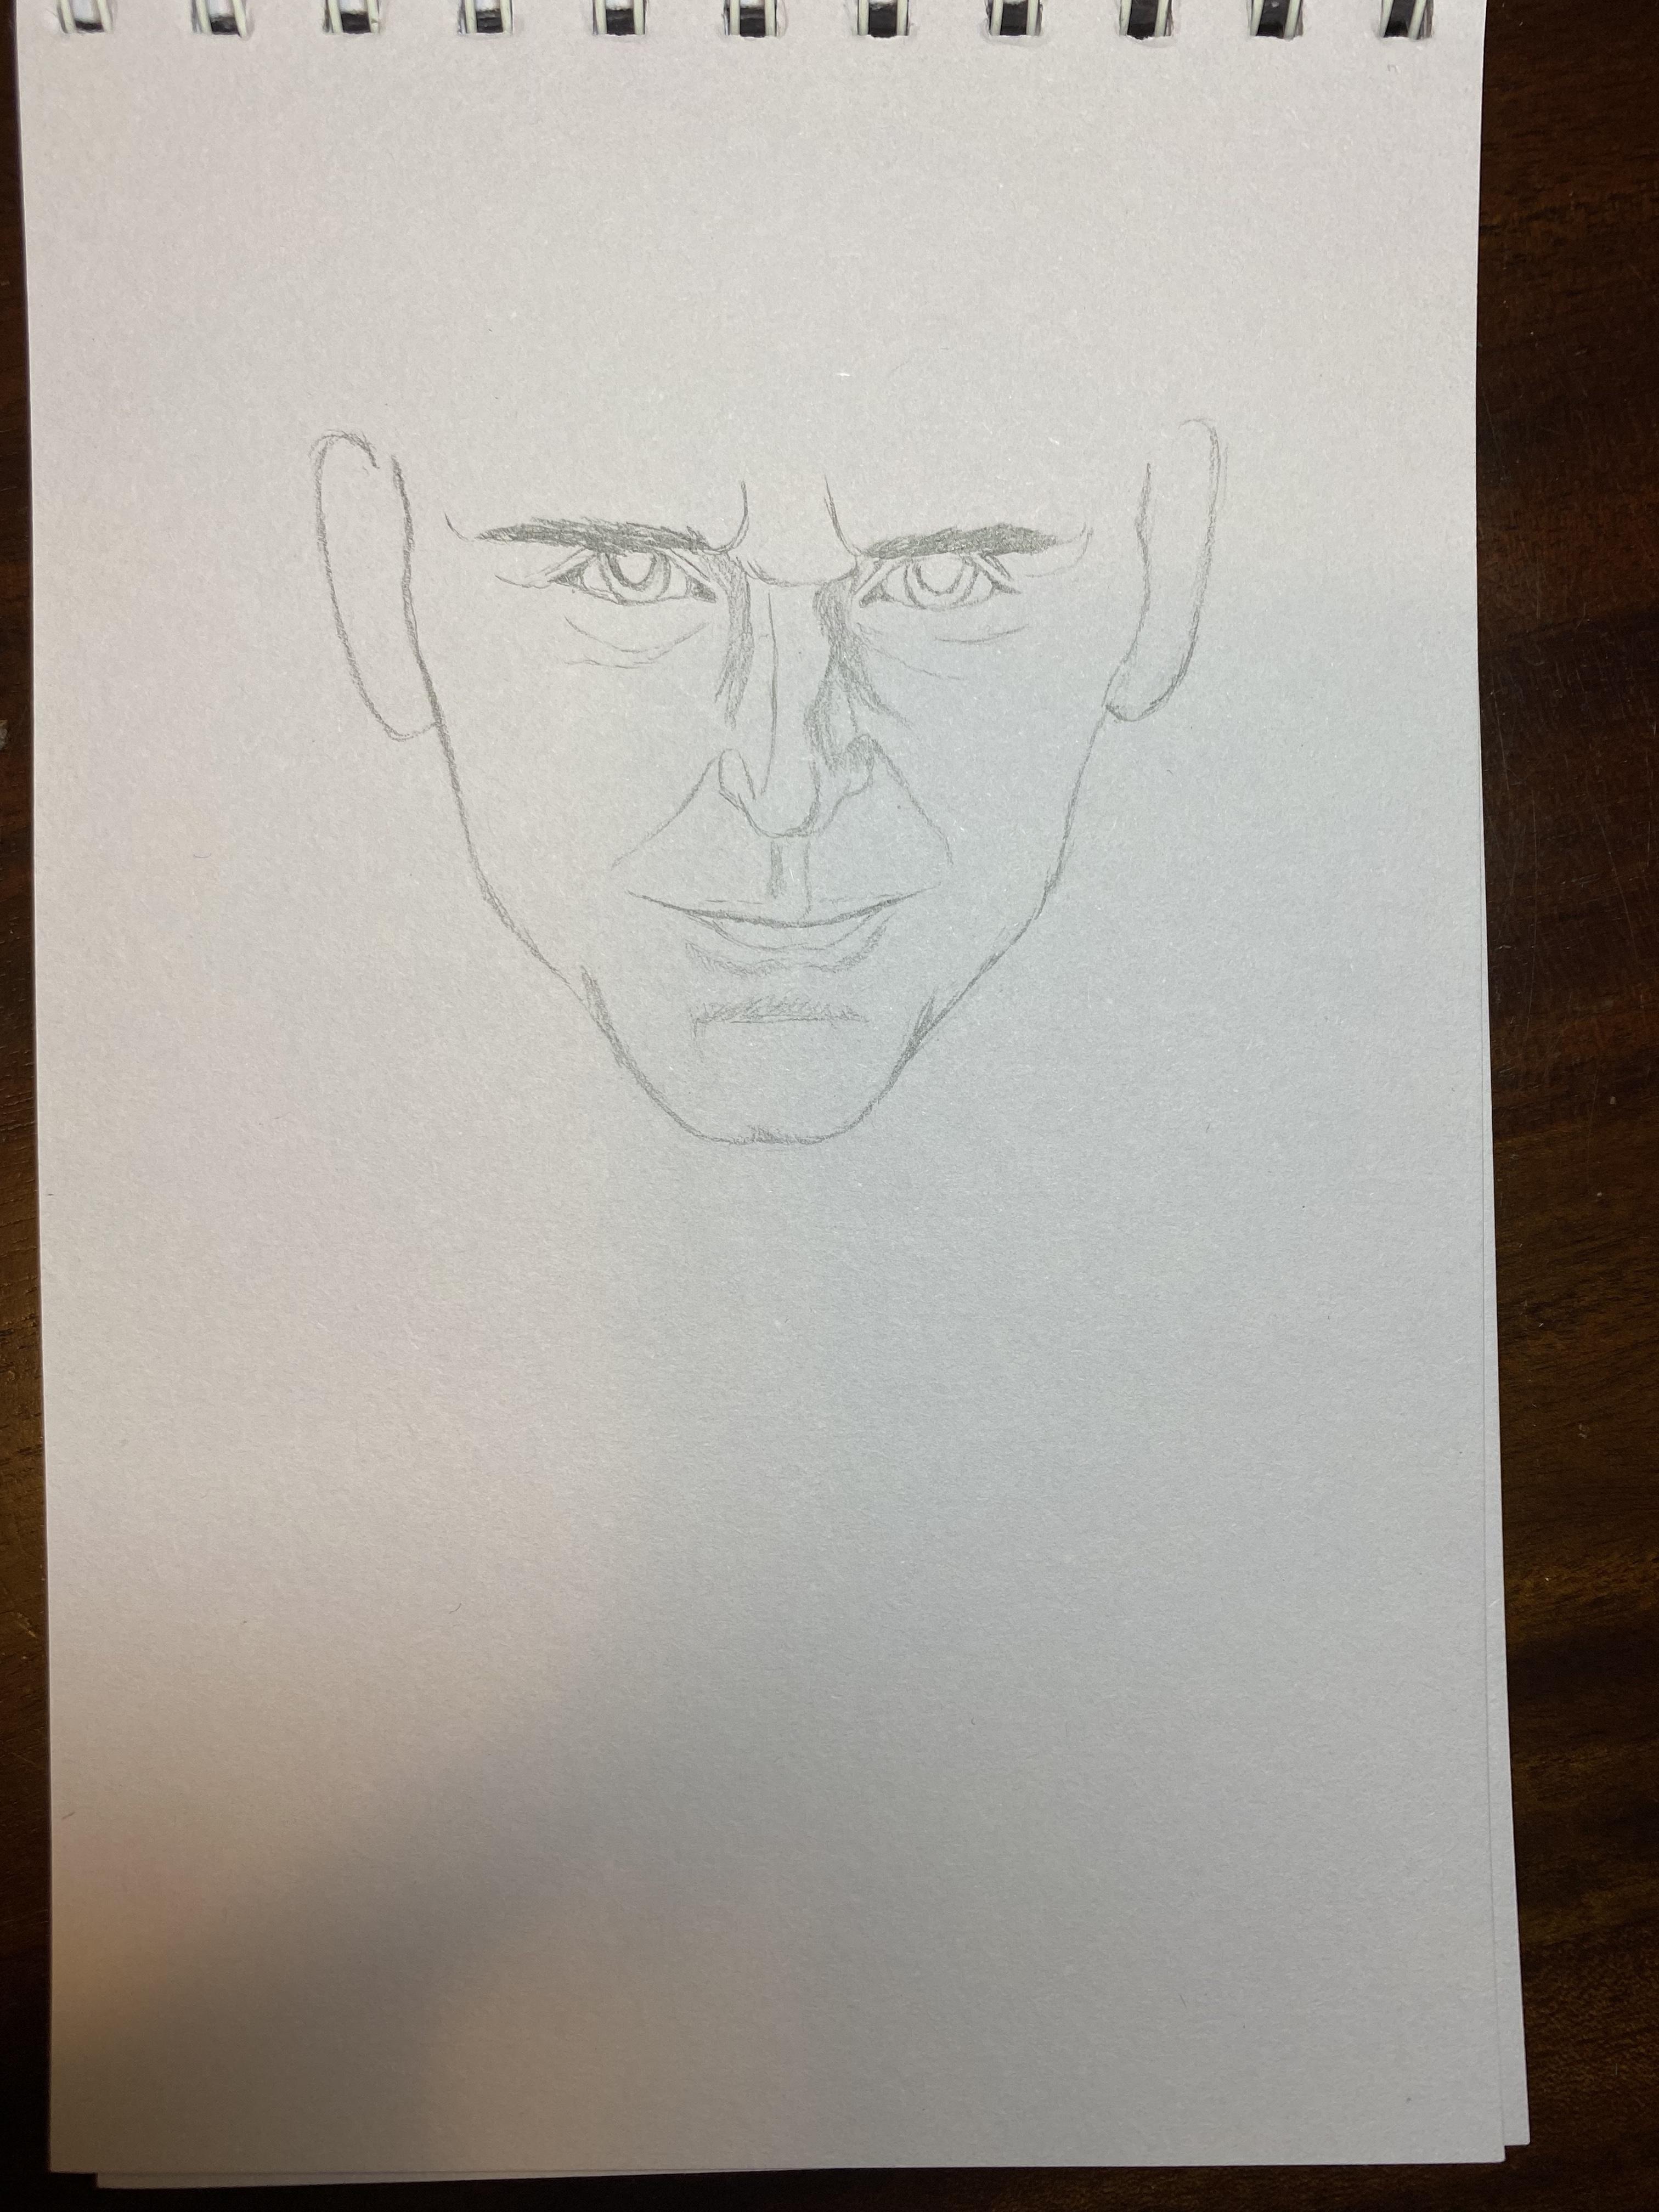
Imagine drawing almonds for the eyes, then adding a little rounded tip by the nose on each one that points slightly downward. Draw a circle in the middle of each almond (with the top and bottom formed by the almond shape) and darken the corners outside of the circle. Draw two more partial circles inside the eyes to create where the colored and dark parts will be.
Glorious Hair & Face
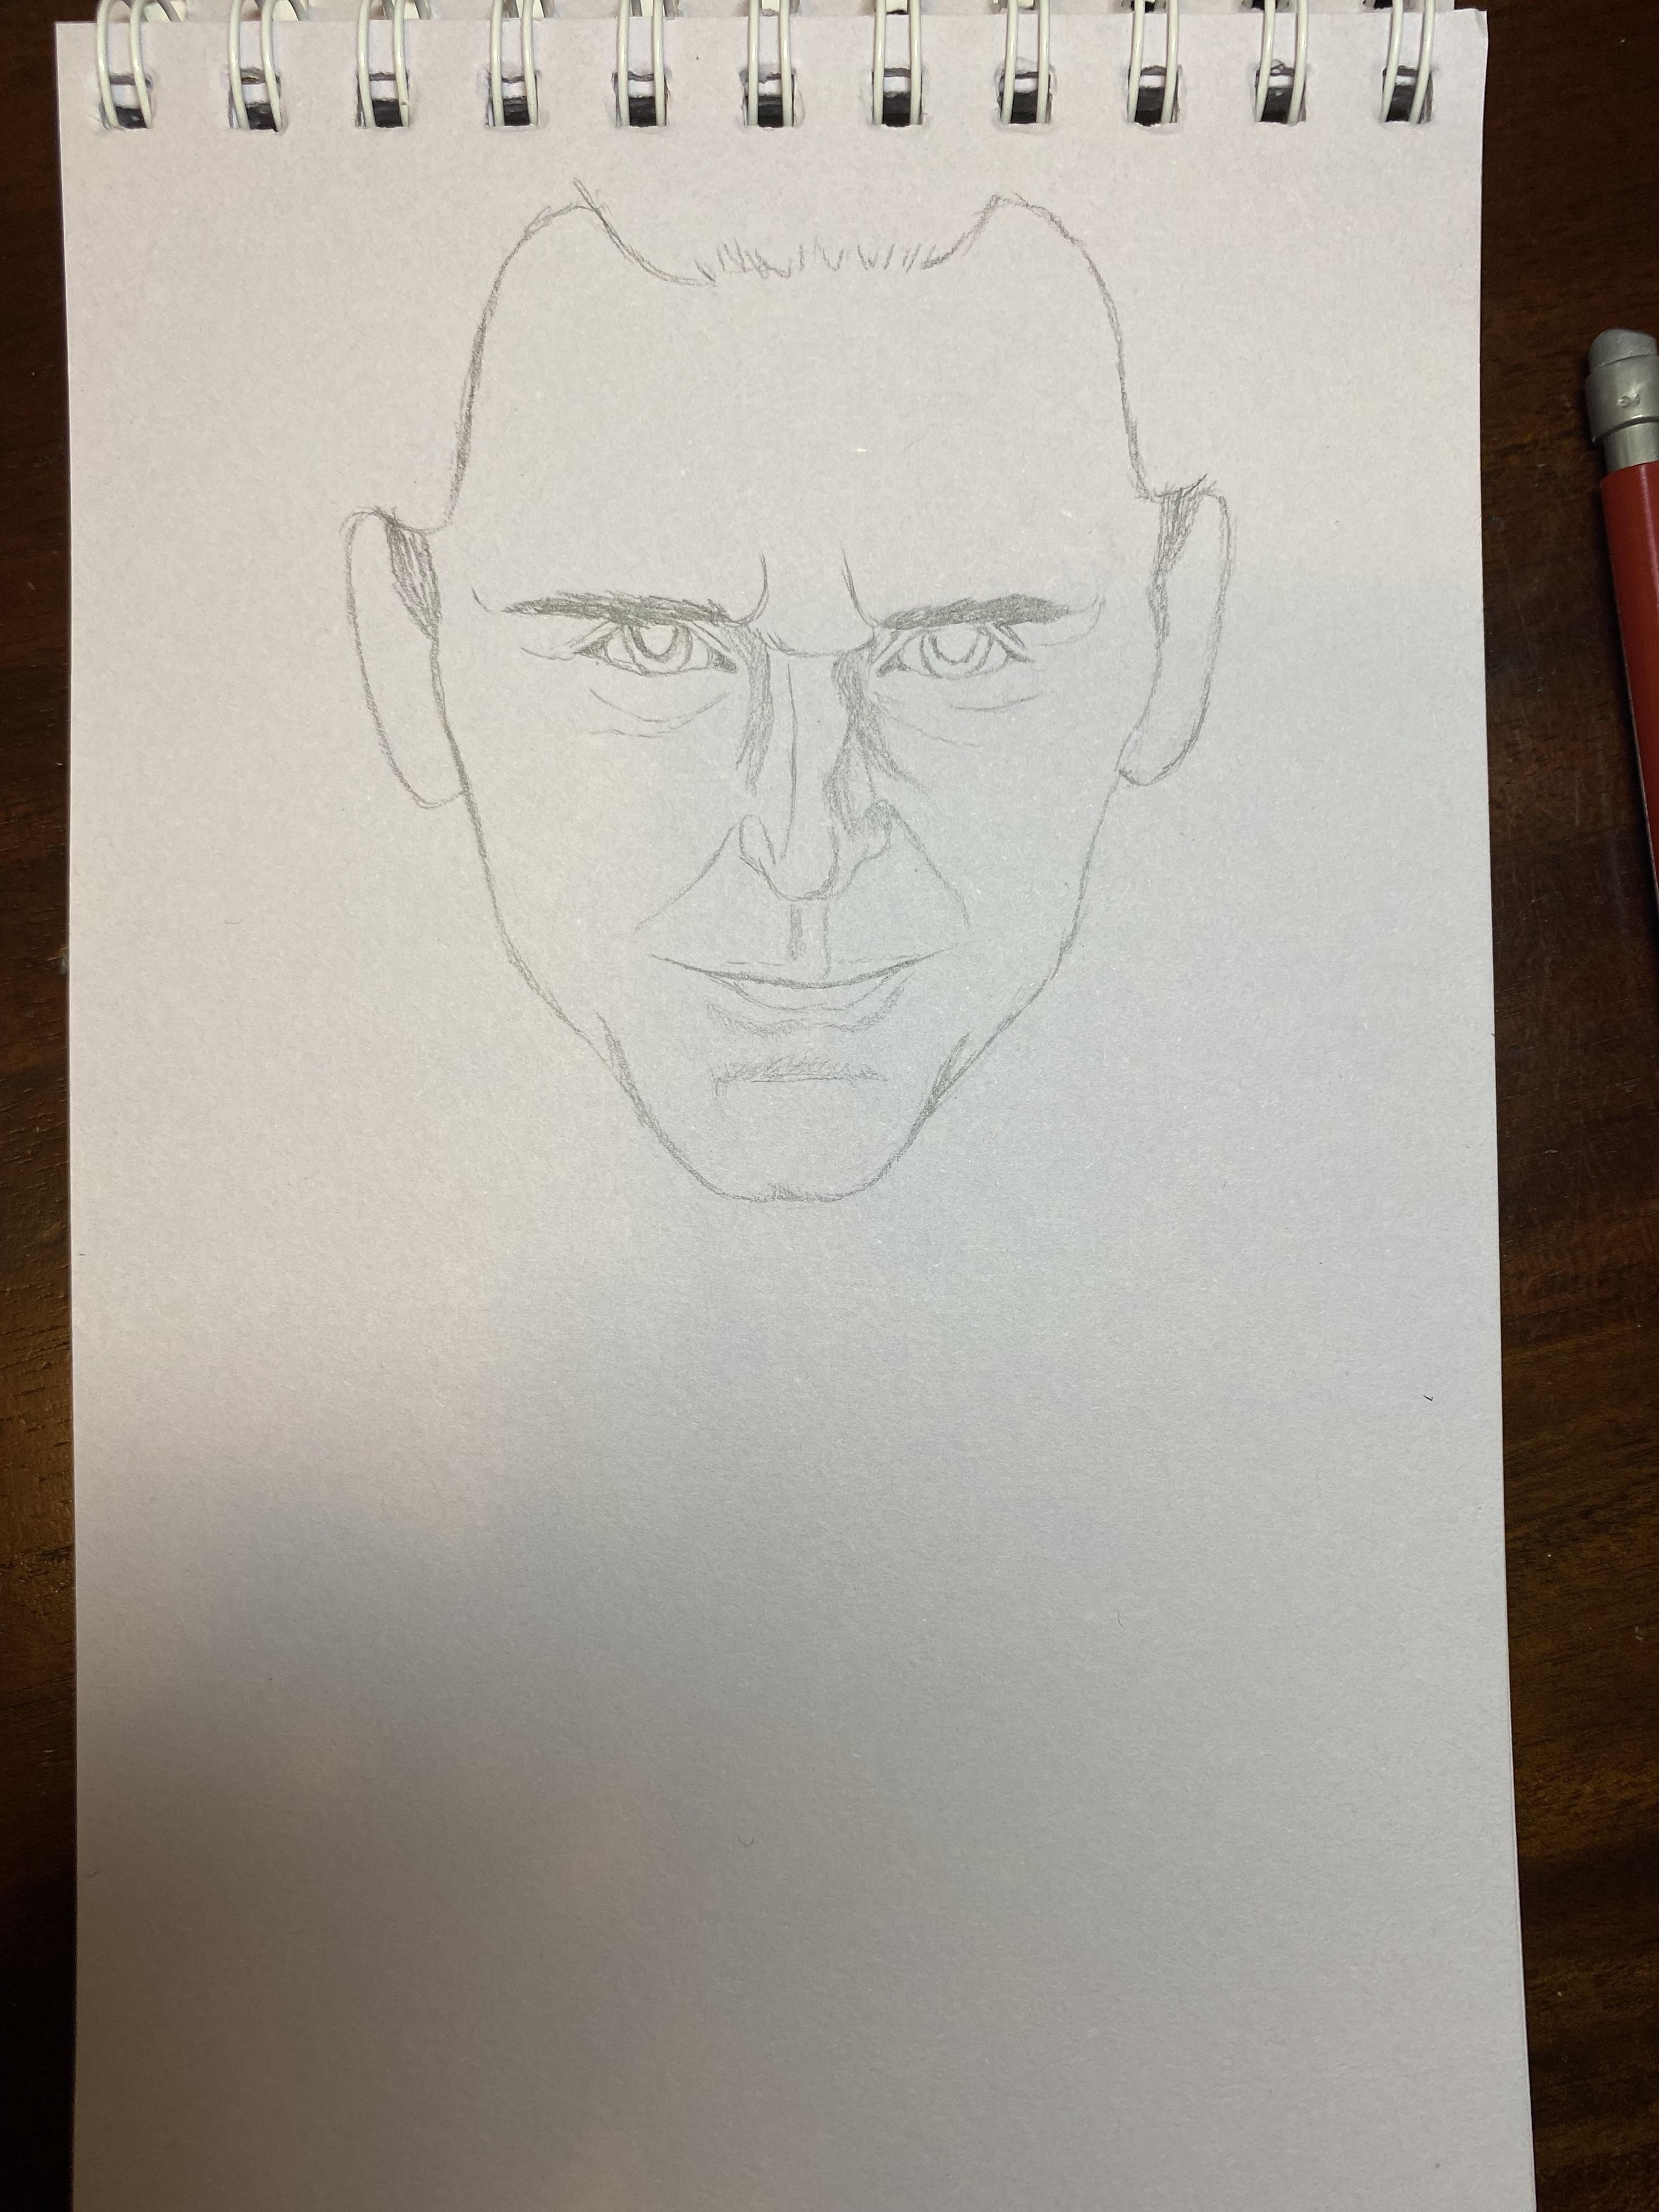
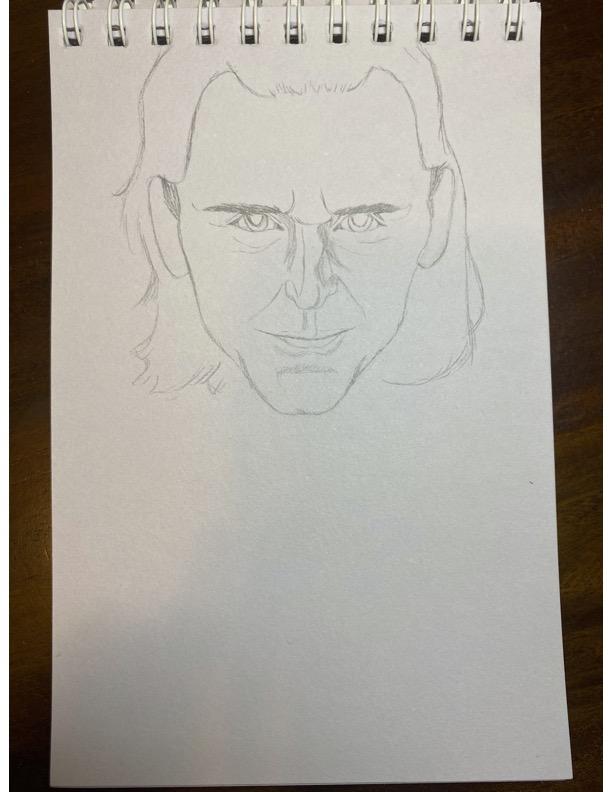
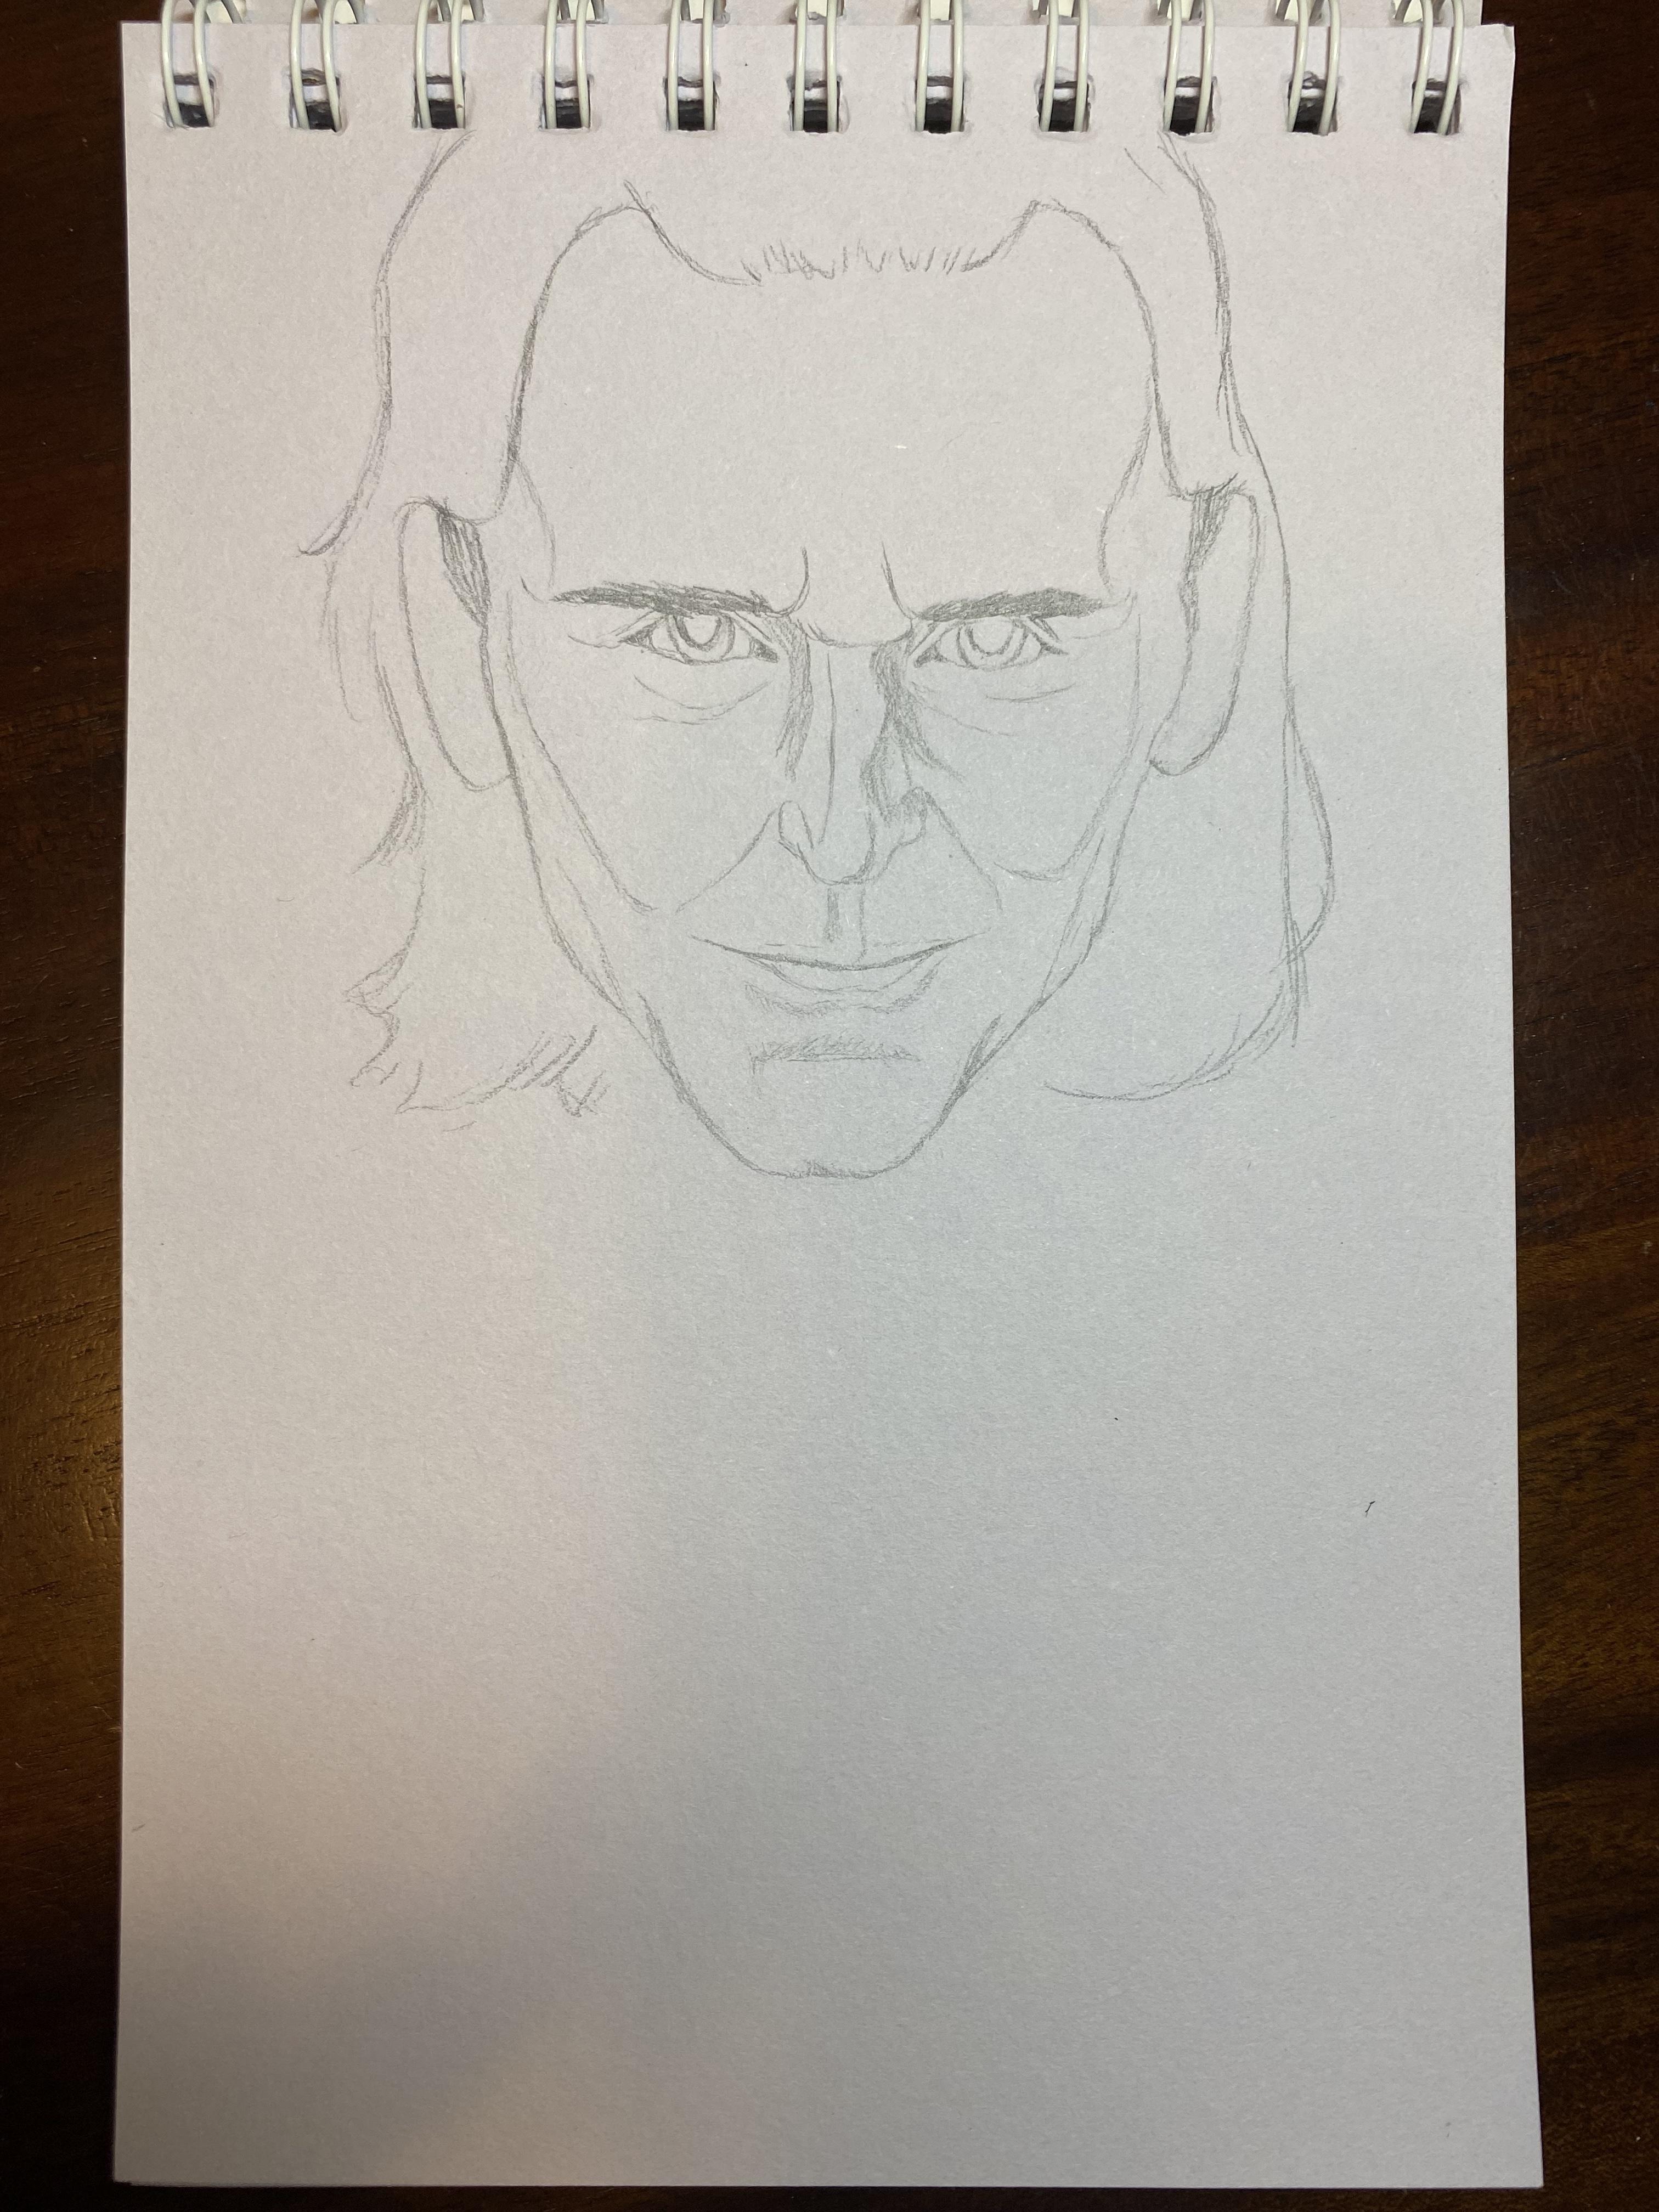
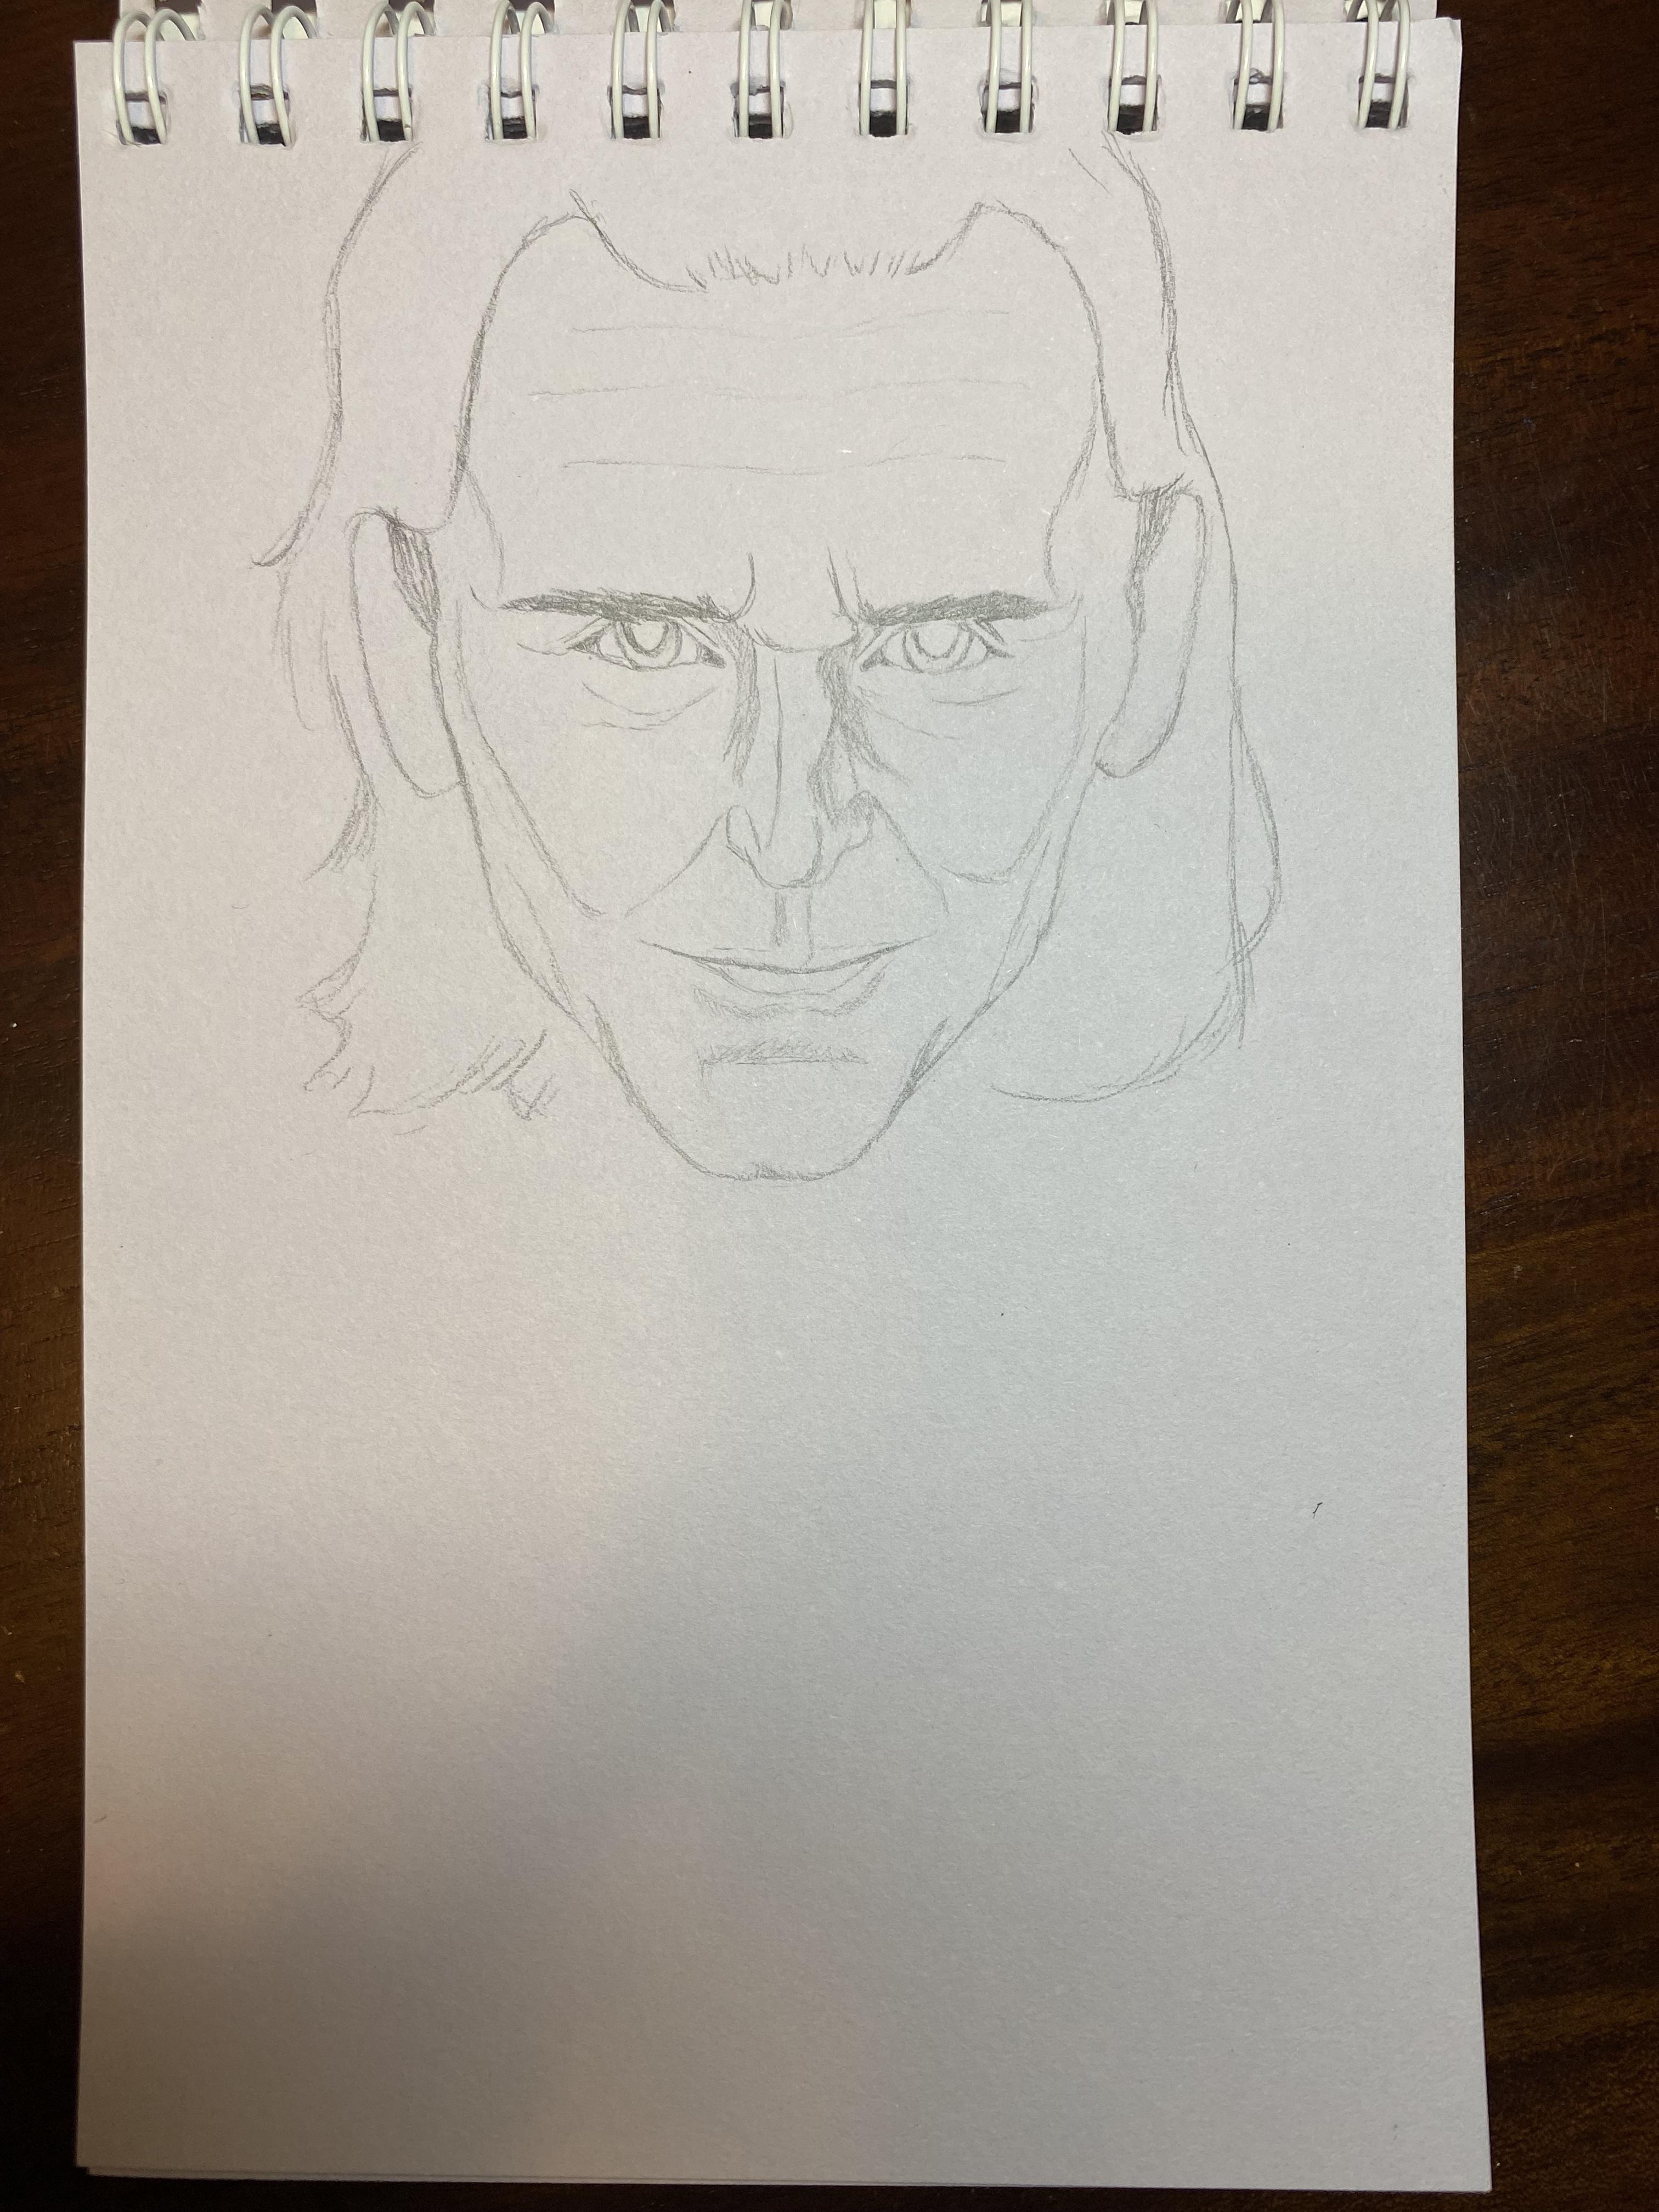
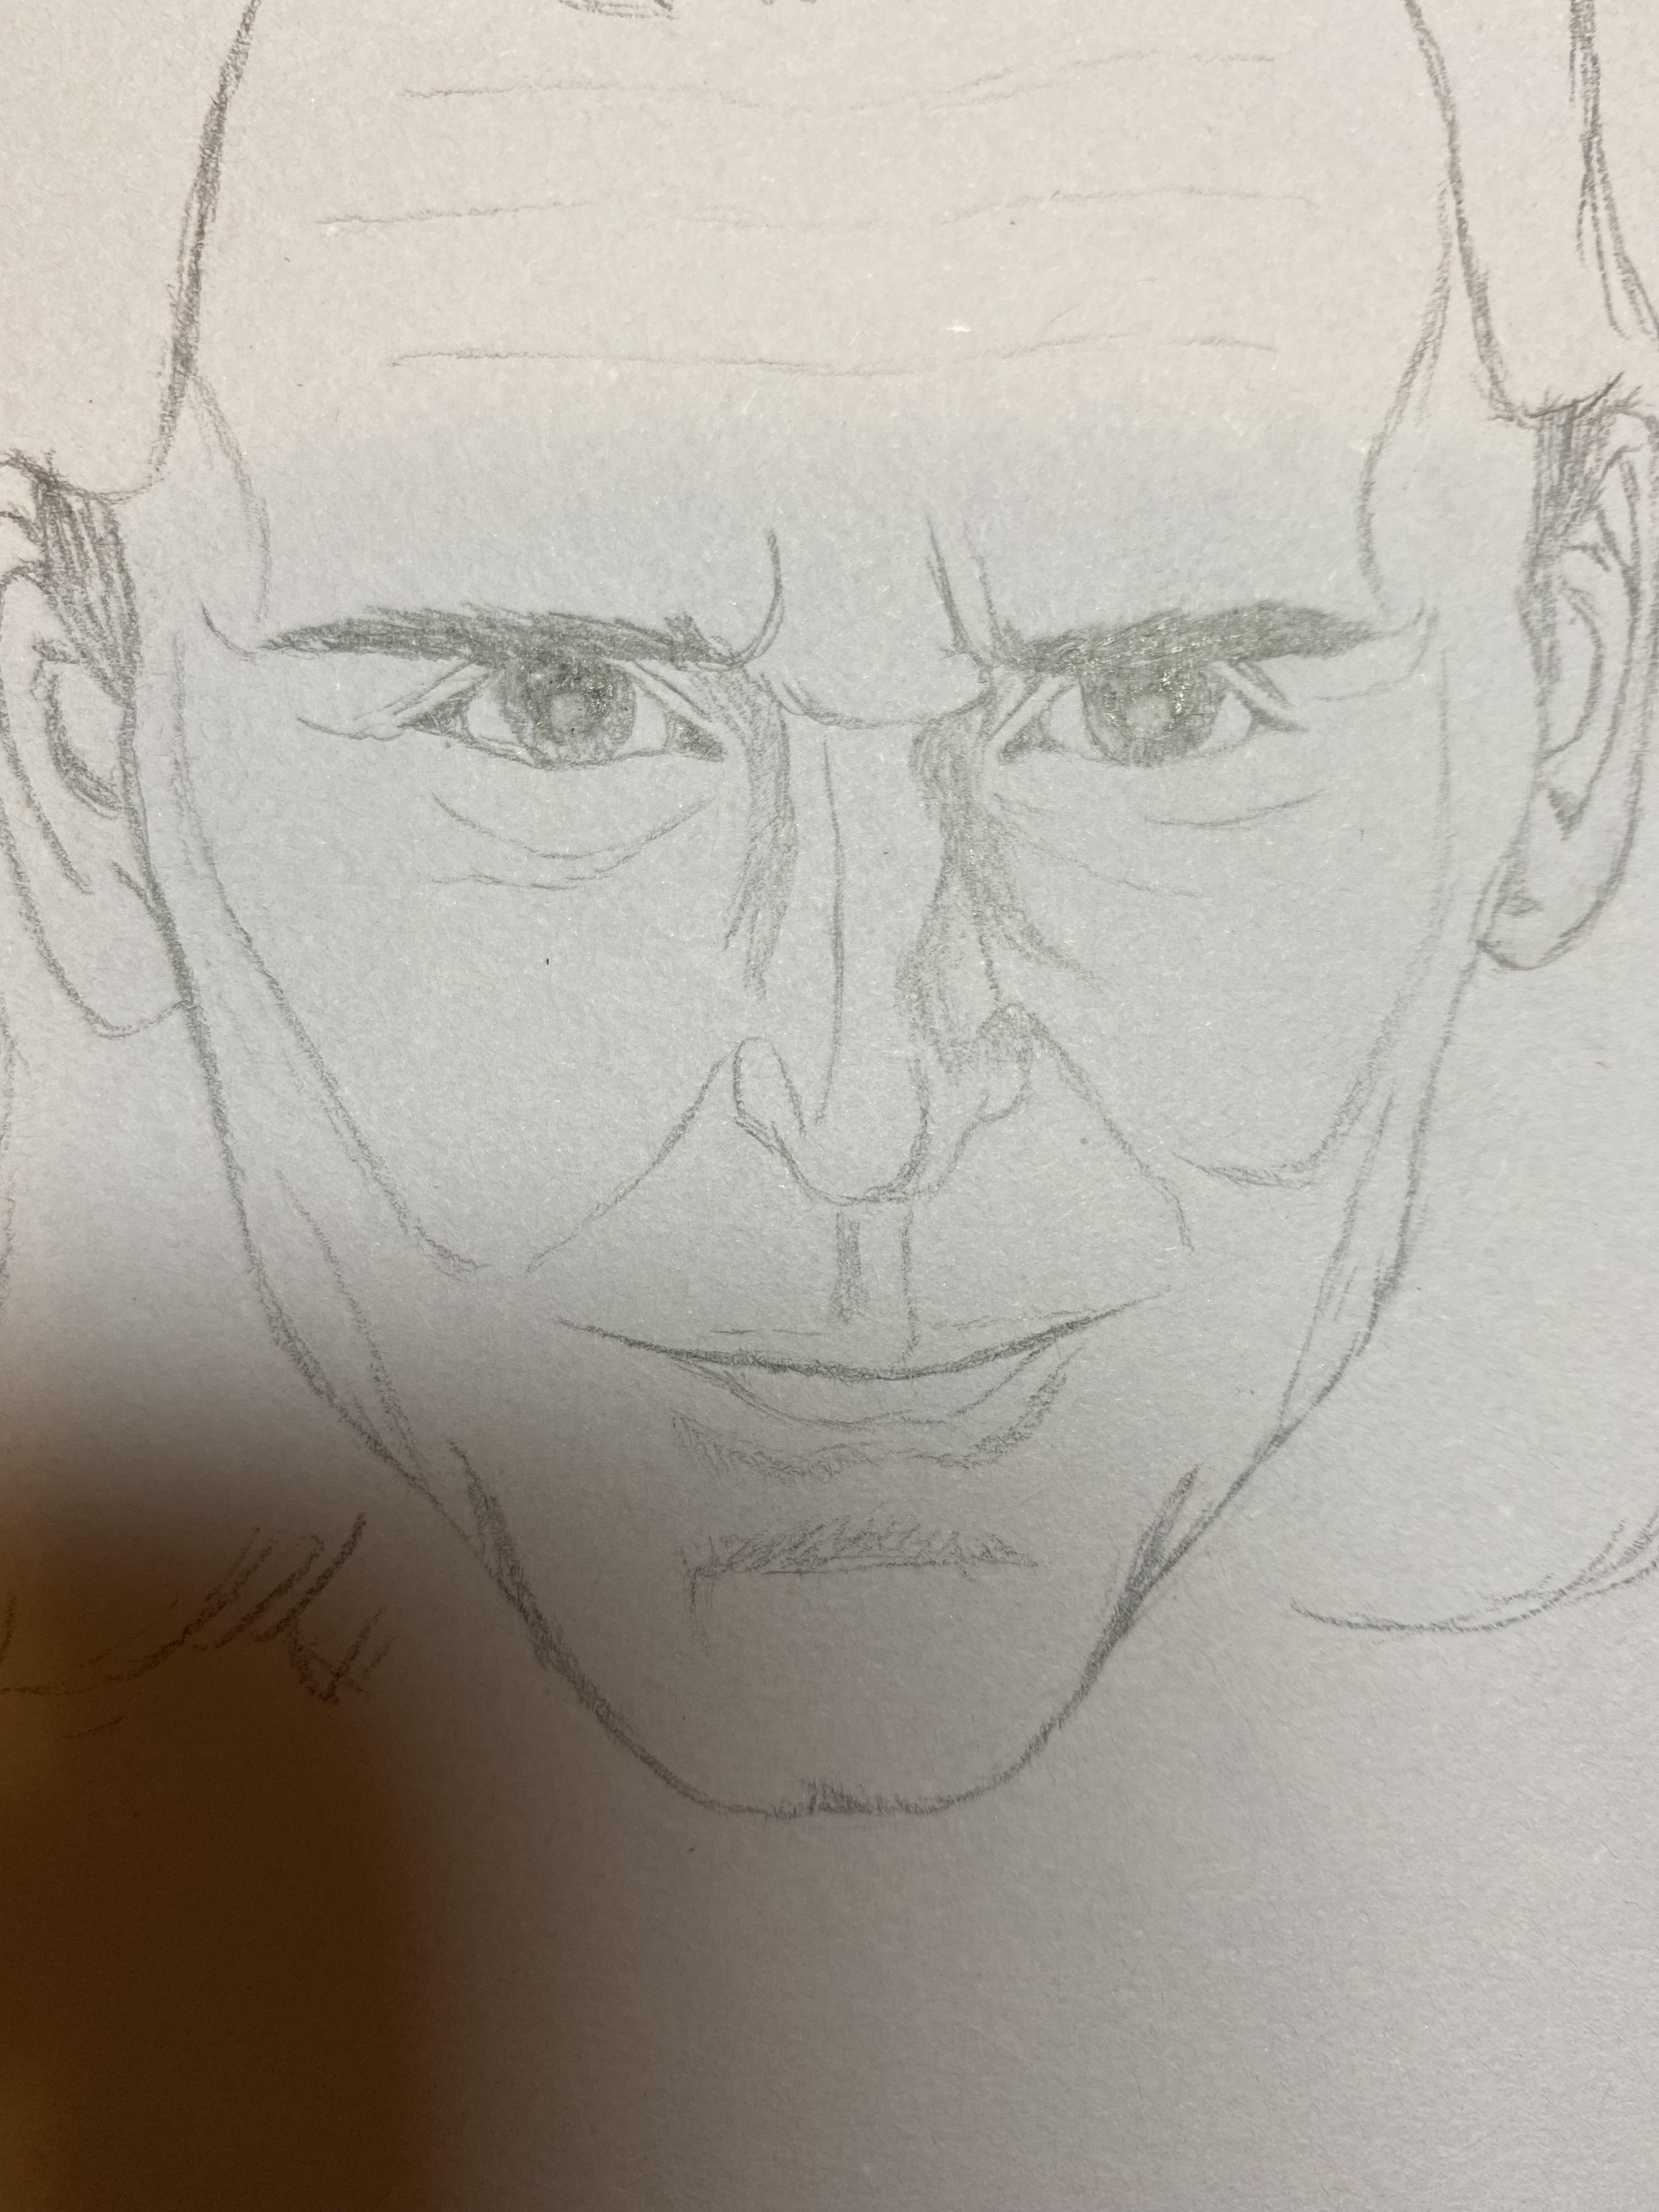
The exact shape of the hair doesn't matter - the main thing is the high hairline above the forehead. Use light lines for the wrinkles and other facial features, and use the ends of the eyebrows for the ends of the cheekbones/forehead lines.
Neck & Shirt Collars
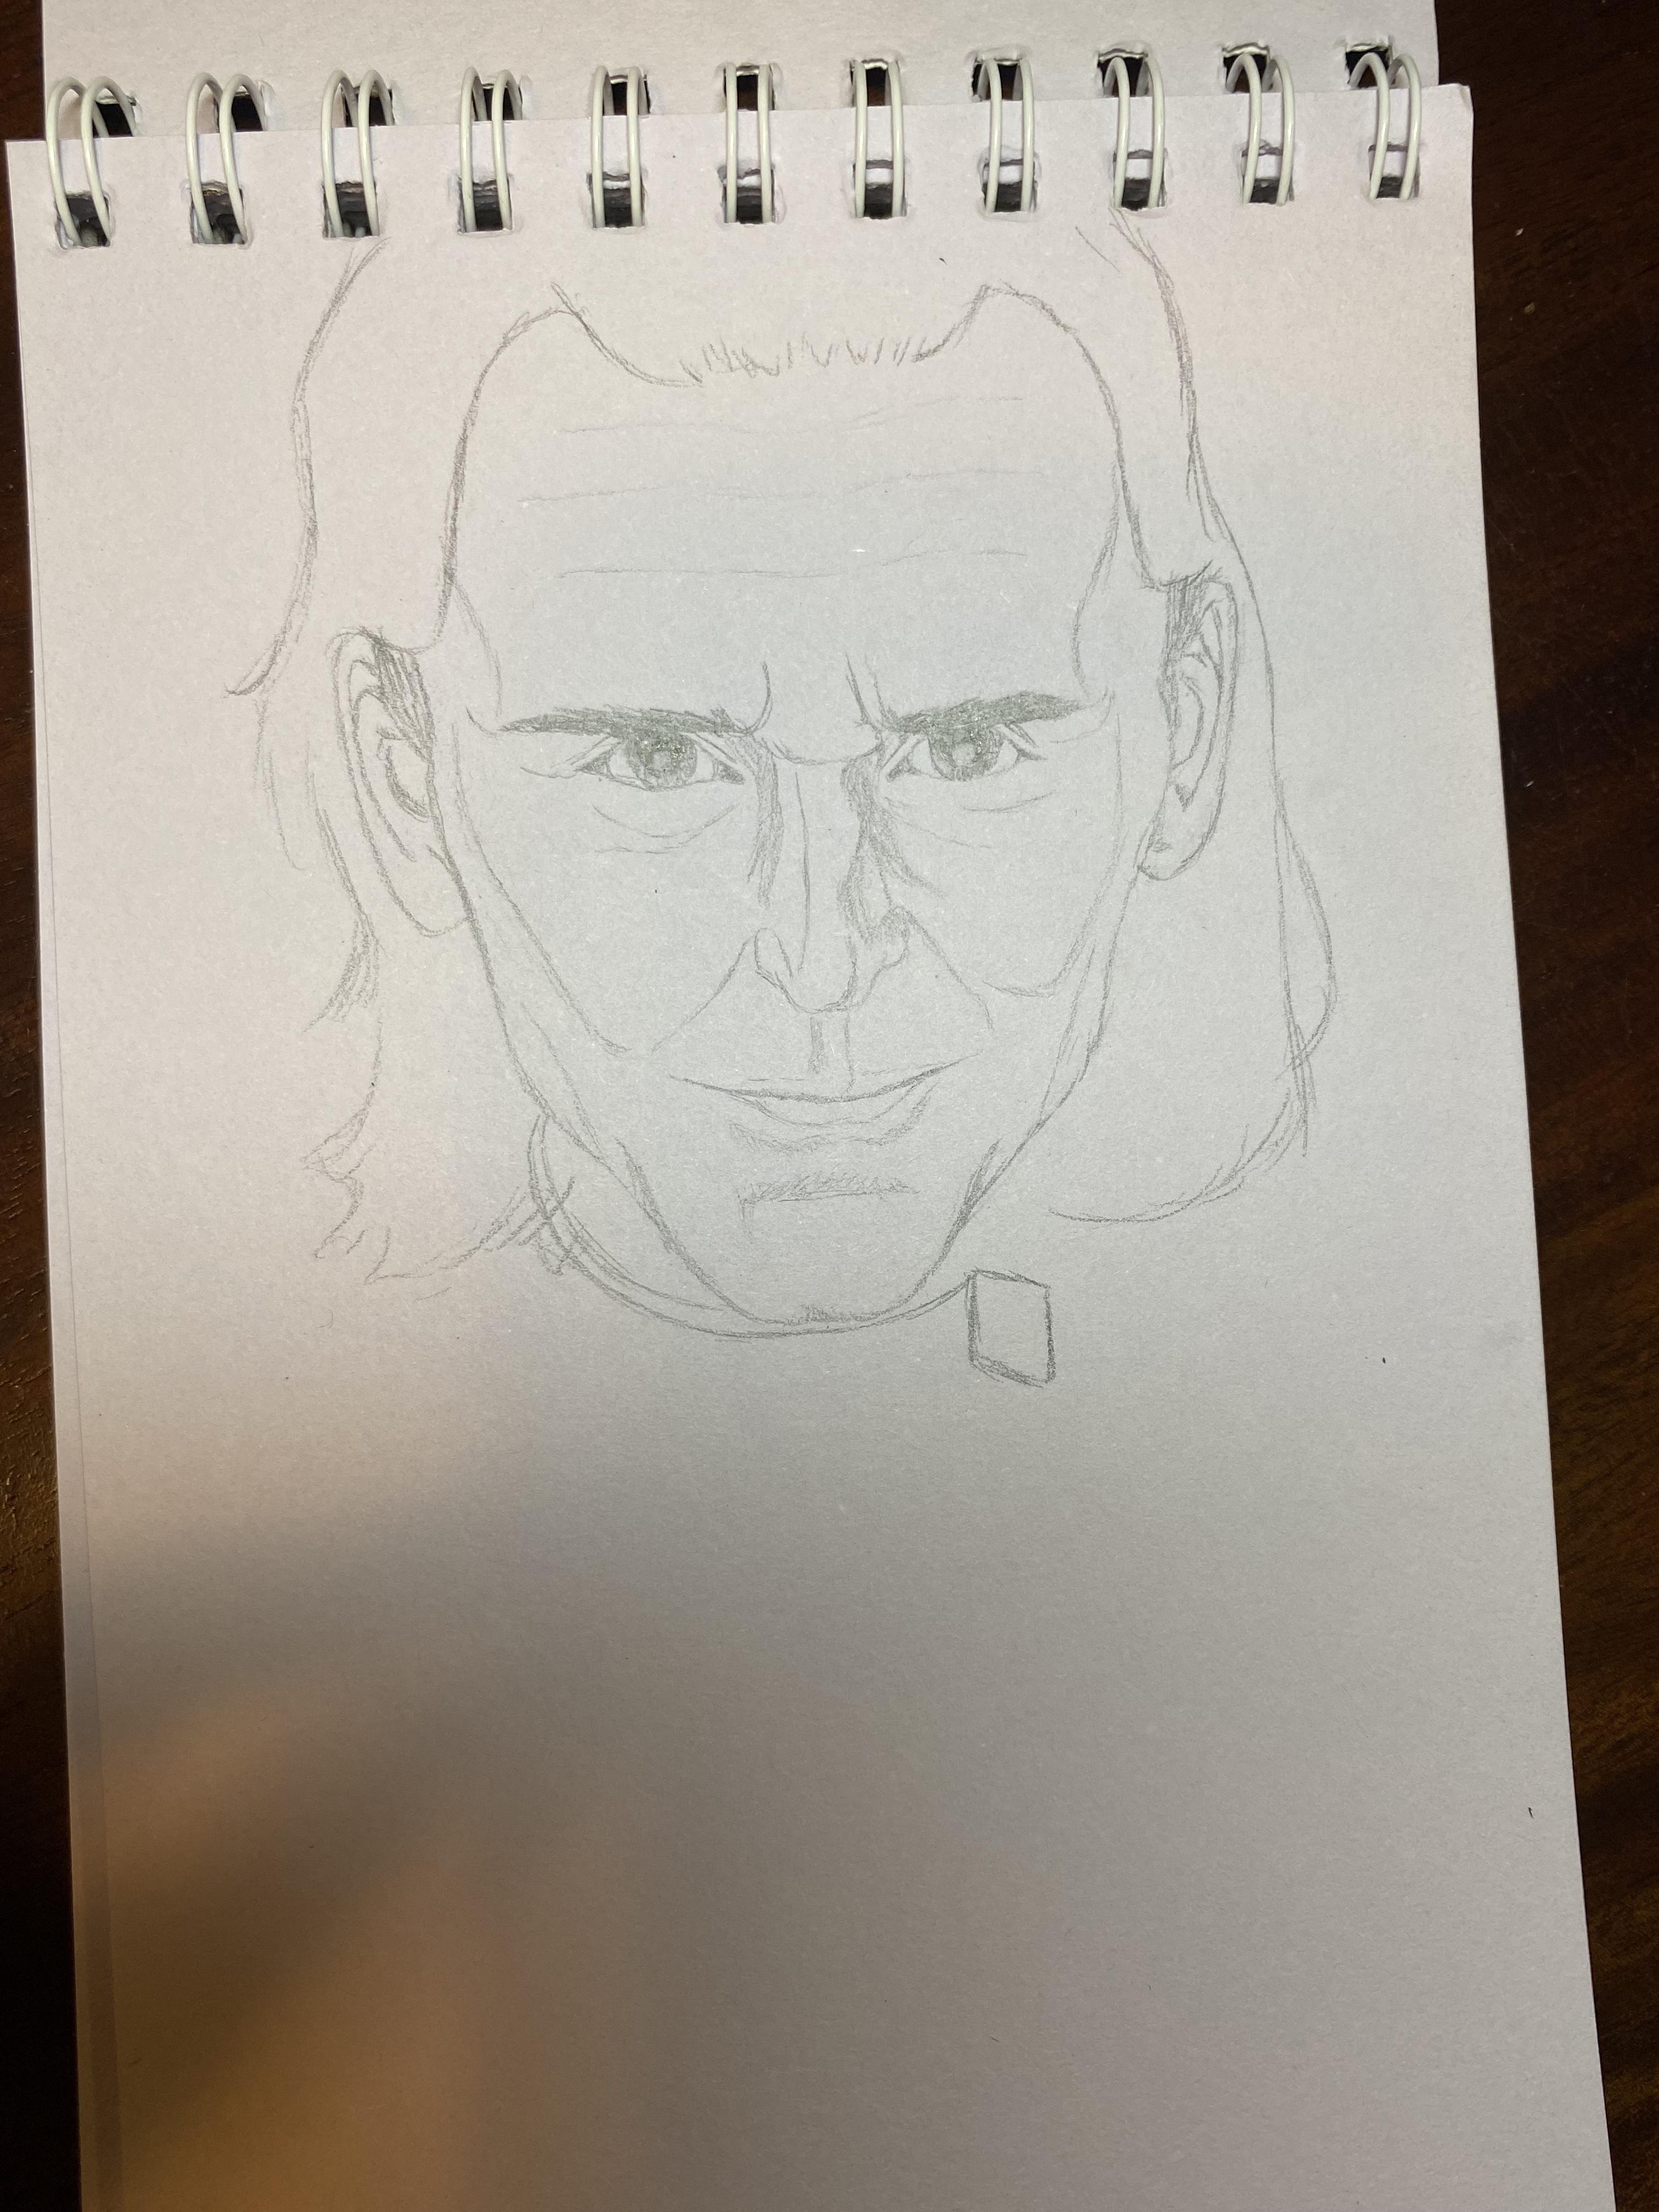
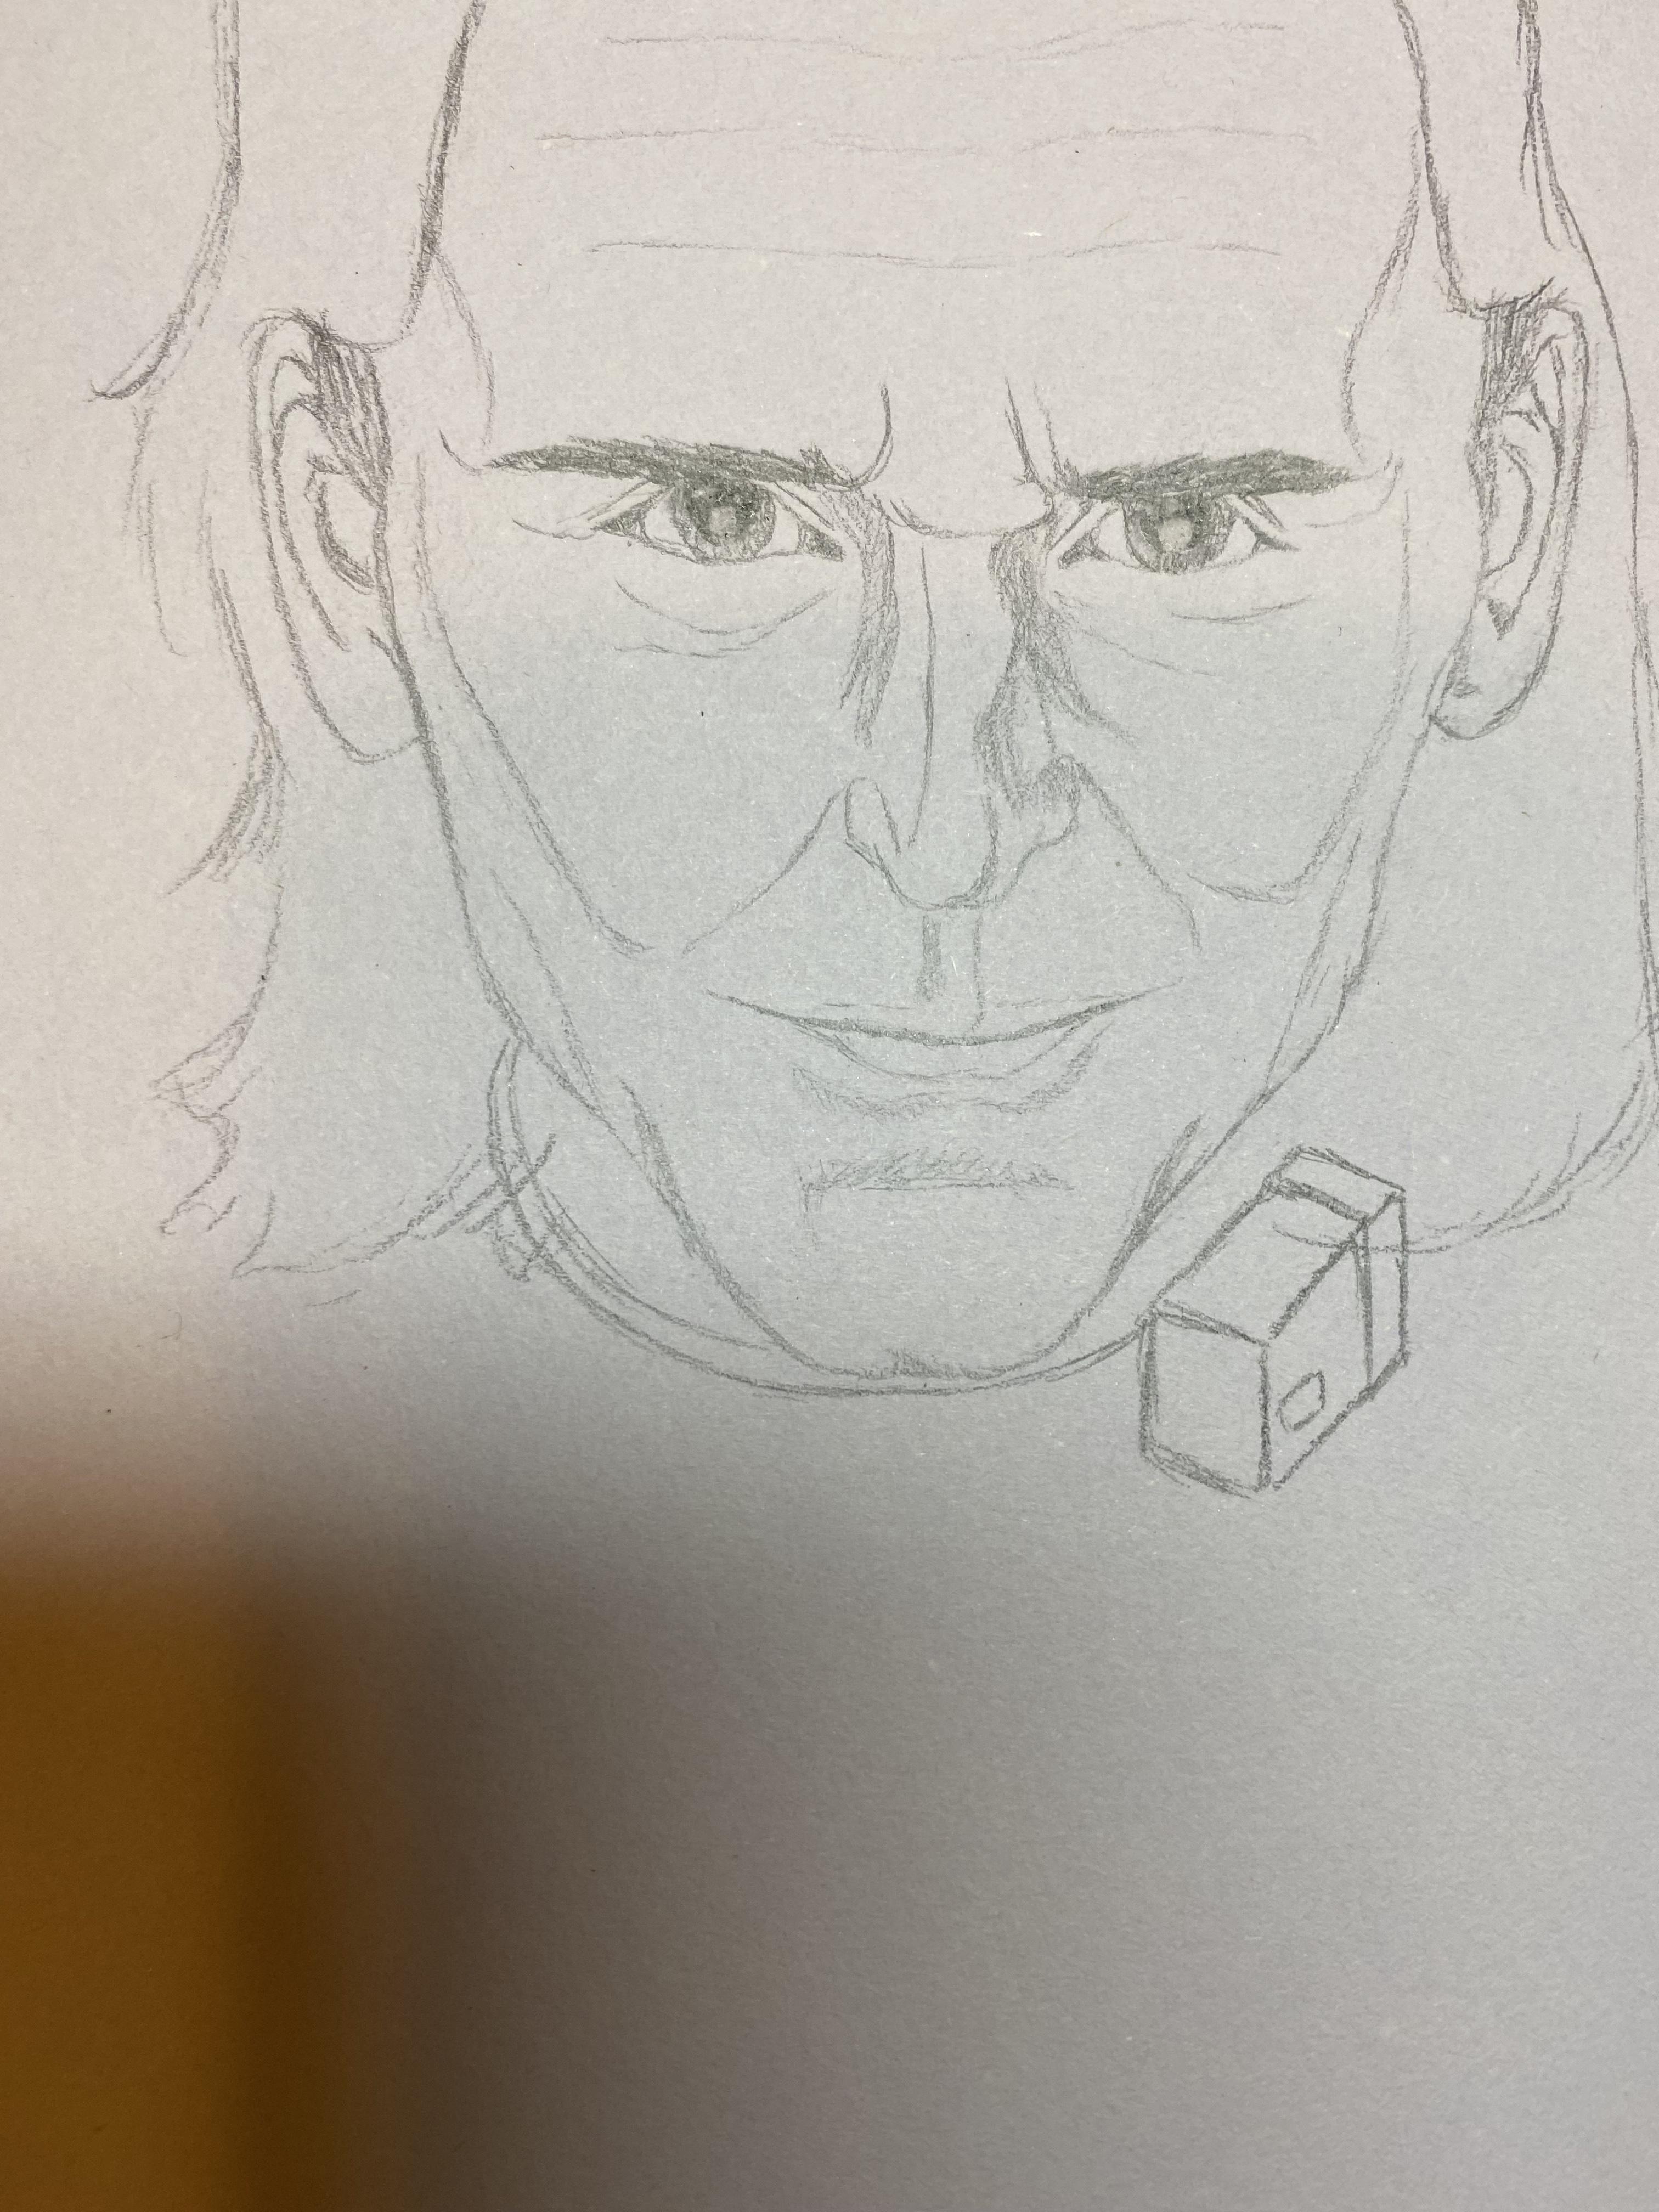
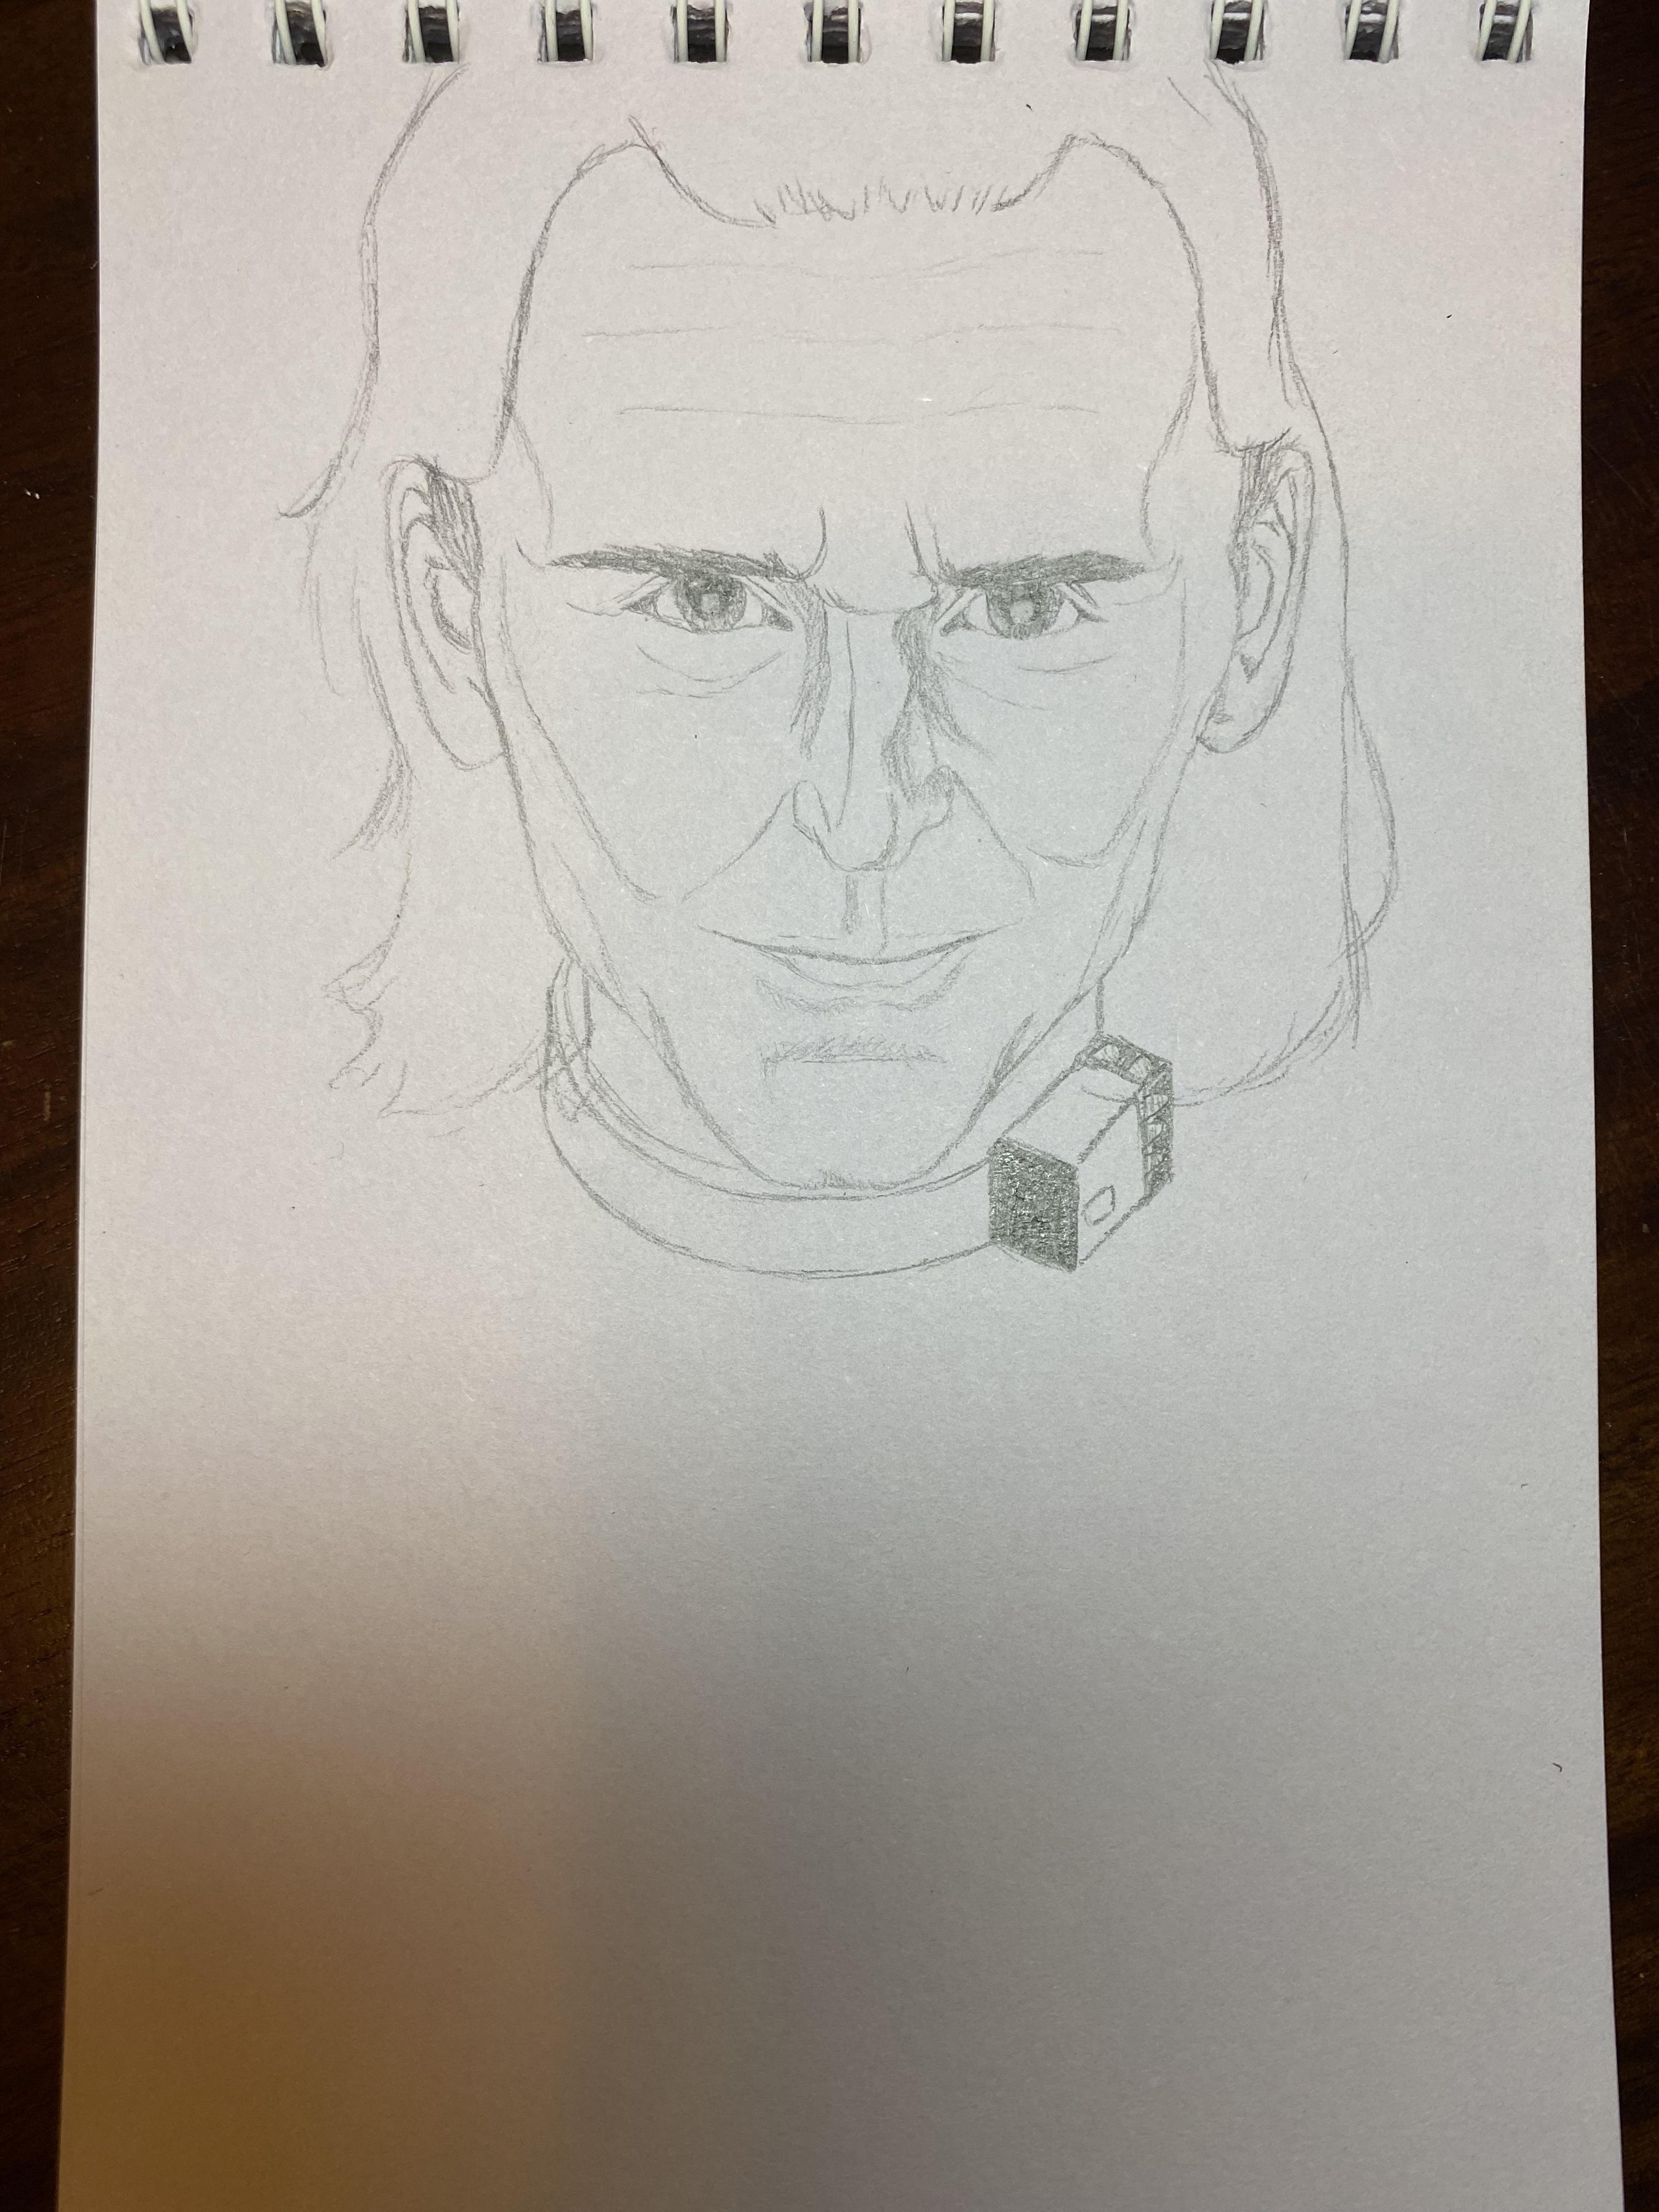
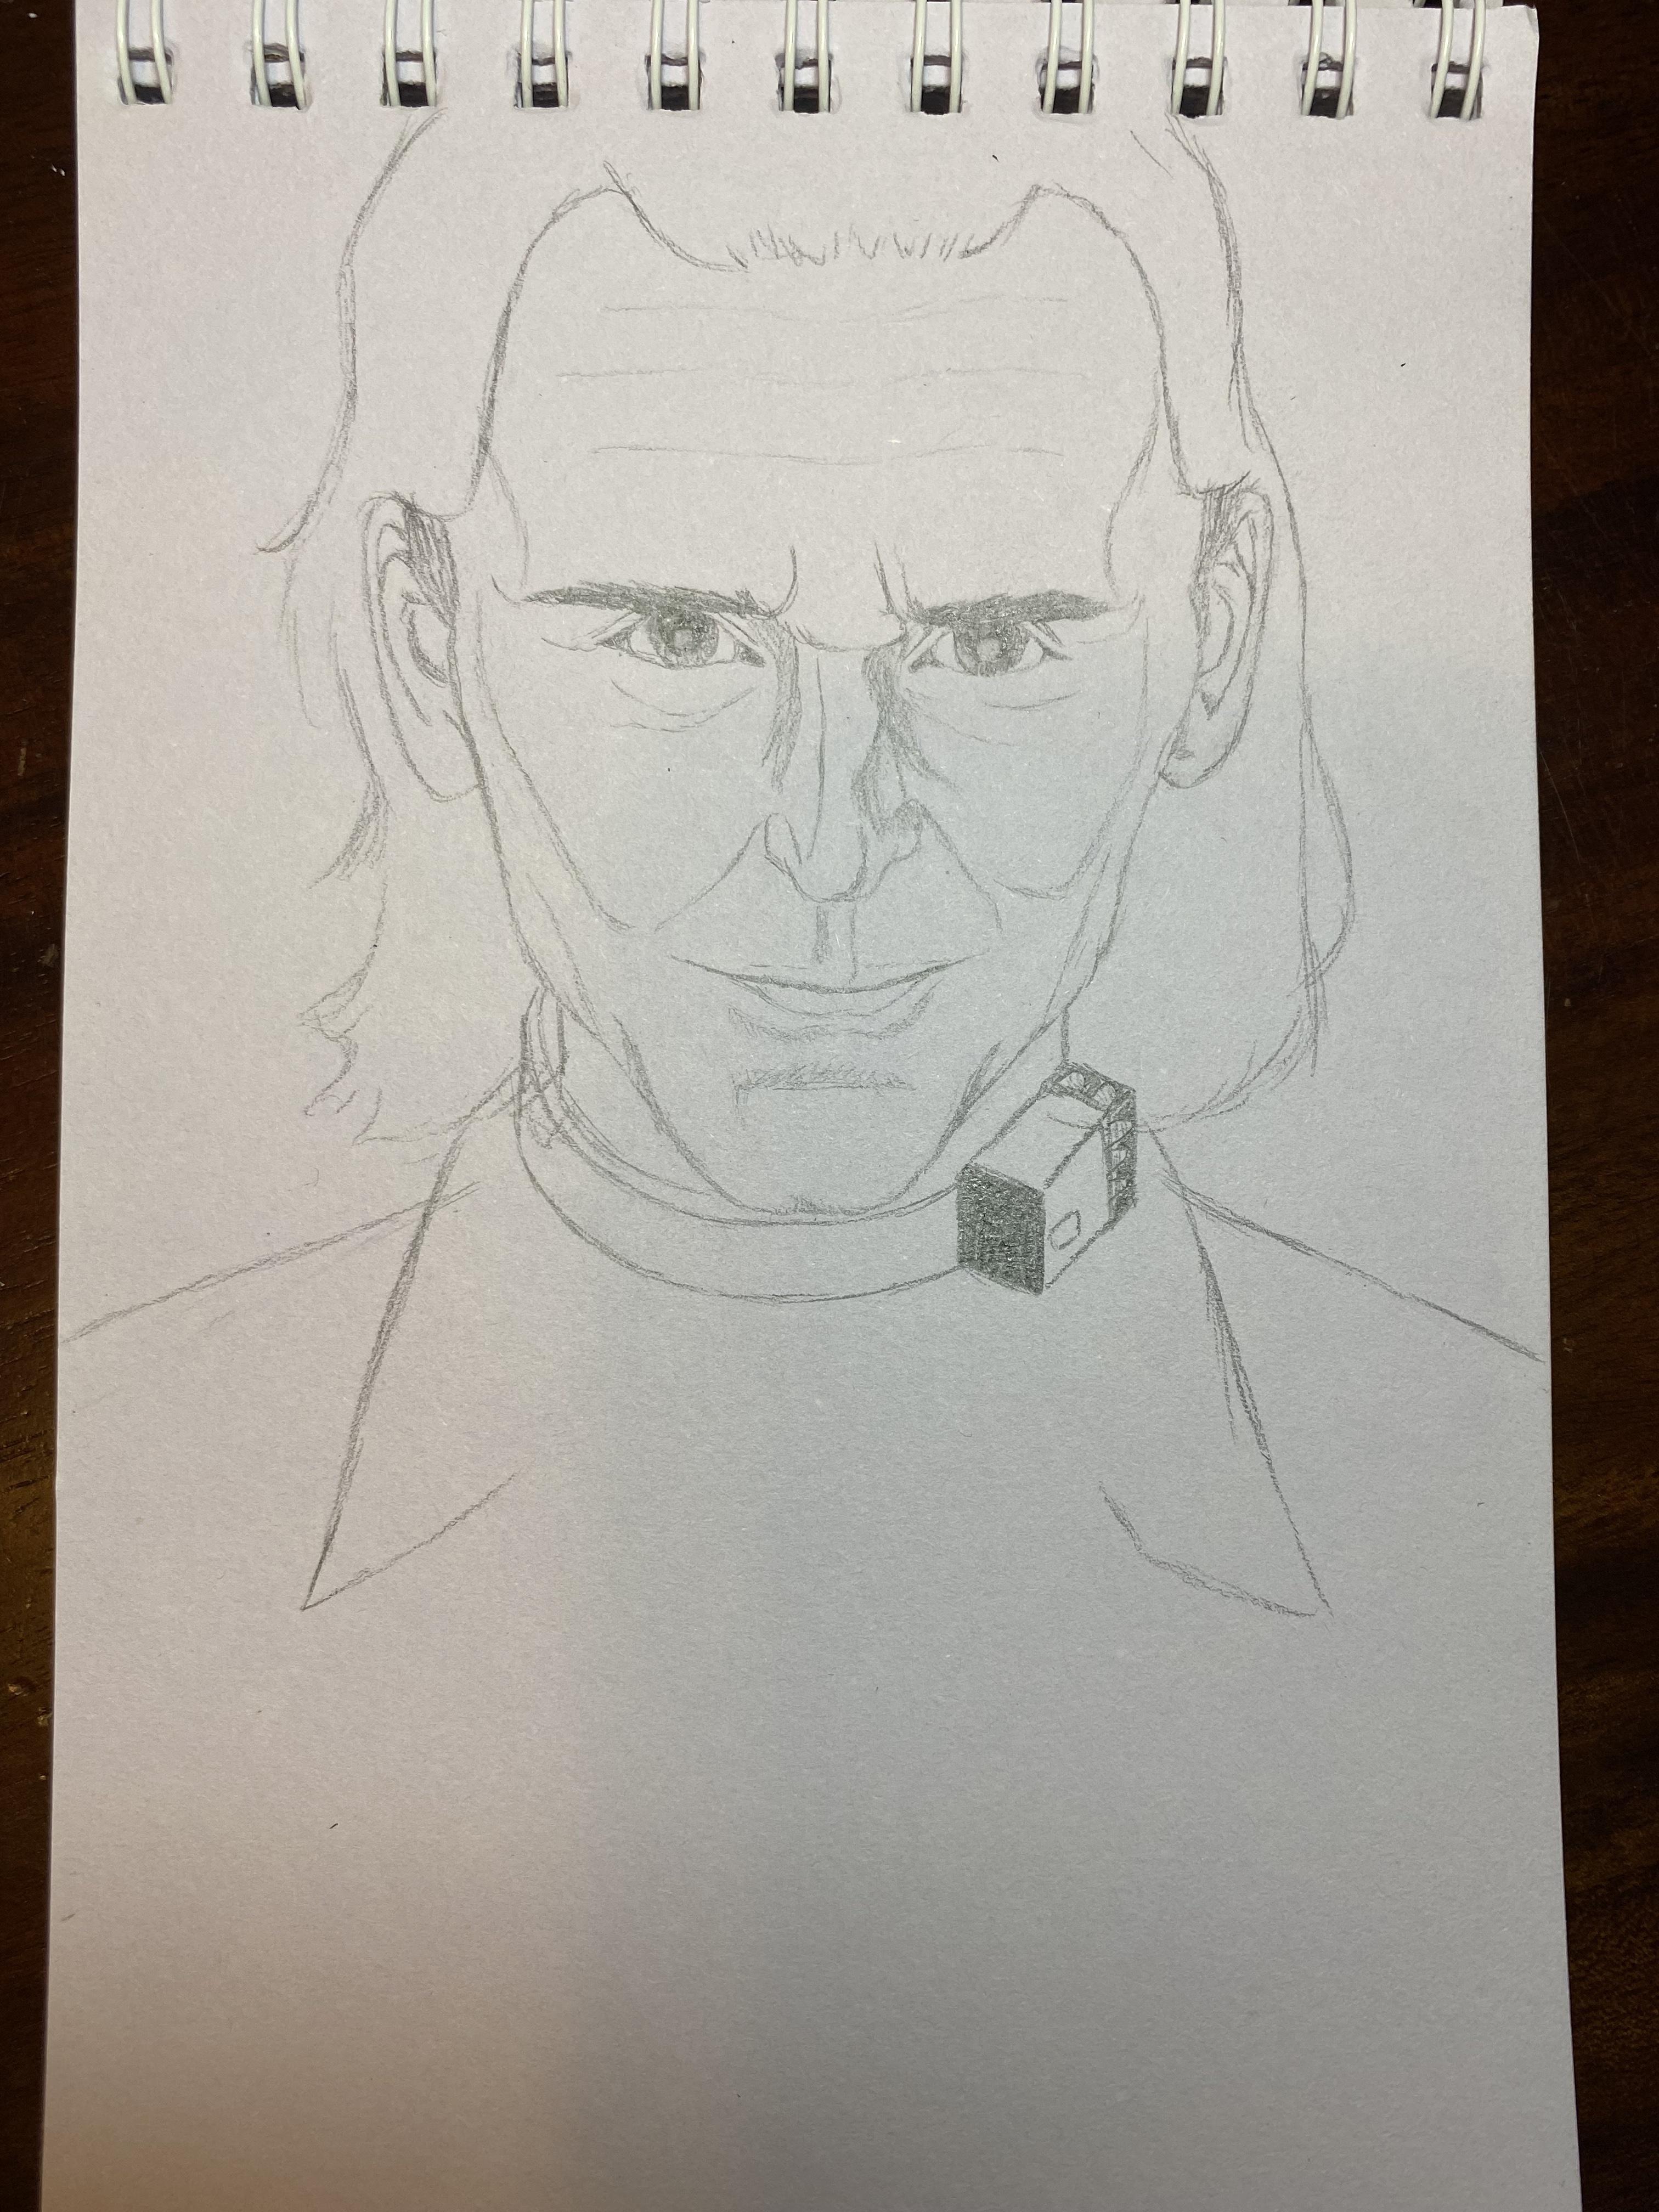
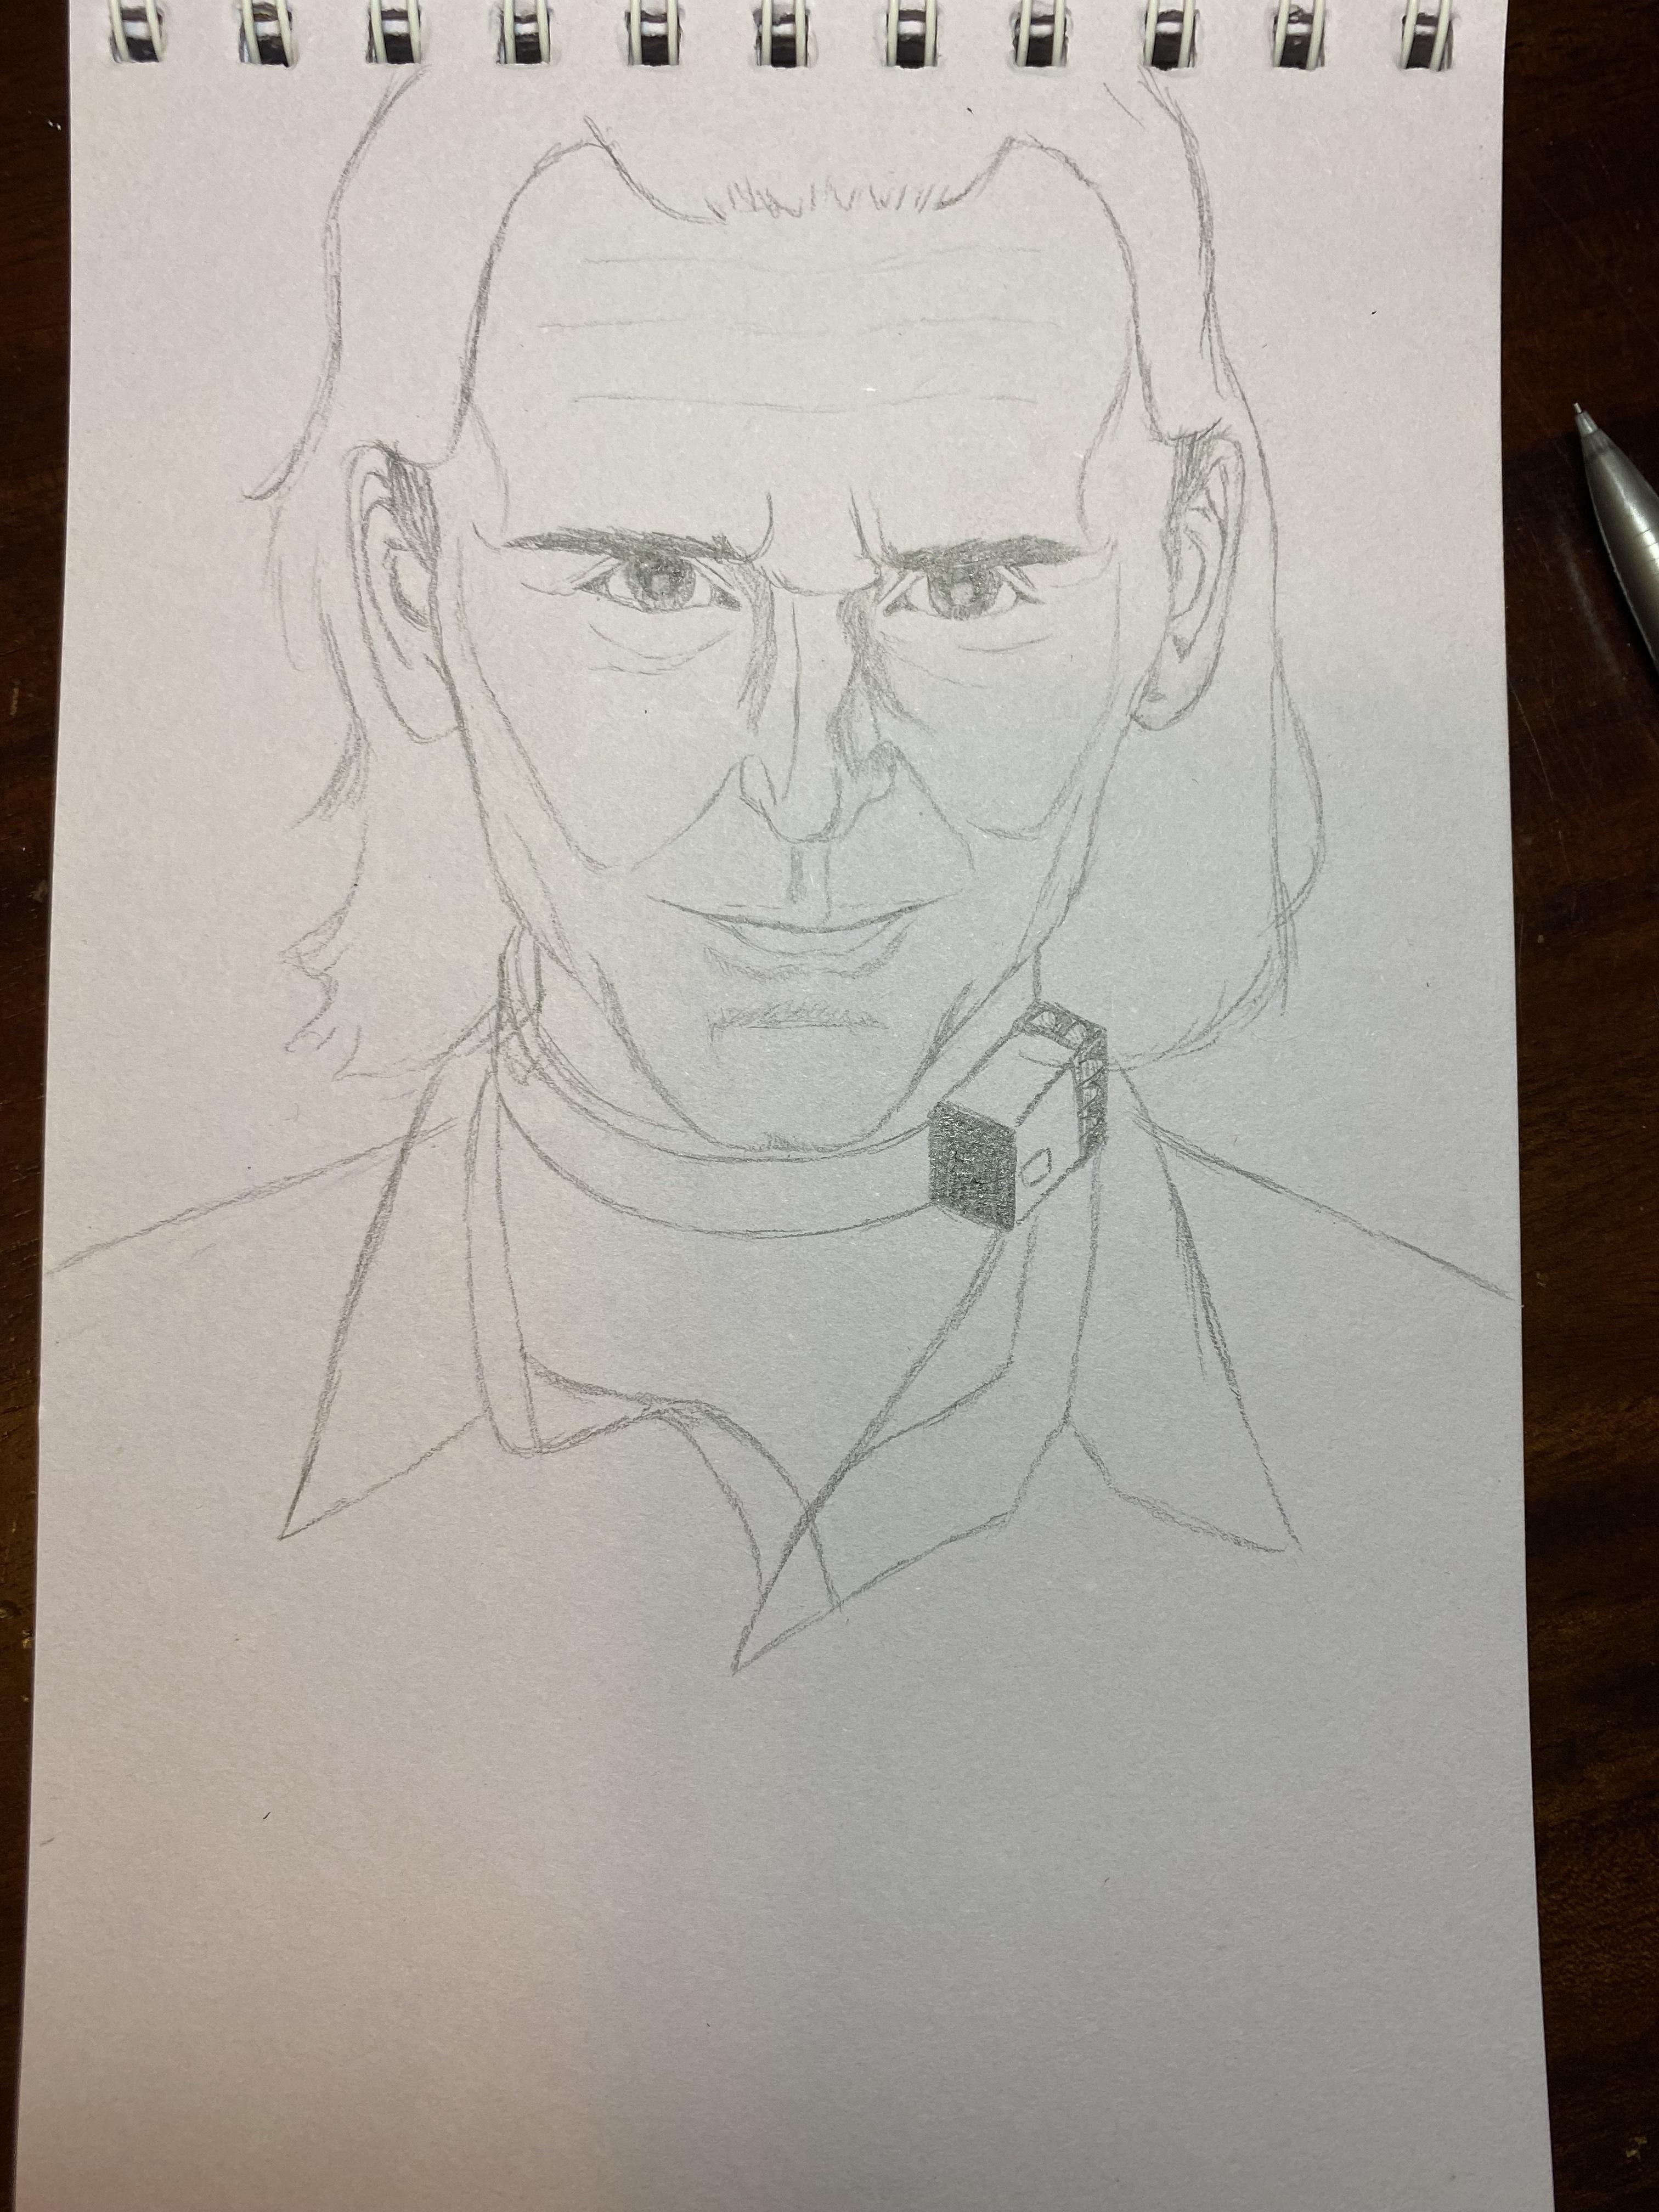
Don't worry about drawing lines over each other, especially while making the shirt collar. You can erase the ones you don't want later to show where the fabric overlaps.
Shirt & Neck
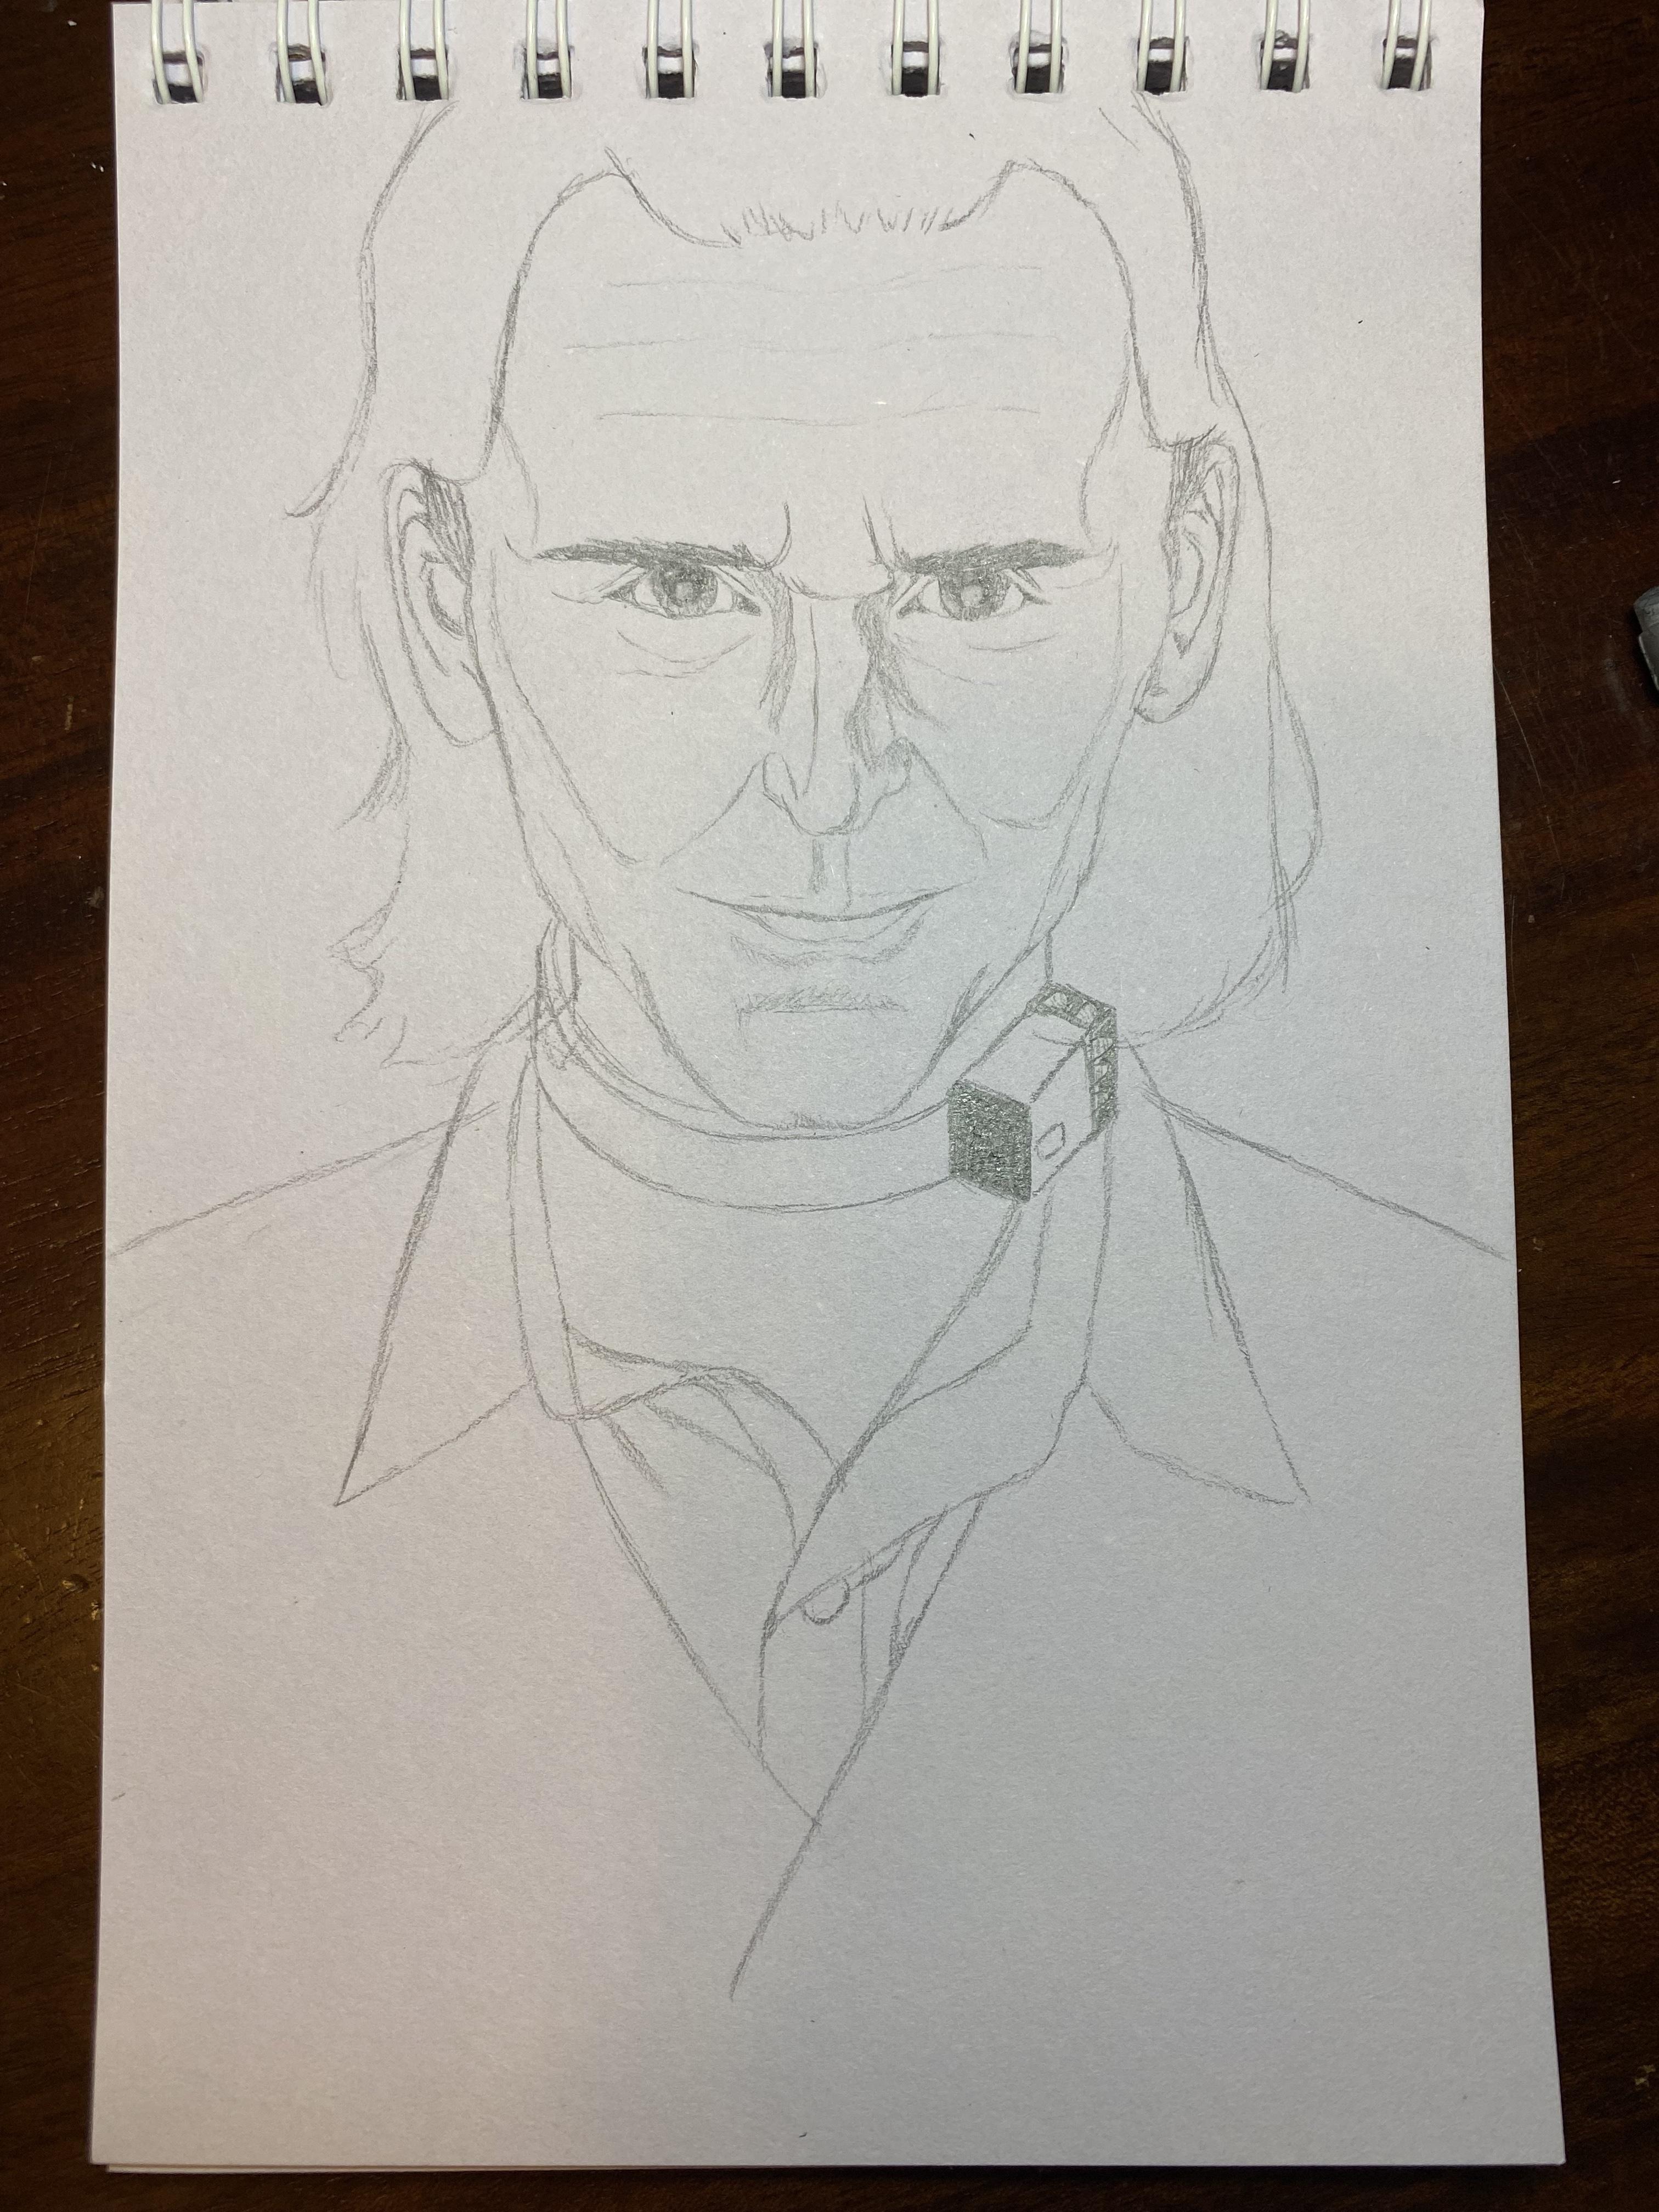
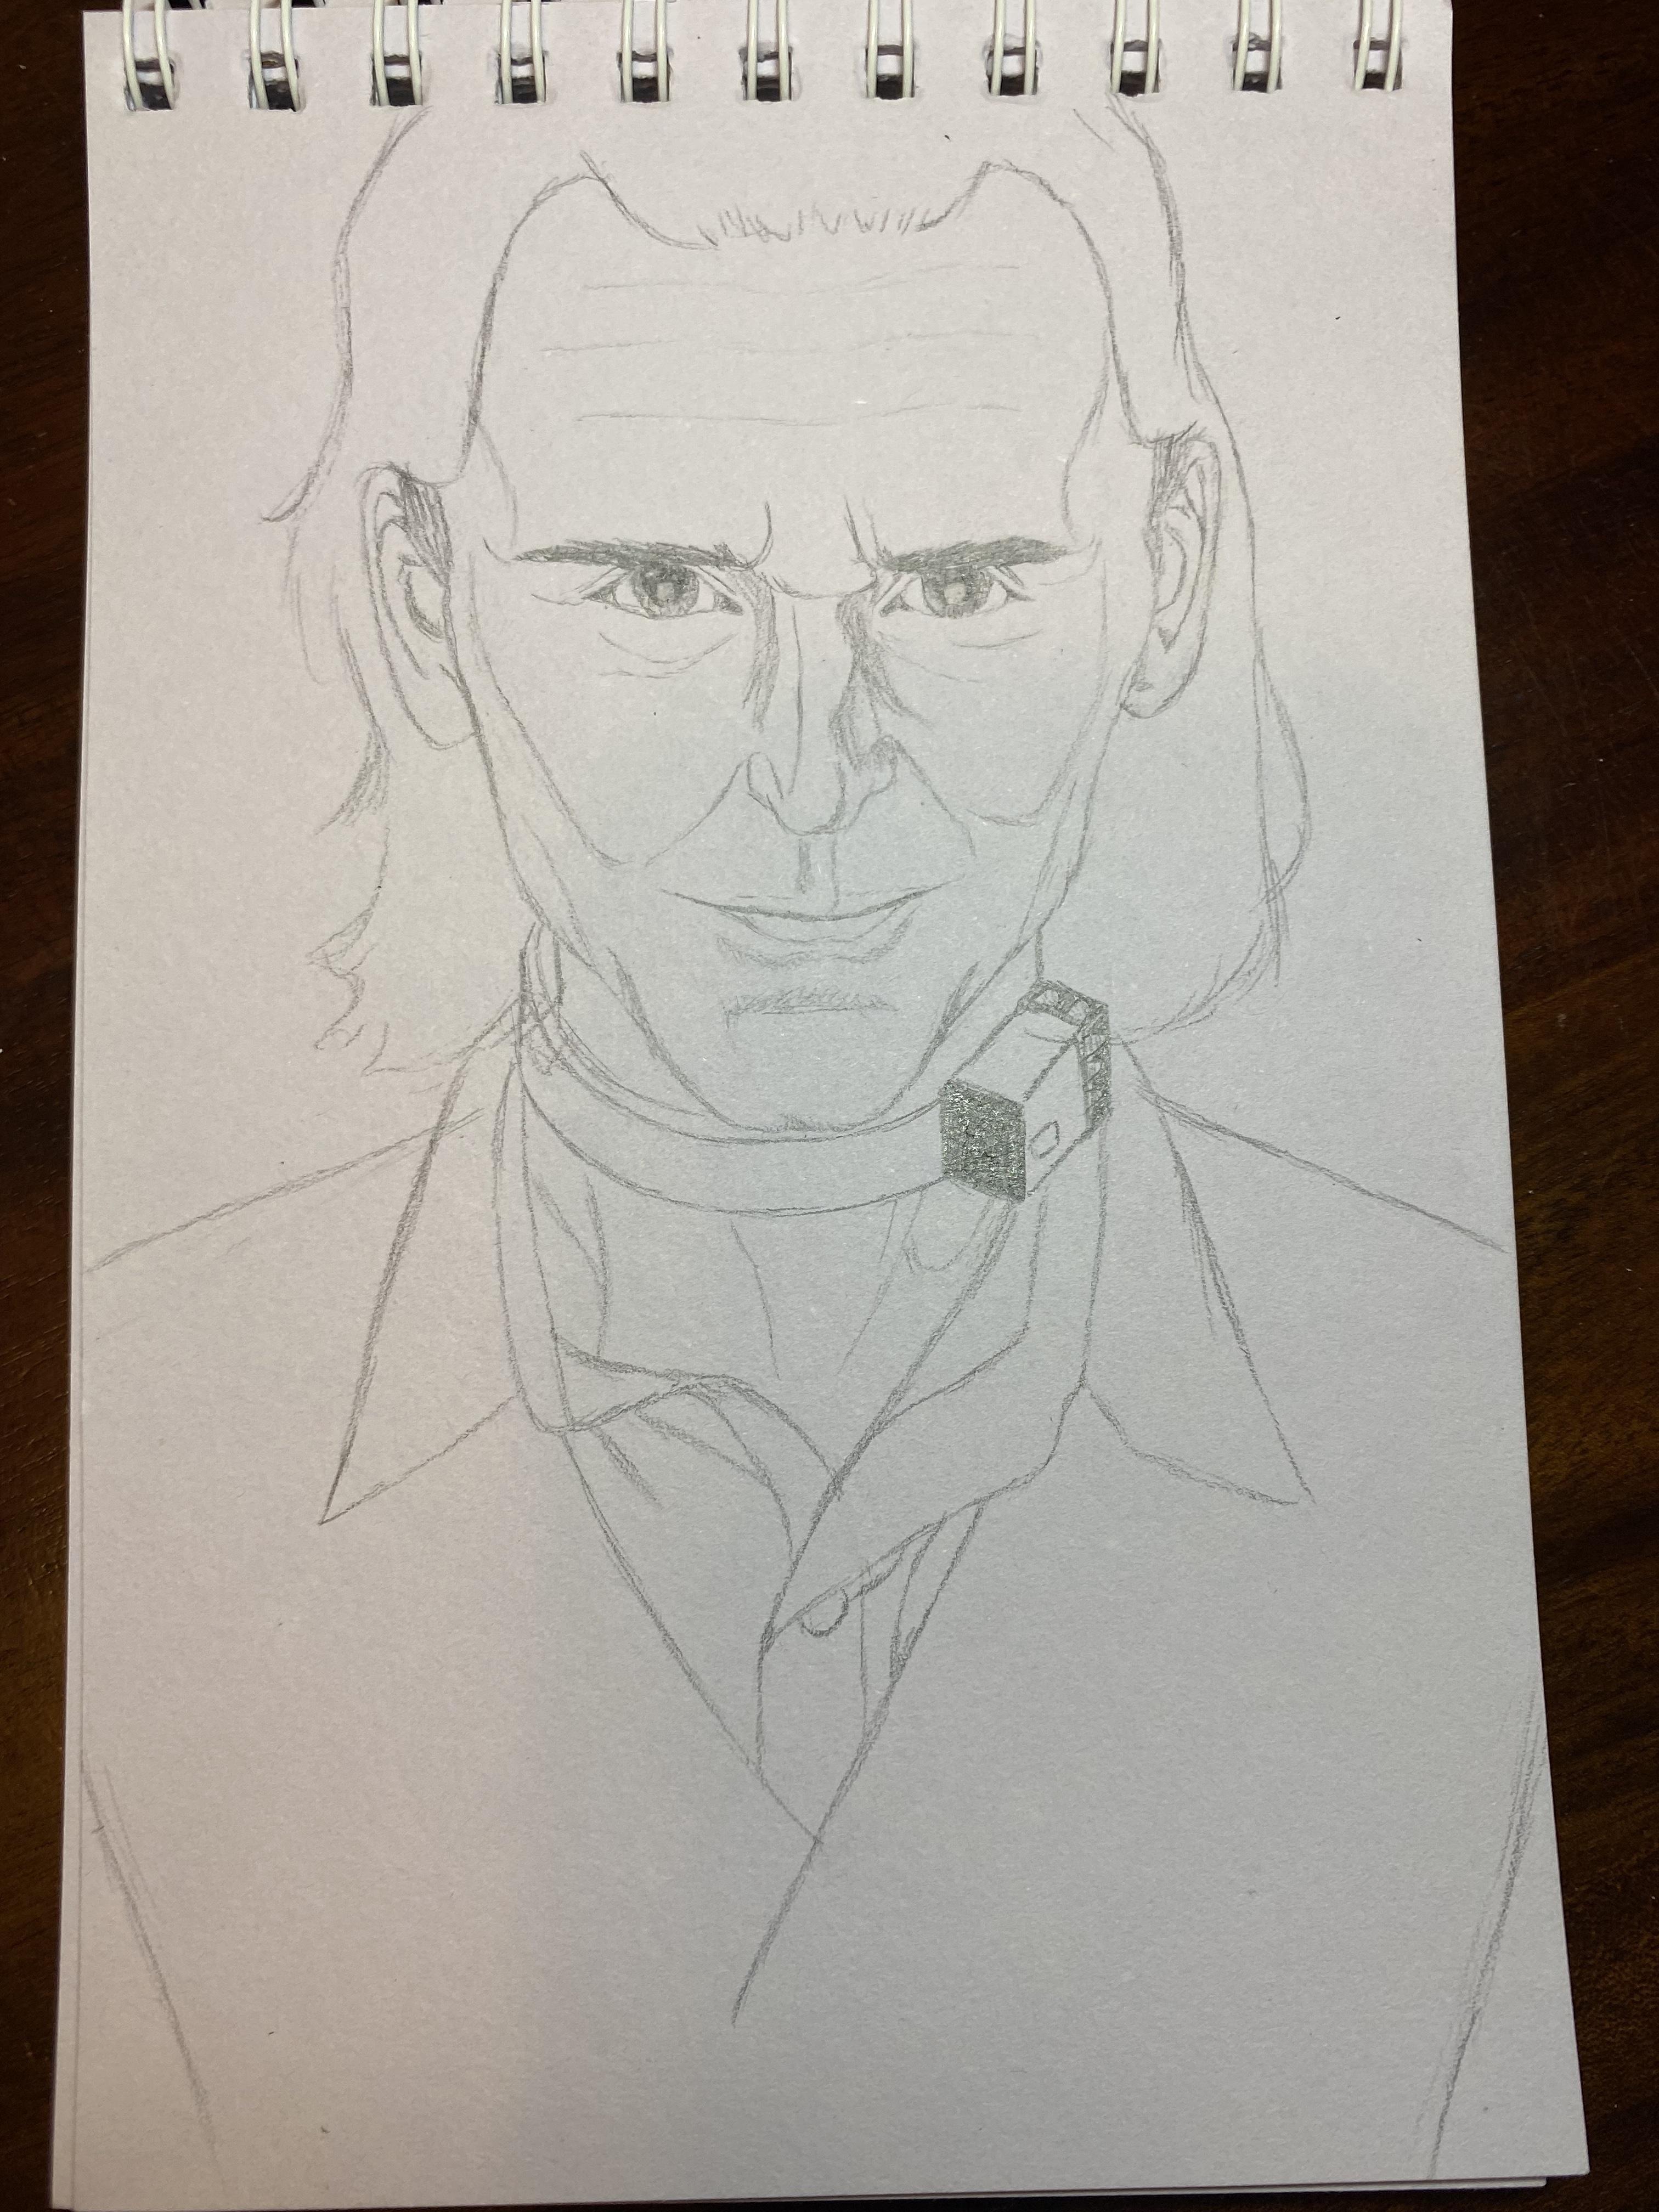
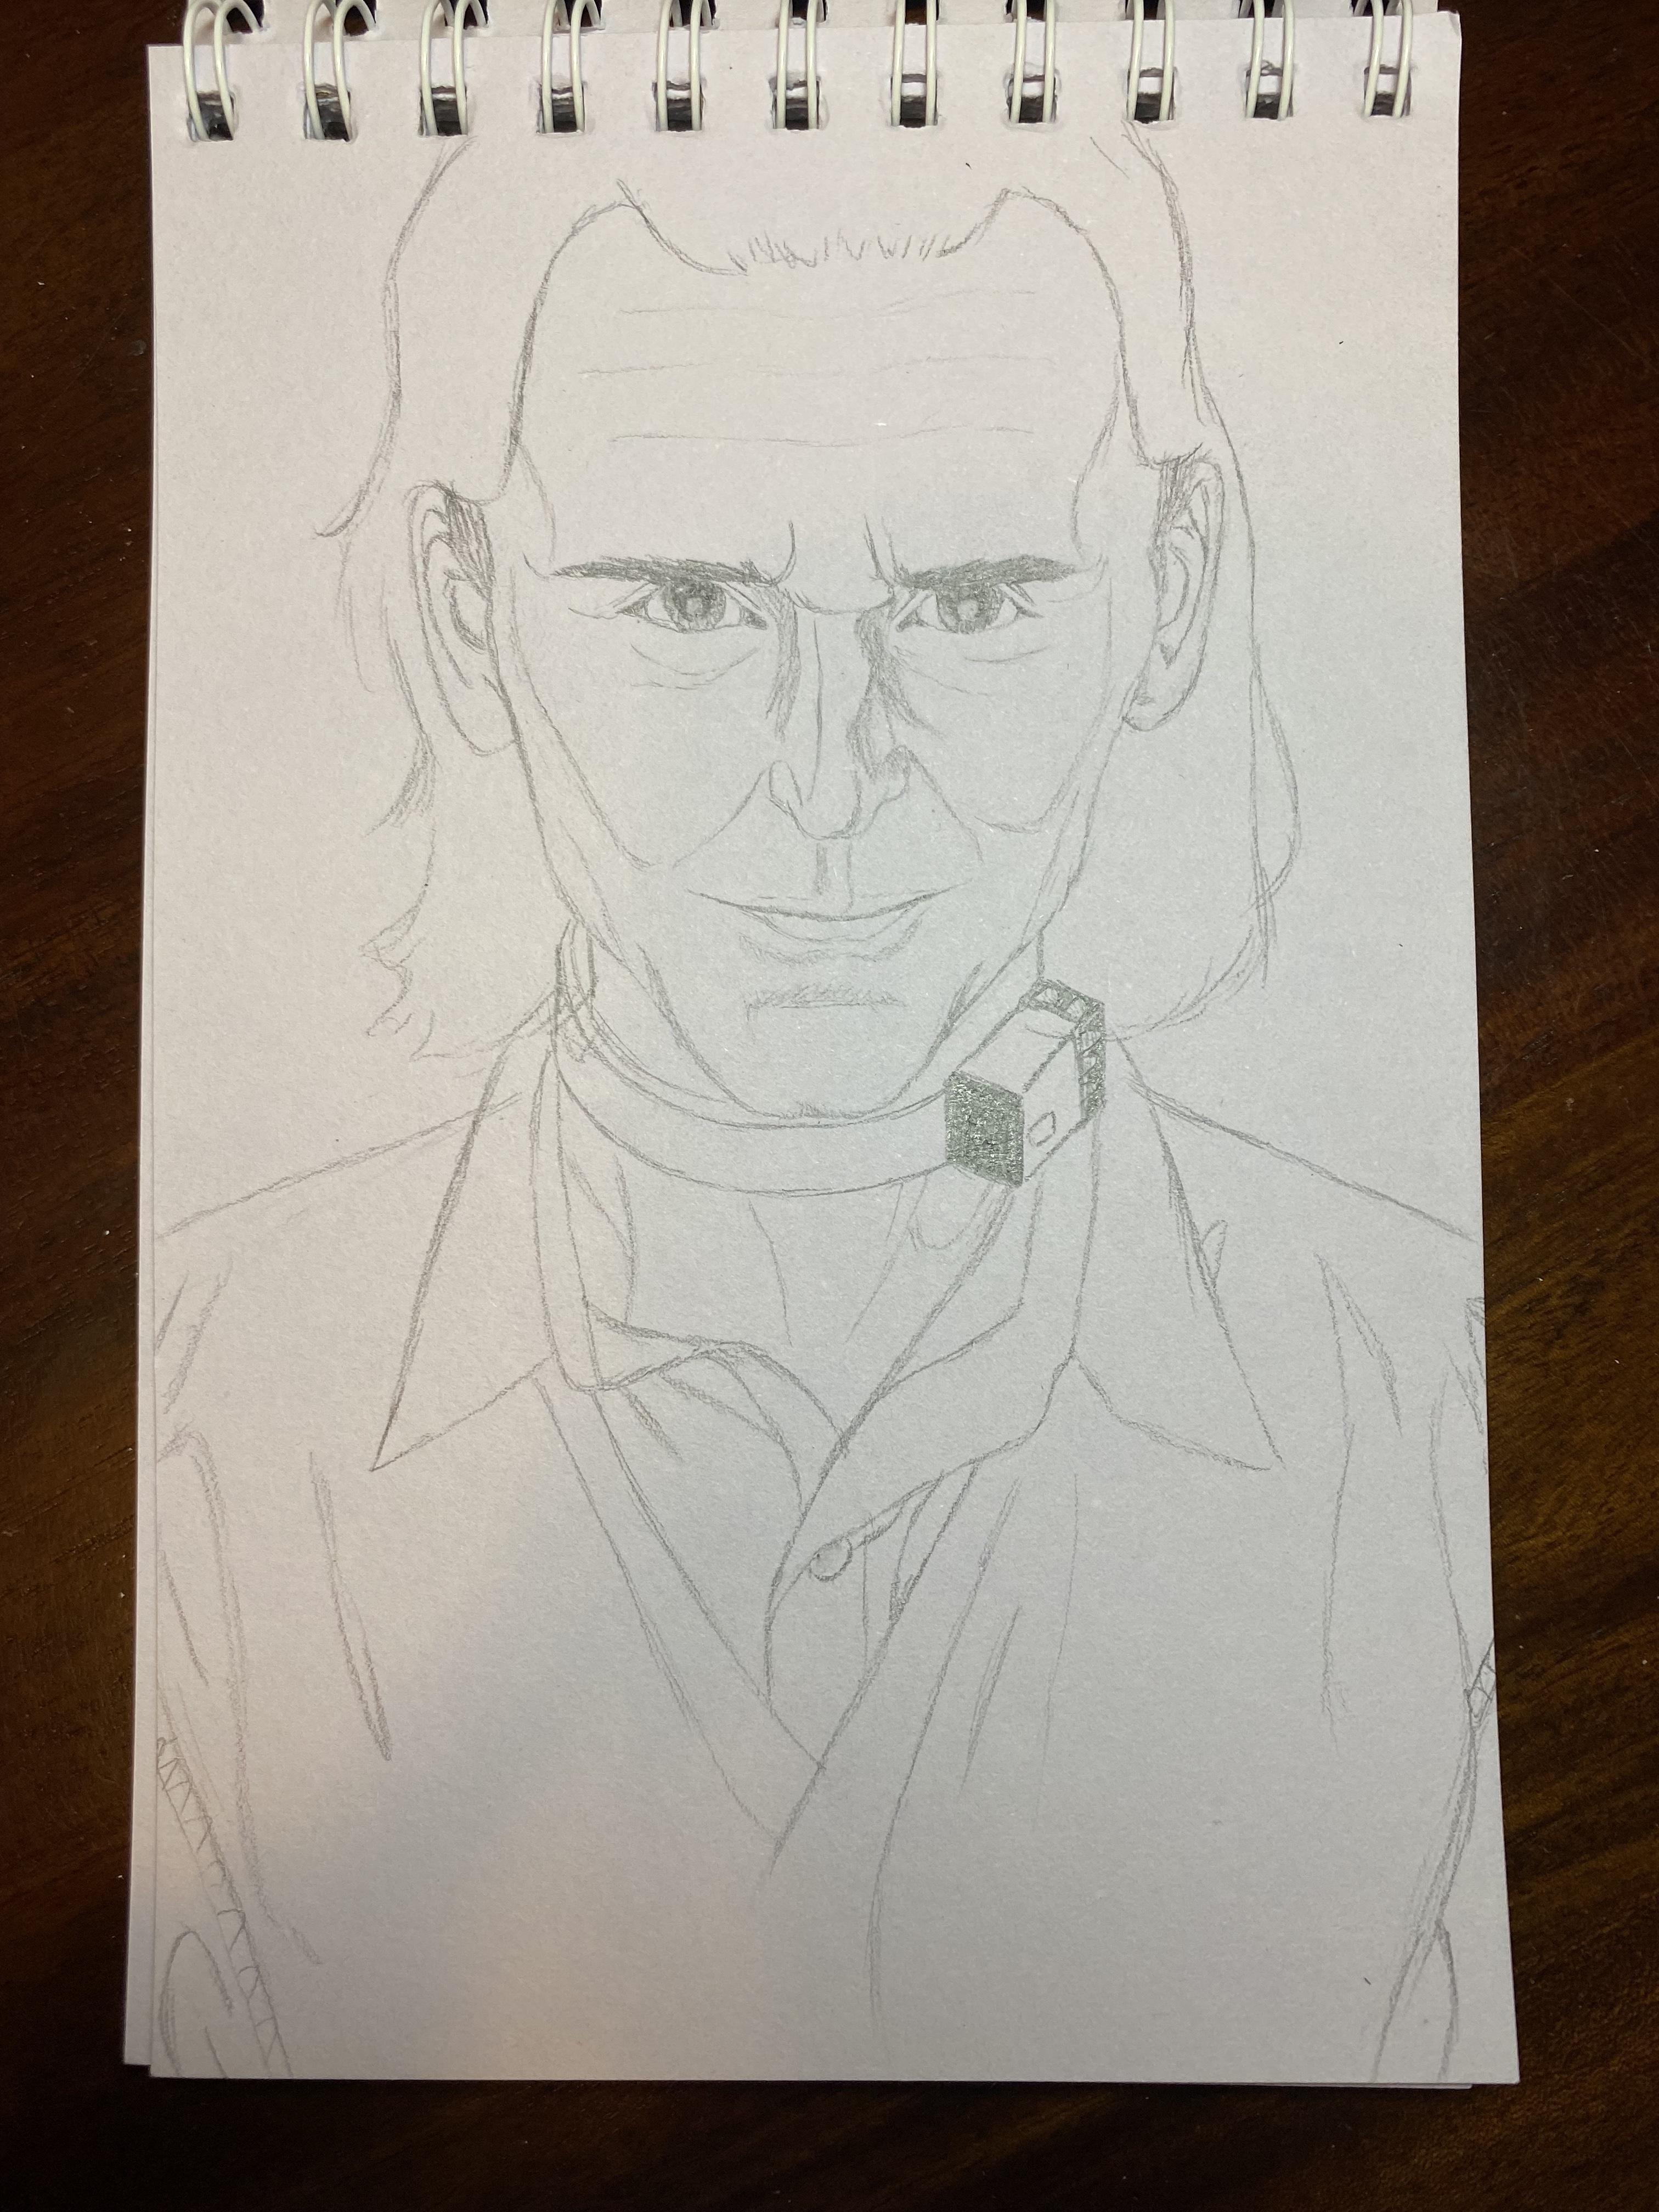
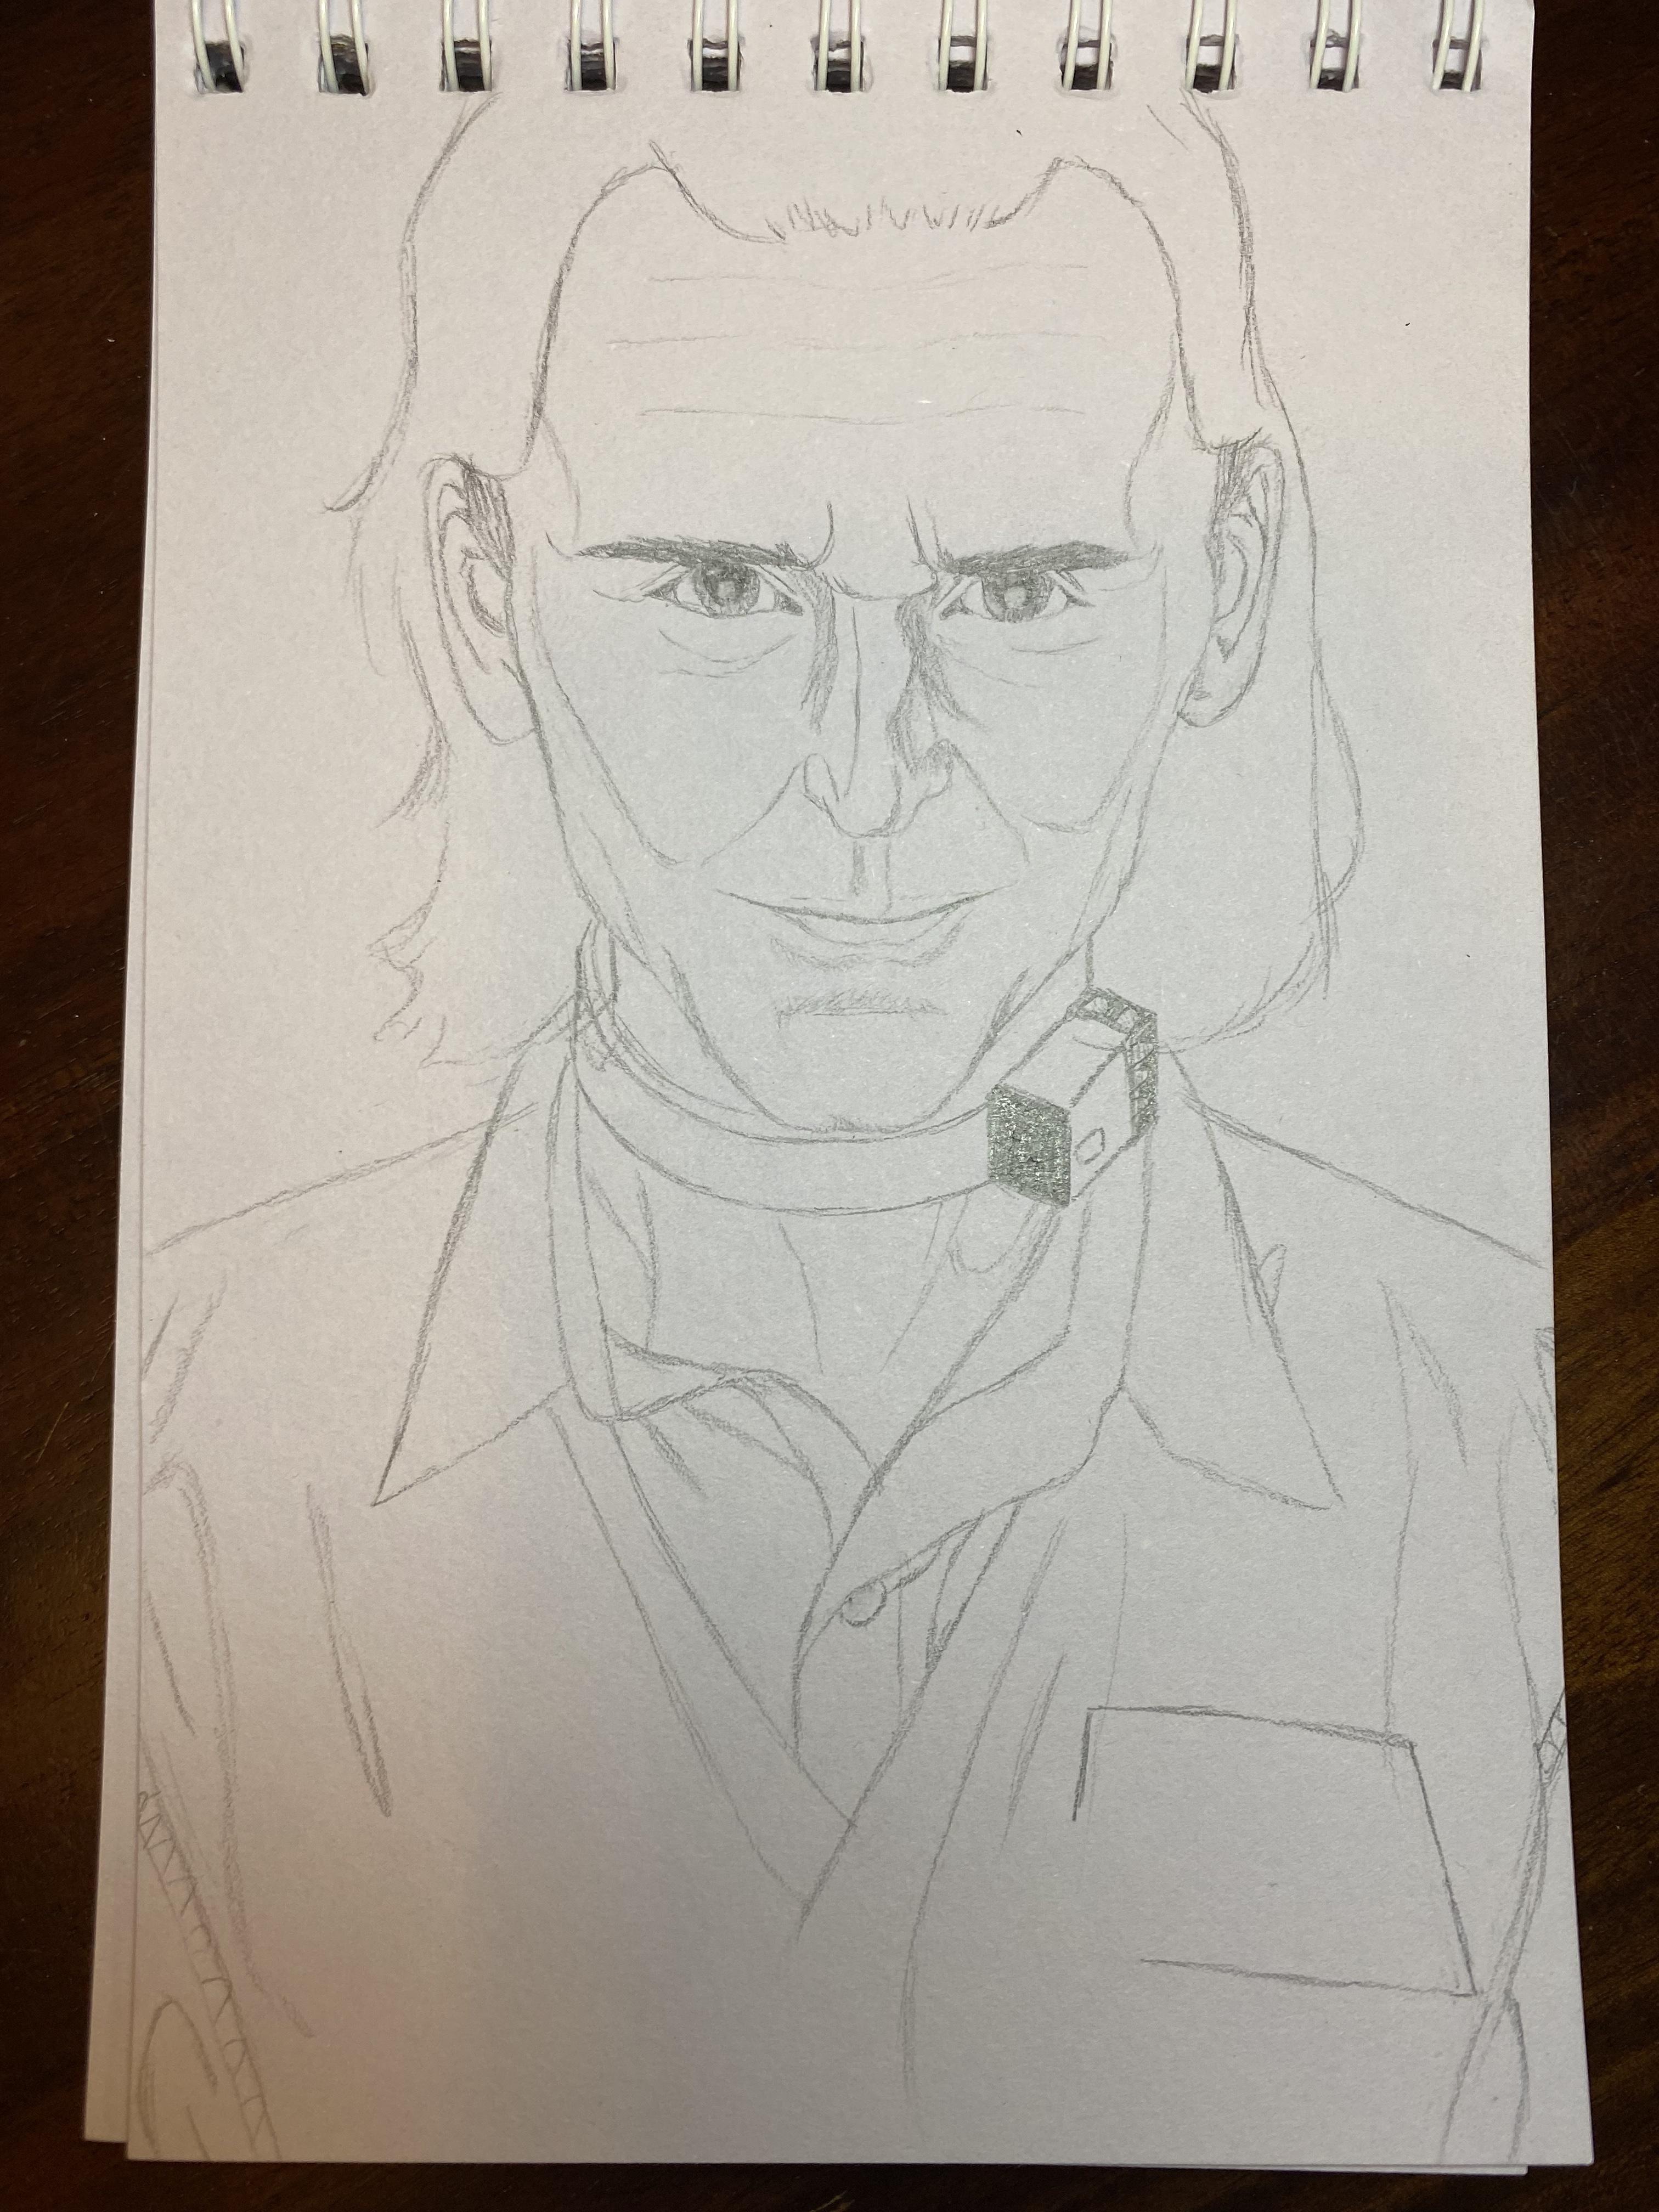
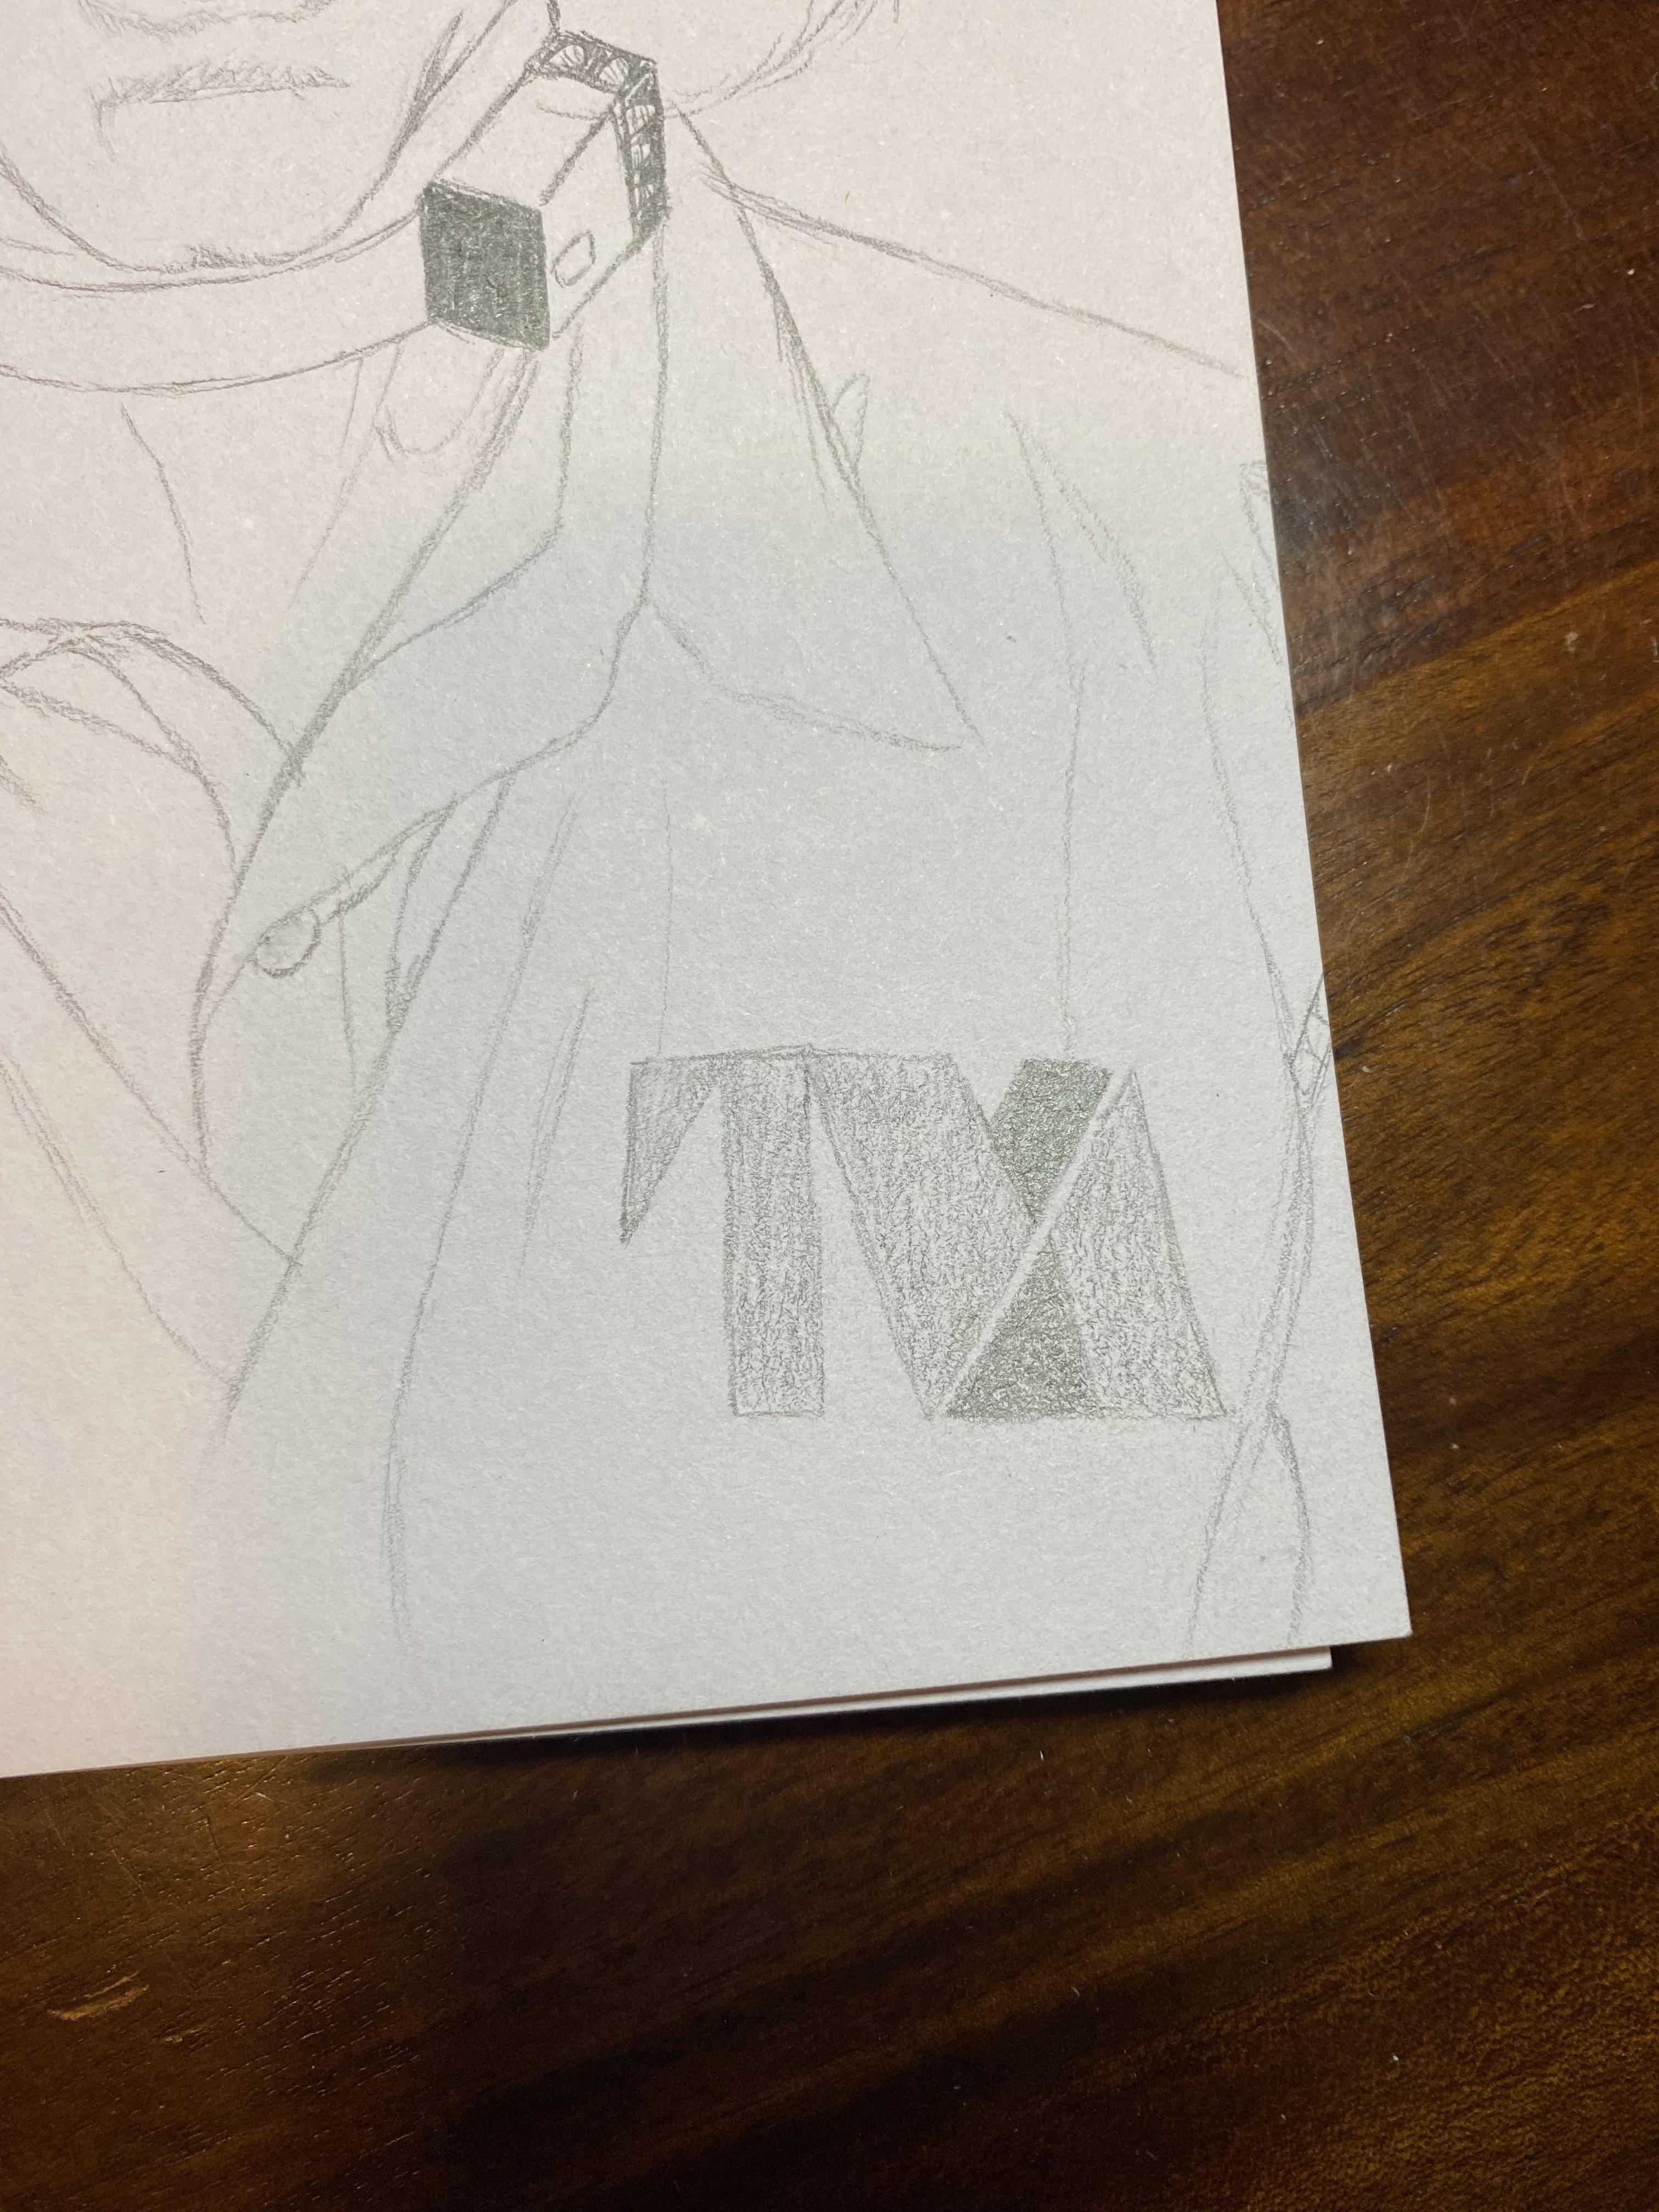
Use light lines for the neck. For the shirt wrinkles, imagine drawing either 1) a very long half-oval or 2) a long triangle with one side missing. For the TVM logo, try drawing a rectangle as big as you want the whole logo to be, then adding lines and details inside it to form the letters. You can then erase lines you don't want.
Final Details
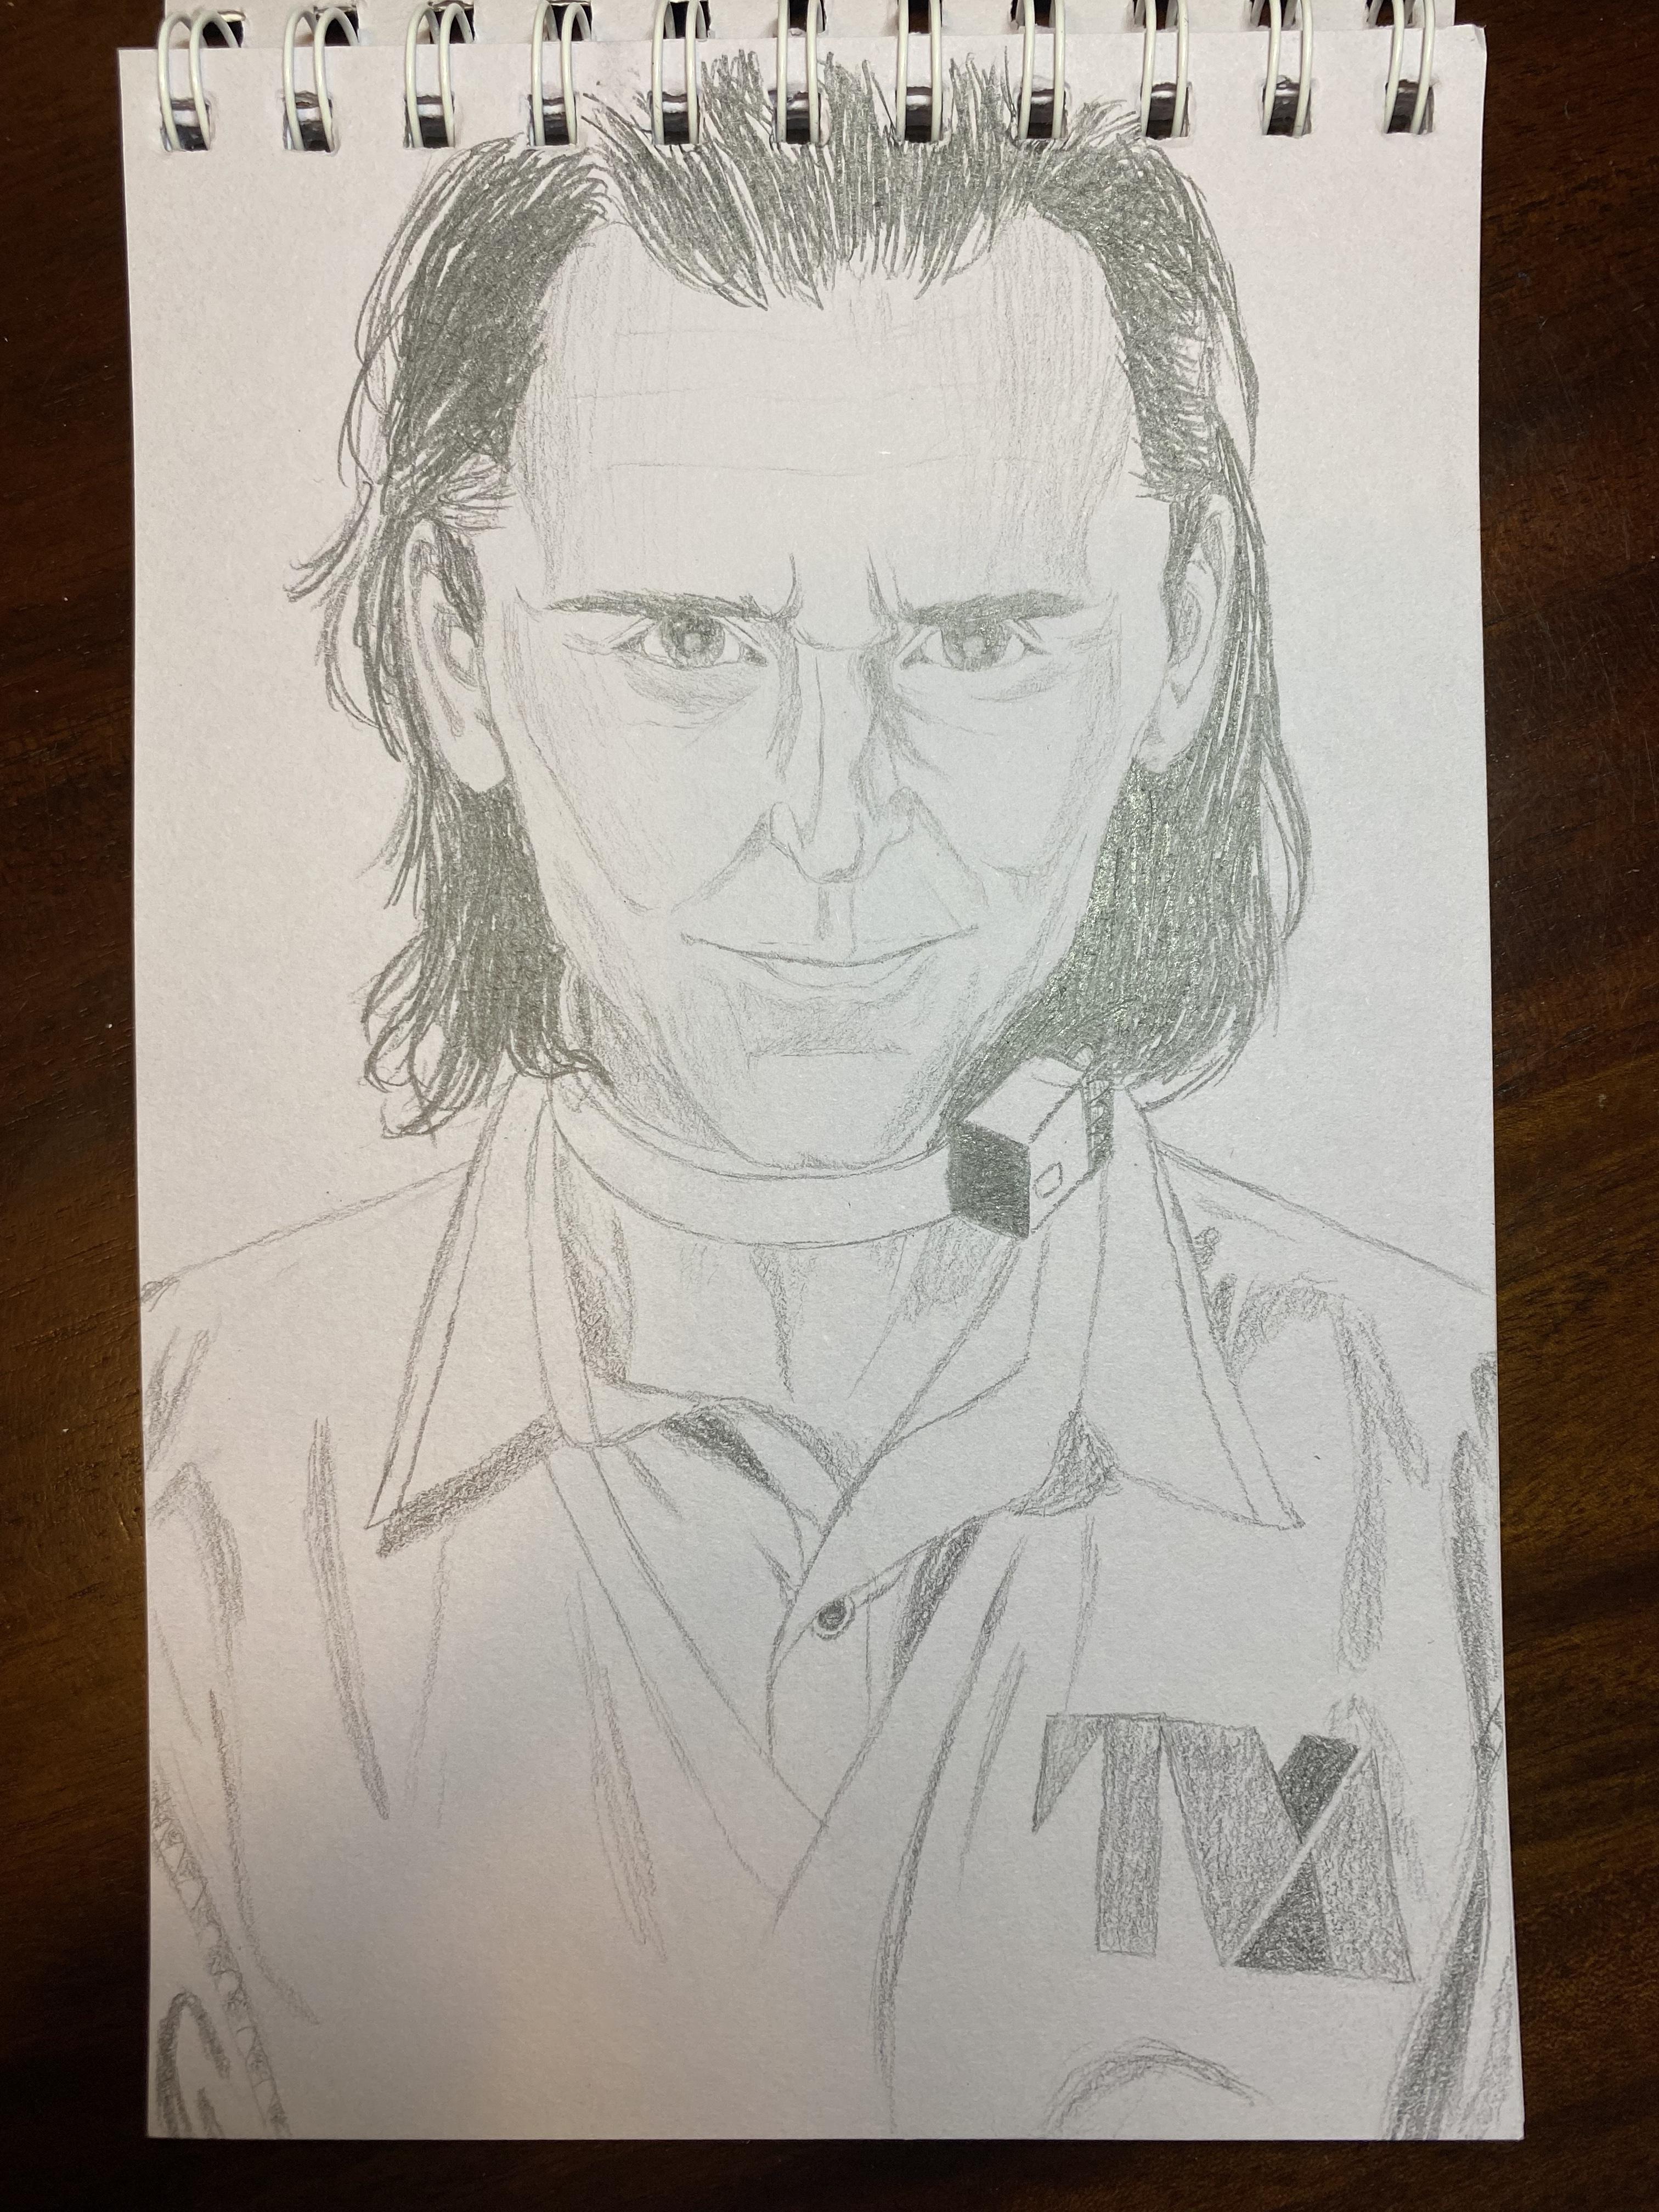
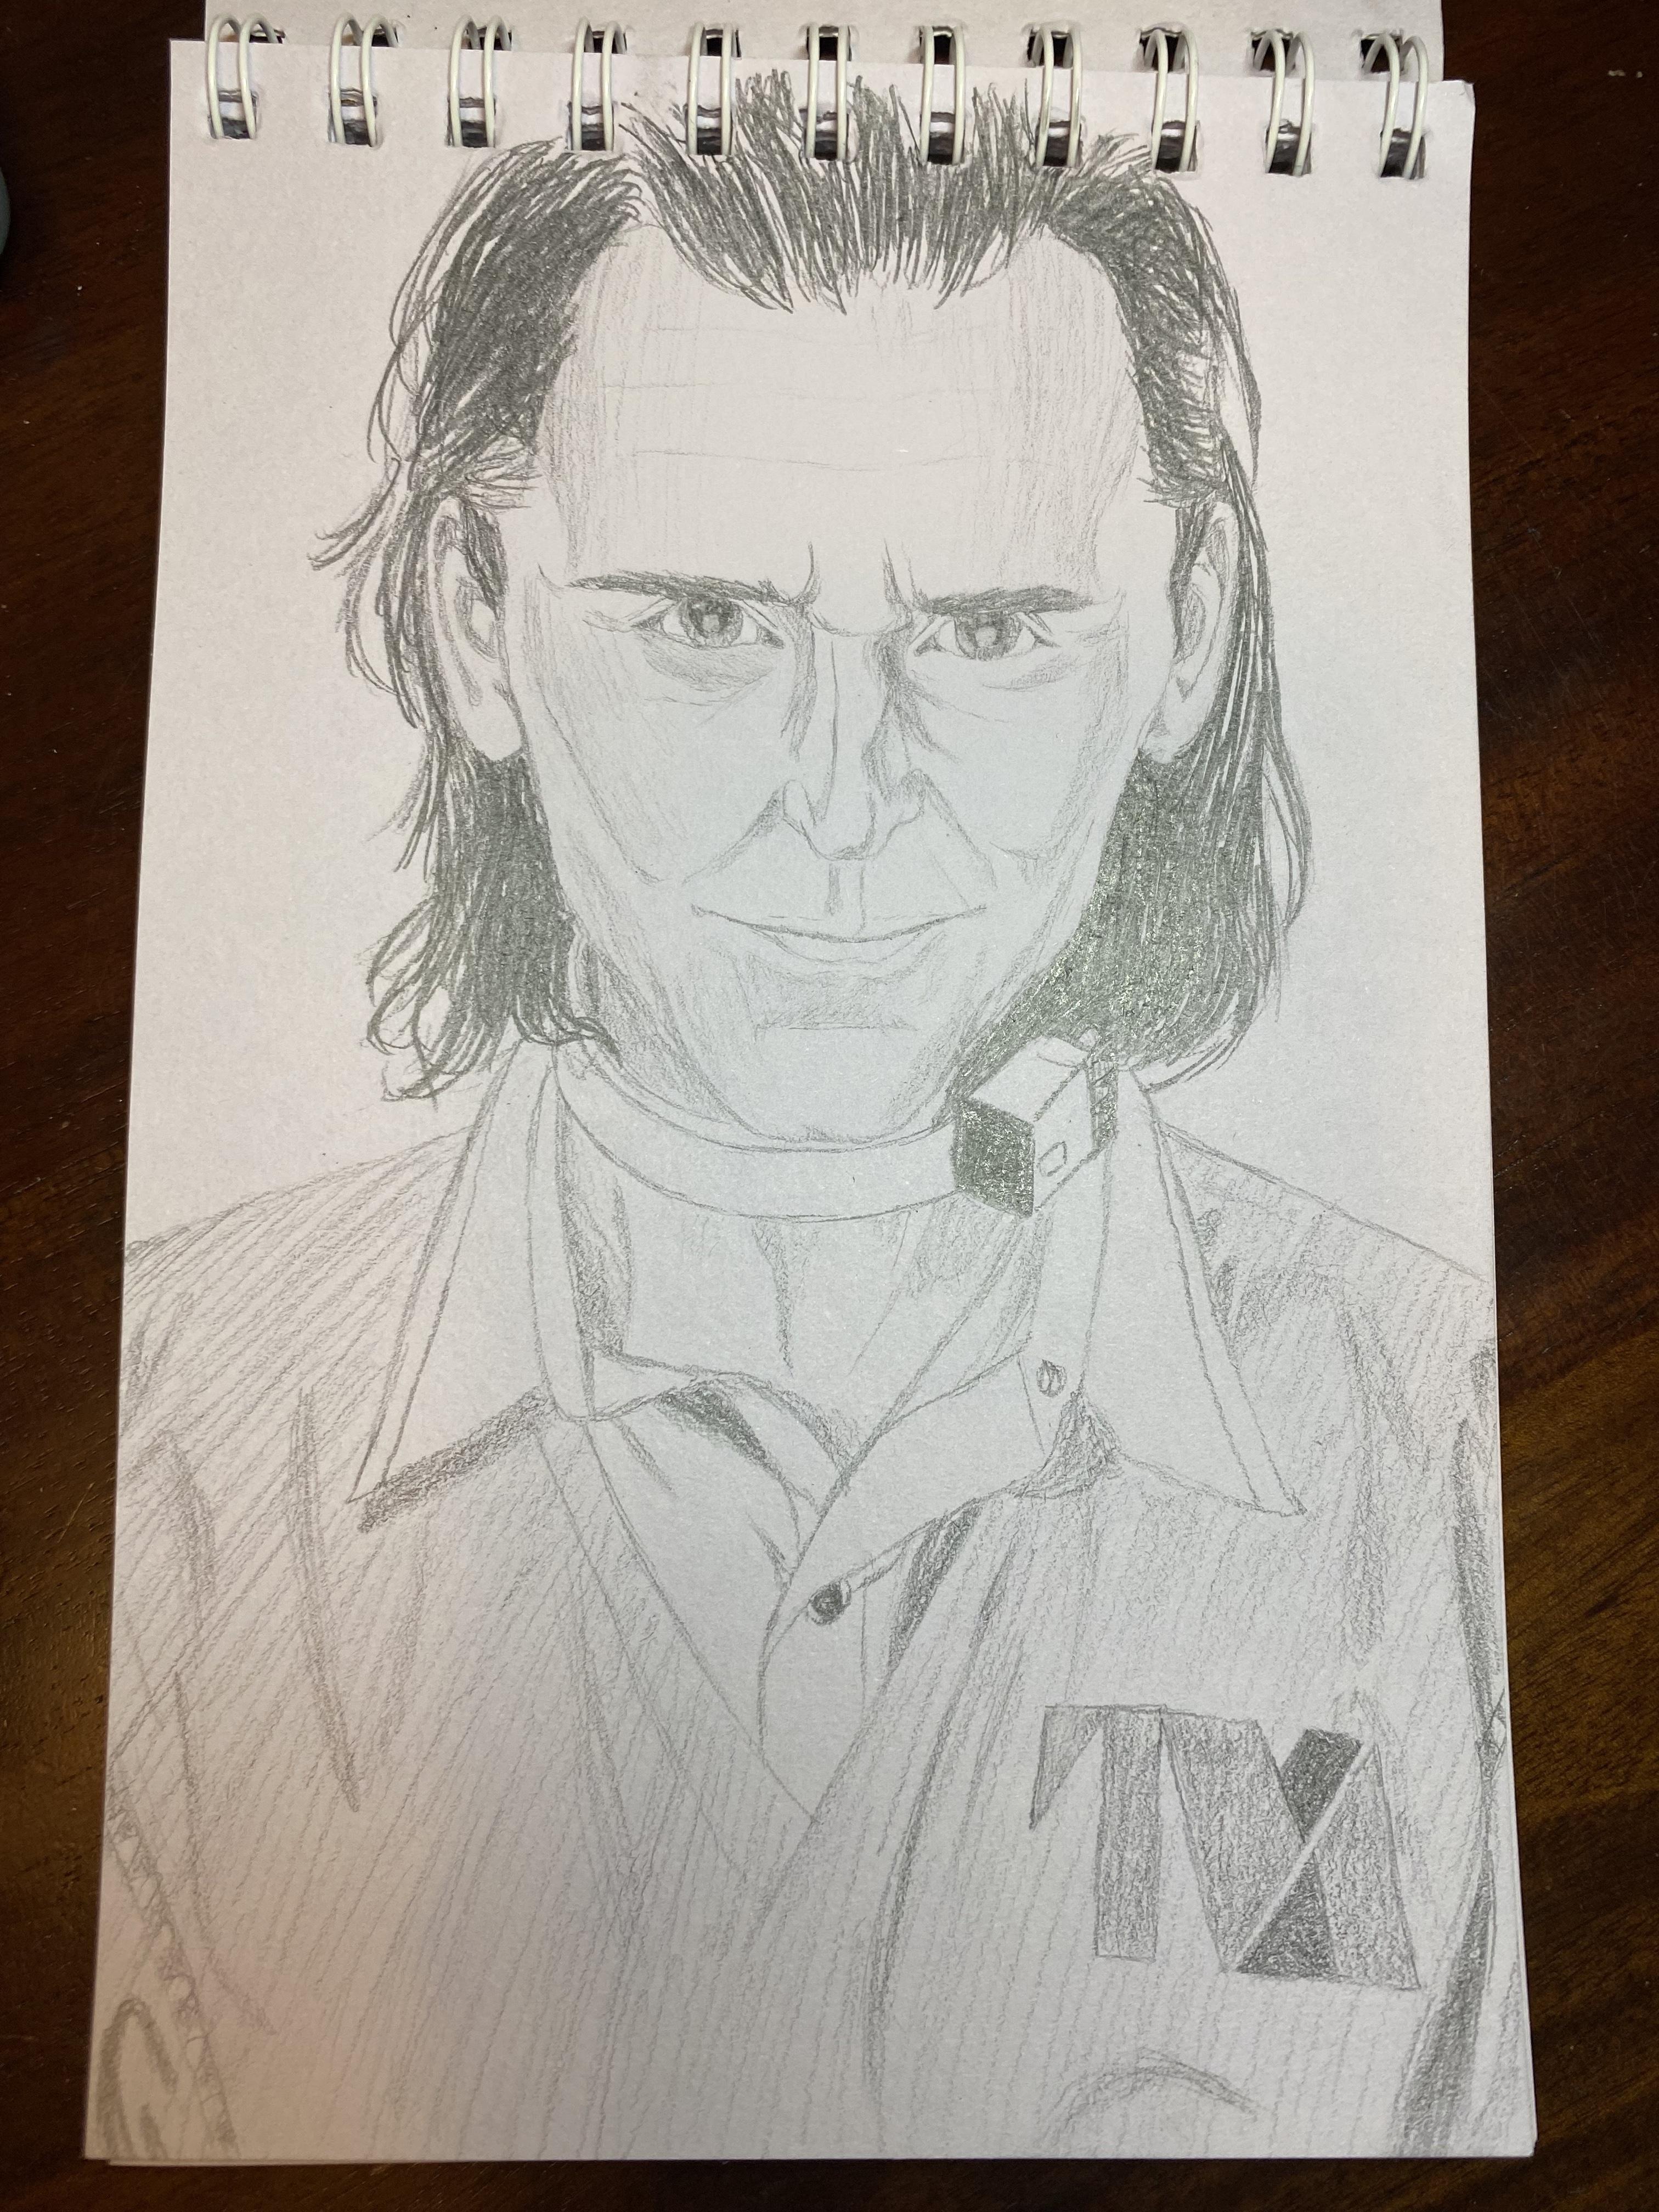
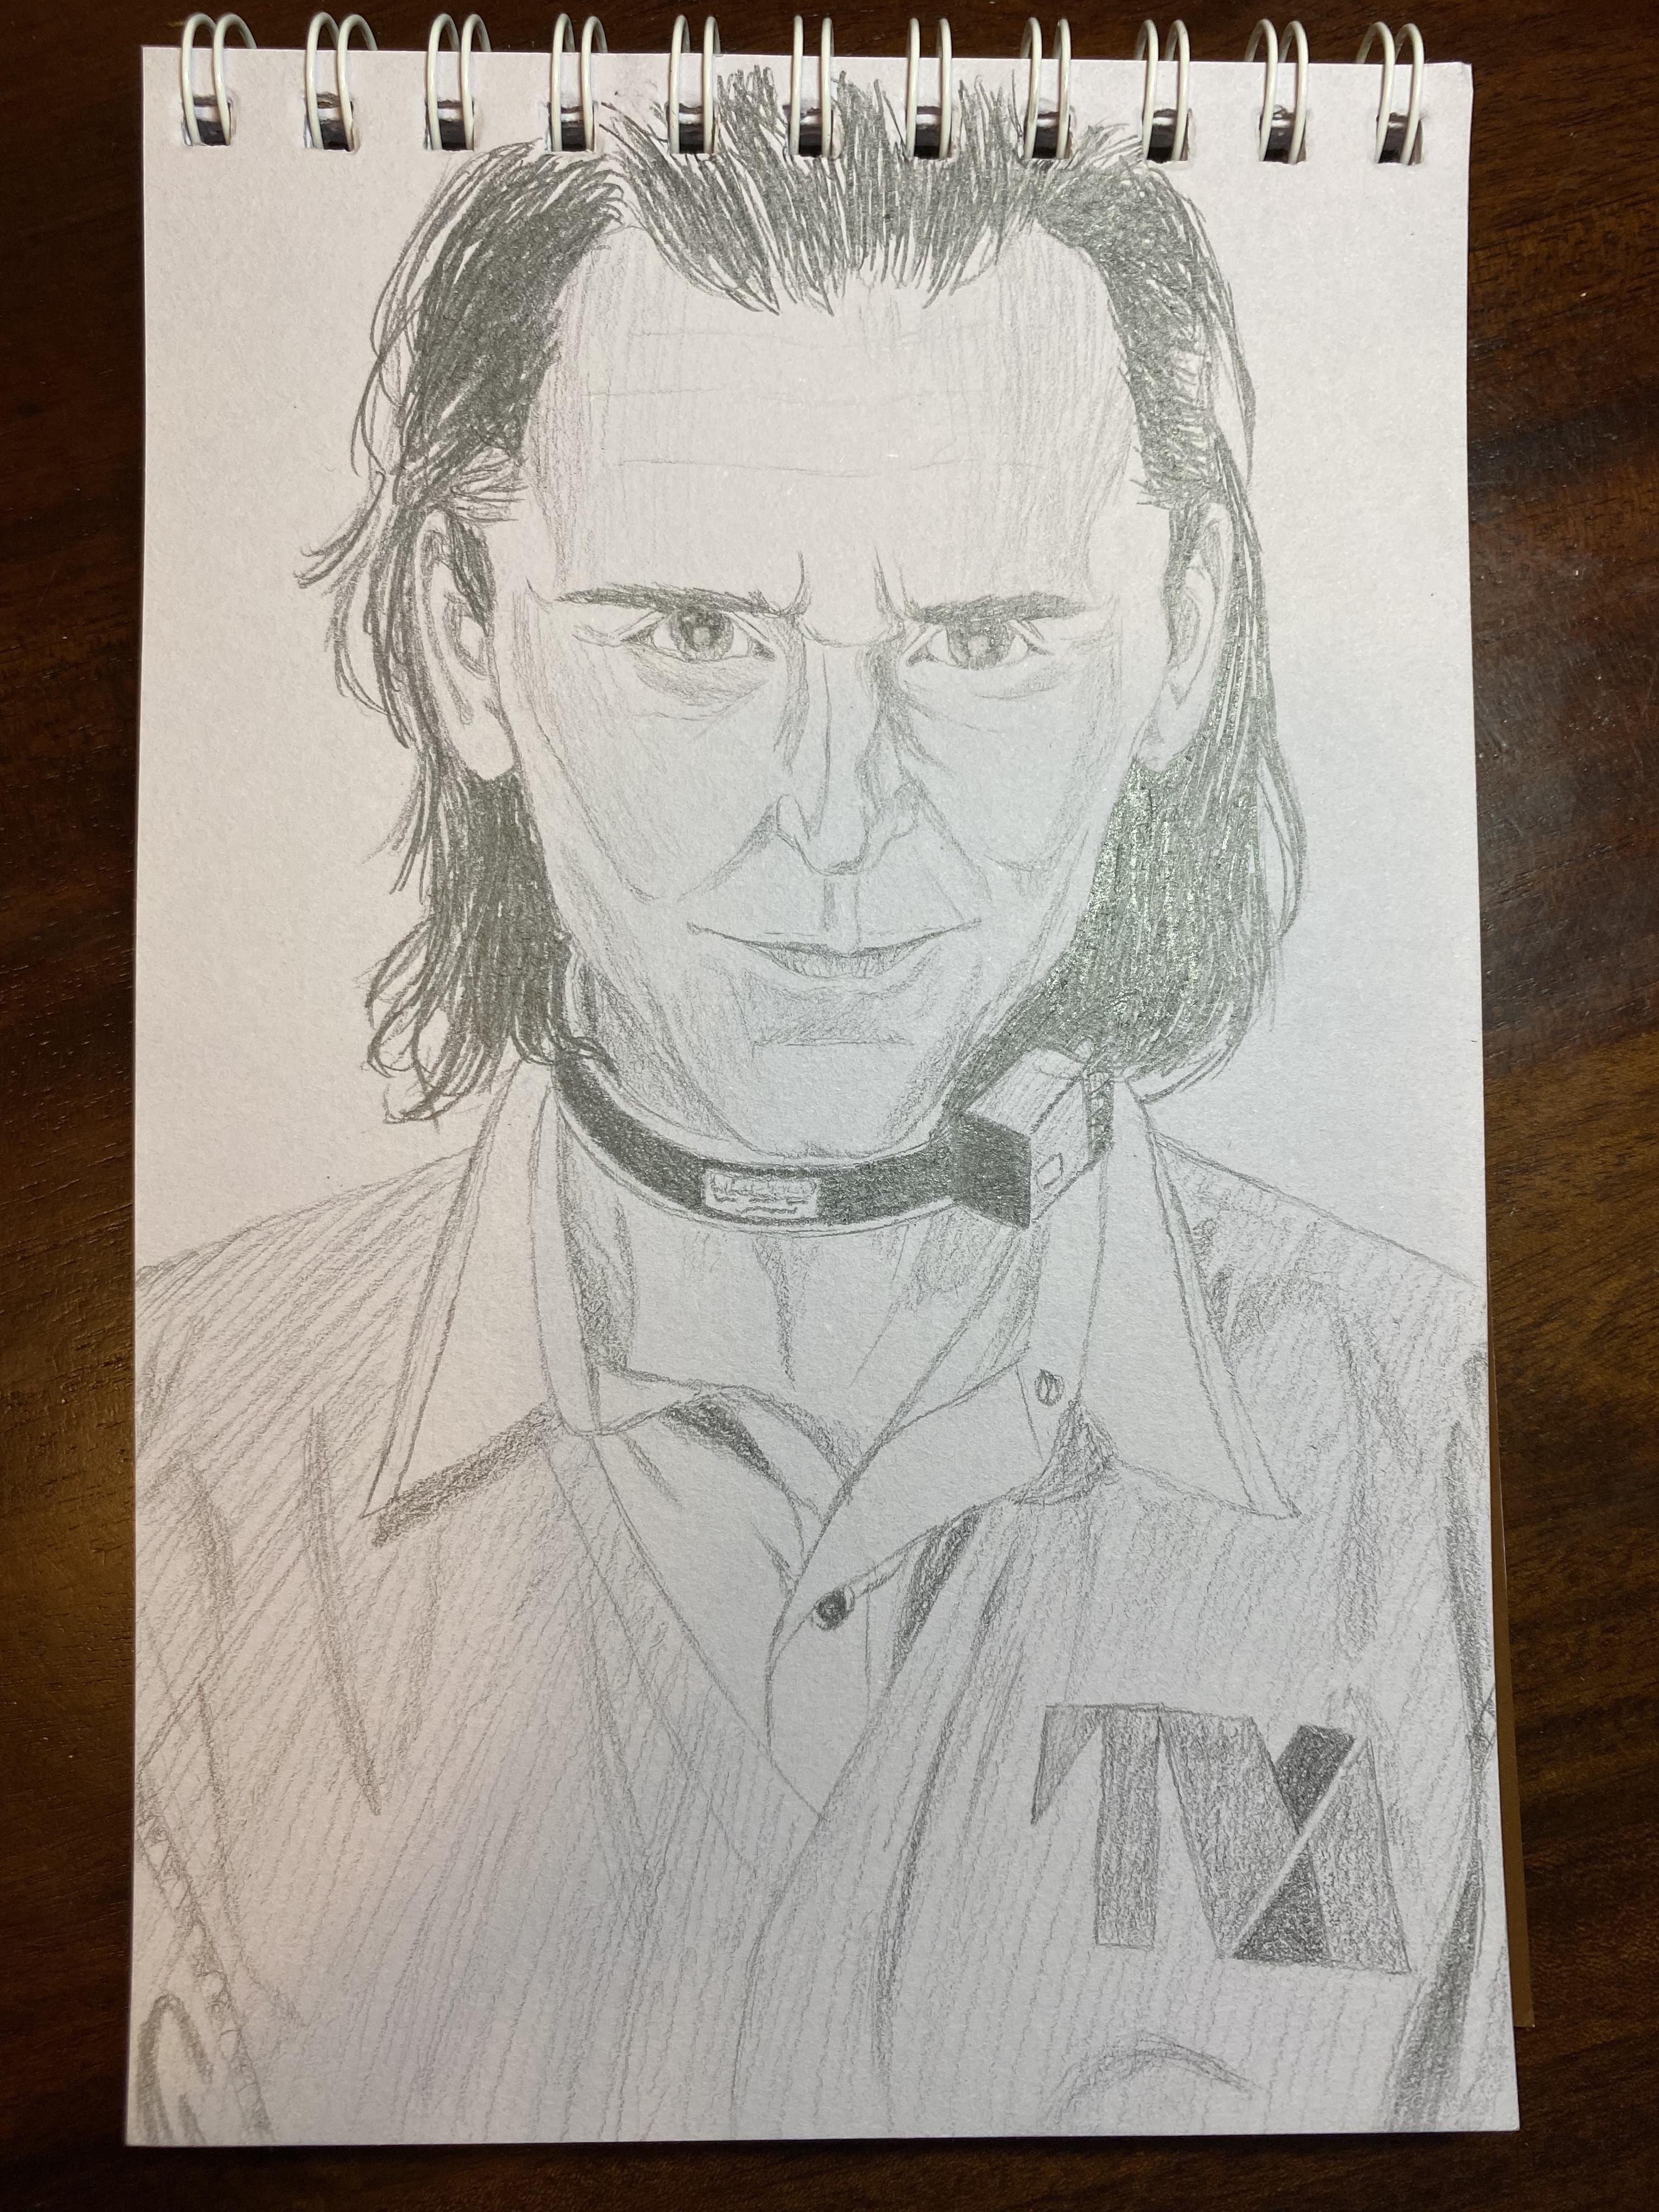
Darken the hair, and if you want, experiment with keeping some parts lighter than others. Move your pencil lightly and quickly at the sides of some shirt and neck wrinkles. Use very long, light lines moving in the same direction across the shirt and some parts of the face to darken them.
You're done! Frame it, color it, show it off - do whatever you want with it. If you'd like to draw Loki in different settings from different movies, you can use the same face and then try your own hand at sketching different outfits, using pictures for reference if you need and using the same shading techniques.
Hope you had fun!