Logo Laser Etched Fluorescent Acrylic Brand Plaques
by cornelius3 in Craft > Fashion
1741 Views, 11 Favorites, 0 Comments
Logo Laser Etched Fluorescent Acrylic Brand Plaques


Lotta words in that Title, Okay, so simple, take your design, and put it on something so everyone can see it when they walk into a store to buy your stuff. Yeah, pretty straightforwards.
This was apart of a project I was working on for StockingNoir.com that I made at Techshop
The total design was cut and etched onto 1/4" thick acrylic with dimensions of 20" x 20"
This was apart of a project I was working on for StockingNoir.com that I made at Techshop
The total design was cut and etched onto 1/4" thick acrylic with dimensions of 20" x 20"
To Start

To start, know where your going to be displaying your plaque. Is it back lit ? Front lit? Directly against the wall ? etc.
I made some test tags first. I etched the logo straight on one and mirrored it for the other. It is hard to tell from the picture, but if you look closely you can see that the back lit one is a little bit harder to read due to the glare from the windows. But if your going to add some LED lighting behind or below the plaque then you will get some awesome results. For this plan we went with the design directly on the front of the acrylic.
I made some test tags first. I etched the logo straight on one and mirrored it for the other. It is hard to tell from the picture, but if you look closely you can see that the back lit one is a little bit harder to read due to the glare from the windows. But if your going to add some LED lighting behind or below the plaque then you will get some awesome results. For this plan we went with the design directly on the front of the acrylic.
Get Your Design, and It's Cutting Etching Time.


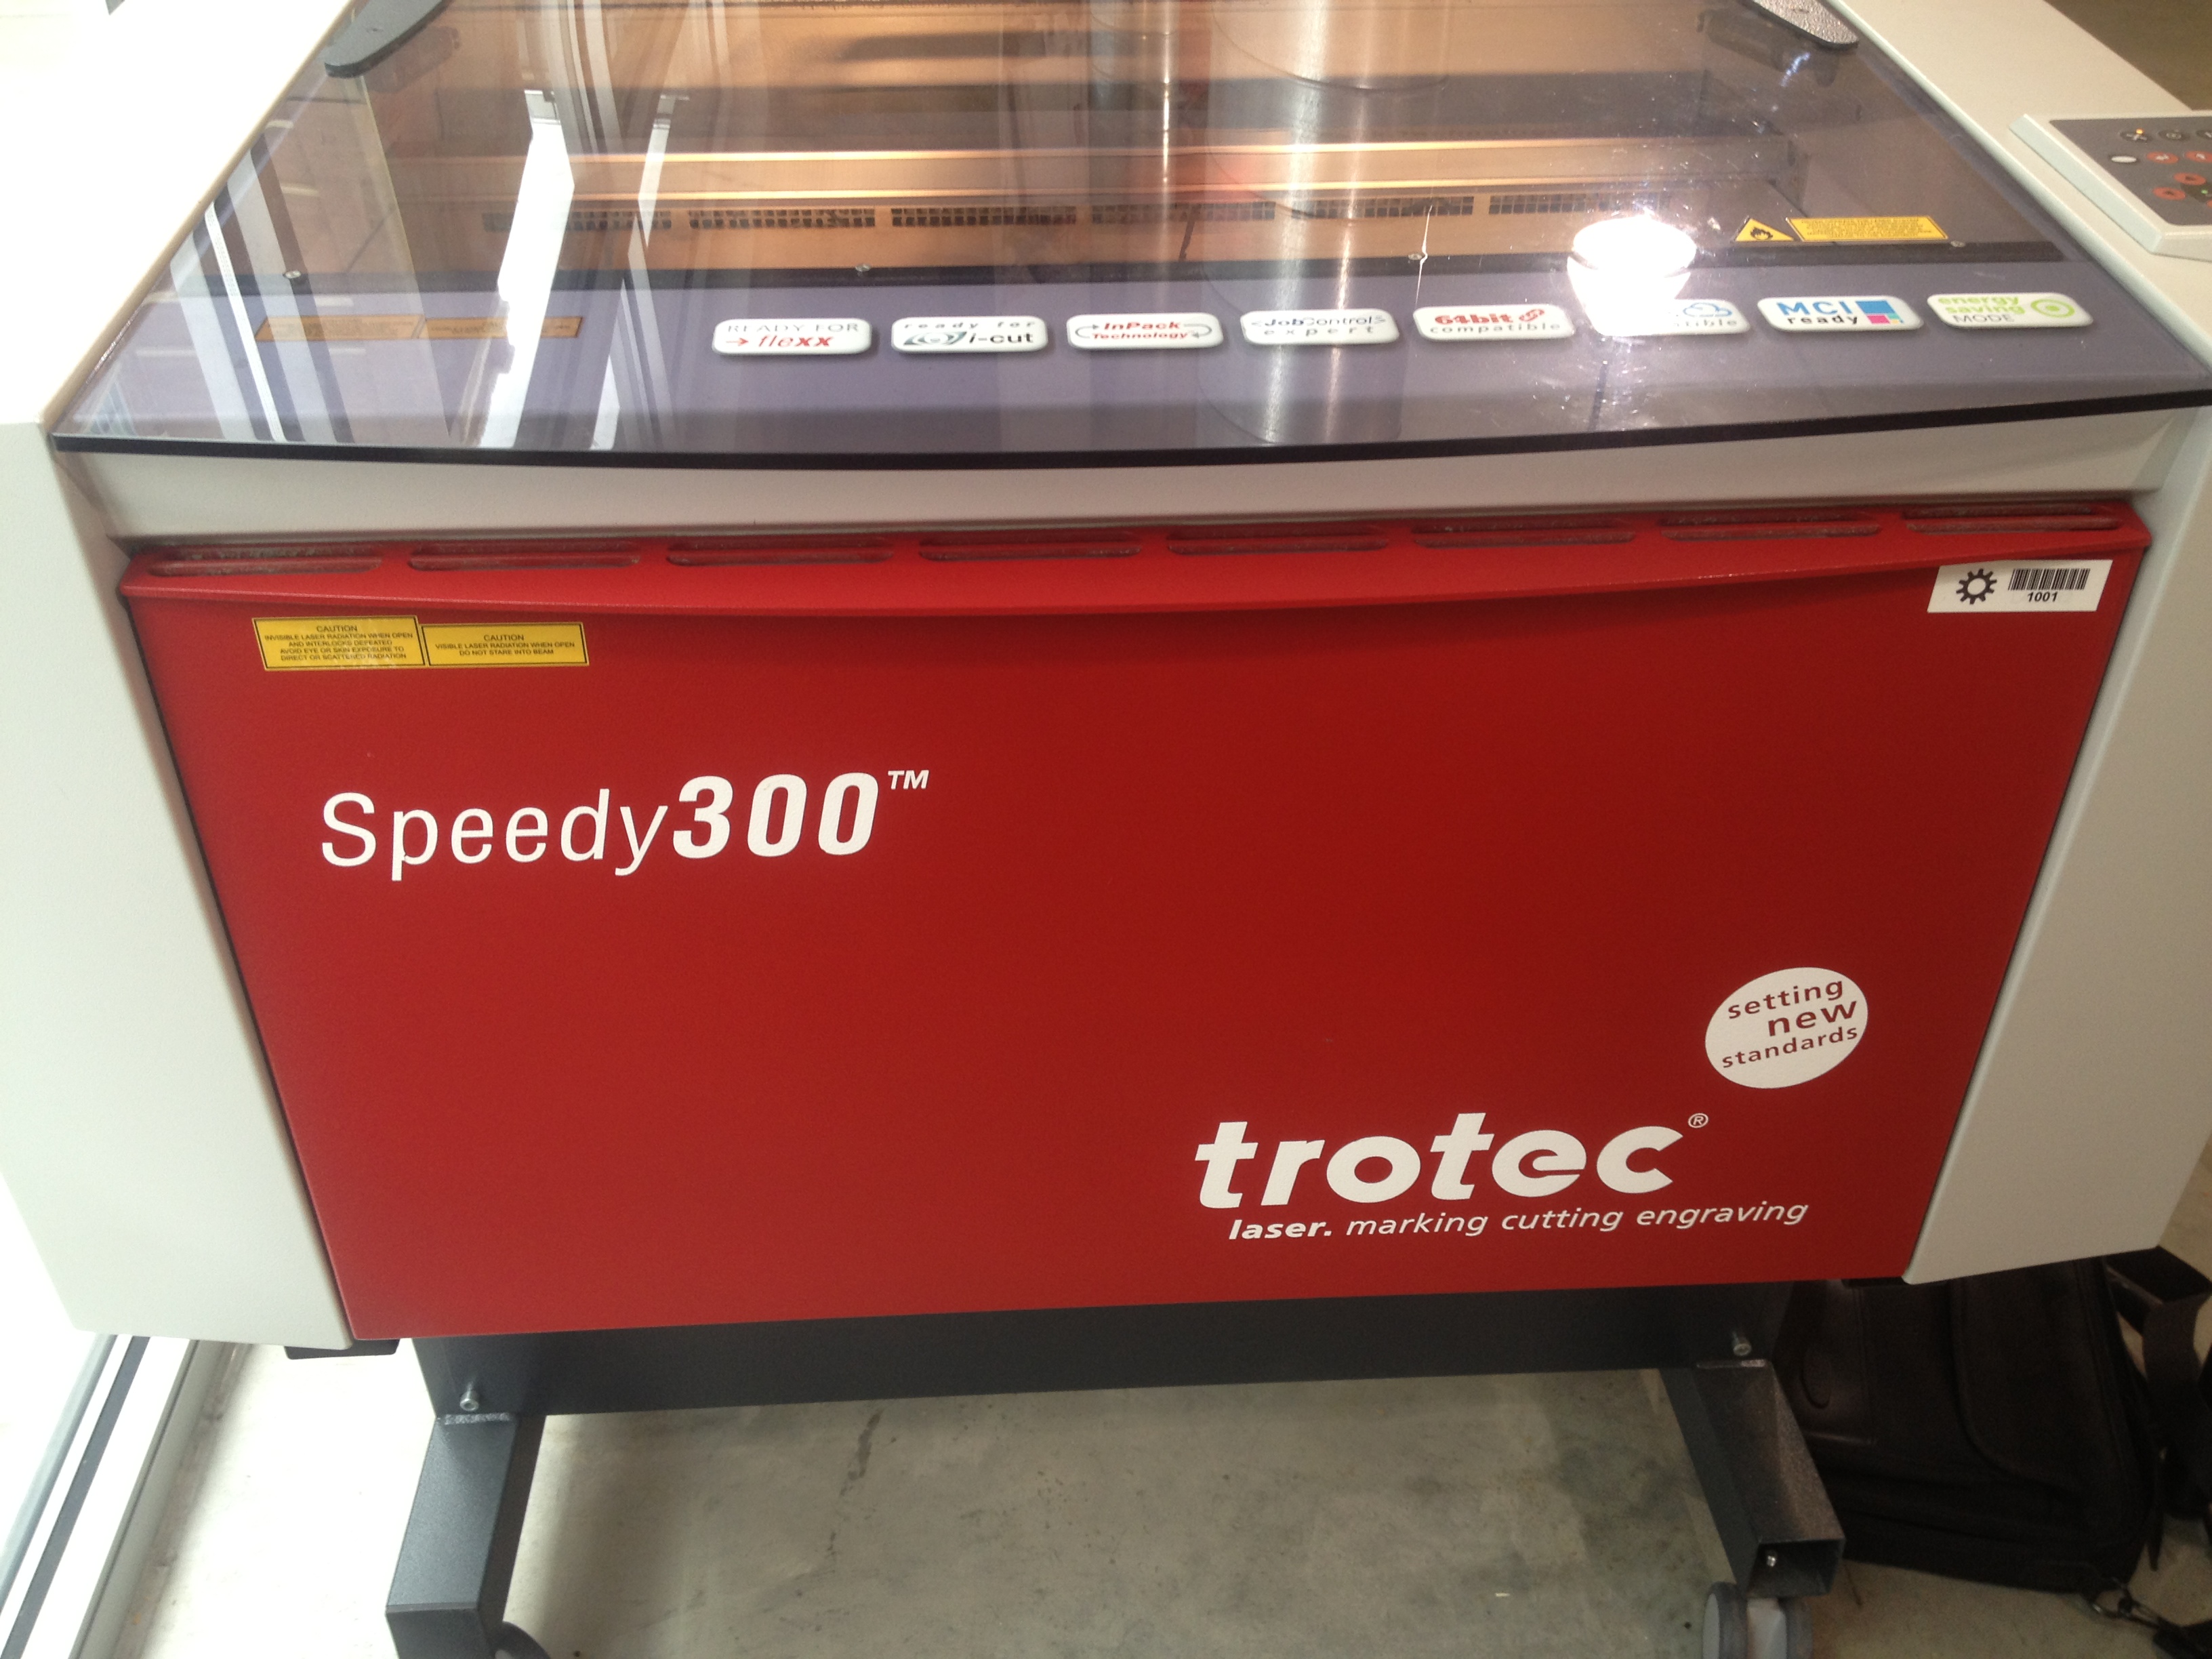
Get on the laser and for 1/4" set the Etching Power to 100, speed to 70 and Hz 500, set cut power to 100, speed to 0.35 and Hz 5000
Do as many test runs as you can before go all out on the final piece of acrylic.
Do as many test runs as you can before go all out on the final piece of acrylic.
Okay Now It's Ready to Mount


Yeah, 3 steps and your ready to hang it up. I found that the 3M command wall mounts sold everywhere will snuggly hold a 1/4" thick piece of acrylic. So I tossed four on each end and stuck it to the wall.
So there ya go.
Awesome (pictures don't do justice).
Feel free to experiment cutting and reshaping for a larger look and feel.
So there ya go.
Awesome (pictures don't do justice).
Feel free to experiment cutting and reshaping for a larger look and feel.