Locking the Rotation of Walker Handles
by wikkevdb in Living > Health
254 Views, 1 Favorites, 0 Comments
Locking the Rotation of Walker Handles


This instructable was created in the spirit of design for everyone. The west flanders college of applied sciences sets up 'the collective', where different design teams each tackle a specific case study.
Our instructable was created for Willem, a resident of 'het havenhuis' care center. He would like the handles on his walker not to rotate. This instructable shows a way to do so, that works on almost any type of handle the client buys.
Supplies

.png)
- a drill + drillbit
- a sharp box cutter
- the new handle
- a screw
- a screwdriver
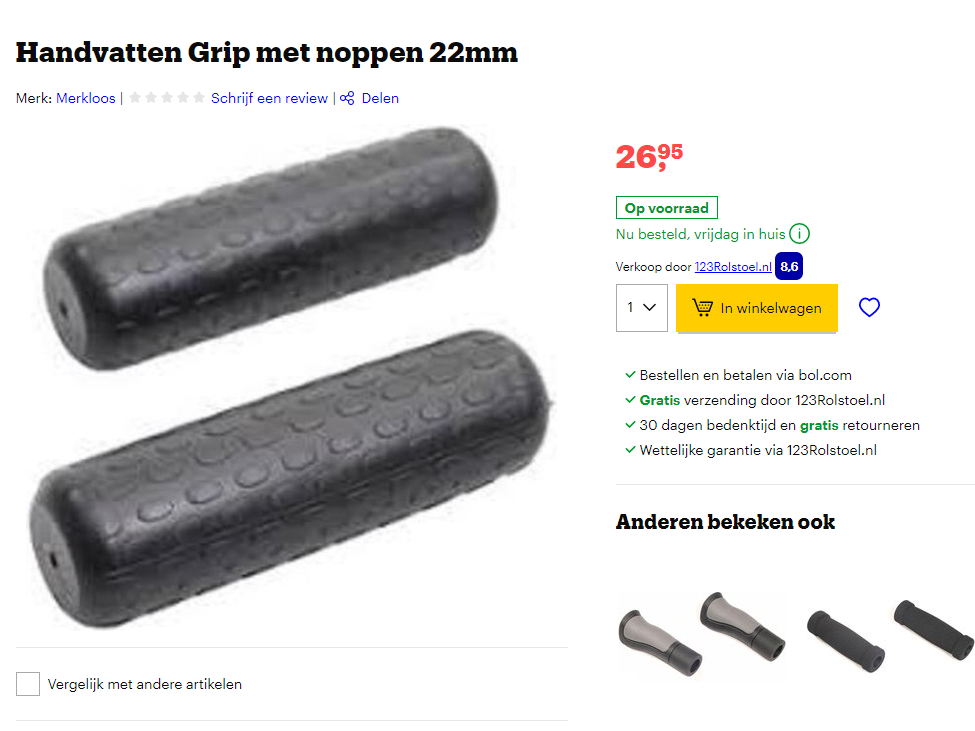
suggestion: see picture for handle suggestion. In reality this modification can be made with any kind of screw, as long as the hole you drill is the same size as the diameter of the screw. ( so the threads grip in the metal of the walker.)
For Willem's specific walker he needs to buy a handle with an inner diamater of 22mm.
Removing the Old Handle


remove the the old handle.
In most cases, the vacuum the handle causes or years of contant use make it so the old handles don't come off easily. This is fixed by using a box cutter to cut off the old handles.
Putting on the New Handle and Drilling the Hole


Put on the new handle and hold it in place.
While holding the new handle and the handlebar together, drill a hole to the side or at the bottom of the handle. Drill through both the handle and handlebar.
This hole should be made in a sublte place for the best results.
Securing the Handle With a Screw


If the 2 holes are not aligned, align them again, and then screw in the screw to hold the handle in place. now the rotation is locked.
(optional Step) Filing Off the Bolt Head for a Smoother Finish

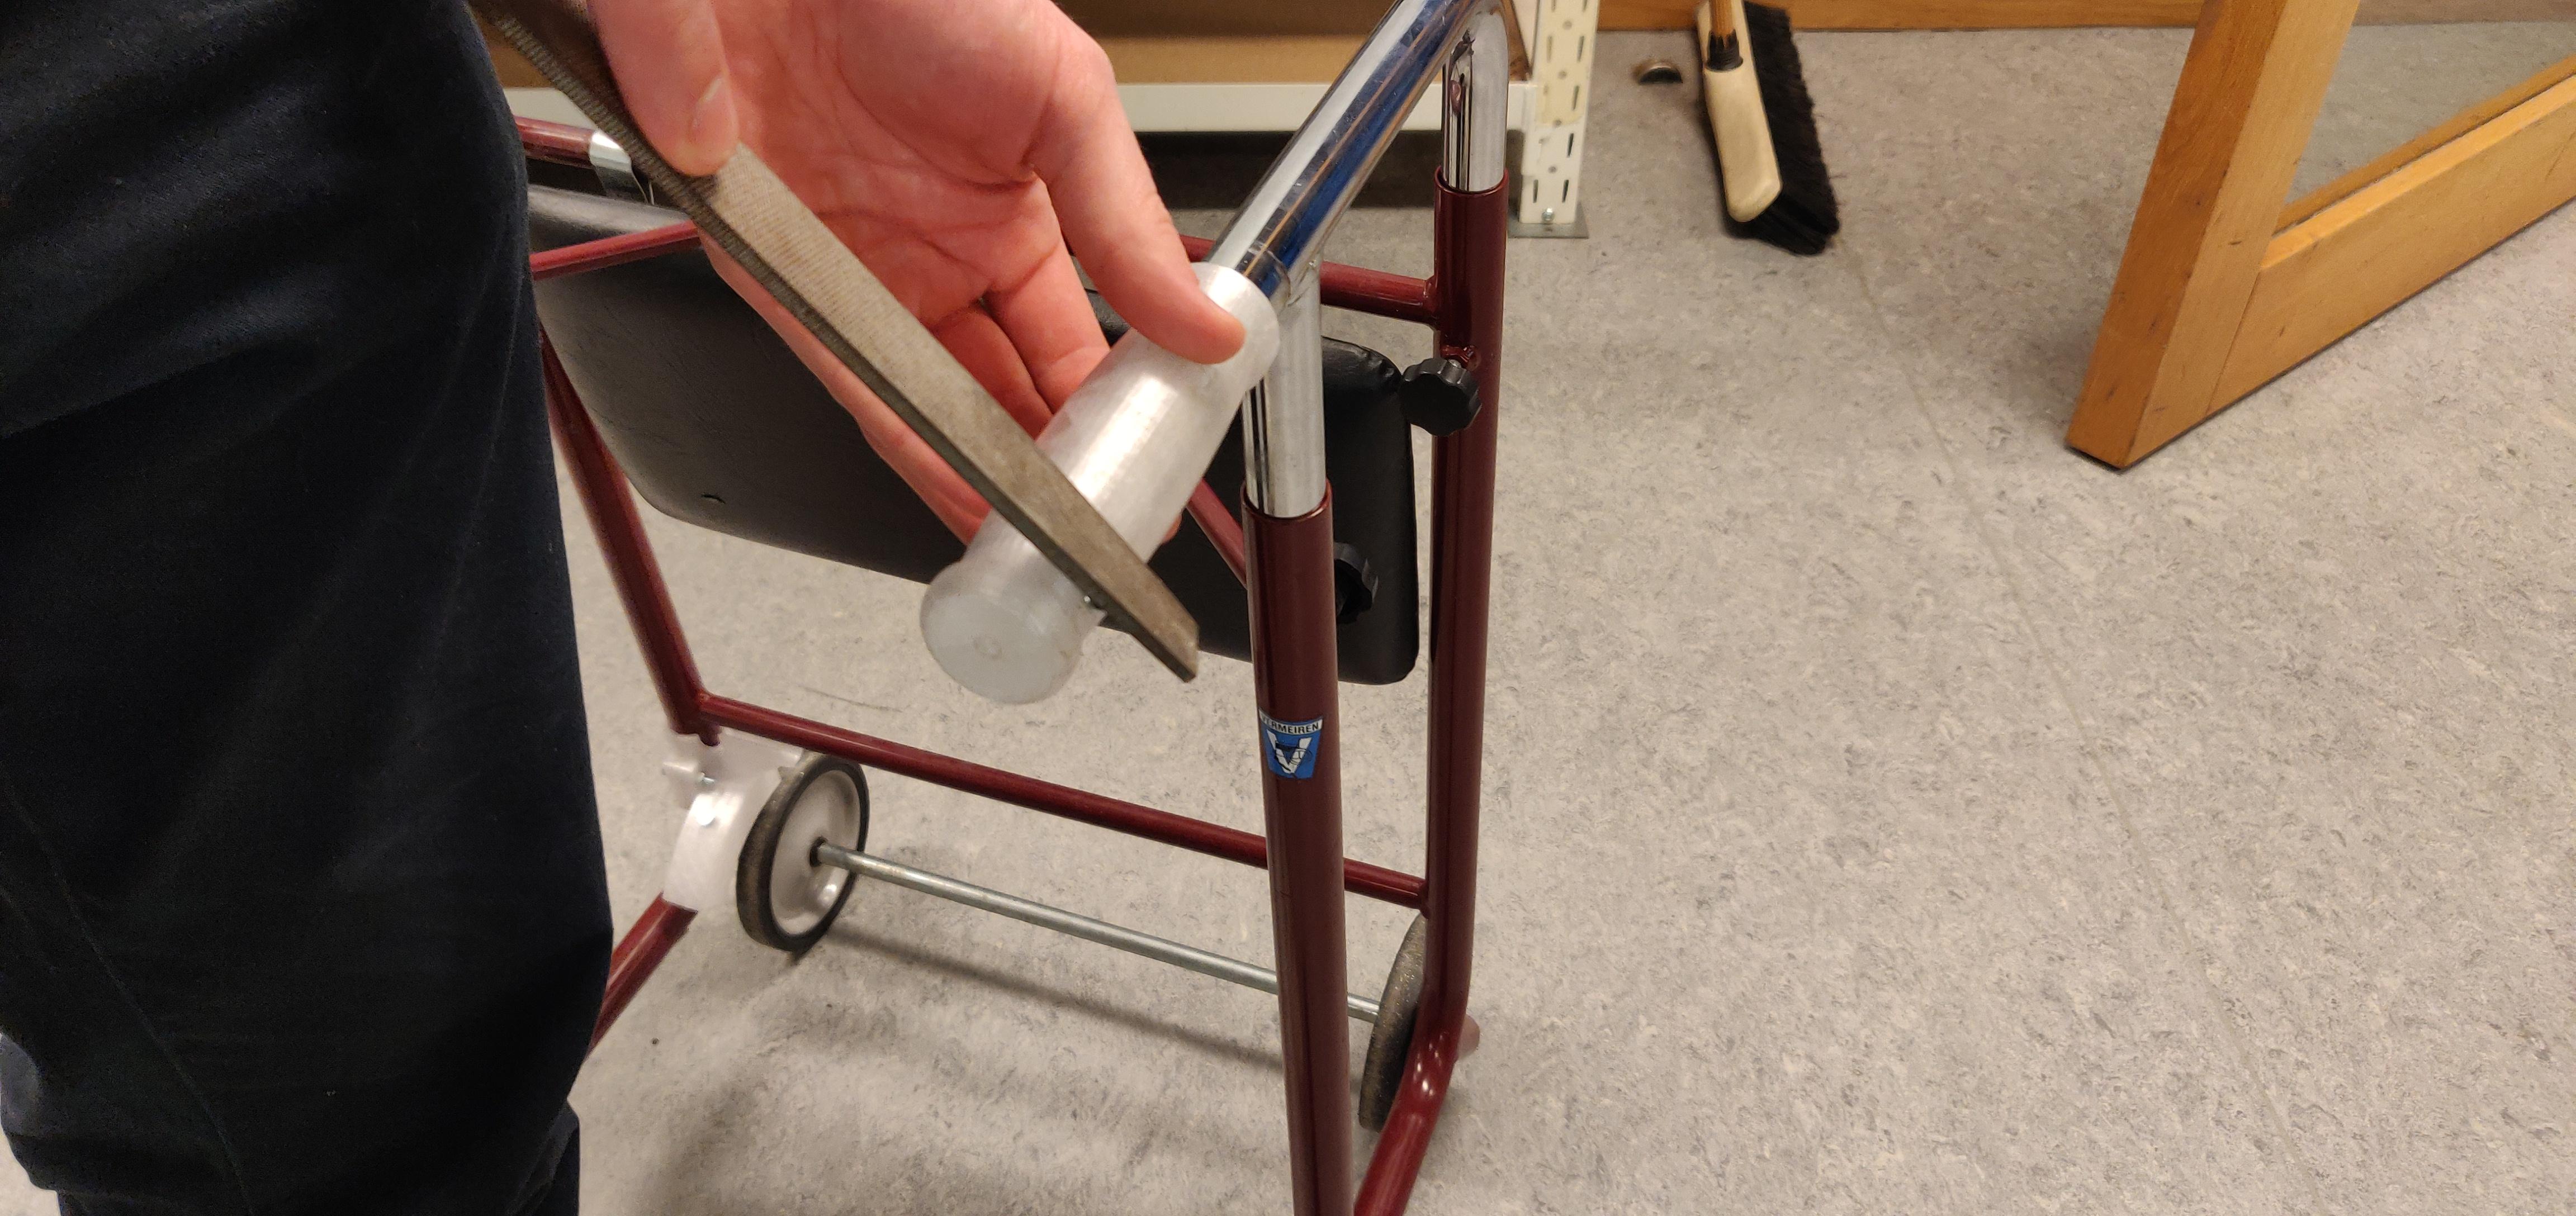
Take an iron file and file down the excess material from the head of the screw so it takes the shape of the handle.
For an even smoother finish, sand down the head of the bolt after filing.