LoRa Gateway ESP8266 Arduino DIY
by pulsartronic in Circuits > Arduino
11945 Views, 17 Favorites, 0 Comments
LoRa Gateway ESP8266 Arduino DIY
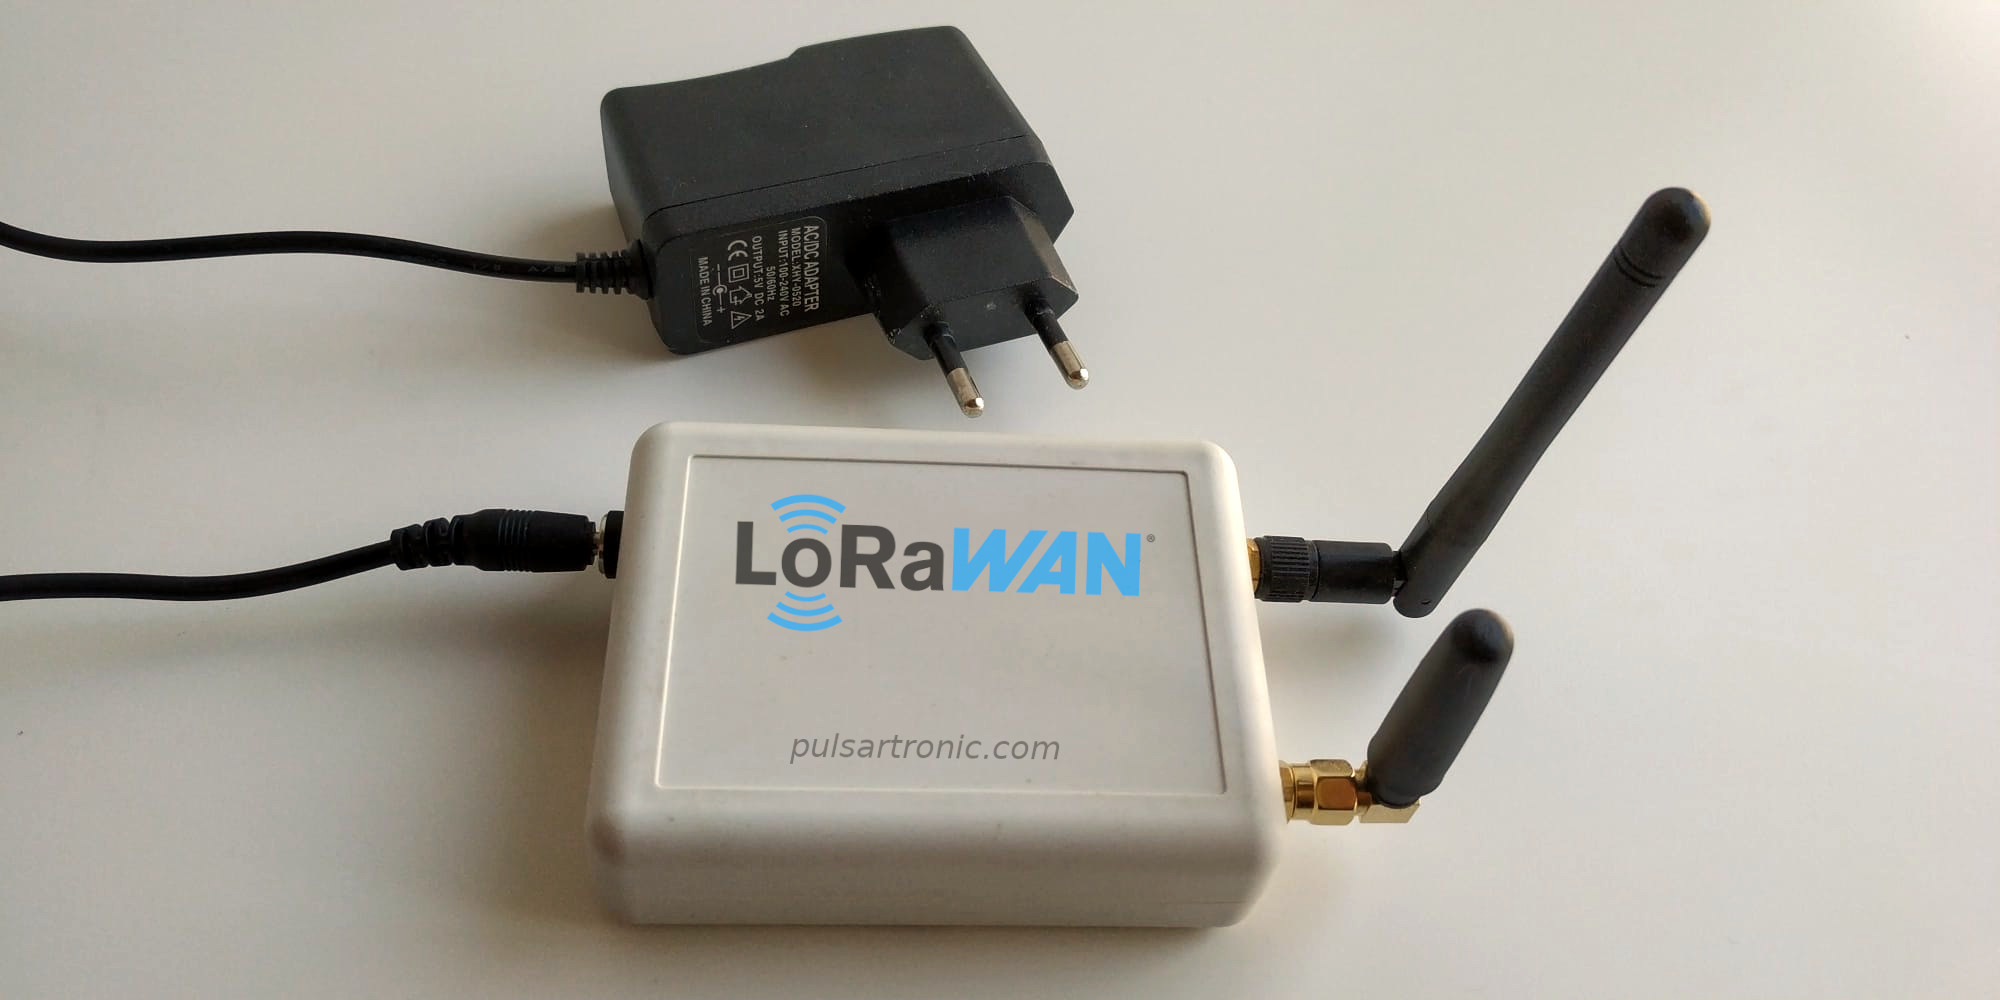
This project will help you create a LoRa Gateway compatible with The Things Network for all world regions, using an ESP8266 along with an RFM95/96 radio module. Source code is provided, it comes with an integrated web interface for configuration. Let's see
Find us on Twitter
Source code https://github.com/pulsartronic/LoRaWANGatewaySC
Supplies
All needed elements are listed below
Hardware
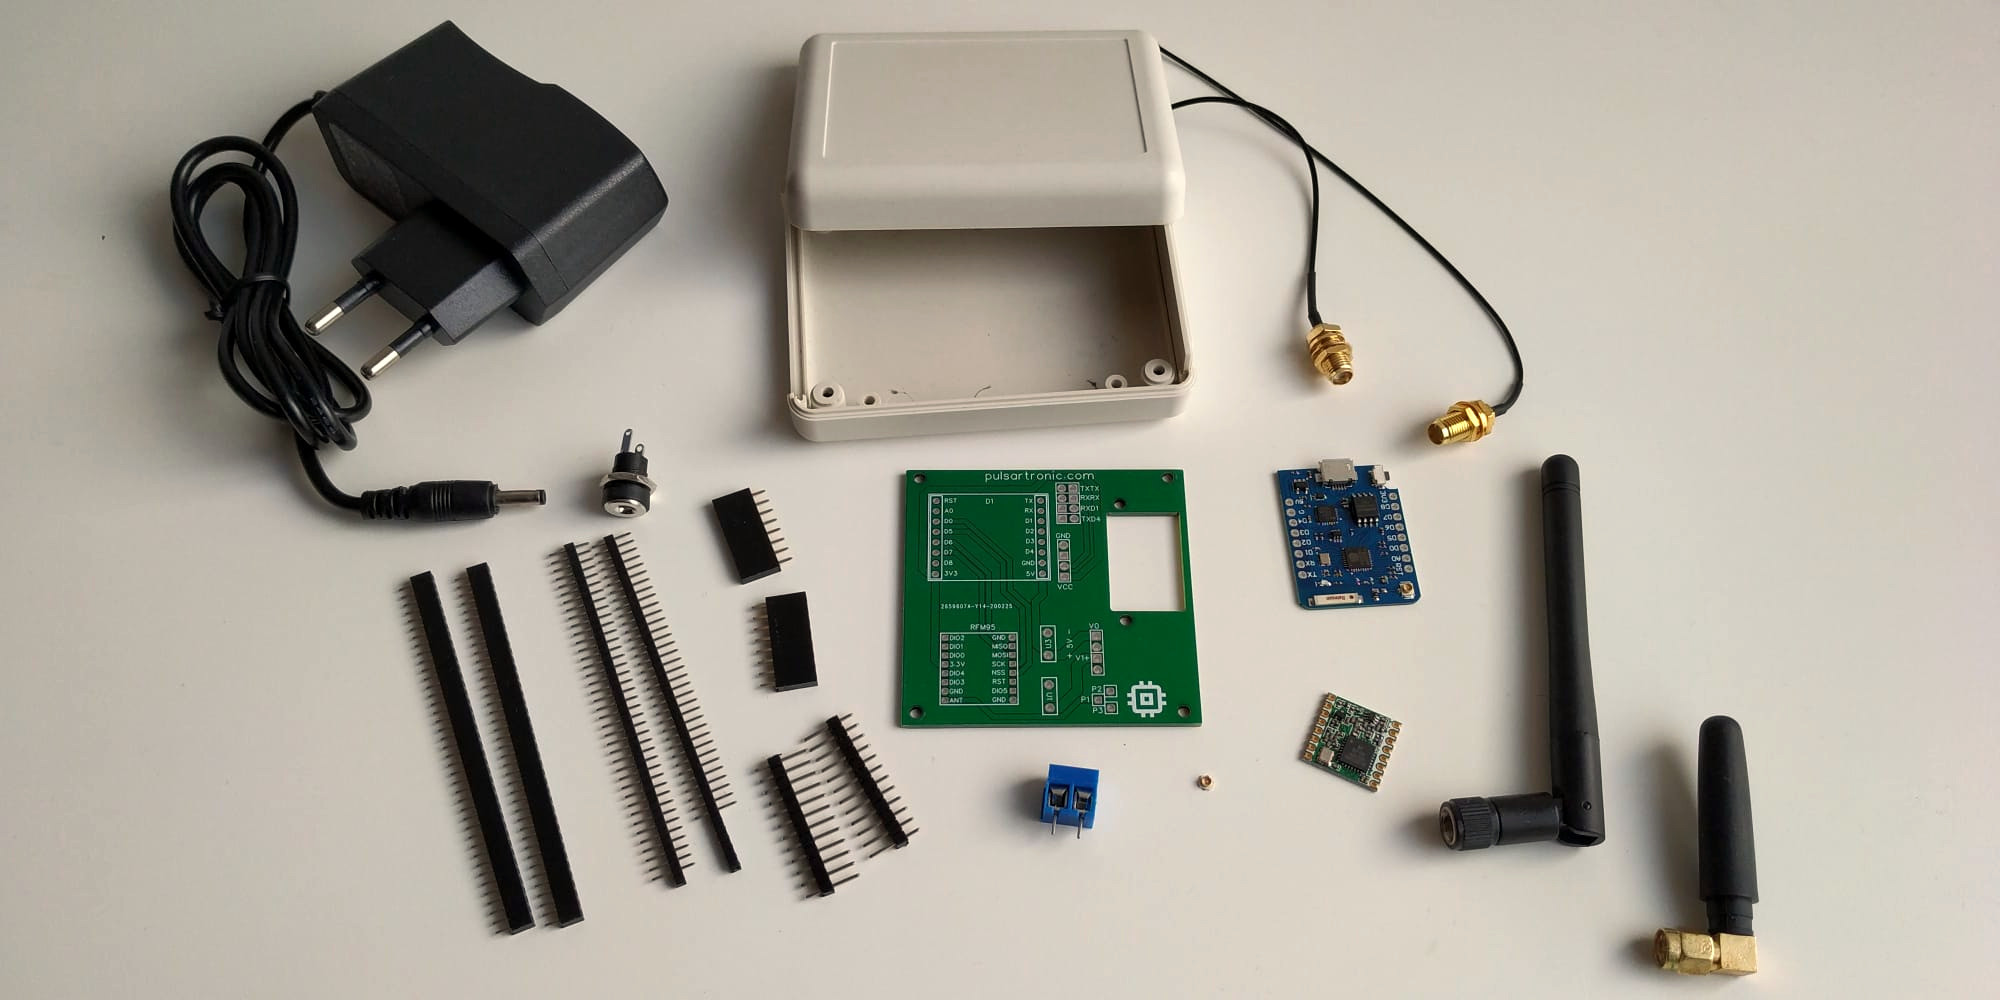
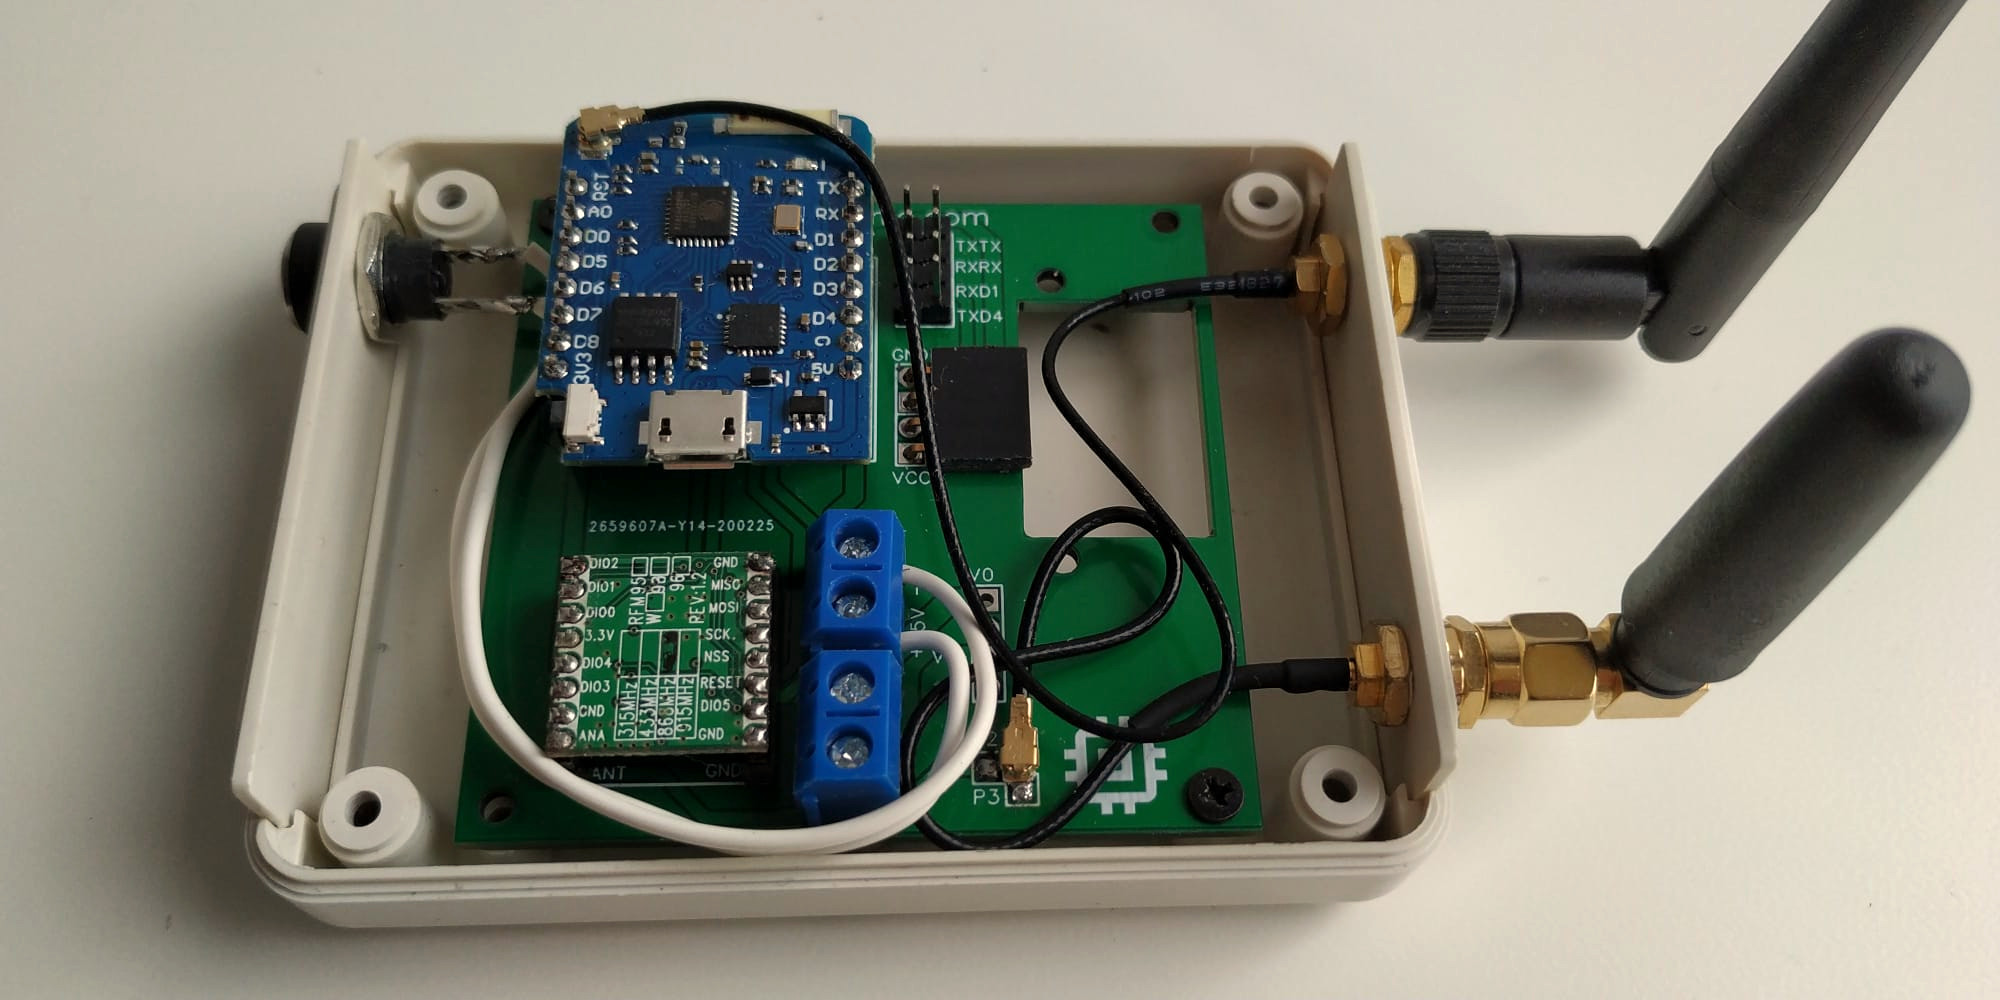
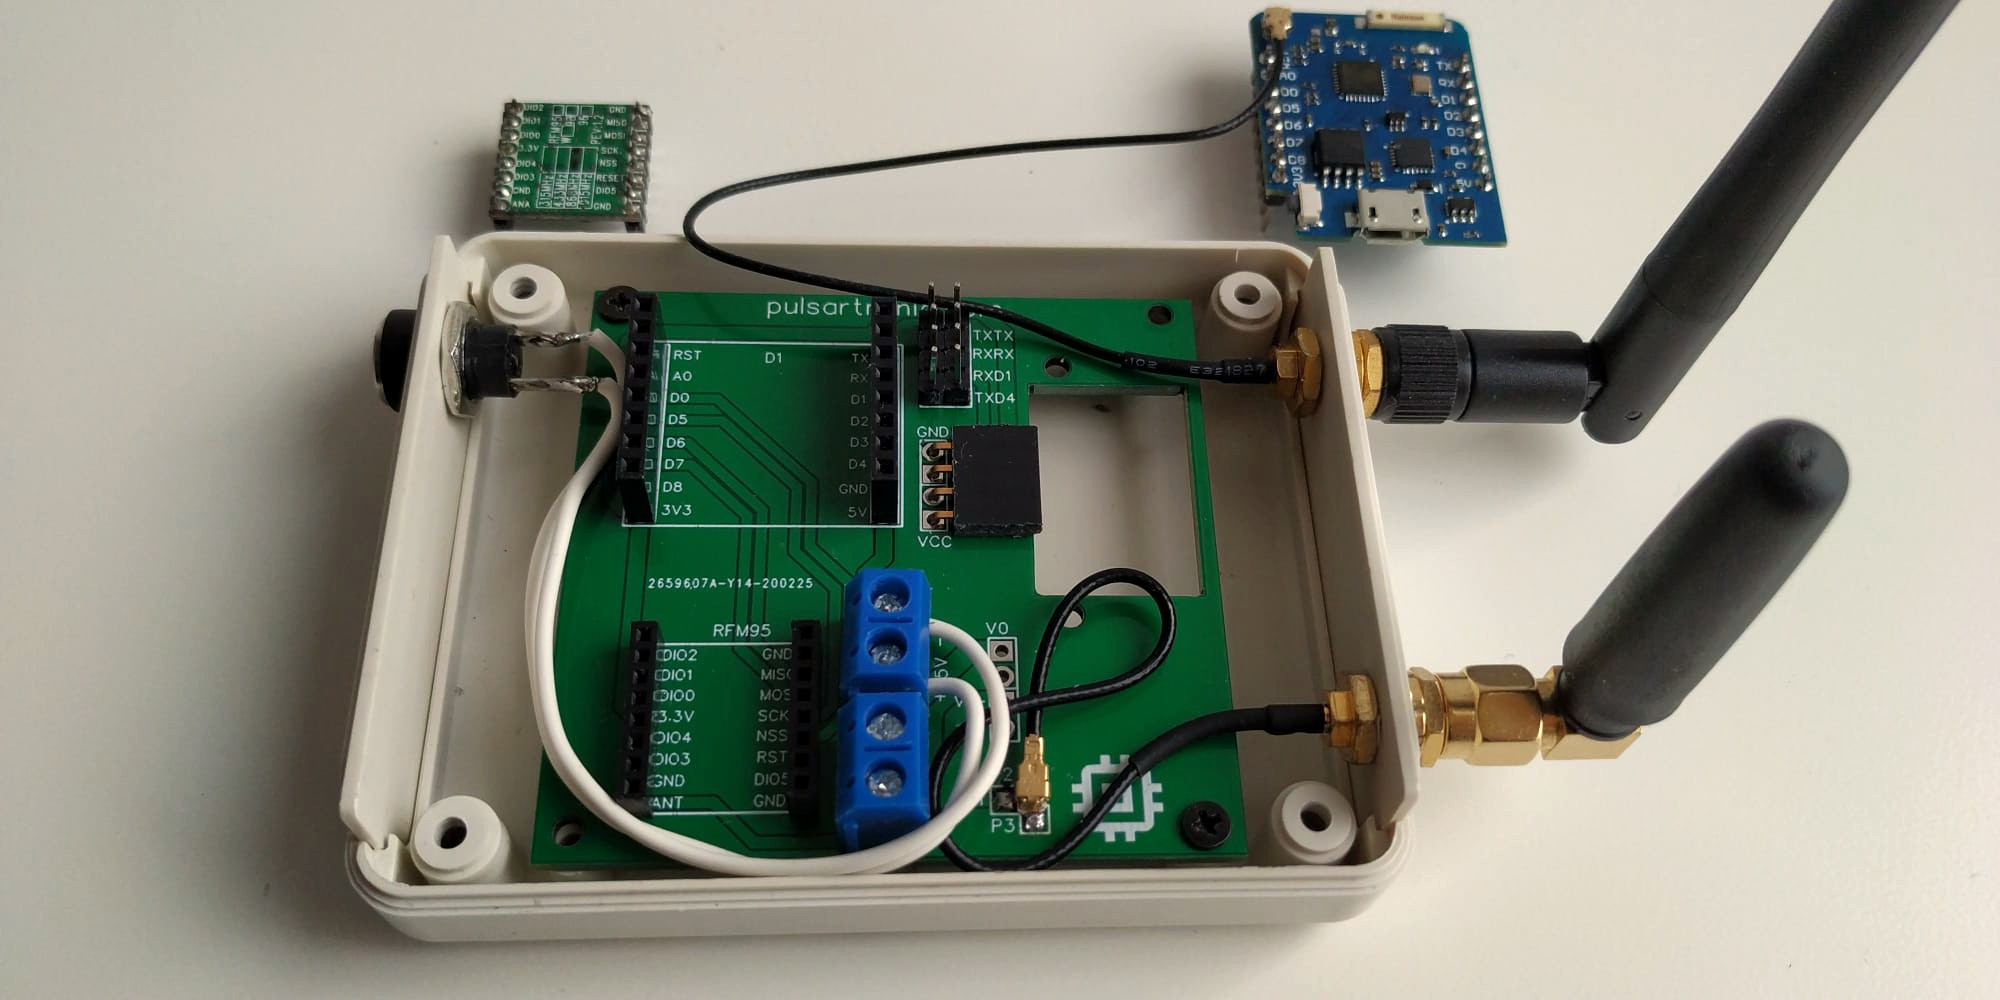
You can find all hardware elements here, or listed below
Note About the Provided PCB / Schematics
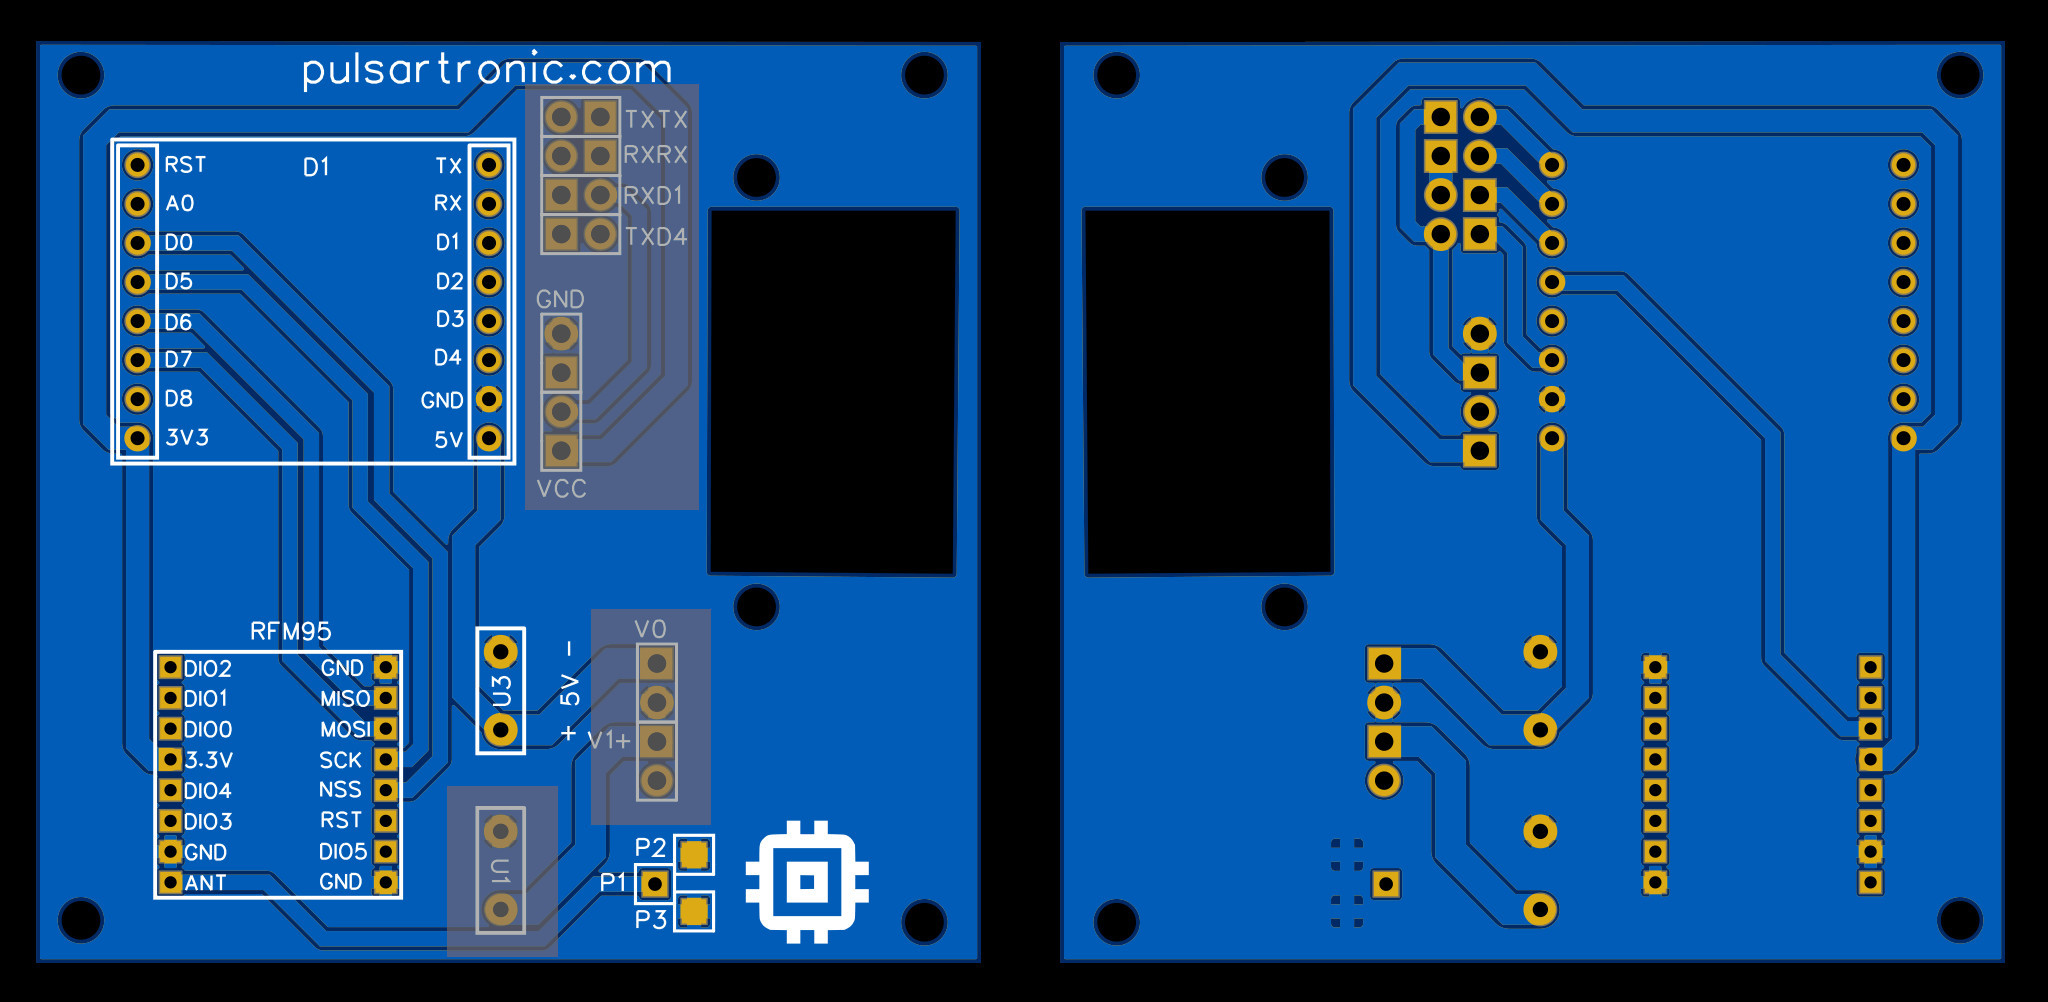
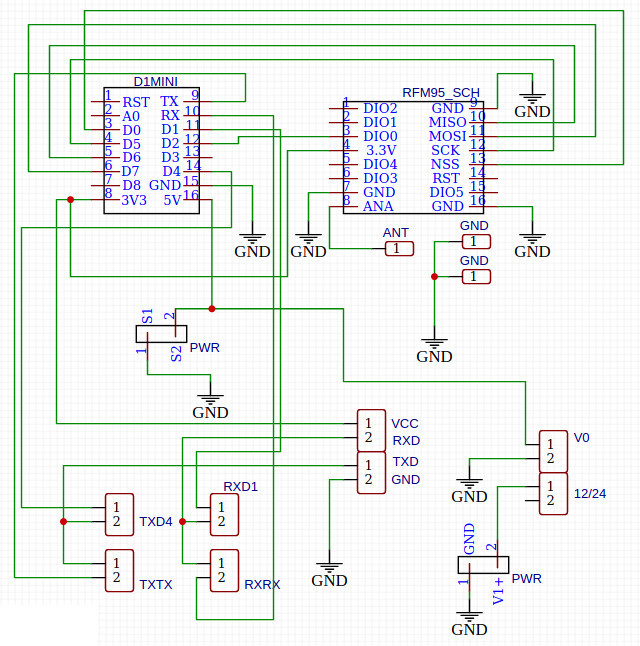
Greyed out parts are not used in this project, they are there because this same circuit can be used in a project i will be working on.
Software
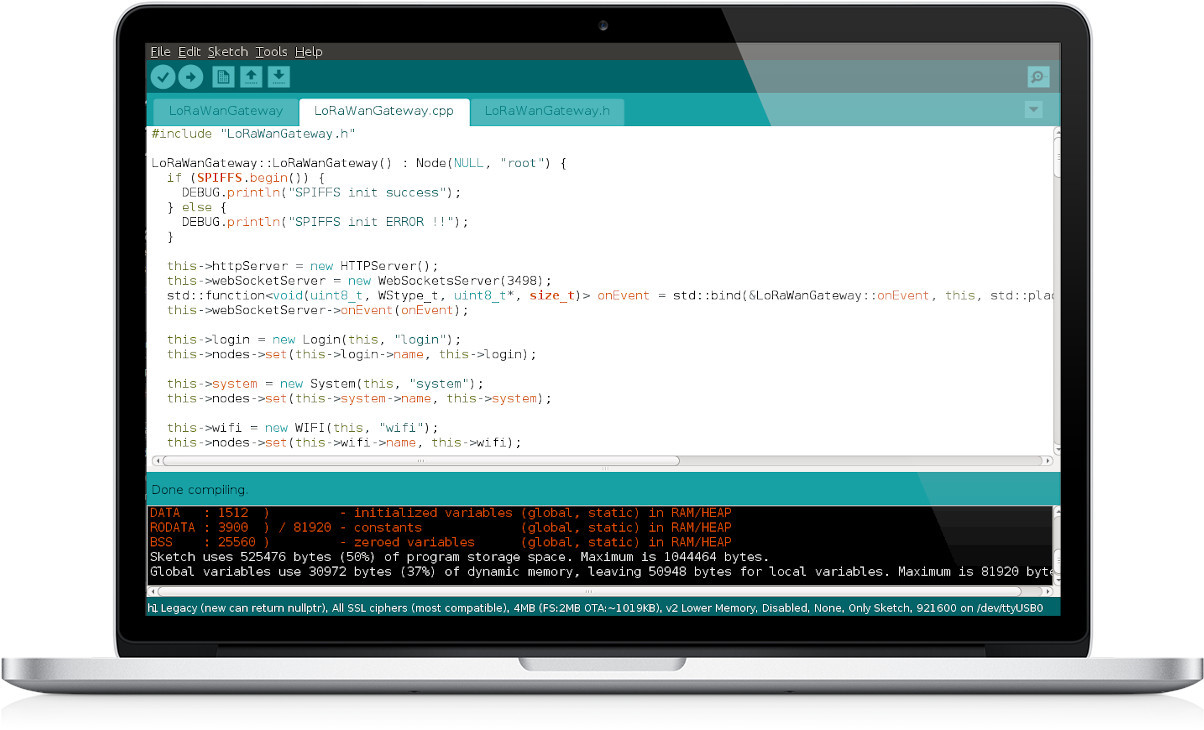
Now you have to setup the Arduino IDE, note that you can use any other framework you like. It is not difficult but you have to do one or two things in order to compile the project. Code is hosted in github.com, it is open source, feel free to be constructive, reporting bugs or making suggestions would be a great contribution :) Download it and open:
LoRaWanGateway/LoRaWanGateway.ino
Sketchbook Location

Change Sketchbook location under file --> preferences. Use the path you chose to unzip the project
ESP Library Configuration
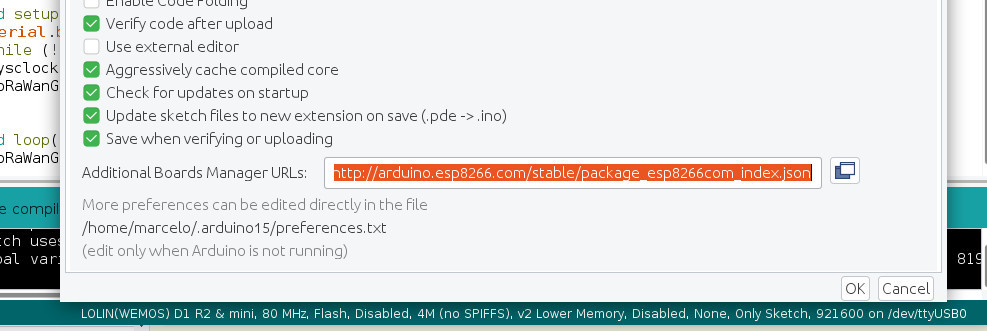
If needed add additional boards under file --> preferences... I've been using:
http ://arduino.esp8266.com/stable/package_esp8266com_index.json Pay attention here, older versions wont work properly, you have to install at least version 2.6.3 , latest tested version is 2.7.4.
Boards Manager

Board Selection
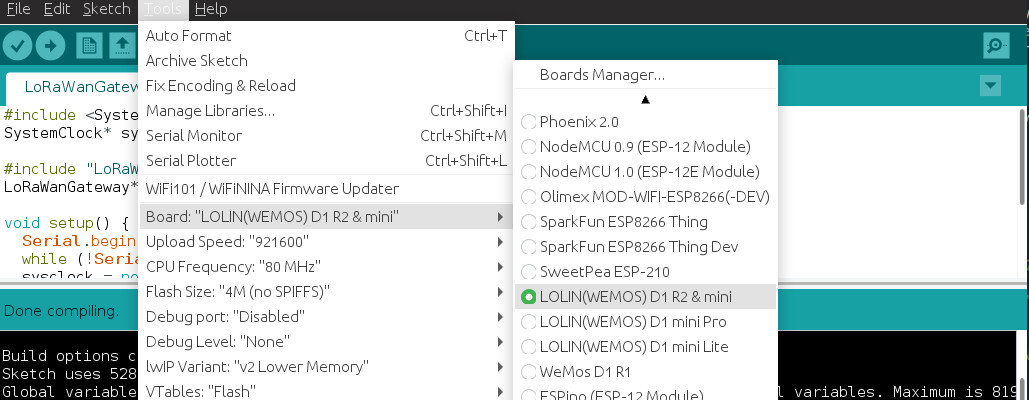
Select your board under tools --> Board (maybe not the same as the picture, chose yours)
It should compile now, upload it to your board and configure it using the web interface.
Web Interface Configuration
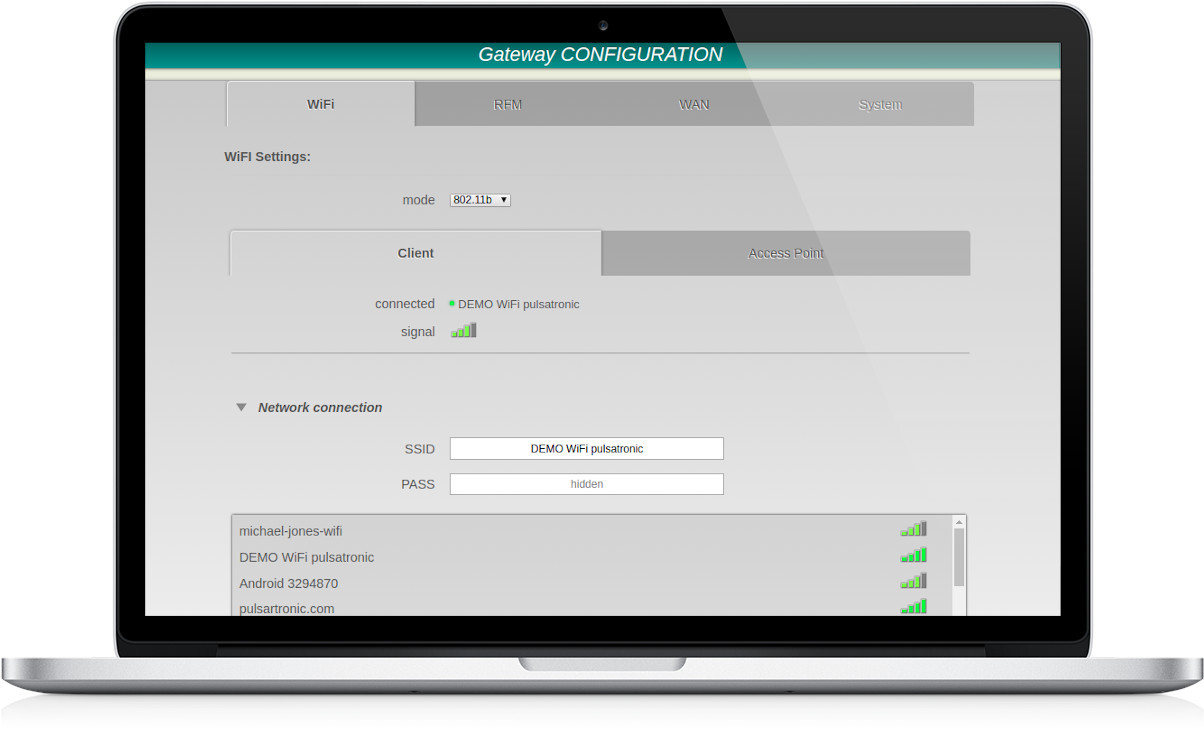
Once you have put all the pieces together you can open and configure your new gateway through its integrated web interface. It is a little page inside the ESP8266 that let you easily tweak its values ... take a first glance and play with the configuration demo here. With this interface you are able to configure:
- WiFi connection, either as a Client device or as an Access Point
- TTN Gateway parameter
- RFM module parameters
- Basic ESP8266 System parameters
- Configuration Interface security/password (yes, it is password protected)
By default it will create a WiFi network to let you access its internal configuration.
- wifi: LoRa TTN Gateway [ESP-ID]
- pass: 12345678
If extreme security is concerned, you should change the default values, before upload the firmware to your gateway. Either way you can change them from your browser after the first connection. Once running, gateway configuration can be accessed through a web browser either by its already assigned ip
or if connected through the Access Point
http://192.168.4.1/ (by default)
Now you can use your credentials to log in, defaults are:
- user: admin
- pass: admin
Note about connectivity:
All ESP8266 are single channel modules, meaning that they use the same channel when acting as an Access Point and/or as a WiFi Client, resulting in disconnections, or a big latency, when you are connected to its Access Point and you configure the module to connect to another WiFi router which is in another channel, then the module has to change it, but your network card still have to figure it out, sometimes it takes time, and sometimes it disconnects you, you can always reconnect, it is a common behavior.
RFM95/96 Module Settings
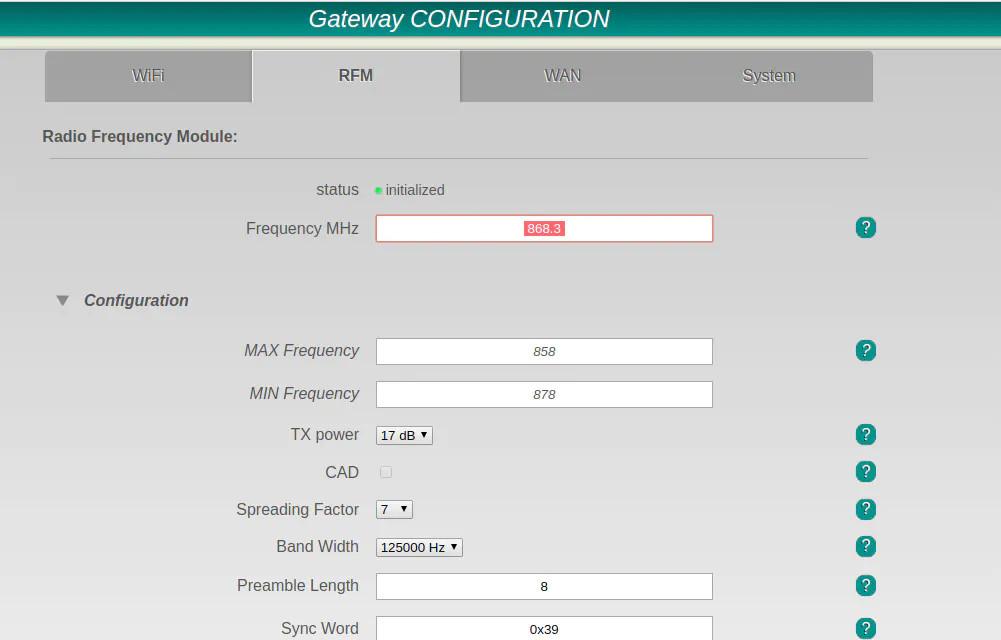
These settings are fairly simple, the most important one is the frequency (and/or channel) of your RFM module, as you may know, public frequency bands vary depending on what country your gateway is in. I'm in Europe that's why it defaults to 868.3MHz, you should change it depending on your situation, either in the code (before uploading to your board) or later through the web interface.
You can find more information about public frequency plans and channels in the following link:
https://www.thethingsnetwork.org/docs/lorawan/frequency-plans.html
Add a TTN Gateway
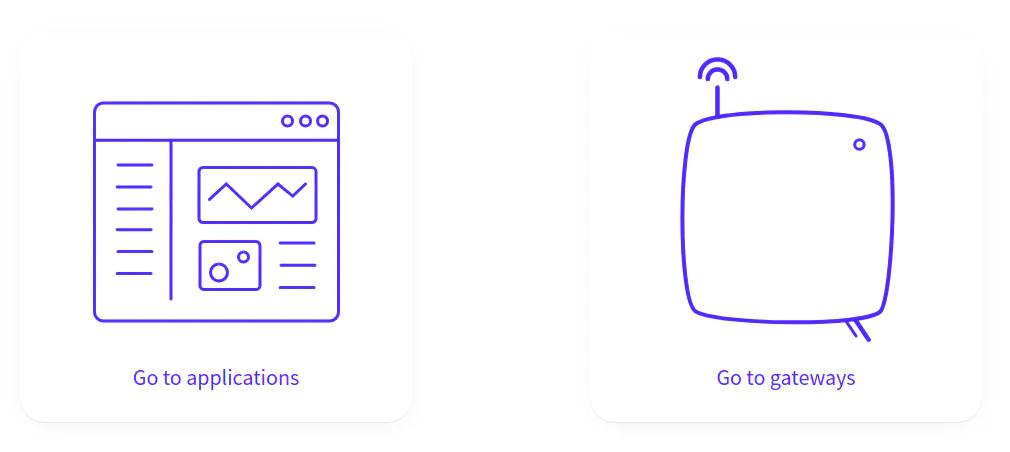
Last but not least, you have to create a Gateway in The Things Network and configure its parameters accordingly, in order to get your device registered and linked.
Login into The Things Network console and select GATEWAYS.
Register Your Gateway
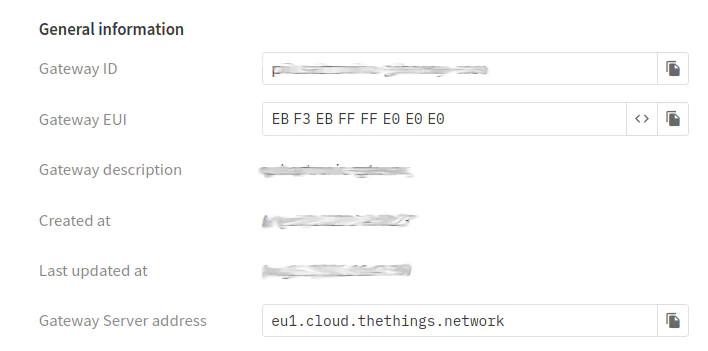
Register a new one using its corresponding ID found in the gateway configuration page. Fill up all remaining fields as needed.
Matching Id and Host
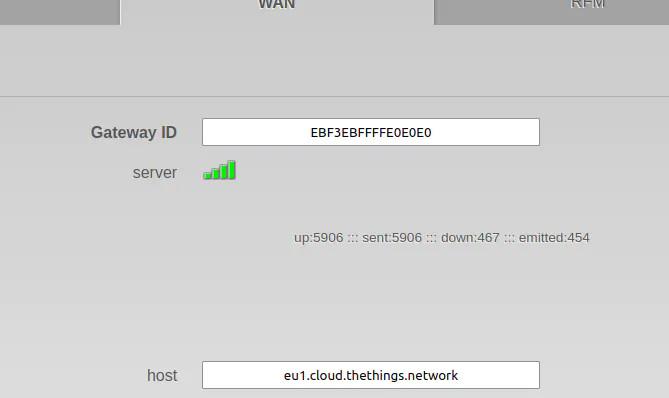
Both id and host, must match.
Viewing Data
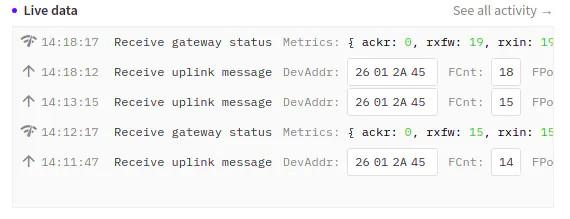
Now, it should be ready to show data.
That's it, I hope it is clear enough... if you have problems, feel free to ask any question
Find us on Twitter