LoRa-Based Visual Monitoring System for Agriculture Iot | Designing a Fronted Application Using Firebase & Angular
by amilademel176 in Circuits > Computers
948 Views, 3 Favorites, 0 Comments
LoRa-Based Visual Monitoring System for Agriculture Iot | Designing a Fronted Application Using Firebase & Angular
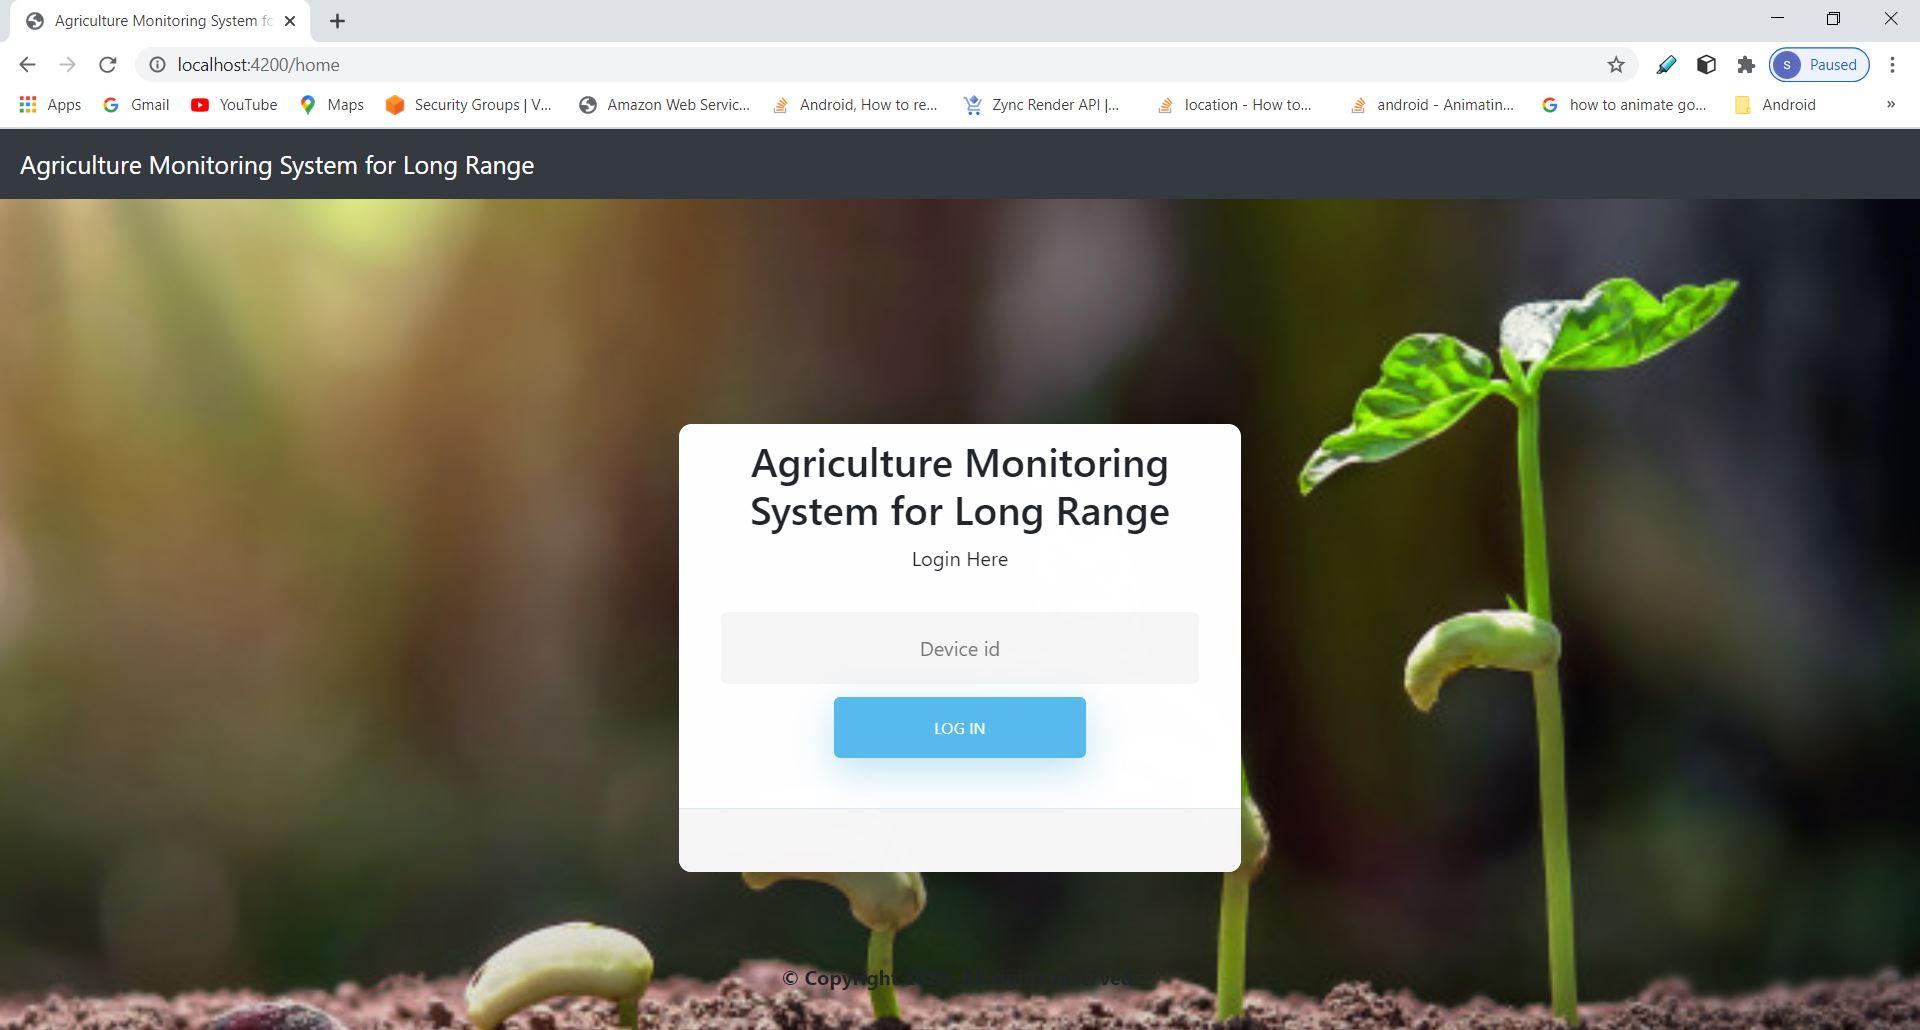
In the previous chapter we talk about how the sensors are working with loRa module to populate the firebase Realtime database, and we saw the very high level diagram how the our whole project is working. In this chapter we will talk about how we can populate those data in web application.
Setup Angular in Your Computer
Angular is one of the most popular javascript(which is actually typescript) based framework mostly used in the software industry, as we use firebase as our backend(backend as a server) only thing we are needing is a frontend to manipulate this backend. So lets see how to install all those necessary this from scratch.
consider this whole tutorial is base on windows 10 environment and hoping you have basic knowledge about angular and firebase.
Install node.js and NPM on windows.
First of all go to Node.js official website node.js and download latest version of node.js, node is a runtime environment to run all the javascript codes. NPM stands for node package manager which help you to install all the other necessary software through the command line tool, that is the basic idea about the node and NPM if you want go deeper there are tons of websites and videos that you can gain more knowledge about node.(Make sure you have install node.js globally your computer).
please check if you have successfully install node before you go forward.
Install Angular.
Open your command line tool and run below command,
npm install -g @angular/cli
now make sure that you have install angular successfully, you can learn more about angular for this tutorial angular official website.
Setup Your Project Structure
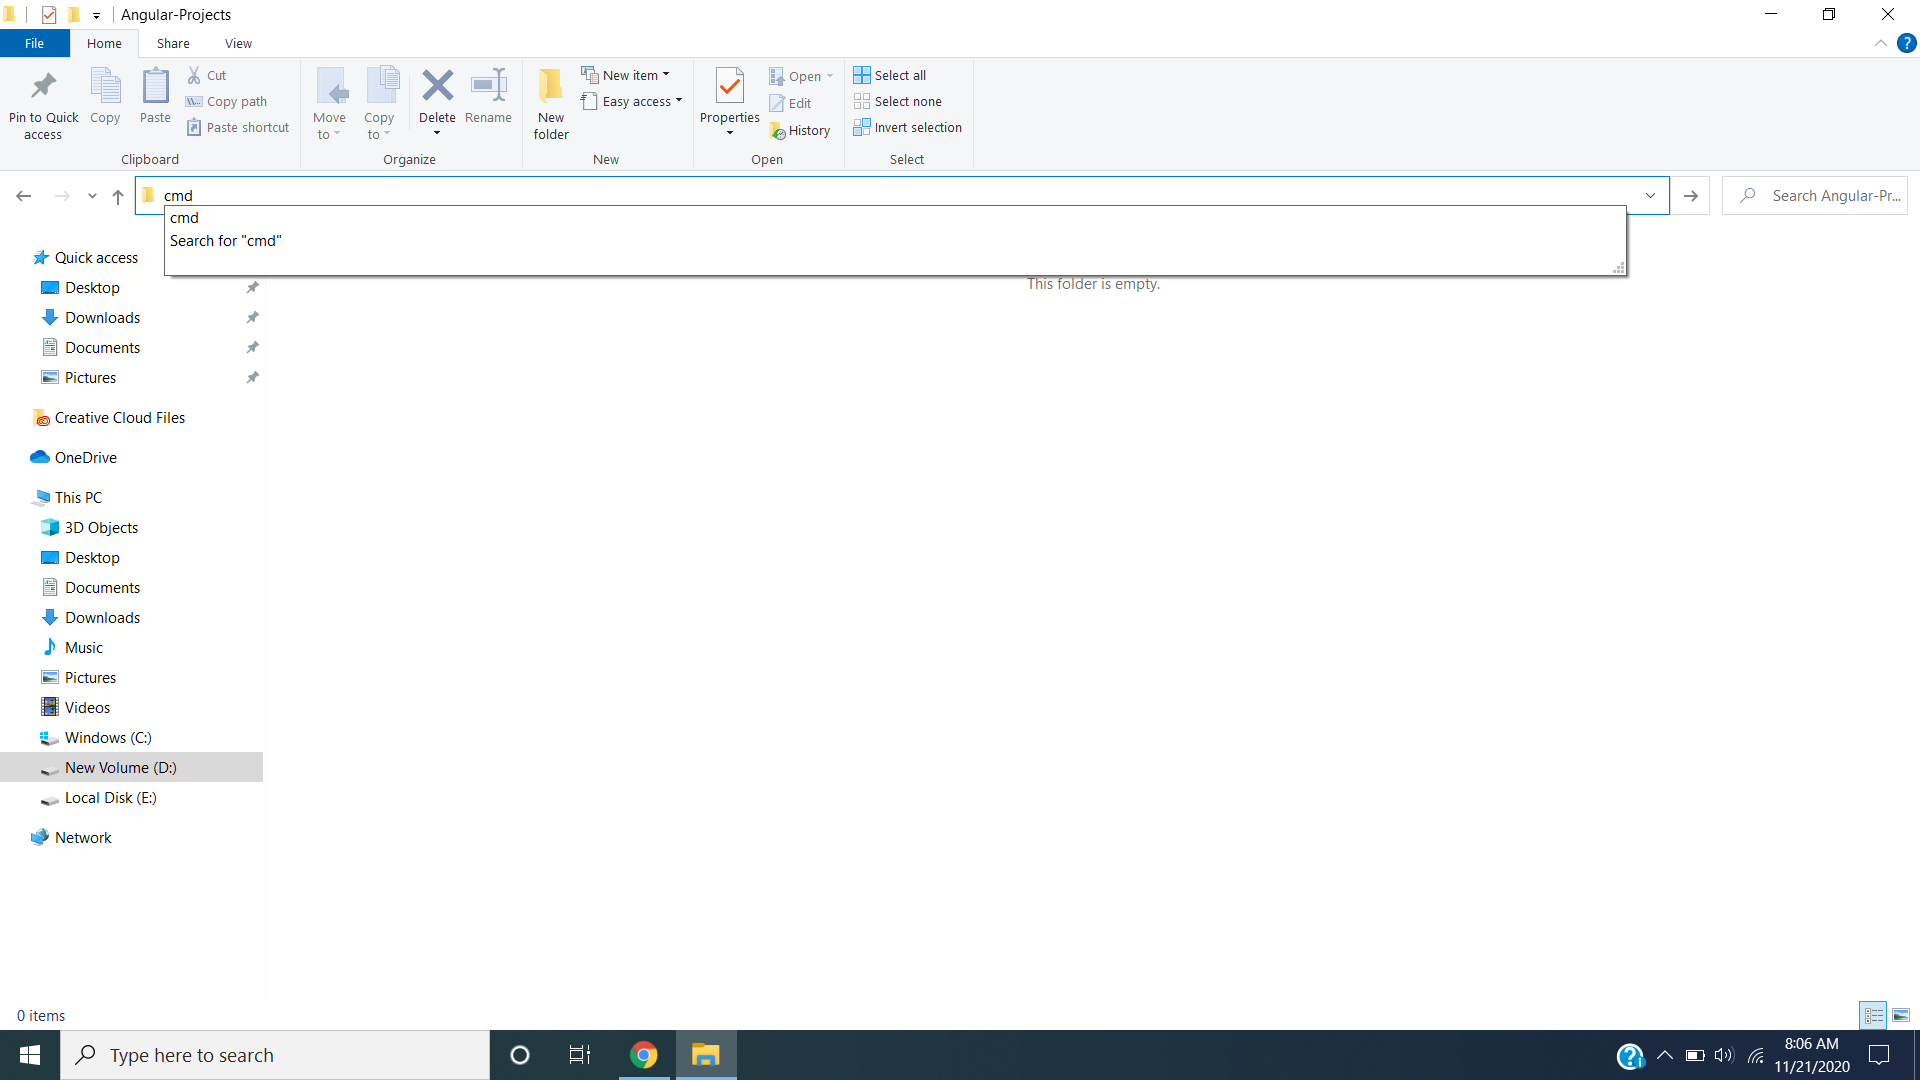
Go to where you want to create you project, for mine i have used D:\Angular-Projects this location. Open command line prompt in that location. Type below command.
ng new agriculture-monitoring-system
then angular will create the all necessary things that we want to have in our front-end. before we connected frontend and backend together. let's learn little bit about angular and firebase.
Angular
Let's talk about how the typical web architecture looks like, there is frontend or client side backend or server side, client side means it is where the all HTML,CSS contains, but in angular we do not have to create sperate web pages for our contains like, home.html, about.hml,index.html...etc. there is only one single page for whole application it is index.html when the user go through other pages or other contains index.html is going to render with the contain of those pages that mean html and css view of the certain page. so our whole application is contains only one single .html page. This is what we called SPA. So let's create our application. open the CMD in the same directory type below command.
ng generate component home.
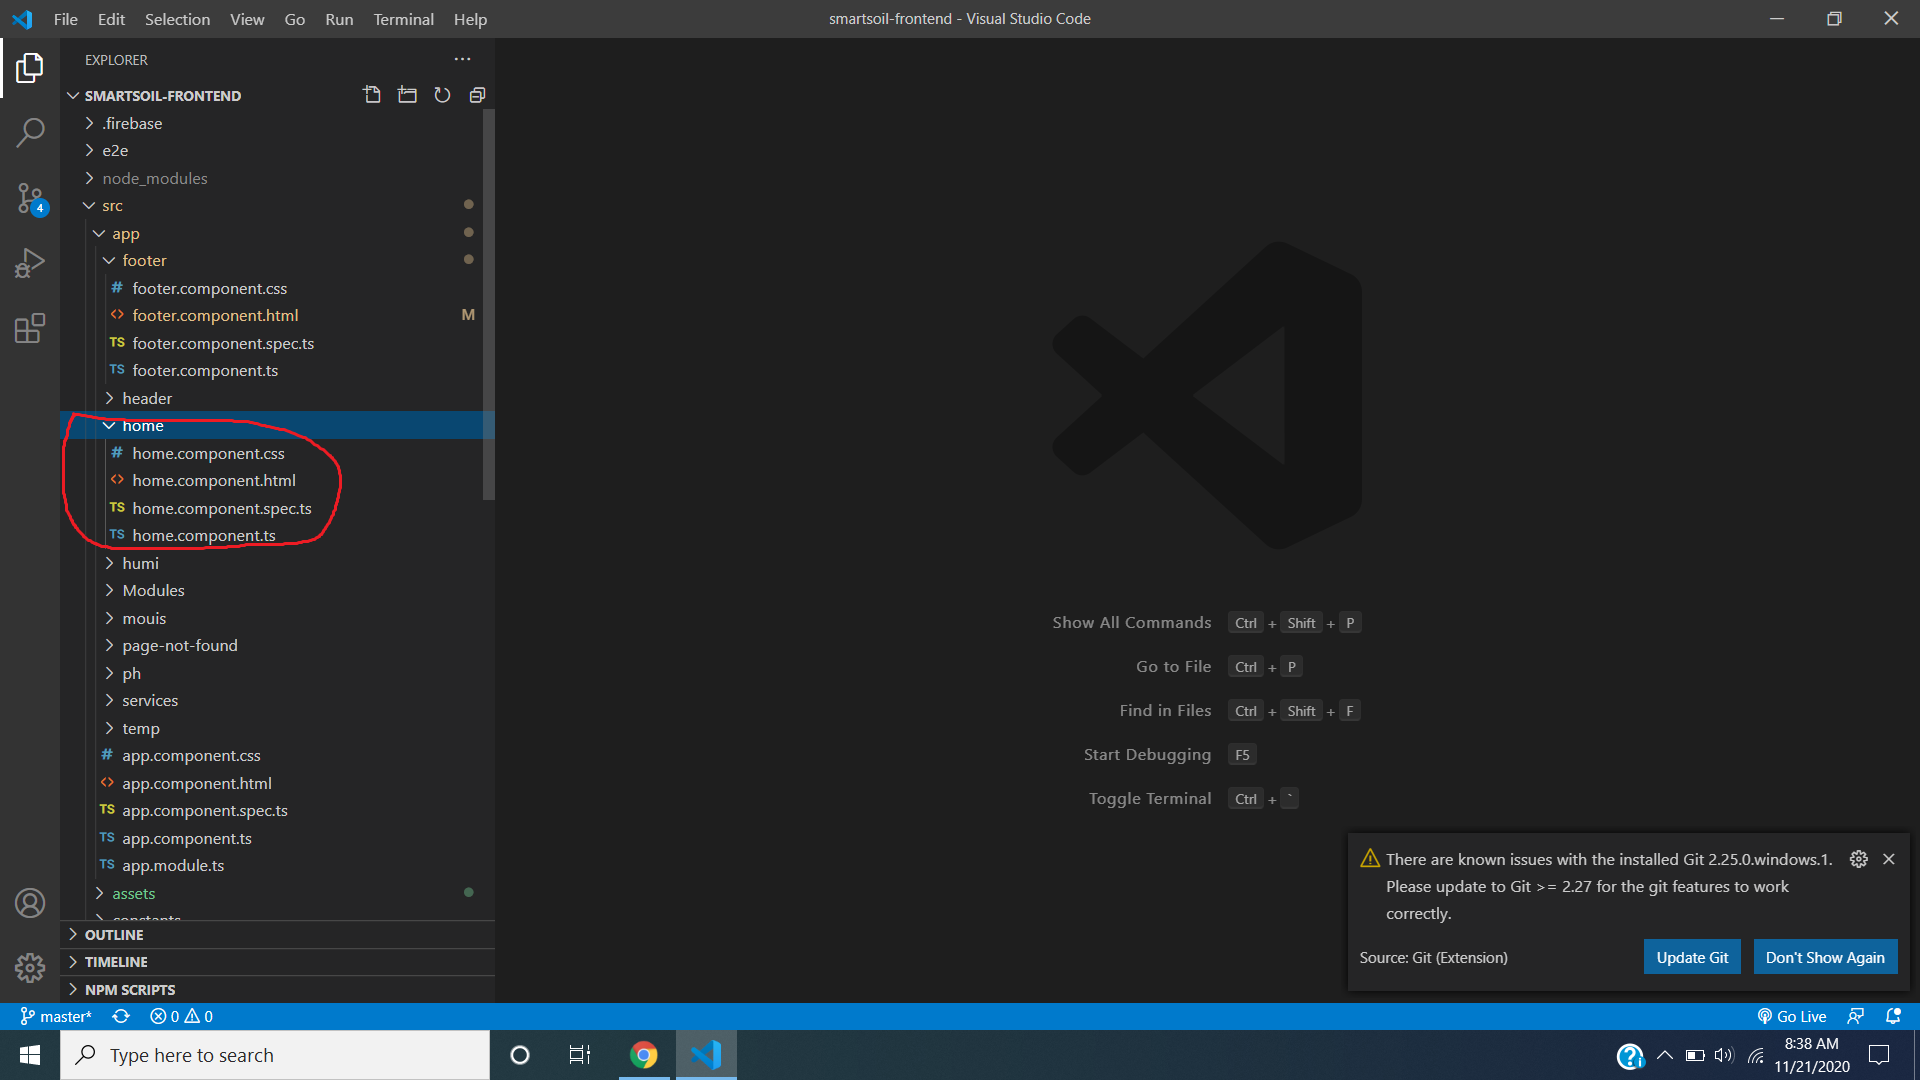
this will generate the contain of your home page, then you will see a home.ts file and home.html file and home.css in the home.html file where you are going to define how your home page structure and in the home.css where you are going to add your styles for the home page, and lastly home.ts file where you are going to code you typescript or javascript code to work with our backend.
Installing Bootstrap 4
As we discussed in the previous step now we have step our project and now we have clear idea about how the angular works. now for the styling purpose we are going to use bootstrap 4, to install bootstrap to our project type below command in project path.
npm install bootstrap@3
now you don't have to worry about how we can structure our web pages, bootstrap will do the thing.
Defining Routes
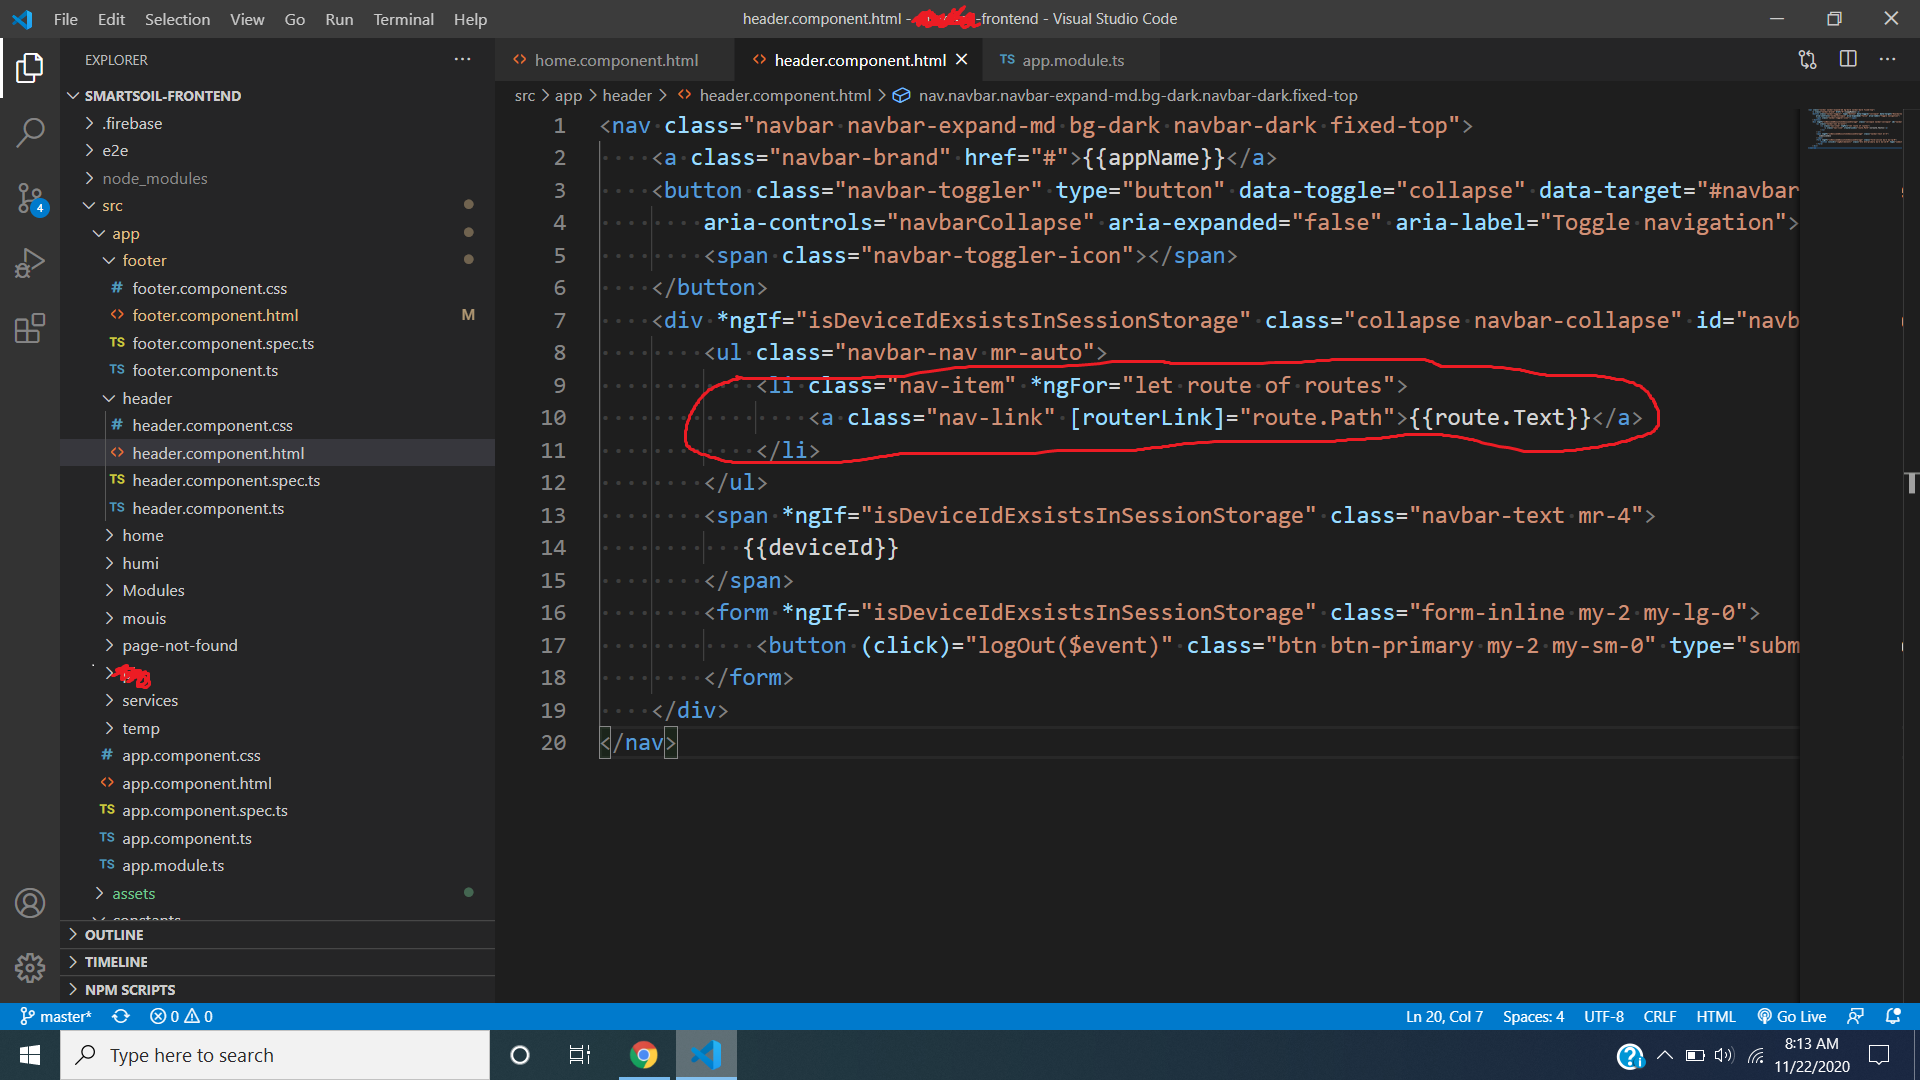
In out IOT project we are going to collect header, footer, temperature, humidity, Co2 percentage, moisture of the soil. so we are going create 4 web pages that mean in angular we are going to create 4 components for each of these indexes.
import angular router module in the AppModule component.
define the routes in separate file.
const routes: Routes = [
{ path: 'first-component', component: HomeComponent},{ path: 'second-component', component: HumiComponent},
];
add these lines of code inside the import tag in AppMoodule.
@NgModule({
  imports: [RouterModule.forRoot(routes)],   exports: [RouterModule] })
Let's add bootstrap navigation bar code inside our header.html file and link our components,
Firebase

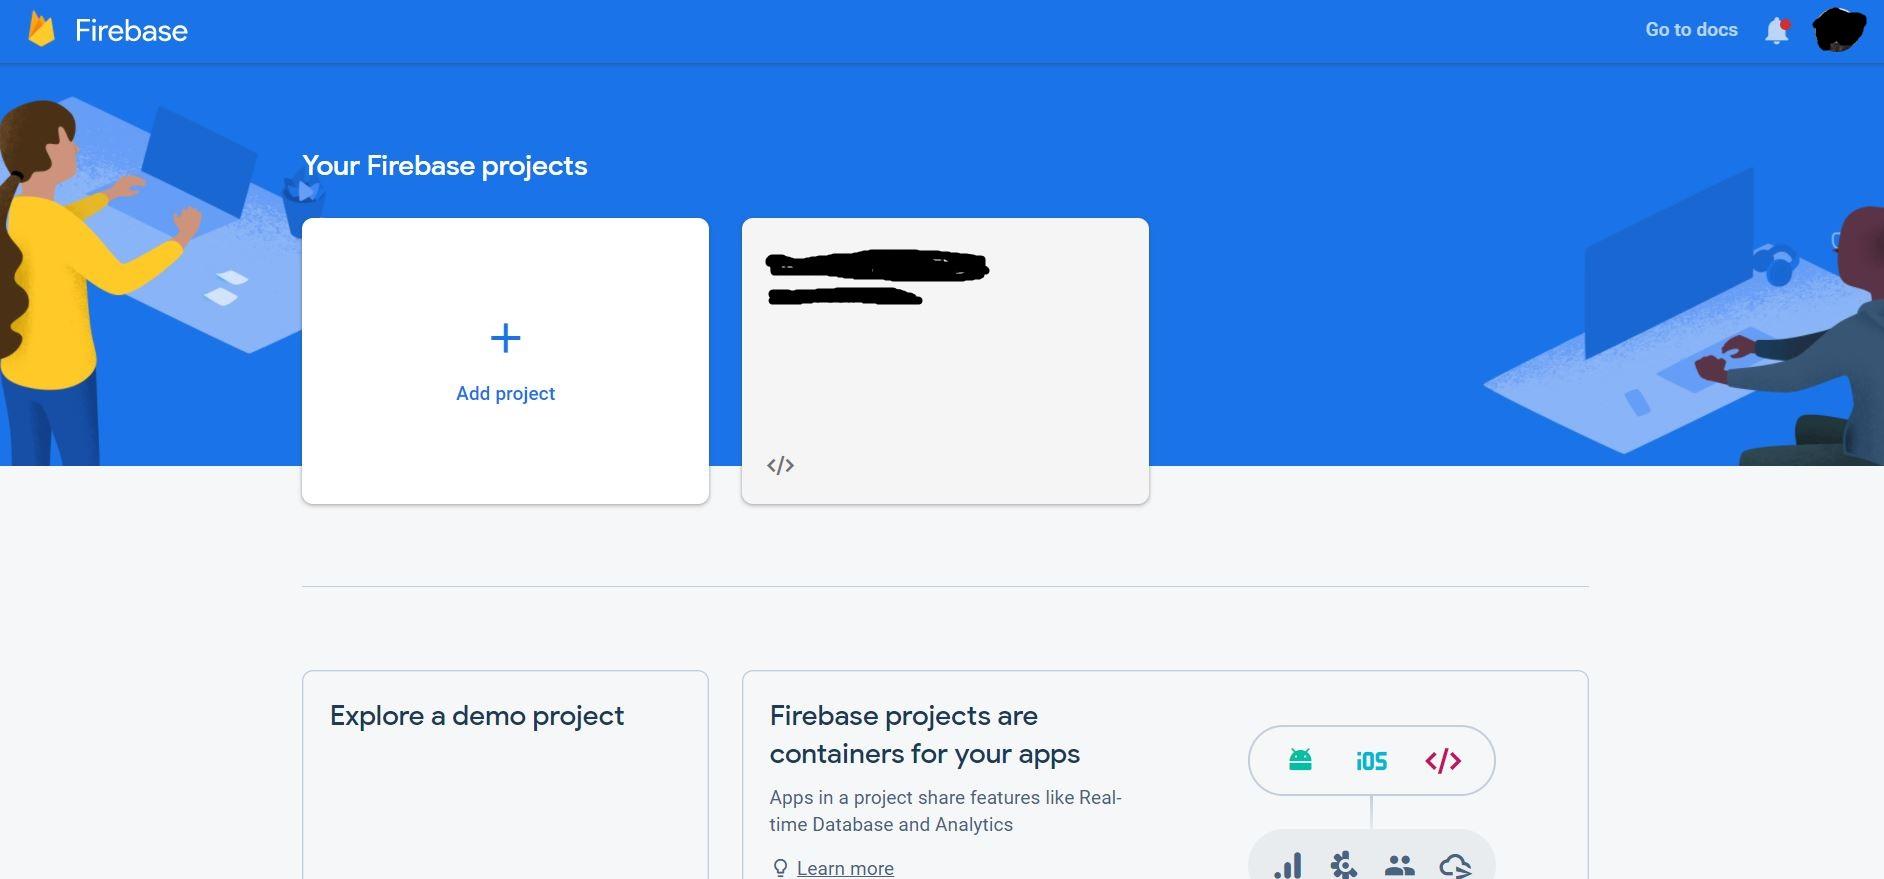
Firebase is one of the coolest service that google is providing to their users. So one of the features that we have used to this project is firebase realtime database and hosting. let's create a firebase account and connect our project to firebase realtime database.
step 01: Login to your gamil account
step 02: type firebase console in your searching bar
step 03: now you are done.
Install Firebase in Angular
To work with firebase we have install or include that helping library to connect firebase and angular together. go to you project path and open CMD and type below code.
npm install firebase @angular/fire --save
Connecting Our Angular Project With Firebase.
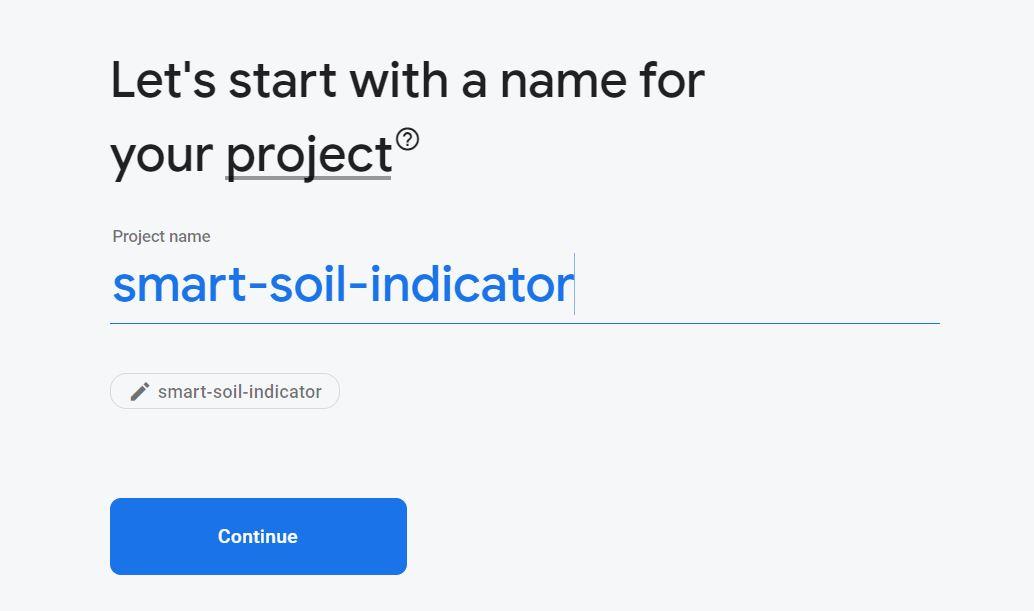

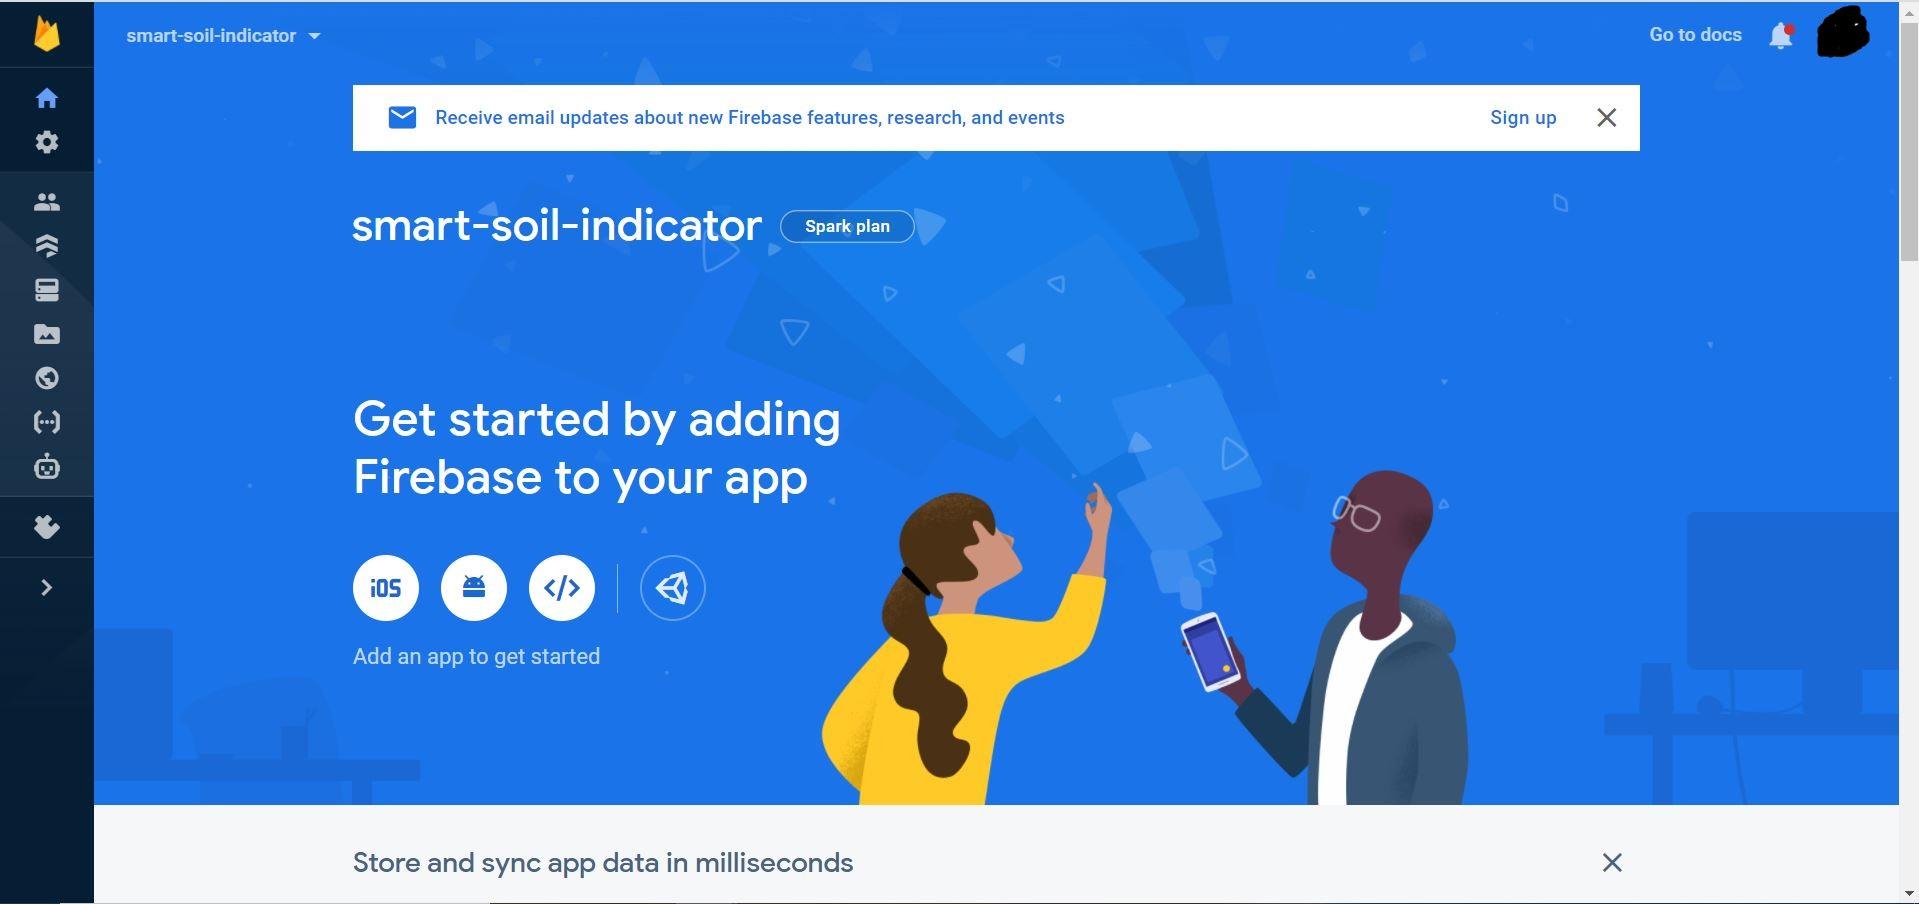
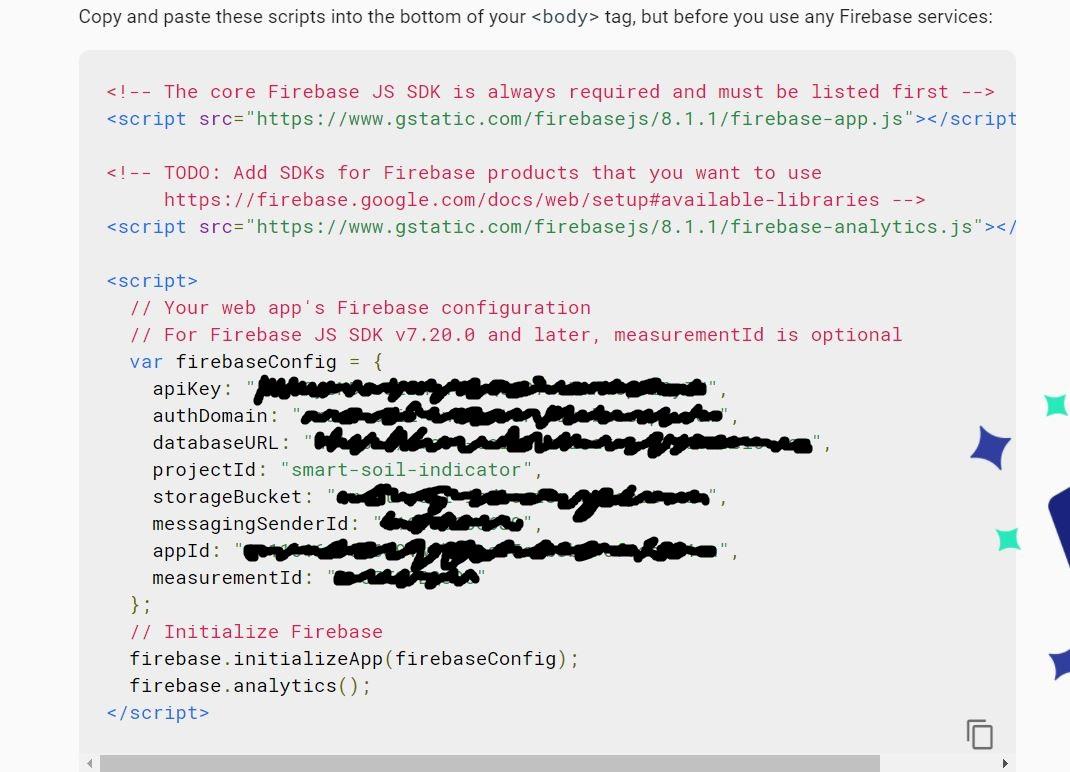
now we have to add our project into firebase. press add project icon on your firebase account, and give a project name you like and continue other two also until you see the that blue beautiful dashboard of your firebase account, you can see that the left side column we can see the all list of firebase services, so we can use each of these service. now everything is ready to go. in your console add an app to get started and click on <> icon. to get the all the configuration details to connect our angular application with firebase account. These details are unique to our project. now copy those details and go to your angular project find the environment.ts add below code and paste those details there.
export const environment = {
production: true, firebase: {
your configuration details here...
}
};
and also add below codes inside of the app.module.ts
imports: [ AngularFireModule.initializeApp(environment.firebase), .... ],
Installing NgxCharts Library in Your Angular Project
Go to project path as we did in previous steps, type below code in your CMD.
npm i @swimlane/ngx-charts --save
NgxChart Official site go to this site and grab the chart that you want. I preferred with line chart. go to this url and grab the code and add it in to the corresponding components.
Create a Service Class and Realtime Database.
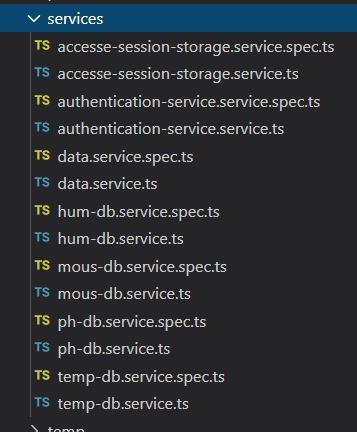
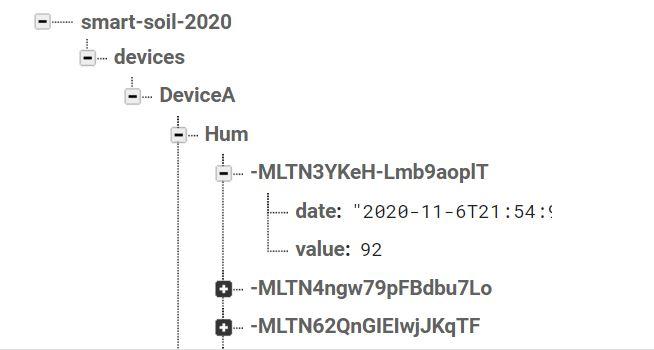
Go to project folder and open CMD and type a valid path and preferred class name for the service along with the ng generate command. Before we go into the code I would like to give little idea about firebase real-time database. It is not like any other relational model database. We can not see a table structure in this Varity of databases, This is called NOSQL database we can see a text base or document base data structure. Which is called JSON, so if we wanted to a store data inside in those kind of database we have to pass those as like JSON Objects. In the above picture you can see, In our database there is a node or edge called devices, and under that node there is a another node called DeviceA and under that node, you can see above each indexes like humidity, temperature..etc.. under the Hum node you can see the senor data that was collected periodically.
async getData() {
this.items = [];
return new Promise((resolve) => {
this.database. list(`/devices/${this.sessionService.get("DeviceA")}/${"Hum"}`) .snapshotChanges().subscribe(snapshot => {
snapshot.forEach(element => {
if (!element.key.startsWith('current_hum')) {
this.items.push({
name: moment(element.payload.val()['date'], 'YYYY-M-DD hh:mm:ss').format('YYYY-MM-DD hh:mm'), value: element.payload.val()['value']
});
}
});
resolve(this.items);
});
});
}
this is the service class code to accesses the data that is stored under the hum node in the database, all you have to do is call this class getData() function where you want to populate your chart.
async ngOnInit() {
this.items = await this.humService.getData();this.multi = [ {
name: '%'
,series: this.items
} ];
}
Here inside our component class ngOnInit method we have call our service populated the multi array which the array that we should pass the values for the graph.
Compile Your Project
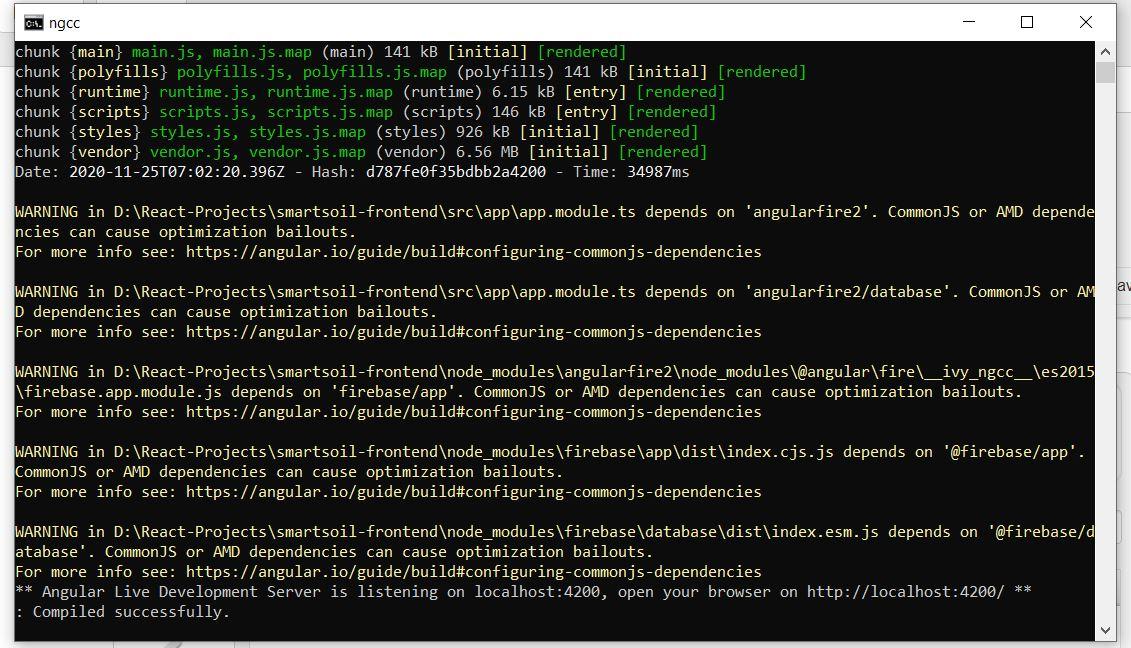
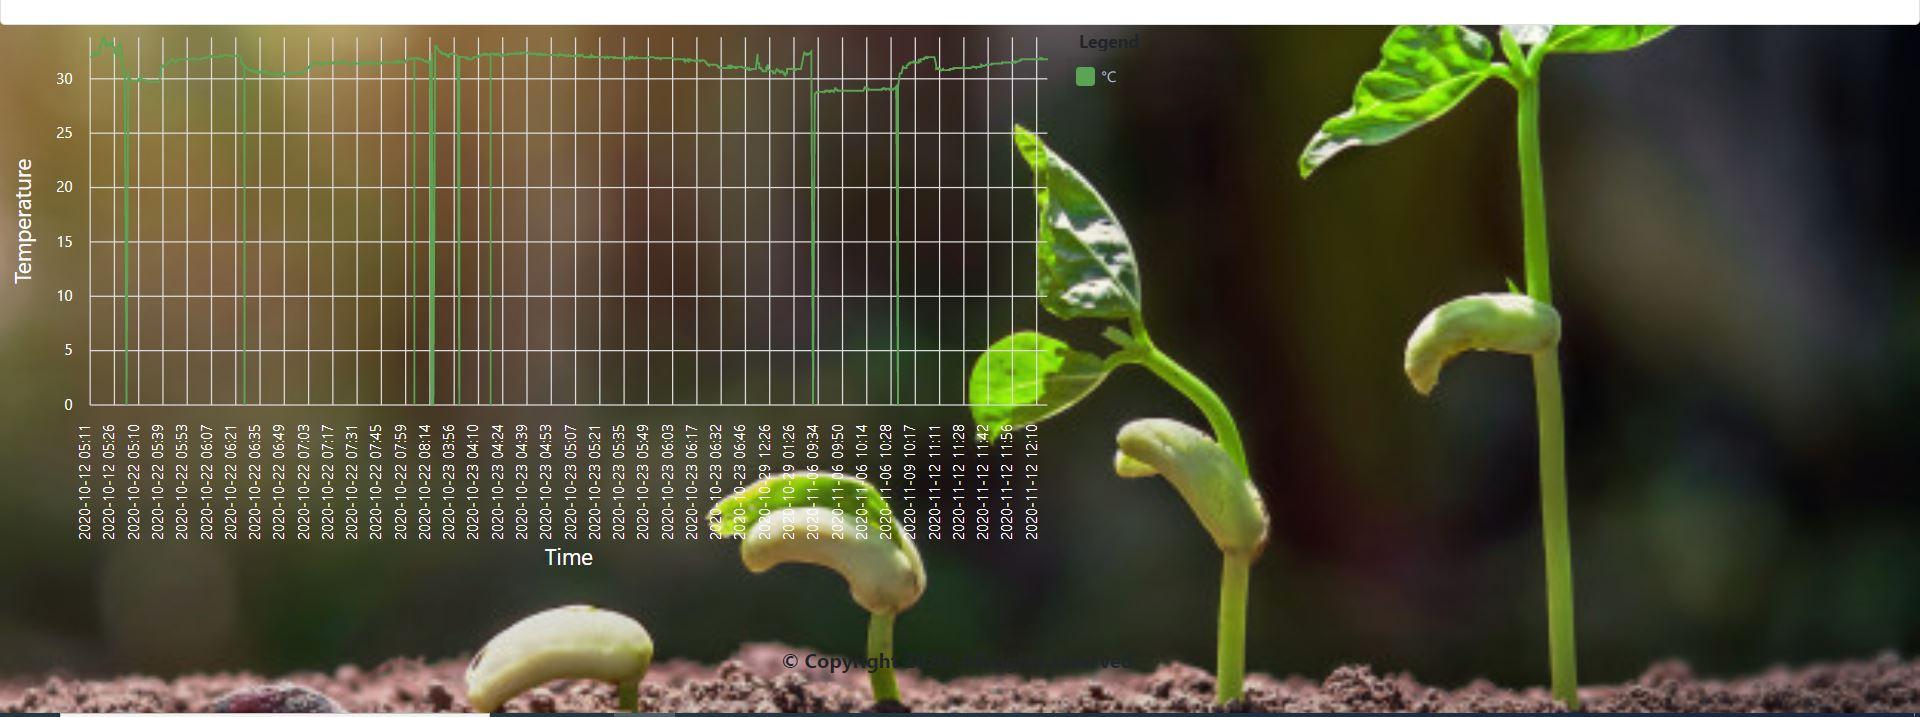
Go to your project folder and open CMD and type ng server, Then all the Typescript code is going to convert into javascript. and type the url that the CMD is going to prompt you, for above project http://localhost:4200/home and you are done.