Living Hinge Earrings - 3D Print
by Penolopy Bulnick in Craft > Jewelry
16673 Views, 162 Favorites, 0 Comments
Living Hinge Earrings - 3D Print
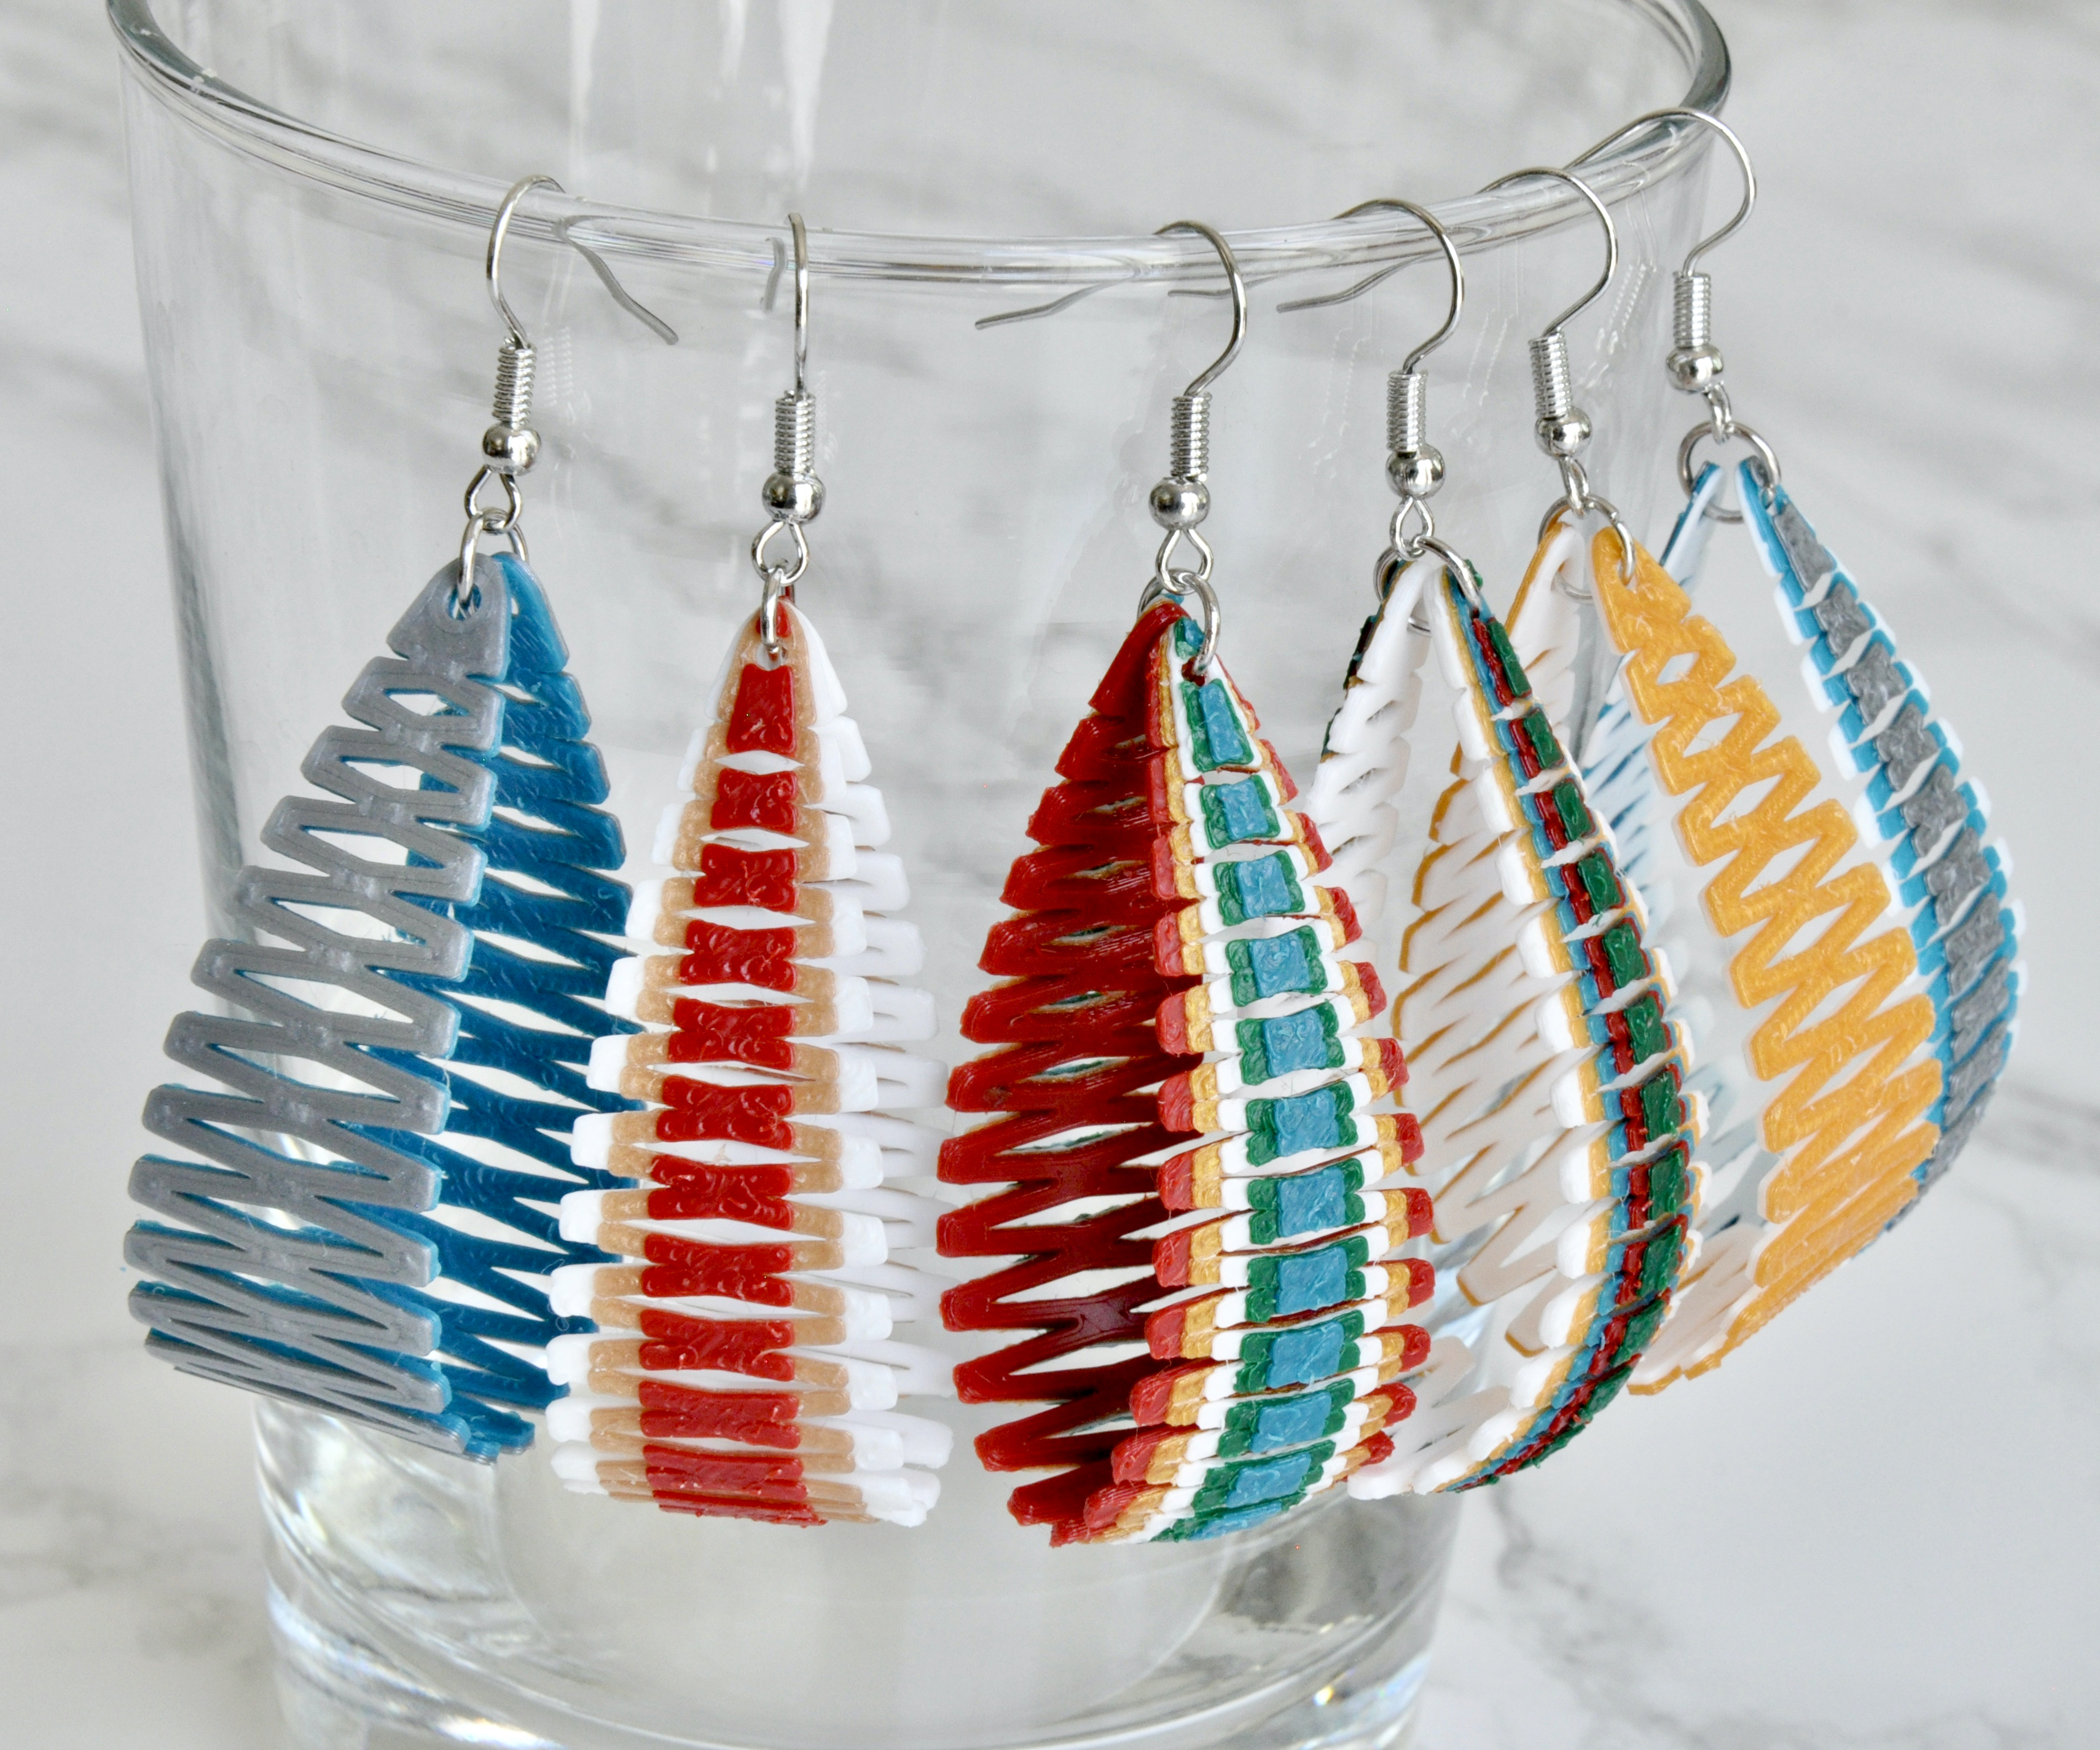
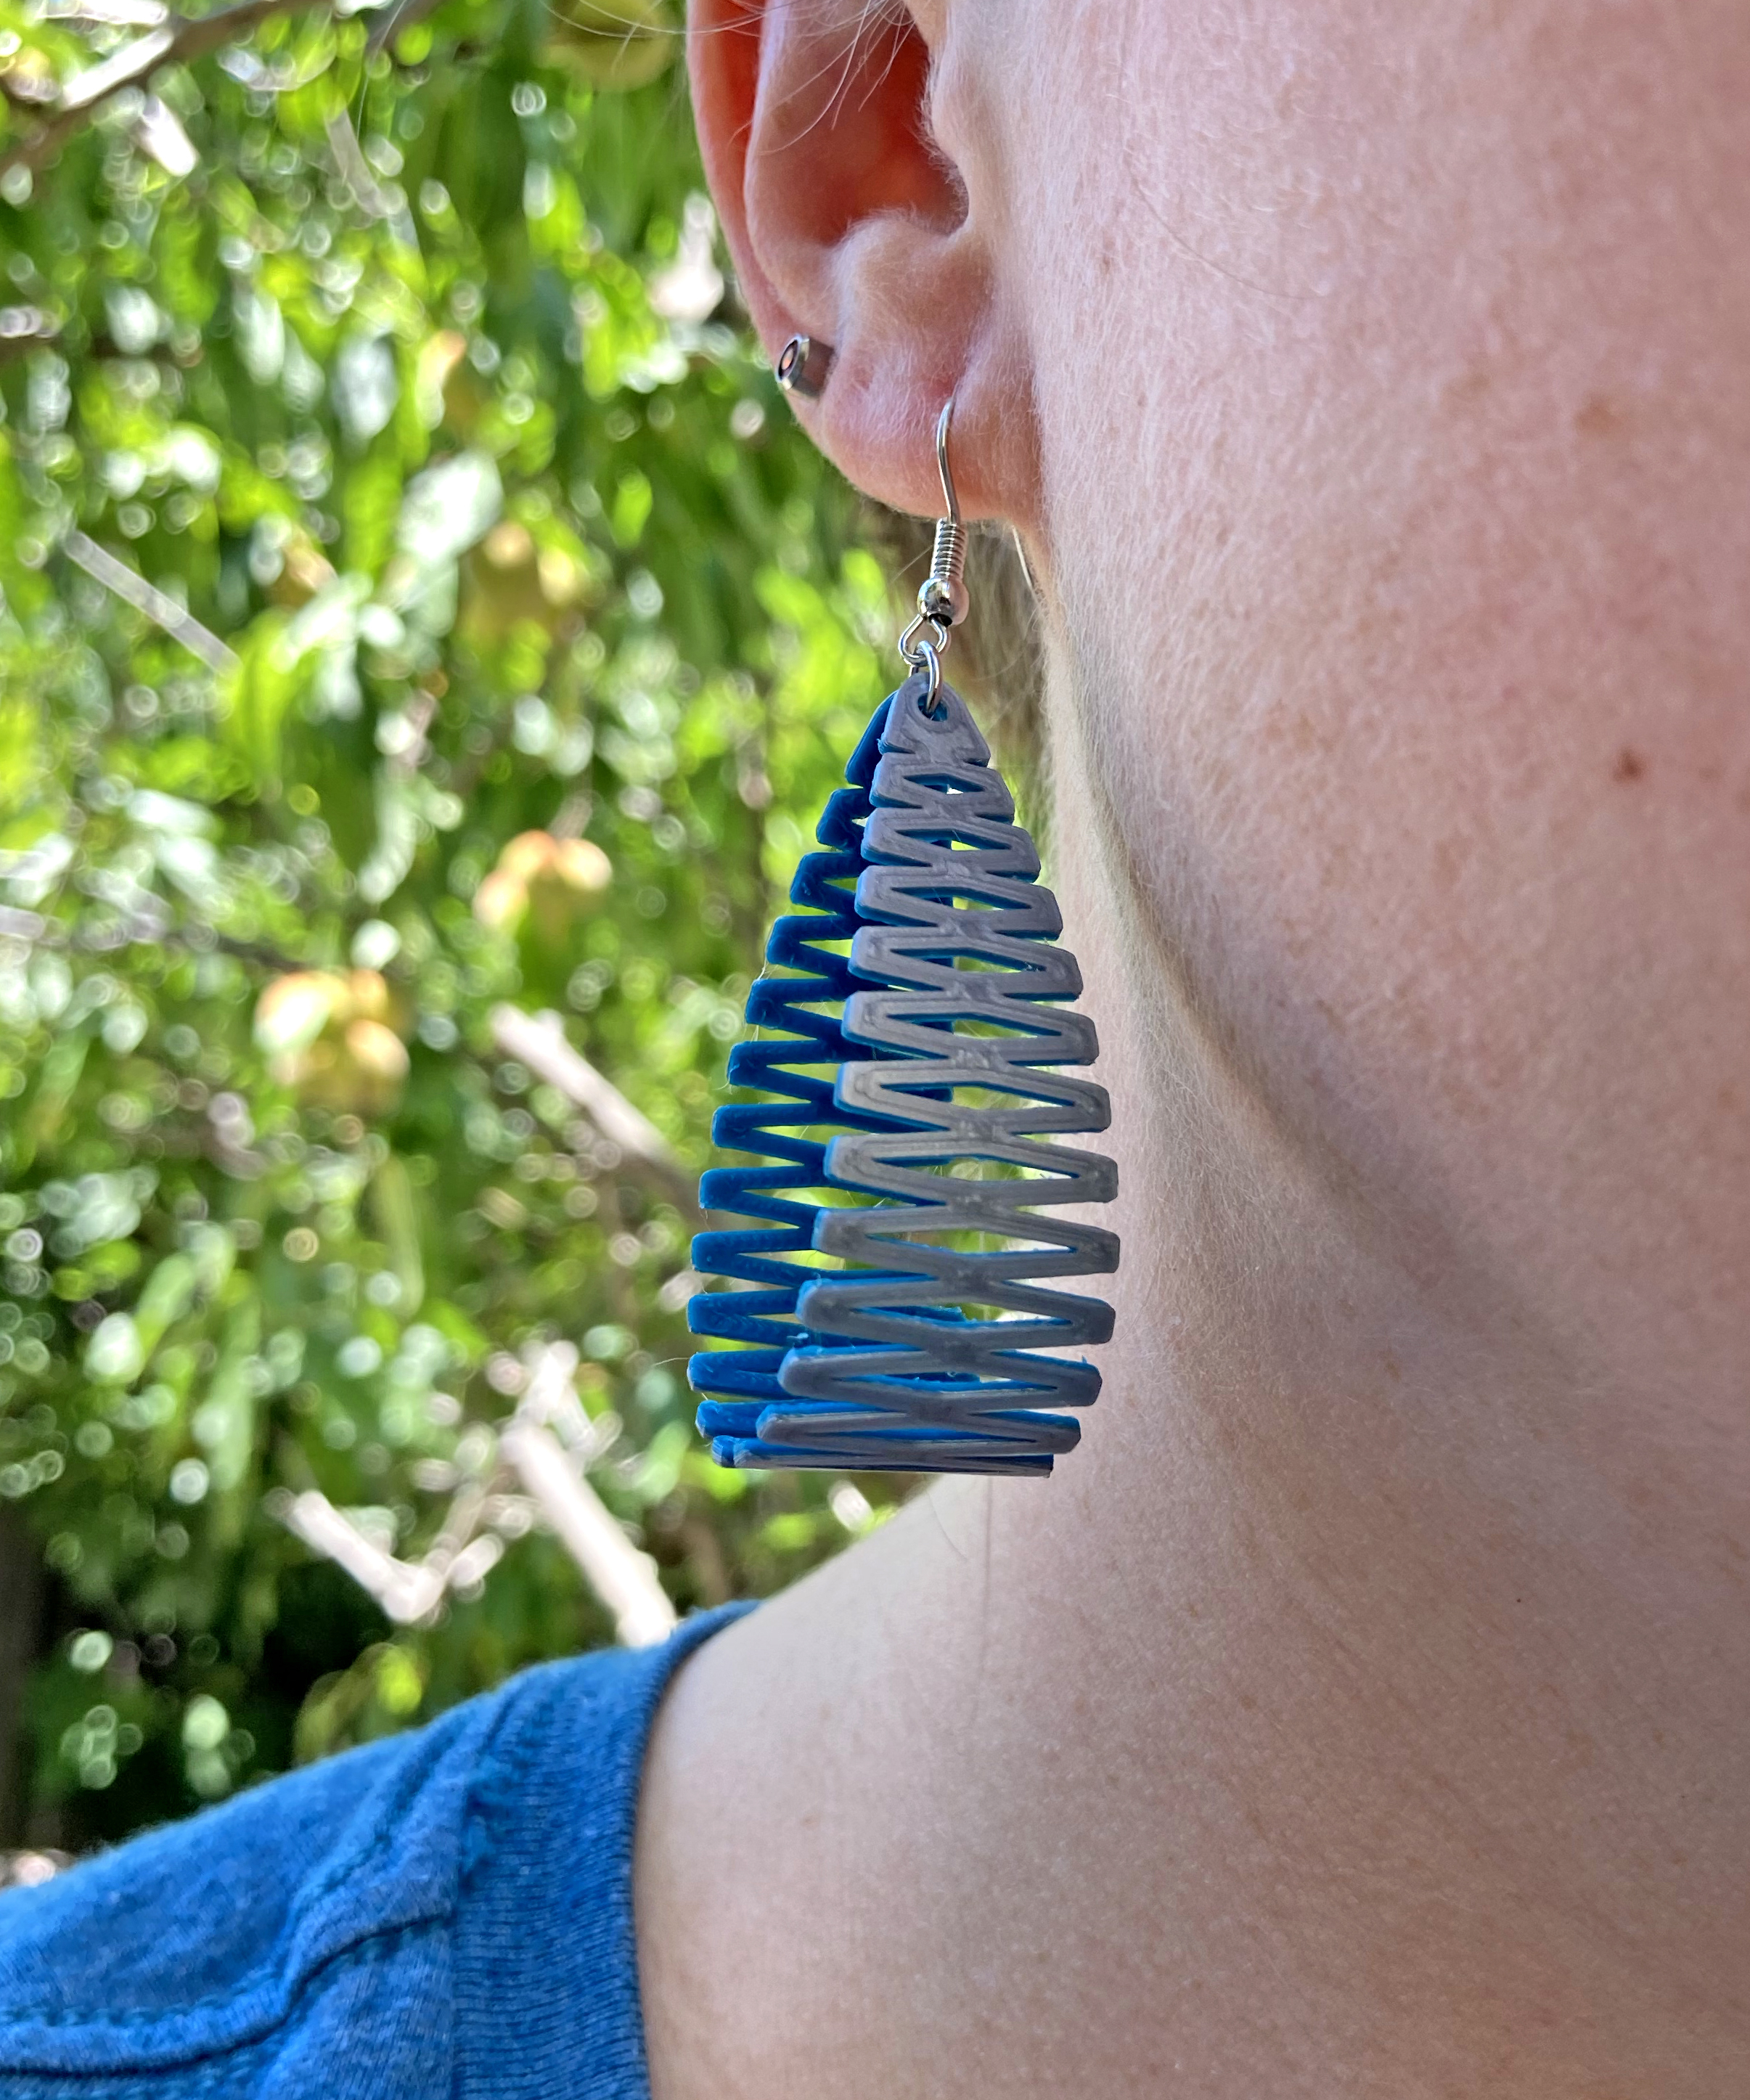
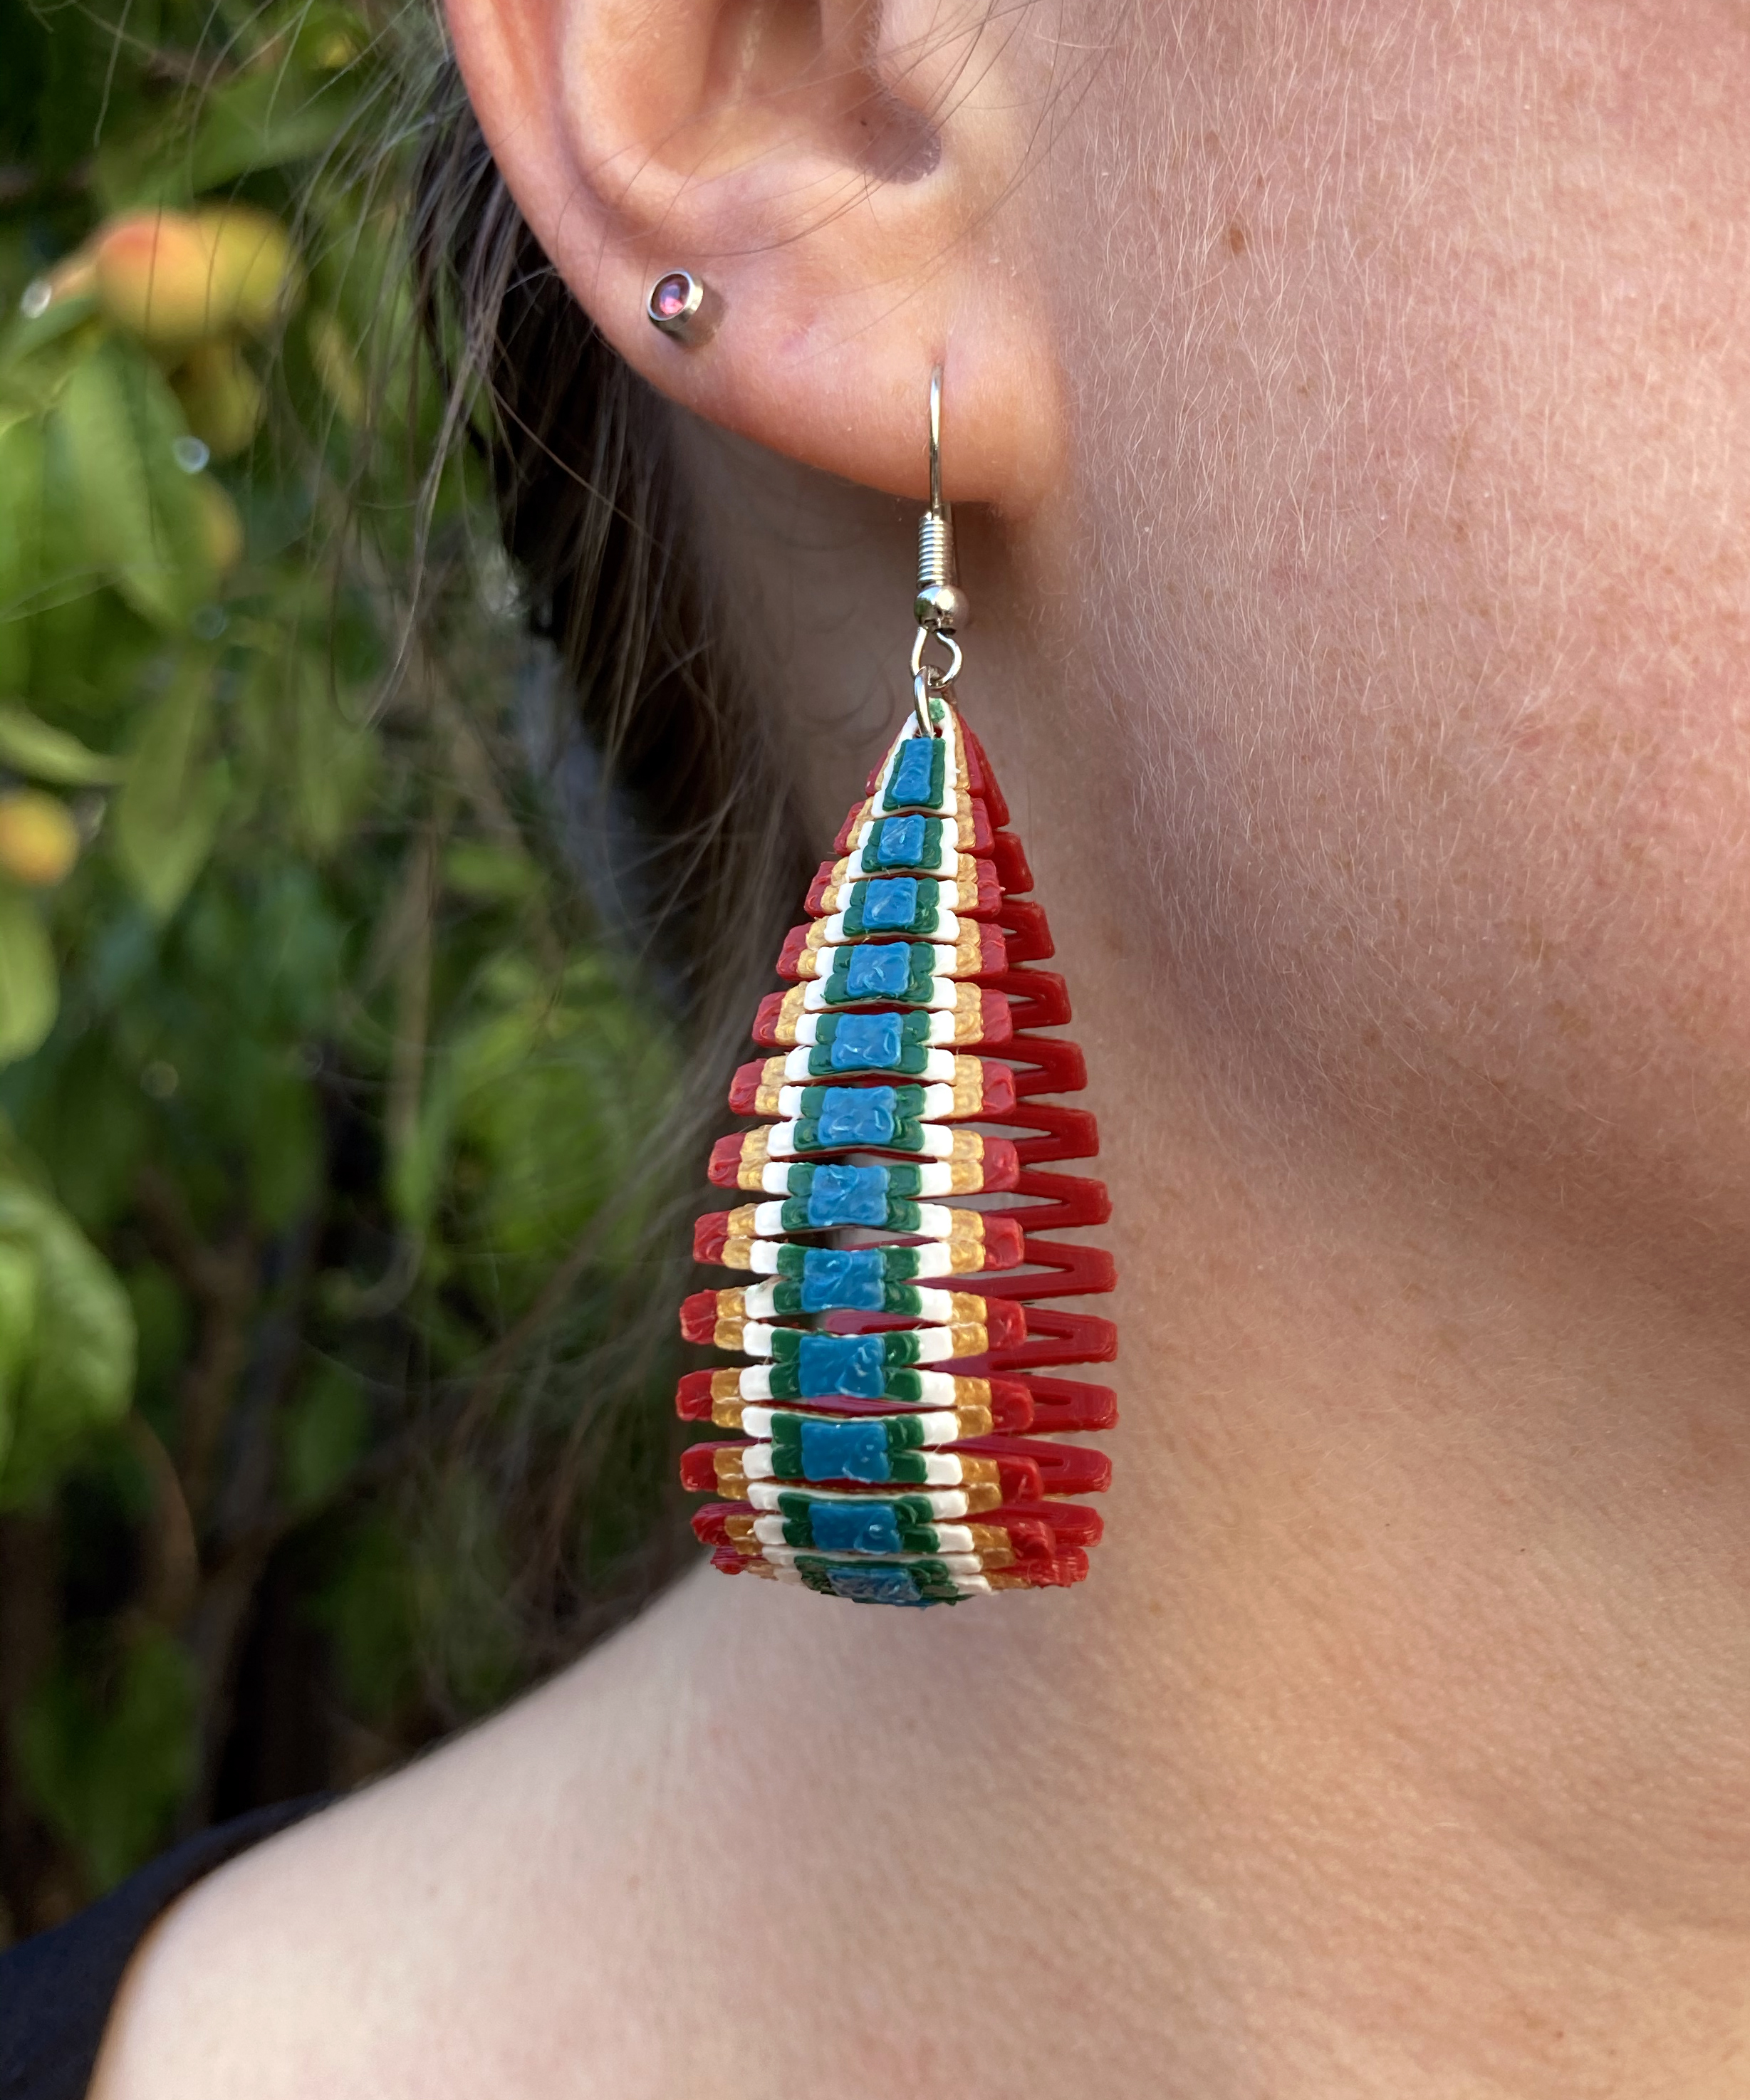
A while ago I came across some living hinge laser cut earrings and of course I loved them. I love when people take ideas and make them into jewelry so I bookmarked them to try myself later. I forgot about it but recently I thought it might be fun to try making 3D printed living hinge earrings. I know if you print things thin enough they will bend fairly easily, so I figured there shouldn't be any trouble getting a 3D print living hinge to bend for an earring. After some experimentation I found out some designs that worked well. Only one version is in these main images above , but you'll see and be able to print the others as well.
I tried out two different types of living hinge (side to side cuts, and side cuts + middle cuts) and will cover how I did both. You can experiment with the shapes of the cutouts and I'd love to see what people come up with. What's also nice about these designs is since I did them in Tinkercad you can also export the SVG file and try laser cutting them! [that's still on my todo list ;) ]
Instructable 338
Supplies
- Design program - I'm using Tinkercad (as I always do)
- 3D Printer
- Filaments of choice
- Jewelry Findings - Jump Rings and Earrings
- Jewelry Pliers
*I participate in the Amazon Associates program
Files
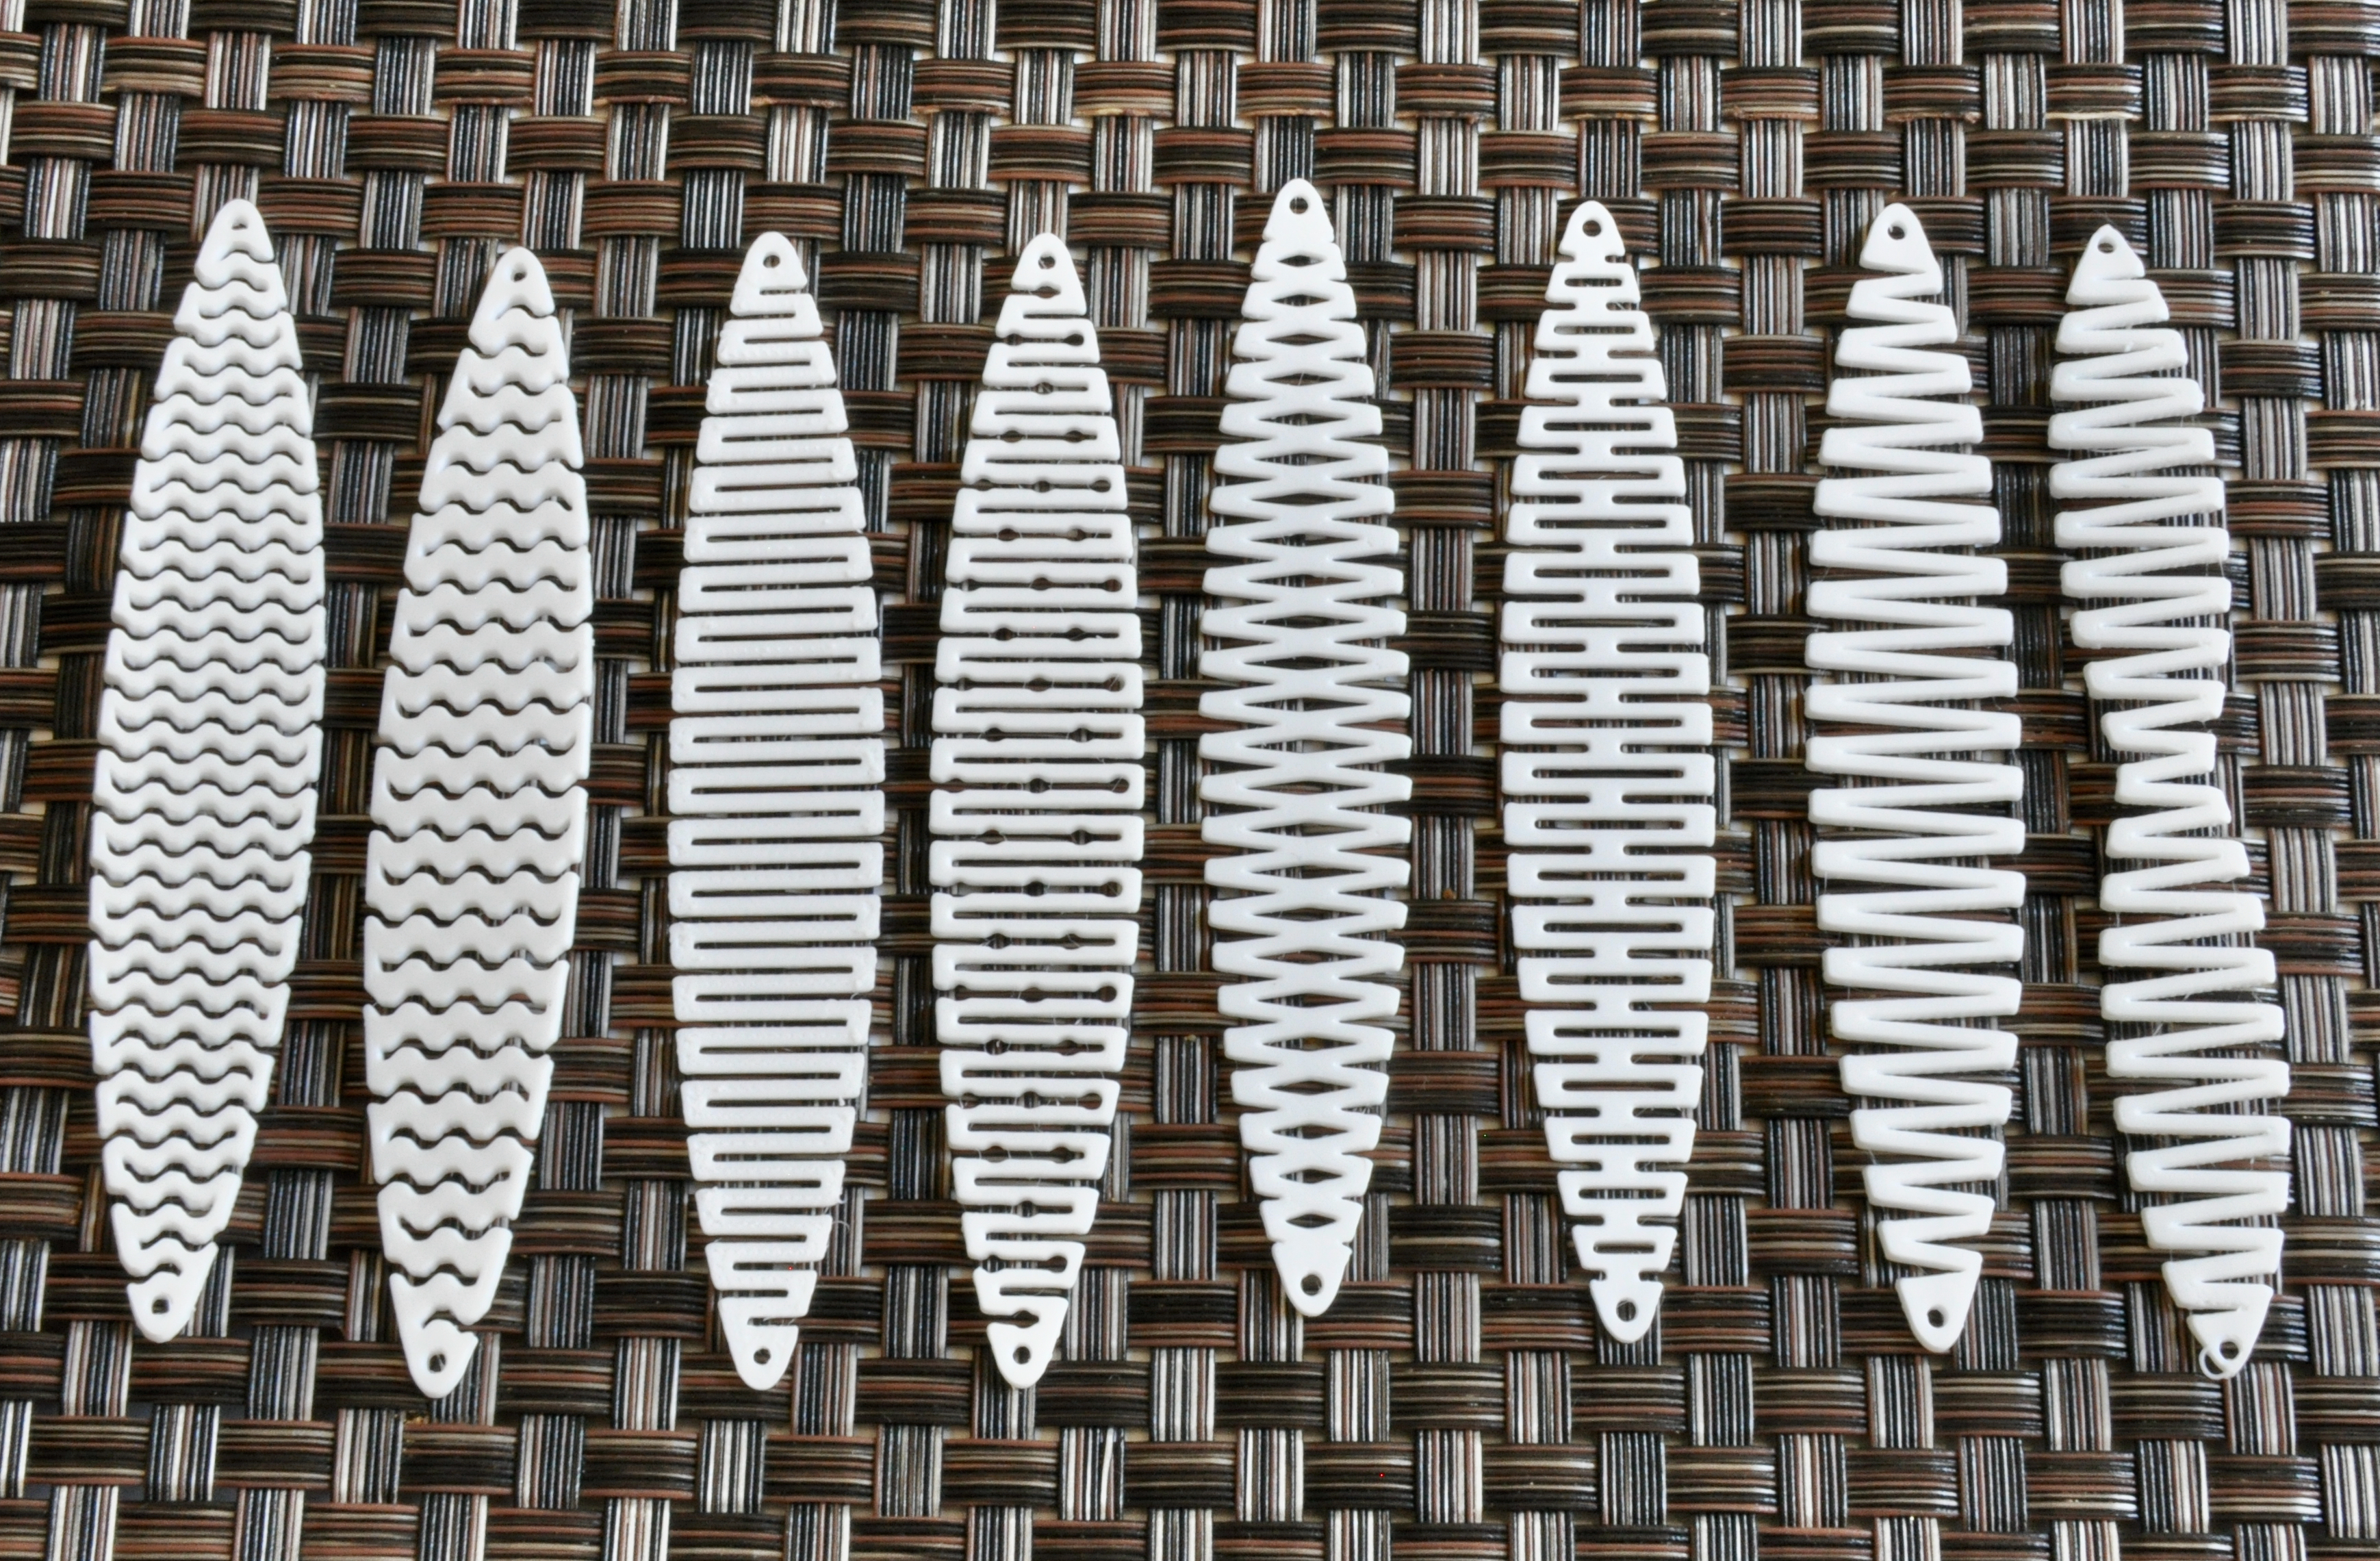
You can download any of the files here or head over to my Tinkercad design and copy and tinker yourself :)
Downloads
Designing a Living Hinge
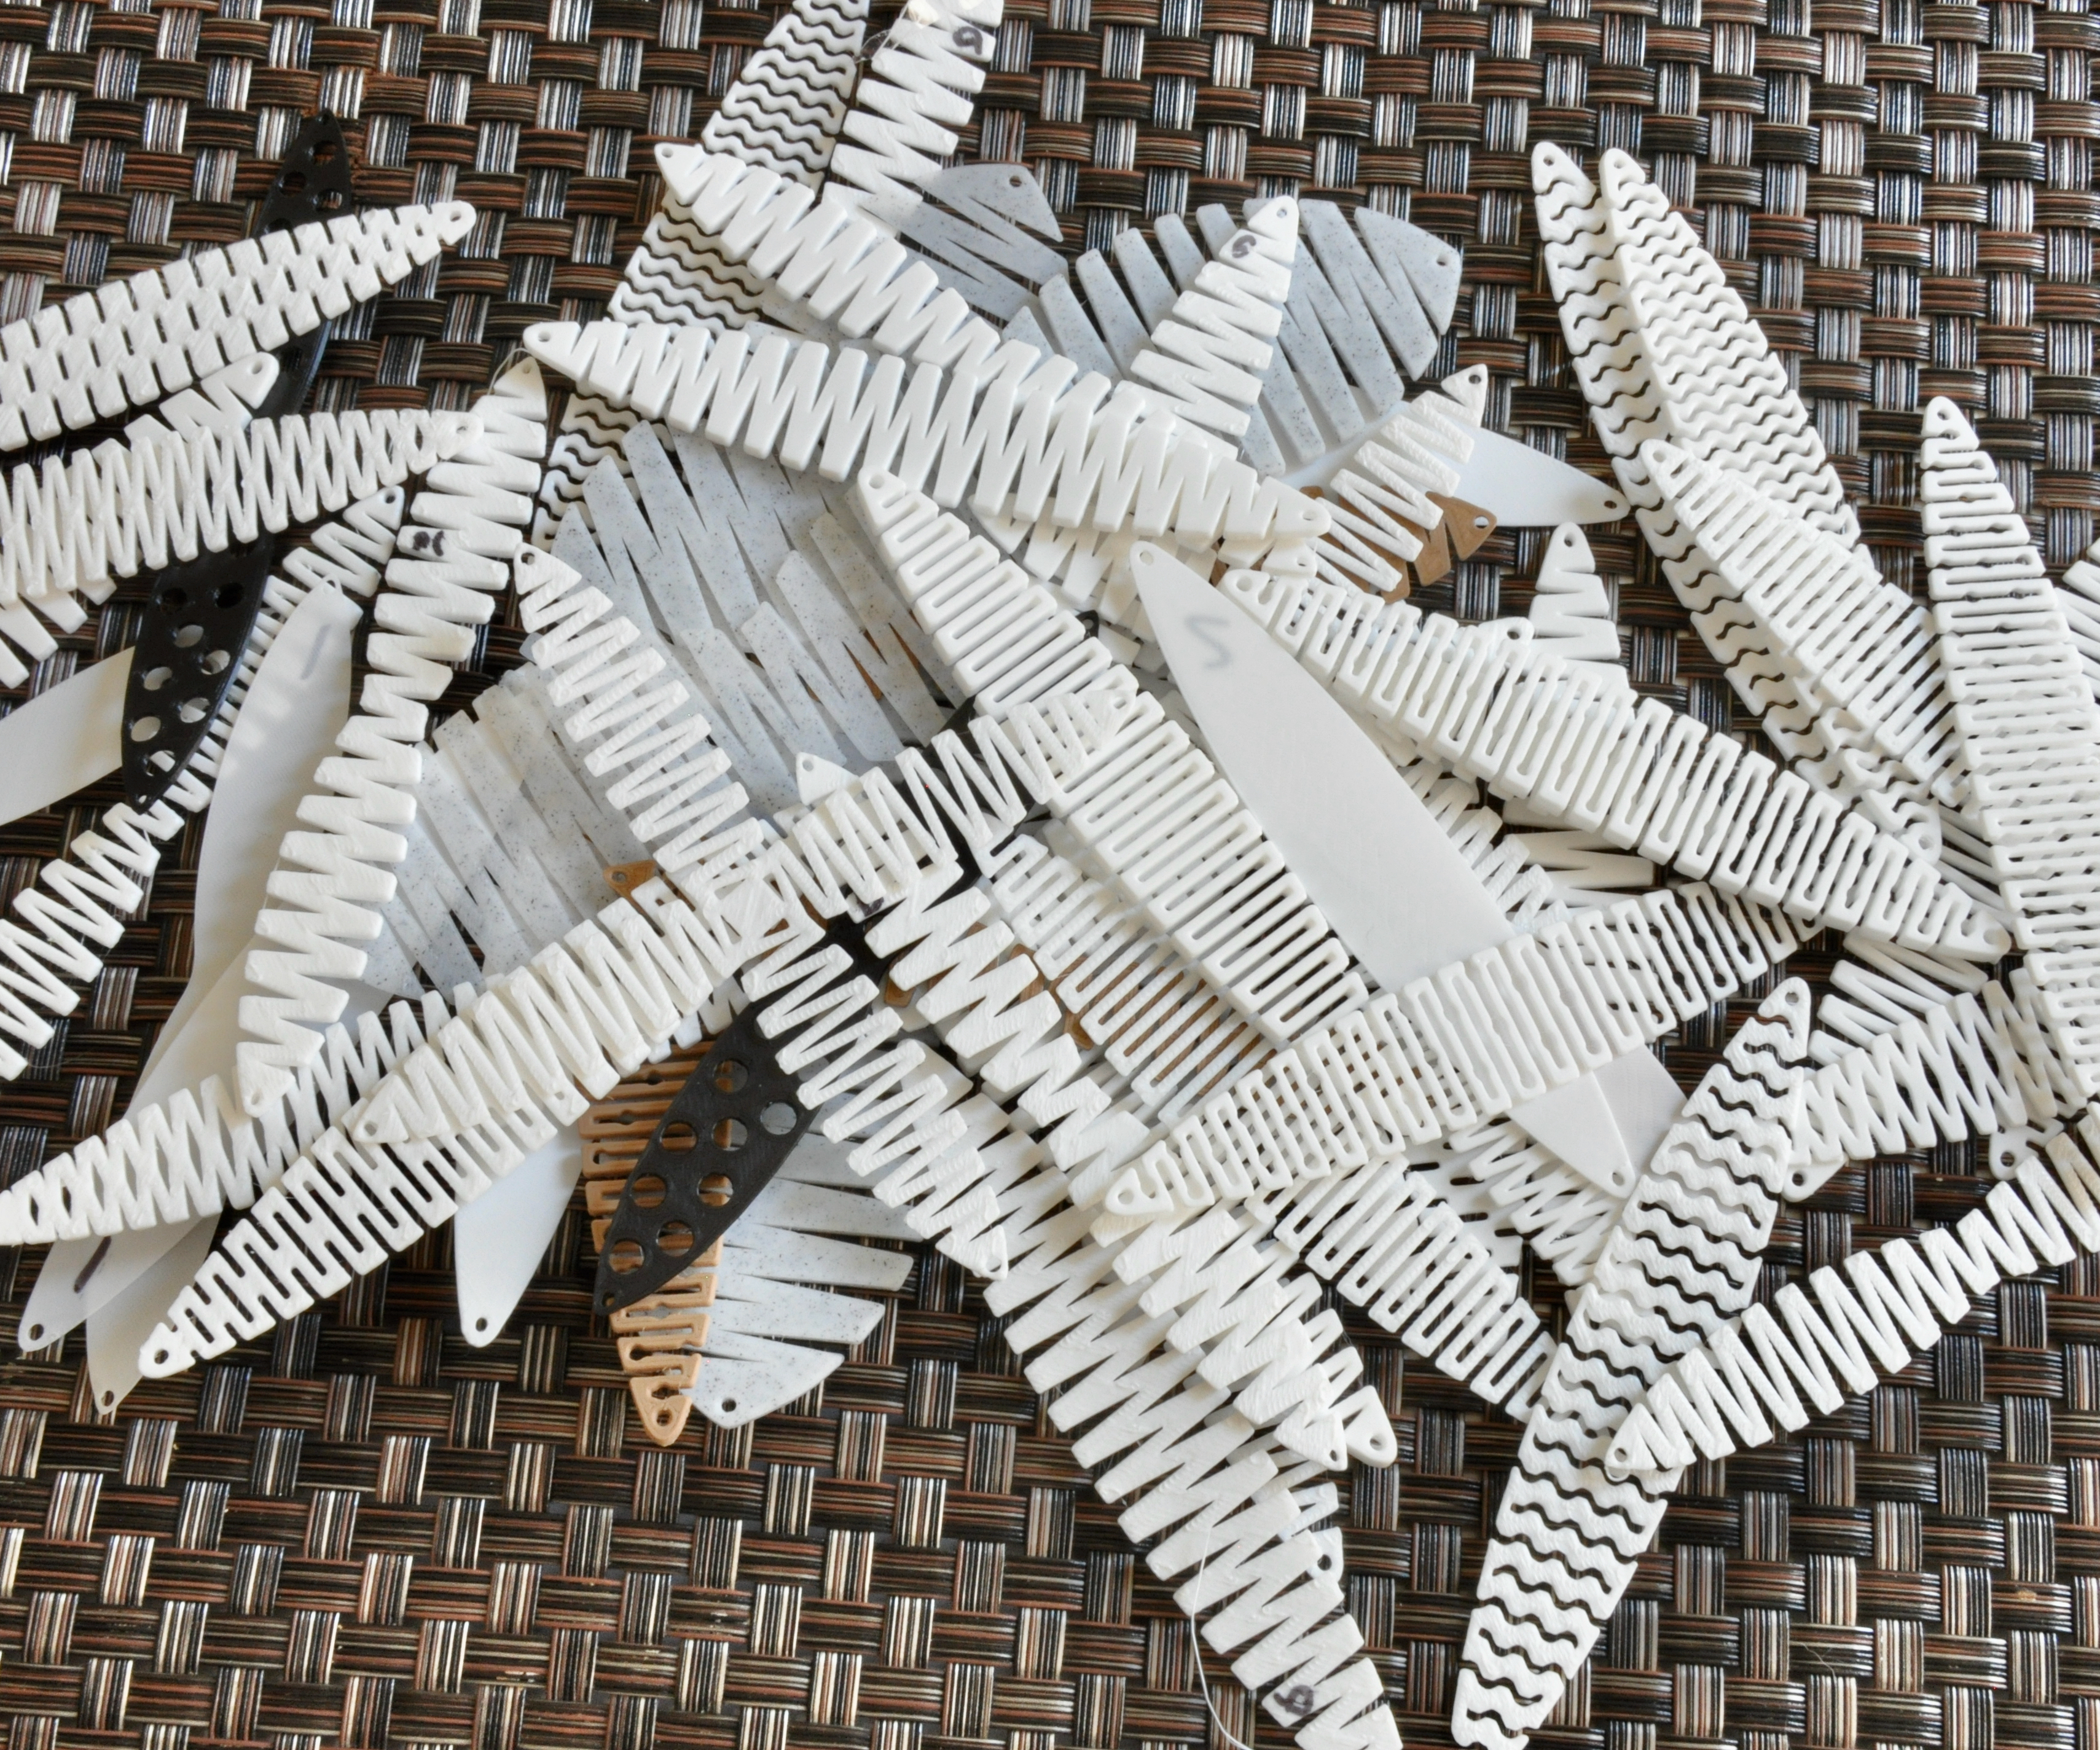
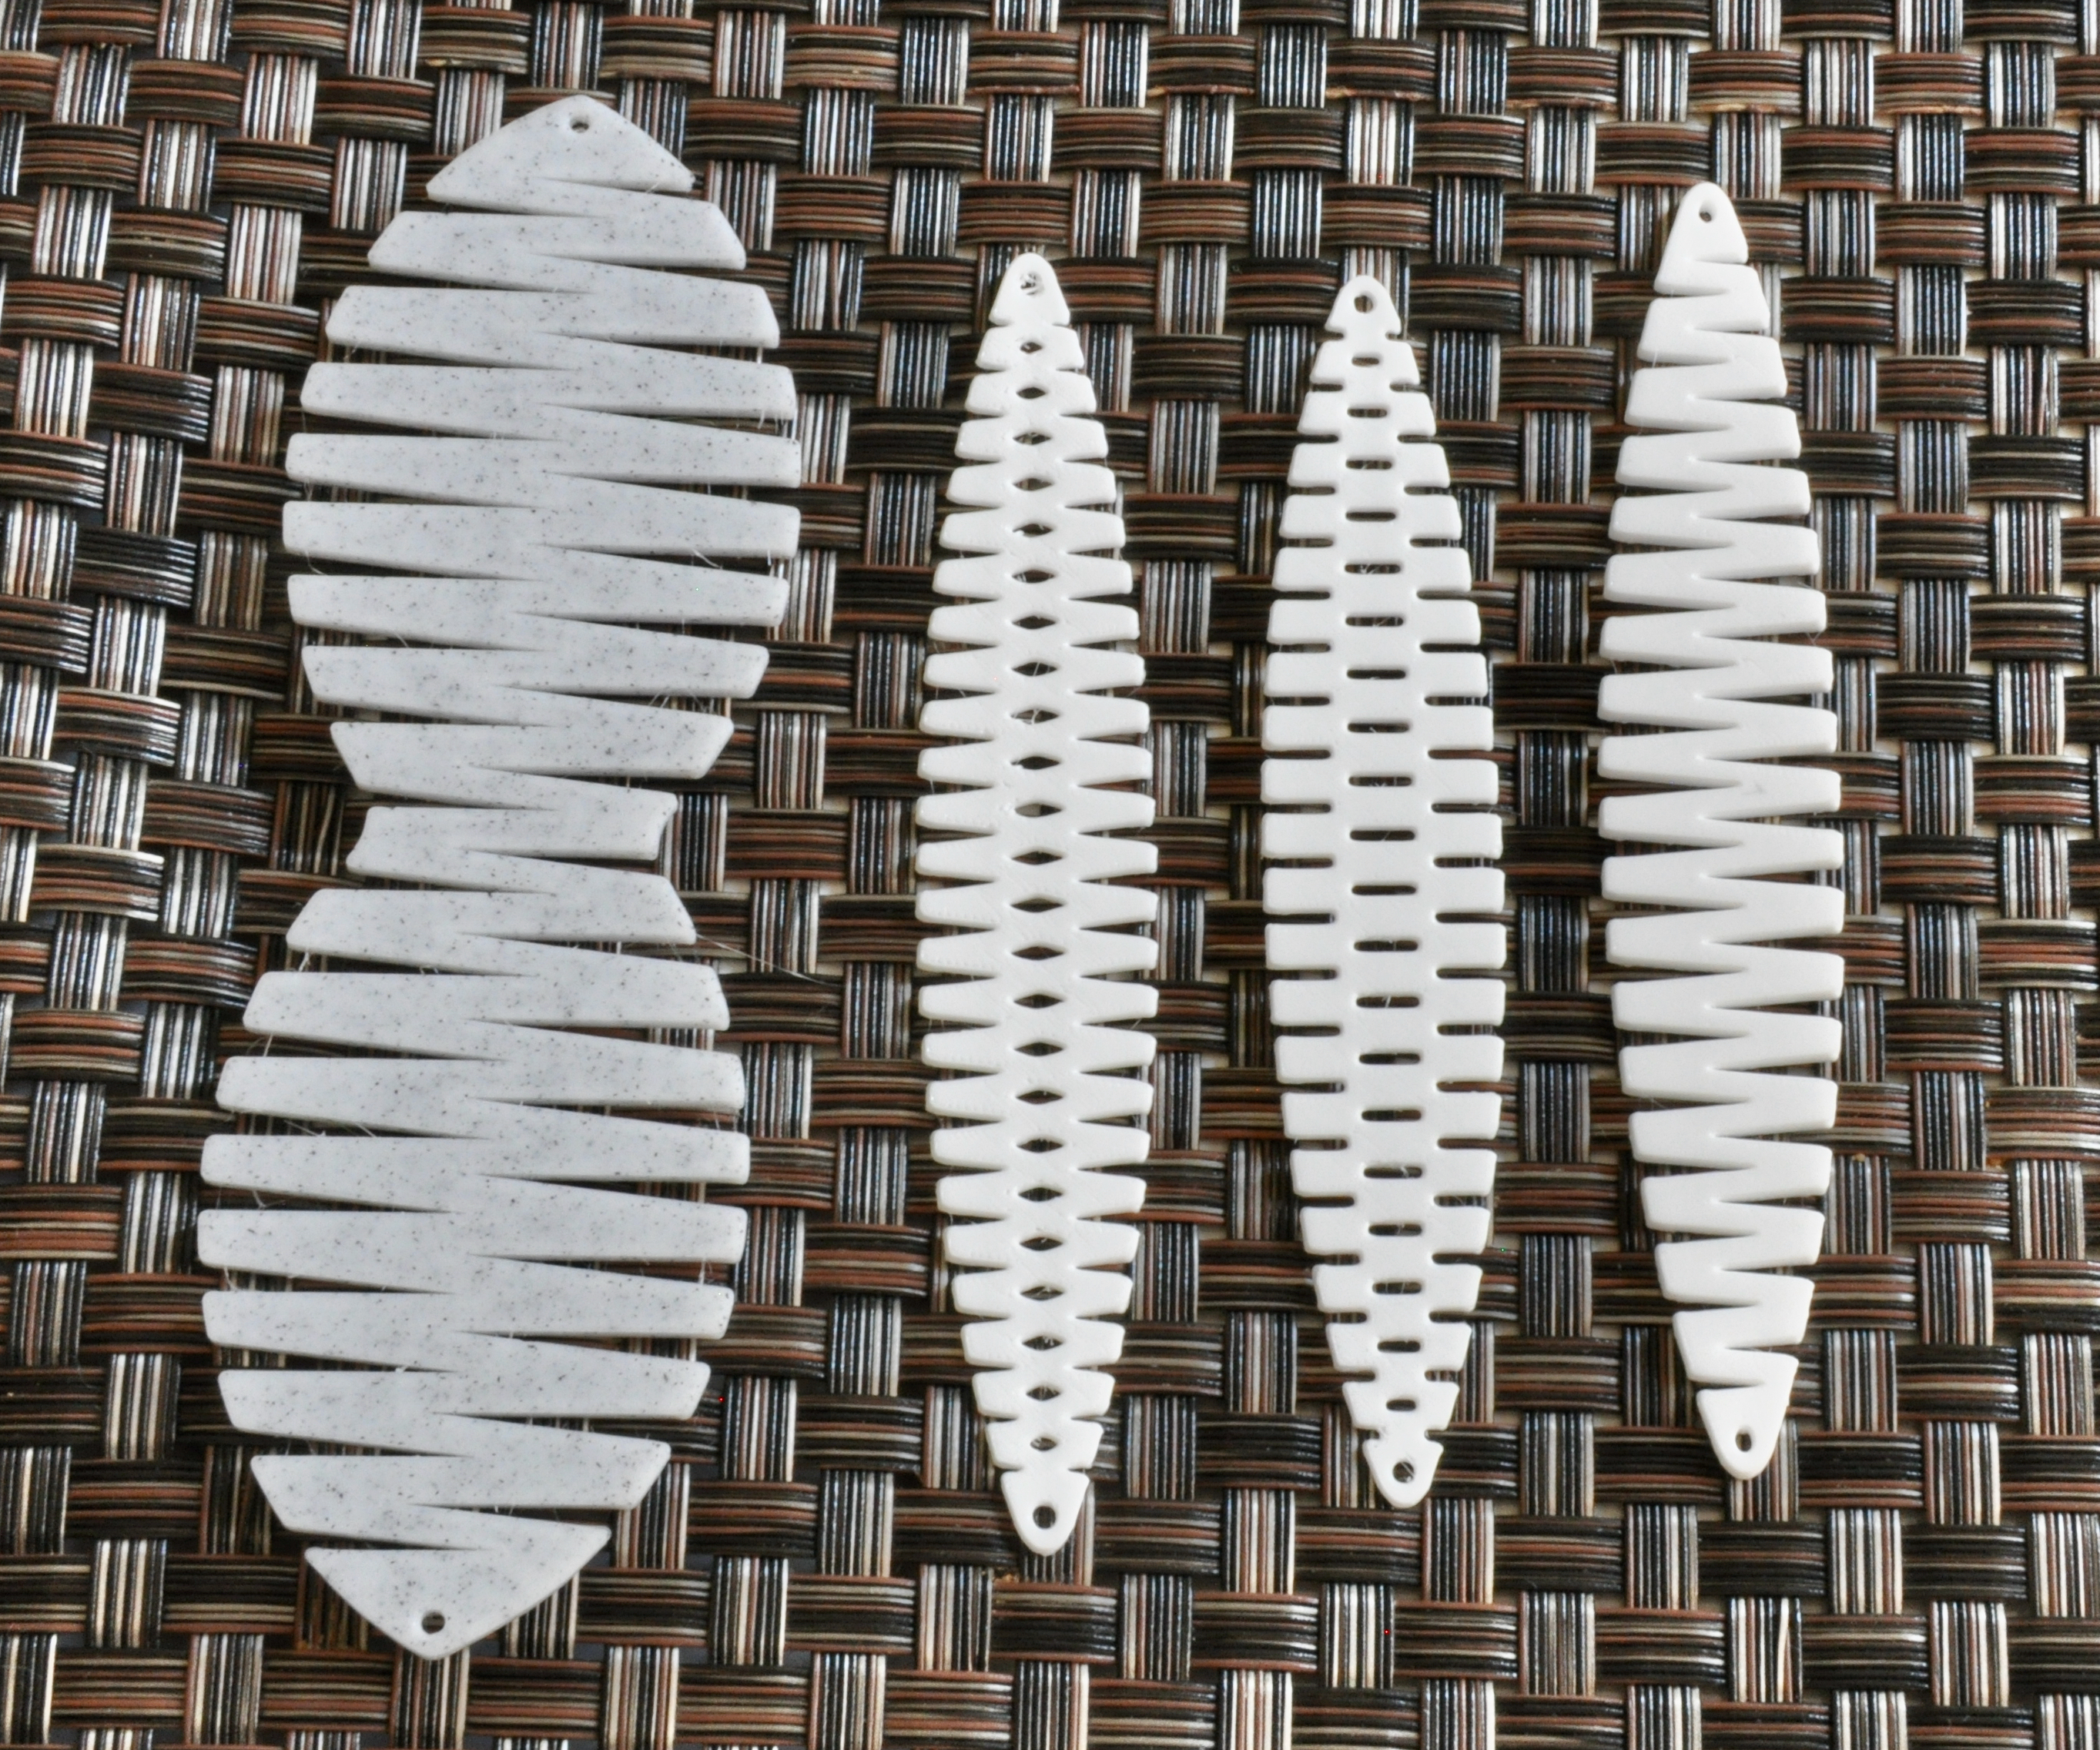
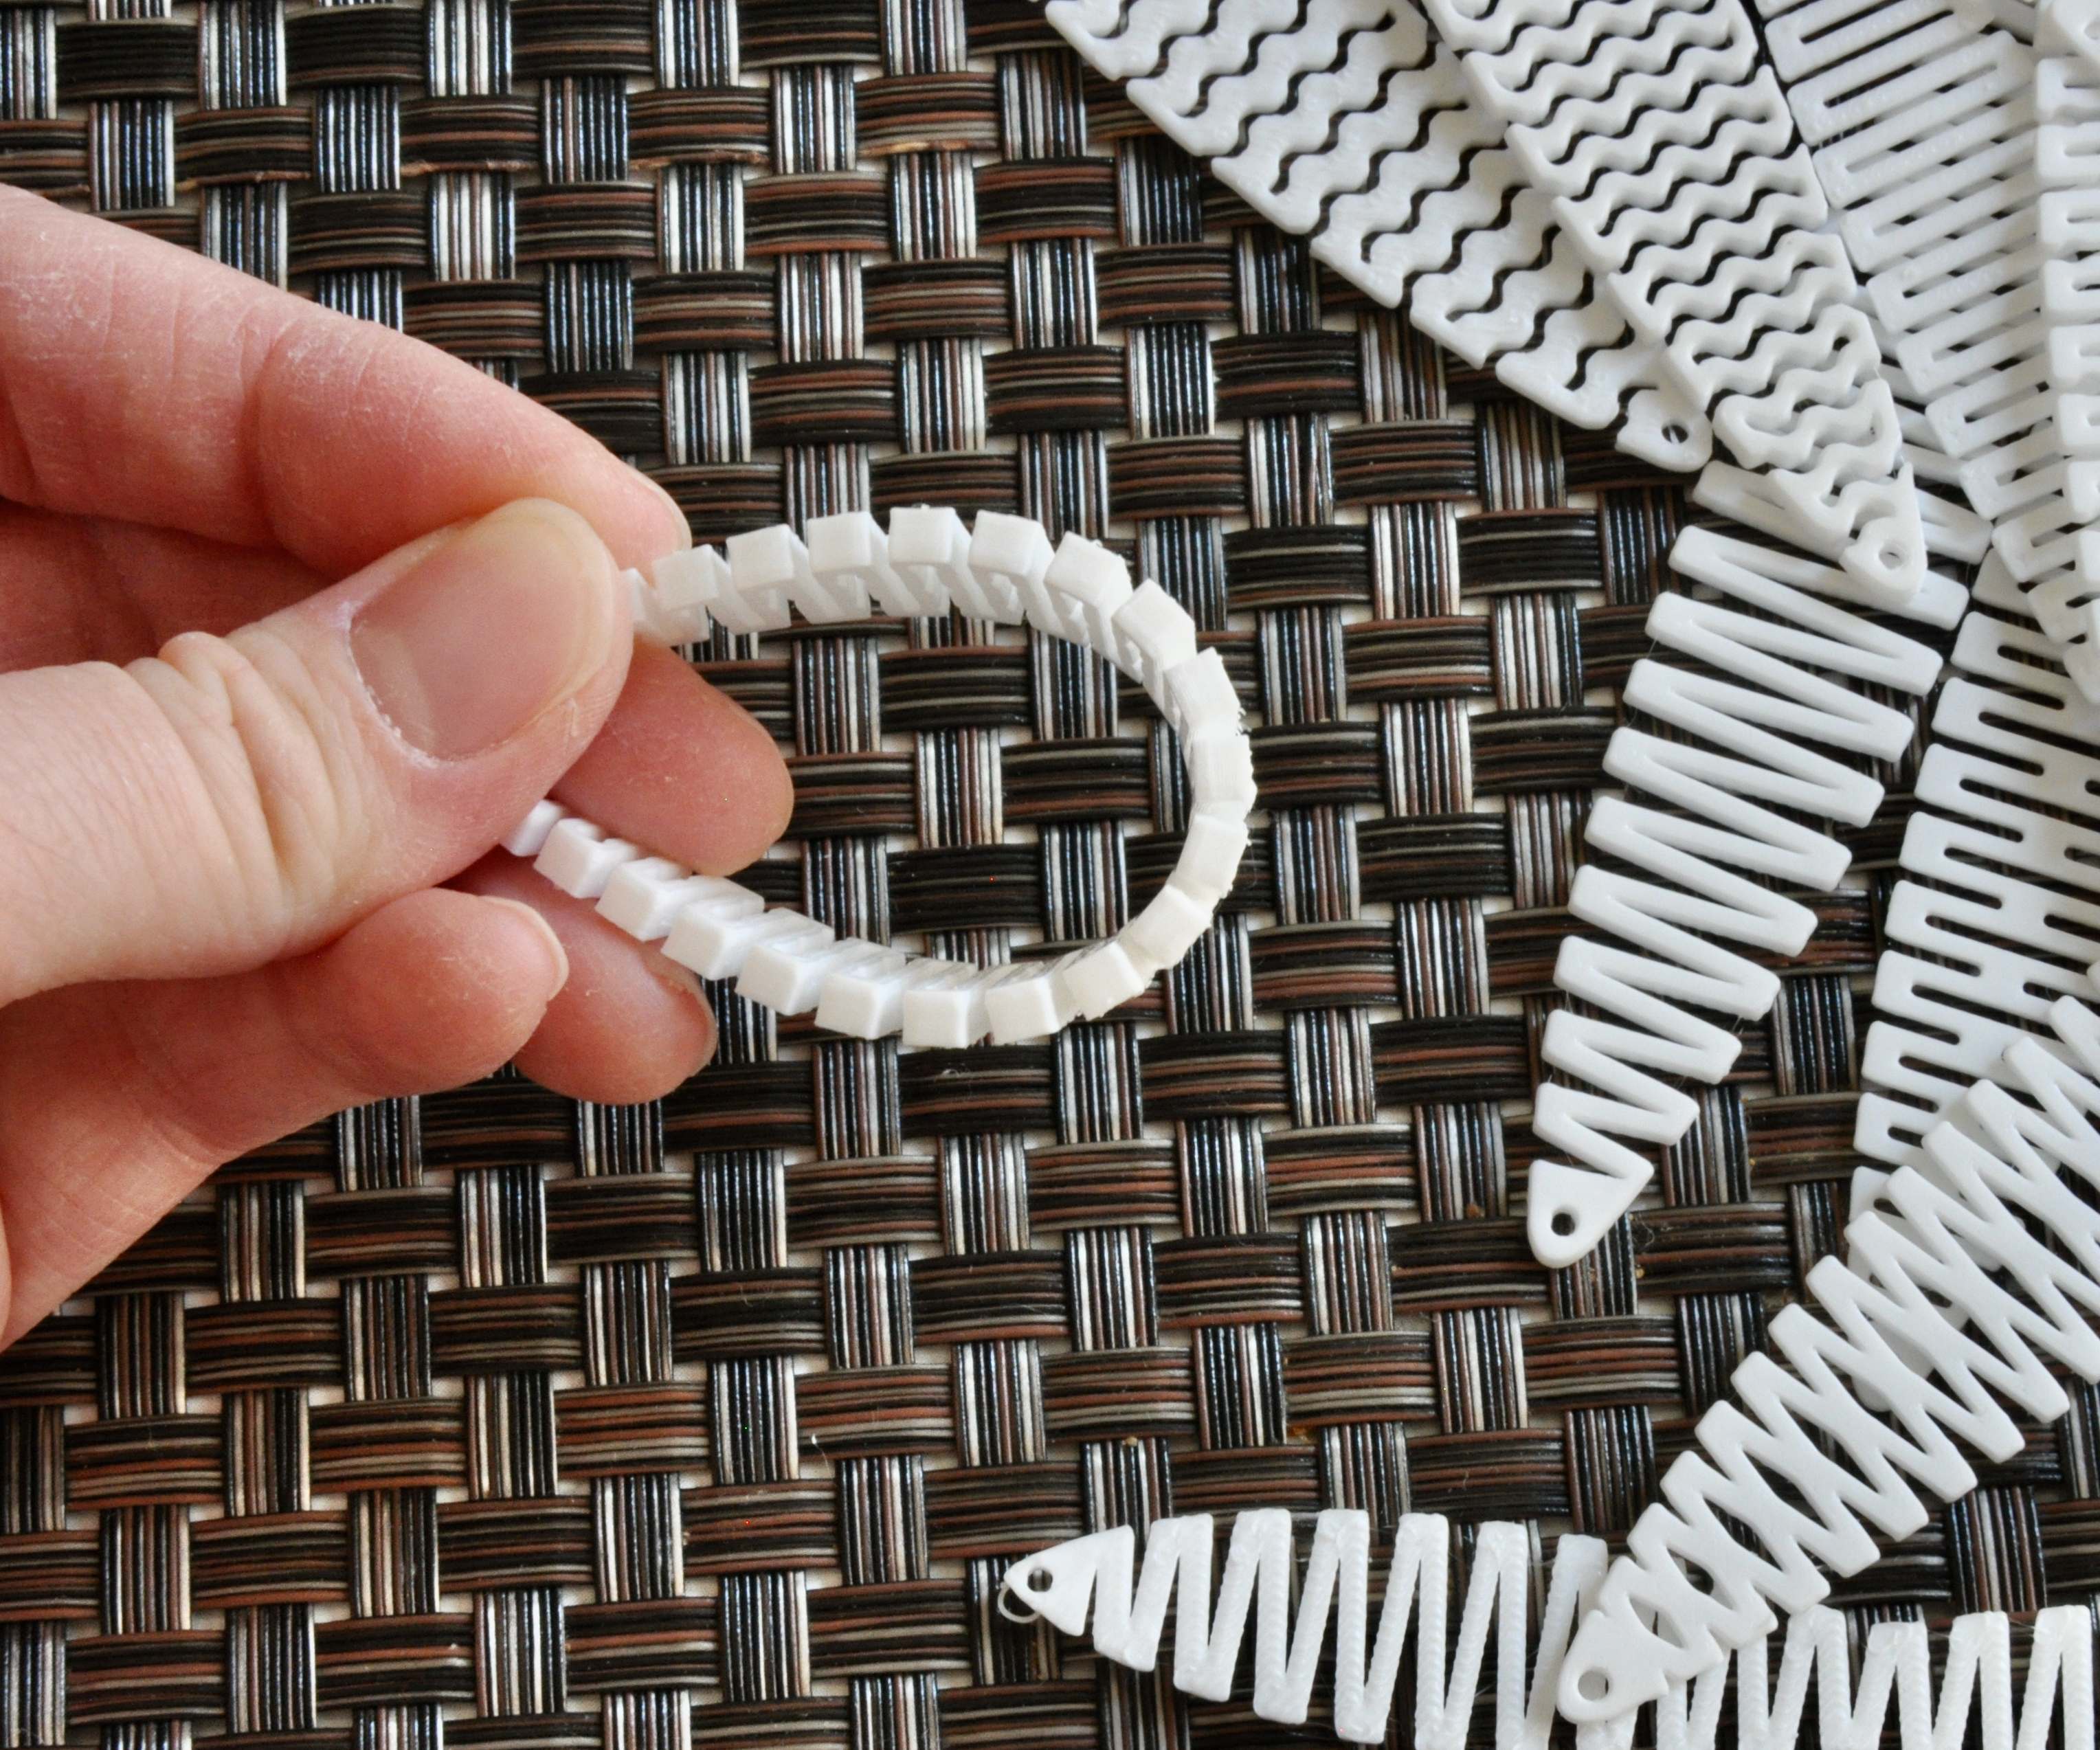
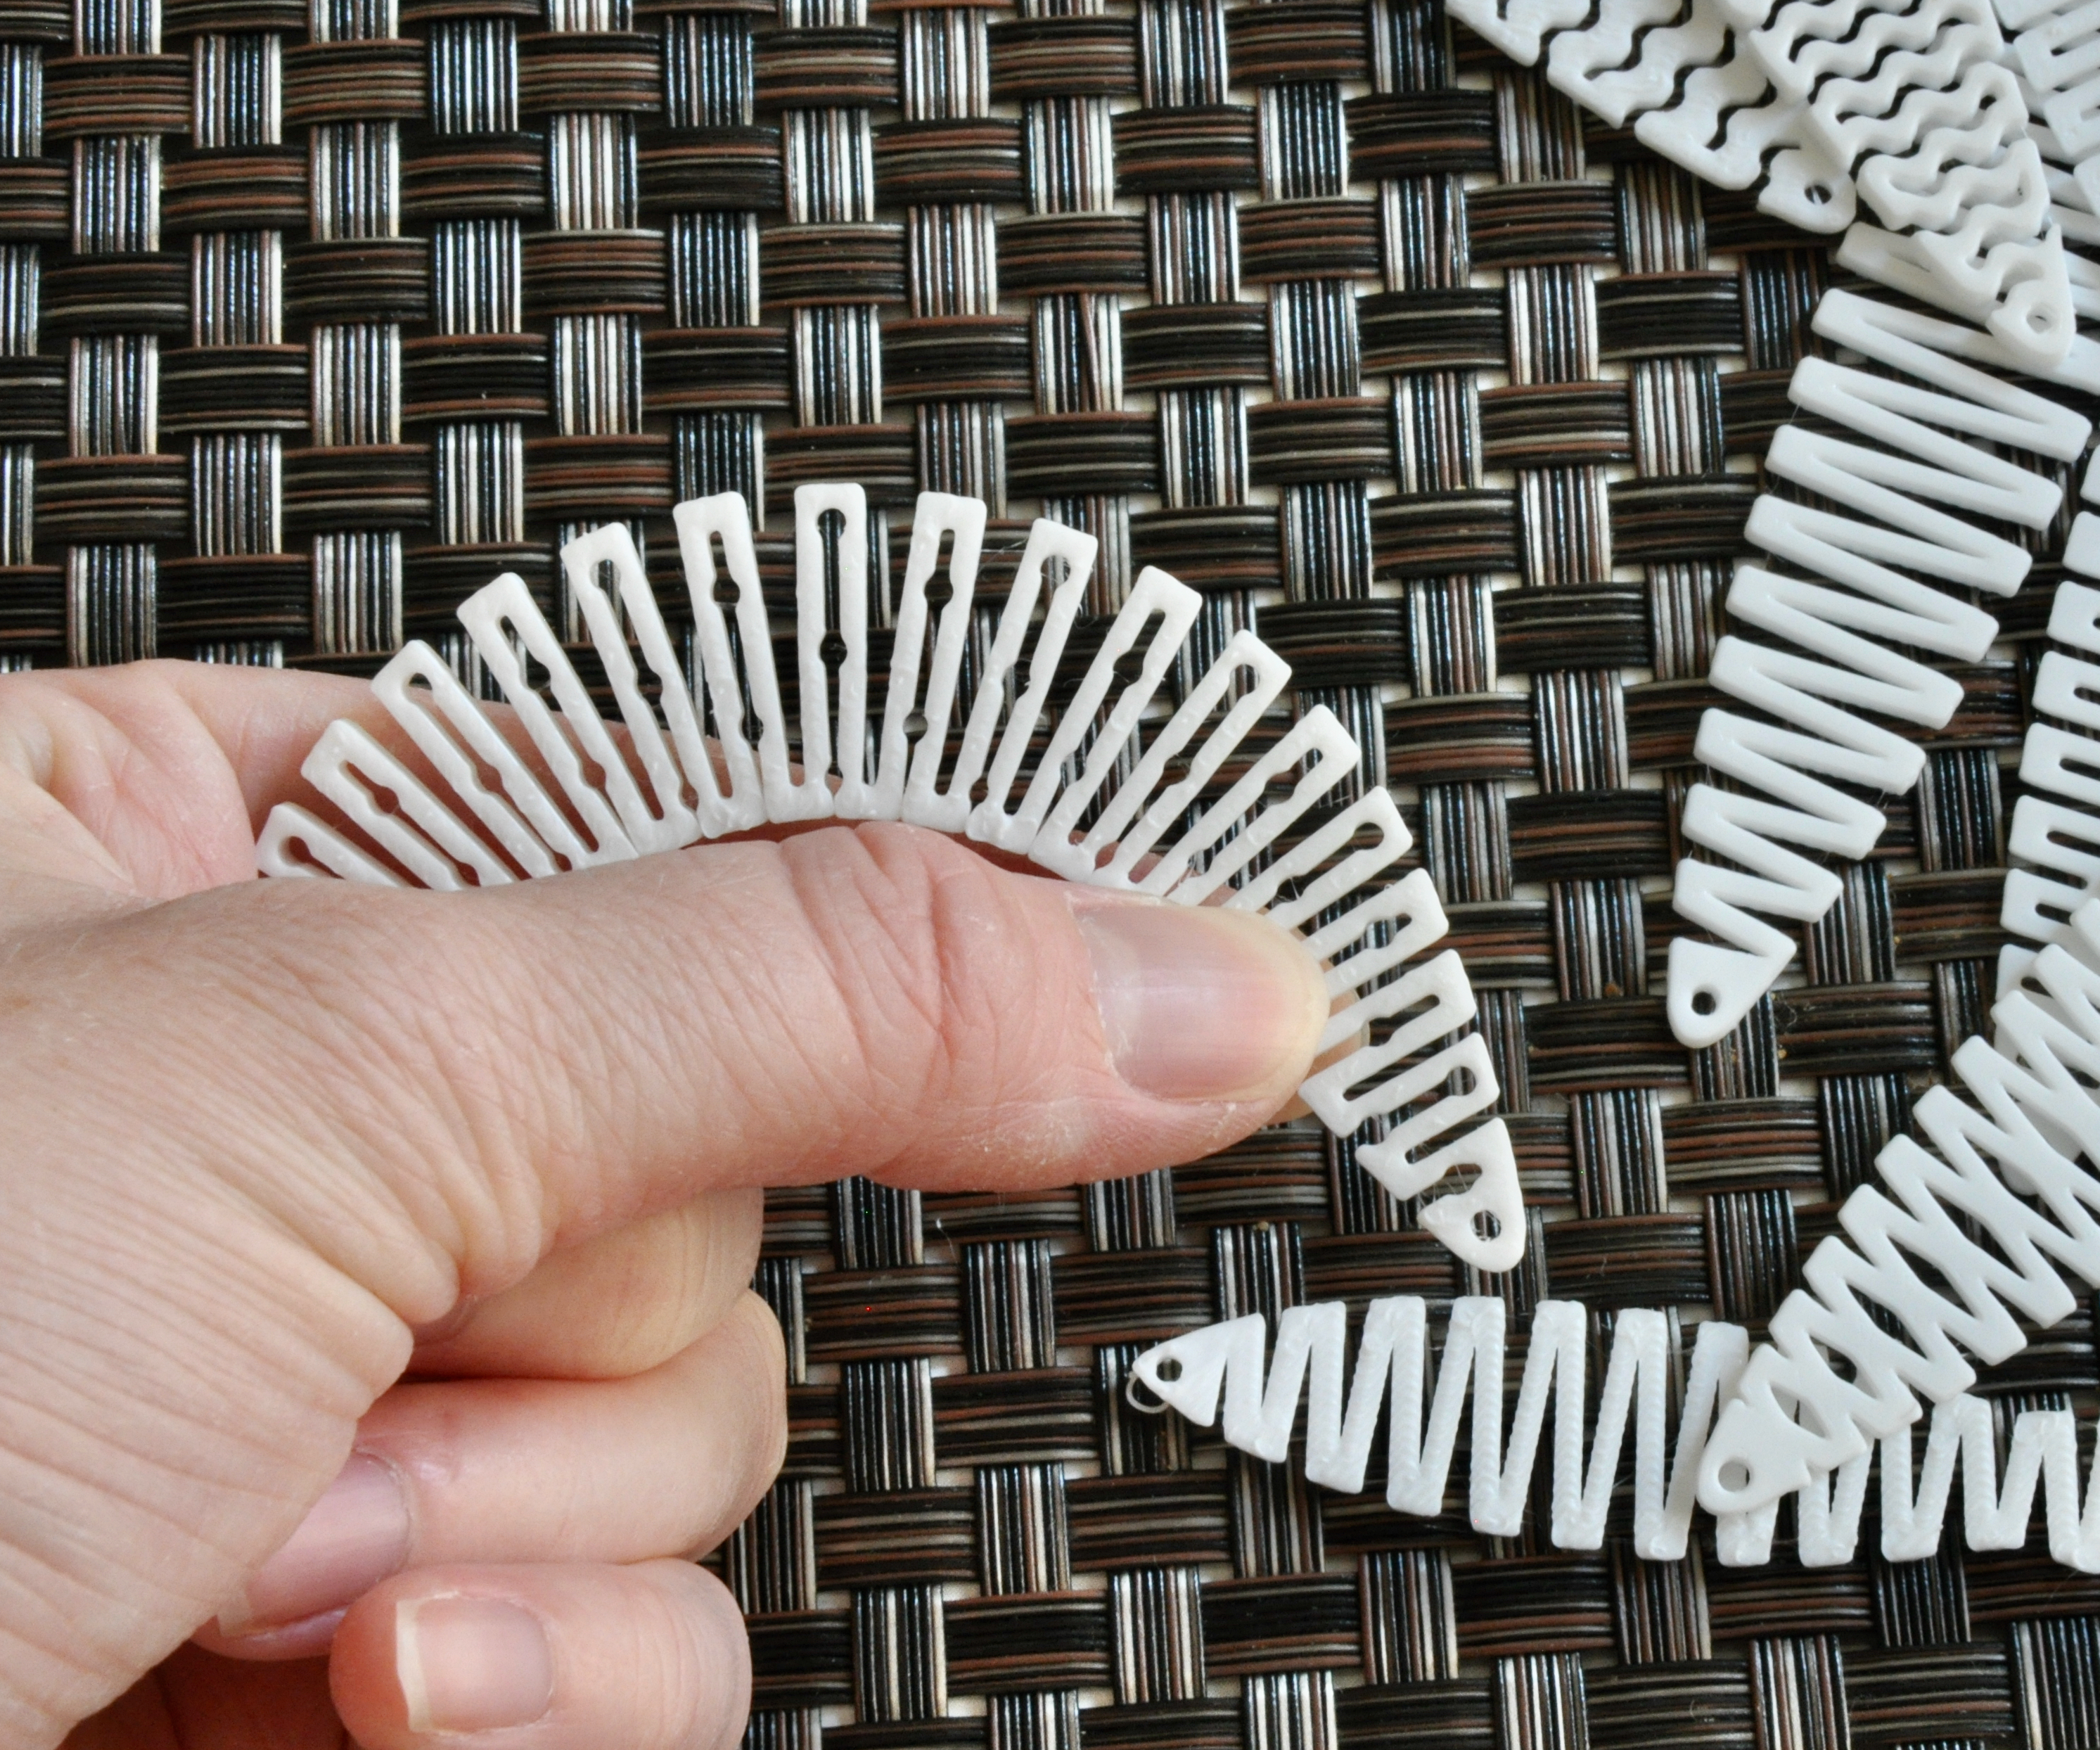
A living hinge has been used a lot for laser cut projects to allow wood to bend. I figured the same idea could be used for making 3D prints more bendable (I say more as they do have some bend when thin enough).
I went through a few versions before I figured it out, though some mistakes I shouldn't have made.
In the end I had about 8 designs that worked out pretty well.
Some designs work better than others (side to side) and with those you can print them thicker and I think I did about 1/4" and it could still bend easily. With the others I ended up printing them about 1.2mm or 6 layers thick. This seemed to be a comfortable thickness that made them not too thin and weak while also not being too thick and bulky.
In the next two steps, I talk about how you can design your own living hinge two ways.
Side to Side Cuts
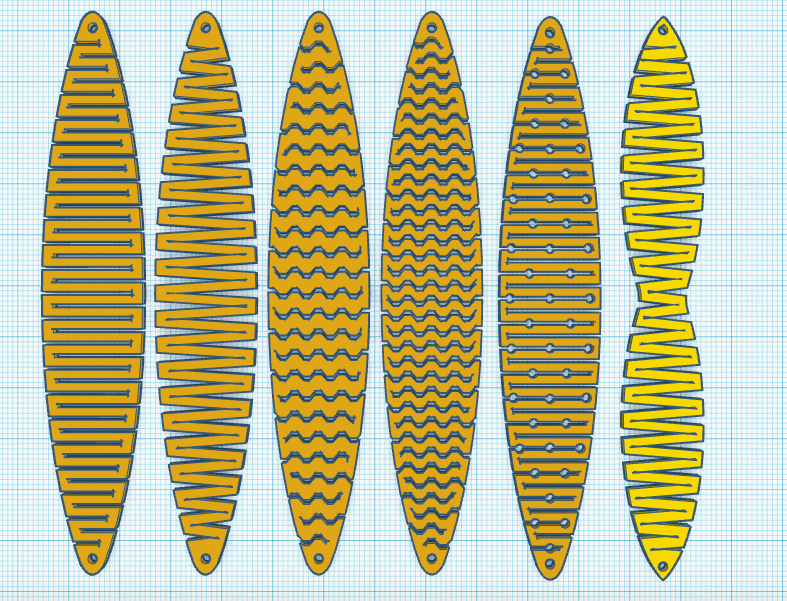
Side to side cuts seem to produce the better bend so they are the easy way to go. I will show you how to easily design them and how you can jazz them up a bit.
Start with your basic shape in the size you want. I initially did them huge and then quickly decided on a safer size of about 109mm (4.29") and 19.28mm (.75") wide. Remember that the earring will be folded so it won't hang down 109mm, it will be less than half that with the curve. You could go both wider and longer but remember to keep in mind it will hang from your ear and bump into your face if it is too wide.
You'll also need a hole on each end for the jump ring to go through so I cut this out now so I knew how far I could do the design top to bottom. I usually use a hole about 2mm in diameter for a jump ring hole.

Next is creating the cut out shape, which in this case is just a thin rectangle. You'll probably experiment with size, but mine is about 1.02mm tall. Length doesn't matter for now as you'll be trimming it down, but you want it long.

Now that you have the base shape and the cut out, you need to space them out. The closer the are together, the easier it will bend. In my earlier tests I had them farther apart and it didn't bend well. Right now, just place the rectangles all the way across the design as we'll trim the later.

You can just wing it with spacing them, but I tried to use the ruler tool to make spacing them precise and then I would copy and paste groups to save time. Keep going until you have the whole thing essentially covered but leave room between the rectangles on each end and the hole for the jump ring.
Now that we have all the rectangles we want we are going to cut them and we need to cut every other the same. To make this easier, I grouped every other together, so I had two sets of rectangles (I'm going to make them transparent colors so you can see and I'll make them holes again at the end).

With these two groups, we need to cut them down on each side so they don't go all the way across because, obviously, that won't work. To make the cut out, I took my original shape and shrank it a little. I used this to cut out of a solid rectangle, and then cut it in half. Make sure you center when you can to make things even and easier to line up.

Once you have both, it helps to butt them up against each other and group them for now just so they stay lined up.


With this cut out, we can cut each side of the lines. Take the shape you just made, make it a hole, and trim all your lines on one side.


Then do the same thing for the other side.

You should now be left with your basic shape (with jump ring holes) and the rectangle cutouts.
Make the rectangles into holes and group everything together; you should have your final shape.


Center and Side Cuts
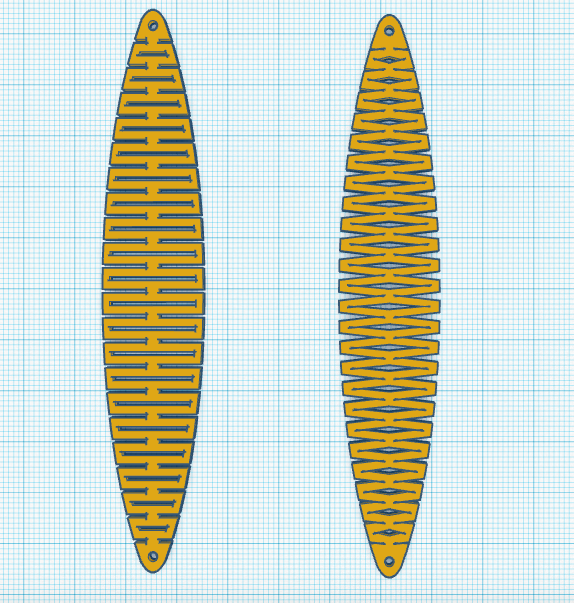
This design, like I said, doesn't necessarily bend as well but still works. It is easier in one way and difficult in another, so let's jump in and you can see.
Start with your basic shape with jump ring holes again.

Take your cut out shape (which will be a rectangle again) and add that to your workplane.
You need two of these shapes side by side a little apart from each other.

Now you need to copy these and space them out. You want about half as many as the last design so you could just take one set of what you used before ;)

For all the spaces between them, we are going to add rectangles that cut out a hole in the middle of the design.

Here is the hard part, you have to make each one a bit smaller than the last. I found it easiest to work from the middle going up until I have it half done, then copy and flip them and use them for the bottom half.

The last thing you need to do is trim all those center rectangles. We'll do it like with the last step but instead of dividing it in half you just keep it whole.


As long as everything is lined up right, make sure all the rectangles are holes and group the whole thing and you should have your finished earring.


Print and Make Earrings
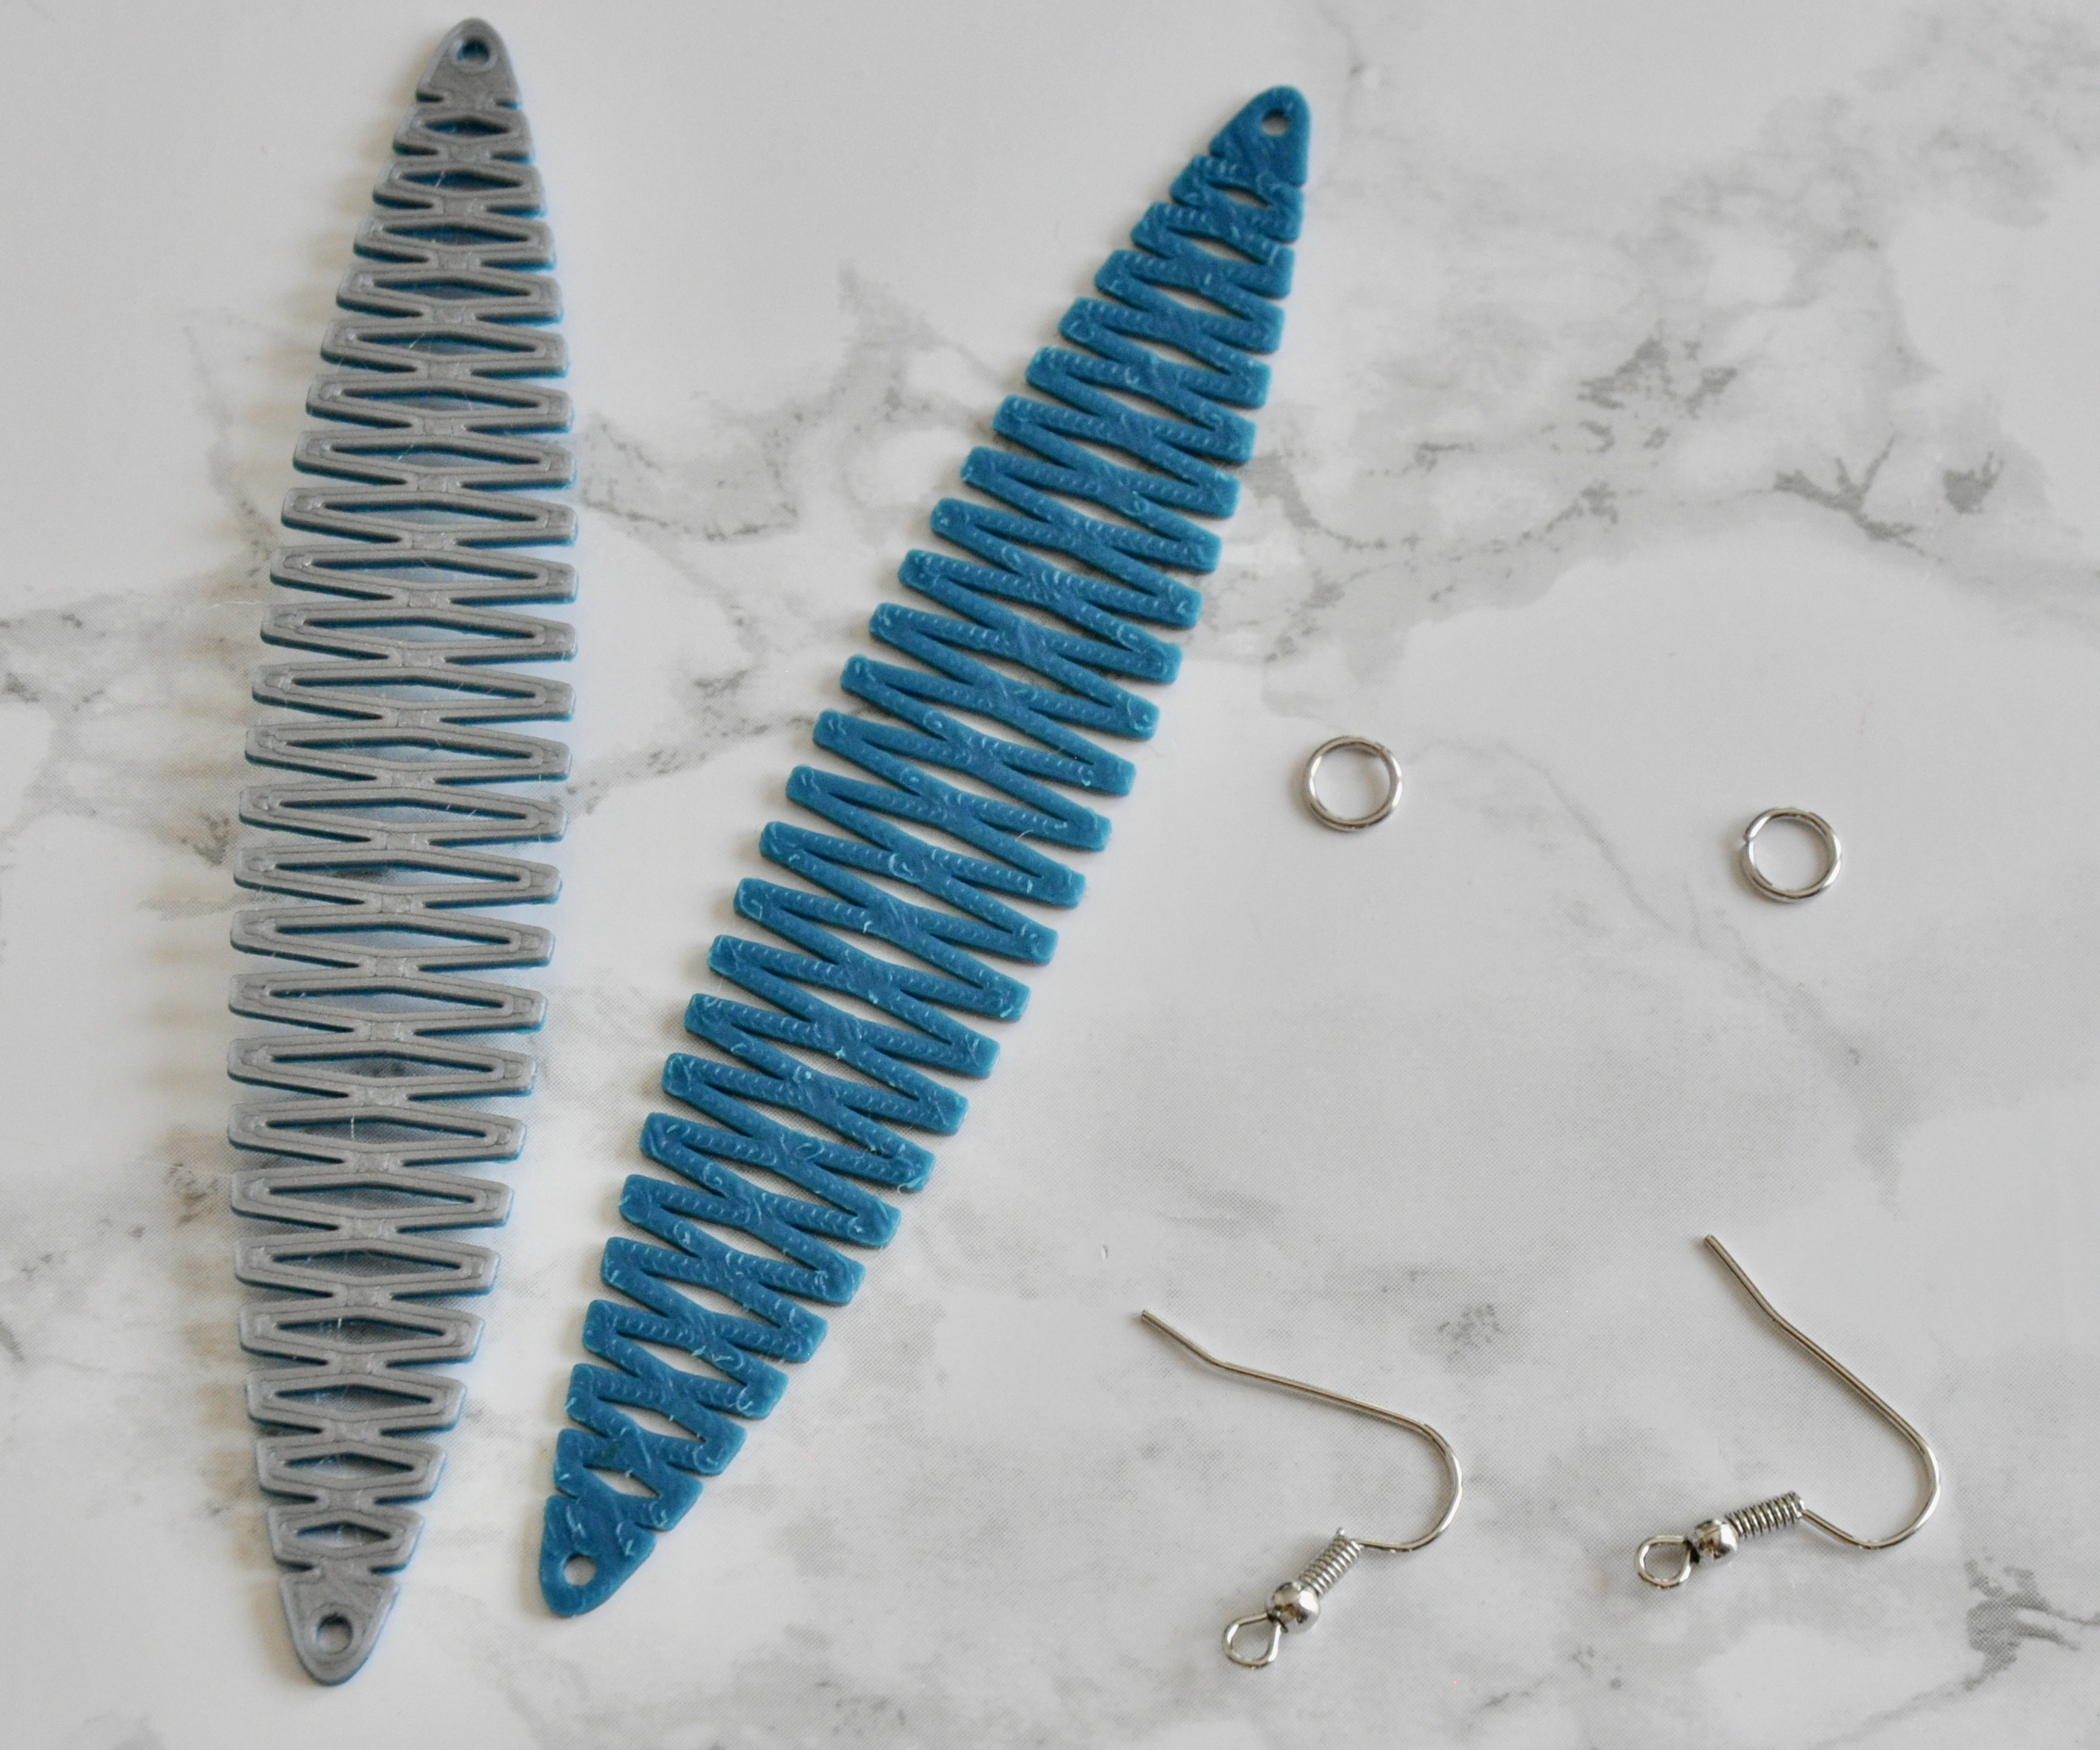
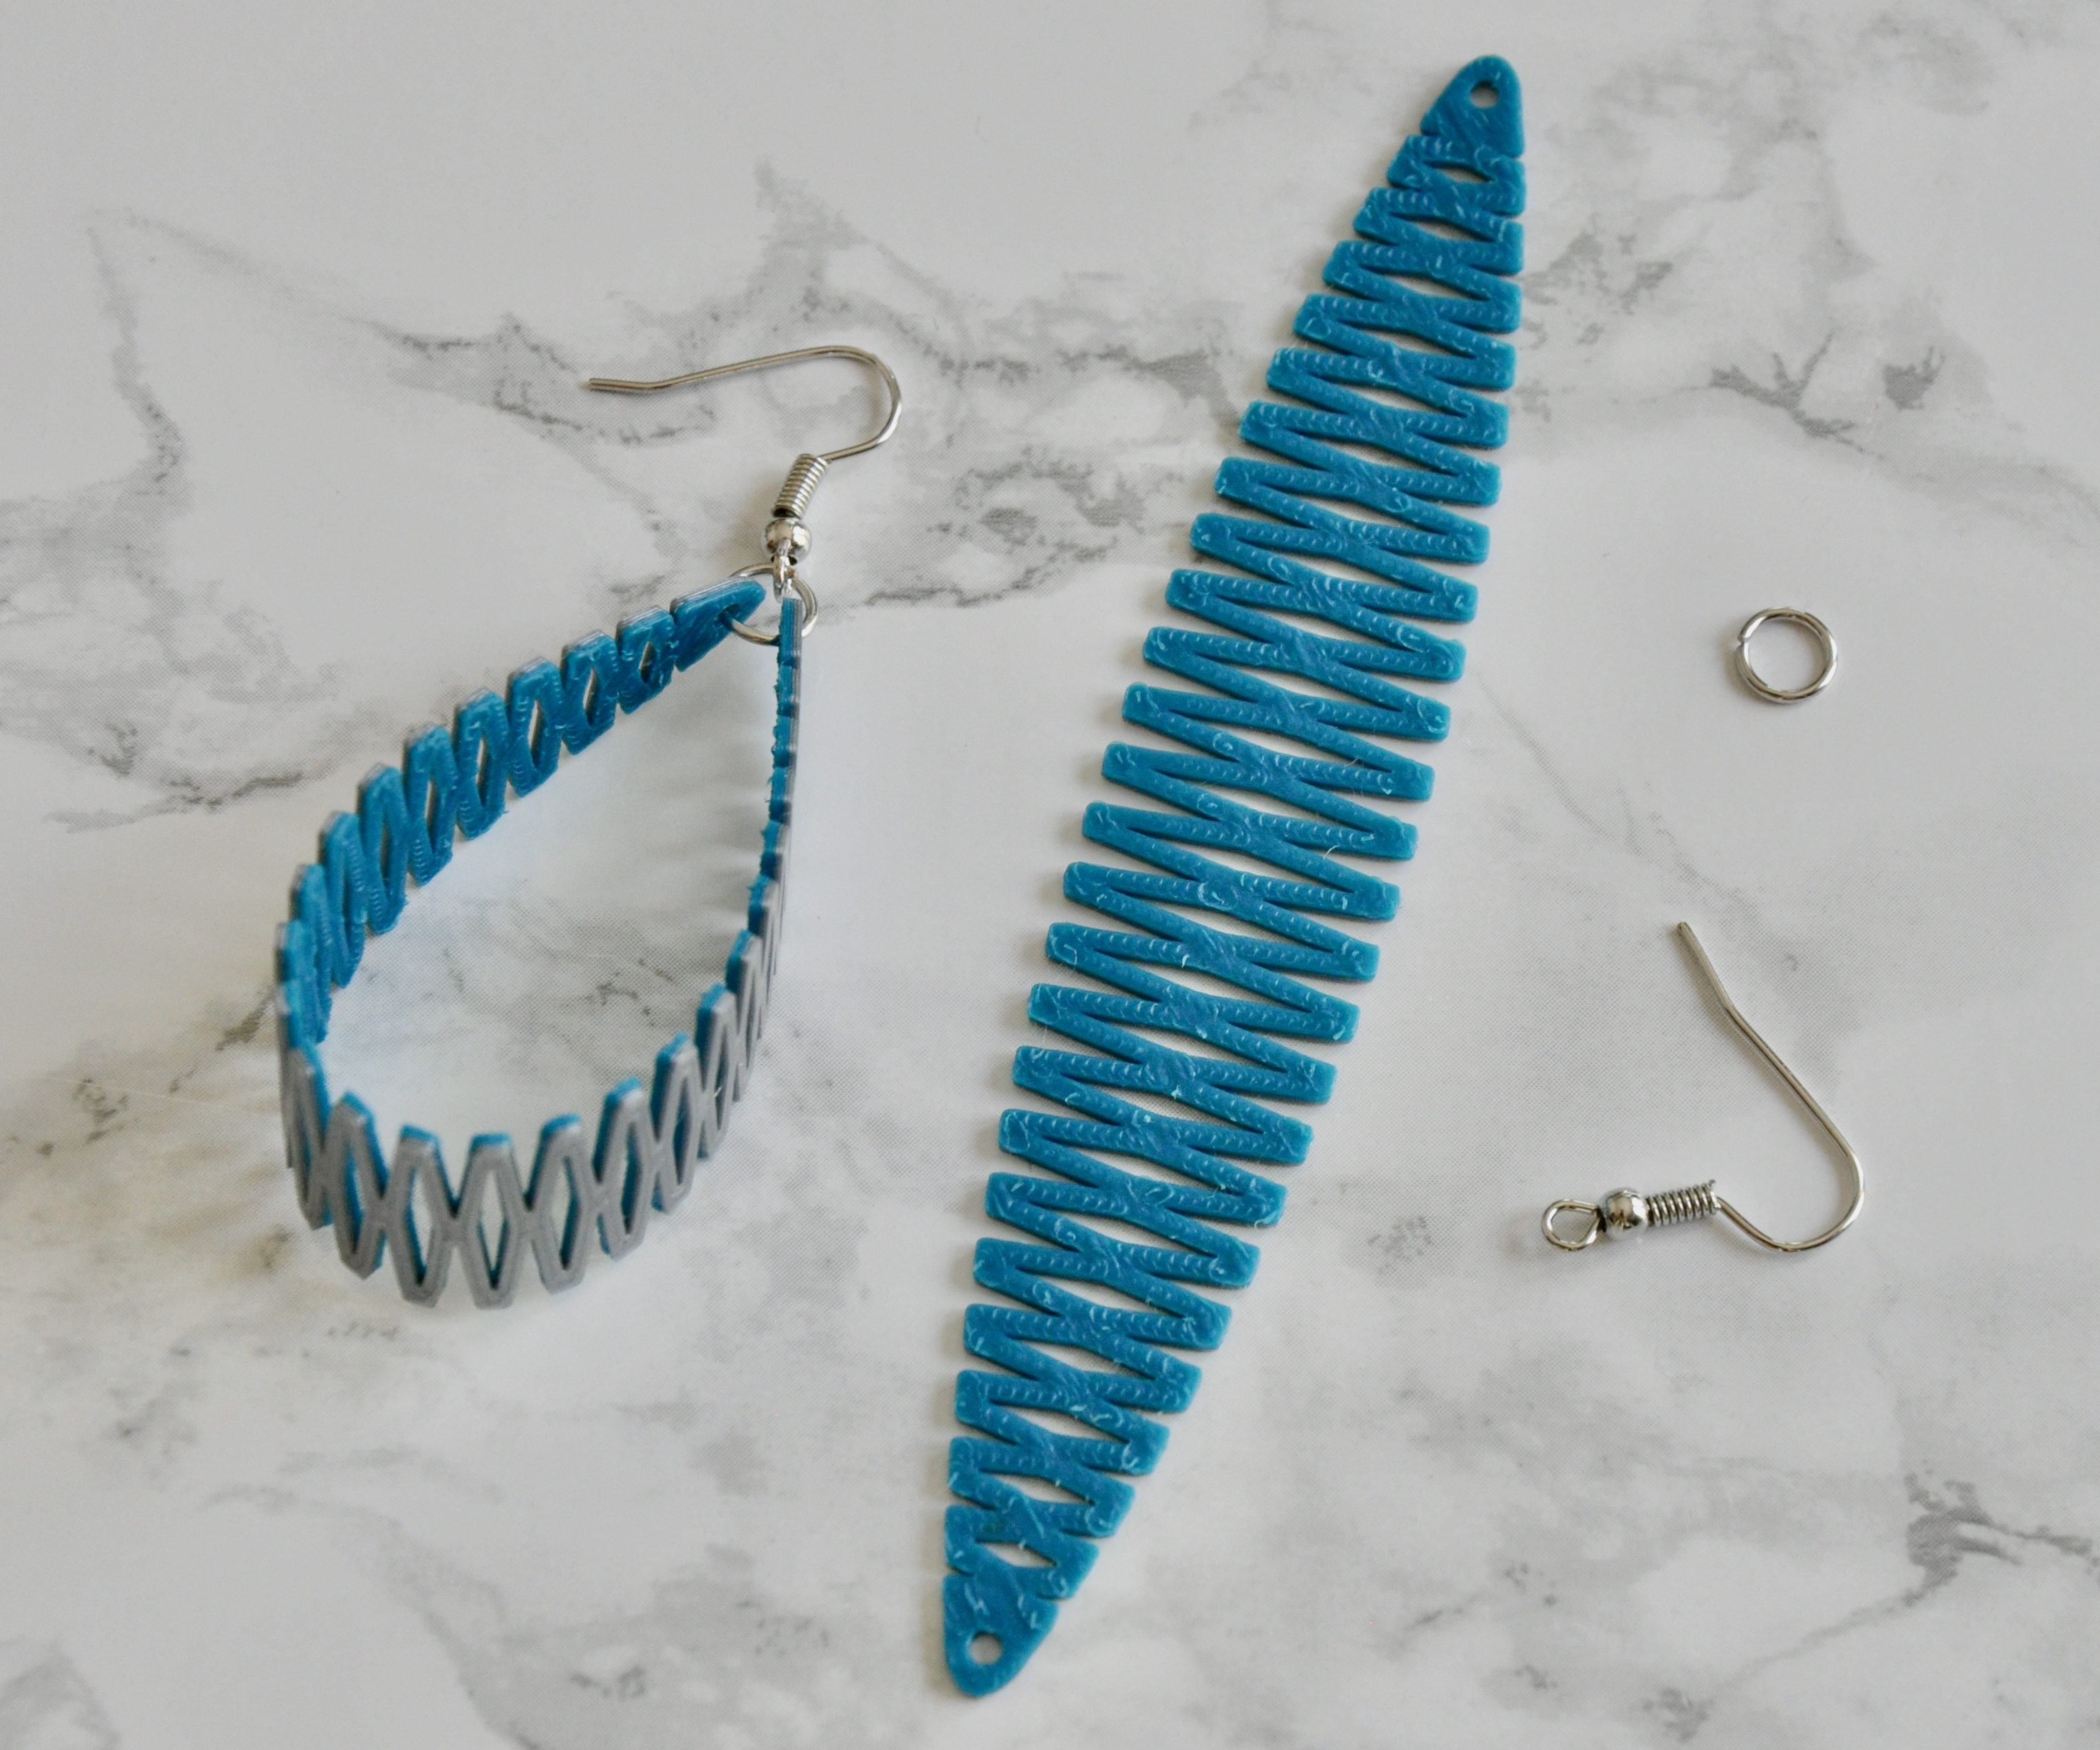
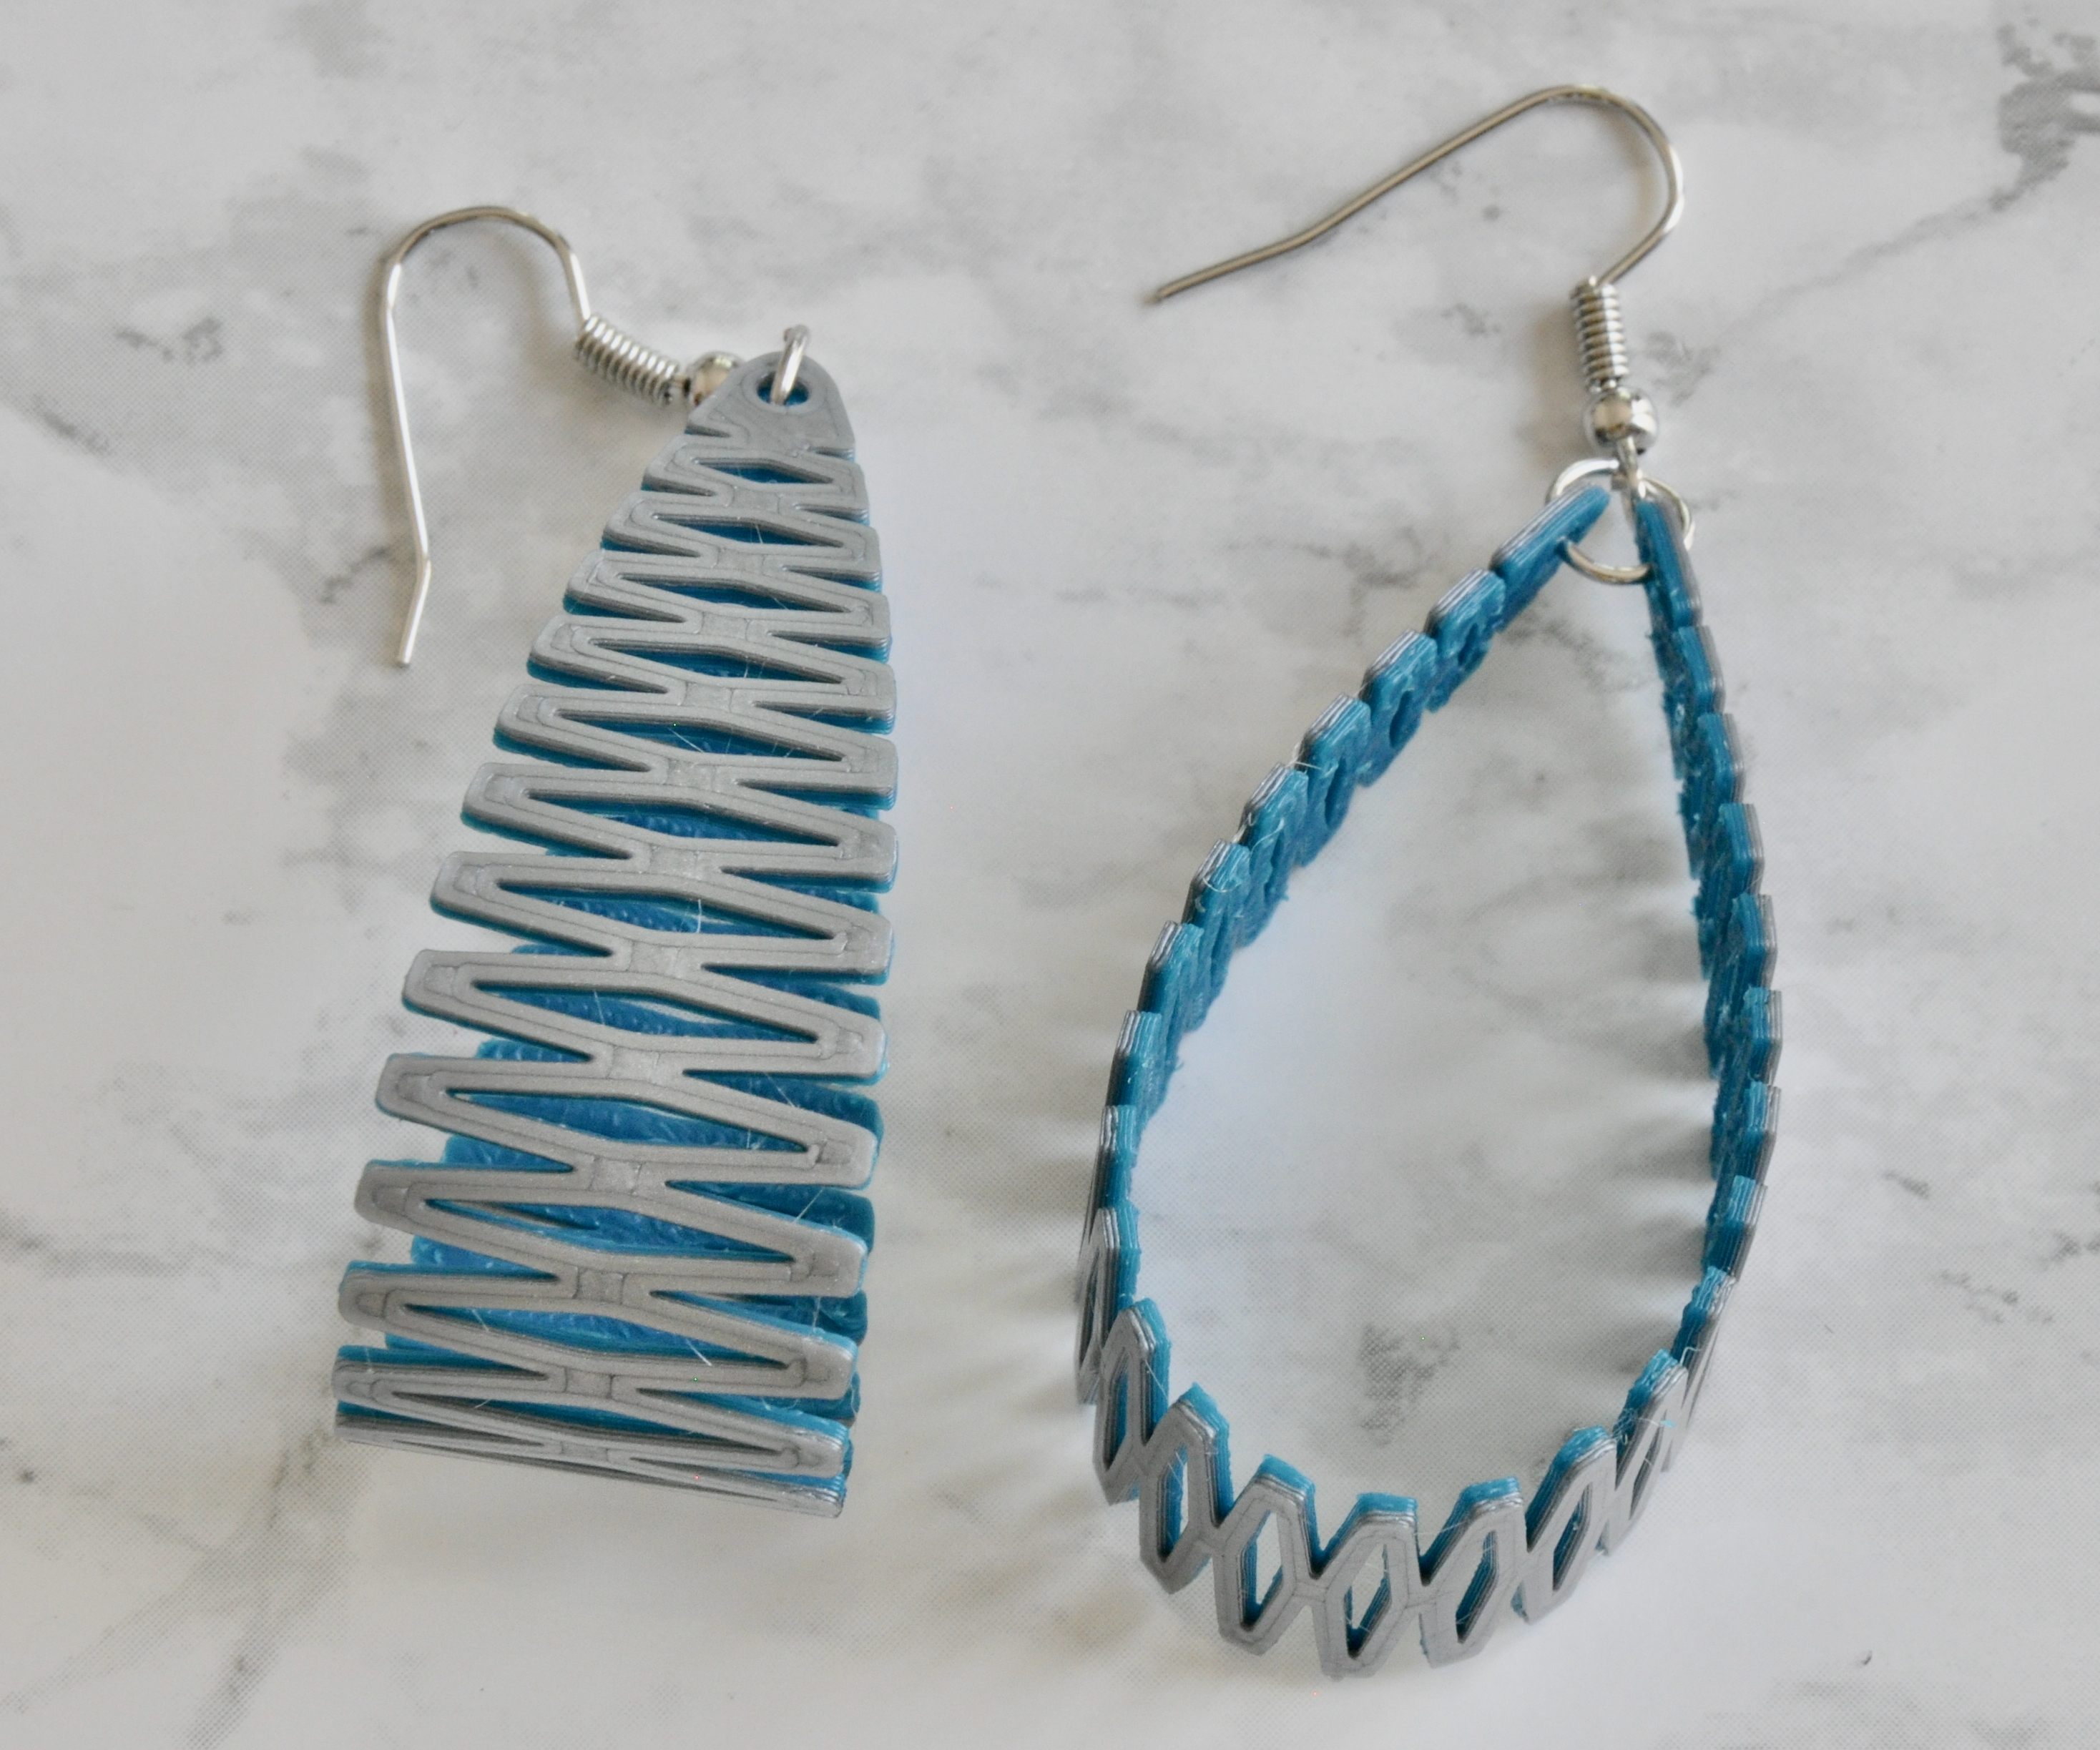
Once you have your design you can print them! I found that having them about 1.2mm or 6 layers was a decent thickness (as I said before). I also did this so it would be an even number of layers and if you want, you can print the first 3 layers one color then switch the filament and print the last 3 layers another color. I thought this made them stand out better.
You need to connect both ends with a jump ring, and depending how bendable this is, this can be hard. Be careful you don't accidentally shoot your jump ring across the room like I did a few times.
Then attach your earring and you're done.
Layered Multi-Colored Prints
.jpeg)
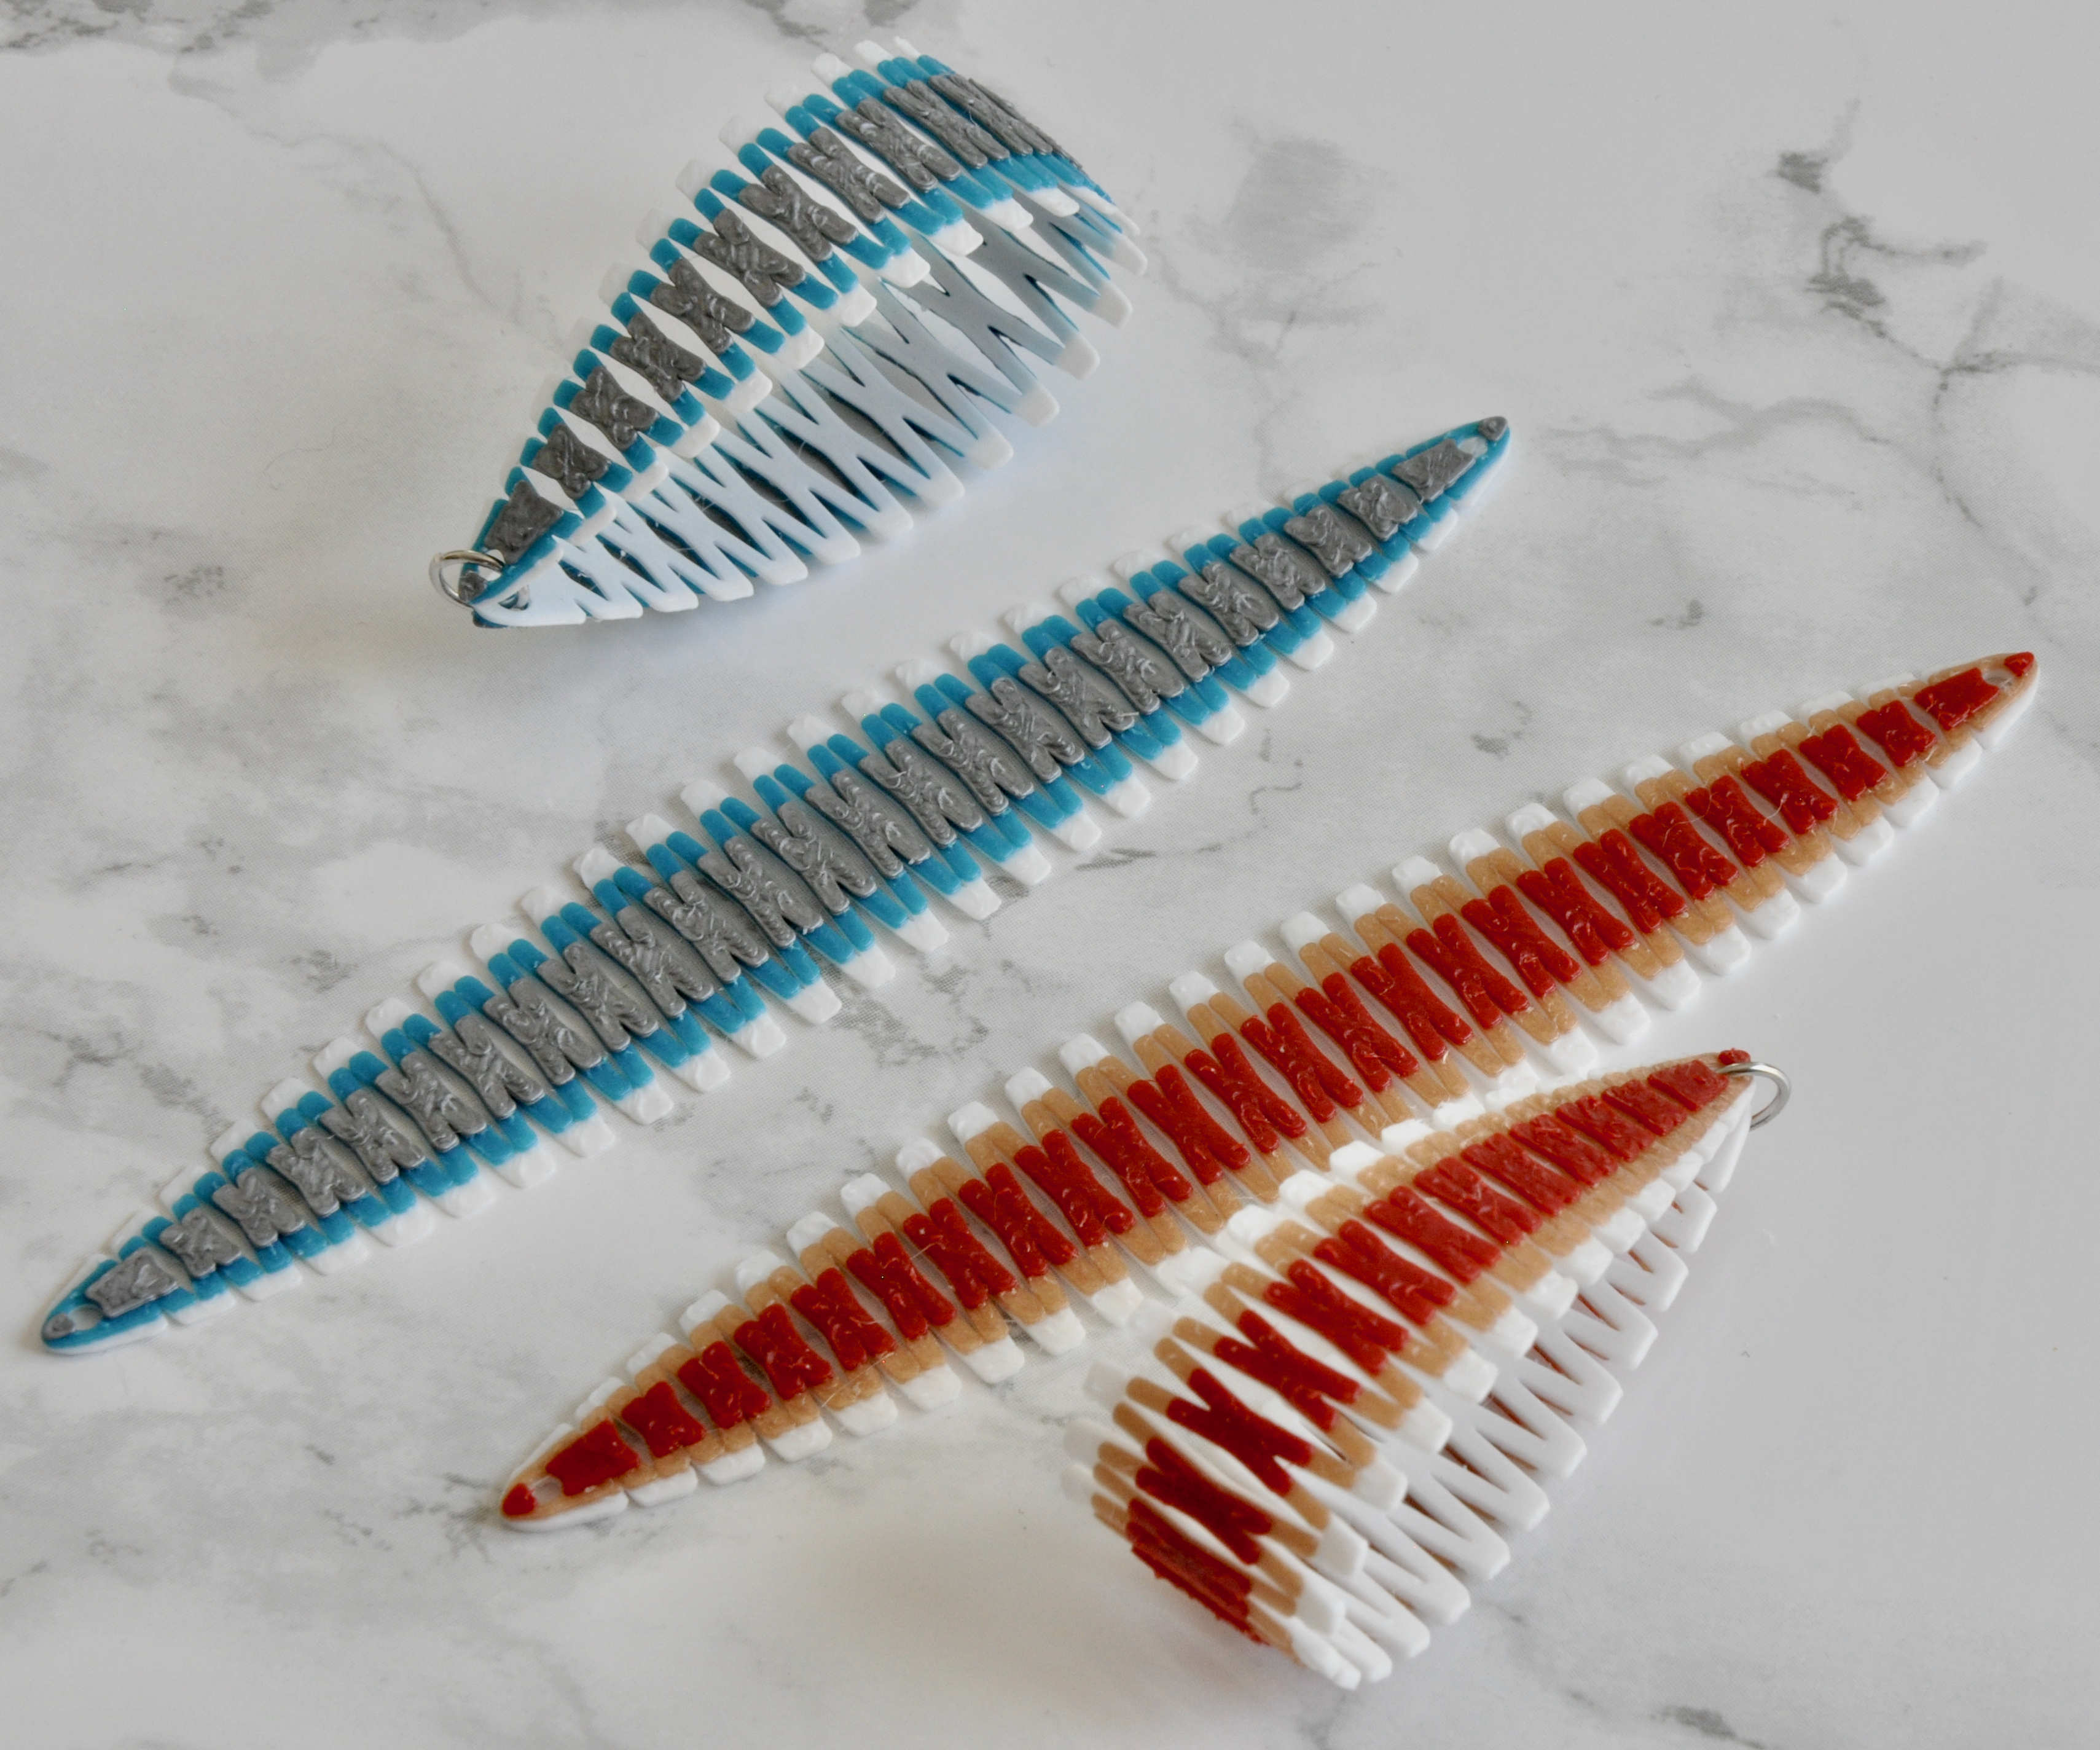
In the last step I mentioned you could do half layers one color and half another, but I also designed a couple that can be multi-colored in another way.
For those I copied the design and trimmed each layer a little more than the one before. I tried this with 3 colors and 5 colors.
First of all, if you are going to do something like this, you need the base color/layer to be 5 layers or 1mm thick at least. If it is too thin the layered colors will cause the print to crease when it bends and ruin it.
For mine, I did the base 1mm/5 layers and then .4mm/2 layers for each color going up.
I found this to work fine for 3 colors, but there was more chance of creating and breaking with the 5 color one. So just be careful when you bend these.
Finished Earrings
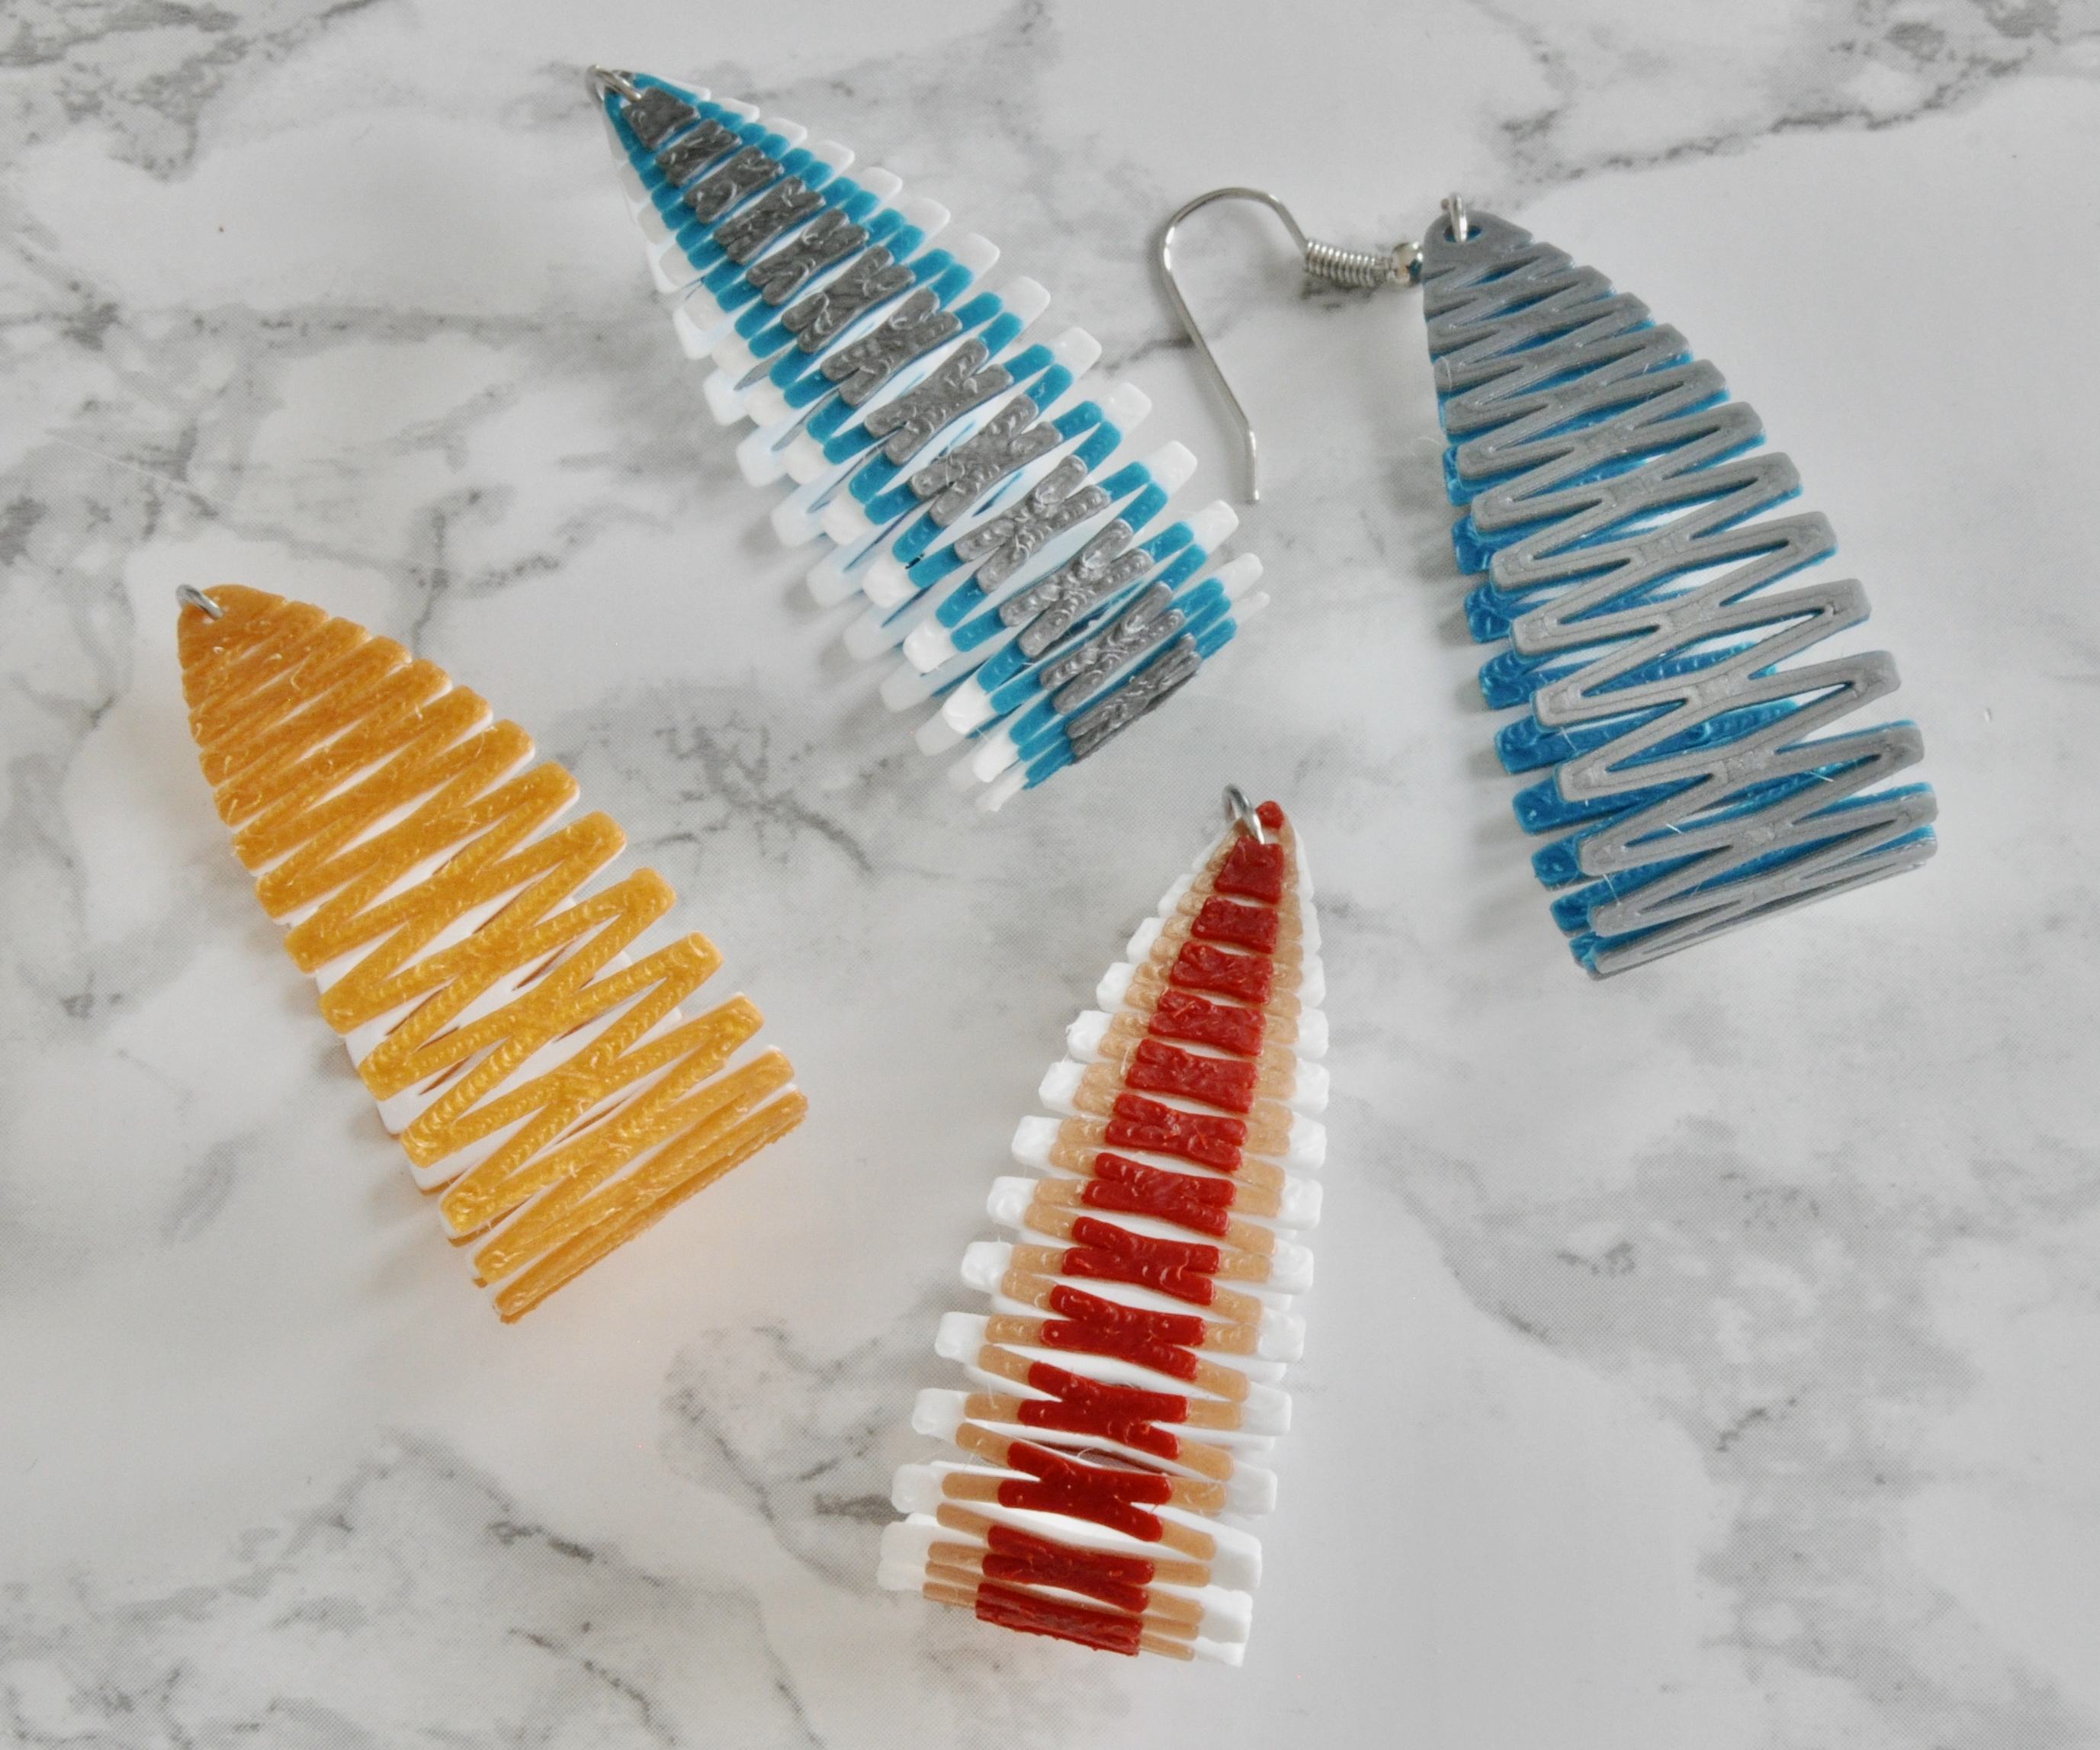
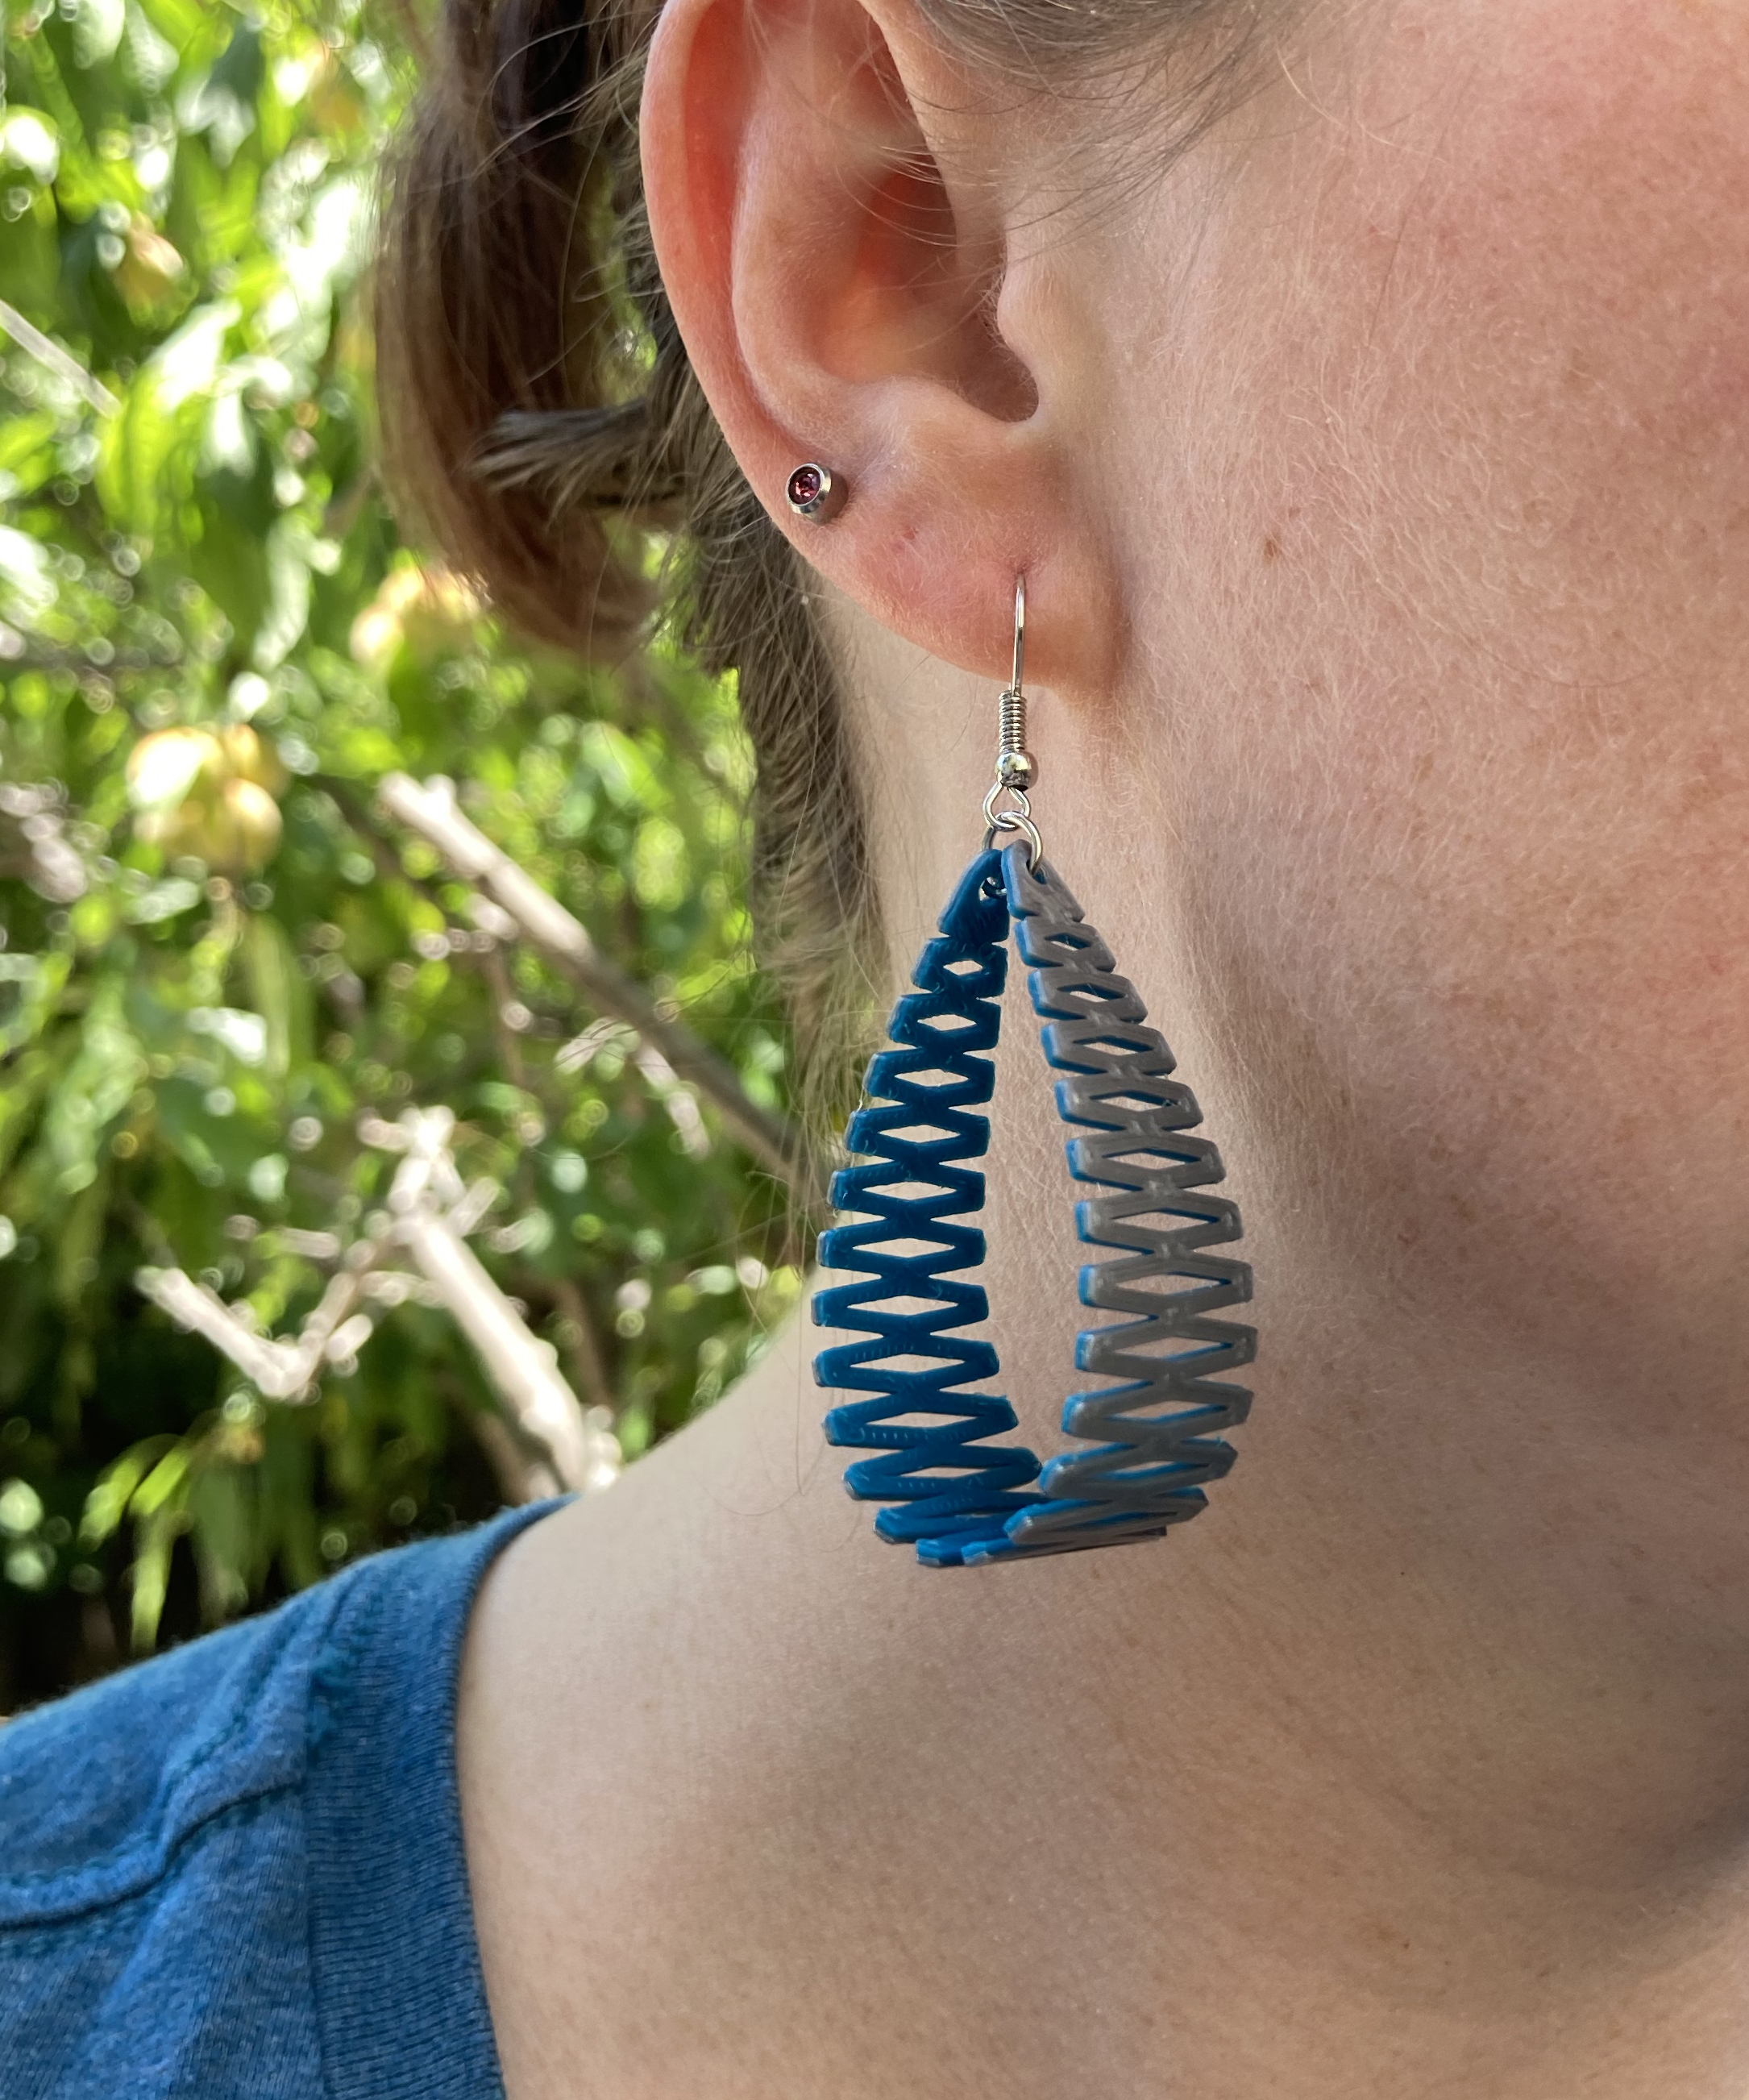
Here is just another look at some 2 color and 3 color versions.