Live Streaming/Recording Video on OBS
by OBSstreaming in Circuits > Computers
7178 Views, 2 Favorites, 0 Comments
Live Streaming/Recording Video on OBS
This Instructable teaches how to live stream or record video directly from the computer screen. There are multiple ways to live stream and even more ways to record, but this guide will focus on the streaming platform, OBS. Any reasonably modern computer will be able to use the program to some extent, but more powerful computers can record in a higher resolution with a higher frame rate, and this guide will explain how to find the settings that are best for any individual computer, as well as how to customize OBS to work with different types of modes of capture.
Before starting with this guide, download the latest version of OBS studio. It should be noted that some changes may be made to OBS studio as time goes on, though most of the important functionality will likely stay the same or reasonably similar. The version of OBS studio for which this Instructable is written is 0.15.4.
Displaying the Screen
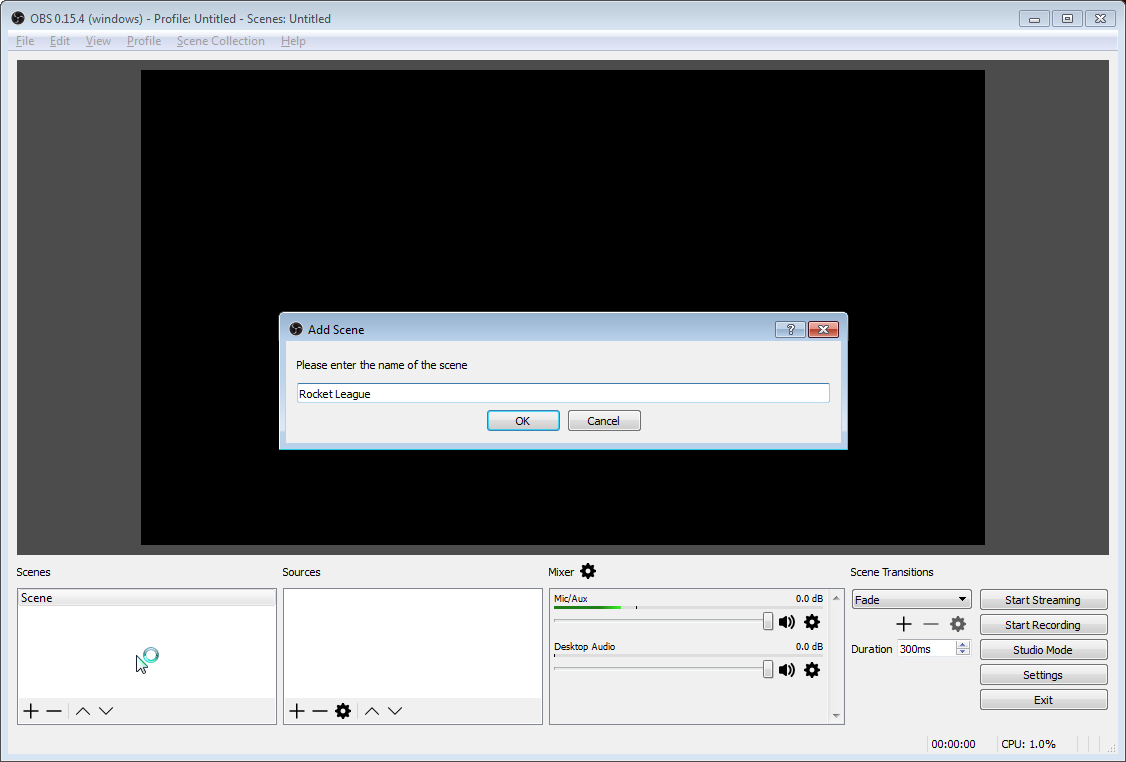
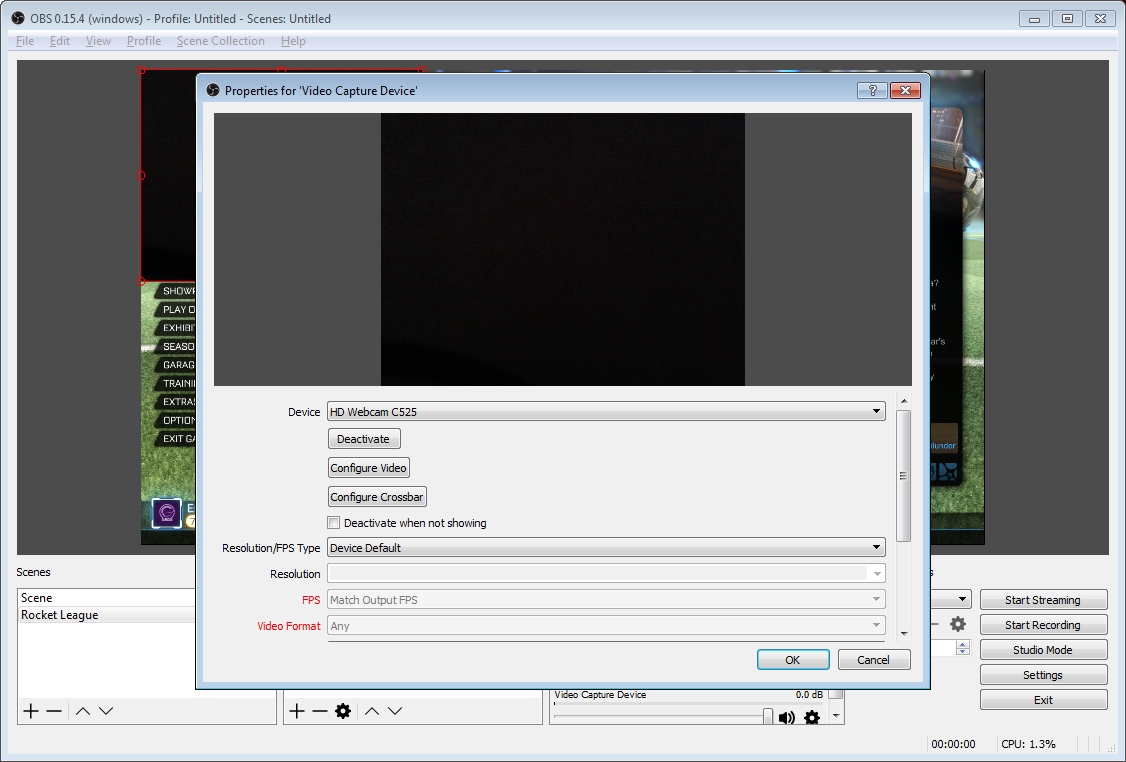
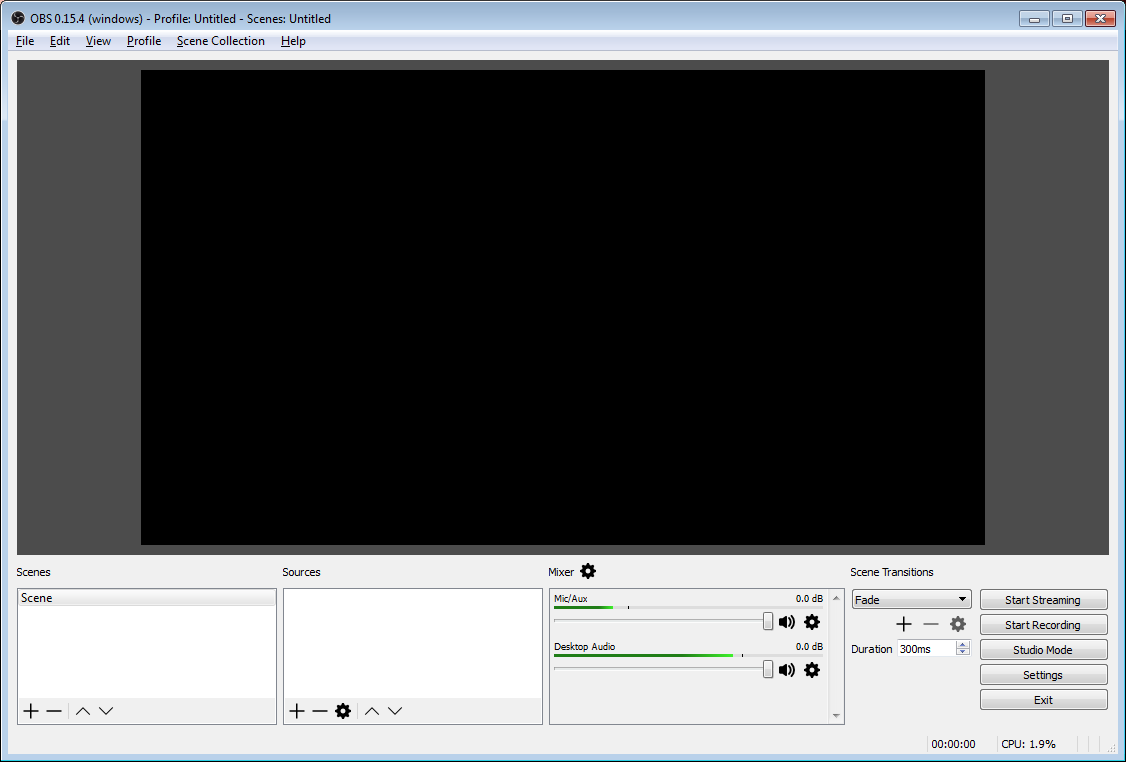
The first step is to make sure that the screen is displayed properly, because there is no point in fine tuning settings if the screen is not being displayed properly. The way OBS works is that one can set up many different scenes and switch between them, recording what is currently set in that scene. Only one scene at a time is recorded. Within the scene, various sources can be added, which is what will be recorded when that scene is added. Sources can include a game, a region on the screen, a webcam, and a variety of other things.
First, a scene needs to be created. This is done by right clicking on the box labelled "Scene" in the bottom left, and clicking "Add" to add a new scene. Name it something appropriate.
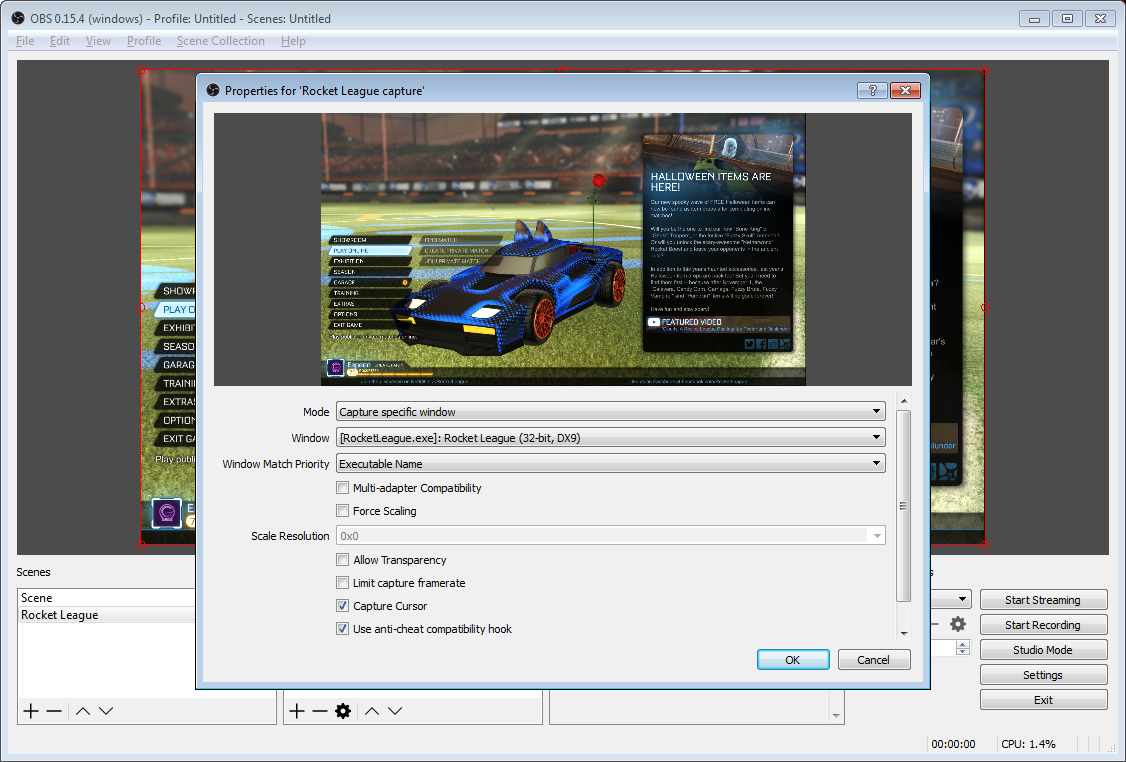
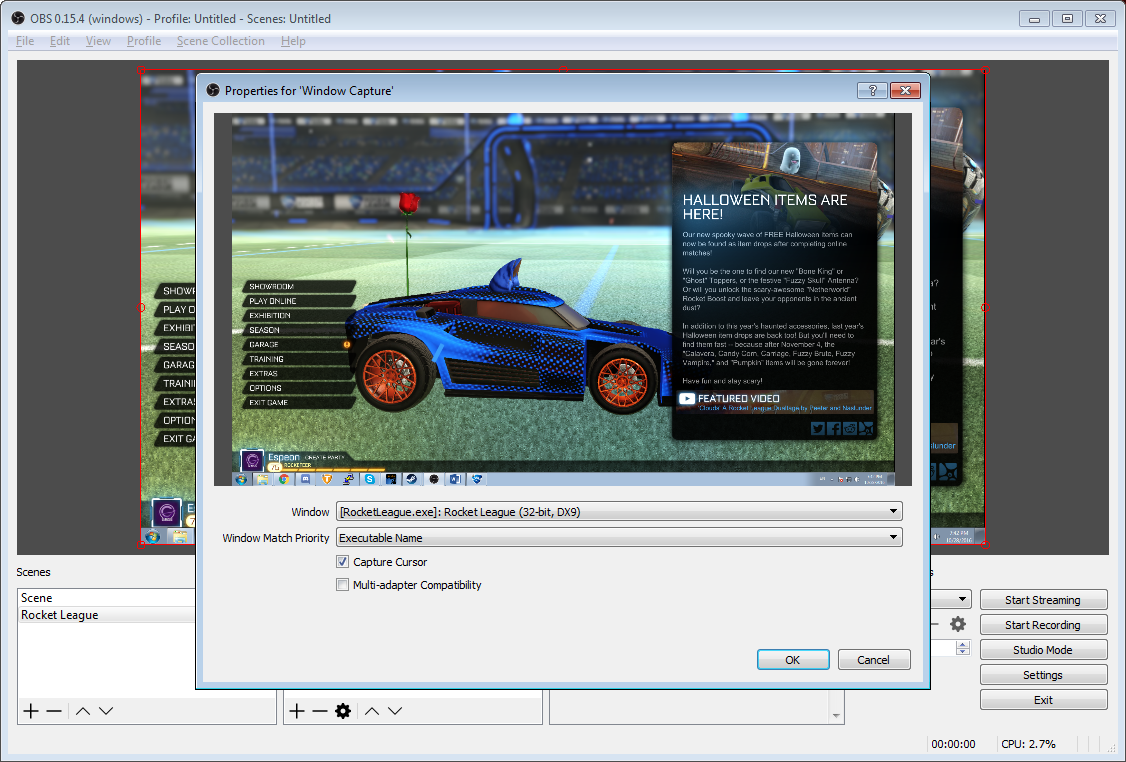
Next, sources must be added to that scene. For capturing a game, game capture should be used, but if the application to be captured is not compatible with game capture, use window capture. The difference is that game capture will always capture the game specified regardless of whether it is active on the monitor, whereas window capture will capture the region of the monitor on which the game is played, regardless of whether or not the game is actually being displayed on the monitor at the time.
Setting the capture up is simple. Simply right click the source, go to the properties, and choose the process to capture under "Window". If game capture is being used, "Mode" should be set to "Capture specific window" unless one of the other settings is preferred. There are many preference settings in the properties which are too numerous and detailed to be covered in this guide. For this example, a game called Rocket League is captured using Game Capture and Window Capture.
If a webcam is desired to be broadcast, add a "Video capture device" in sources and select the webcam. Once it is added, it can be resized and re-positioned by dragging it around on the preview. This should be fairly intuitive as it works as resizing images in applications such as Word and PowerPoint. Again, there are many options for sources, but not all of them can be covered.
Settings and Live Stream/recording Location
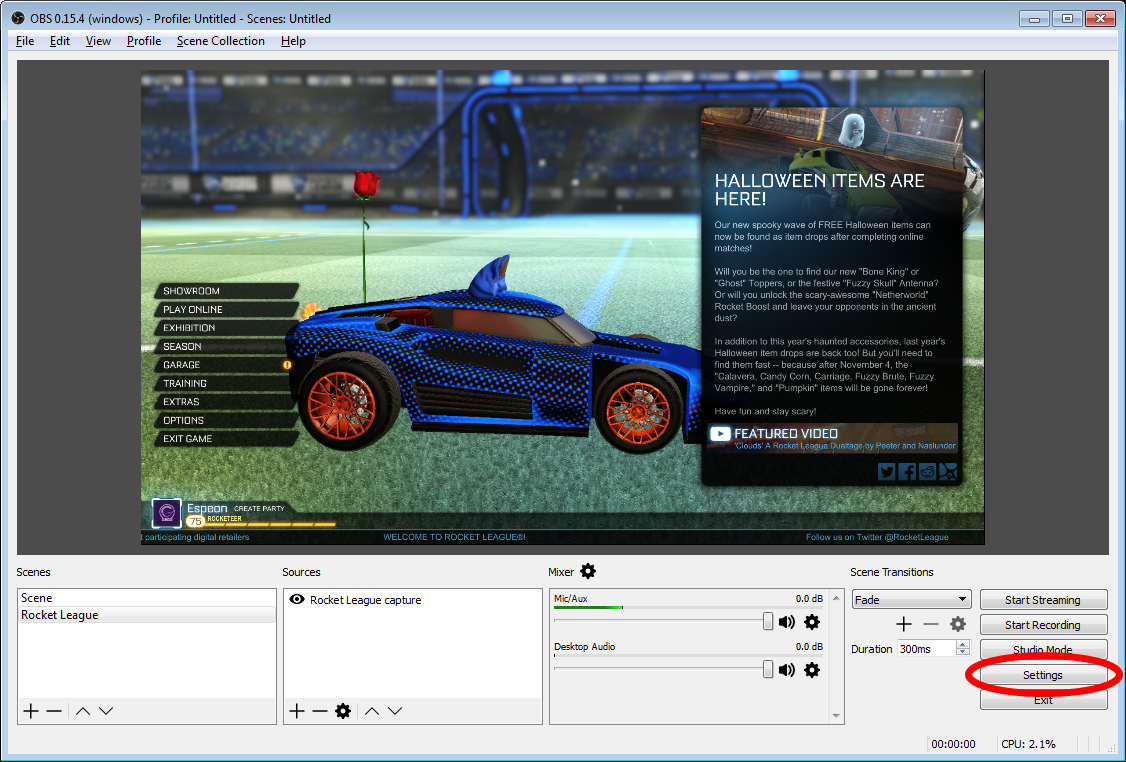
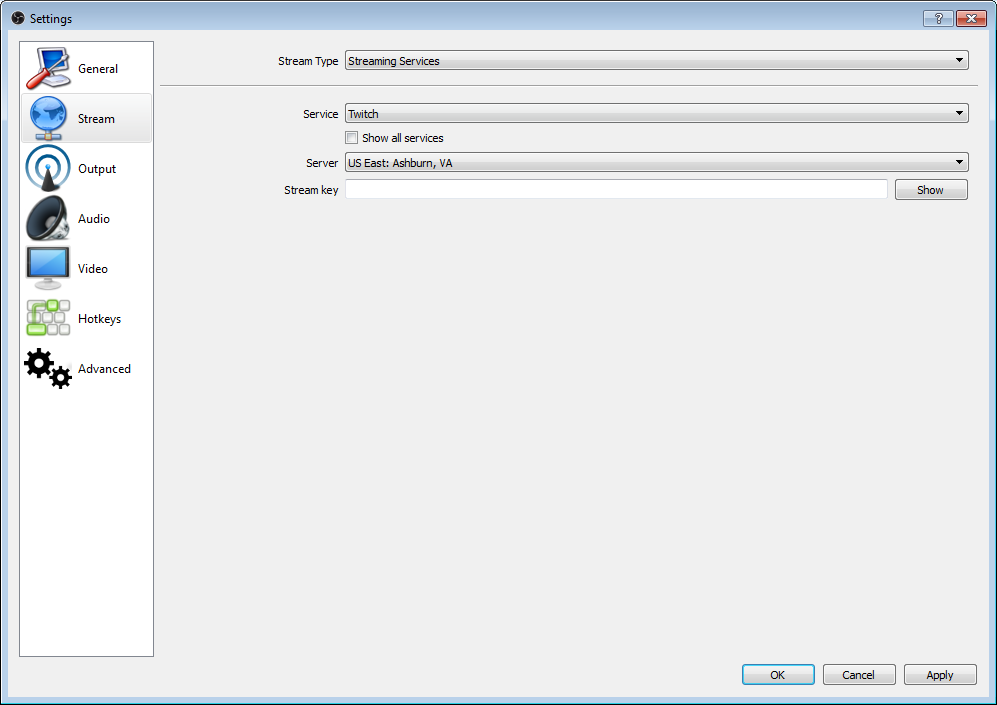
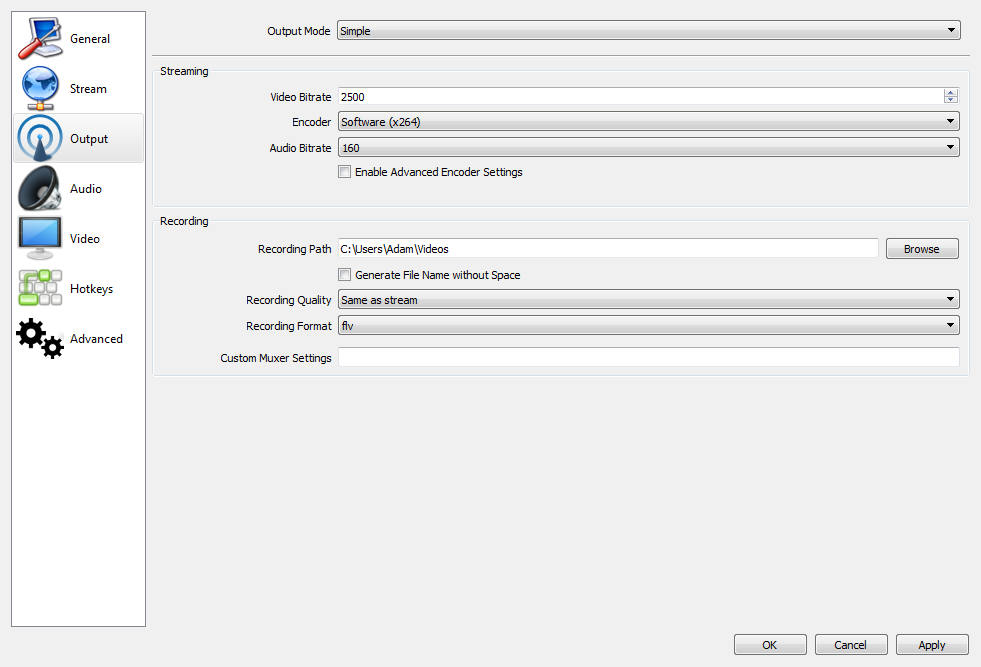
Now it is time to tweak the settings to get the most out of the live streaming or recording experience. Click the settings button in the lower right corner. The first menu that comes up is General, but there is not anything crucial in this menu. Feel free to read over it and change anything.
Now, if live streaming is desired, go to the Stream menu, located on the left side of the settings menu. Pick the desired streaming service under the "Service". Pick the nearest server, and paste the stream key into the "Stream key" box. How to get the stream key depends on the streaming service, but it is usually straightforward and can be googled if not.
If recording to a file is desired, under the Output menu, look at the section titled "Recording". Choose the file path to which OBS should record.
Determining Quality and Bitrate Settings
Now, it is important to select the right quality settings to maximize the visuals of the recording without trying to go beyond what the computer can handle. First, there is a useful tool developed by OBS in which one can input the specifications of their computer, and the tool will estimate which settings would be good for the computer. However, it is not perfect, and some experimentation will be required to balance between smooth gameplay and high quality.
After using the tool, under the "Network Advice" section, look for the "Recommended max bitrate", and enter it in the "Video Bitrate" box of the Output menu from the last step. If the video settings that are used in the next part of this step are lower than what the tool says the upload speed is sufficient for, then this bitrate can be lowered. If the broadcast looks pixelated during periods of high motion, it is a sign that the bitrate needs to be raised. A little bit of experimentation will be necessary to perfect this number.
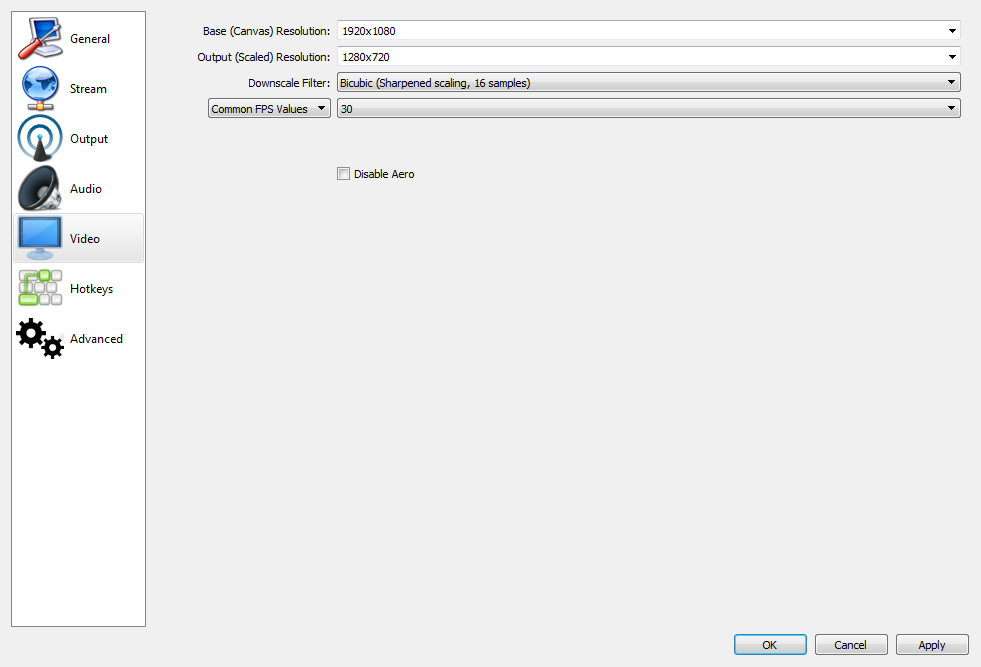
Now, go to the Video menu. The base resolution will be the resolution of the monitor, so leave it as is. The scaled resolution is the resolution which will be output in the end. This means that if the monitor's setting is 1920x1080 but the computer is not powerful enough to stream at this quality, the broadcast can be scaled to a lower quality to reduce the burden on the computer. The FPS (Frames per second) setting is also important, as broadcasting at a higher FPS will significantly increase the burden on the computer.
It is up to experimentation to find a good balance between FPS and resolution that a computer can handle, but anything lower than 30 FPS will look extremely choppy. A good first thing to try is find the highest possible resolution that can be live streamed comfortably at 30 FPS without uncomfortable stuttering. If this resolution is higher than 720p (1280x720), then consider increasing the FPS to 48 or 60, potentially lowering the resolution down to 720p to make this possible. It should be noted that this is only possible on a very high end computer. This part takes the most trial and error, and once complete, the entire process is mostly complete.
Final Settings Tweaks
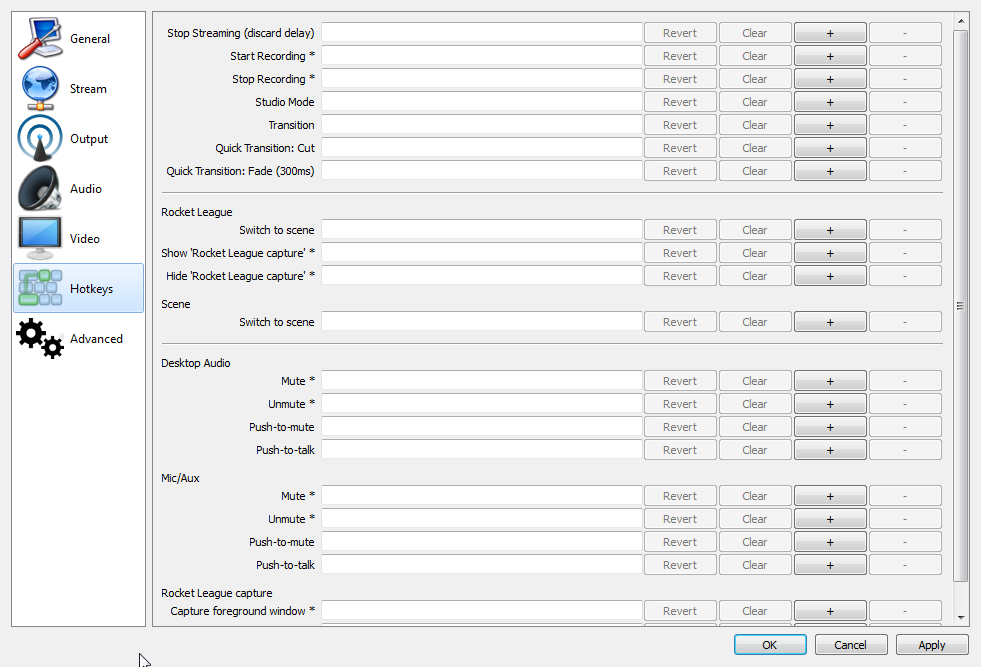
There is a huge amount of potential customization in OBS which should be explored. In the Hotkeys menu, there are many shortcuts that can be bound to key combinations to speed up the process and make transitions smoother. For example, Ctrl+Home could be bound to start streaming, and Ctrl+Shift+Home to end streaming. Additionally, Ctrl+F1 could be bound to switch to scene 1, Ctrl+F2 to switch to scene 2, etc. There are many possibilities, and it would be wise to review these possibilities before live streaming.
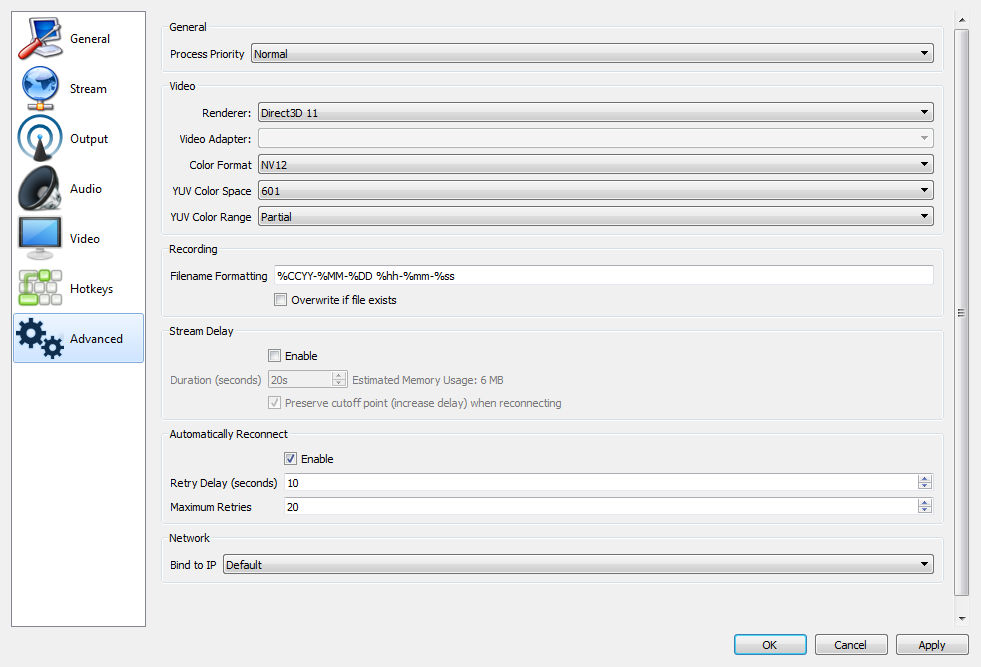
There are also additional settings in the Advanced menu, most of which are probably not crucial to the functionality of live streaming but are worth some research to look further into their usage.
Begin Live Streaming/recording!
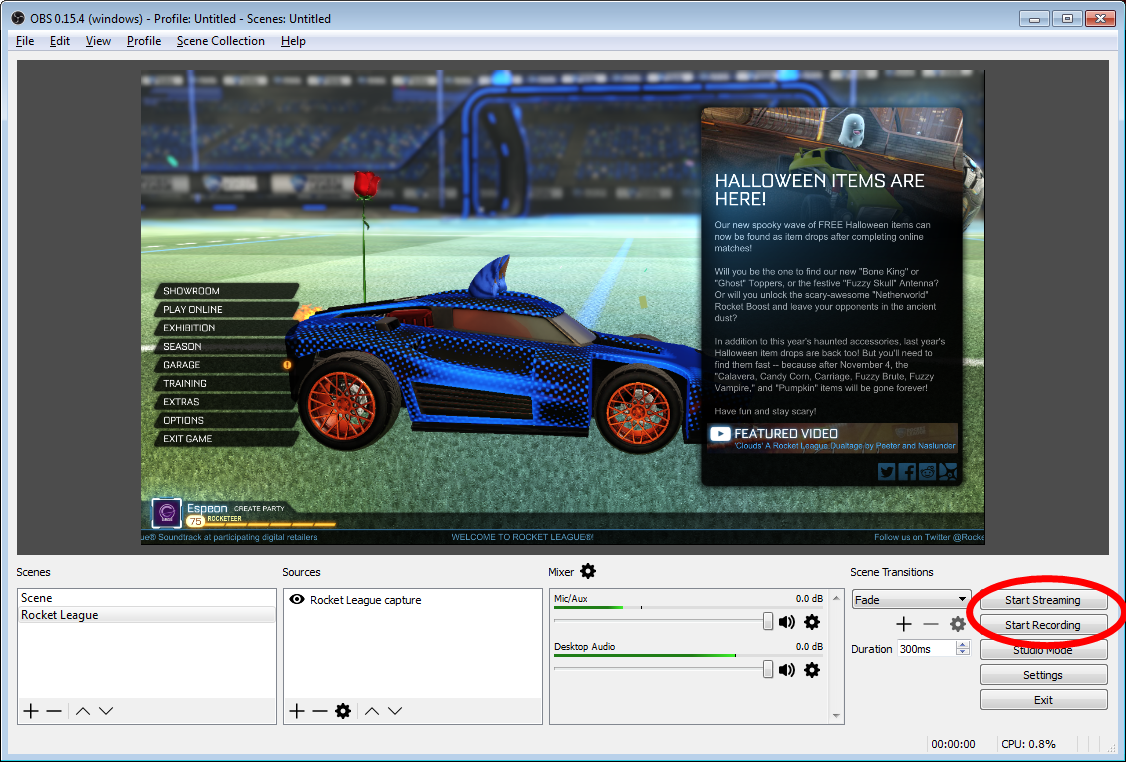
Everything should now be set up! It is time to begin recording or go live! Press start streaming to being the live stream, or start recording to begin recording to the chosen file. It would be a good idea to create a sample recording to test the audio balance. If any audio settings are not working, go to the Audio menu in settings and make sure the correct device is selected. If anything is too loud, simply turn it down in the operating system. Once the audio levels are properly balanced, everything is good to go.