LittleBits Cookie Clicker Auto-clicker
by bill.french in Circuits > Microcontrollers
5291 Views, 5 Favorites, 0 Comments
LittleBits Cookie Clicker Auto-clicker

LittleBits recently added an Arduino bit to their lineup. This allows you to include programmable functionality in your project. You can read about the new bit here:
http://littlebits.cc/bits/arduino
If you have not used the Arduino-at-Heart module before, you might consider our "Quick Start" instructable:
https://www.instructables.com/id/Arduino-At-Heart-l...
Since the bit is compatible with the Arduino Leonardo, and is running the ATmega32u4, several possibilities for littleBits / Computer interaction open up, including the ability for the littleBit to act as a mouse and/or keyboard.
This instructable will cover a simple example of interfacing the littleBits Ardunio Inside bit with a computer as a mouse, in the form of a "Cookie Clicker Autoclicker.
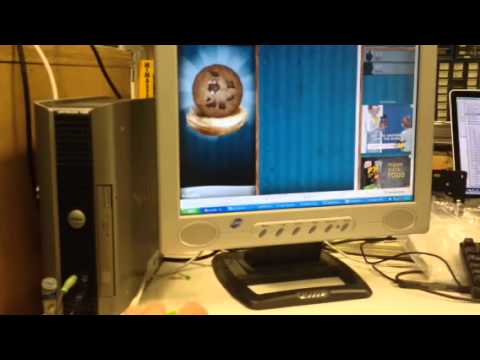
If you've never played Cookie Clicker before, it is a simple but addictive flash game where you click a cookie to gain points (well, cookies, really), which you can apply to various upgrades, making your clicking earn more points. It makes more sense once you try it!! Find the game here:
http://orteil.dashnet.org/cookieclicker/
For this instructable, you will need these littleBits bits:
- Arduino at Heart bit w/ USB cable
- The Arduino development environment installed and working
- i3 button
- p1 power
- o3 rgb led
- w8 latch
- i16 pulse
Let's get started!
Let's Make Sure We Have Basic Functionality Working


For the first step, let's verify that we have our littleBit connected and working.
The attached sketch will simply turn on and off the LED when you press the button.
Steps:
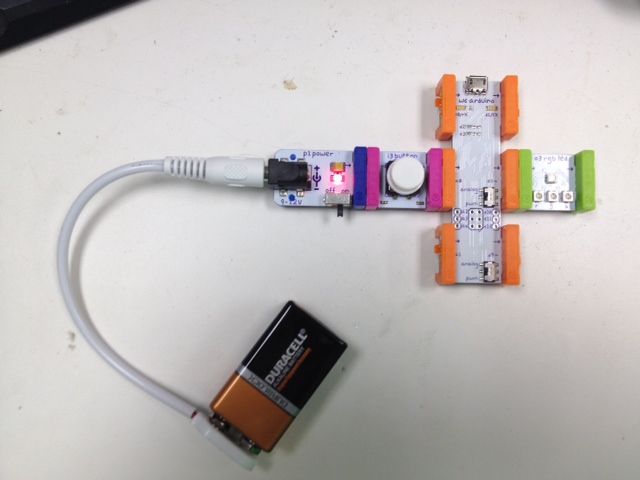
- Build the circuit as shown, with:
- Power module
- Button module
- Arduino at Heart module
- RGB LED
- Load the attached code in the Arduino environment
- Attach the USB cable to the Arduino at Heart module
- Make sure you have the Arduino environment pointed at the correct serial port under "Tools->Serial Port"
- Make sure you've selected "Arduino Leonardo" under Tool->Board
- Upload the code!
- Press the button; the LED should light (see the attached video)
Downloads
Now Let's Add Some Mouse Functionality!

In this step, the circuit stays the same, but we make some code changes.
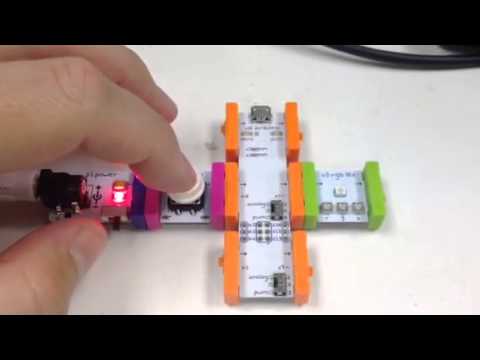
Load the attached sketch into Arduino. Notice the additional mouse-related code. That's how easy it is to interface the littleBits with a computer and have it behave as a mouse! Now, load the sketch onto your littleBits module.
Once it completes loading, you should be able to click the littleBits button, and the computer should left click at well. Check the attached video.
Downloads
Let's AUTOCLICK!!


OK, we're clicking! But, we want to auto-click!!
To accomplish that, we're going to add the following bits:
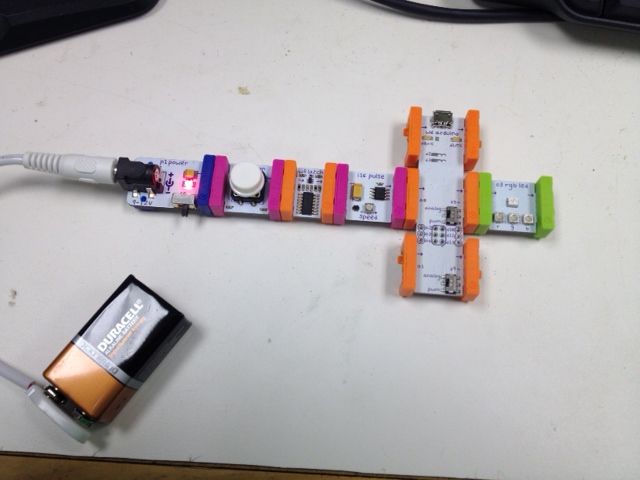
- i16 pulse -- this will "pulse" the mouse button
- w8 latch -- this will "lock" the button on and off
Look at the attached picture and build the circuit. Notice how the button feeds the latch; this will "hold" the button down. Next is the pulse module. The pulse module will continuously push and release the button.
There's no need to change the code; the littleBits modules take care of the autoclicking! See the attached video.