Lithophane Lamp 360°
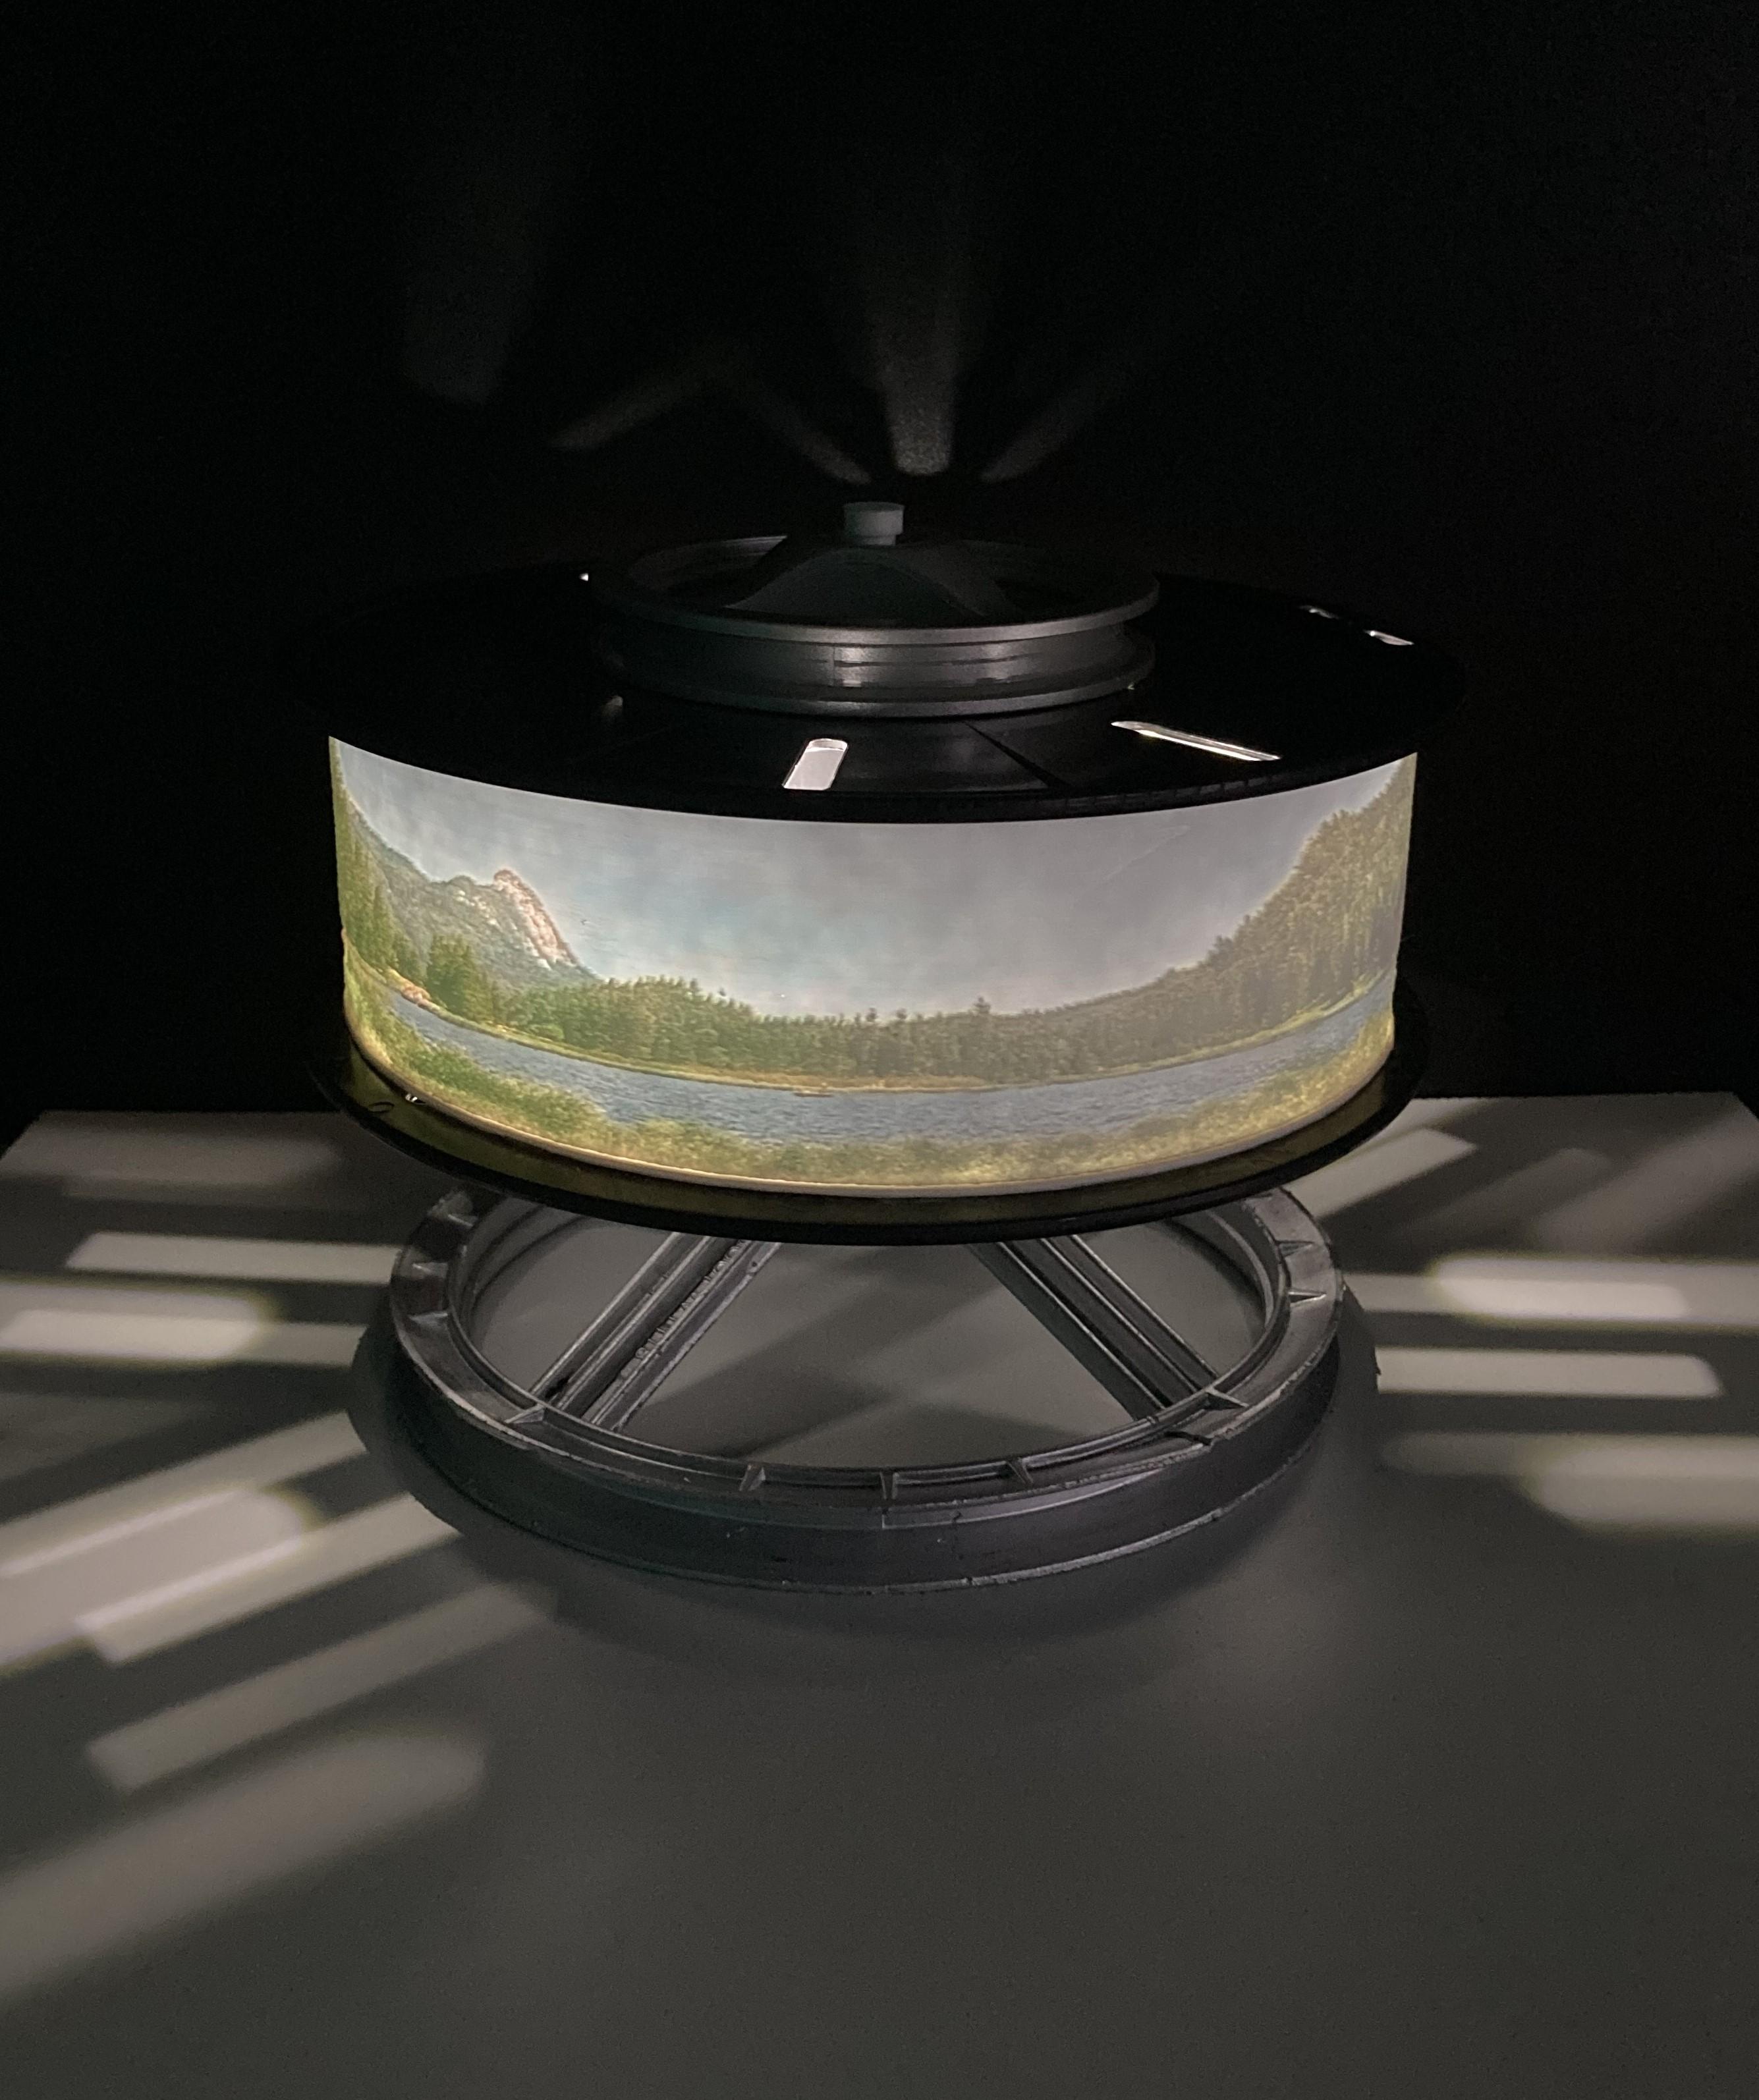
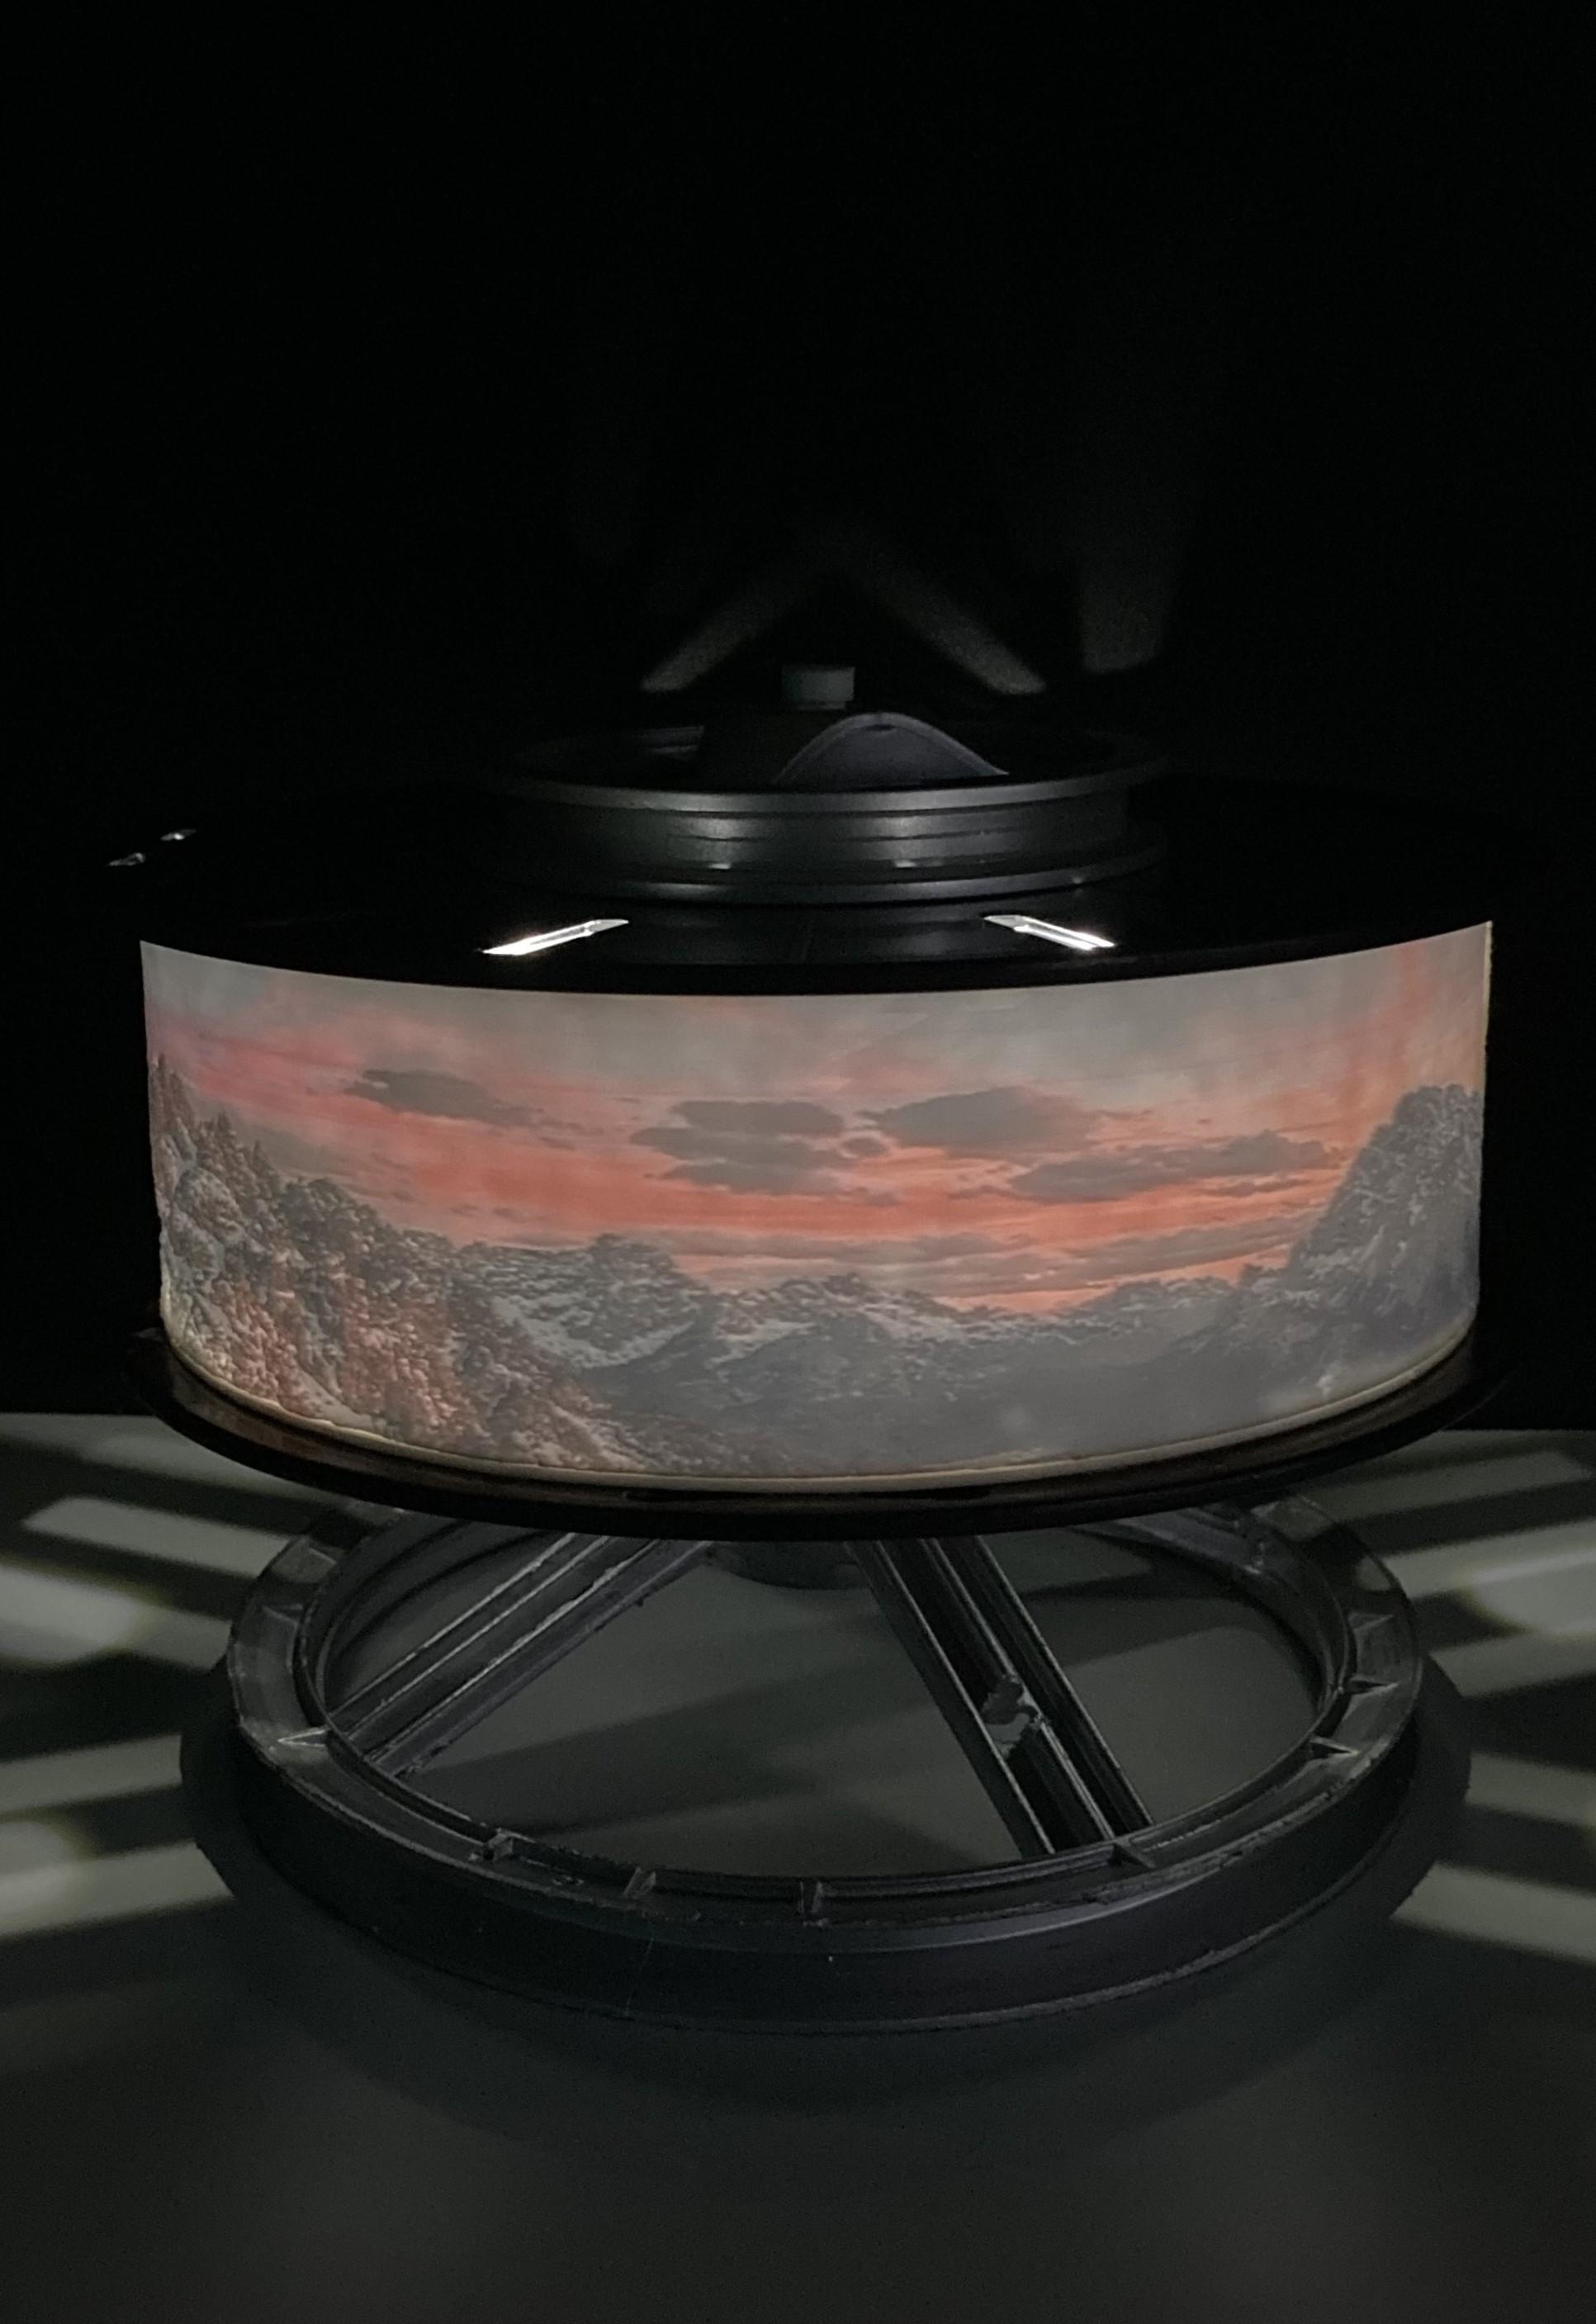
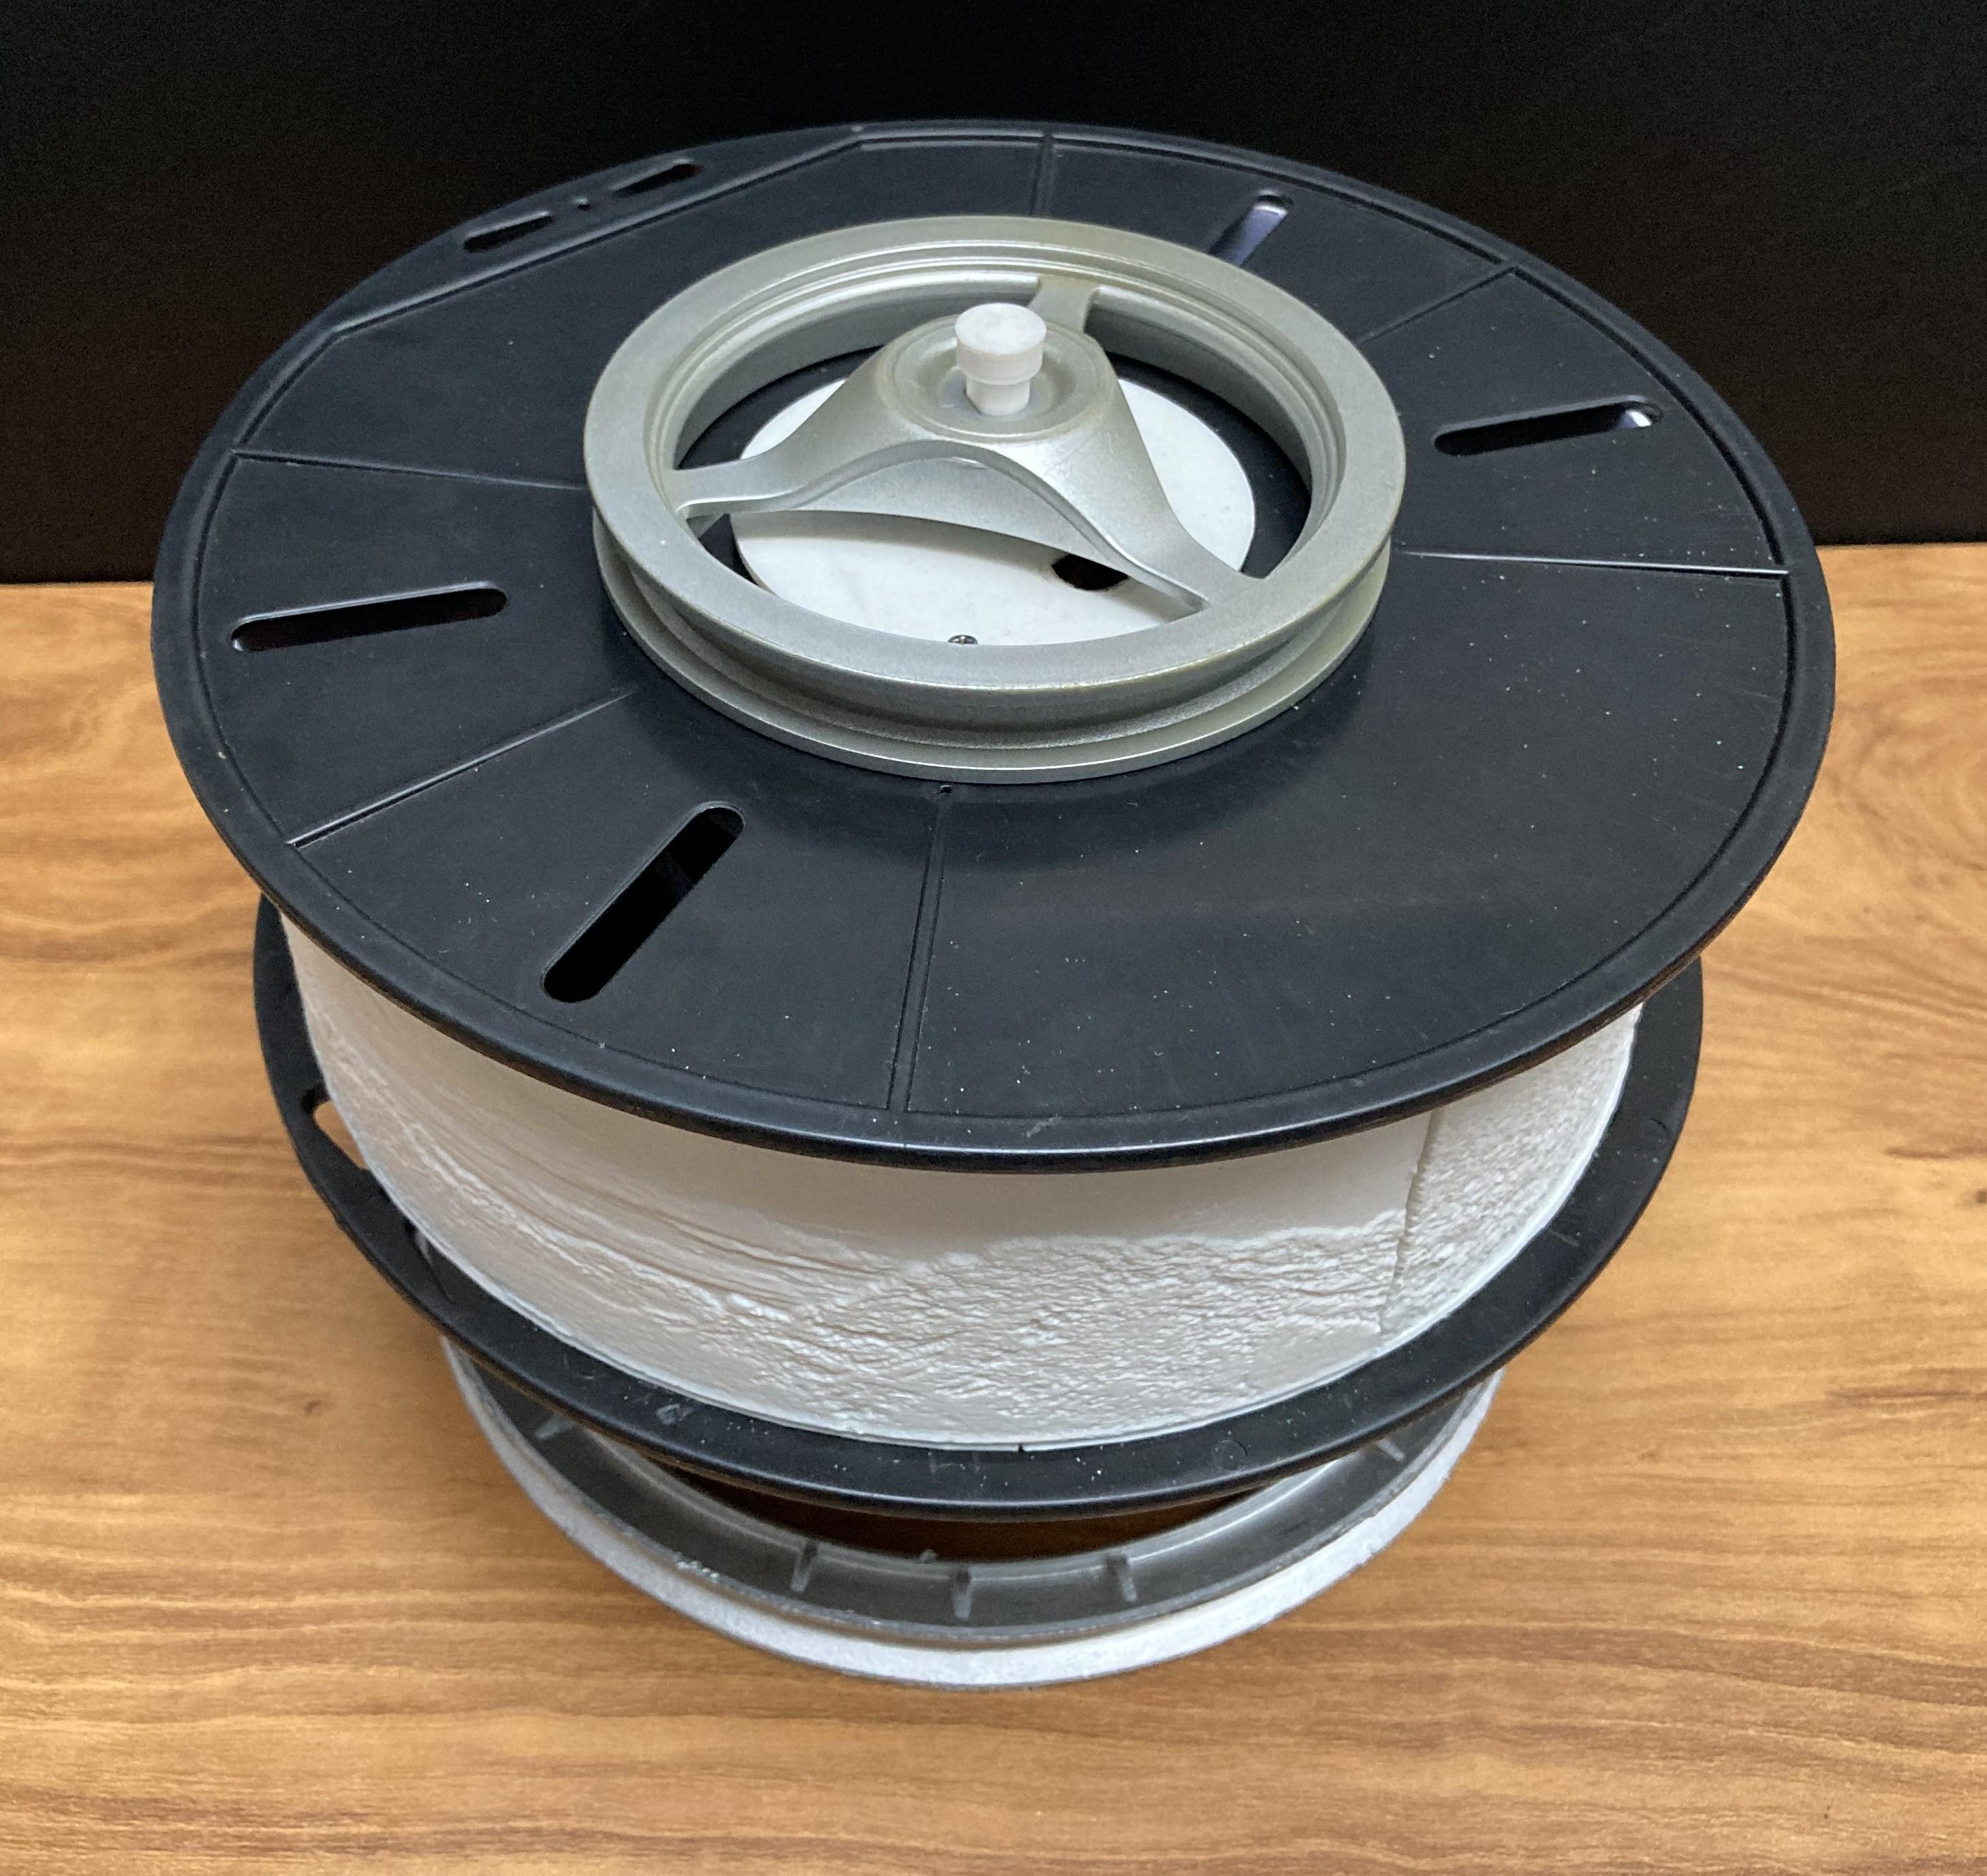
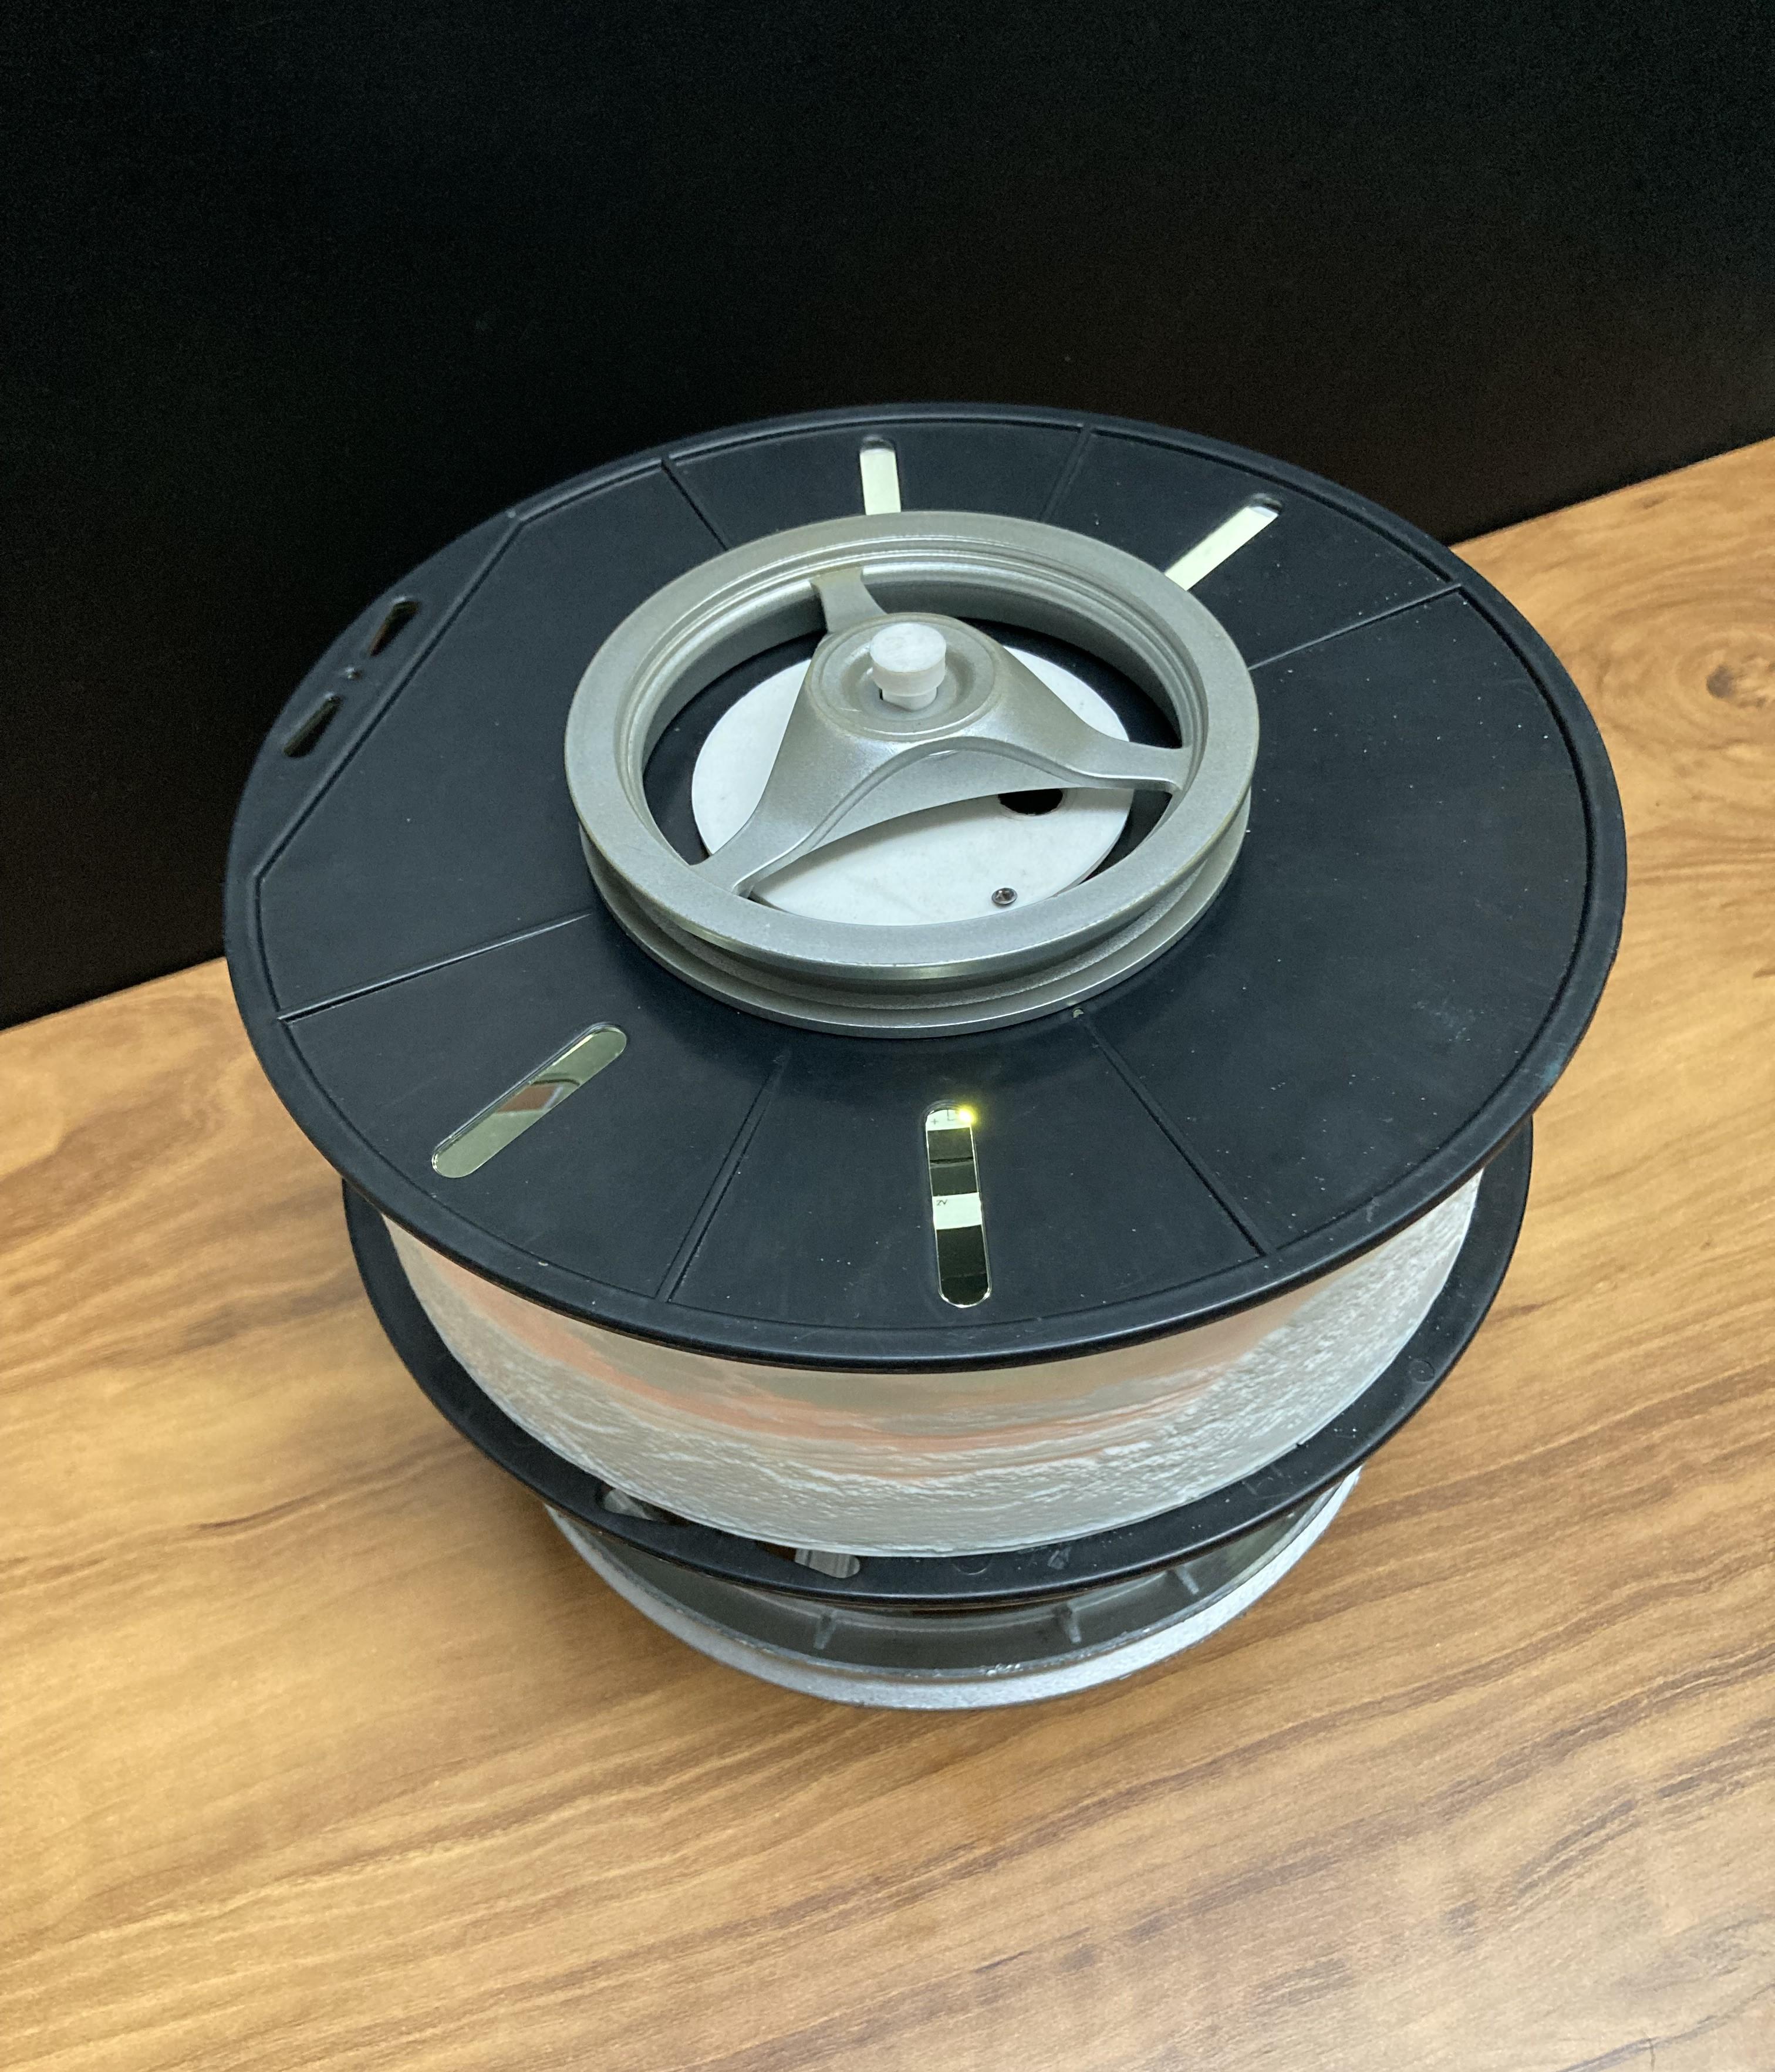
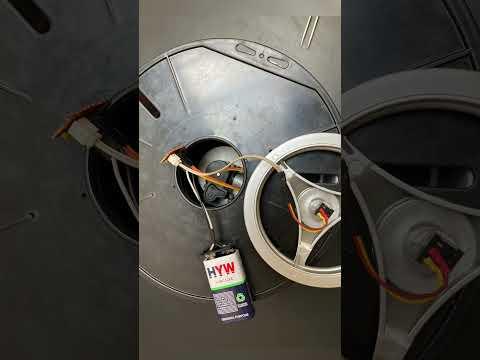
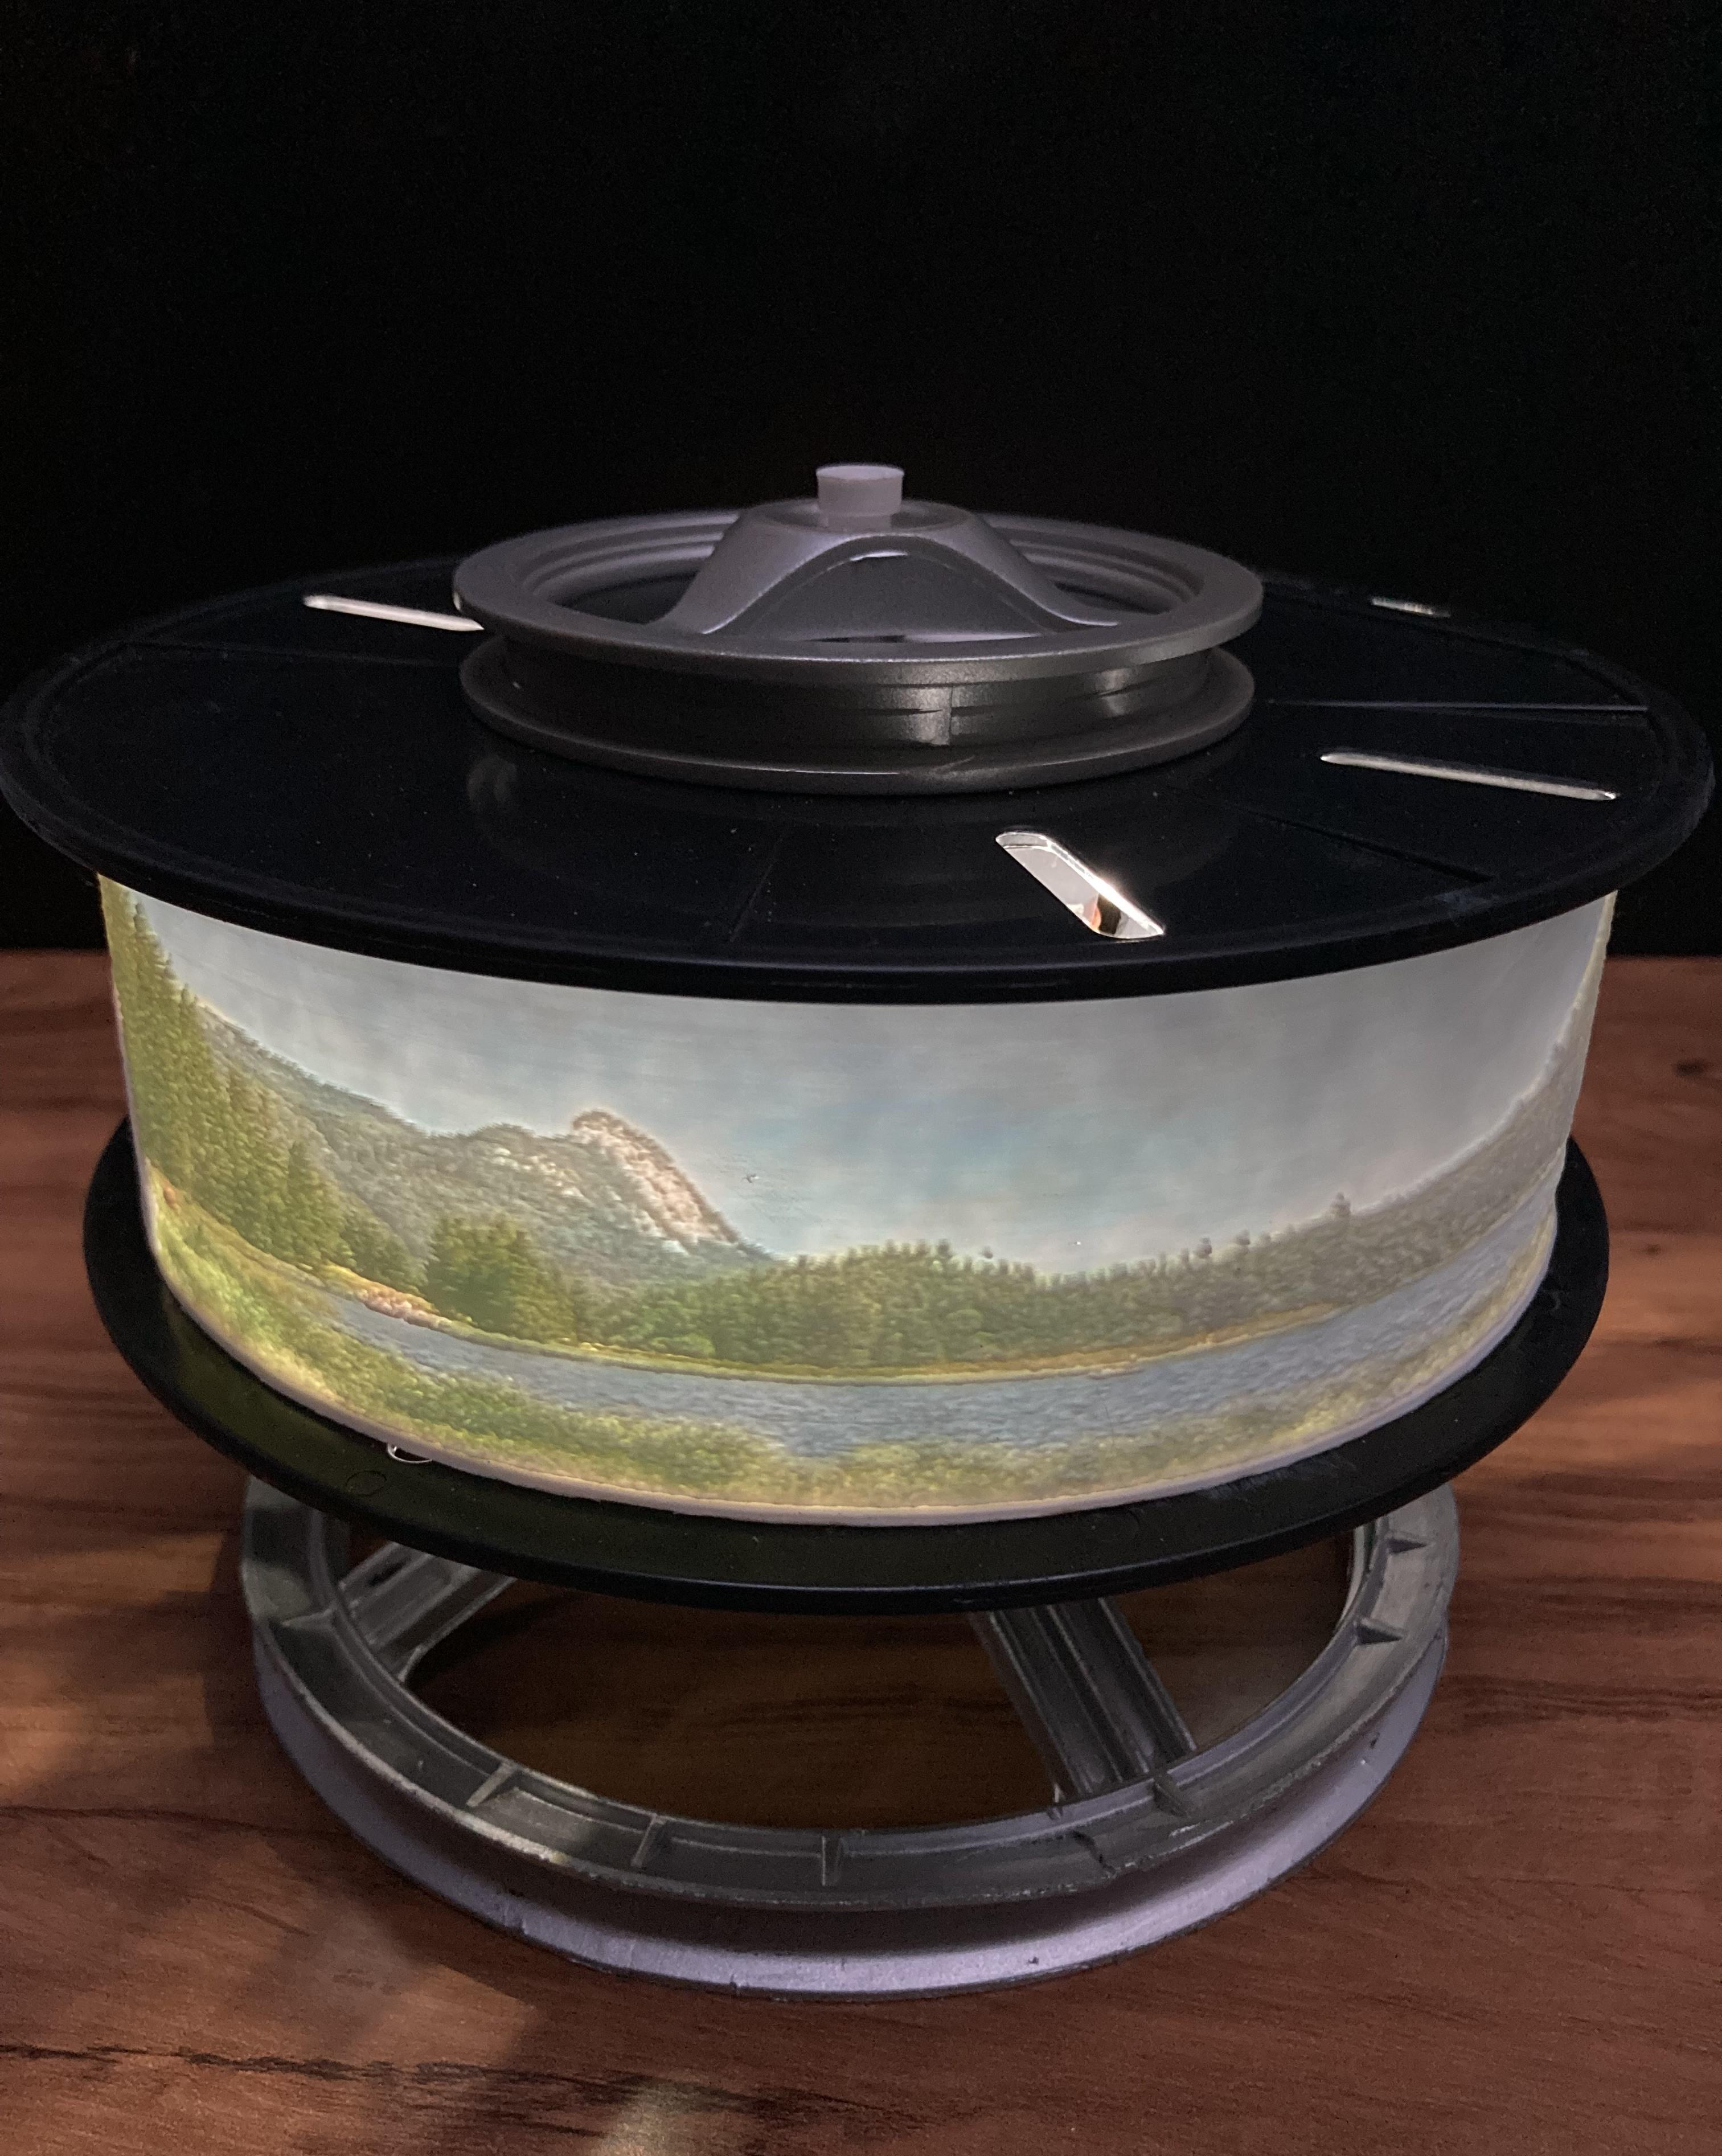
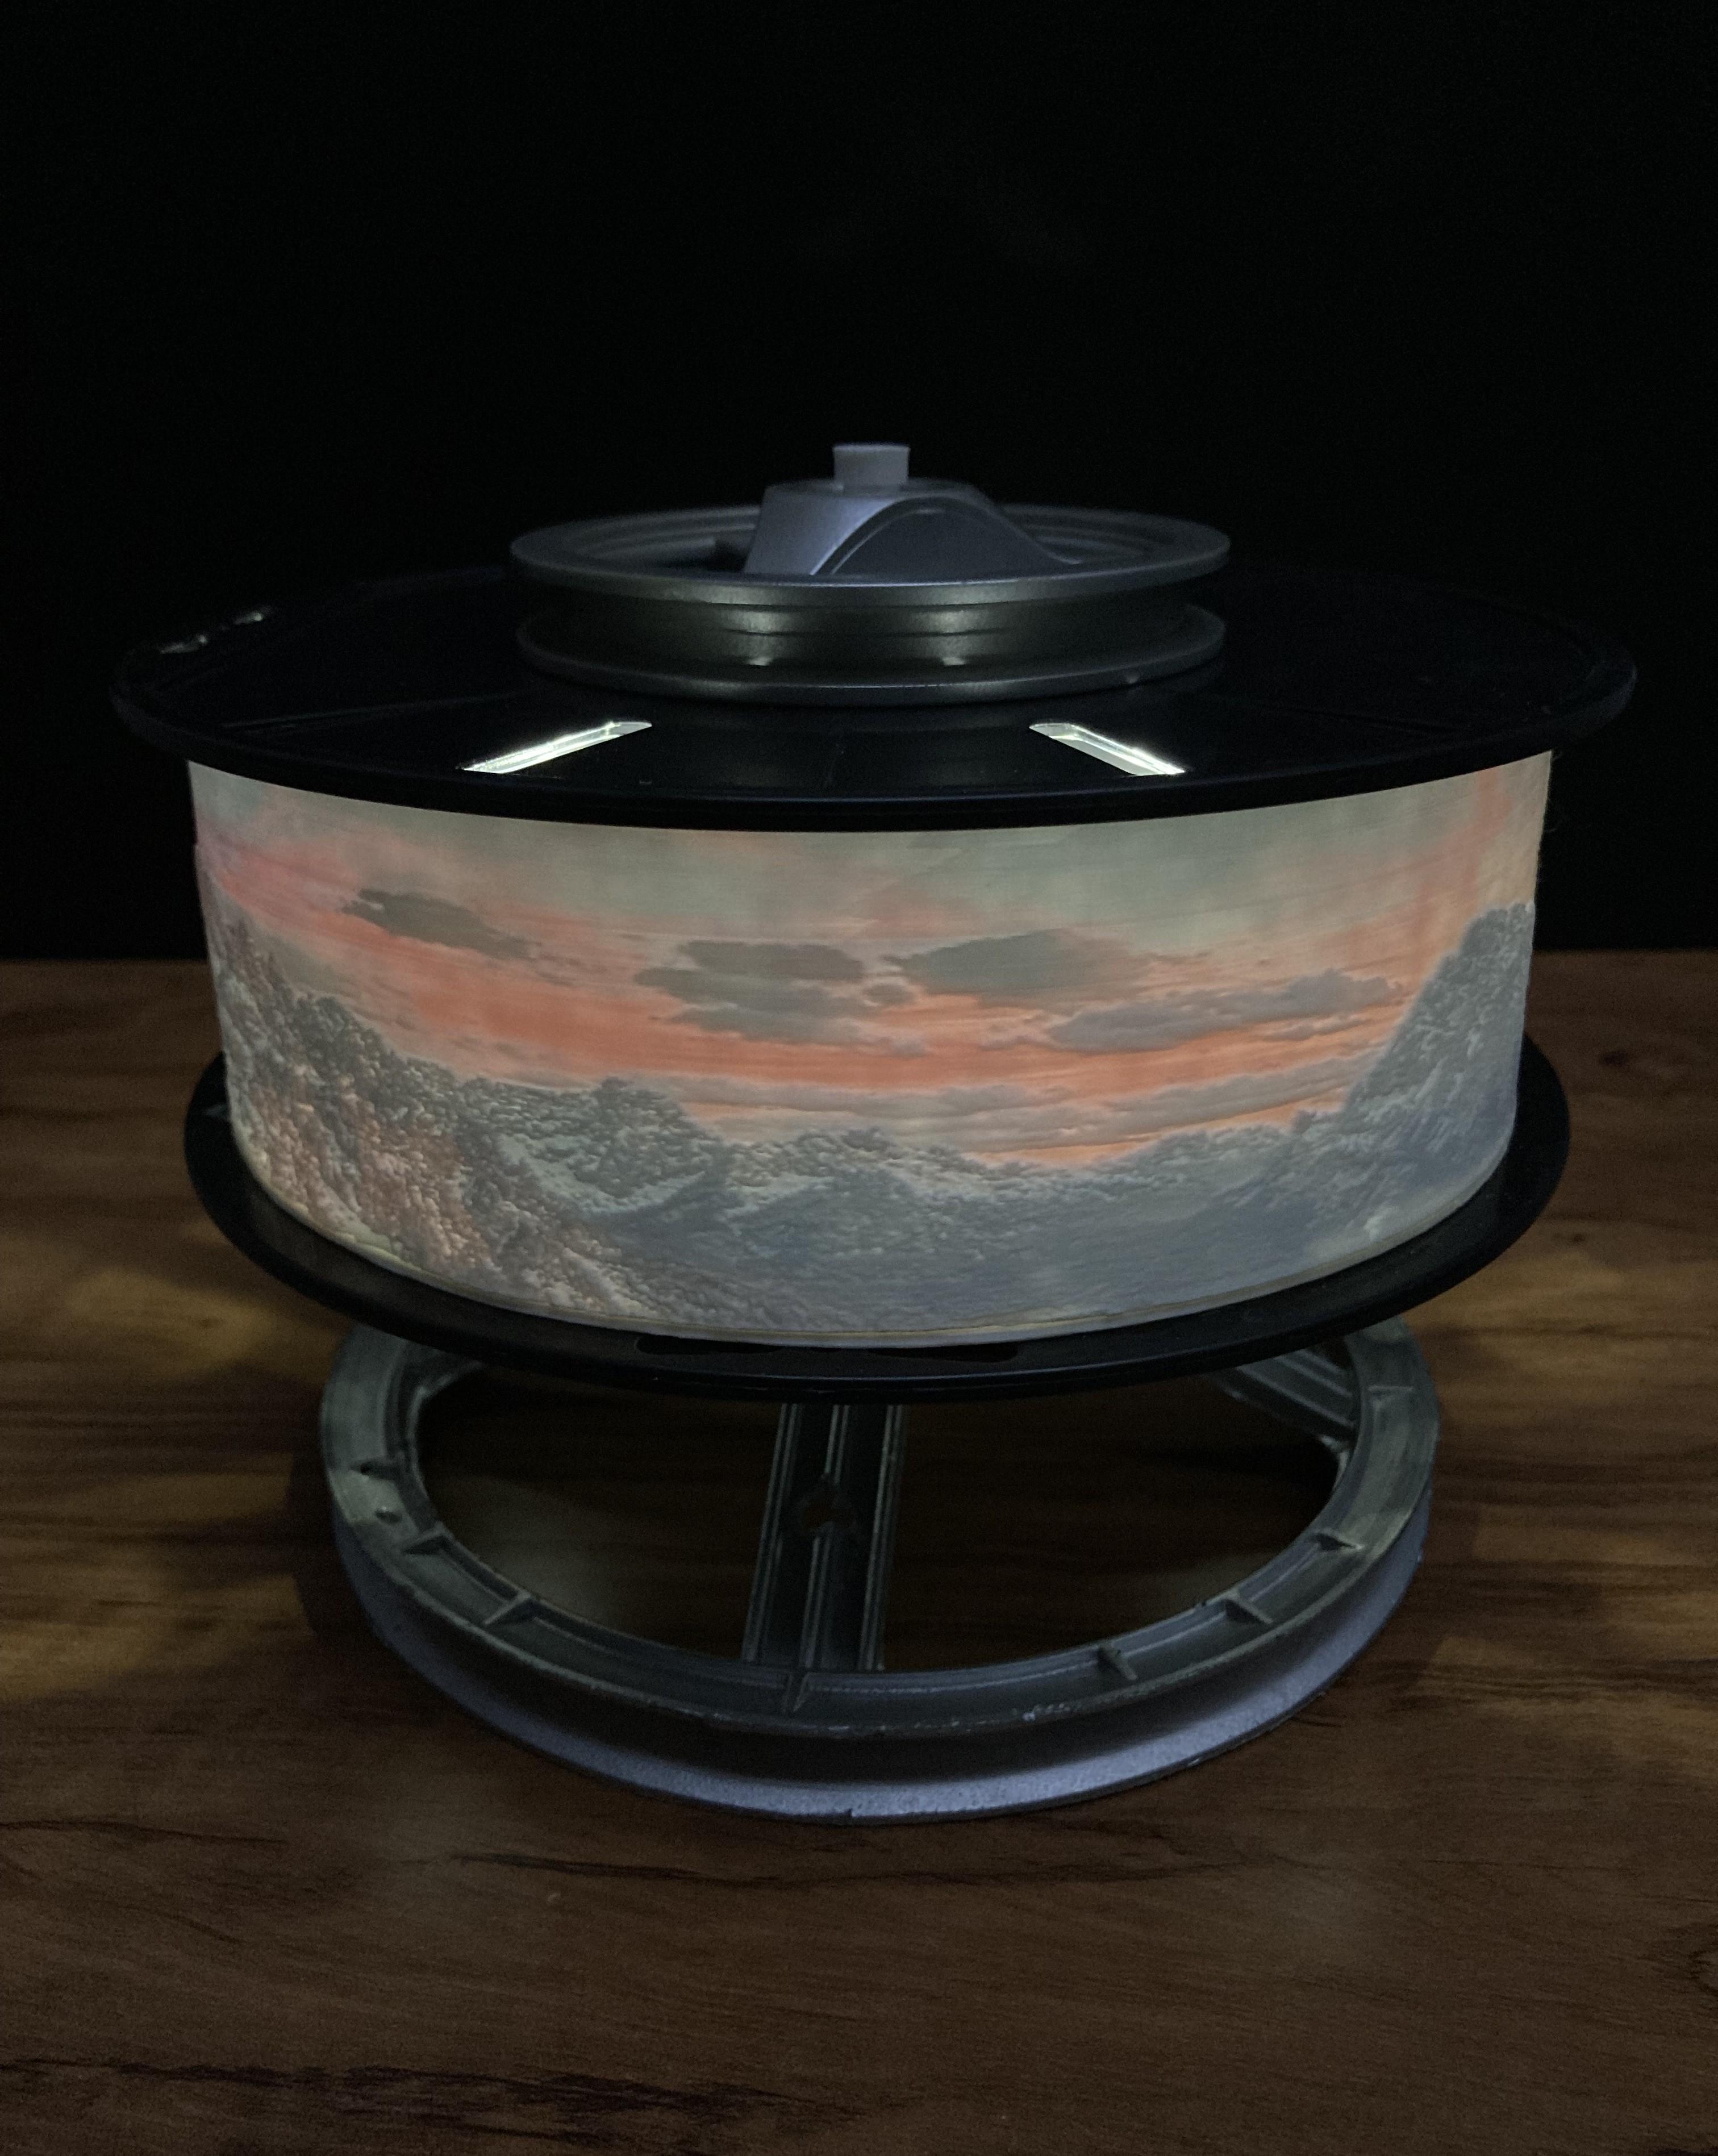
In this instructables, I made a Lithophane Lamp which rotates 360 degrees. I used old filament spool, wind up music mechanism, old plastic parts and some electronic parts. Let’s make it.
Supplies
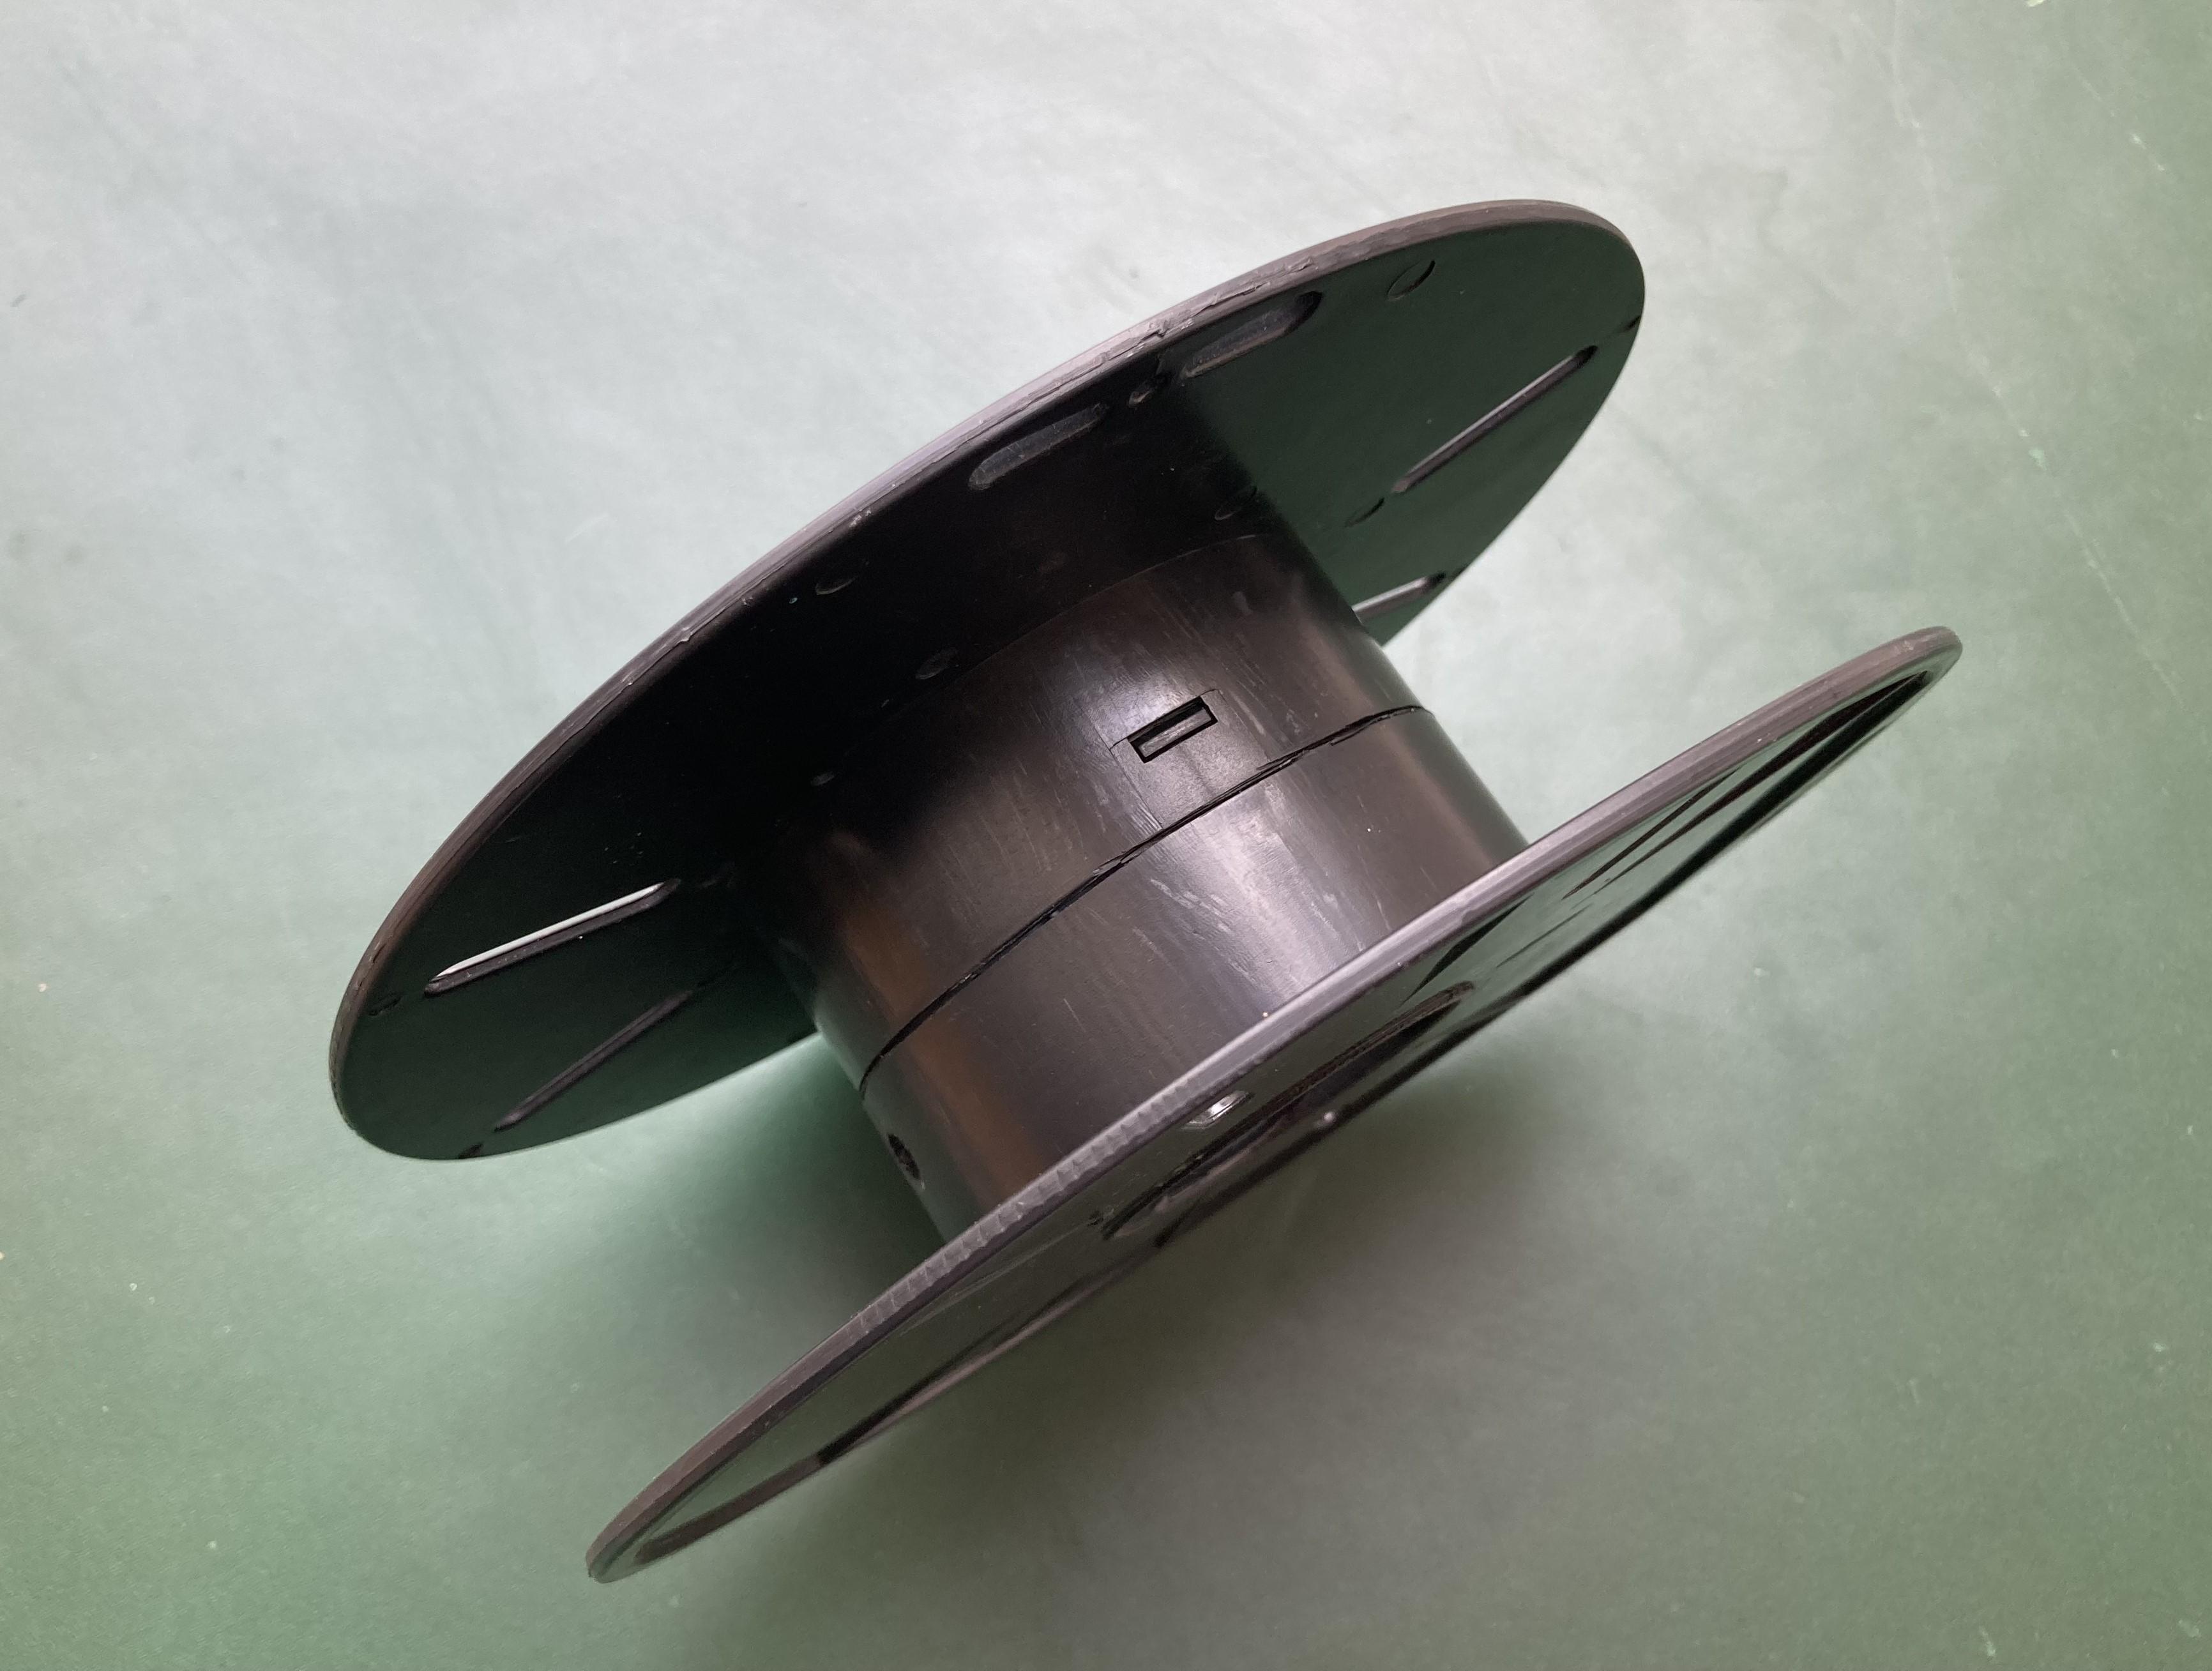
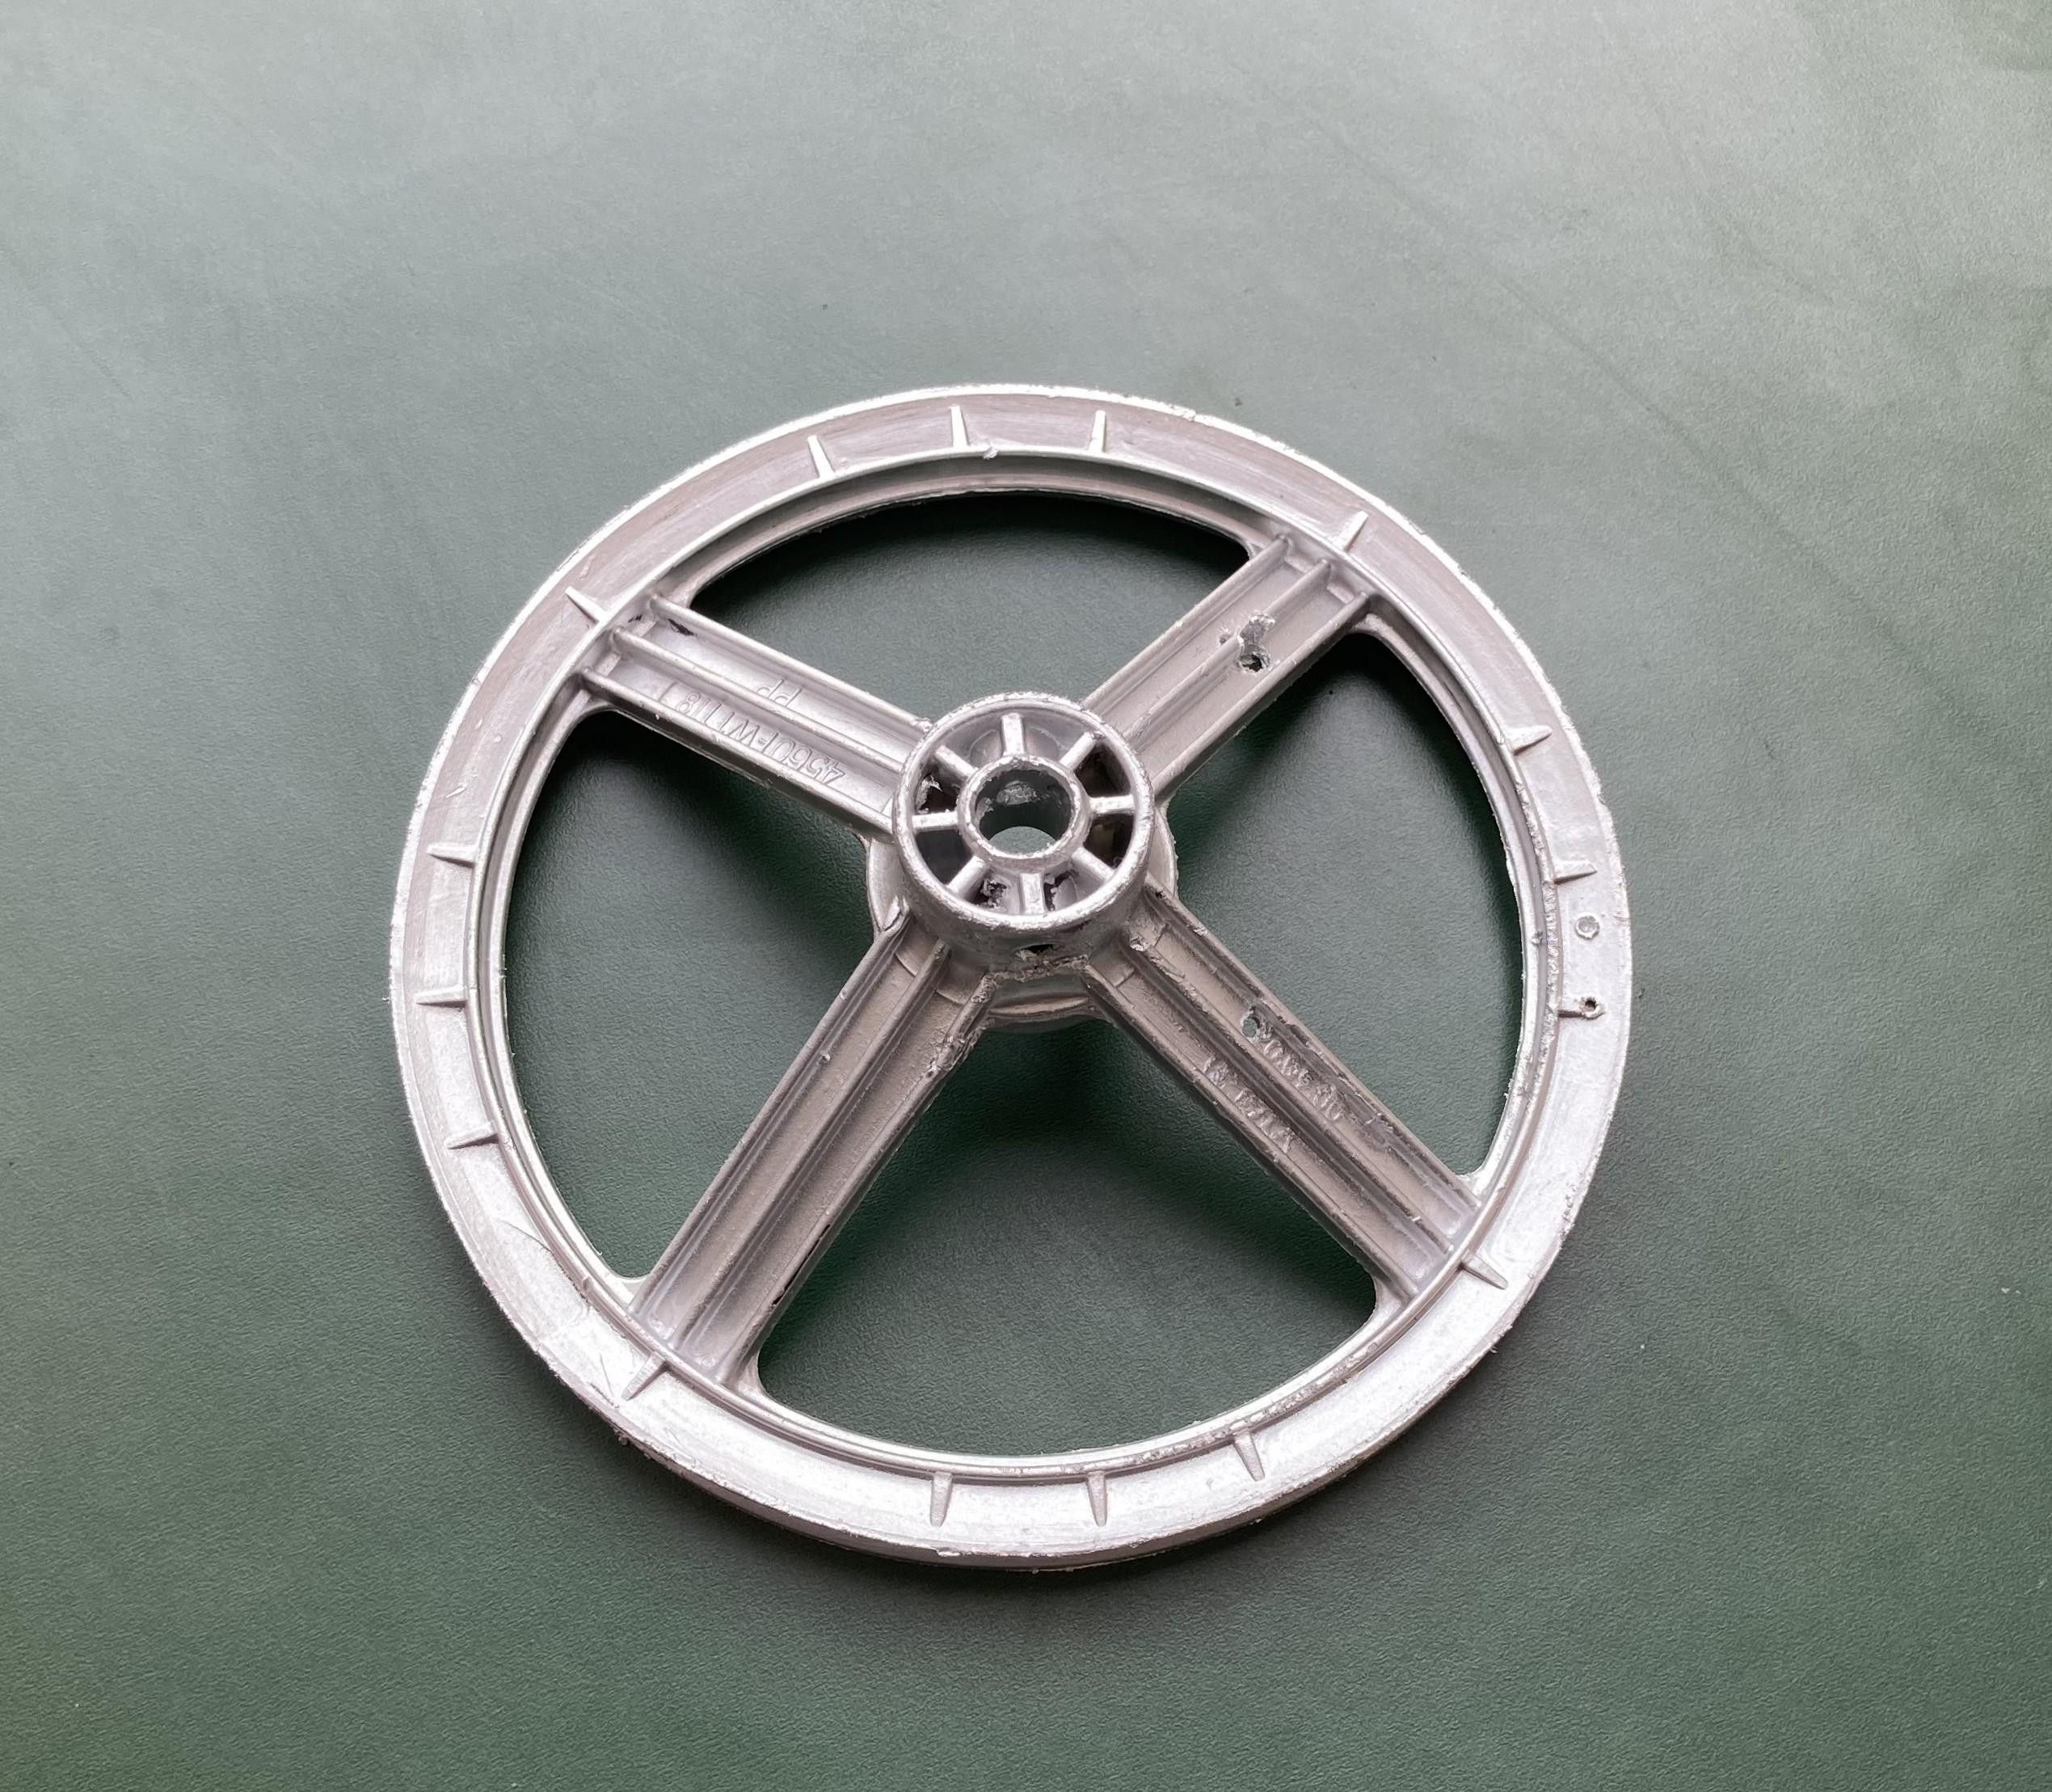
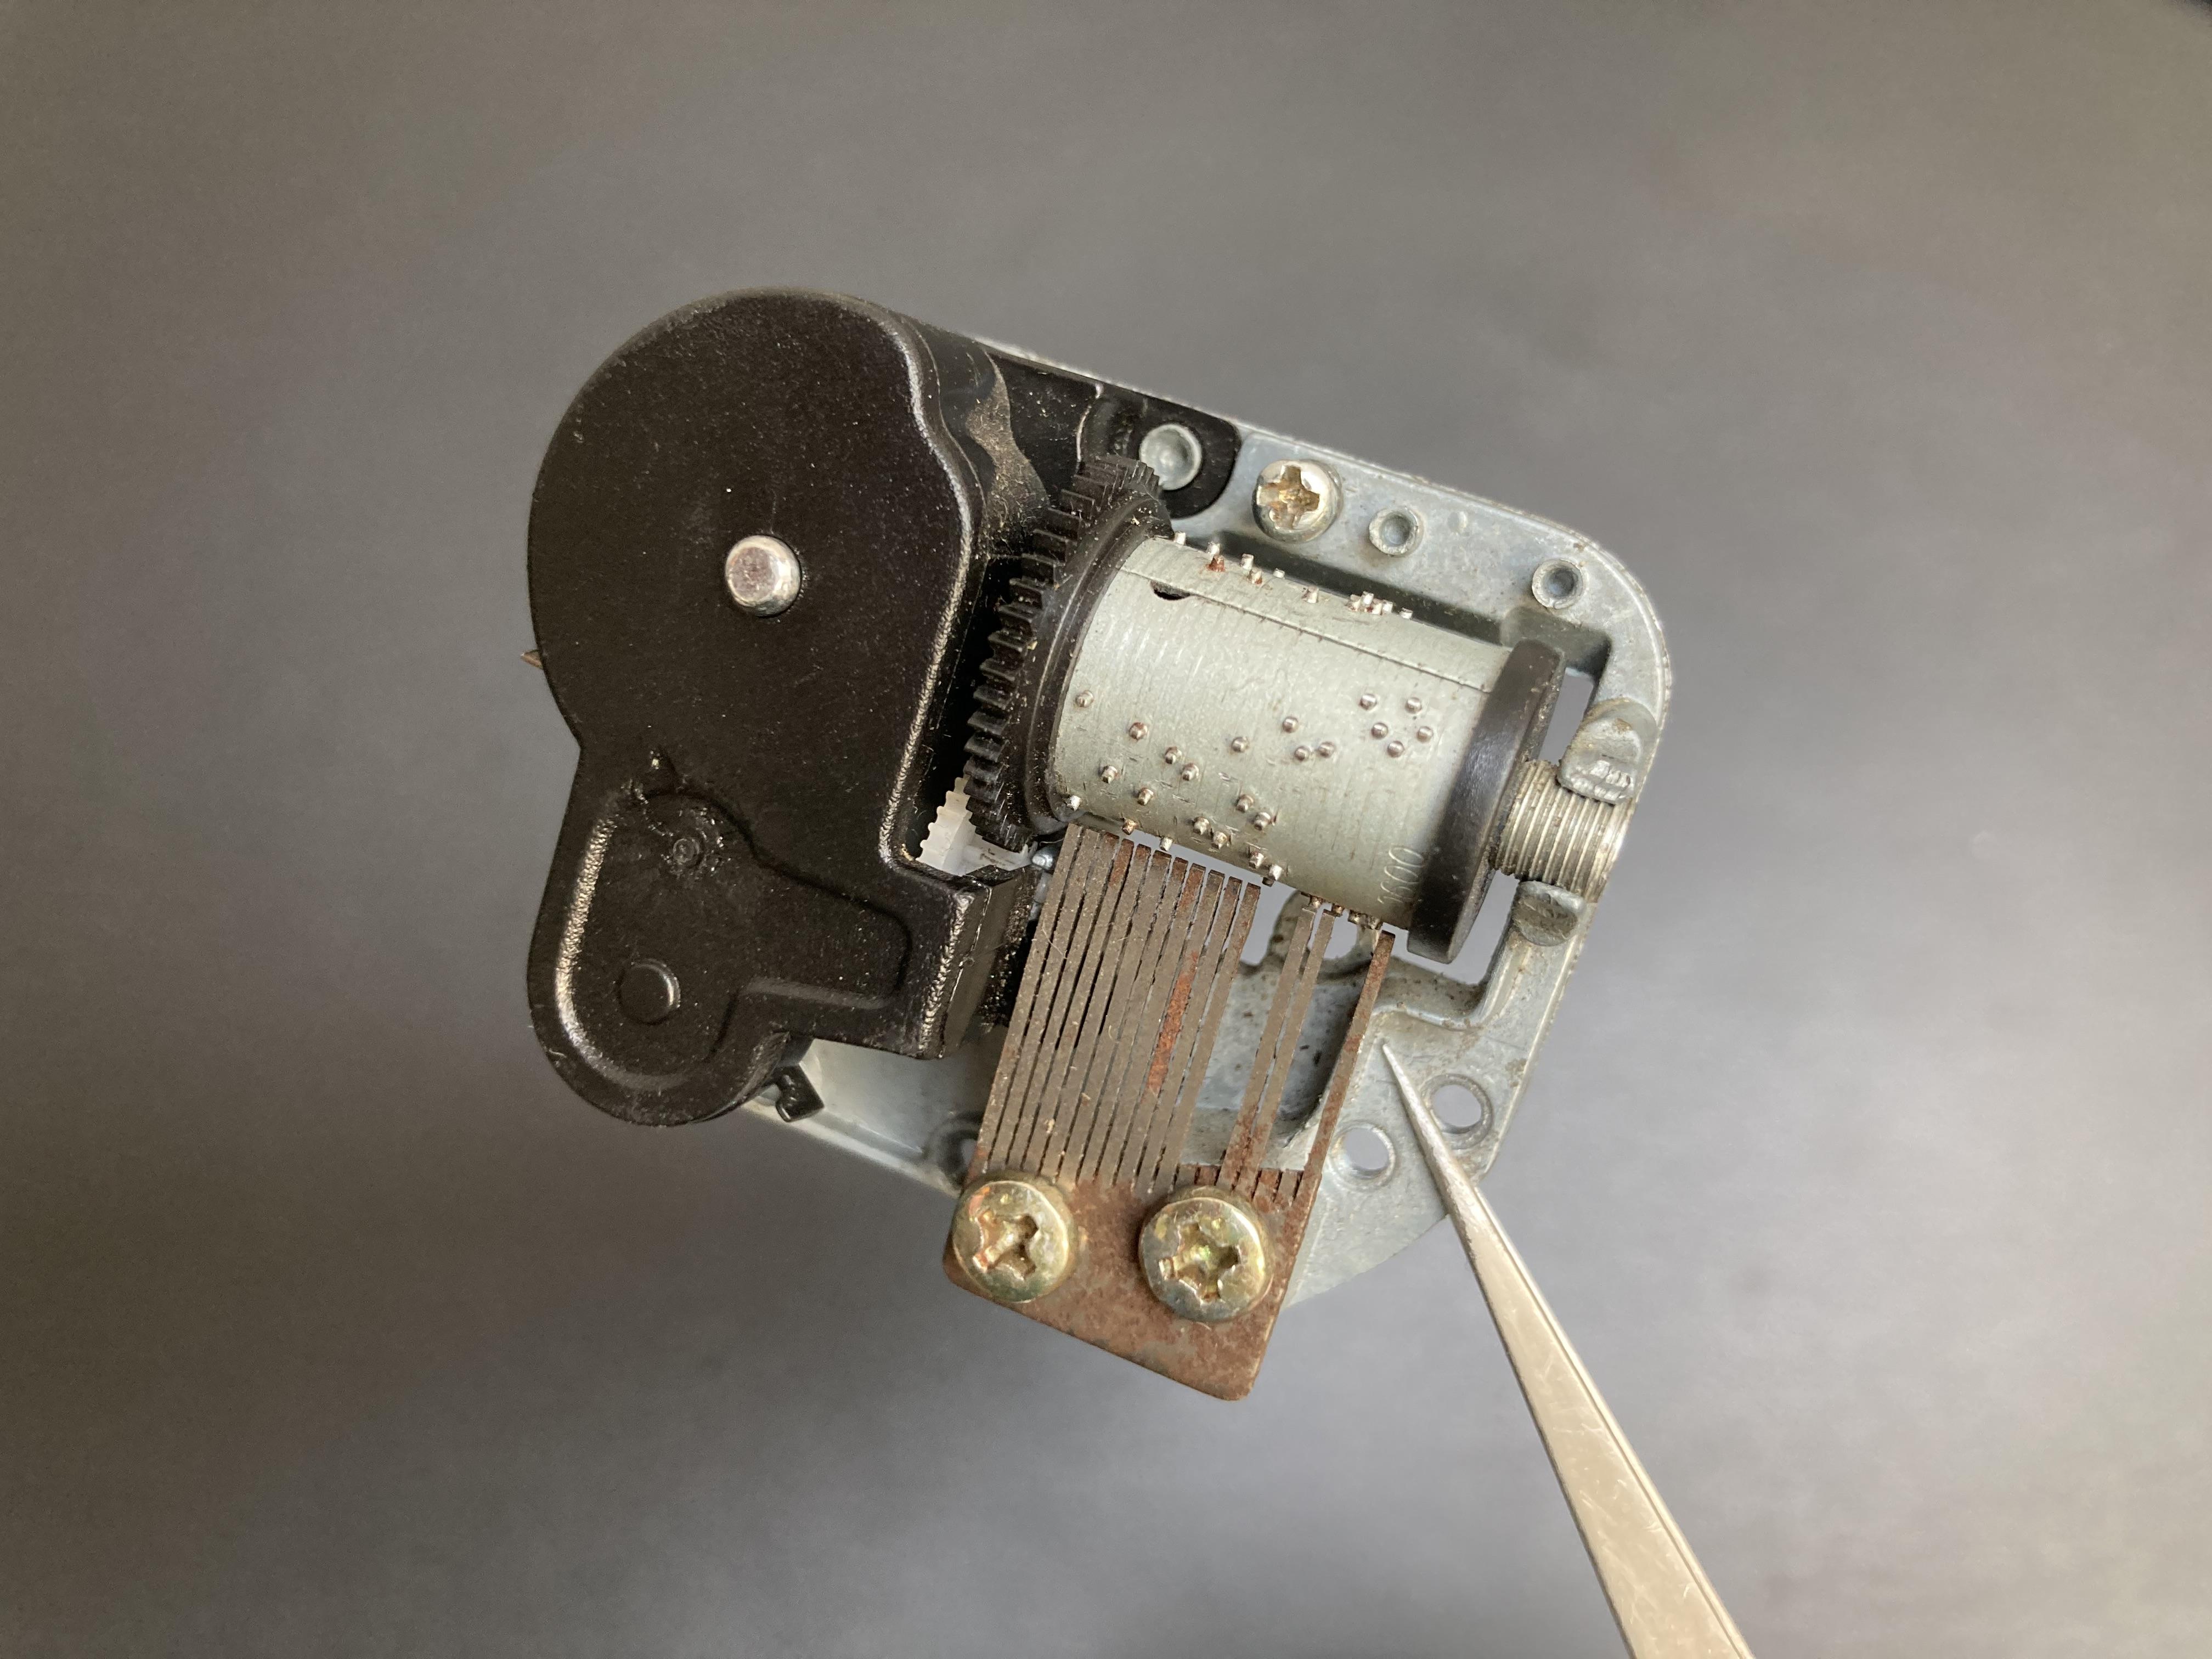
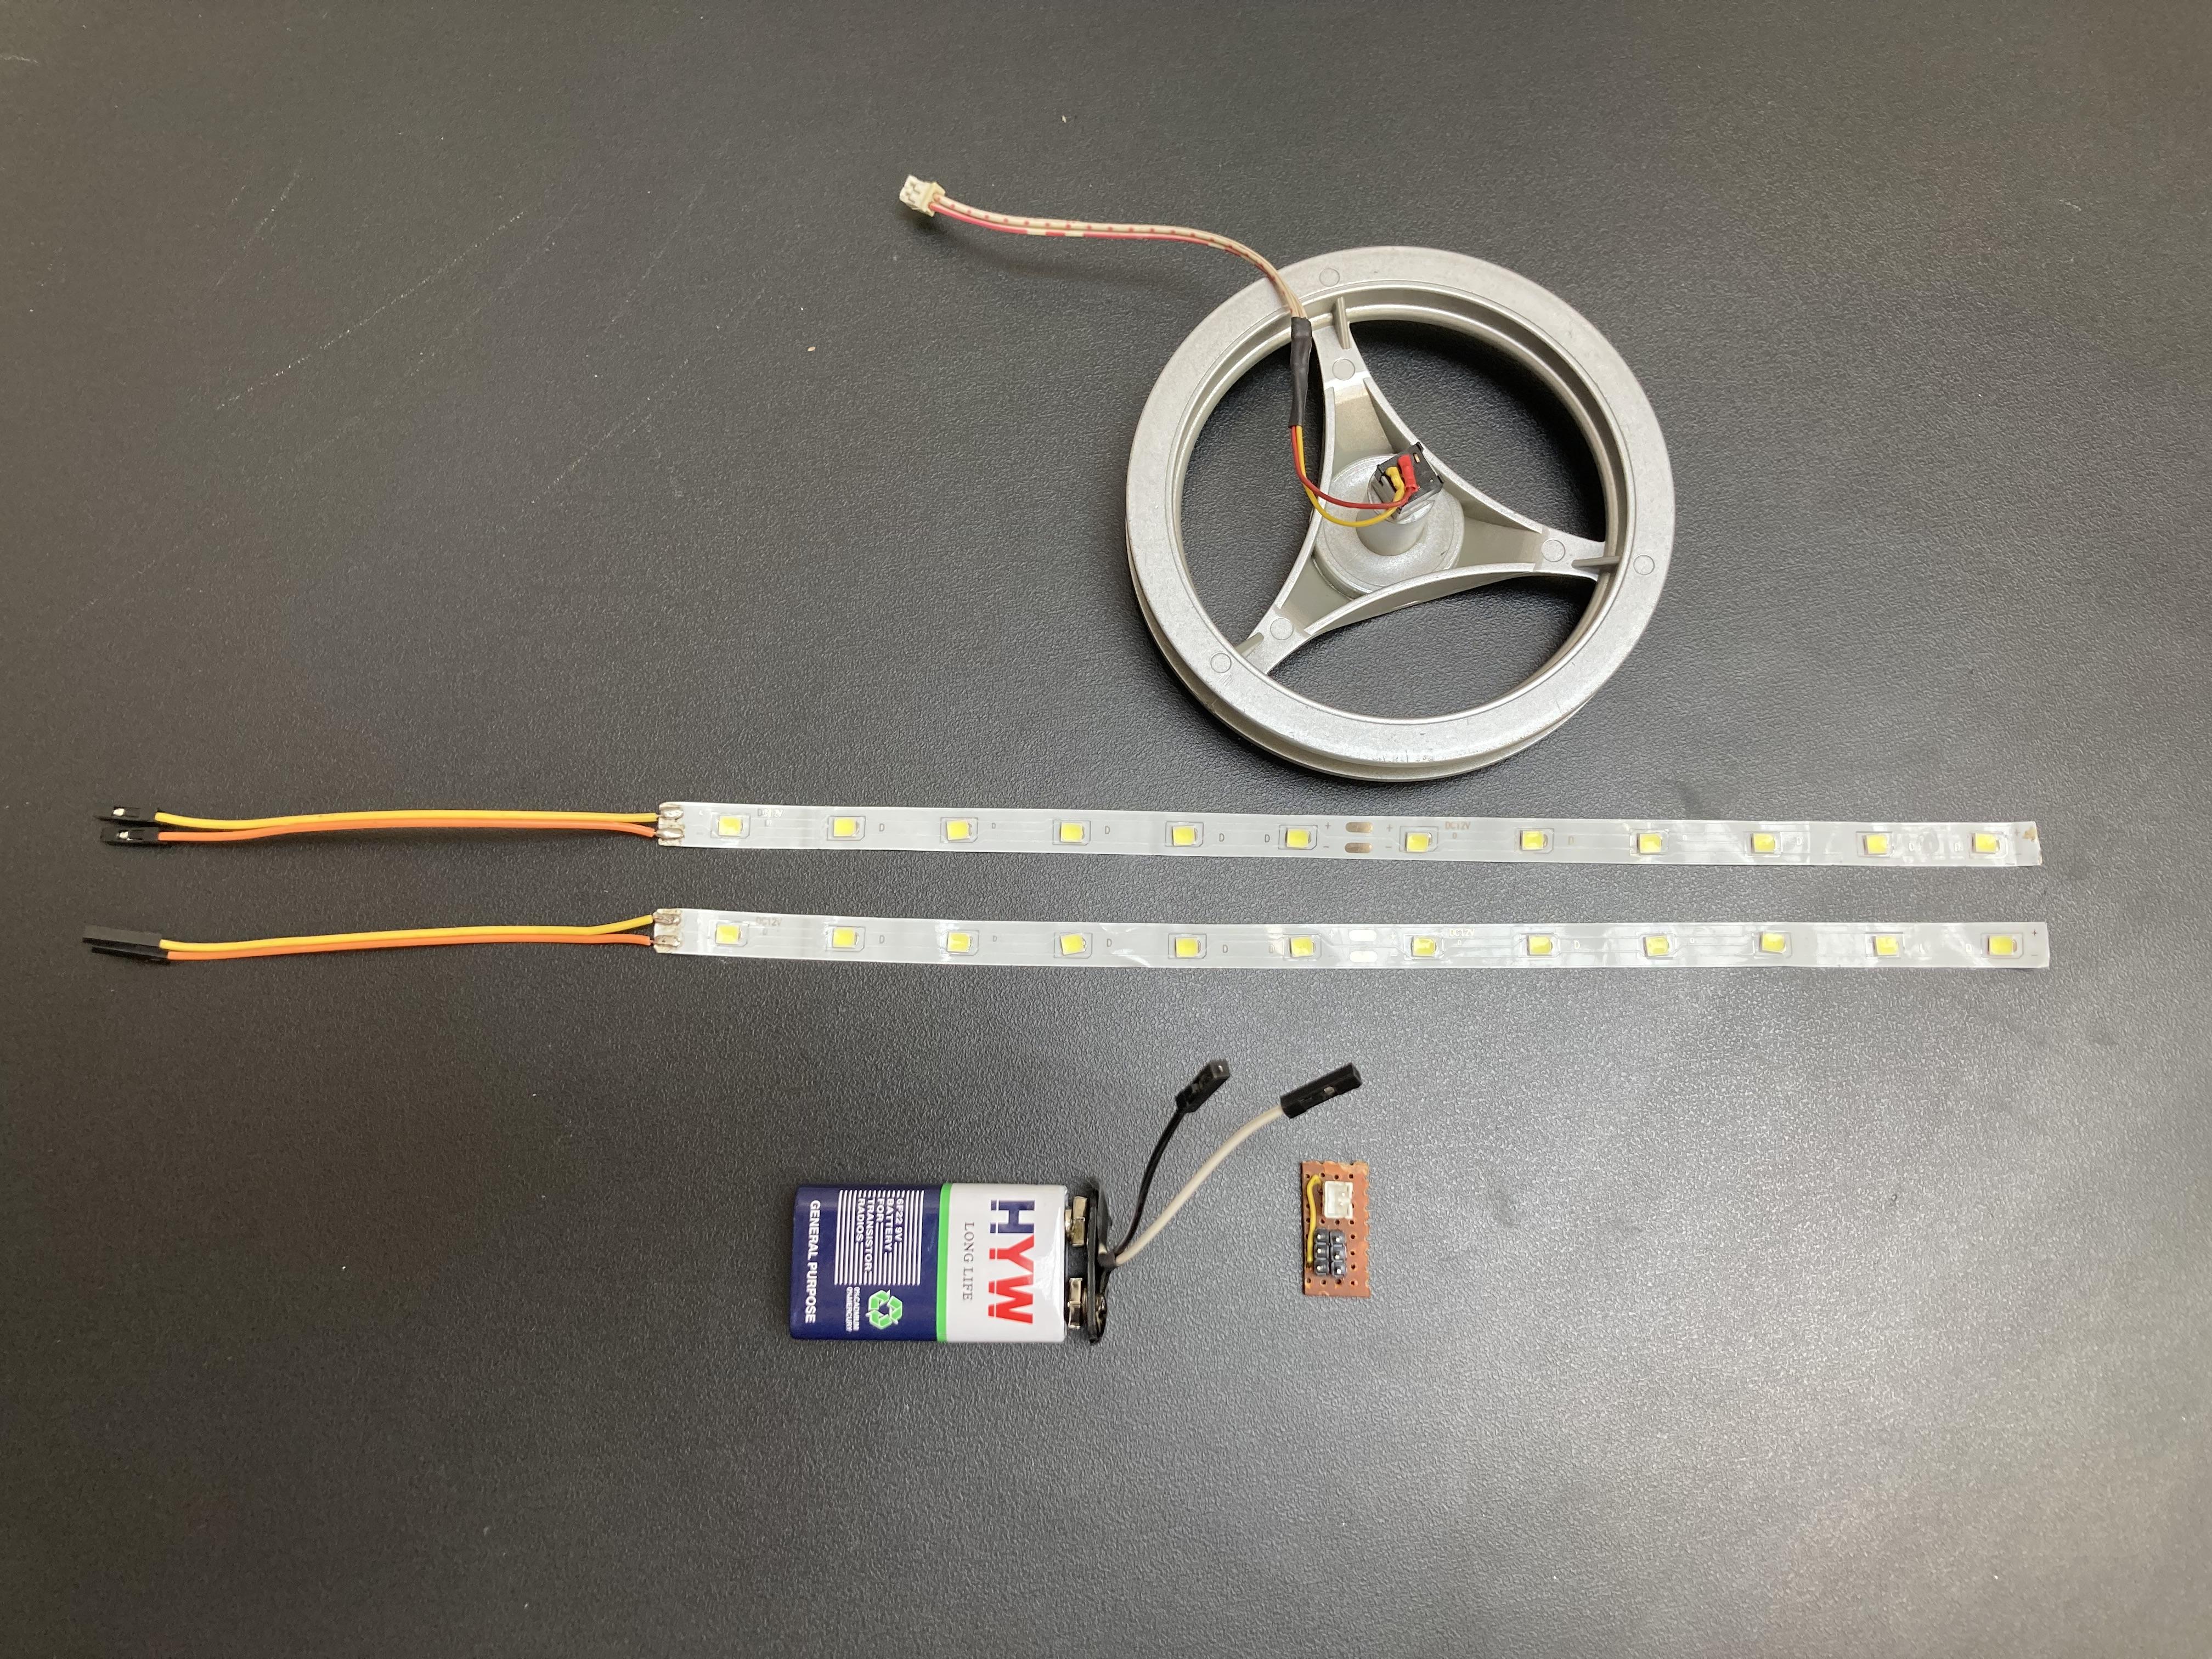
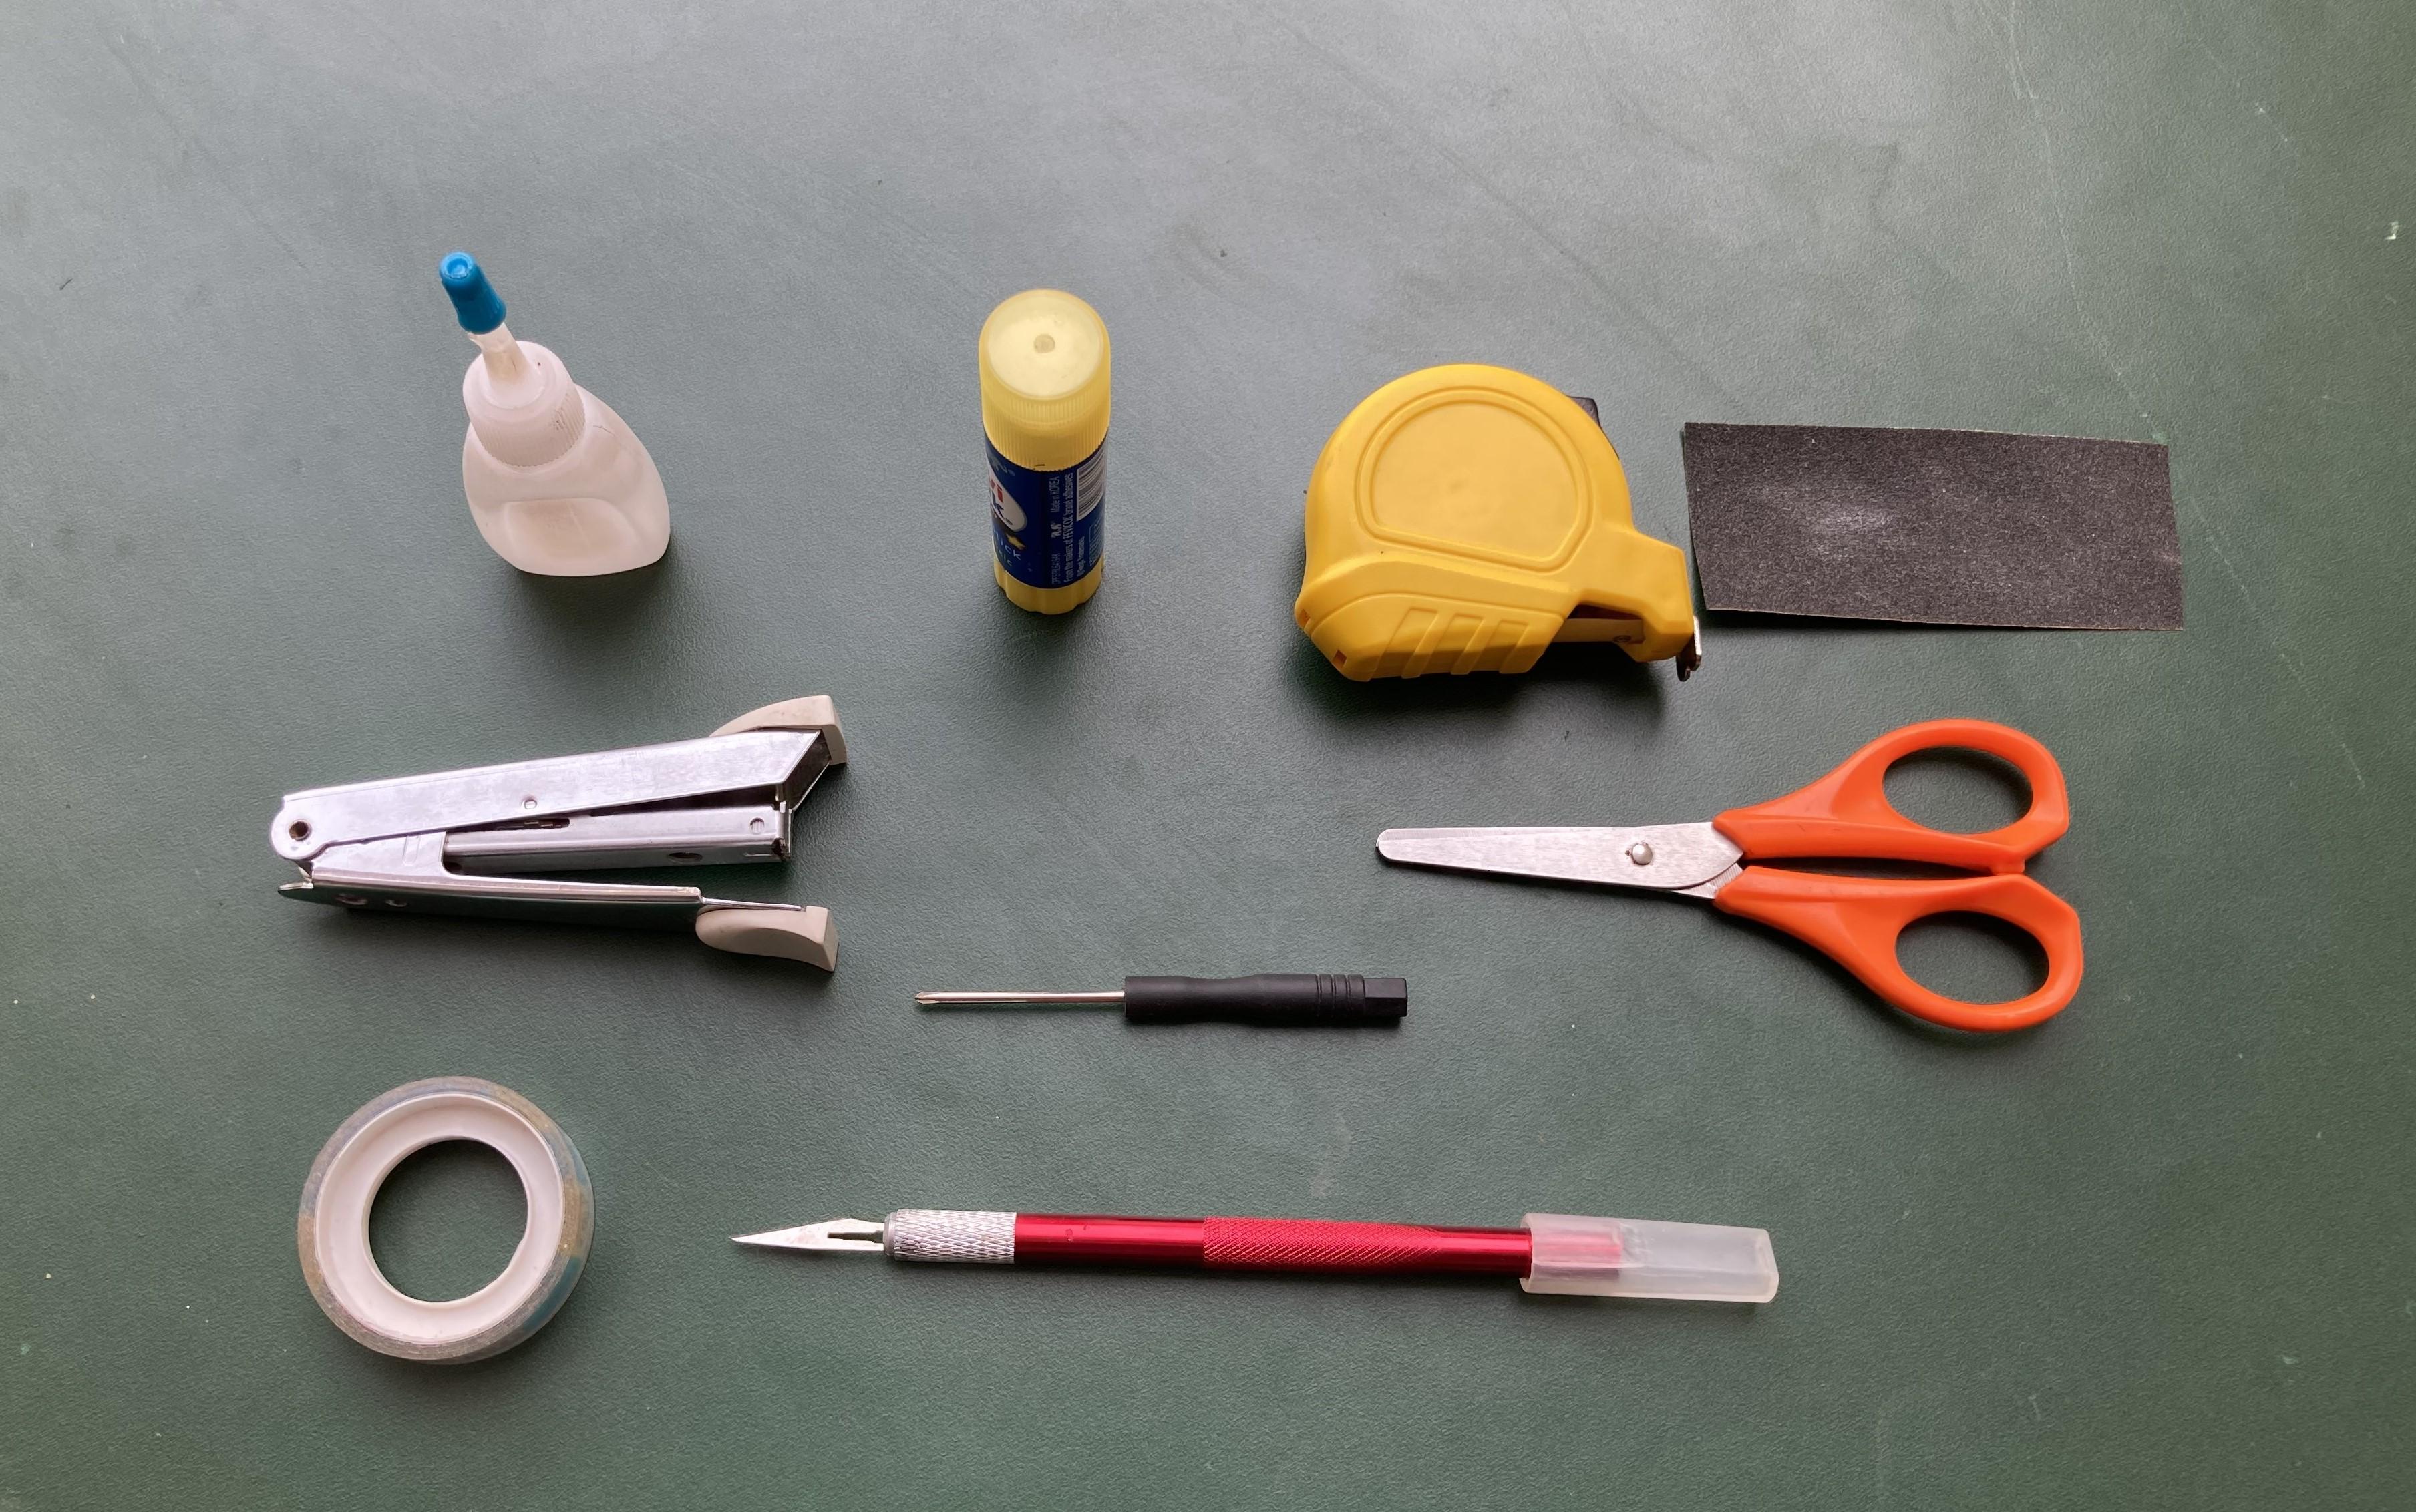
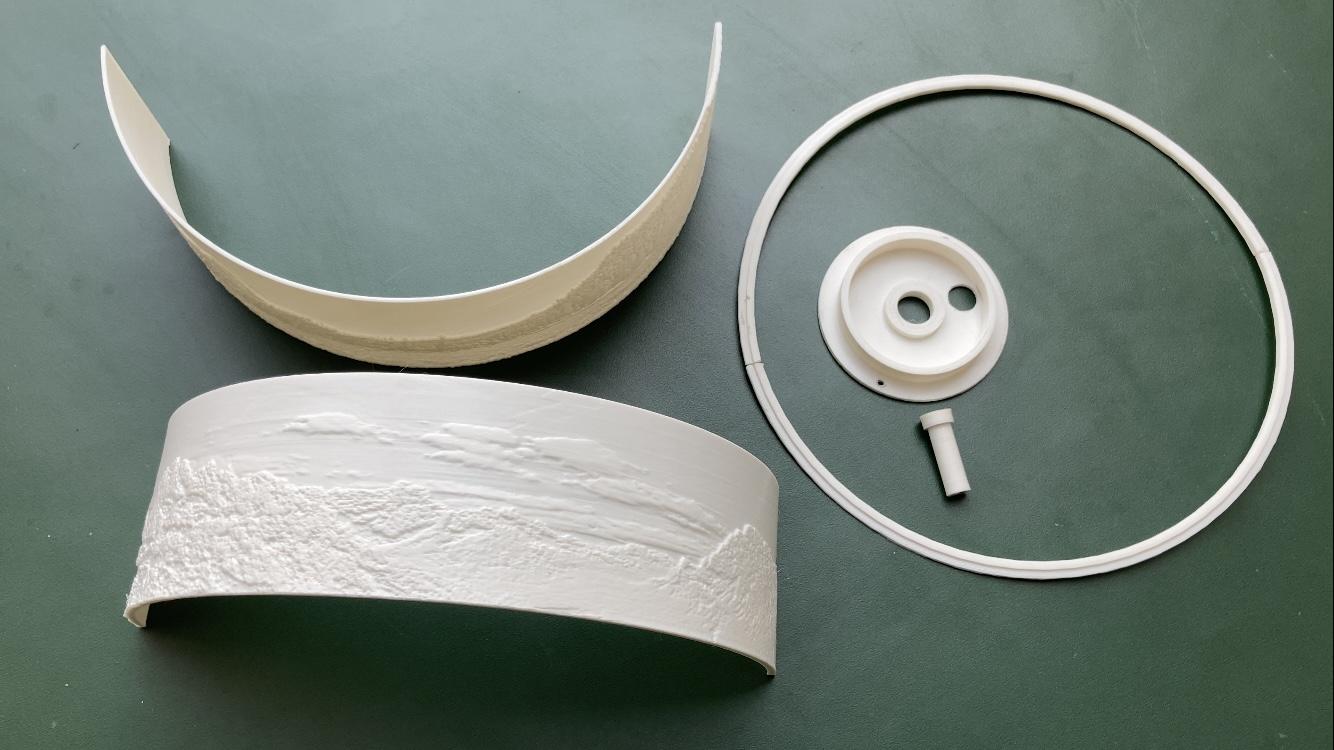
Empty filament spool
Lithophane image
LED light strip
Old plastic parts
Wind up music mechanism
Silver paint / spray paint
9V battery
ON/OFF Switch (Push button)
A4 paper sheet
Wires
Super Glue
Sandpaper
Soldering iron
Cello tape
Double sided foam tape
Transparent adhesive glue
Screws
Tools:
Color printer
Screw driver set
3D Printer
Mini hand saw
Prepare the Filament Spool
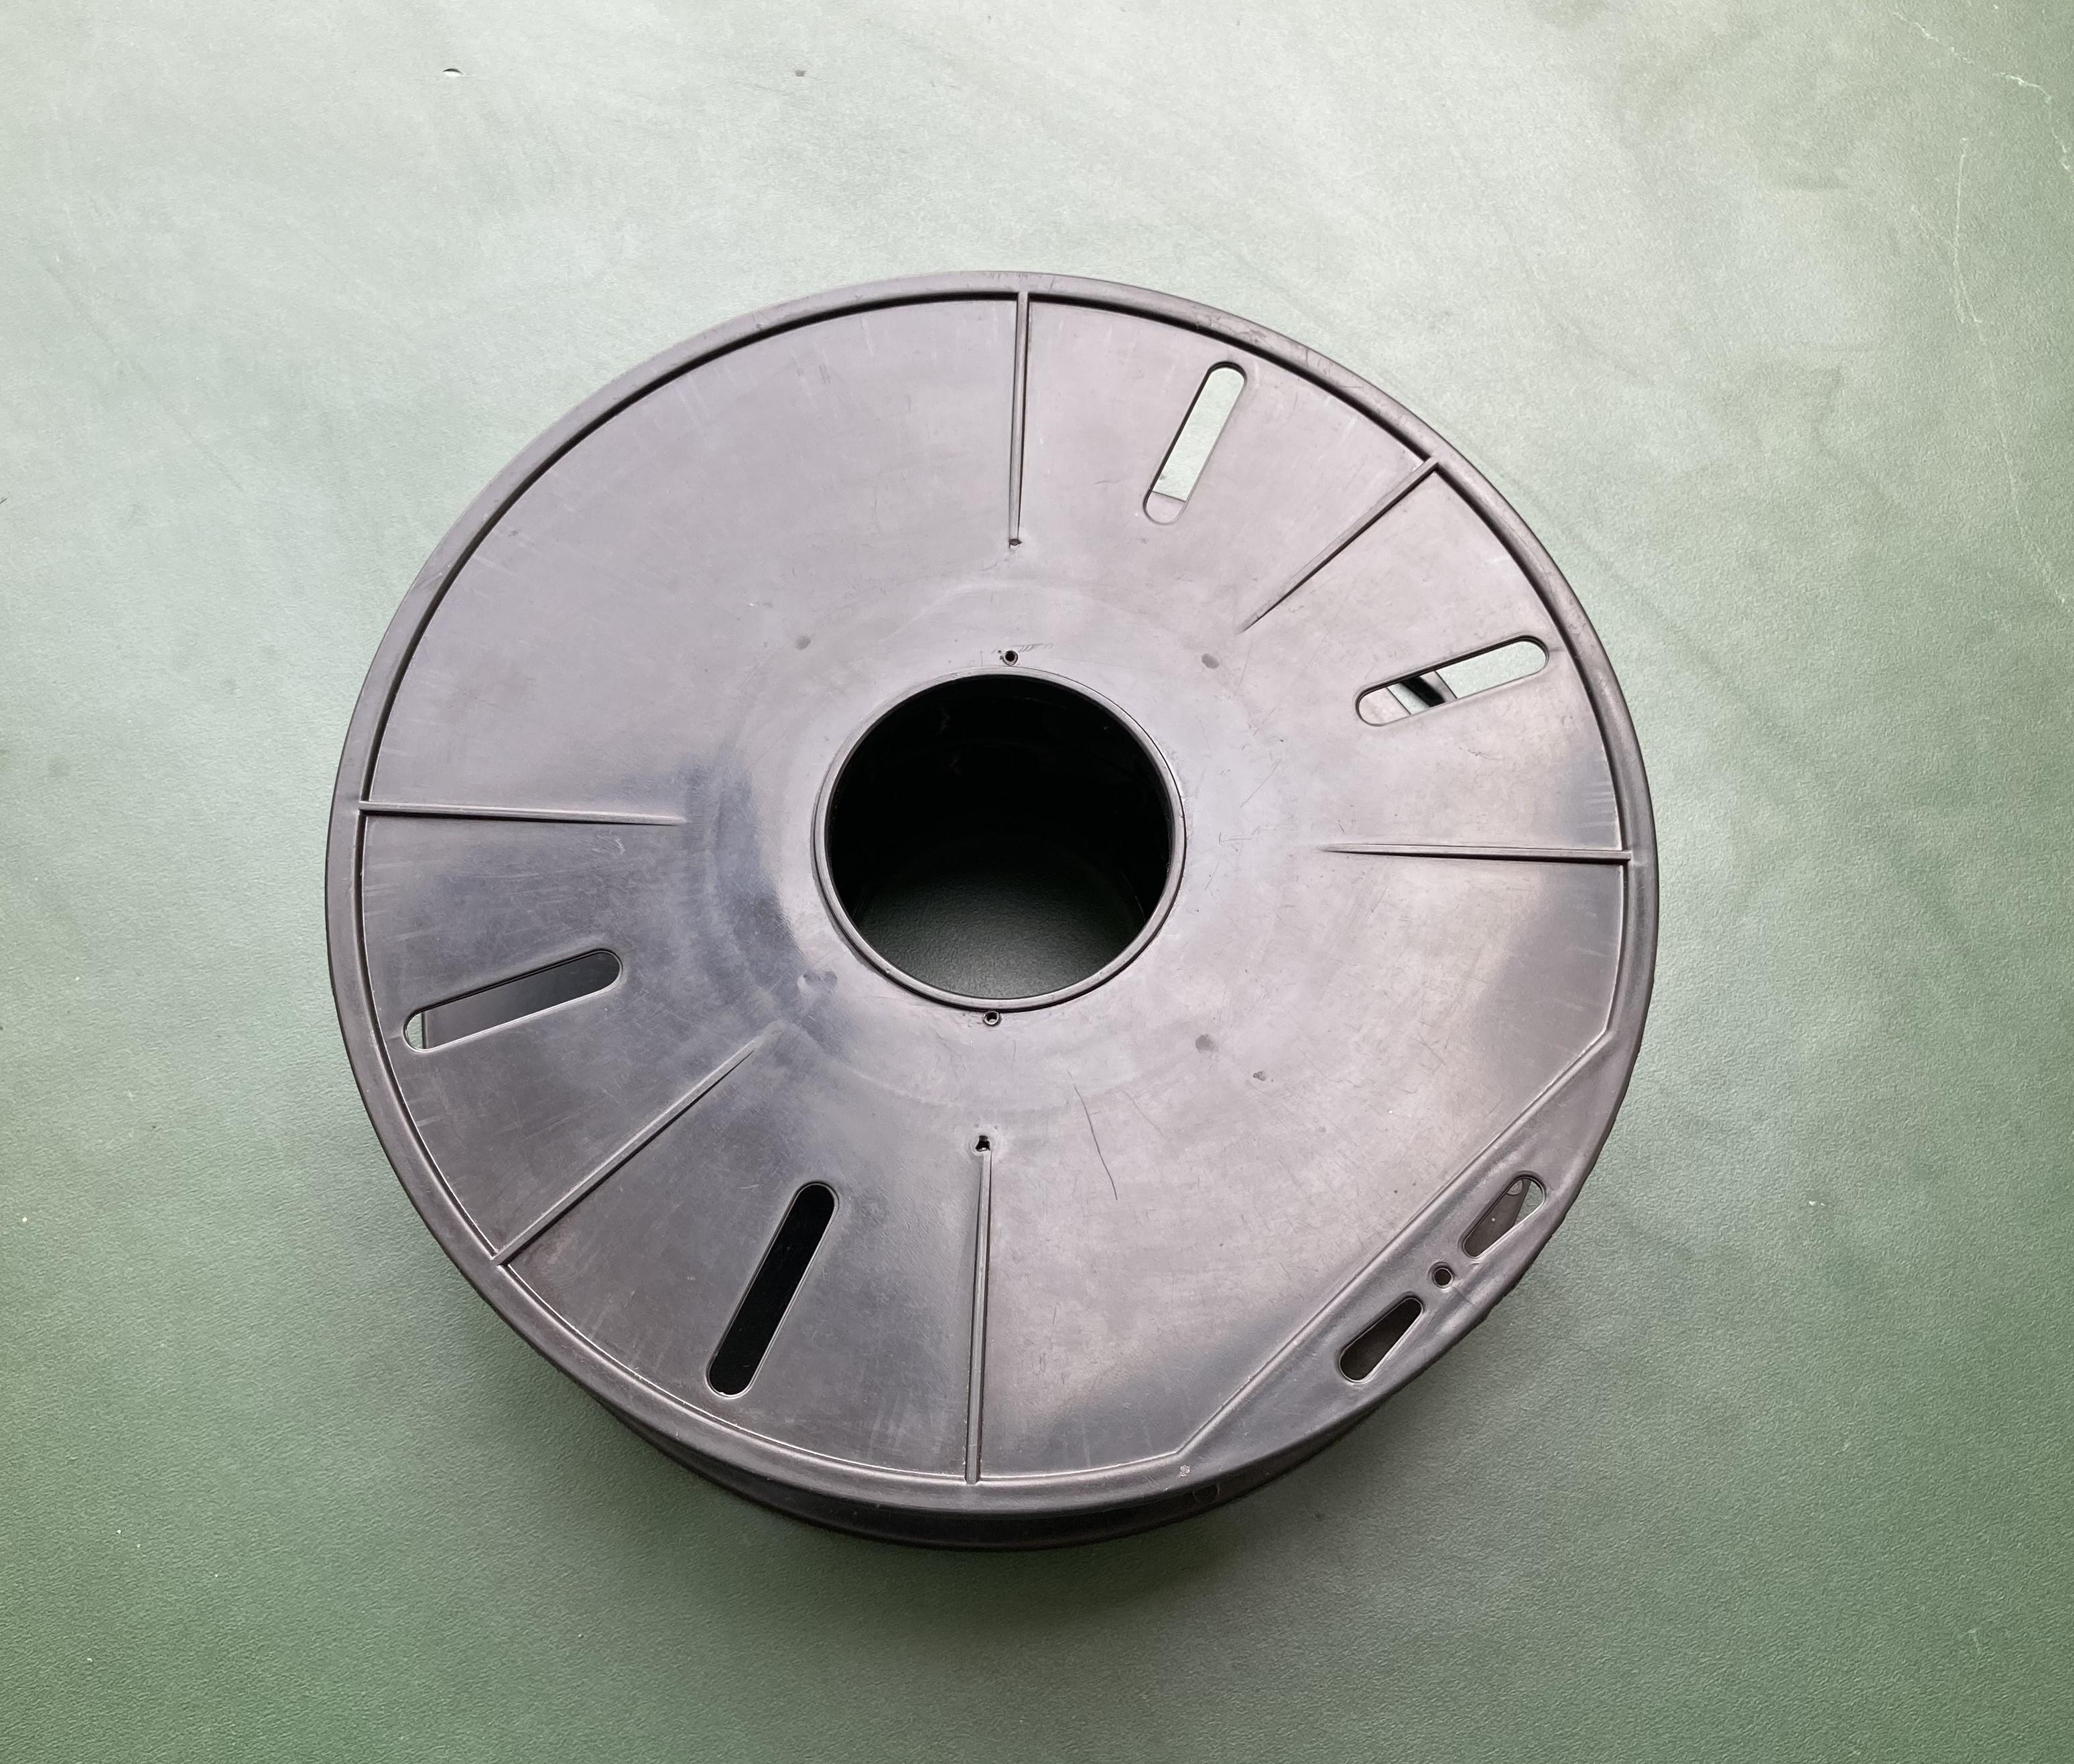
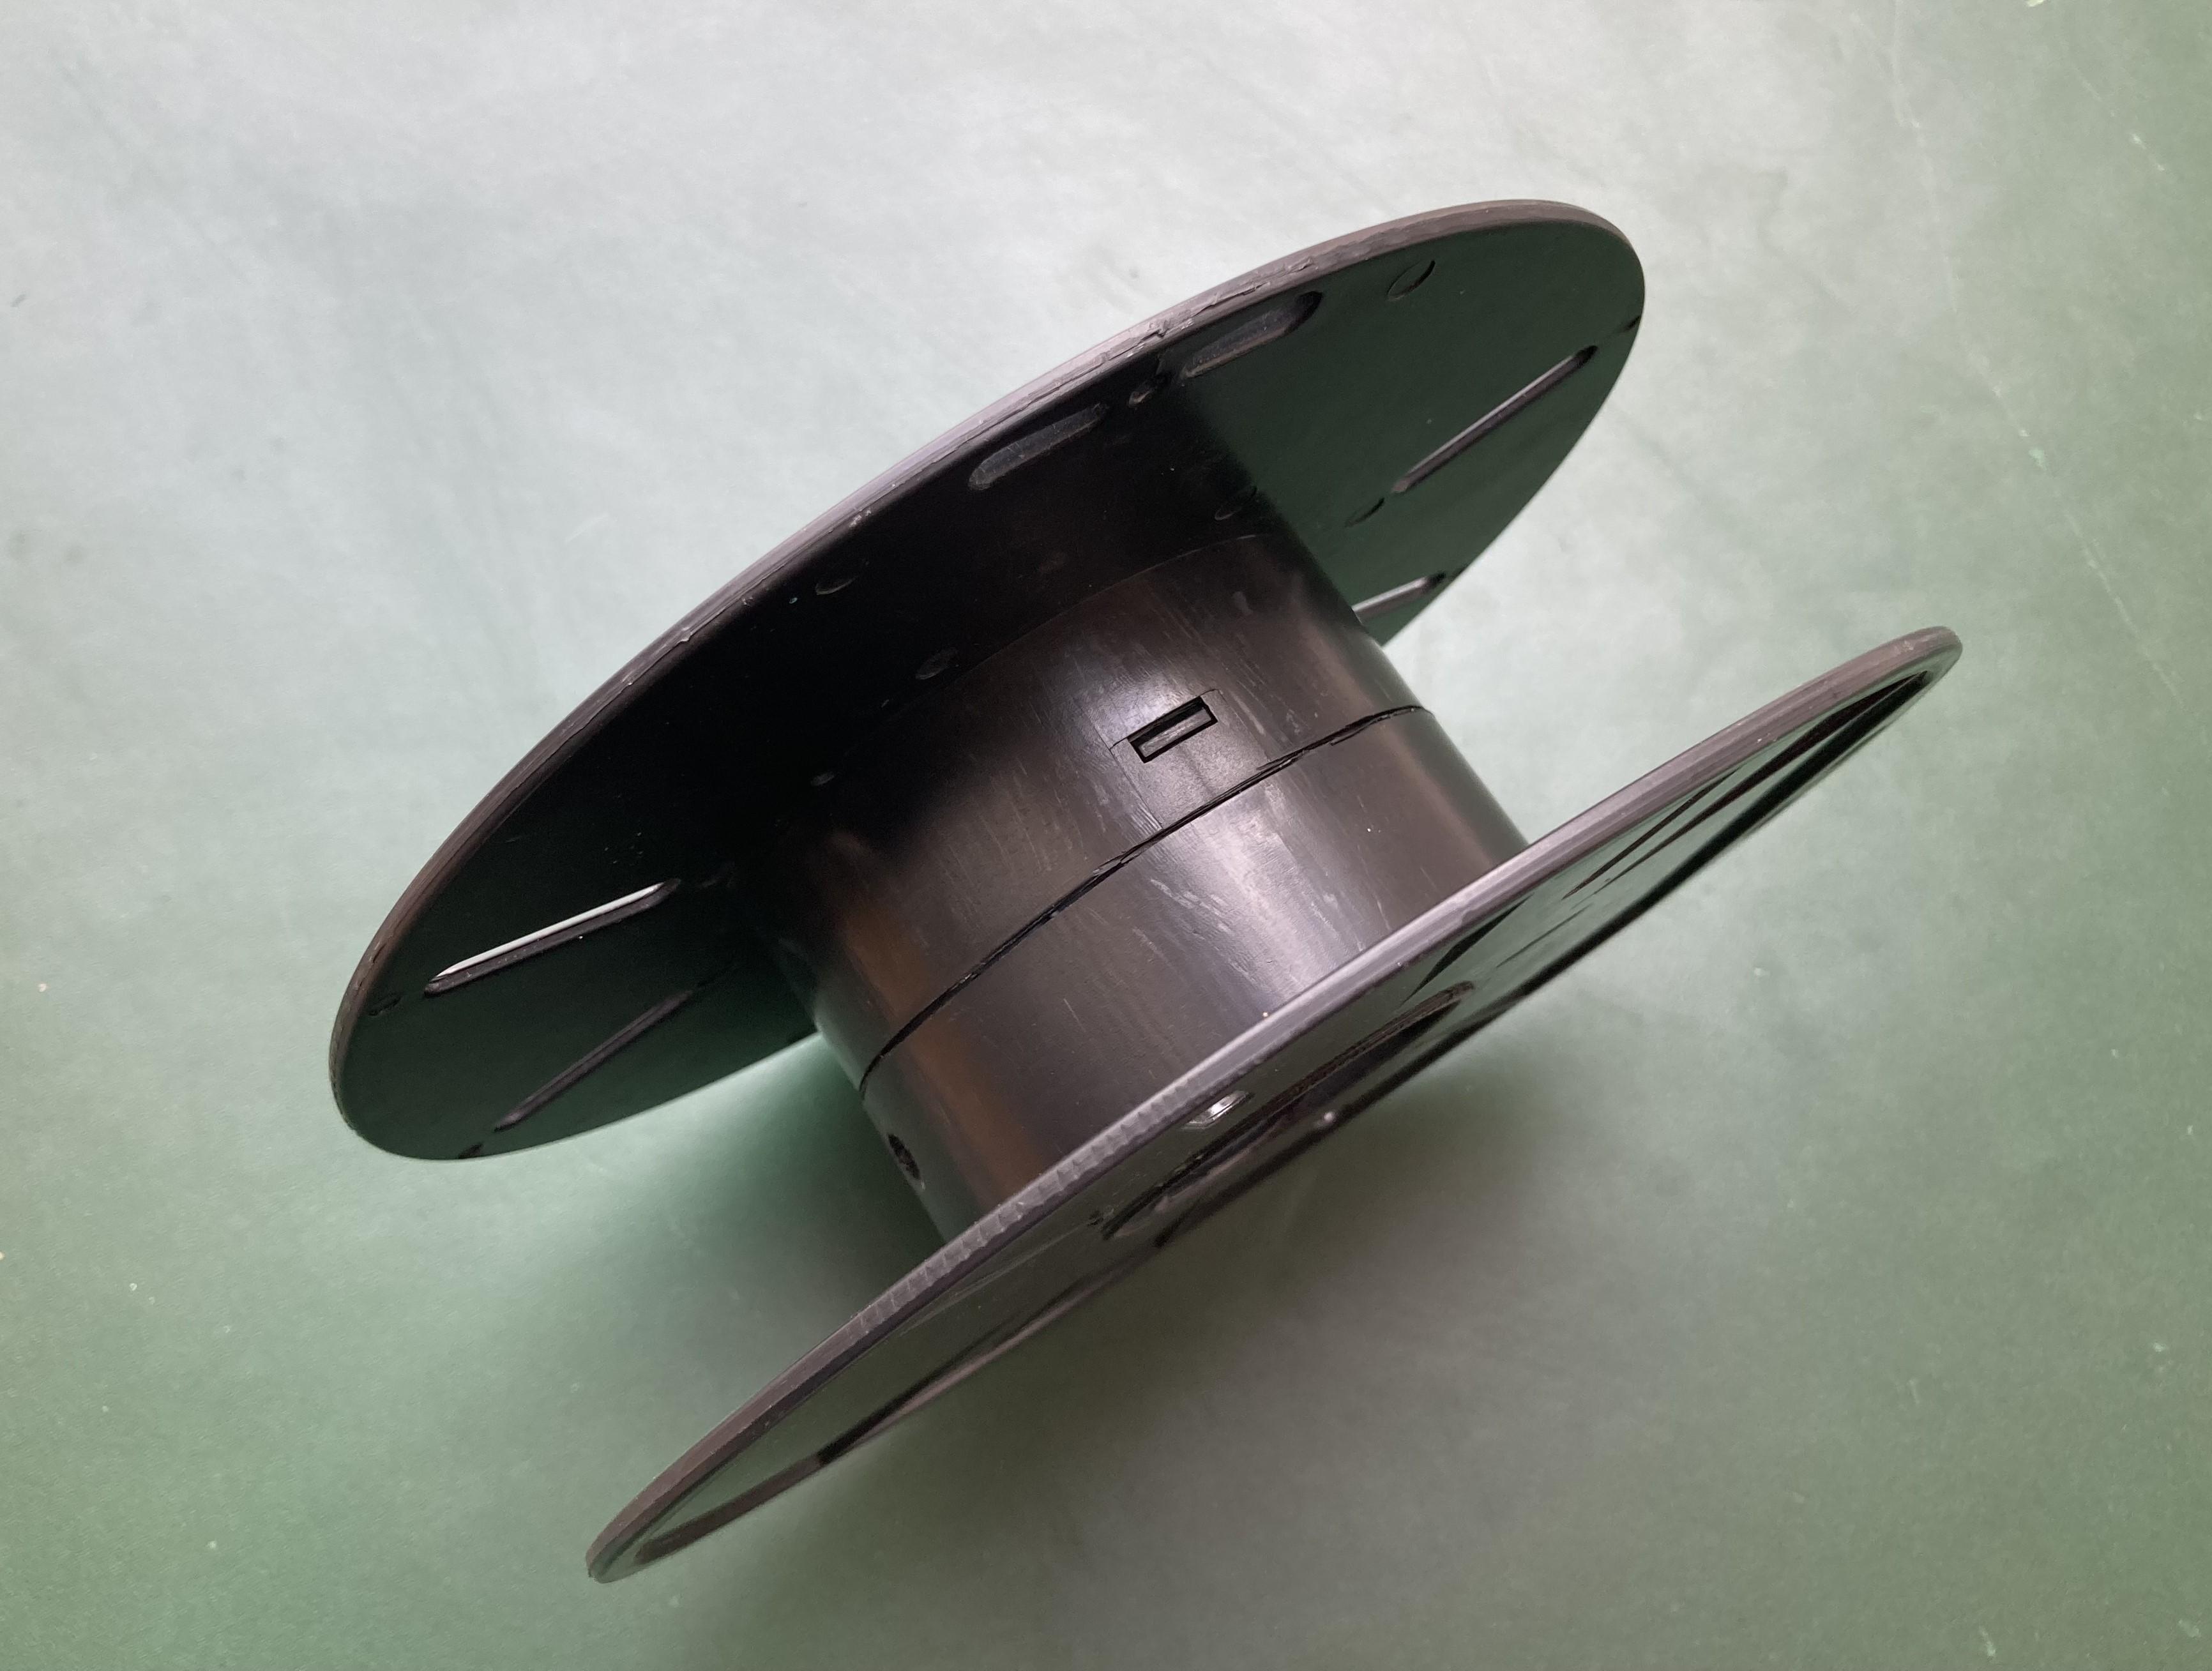
Clean the spool thoroughly to remove any residue or dust.
Remove any labels or stickers from the spool surface.
Cut the Spool in two halves using a handsaw, carefully cut along the marked line to divide the spool into two halves. Take your time and use steady, even strokes to avoid splintering or damaging the spool.
After cutting, use sandpaper or a file to smooth any rough edges or burrs on the cut surfaces of the spool halves. This will ensure a clean and even finish.
Inspect the cut edges of the spool halves to ensure they are smooth and free of any debris. Clean off any dust or particles that may have accumulated during cutting.
By following these steps, you can safely and effectively cut a filament spool in two halves using basic tools and techniques. Remember to exercise caution and wear appropriate safety gear, such as goggles and gloves, when cutting and handling materials.
Now we have to create upper and lower 3D printed parts for the spool holes, follow these steps:
Measure the inner diameter and height of the spool holes to ensure the 3D printed parts fit correctly.
Use 3D modeling software such as Tinkercad or Fusion 360 to design the upper and lower parts.
The upper part should have a hole or slot for inserting the plastic part which support a 3d printed switch key.
The lower part should have a similar hole or slot for wind up music mechanism spindle, which is further connected to plastic stand to support the spool
Assemble the upper and lower parts together, ensuring they fit securely and align correctly with the spool.
Prepare the Plastic Parts
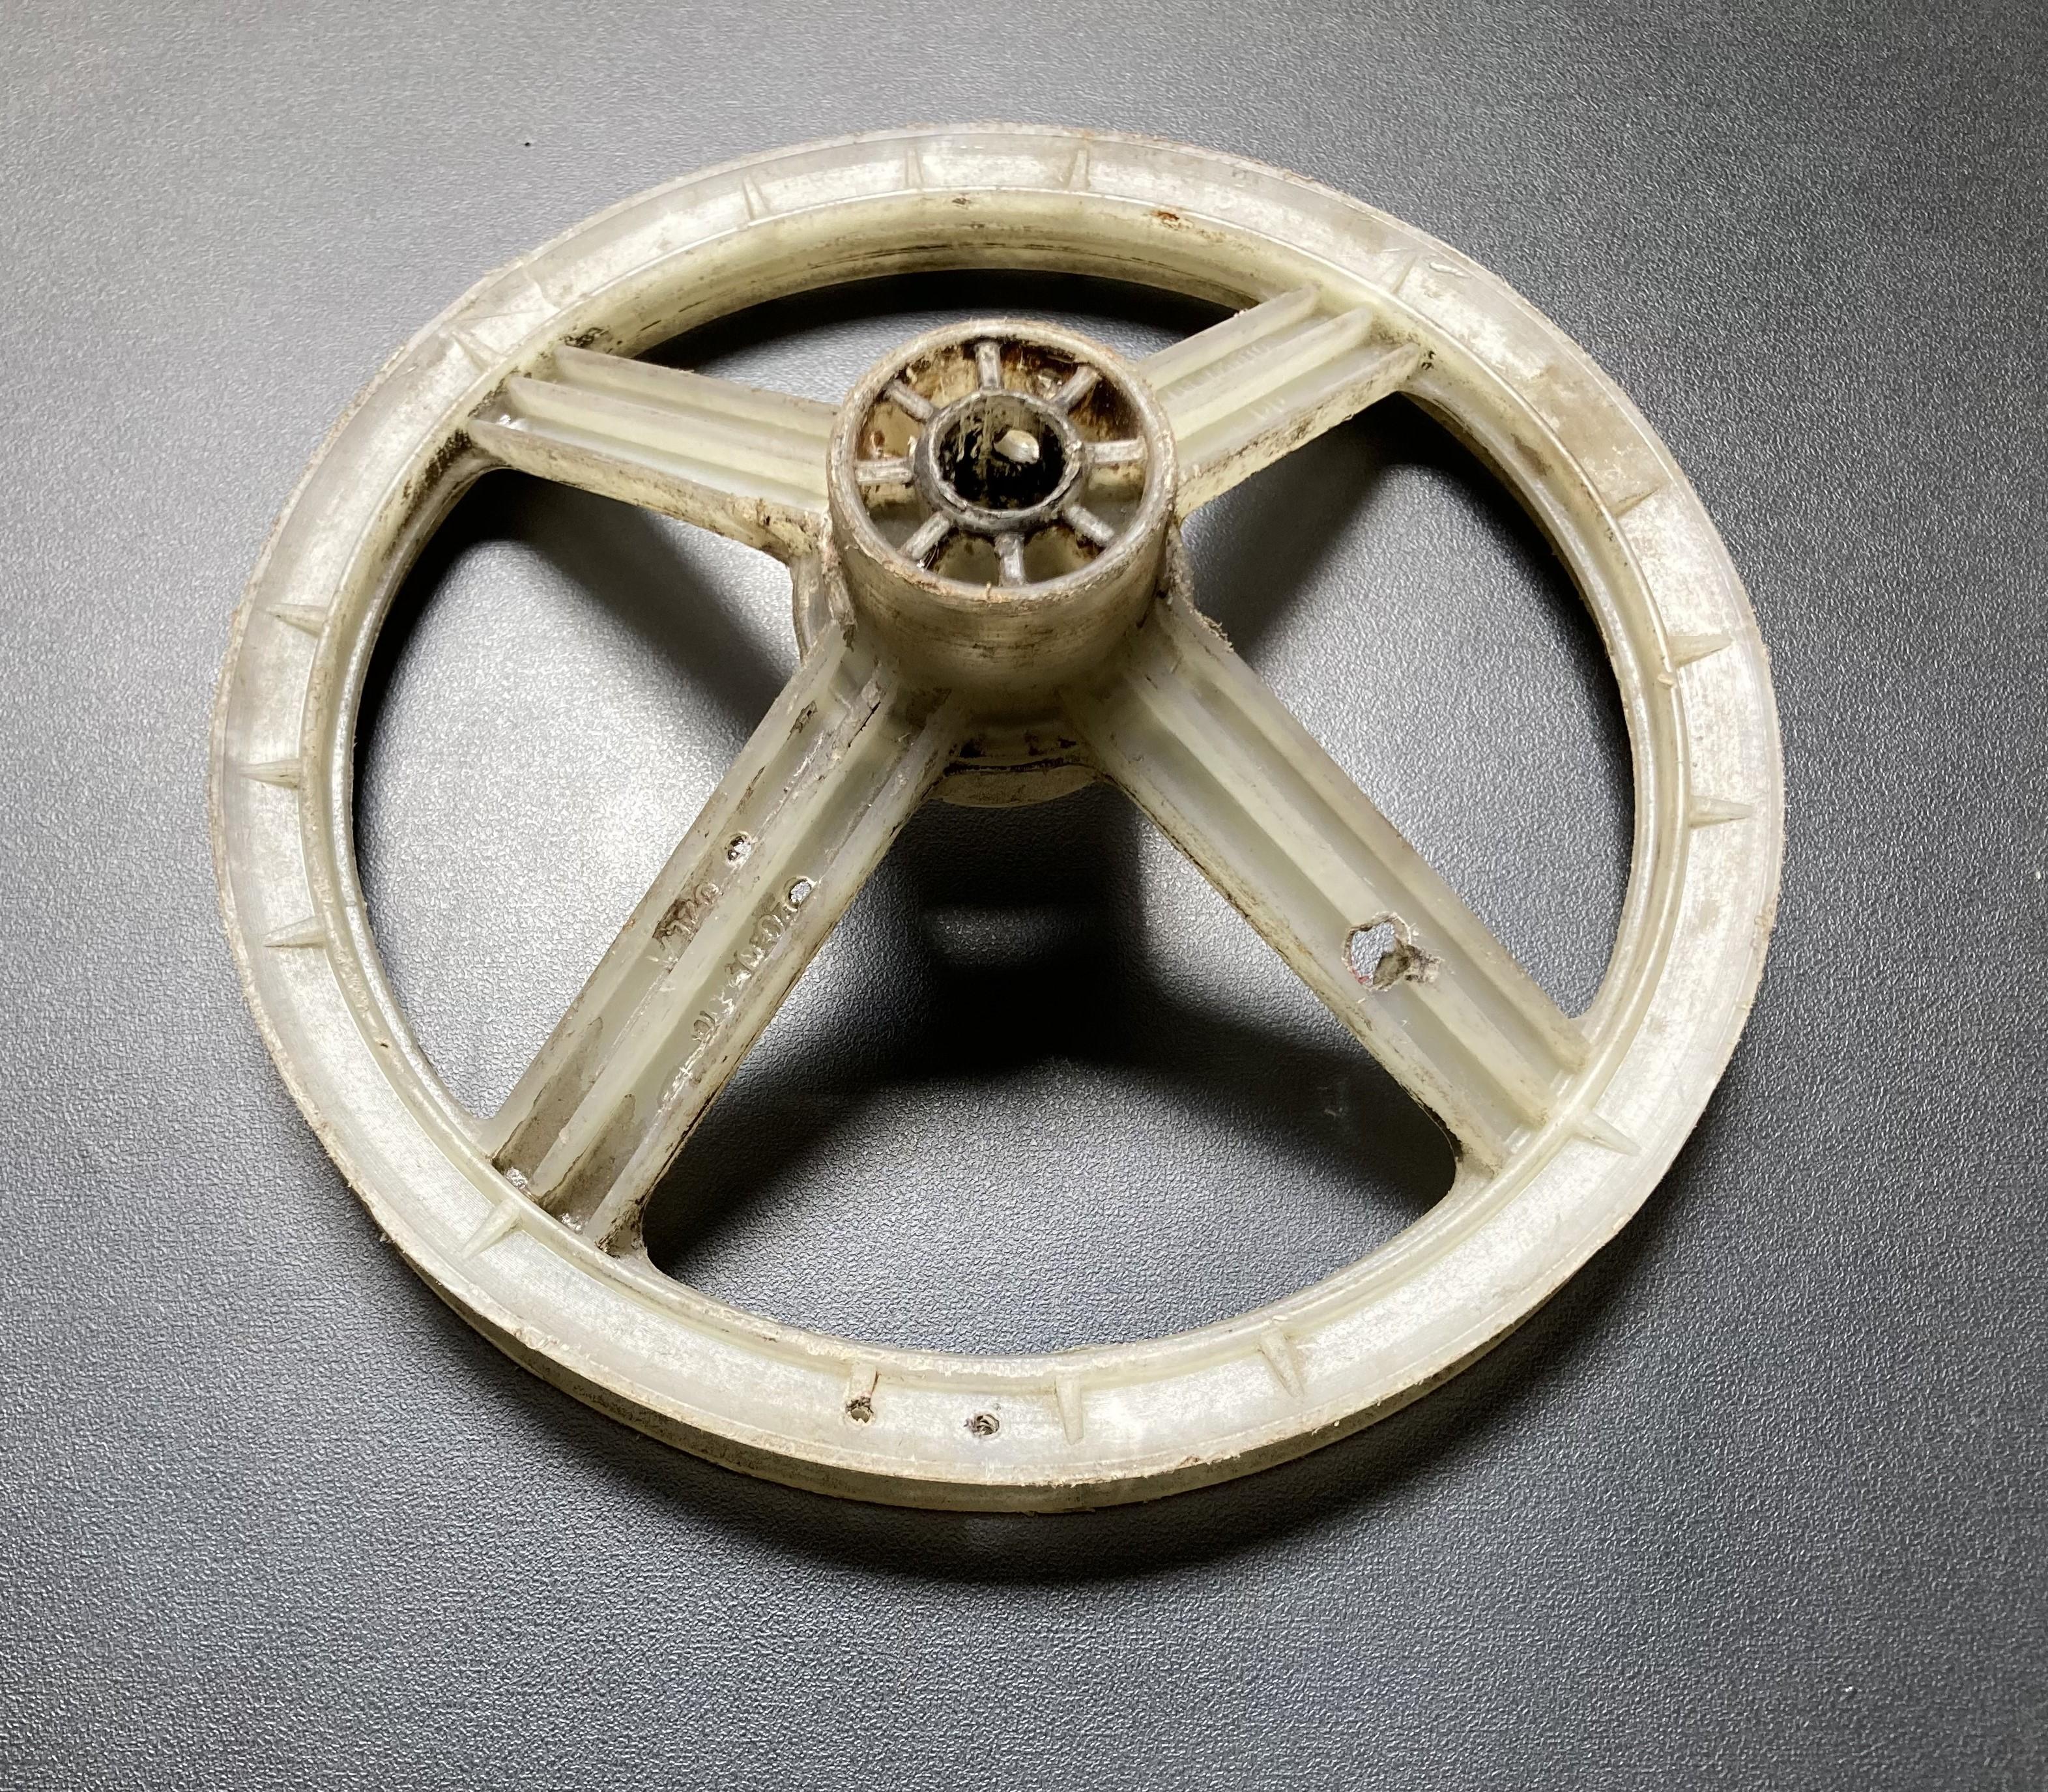
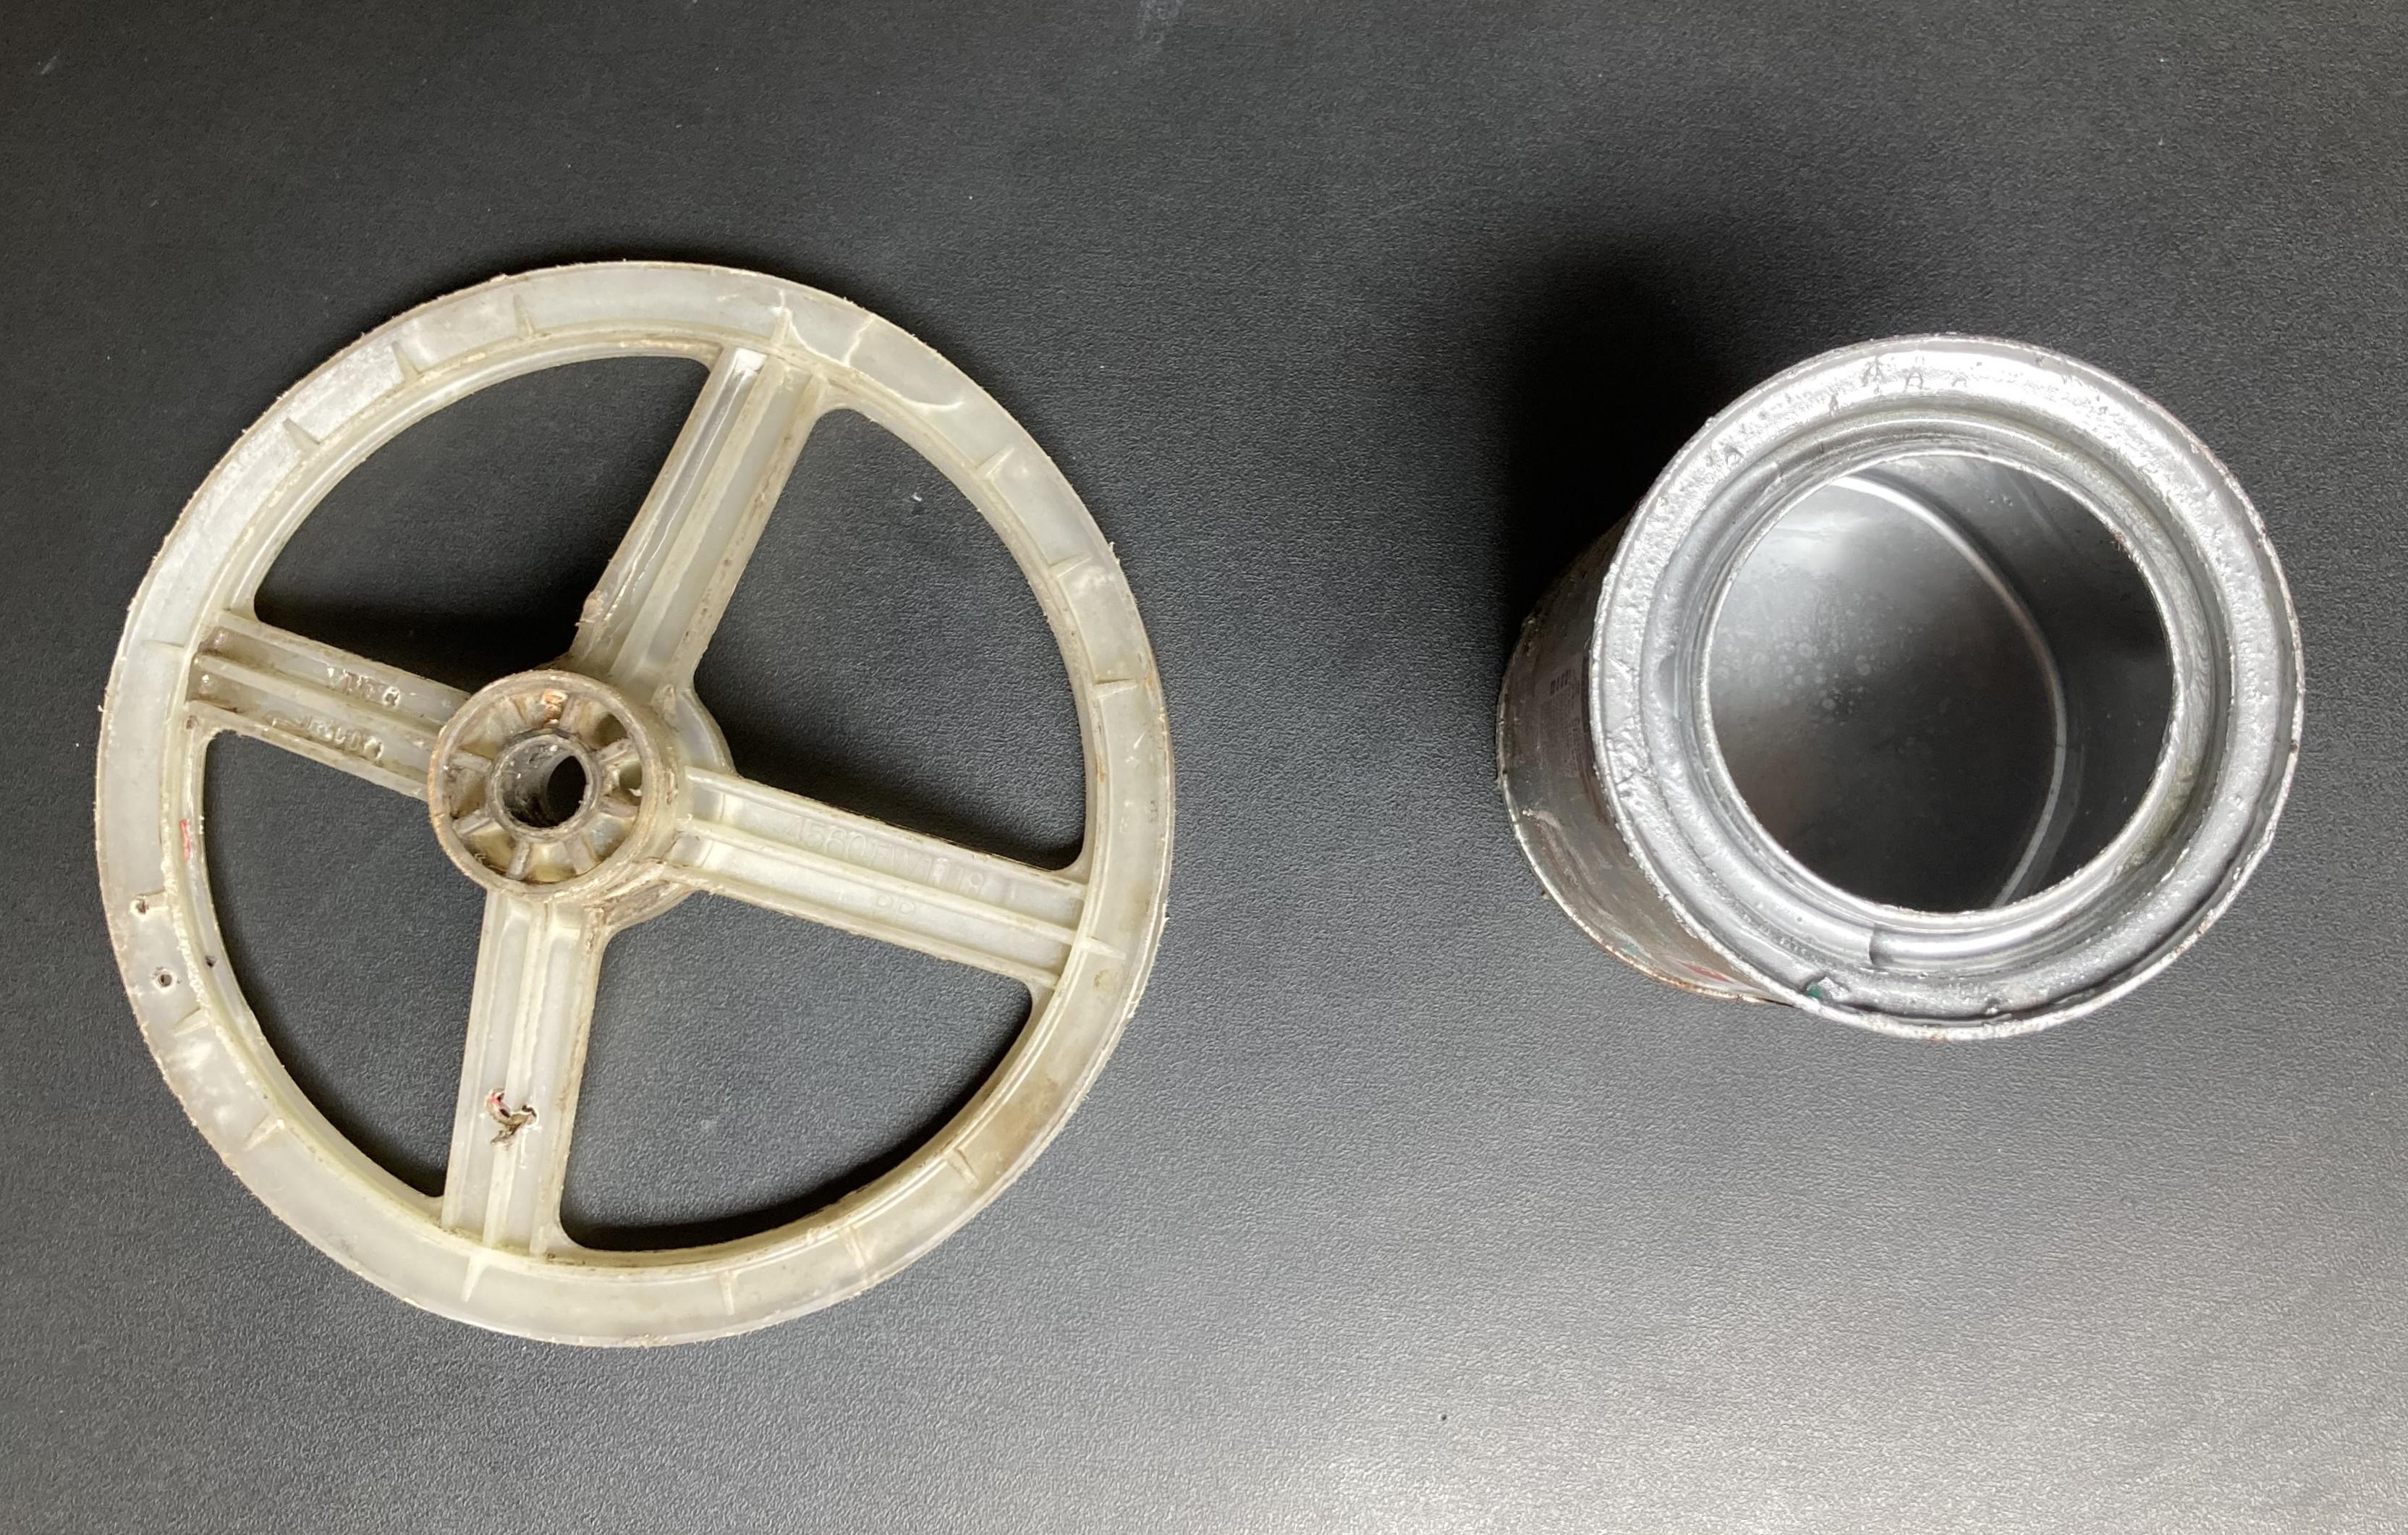
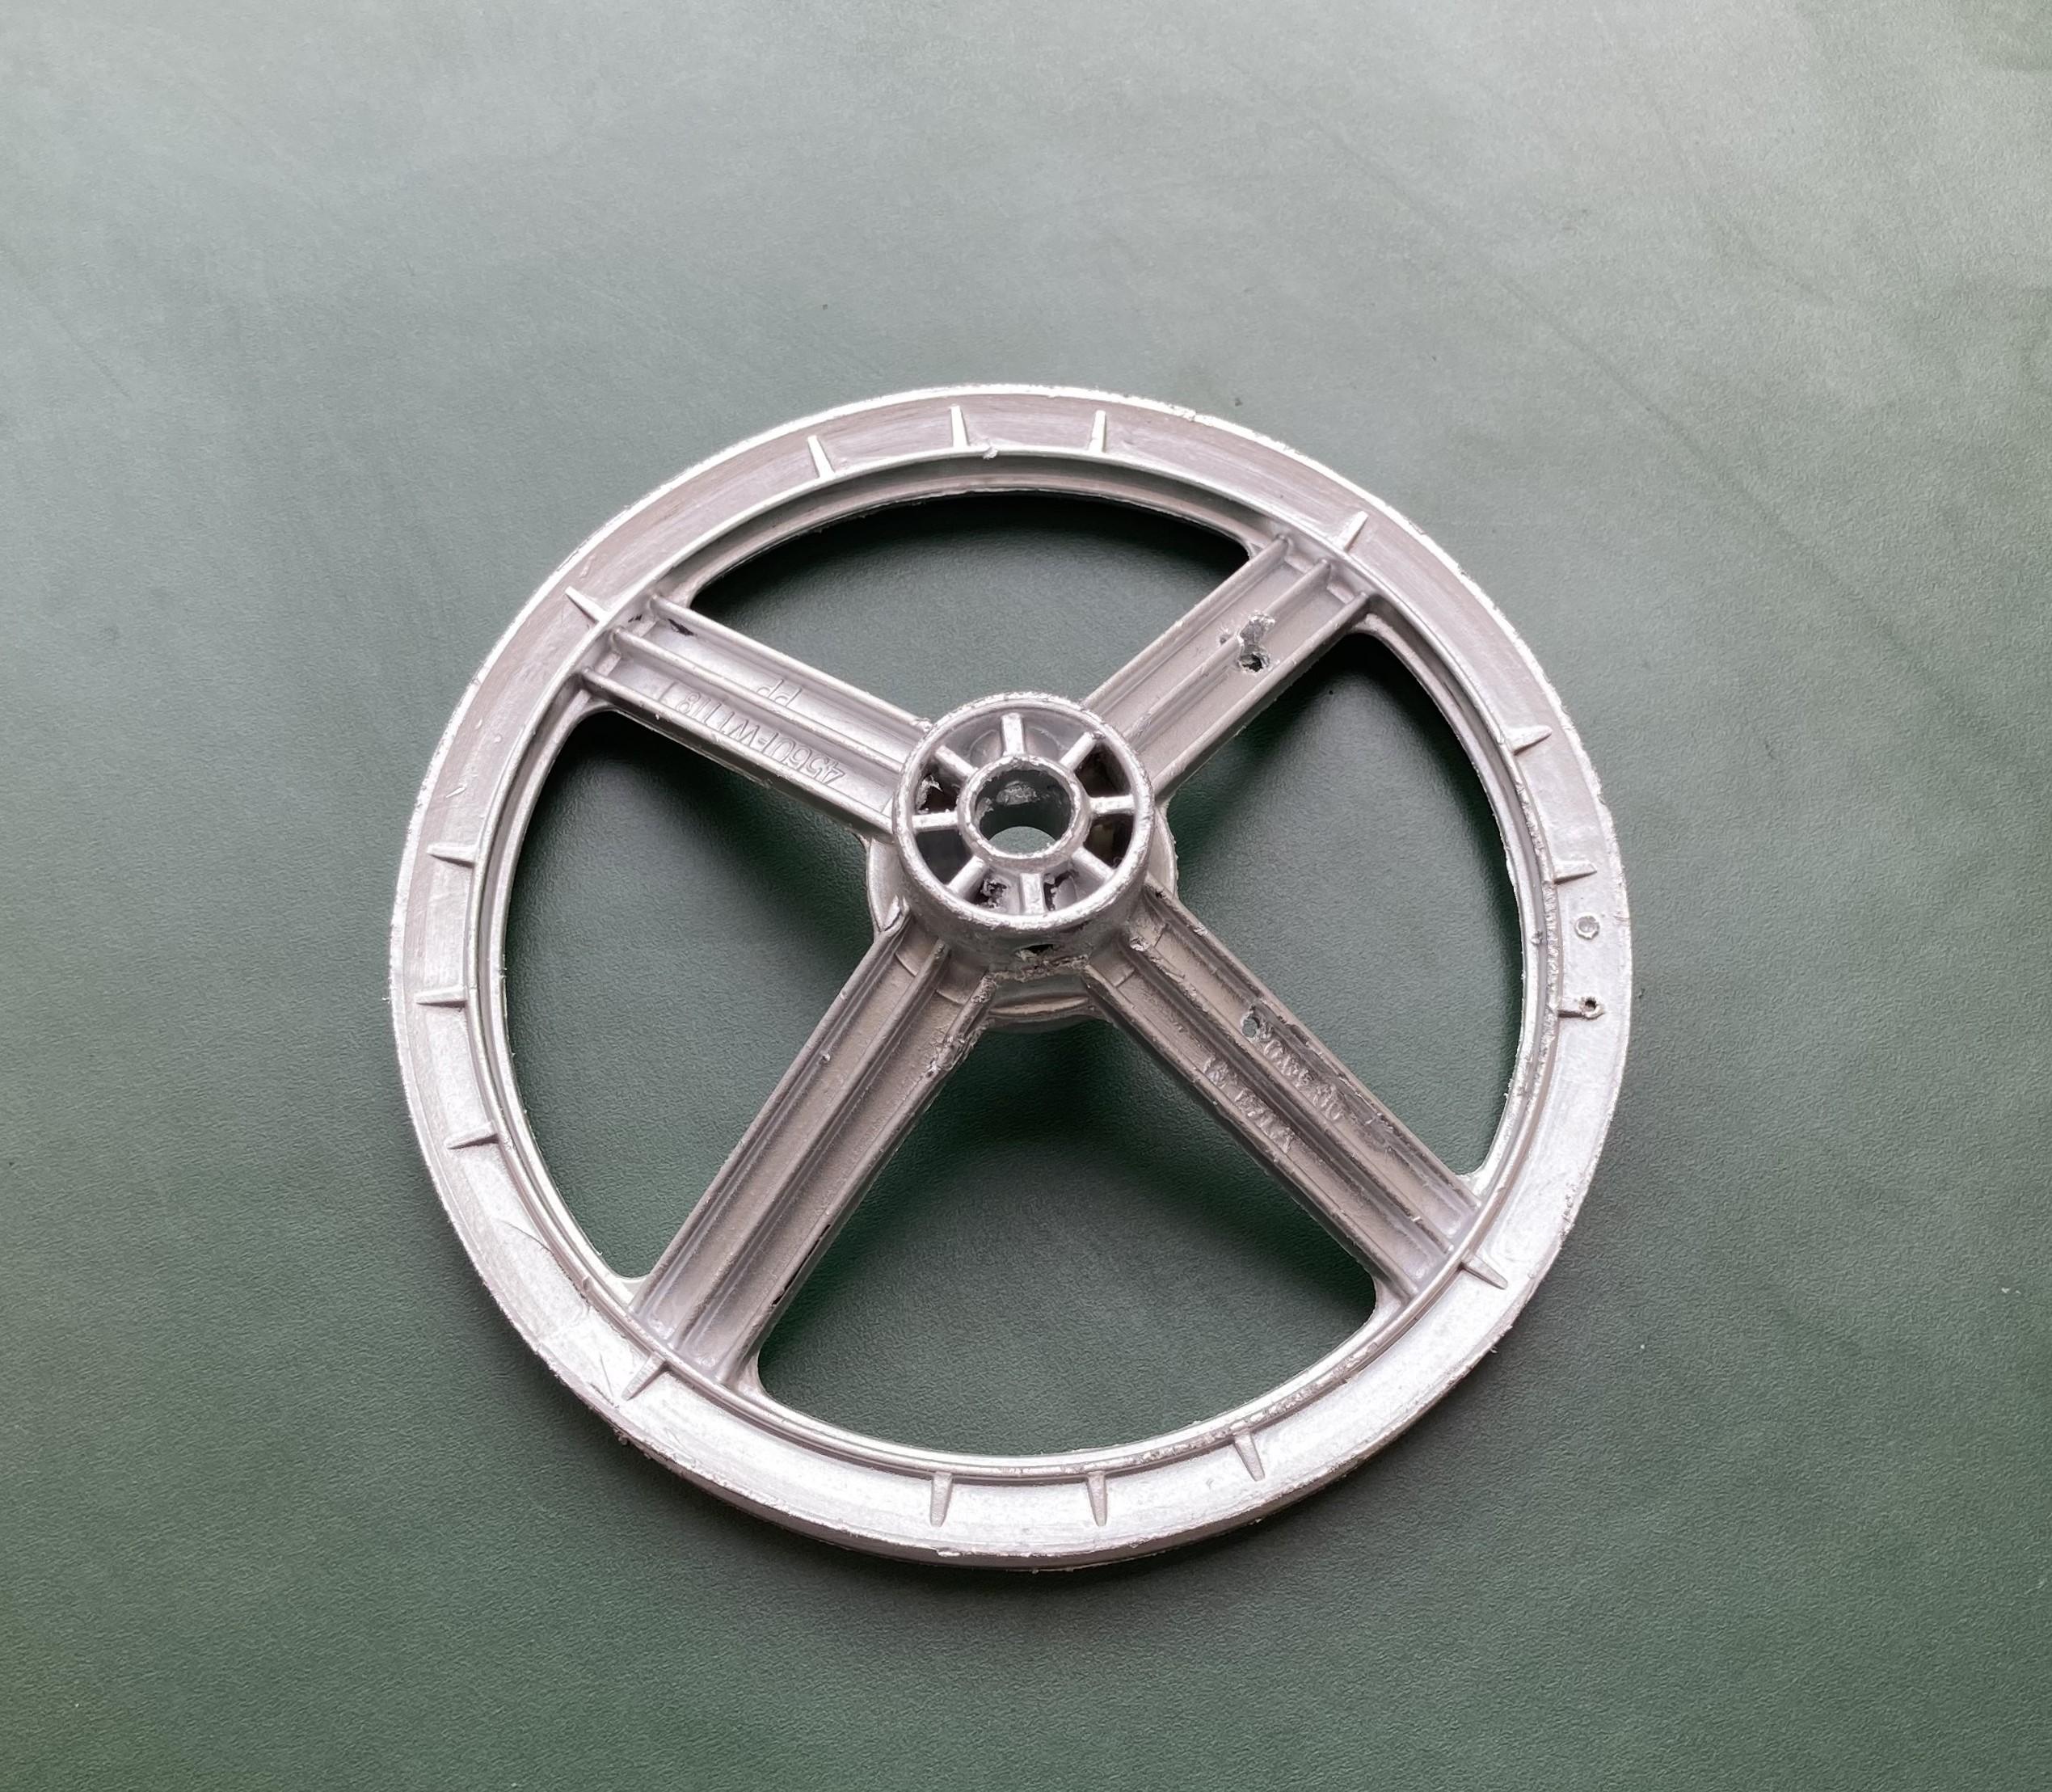
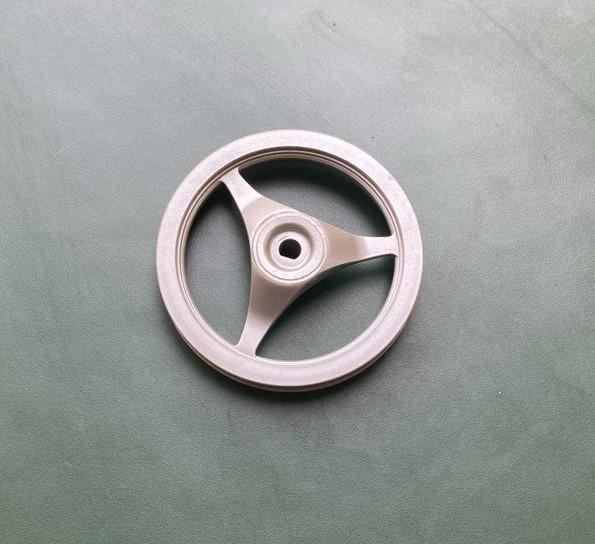
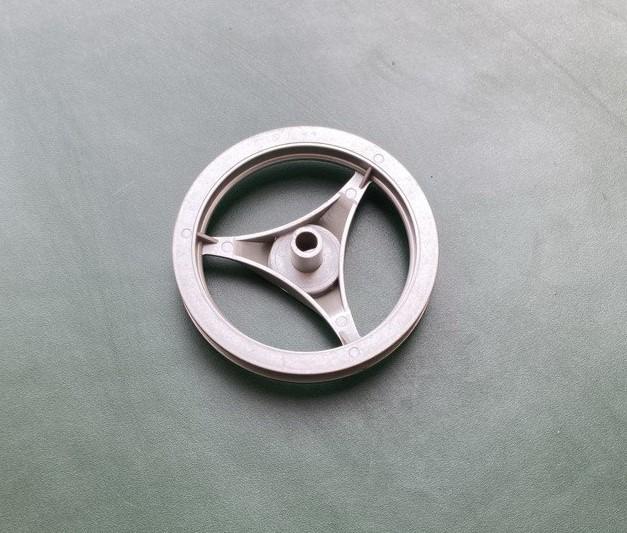
I used old plastic parts for the stand/ base and top of the lithophane lamp. Clean the plastic parts with brush or with sand paper and paint them well. I used the silver color to paint them.
Prepare the Images


Get free high-resolution images from Websites like Unsplash, Pixabay, and Pexels offer a vast collection of high-quality images that are free to use for personal and commercial projects. These images are often licensed under Creative Commons, allowing you to use them with few restrictions.
I used two images of nature for lithophane.
1. Open Image: Open Inkscape and import the image you want to resize by going to File > Import and selecting the image file from your computer.
2. Select Image: Click on the image to select it. You should see handles around the edges indicating that it's selected.
3. Open Resize Dialog: Go to Object > Transform to open the Transform dialog box.
4. Set Dimensions: In the Width and Height fields of the Transform dialog box, enter the desired dimensions for the image. For my case, I have set the Width to 1128 pixels and the Height to 215 pixels.
5. Maintain Aspect Ratio: By default, Inkscape will maintain the aspect ratio of the image when resizing. Ensure that the "Scale proportionally" or "Maintain aspect ratio" option is checked to prevent distortion.
6. Apply Changes: Click the Apply button in the Transform dialog box to resize the image. You should see the image resize to the specified dimensions.
7. Save Image: After resizing the image, you can save it by going to File > Save As and choosing the desired file format (e.g., PNG, JPEG).
That's it! You've successfully resized the image to 1128 pixels by 215 pixels using Inkscape.
Creating a Circular Lithophane
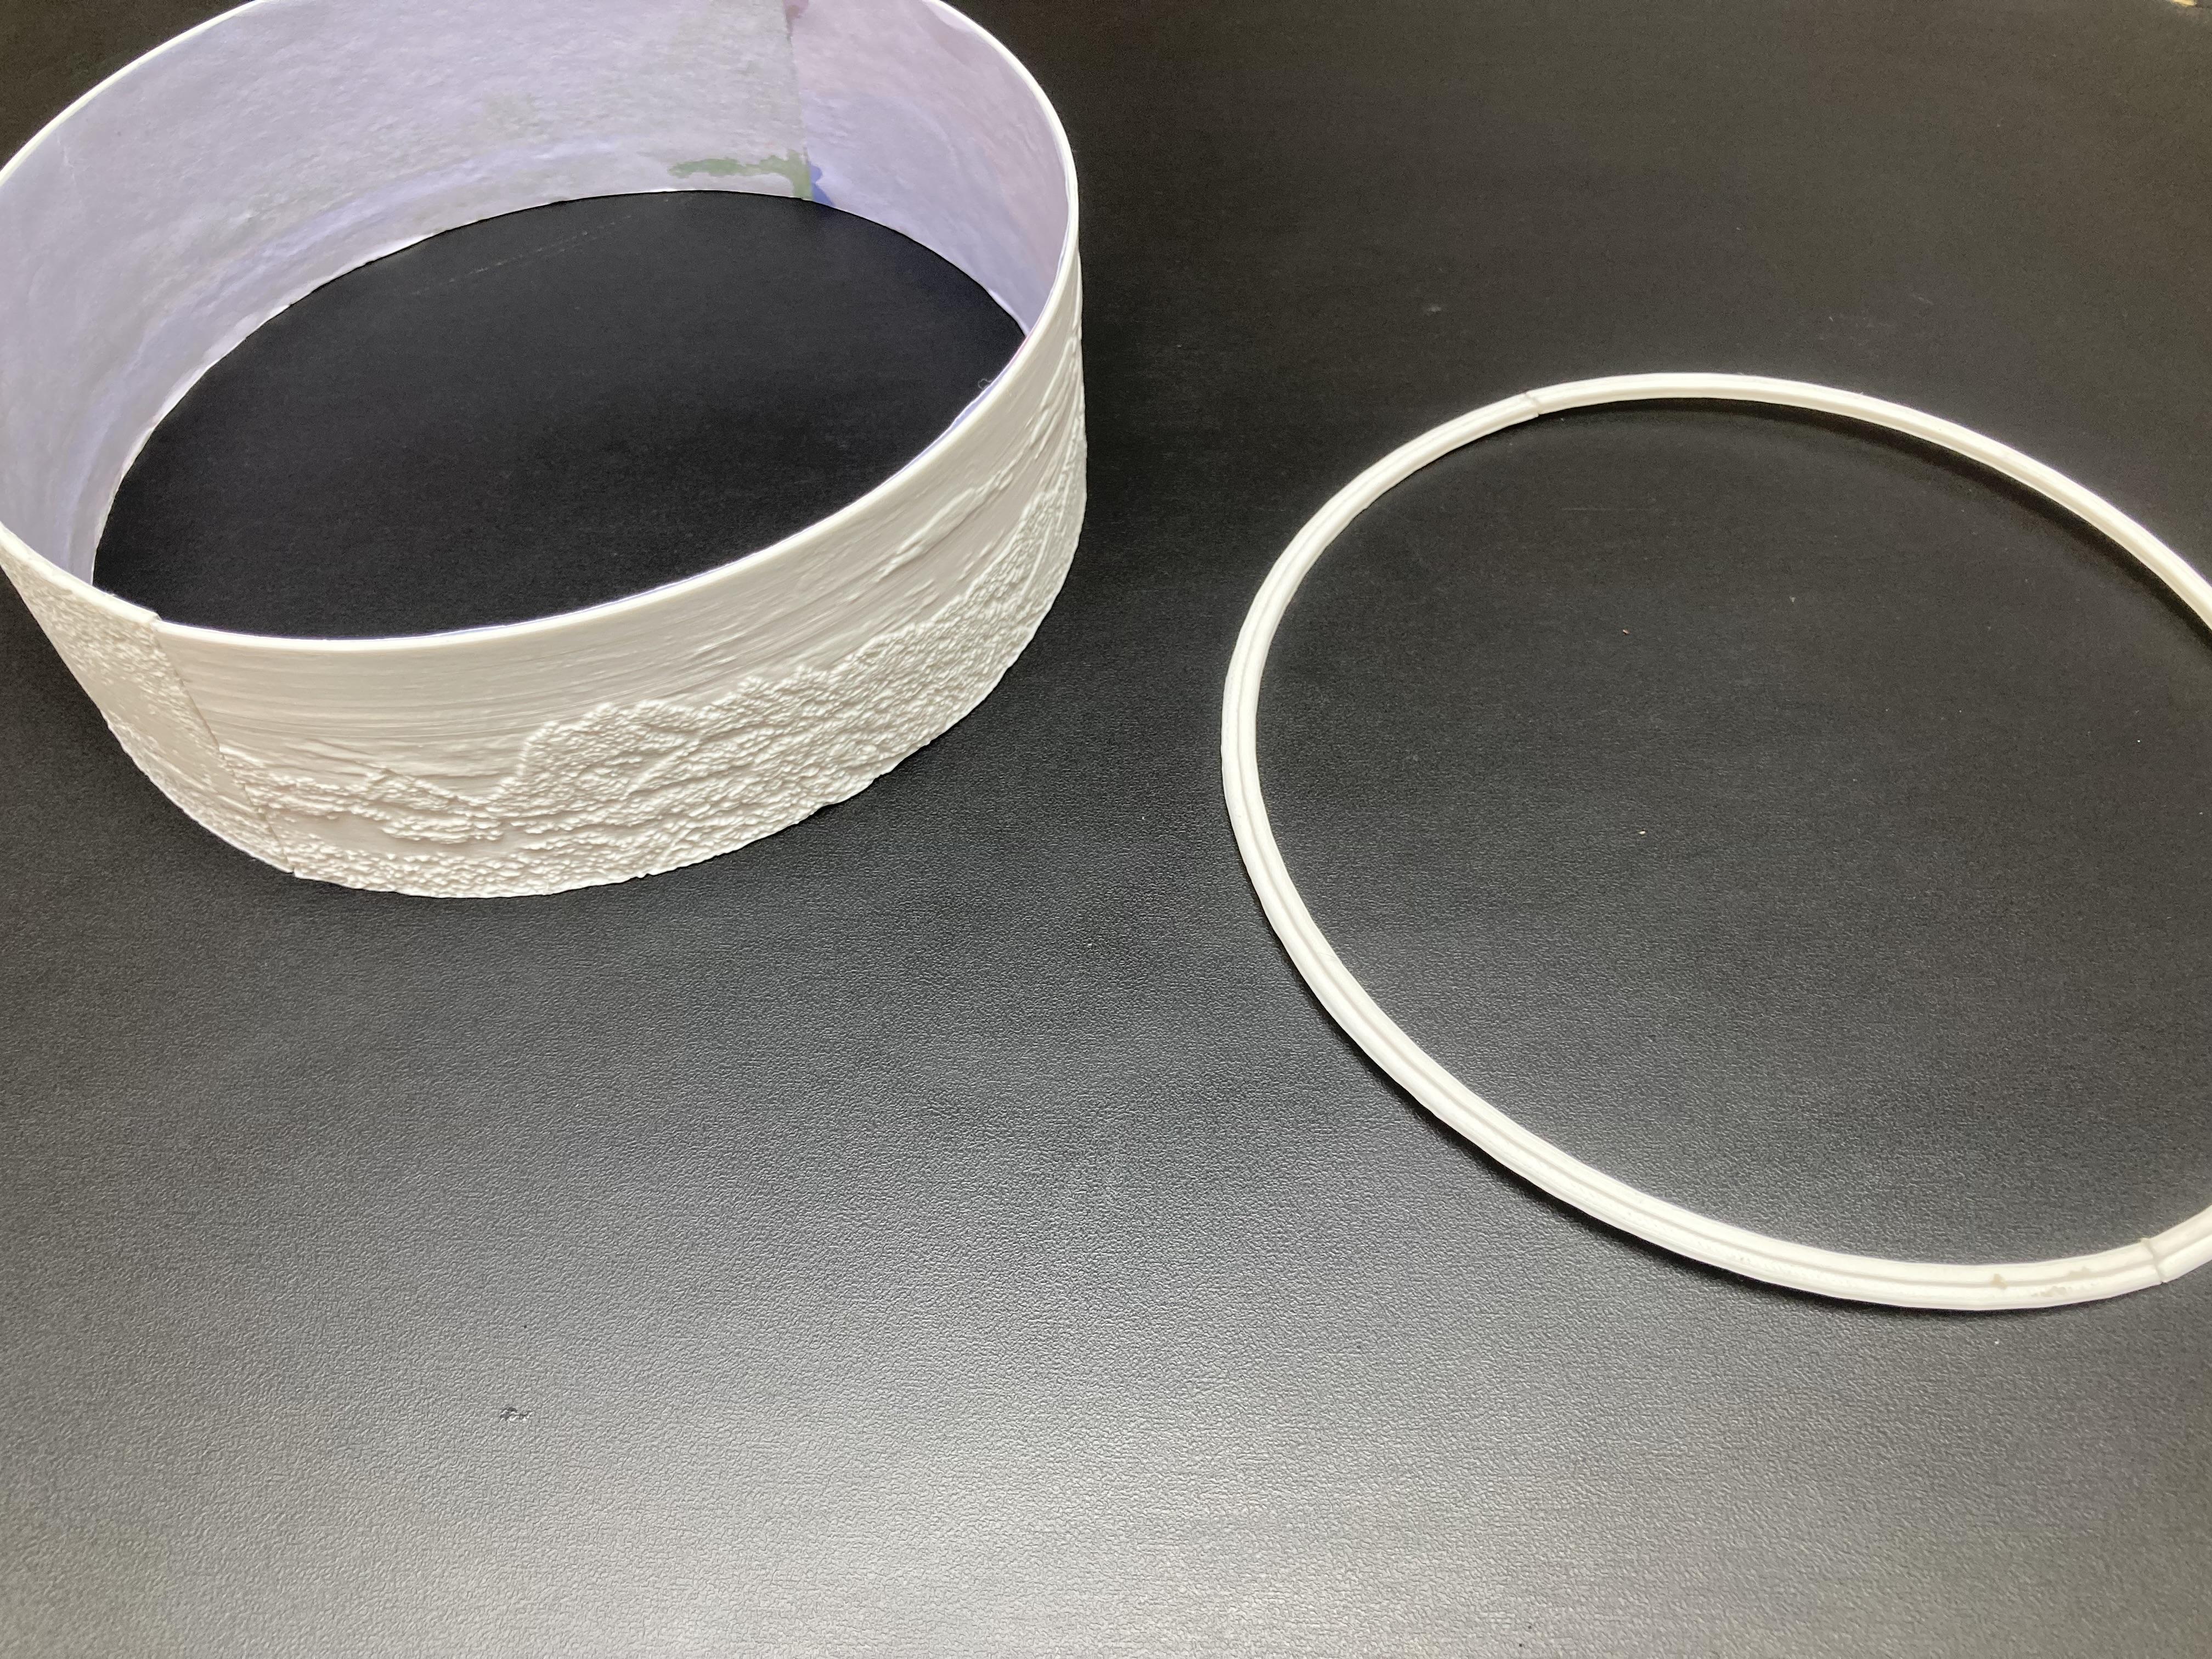
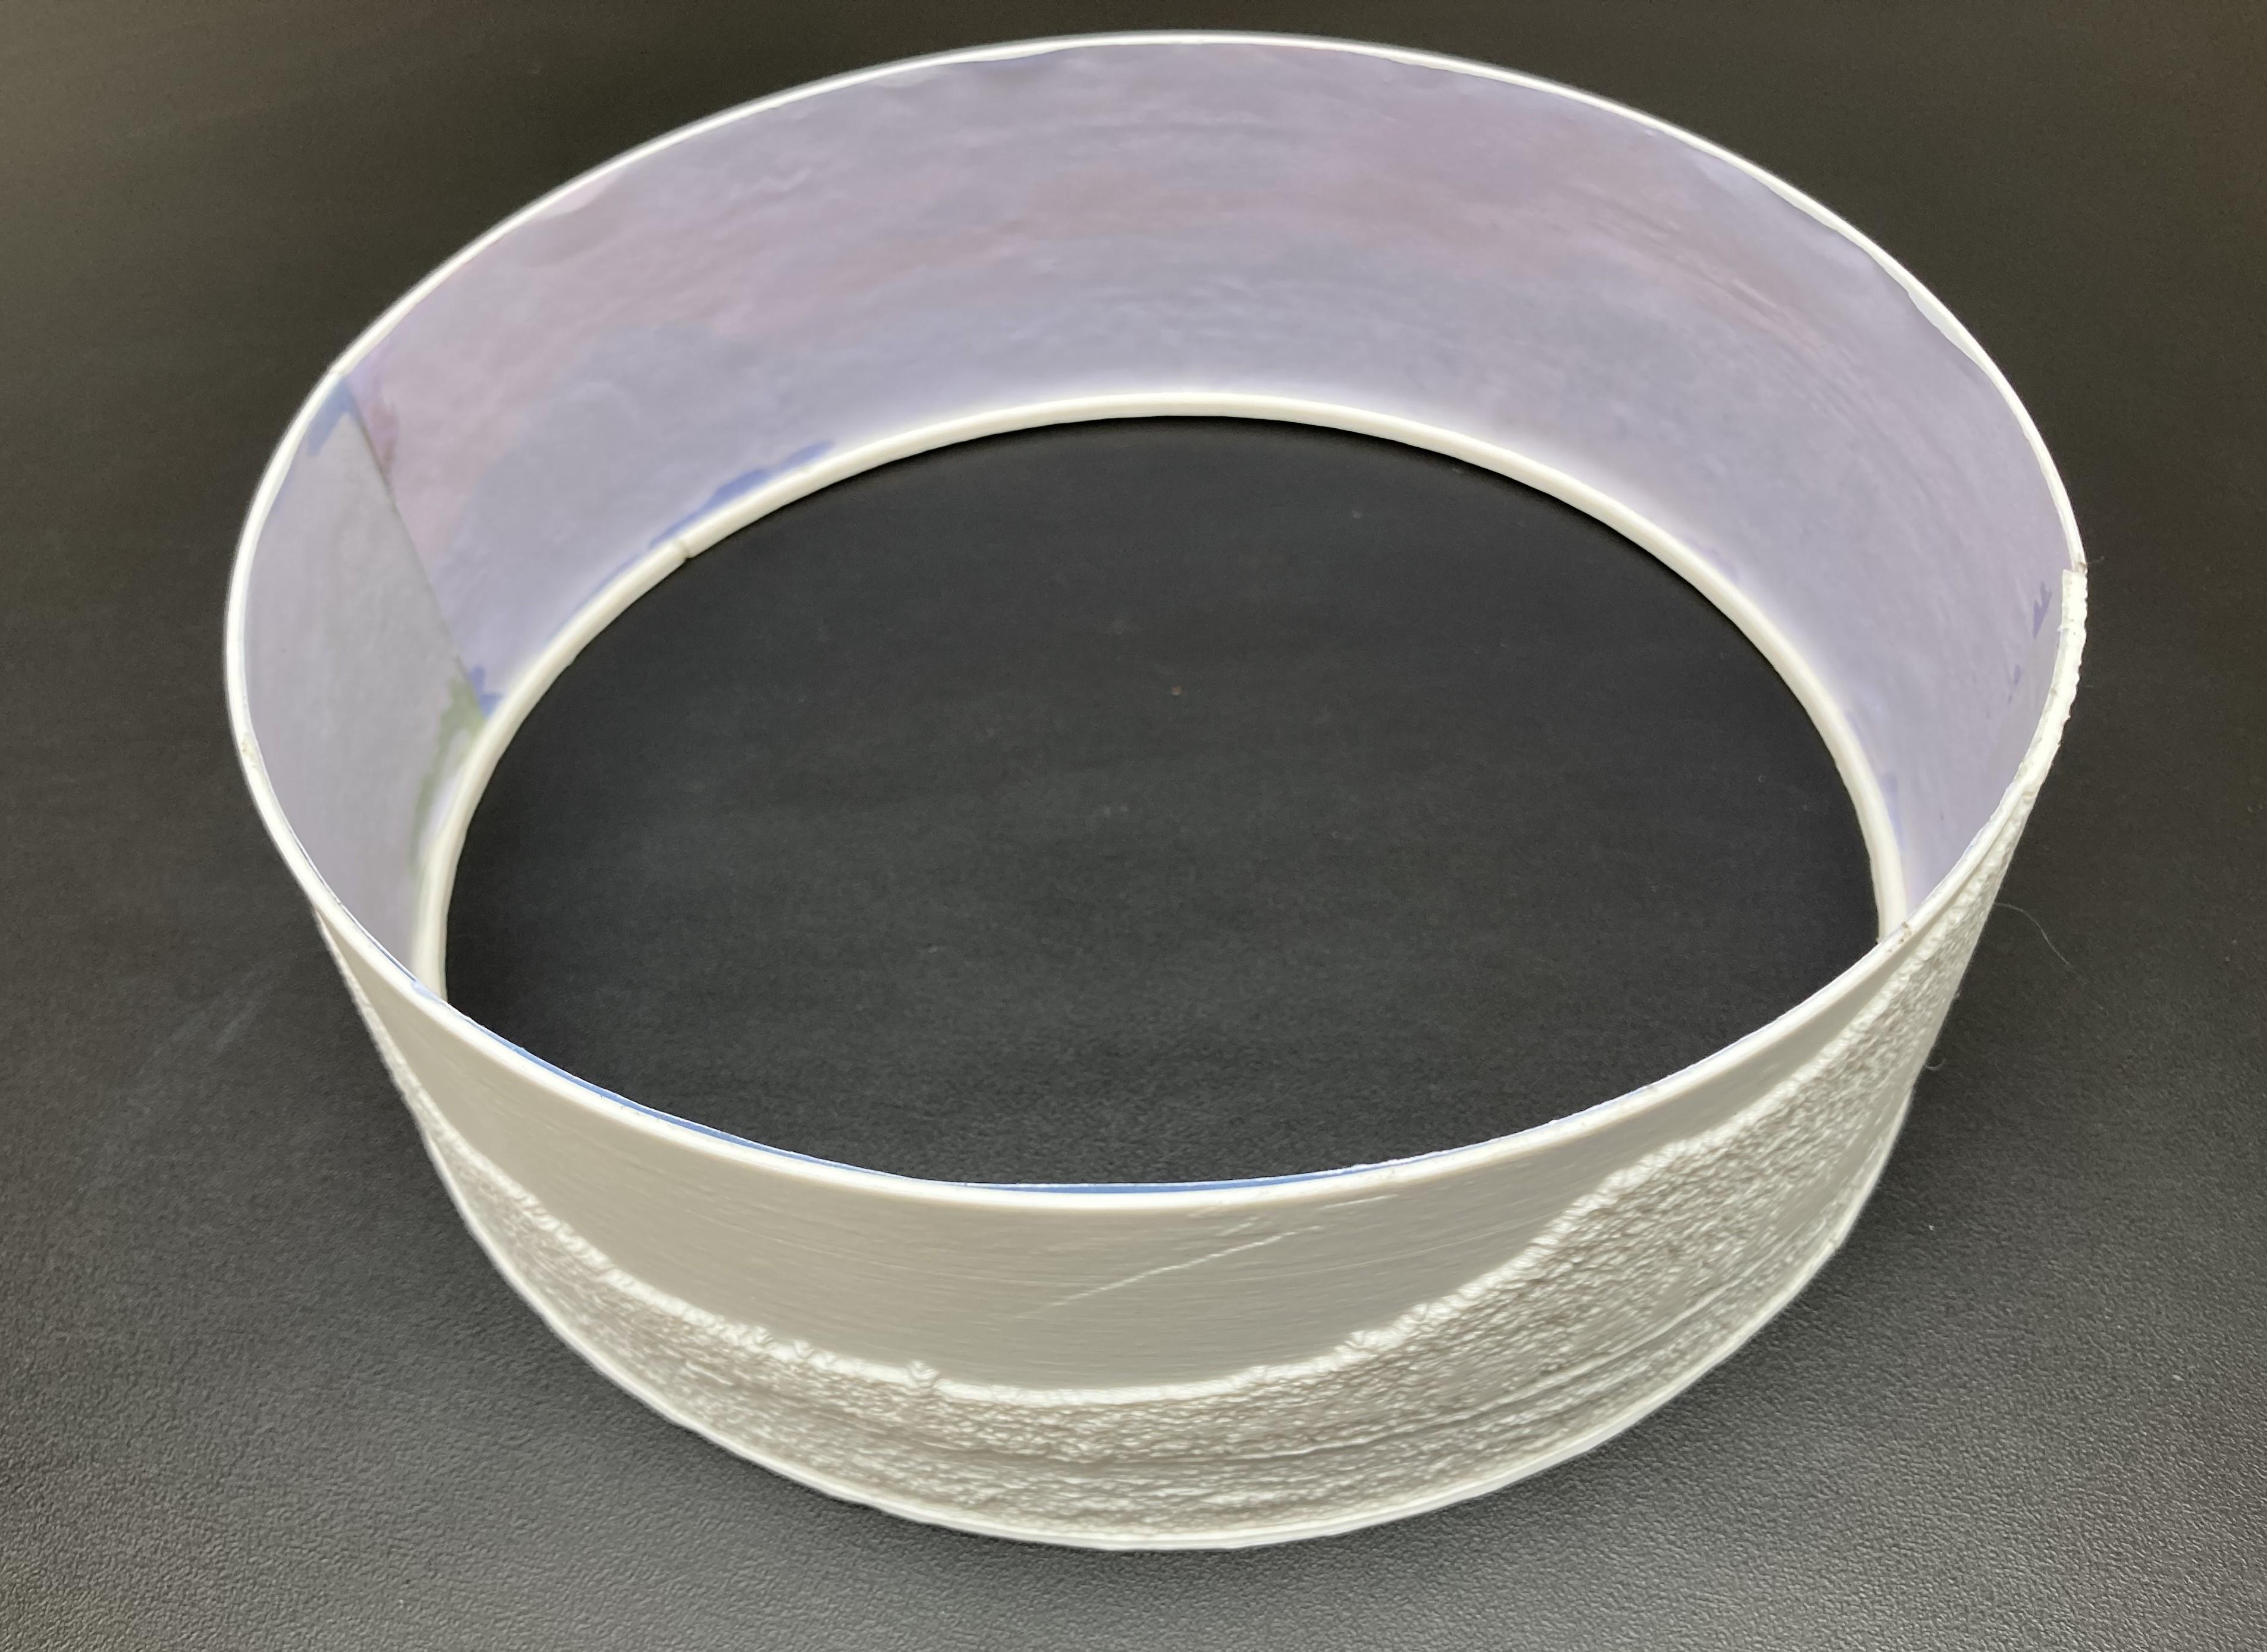
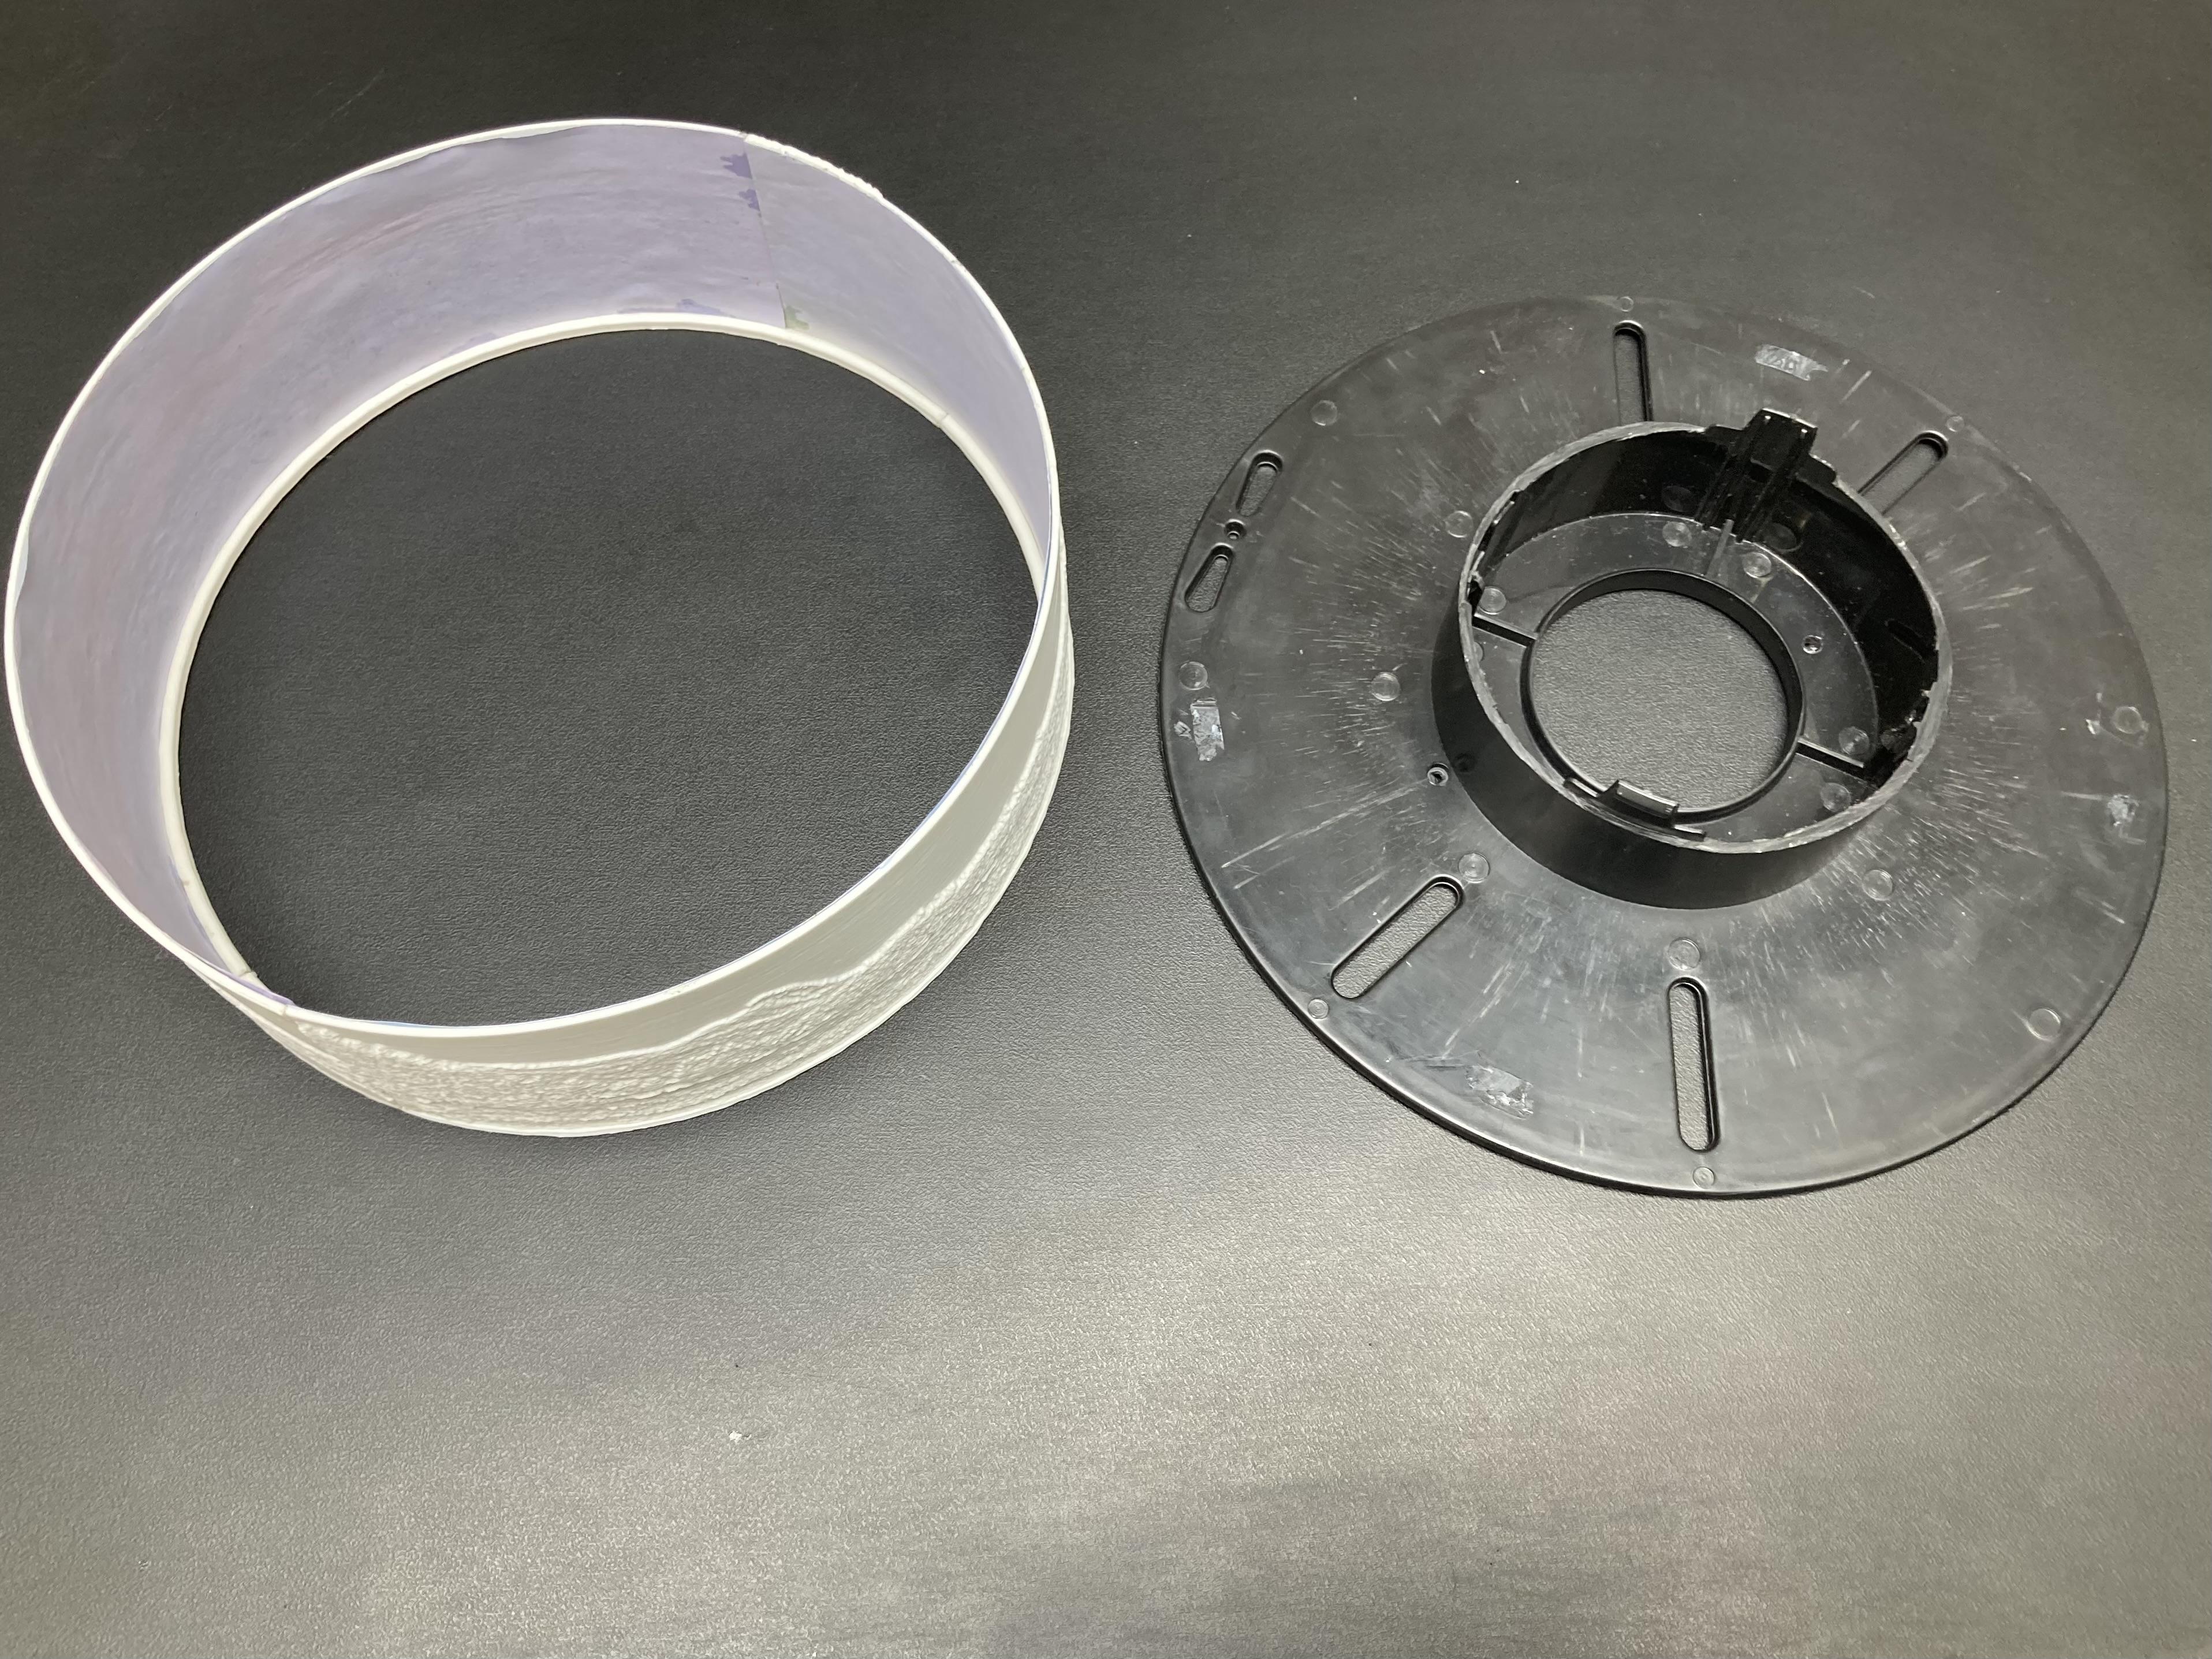
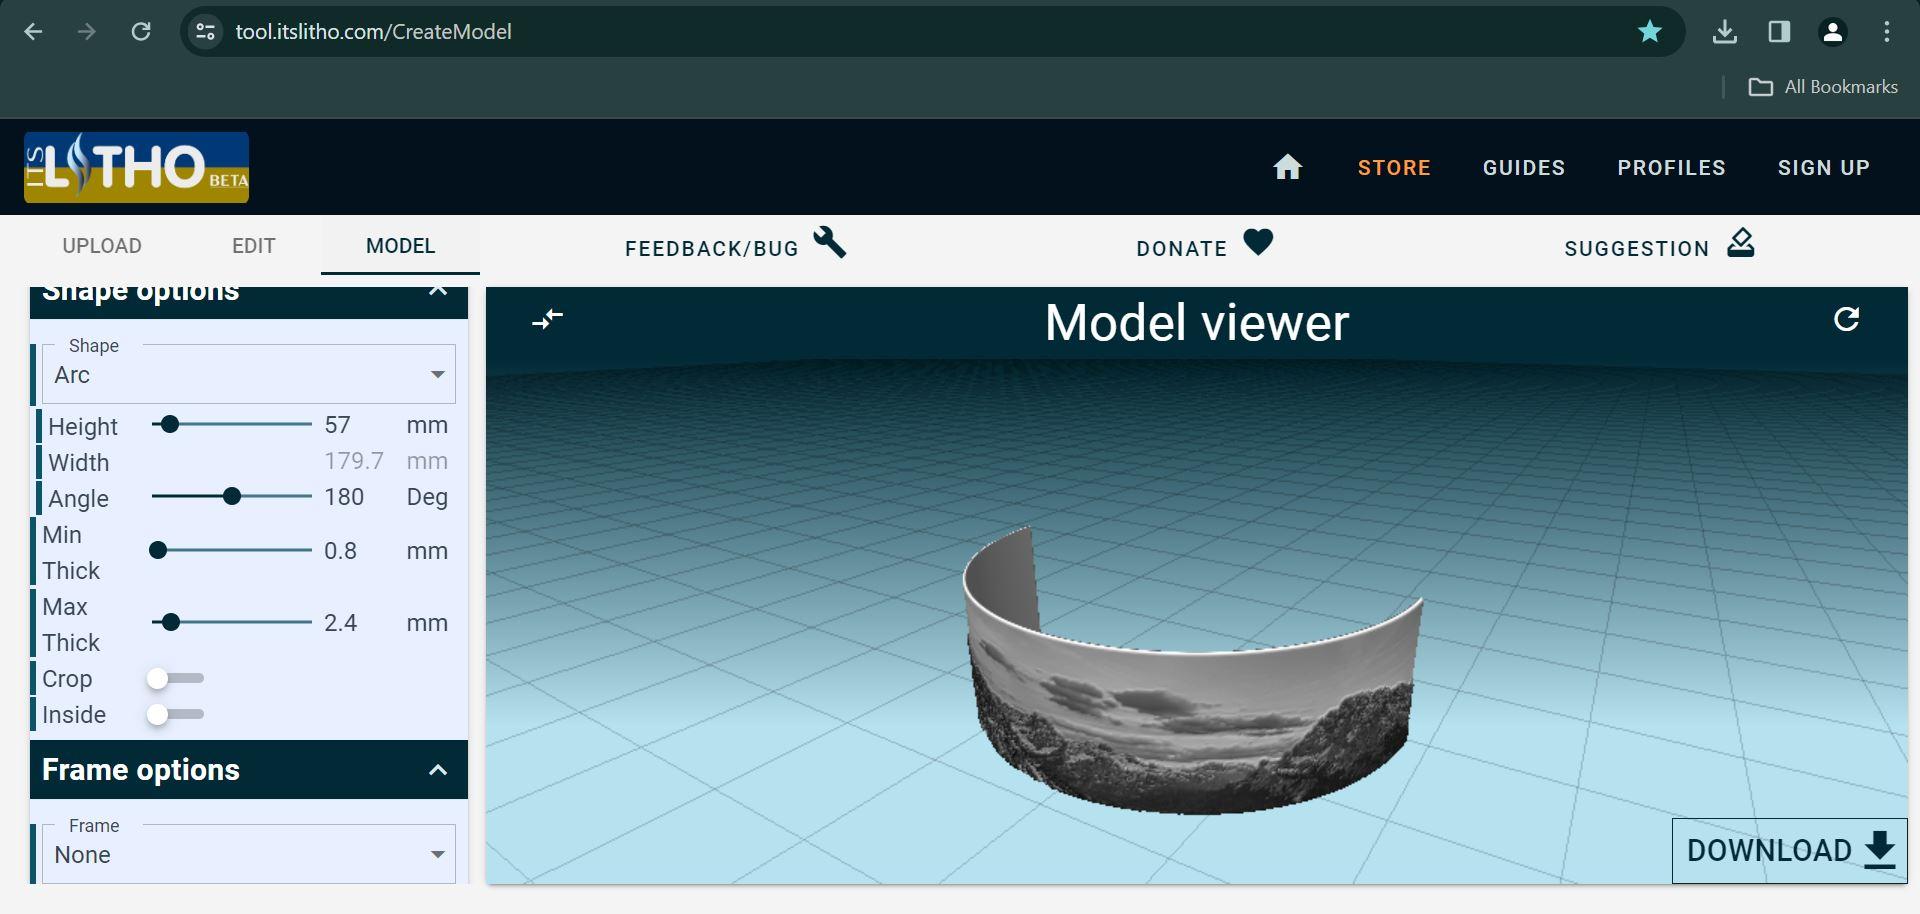
1. Select an Online Tool: There are various online tools available for creating lithophanes. Choose one that supports adding color to the lithophane, such as Lithophane Maker or 3DP Rocks. I used this online software:
https://tool.itslitho.com/CreateModel
2. Upload Your Image: Upload the image you want to convert into a lithophane. Make sure it’s a high-quality image and in a format supported by the tool (usually JPEG or PNG).
3. Adjust Settings: Adjust the settings according to your preferences. This includes specifying the size, thickness, and depth of the lithophane. Some tools also allow you to adjust the color intensity and contrast.
4. Add Color: Look for options to add color to your lithophane. This may involve selecting different colors for different parts of the image or specifying a color palette.
5. Generate and Download: Once you’re satisfied with the settings and color scheme, generate the lithophane. The online tool will process your image and create a 3D model of the lithophane.
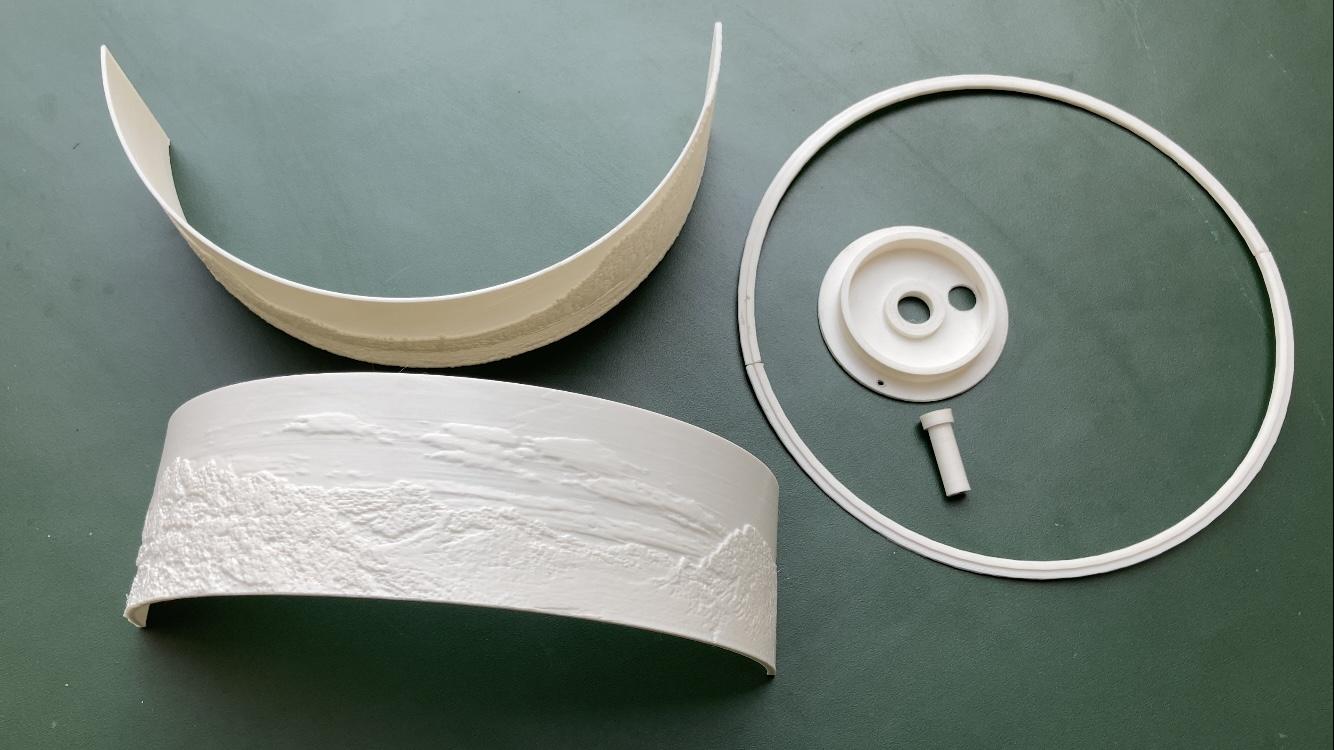
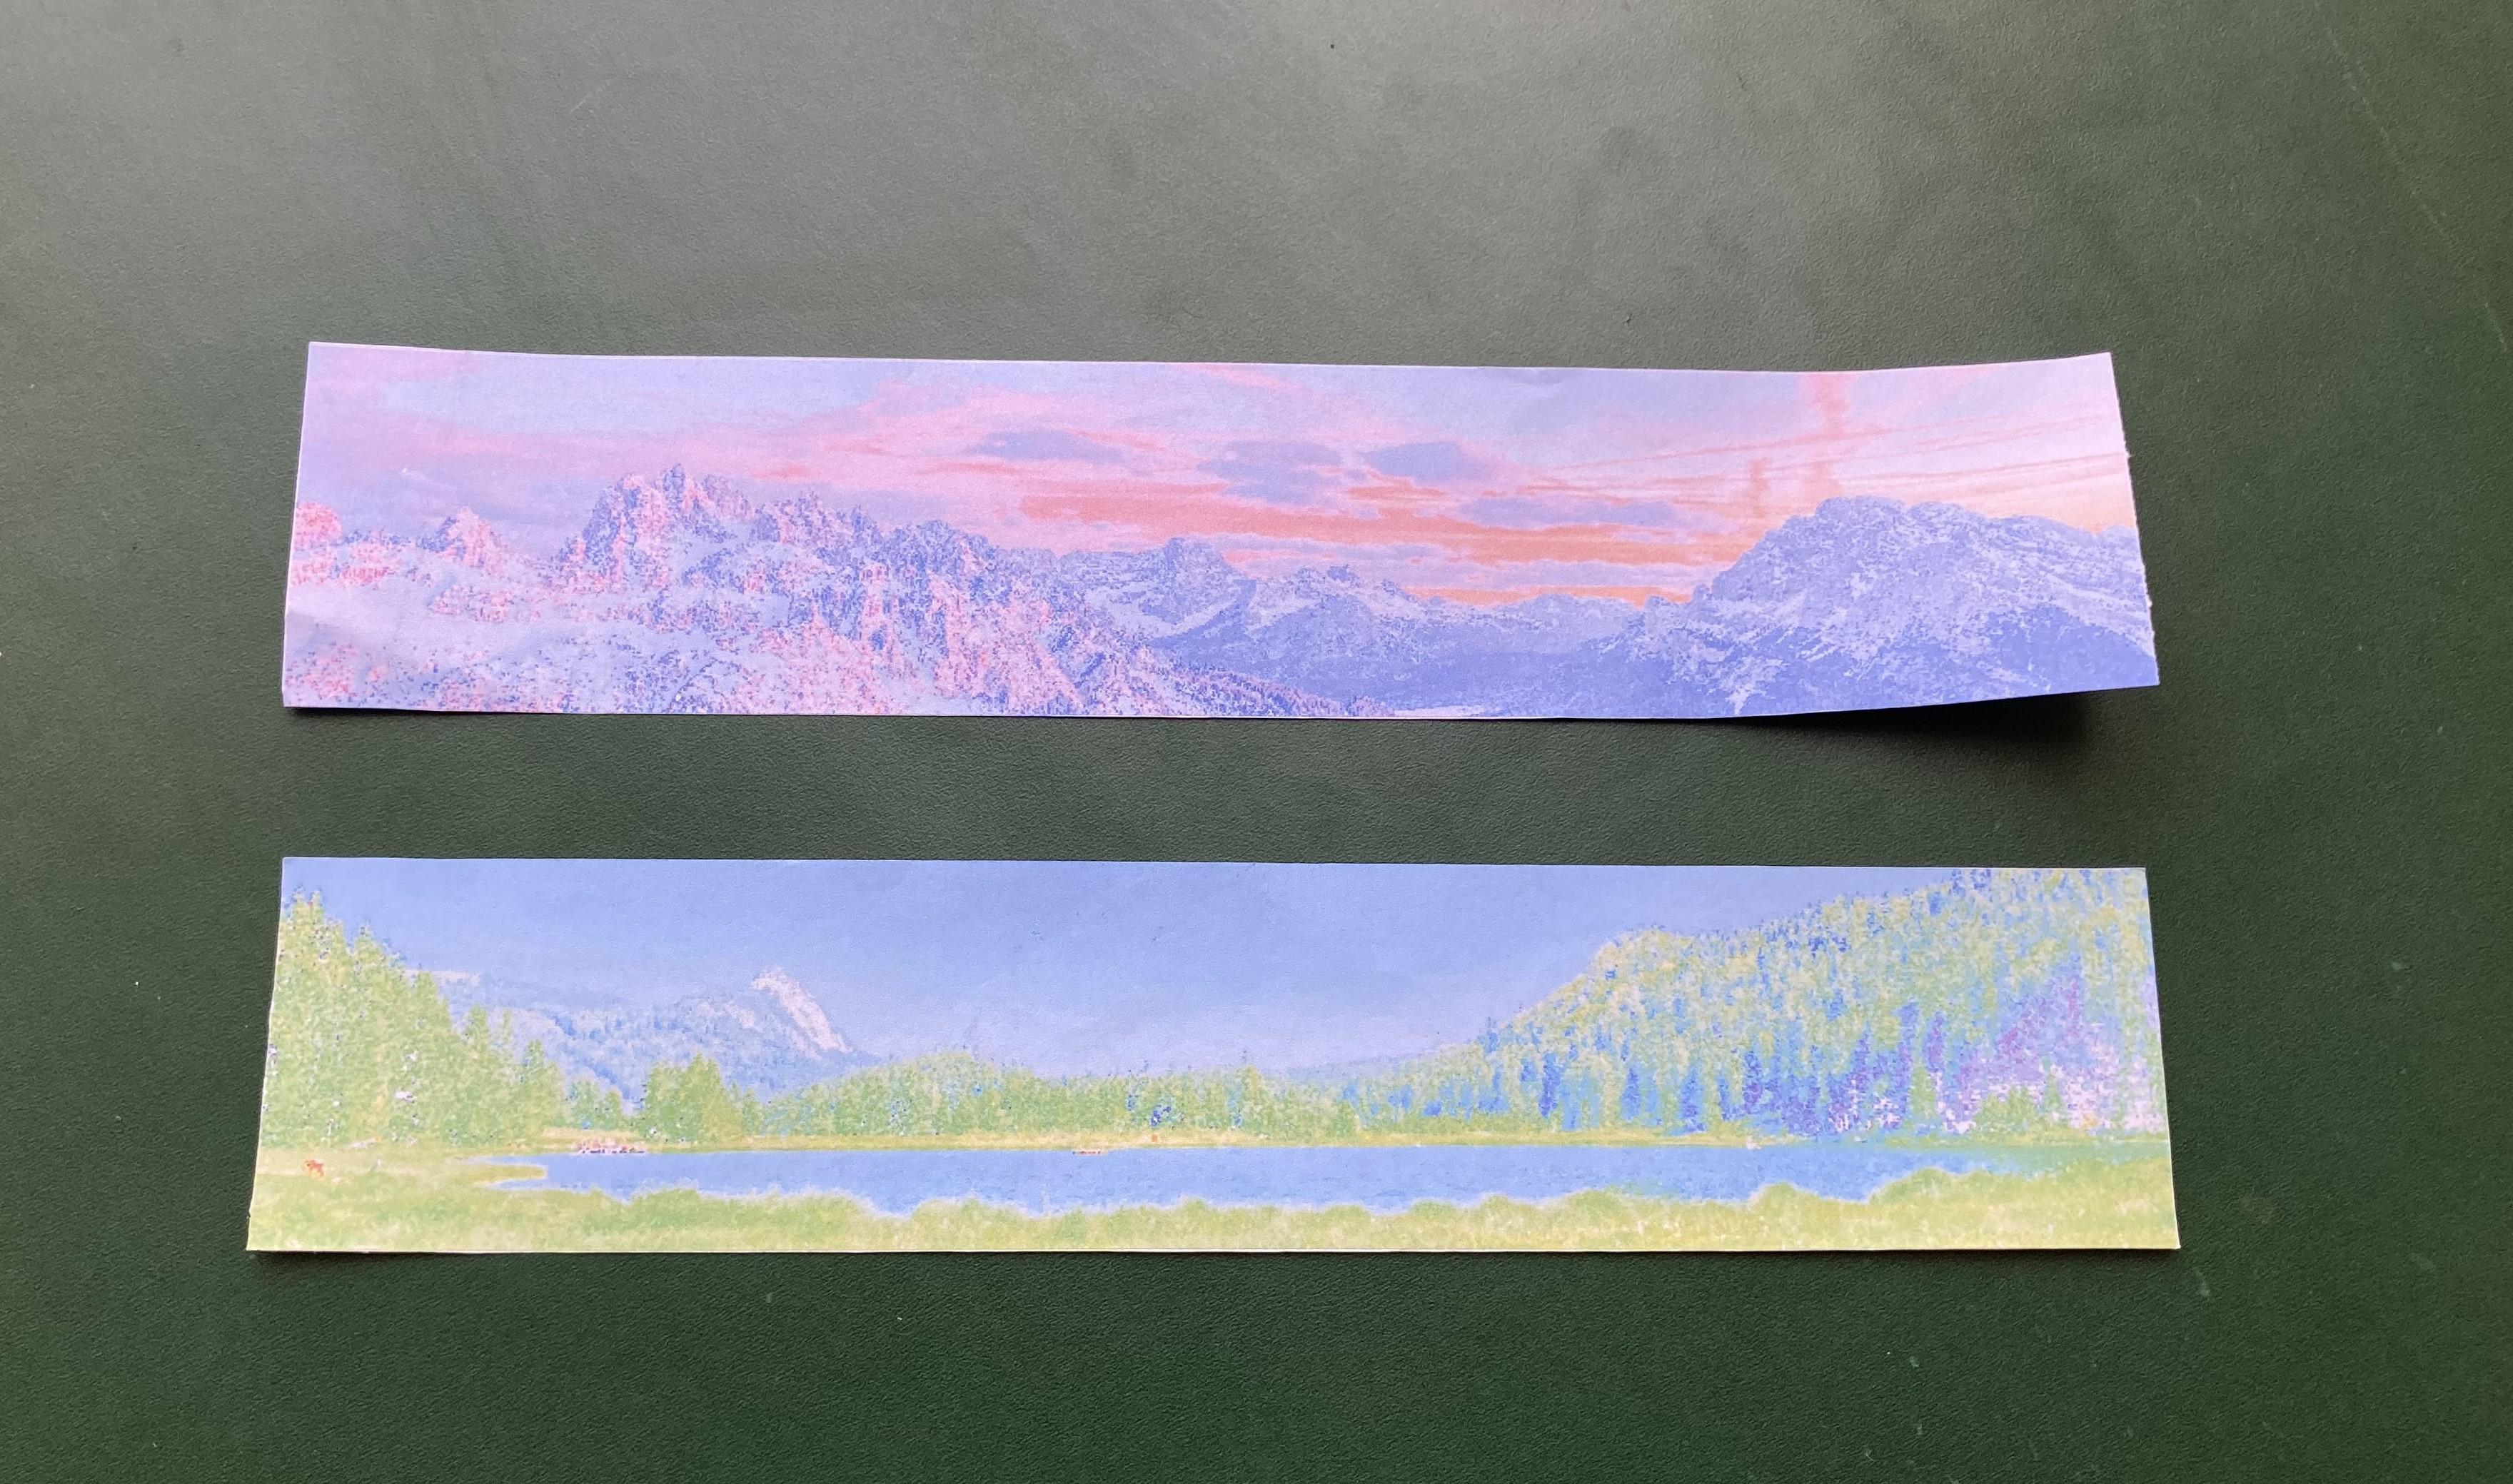
6. Download the 3D Model: Download the 3D model file (usually in STL format) along with a colorful paper of the image, which is to be pasted at the back of lithophane to give it a colorful appearance.
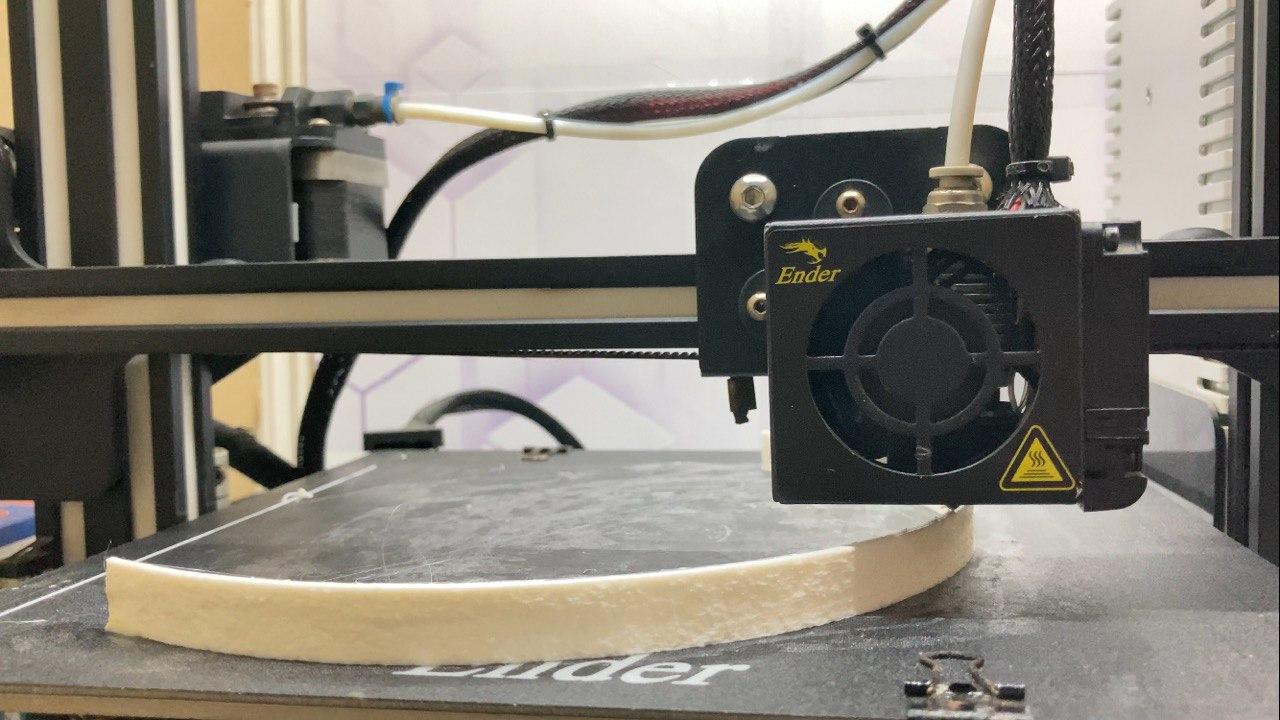
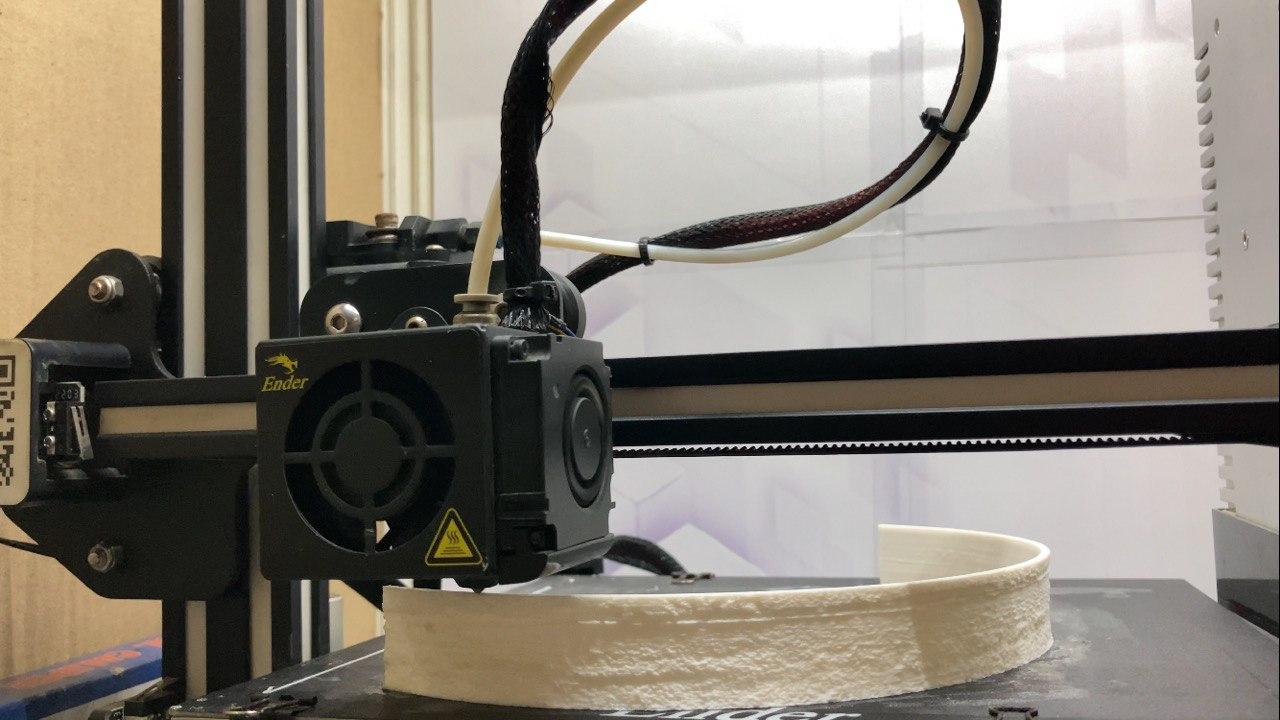
7. Print Your Lithophane: Use a 3D printer to print the lithophane and a colour printer to print high resolution color image. Make sure to use a filament or printing material that supports color printing if you want the colors to be visible in the final product.
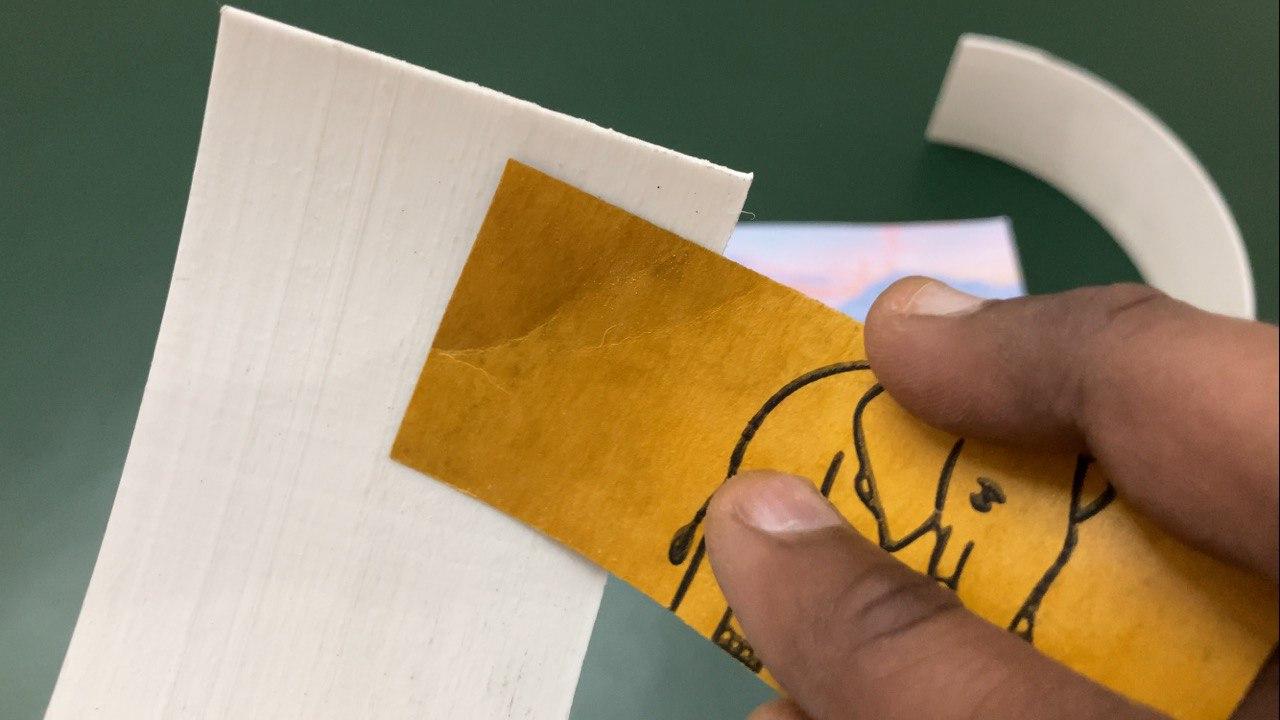
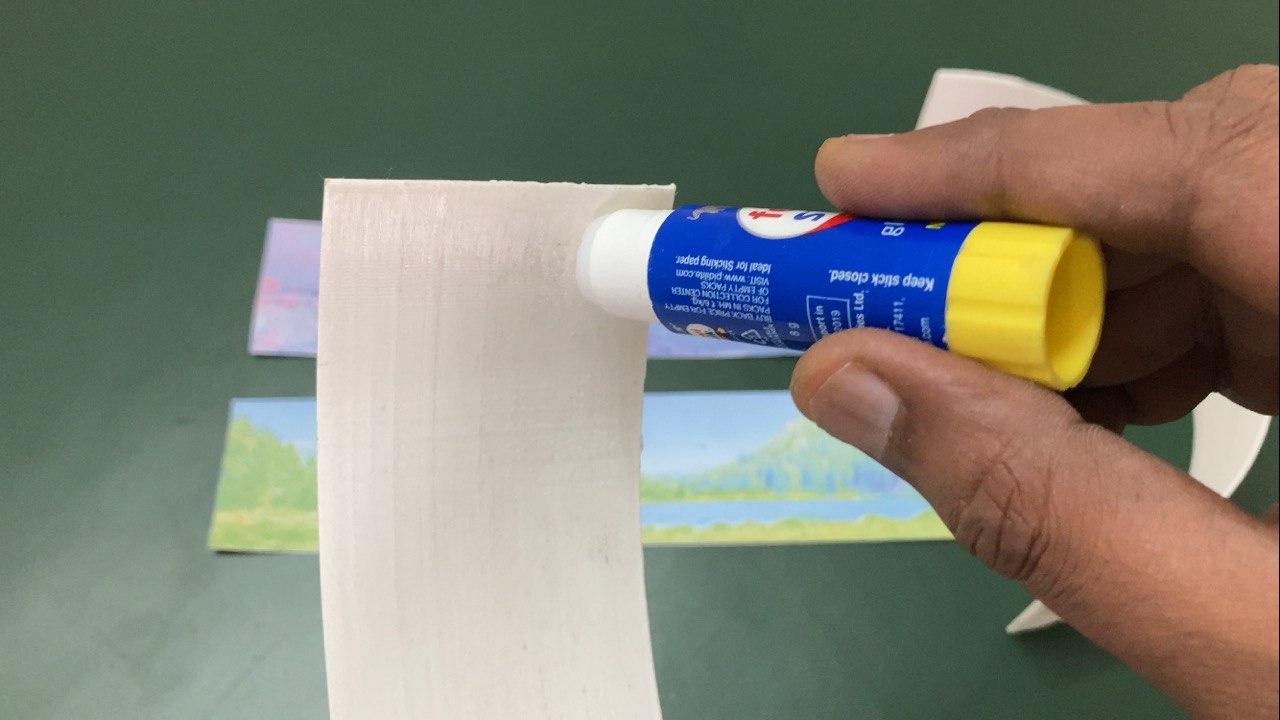
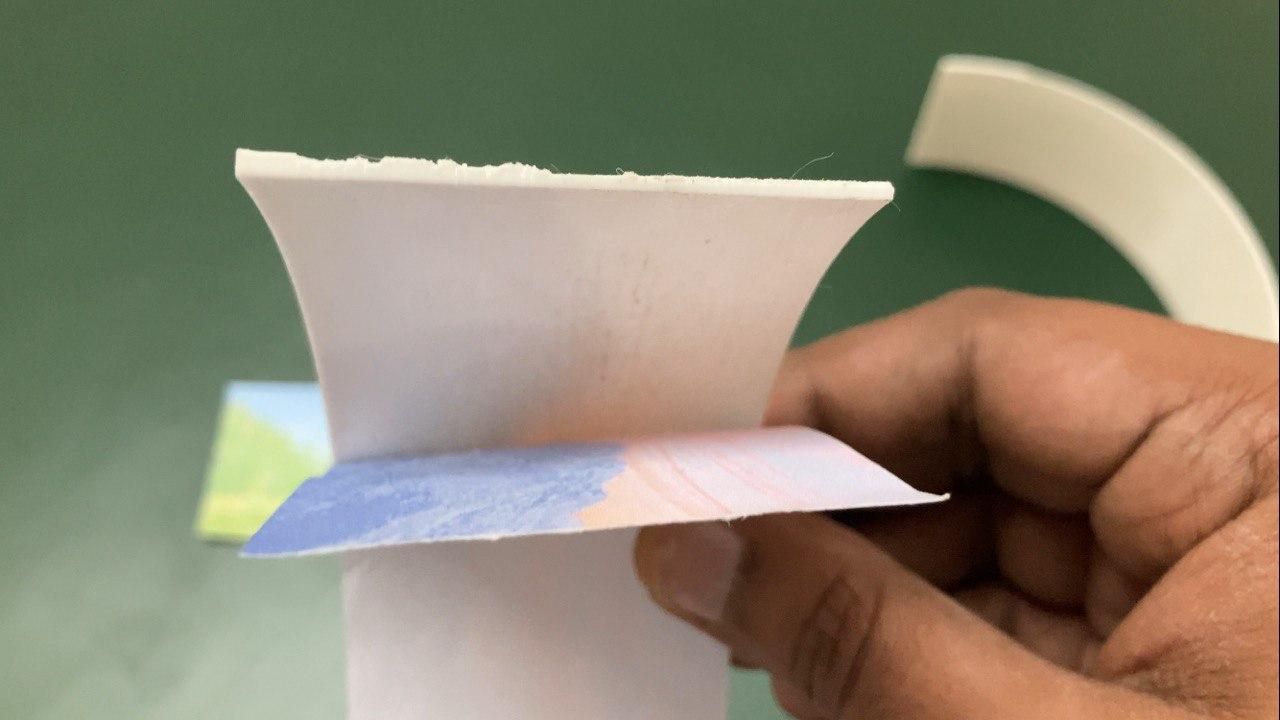
8. Print the color images: Use a color printer to print colorful images of the image used on a A4 paper sheet. clean the back surface of the 3D printed lithophane using sand paper and paste the images on the back with the help of clear adhesive glue.
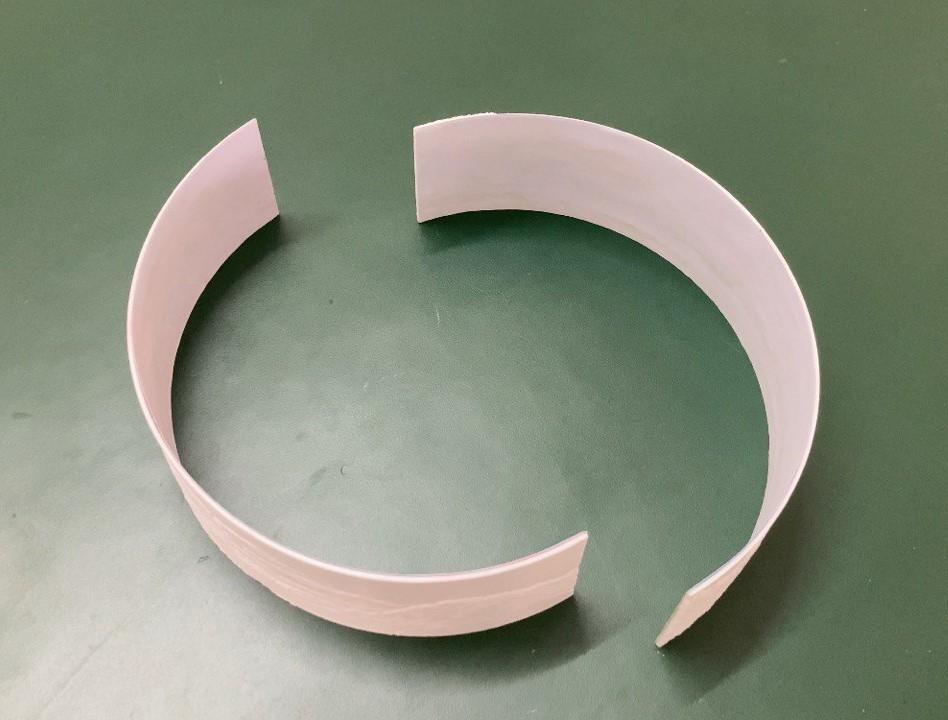
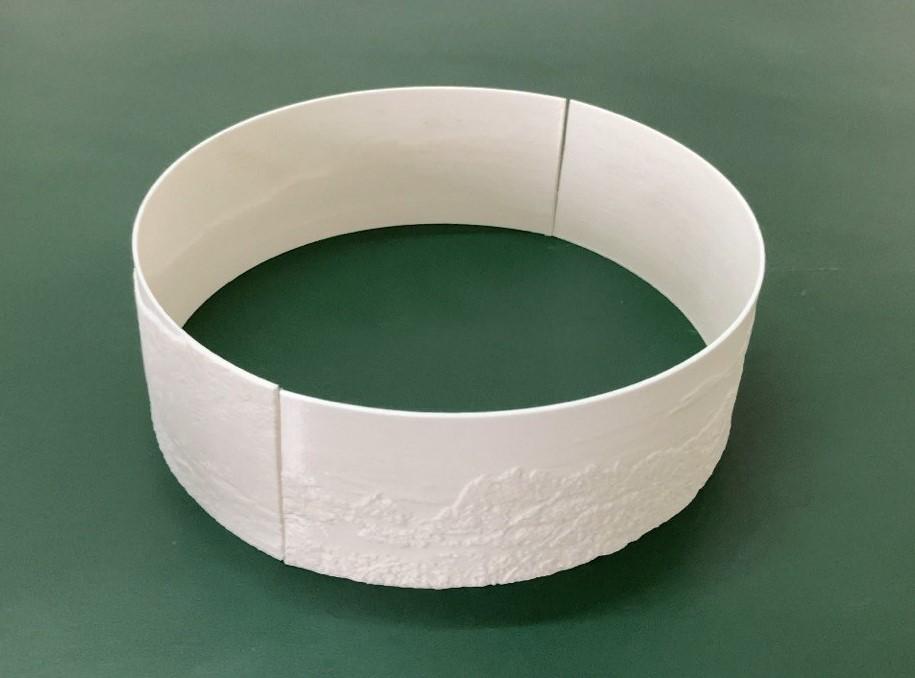
9. Join both Lithophanes: Join both lithophanes halves to form complete 360 circle with the help of super glue.
10. Display or Use Your Lithophane: Once printed, you can display your colorful lithophane as desired. Depending on the lighting and viewing angle, the colors will become visible, creating a unique and eye-catching effect.
Circuit Diagram
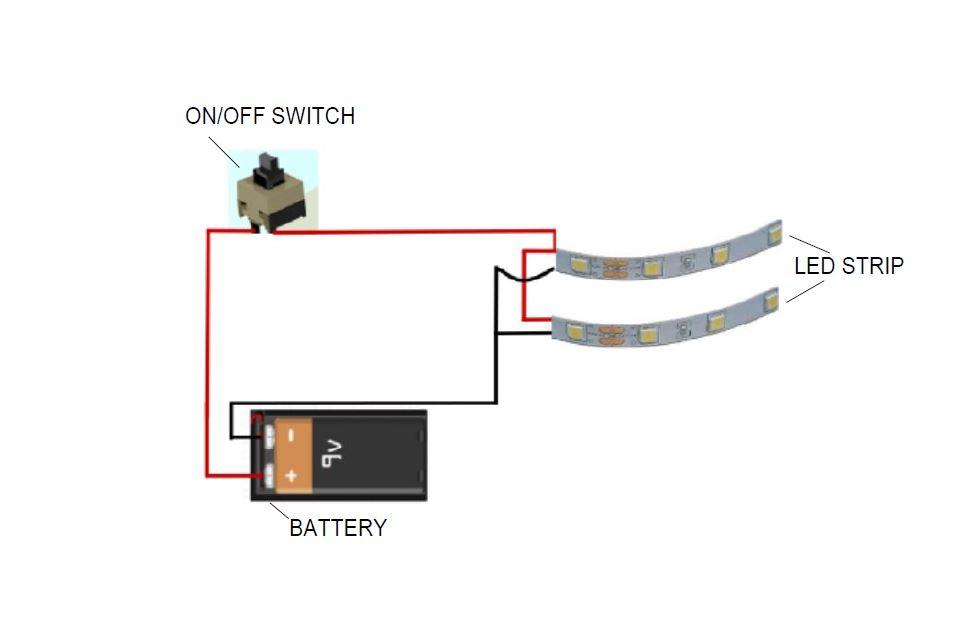
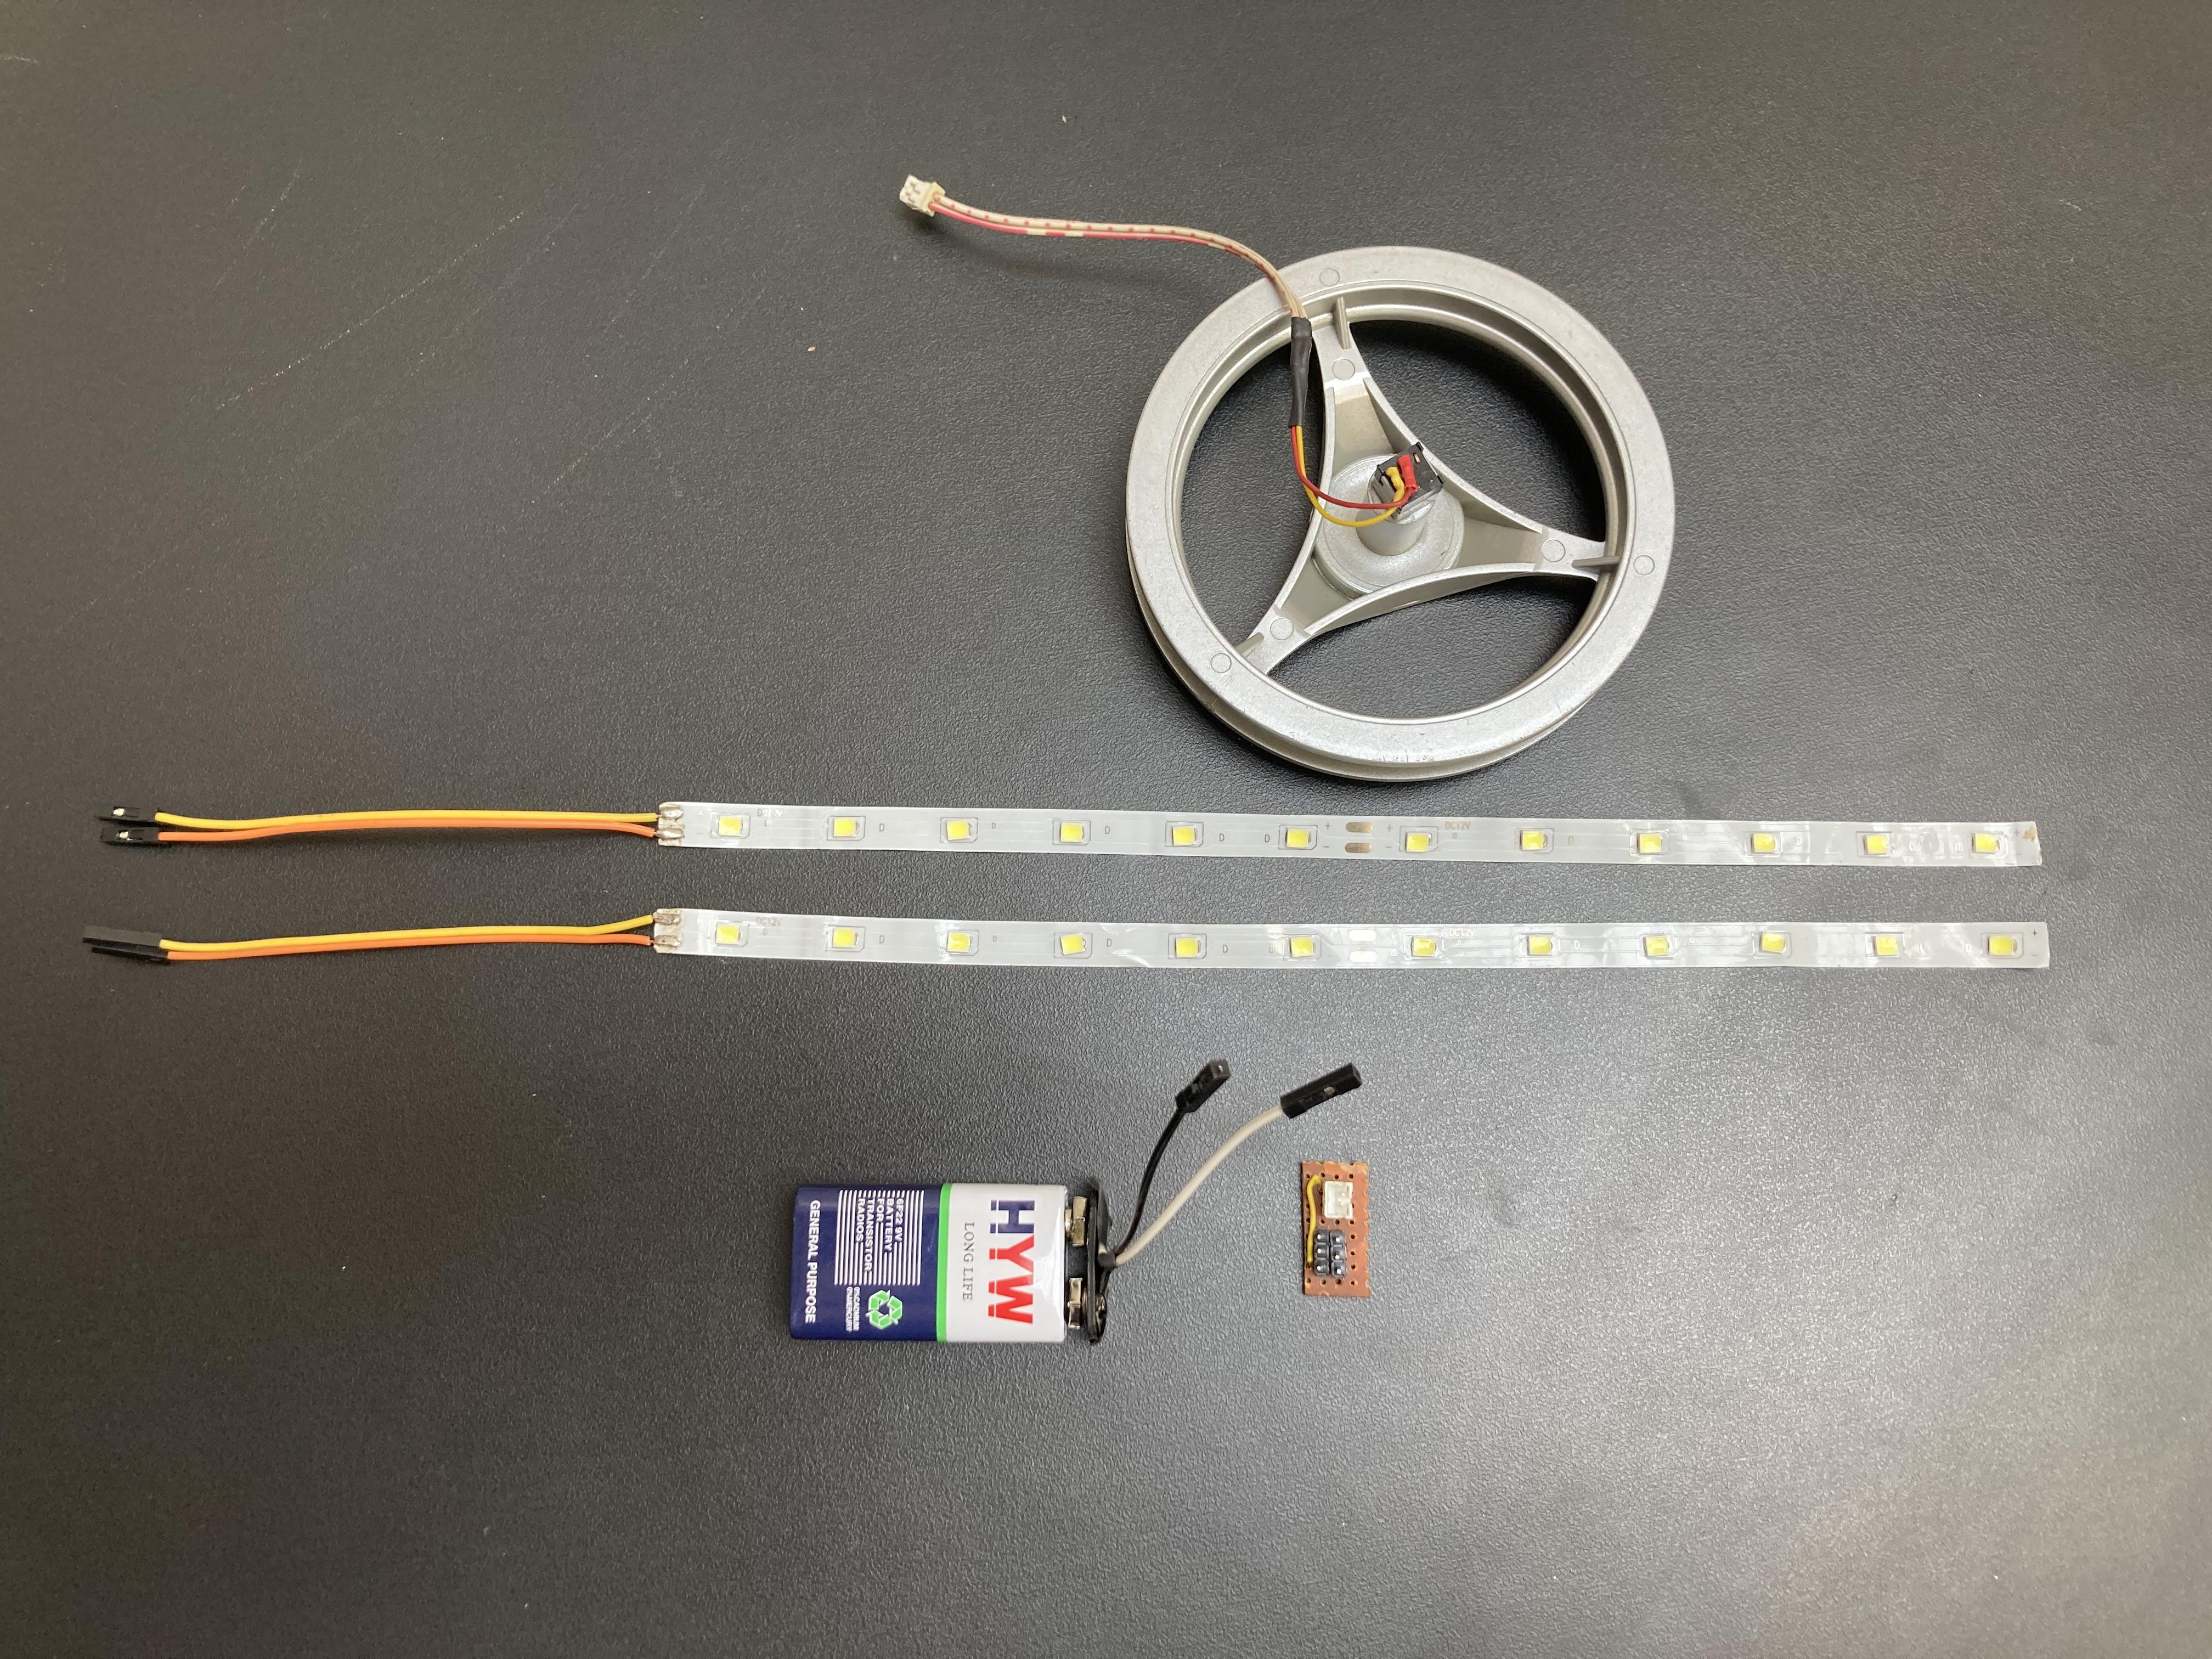
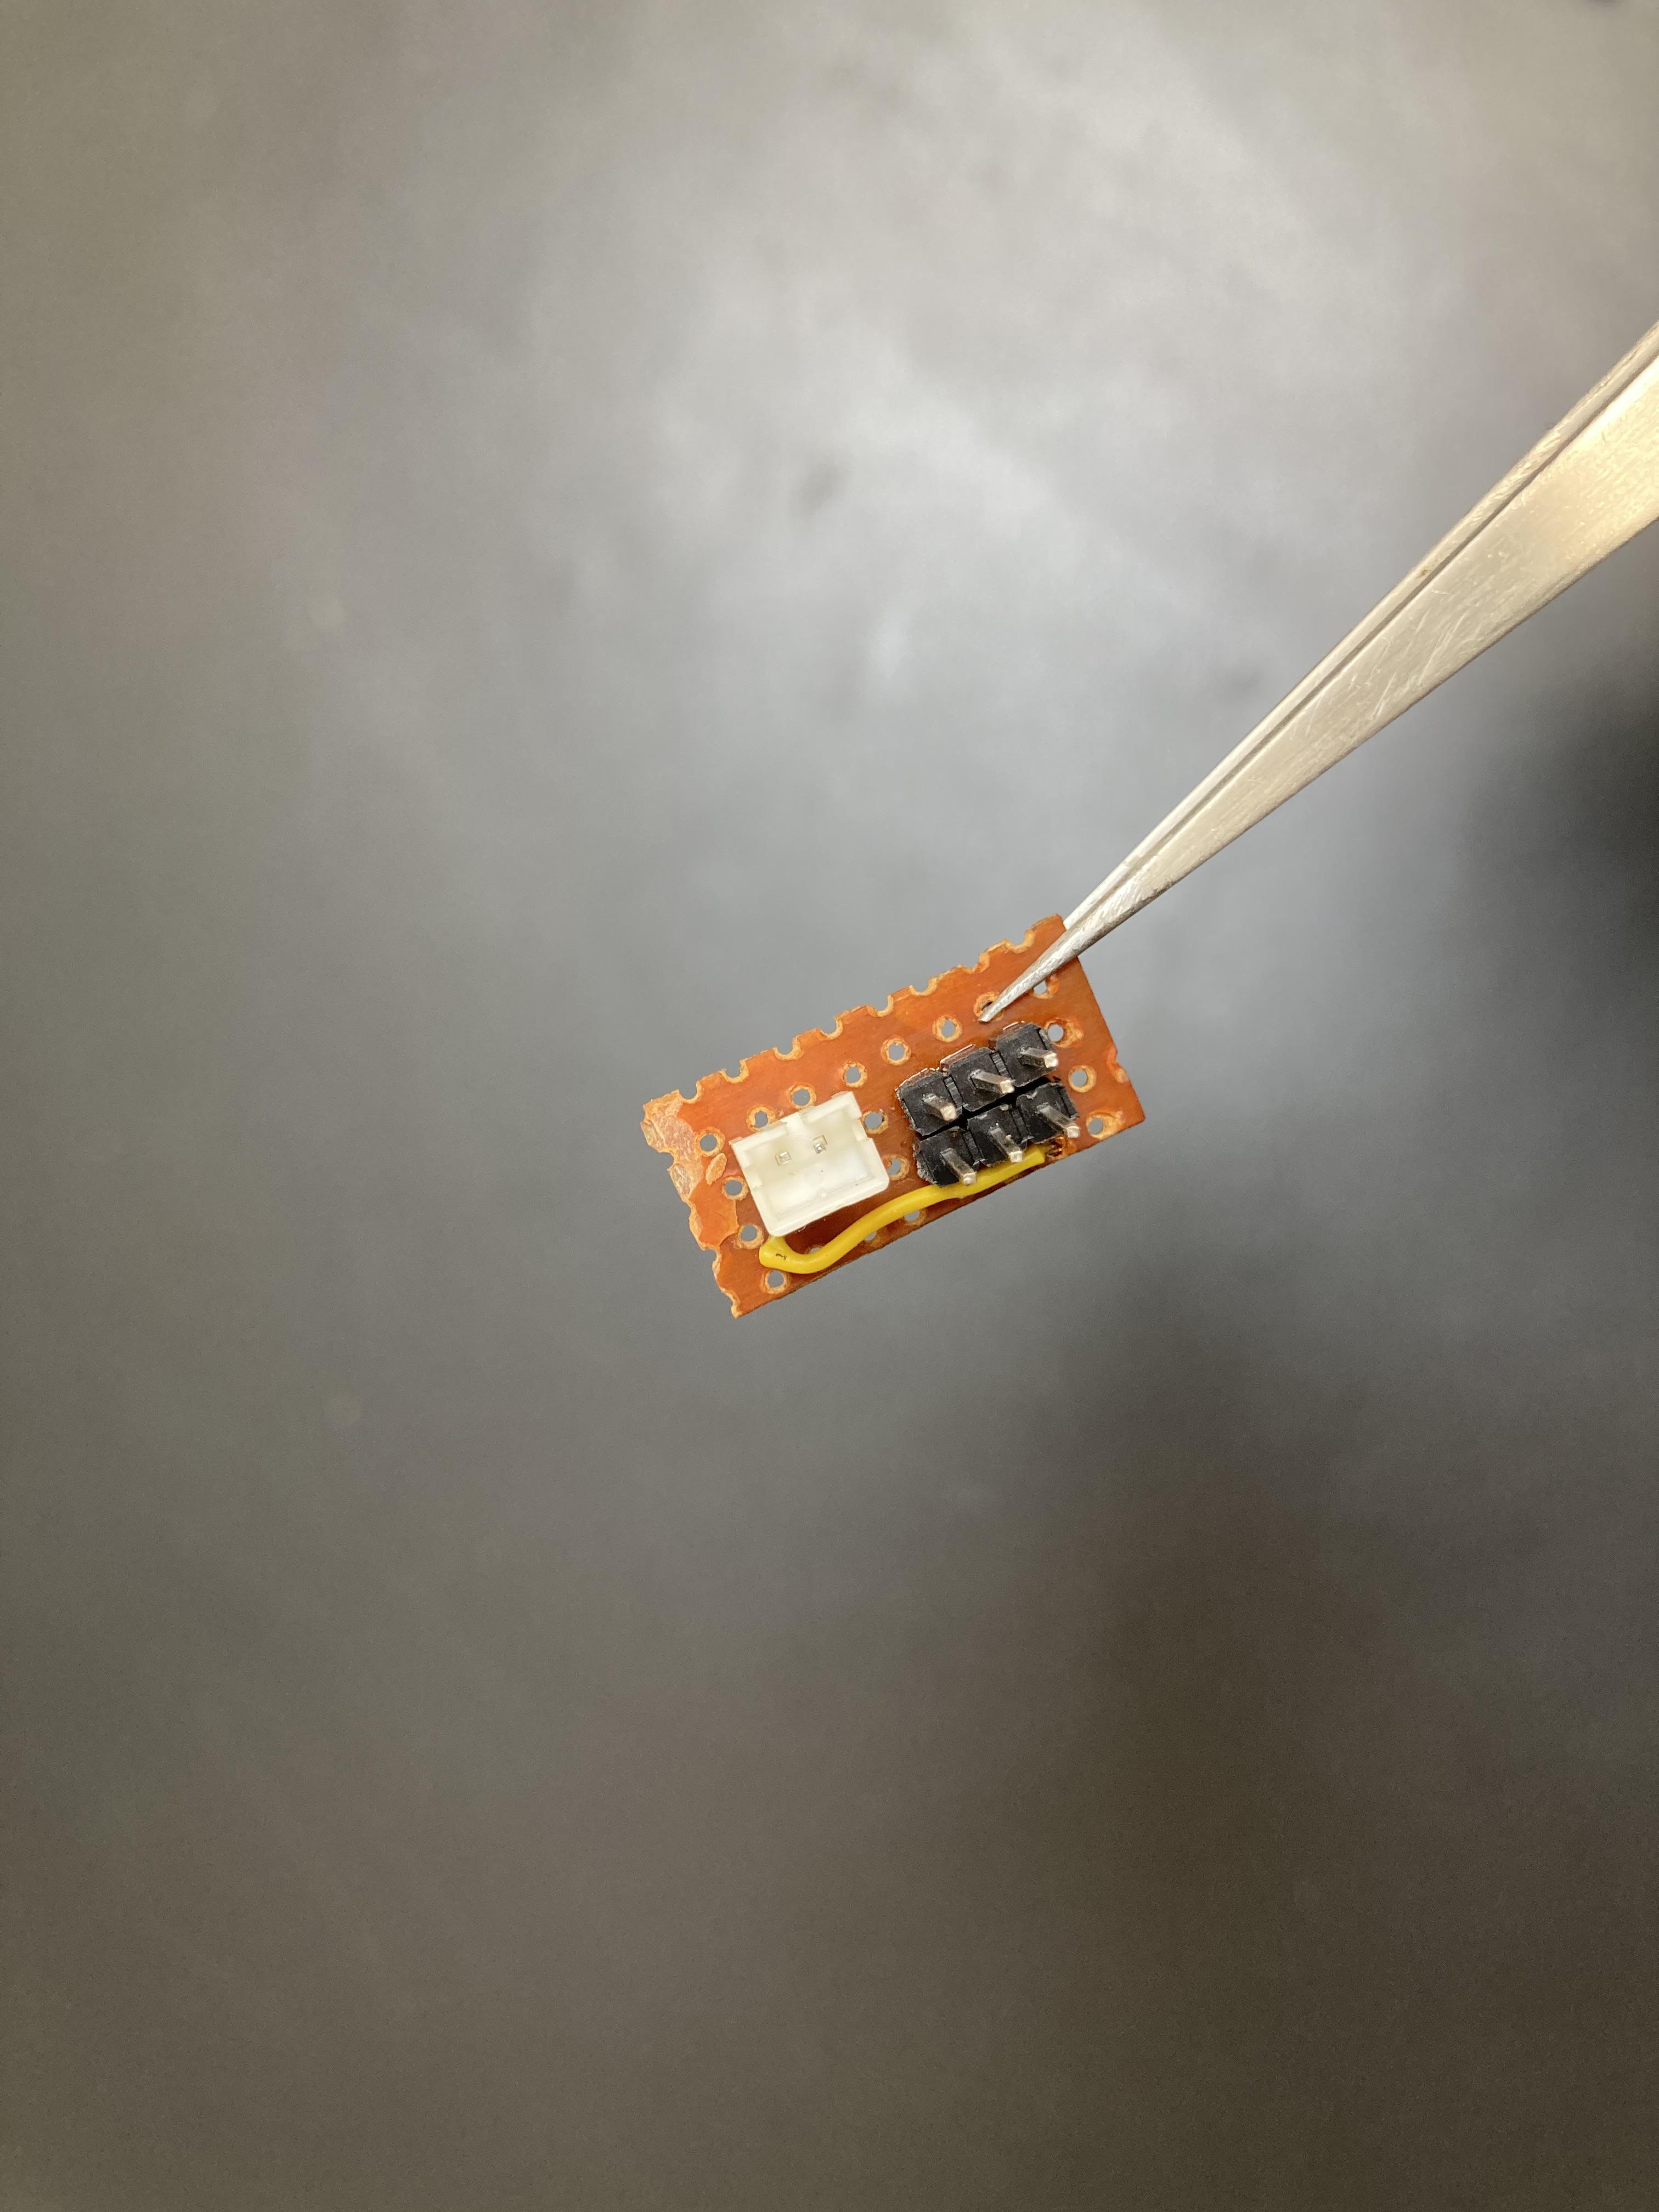
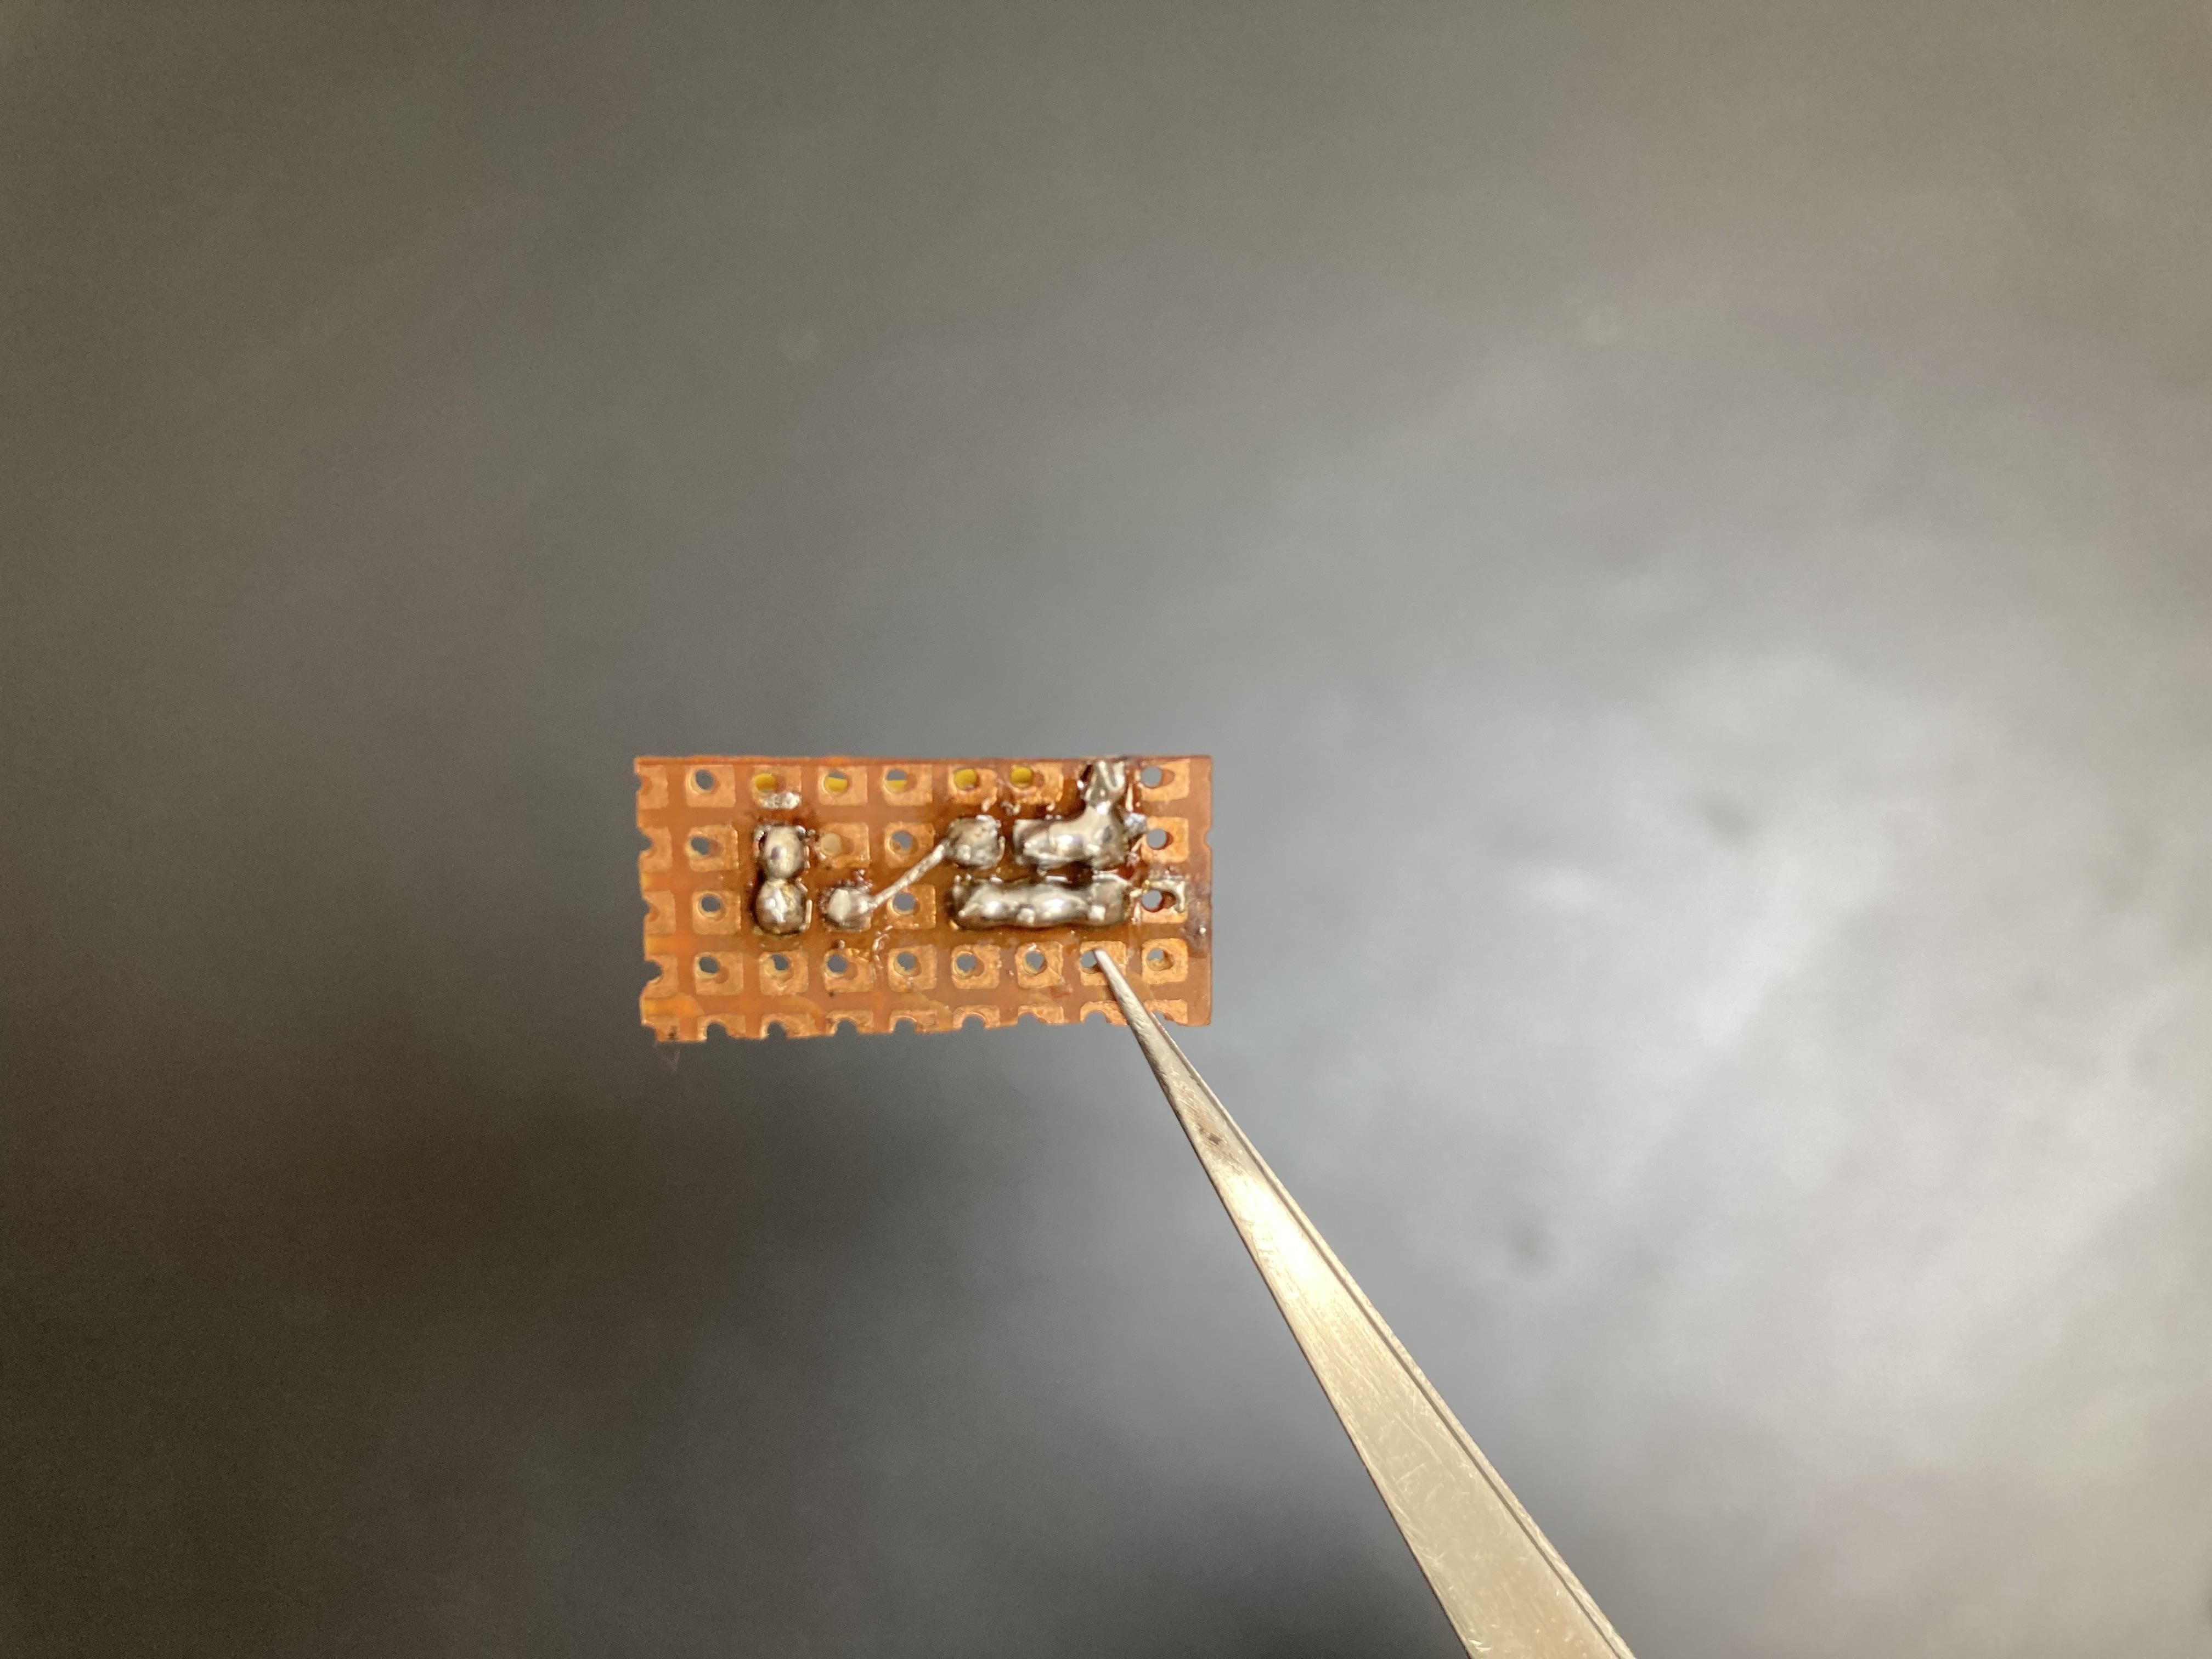
To create a circuit diagram with a switch, two LED strips powered by a 9V battery, you'll need to follow these steps:
Components Needed:
- 9V Battery
- ON/OFF Switch (Push button)
- Two LED Strips
- Wires
- Mini PCB
Connect one terminal of the switch to the positive terminal of the battery.
Connect the other terminal of the switch to one end of both LED strips.
Connect the other end of the first LED strip to the positive terminal of the battery.
Connect the other end of the second LED strip to the negative terminal of the battery.
This diagram represents a basic circuit where the switch controls the flow of current from the 9V battery to the LED strips. When the switch is closed, both LED strips receive power and light up. I made a tiny PCB to arrange all wires of the circuit. When the switch is open, the circuit is broken, and the LED strips turn off.
Rotary Motion of Lithophane Lamp
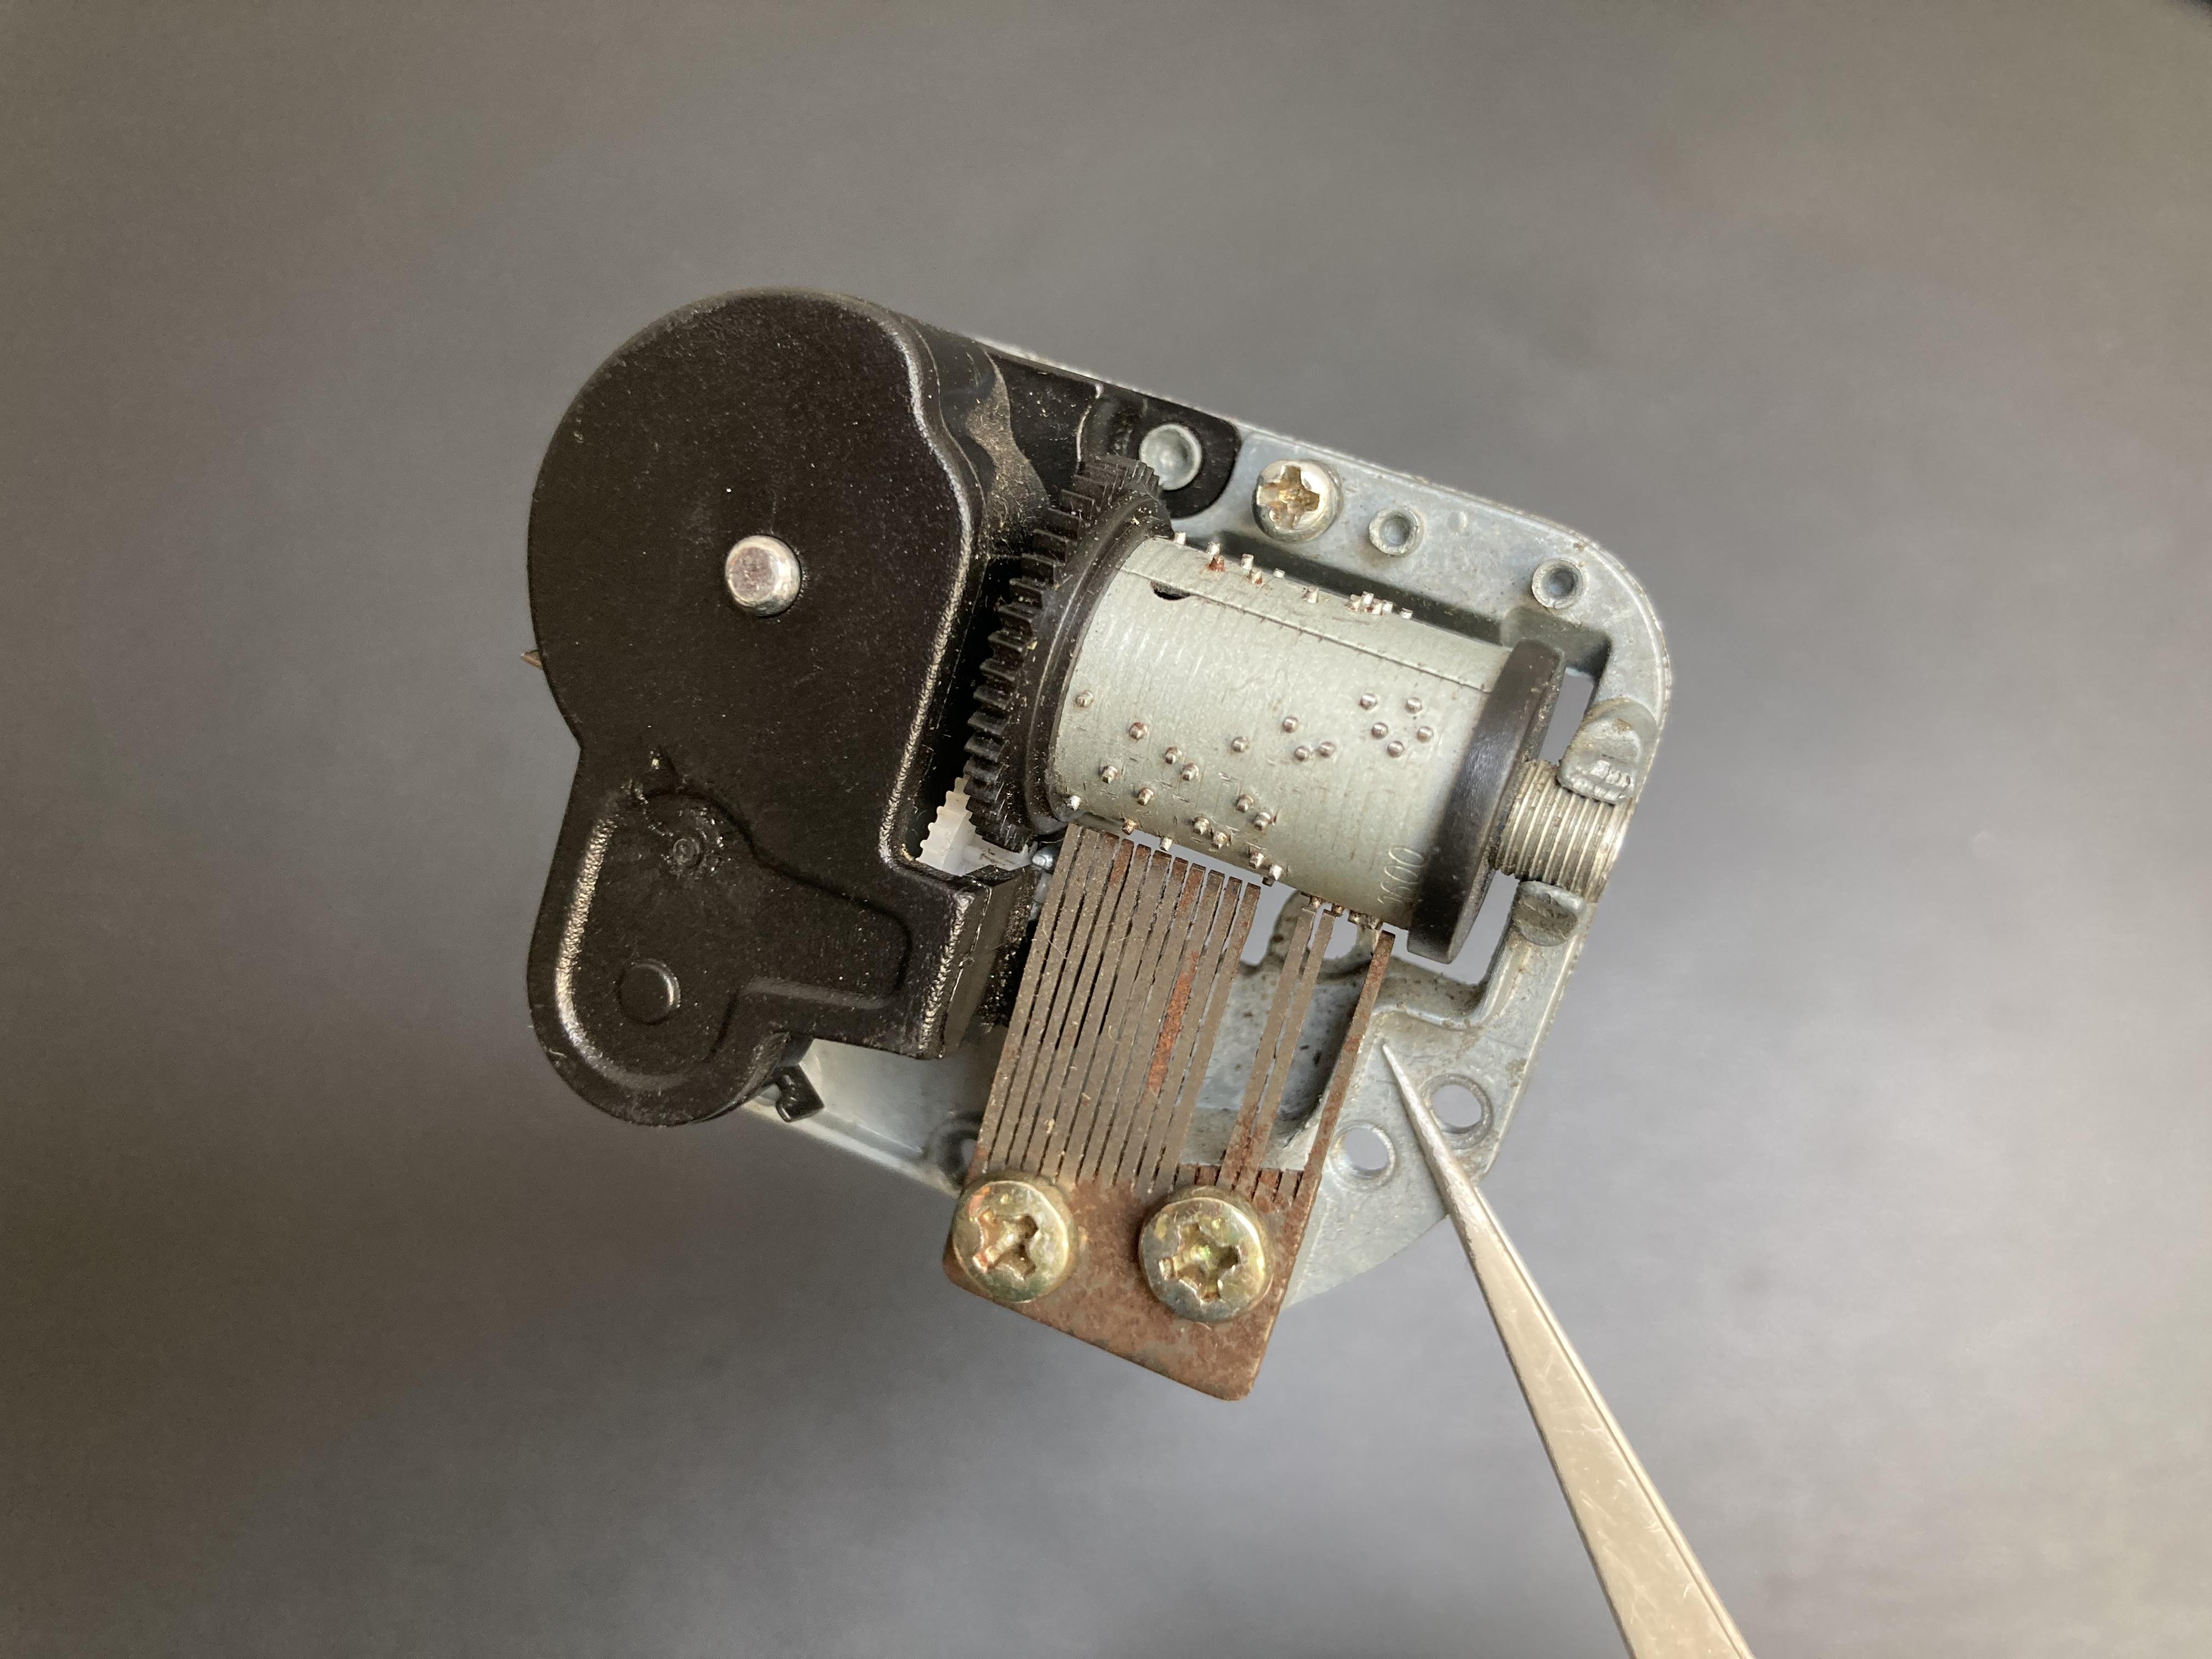
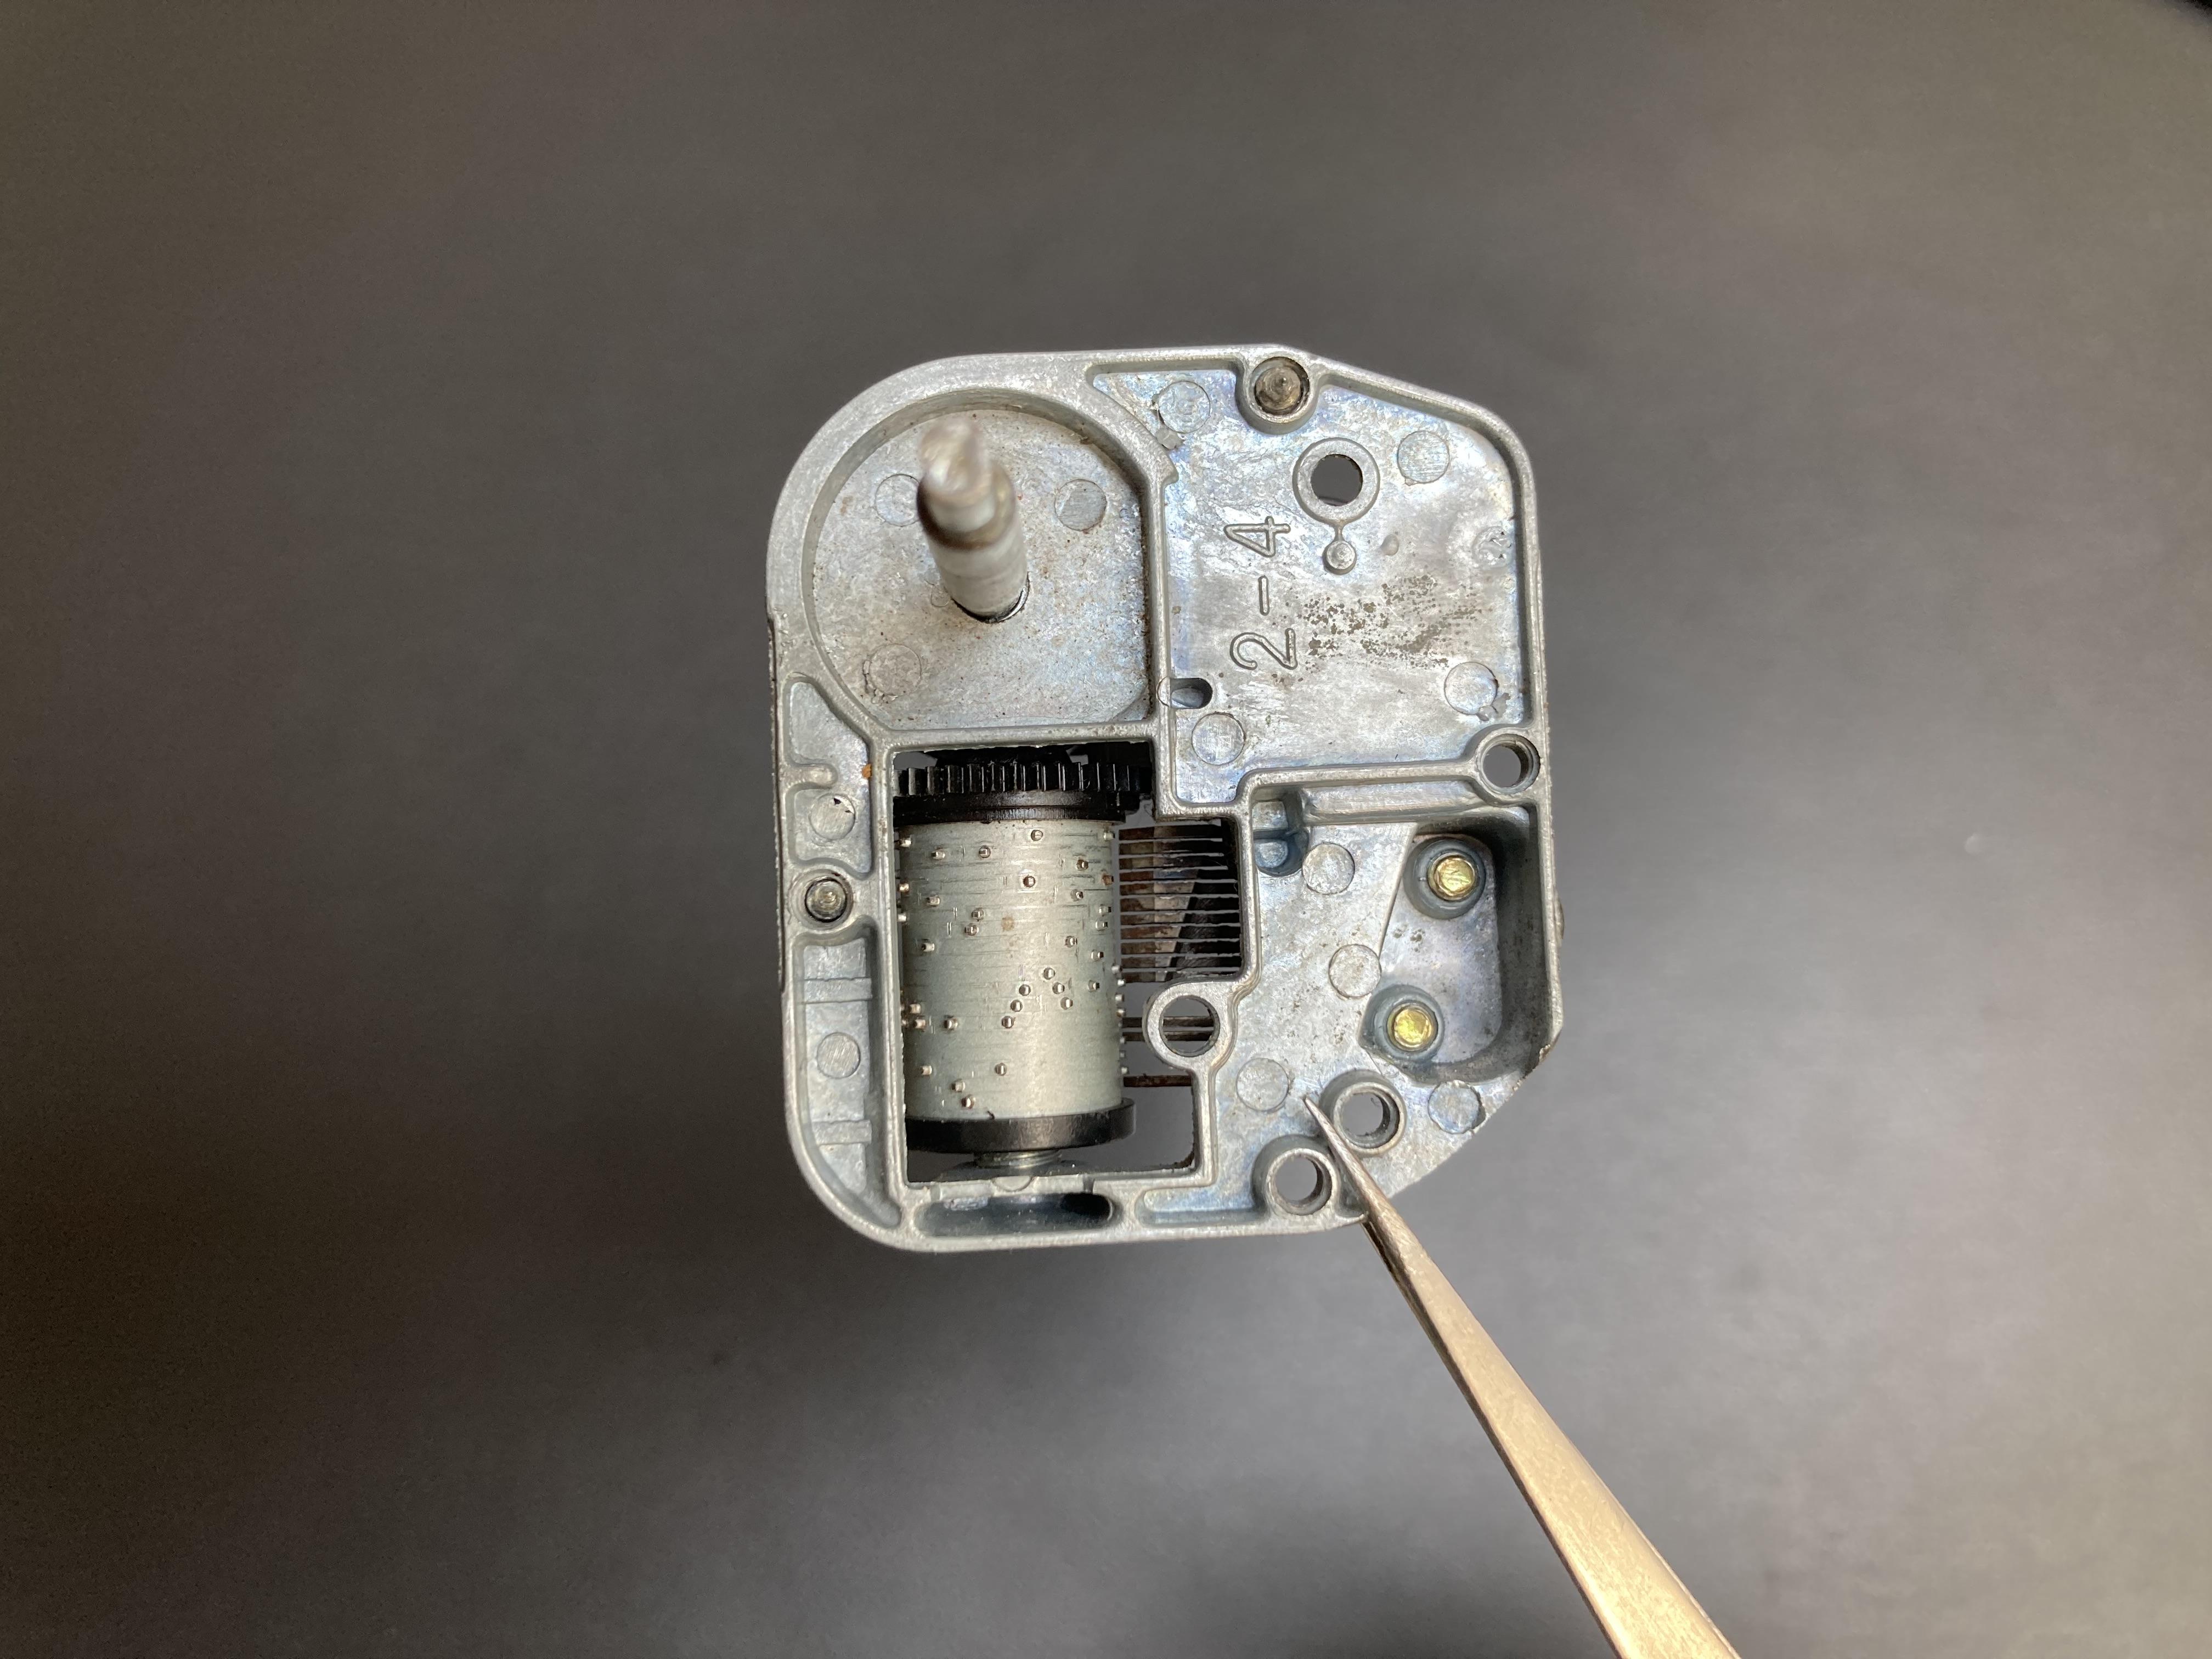
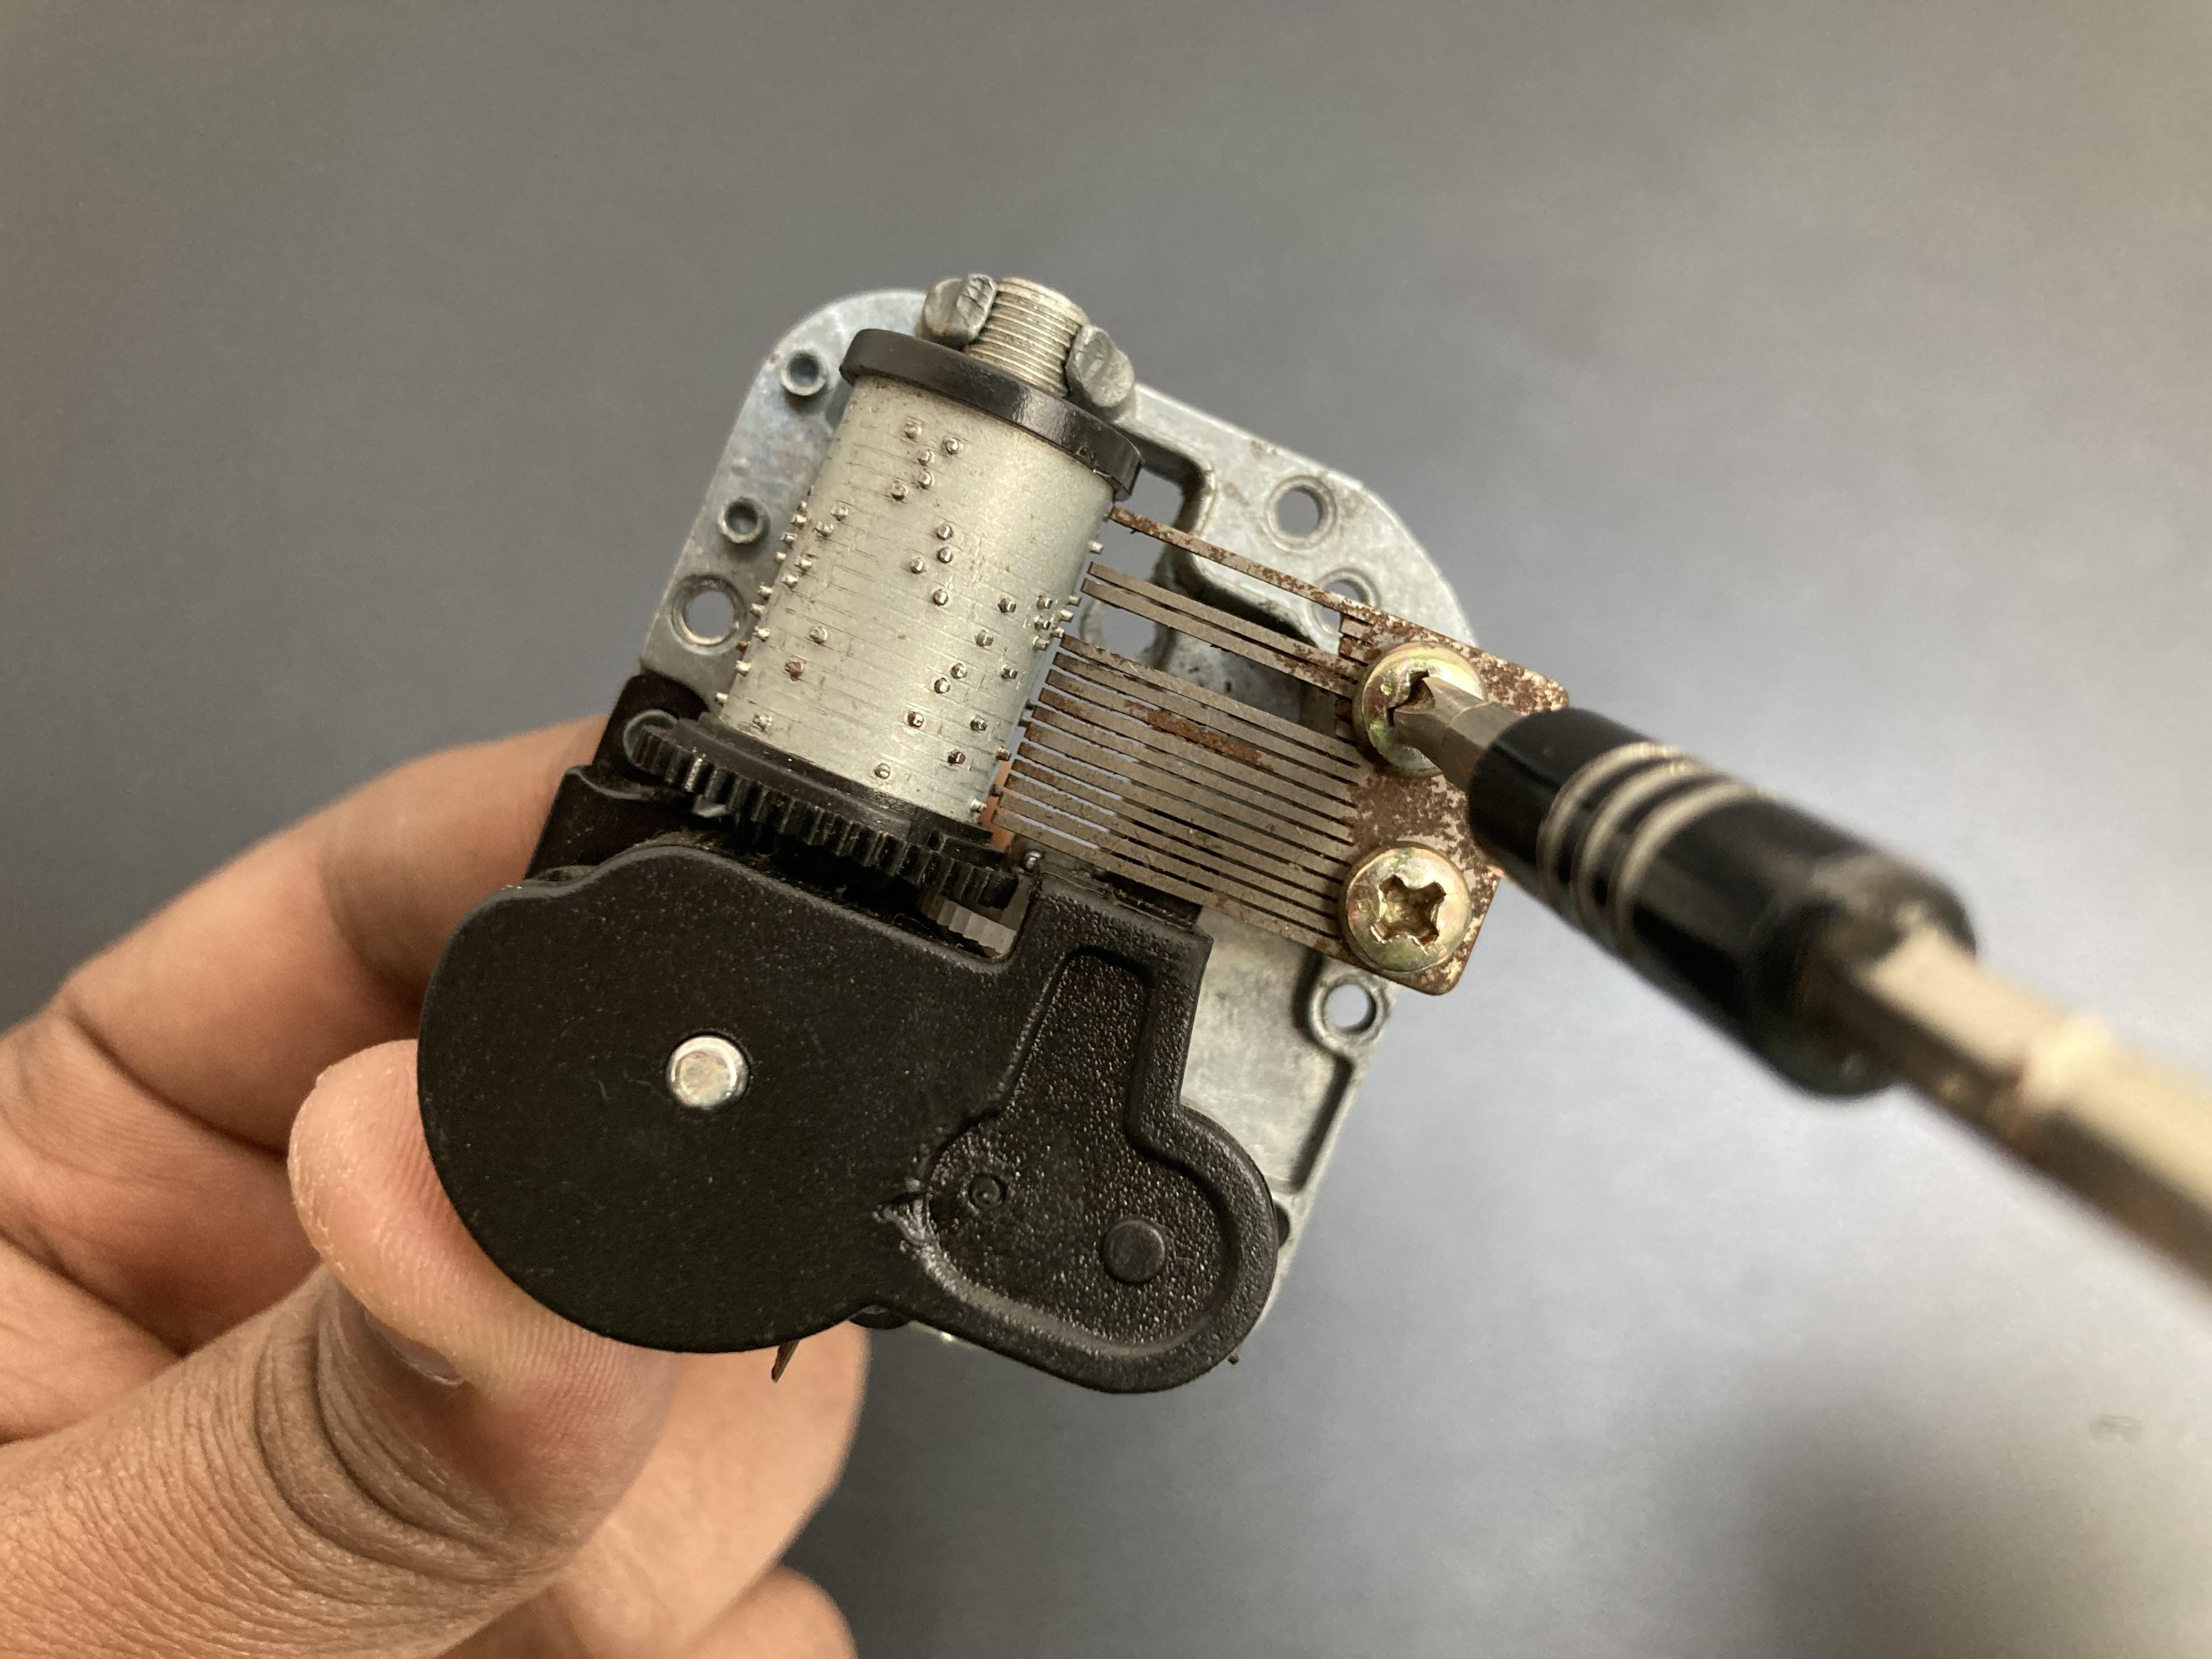
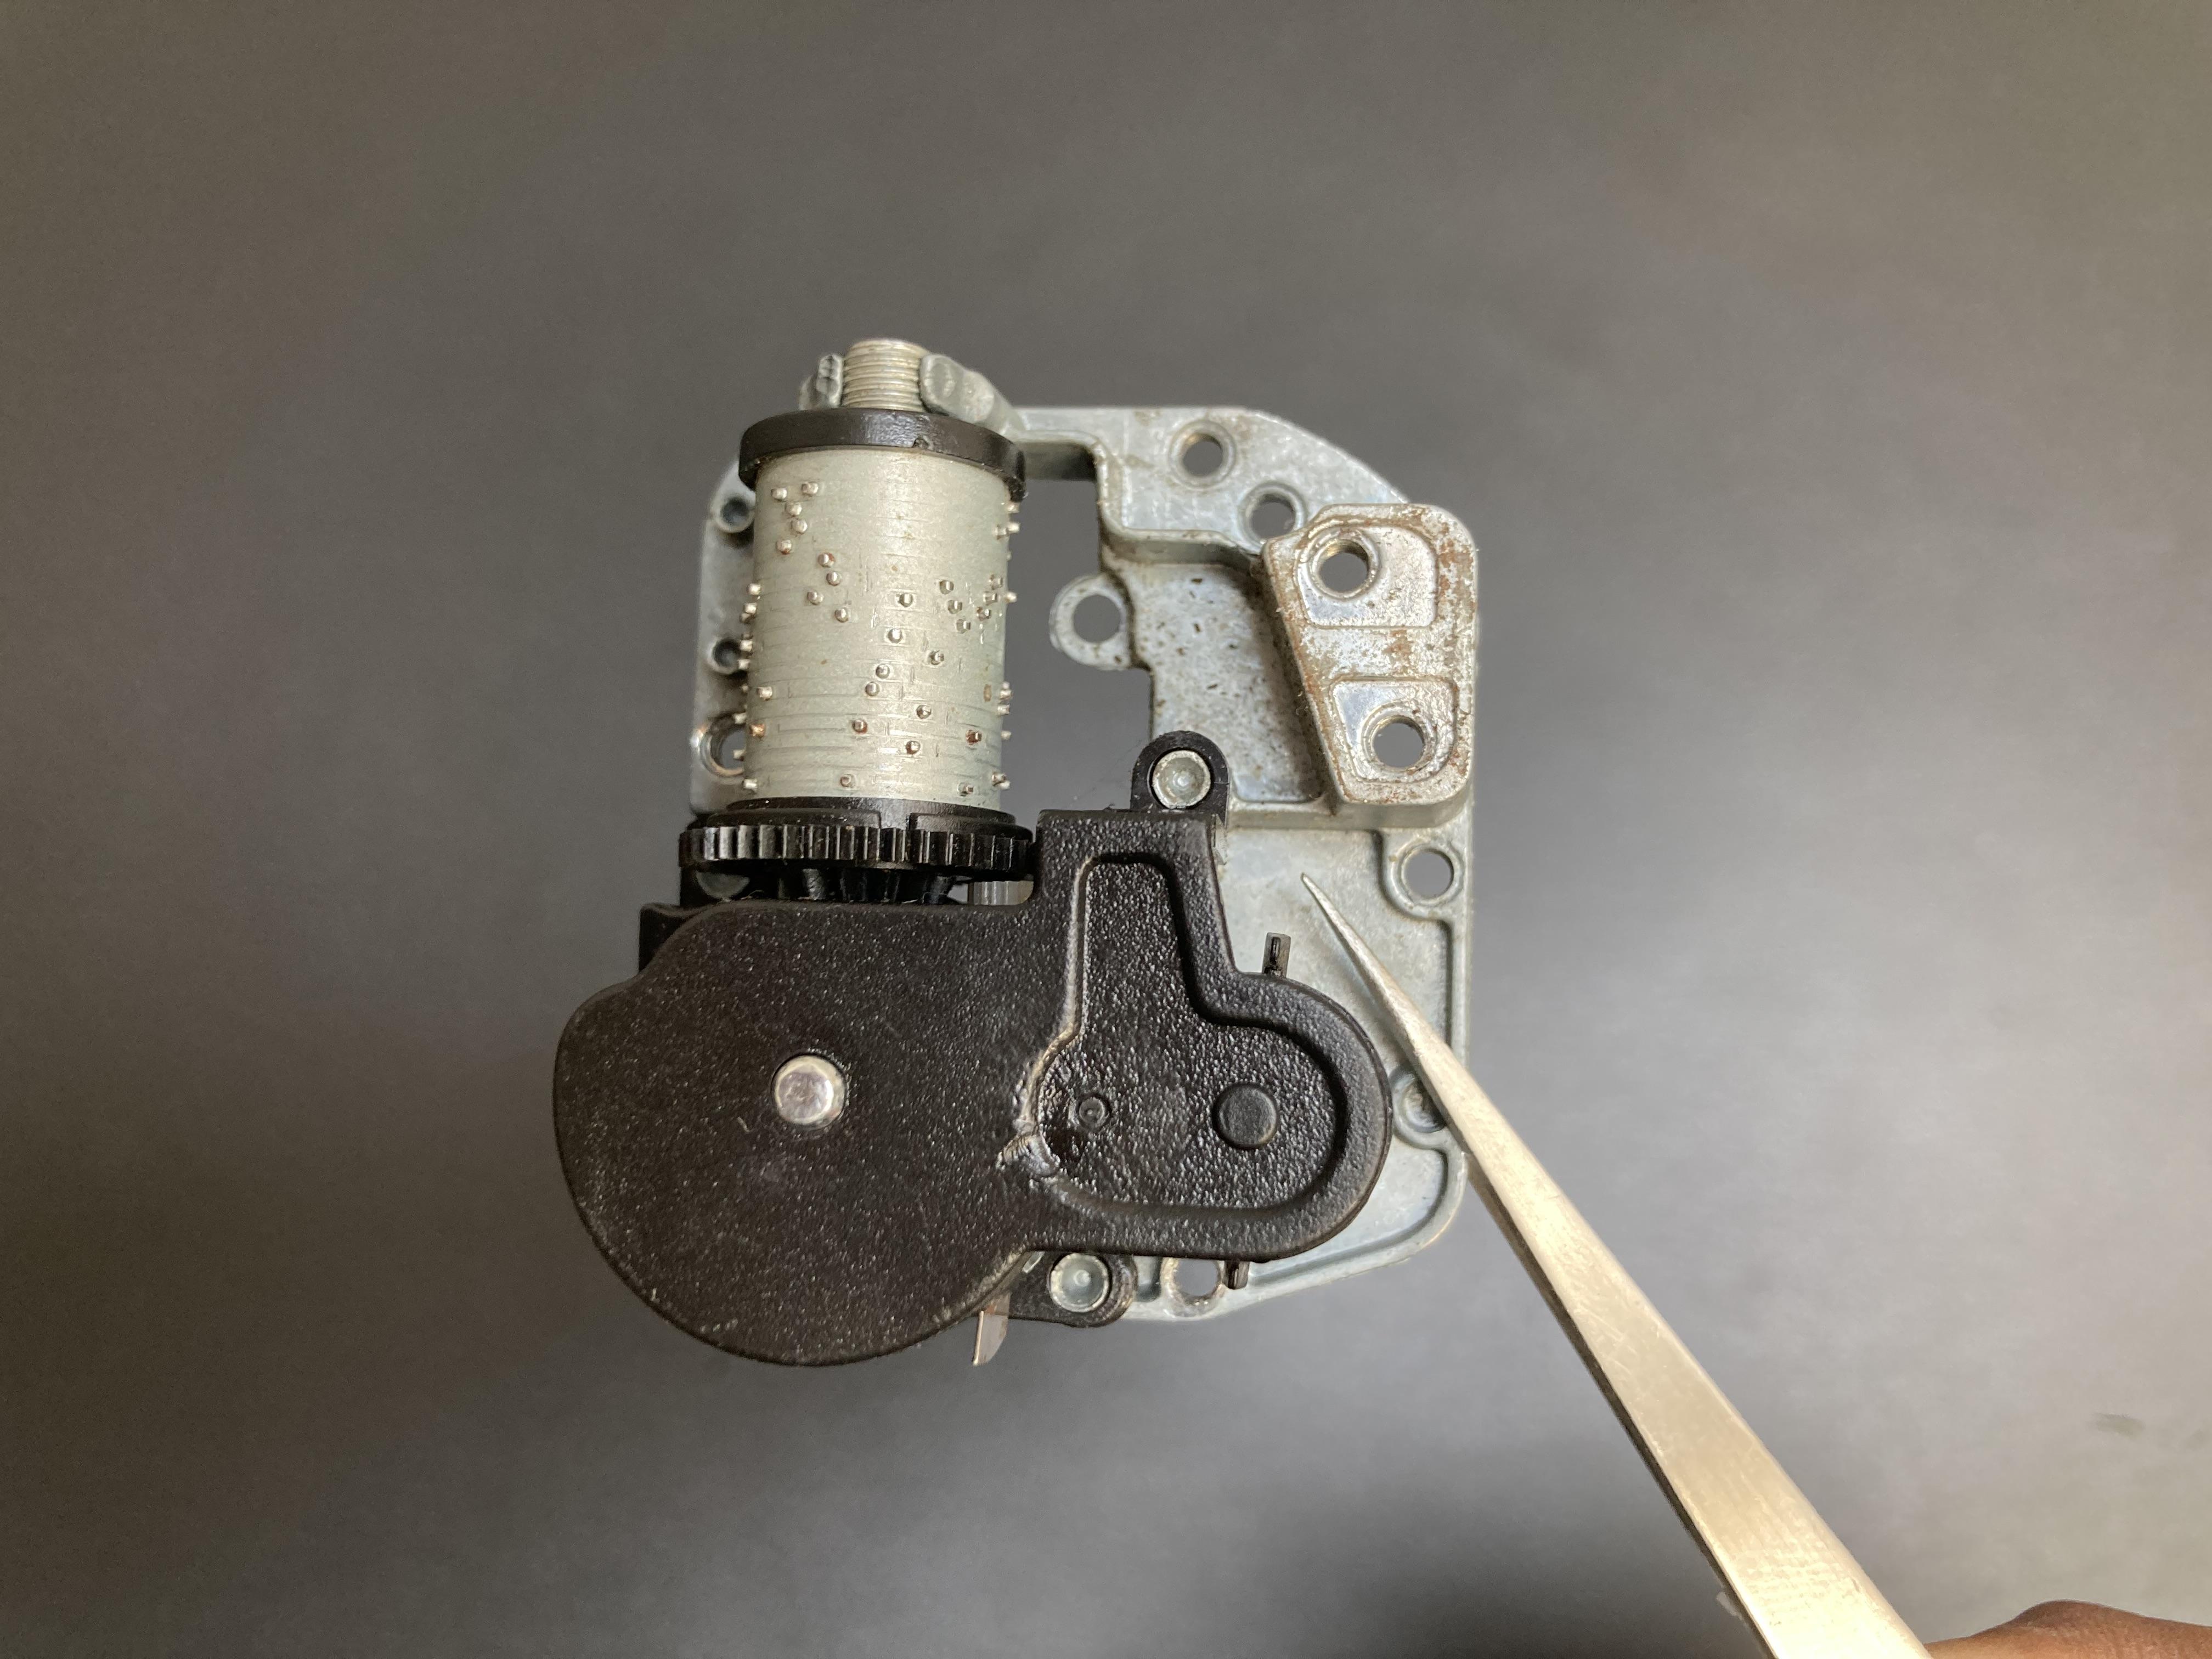
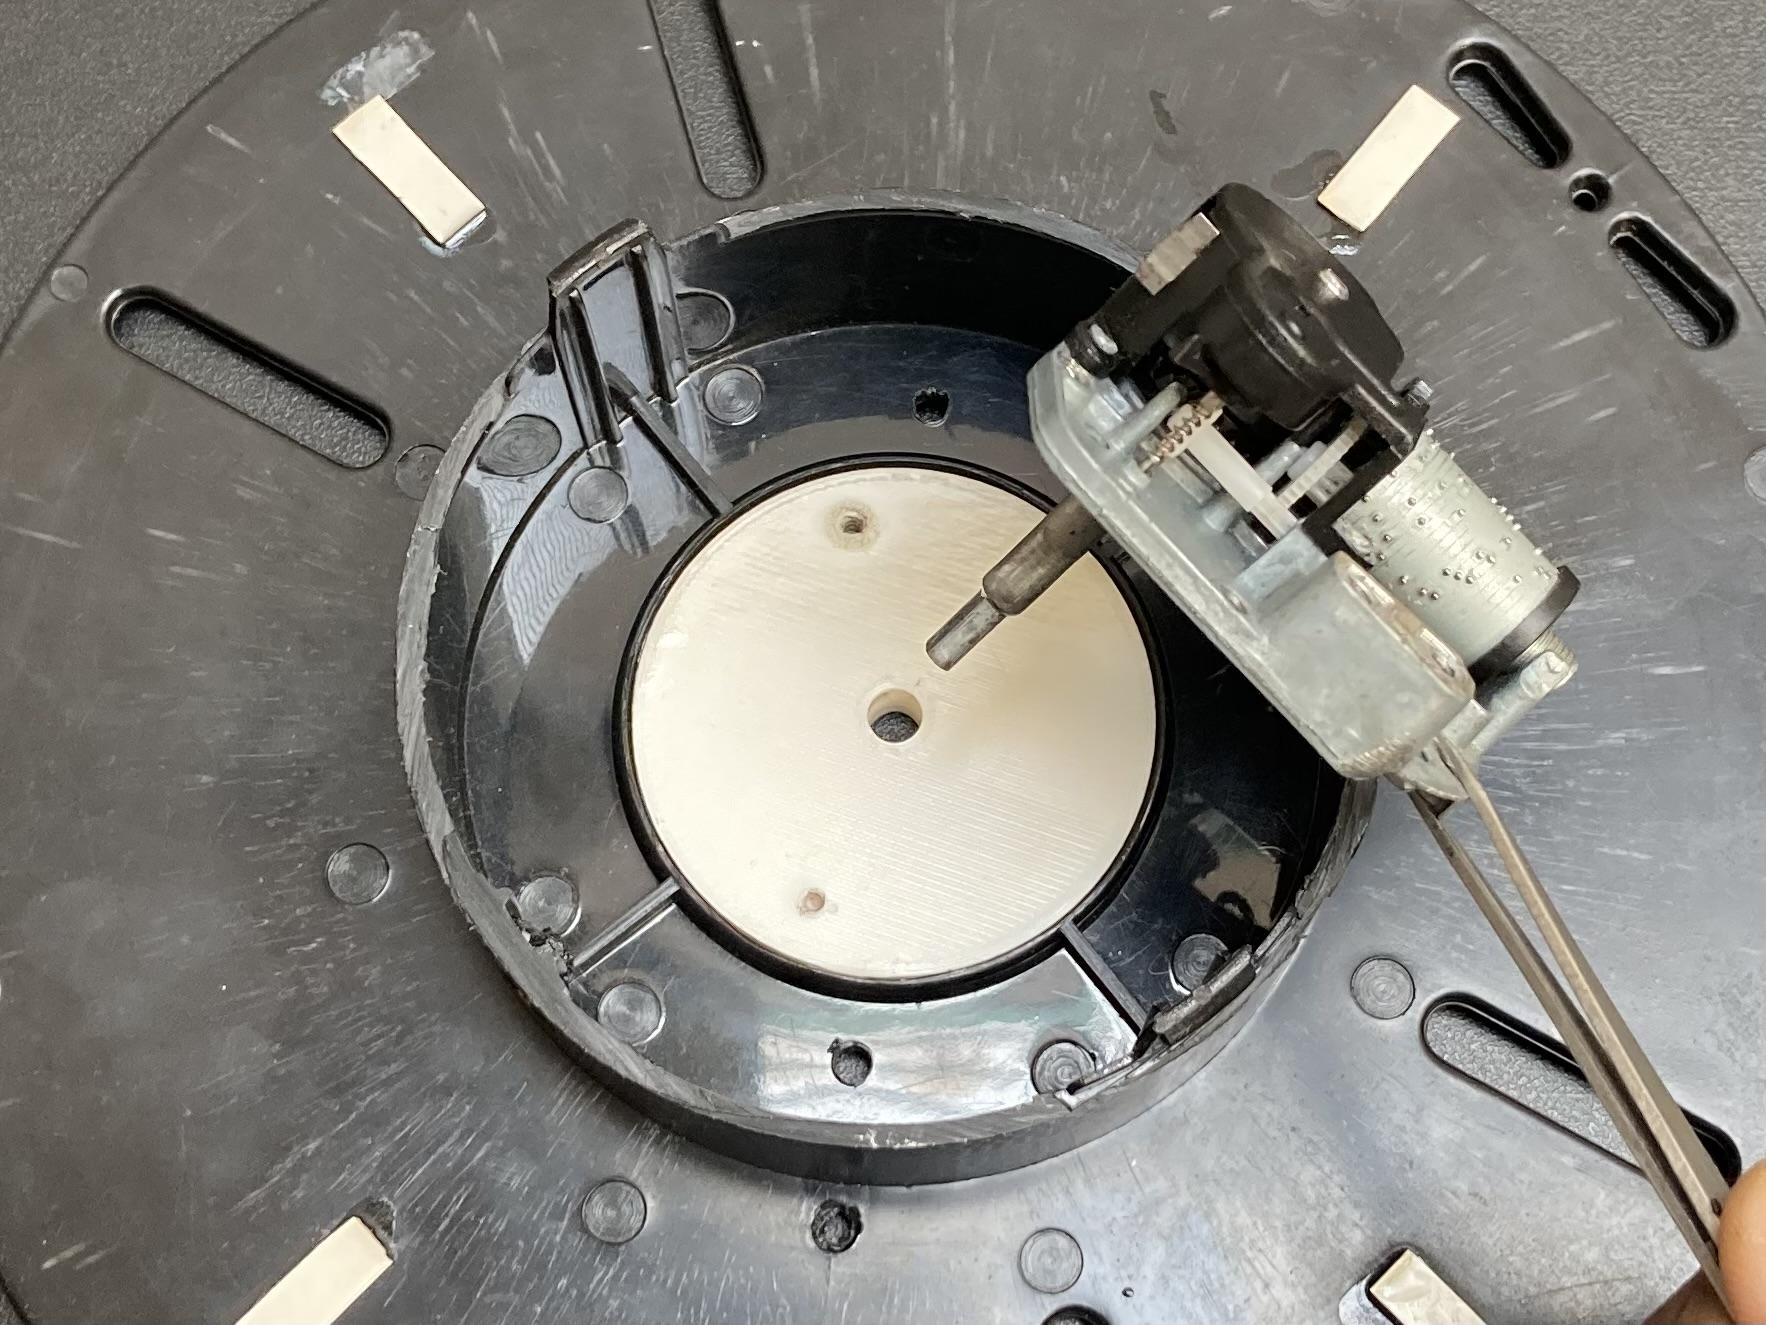
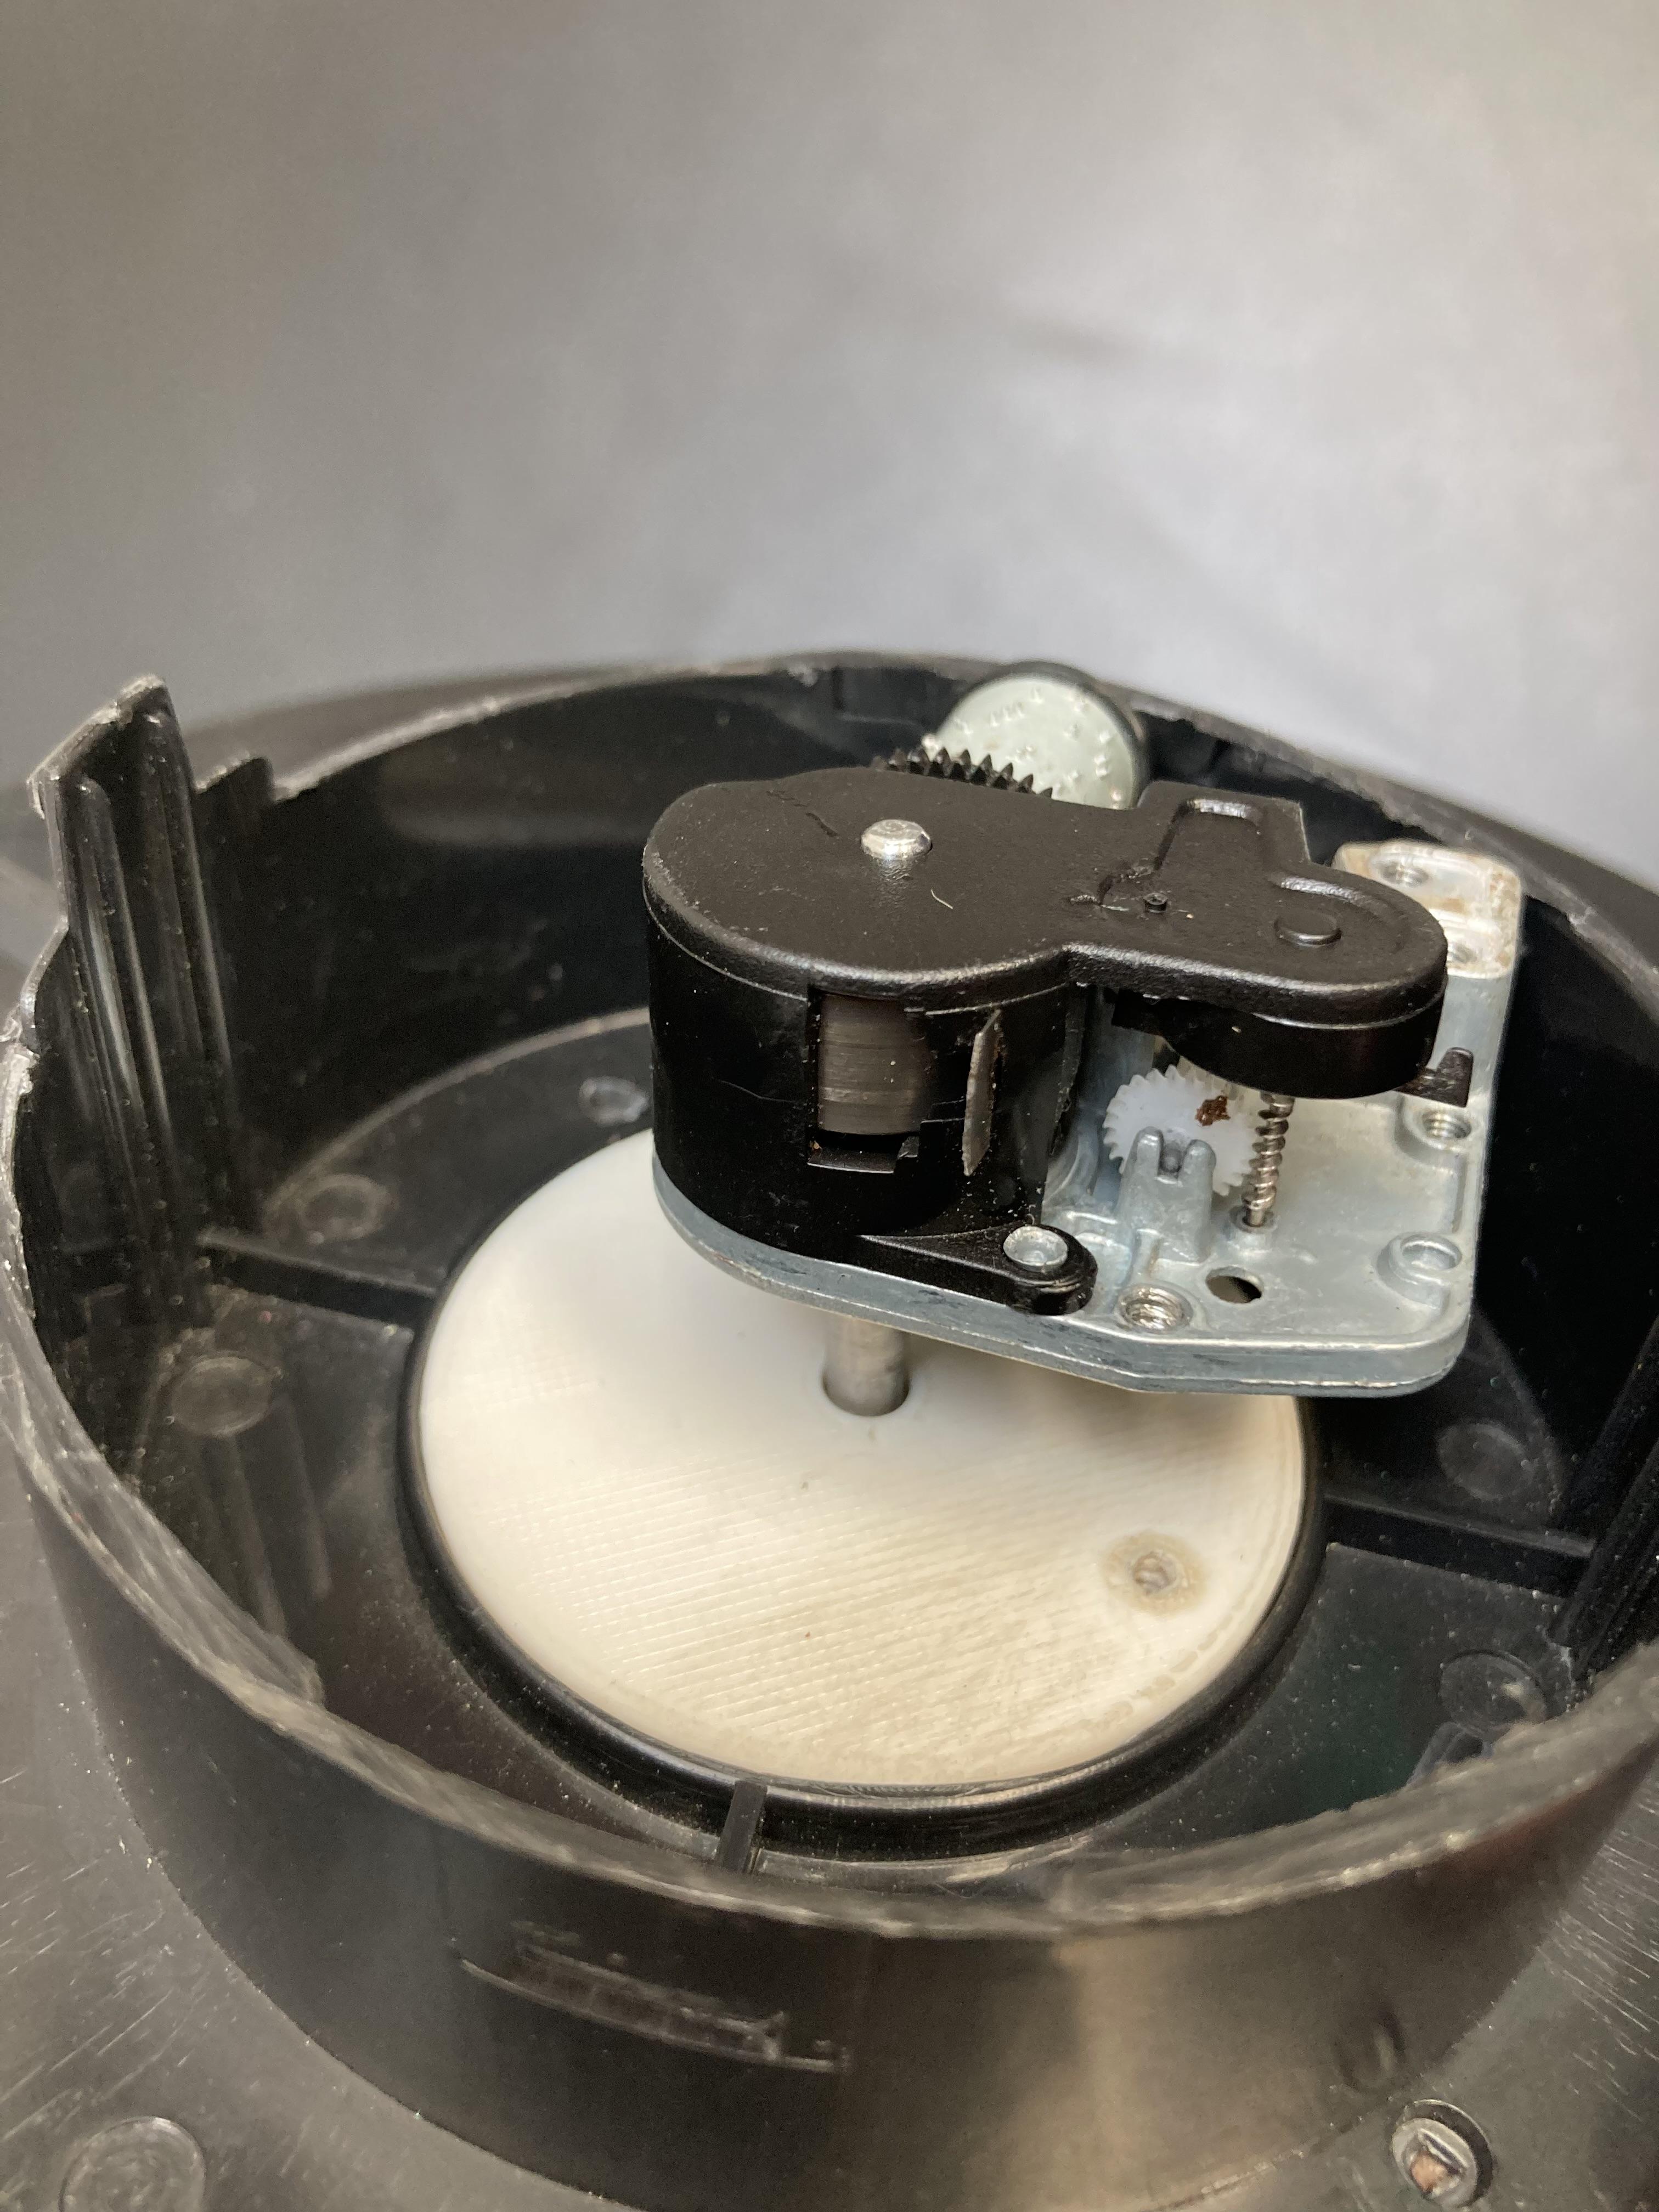
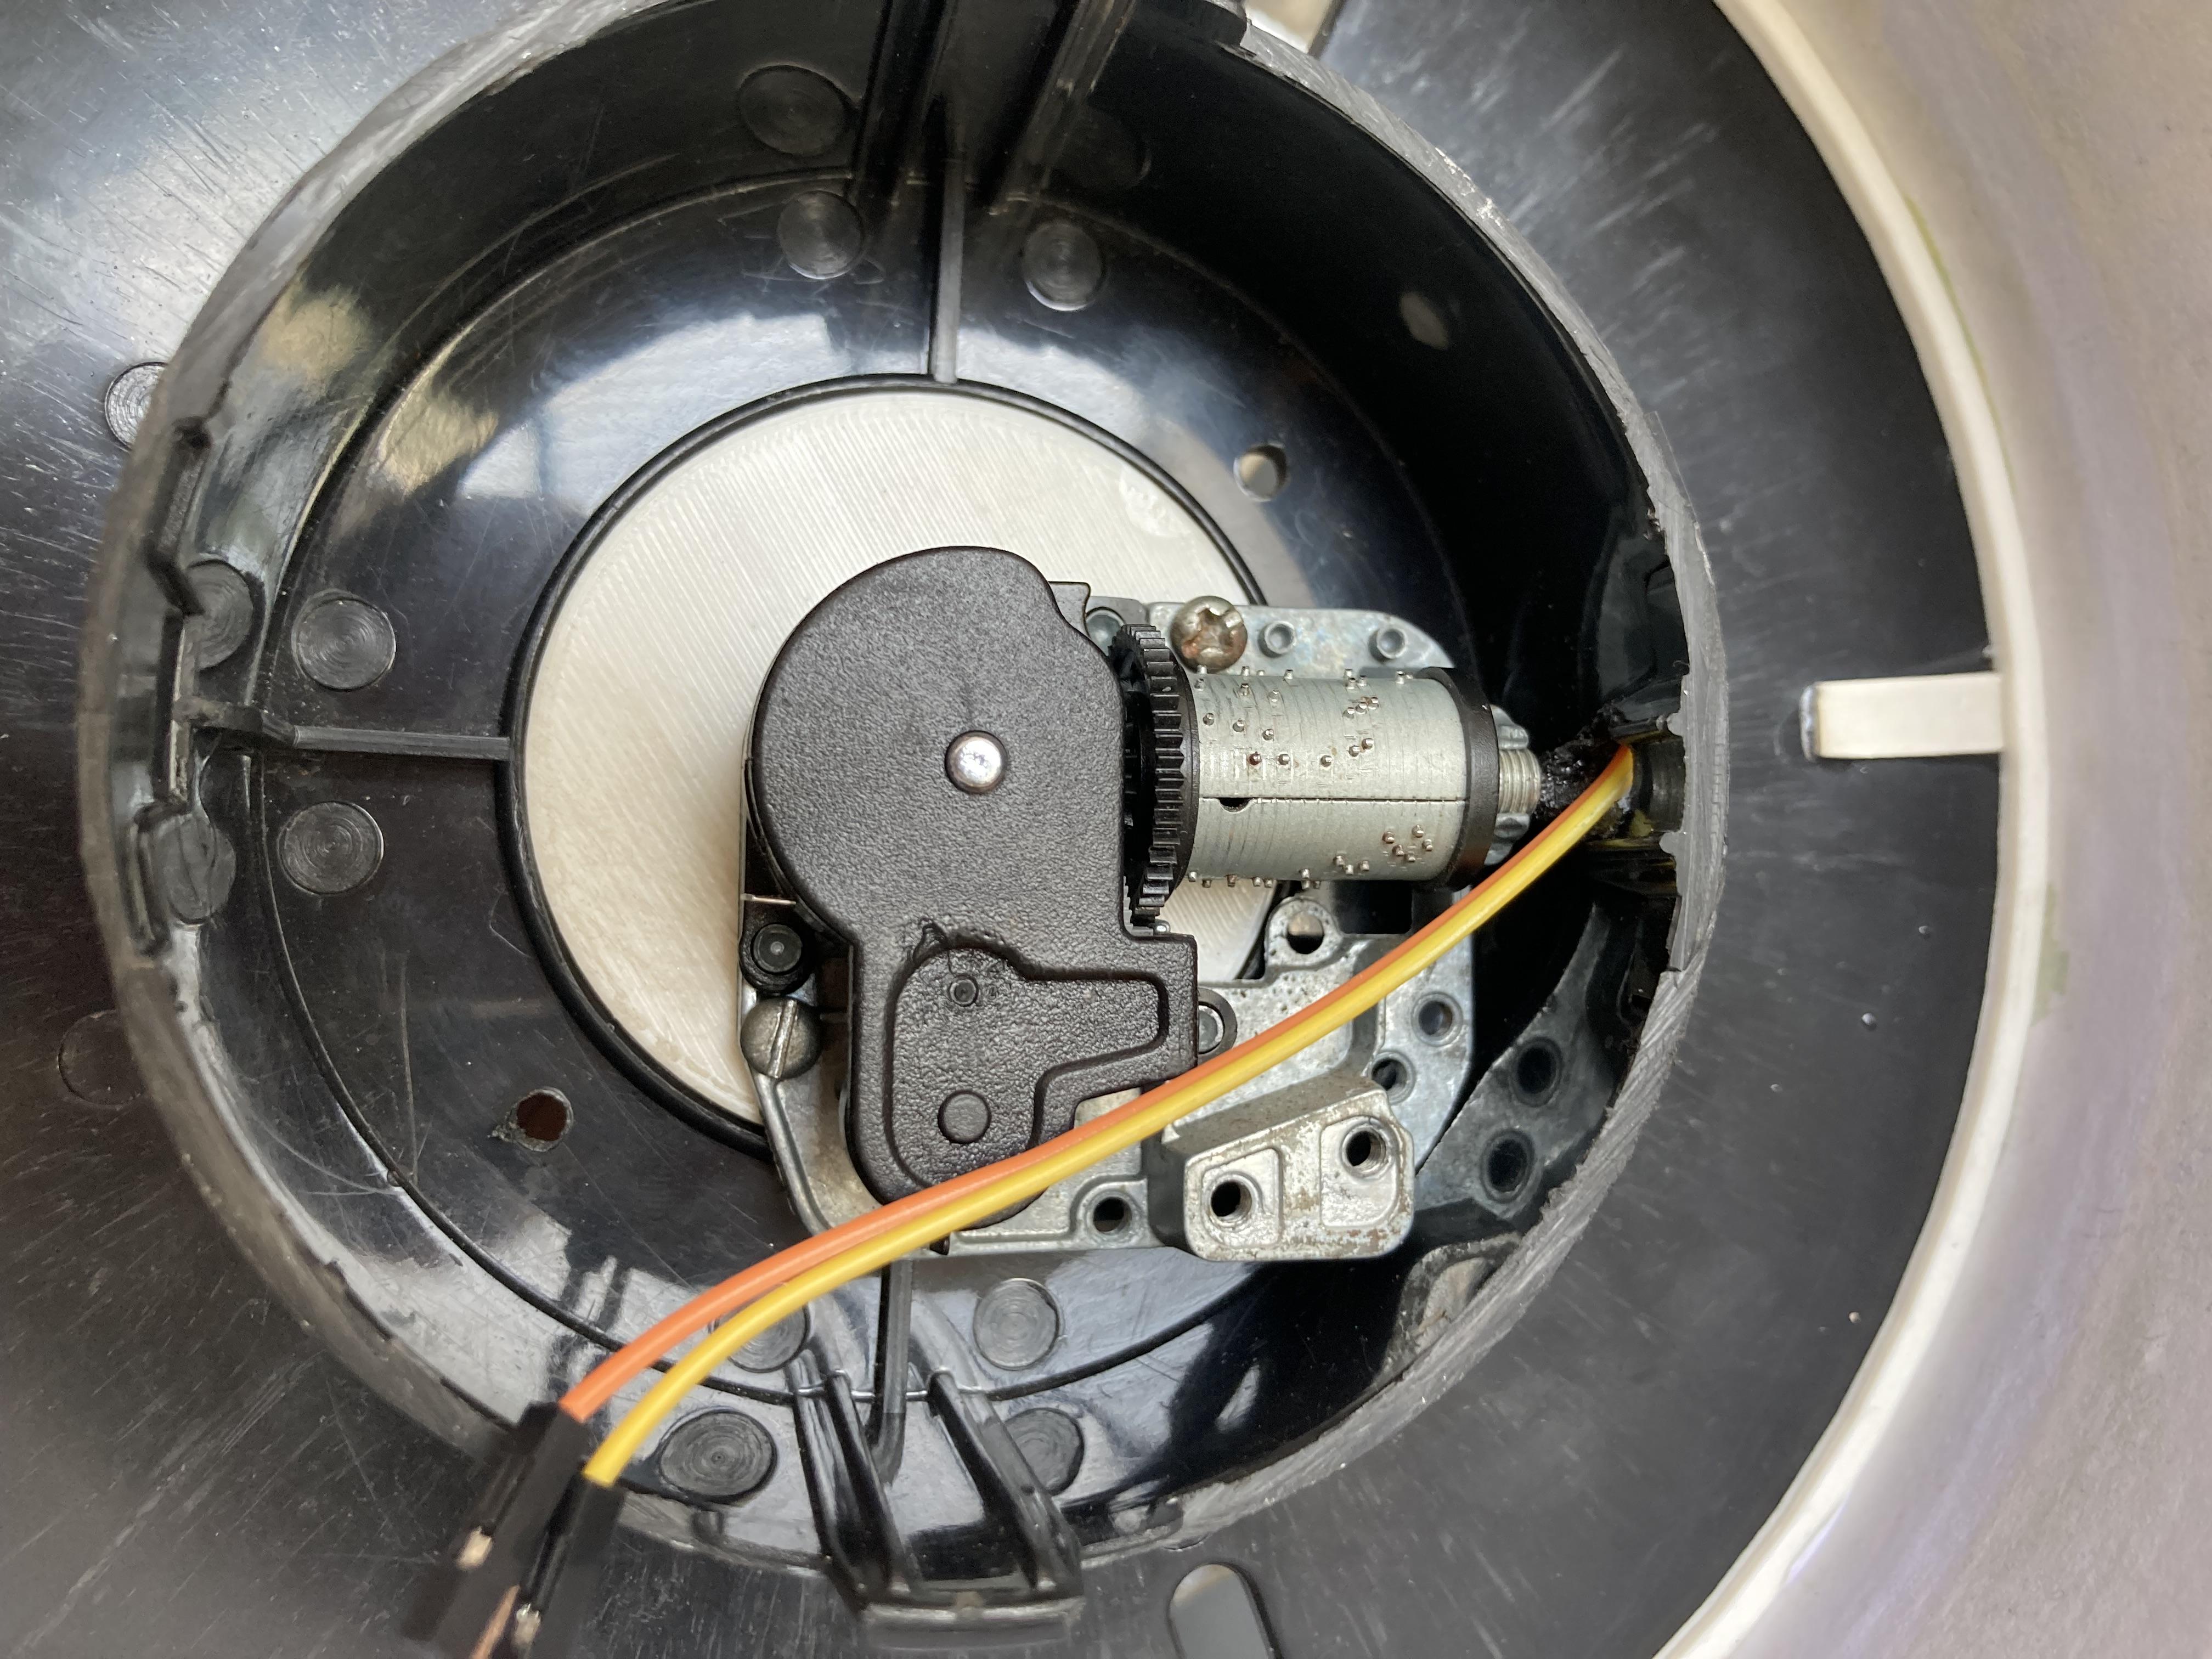
I used a wind up music mechanism for the rotation of lithophane lamp. I used this mechanism because it does not require battery power and have slow and uniform motion. The shaft of the mechanism is attached to the base stand. Its principle is very simple when we rolling it in reverse direction its spring mechanism stores potential energy. When we leave it will starts rotating. I removed the music string plate from it because it was damaged. If you put new wind up music mechanism it sounds well and looks more joyful.
Assemble All Parts
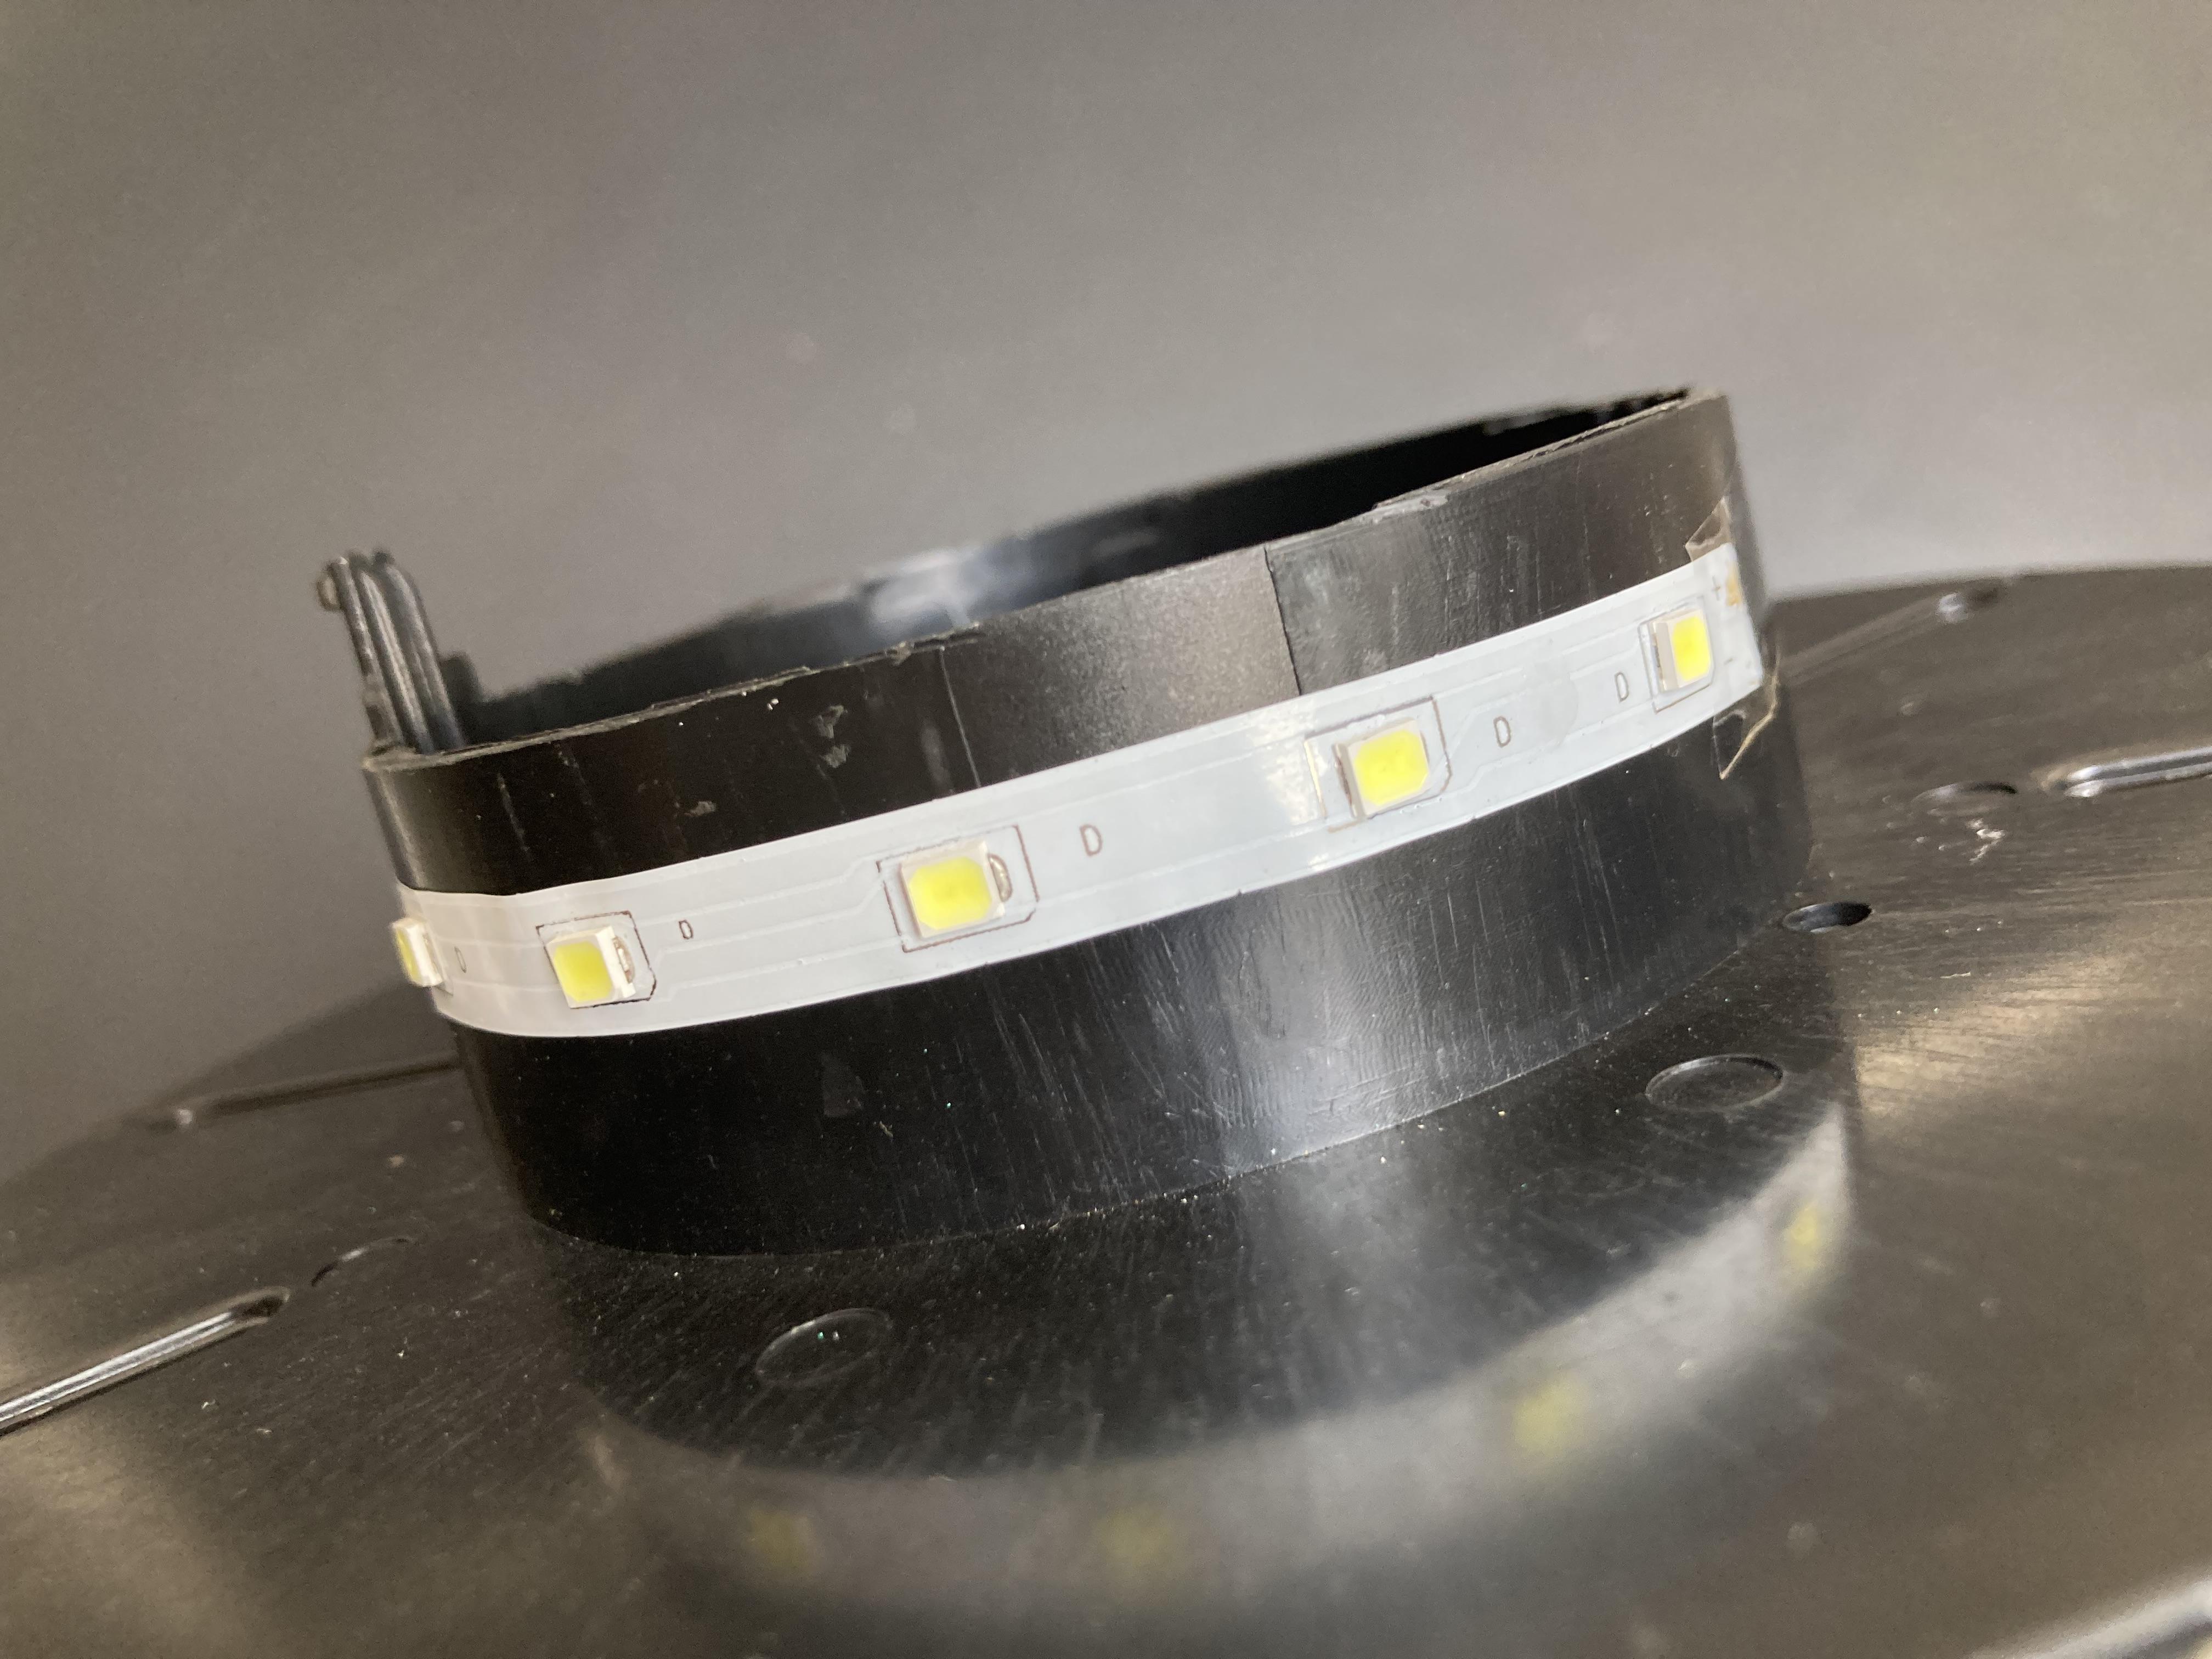
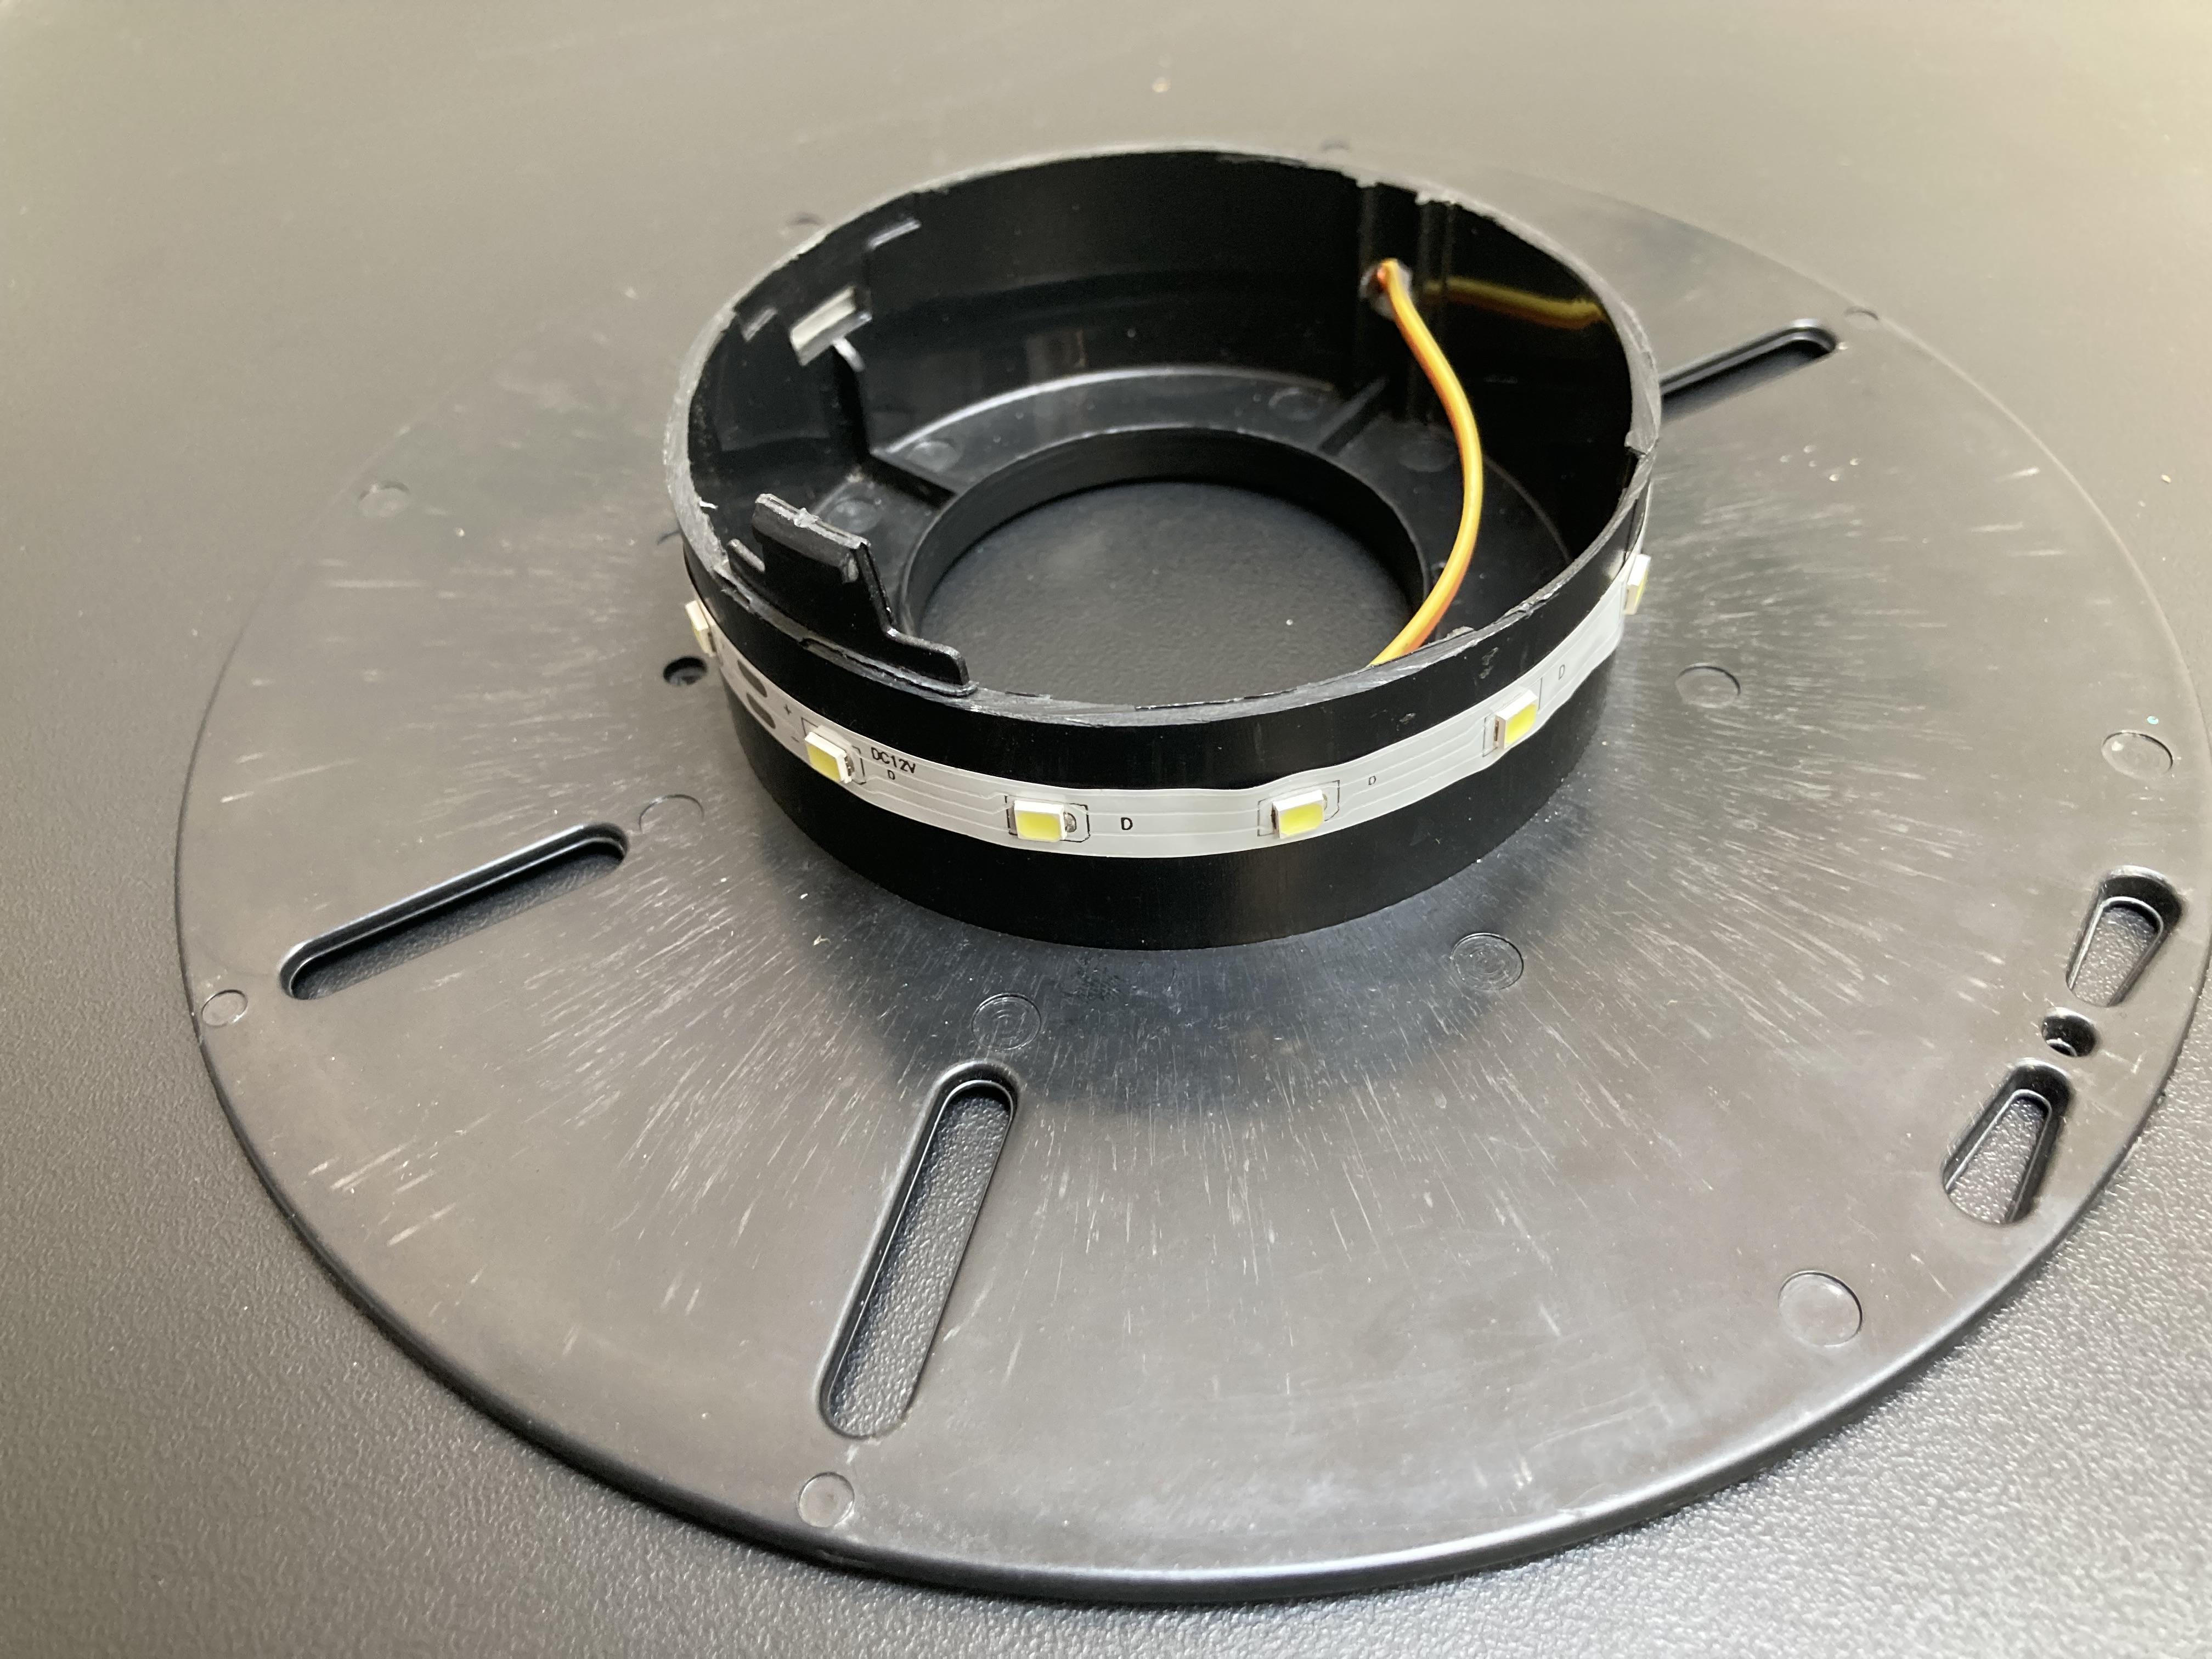
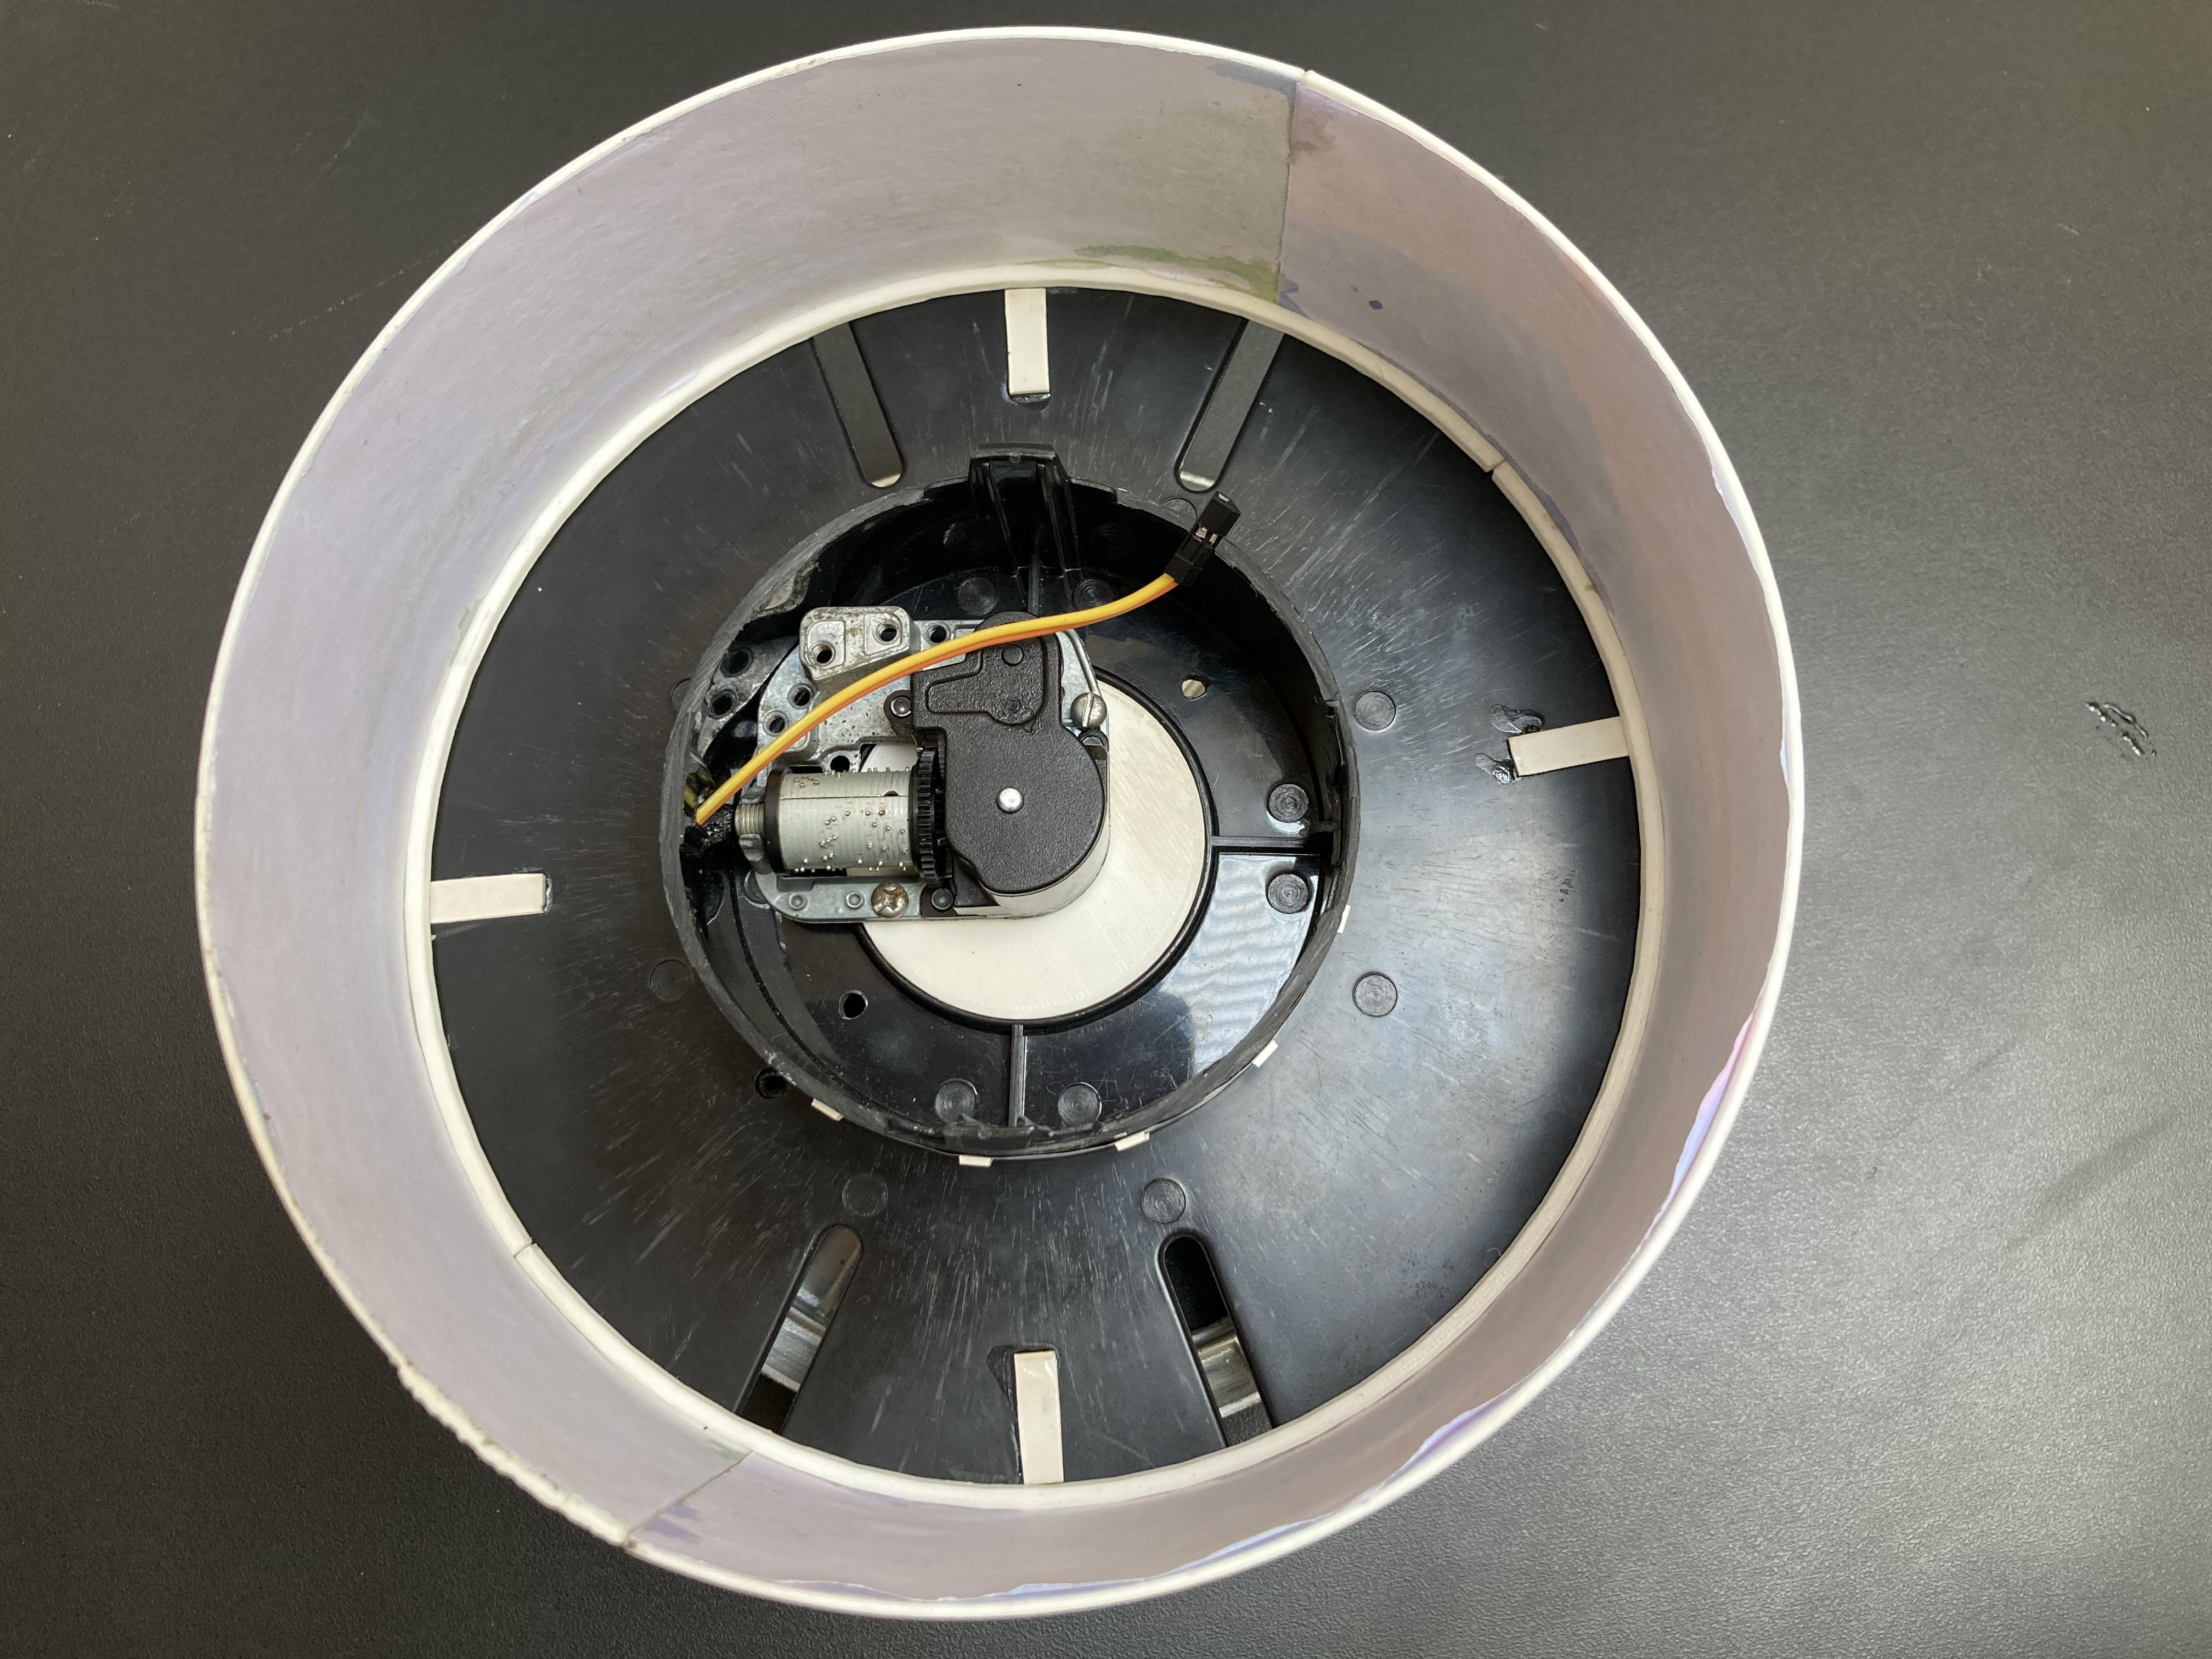
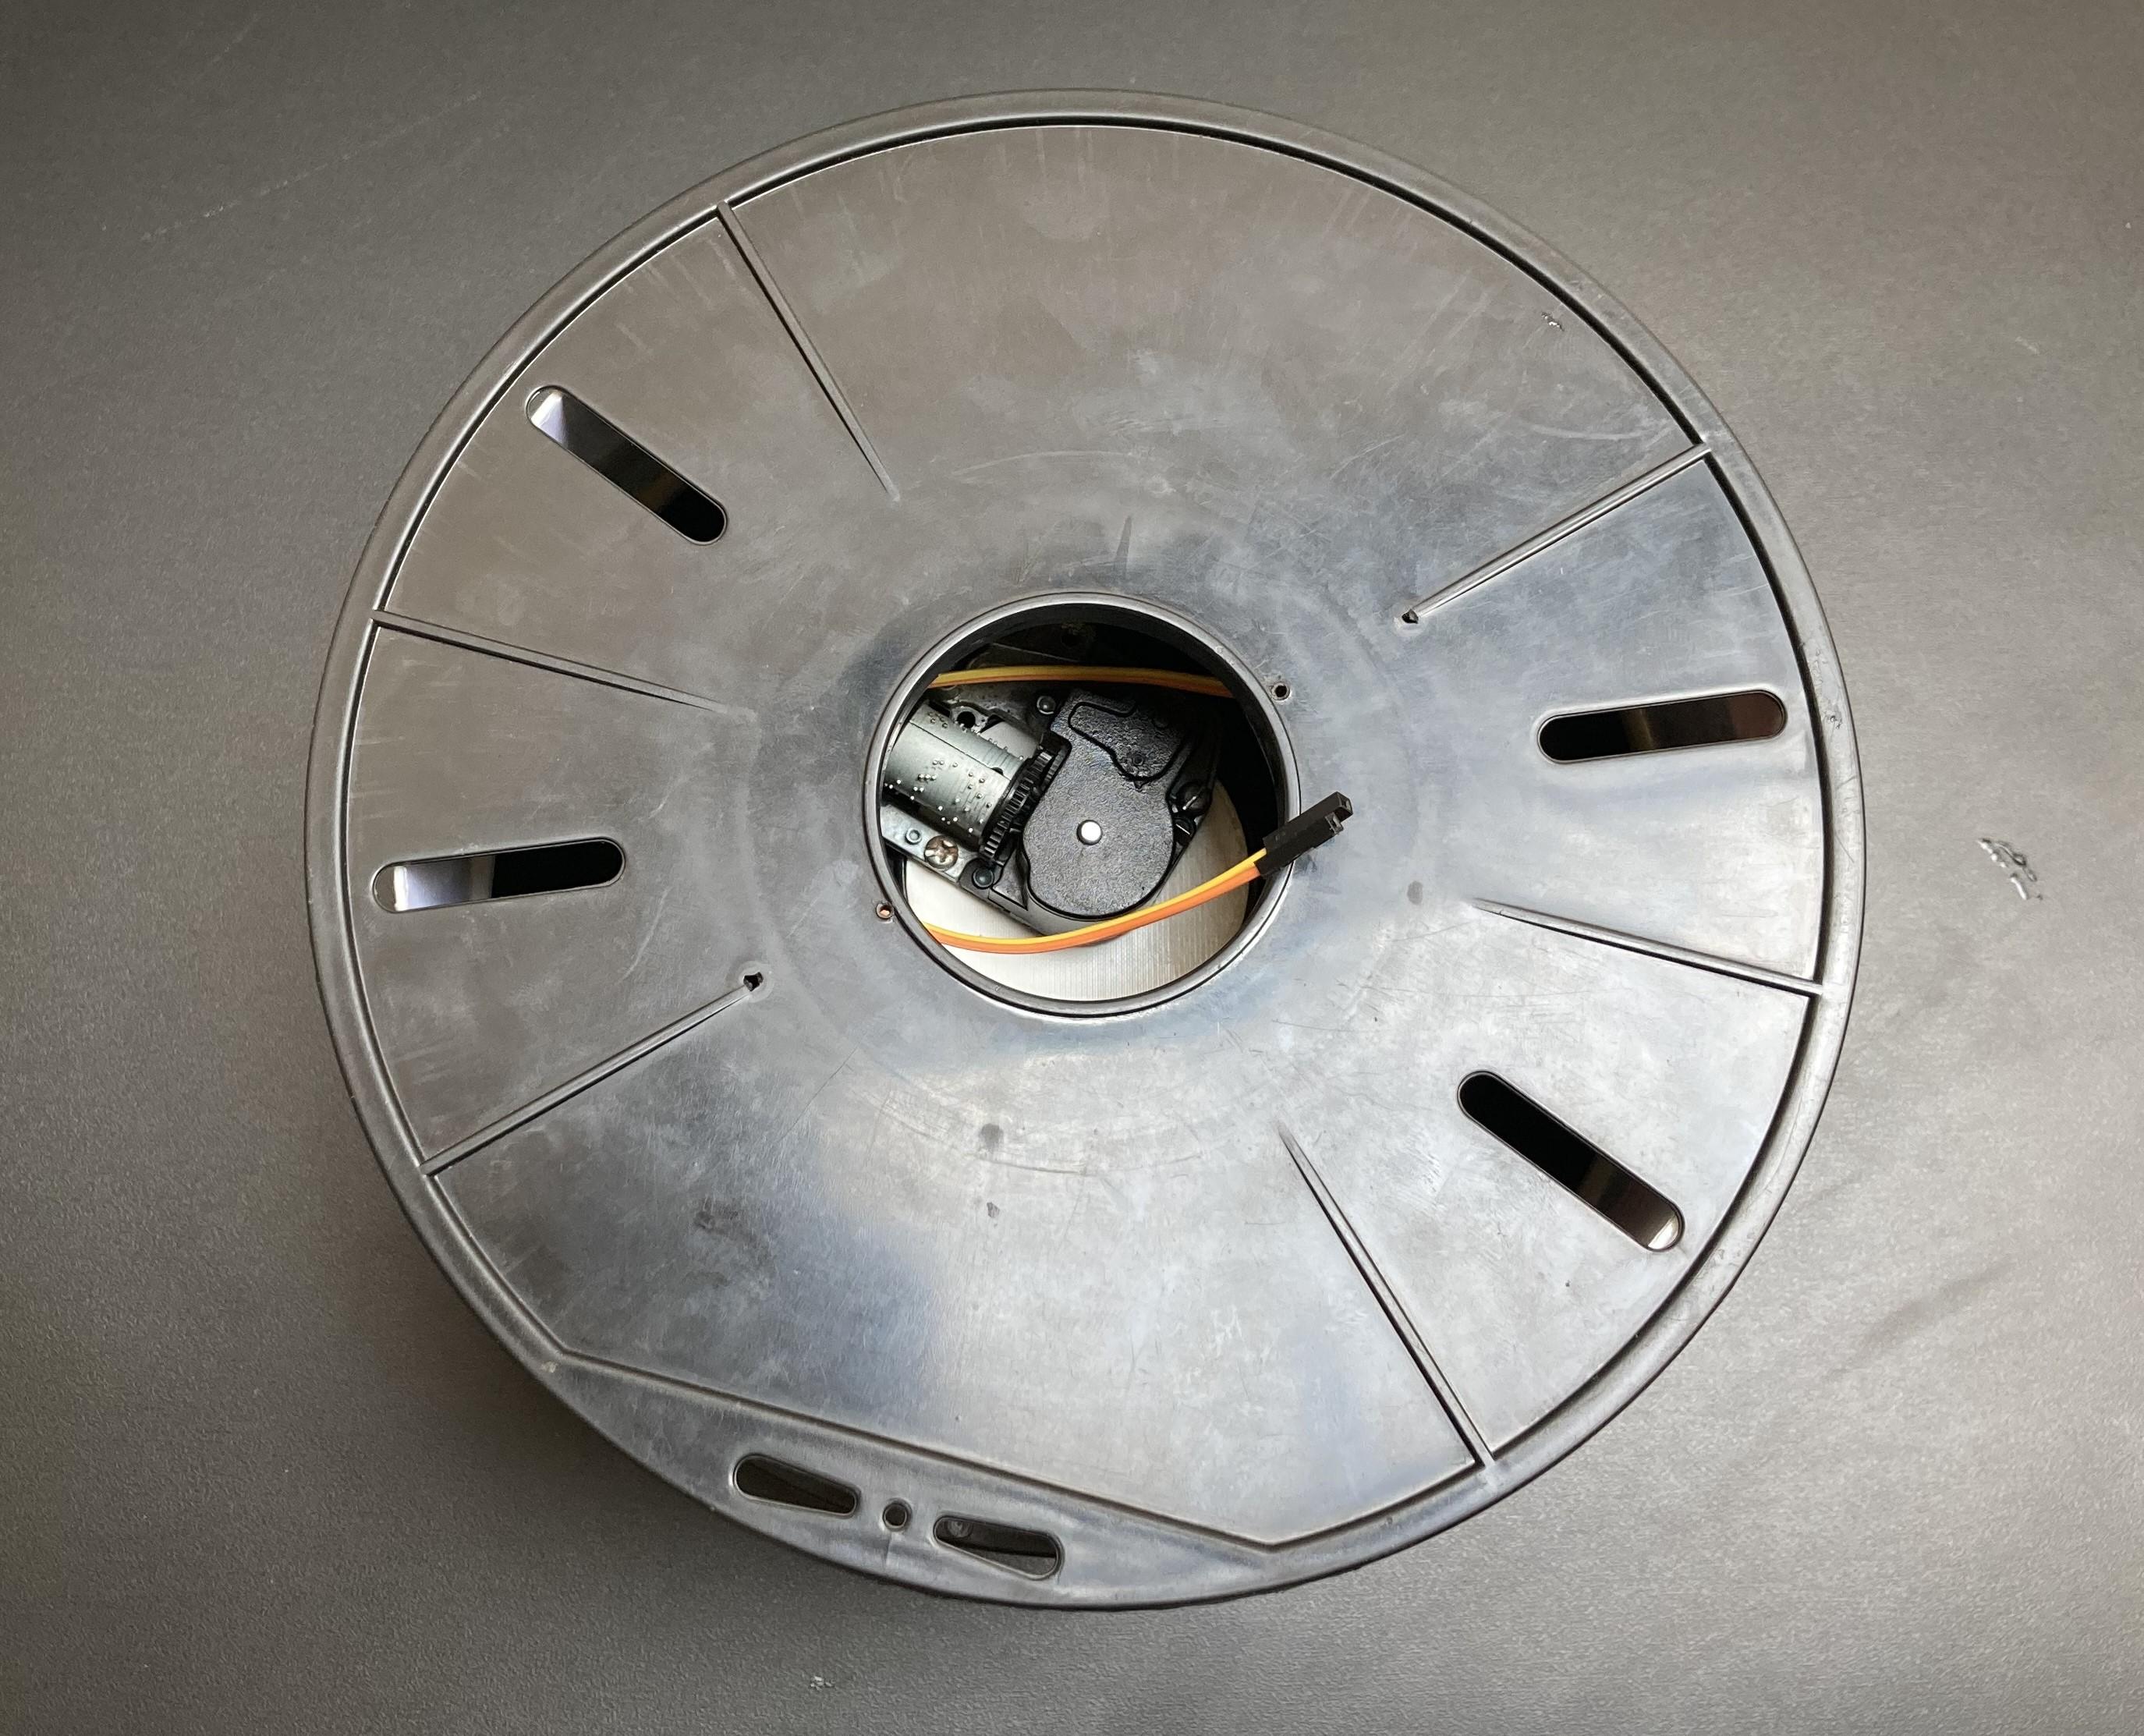
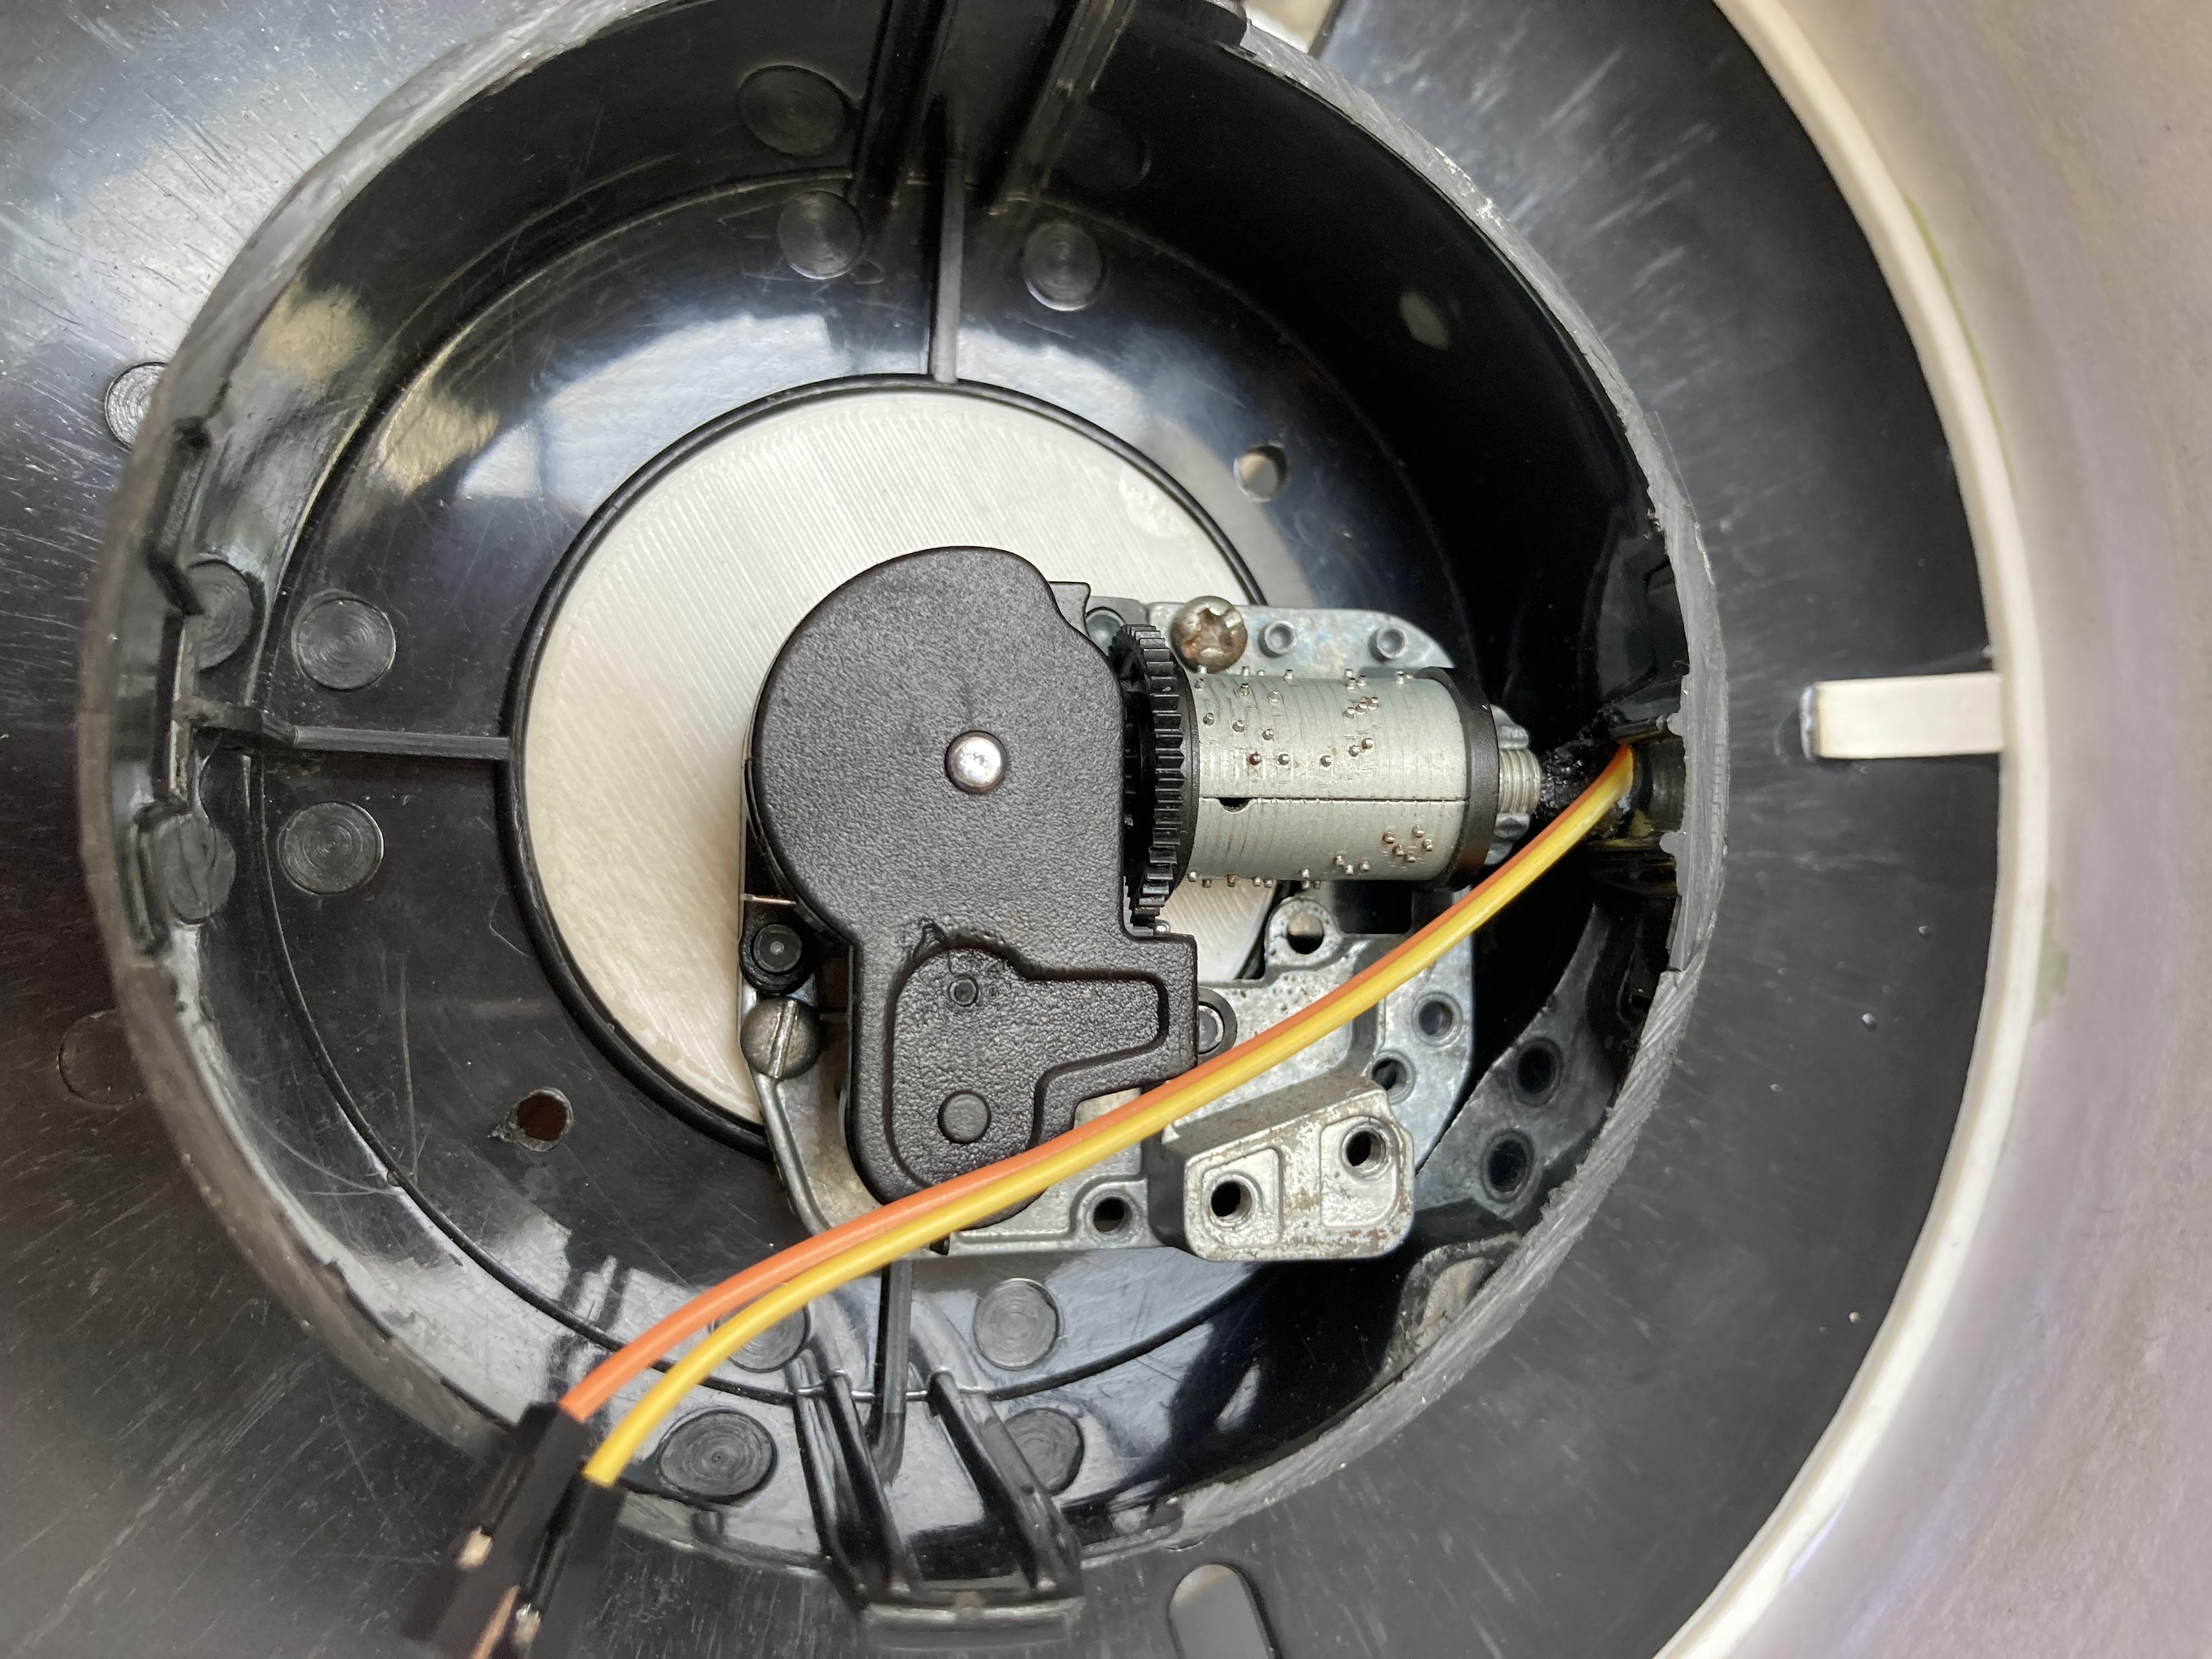
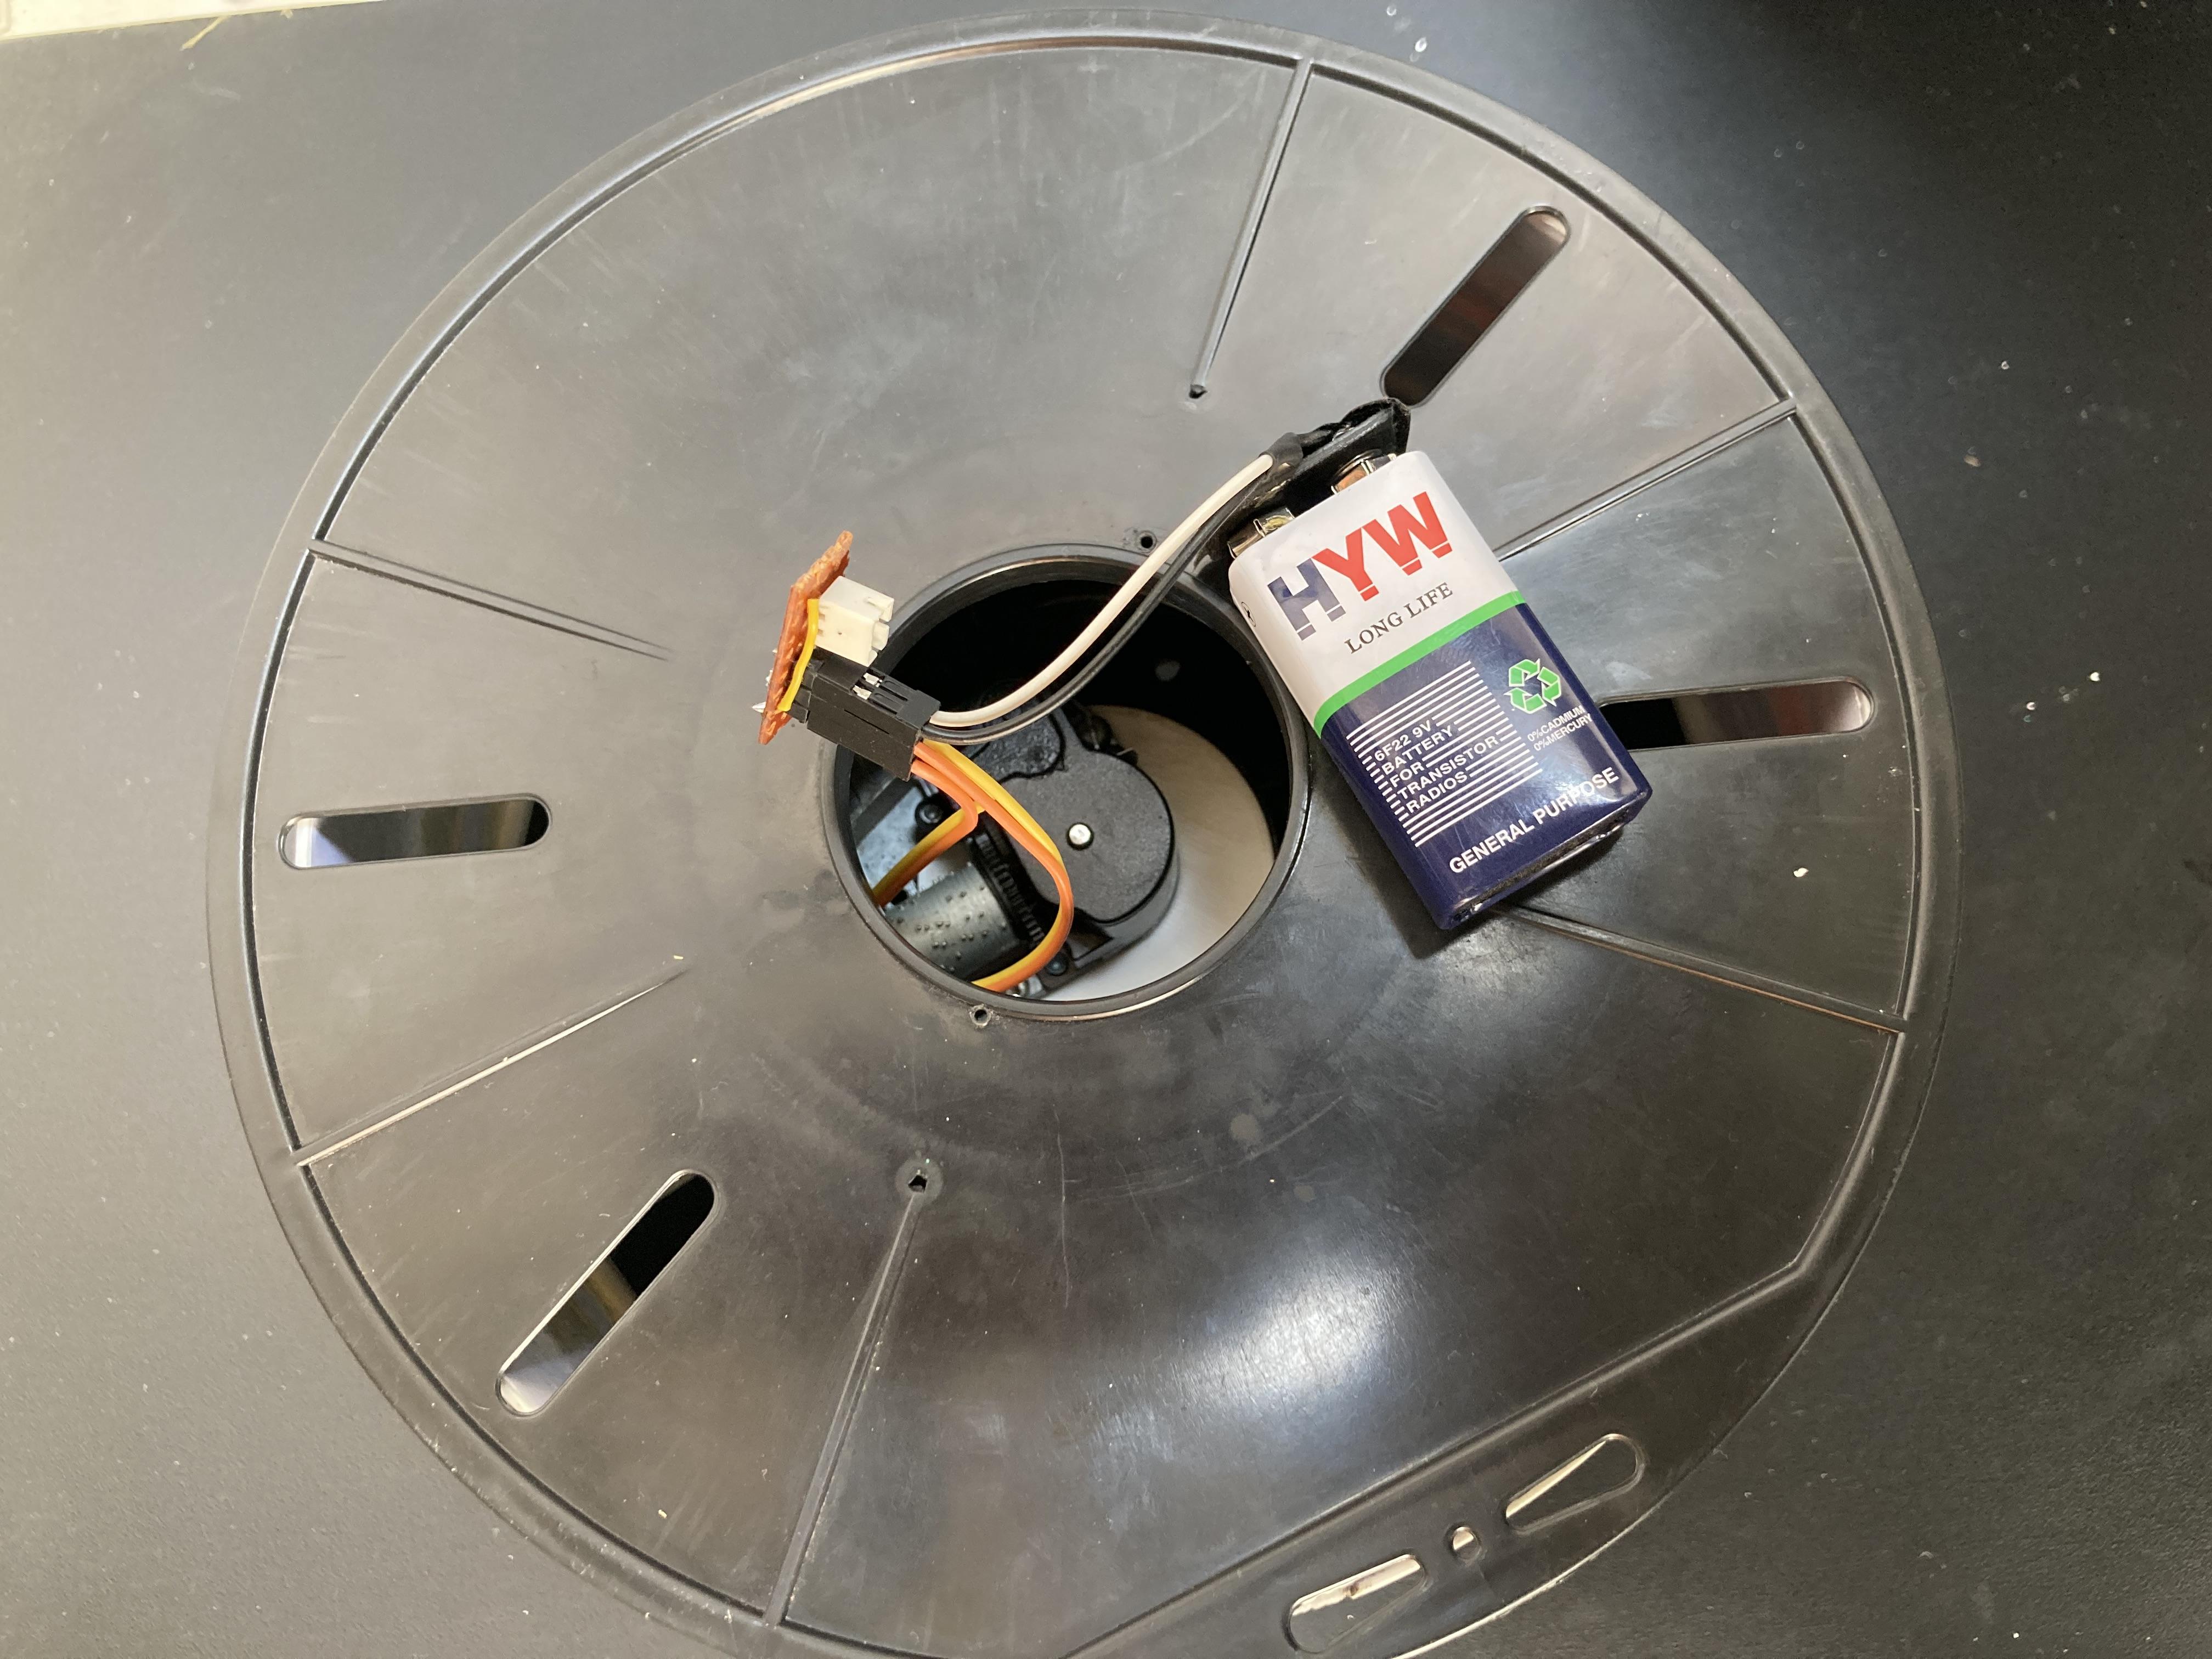
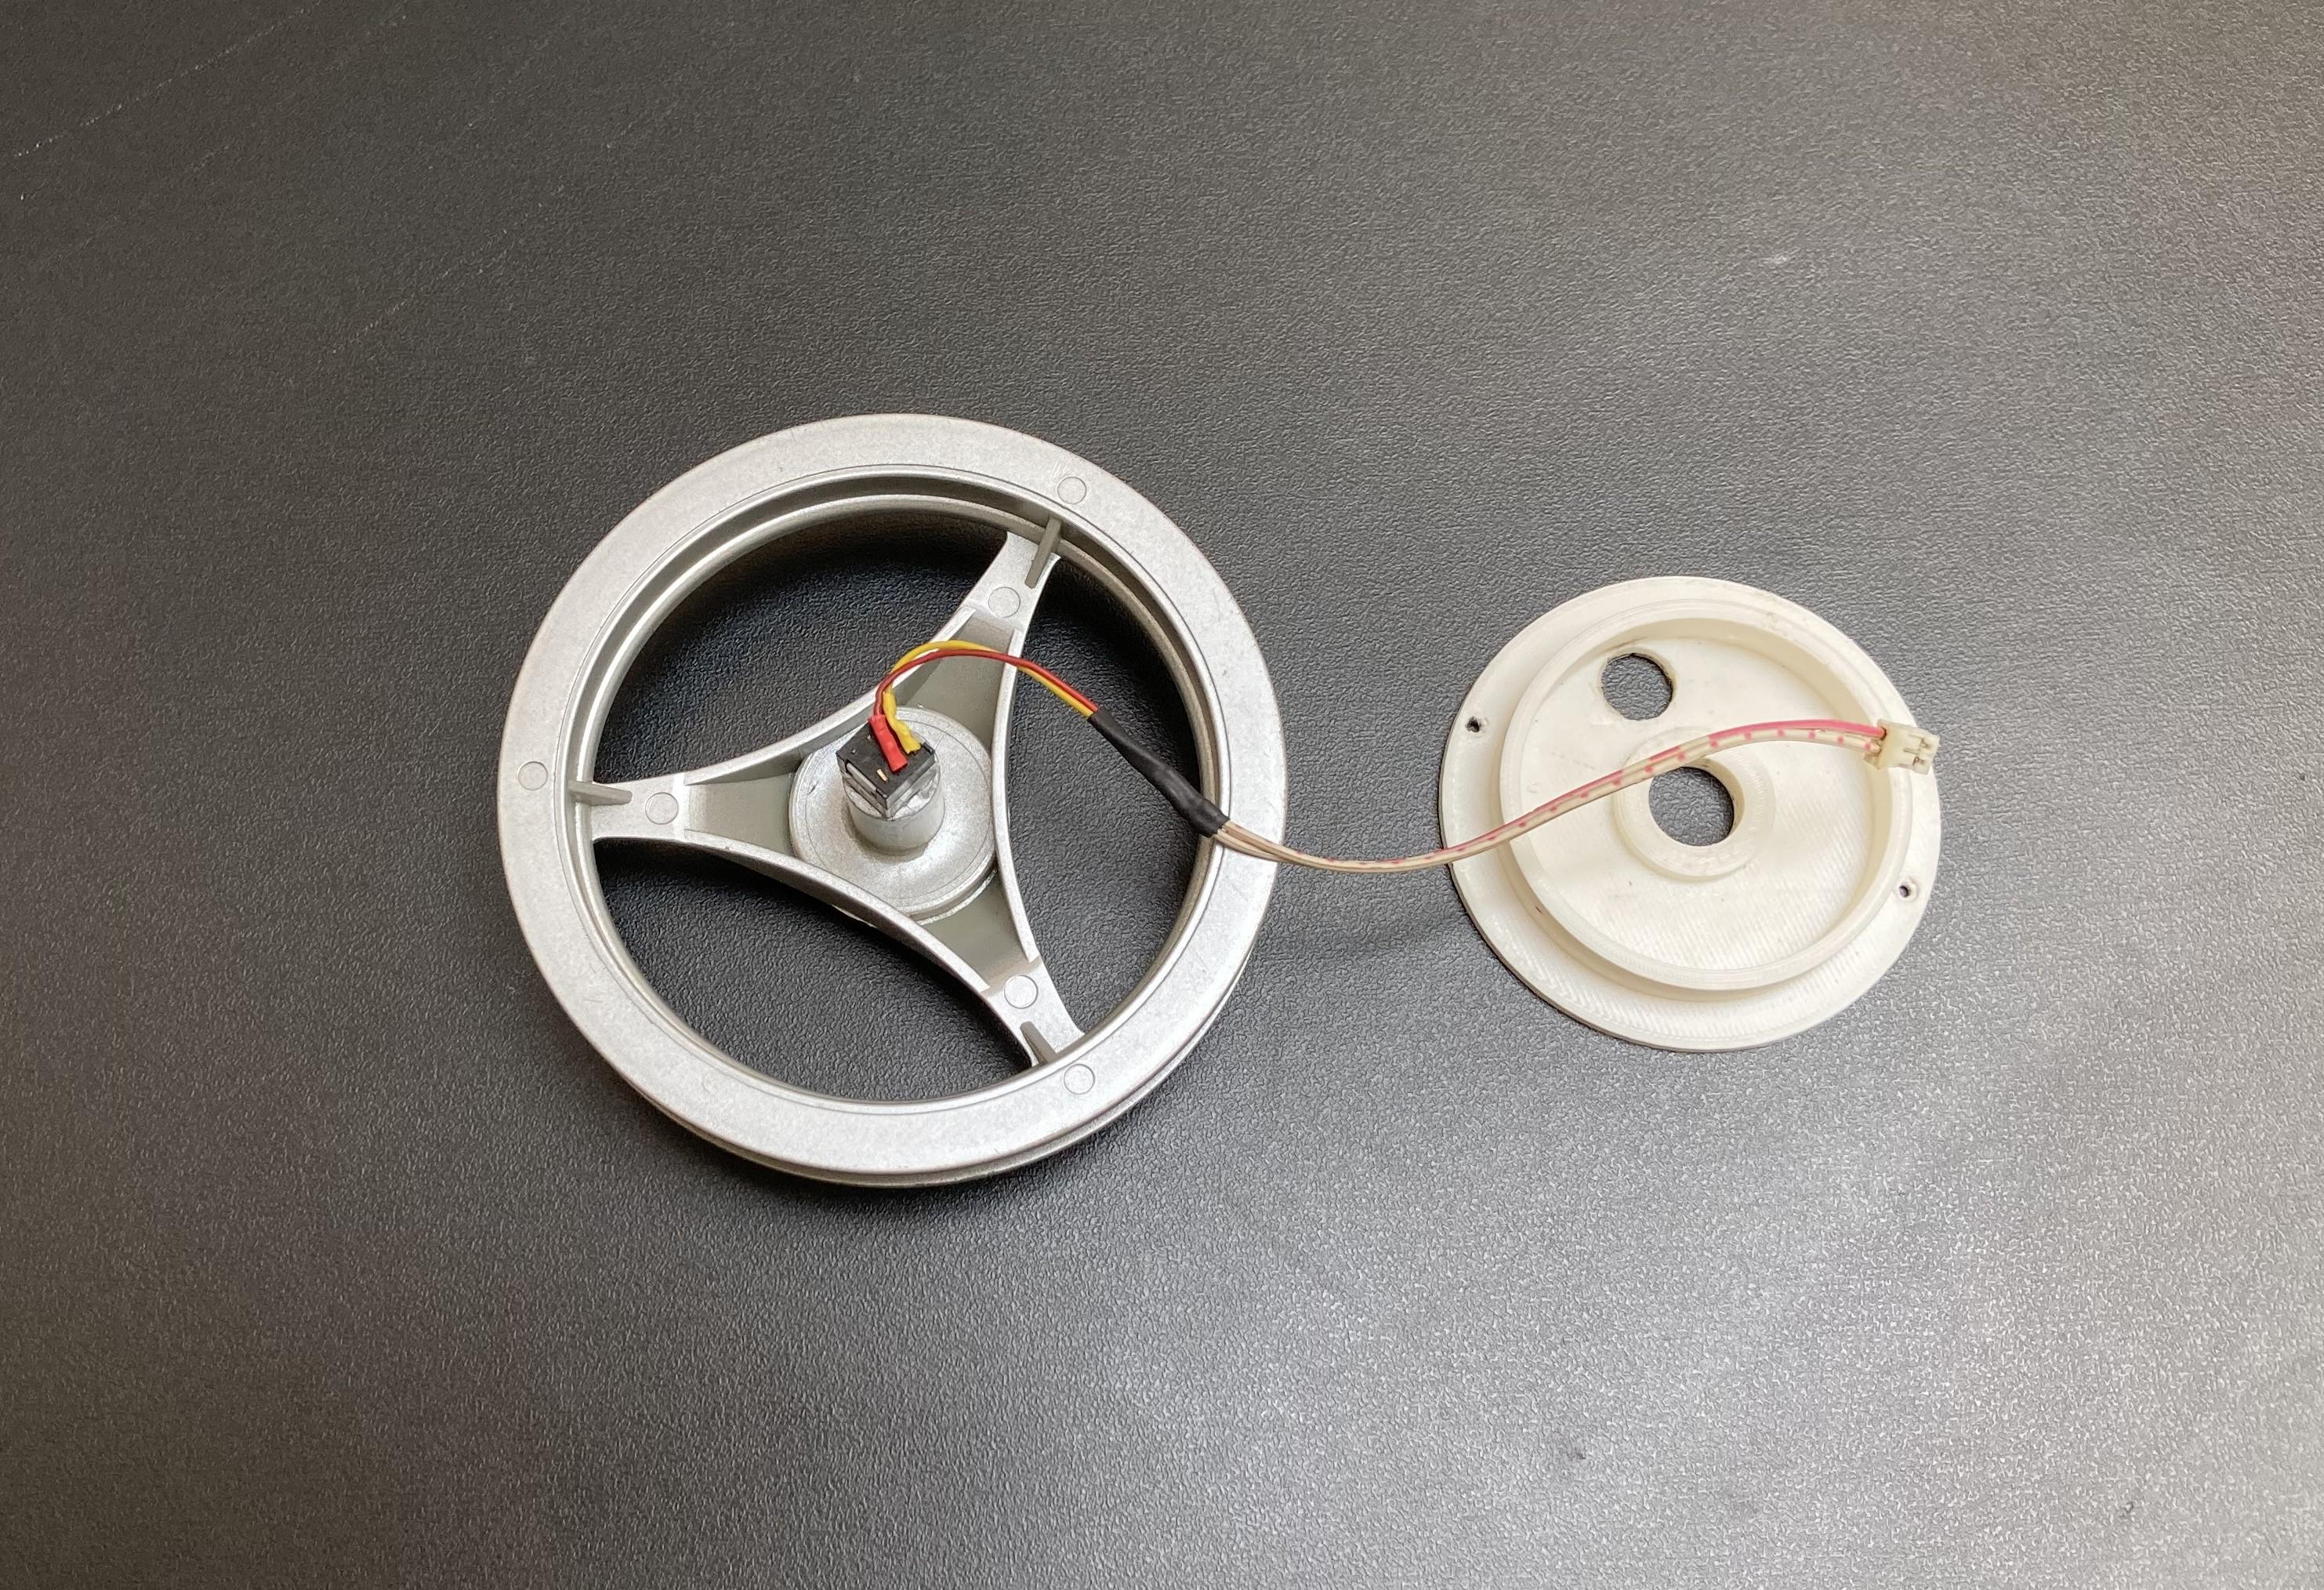
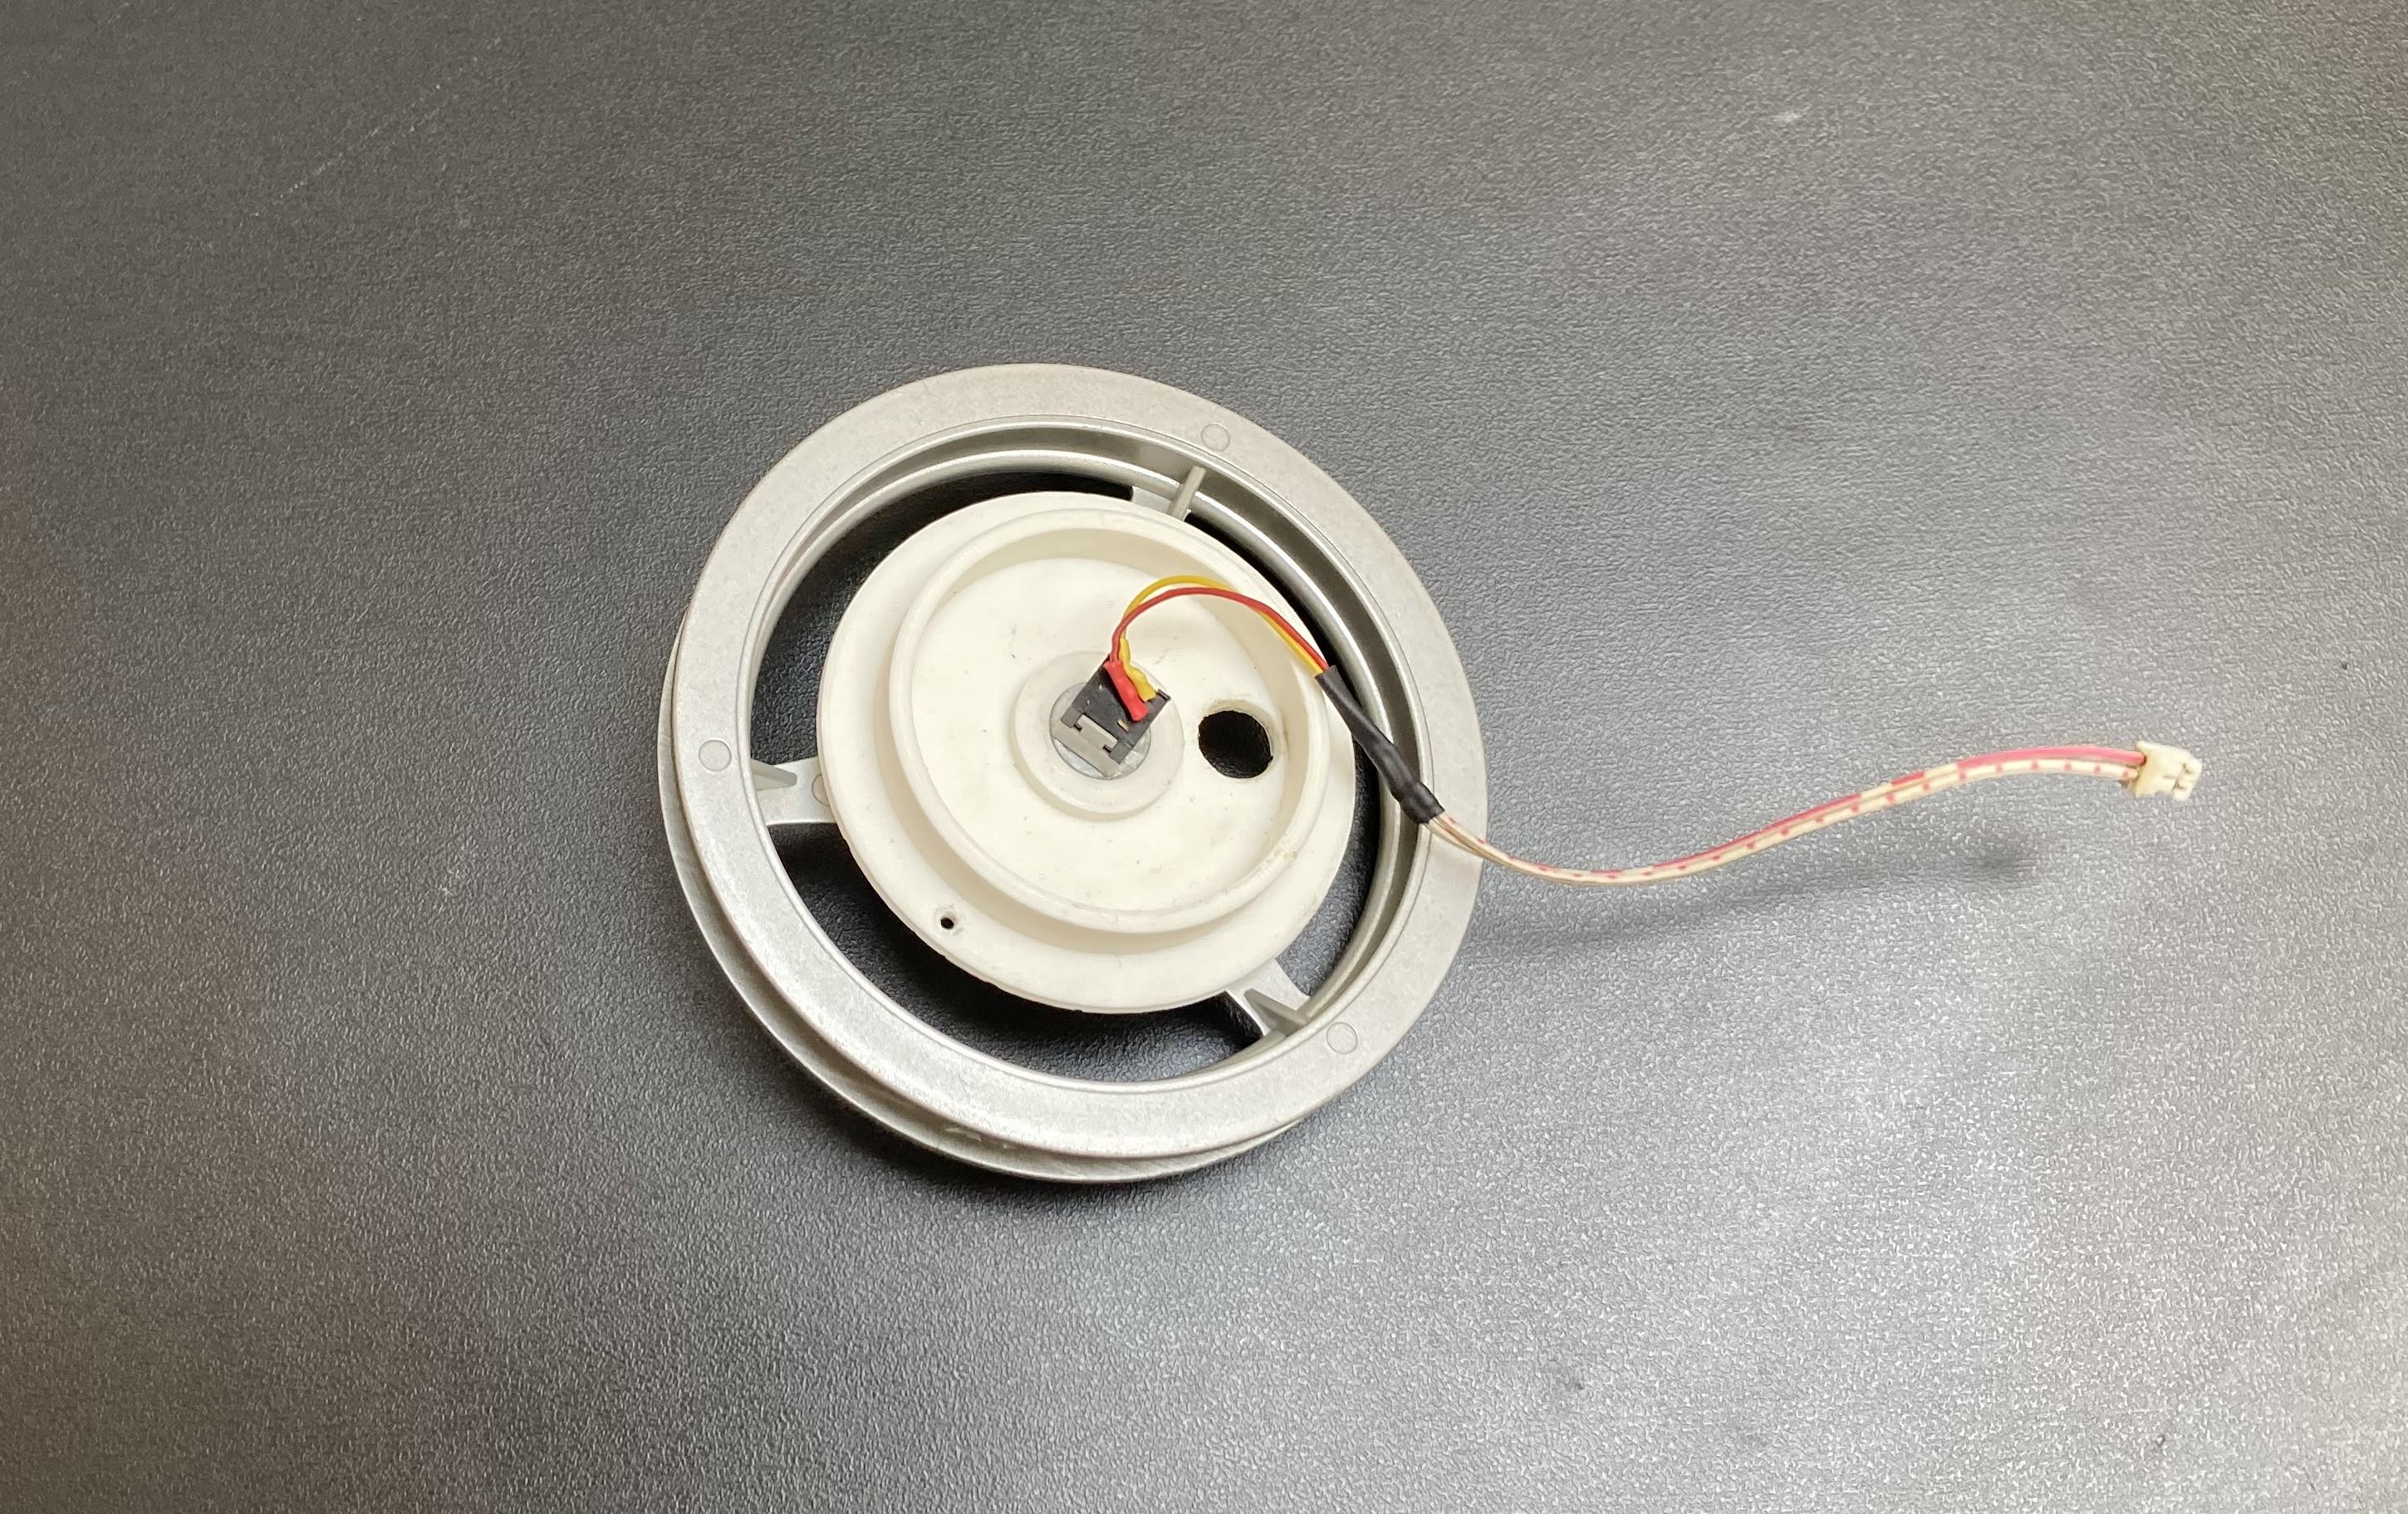
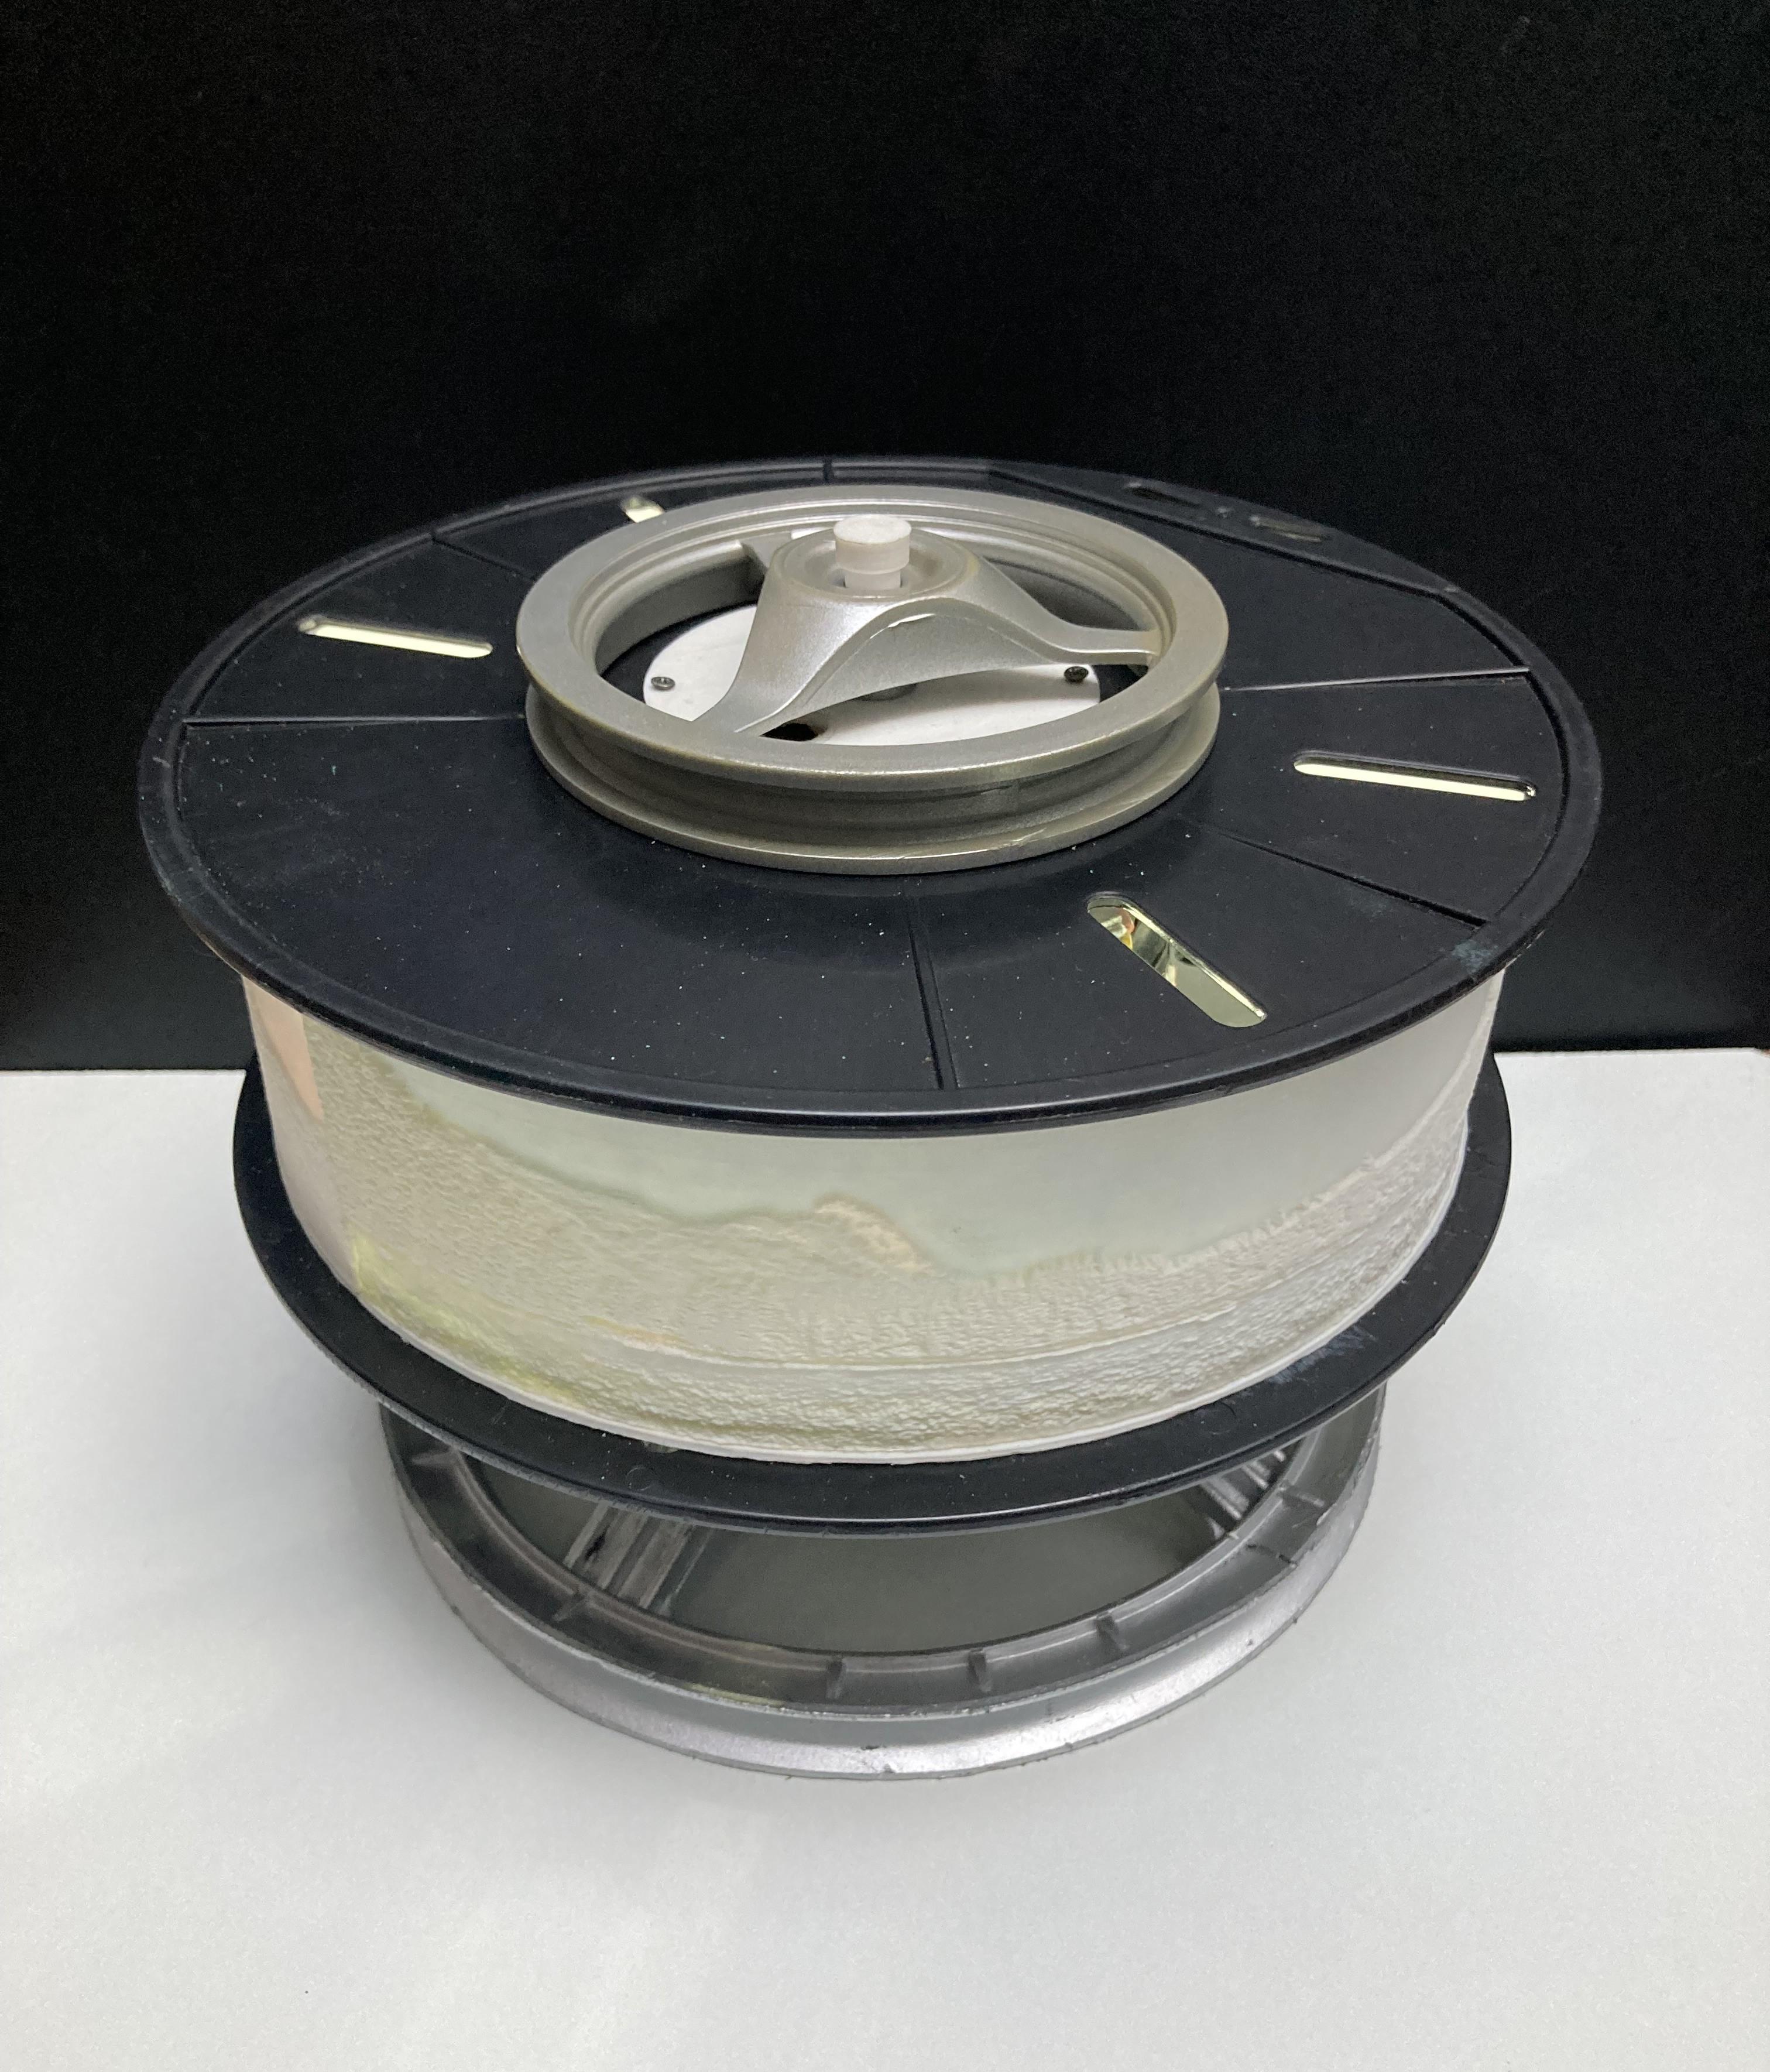
I used old plastic parts to make stand and top part of the lithophane lamp. Put the switch key on the upper plastic part with the help of super glue. attach the LED light inside the spool. Make circuit connections as per the circuit diagram. Arrange and assemble all the parts according to the images provided. Just roll it in reverse direction and push the switch key button at the top. It will starts rotating. If you put this lithophane lamp in dark room it looks more beautiful.
STL Files
Final Words
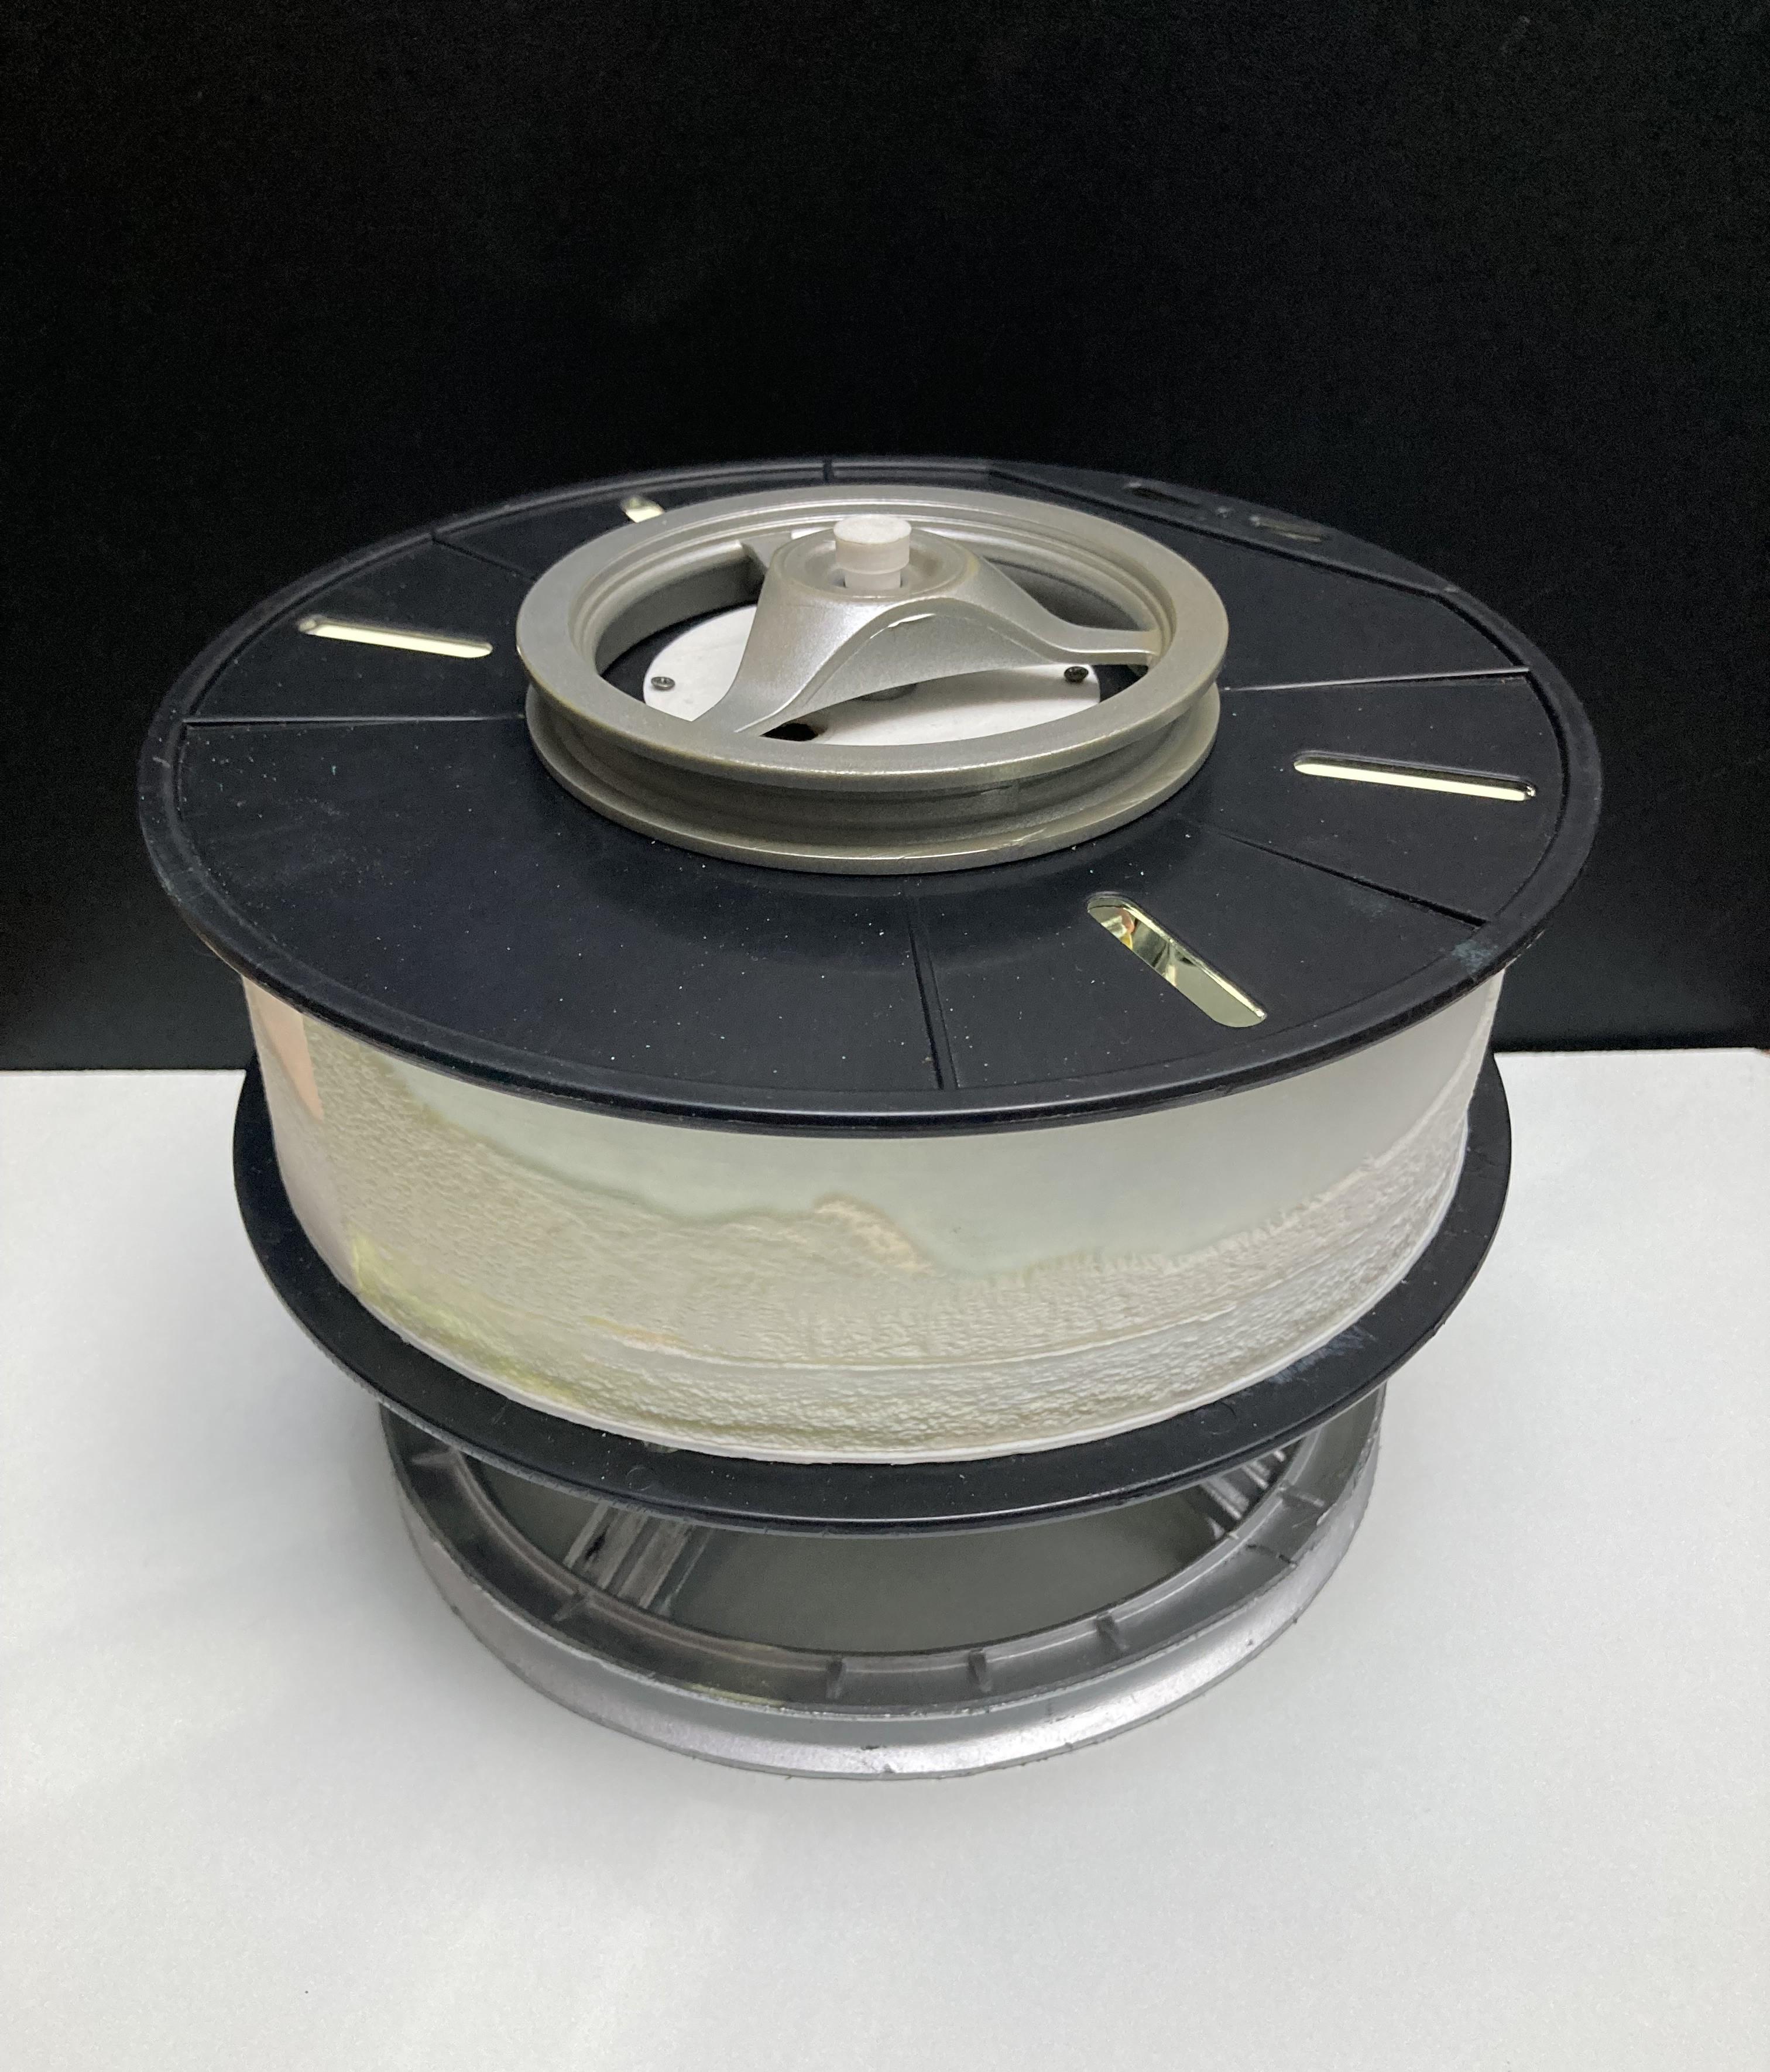
Hope you like this project. If you have any suggestions or need help comment below. Thank you.