Liquid Level Capacitive Sensor
by luismorales-navarro in Circuits > Arduino
8321 Views, 65 Favorites, 0 Comments
Liquid Level Capacitive Sensor
Developed @FABLAB VERITAS fablab.veritas.cr
In this tutorial you will learn how to make a capacitive sensor to measure liquid levels. You will need the following:
- Arduino UNO
- 1M Resistor
- Prototyping cables
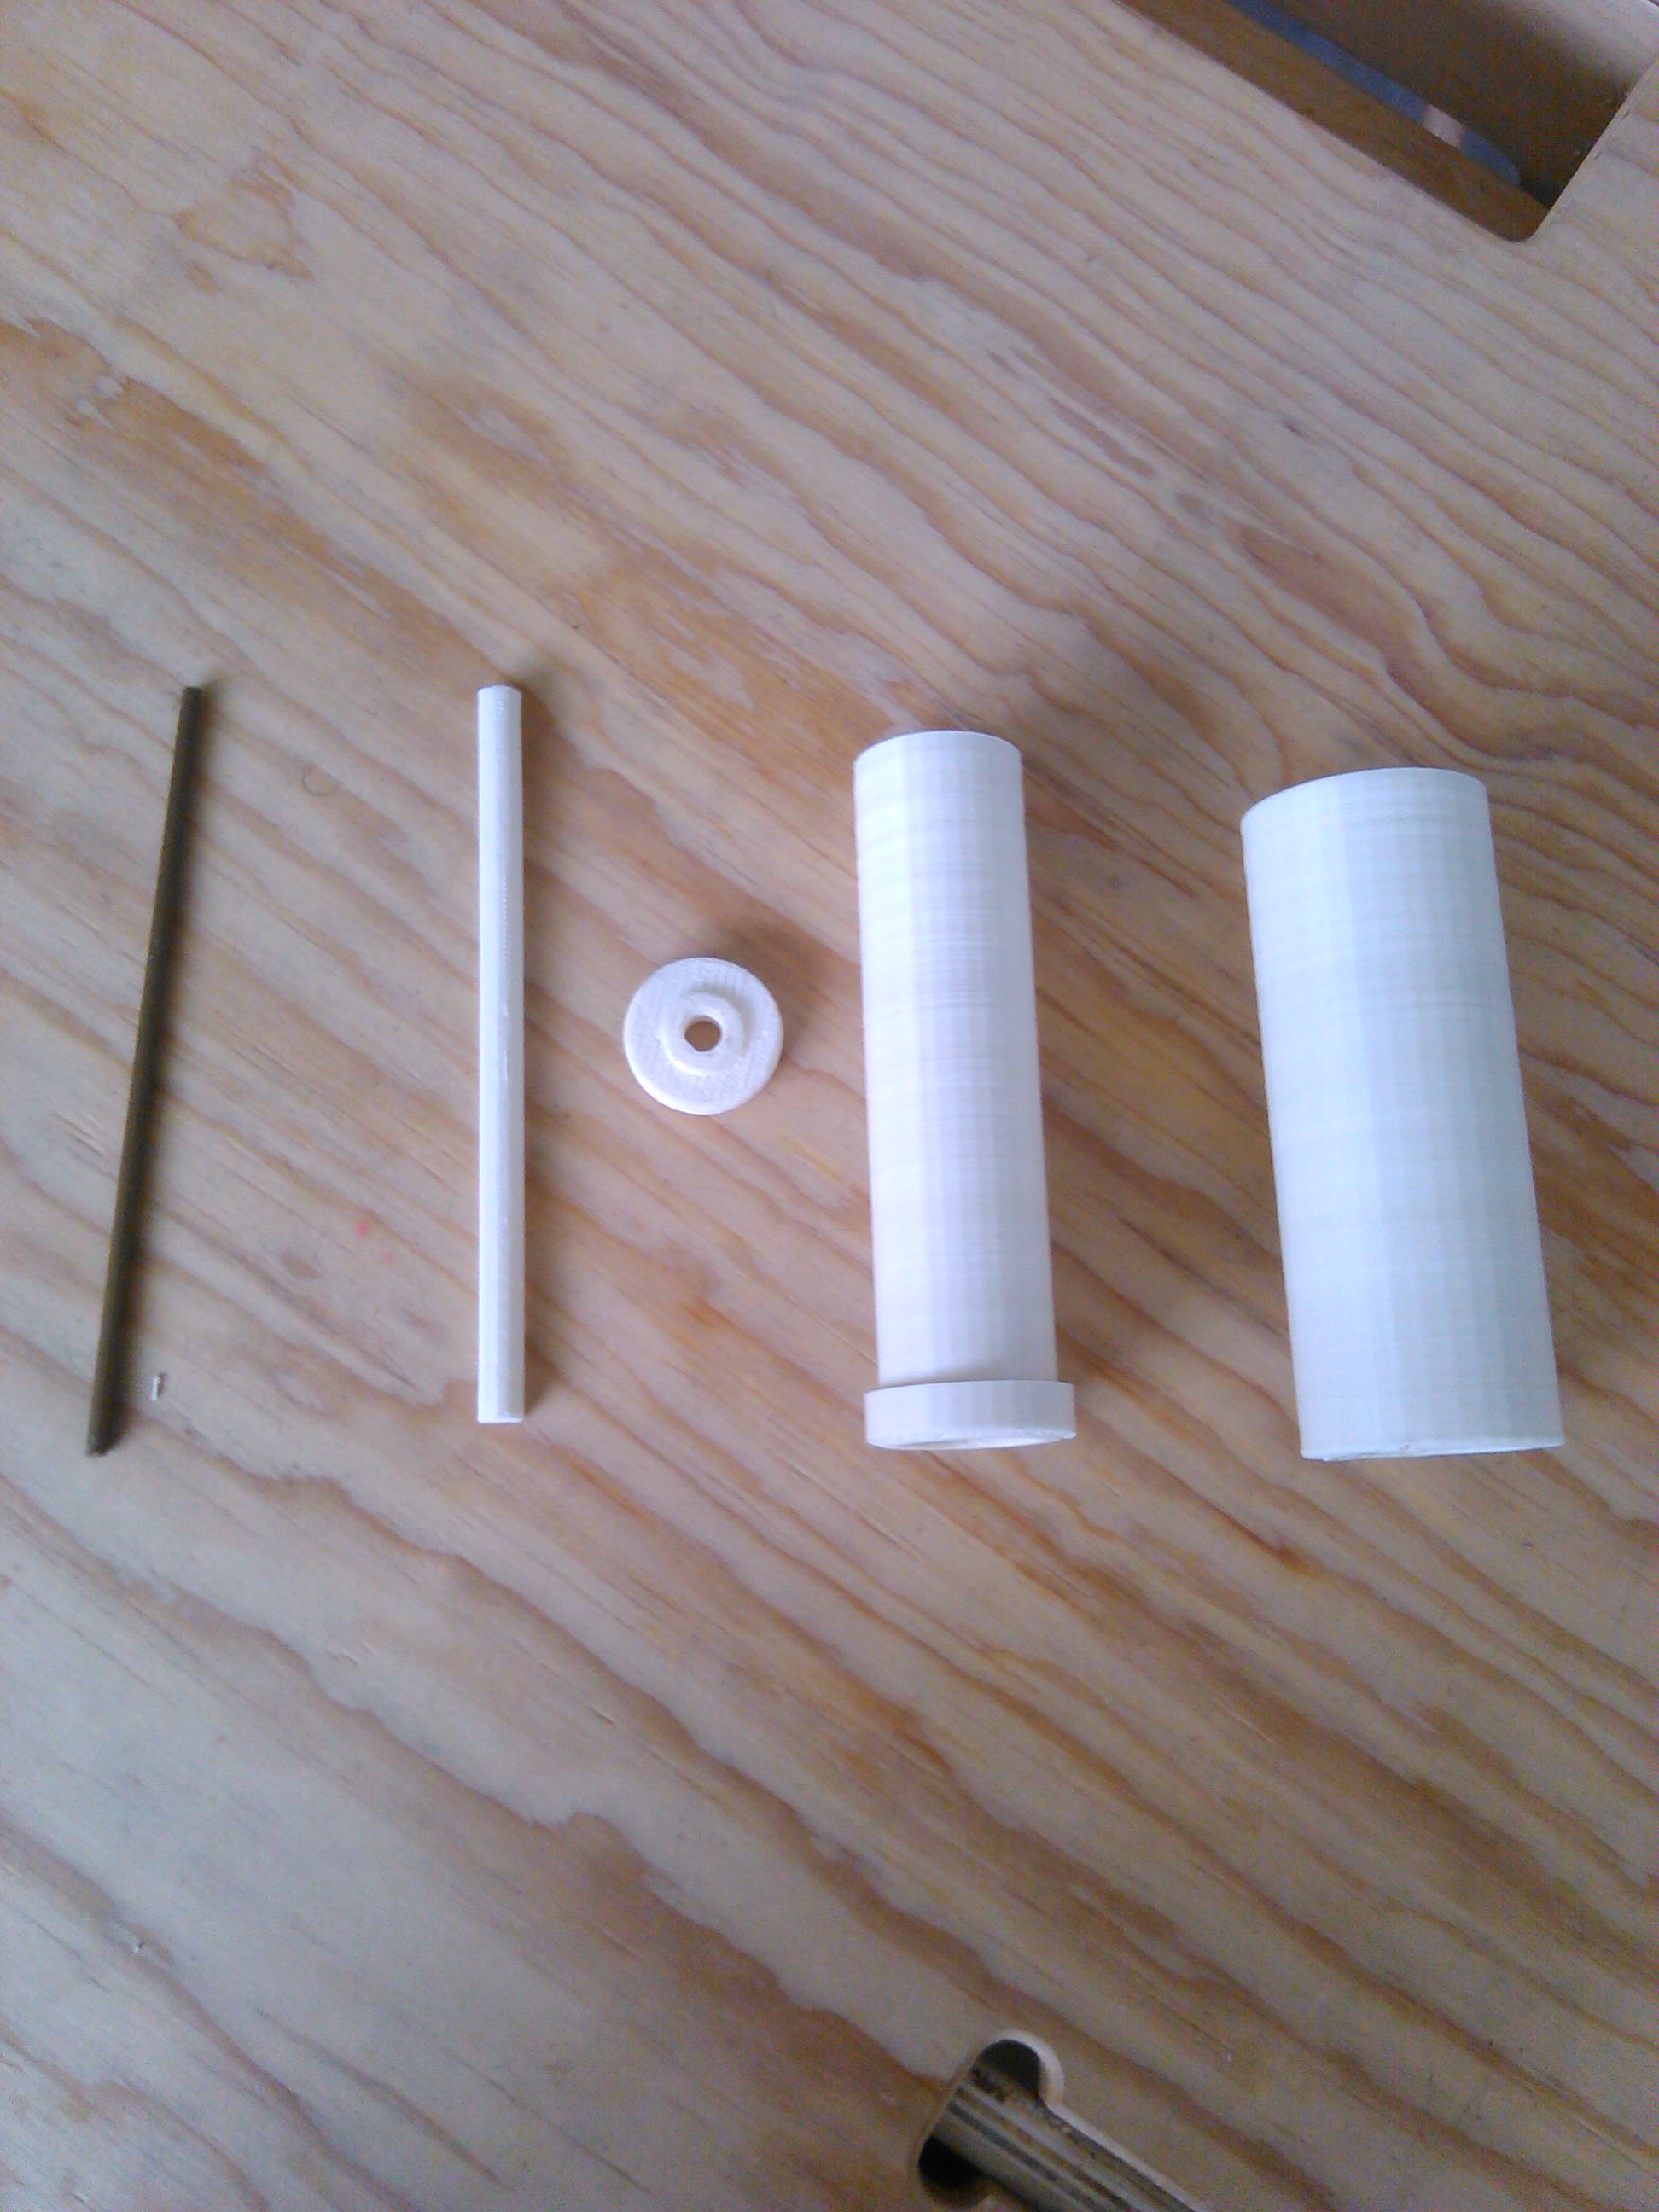
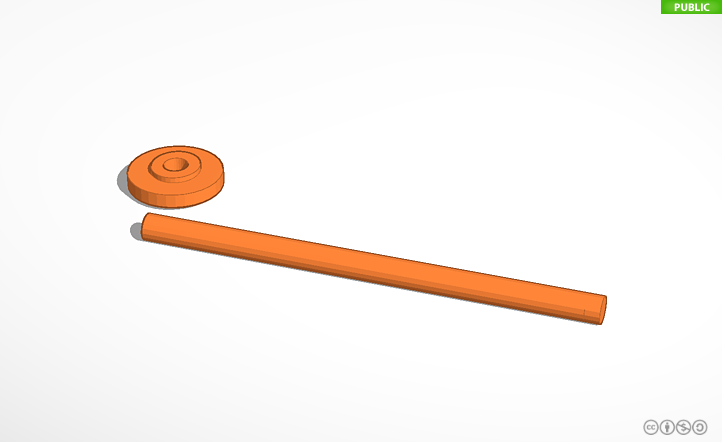
- SVGs of the tubes
- 3D Printer
- Aluminum foil
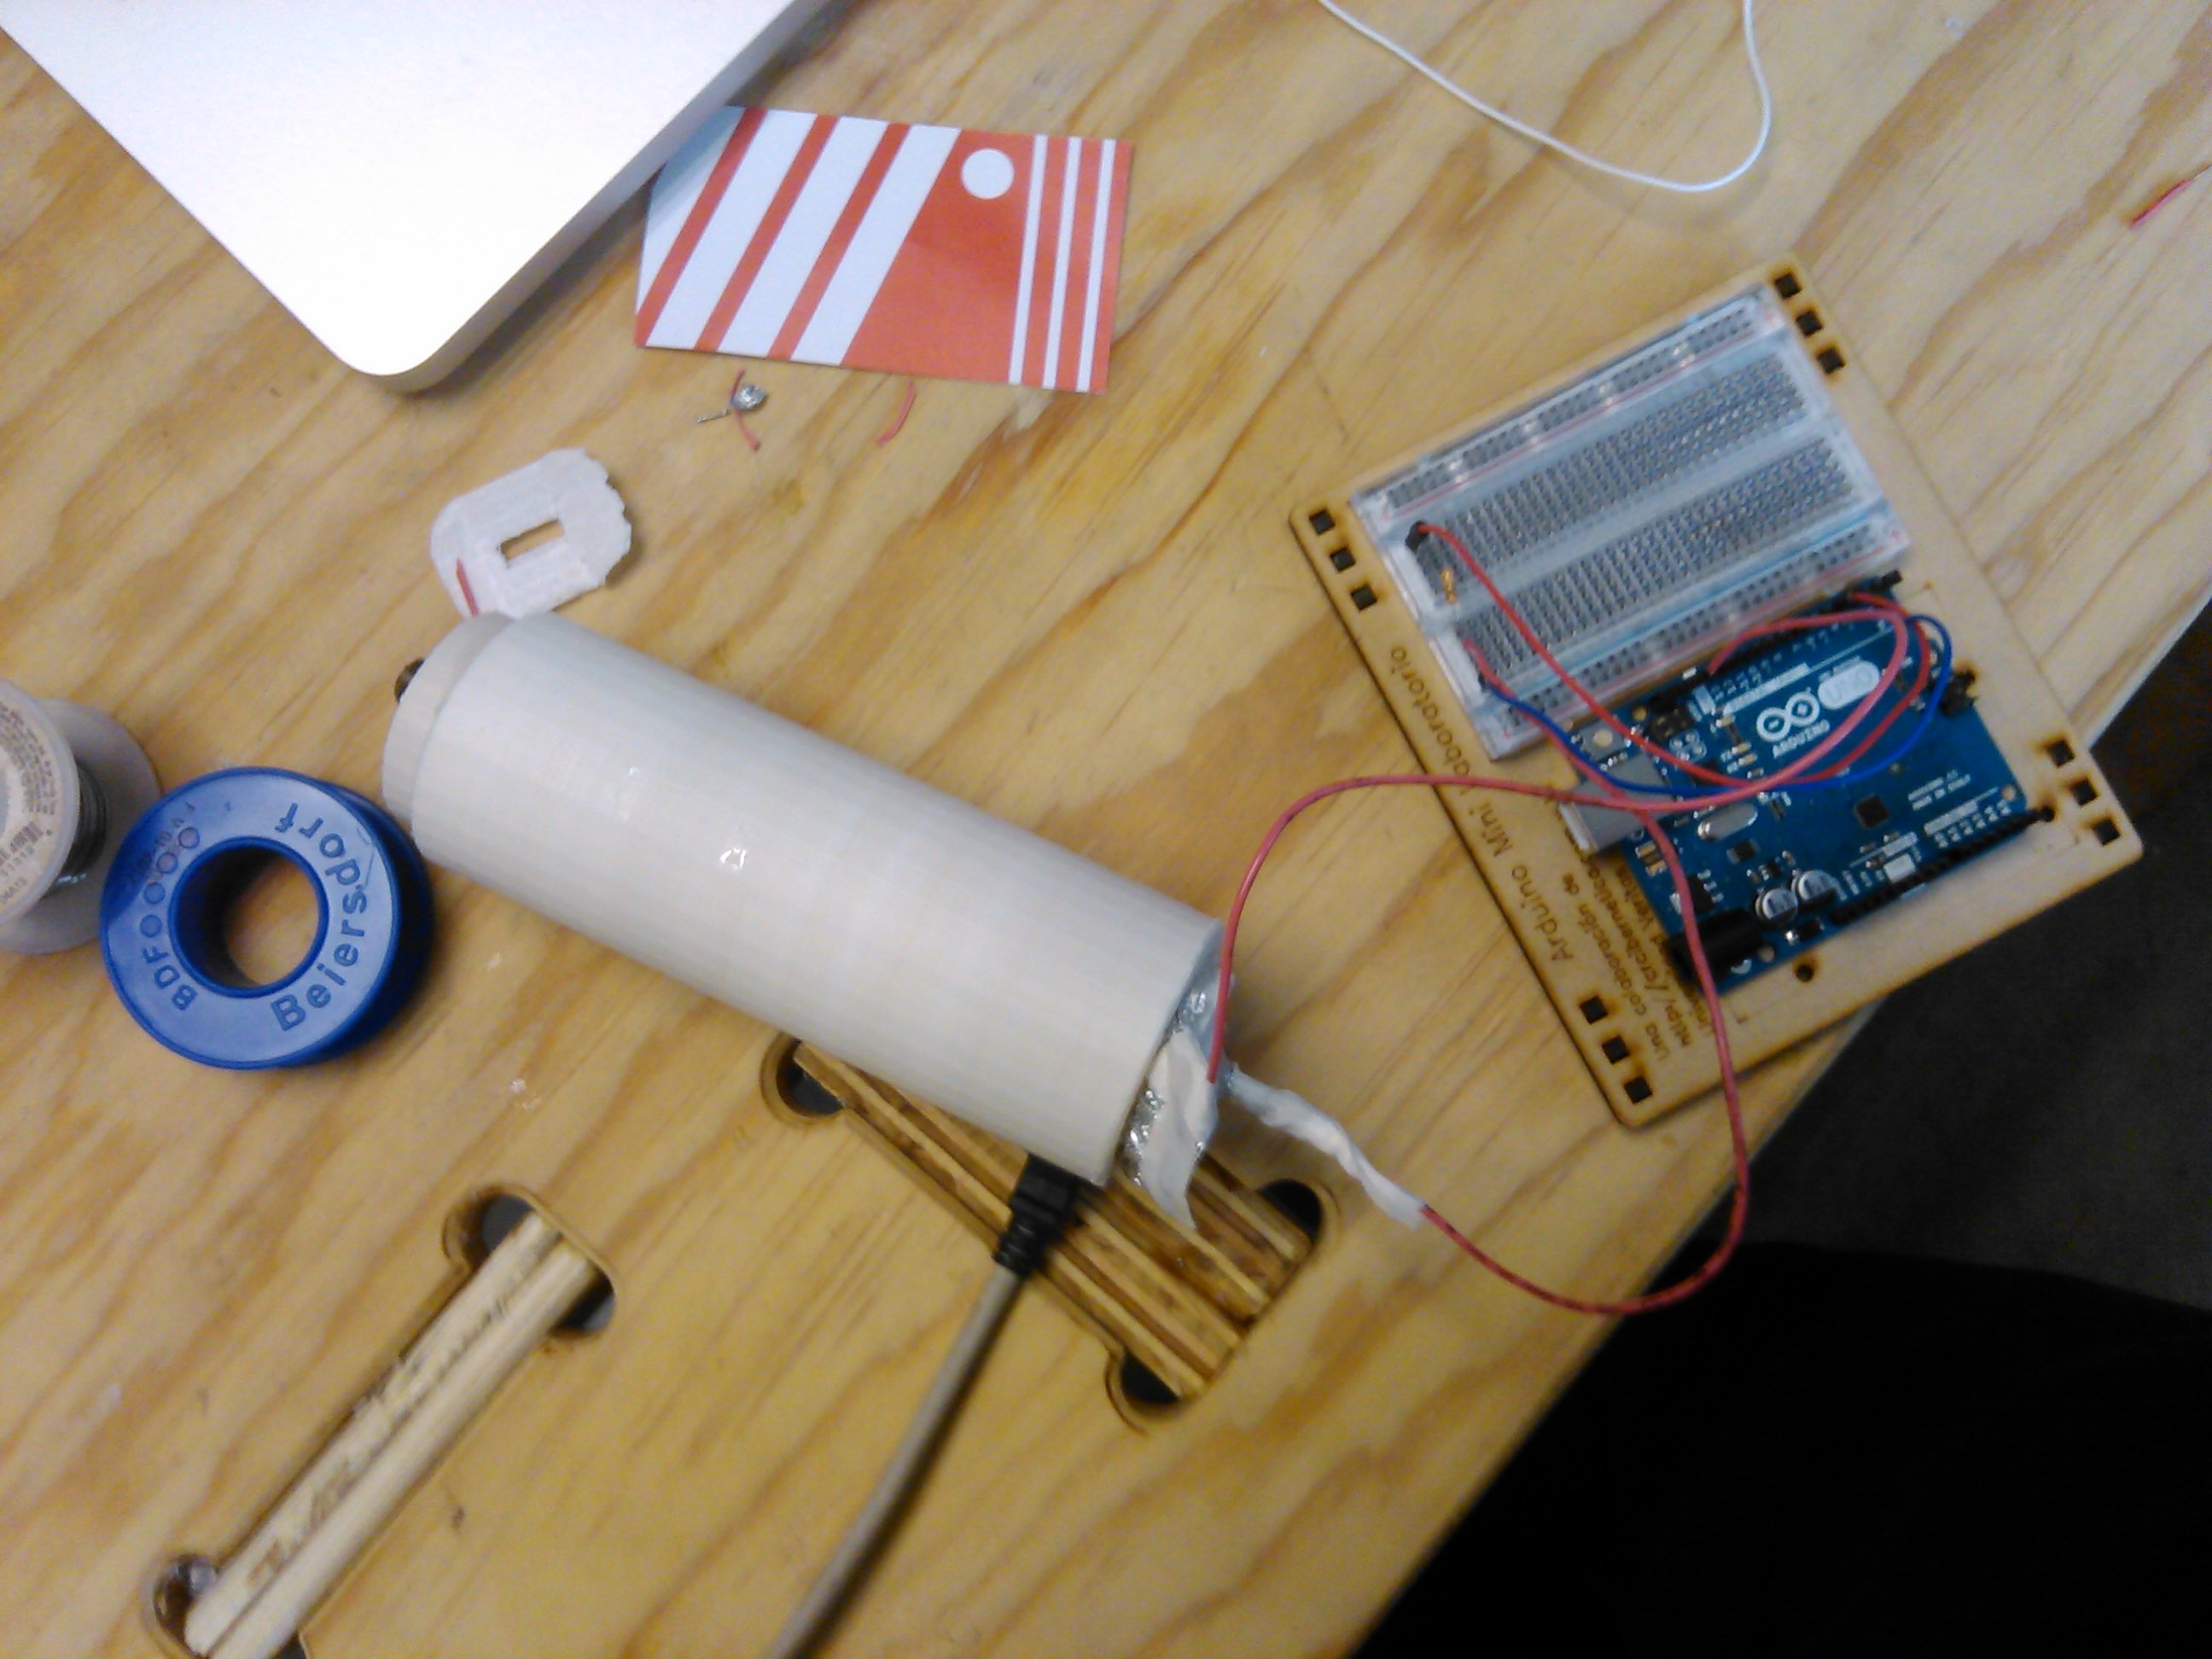
Waterproof Concentric Tubes
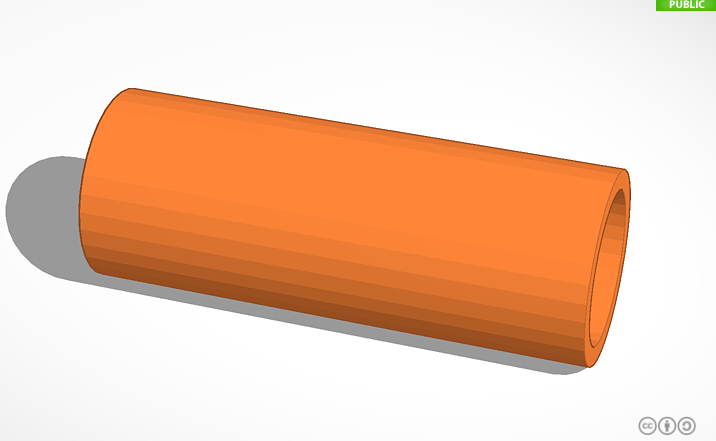
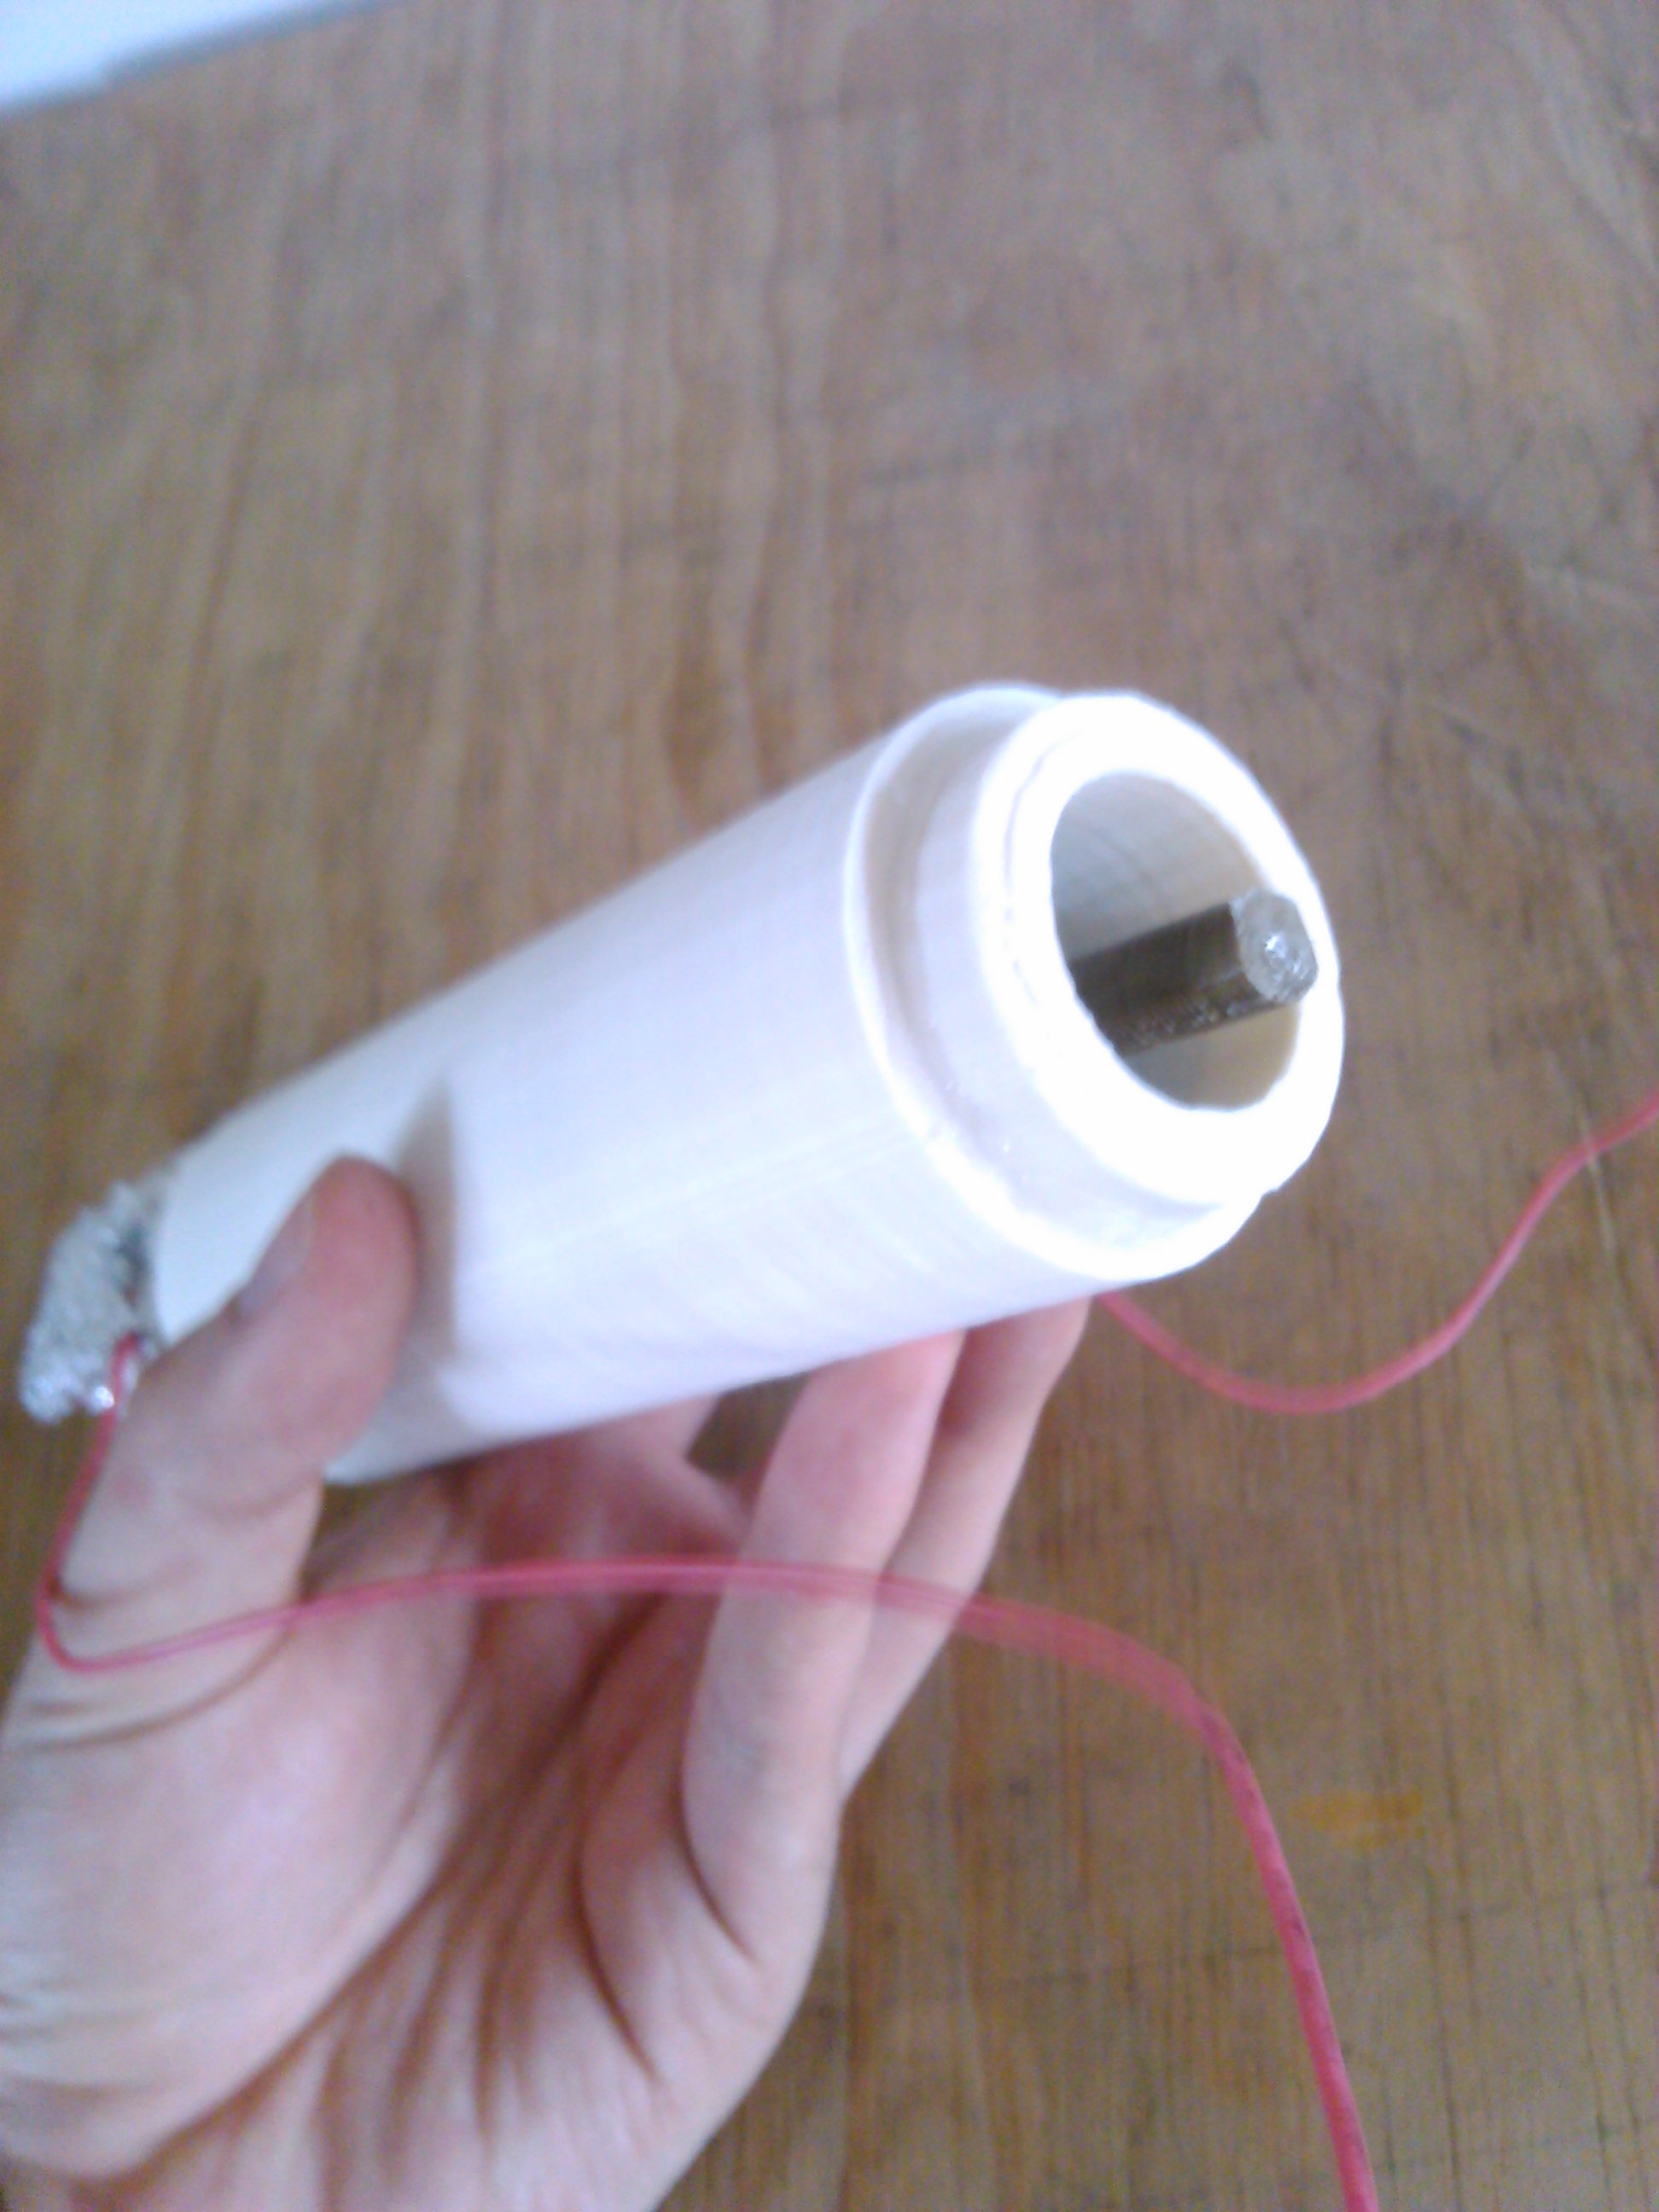
The sensor works with two pieces of aluminum inside of two waterproof concentric tubes.
You can download the parts and their 3d models to print them here:
- Inner-tube (Download here: https://tinkercad.com/things/kXxsoB93nmm)
- Cover of inner-tube (Download here: https://tinkercad.com/things/giTC8AwXGqB)
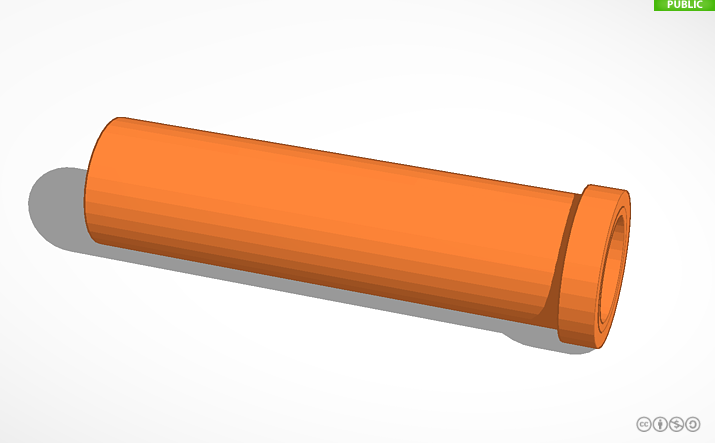
- Outer-tube (Download here: https://tinkercad.com/things/k2057MmqnBM)
- Outer-tube cover (Se puede descargar el modelo aquí https://tinkercad.com/things/lXDHiUf4tj1)
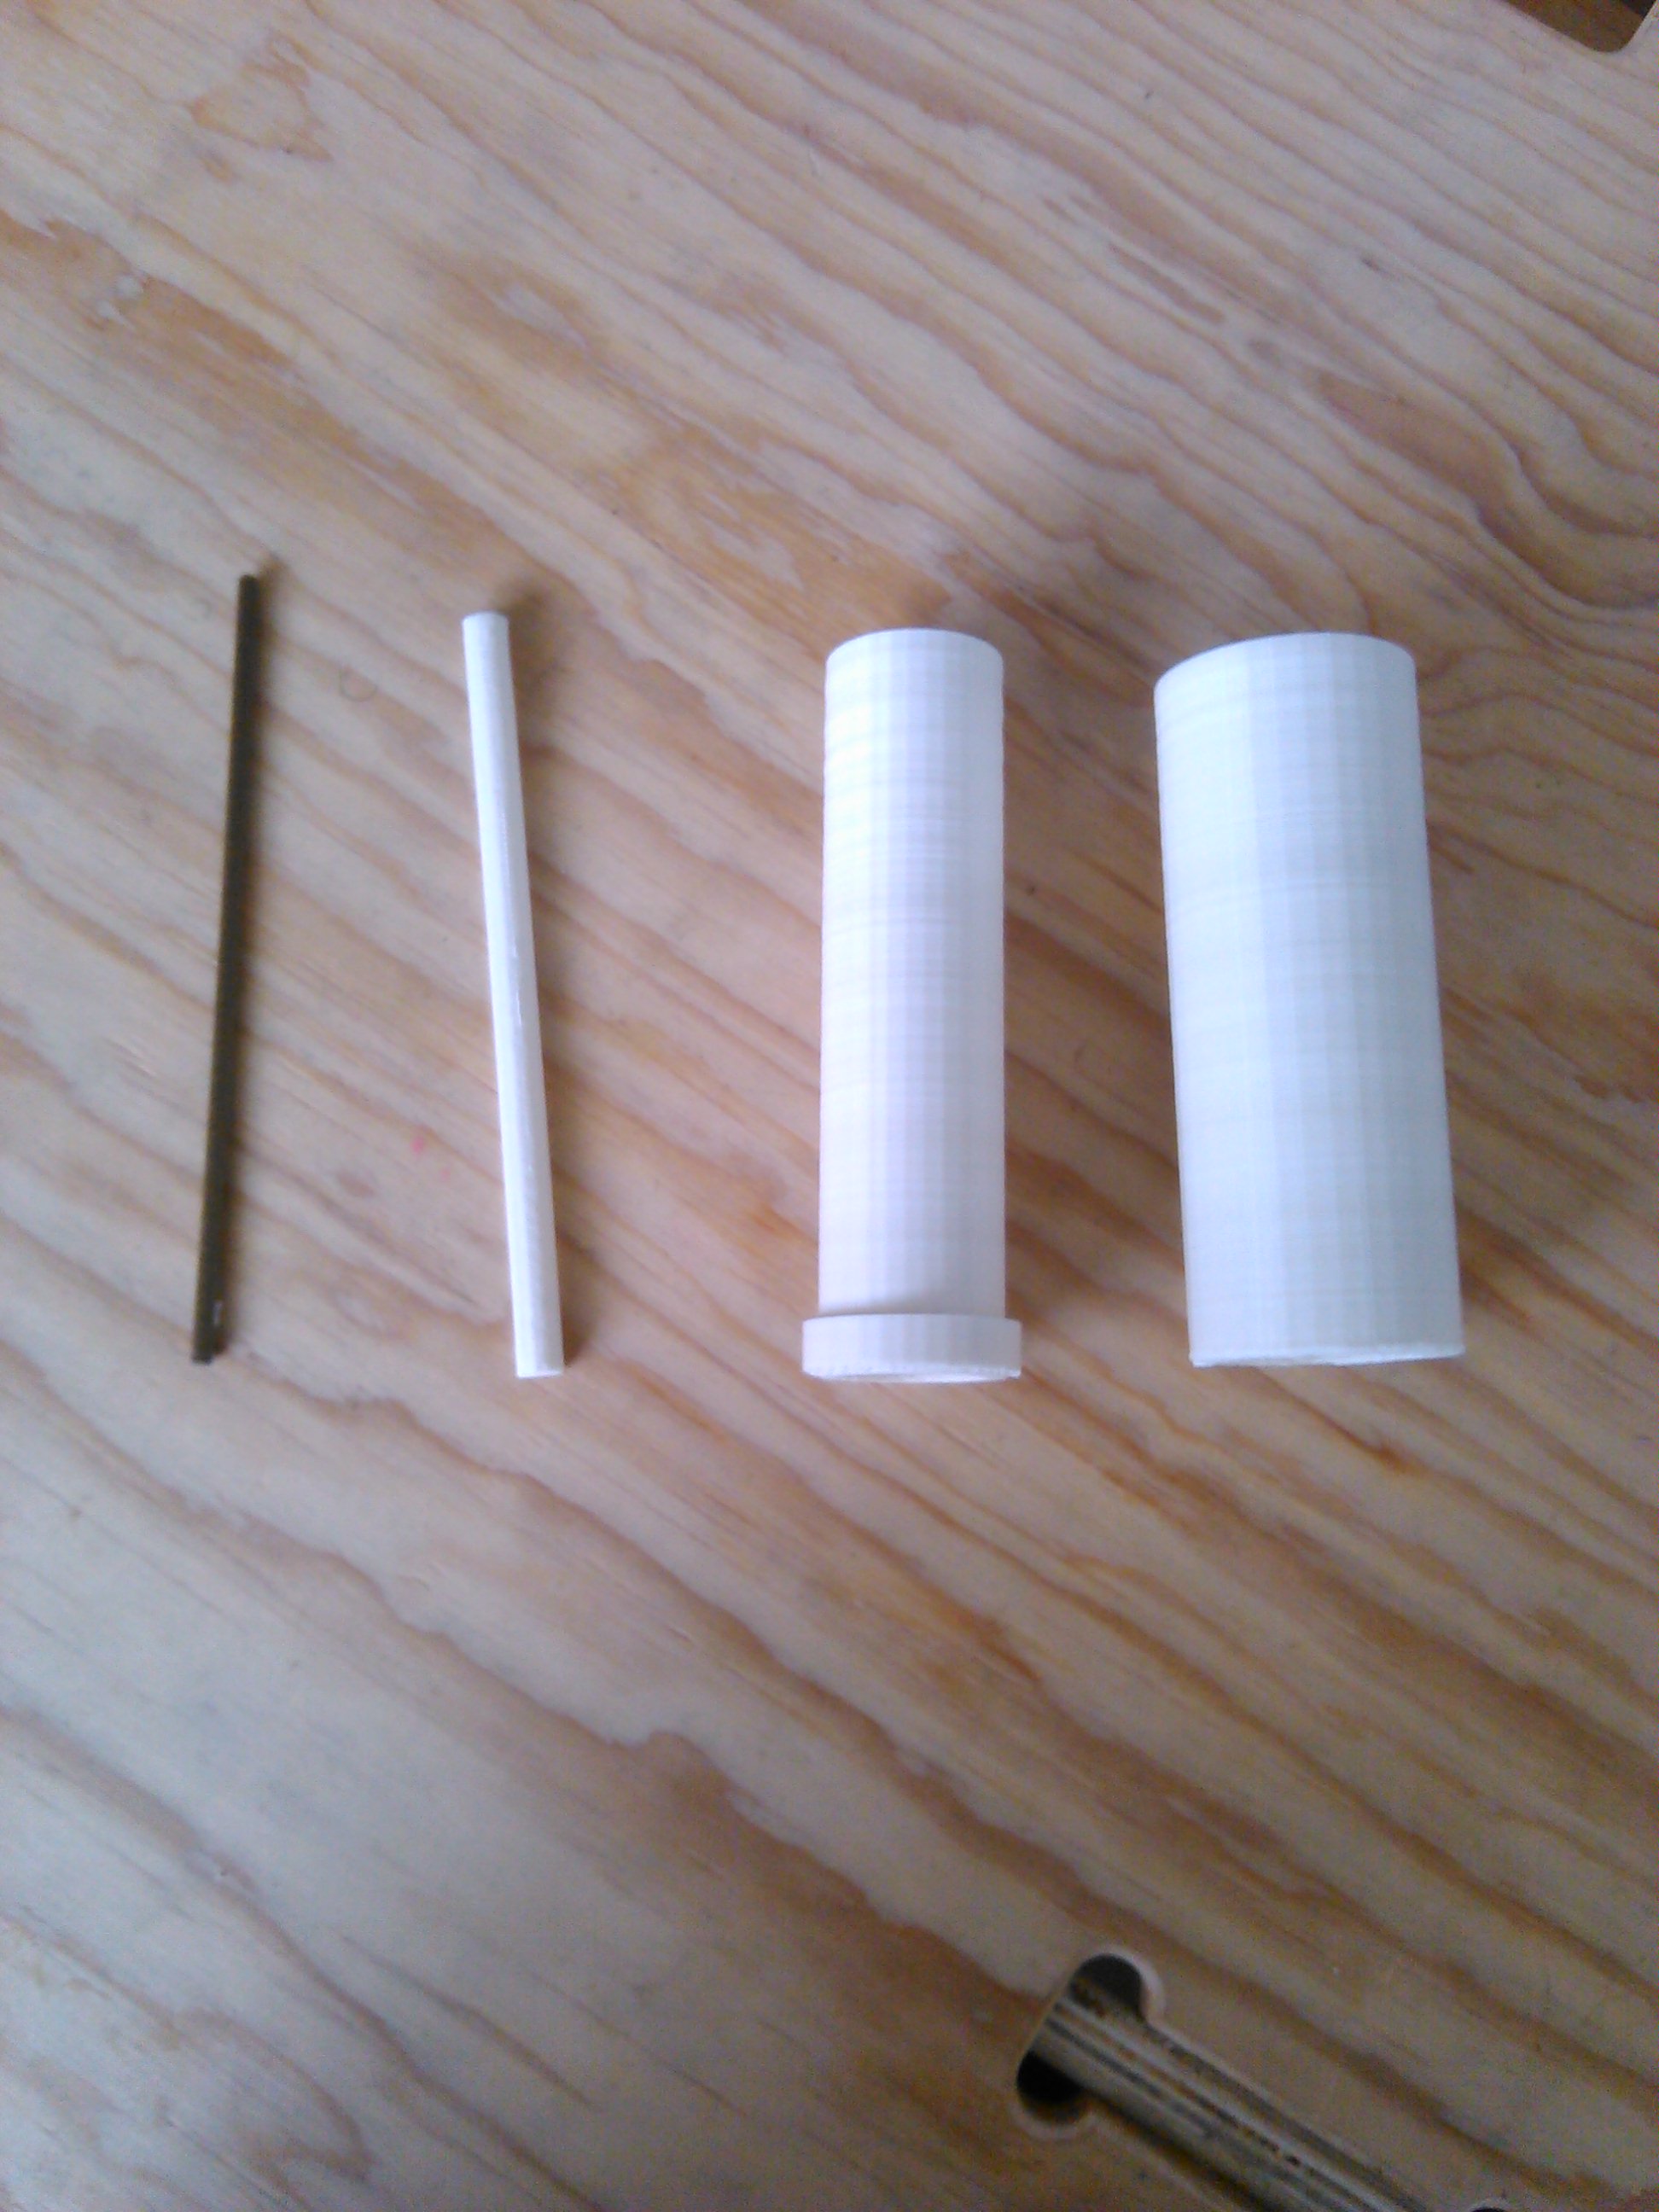
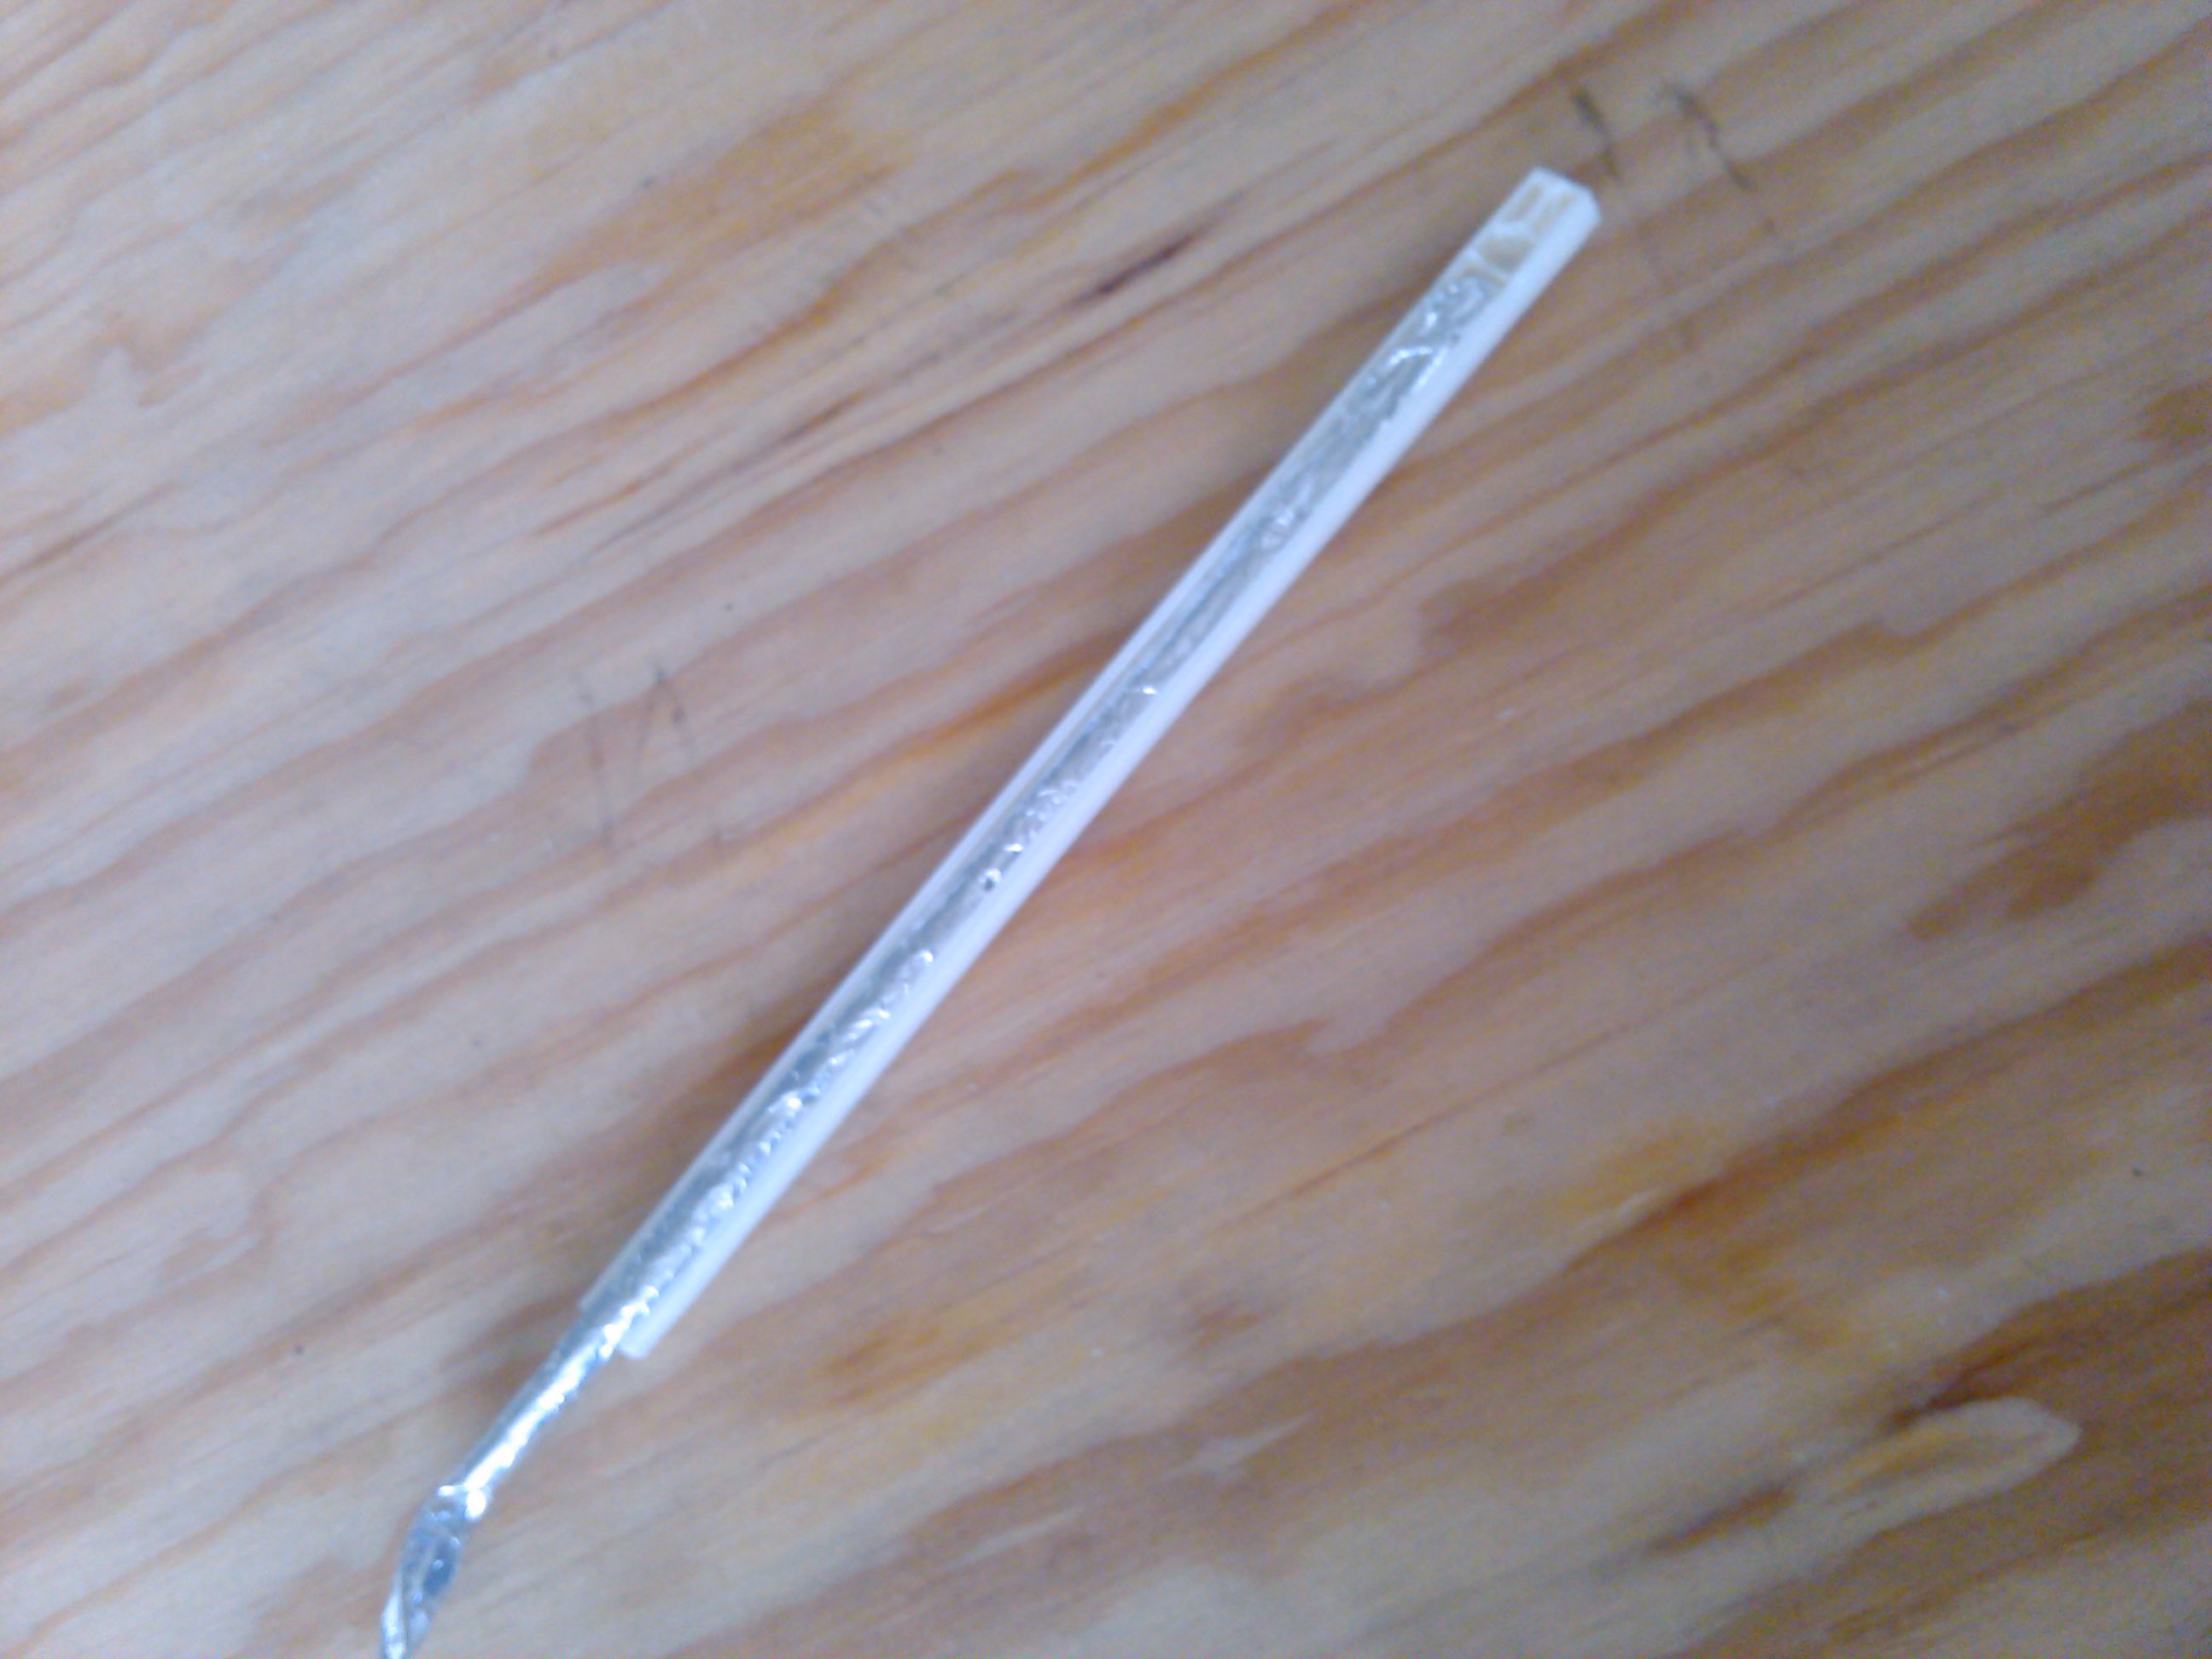
Cover the Tubes With Aluminum Foil
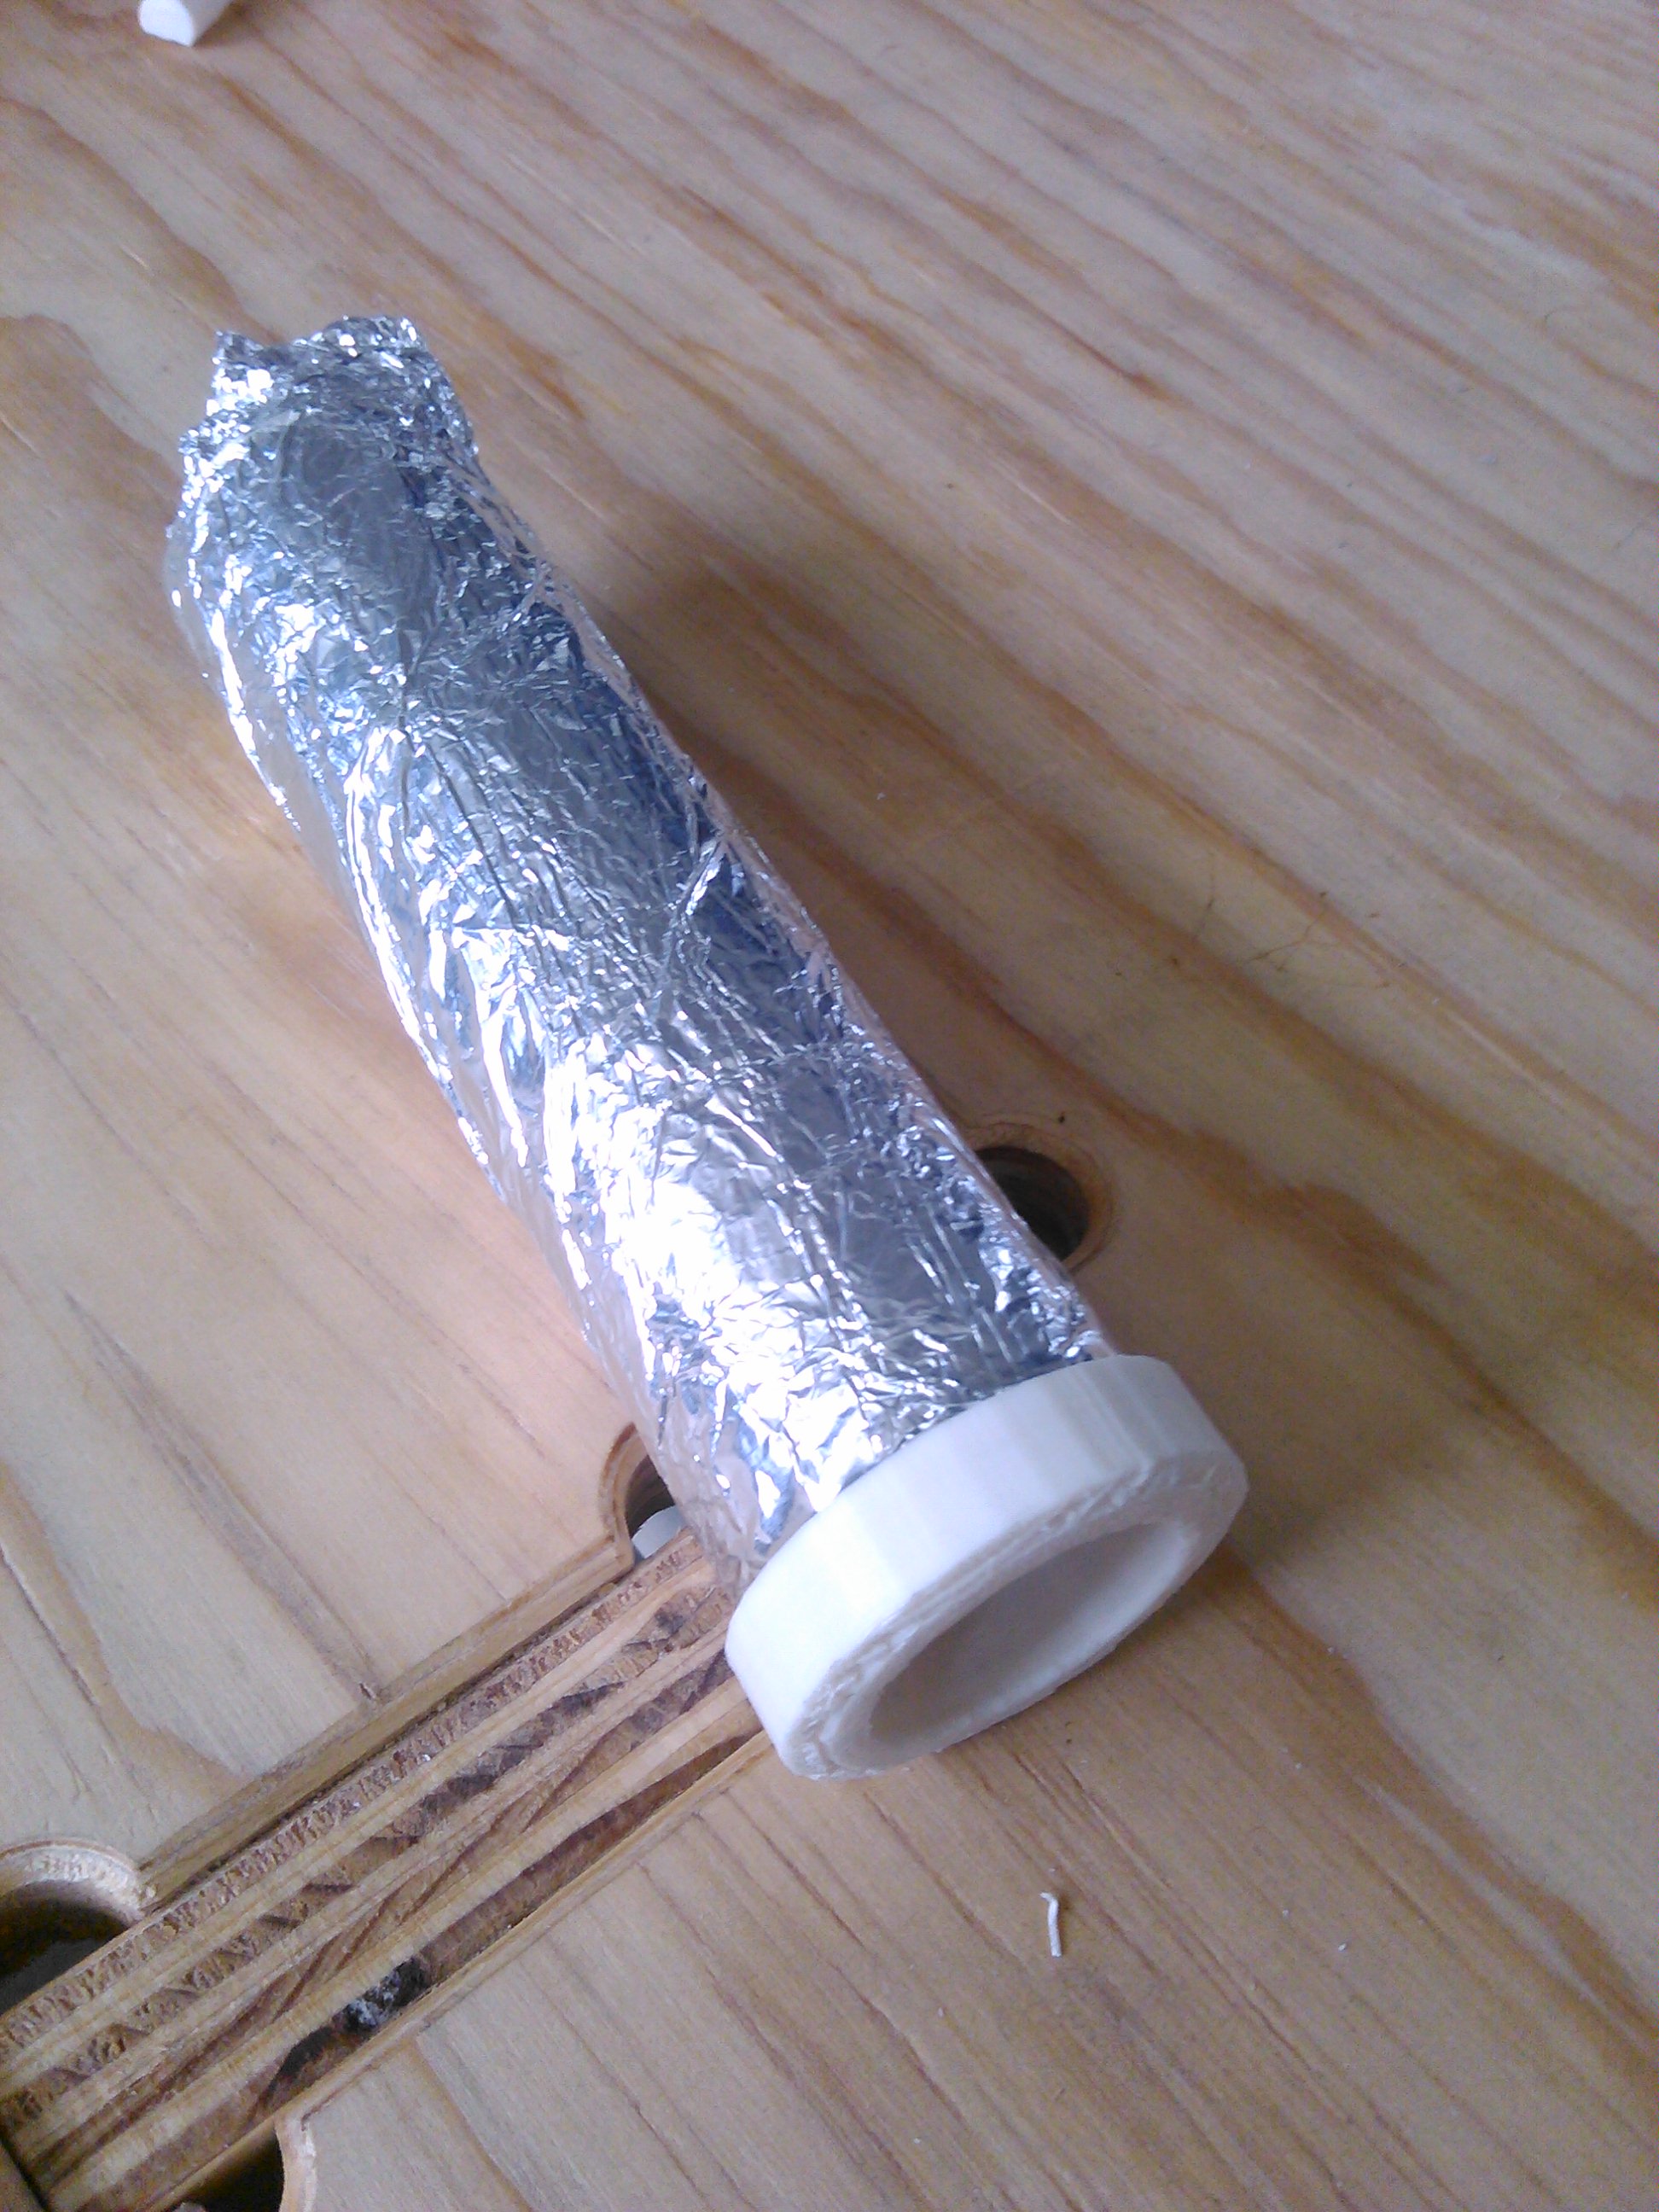
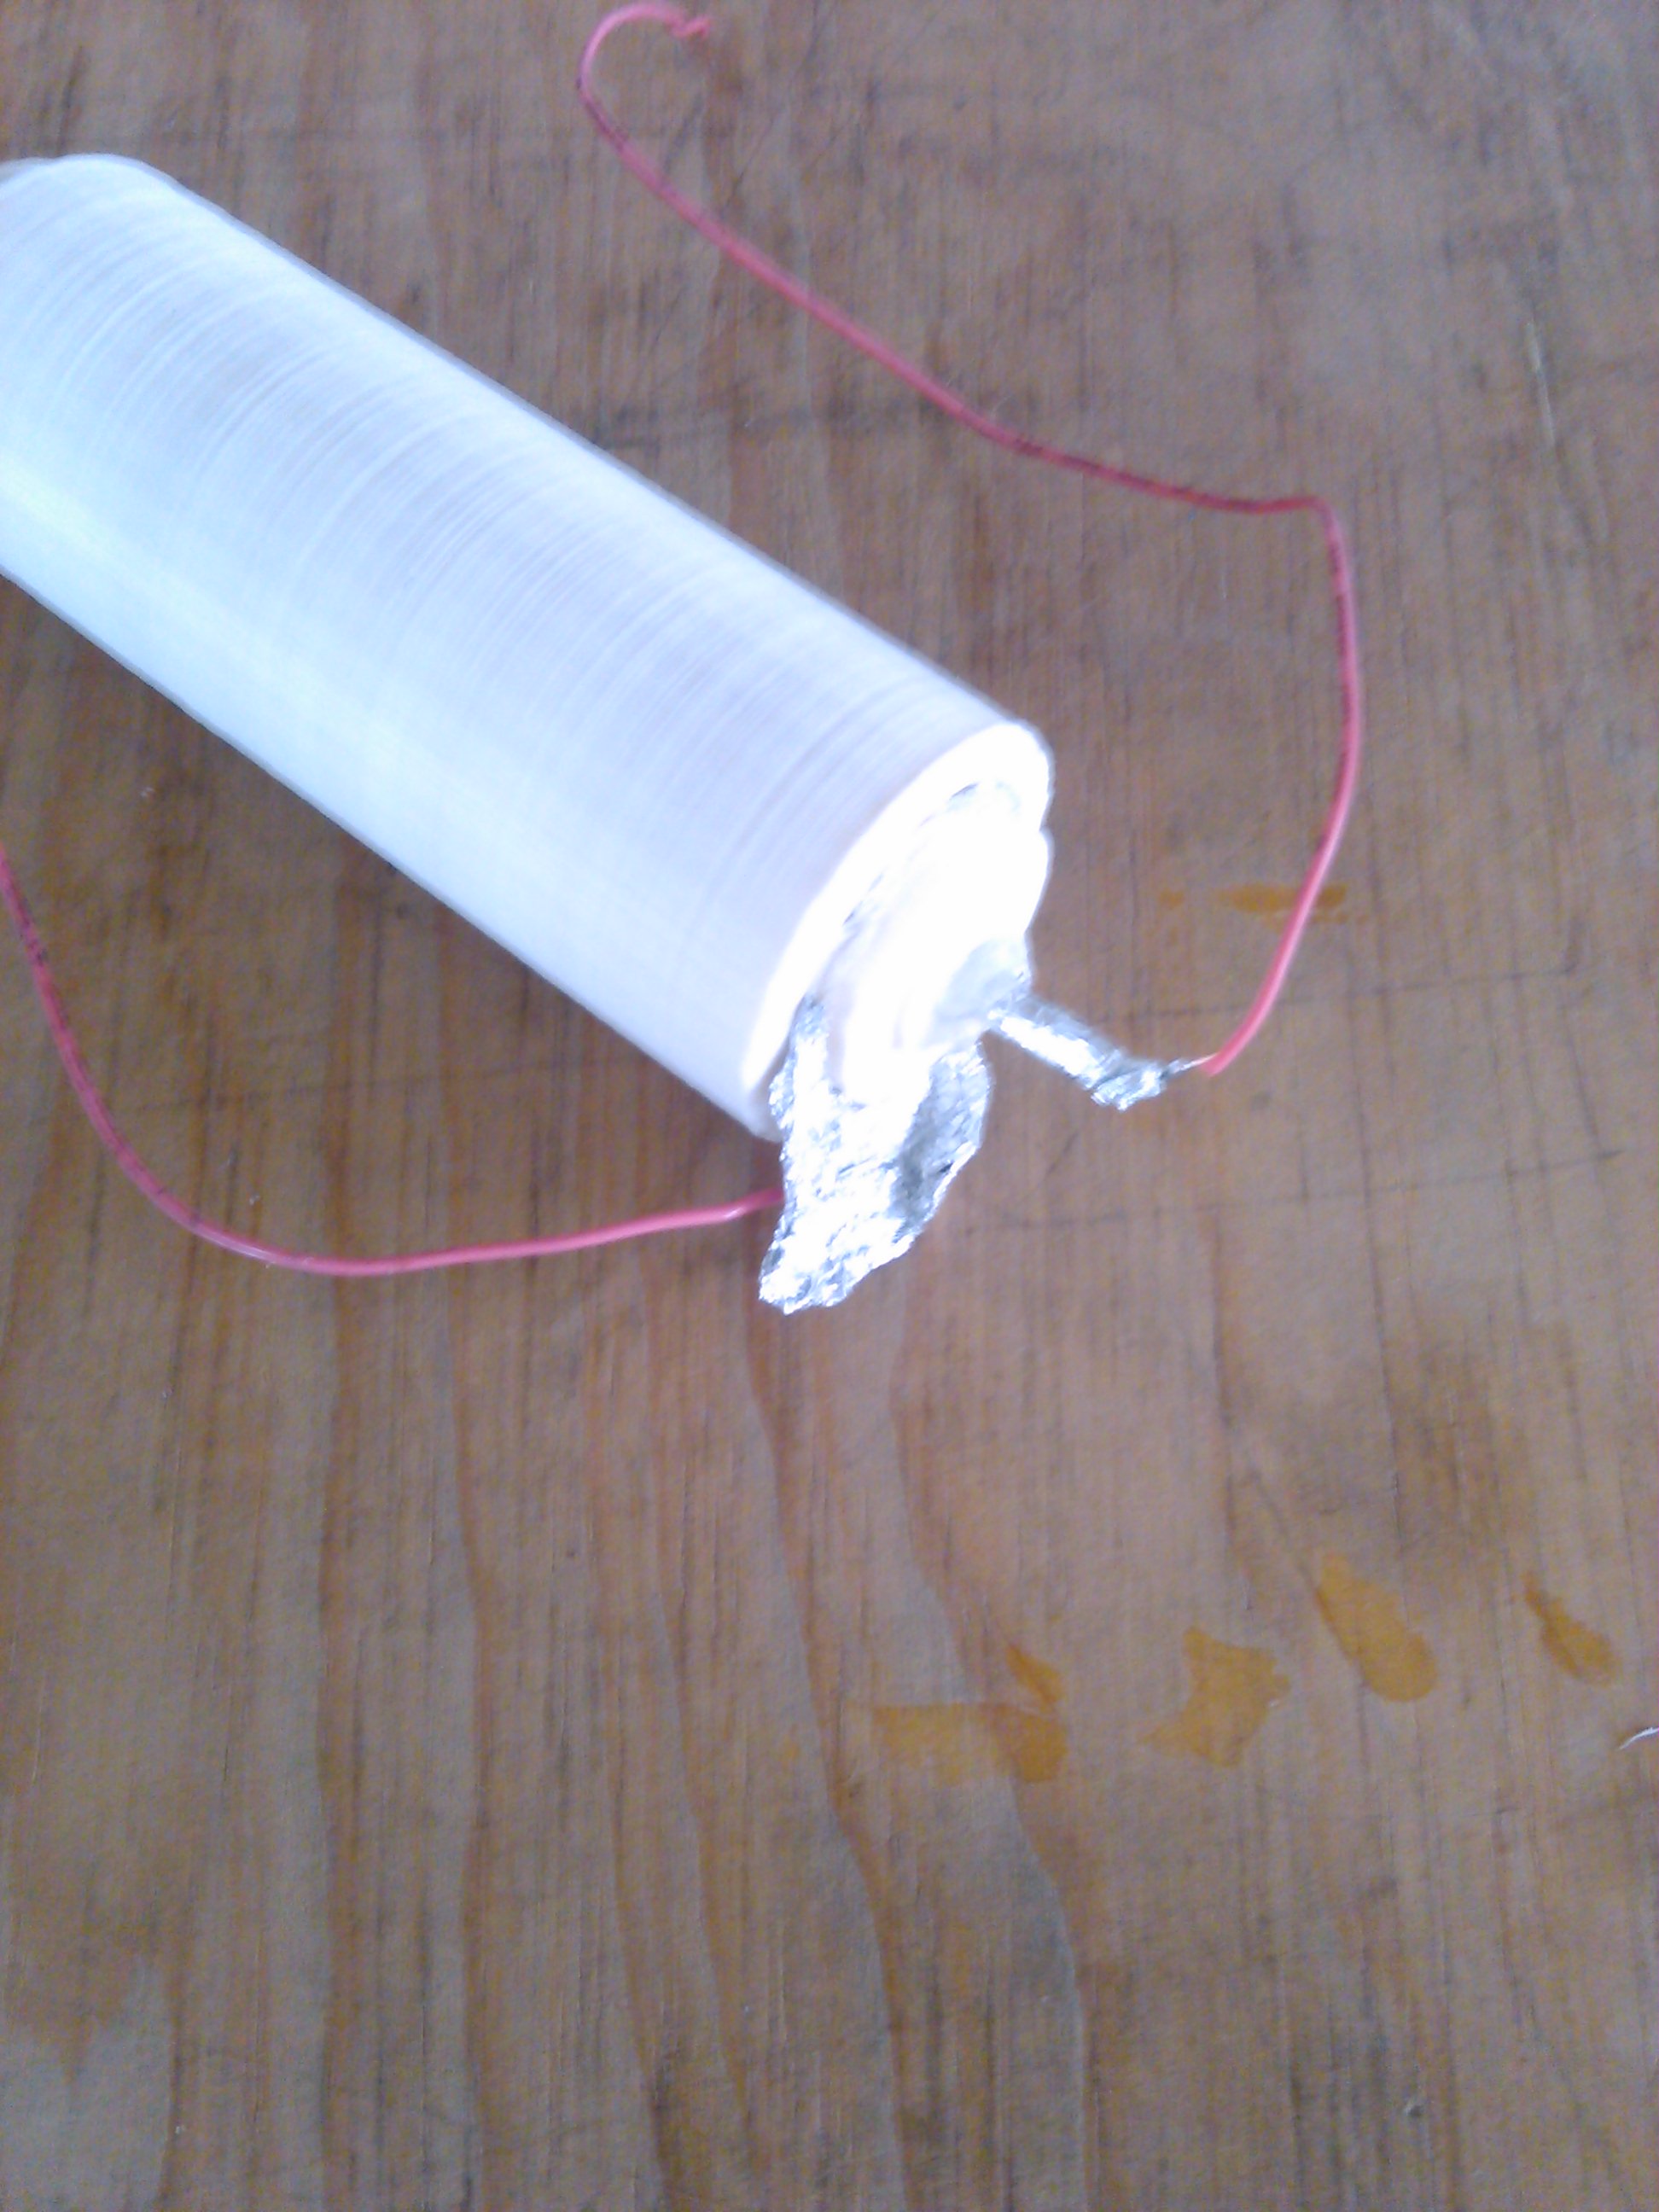
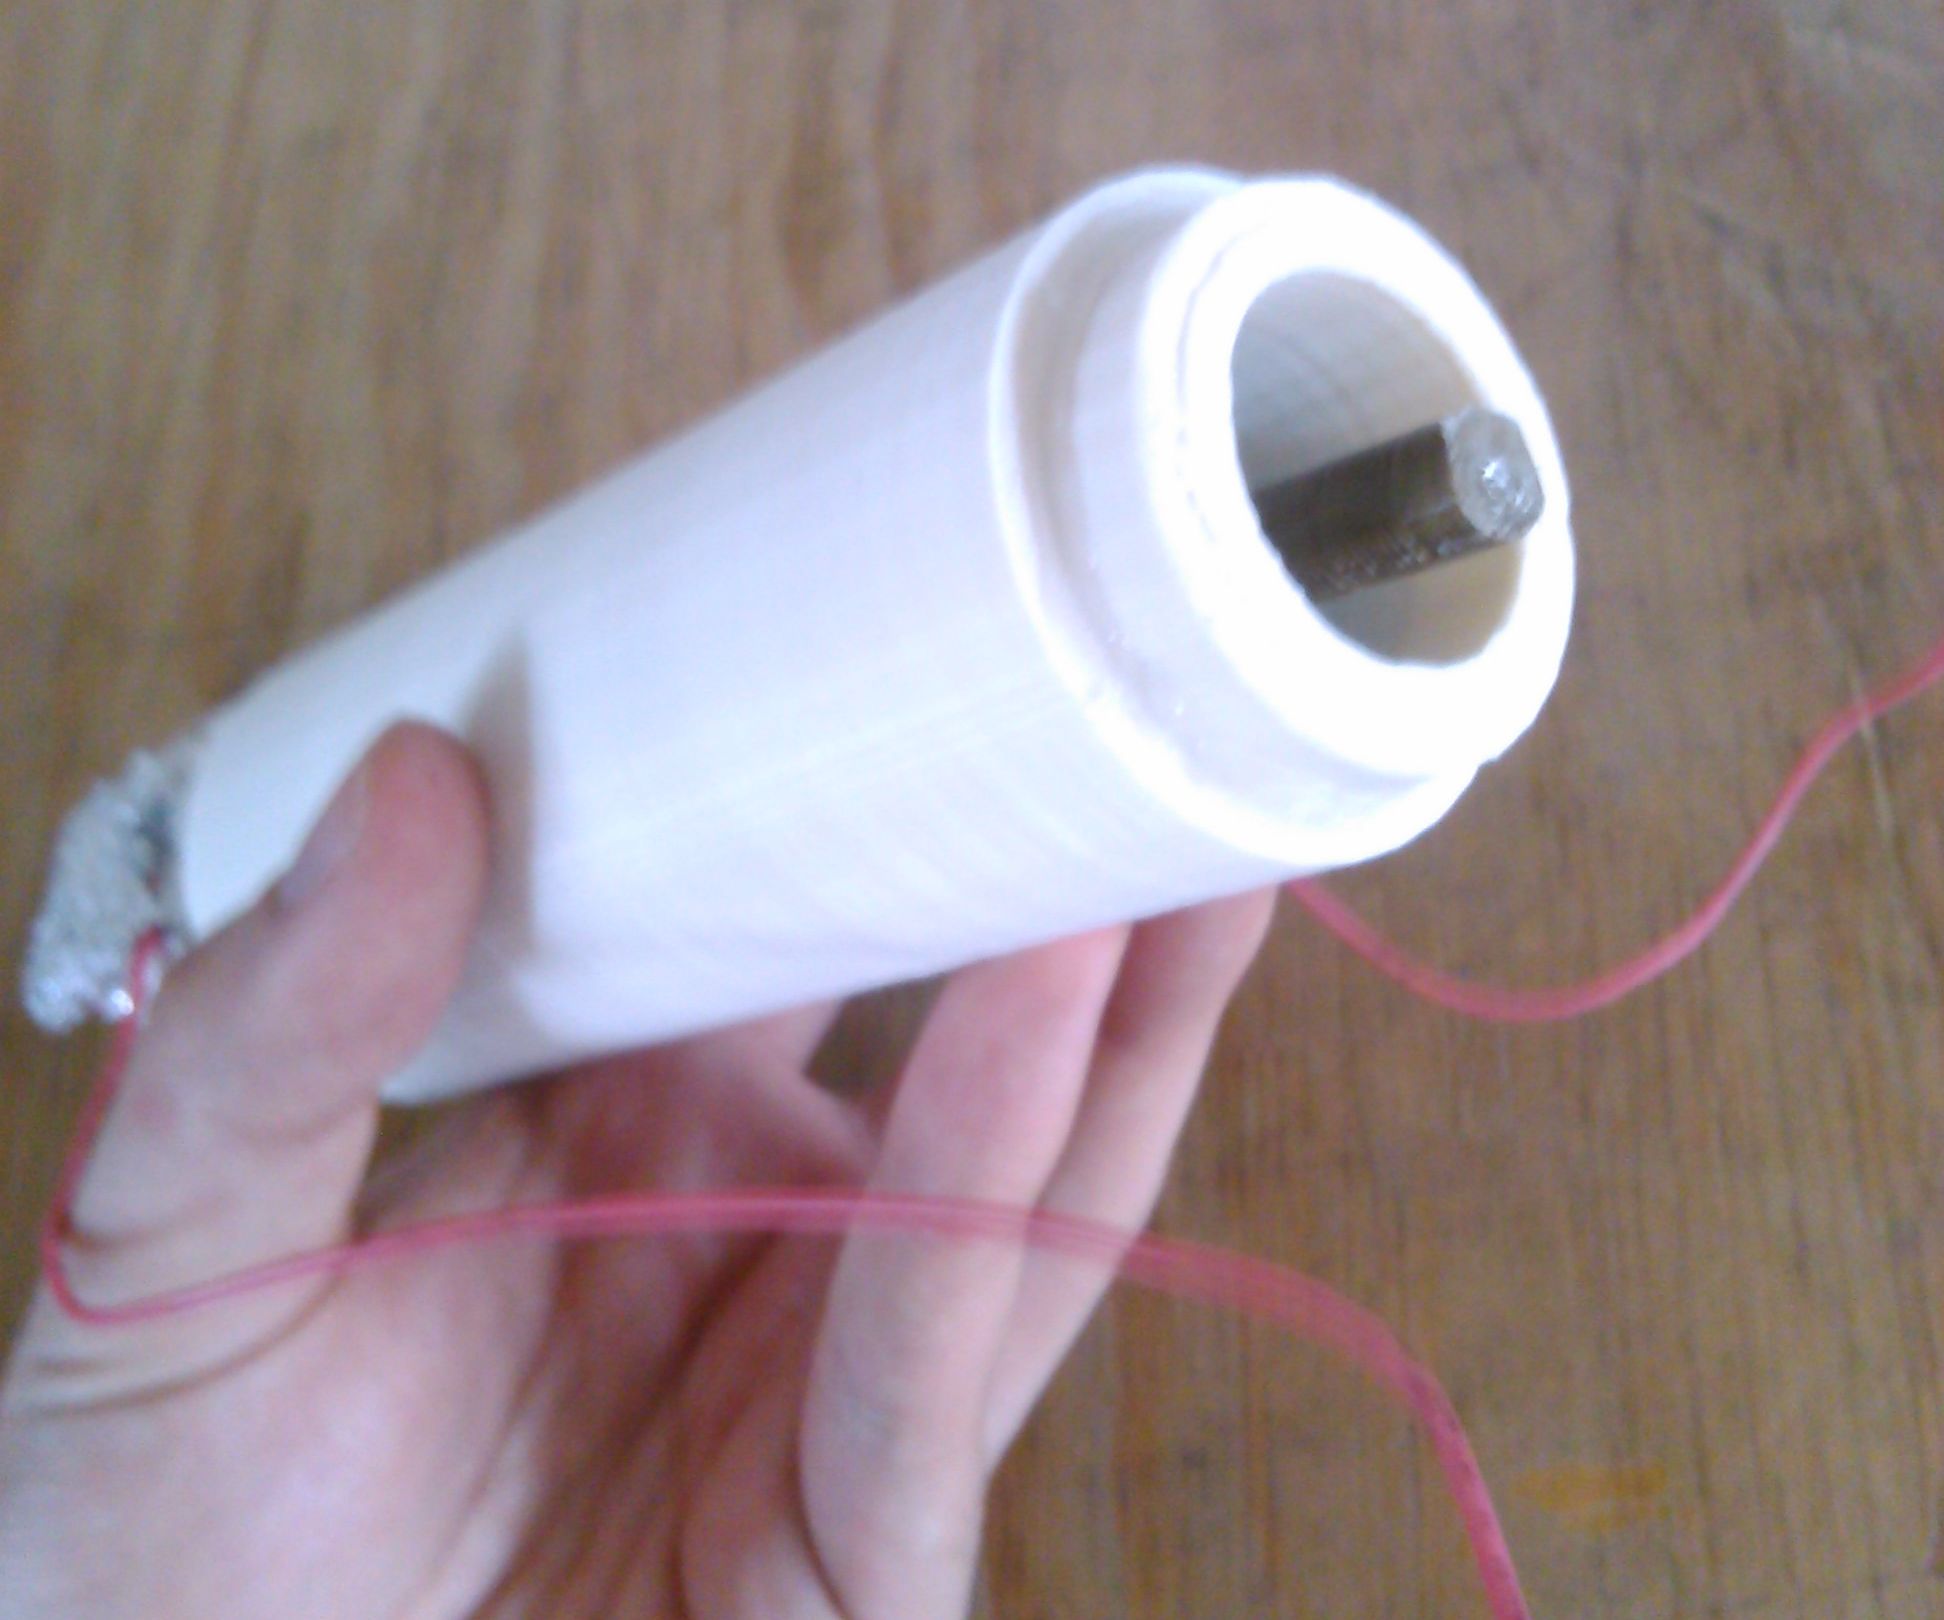
Assemble the Tubes and Their Covers
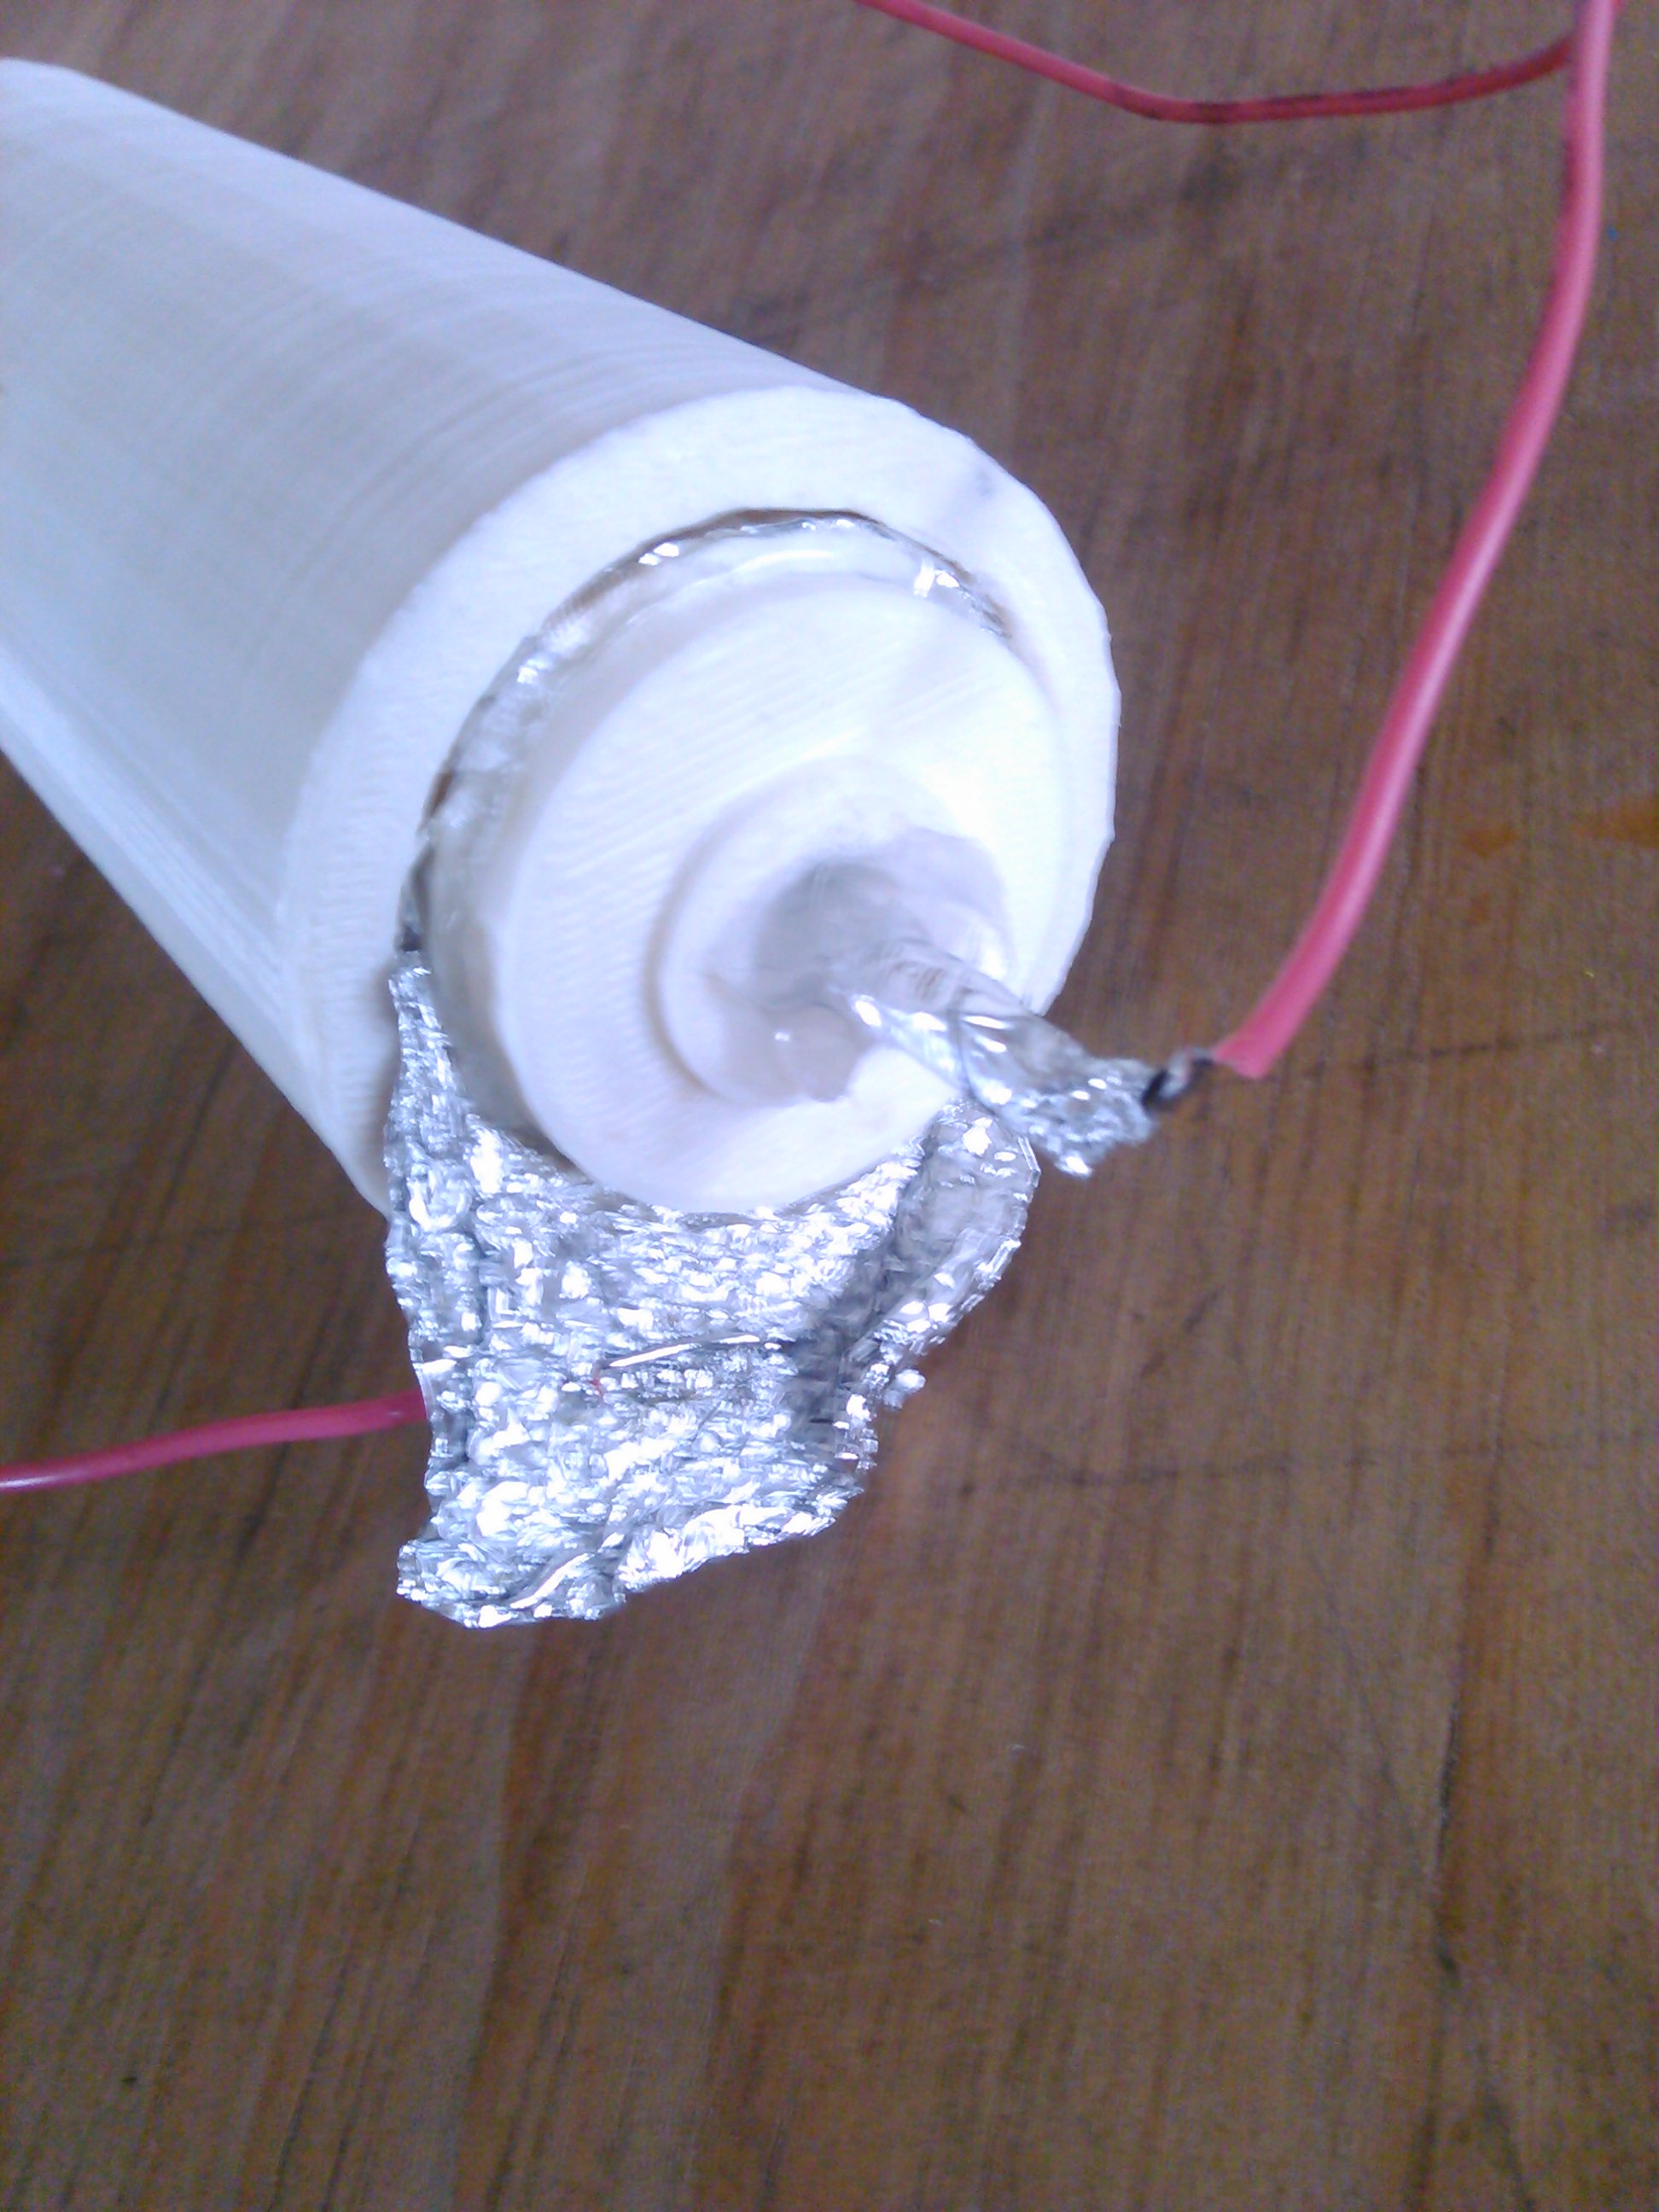
- Introduce the inner tube covered in aluminum foil in the inner tube cover.
- Introduce the external tube covered in aluminum foil in the external cover.
- Introduce the inner tube in the outer tube and glue them together with hot glue.
- Make sure that when the tubes under a liquid the liquid does not touch the foil.
- Solder a cable to each piece of aluminum foil.
Connect to the Arduino
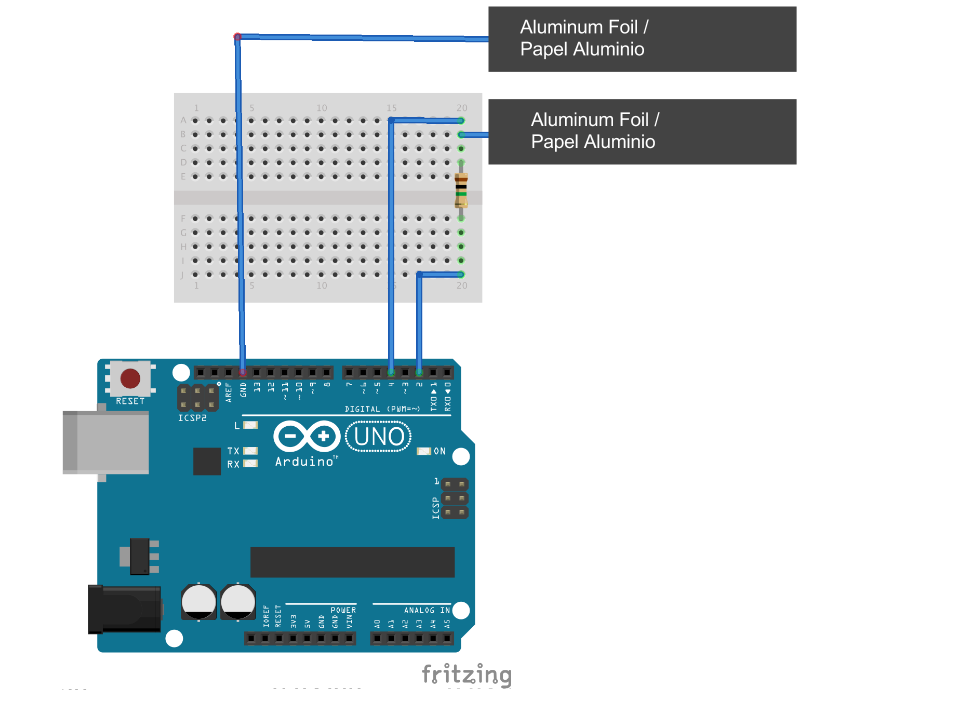.png)
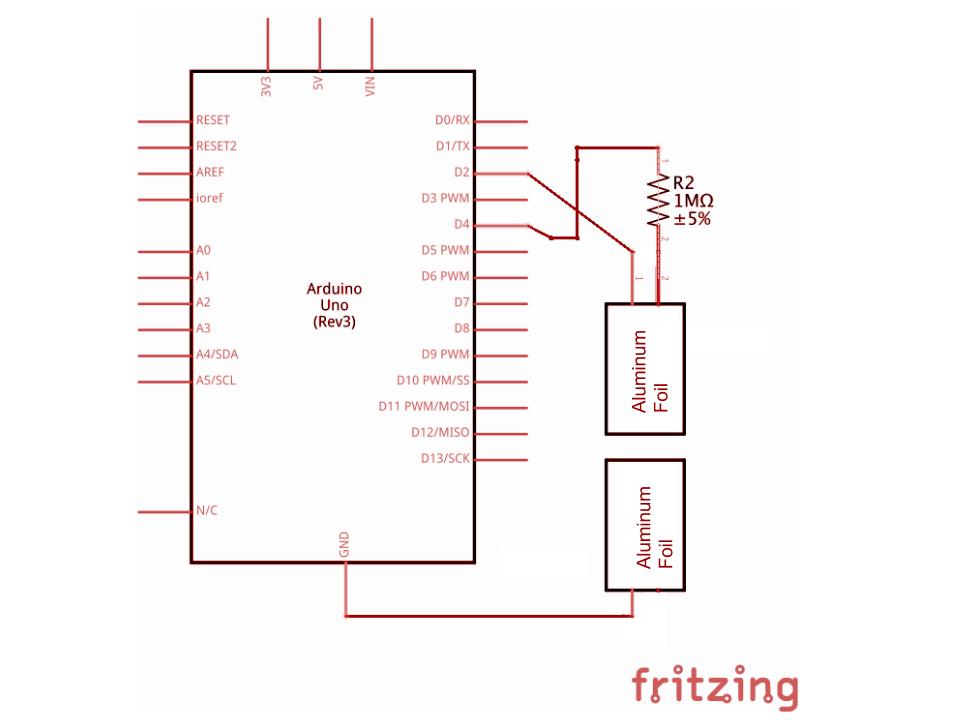
Follow the diagrams above to connect the Arduino and then use the Capacitive Sensor Library example.
/* * CapitiveSense Library Demo Sketch * Paul Badger 2008 * Uses a high value resistor e.g. 10M between send pin and receive pin * Resistor effects sensitivity, experiment with values, 50K - 50M. Larger resistor values yield larger sensor values. * Receive pin is the sensor pin - try different amounts of foil/metal on this pin */ CapacitiveSensor cs_4_2 = CapacitiveSensor(4,2); // 10M resistor between pins 4 & 2, pin 2 is sensor pin, add a wire and or foil if desired void setup() { cs_4_2.set_CS_AutocaL_Millis(0xFFFFFFFF); // turn off autocalibrate on channel 1 - just as an example Serial.begin(9600); } void loop() { long start = millis(); long total1 = cs_4_2.capacitiveSensor(30); Serial.print(millis() - start); // check on performance in milliseconds Serial.print("\t"); // tab character for debug windown spacing Serial.print(total1); // print sensor output 1 Serial.print("\t"); delay(10); // arbitrary delay to limit data to serial port }