Linkit One to Arduino Communiction I2C
by appytechie in Circuits > Microcontrollers
2096 Views, 3 Favorites, 0 Comments
Linkit One to Arduino Communiction I2C
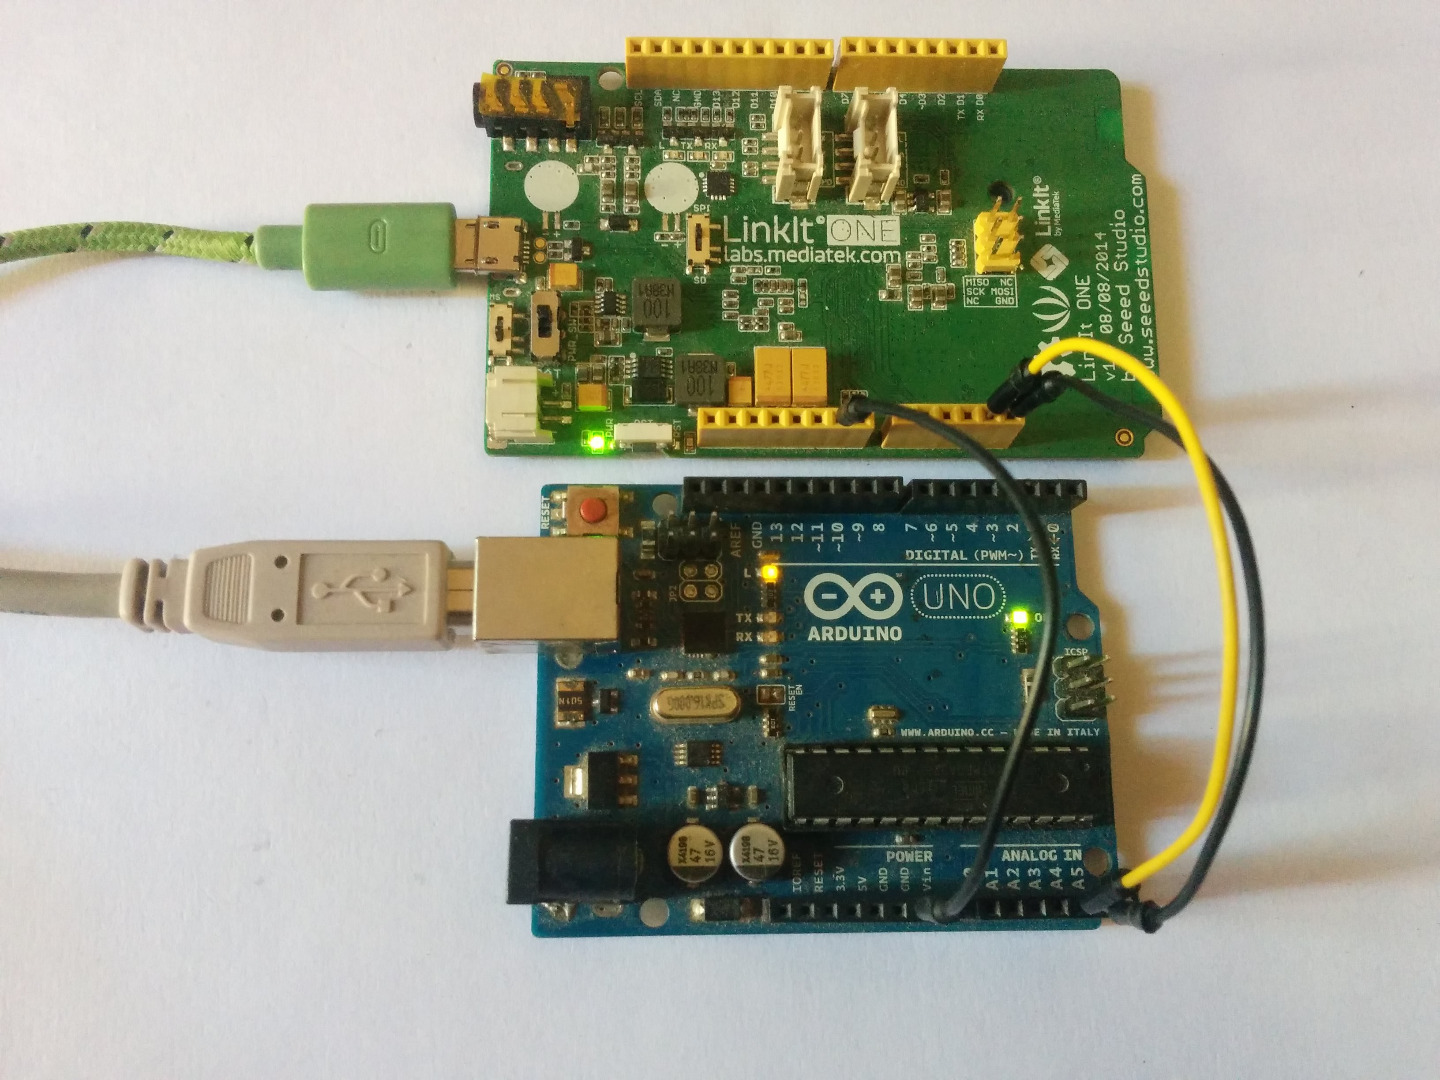
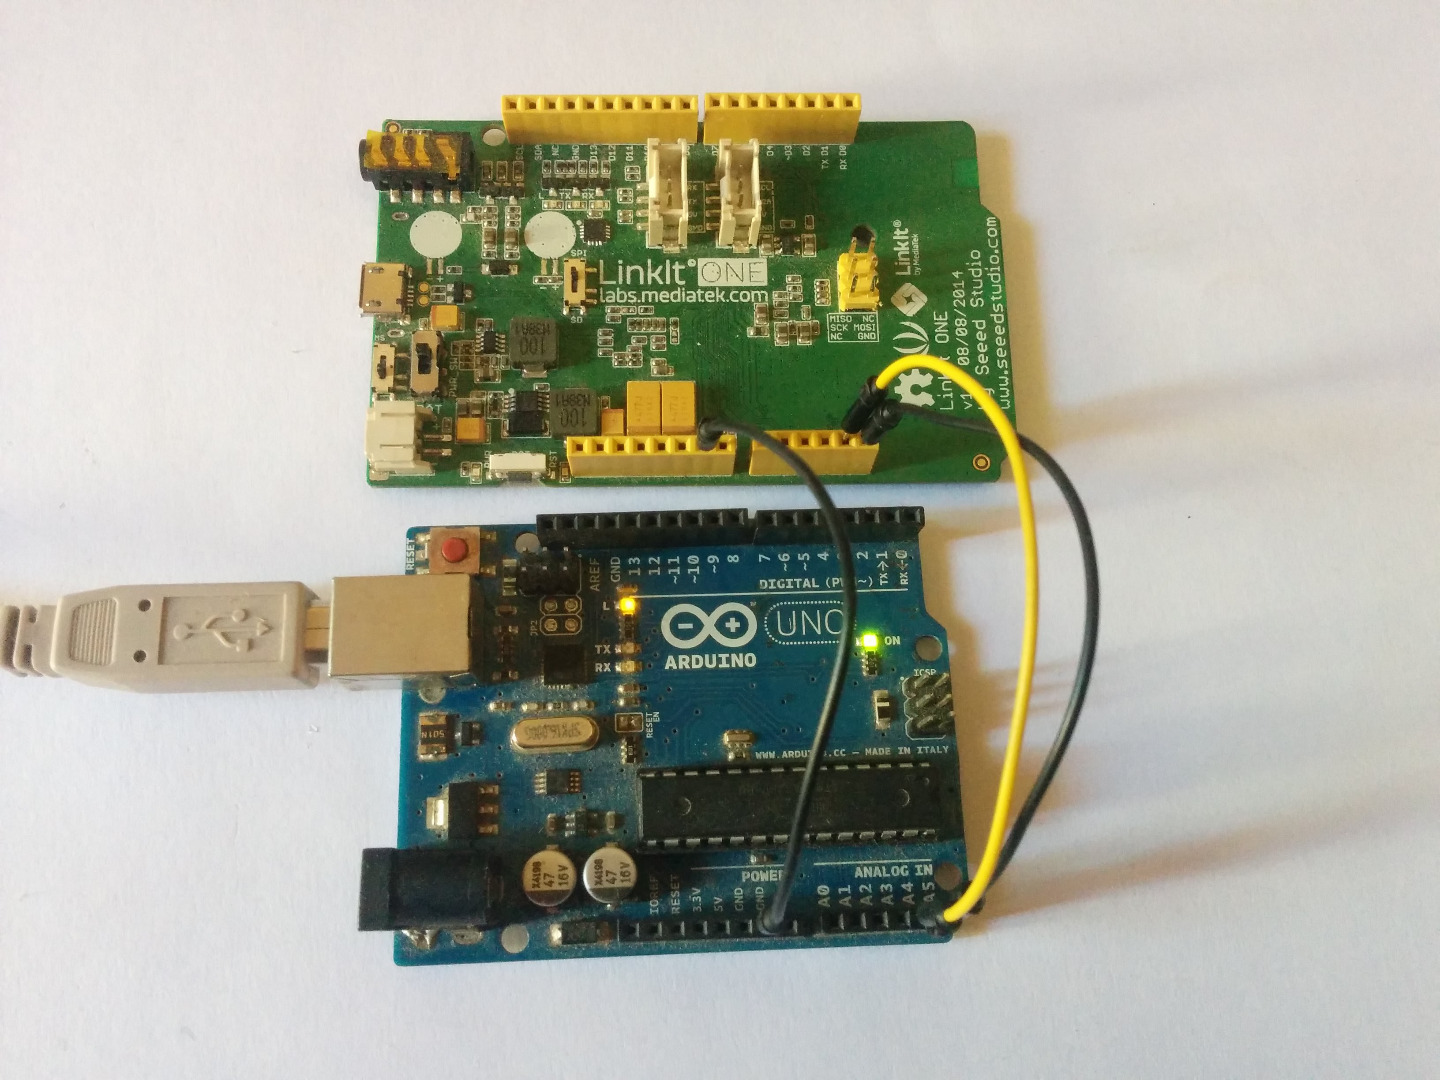
In the last instructable I showed you how to create a voltage monitor using the linkit one and after doing a couple of project using the Linkit One board I realized that it would be great if we could make the linkit one work with an arduino. And there are two ways to make this possible
Serial Communication
I2C Communication
So In this instructable I'm going to show how to set up I2C communication between the arduino and the Linkit One.
Tools and Components
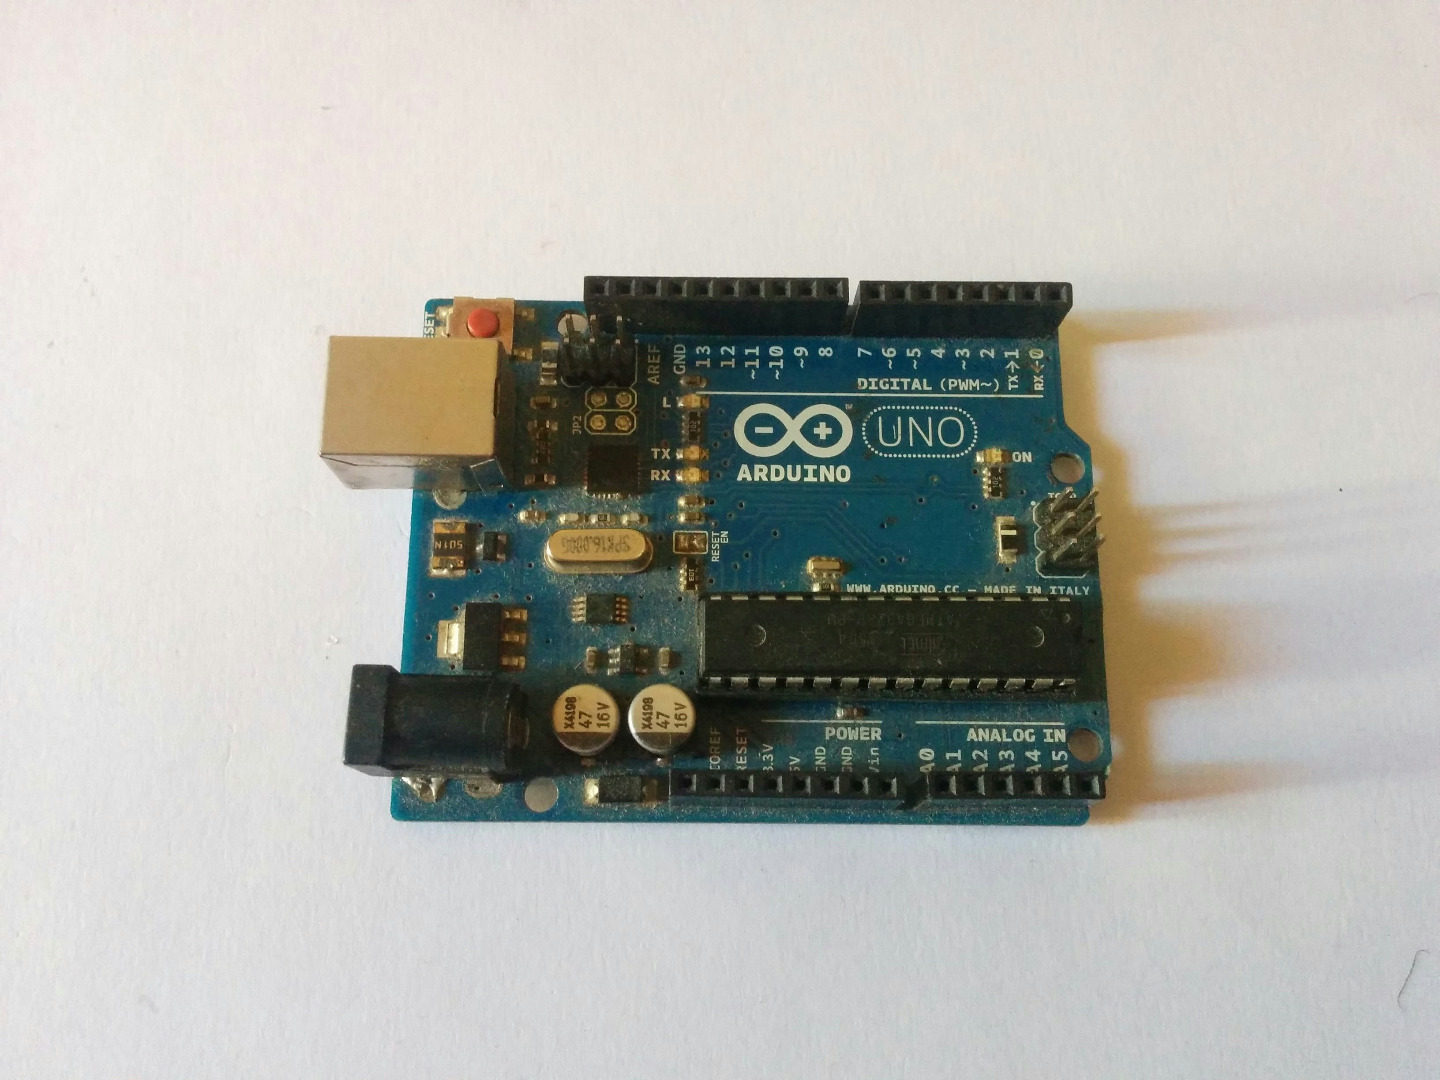
So lets start with gathering all the components and tools required for this project. Most of the components come along the LinkIt one box, like battery and WiFi antenna. So here is what you need -
- LinkIt One
- Arduino UNO or similar
- Jumper wires
I2C
Here is a brief intro to What is I2C?
I2C is quit similar to Serial communiction the major difference is that one of the connected device acts as a master device and the other devices as slave (in today's instructable the Linkit one as the master and the Arduino as the slave). Several functions of Arduino's Wire Library are used to accomplish this. Arduino 1, the Master, is programmed to send 6 bytes of data every half second to a uniquely addressed Slave
The I2C protocol involves using two lines to send and receive data: a serial clock pin (SCL) that the Arduino or Genuino Master board pulses at a regular interval, and a serial data pin (SDA) over which data is sent between the two devices.
Circuit
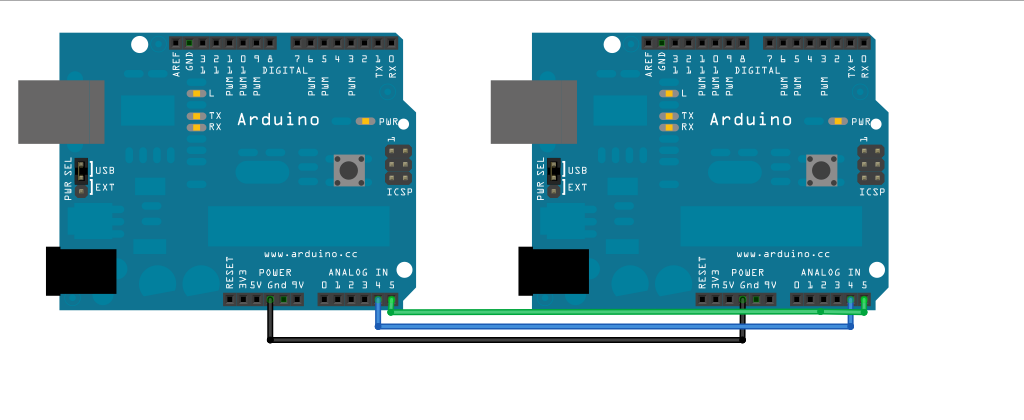
The schematics can be found in the above image, analog pin 4 and 5 of the Arduino act as the SDA and SCL pin. We also need to connect the ground pins of both the boards together. You can also power one board using the other like I did.
Code Linkit One
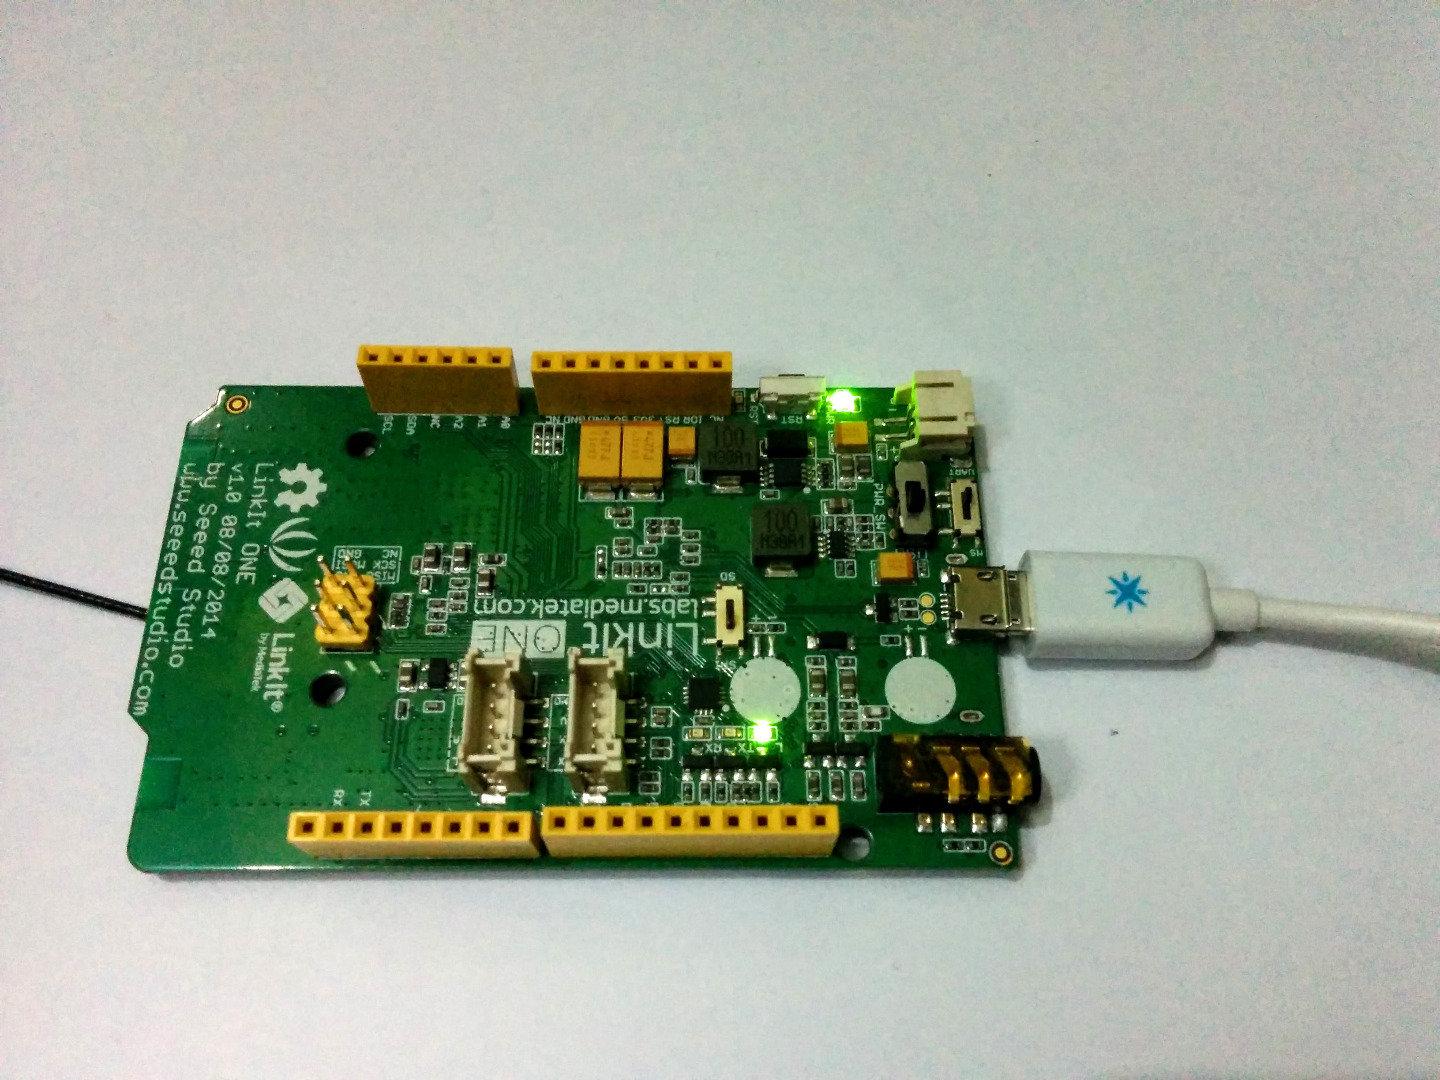
The code for the master device can be found below, since we are using the Linkit one as the master I will upload this code to the Linkit One, you could also use the arduino as the master. The master code is simple and all it does is sends back increasing values of "x" to the slave.
void setup() {
  Wire.begin(); // join i2c bus (address optional for master)
}

byte x = 0;

void loop() {
  Wire.beginTransmission(8); // transmit to device #8
  Wire.write("x is ");        // sends five bytes
  Wire.write(x);              // sends one byte
  Wire.endTransmission();    // stop transmitting

   x++;
  delay(500);
}
Code Arduino
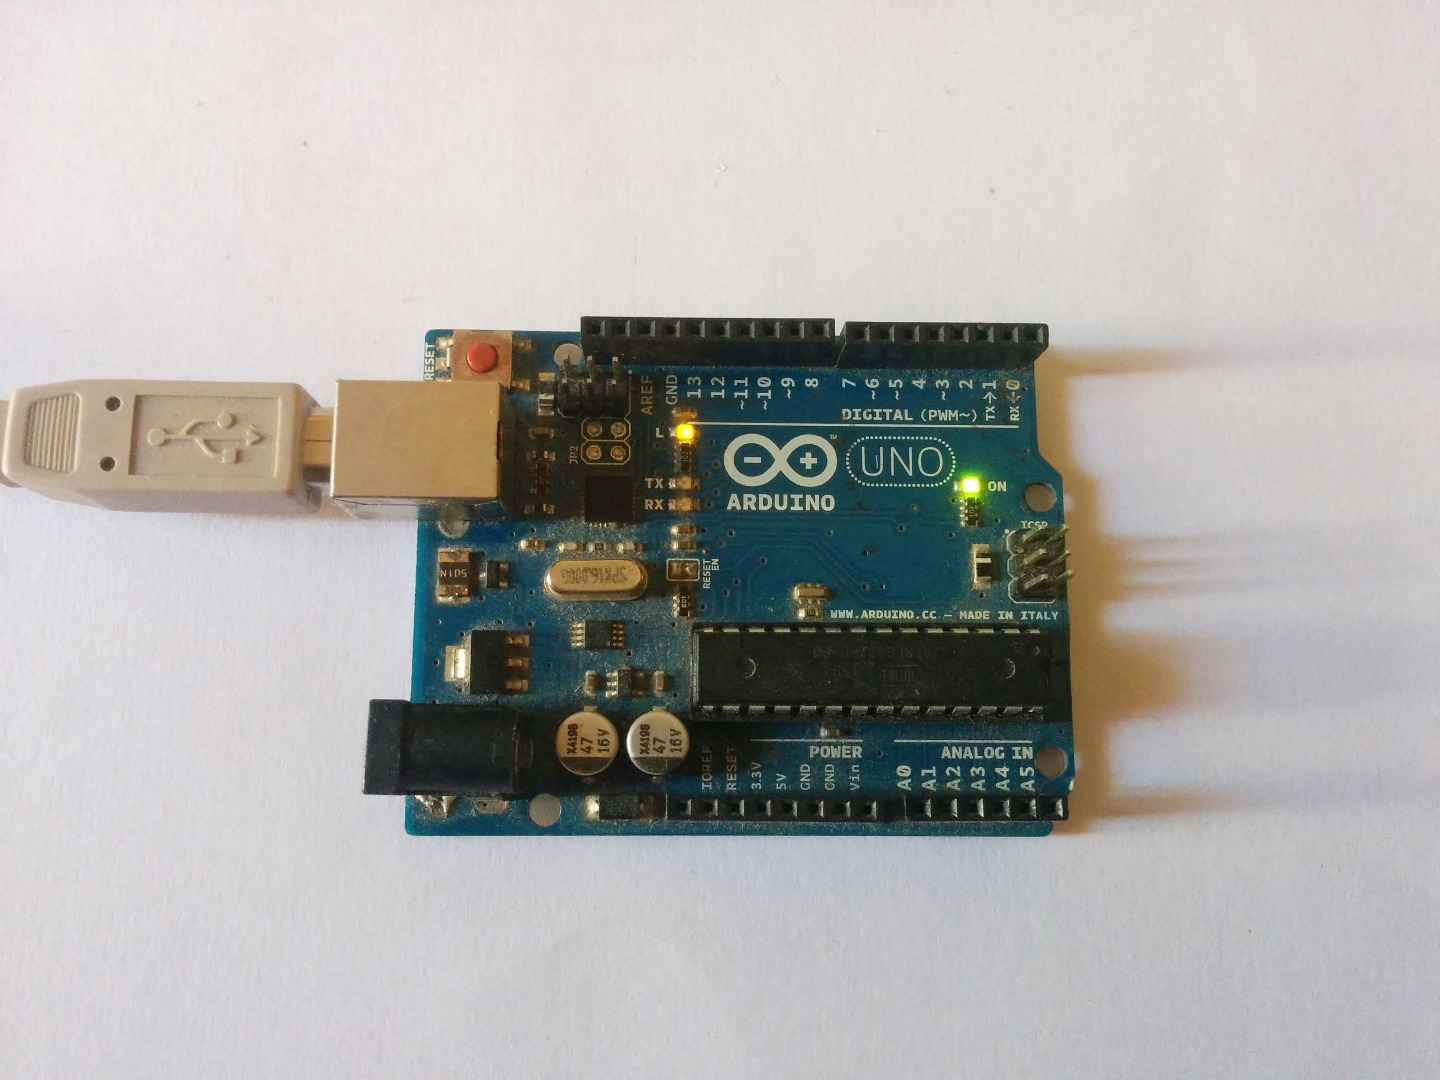
And since I'm using the arduino as the slave I will be uploading the code for the slave which can be found below. All the code does is serial prints out the data revived form the Linkit one, so you should have a serial terminal set up at the right port.
#include
void setup() {
  Wire.begin(8);                // join i2c bus with address #8
  Wire.onReceive(receiveEvent); // register event
  Serial.begin(9600);           // start serial for output
}
void loop() {
  delay(100);
}
// function that executes whenever data is received from master
// this function is registered as an event, see setup()
void receiveEvent(int howMany) {
  while (1 < Wire.available()) { // loop through all but the last
    char c = Wire.read(); // receive byte as a character
    Serial.print(c);         // print the character
  }
  int x = Wire.read();    // receive byte as an integer
  Serial.println(x);         // print the integer
}