Linkit One - LED Strip
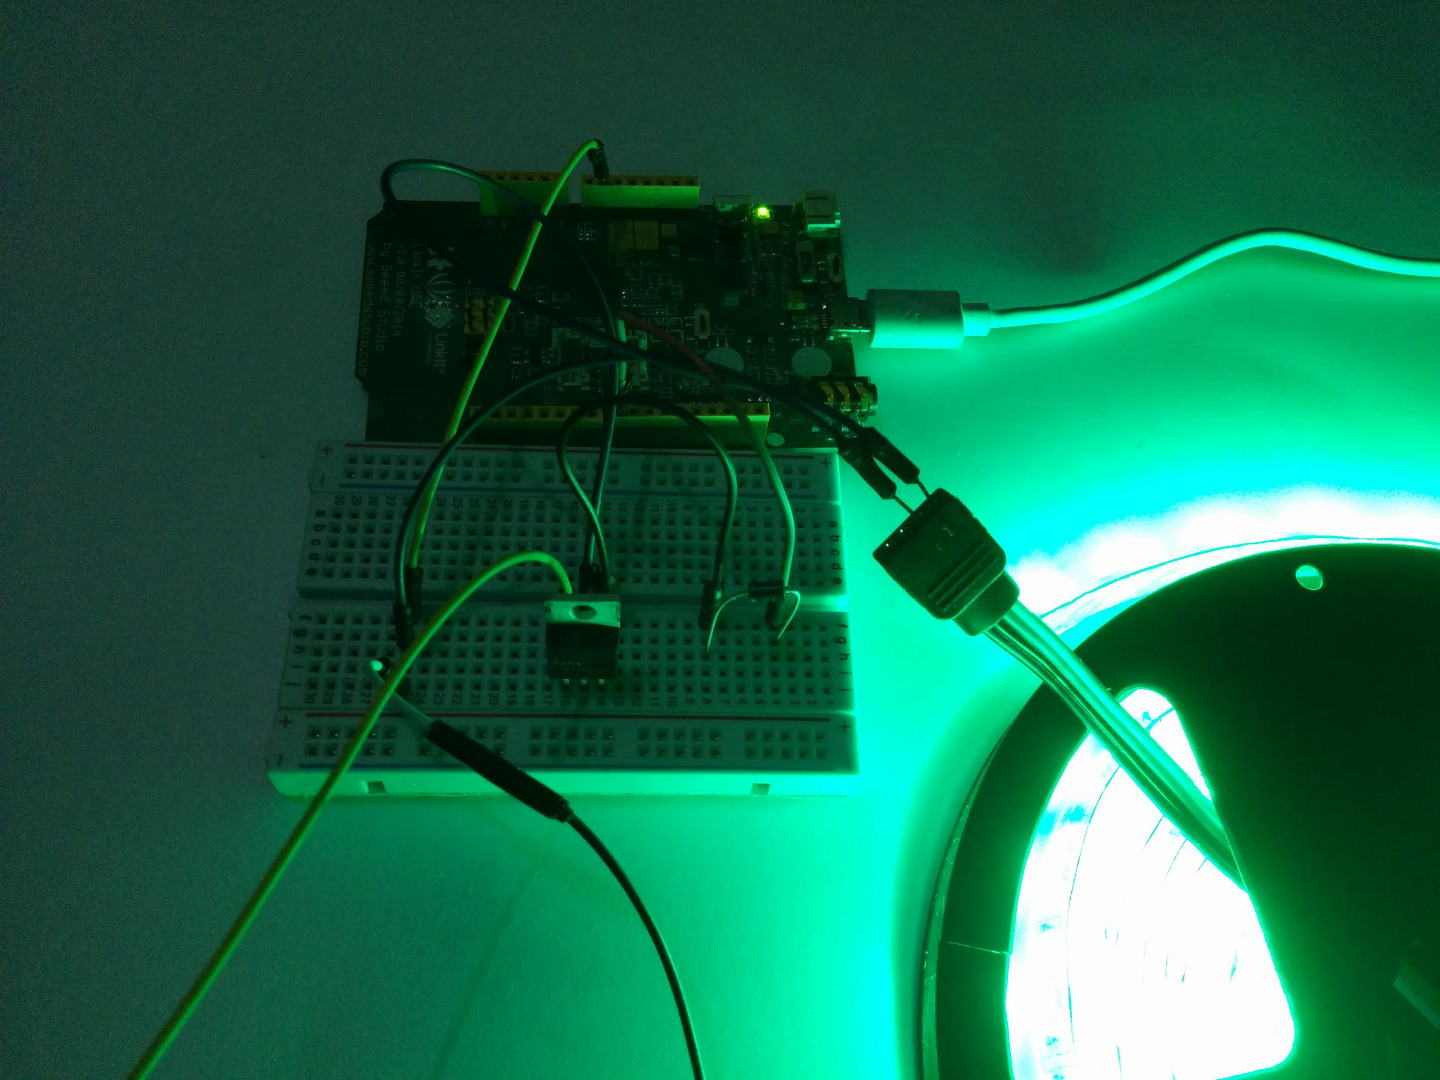
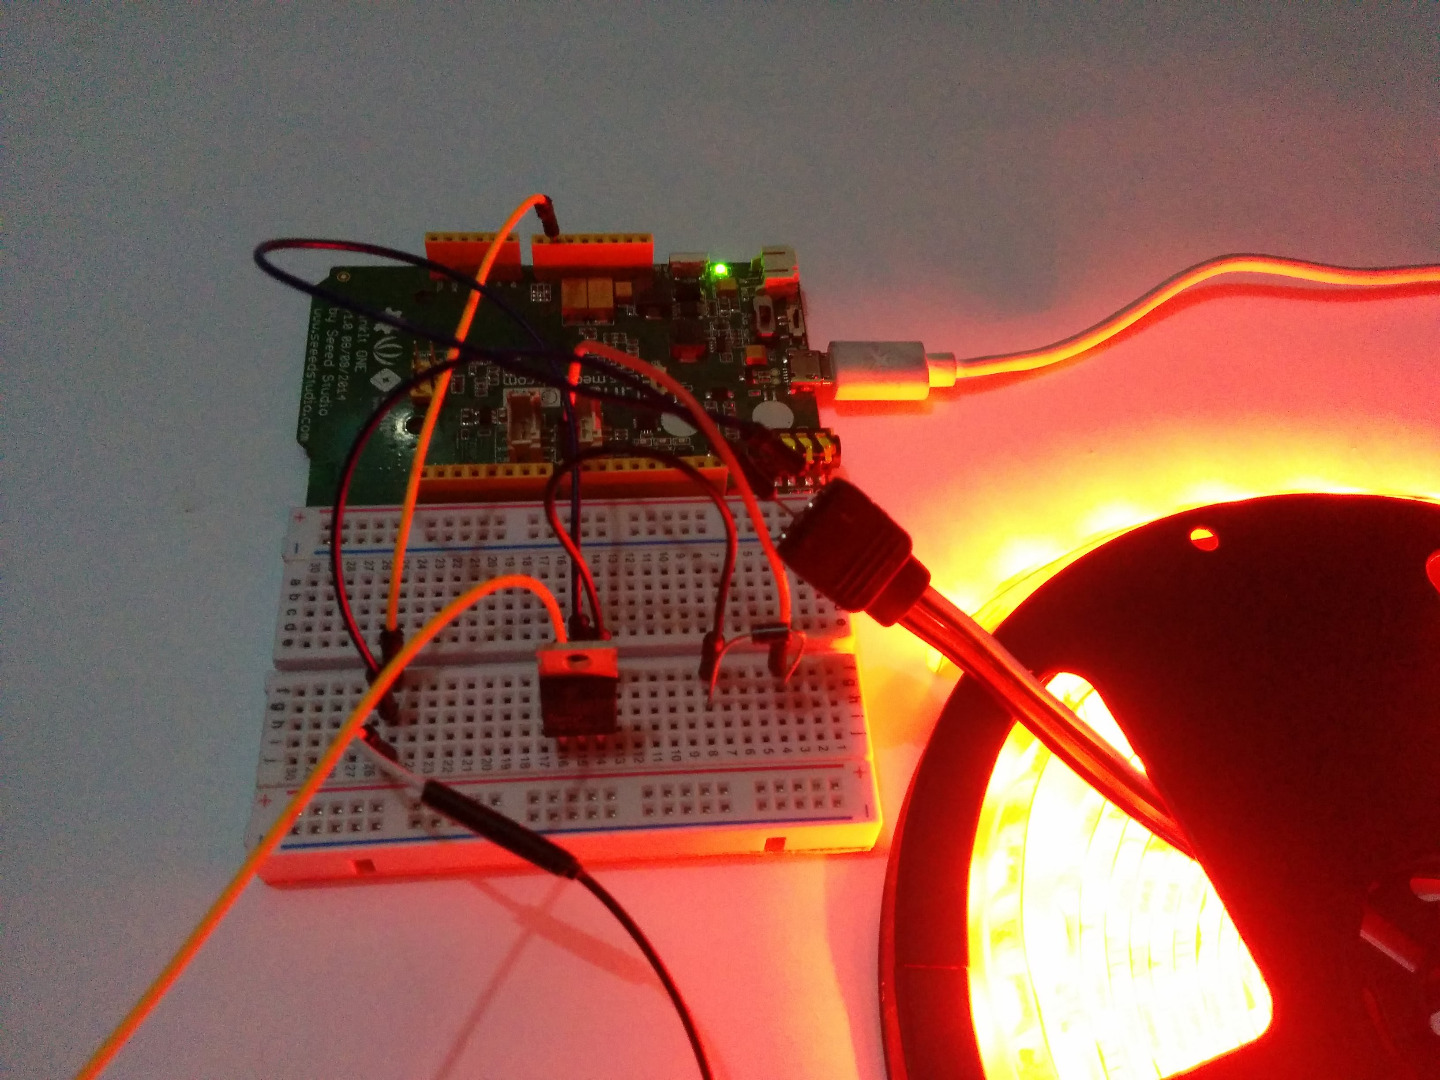
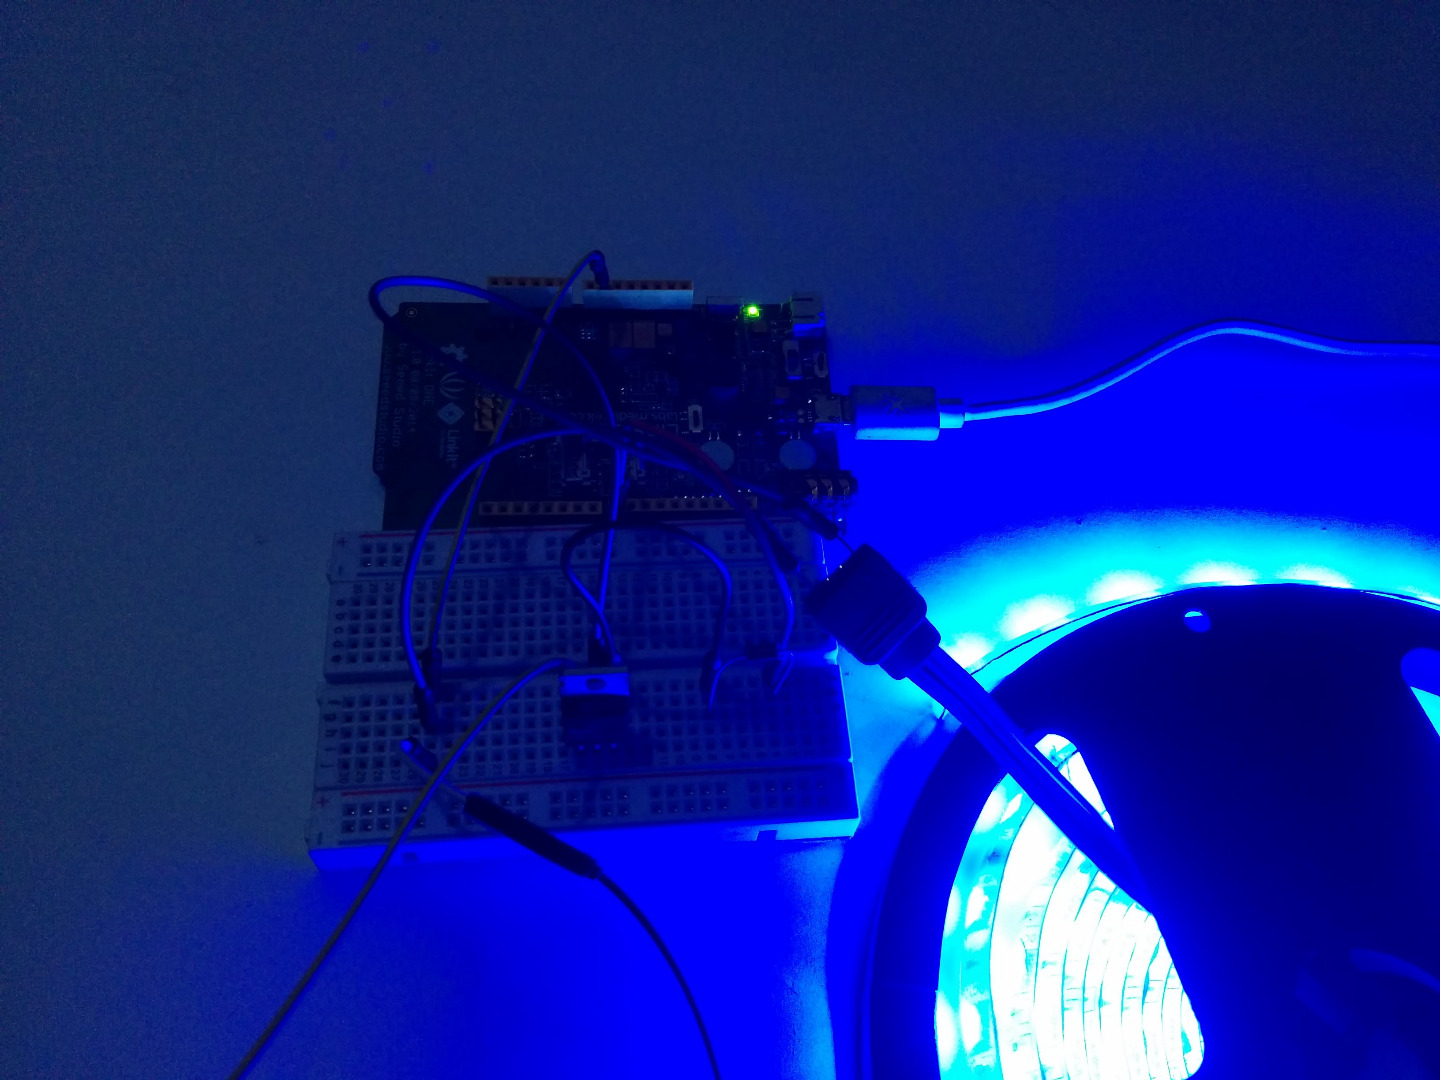
It's going to be Christmas season soon and which means cakes, lights, trees, etc. And it would be great if we could control our Christmas light wireless in this instructable I'm going to show you how to control your Christmas lights using a web browser and a Linkit one. In the last instructable I showed you how to control LEDs and in this instructable I'm going to show you how to control led strips.
Tools and Components
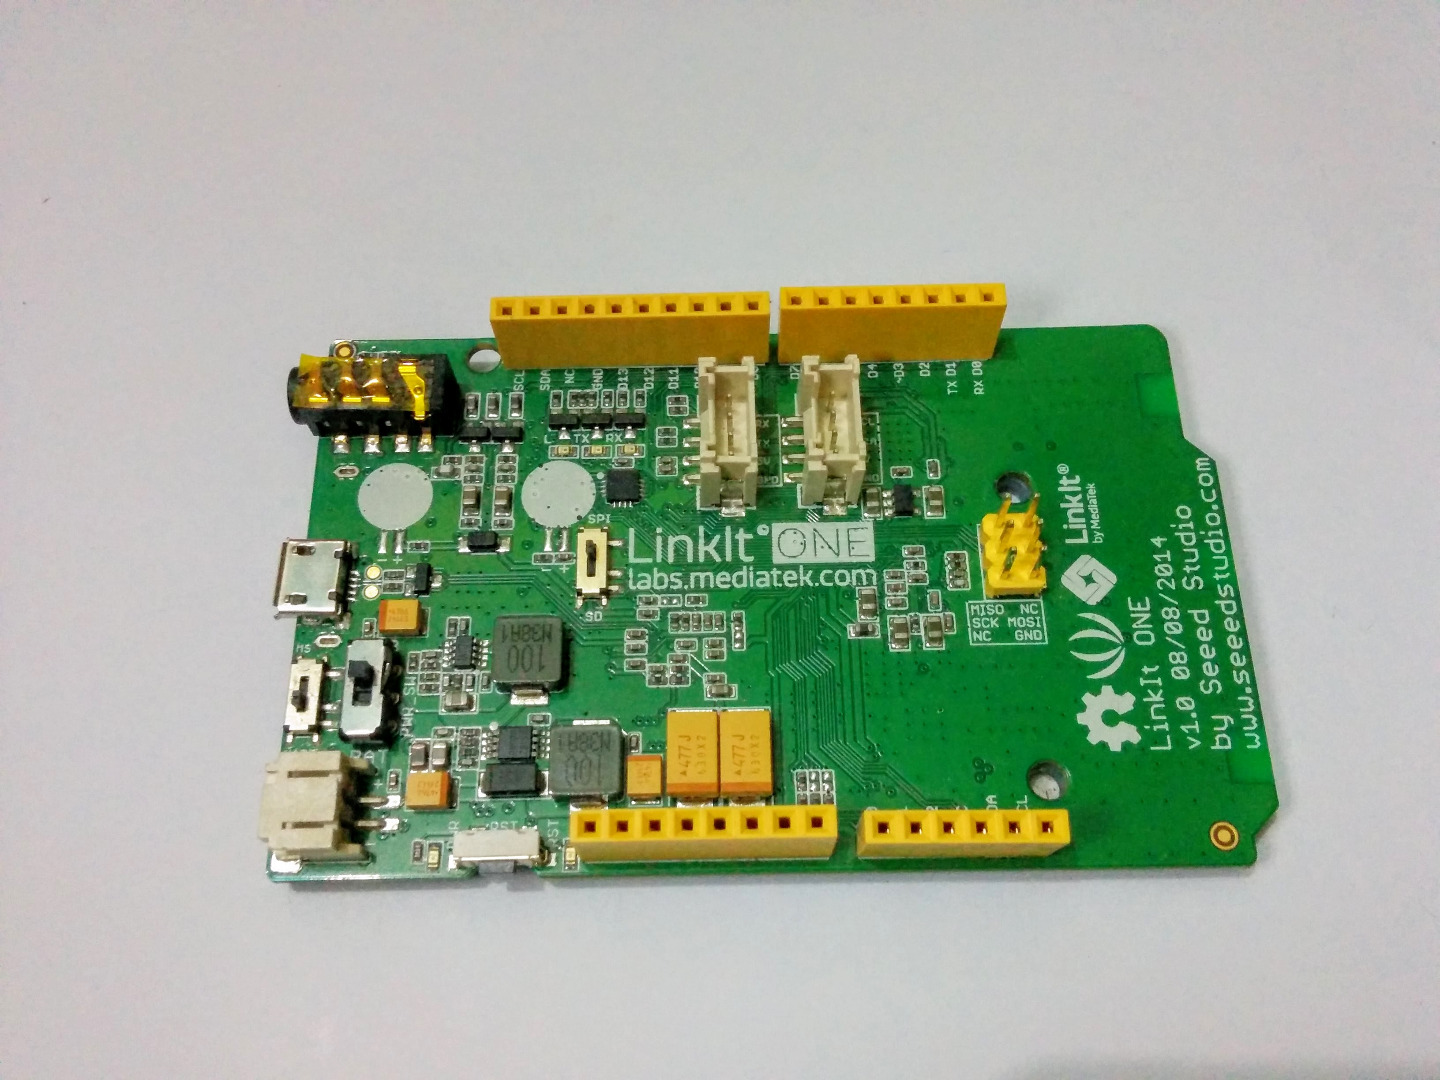
So lets start with gathering all the components and tools required for
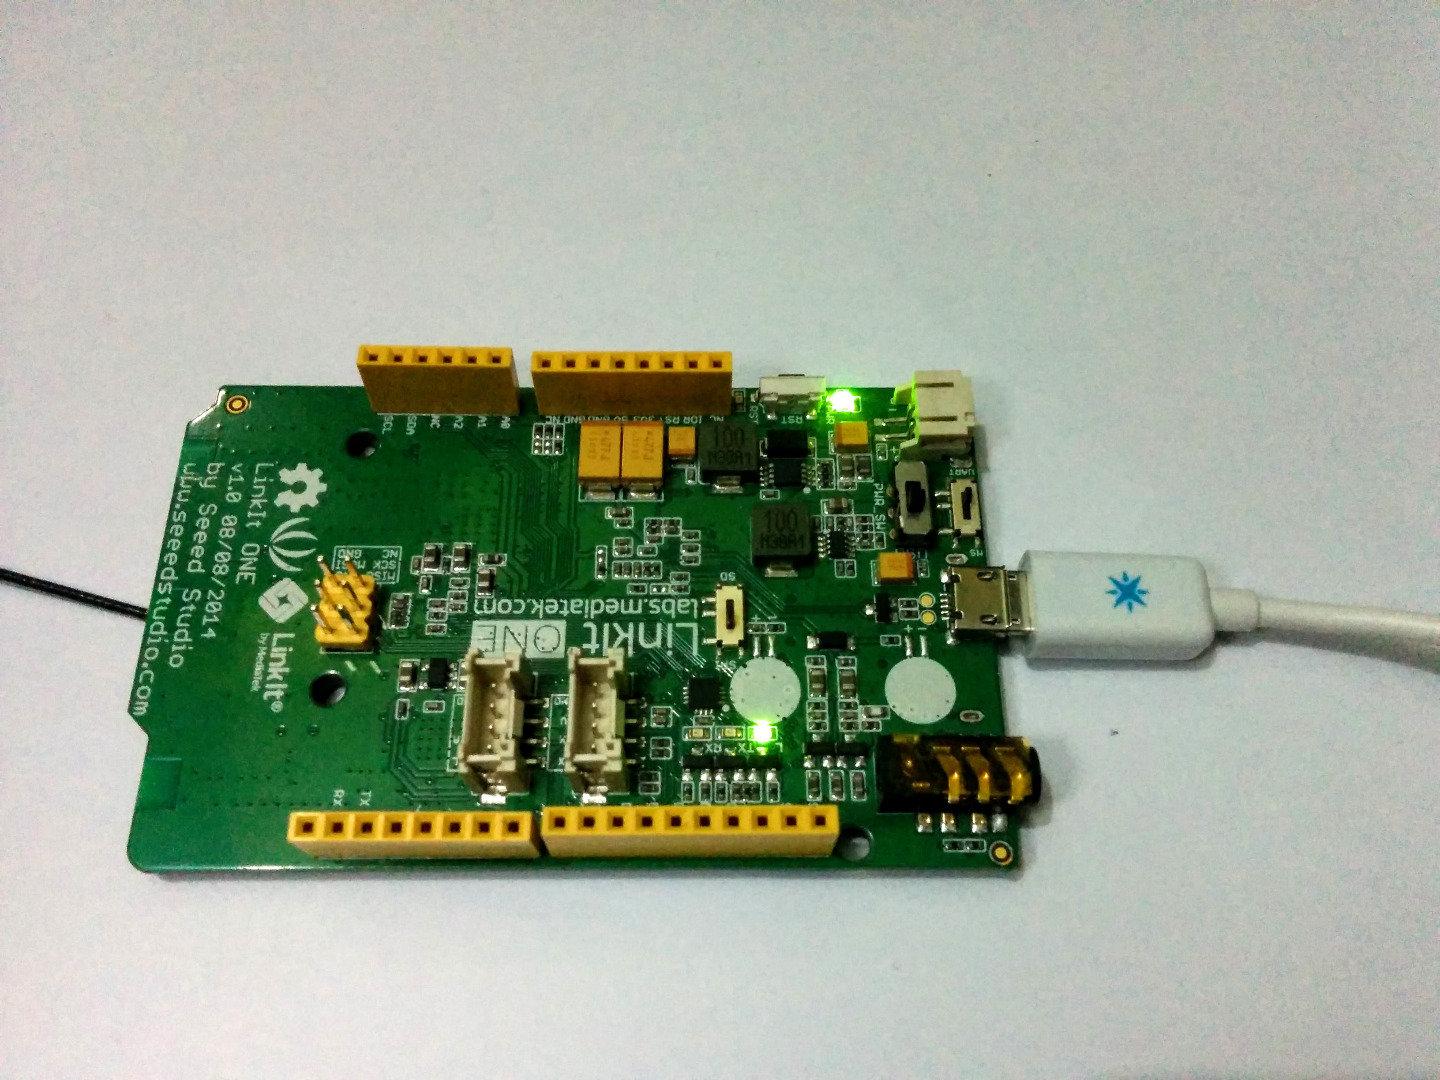
this project. Most of the components come along the linkit one box, like battery and WiFi antenna. So here is what you need -
- LinkIt One
- LED Strip
- 12V adapter
- Battery
- Breadboard
- Jumper wires
LED Strips
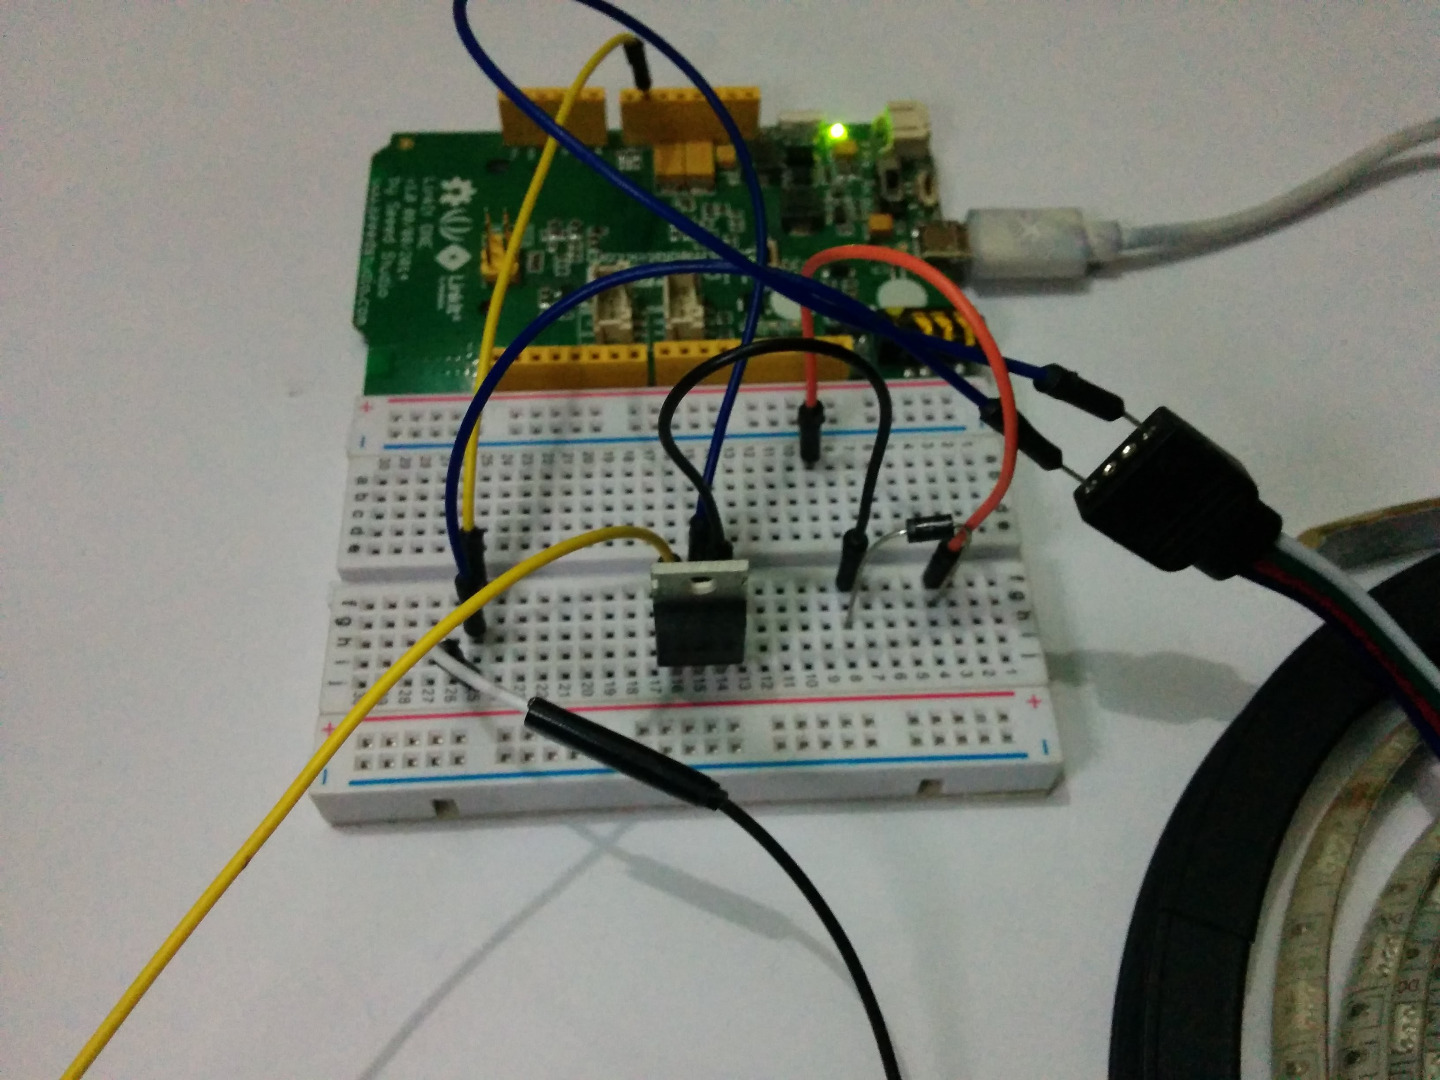
It is fun to work with LEDs and the best part is they can be powered directly from the Linkit one board, but when it comes to an LED strip, the strip drags a lot of power and it is not possible to power a strip directly from a Link It One board. So we need an external circuit to work with the LinkIt one.
Circuit
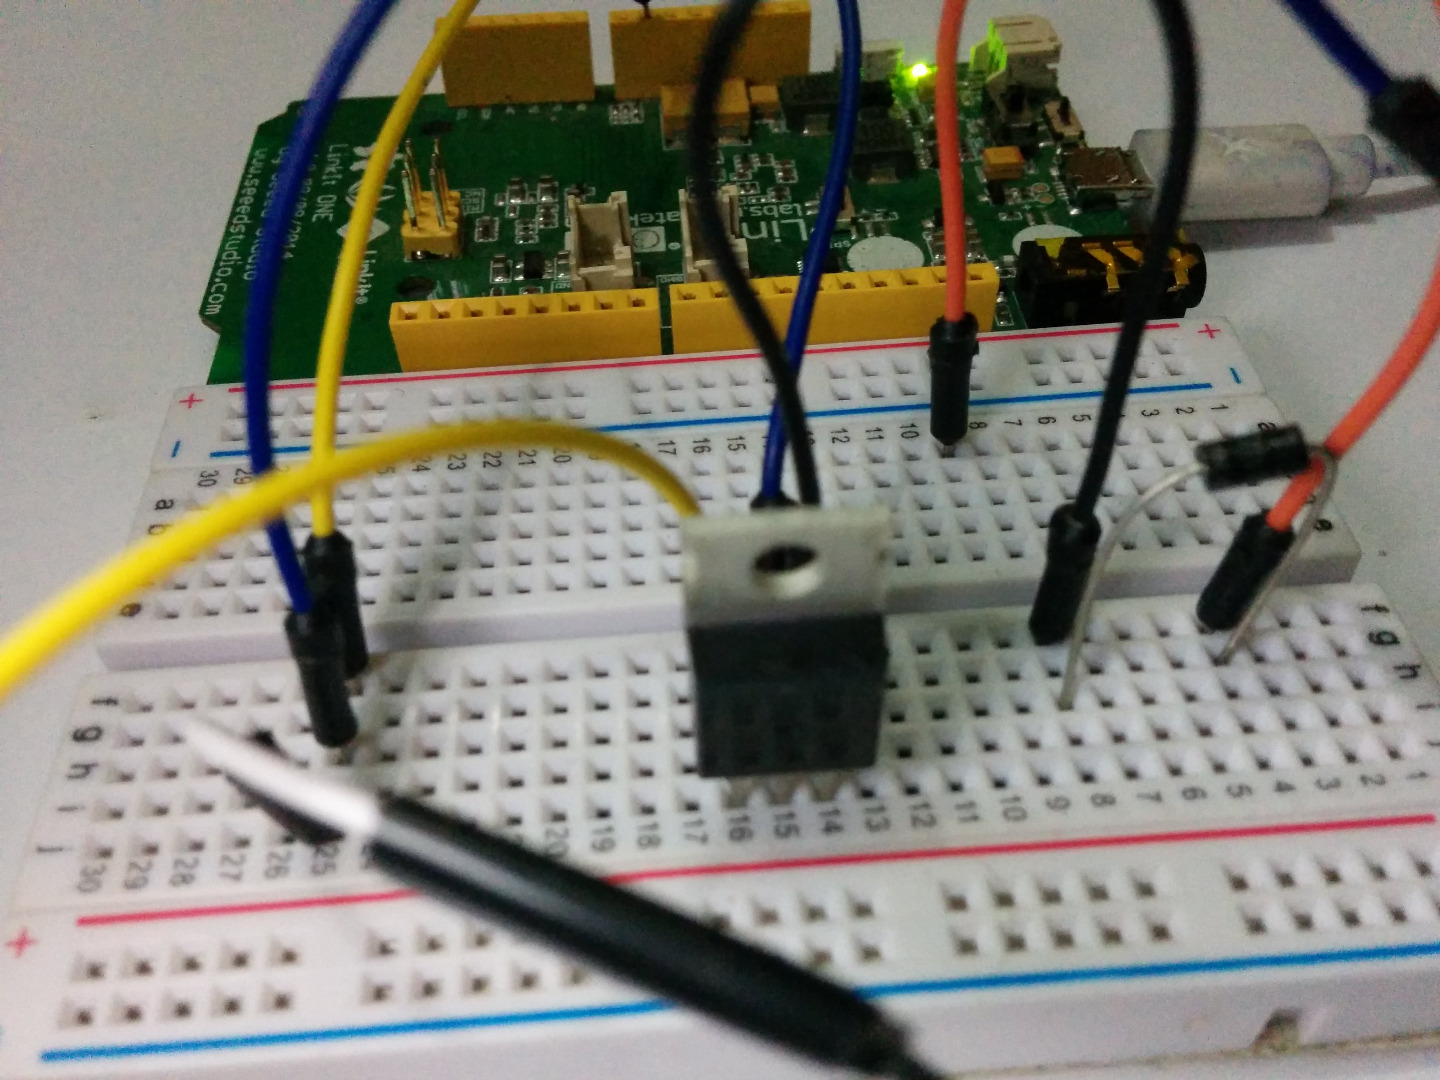
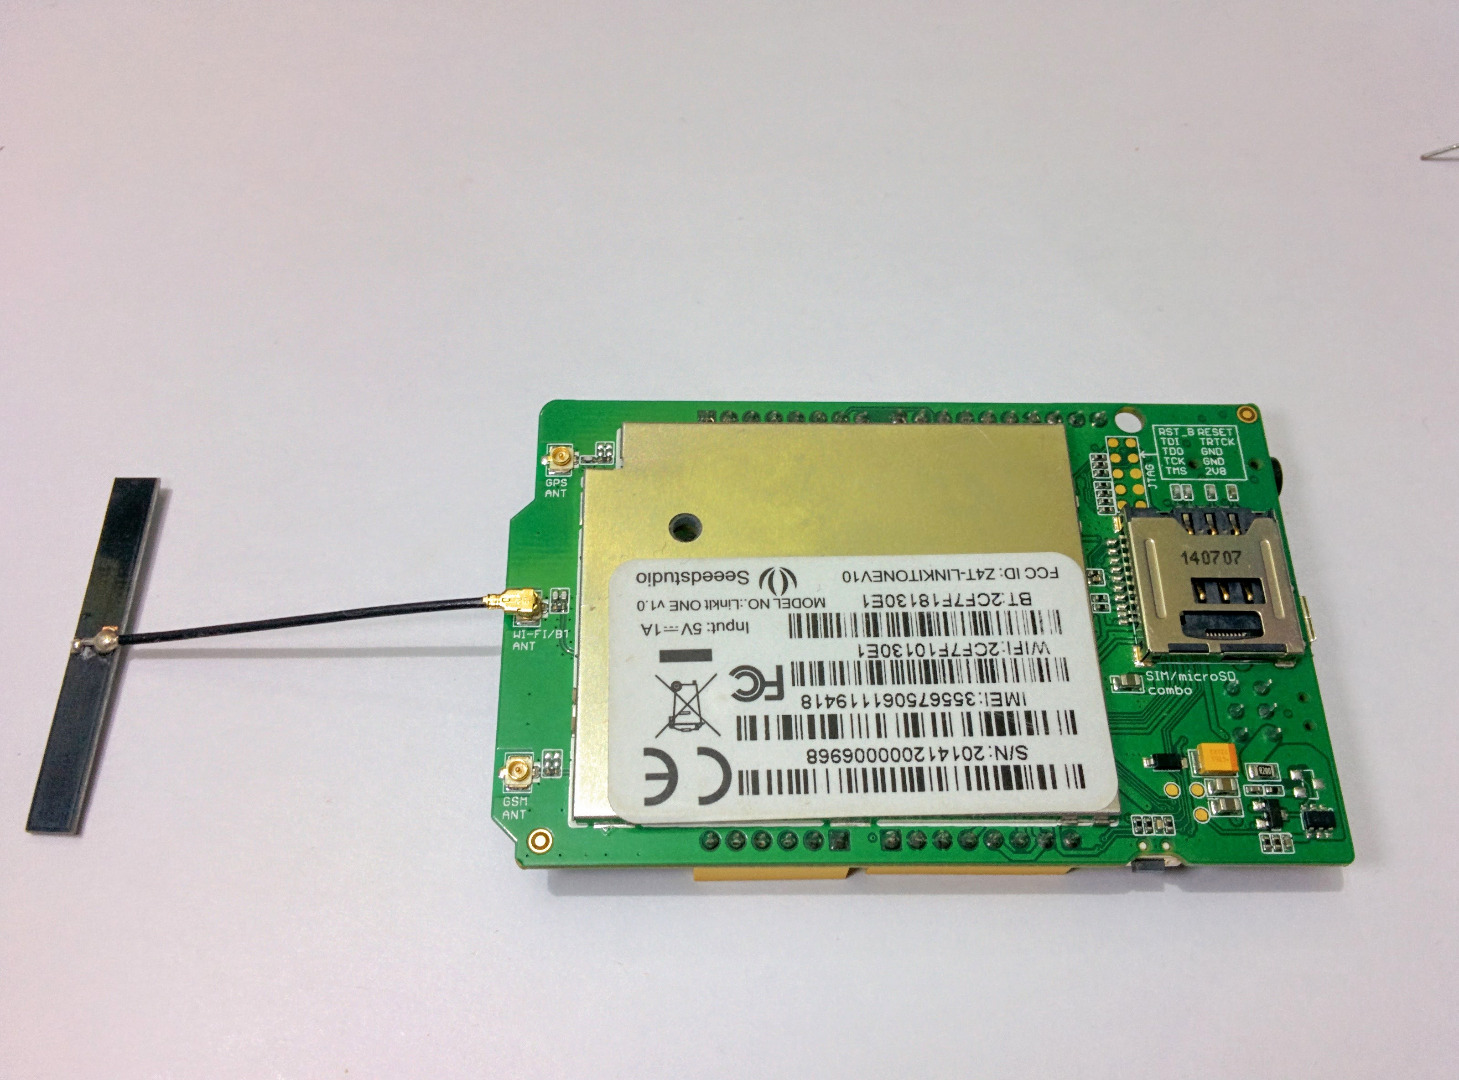
For the external circuit we have a lot of choice to choose from, the most effective way is to use a transistor to trigger the load, where the base of the transistor is connected to the Linkit one digital pin. If you use a RGB led then you may want to use L298 IC which can hold a large current values. Also make sure you plug in the WiFi antenna to the Linkit one board.
Program
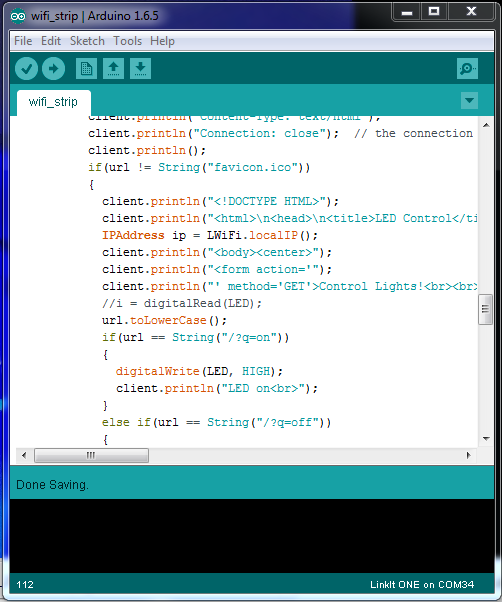
The code can be found in the attachments you can open it on a Arduino IDE. You need an Arduino IDE with Linkit Plug in to upload the code. You can check out my first tutorial on how to do that. Make sure you upload the code to the right port, you can find the your device port on device manager in windows. Make sure you also enter your WiFi SSID and password in the code.
Downloads
Finishing
After you upload the code, you should open a serial monitor on the debug port of the linkit one. On successful connection to the your WiFi network you will see the IP address of the linkit one being displayed on the screen open the IP address on a web browser and you can now control the LED strip from the web browser.