Linkit One - Dual Beam Spectrometer
by HUKBMBEAR in Circuits > Microcontrollers
5540 Views, 48 Favorites, 0 Comments
Linkit One - Dual Beam Spectrometer
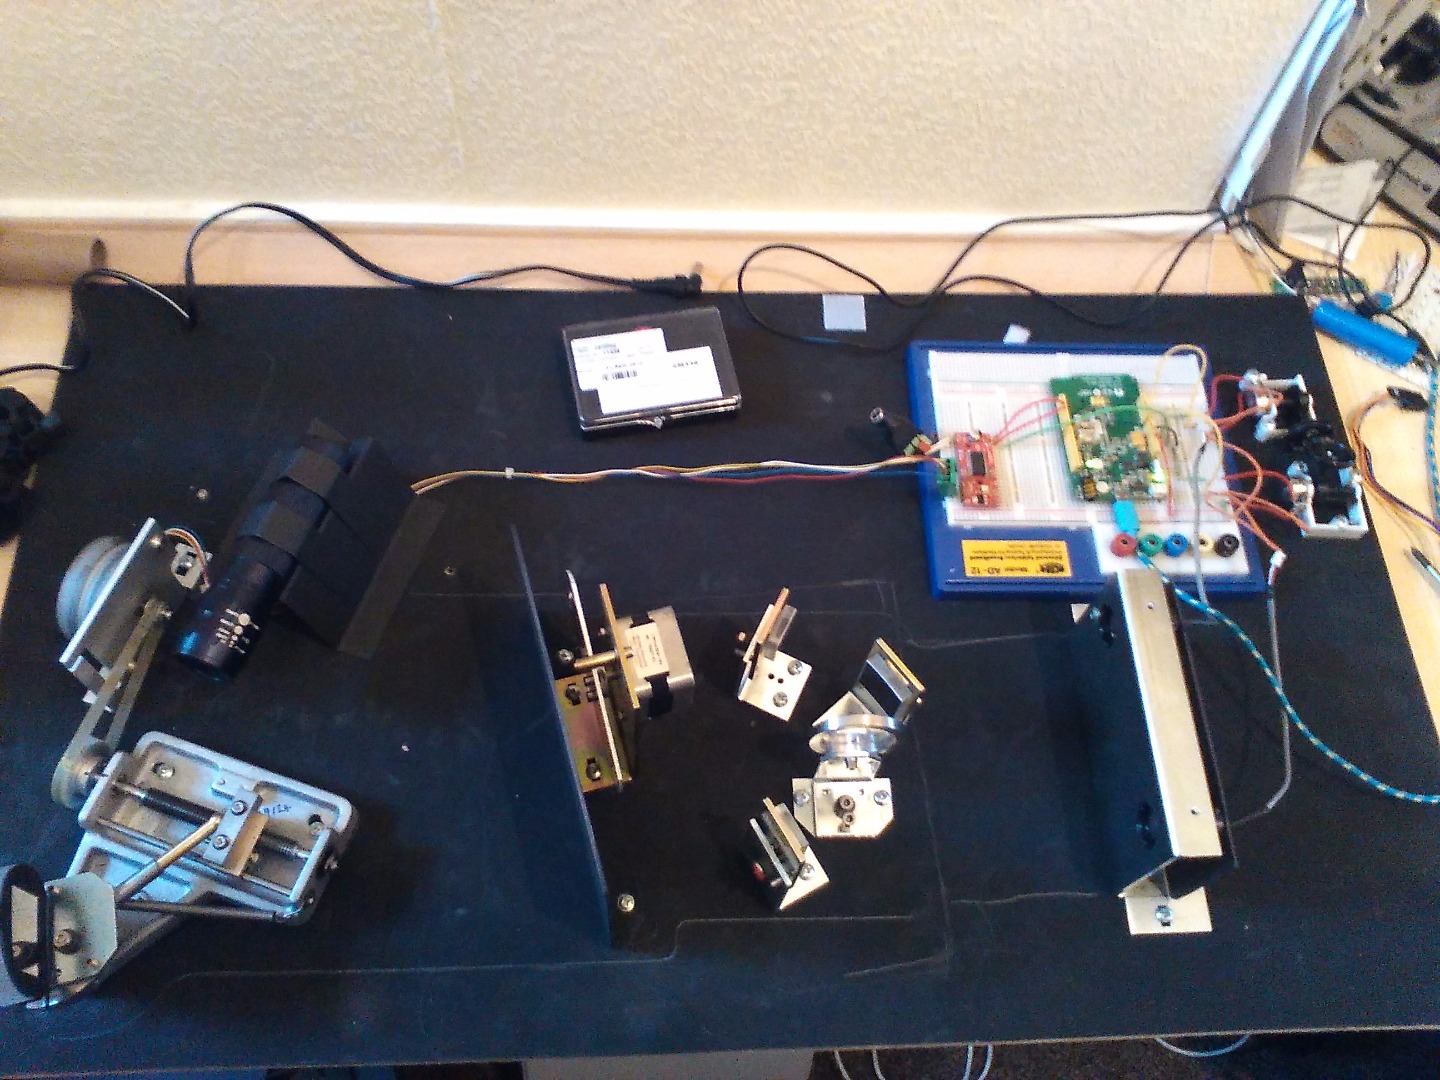
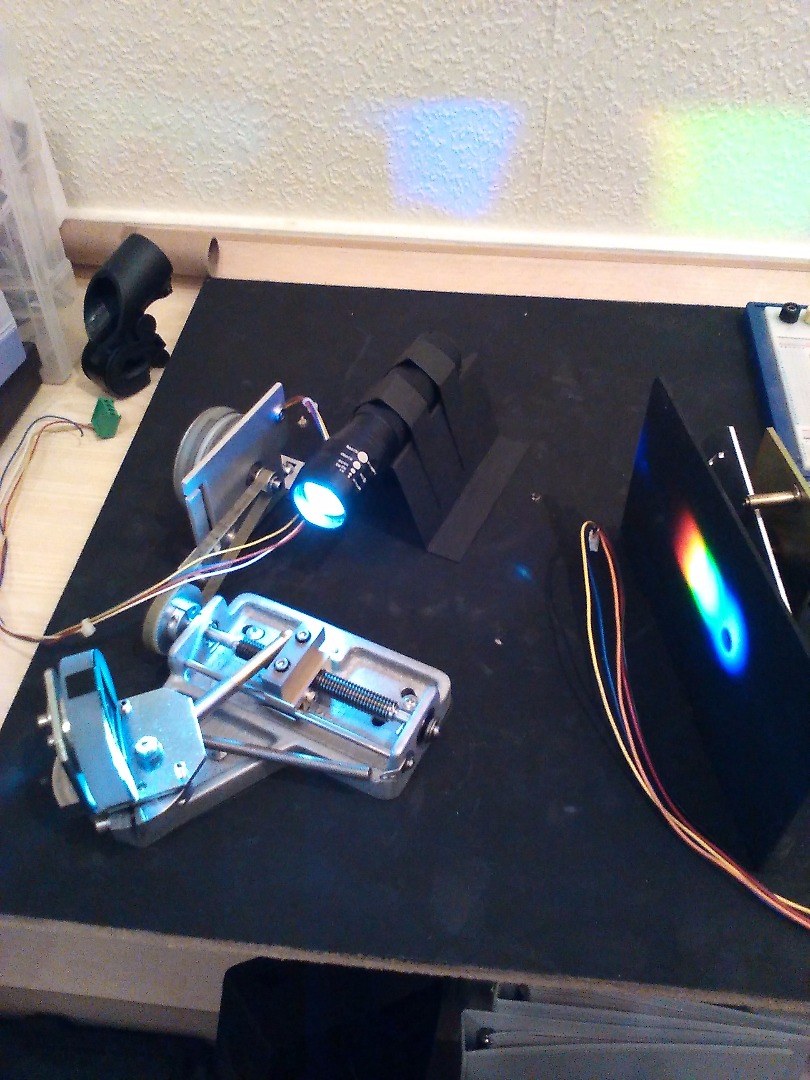
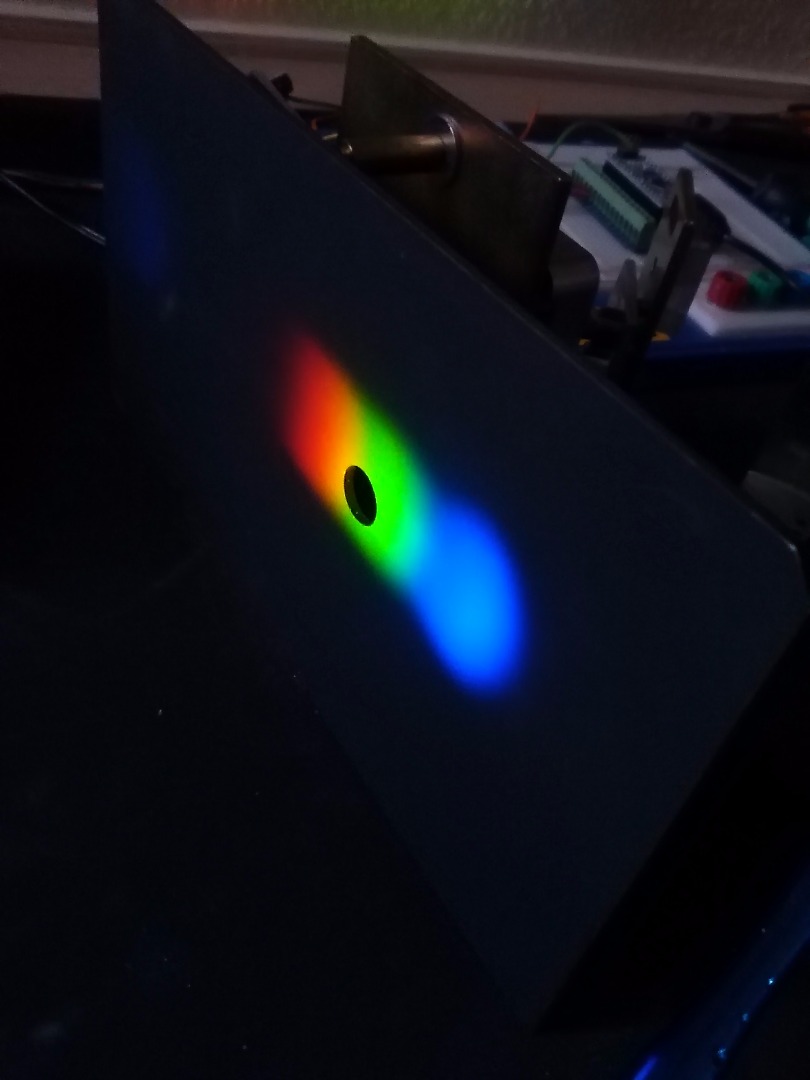
My employment history is based around laboratory work and more recently lab equipment installation. My last employer was a pharmaceutical company and before being downsized I was able to get approval to salvage parts from a pieces of equipment that was due to be thrown in the skip. Anyway I got approval to strip an old, non functioning spectrometer for the parts, so I decided to see if I could create a functioning dual beam instrument.
This Instructables describes how I went about this from the original tare down of the broken unit to the final build using the Linkit One board as the control and data collection system.
I appreciate that it might be hard for some to obtain some of the parts in this guide, but EBAY is a great source broken instruments do come up for sale you just have to keep trying, also it is possible to buy diffraction gratings for example click this link, or because large companies are so wasteful - you could just try and contact one to see if they are disposing of any redundant parts.
Collecting the Parts
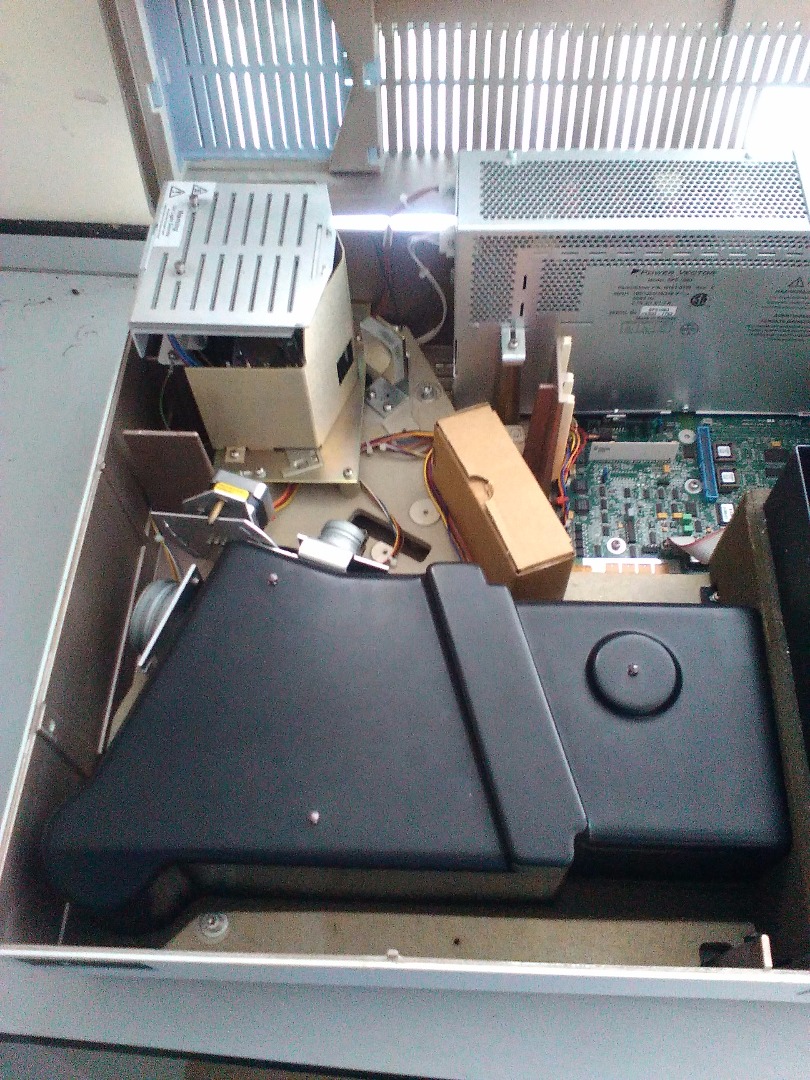
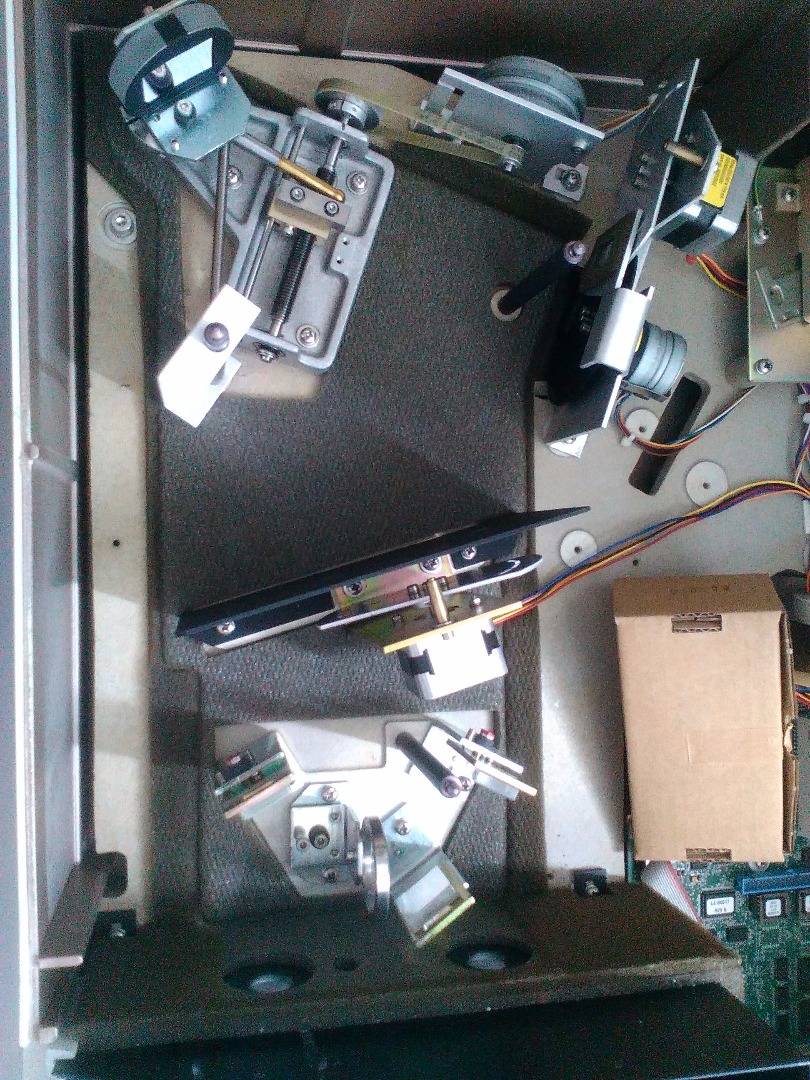
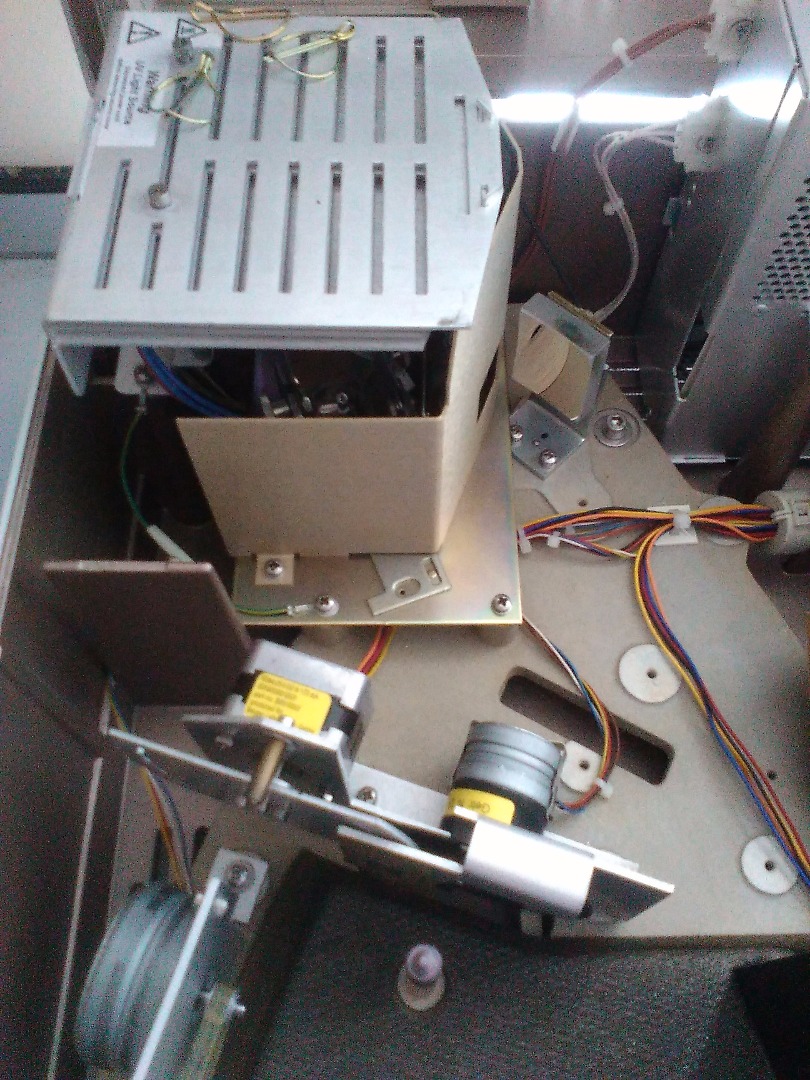
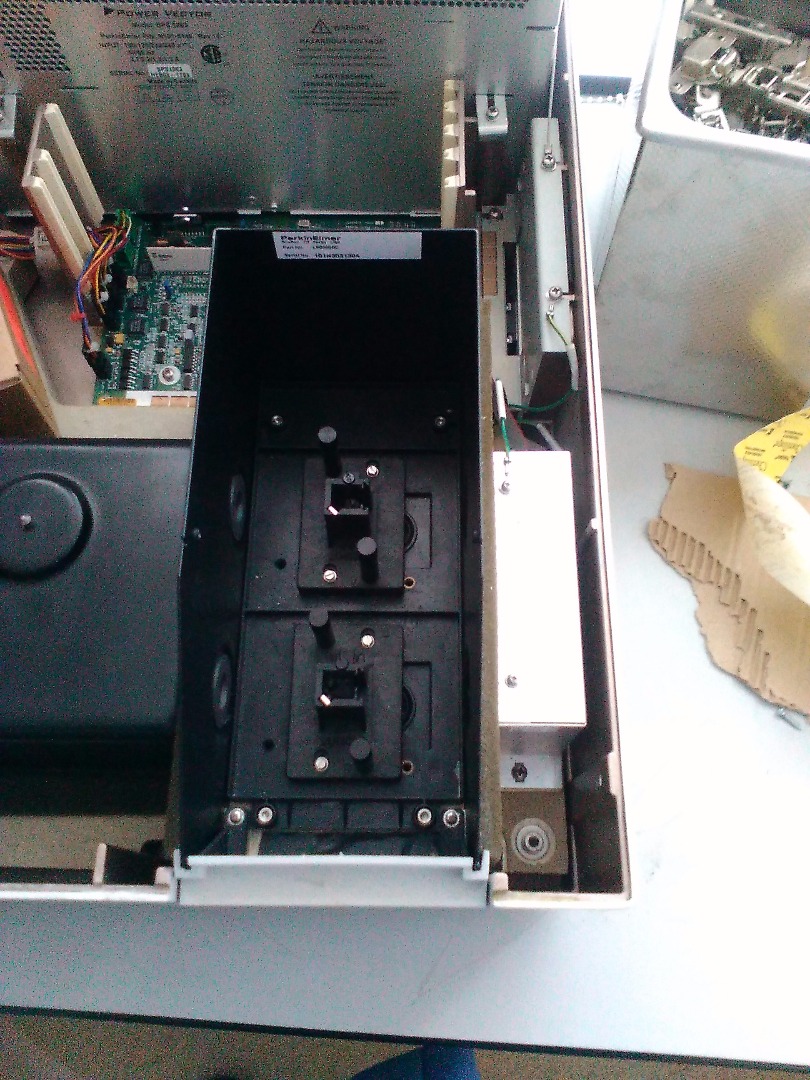
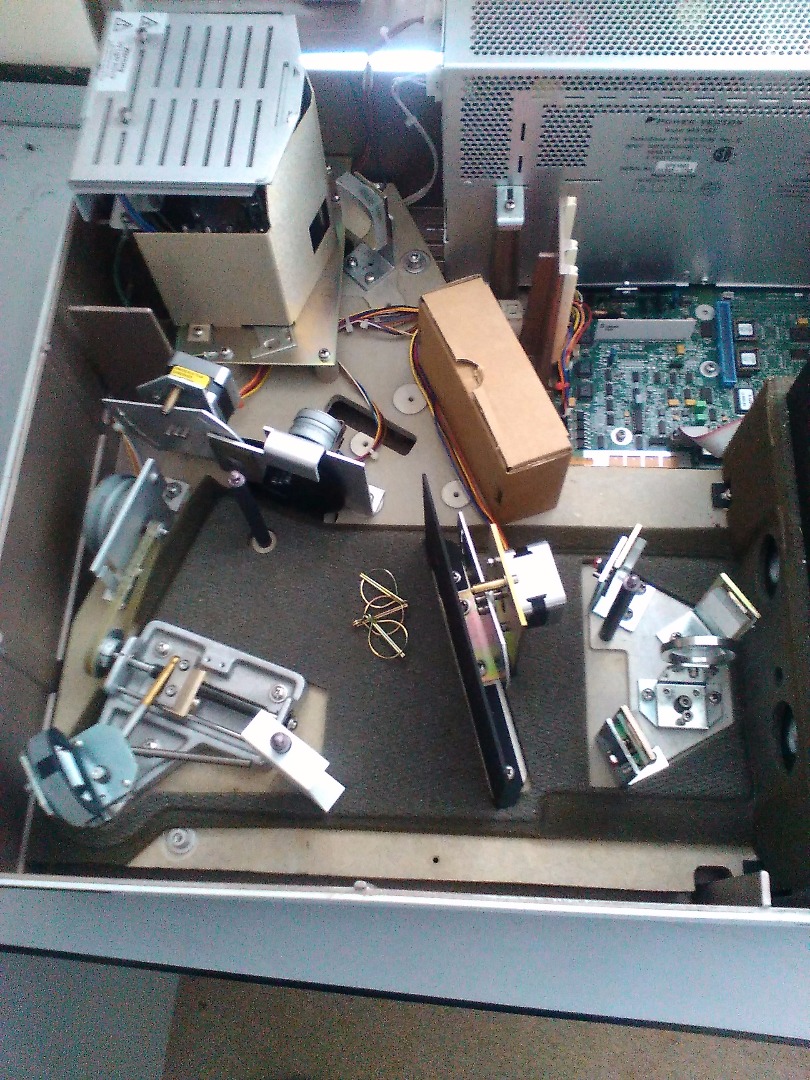
As you can see the inside of a spectrometer is both complicated and surprisingly simple.
Complicated - there is a lot of circuitry designed to just take care of the operation of in excess of 6 stepper motors, as well as additional boards inside the sensor head for the collection and processing of the light signals prior to the information being sent to the software.
I did not want any of the electronics as there was no way to access it, and the whole idea for this guide is to see if the Linkit One could produce a result, so I removed all of the stepper motors, filters and optics as well as the sensor head.
With all the parts removed I would need to know how to set them back up on the base as I would be using a piece of MDF for that. (The original base being to heavy to carry in my back pack), so I use three pieces of paper laid over the holes in the base and made holes in it at the points where I would need screws in the MDF. To ensure that the papers lined up correctly I put reference marks across the joins which could then be used to re-align the paper later.
Laying Out the Instrument
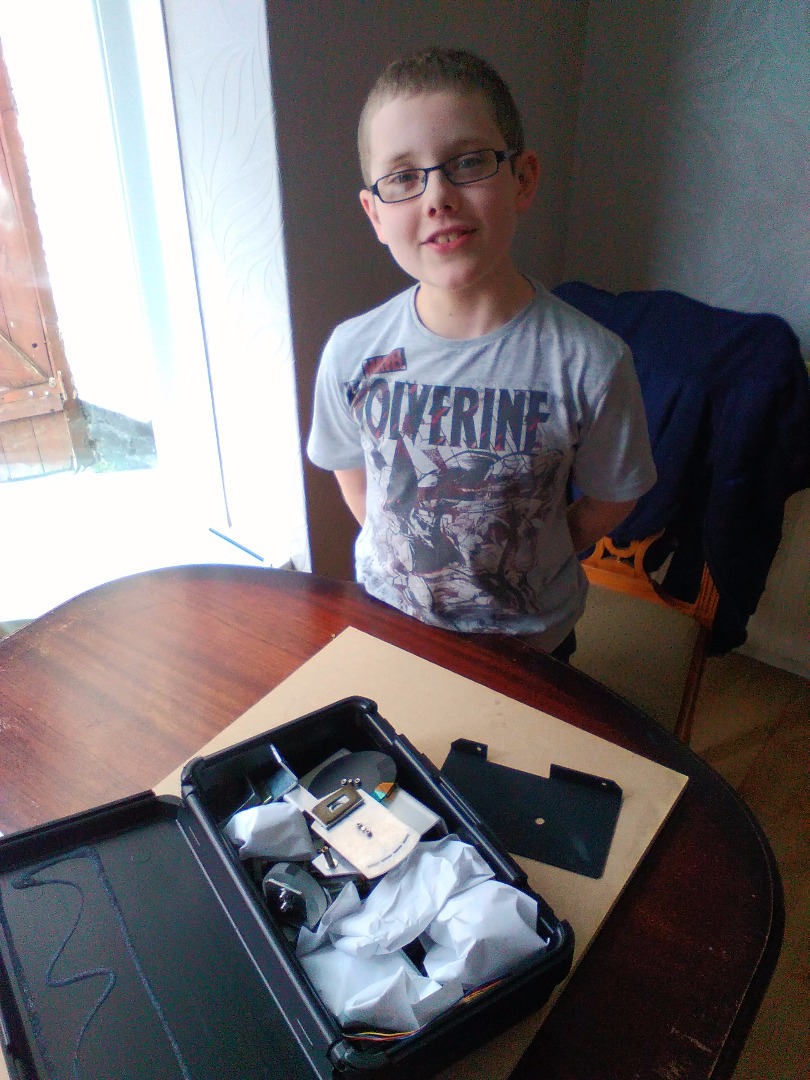
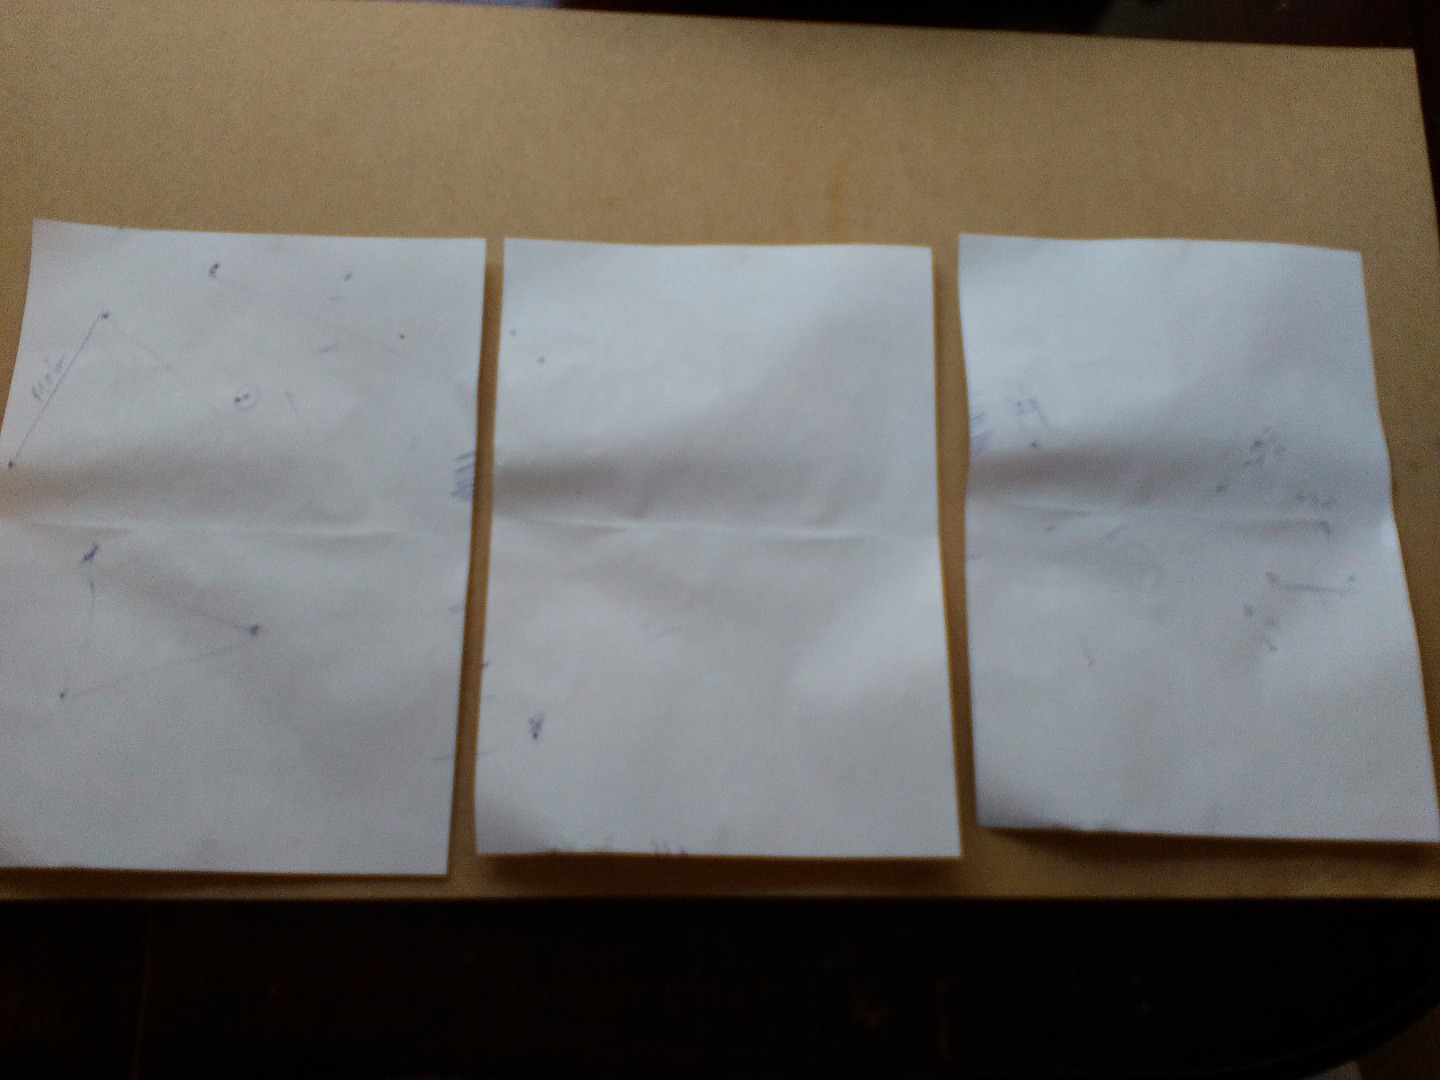
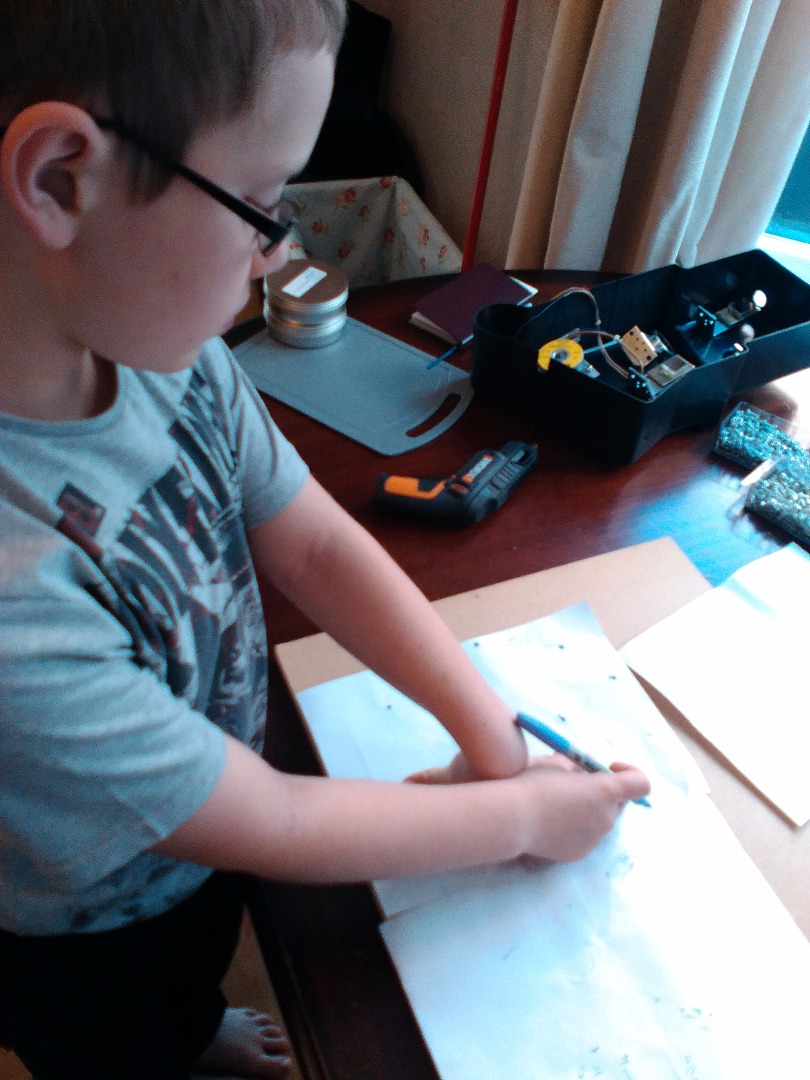
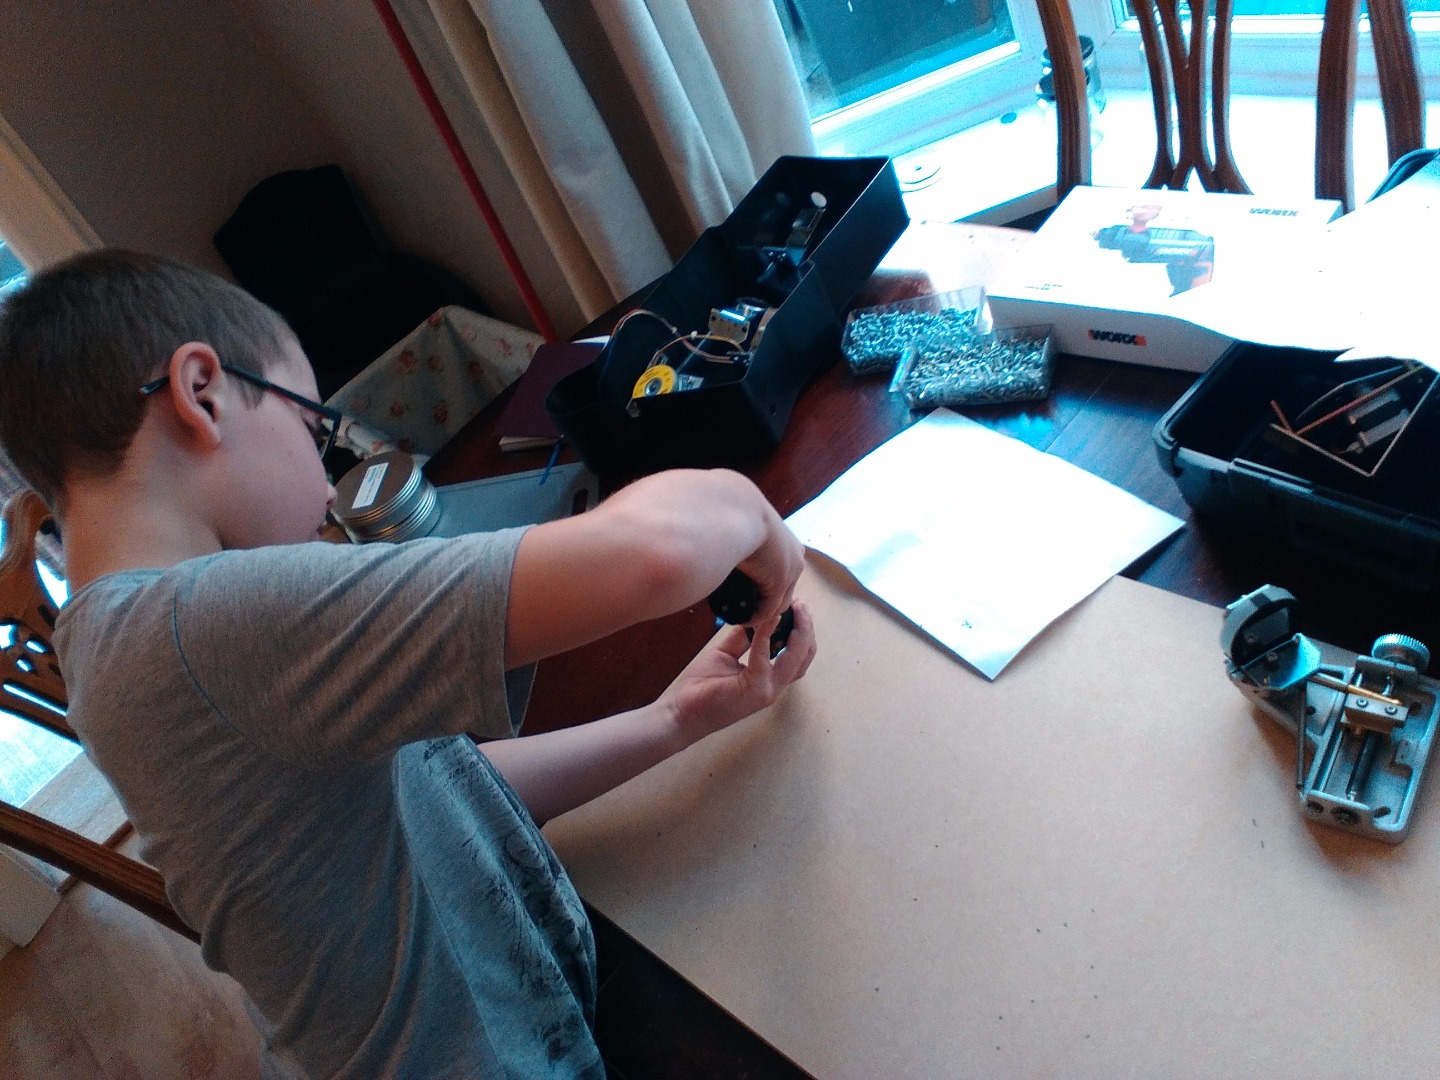
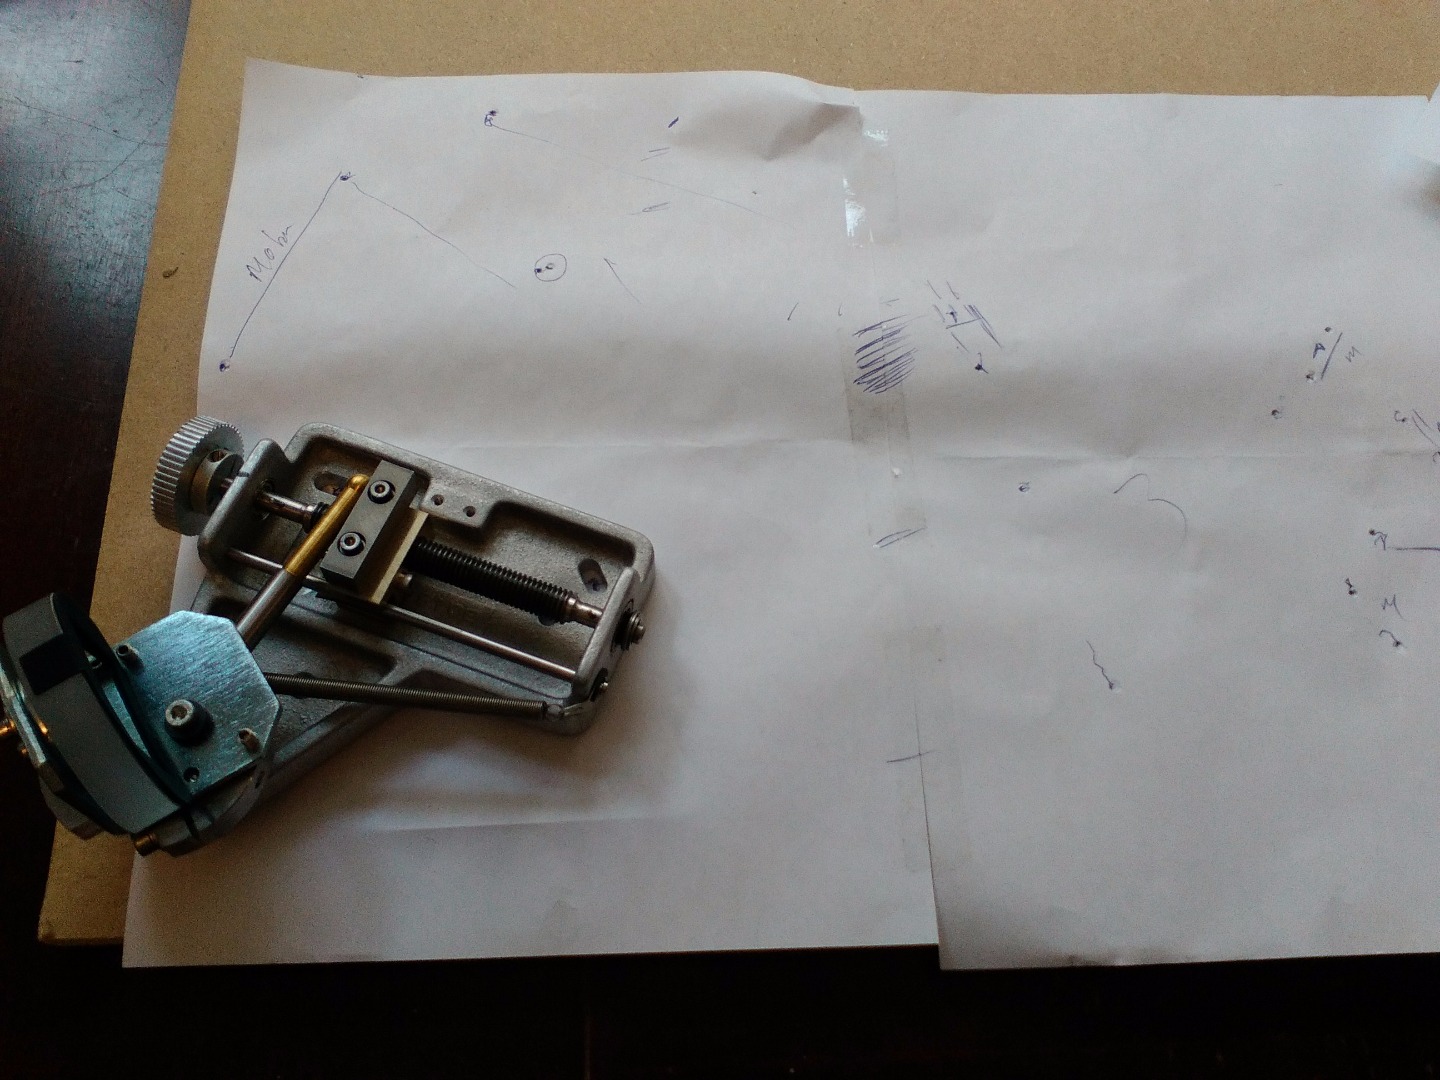
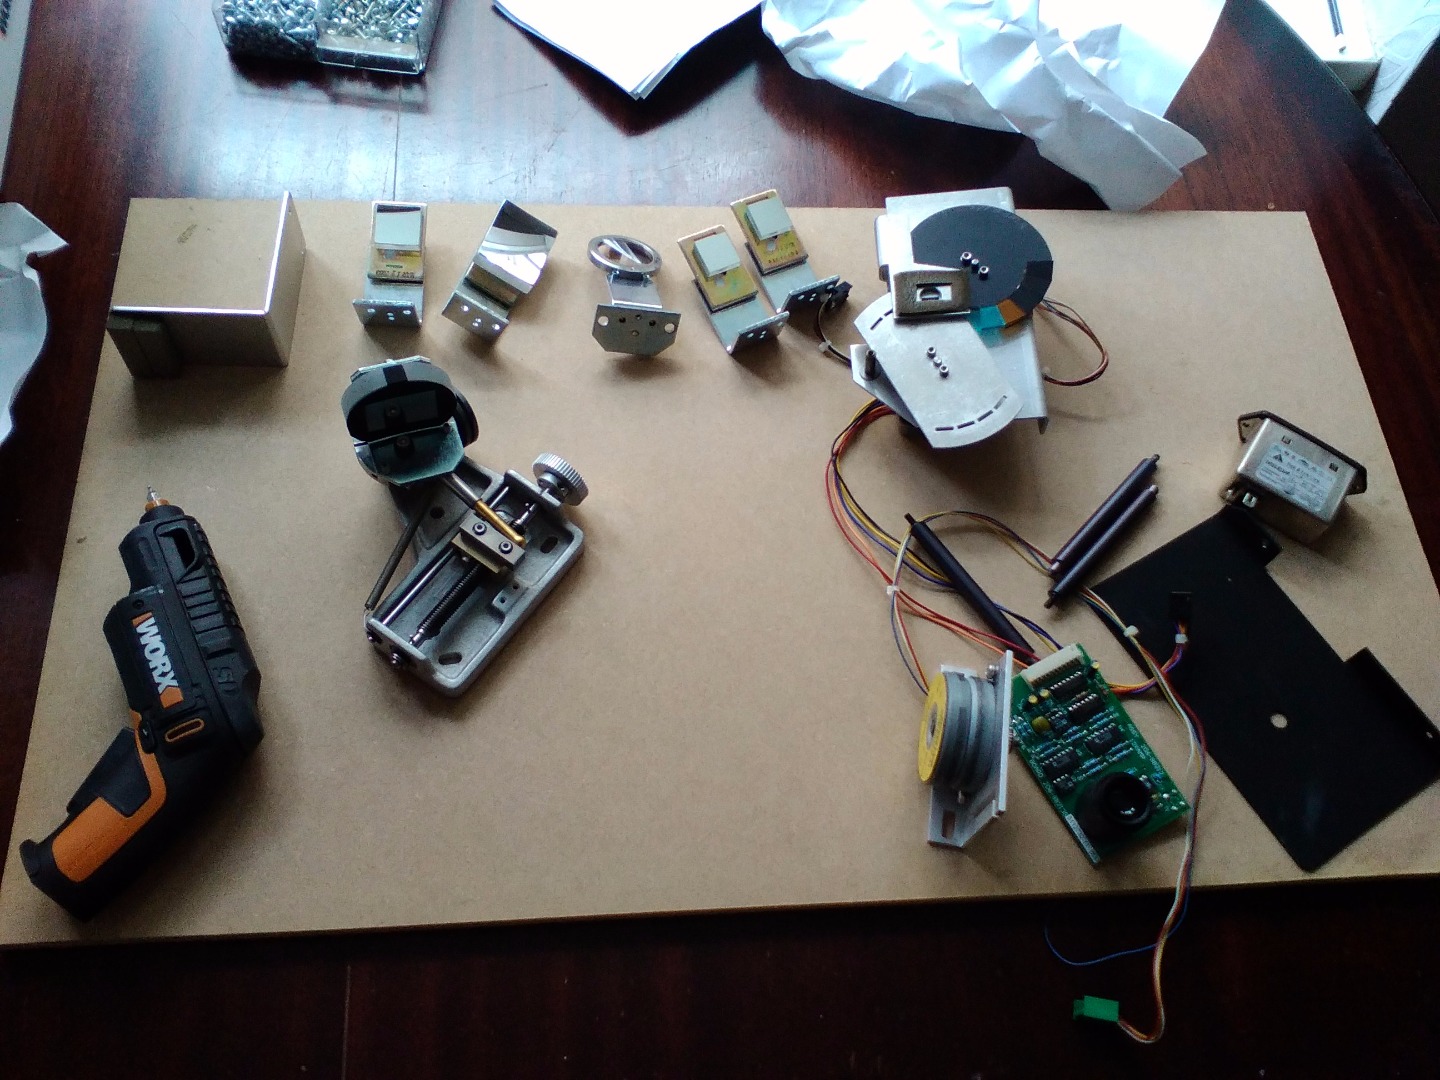
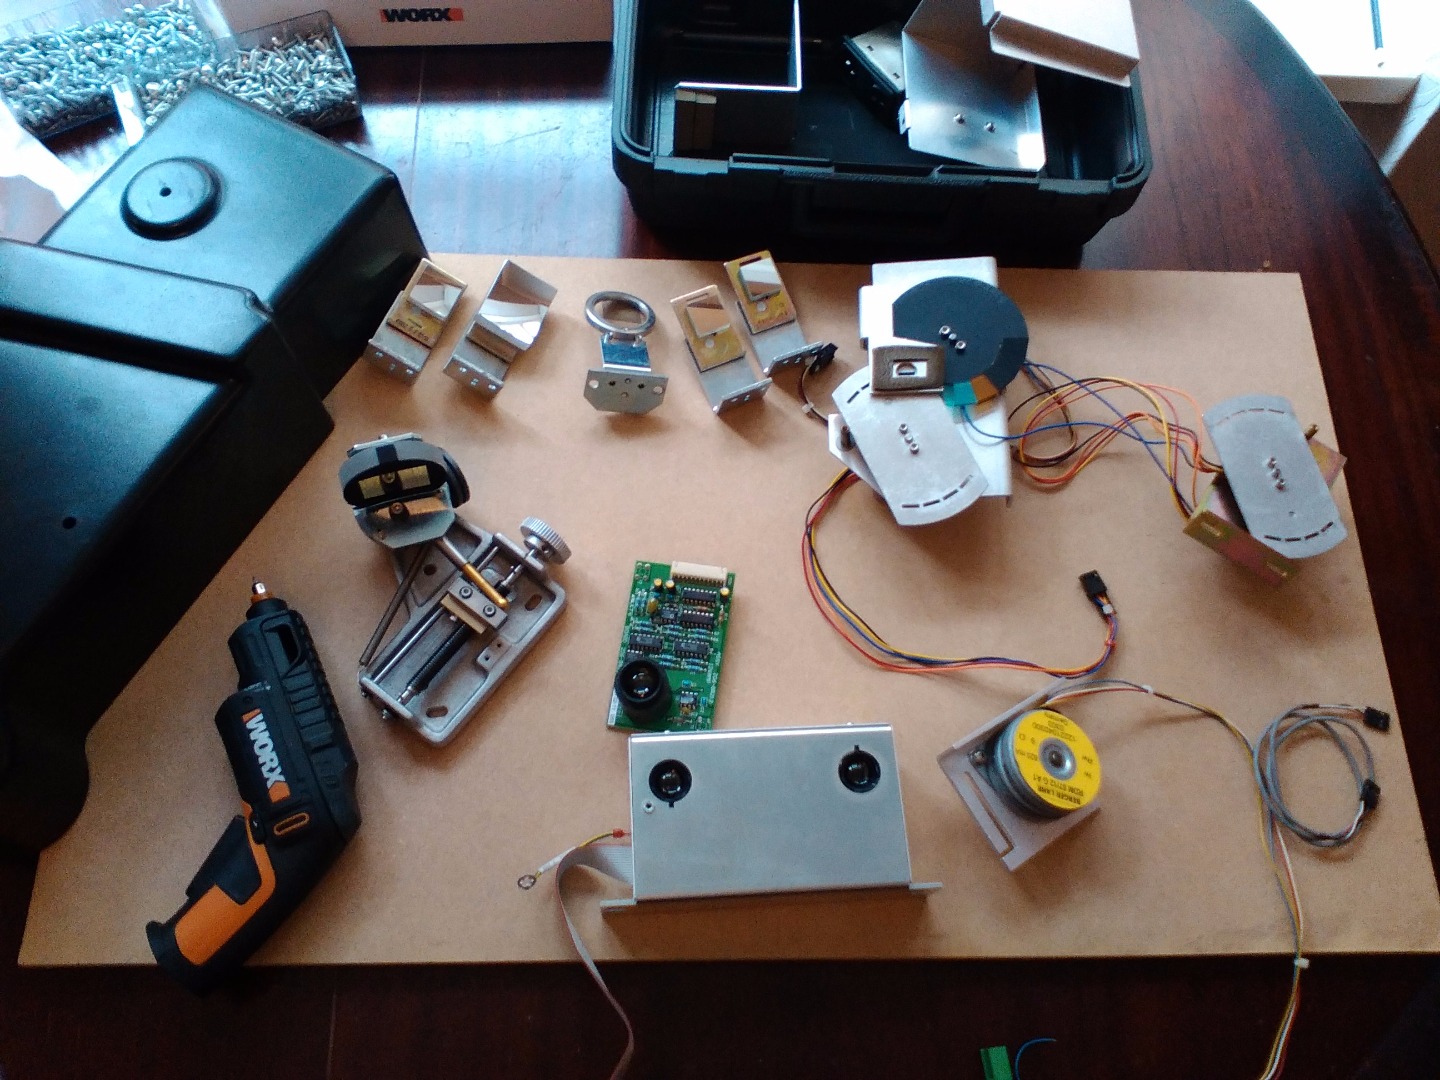
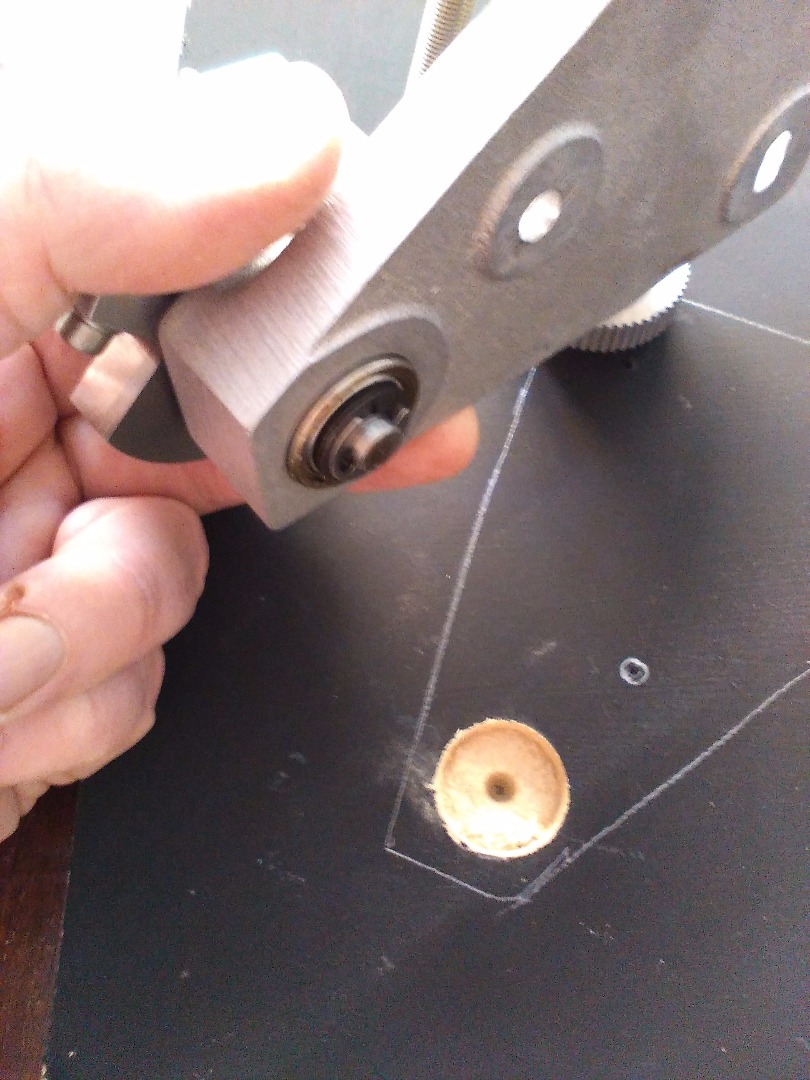
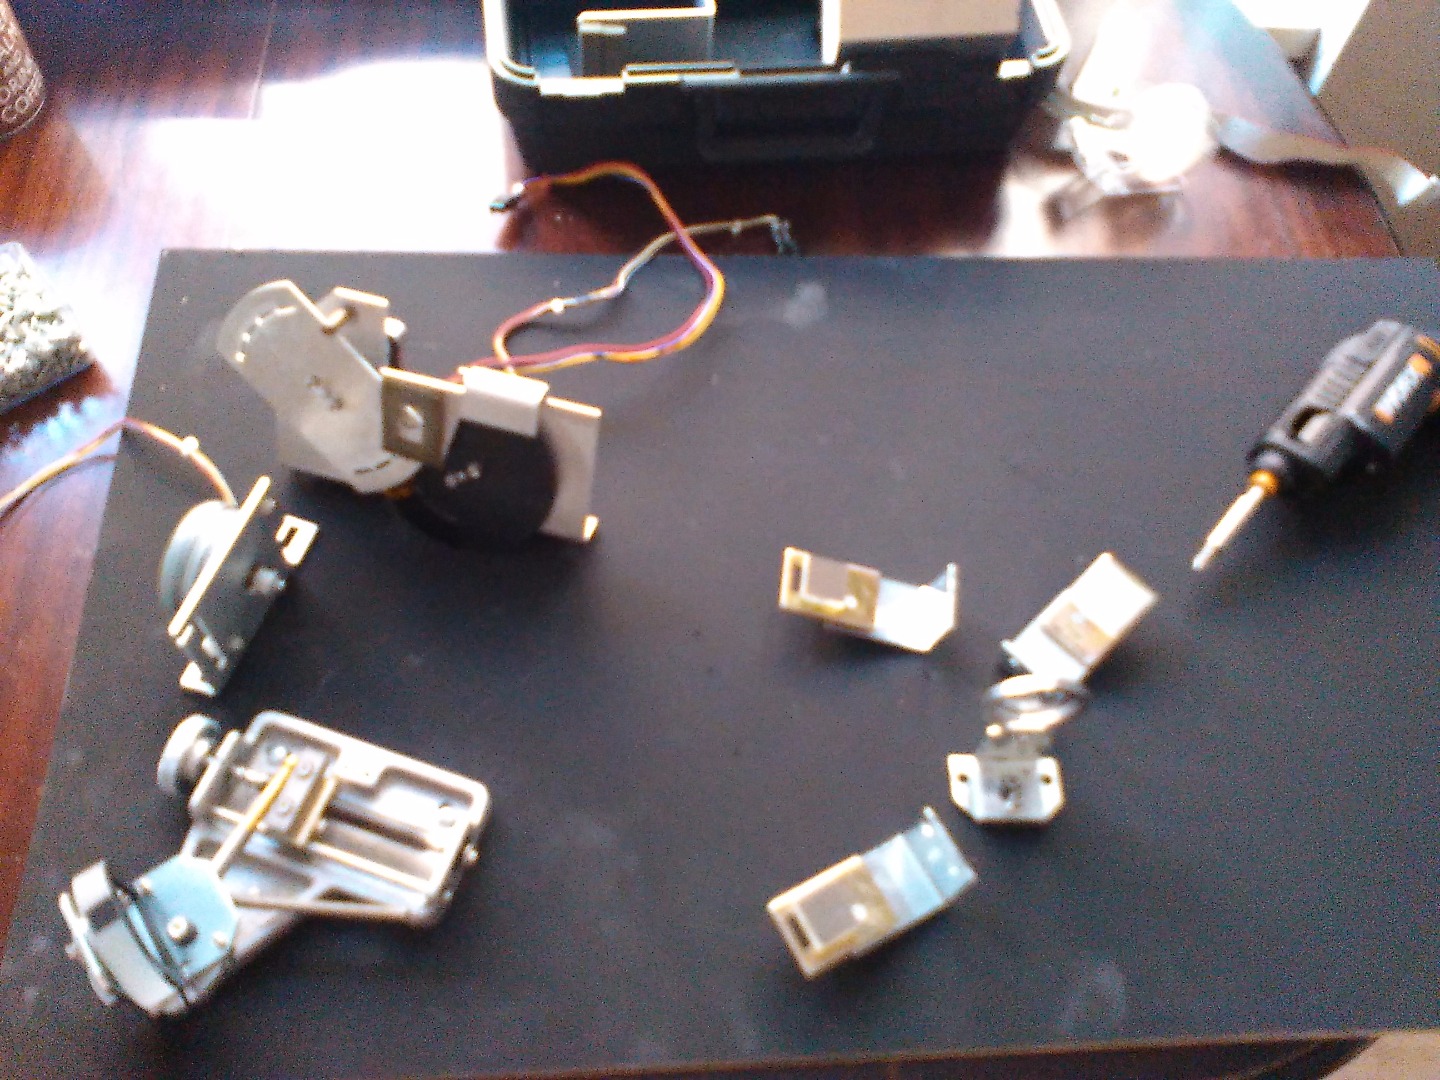
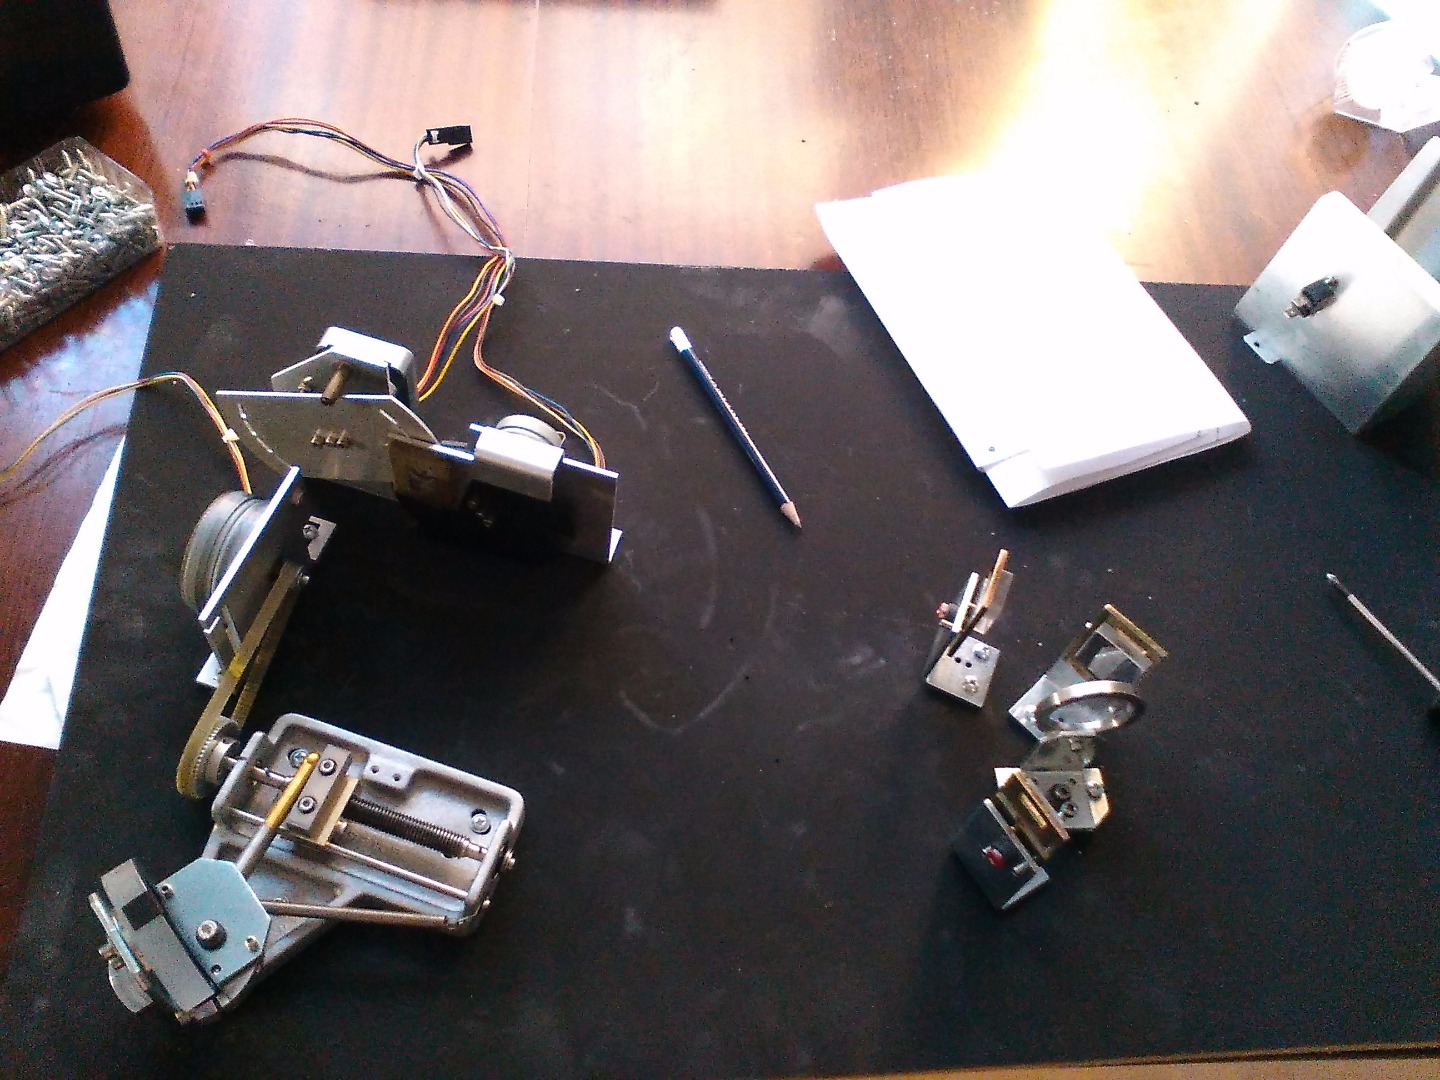
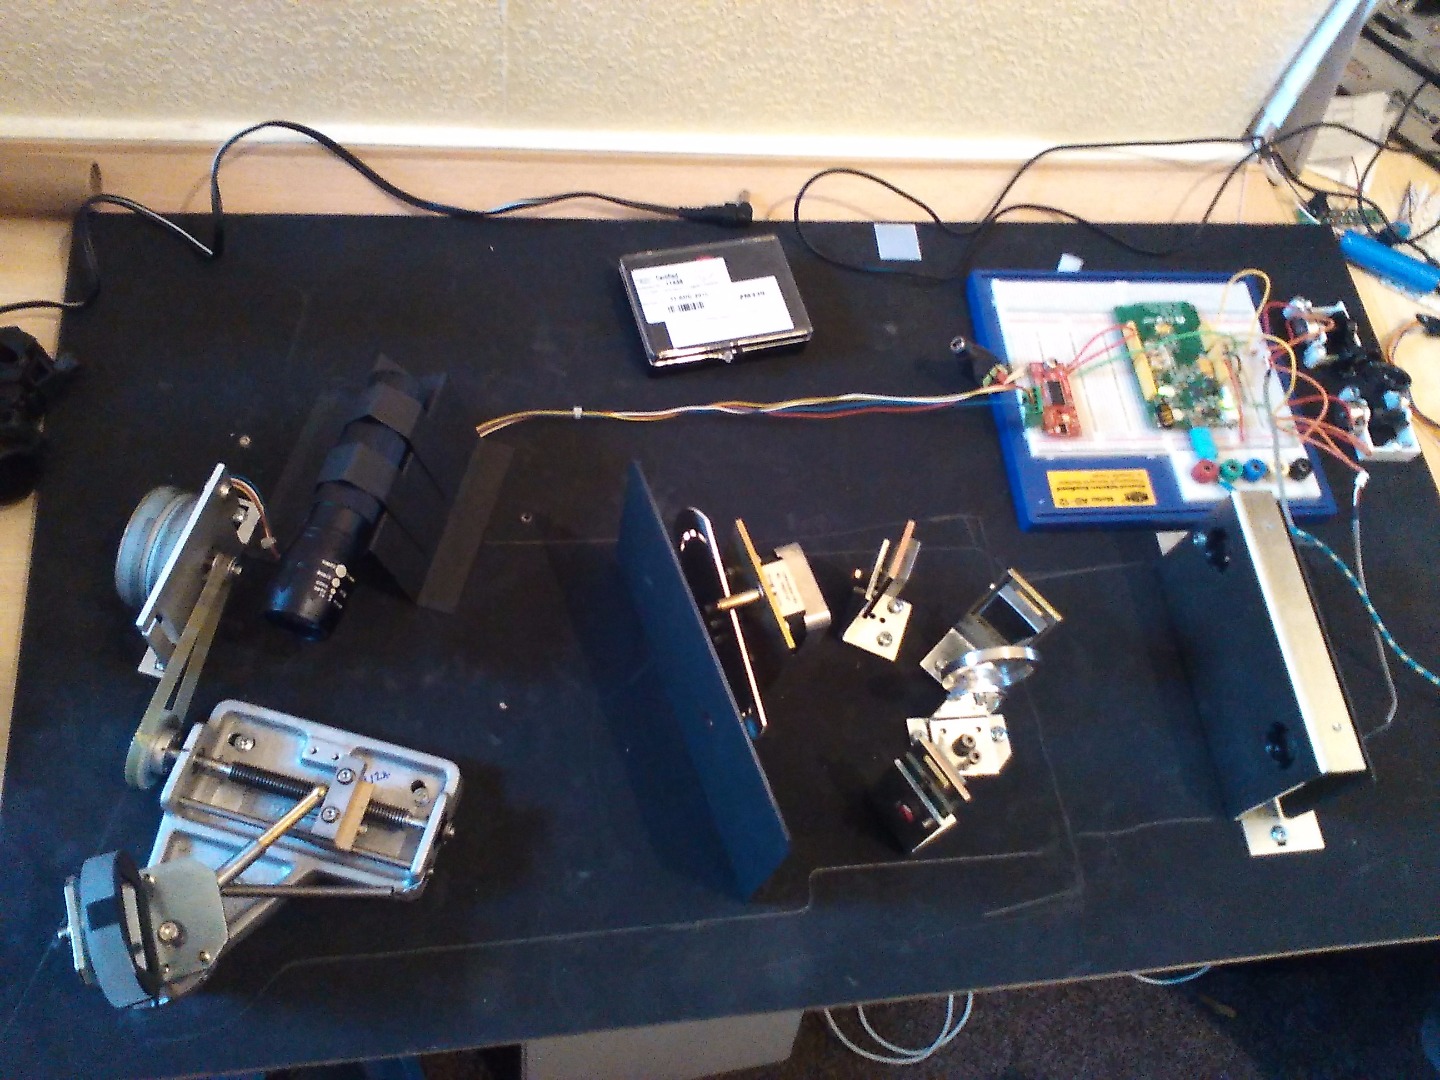
My Son helped with the construction of the new spectrometer, he put al of the parts out ready to be fastened down, then used the paper templates made earlier and traced over the holes with a marker pen to leave dots on the MDF. I then let him use a small pilot drill to drill each point.
Its important to reduce light surfaces as much as possible so we then used mat black and painted the whole board, after which we screwed the parts into place. NOTE that it was important not to touch any of the reflective surfaces as this would only add to the errors that the home made instrument would already have.
Software
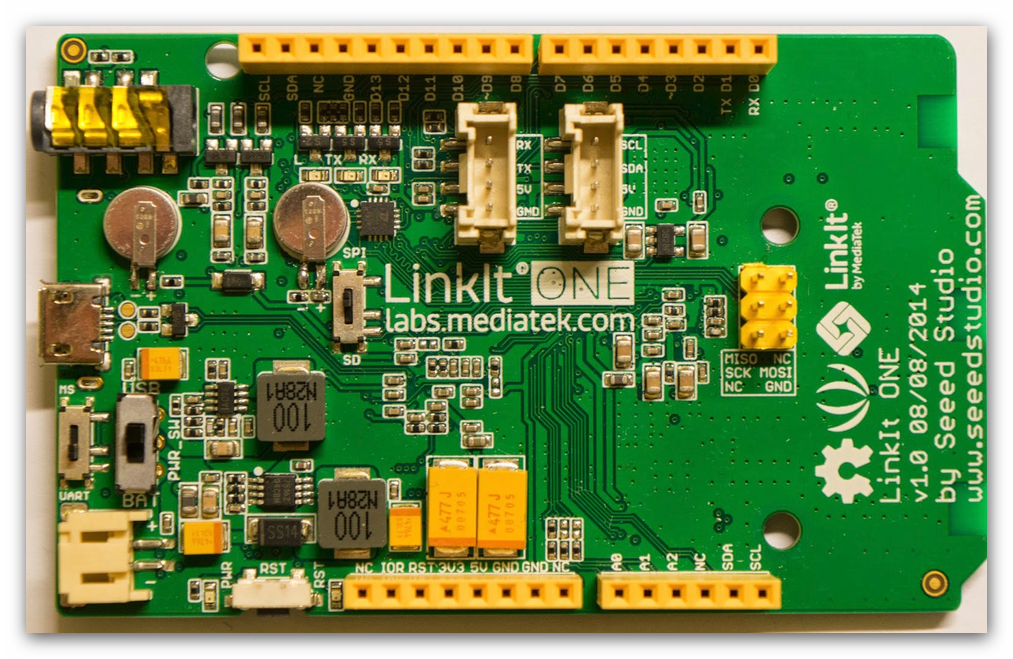
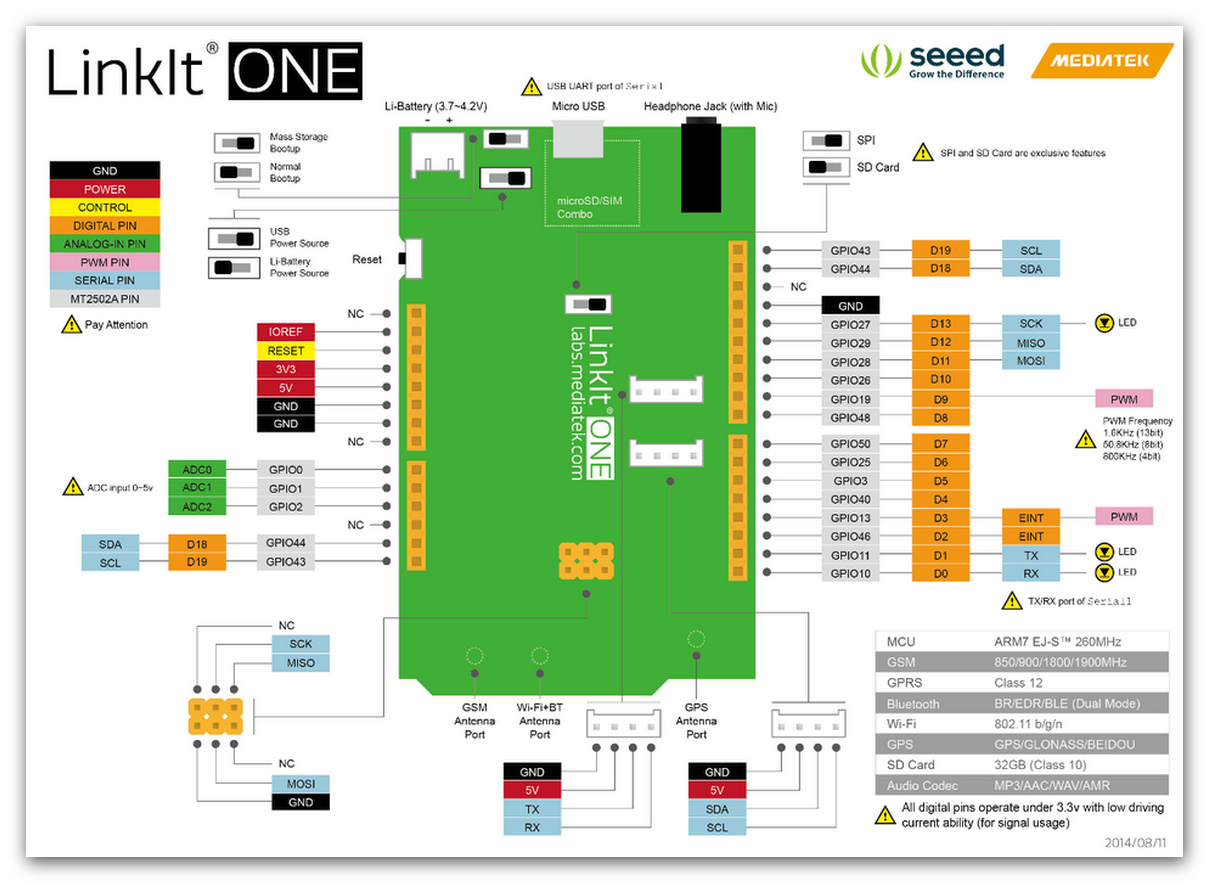
Install the Linkit One board
The board comes with a 5 step plan that takes you to all the locations you need and here they are - all you have to do is follow the links and use the videos freely available of the suppliers web sites:
1. Install the Arduino IDE 1.5.6 or later (I recommend the 1.5.6) Arduino.cc/en/main/software
2. Register on MediaTek Labs – labs.mediatek.com/register
3. Download Linkit Developer’s Guide – labs.mediatek.com/Linkitguide
4. Install Linkit SDK for Arduino – labs.mediatek.com/linkitsdk
5. Select the Linkit One board (from Tools / Boards in the Arduino application)
Microsoft Excel - Sorry you will have to pay for this bit of software
Excel Addin Macro This is the important bit - Parallax - PLX-DAQ is an addin that uses serial communication to transfer the data as long as you can identify the com port this application will work. select the link above to download direct from the Parallax site.
PLX-DAQ features - taken straight from the Parallax website: PLX-DAQ Features PLX-DAQ is a Parallax microcontroller data acquisition add-on tool for Microsoft Excel. Any of our microcontrollers connected to any sensor and the serial port of a PC can now send data directly into Excel. PLX-DAQ has the following features:
- Plot or graph data as it arrives in real-time using Microsoft Excel
- Record up to 26 columns of data
- Mark data with real-time (hh:mm:ss) or seconds since reset
- Read/Write any cell on a worksheet
- Read/Set any of 4 checkboxes on control the interface
- Example code for the BS2, SX (SX/B) and Propeller available
- Baud rates up to 128K
- Supports Com1-15
System Requirements
- Microsoft Windows 98
- Microsoft Office/Excel 2000 to 2003
- May not work with newer software; no longer supported
It does work with excel 2013 this is the version I am using
PLX-DAQ usage in Excel
Once you have downloaded the PLX zipped file - unpack it and it will create a directory on your desktop that contains an excel file - this is your starting point for data collection. Note the form that opens up make sure you select the port your Linkit One board is connected to and that the Baud rate is set in line with your boards settings. DAQ will collect at baud rates 9600 to 128000. When you click on connect - if the board has been uploaded with a sketch your data will start to fill the first three columns
Stepper Motor Control
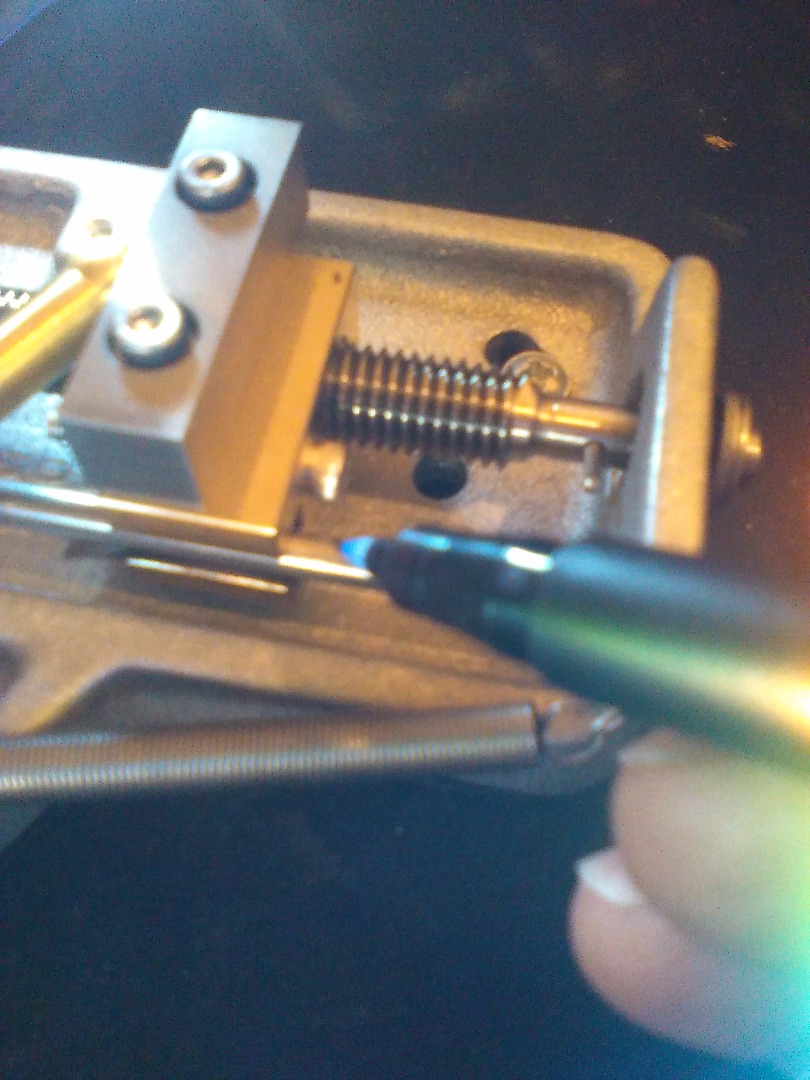
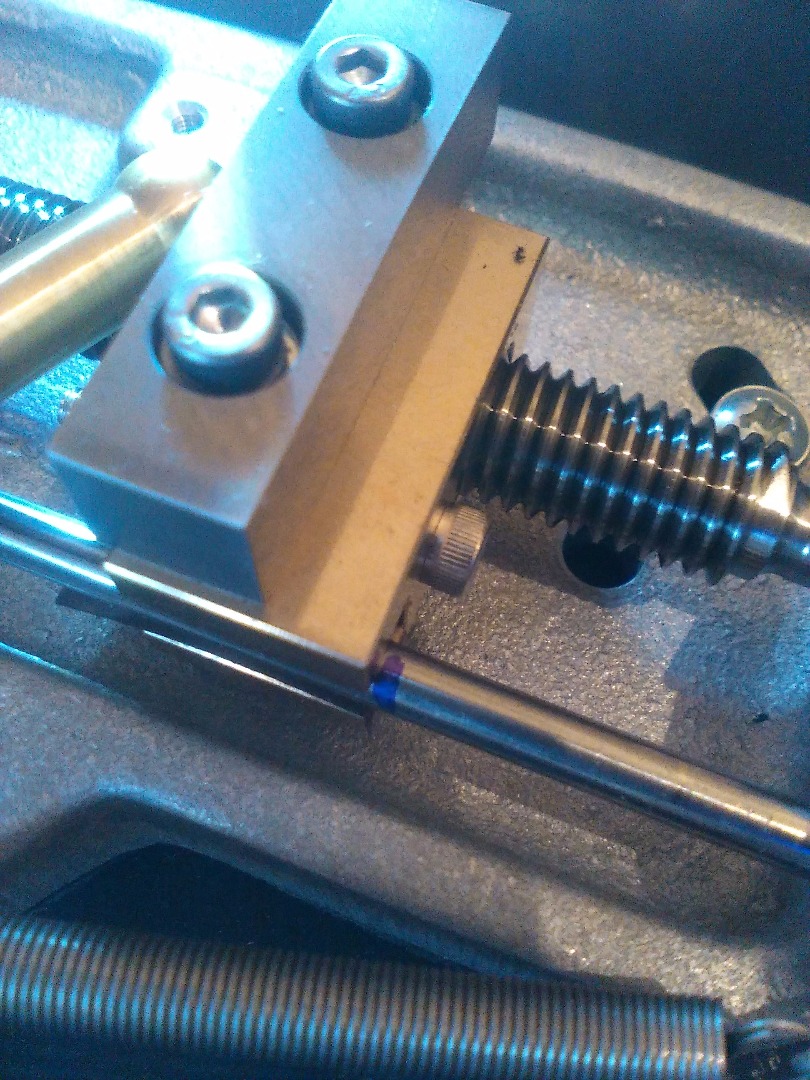
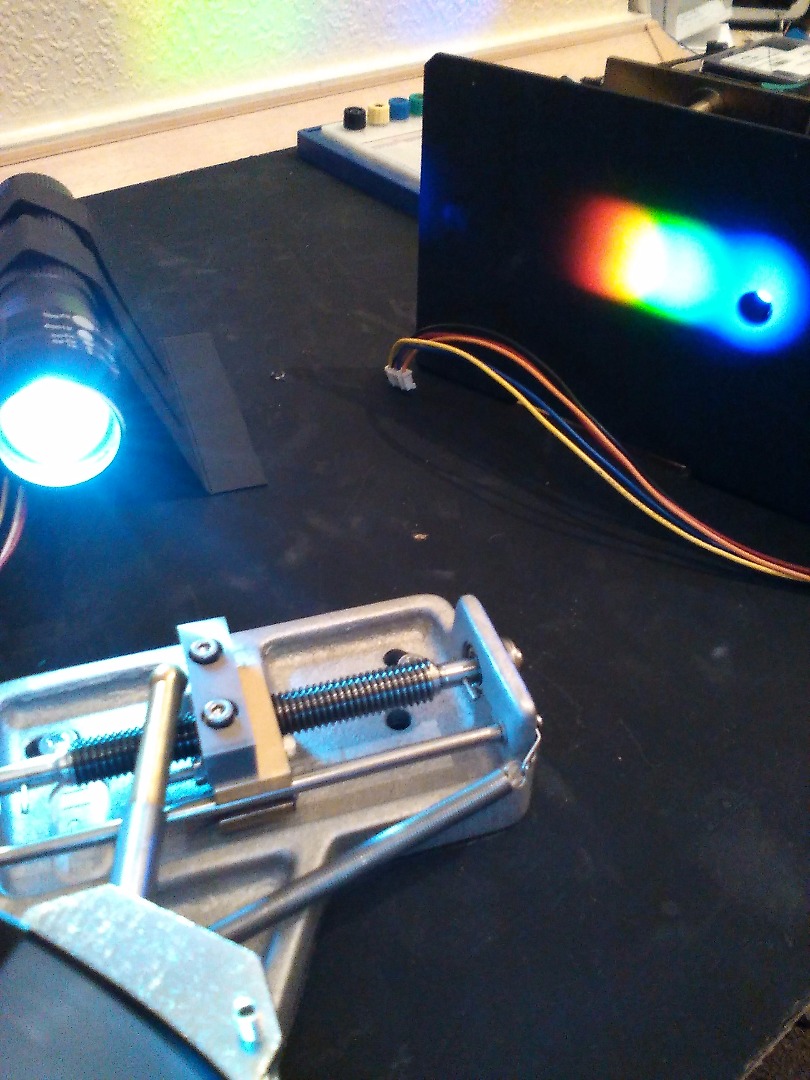
The first part to get working was the stepper motors - I was originally going to use two of the motors, the traveling convex mirror and the slit stepper, which would be connected to the Linkit One via an EasyDriver board. At that point I noted that the slit stepper was a five wire unit and currently I do not know how to wire this type to the easy driver.
Chage of plans
So While I still need the slits and you can see that stepper installed in the remaining pictures it will be moved manually s required. The important motor is the traveling mirror as its this one that splits out the light spectrum and then allows you to move it over the slit, so creating the initial beam that is then split by the mirrors that follow and the diffraction grating.
I needed to know how far to move the mirror so I wrote a little script to run from the board and adjusted the number of counts until I had the movement correct.
I started by manually moving the worm wheel until the spectrum of light was at the start of the slit position and then marked the guide bar with a pen, then I started the script and made a second mark on the guide rail as the spectra's other end passed the slit position. This gave me the distance of travel. This is the code for the travel test.
int x=0;
void setup() {
Serial.begin(9600);
pinMode(8, OUTPUT);
pinMode(9, OUTPUT);
digitalWrite(8, LOW);
digitalWrite(9, LOW); }
void loop() {
digitalWrite(9, HIGH );
delay(1);
digitalWrite(9, LOW);
delay(1);
x=x+1;
Serial.println(x);
}
The value of x is displayed on the Serial Monitor window open on the computer, as the stepper reached the second mark on the guide rail I recorded the value of x and for my set up this was 19124 motor steps. This later turned out to be to large as it made the time taken to make a reading far too long for my patience and was reduced to around 11500
The following is the resultant code to oscillate the mirror.
int dirpin = 2;
int steppin = 3;
void setup() {
Serial.begin(9600);
pinMode(dirpin, OUTPUT);
pinMode(steppin, OUTPUT);
}
void loop() {
int i;
digitalWrite(dirpin, LOW); // Set the direction.
delay(1000);
for (i = 0; i<19124; i++) // Iterate for 19124 microsteps.
{
digitalWrite(steppin, LOW); // This LOW to HIGH change is what creates the
digitalWrite(steppin, HIGH); // "Rising Edge" so the easydriver knows to when to step. delayMicroseconds(1500); // This delay time is close to top speed for this
} // particular motor. Any faster the motor stalls.
digitalWrite(dirpin, HIGH); // Change direction.
delay(100);
for (i = 0; i<19124; i++) // Iterate for 19124 microsteps
{
digitalWrite(steppin, LOW); // This LOW to HIGH change is what creates the
digitalWrite(steppin, HIGH); // "Rising Edge" so the easydriver knows to when to step. delayMicroseconds(1500); // This delay time is close to top speed for this
} // particular motor. Any faster the motor stalls.
}
Dual Beam Setup and Testing
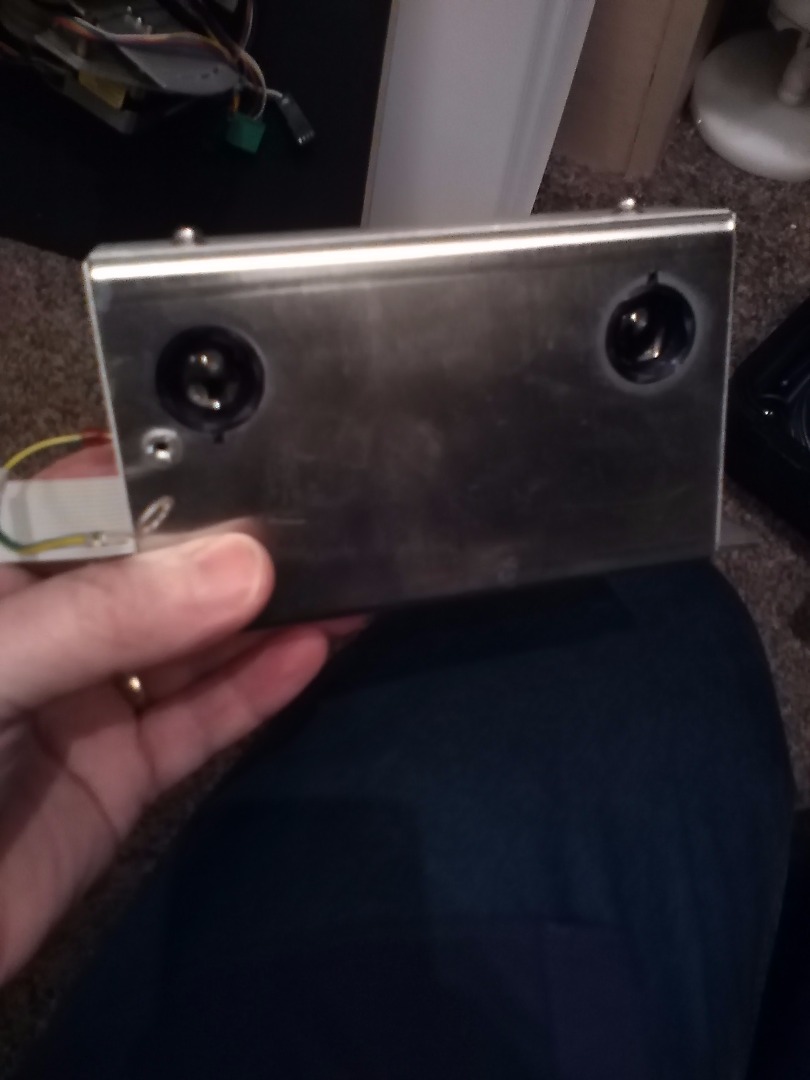
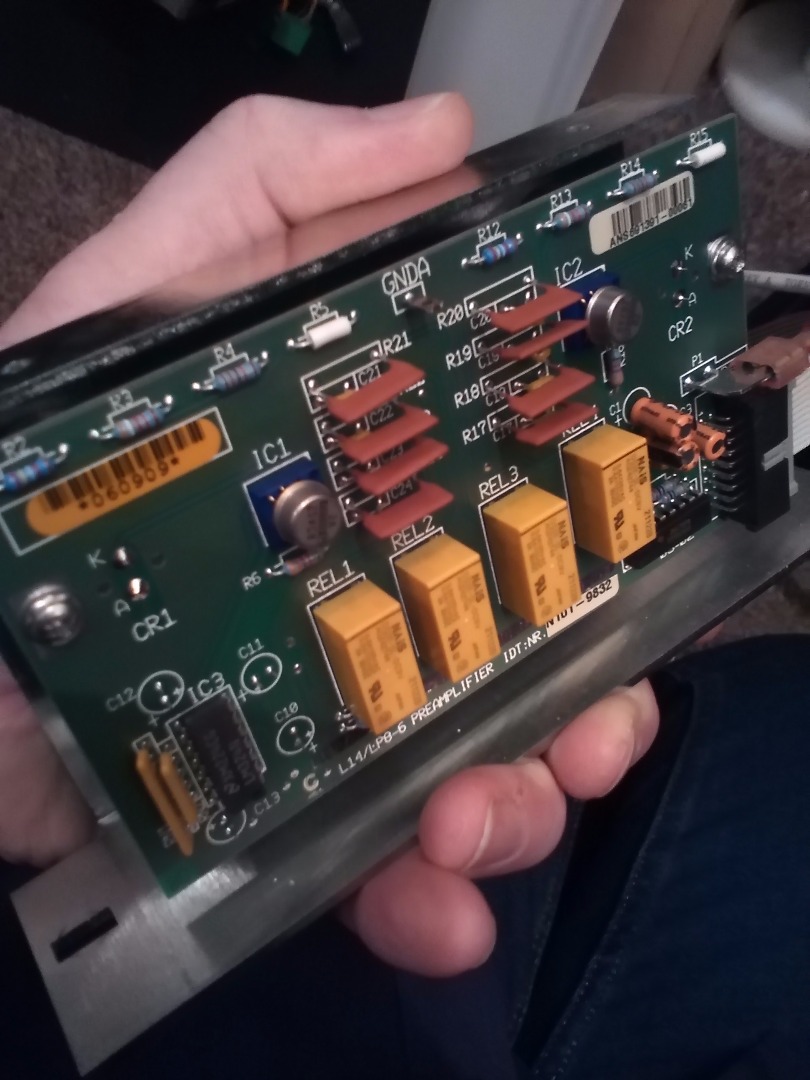
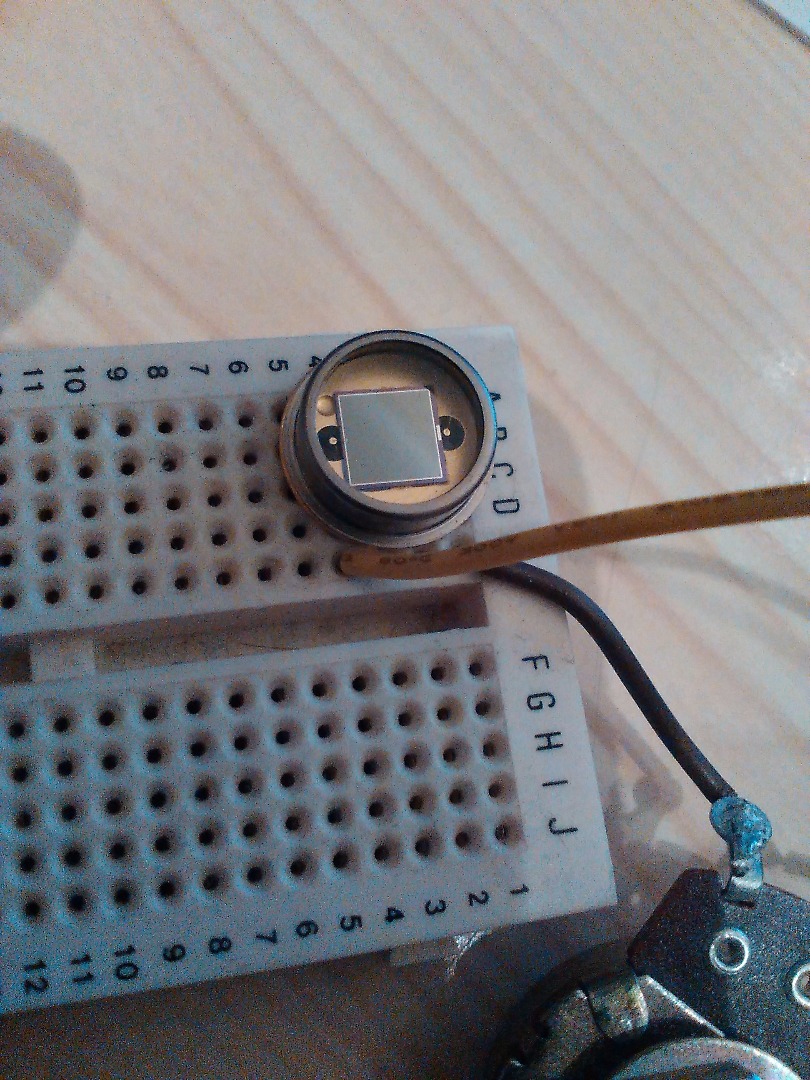
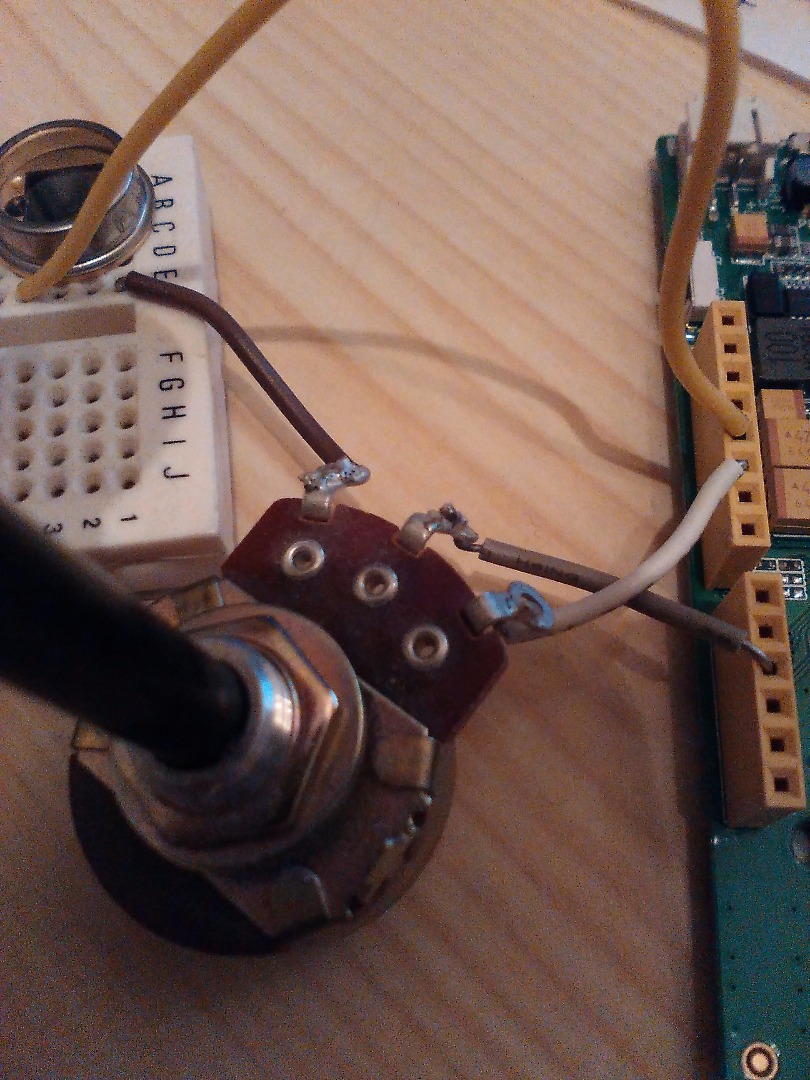
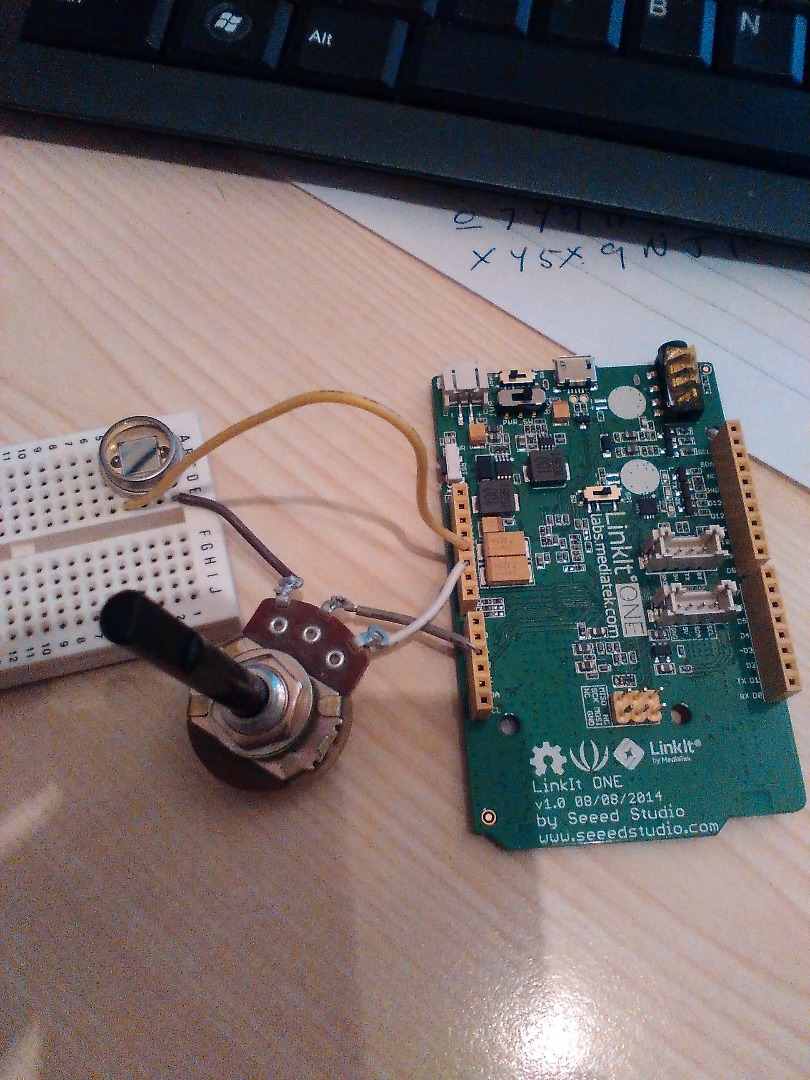
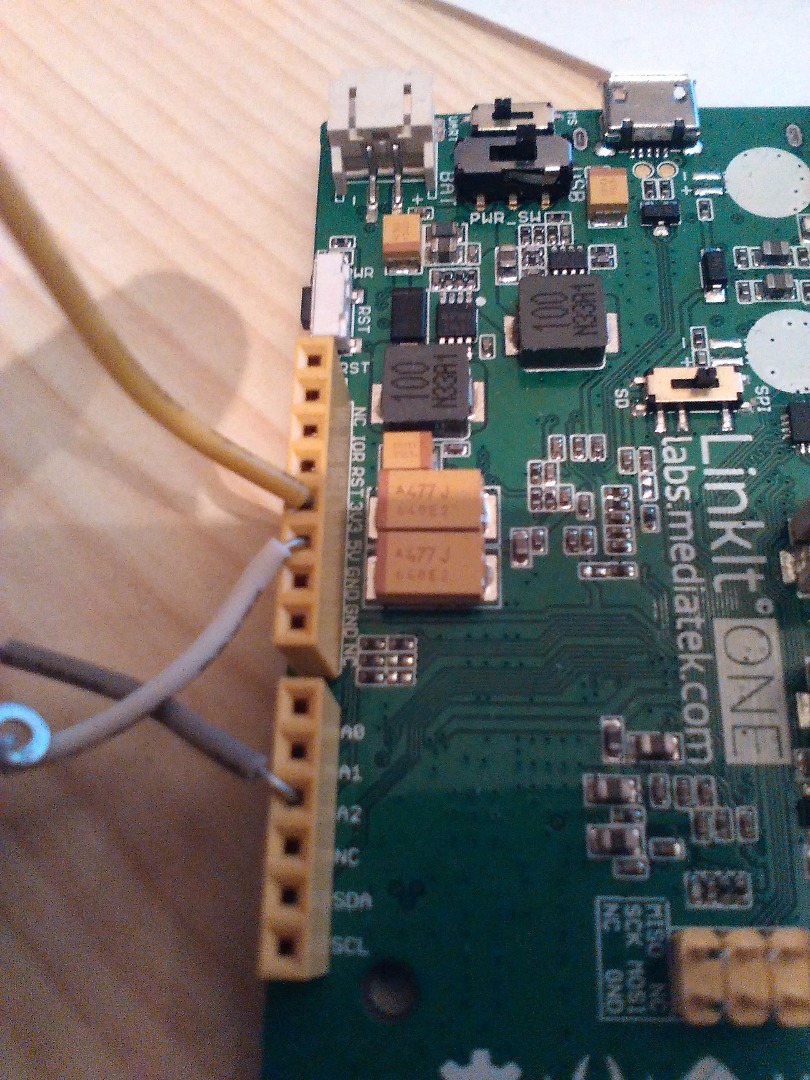
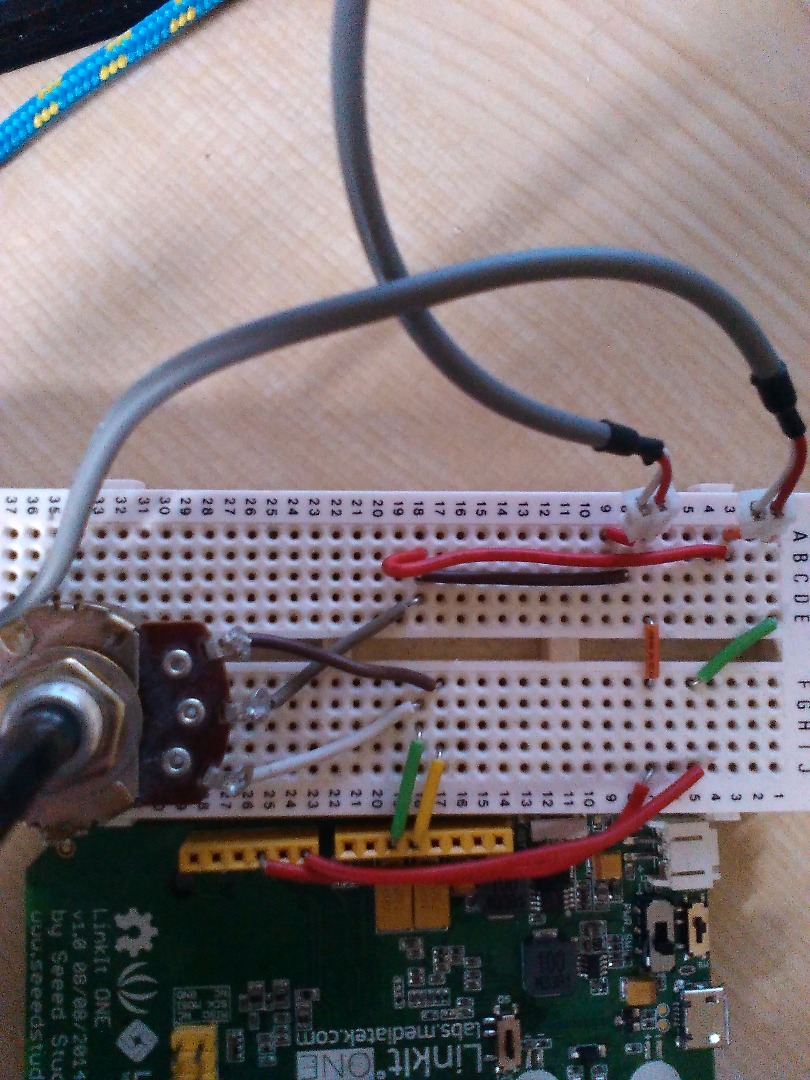
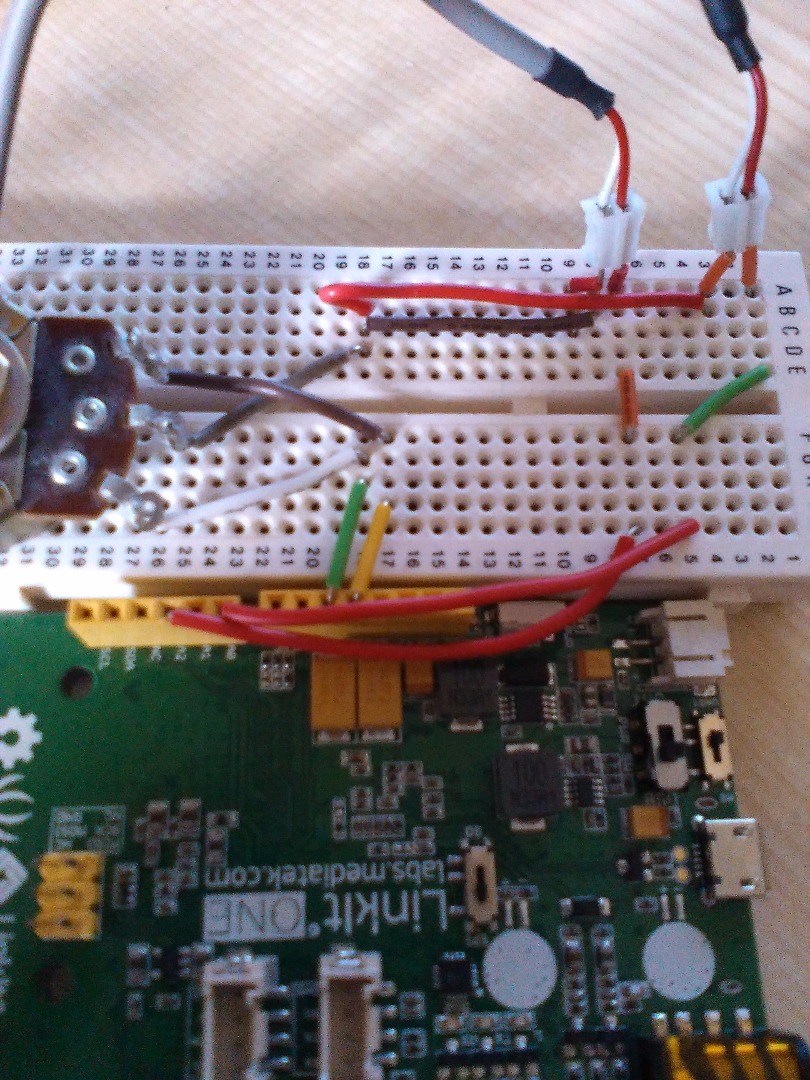
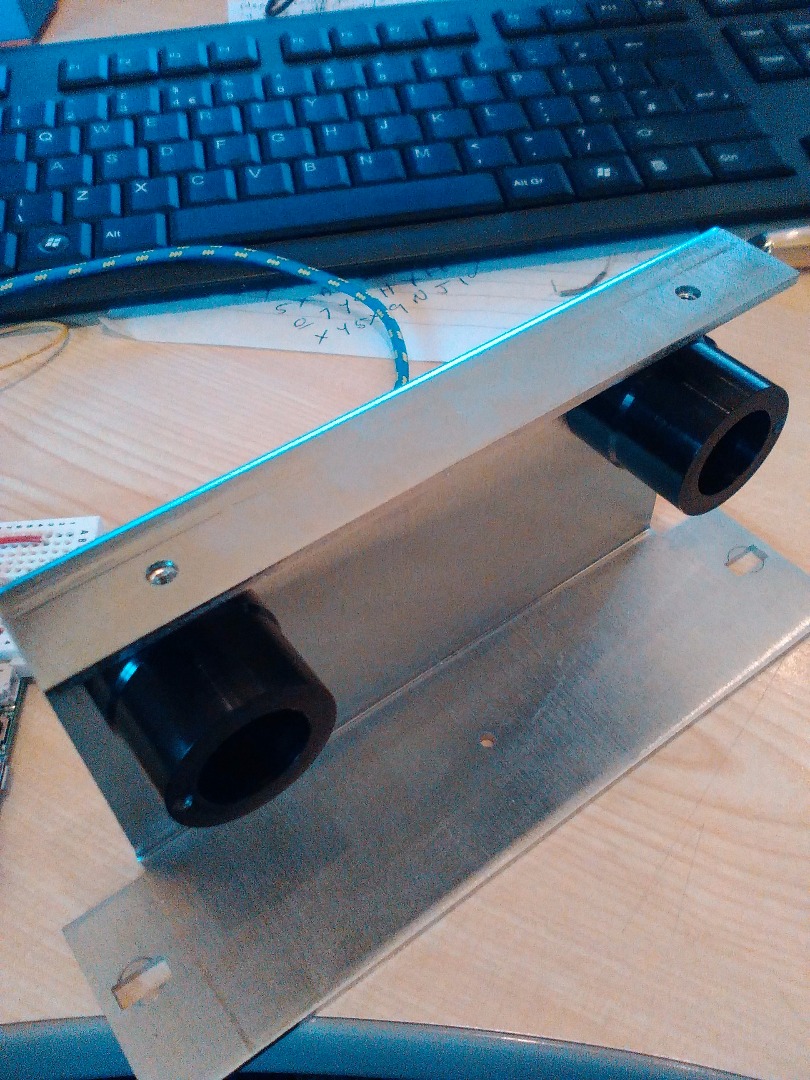
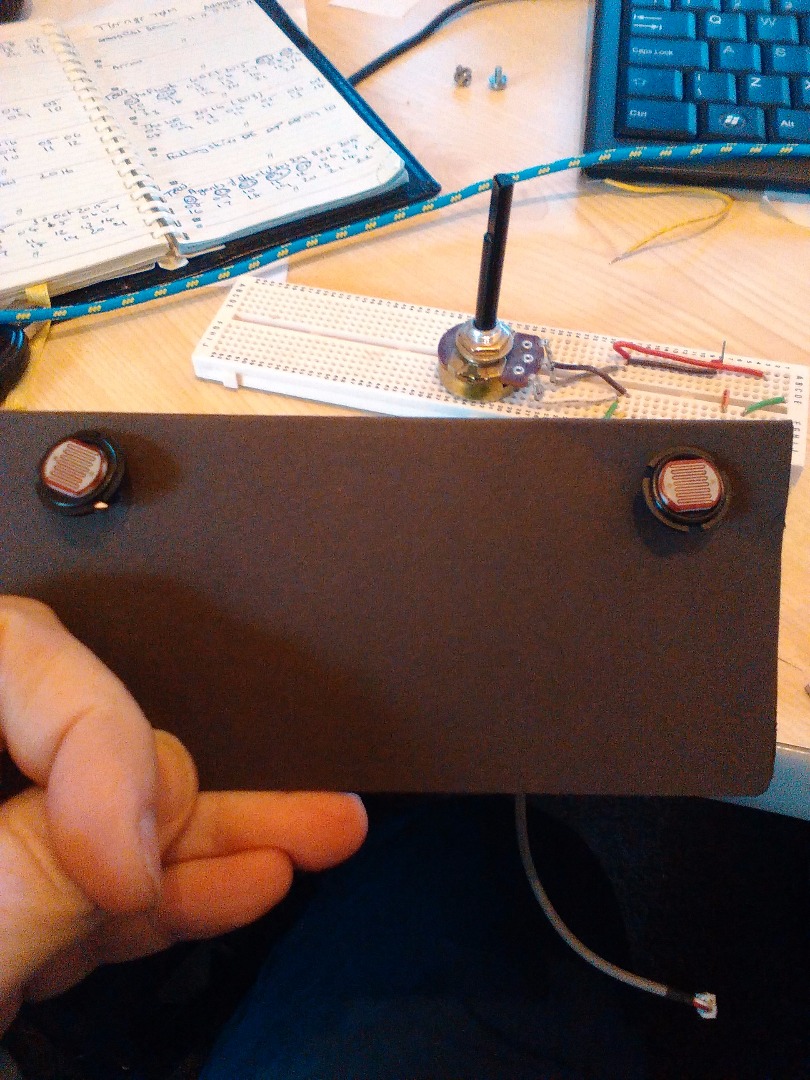
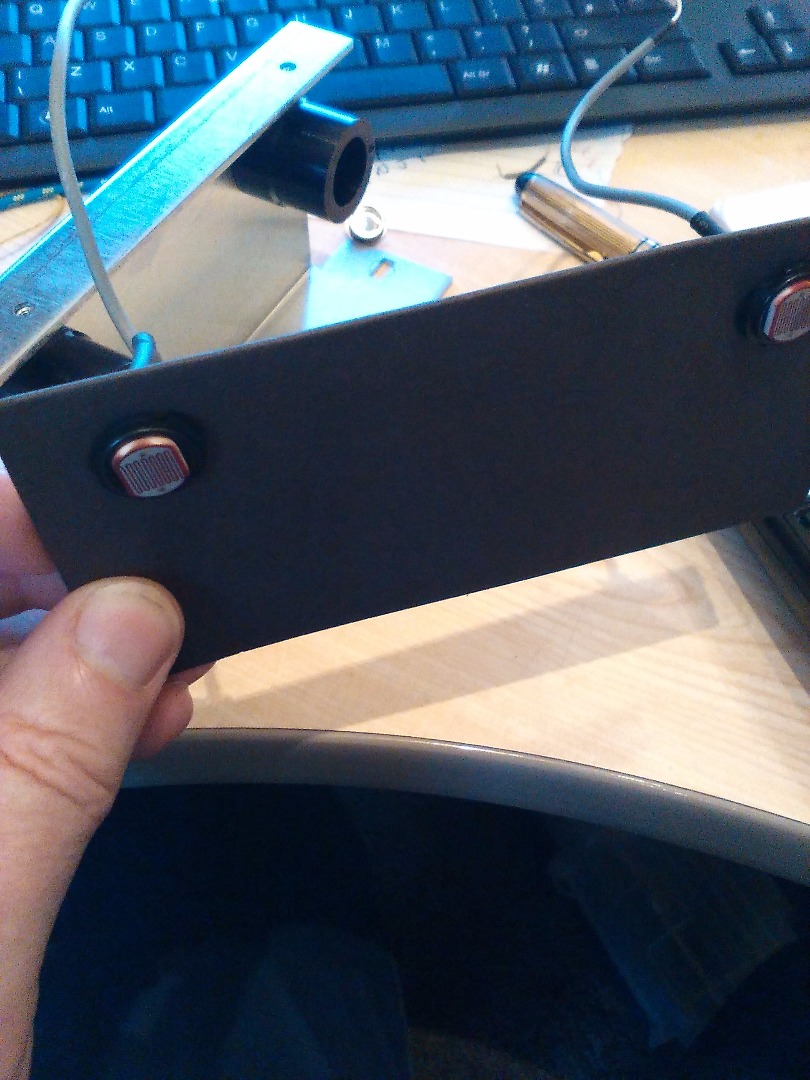
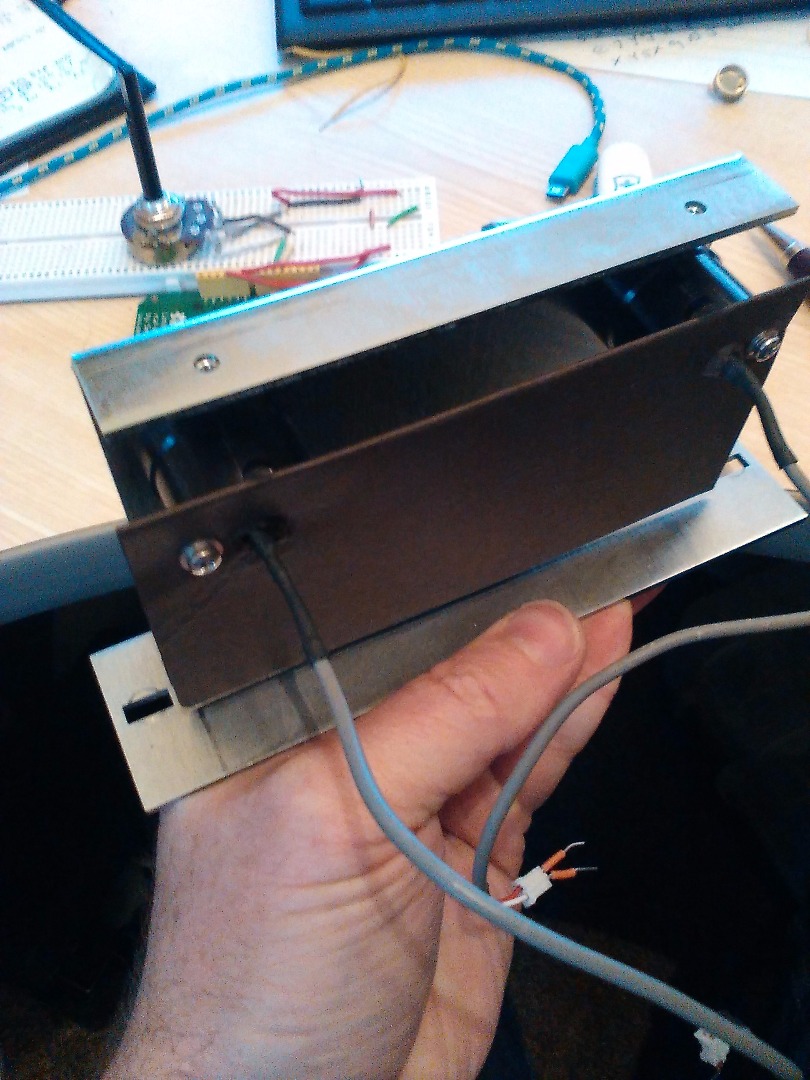
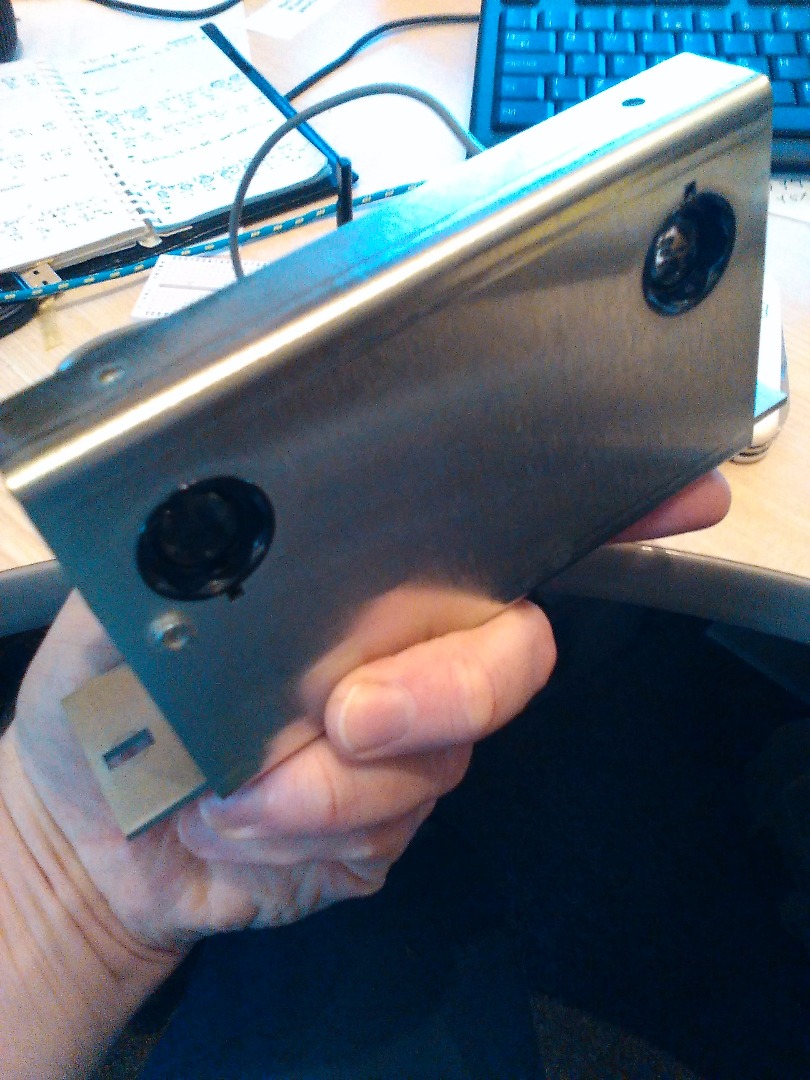
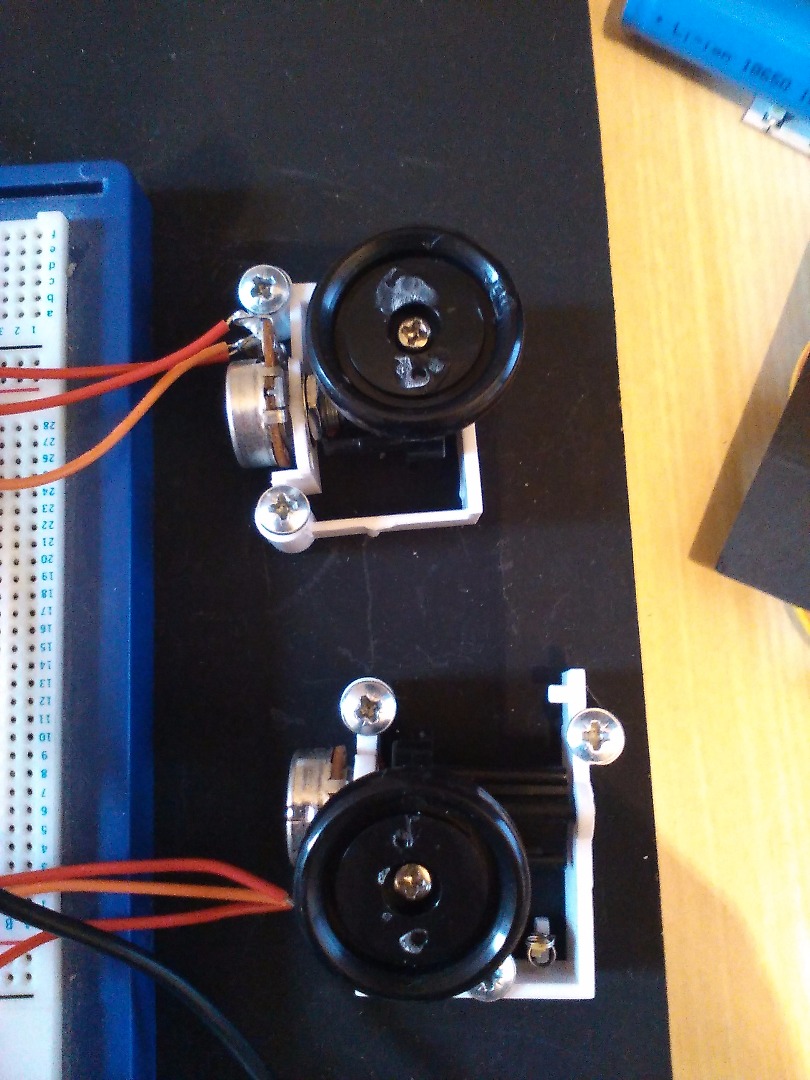
When I opened up the sensor head I found another very complicated board (not usable for this project), so I removed the optical sensor from the board and wired it to the Linkit One to test the output, however I found that the range of the sensor is very limited, so probably the function of the original circuitry was to amplify the signals as well as send them on to the software. I was forced to fall back on Light Dependent Resistors (LDR)
I used another piece of card attached the LDRs to this passing the wires through the card and then fixed the new sensor board to the original base plate magnifying lenses.
I then wrote a script to collect data from both sensors Thats when I found another issue, the wiring I was using connected two LDRs through a single variable resistor - the theory being that by collecting the POT value for each from a different pin on the board I could balance the signals using the variable resistor. However I found that one LDR was less sensitive that the other so balancing this way did not work.
I had to rewire both so that each has its own variable resistor - the drawback is that is is now harder to align to the two separate values.
float potSample = A2;
float potBlank = A0;
float SampleValue = 0;
float Blank = 0;
int x = 0;
void setup(){
Serial.begin(9600); // opens serial port
Serial.println("CLEARDATA"); //clears any residual data Serial.println("LABEL,Time,val,blk"); //set the headings for the data transfer to excel
}
void loop(){
x=x+1;
if(x>=200) {
Serial.println("CLEARDATA"); x=0;
}
SampleValue = analogRead(potSample);
delay(10);
Blank = analogRead(potBlank);
Serial.print("DATA,TIME,");
Serial.print(SampleValue);
Serial.print(",");
Serial.println(Blank);
delay(1000);
}
Shields and Light Support
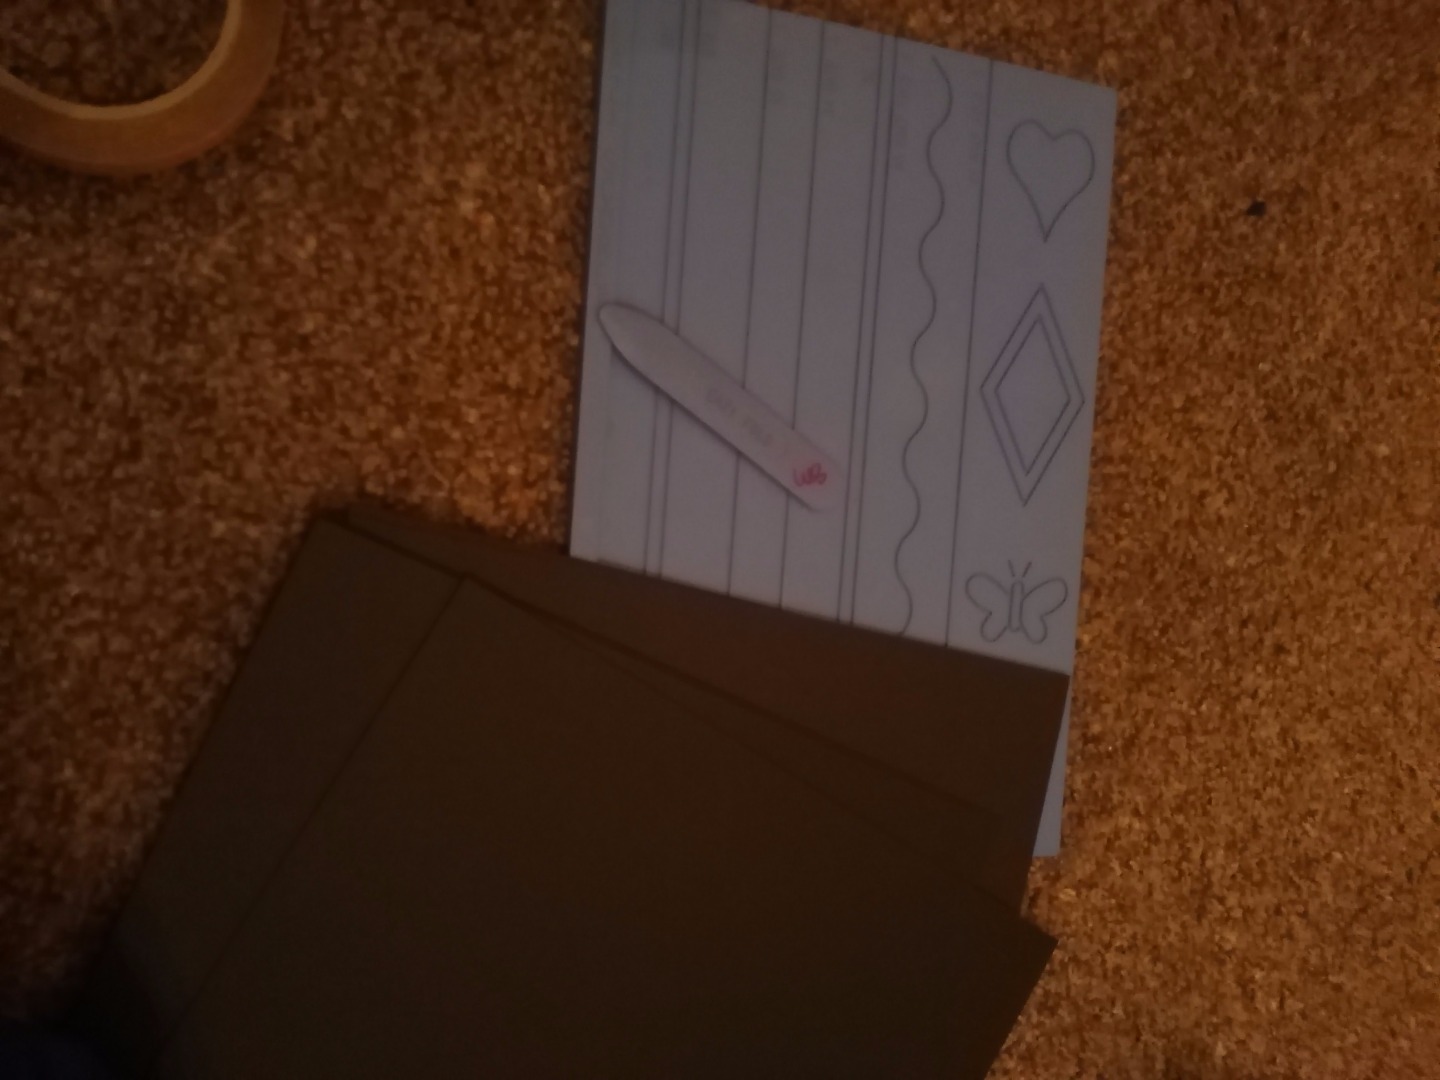
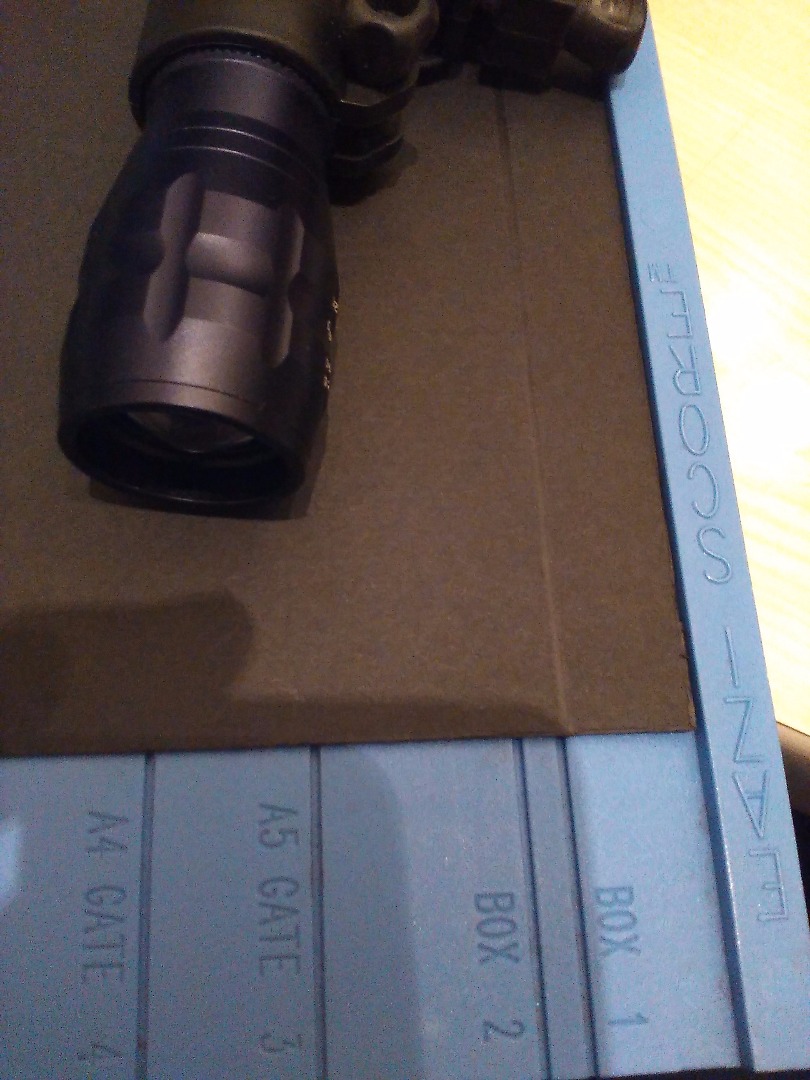
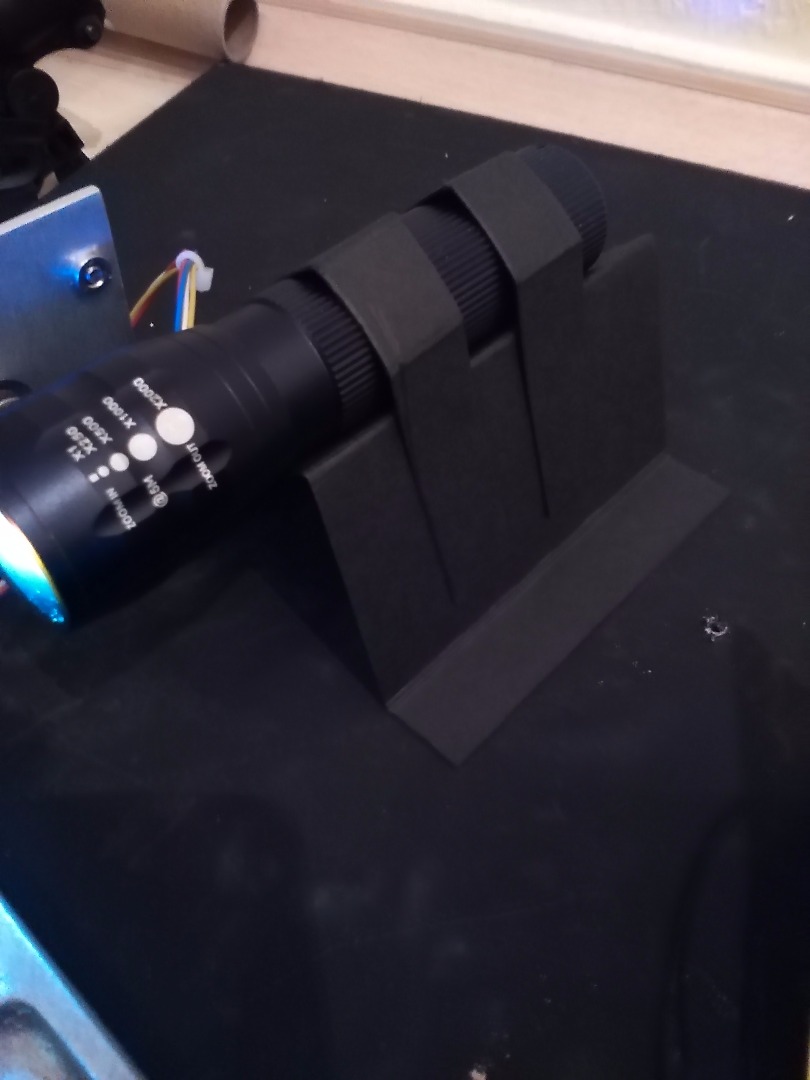
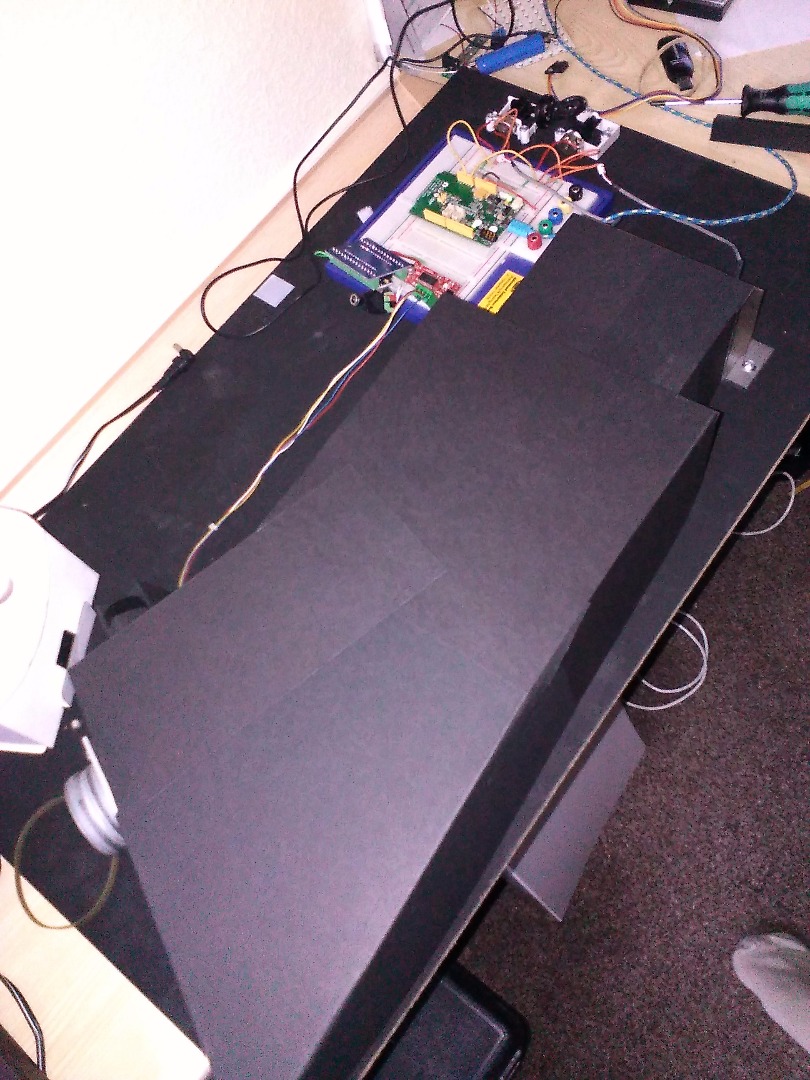
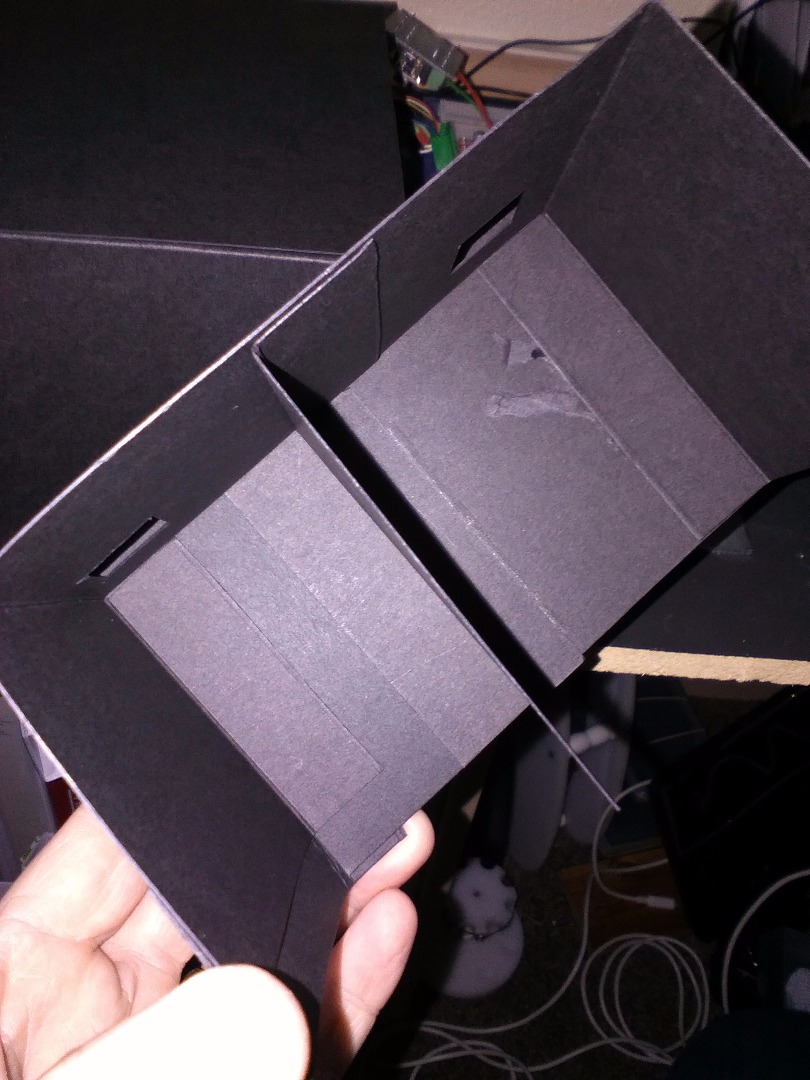
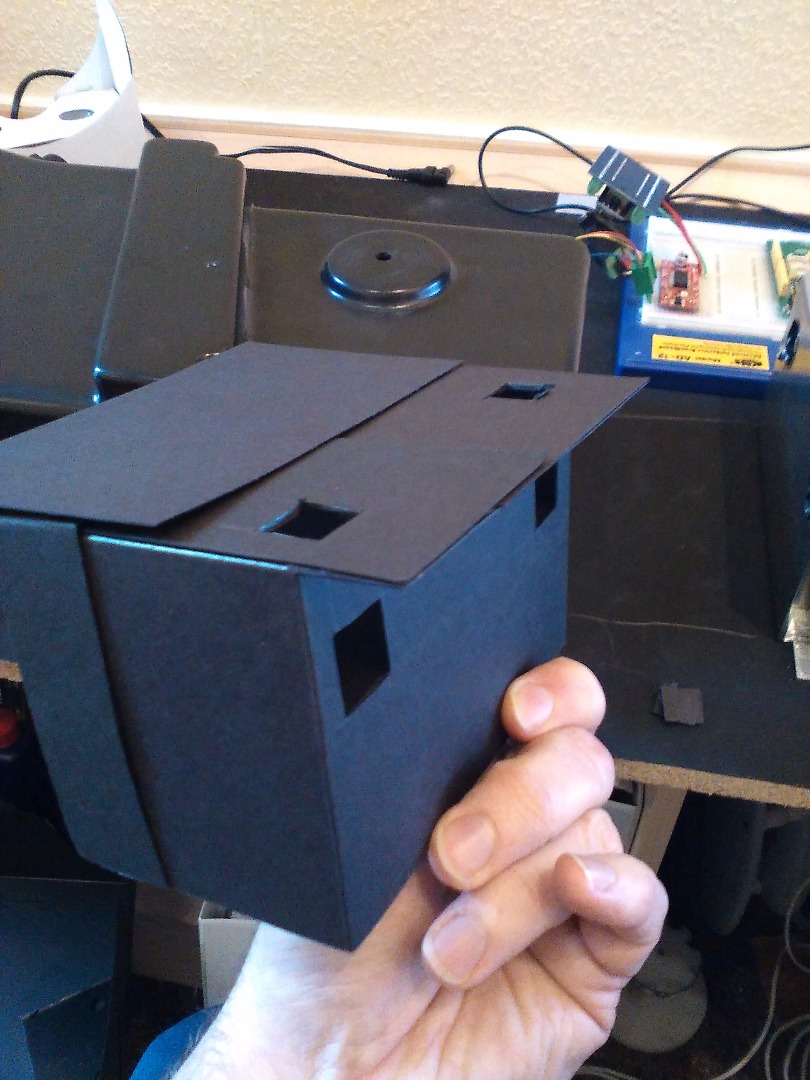
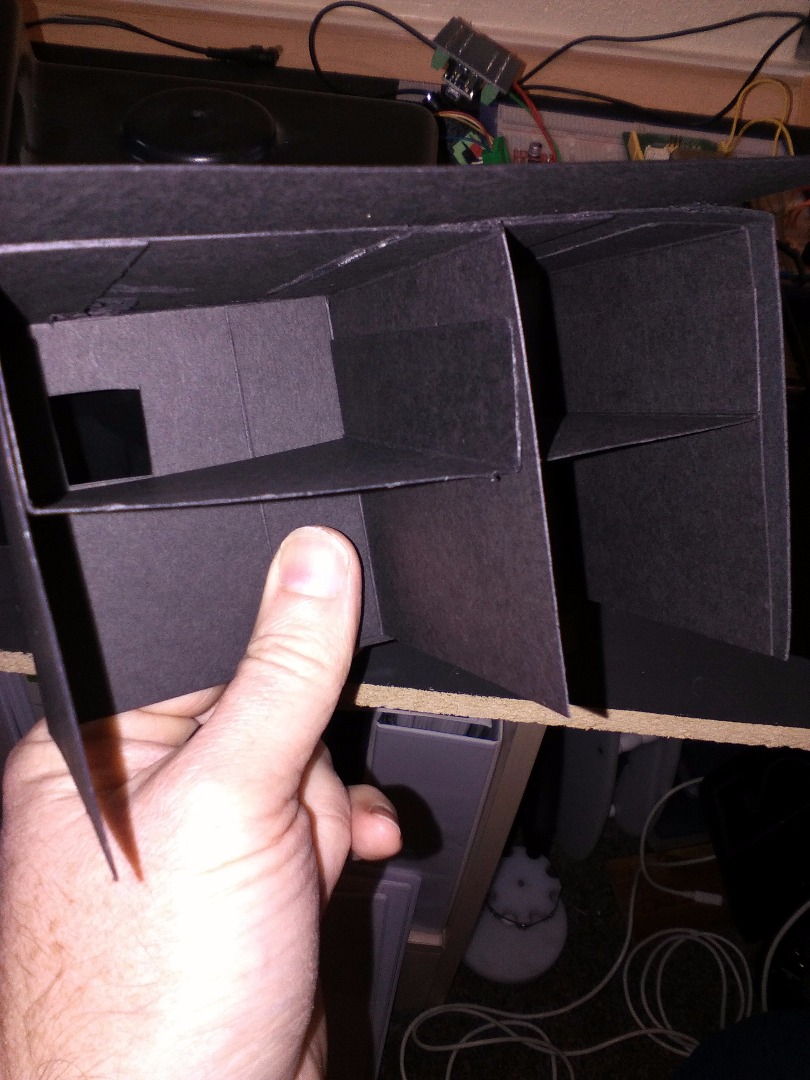
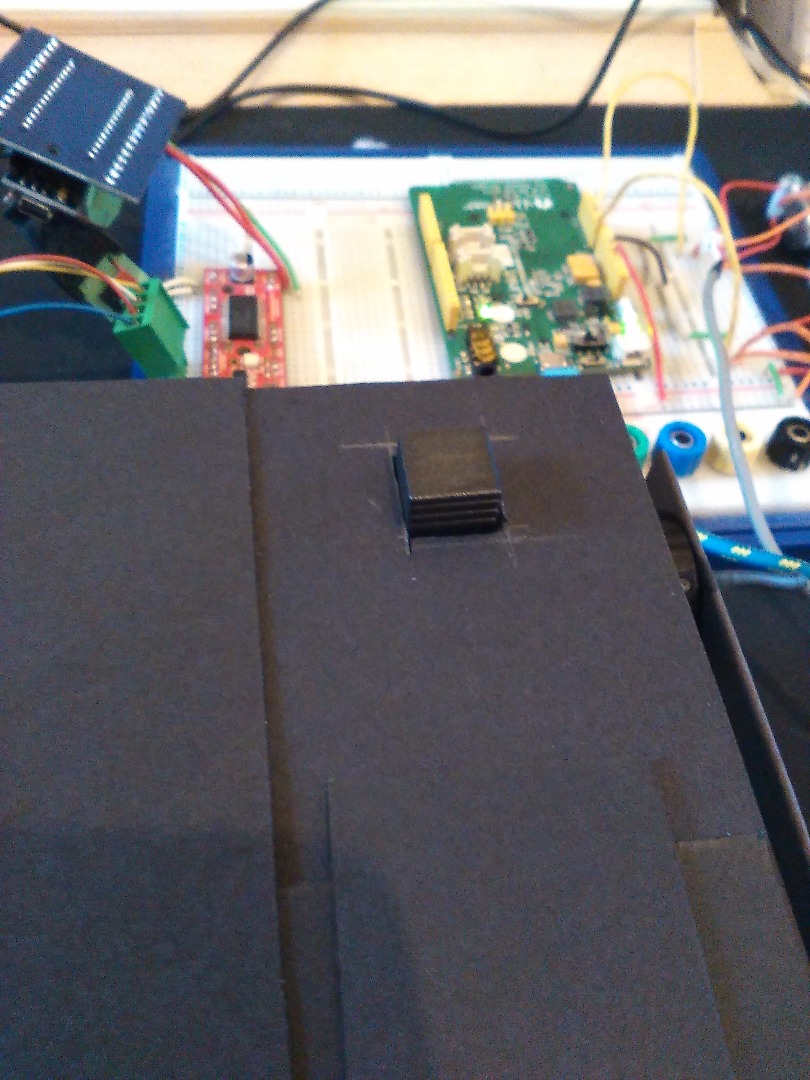
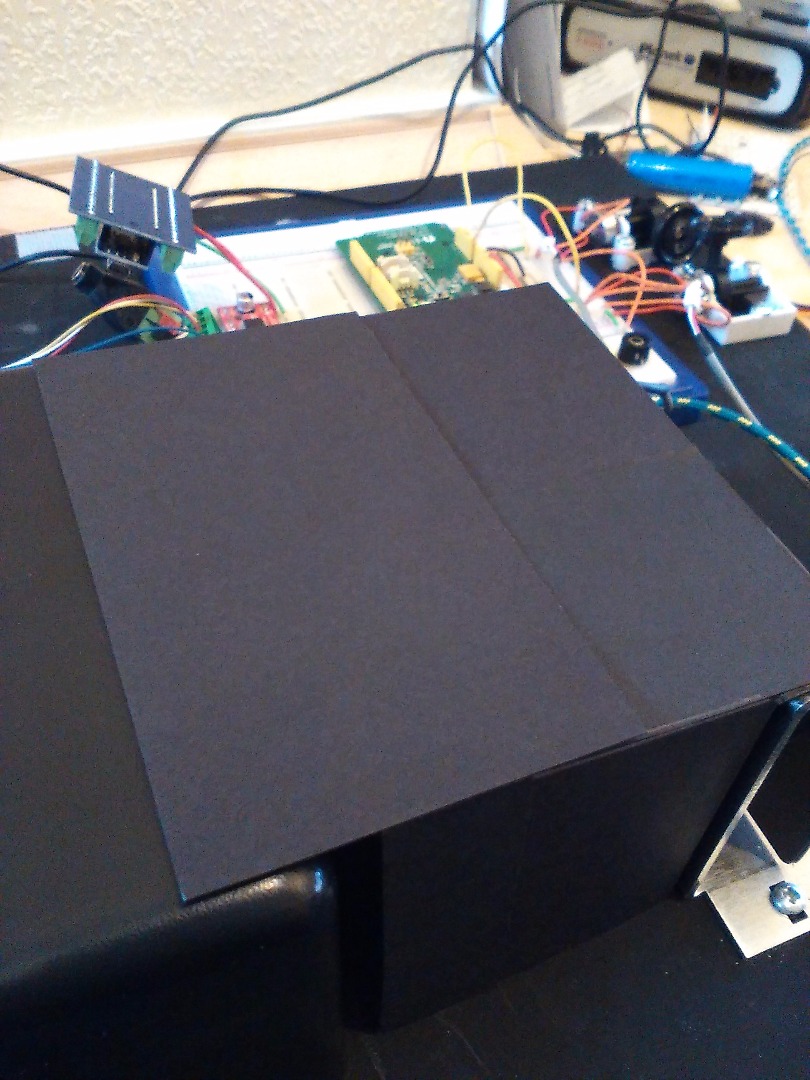
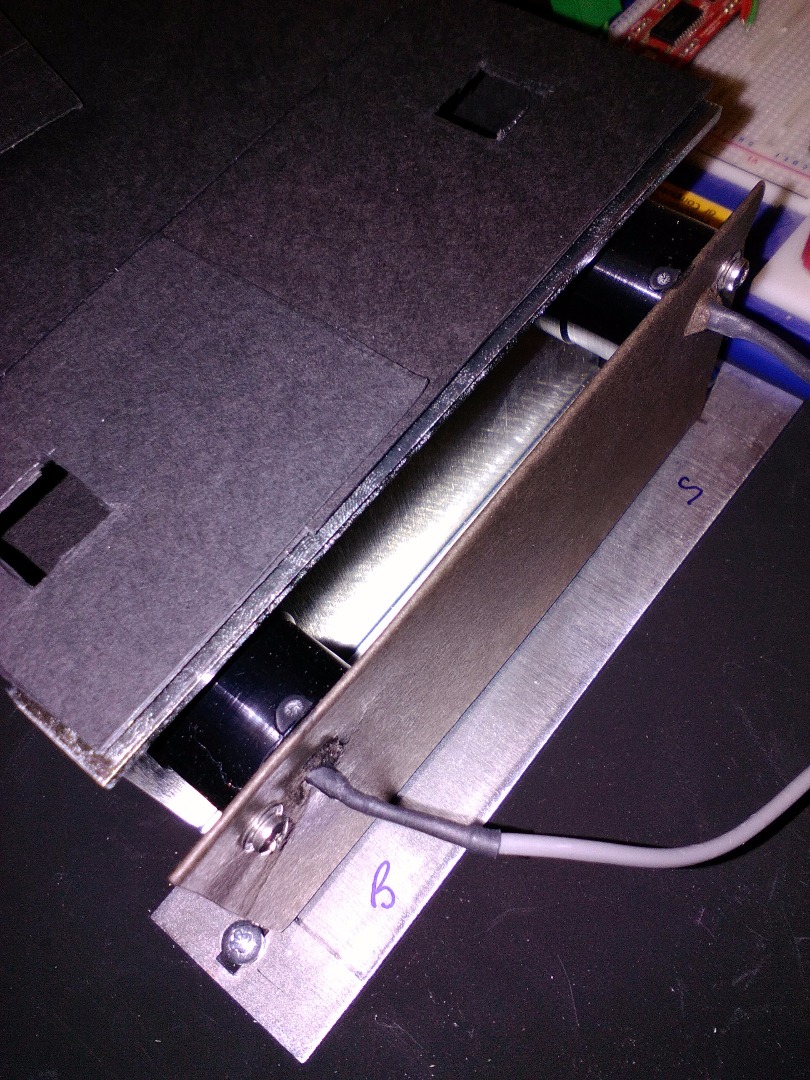
In an attempt to recreate the shielding I used my wifes card making tools to crease and then fold sheets of black card to make boxes to go around the lenses and samples. I used the same method to make the support for the torch (which is the light source - a single high powered LED cycle lamp with a focusing lens to concentrate the beam)
All car parts are held together using double sided sticky tape.
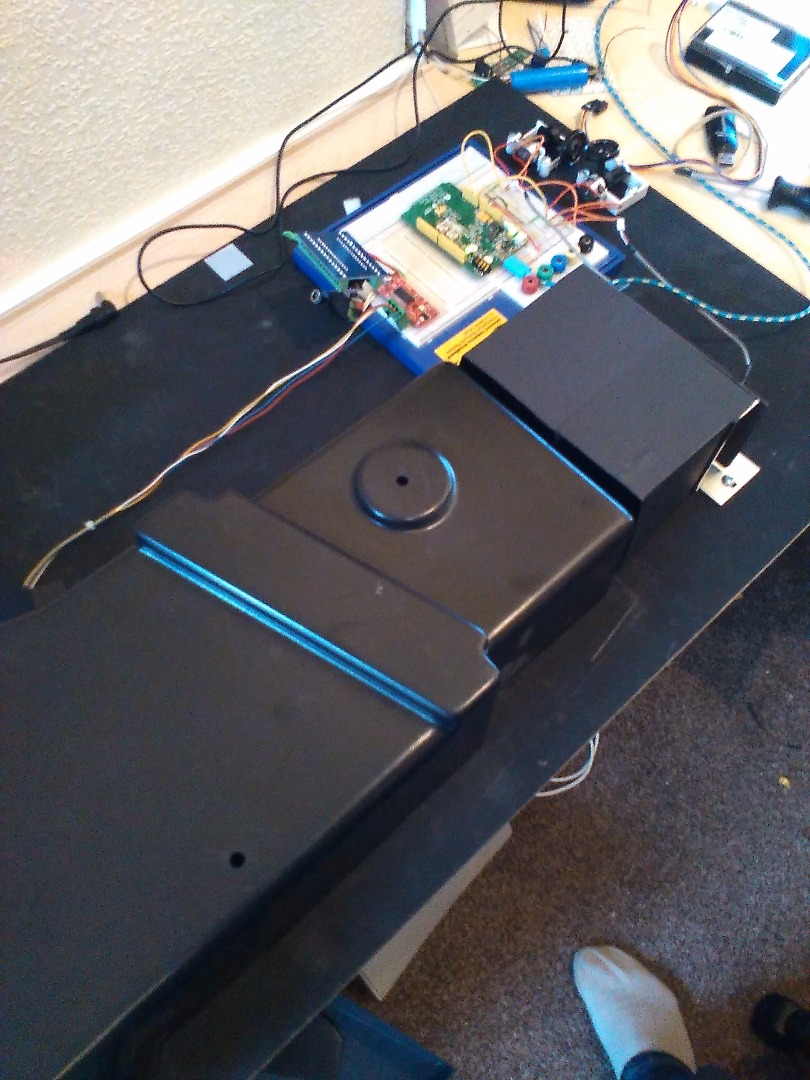
Unfortunately, while the main shield works, it was too light weight and kept moving during testing the beams which then obstructed the beams, so I reverted to using the original plastic shield for the main workings, only having to cut out a large section to allow it to sit over the torch.
I still had to make a cover for the sample area, as you can see I put a separating wall between the two beams and then placed cut out holes for the beams to pass through at the front as well as holes to allow me to insert samples at the top.
The beam holes where aligned by turning the lamp on then, with the shield in place, using a pencil to mark the points where the beams hit the card. I also added sufficient card to the top to overlap the main shield at the rear of the sample cover and at the front where the sensors are located.
Combining Stepper and Beams
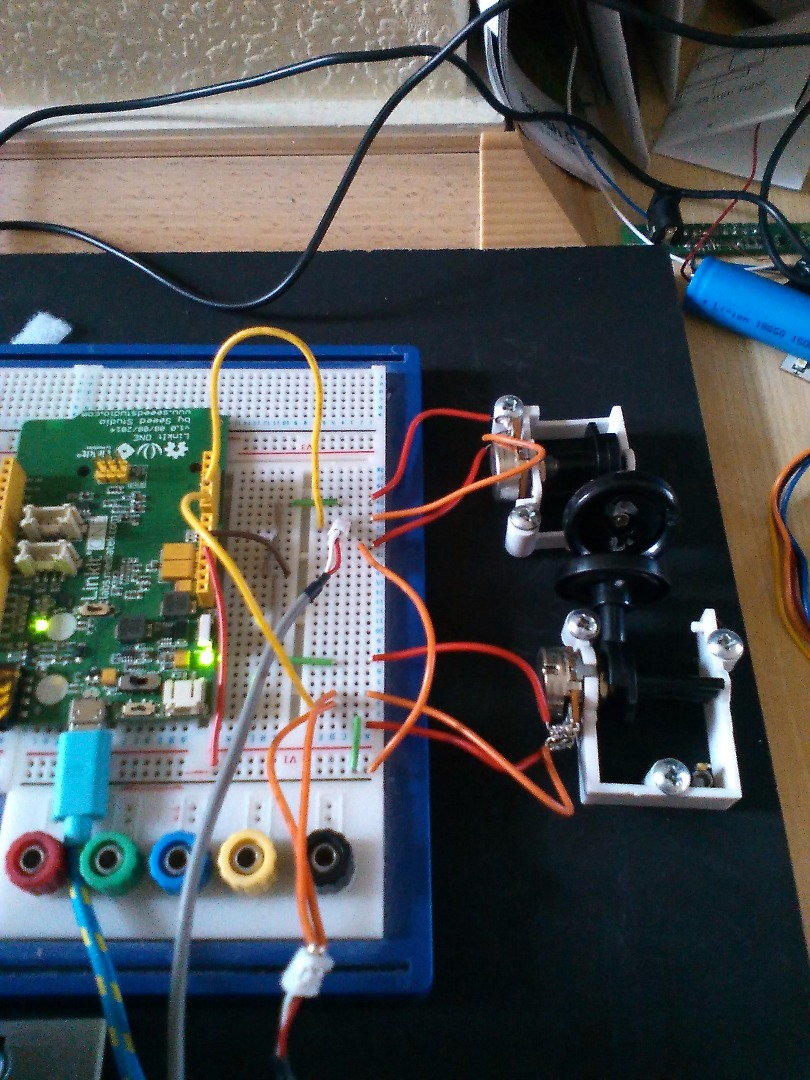
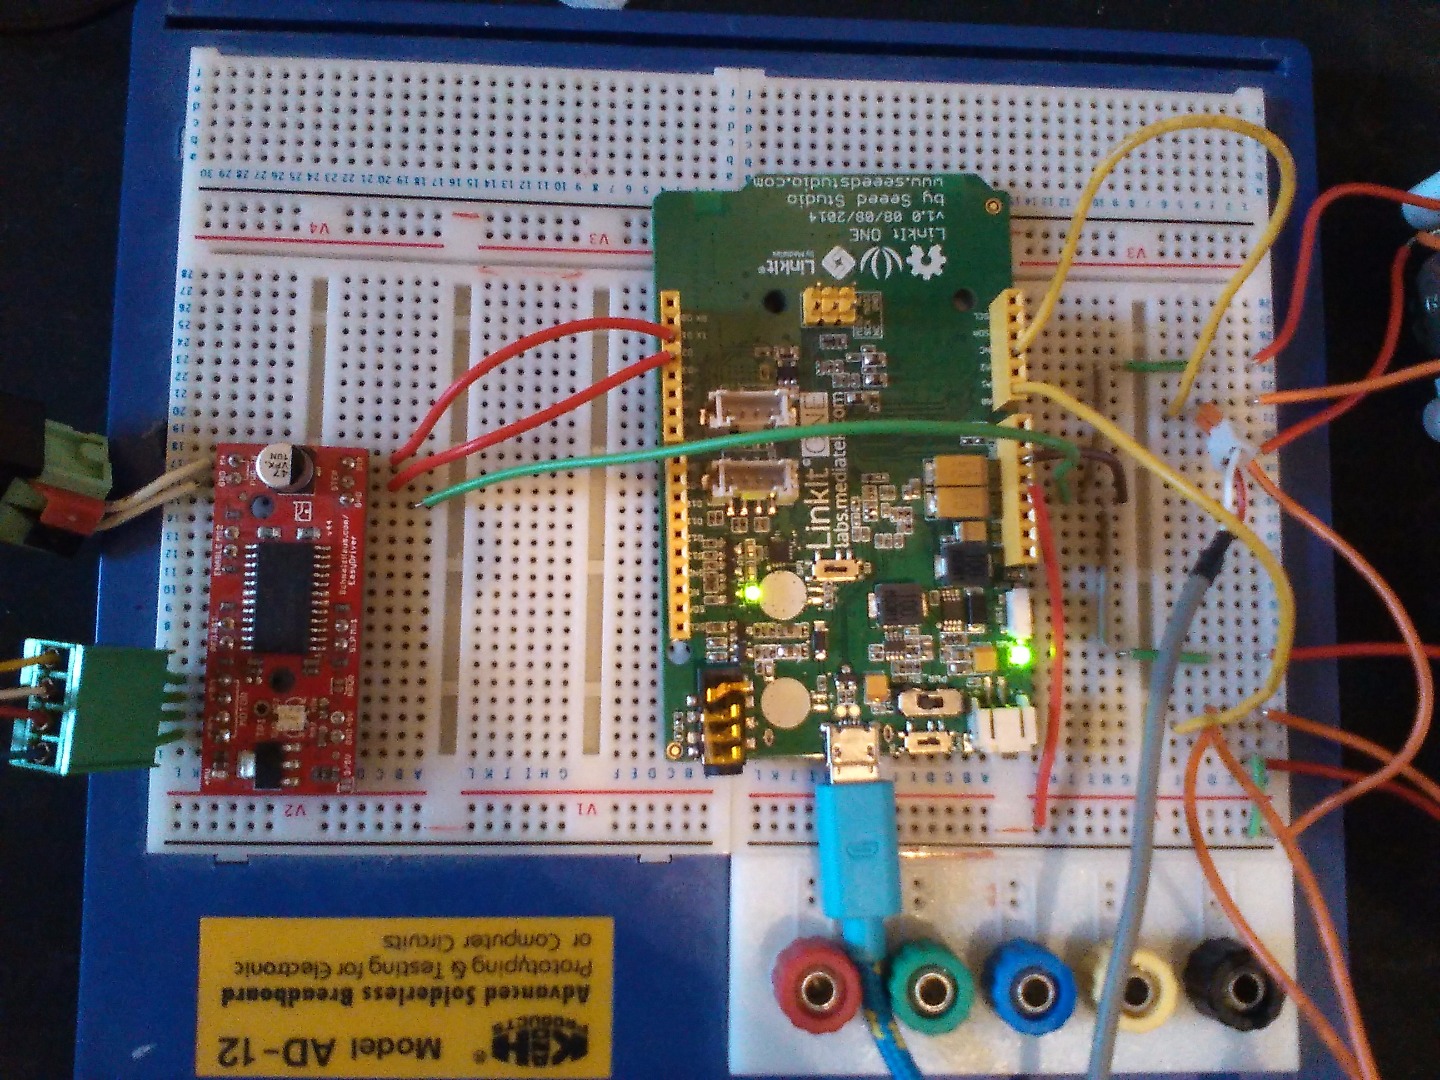
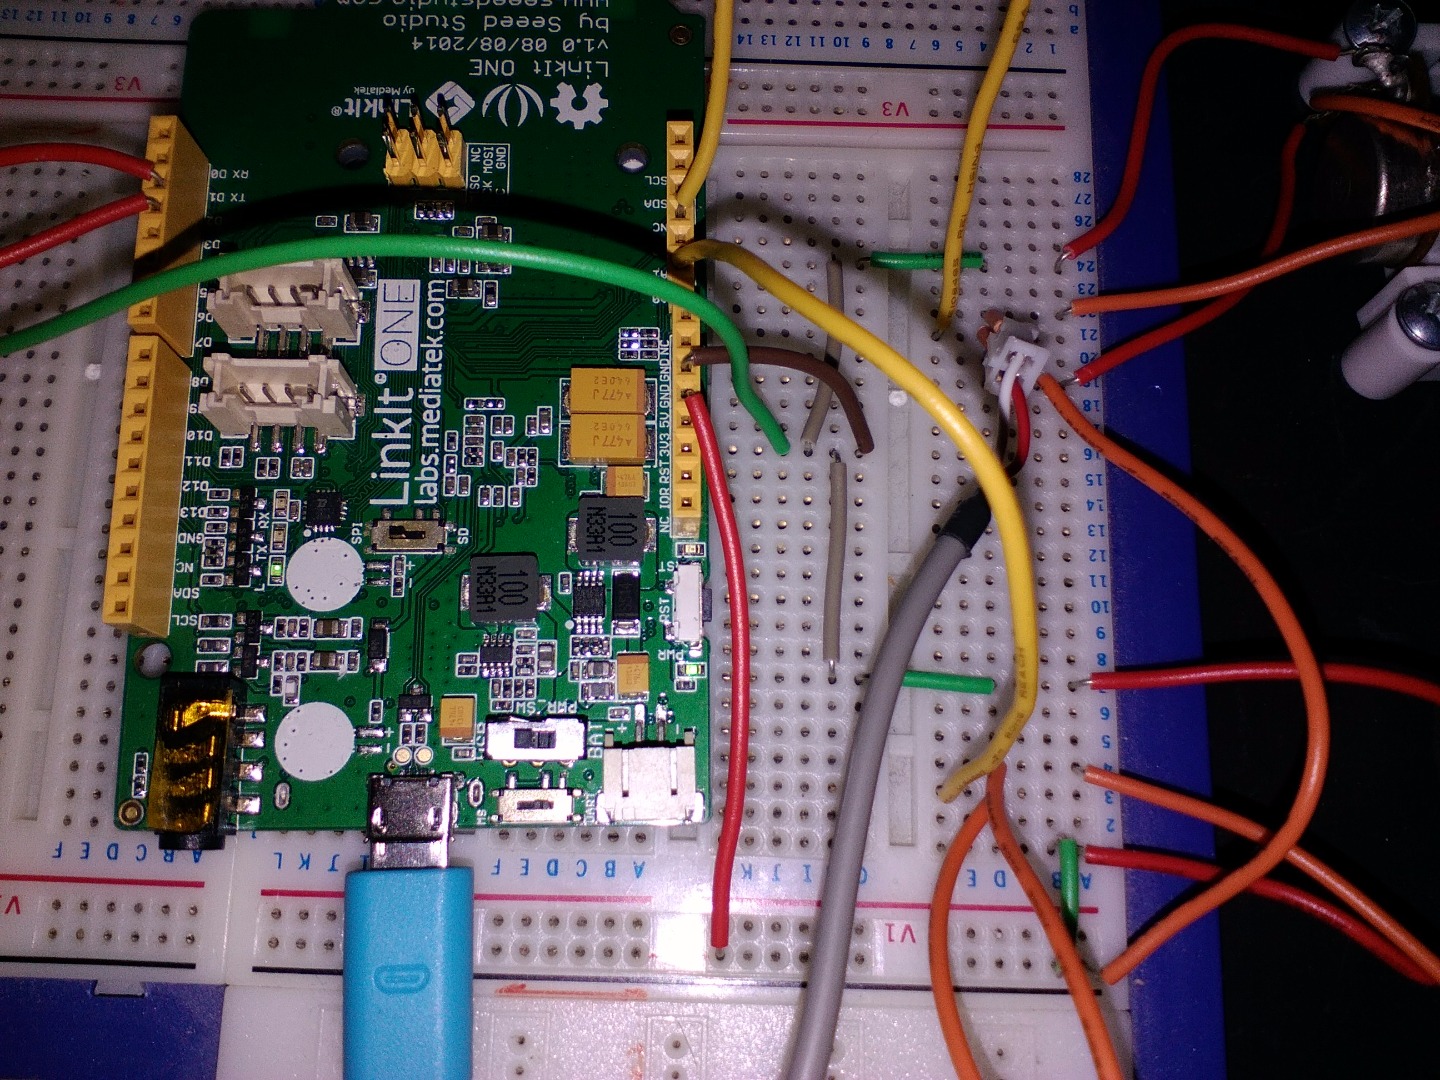
Once the two separate control sides had been sorted I needed to combine them so that the mirror would move at the same time as collecting data. This highlighted that the collection of the data is the speed limiting step - the time take to read the two analogs slows the stepper to a crawl - I over came this by reducing the sampling rate for the LDRs. To do this I simply dicided how many sample point pairs I wanted (sample and Reference blank) and divided the the number of motor steps for the full sweep of the mirror by that number (500) this gave me the number of motor steps the mirror would move by before the next data pair was taken - previously the board was taking a data pair for every motor step which ran into about 12000 sets of data.
Pin Connections
Optics
NOTE
- The bread board is used to allow multiple connections to the same pin
- When wiring the Variable resistors I tried keep the wiring consistent in terms of which leg was sent to GND and Which to 5V
LDR 1 - Sample
- Pin GND Variable resistor Outside Leg
- Pin A2 One side of the LDR, the second side of the LDR goes to the middle leg of the Variable resistor
- Pin 5V Variable resistor other outer leg
LDR 2 - Blank
- Pin GND Variable resistor Outside Leg
- Pin A0 One side of the LDR, the second side of the LDR goes to the middle leg of the Variable resistor
- Pin 5V Variable resistor other outer leg
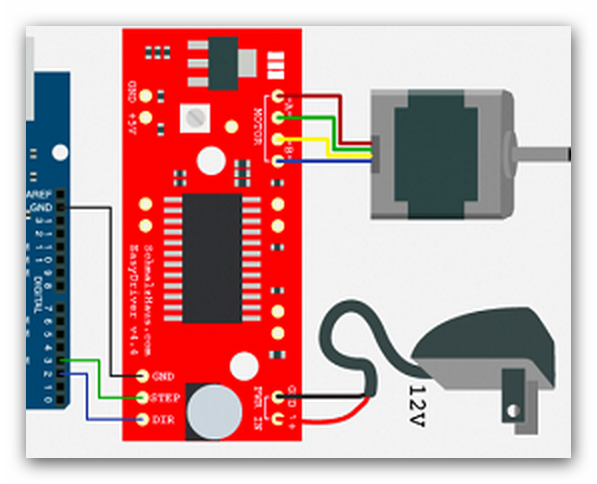
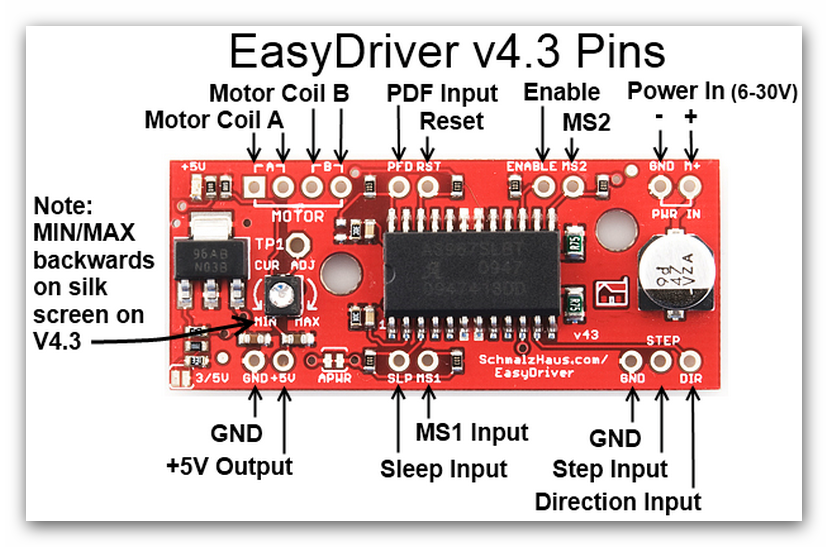
Motor Linkit One to EasyDriver
- Linkit Pin 2 to ED Dir (Direction pin)
- Linkit Pin 3 to ED Step (Motor Step Control)
- Linkit Pin GND to ED GND
The Stepper motor is wired by trial and error , however if the wires are already in a plug then it should just be two attempts, and power is supplied to the motor via 9v adapter.
Code
To combine the code I placed each of the operational sections into named functions then called the function as required this allowed my to set the number of steps taken by the motor before the reading is taken - I had originally tried to combine both codes directly however this caused me some confusion while and found it impossible to speed up the system.
float potSample = A2; // Sample Point detector pin indicated by Sample on the equipment
float potBlank = A0; // Sample Point detector pin indicated by Blank on the equipment float
SampleValue = 0; // Set initial Sample value to zero
float Blank = 0; // Set initial Blank value to zero
int x = 0; // Set the data collection reference to zero
//////////////////////////////////////////////////
int dirpin = 2;
int steppin = 3;
int i;
int a;
//////////////////////////////////////////////////
void setup() {
Serial.begin(9600); // opens serial port
Serial.println("CLEARDATA"); //clears any residual data
Serial.println("LABEL,Time,val,blk"); //set the headings for the data transfer to excel
pinMode(dirpin, OUTPUT);
pinMode(steppin, OUTPUT);
}
void forward(){
digitalWrite(steppin, LOW); // This LOW to HIGH change is what creates the
digitalWrite(steppin, HIGH); // "Rising Edge" so the easydriver knows to when to step. delayMicroseconds(500); // This delay time is close to top speed for this
// particular motor. Any faster the motor stalls.
}
void backward(){
digitalWrite(steppin, LOW); // This LOW to HIGH change is what creates the
digitalWrite(steppin, HIGH); // "Rising Edge" so the easydriver knows to when to step. delayMicroseconds(500); // This delay time is close to top speed for this }
void data(){
SampleValue = analogRead(potSample);
Blank = analogRead(potBlank);
}
void Printdata(){
Serial.print("DATA,TIME,");
Serial.print(SampleValue);
Serial.print(",");
Serial.println(Blank);
}
//////////////////////////////////////////////////
void loop() {
digitalWrite(dirpin, LOW); // Set the direction.
delay(1000);
//x=x+1;
//if(x>=200) {
//Serial.println("CLEARDATA");
//x=0;
//}
for (a = 0; a<500; a++){
data();
Printdata();
for (i = 0; i<23; i++) // Iterate microsteps.
{
forward();
}
}
digitalWrite(dirpin, HIGH); // Change direction.
delay(100);
for (i = 0; i<11500; i++) // Iterate for 4000 microsteps
{
backward();
} // particular motor. Any faster the motor stalls.
}
Balancing the Beams
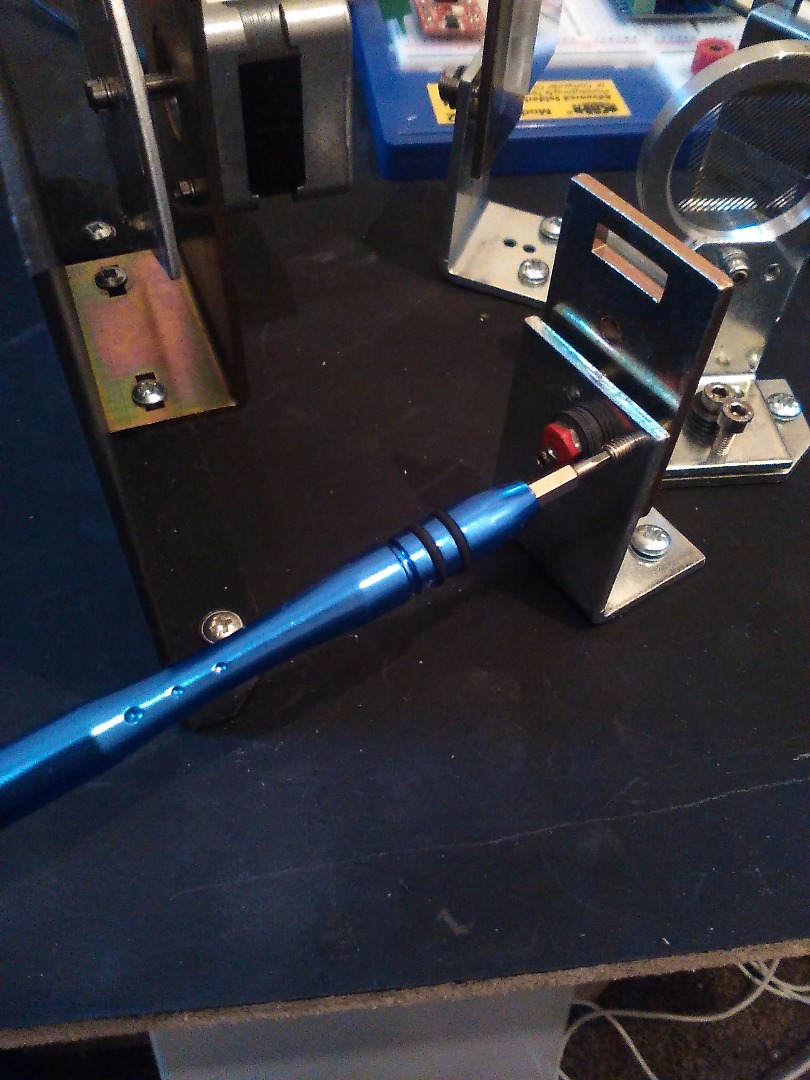
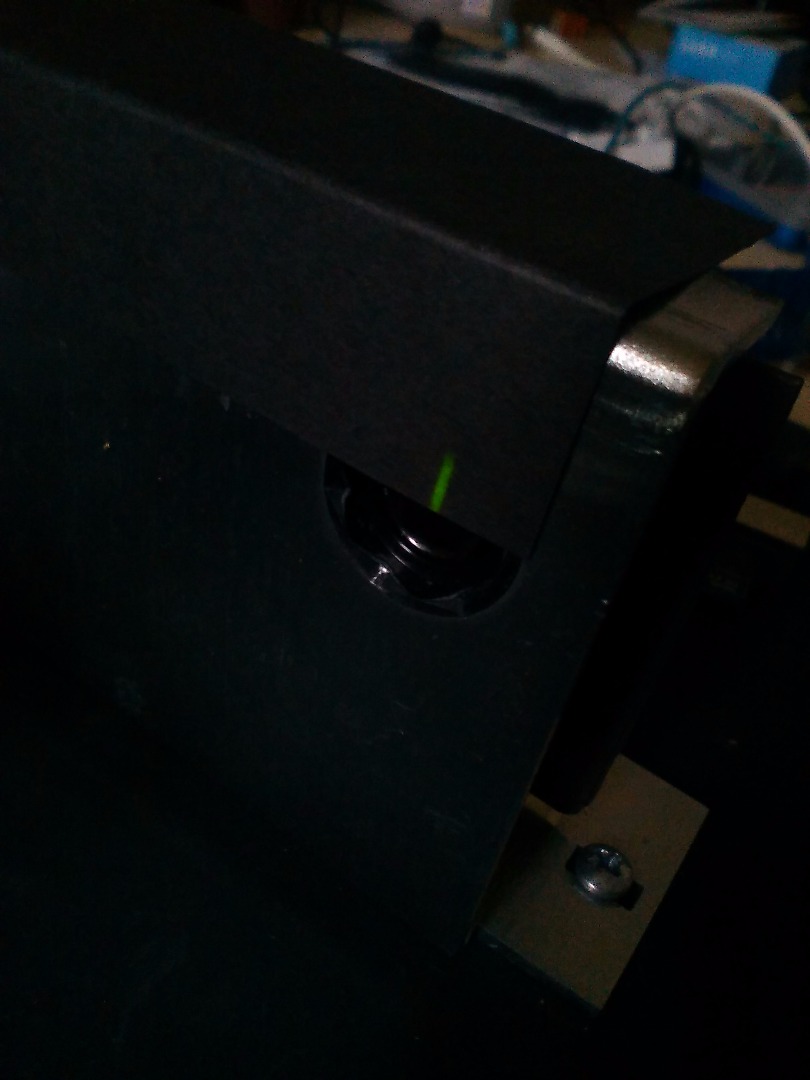
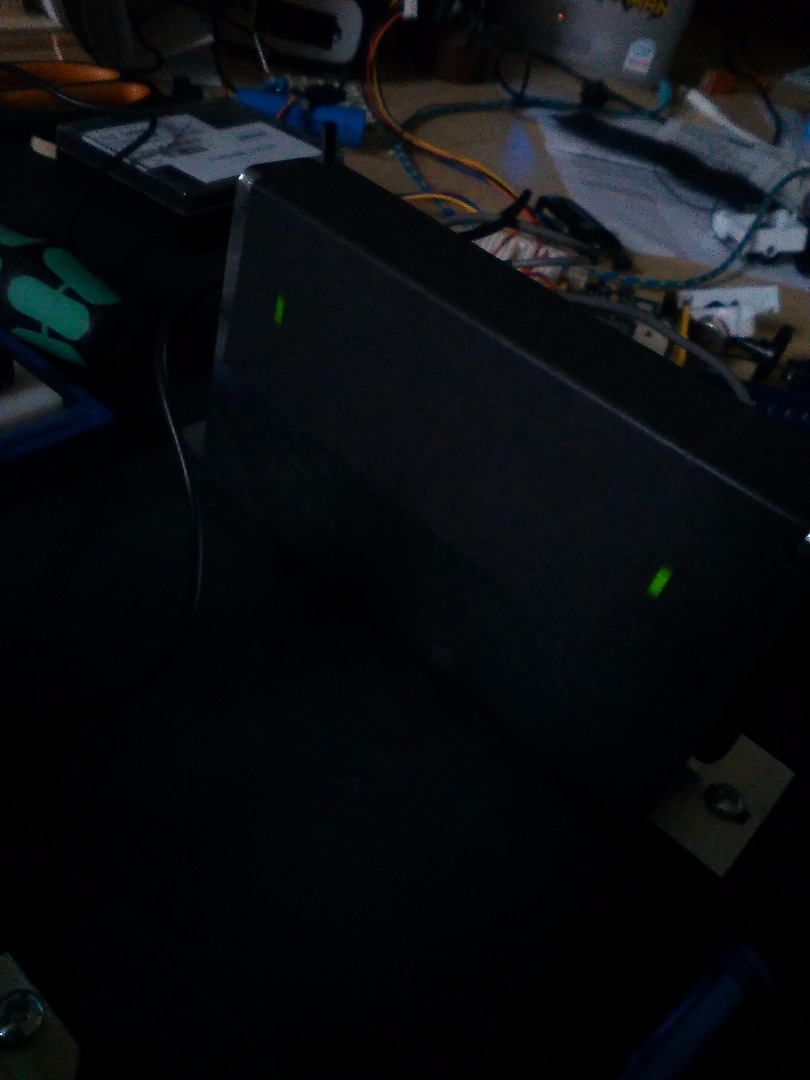
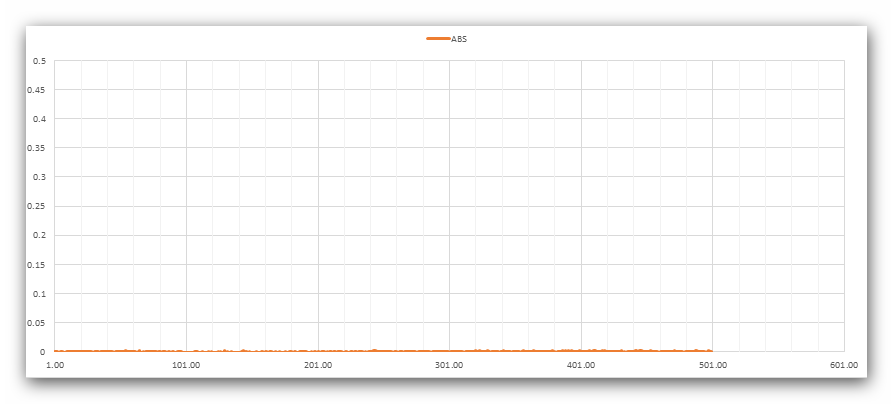
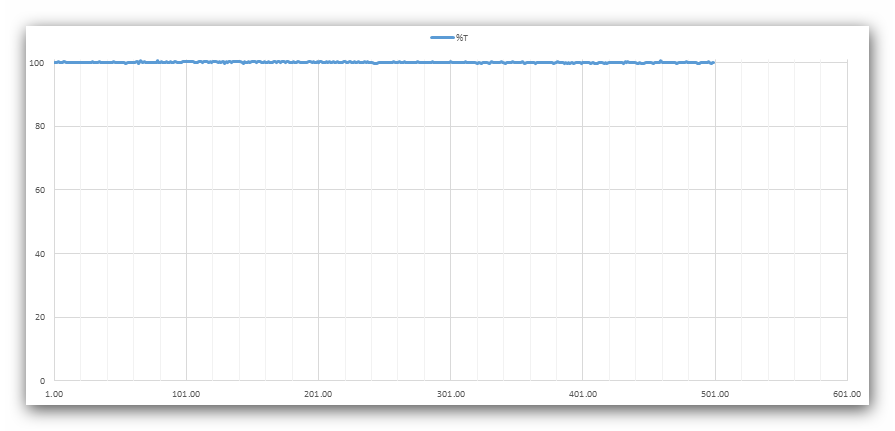
With the drive belt off I manually set the spectra to the green area and then adjusted the mirror screws so that the beams of light fell exactly onto the individual lens for each LDR (there is a horizontal and vertical adjuster for each beam as well as the same again for the mirror at the front that moves both beams at the same time.
Once the beams where balanced I then set about zeroing the signals.
This was done by firstly removing the drive belt from the stepper motor and manually setting the mirror to the green part of the spectrum (just to get a bright light coming through) It does not really matter you are only trying to get balance between the two LDRs so that they should read approximately the same with nothing in the way.
You then set the spectrometer sketch going and capture the data on the serial monitor - while its running adjust the variable resistors - I set the blank so that it delivered the maximum value and the set the sample to match it. This had the result of giving 100% transmittance and zero absorbence at the sample beam.
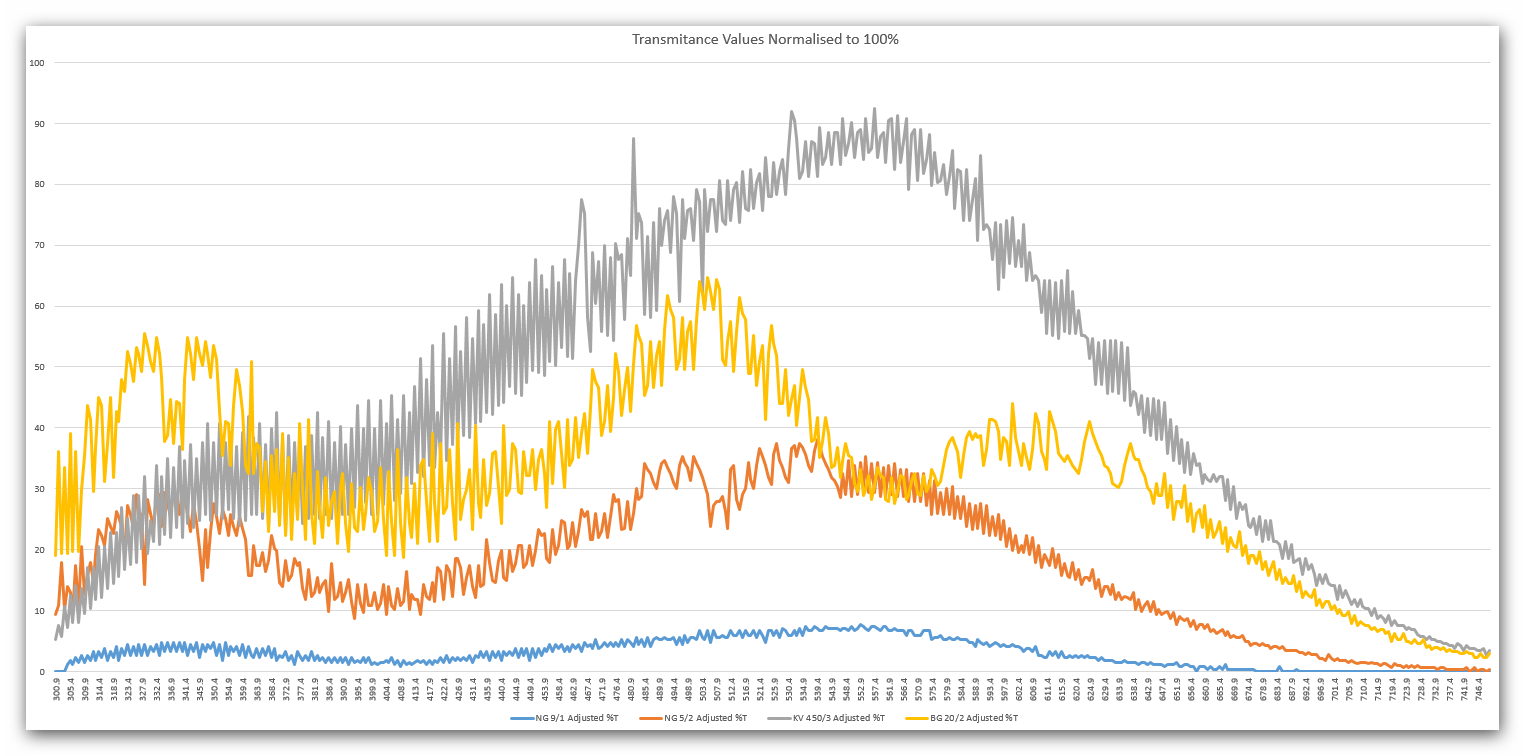
See the charts
Absorbsion and Transmition
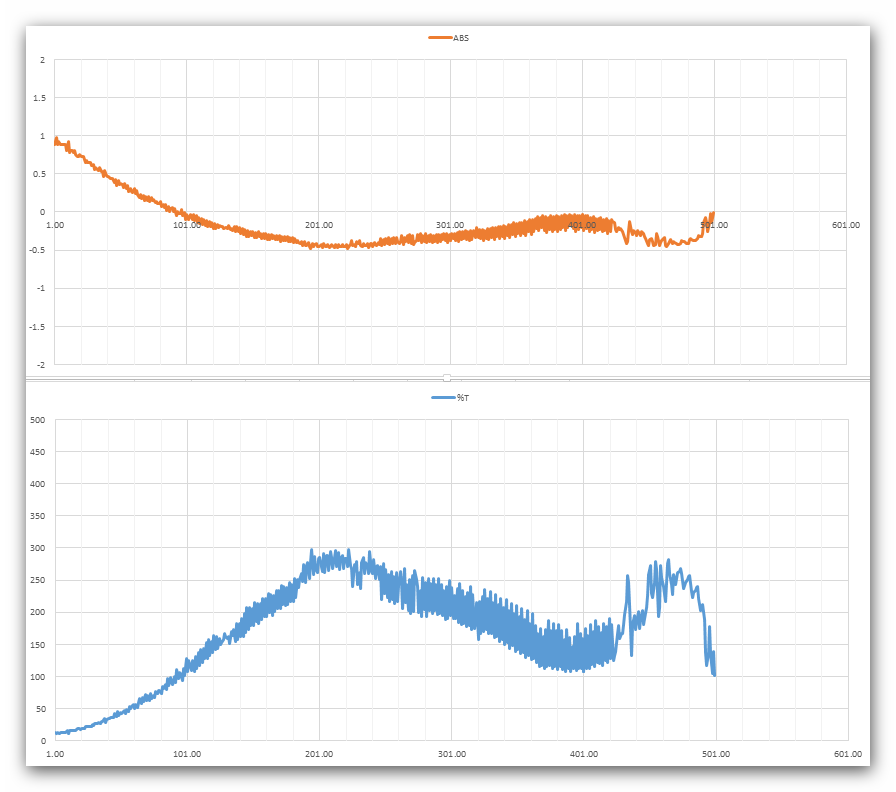
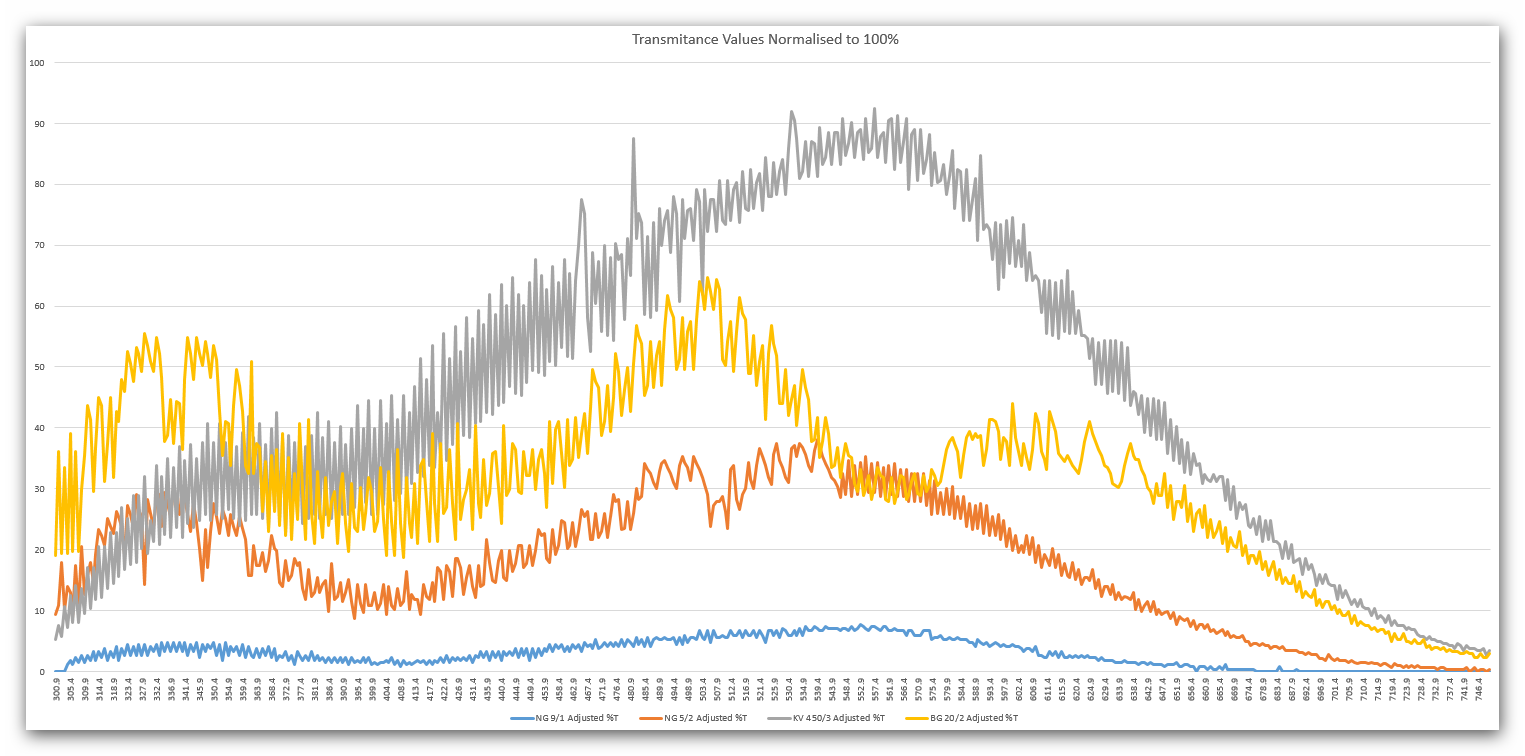
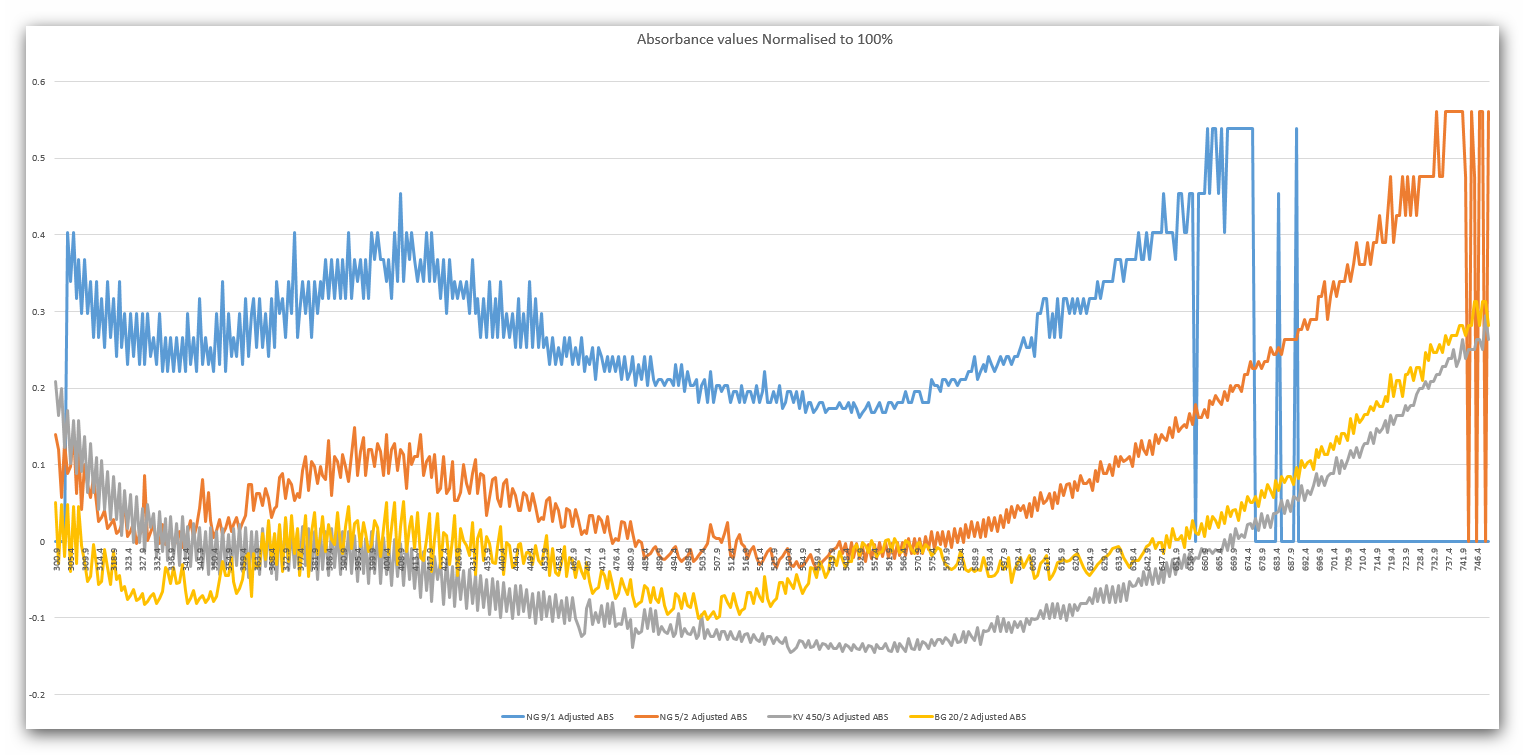
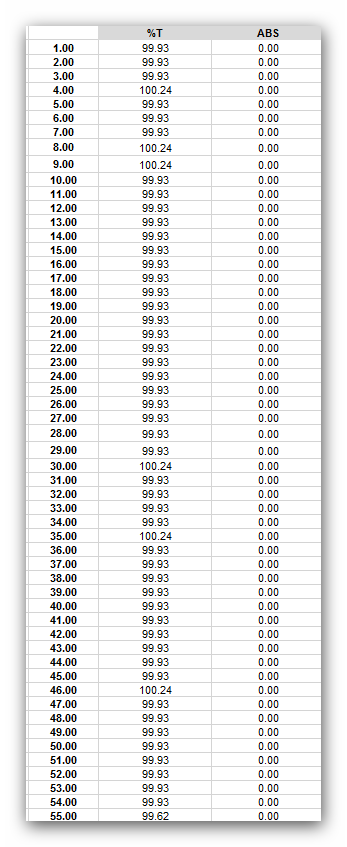
What you see in the Charts are the values obtained from 4 separate standard filters.
You must remember that this "instrument" is home made and that there is no noise compensation and as such the signals are very messy, however you can see that with the data being specific to this set up each filter does give a very different profile, so if you have a set of known standards it should be possible to identify an unknown composition sample or even get an idea of concentration.
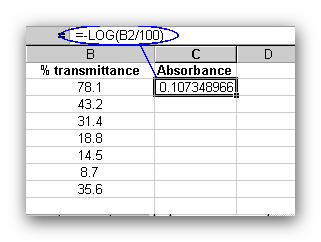
The data for Transmission was calculated relative to the reference path (the one with no filter inserted) , once that was calculated the absorbance can be worked out from the equation :-
A=-log(%T/100)
The attached excel files contain the individual readings obtained for each filter. I have combined them into an additional file (normalized) and then adjusted the values to fit on a scale for 100% Transmitance.
Limitations
Yes the spectrometer works well, however
- it is a slow system, so if you make one of these be prepared for this. The reason for this is that readings are taken from the analogous inputs. The rate a which these can be recorded is limited by the speed of the processor on the board. Because there are two inputs being read the speed at which the stepper motor moves is twice as slow. This is why I reduced the sampling rate by increasing the number of steps before a data point was recorded. This does however have the effect of making the system slightly less sensitive.
- This is not a comment against the board, rather you should think of what the Linkit one is doing. It is taking the place of a lot of proprietary circuits that are split between the various functions of a production instrument.
- There is no noise compensation so be prepared for a lot of interference
- The traces obtained will be specific to you setup - you will not be able to compare them with other home made or production instruments - if you want to you will be able to create a library of scans and then compare results.