LinkIt One Wifi Cam Turner Control
by robo10302 in Circuits > Microcontrollers
911 Views, 5 Favorites, 0 Comments
LinkIt One Wifi Cam Turner Control
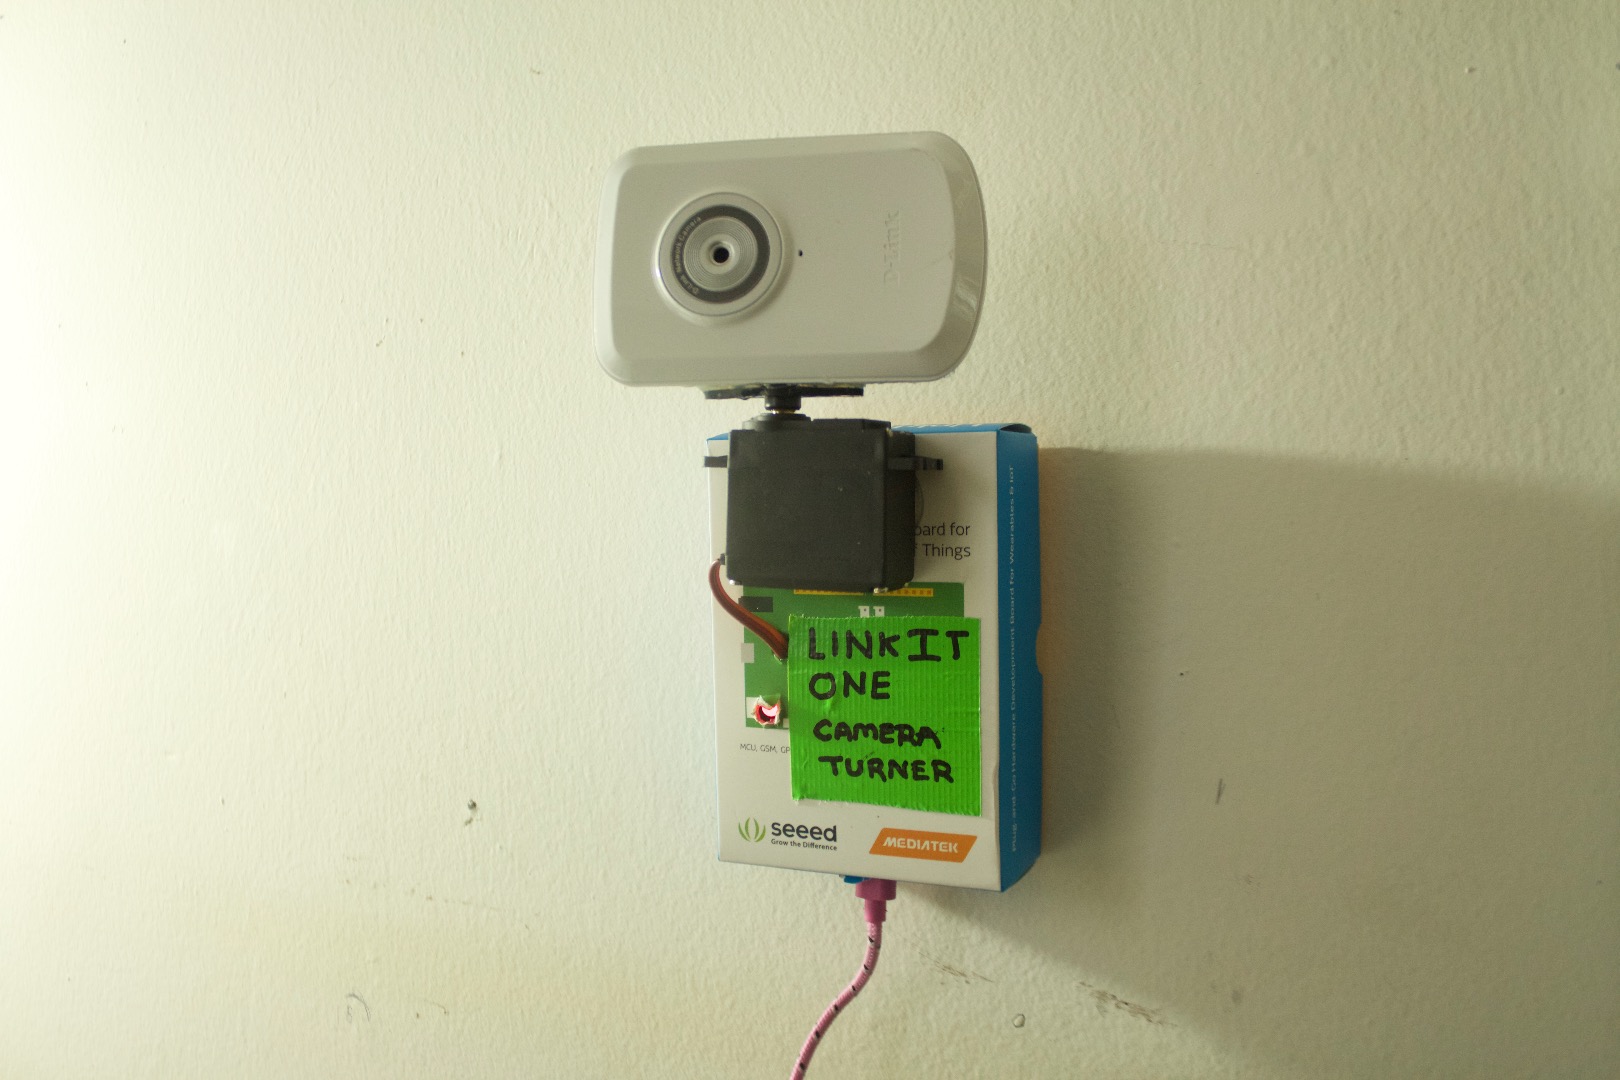
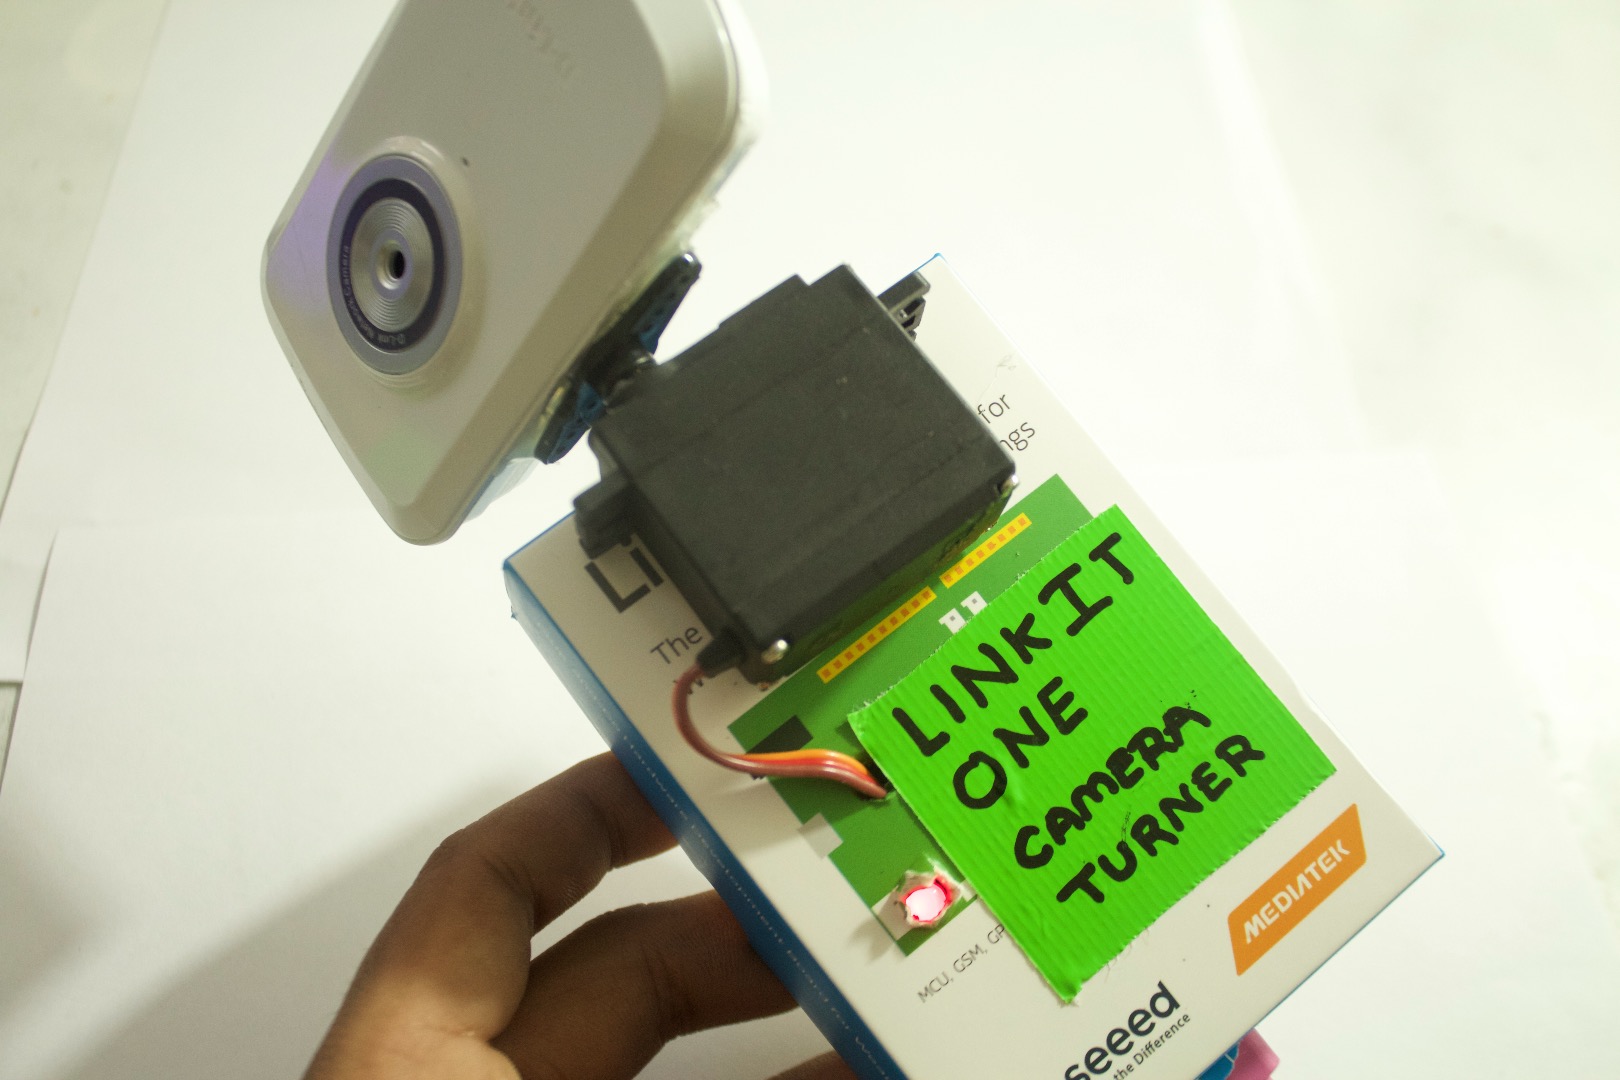
Hello Builders! Here in this 'ible we are going to control the rotation of a wifi security camera with a LinkIt One and a servo. You can control the direction of the servo with your phone by entering your ip address and writing to it.
This project will let you expand your view of the wifi security camera as this will rotate the camera.
You can also add the functionality of having the servo turning in cycles until you choose to control it.
Parts
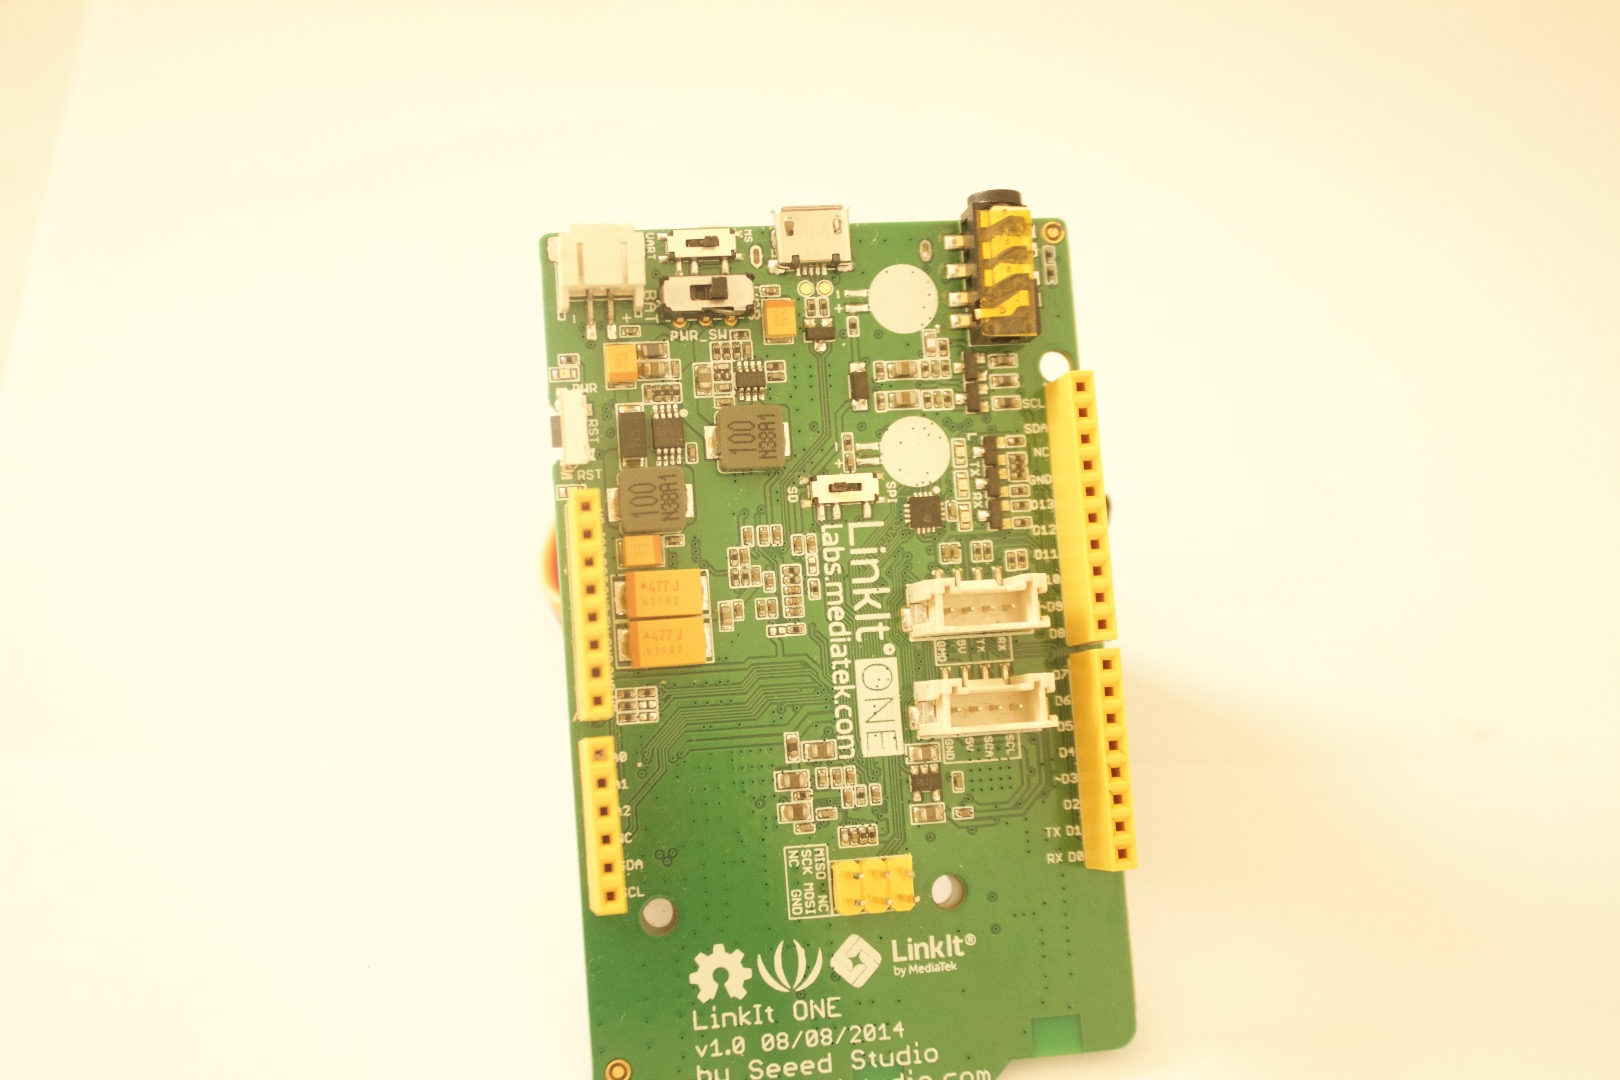

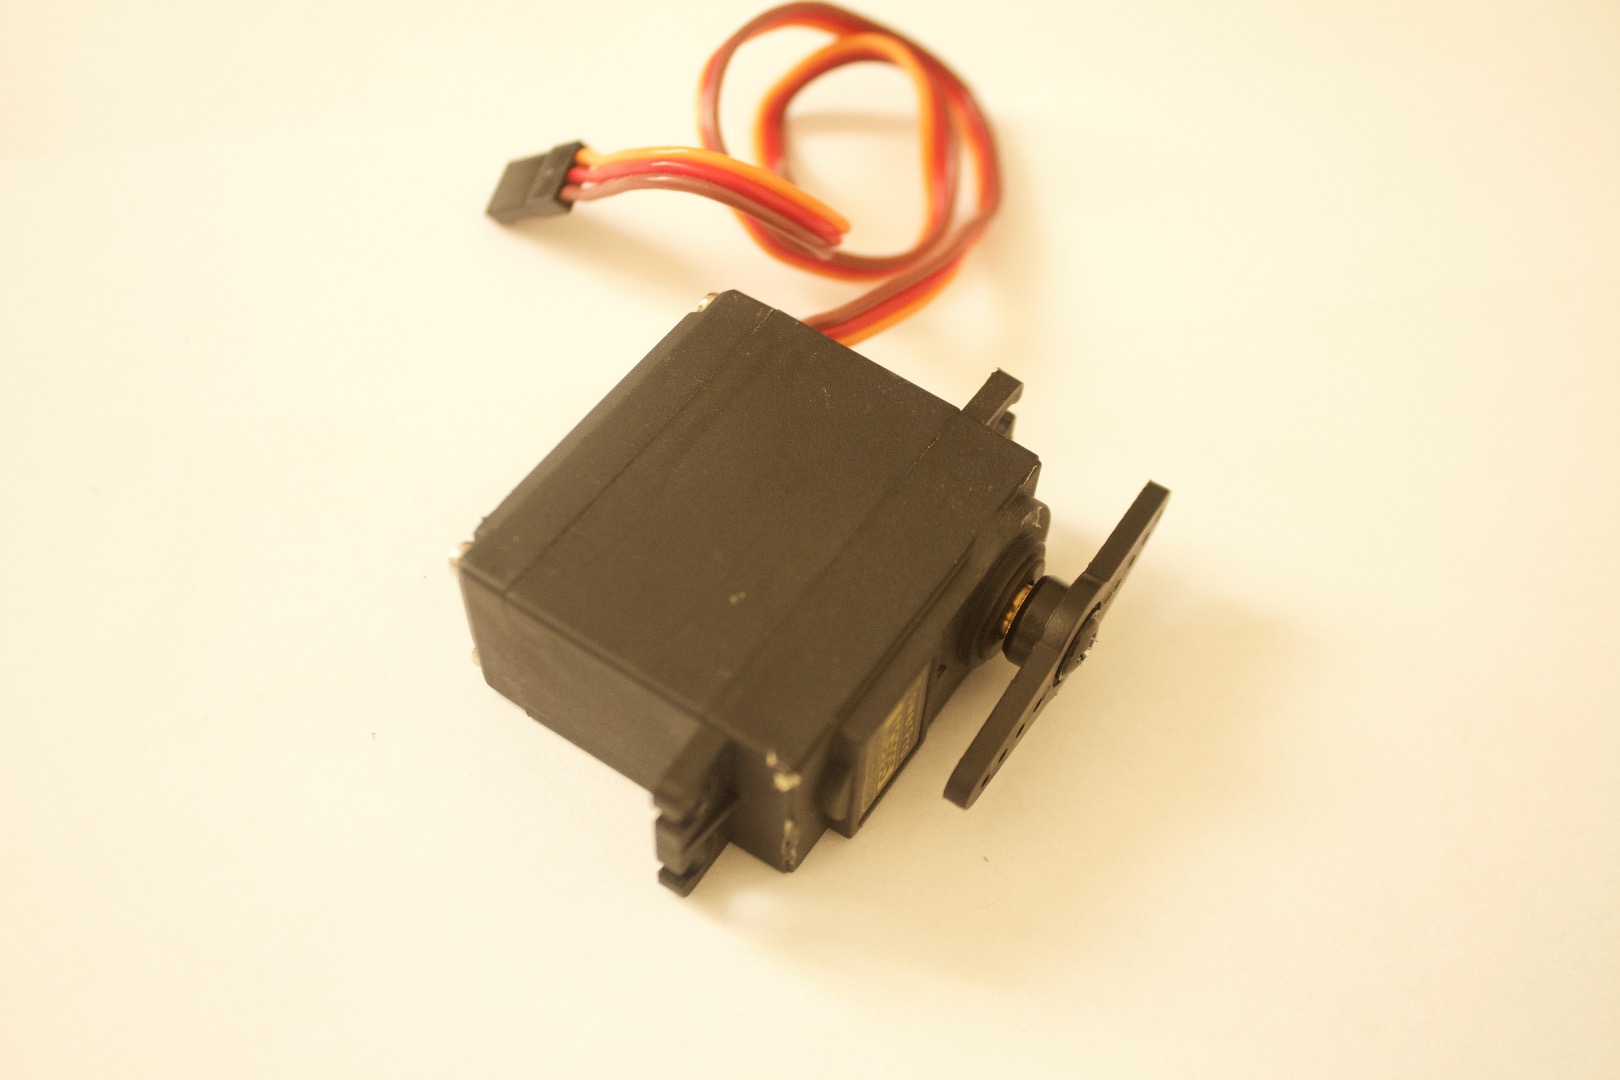
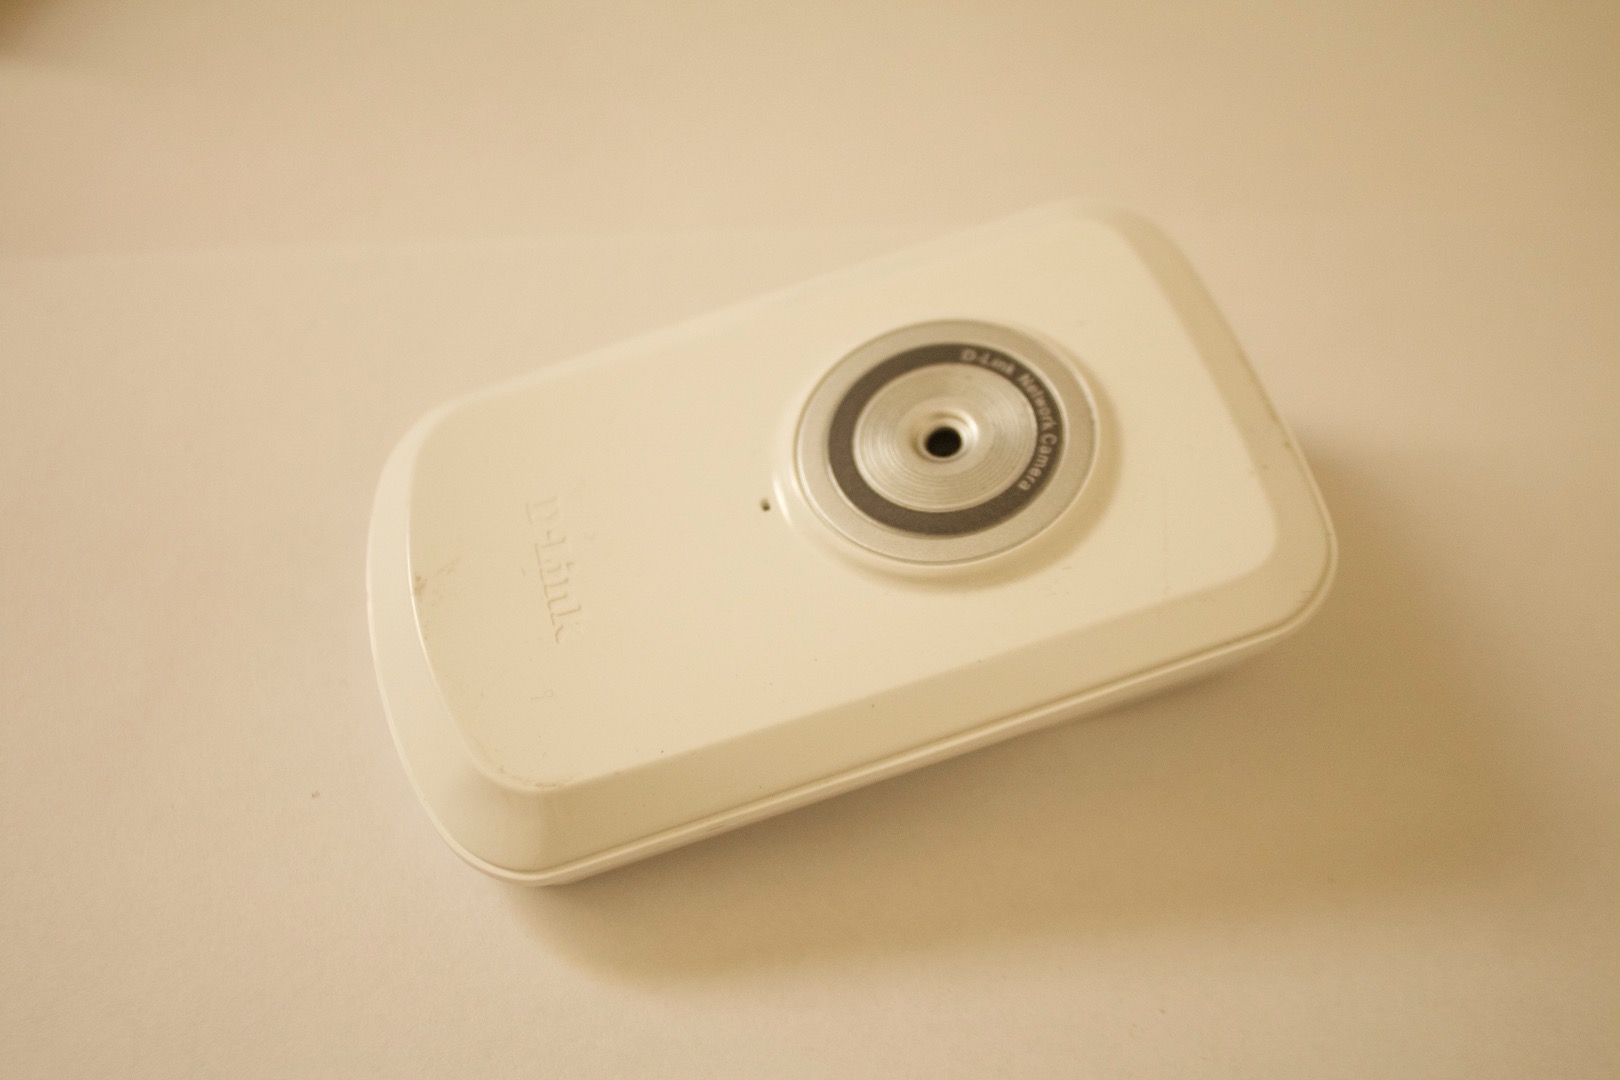
1. LinkIt One Board
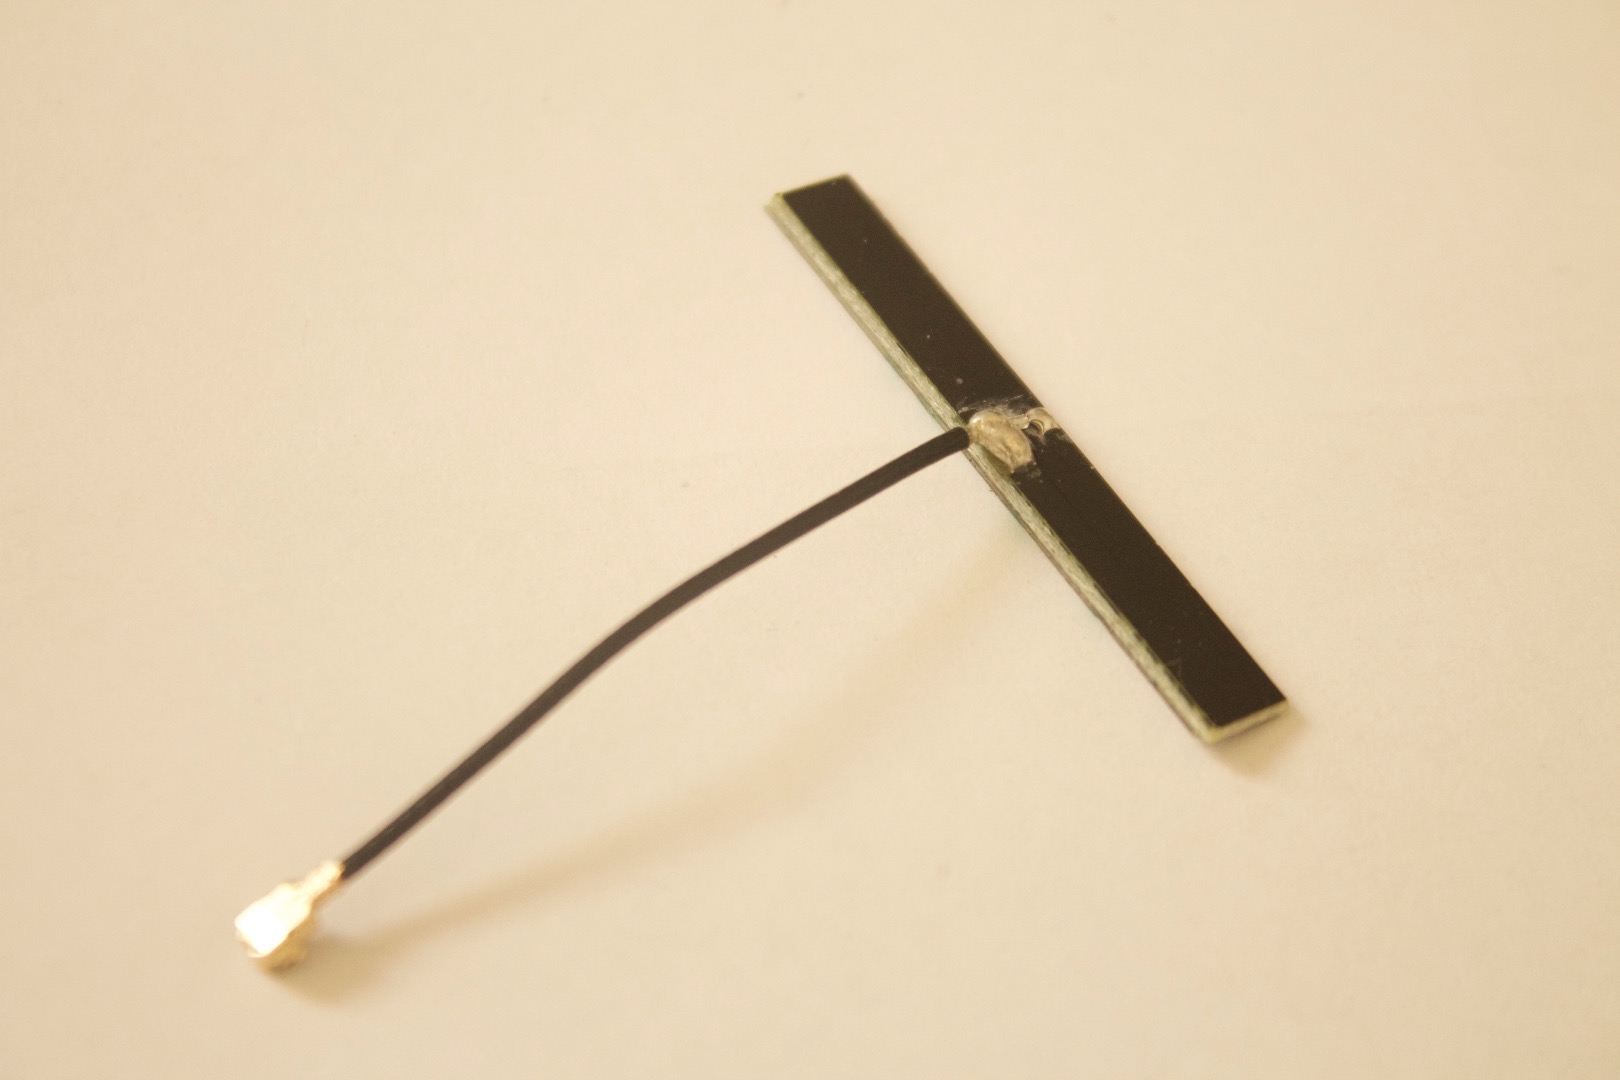
2. Wifi Antenna
3. USB cable
4. Servo
5. Wifi Camera
6. CardBoard Box
USB Hole
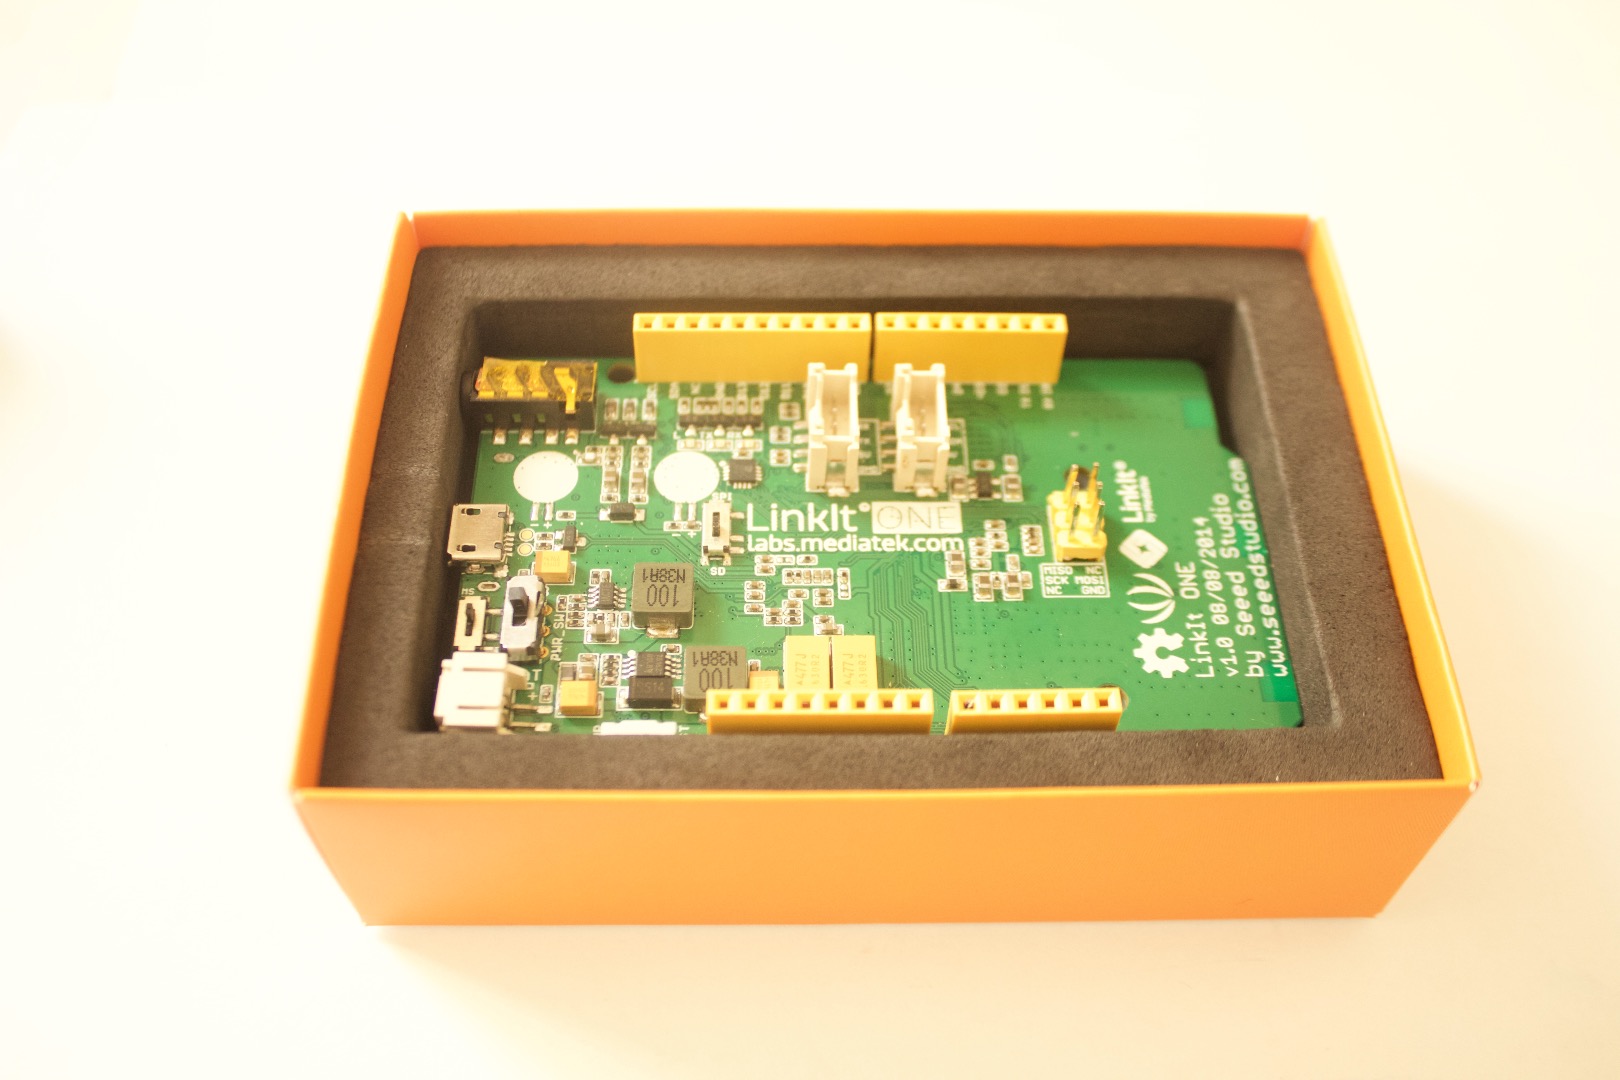
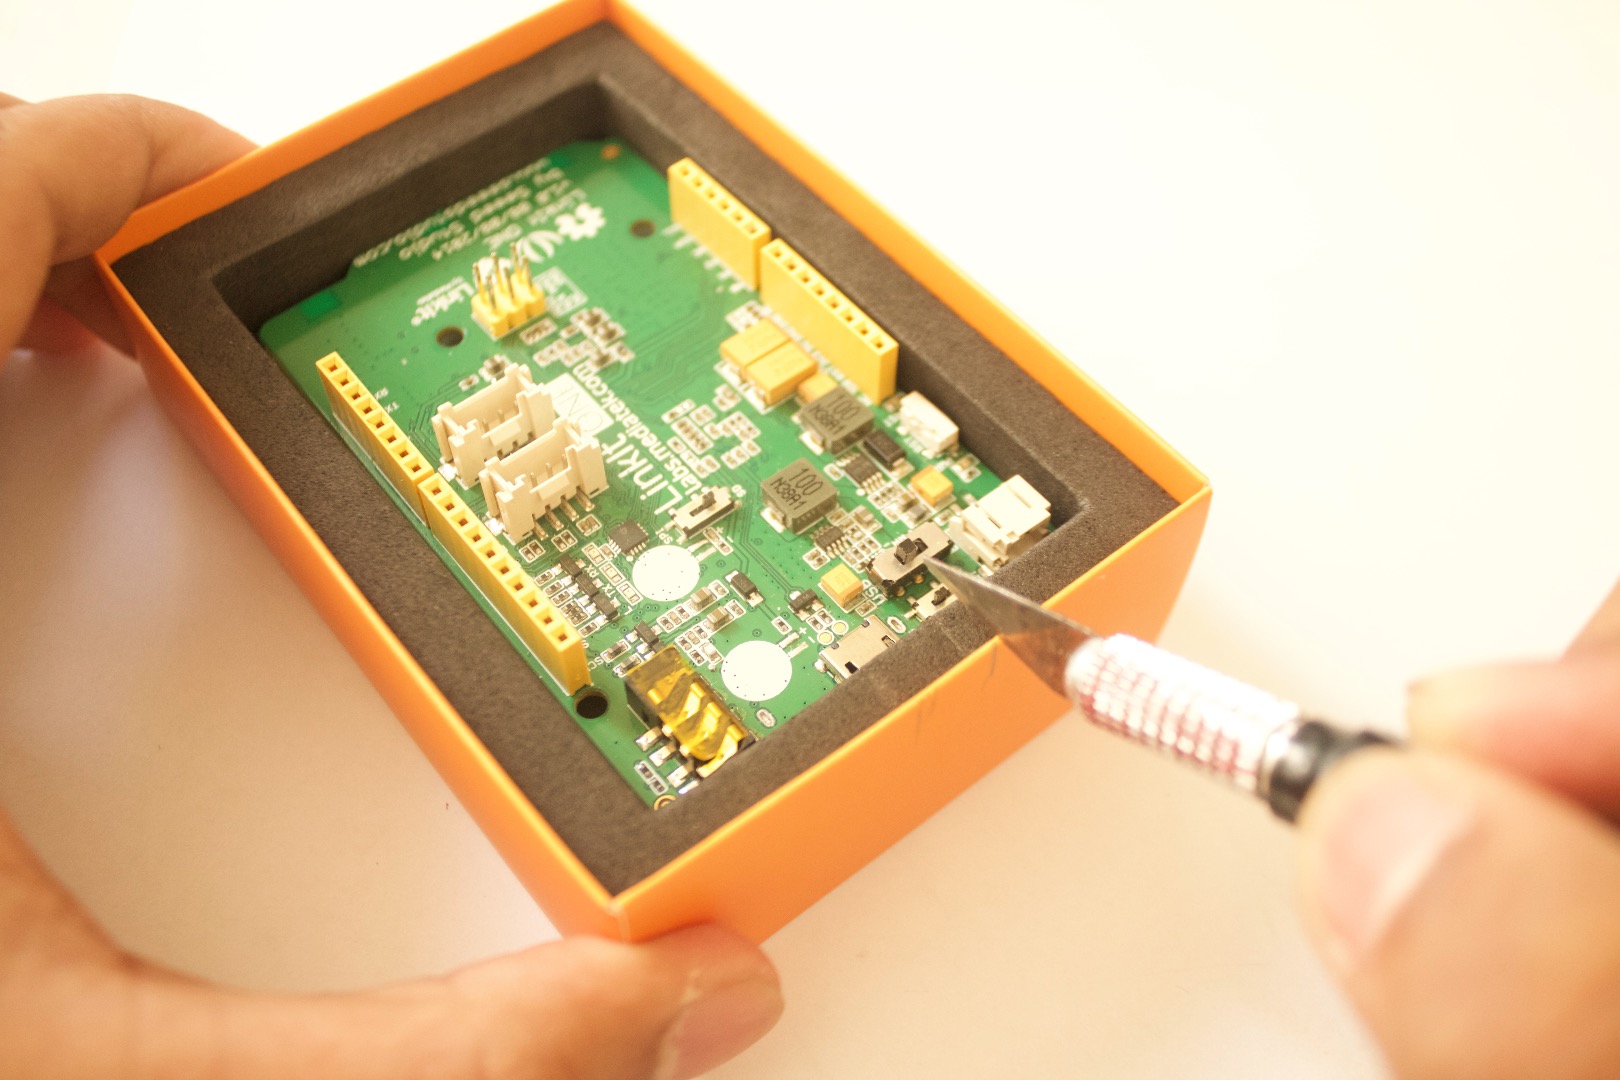
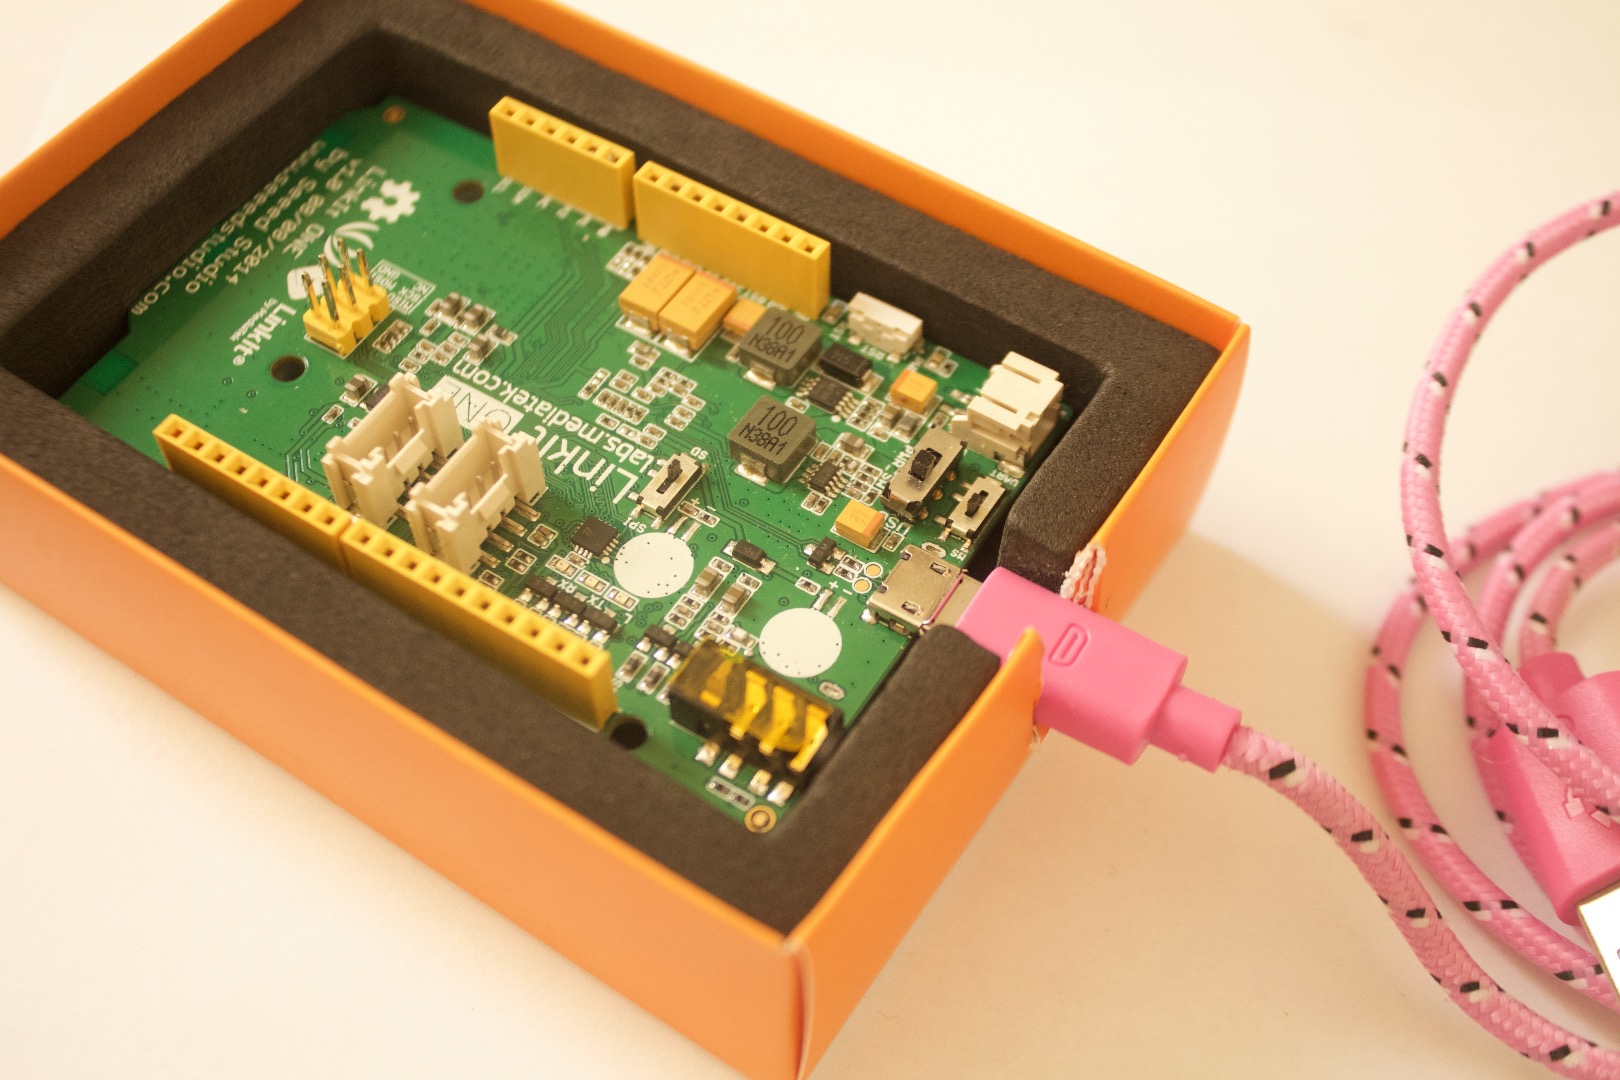
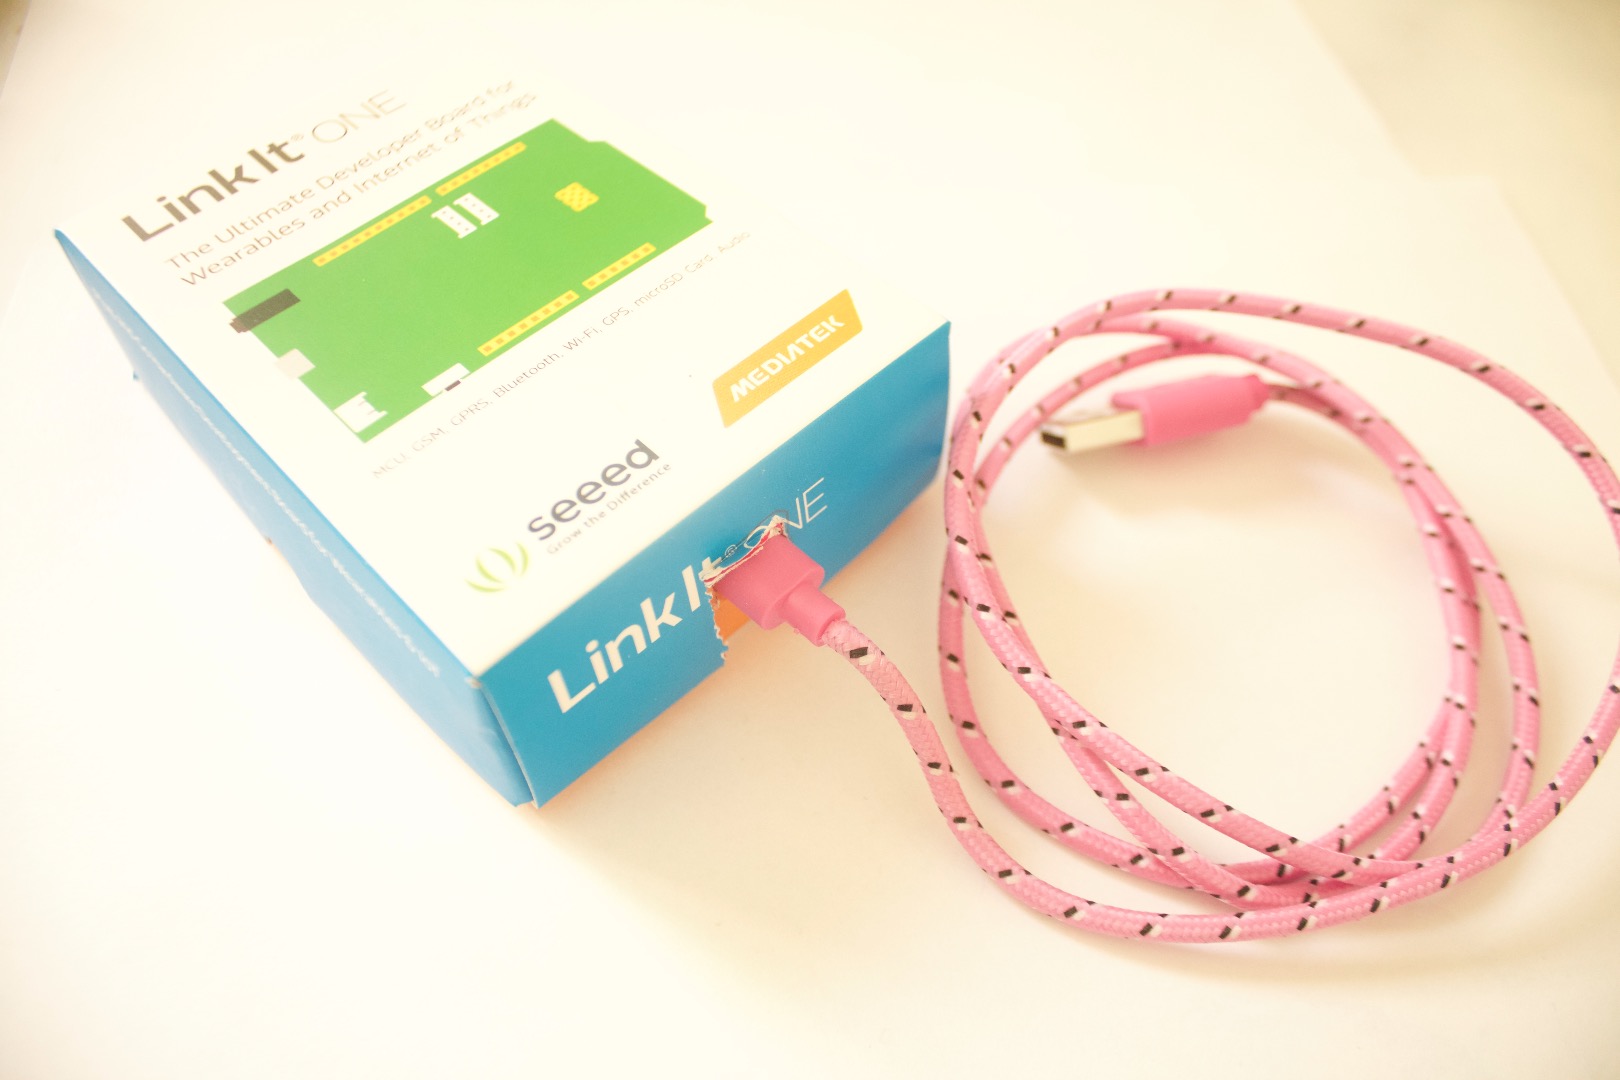
1. Cut a rectangular piece out of the cardboard Box where the USB cable plugs in.
2. Make sure the box closes neatly by cutting out in the same place on the lid also.
Code It
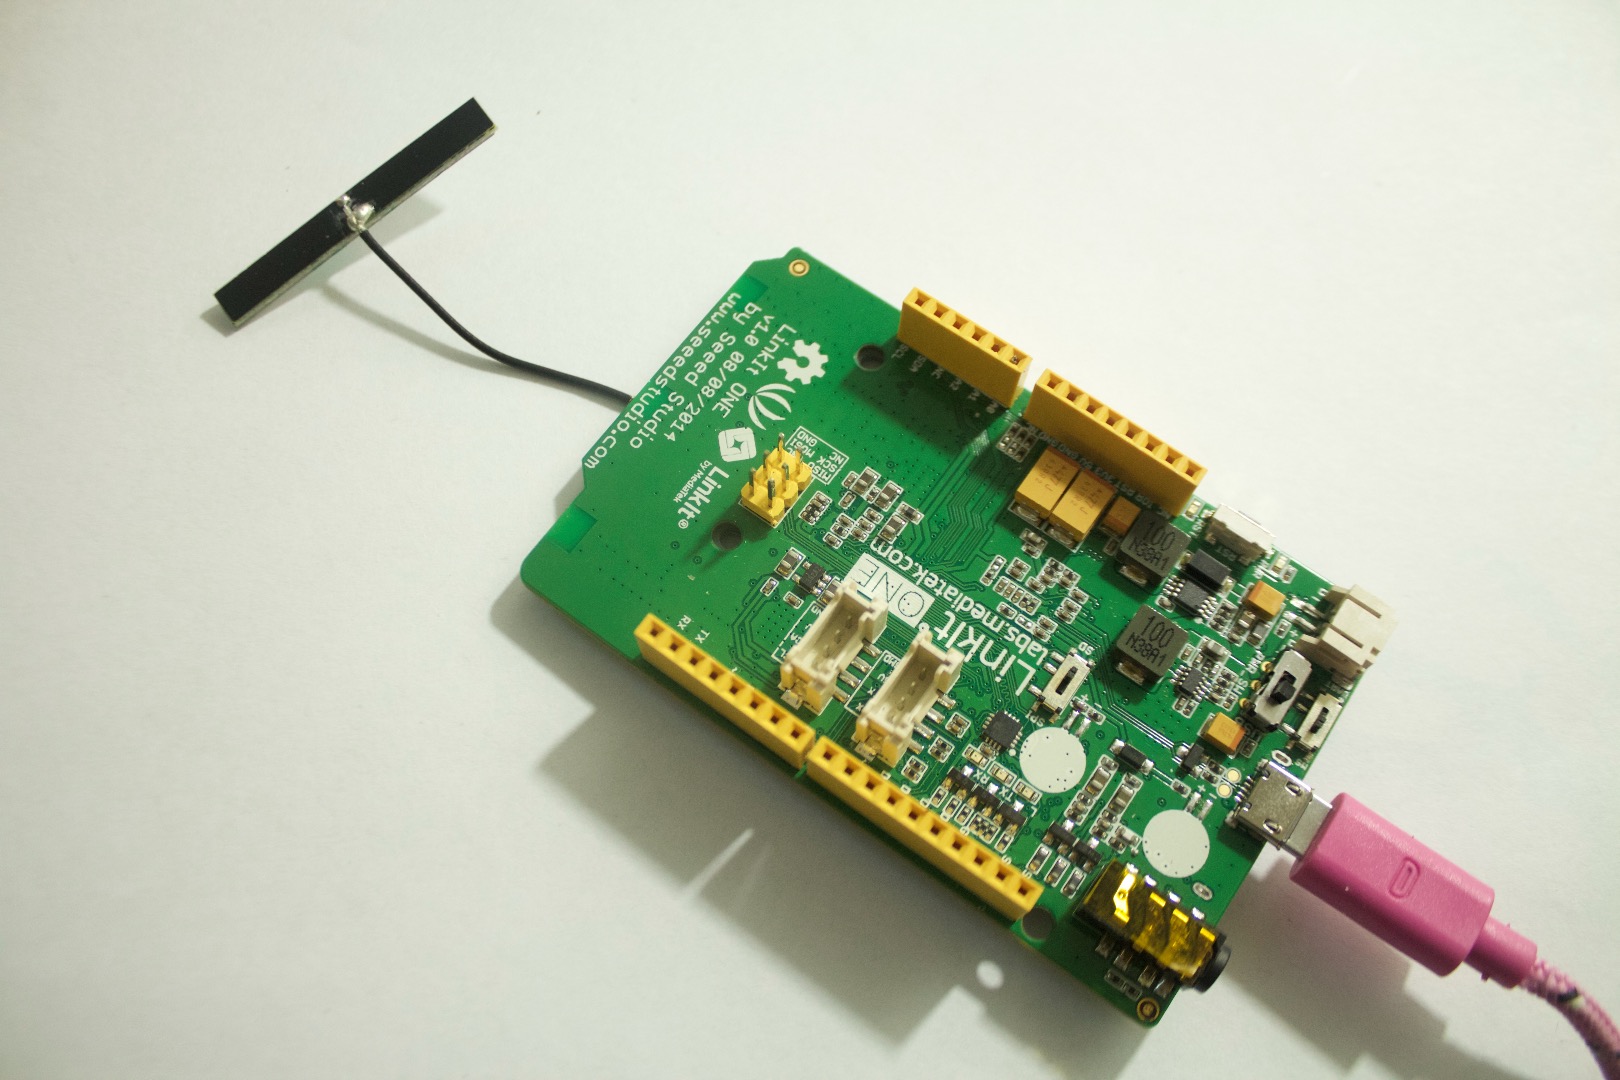
Here is the code for the servo moving based on what is written to the ip address.
#include
#include #include #include #include
#define WIFI_AP "Your WiFi network"
#define WIFI_PASSWORD "Password"
#define WIFI_AUTH LWIFI_WPA // choose from LWIFI_OPEN, LWIFI_WPA, or LWIFI_WEP according to your WiFi AP configuration // If this doesn't work, try LWIFI_WEP. If your network doesn't have a password, use LWIFI_OPEN.
int serverPort = 80;
LWiFiServer server(serverPort);
int LED = 13;
Servo camservo;
void setup()
{
camservo.attach(3);
pinMode(LED, OUTPUT);
LWiFi.begin();
Serial.begin(115200); // keep retrying until connected to AP
Serial.println("Connecting to AP");
while (0 == LWiFi.connect(WIFI_AP, LWiFiLoginInfo(WIFI_AUTH, WIFI_PASSWORD))) {
digitalWrite(LED, HIGH);
delay(300);
digitalWrite(LED, LOW);
}
server.begin();
}
int loopCount = 0;
void loop()
{
String str = "";
String url = "";
int i;
delay(250);
loopCount++;
LWiFiClient client = server.available();
if (client)
{
boolean currentLineIsBlank = true;
while (client.connected())
{
if (client.available())
{
char c = client.read();
Serial.print(c);
if(c != '\n')
str += c;
if(c == '\n')
{
Serial.println(str);
if(str.startsWith("GET "))
{
url = str.substring(4, str.lastIndexOf(" "));
Serial.print("URL:");
Serial.print(url);
Serial.println(":");
}
str = "";
}
if (c == '\n' && currentLineIsBlank)
{
Serial.println("send response");
client.println("HTTP/1.1 200 OK");
client.println("Content-Type: text/html");
client.println("Connection: close");
client.println();
if(url != String("favicon.ico"))
{
client.println("");
//i = digitalRead(LED);
url.toLowerCase();
if(url == String("/lookleft"))
{
for(pos = 90; pos <= 180; pos += 1)
{
camservo.write(pos);
delay(10);
}
digitalWrite(LED, HIGH);
}
else if(url == String("/lookright"))
{
digitalWrite(LED, LOW);
for(pos = 90; pos >= 00; pos -= 1)
{
camservo.write(pos);
delay(10);
}
}
client.println();
break;
}
}
if (c == '\n')
{
currentLineIsBlank = true;
}
else if (c != '\r')
{
currentLineIsBlank = false;
}
}
}
delay(30);
client.stop(); } }
Glue the Servo
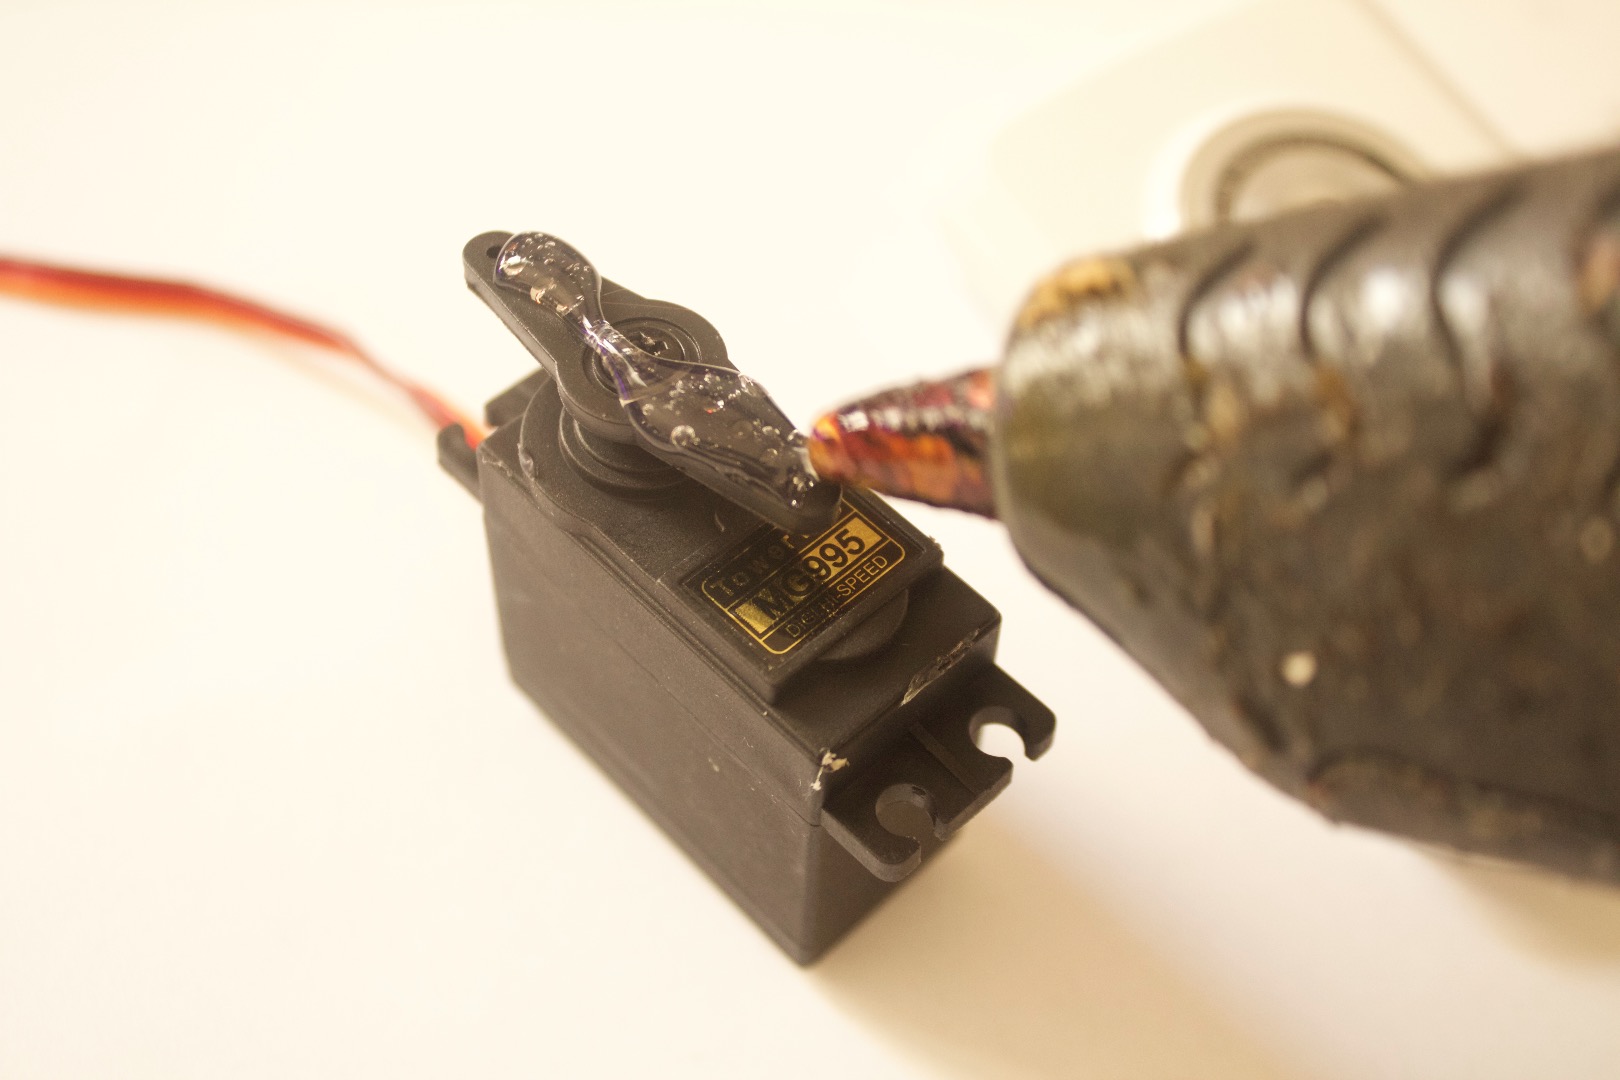
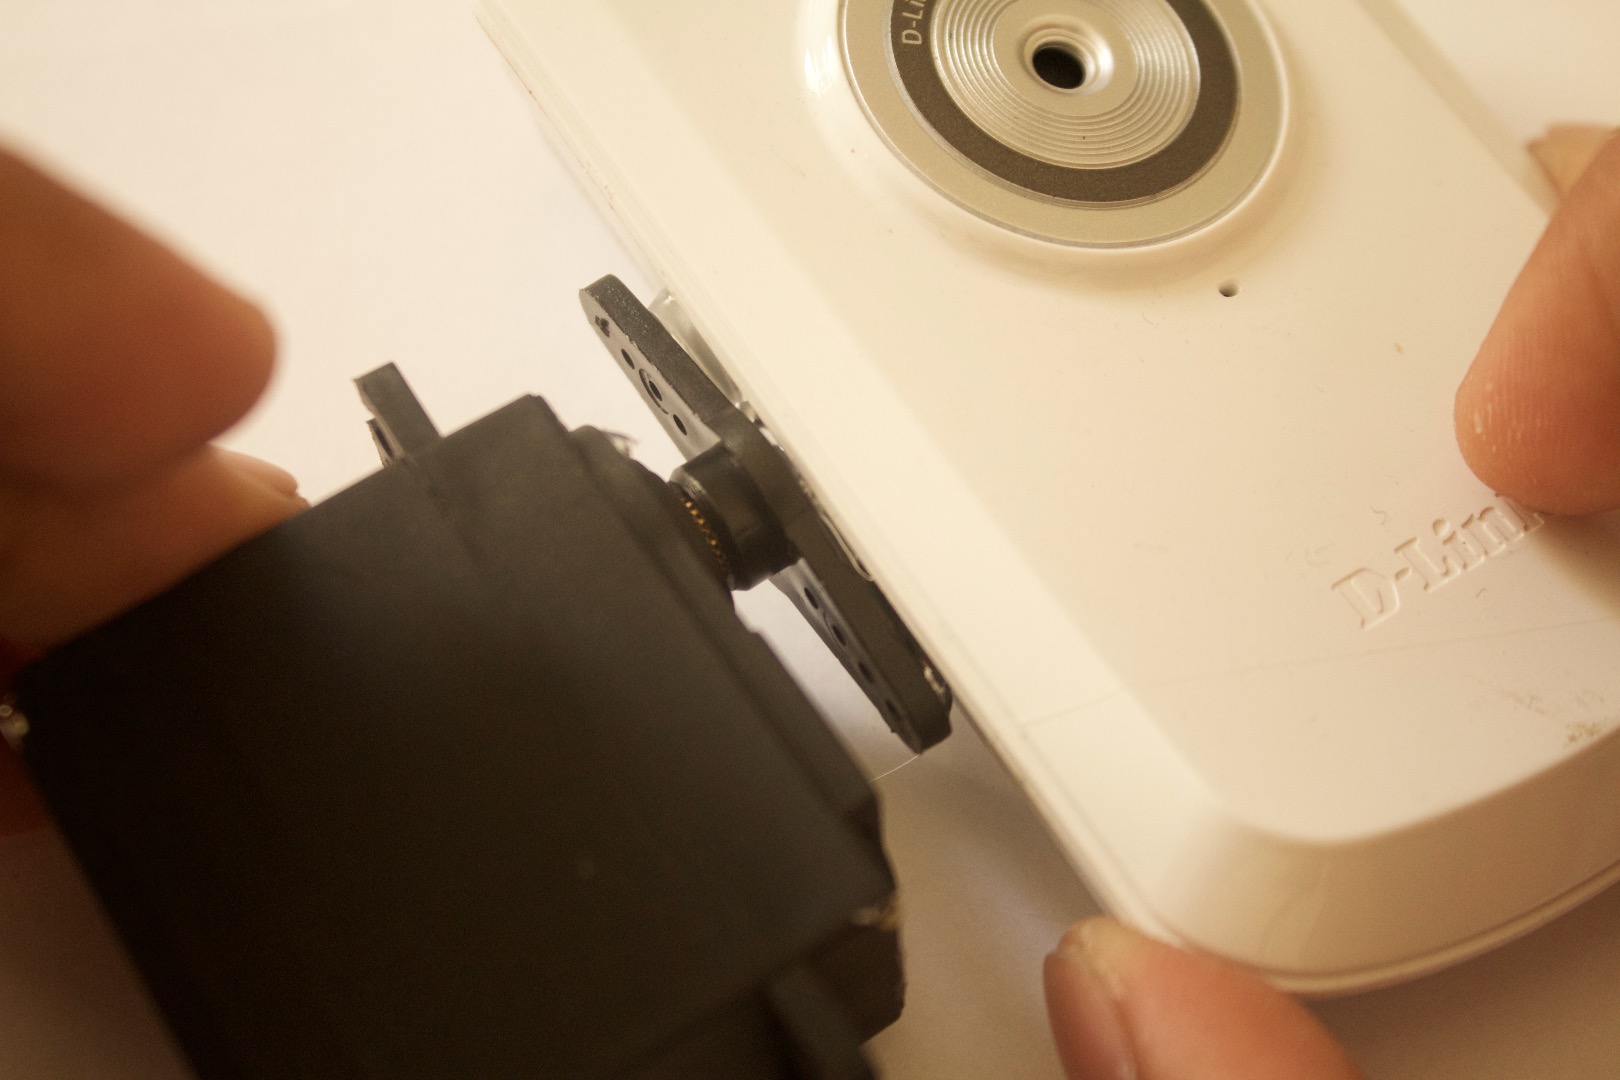
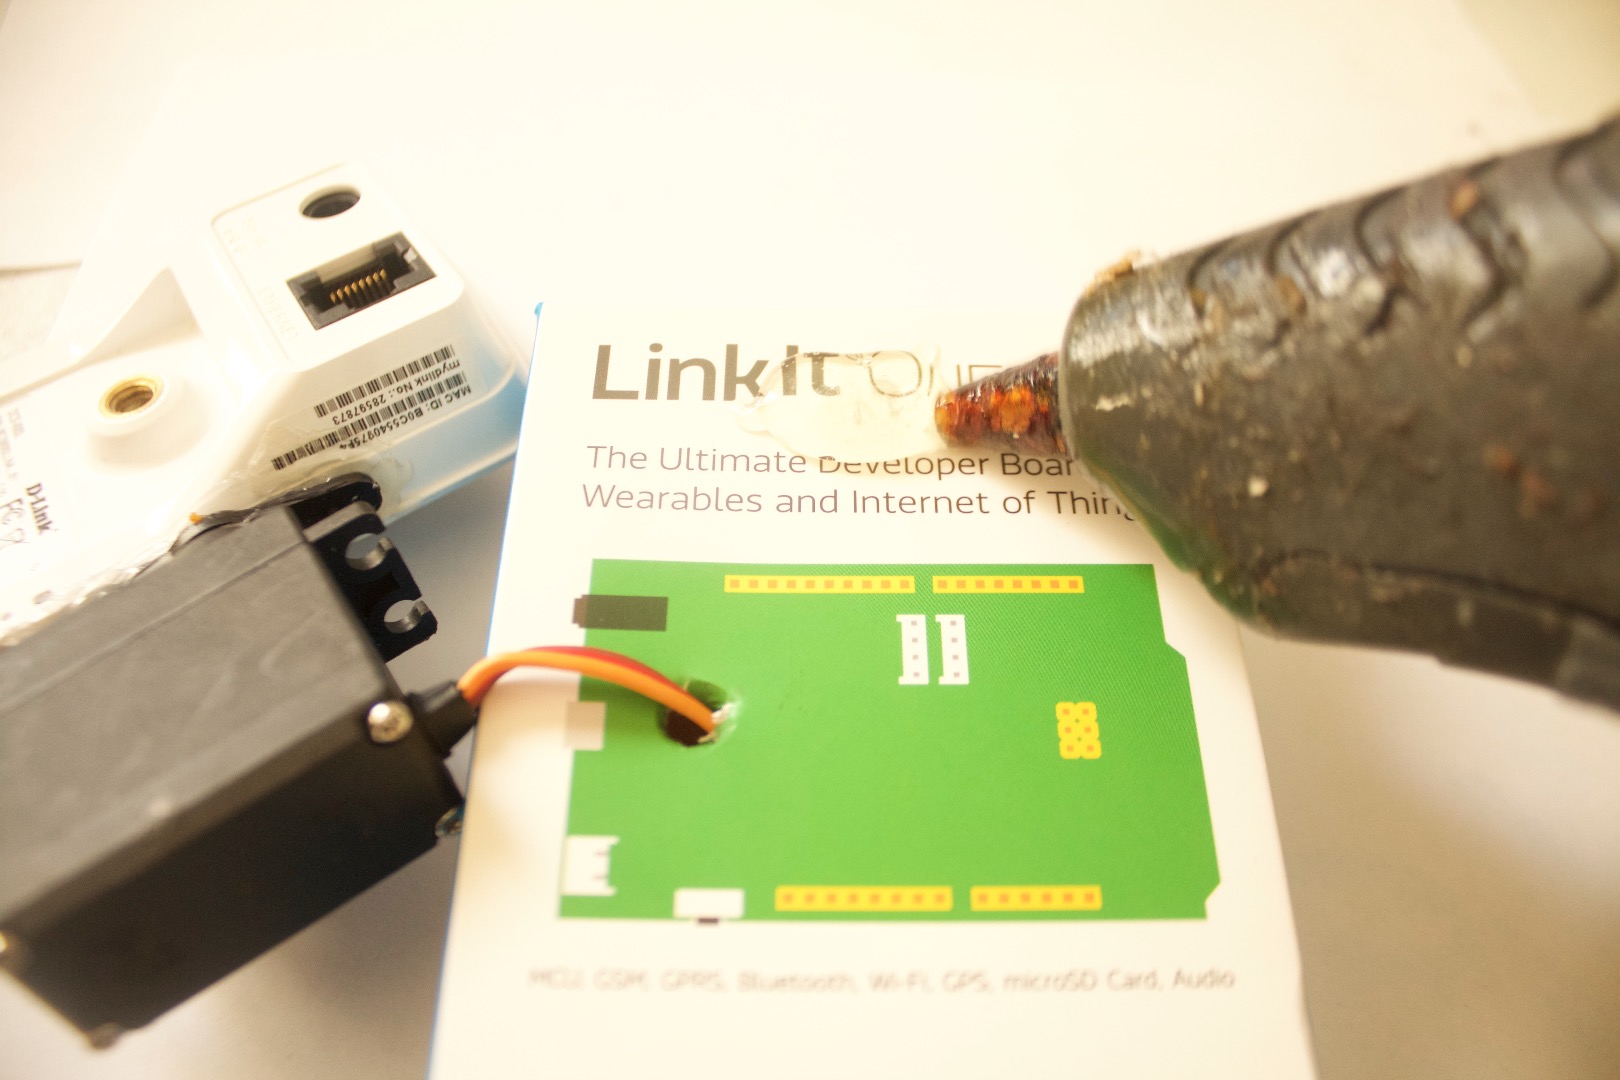
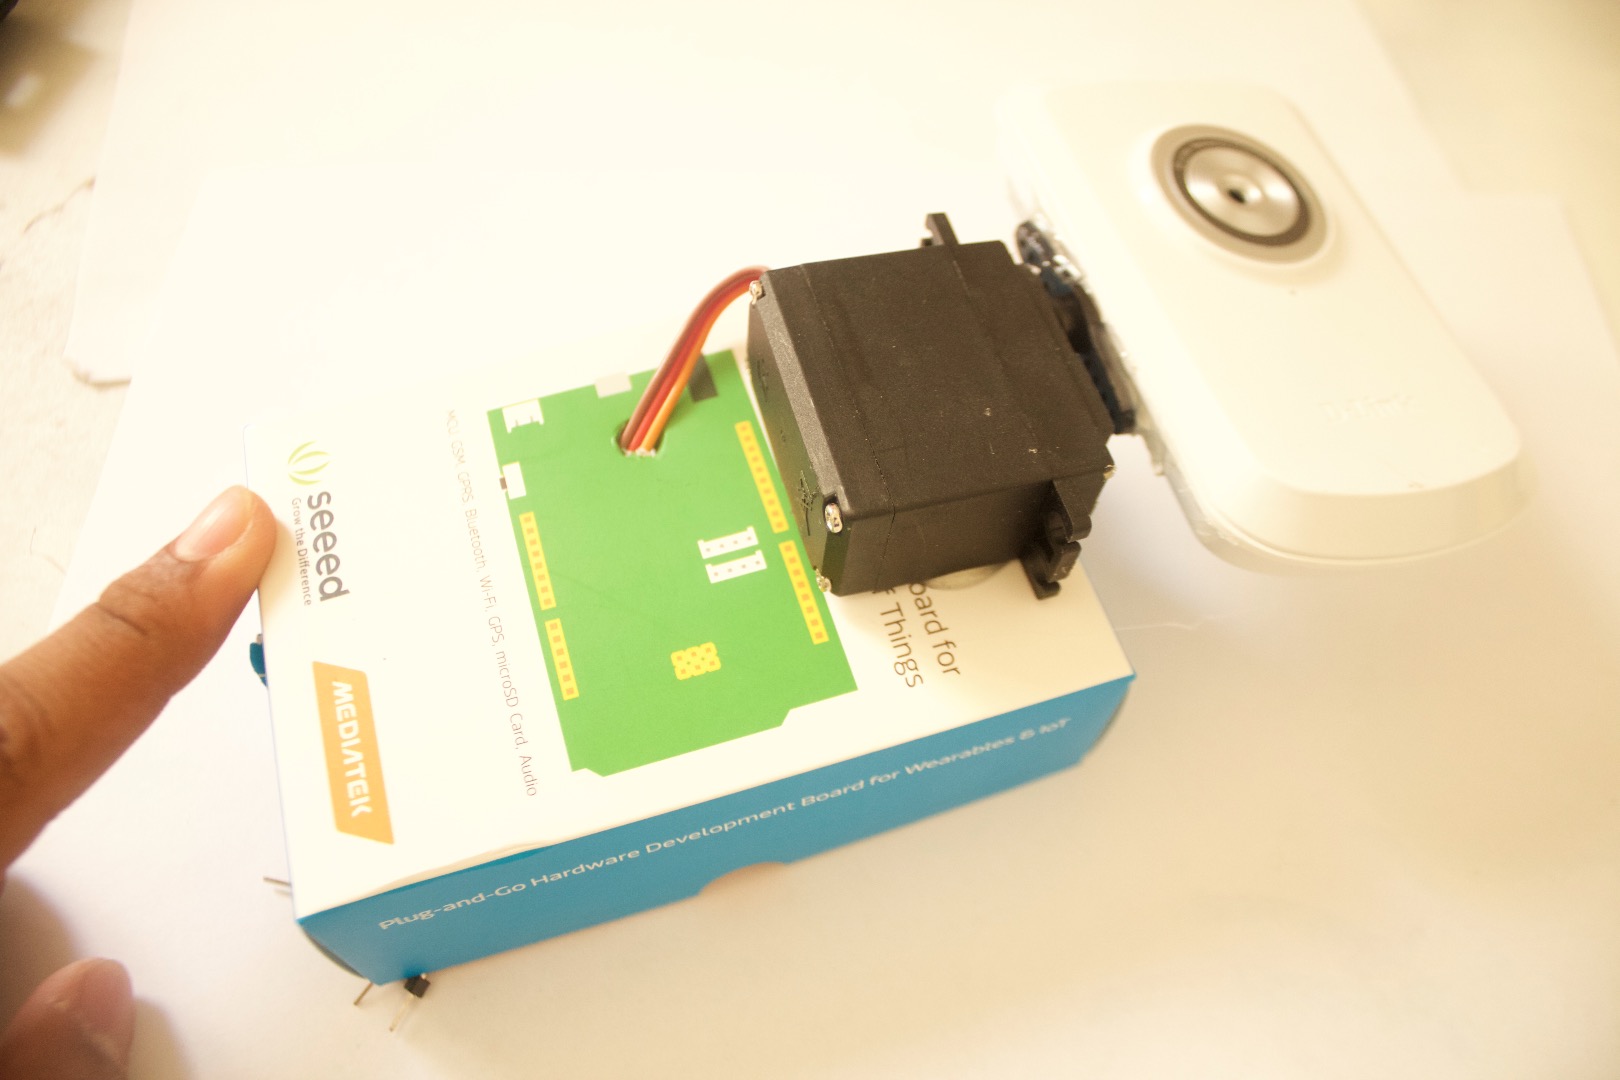
1. Hot Glue the Camera to the servo head.
2. Mount the servo on the box by gluing it in place.
3. Insert the wire through a hole made into the top lid.
Wiring
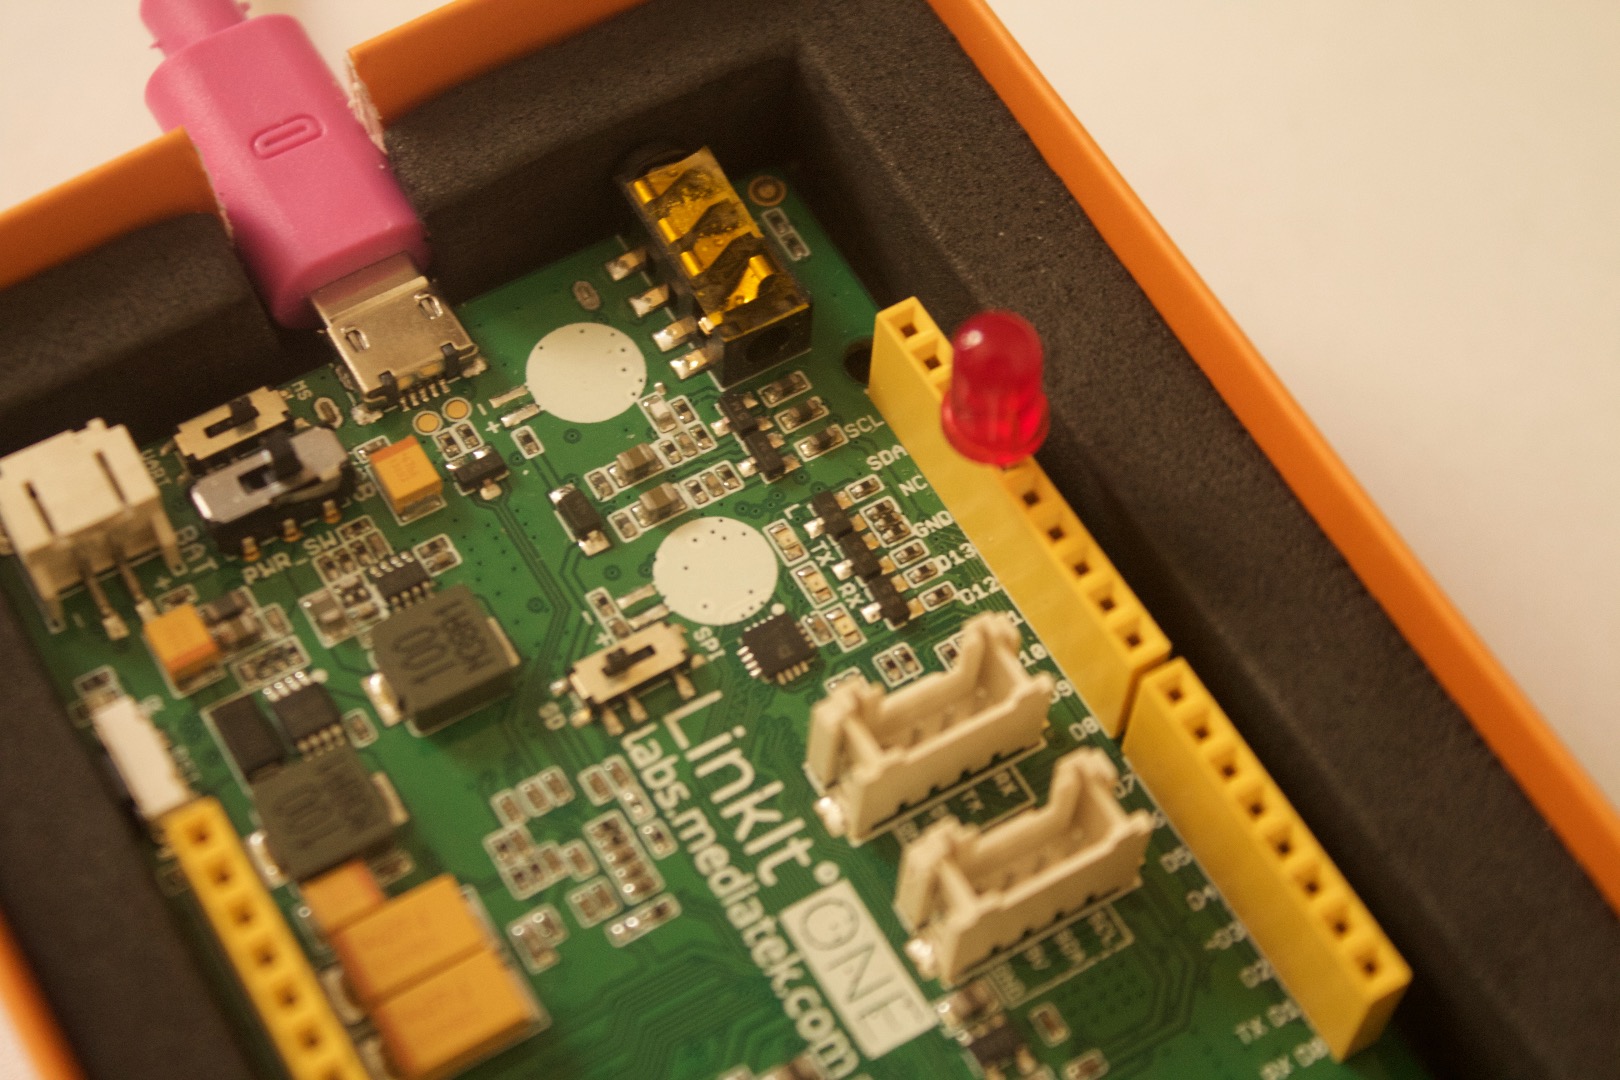
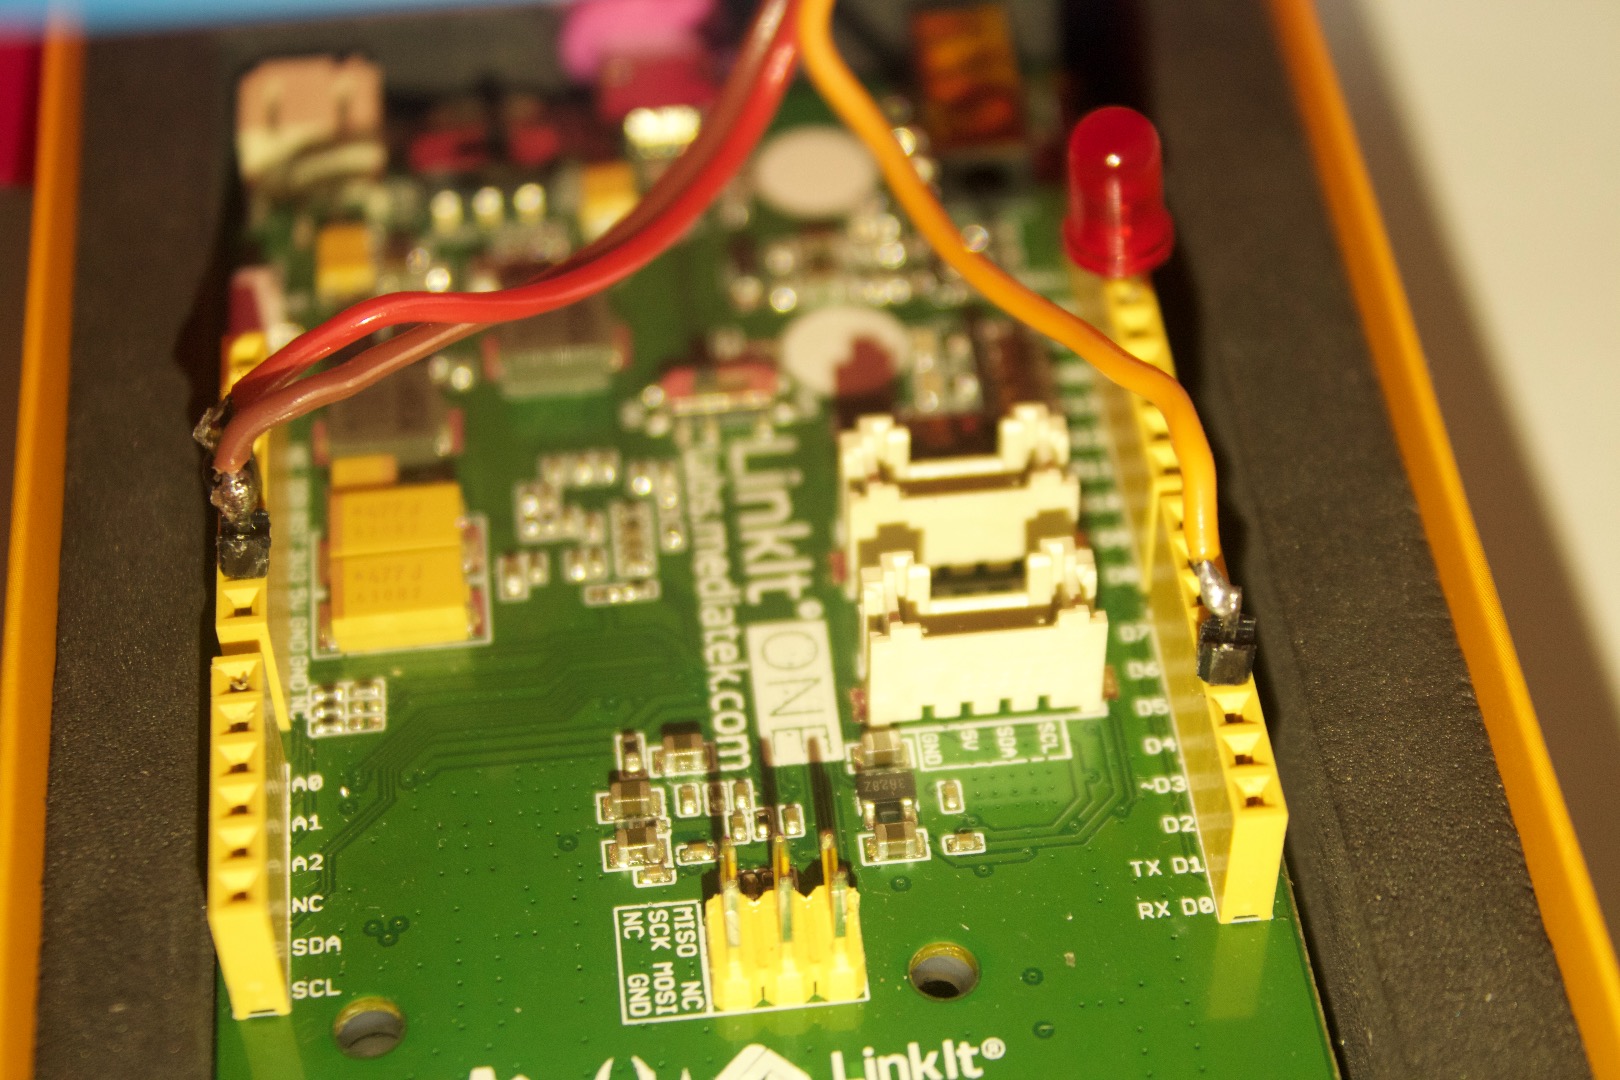
1. Connect the LED to pin 13 and GND.
2. Connect the servo VCC to 5v.
3. Connect the GND of the servo to the GND.
4. Connect the signal wire to pin 3.
And thats it you're done:), Lets test it out.
Test and Conclusion
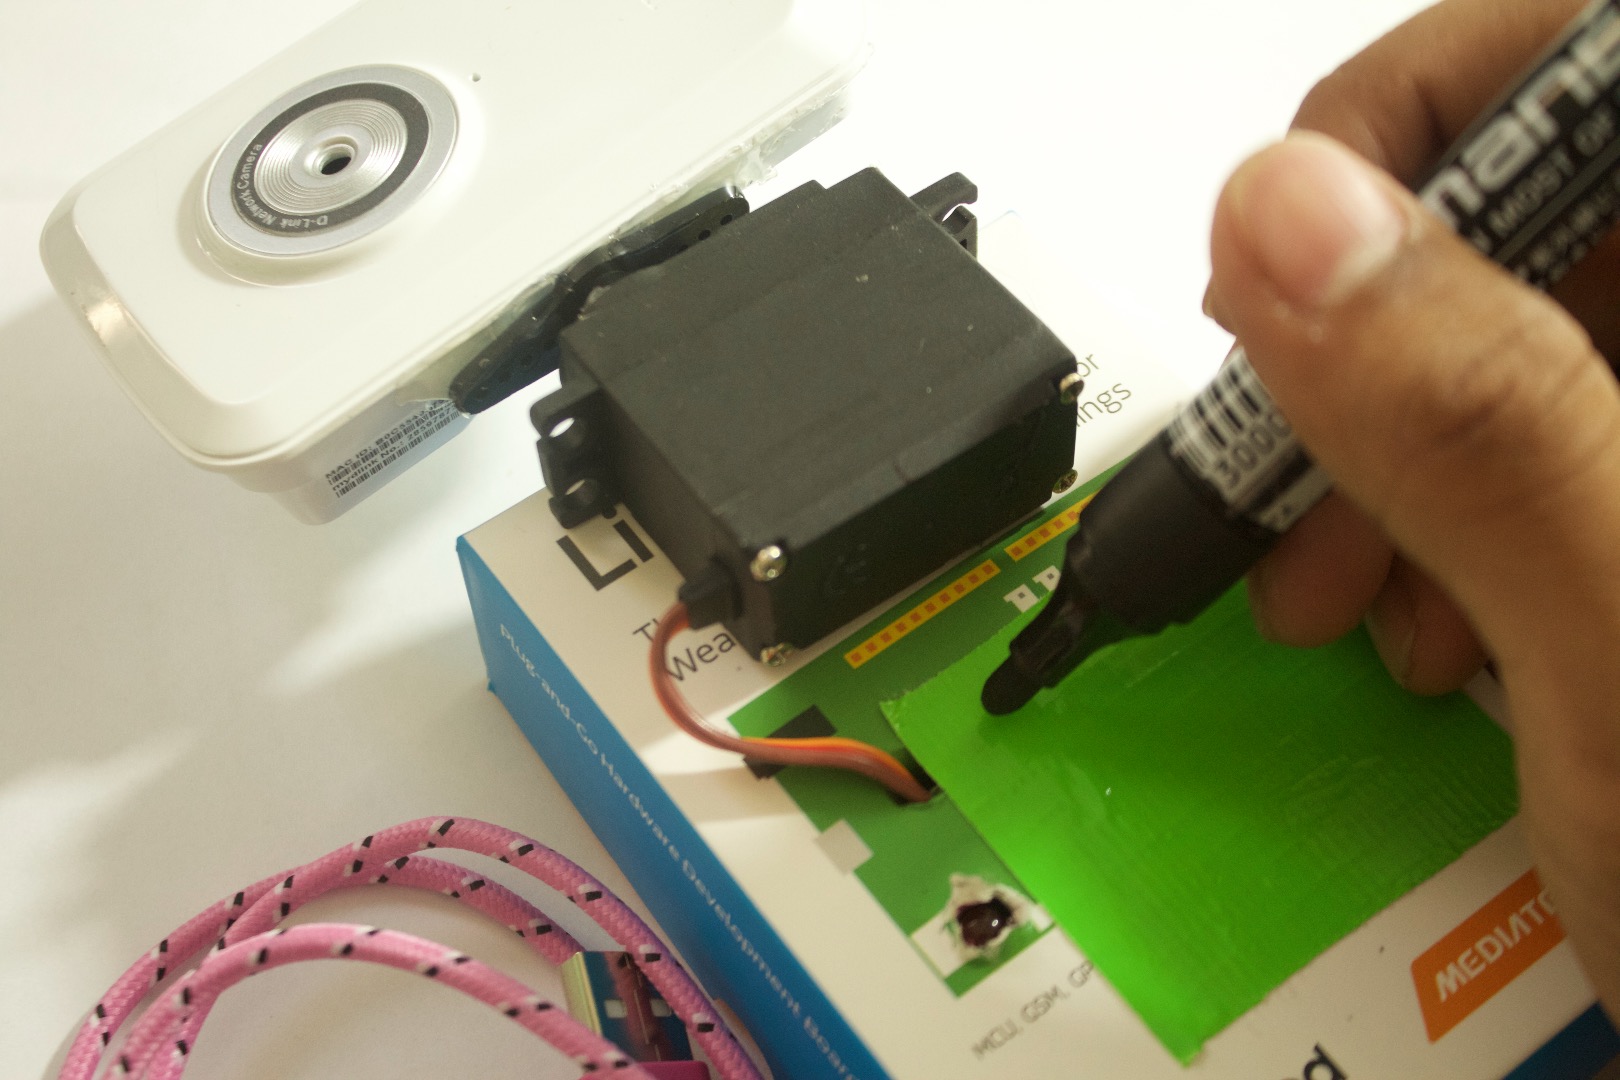
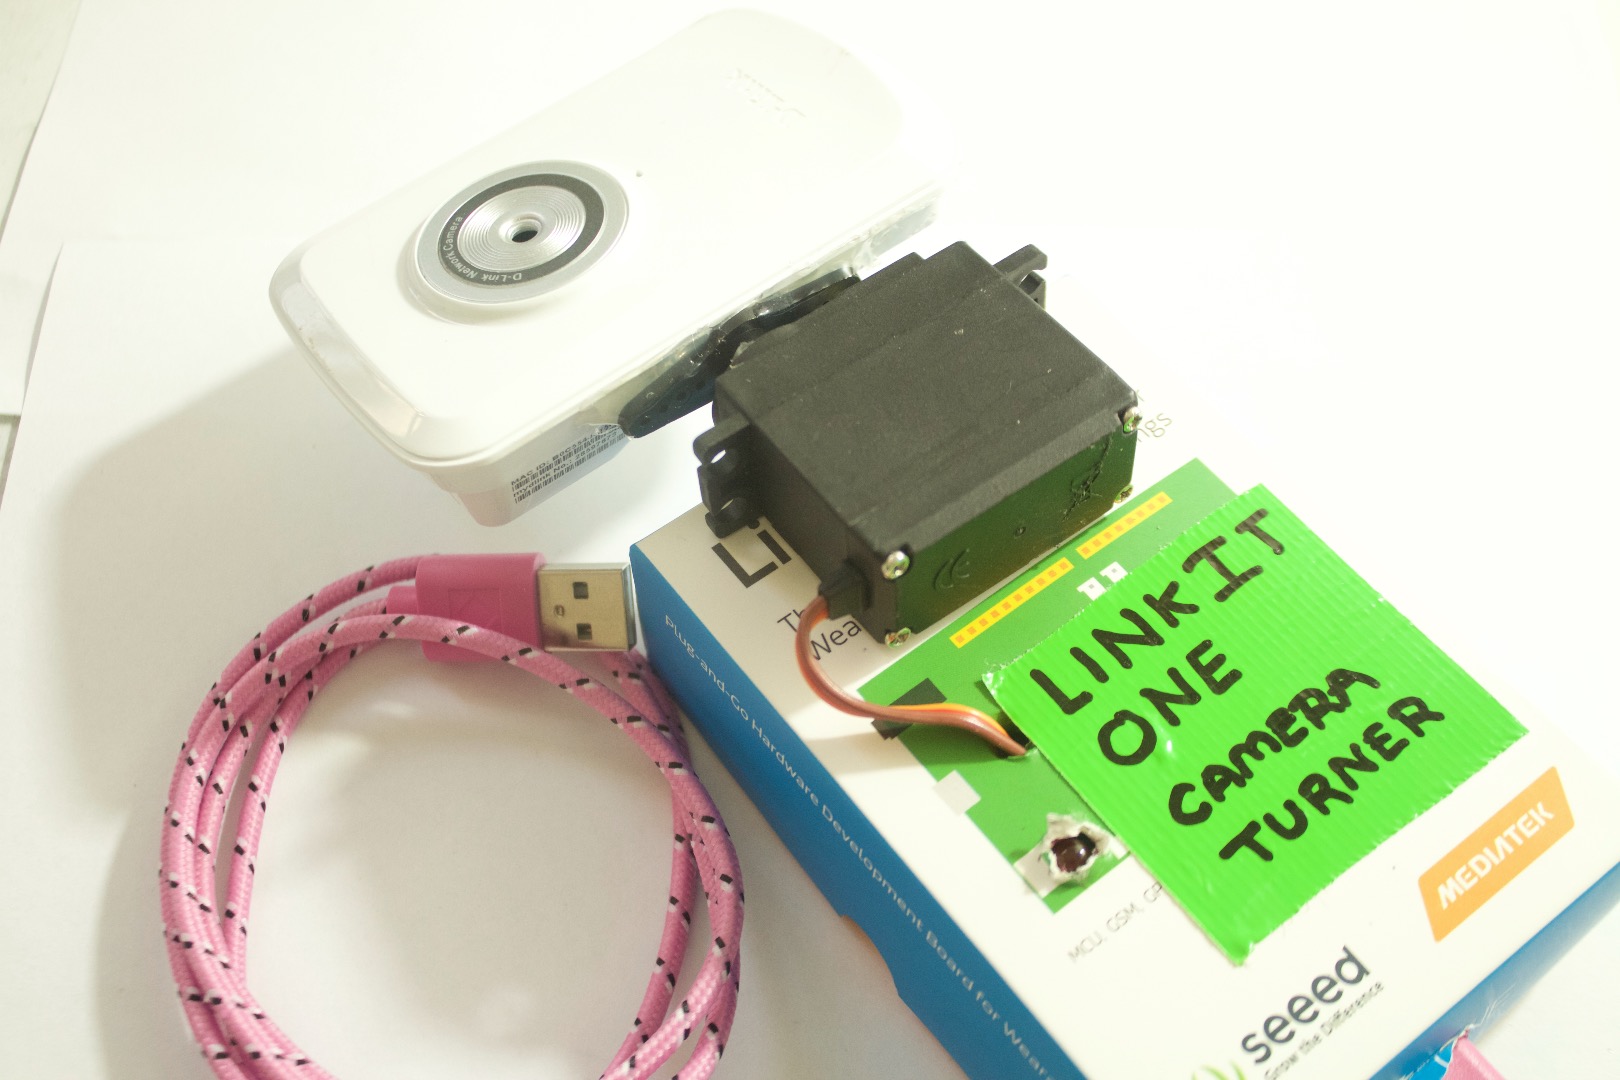
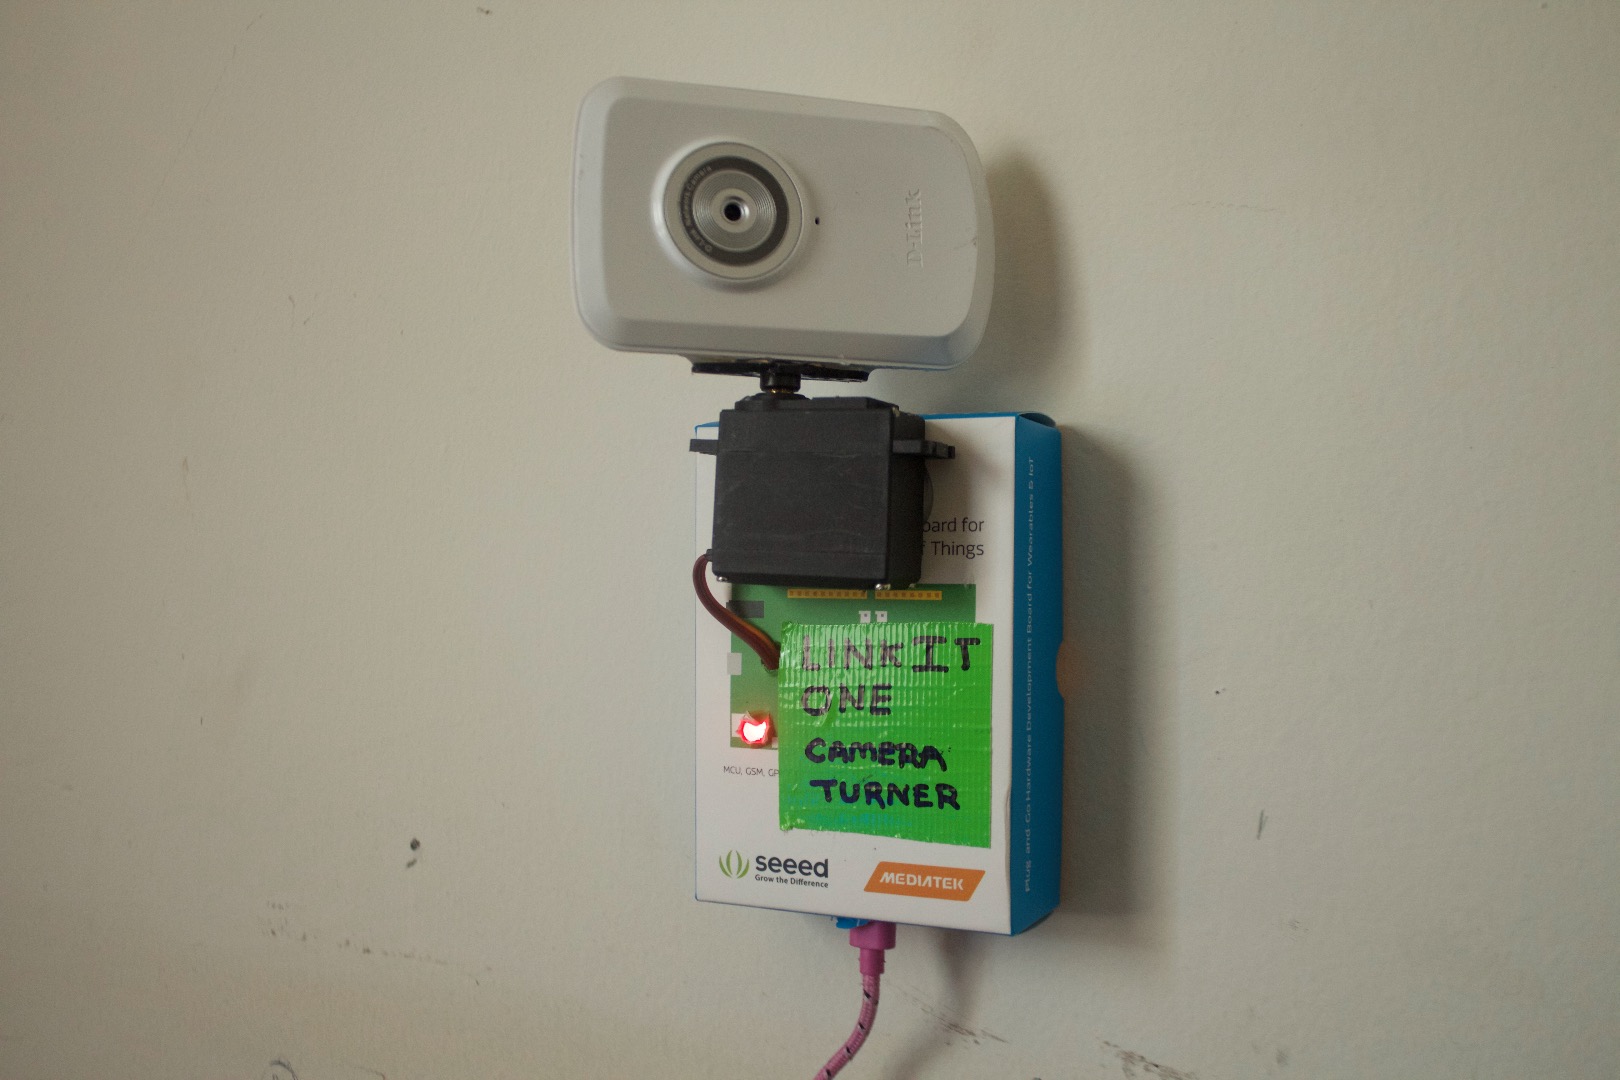
Write something on the box to make it look pretty and plug it in to a power source.
On your computer or your phone type this: your ip address/lookright
your ip address/lookleft
And thats it whenever you write to your ip with either one of those above the servo will move. This will allow you to have a bigger view of your house or your room as it will let you look at things your camera perspective wouldn't cover.
In conclusion this is a basic camera control function but you could also add the functionality of controlling LEDs to adjust the brightness at night and add the functionality of autorotation.