LinkIt One IR Object Protector
by robo10302 in Circuits > Microcontrollers
635 Views, 3 Favorites, 0 Comments
LinkIt One IR Object Protector
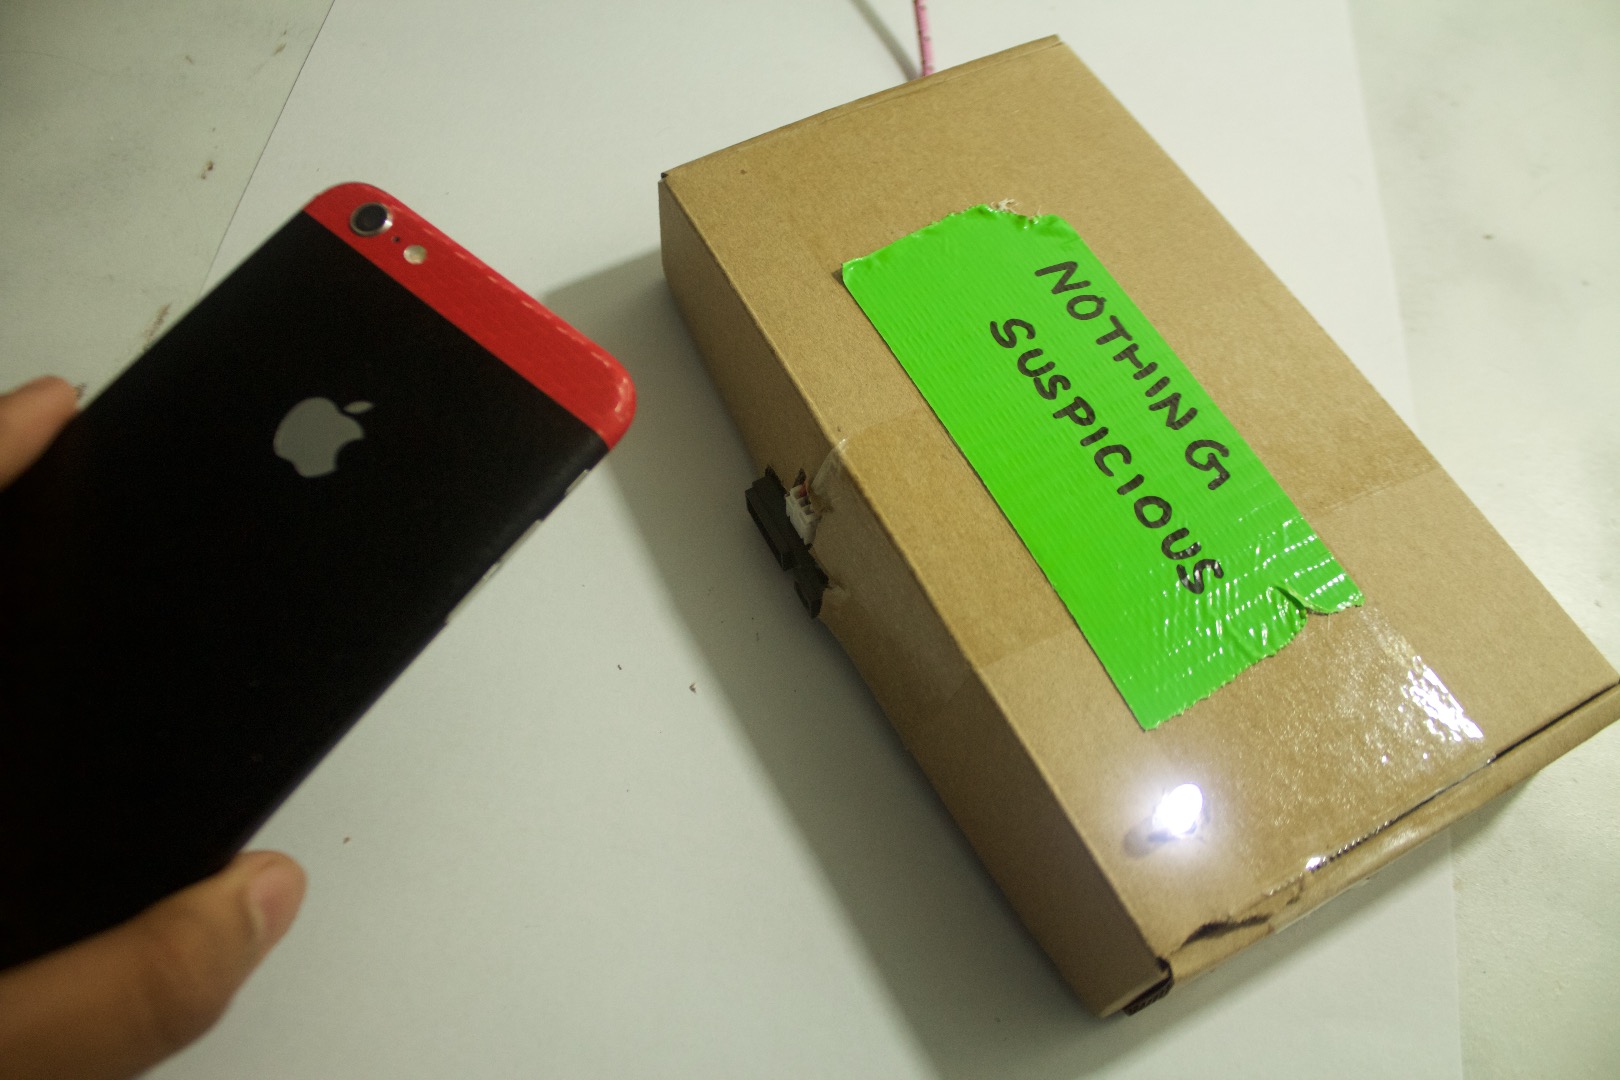
Hello Builders! This is a project on how to make an object detector or protector. This project will use a IR distance sensor with the LinkIt One Micro-controller. Whenever you keep a valuable( any object) in front of the sensor it'll detect that the object is there and when the object is lifted or take away the Object Protector will start making a long 1 kHz square wave going to the speaker which will make sound. Also the led will light up when the object is taken away. So lets start with the build which is quite simple and involves no circuit soldering.
Parts
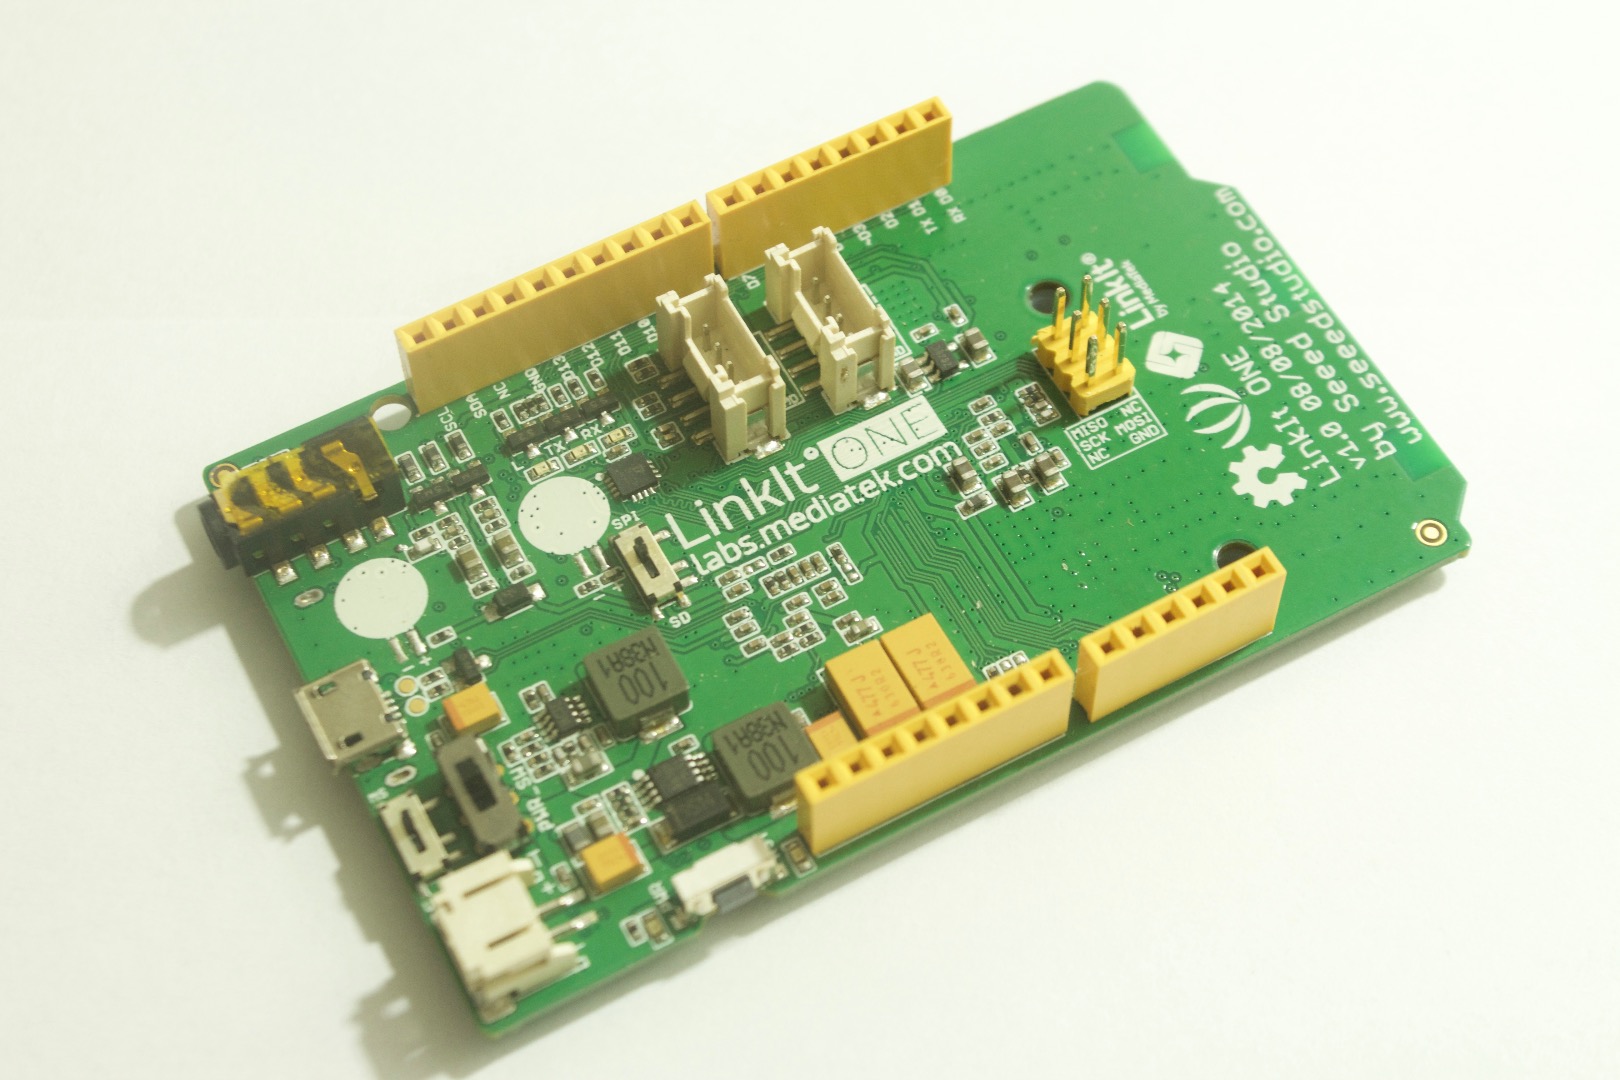
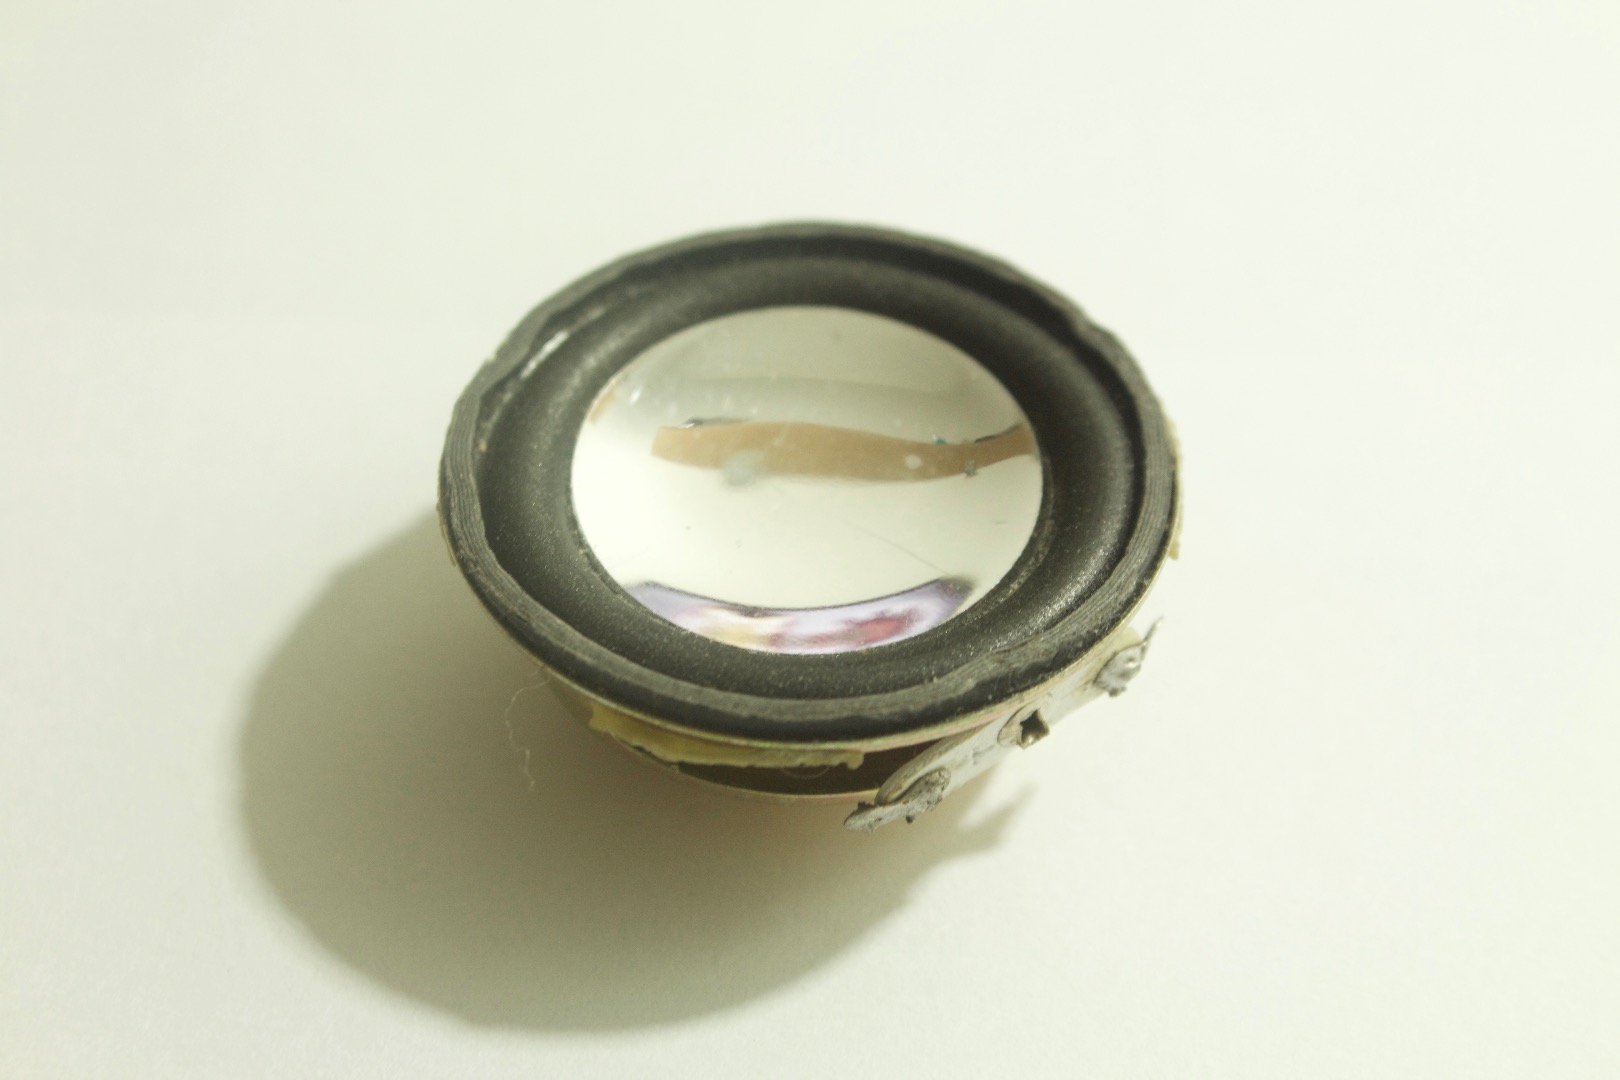
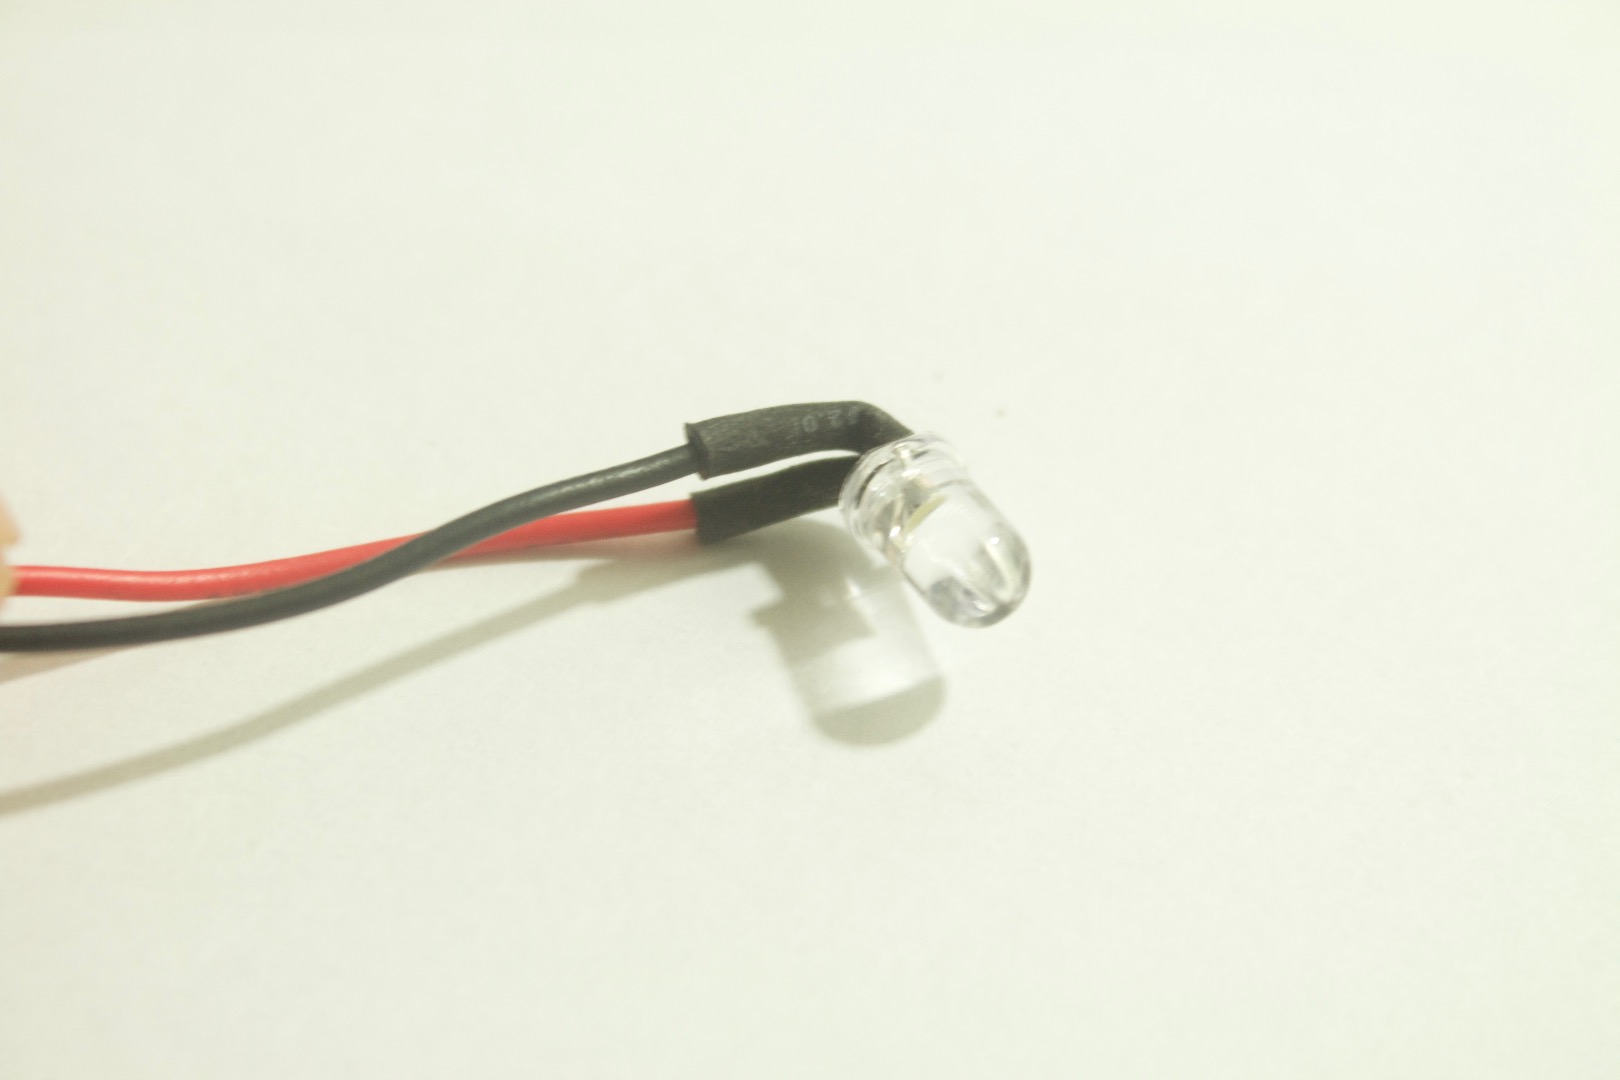

1. LinkIt One Board
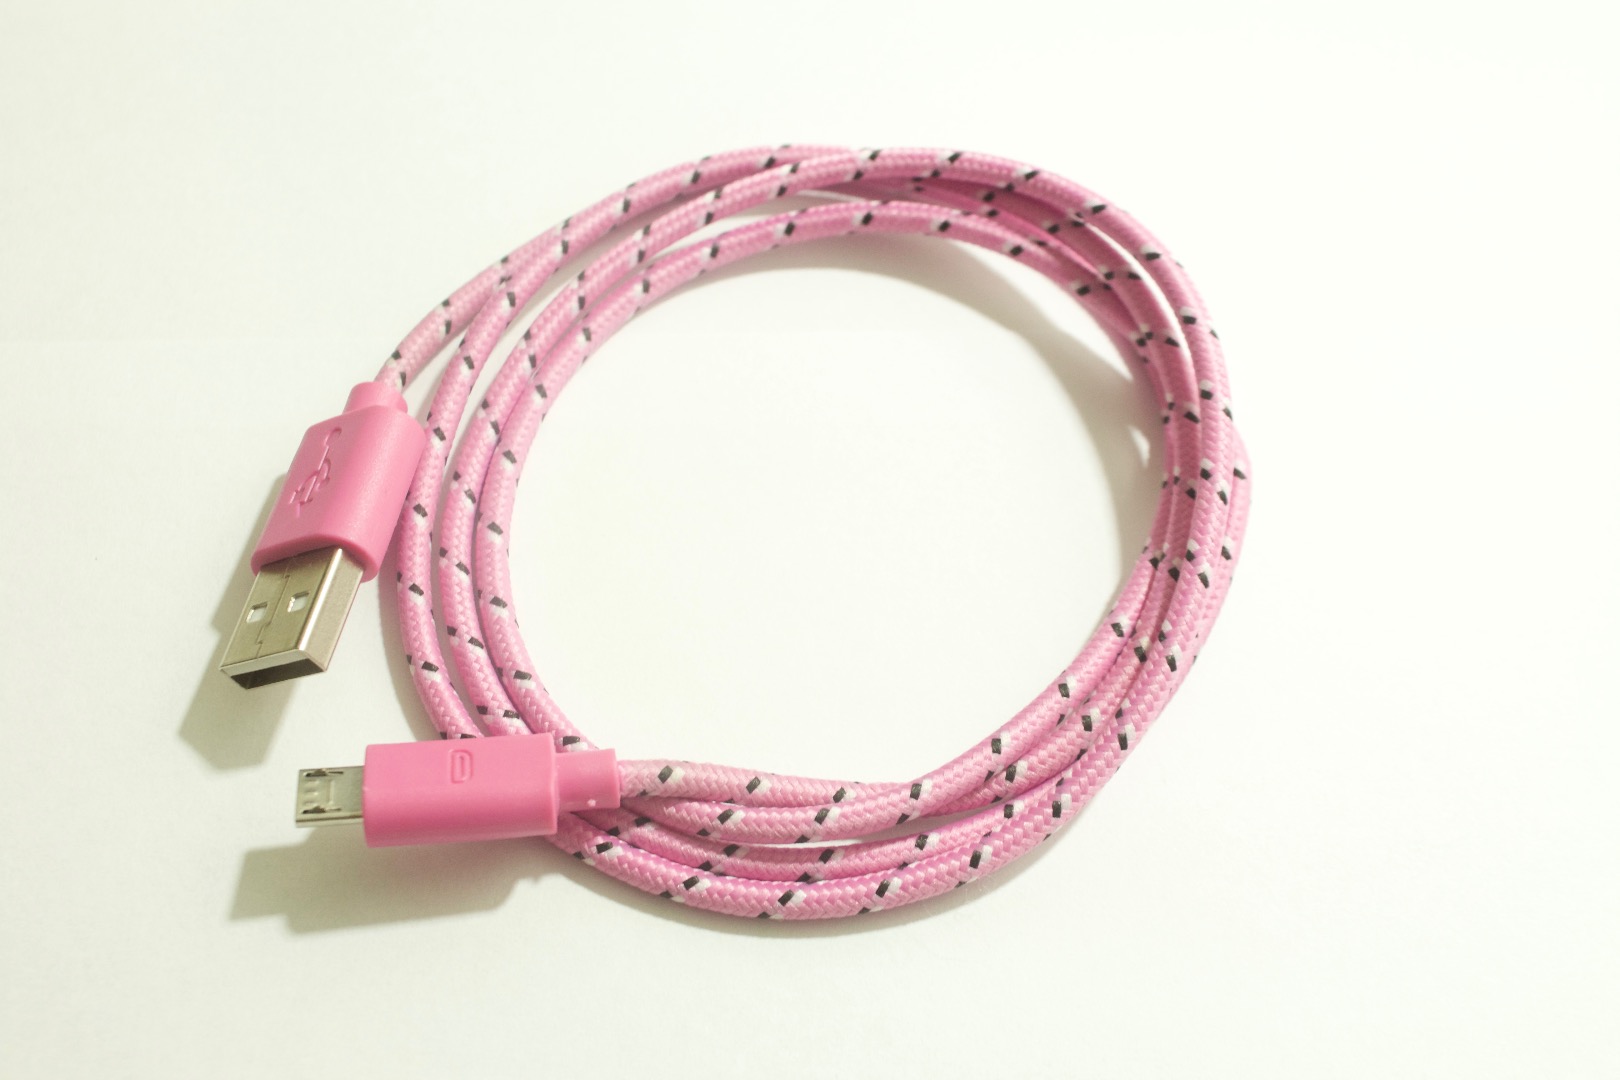
2. Usb Cable
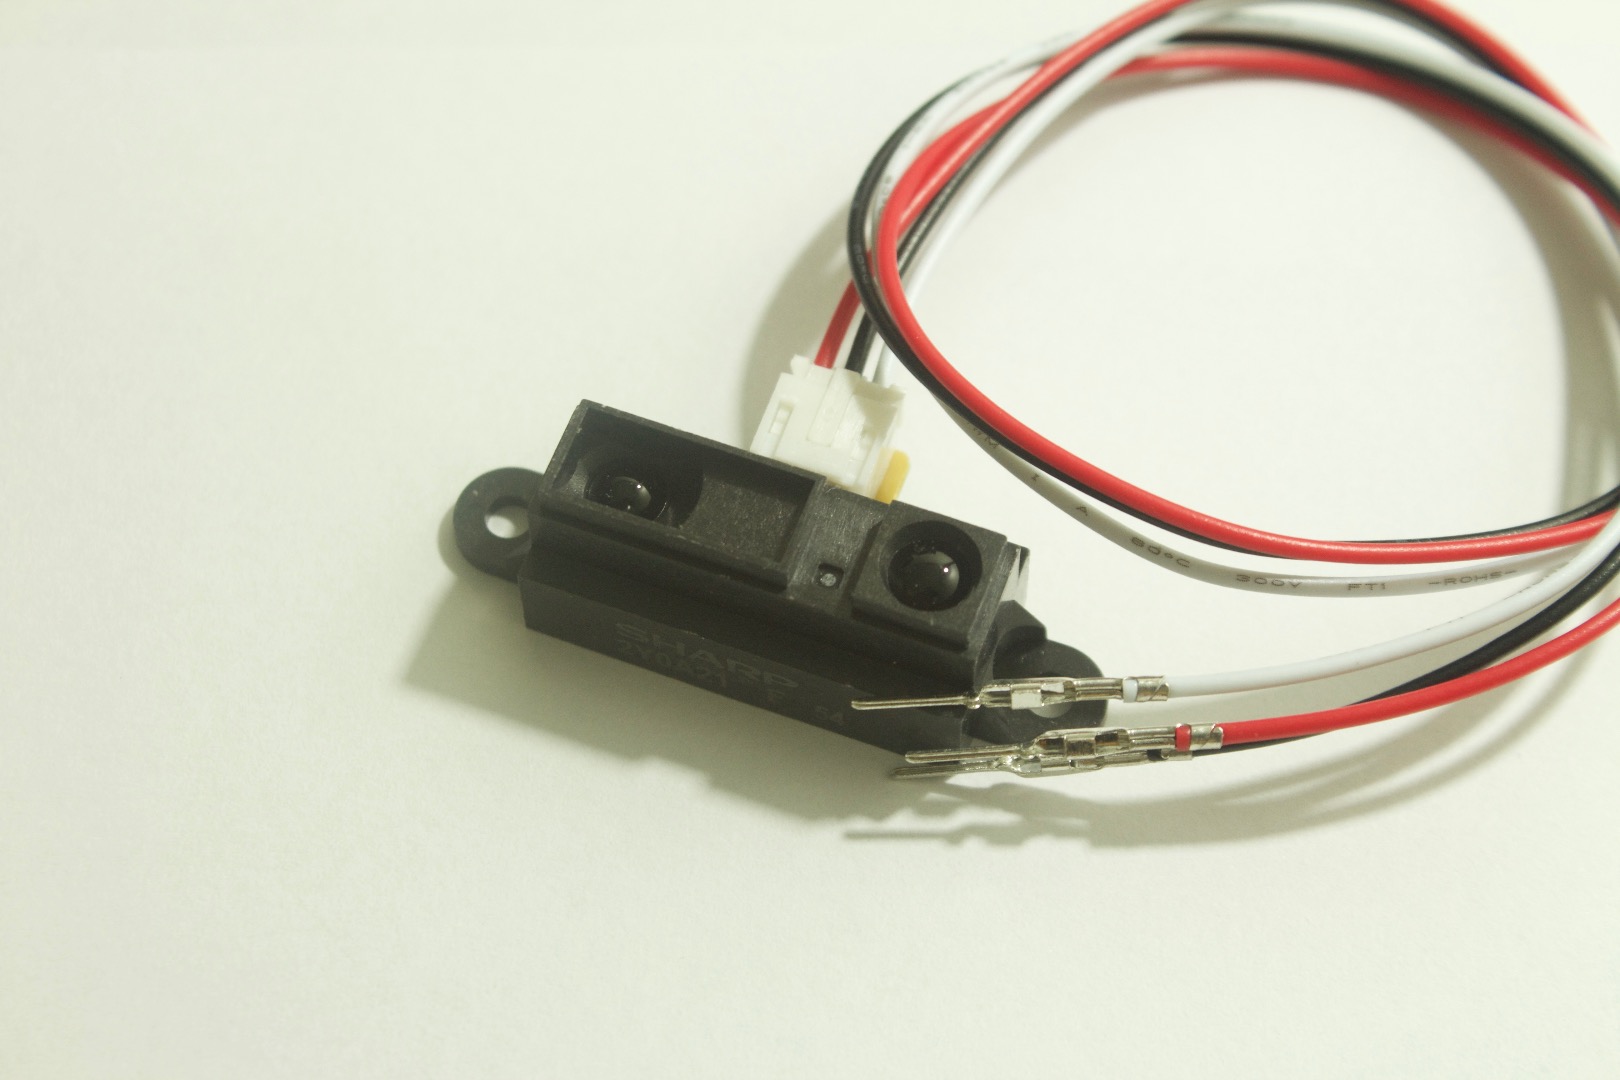
3. Sharp IR distance sensor
4. 8-4 ohm speaker or piezo buzzer
5. LED (any color)
6. Small Cardboard Box
TOOLS:
Soldering Iron
Soldering wire
Hot glue gun
Speaker
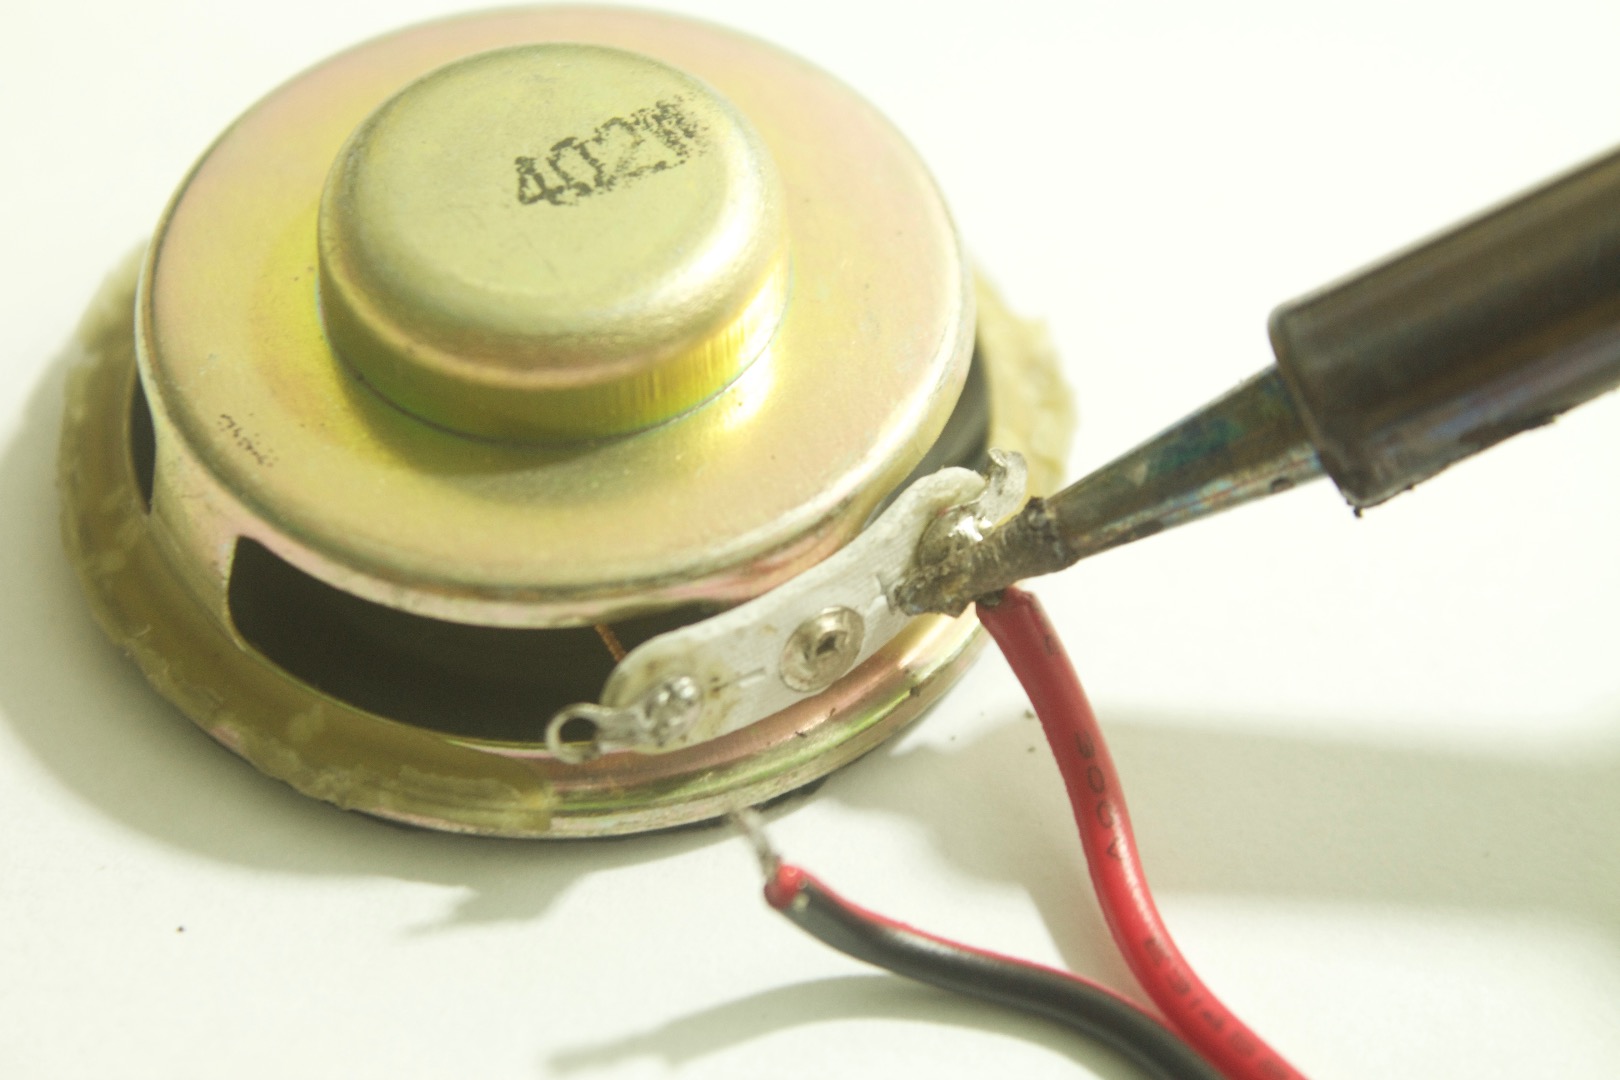
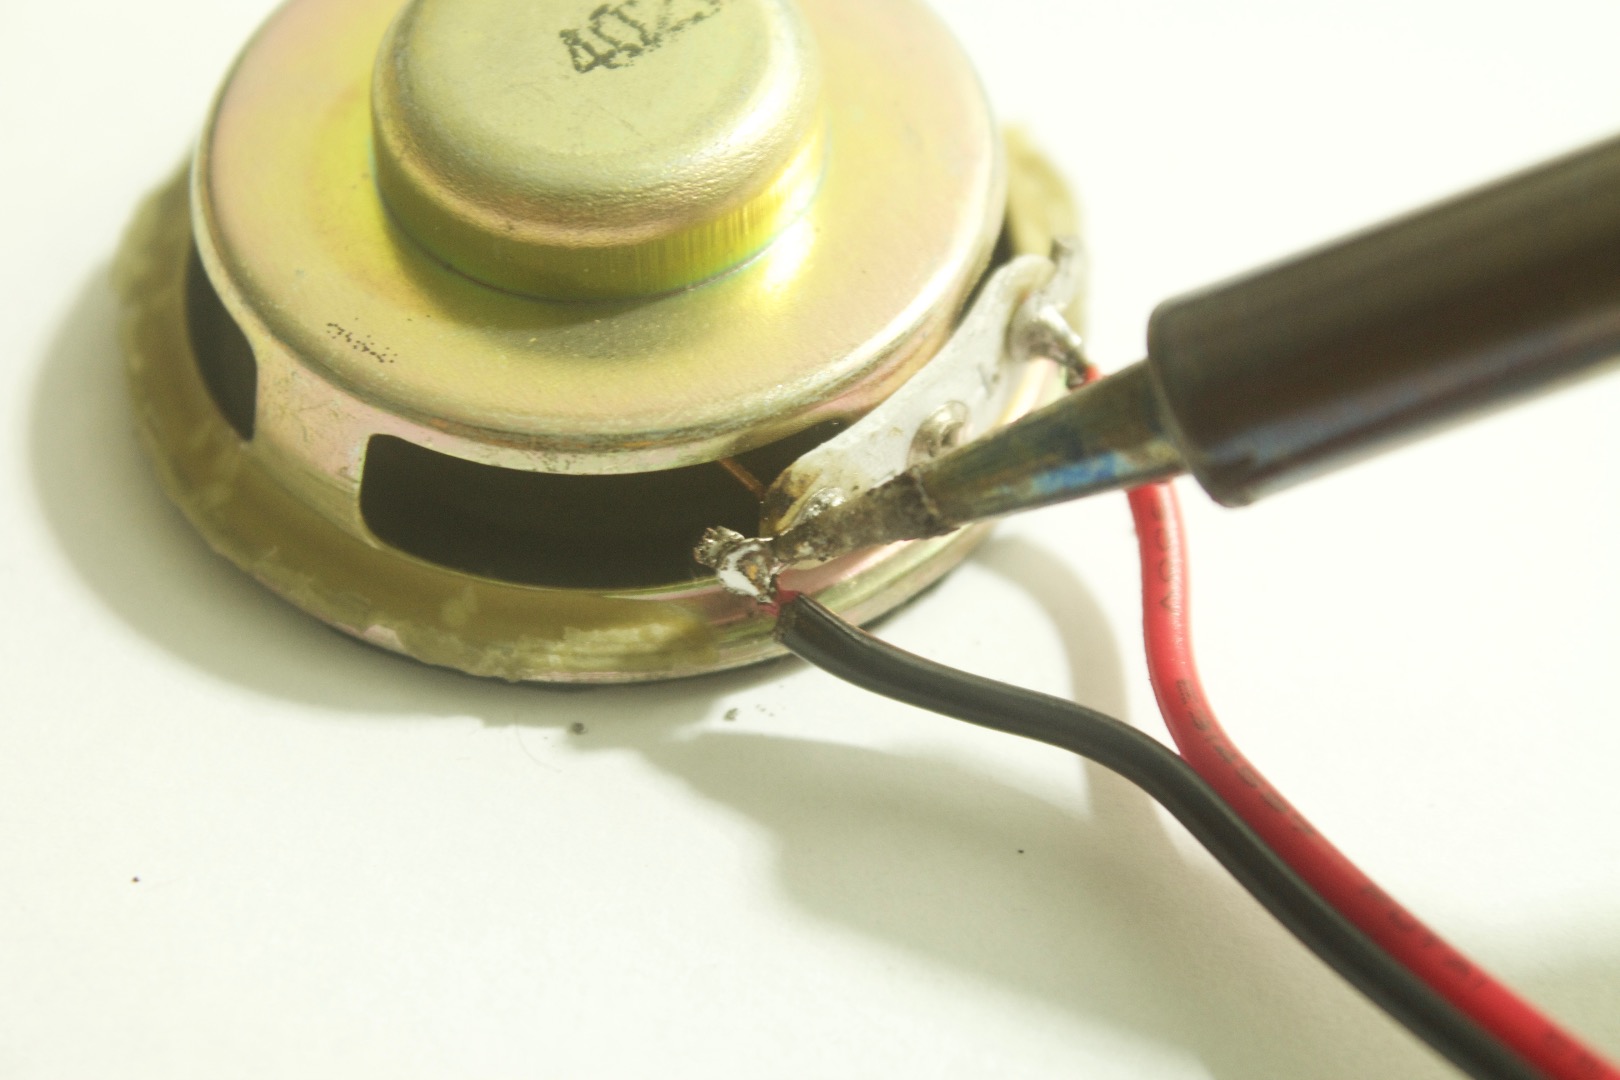
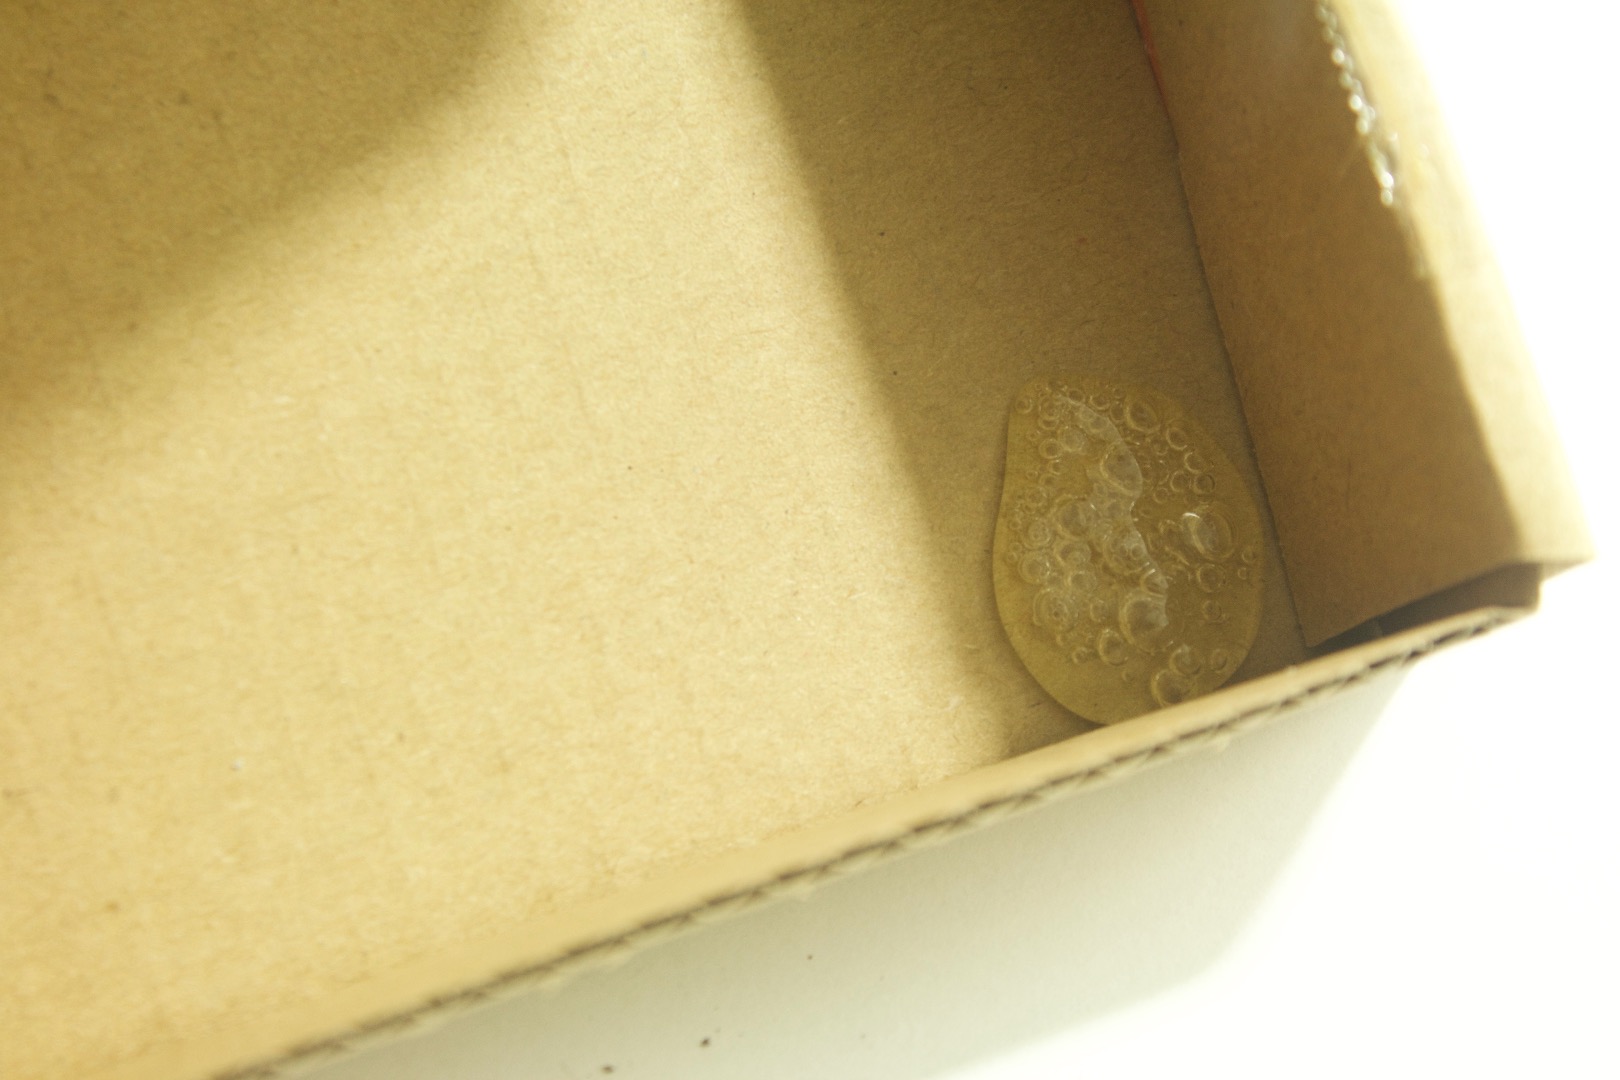
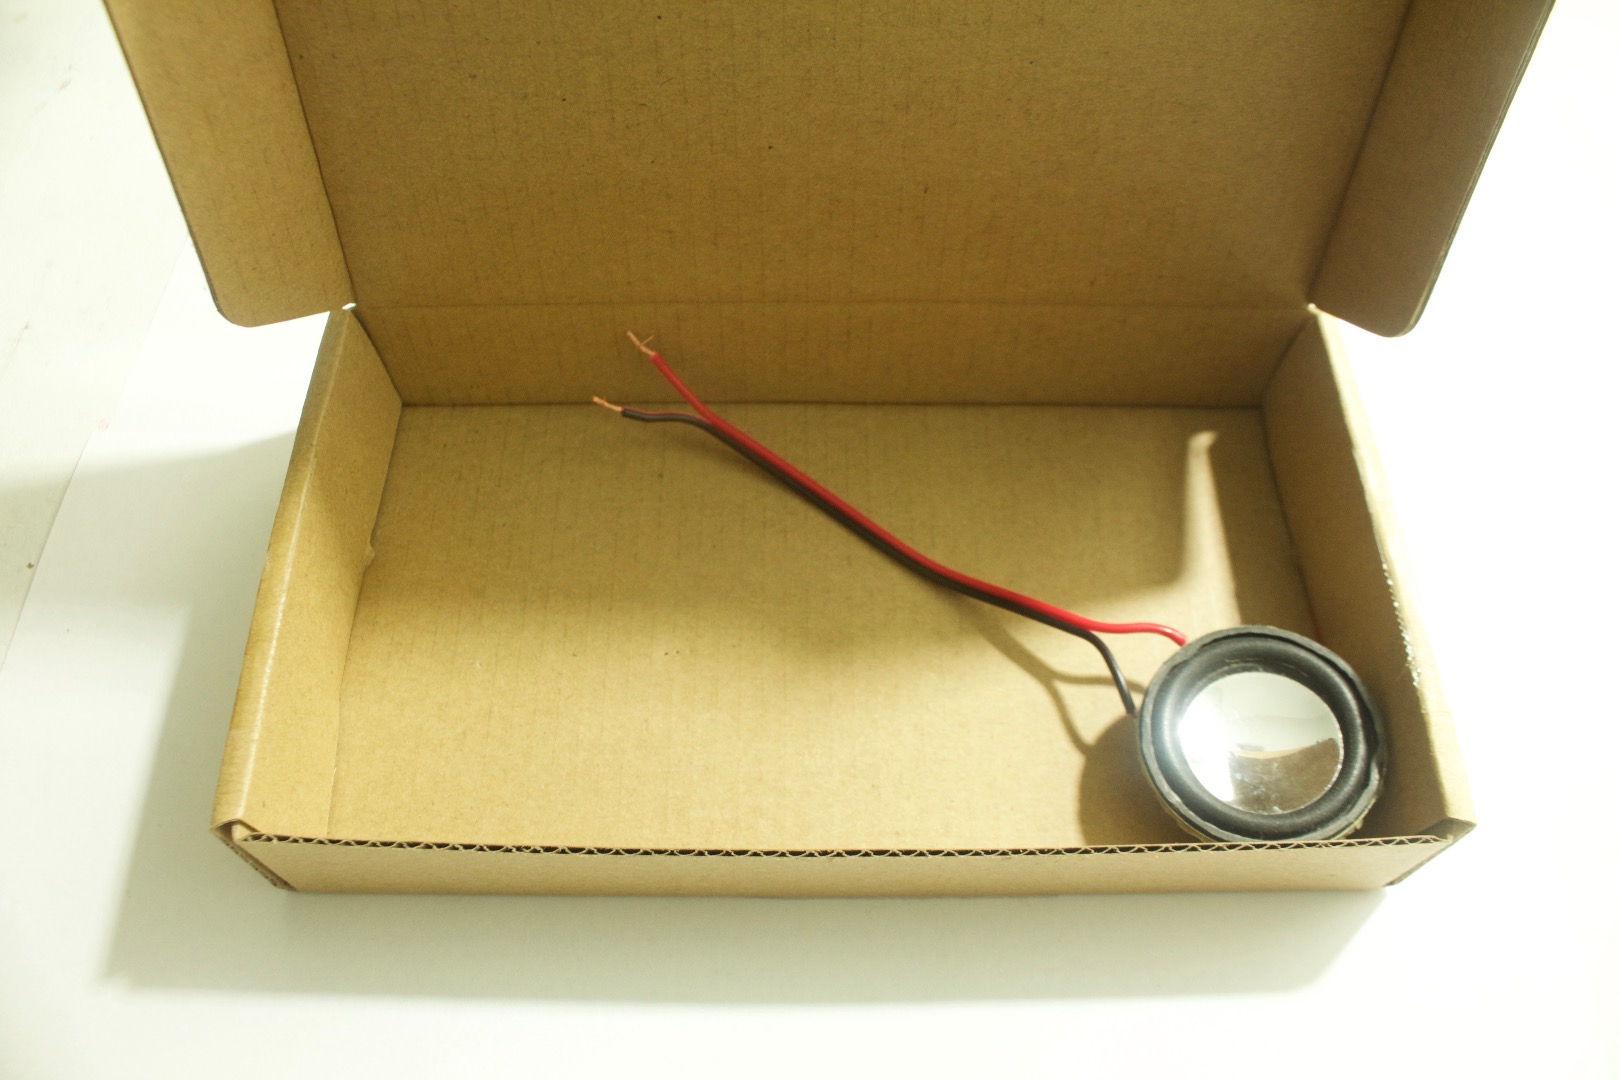
1. Solder wires on to the positive and the negative pins of the speaker
2. Put a dab of glue glue on to a corner of the box.
3. Place the speaker in.
IR Sensor
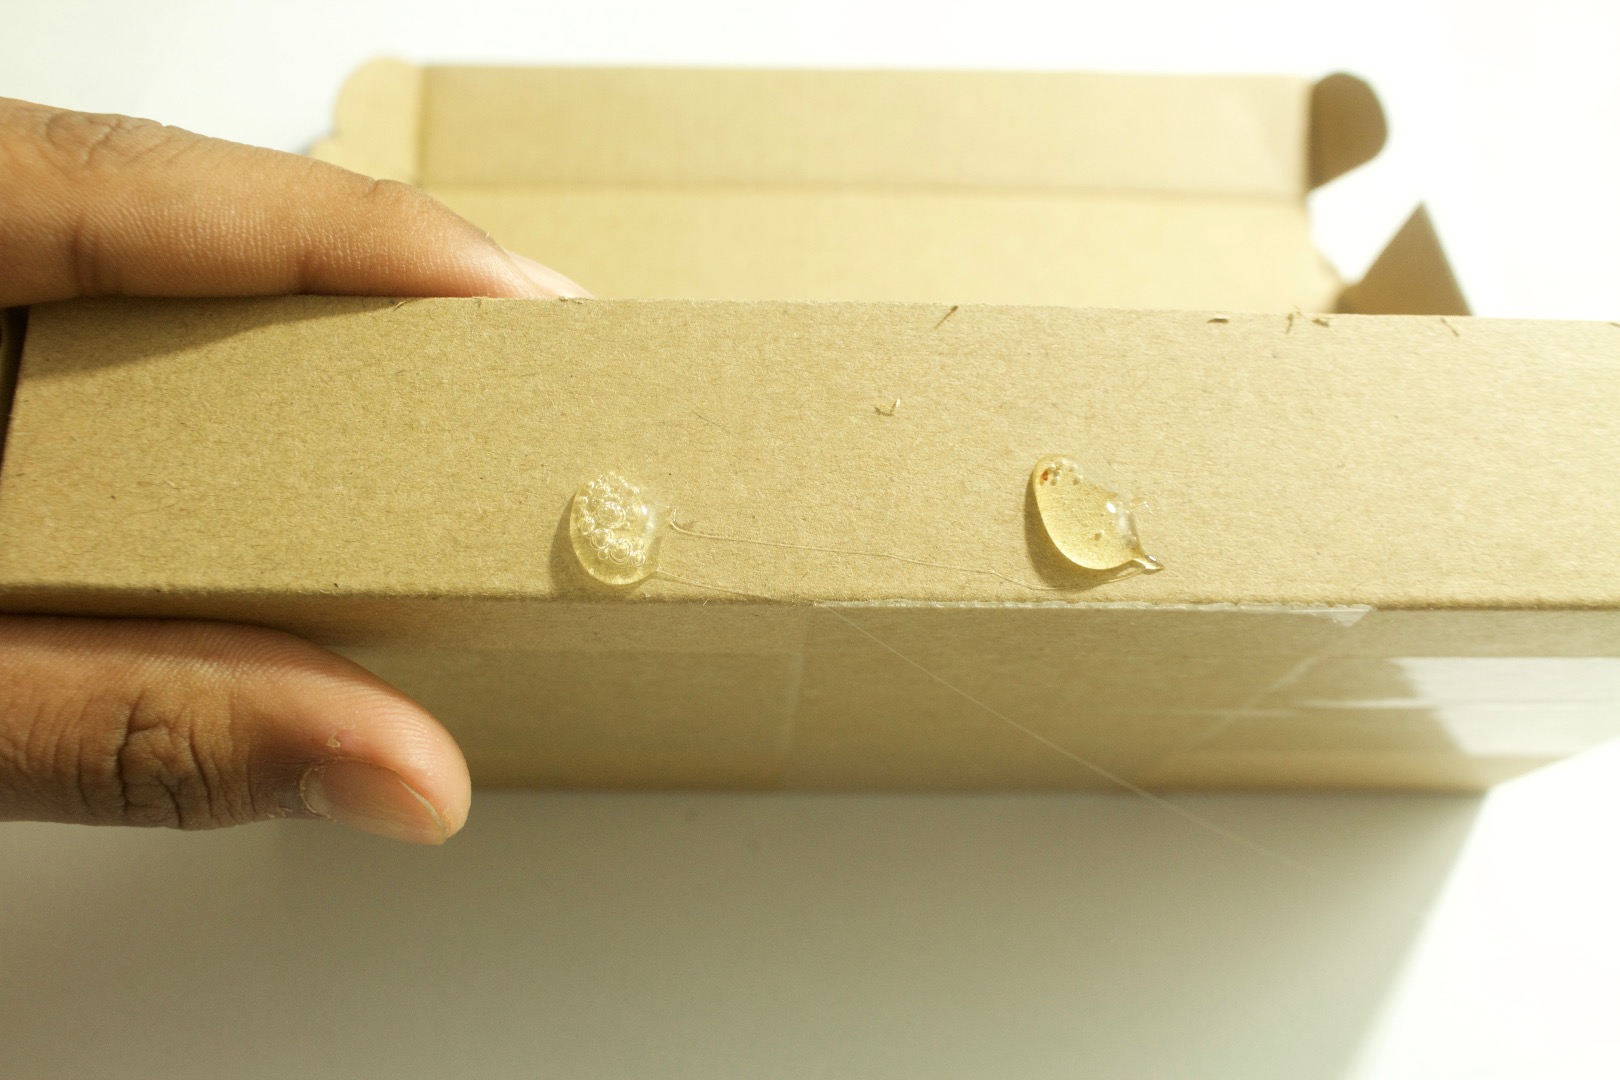
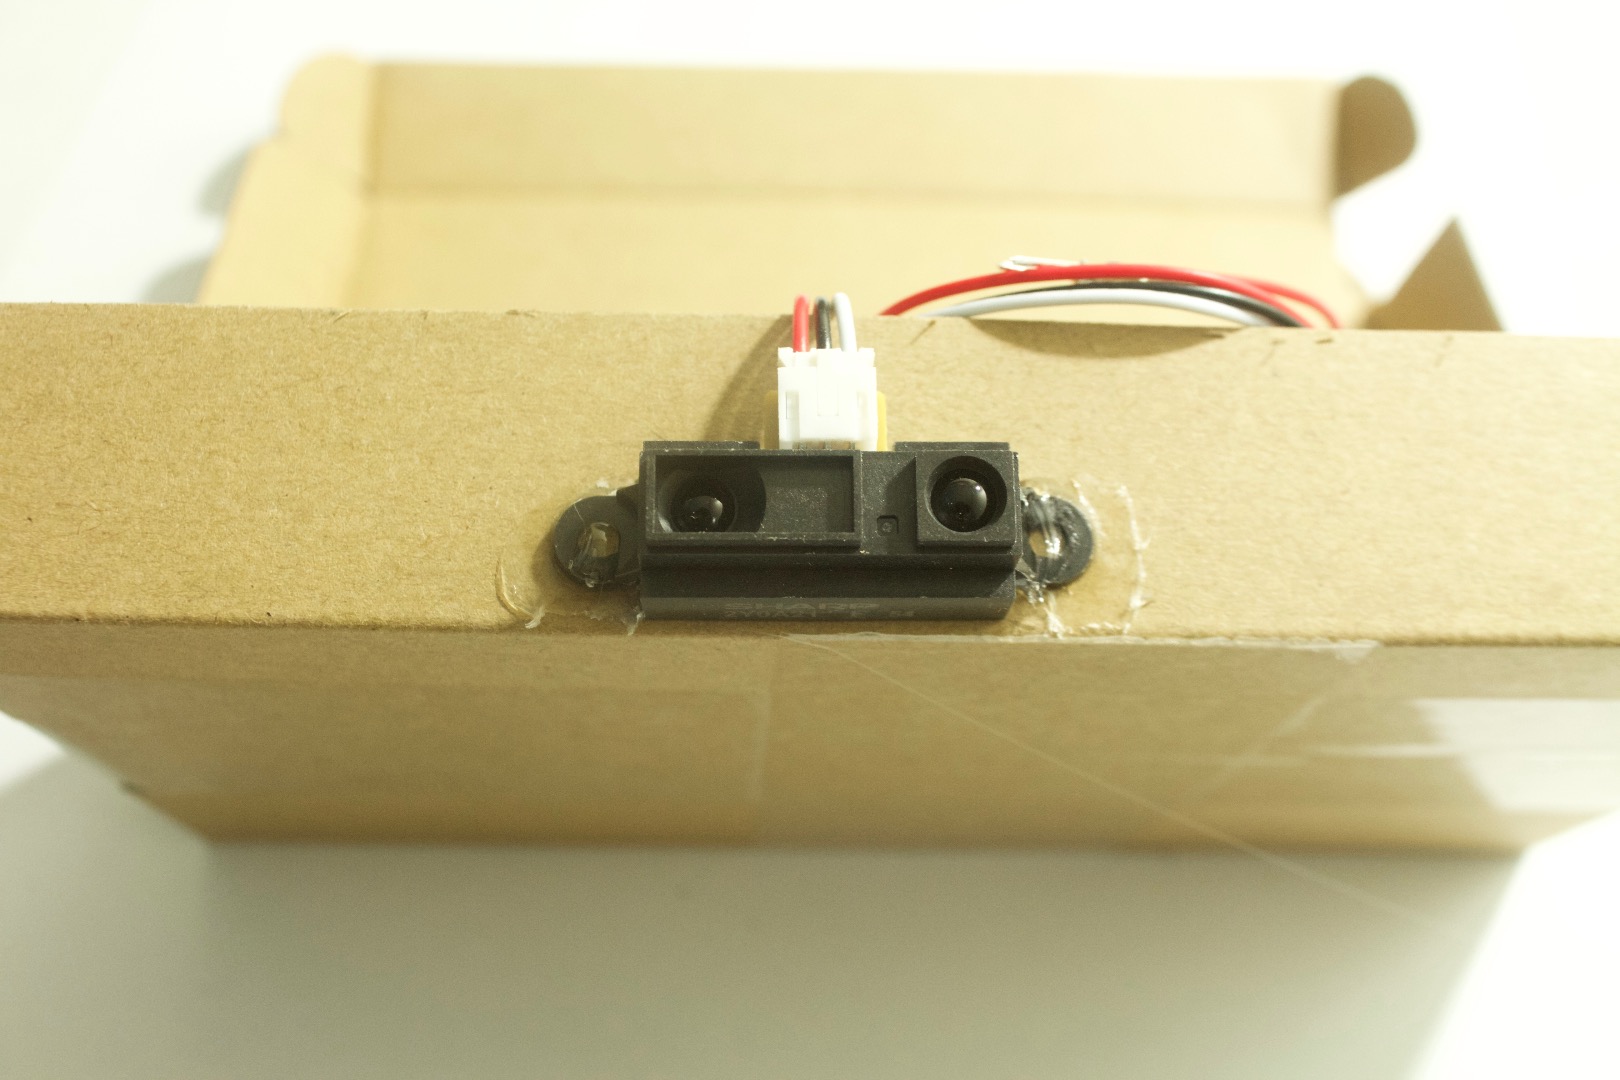
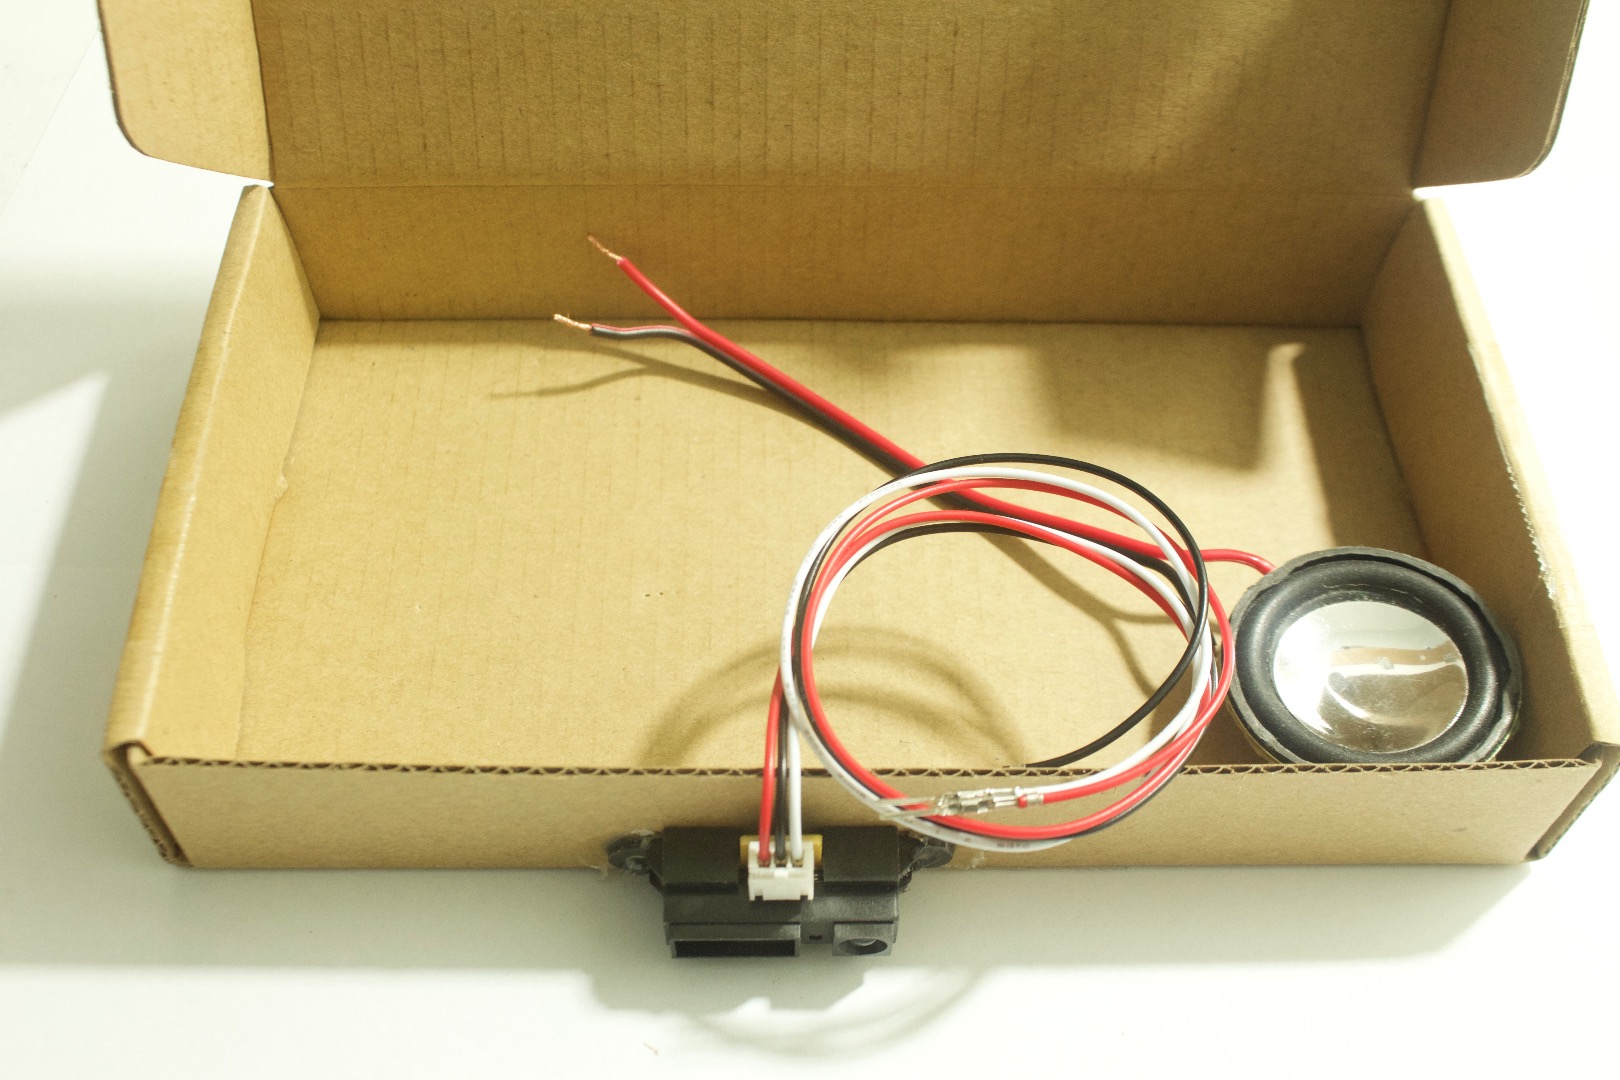
1. Find a good spot on the box to mount your IR sensor.
2. Put a dab of hot glue on the mounting points of the sensor.
3. Then mount the sensor there in that place.
LED
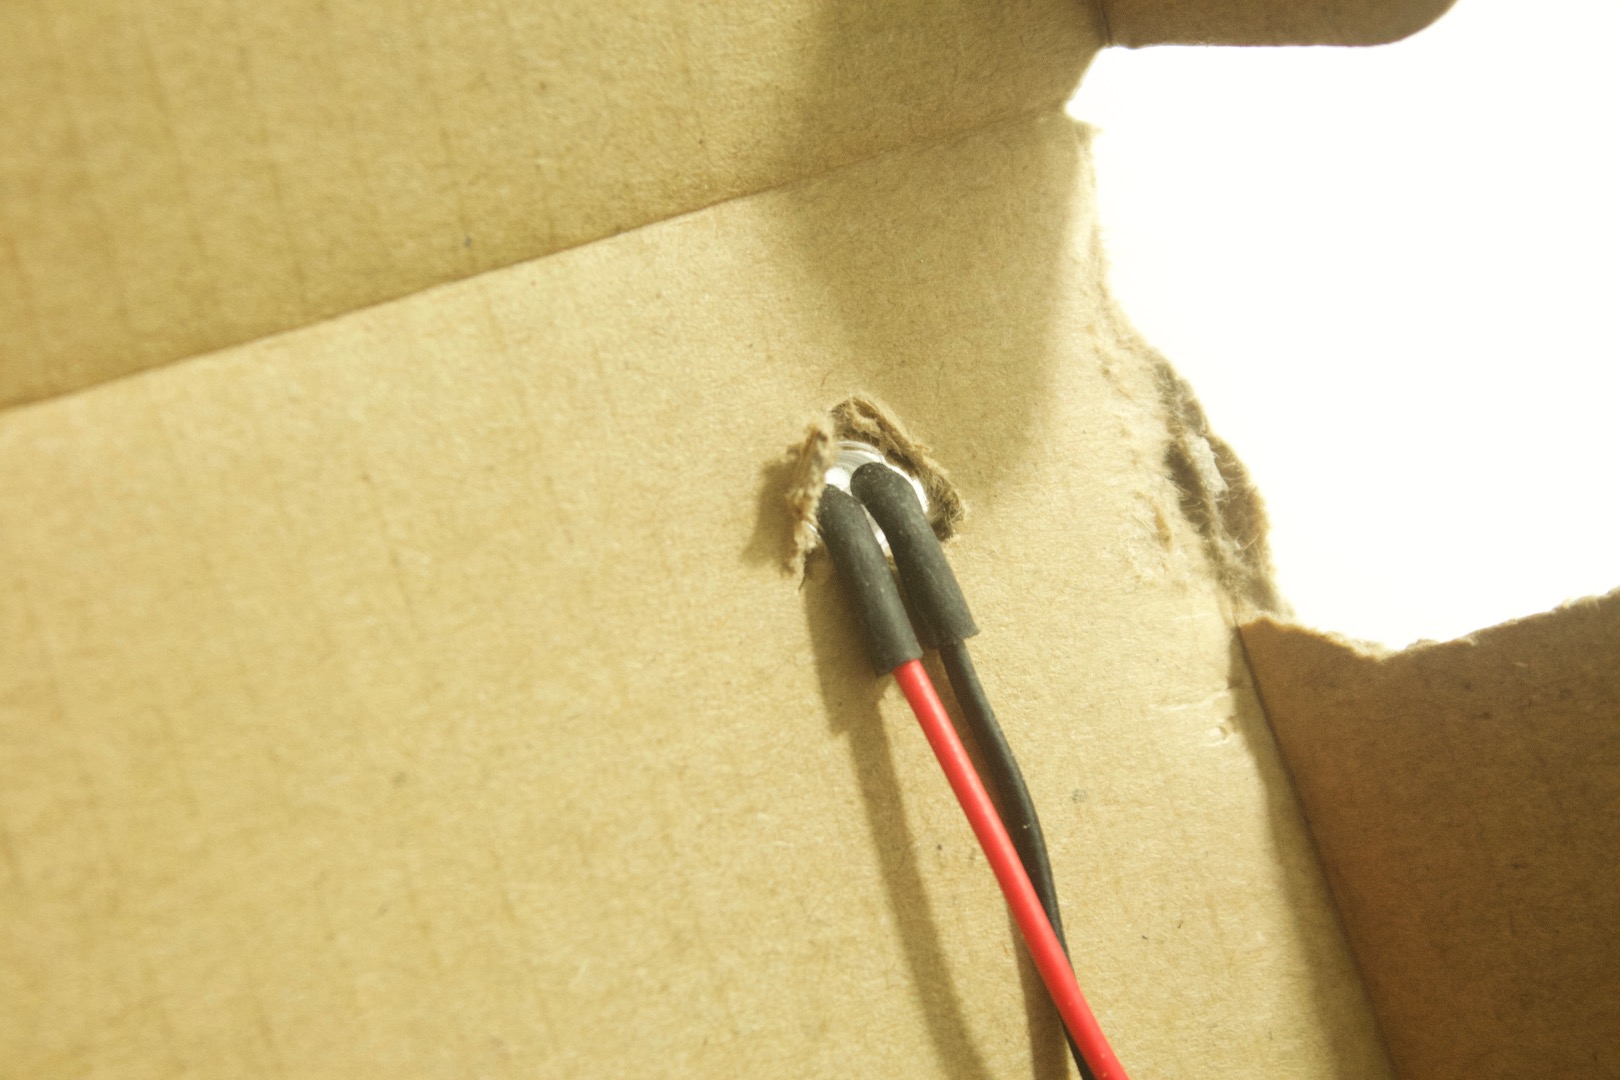
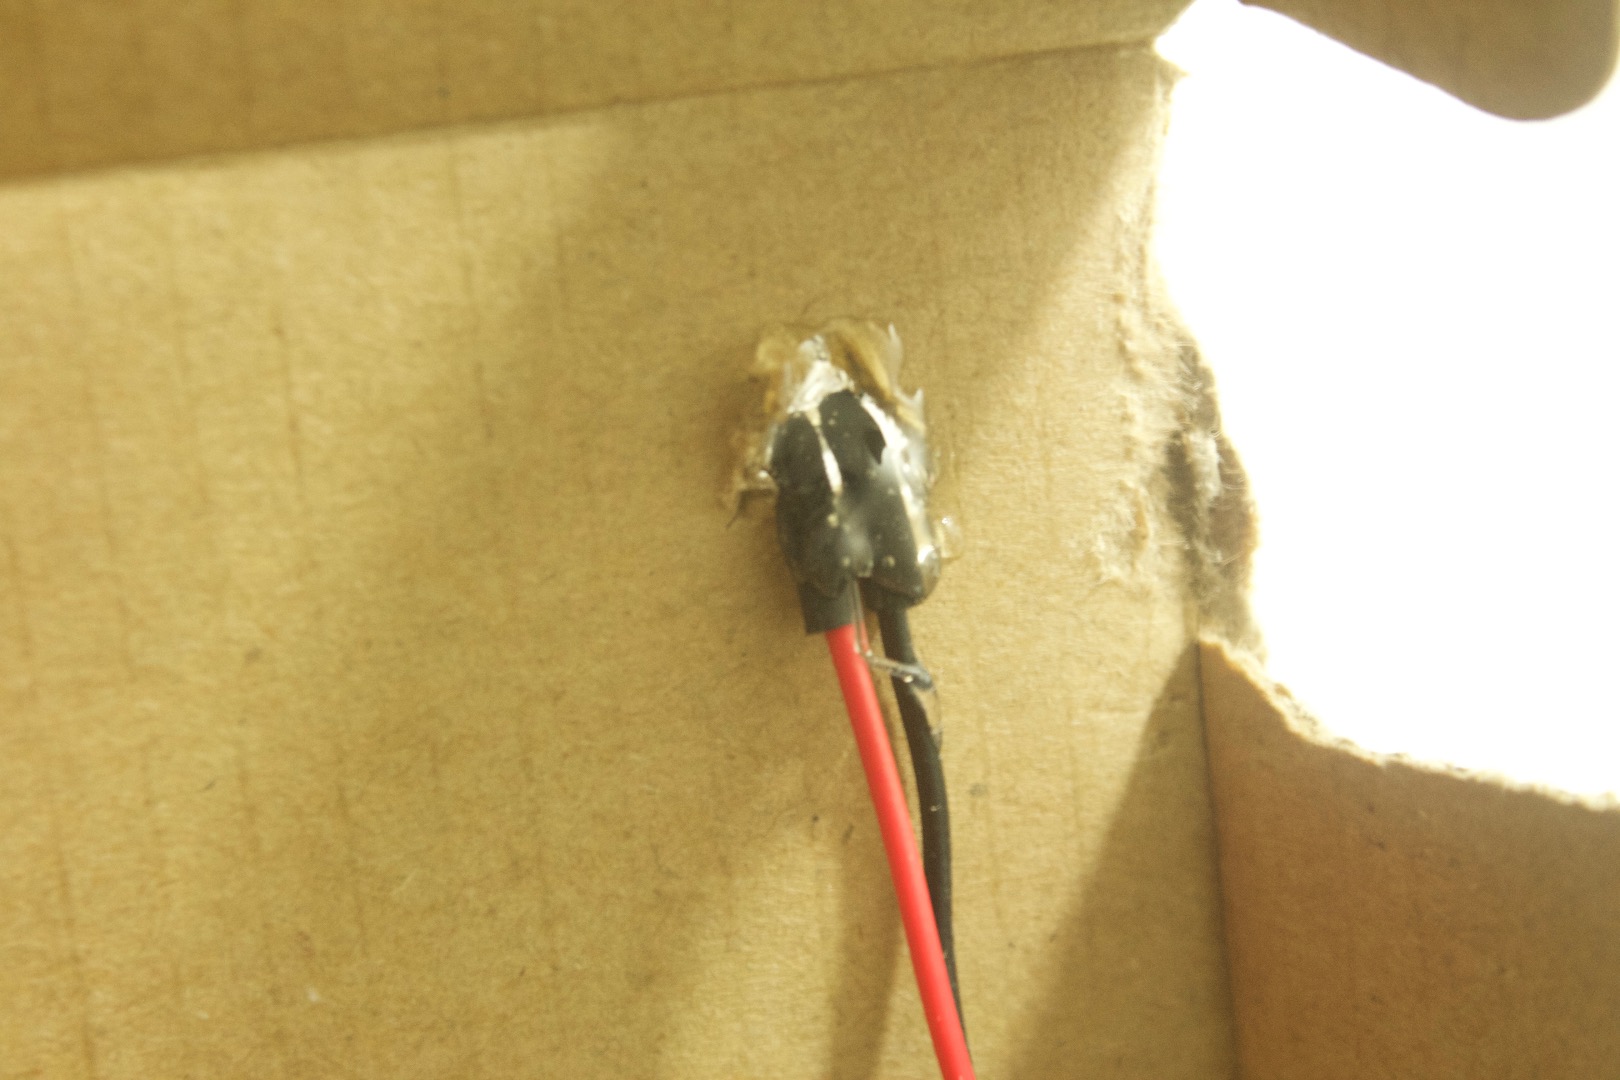
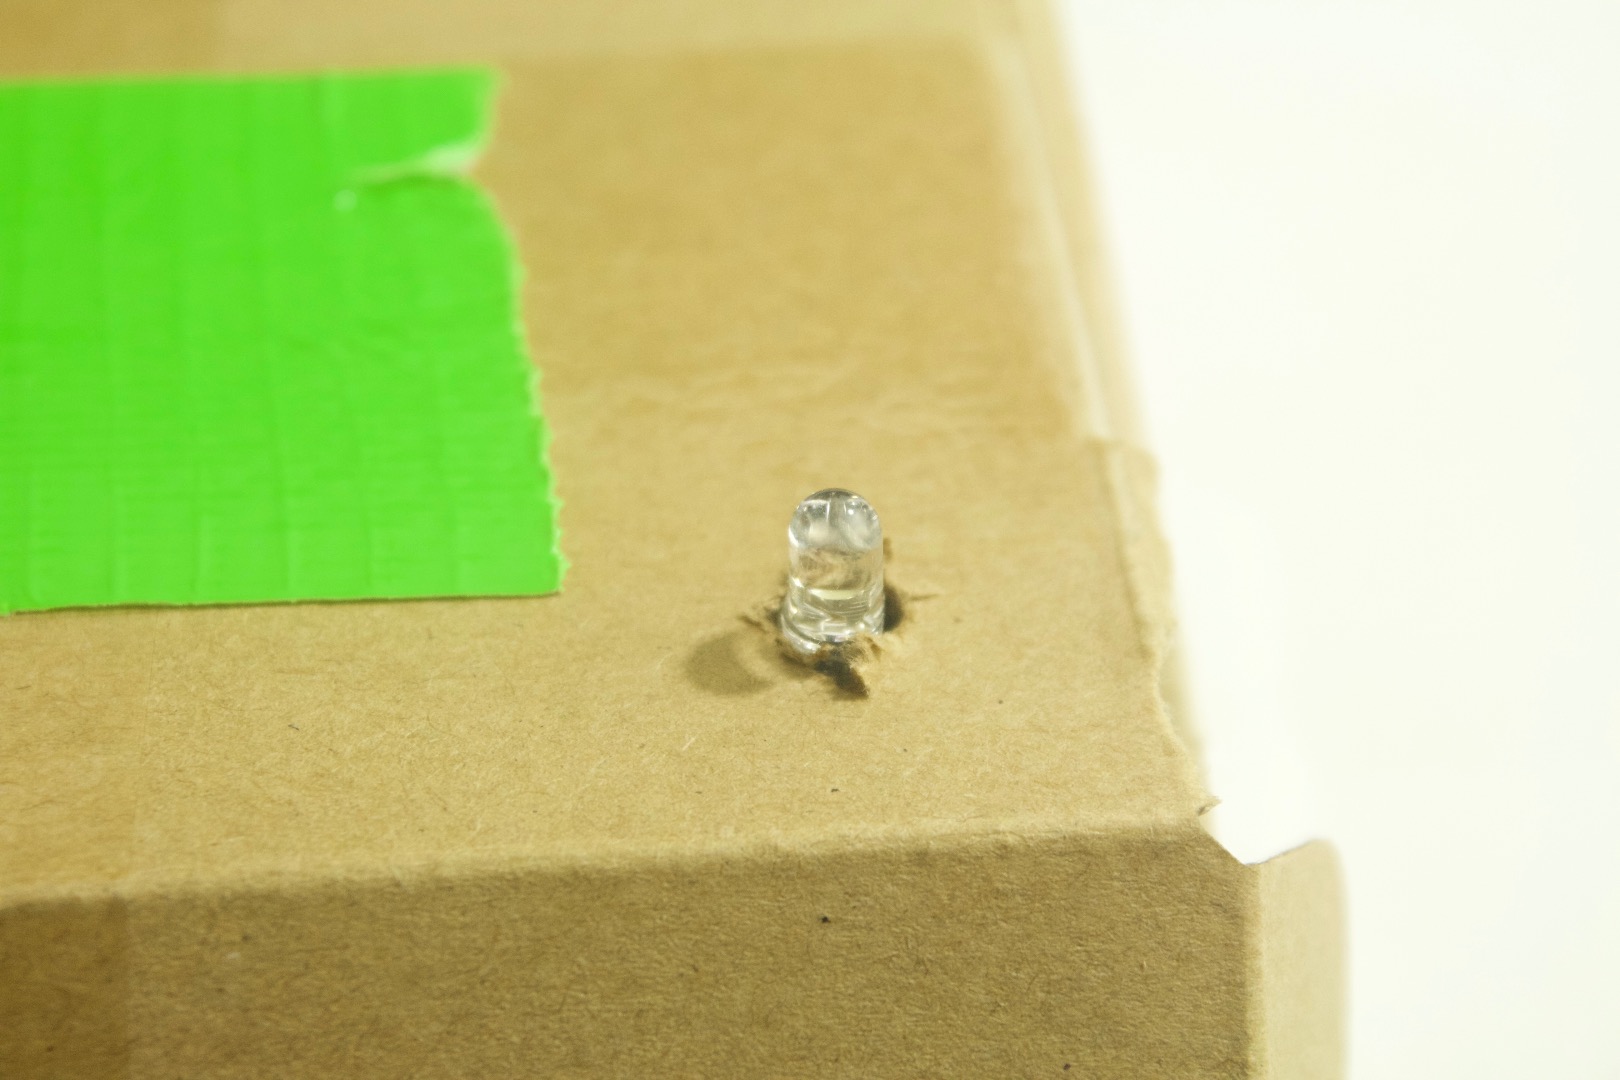
1. Make a hole for the LED to seek through.
Make sure it in a place which is not interfering with in function of opening or closing.
2. Solder wires on to the LED's pins.
3. Hot glue it in its place.
Usb
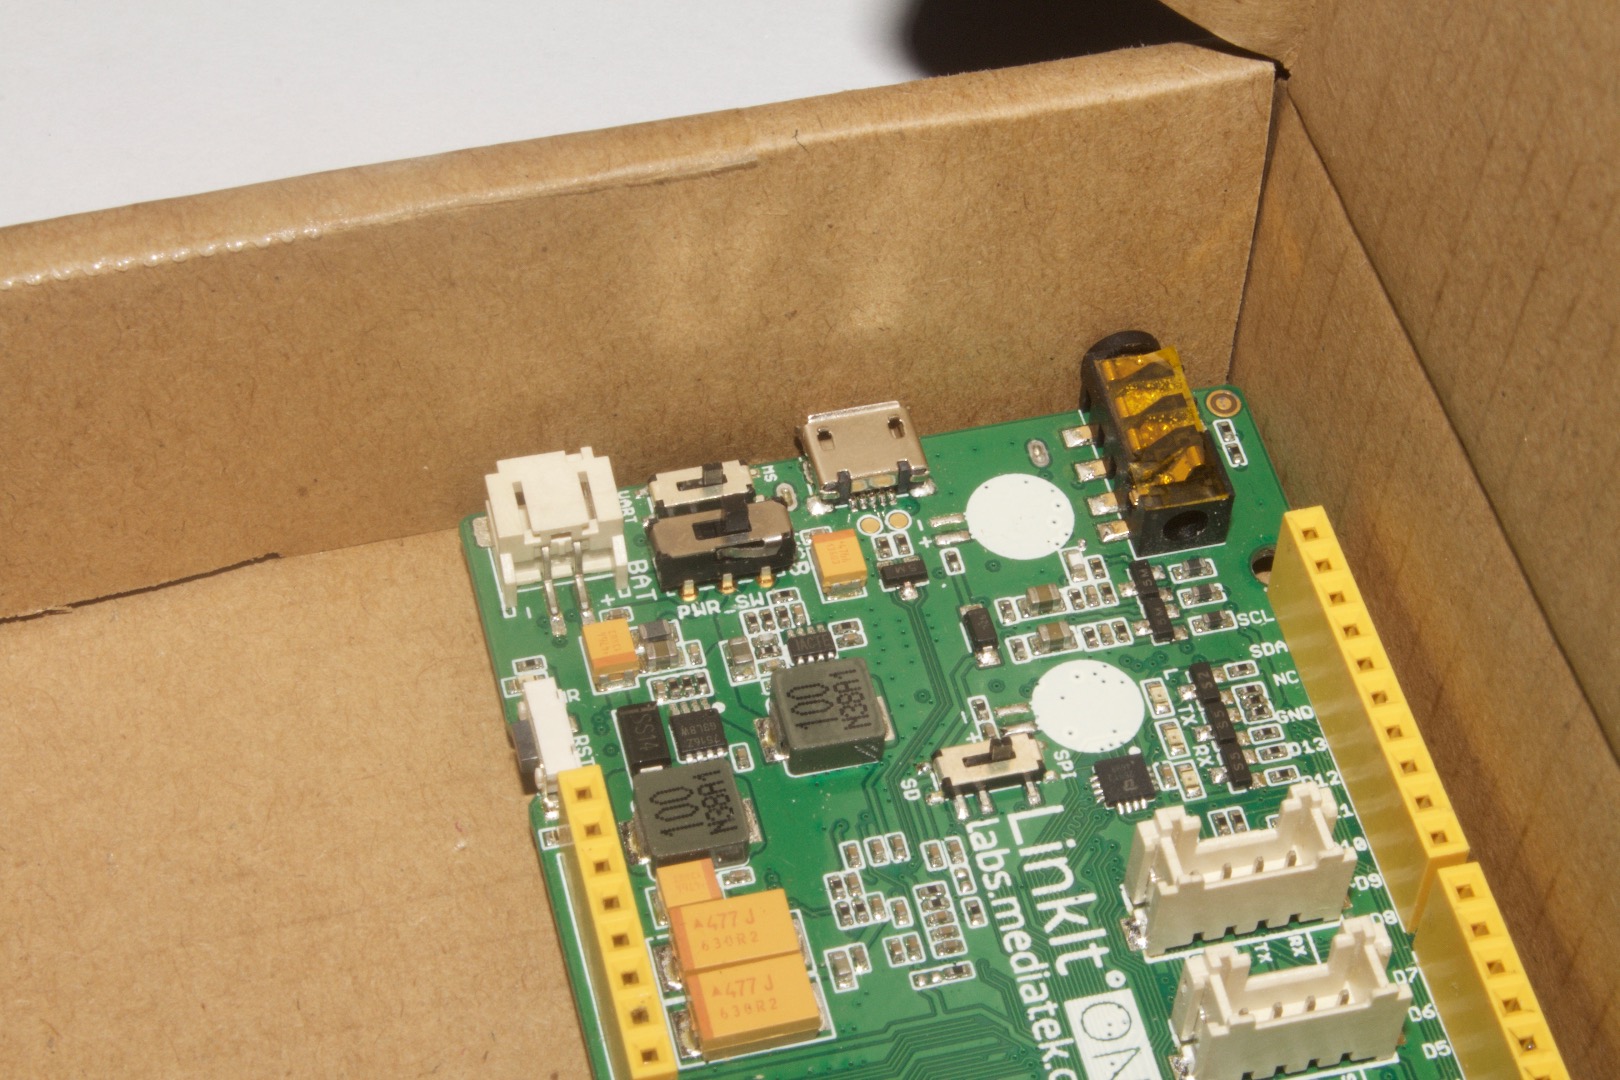
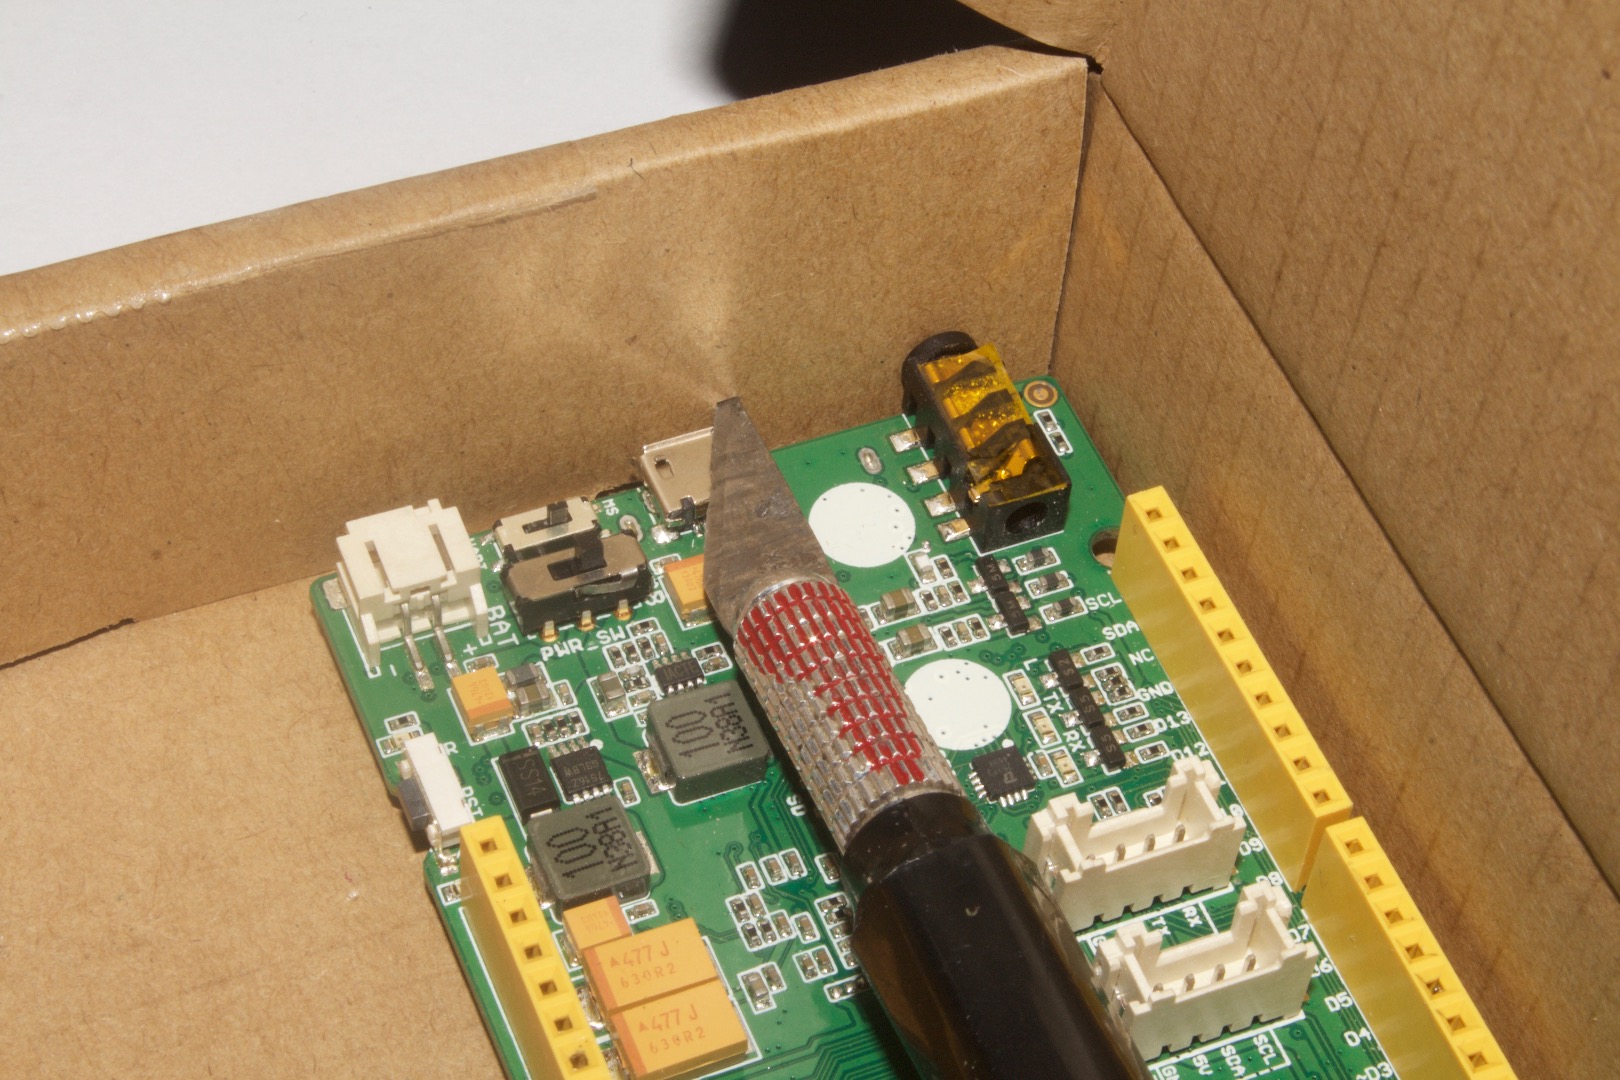
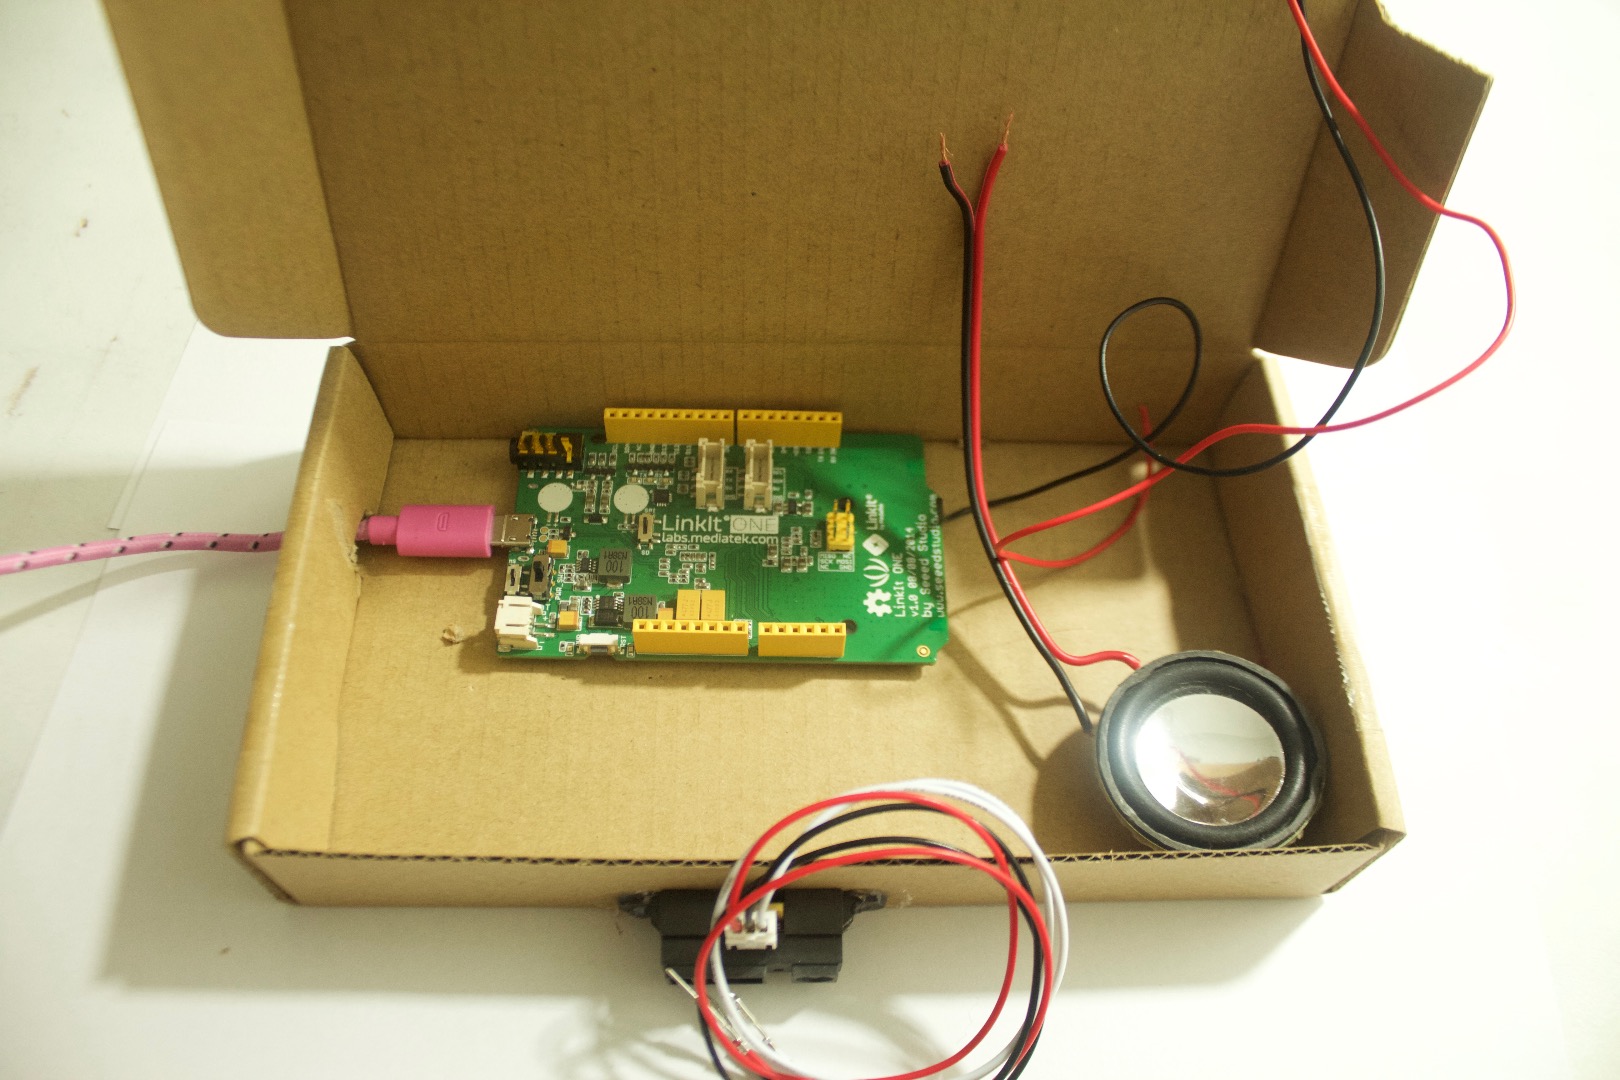
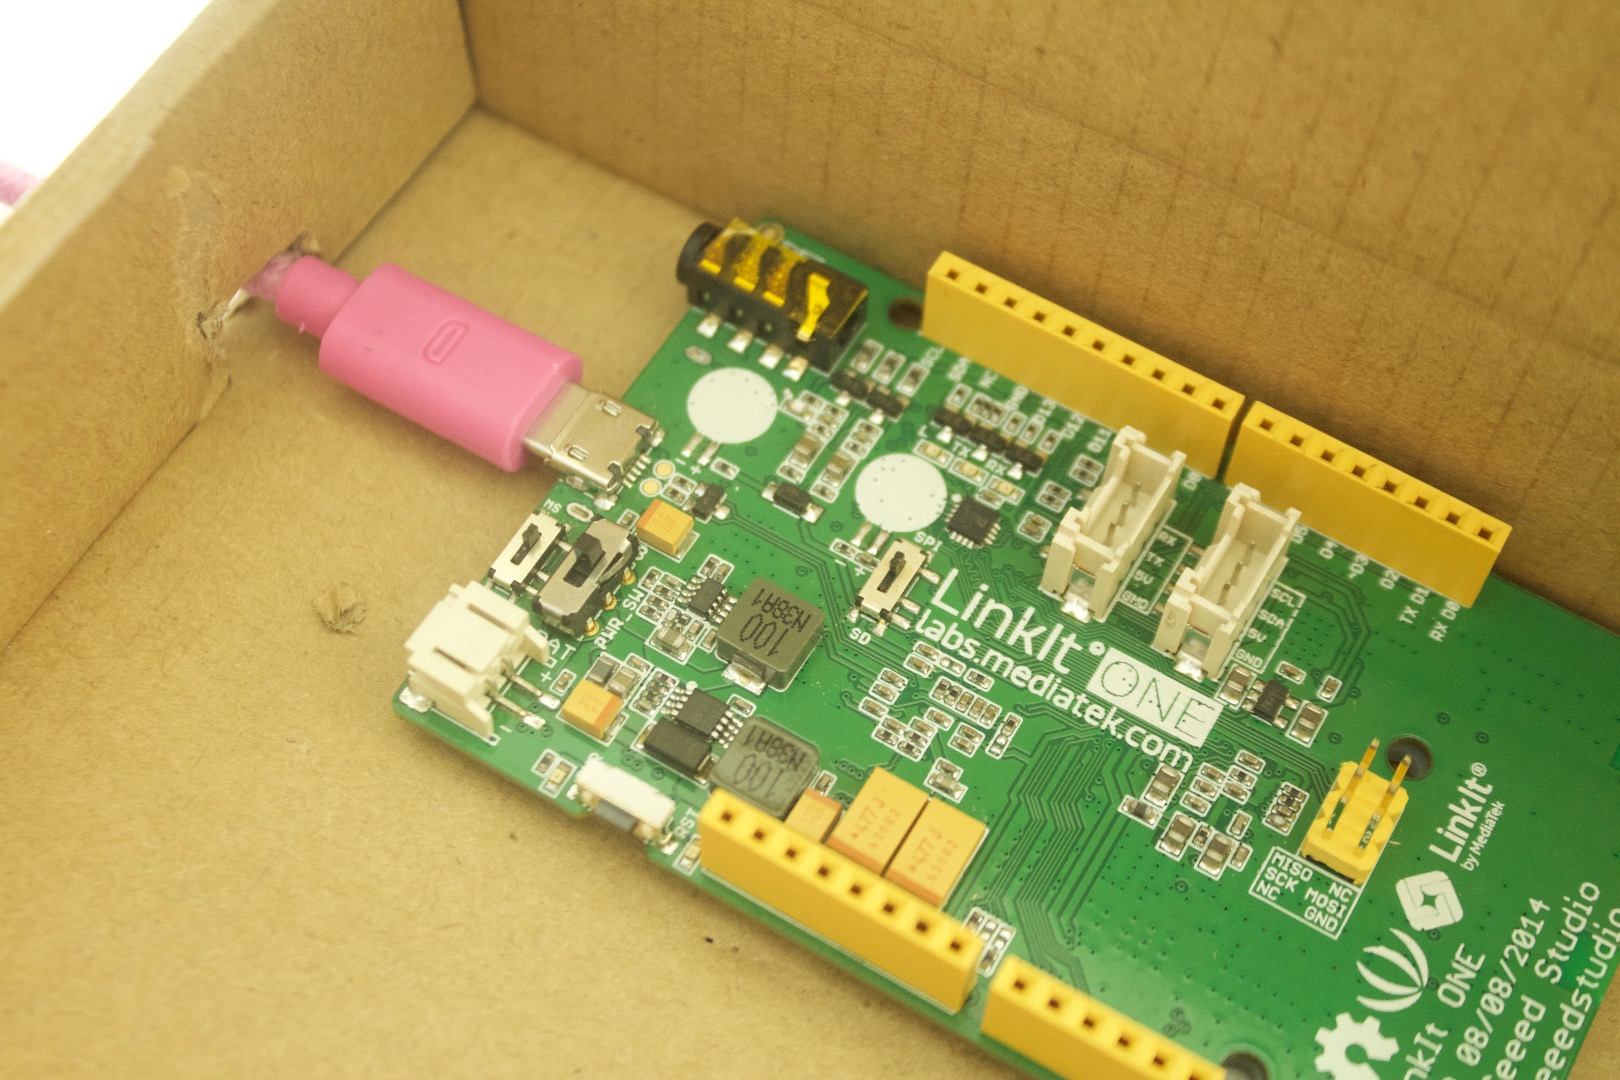
Now cut a hole big enough so that the USB cable can be inserted.
Hot glue the board in its place or mount it with screws. ( Make sure to put very little for ease of removal later on.)
Make sure that you have everything as shown and then move on to programming.
Code
This code will allow you the speaker to make sound and the LED to light on when the object in front of it is taken away
Here is the code:
int LED = 13;// initialize the pins
int speaker = 2;
int IRsensor = A1;
int Dval;
void setup()
{
pinMode(LED, OUTPUT); // state what the pins are
pinMode(speaker, OUTPUT);
pinMode(IRsensor, INPUT);
}
void loop()
{
int Dval = analogRead(IRsensor);
if(IRsensor < 1000) // change the number here to increase or decrease the distance between the sensor and the object
{
tone(2, 1000); // frequency of 1000hz( change this number to change the frequency
digitalWrite(LED, HIGH);
}
else if(IRsensor > 1001)
{
digitalWrite(LED,HIGH);
delay(1000);
}
}
Upload this code and move on to the wiring part
Wiring
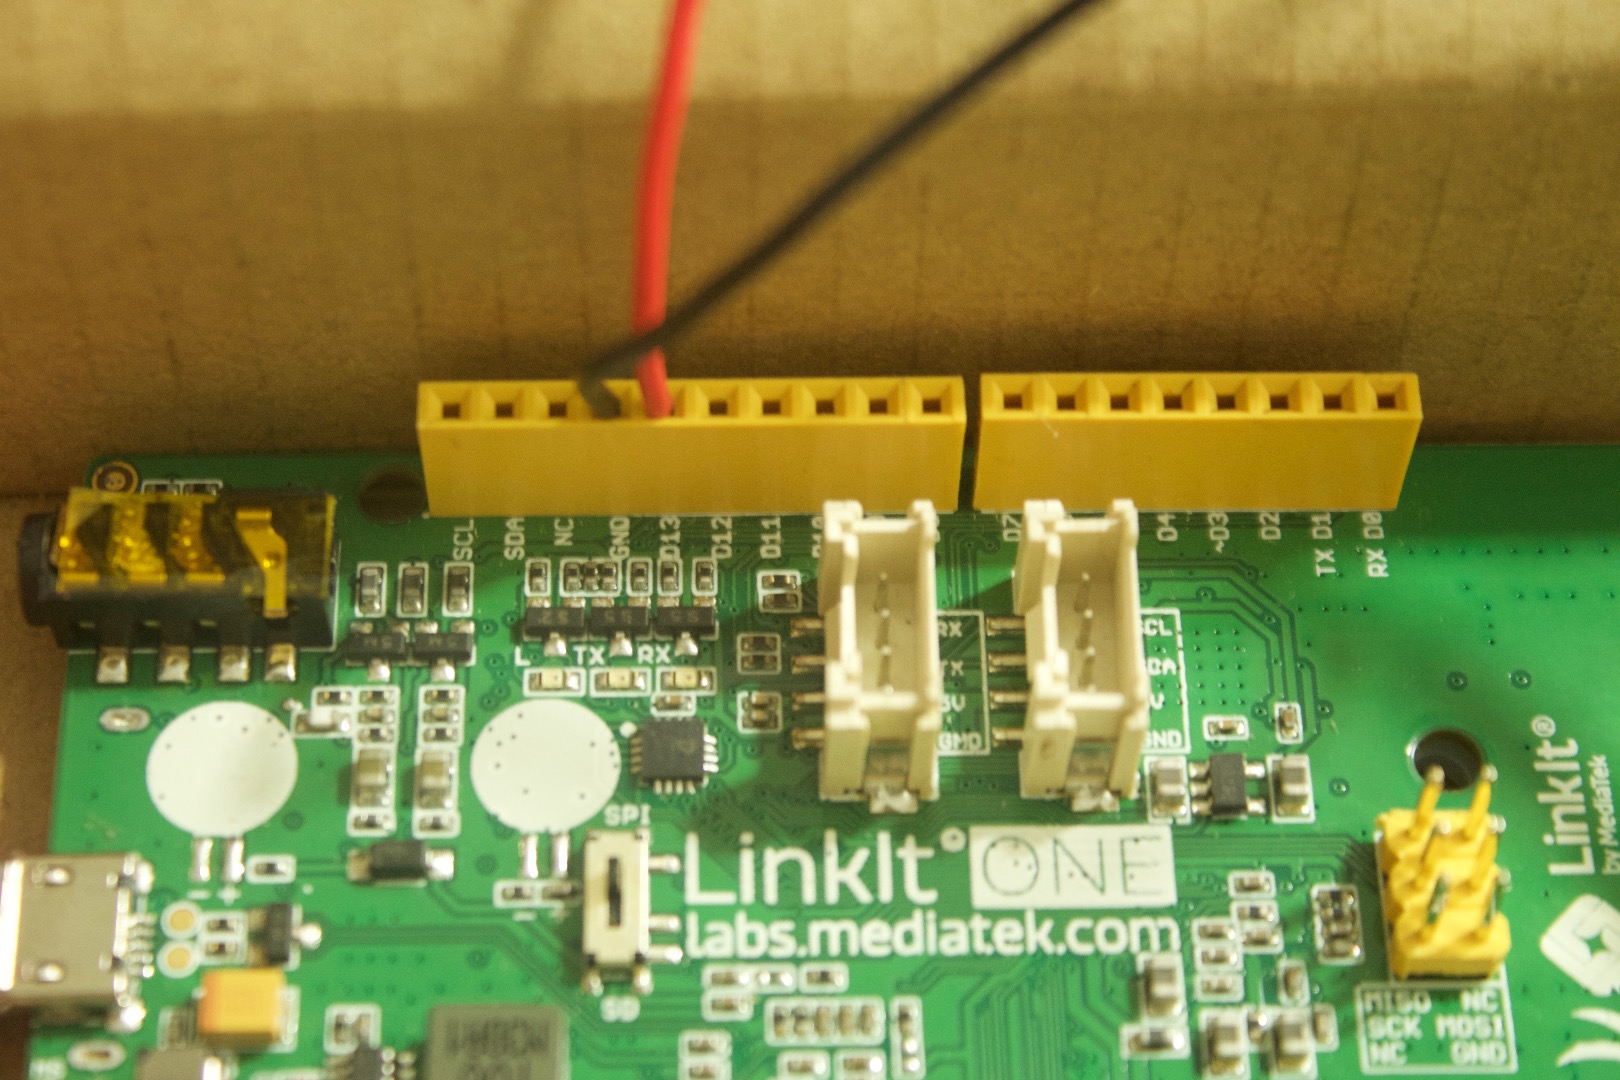
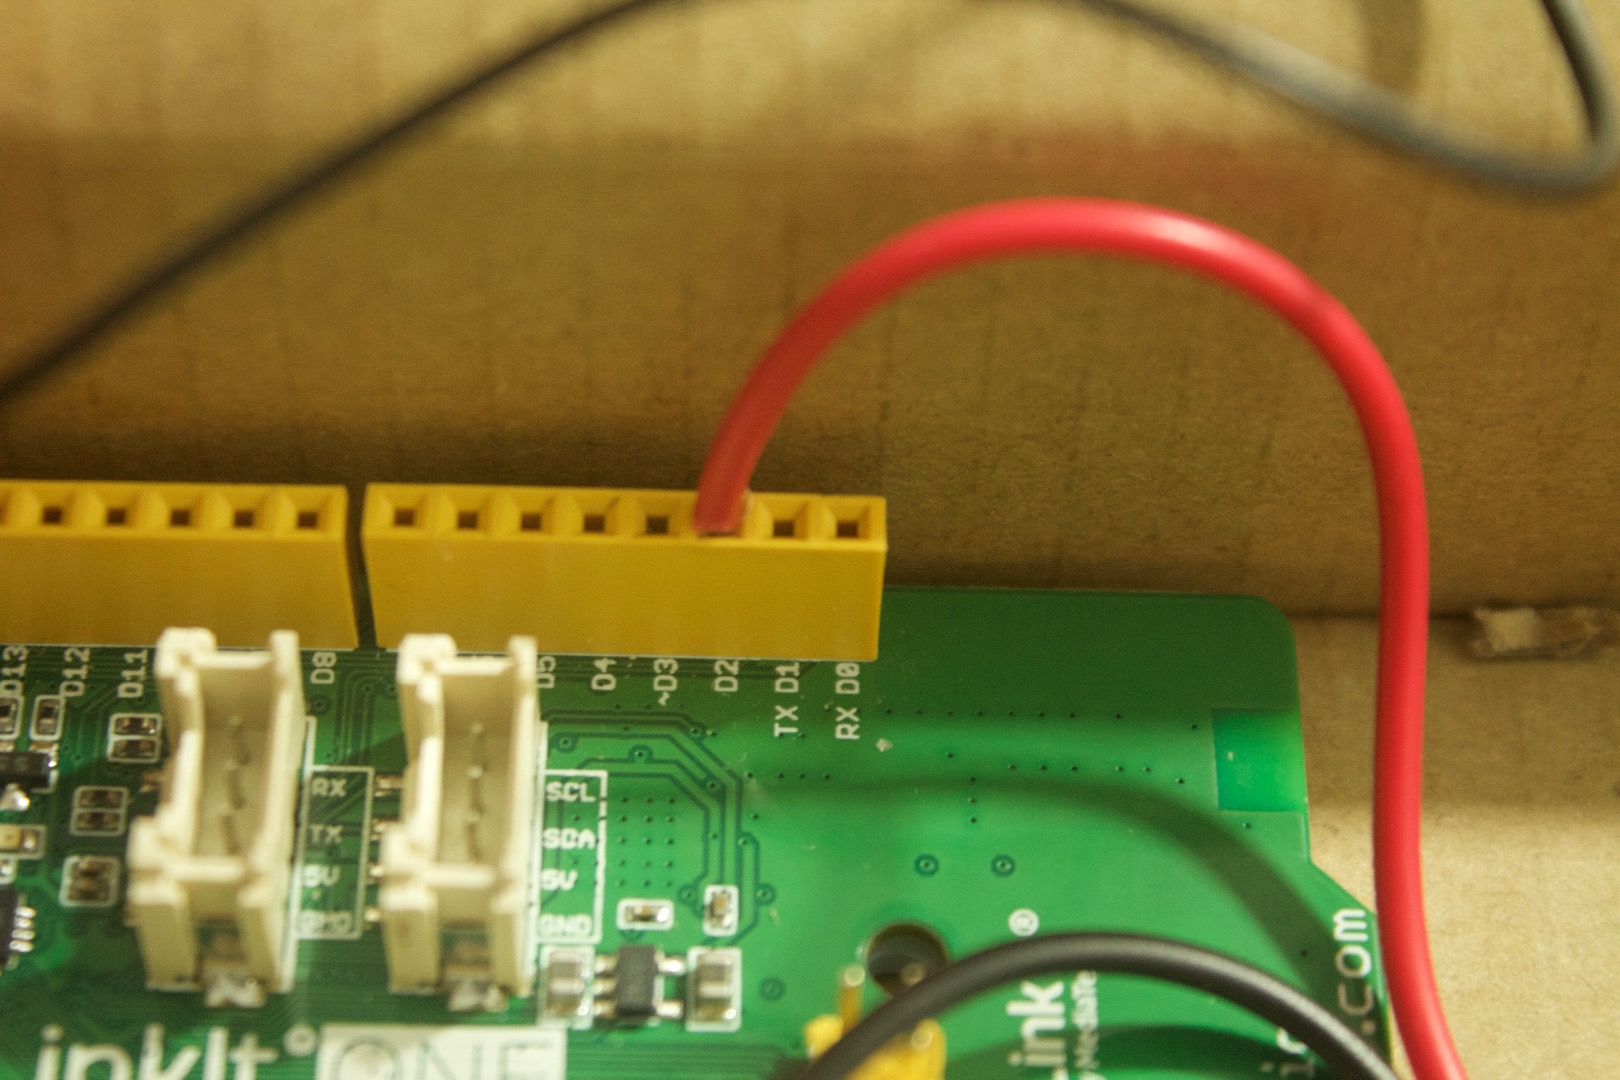
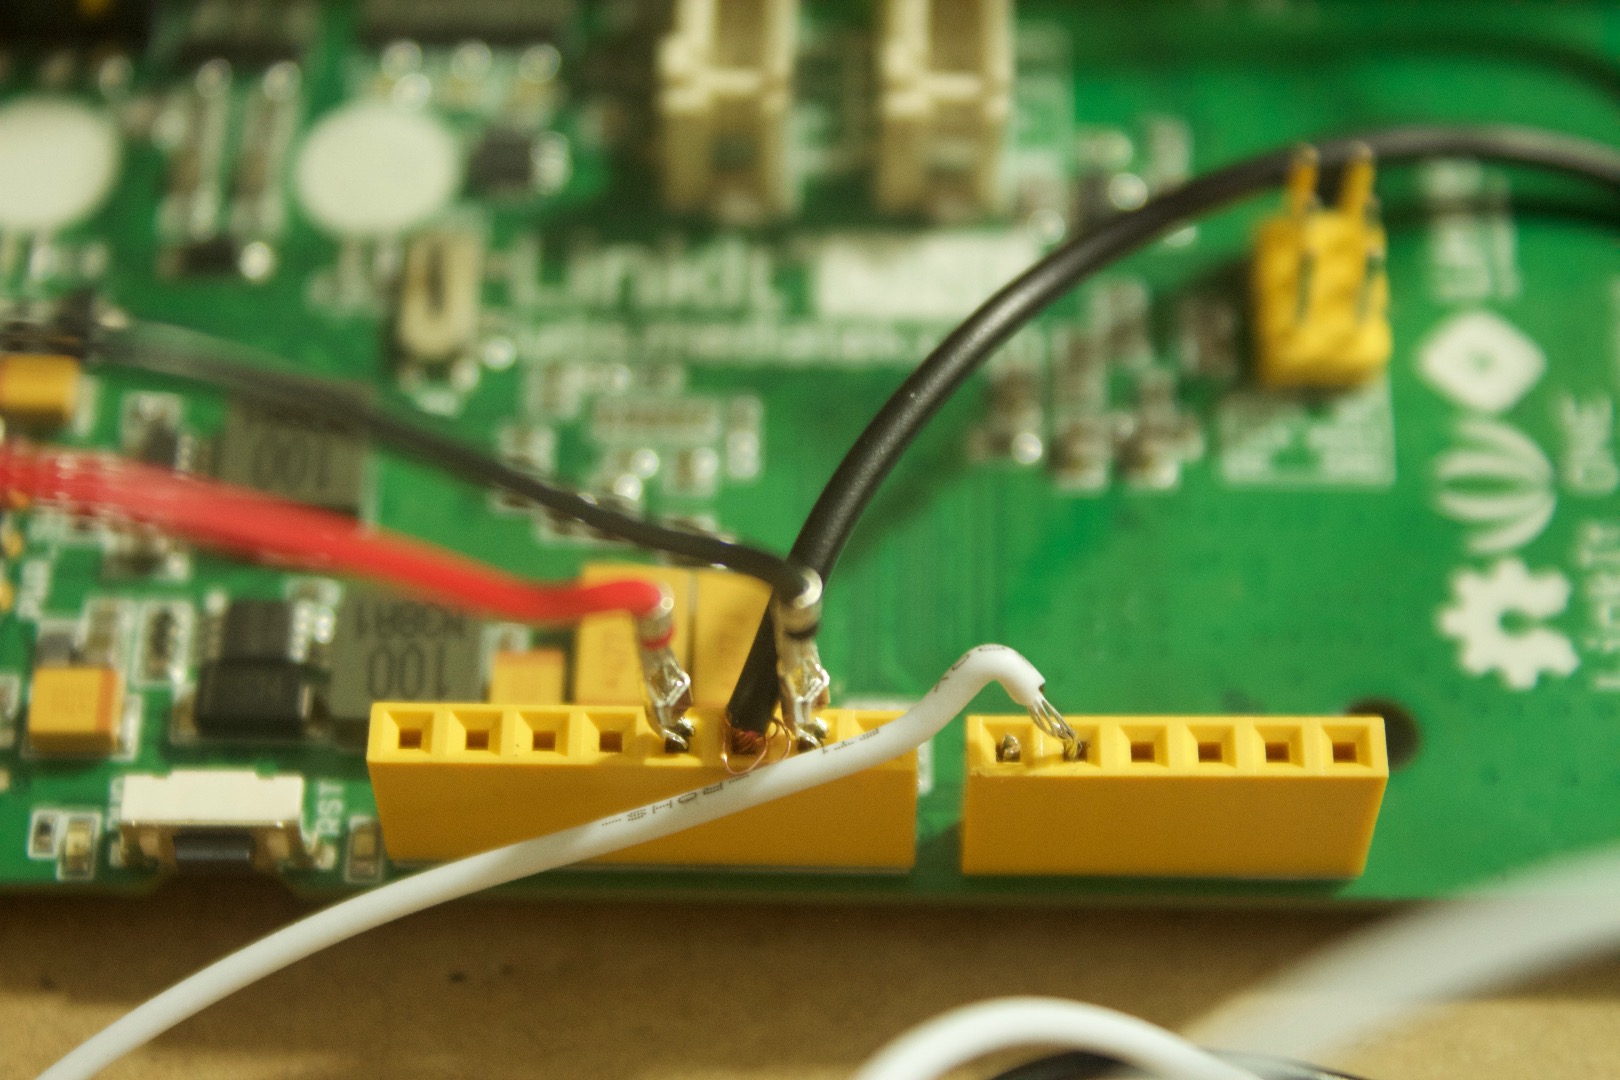
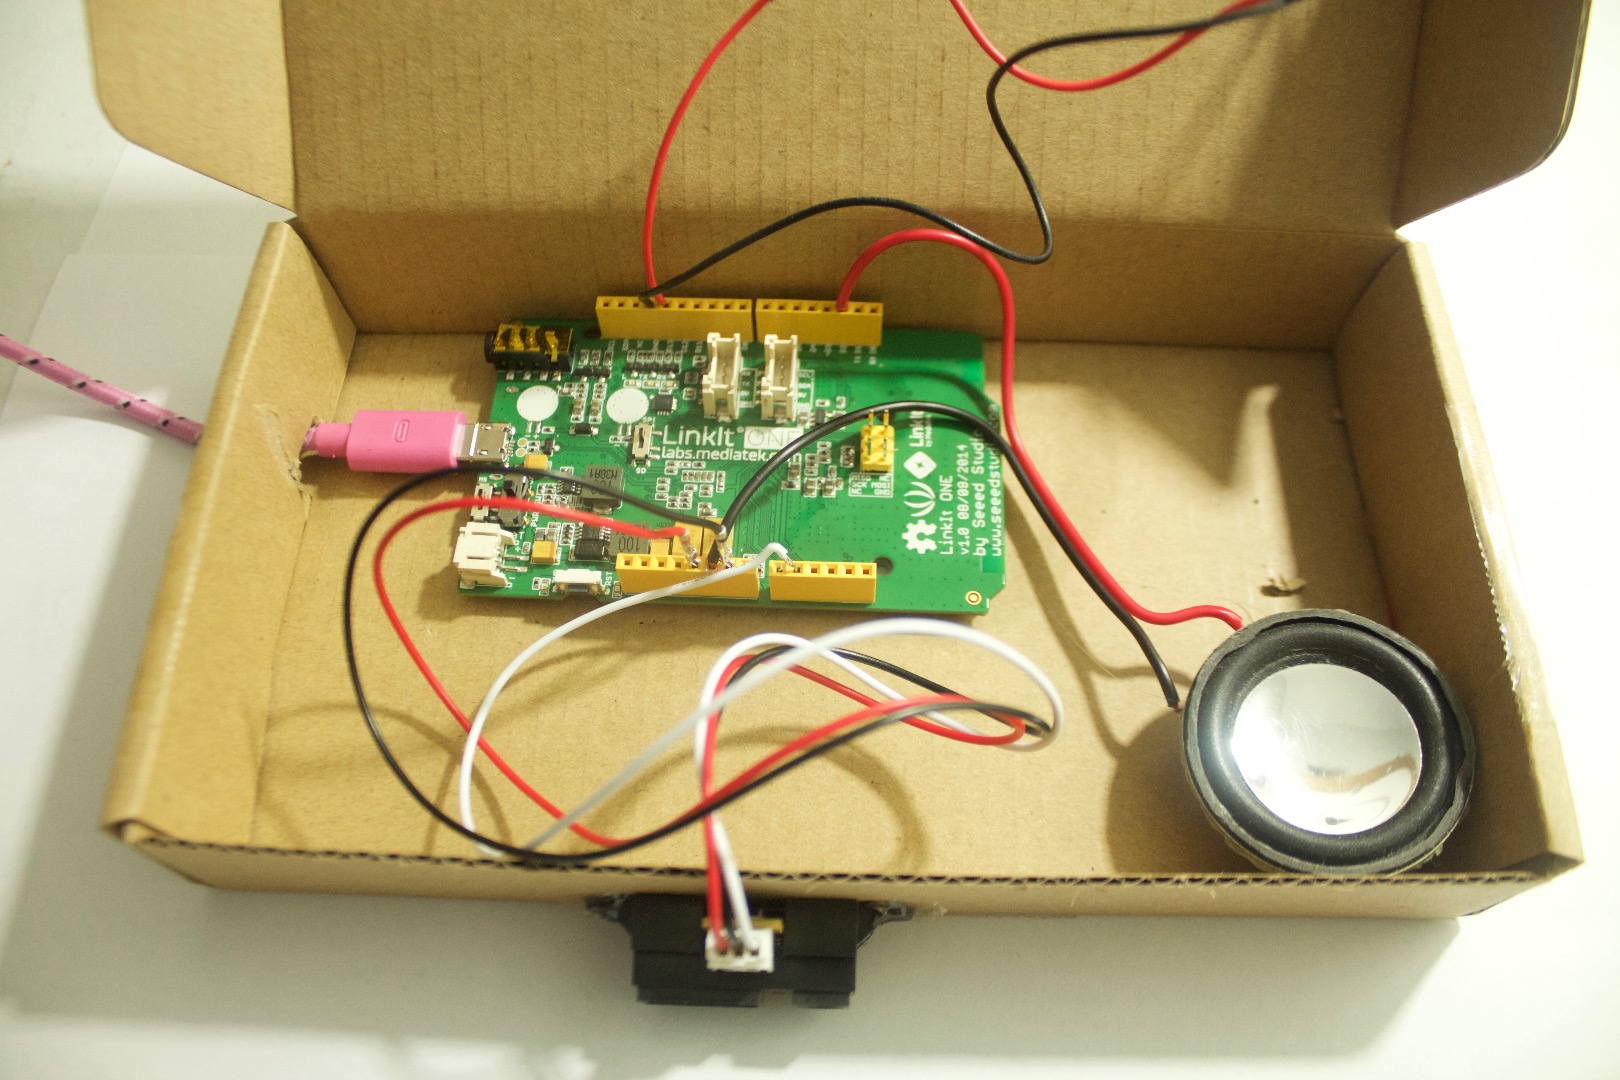
Finally lets wire it,
1. Connect the LED to pin 13 and GND.
2. Connect the speaker to pin 2 and GND.
3. Connect the signal wire of the IR sensor to A1, the VCC to 5v and GND to GND.
And thats it we're done:) Give yourself a high five and lets test it out.
Finishing Touch
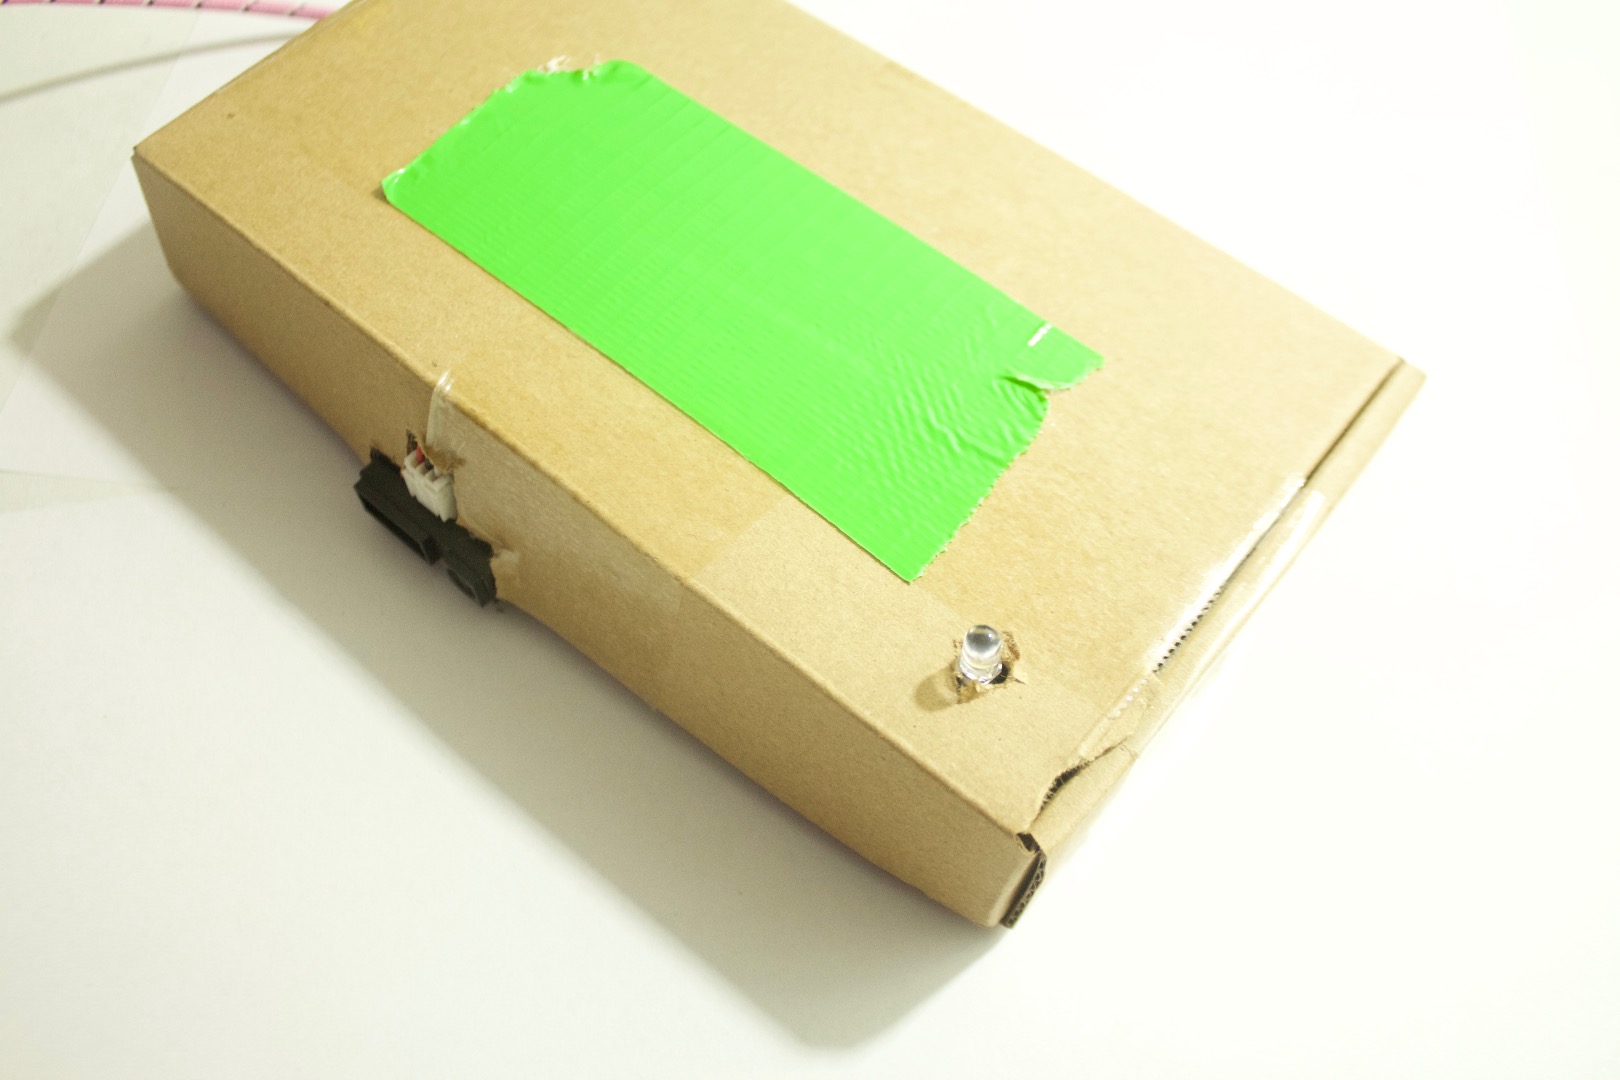
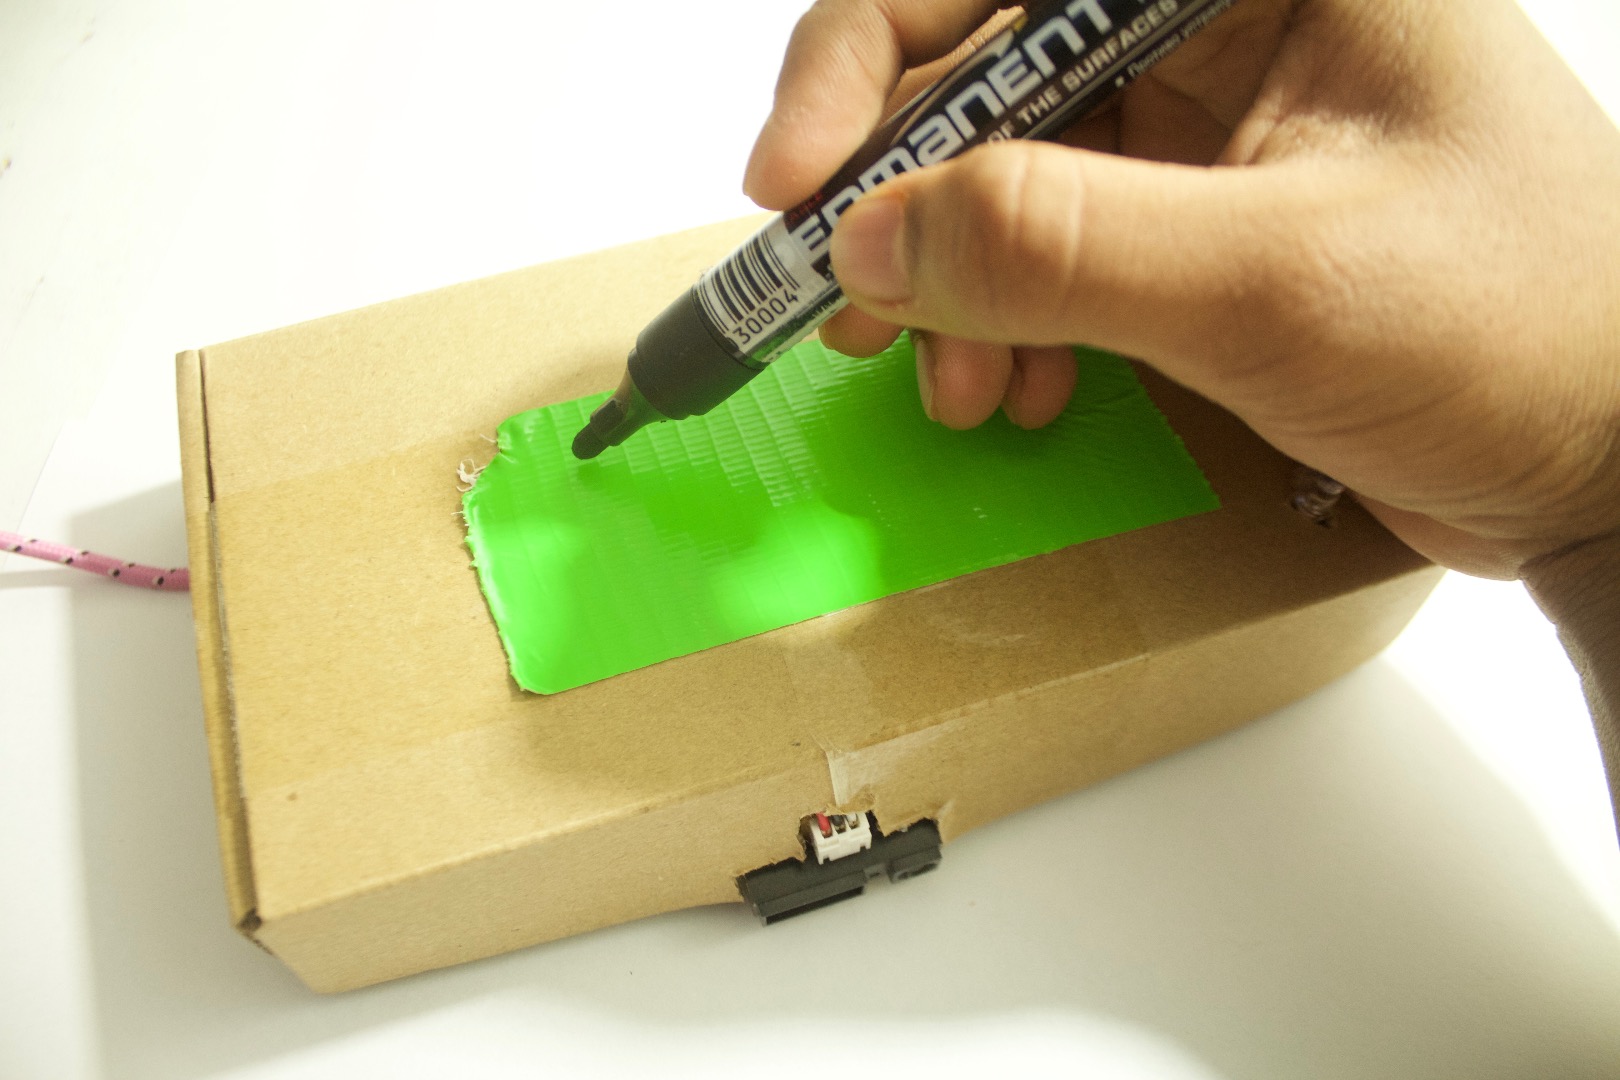
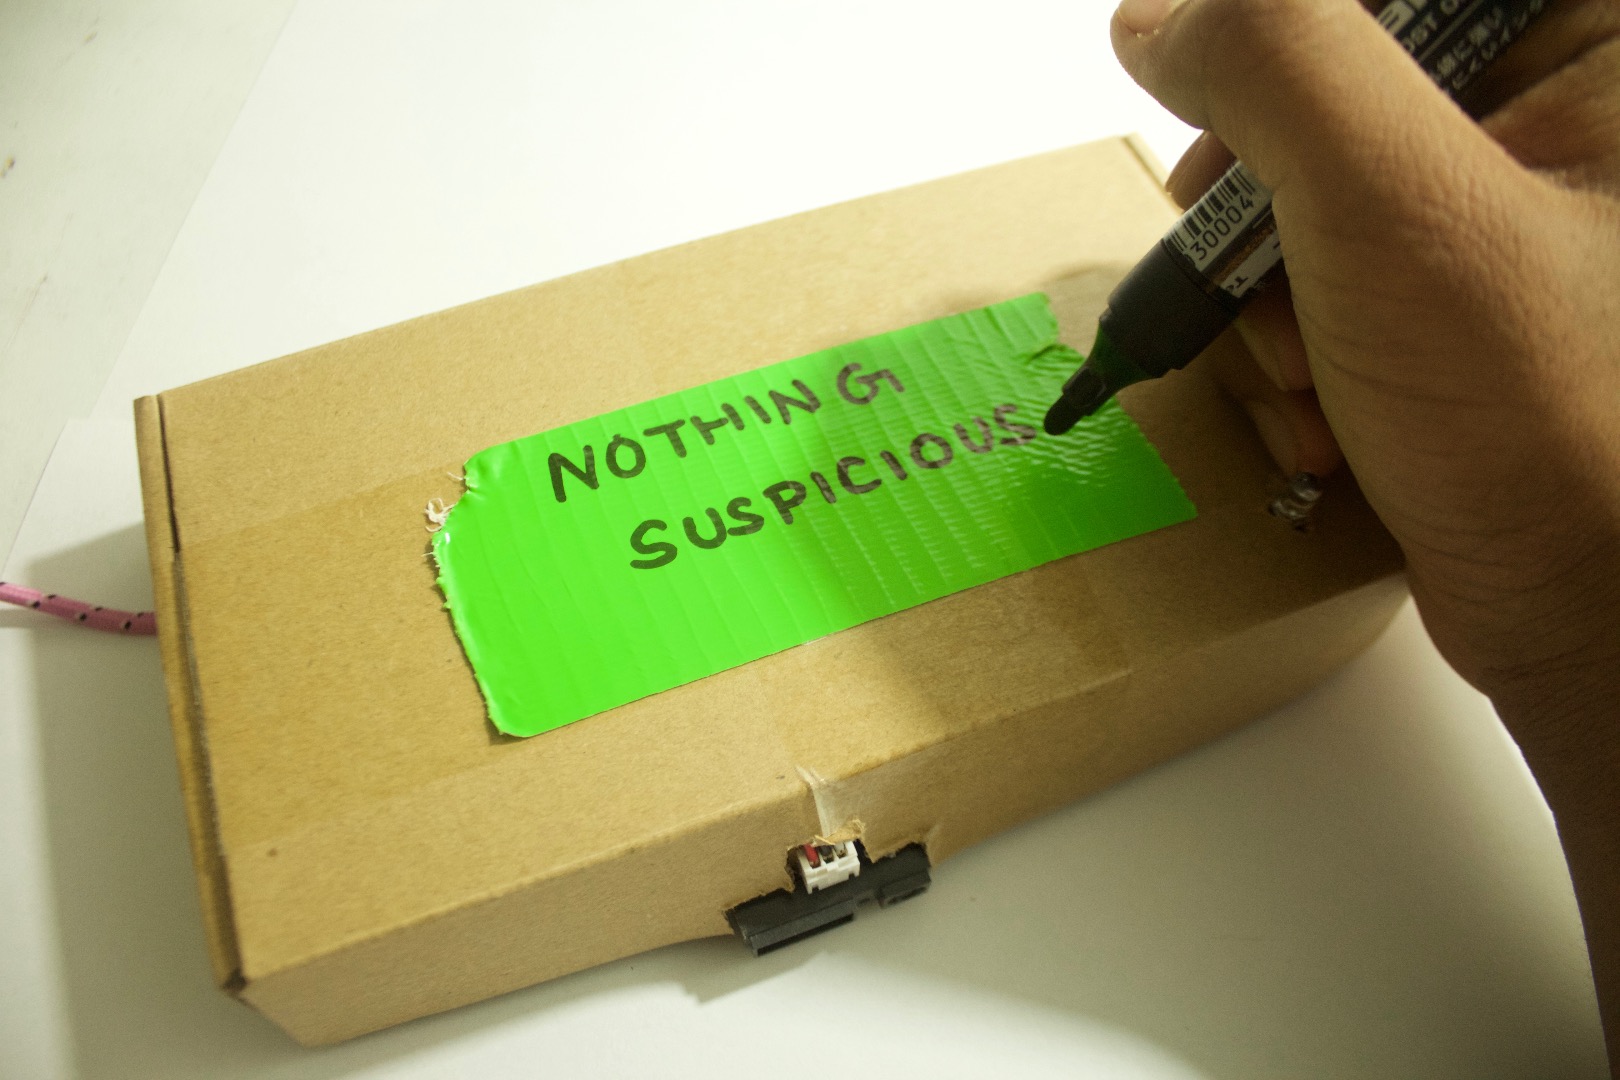
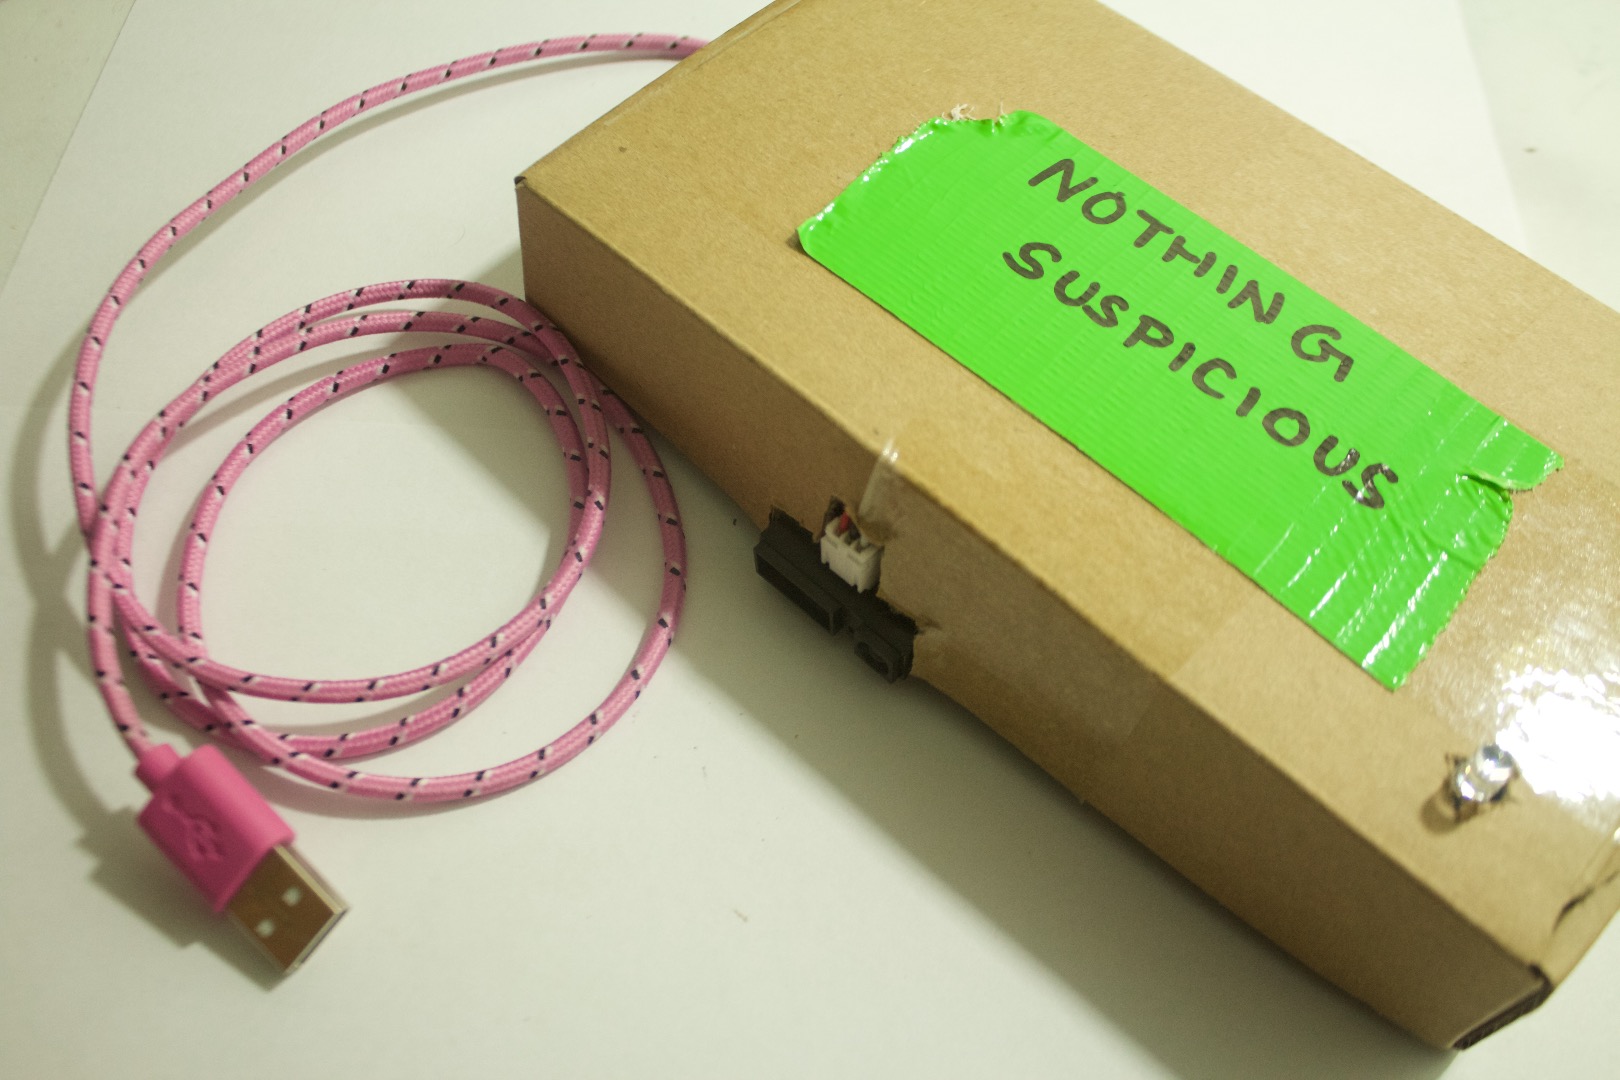
Before testing it lets write something on it so that no one knows what it is.
Try to make it less suspicious. For the unknowing victim.
Test and Conclusion
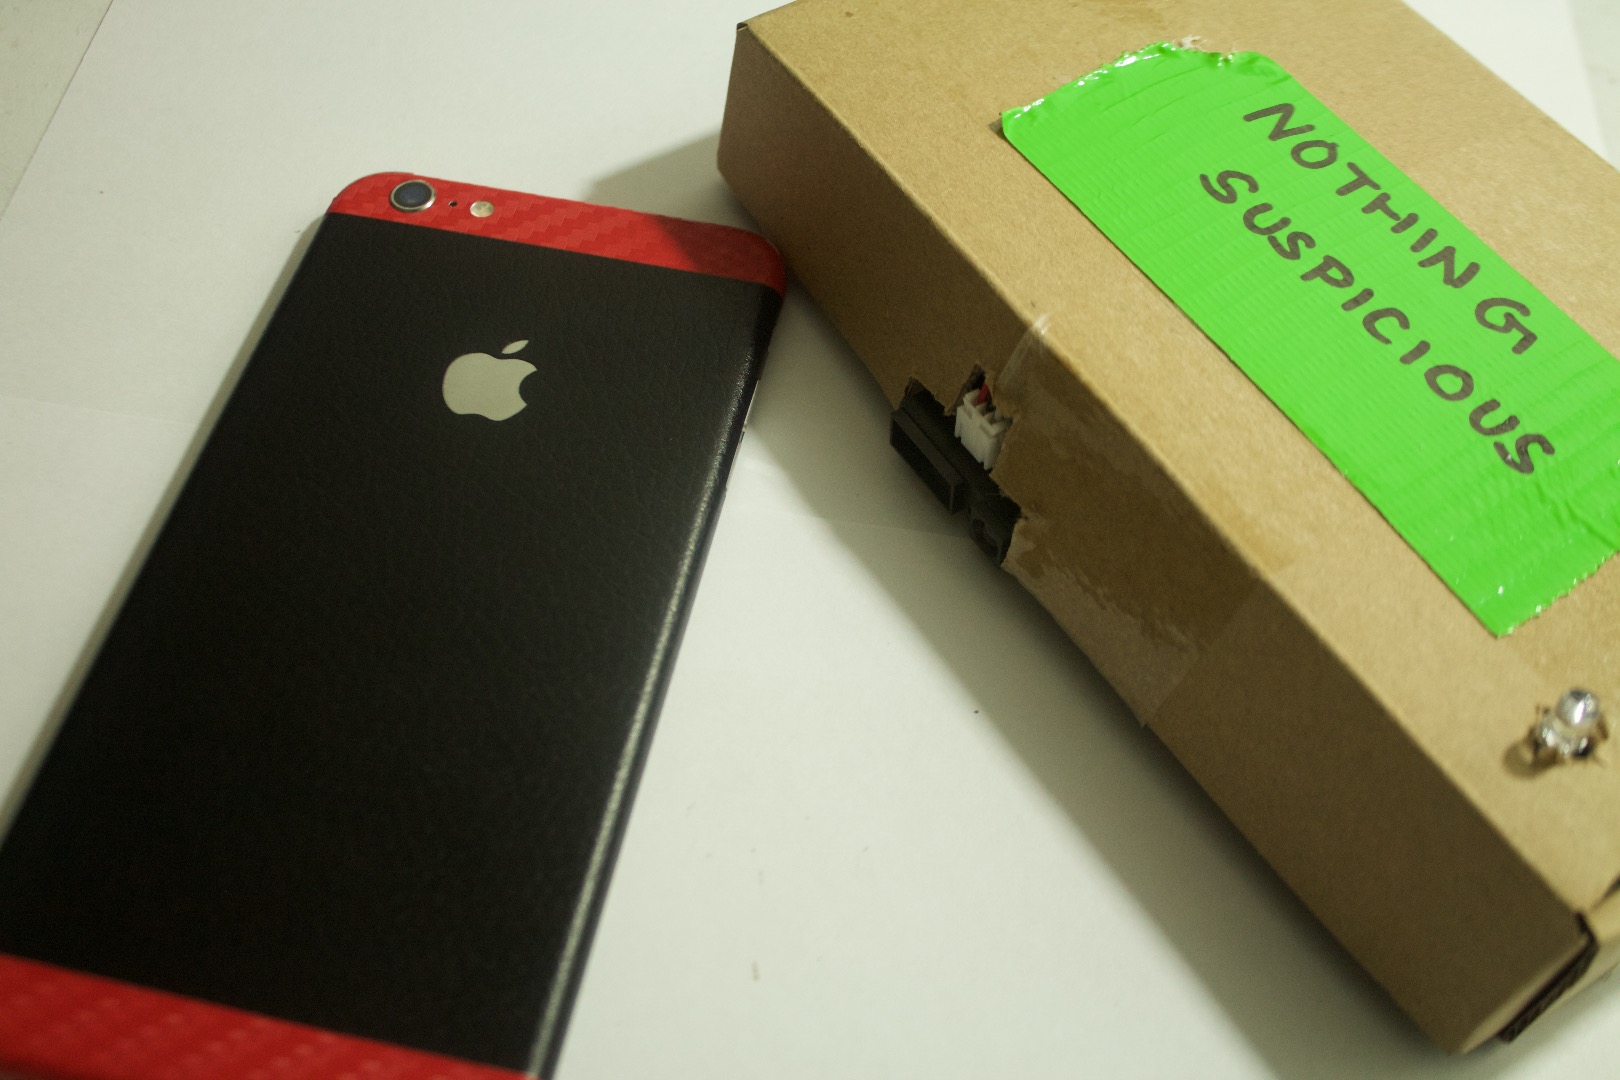
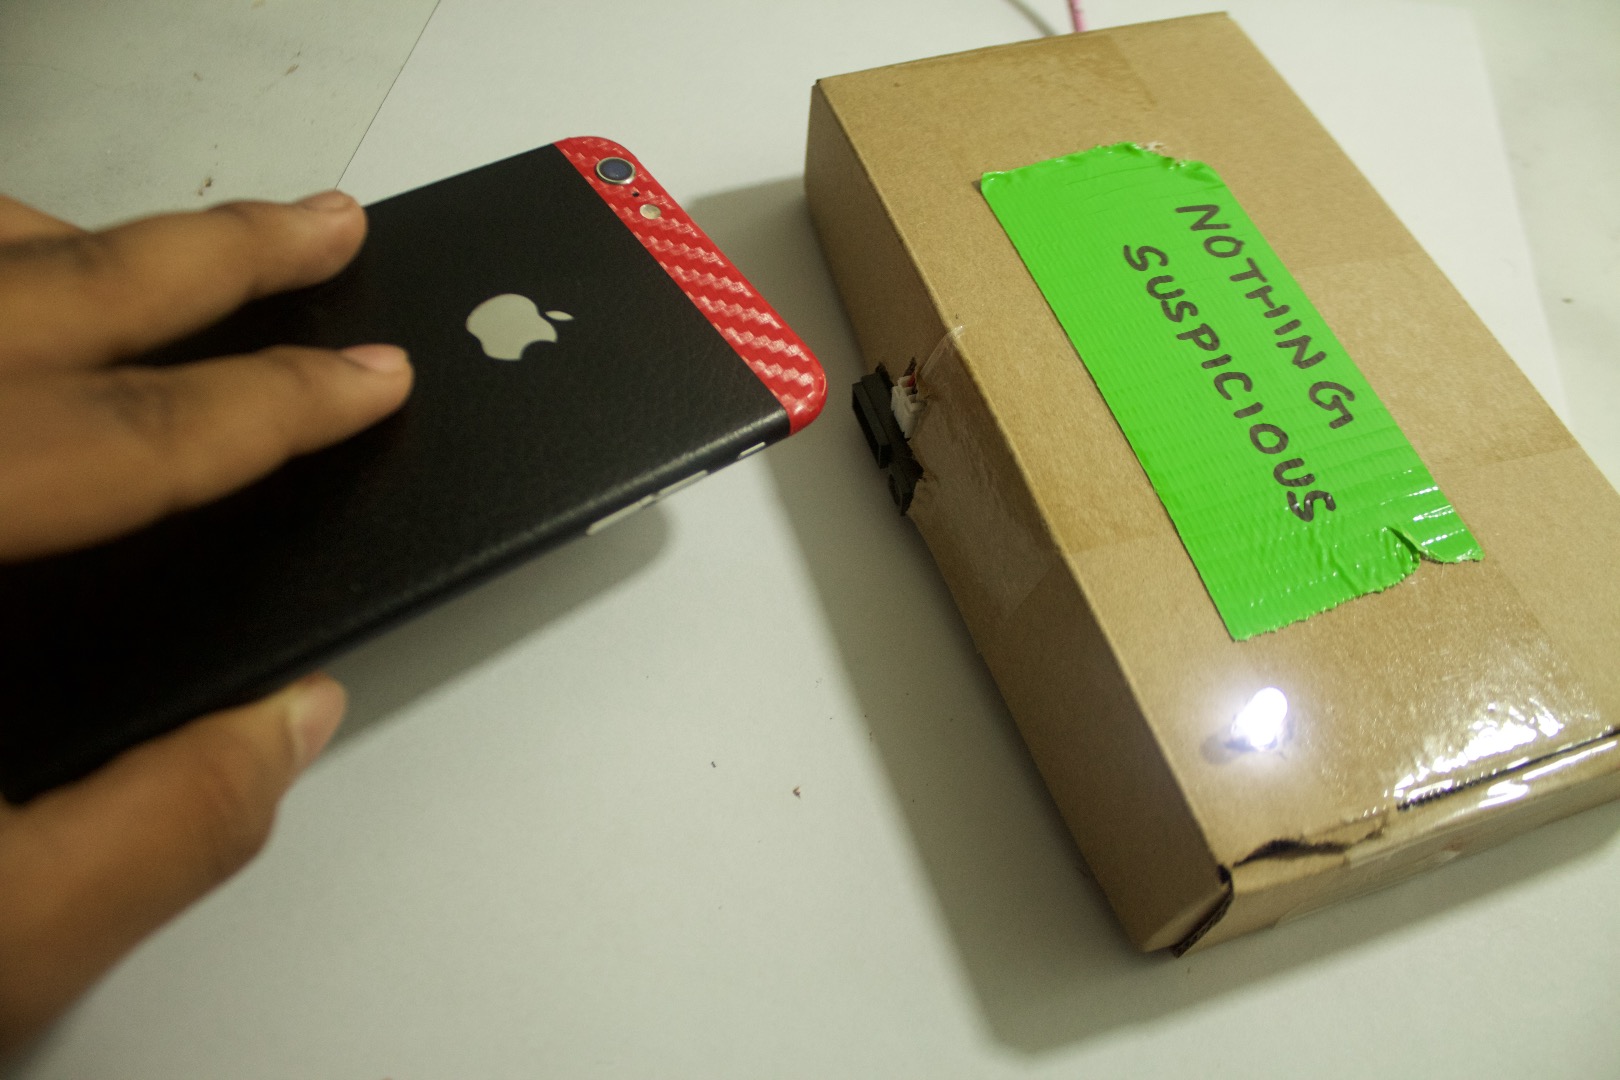
Plug it in and test it out by keeping something close to it, make sure that the sensor is pointing at it.
Now when you pick it up it should make a sound and turn on the led.
And that is it:) To conclude, this is not a high leveled security system, so don't keep high valued objects depended on it. Although it will work and inform you of the change. If you have any questions about this let me know in the comments below.