LinkIt One Flex Sensor
by robo10302 in Circuits > Microcontrollers
655 Views, 8 Favorites, 0 Comments
LinkIt One Flex Sensor
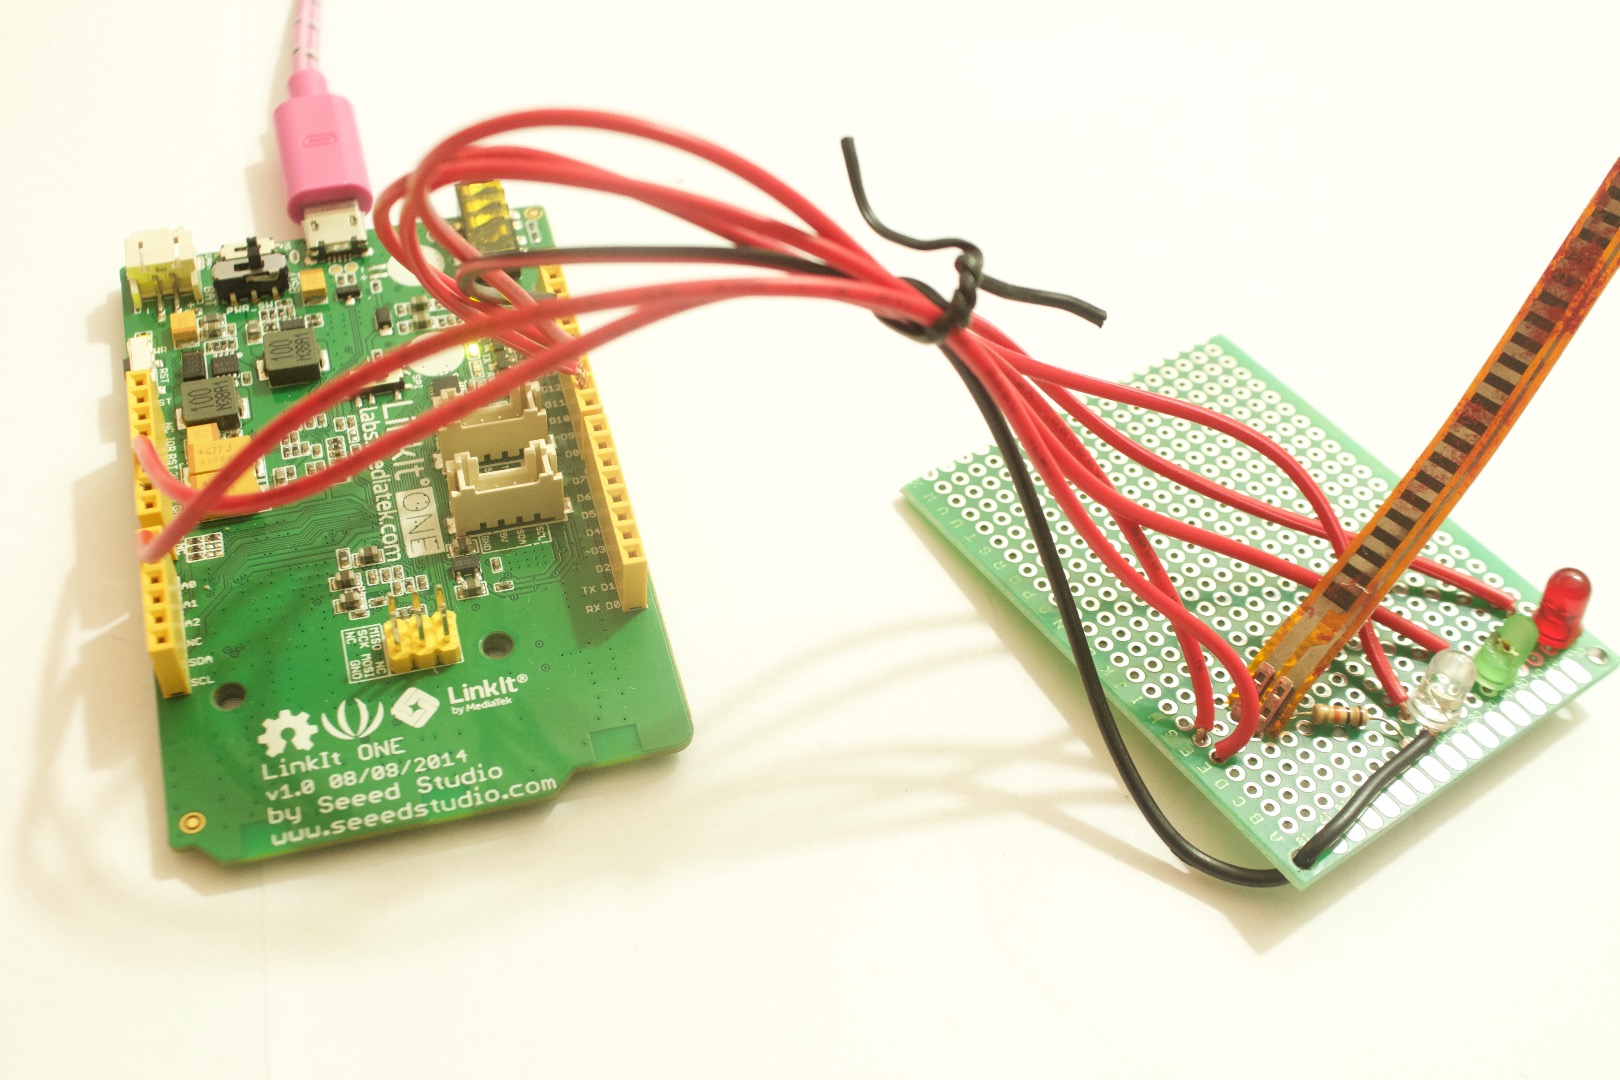
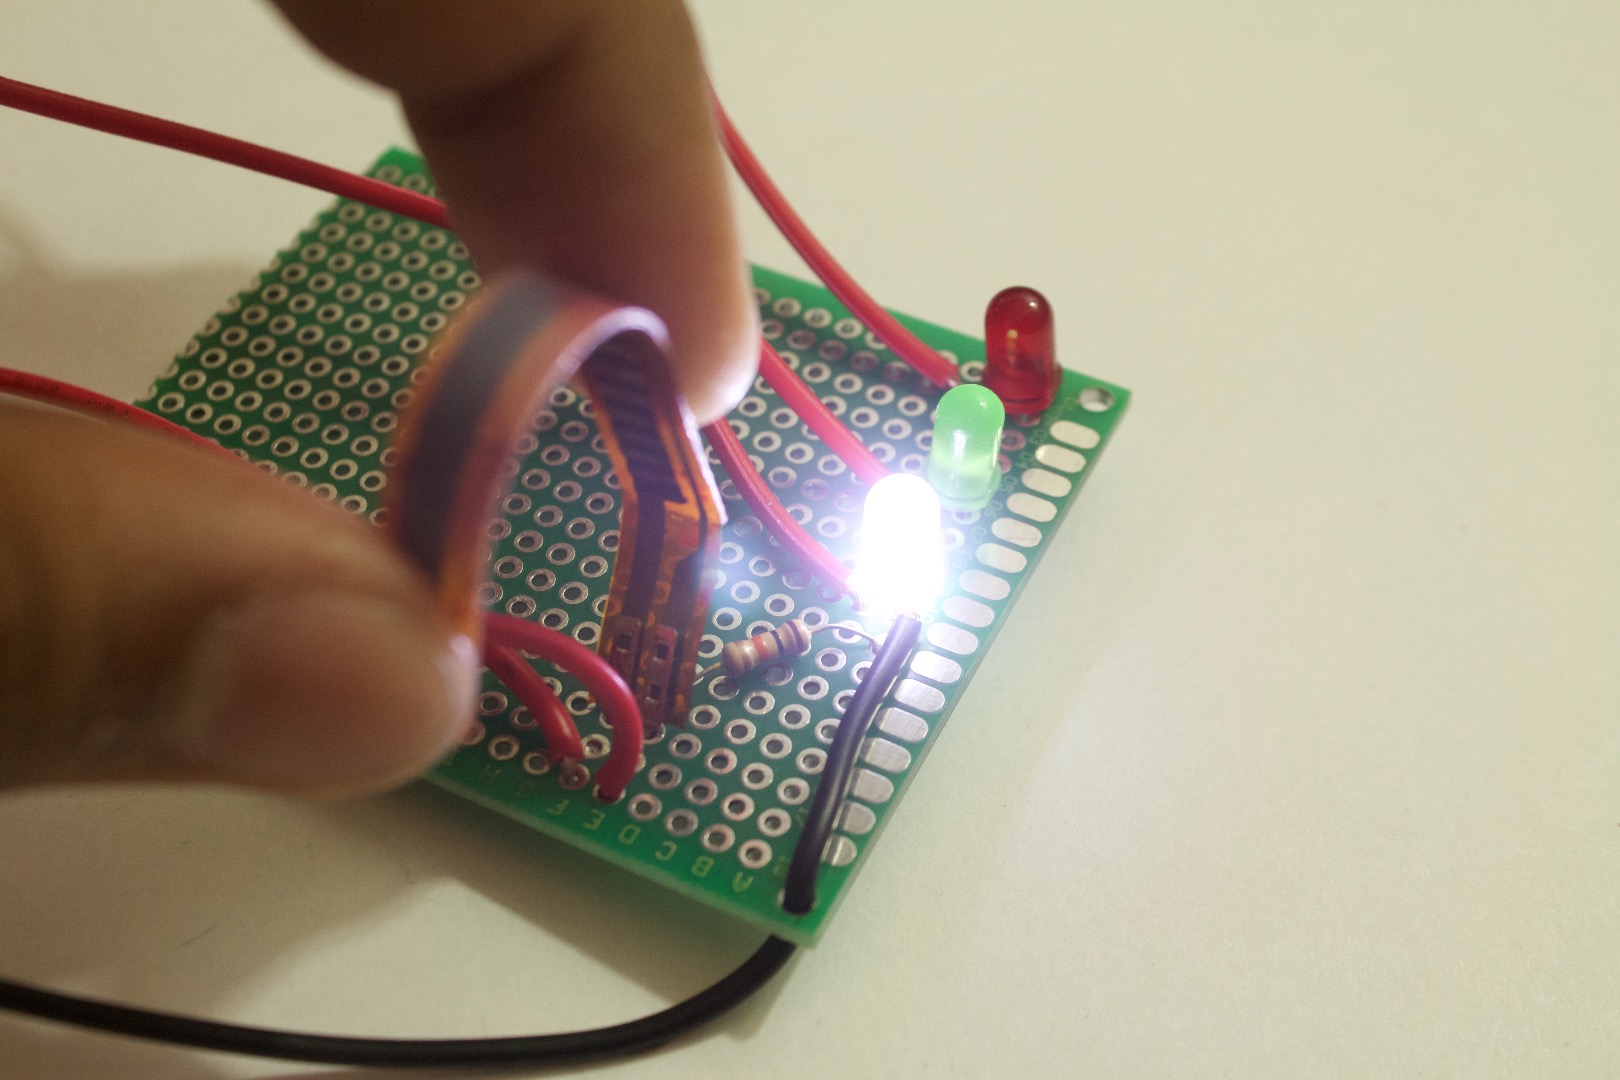
Hello builders, here in this project you will learn how to use a flex sensor with a LinkIt One Microcontroller. This project turns on LED's based on the flexing or bending of the sensor. LinkIt One is a micro controller based around the Arduino IDE environment making it easy to operate and program. The flex sensor is made of resistive material which changes its voltage out when its bent. In this project we will read the analog input from the sensor.
Parts
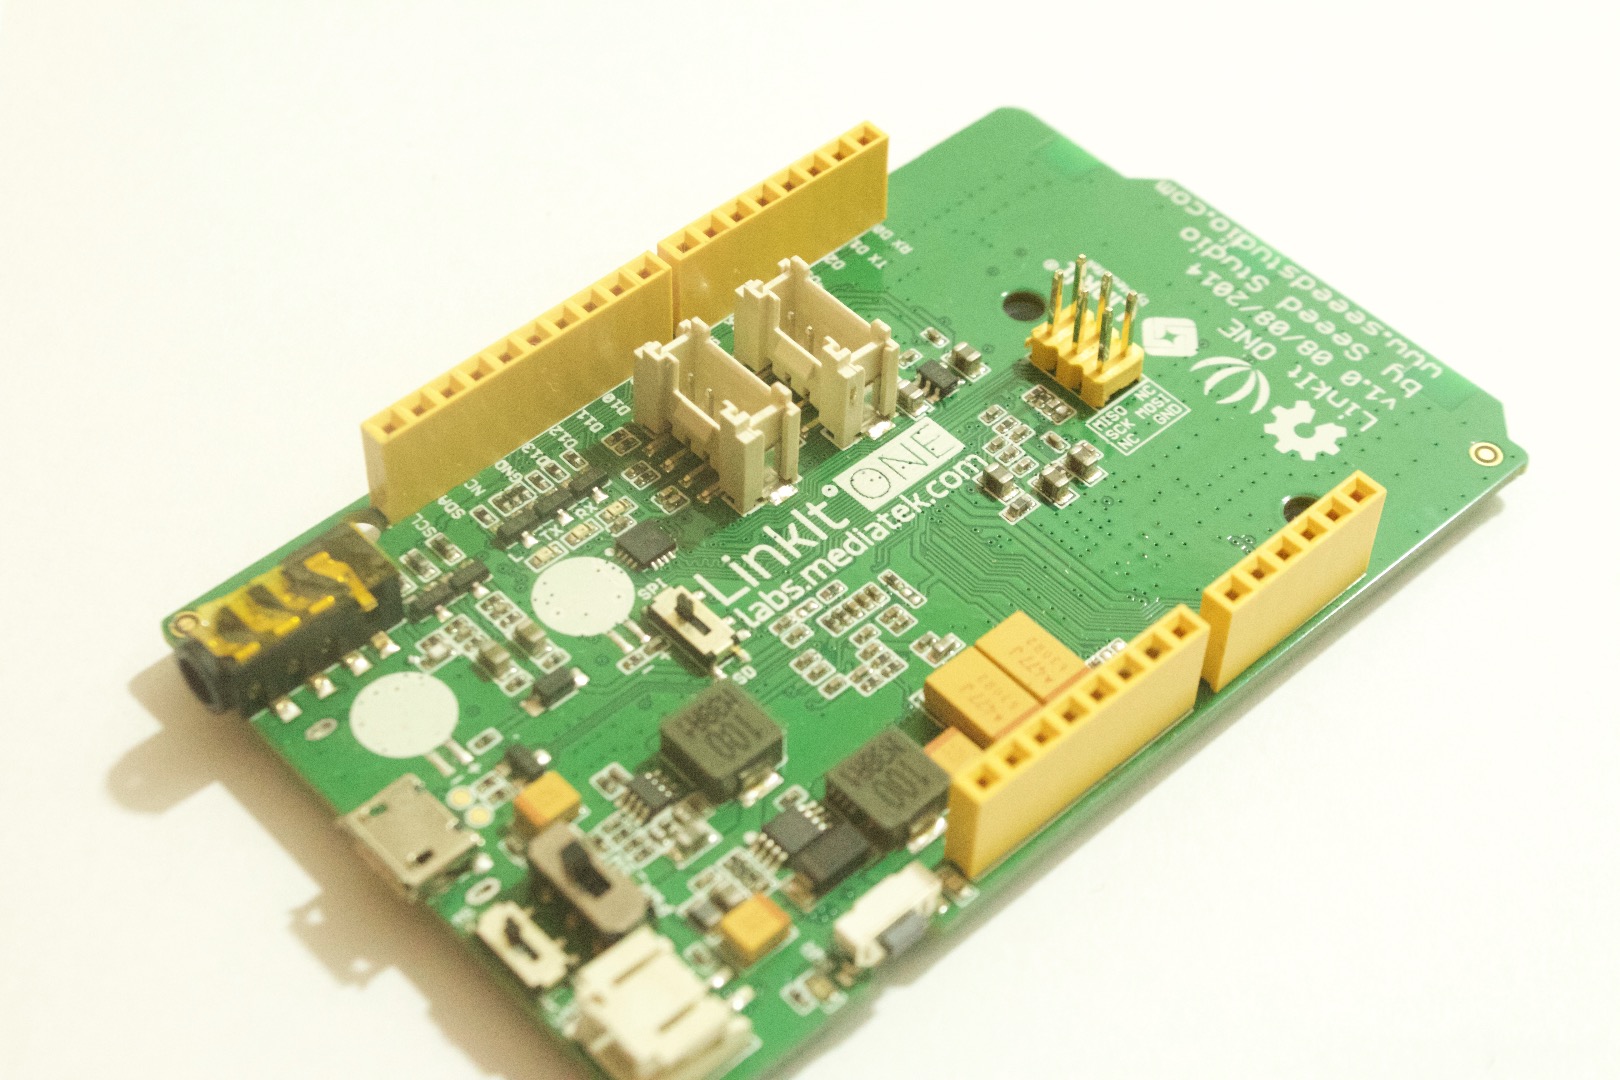
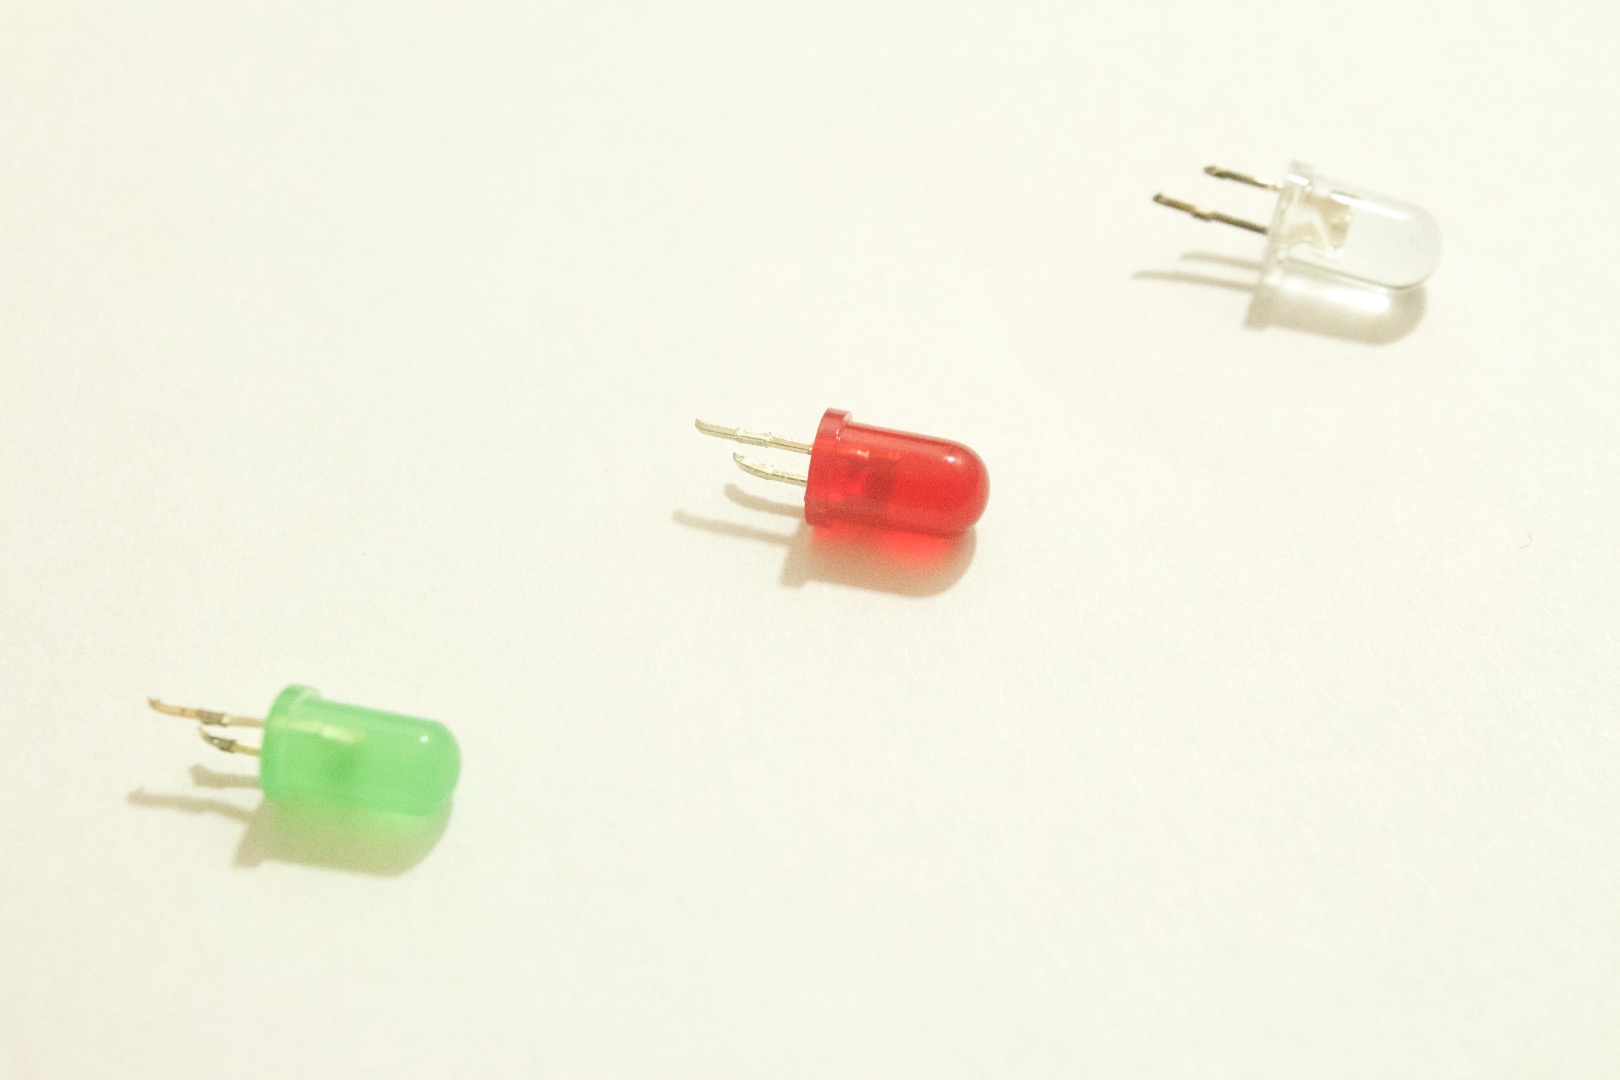
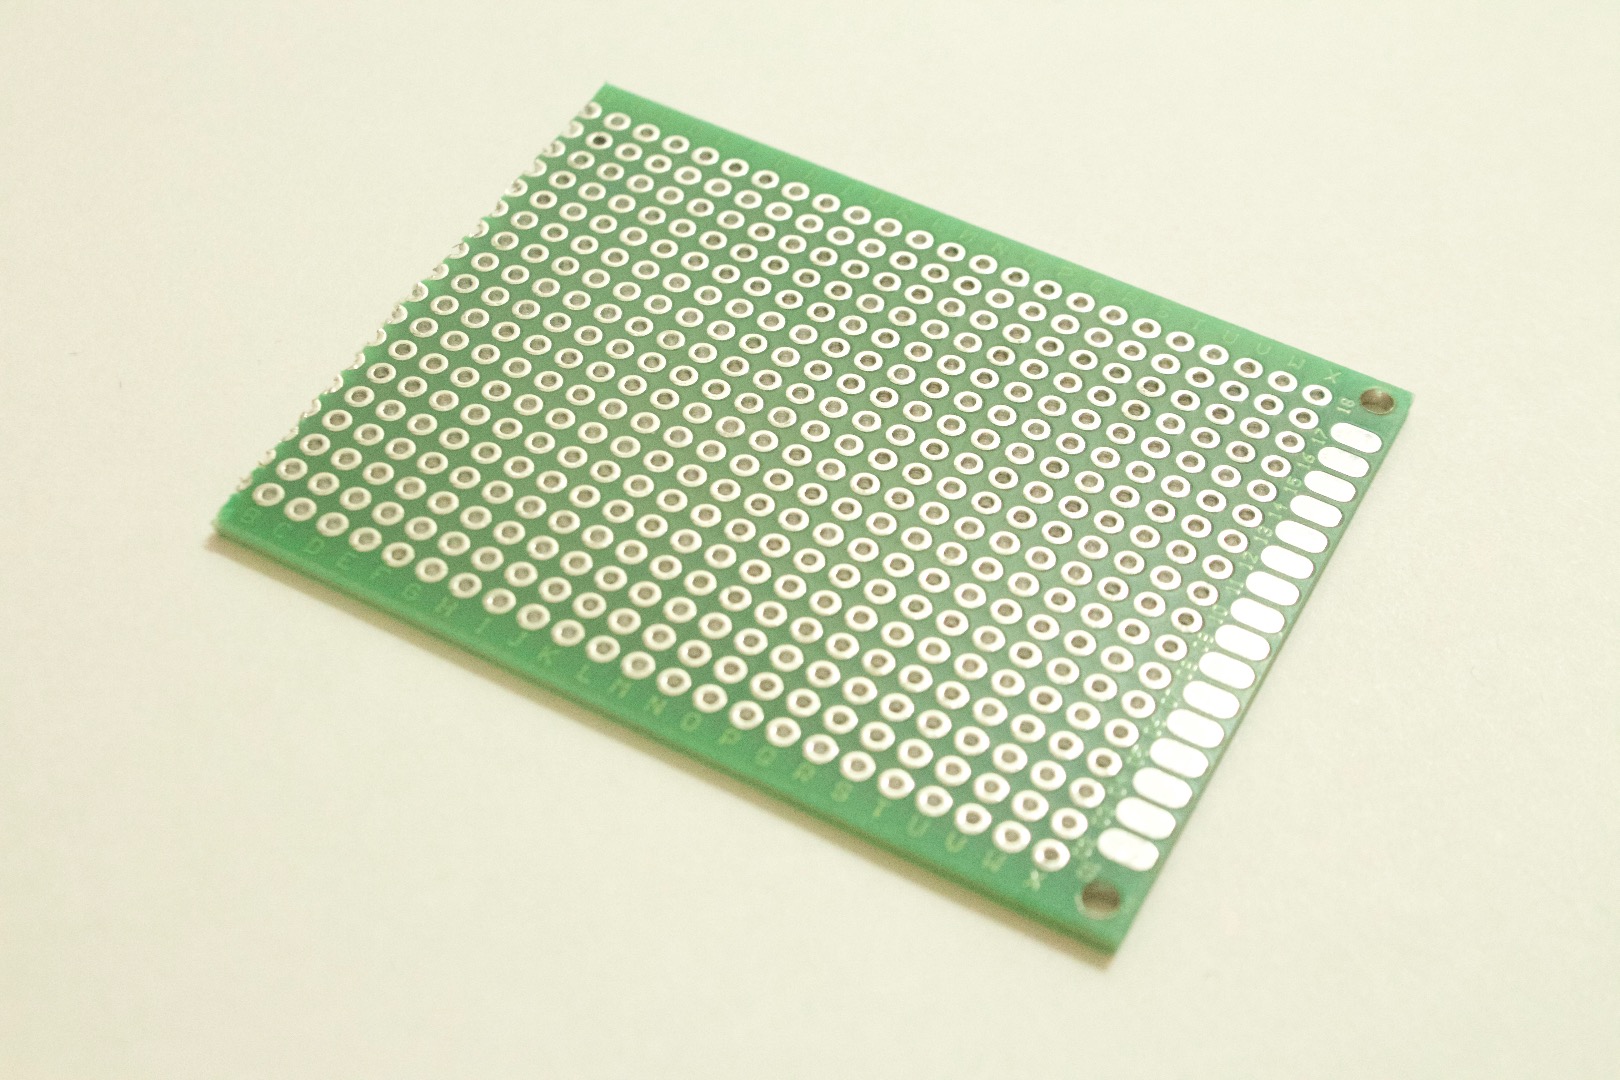
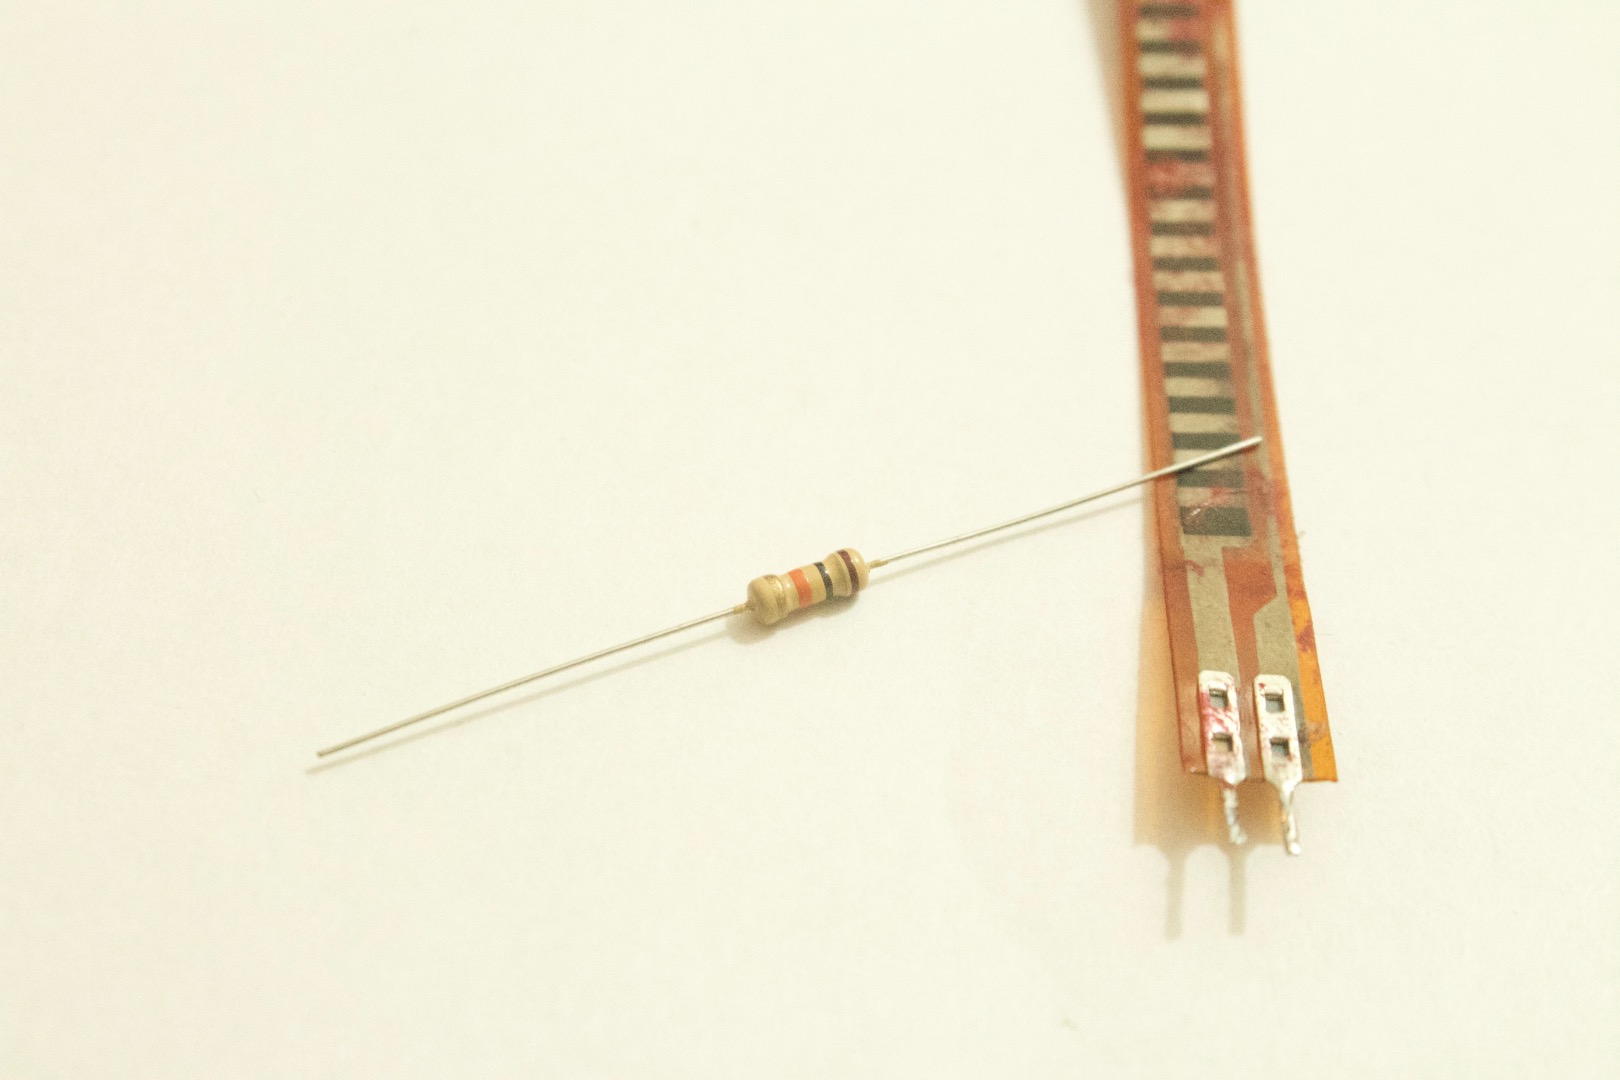
1. LinkIt One Microcontroller
2. Usb Cable
3. 3 LED's ( Red, Green, White)
4. Perf board
5. 1K or 10k Resistor
6. Flex Sensor
Solder LED's
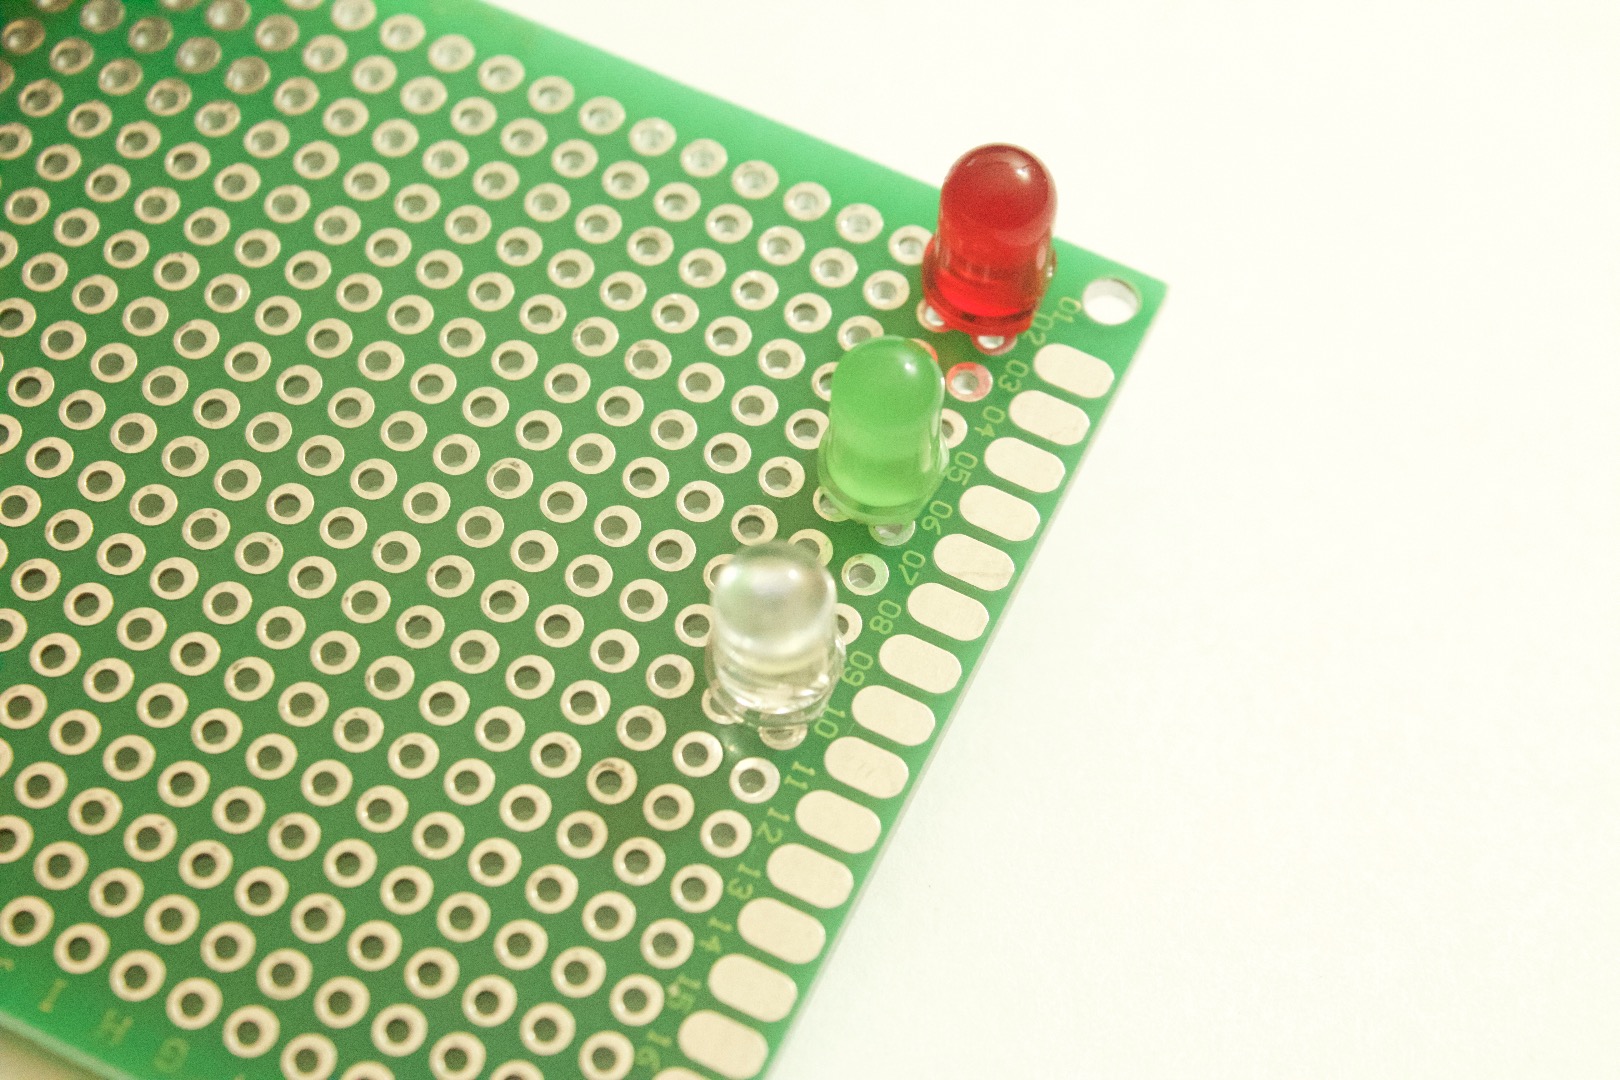
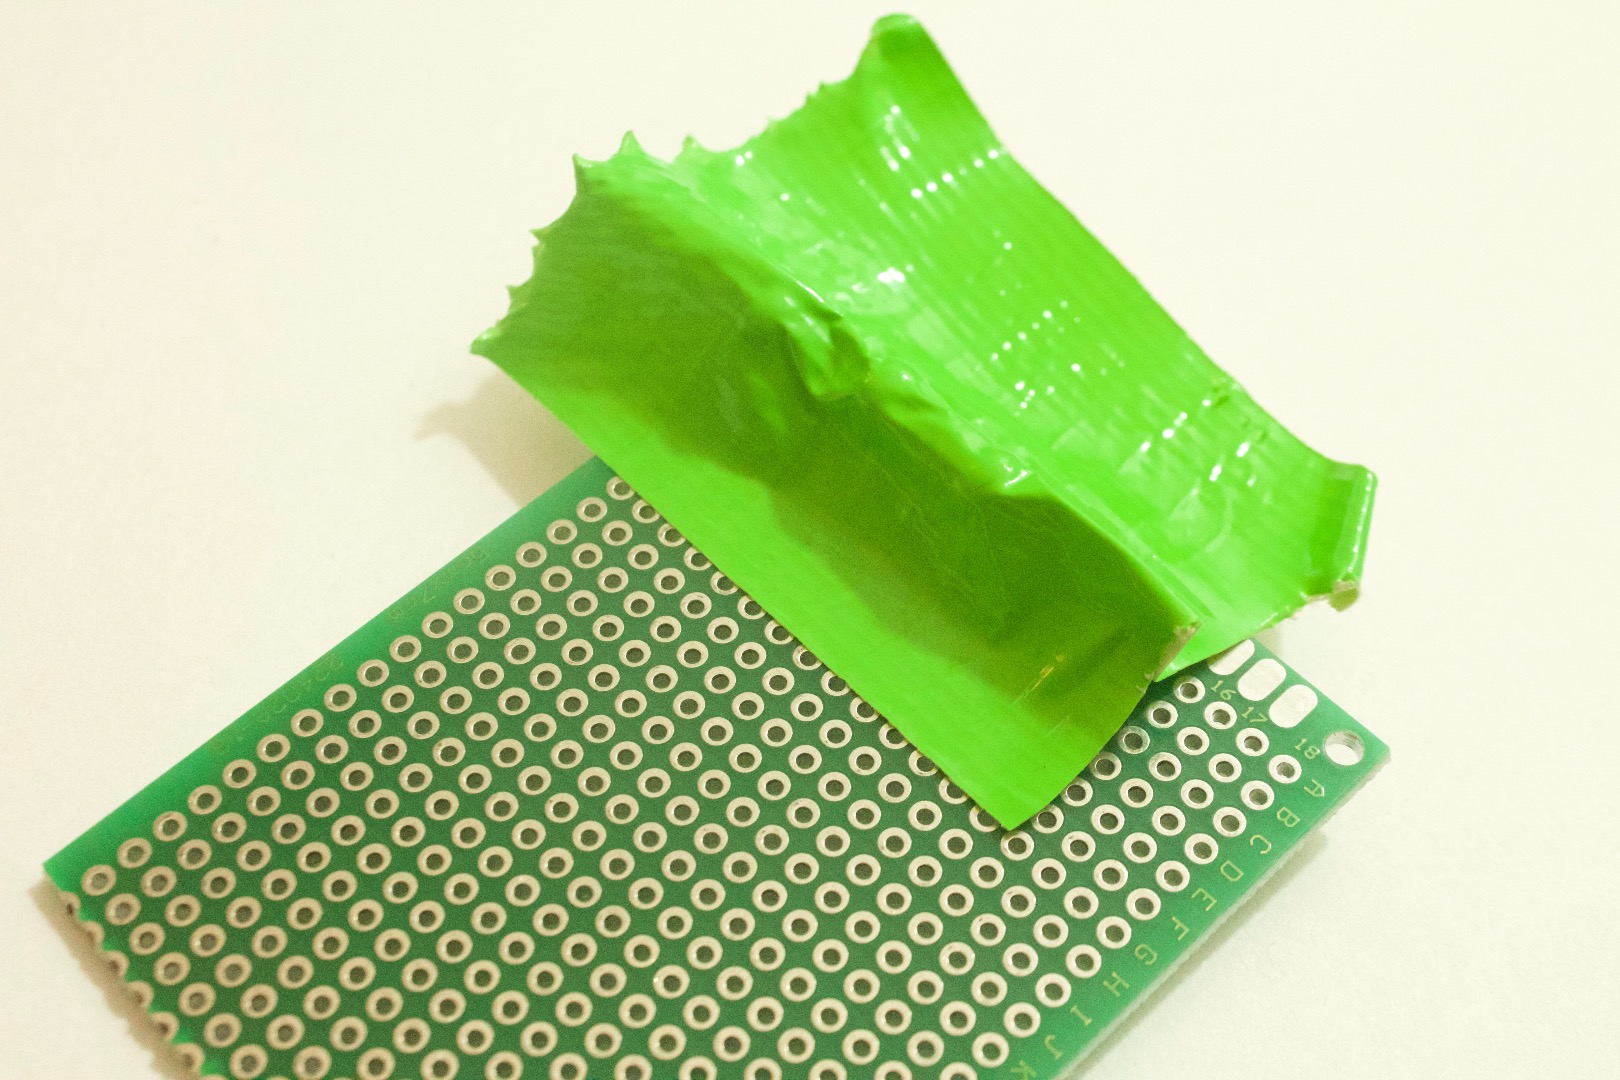
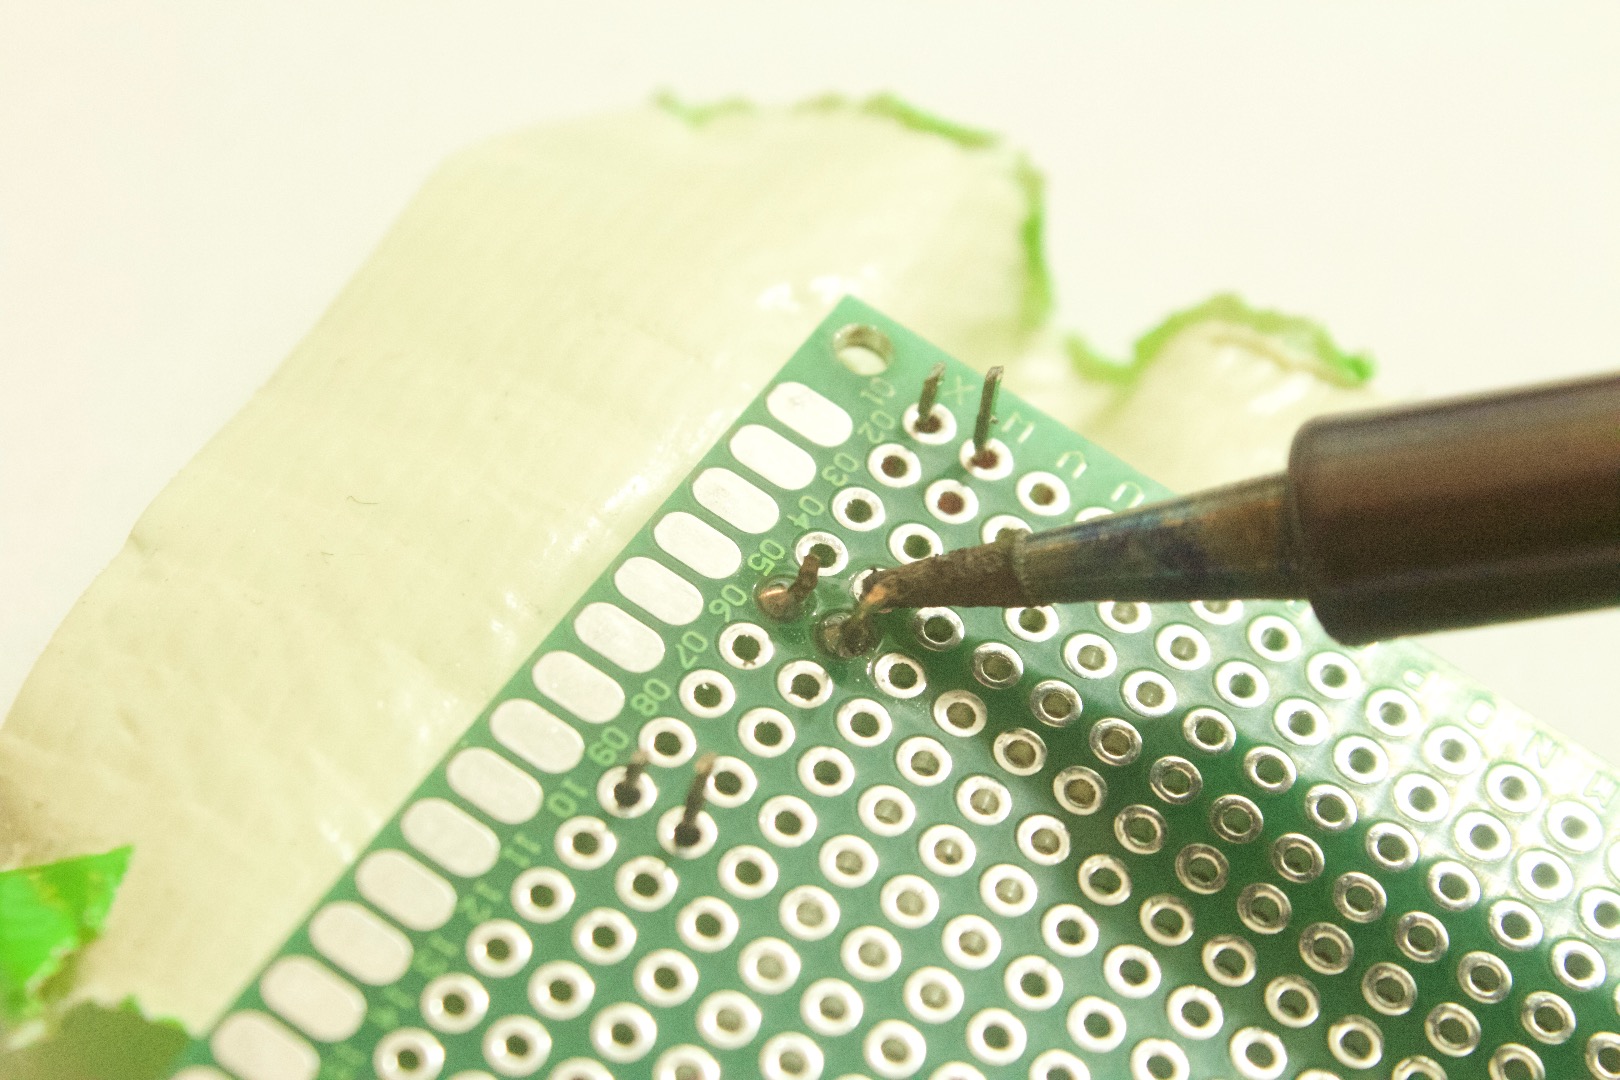
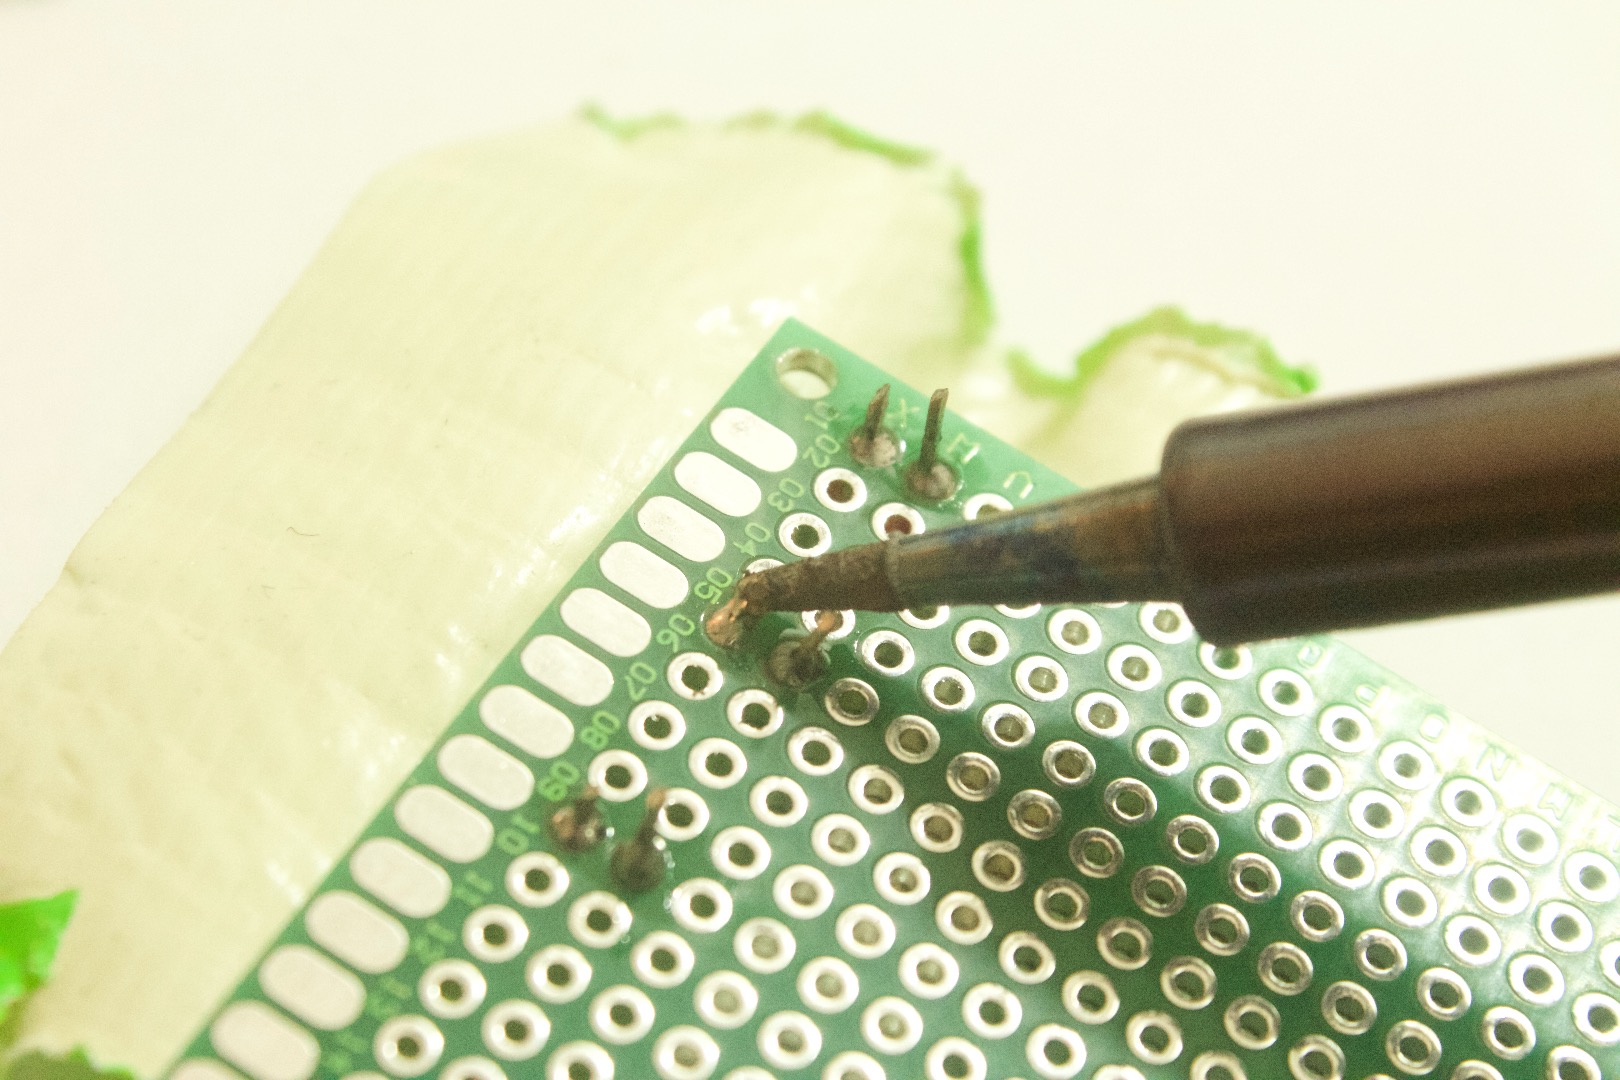
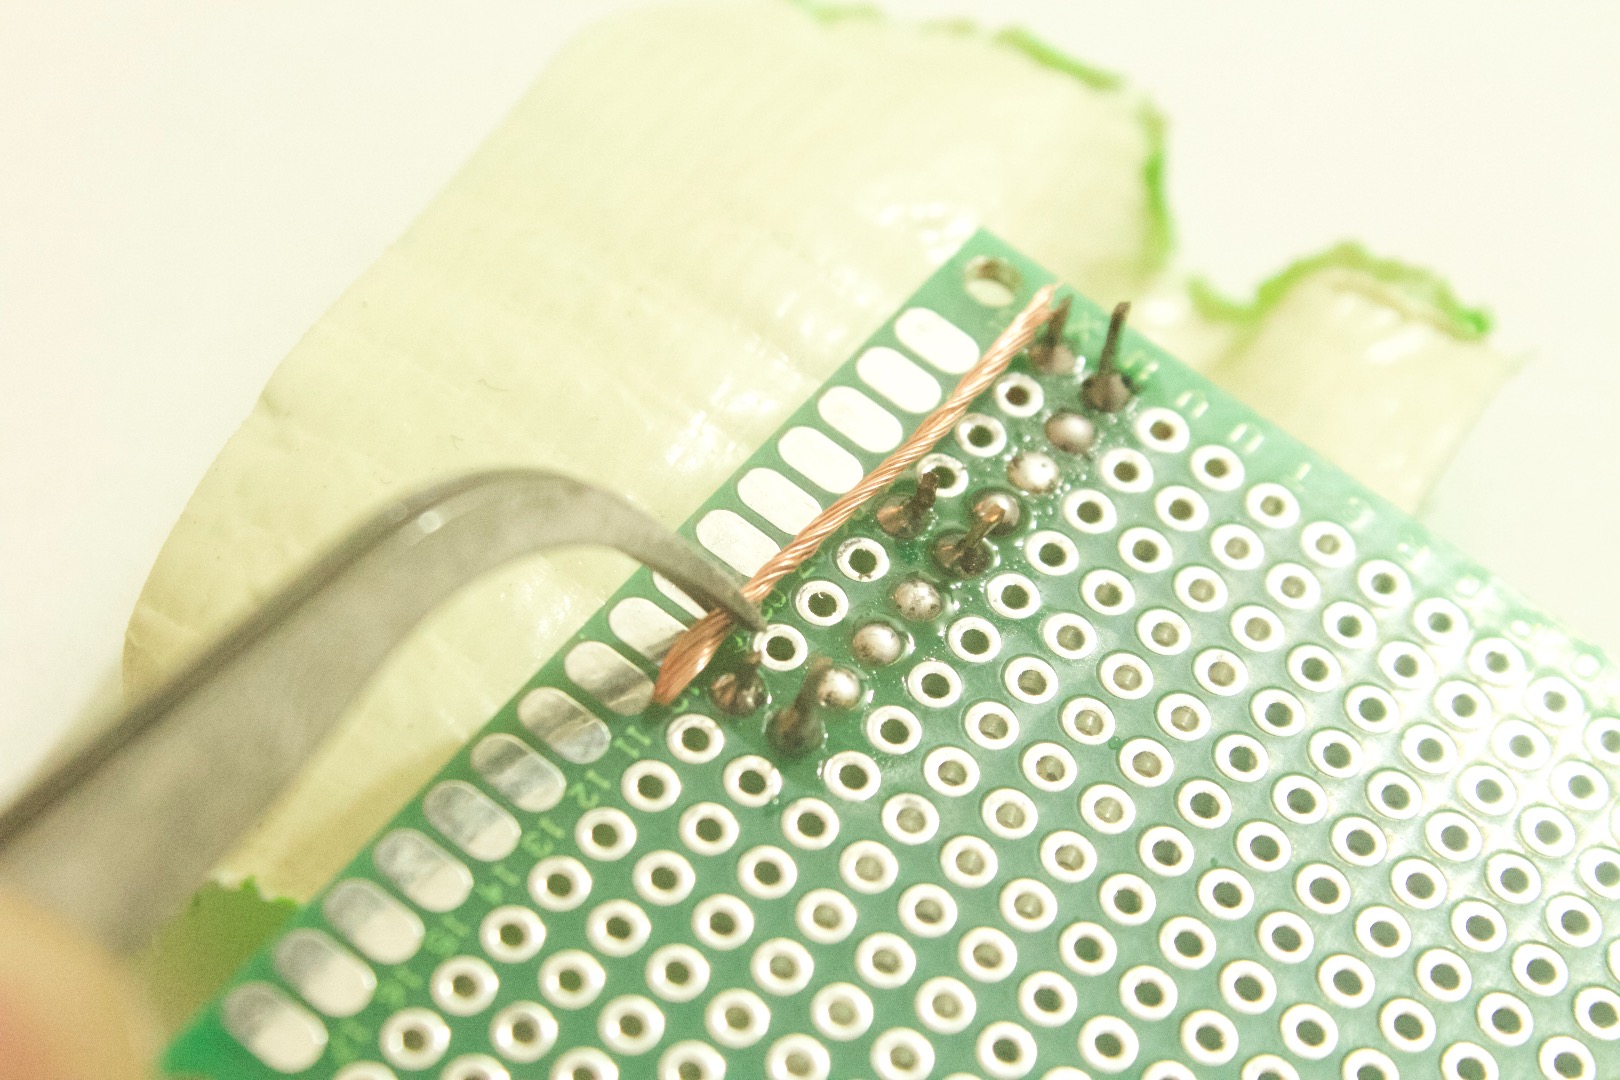
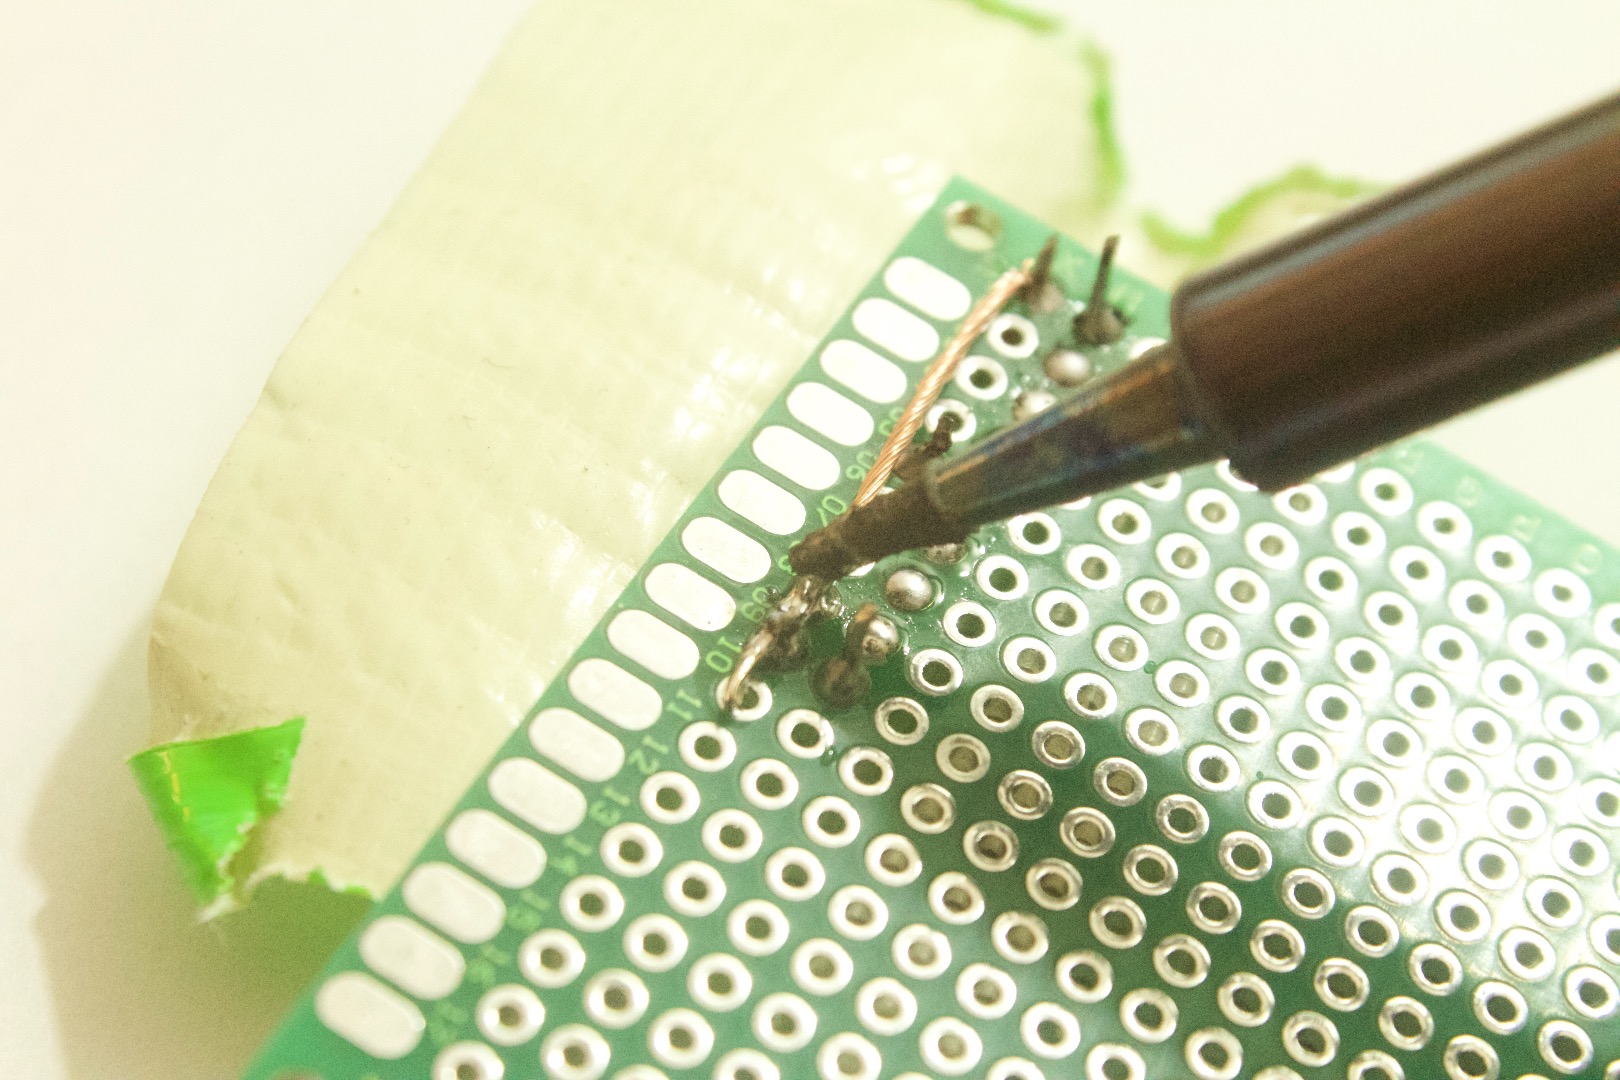
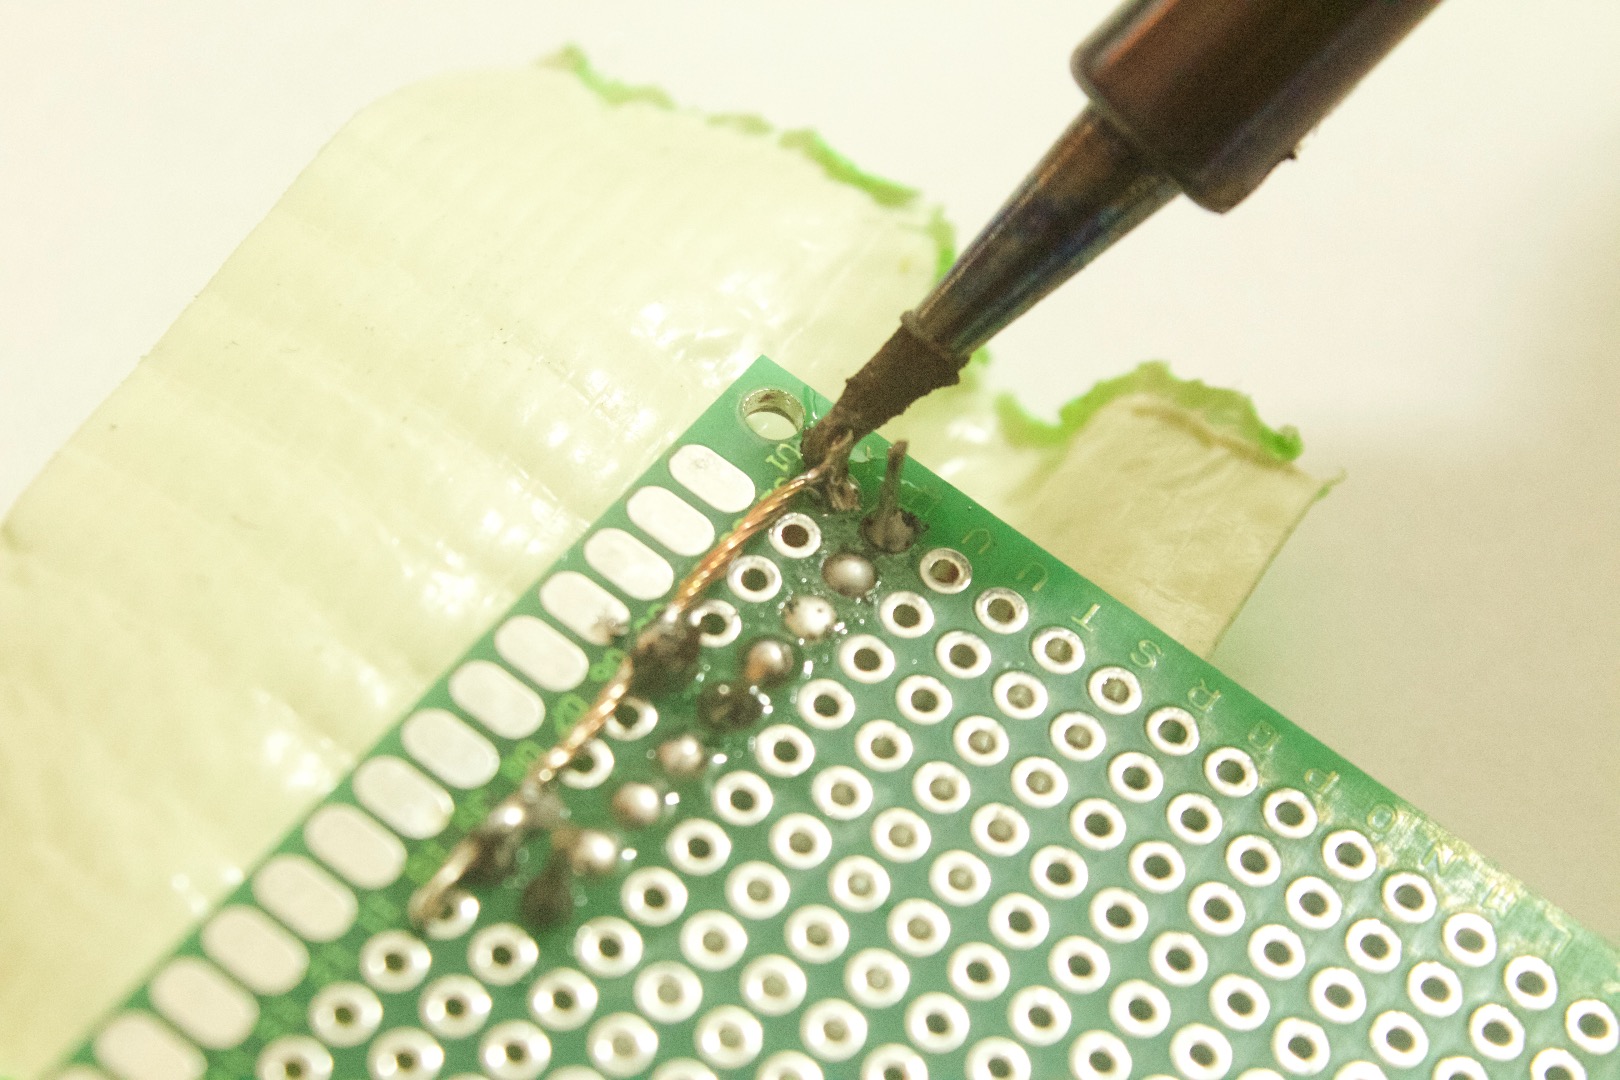
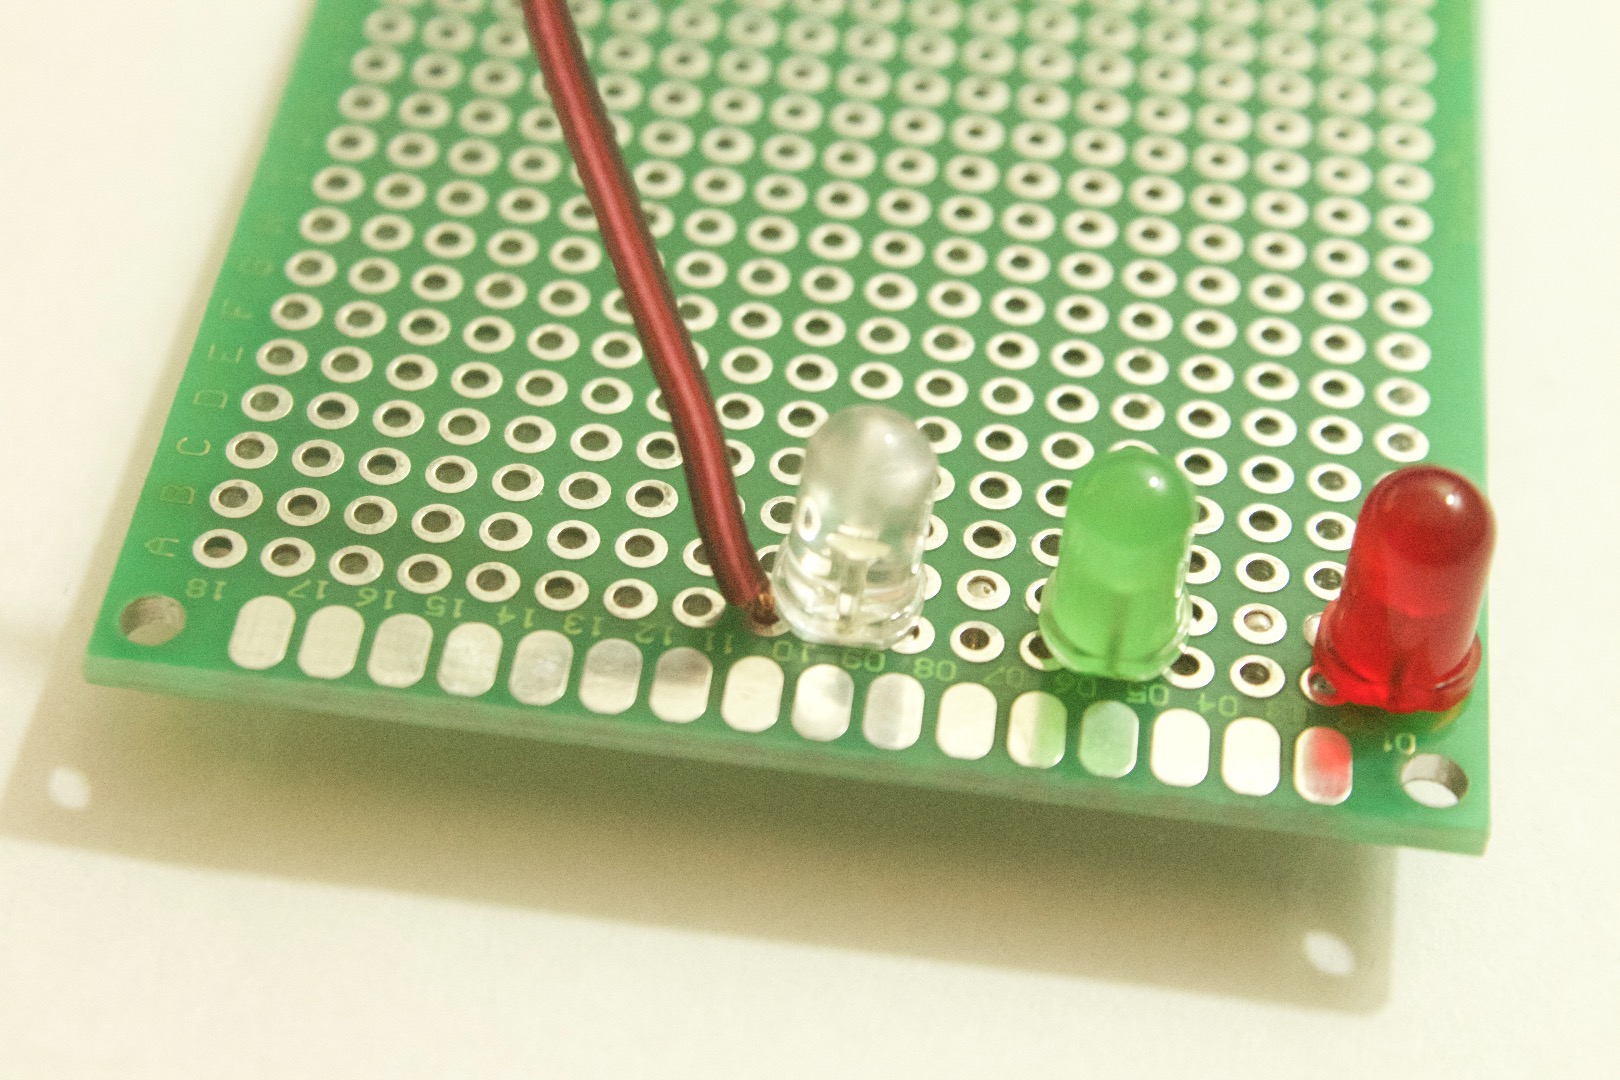
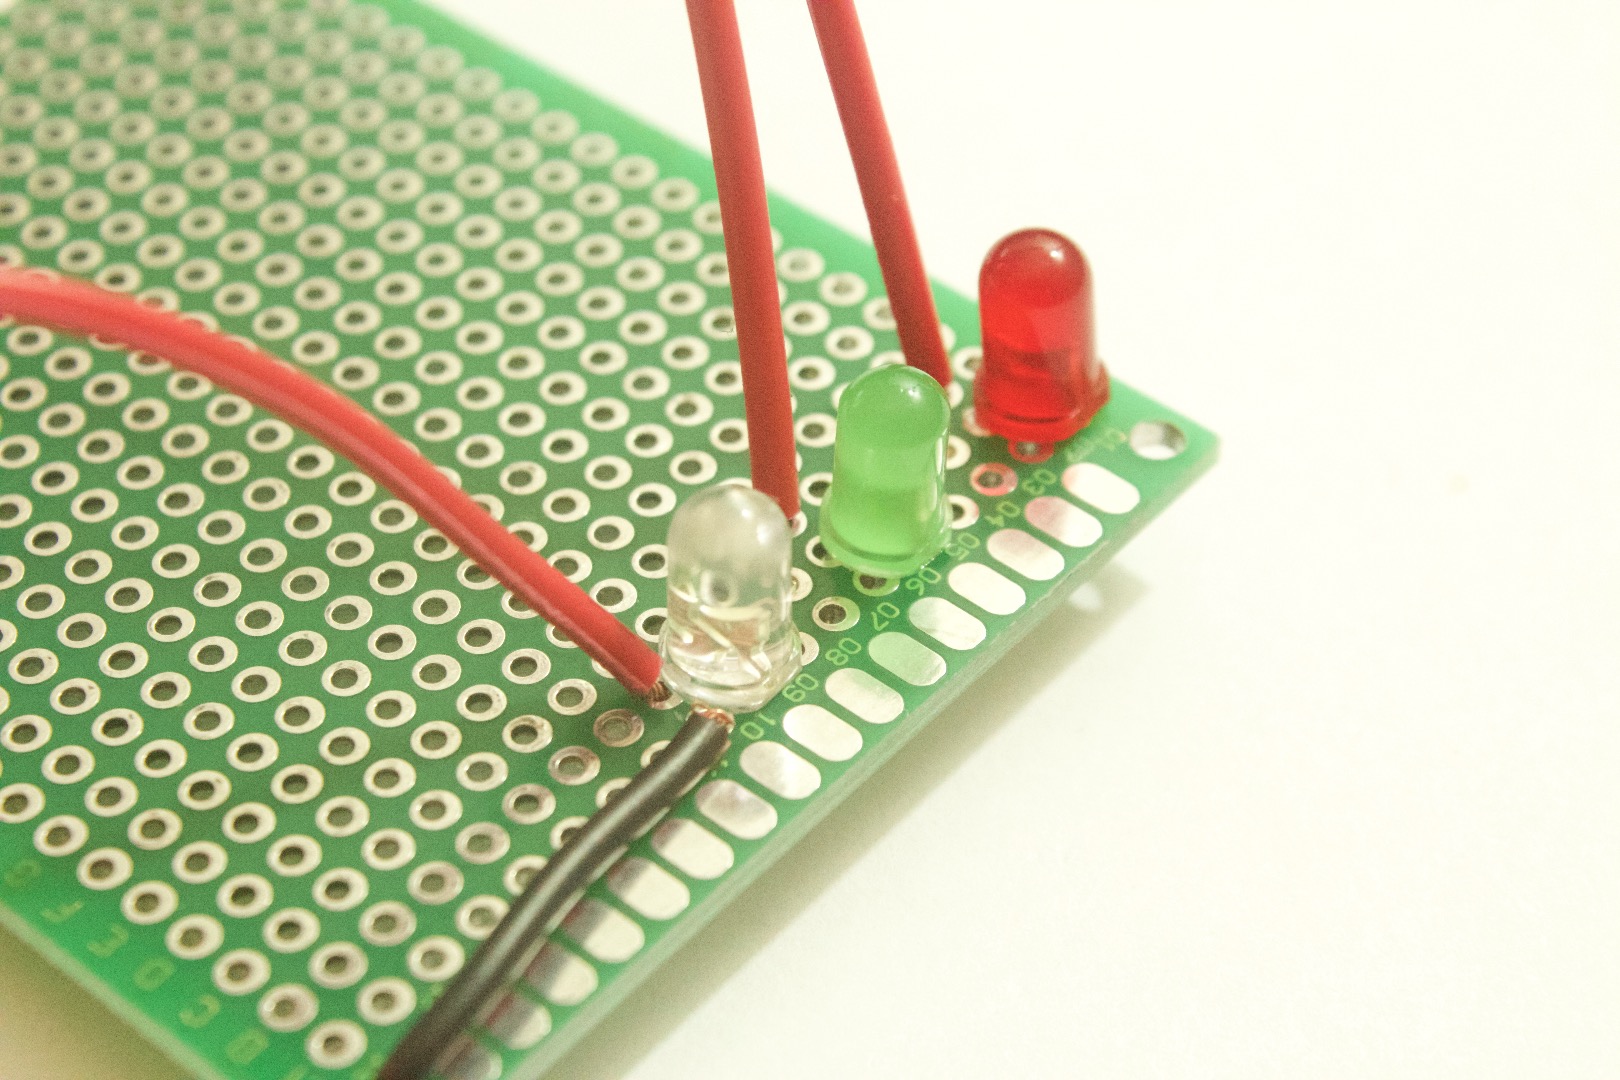
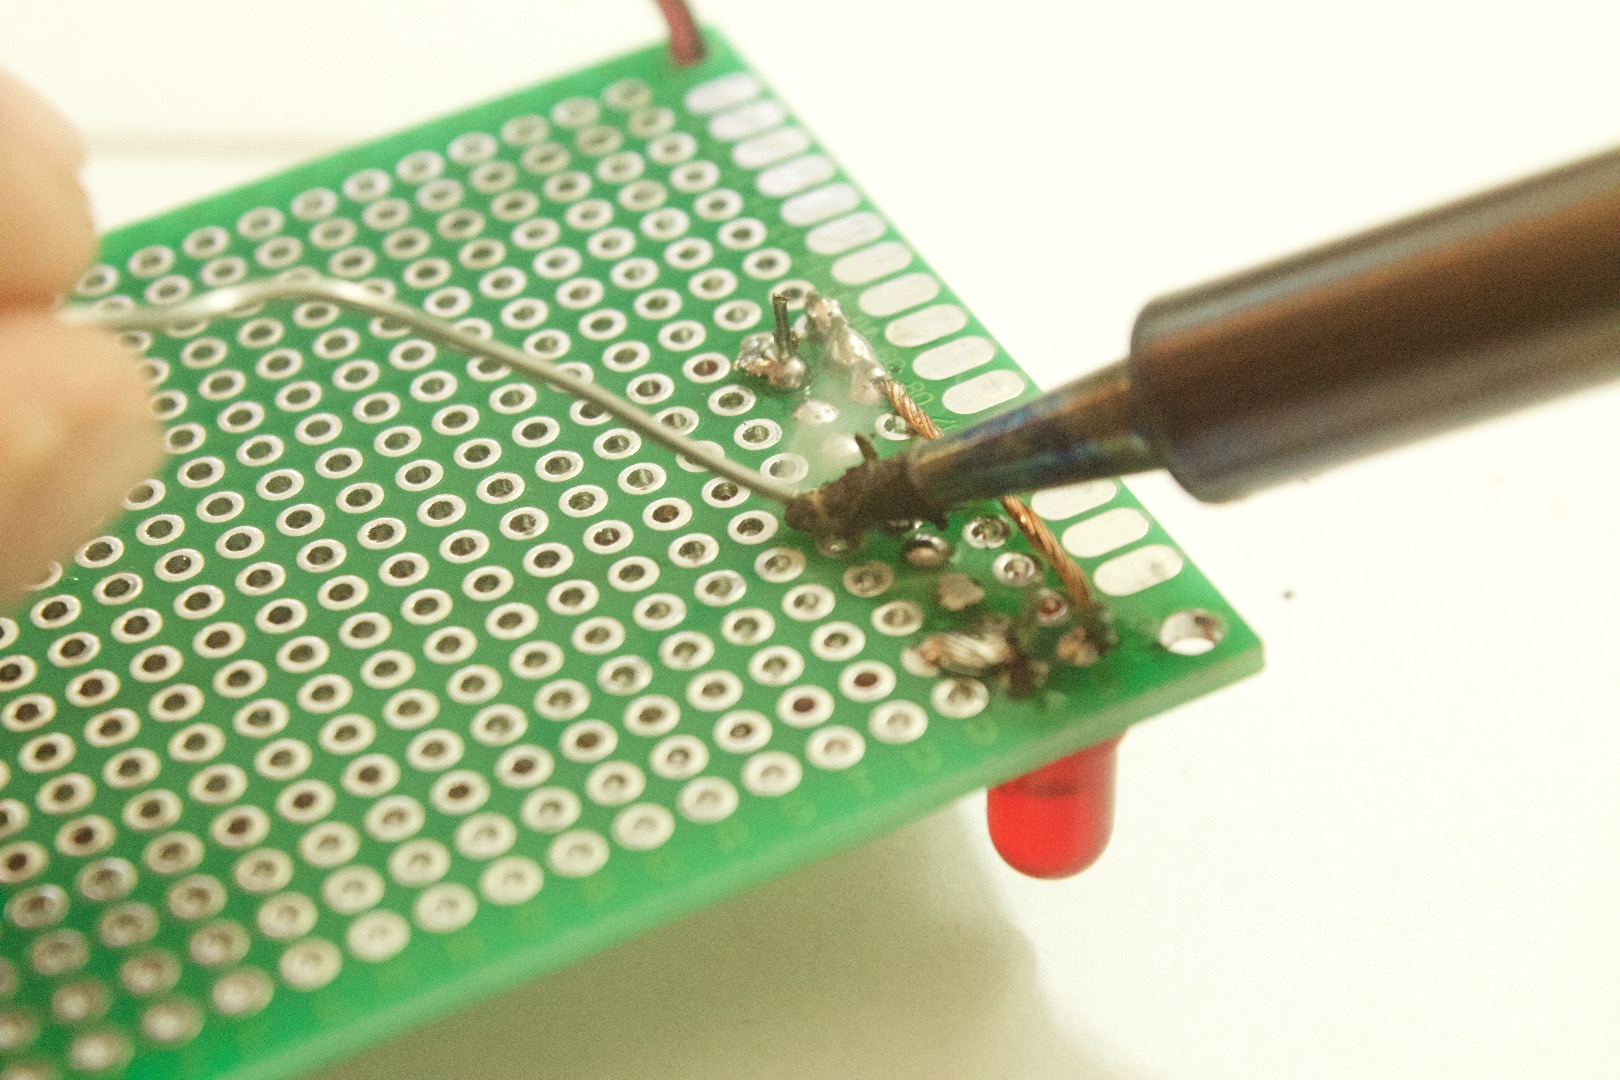
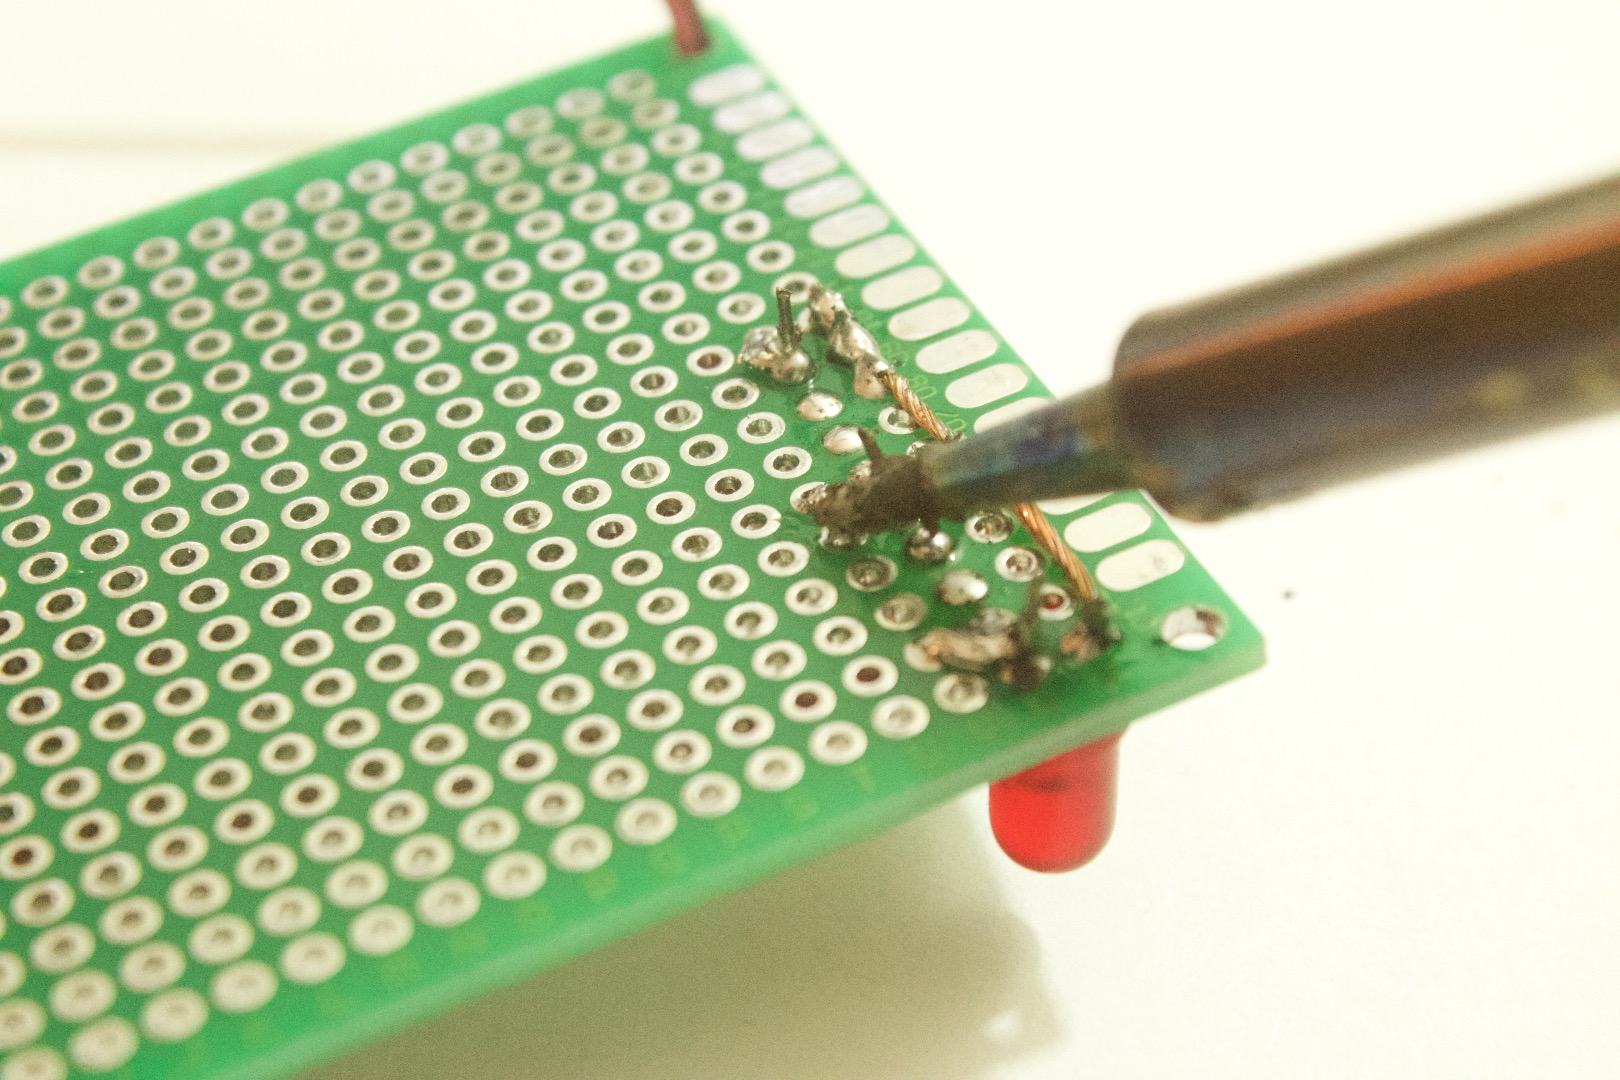
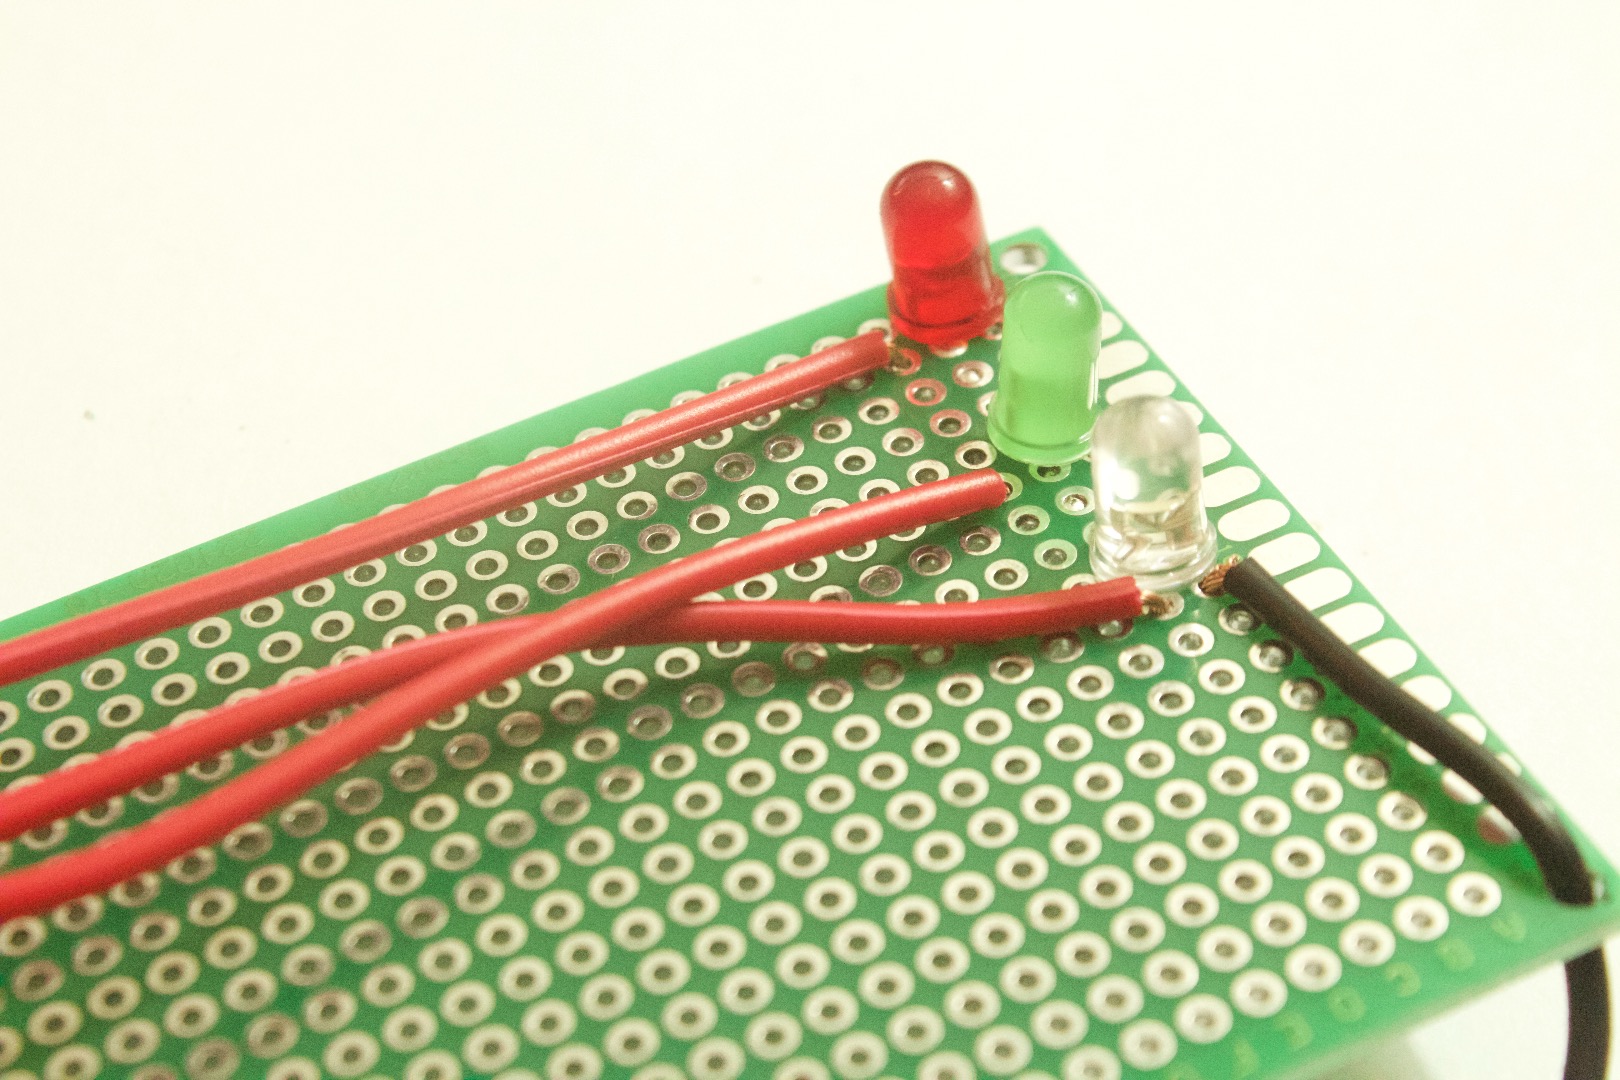
1. Insert the leds in the format shown above. Make sure that the negative and the positive legs line up properly.
2. Solder a short piece of wire that connects all the negative pins.
3. Connect wires to all of the LED's positive pins.
Solder the Flex Sensor
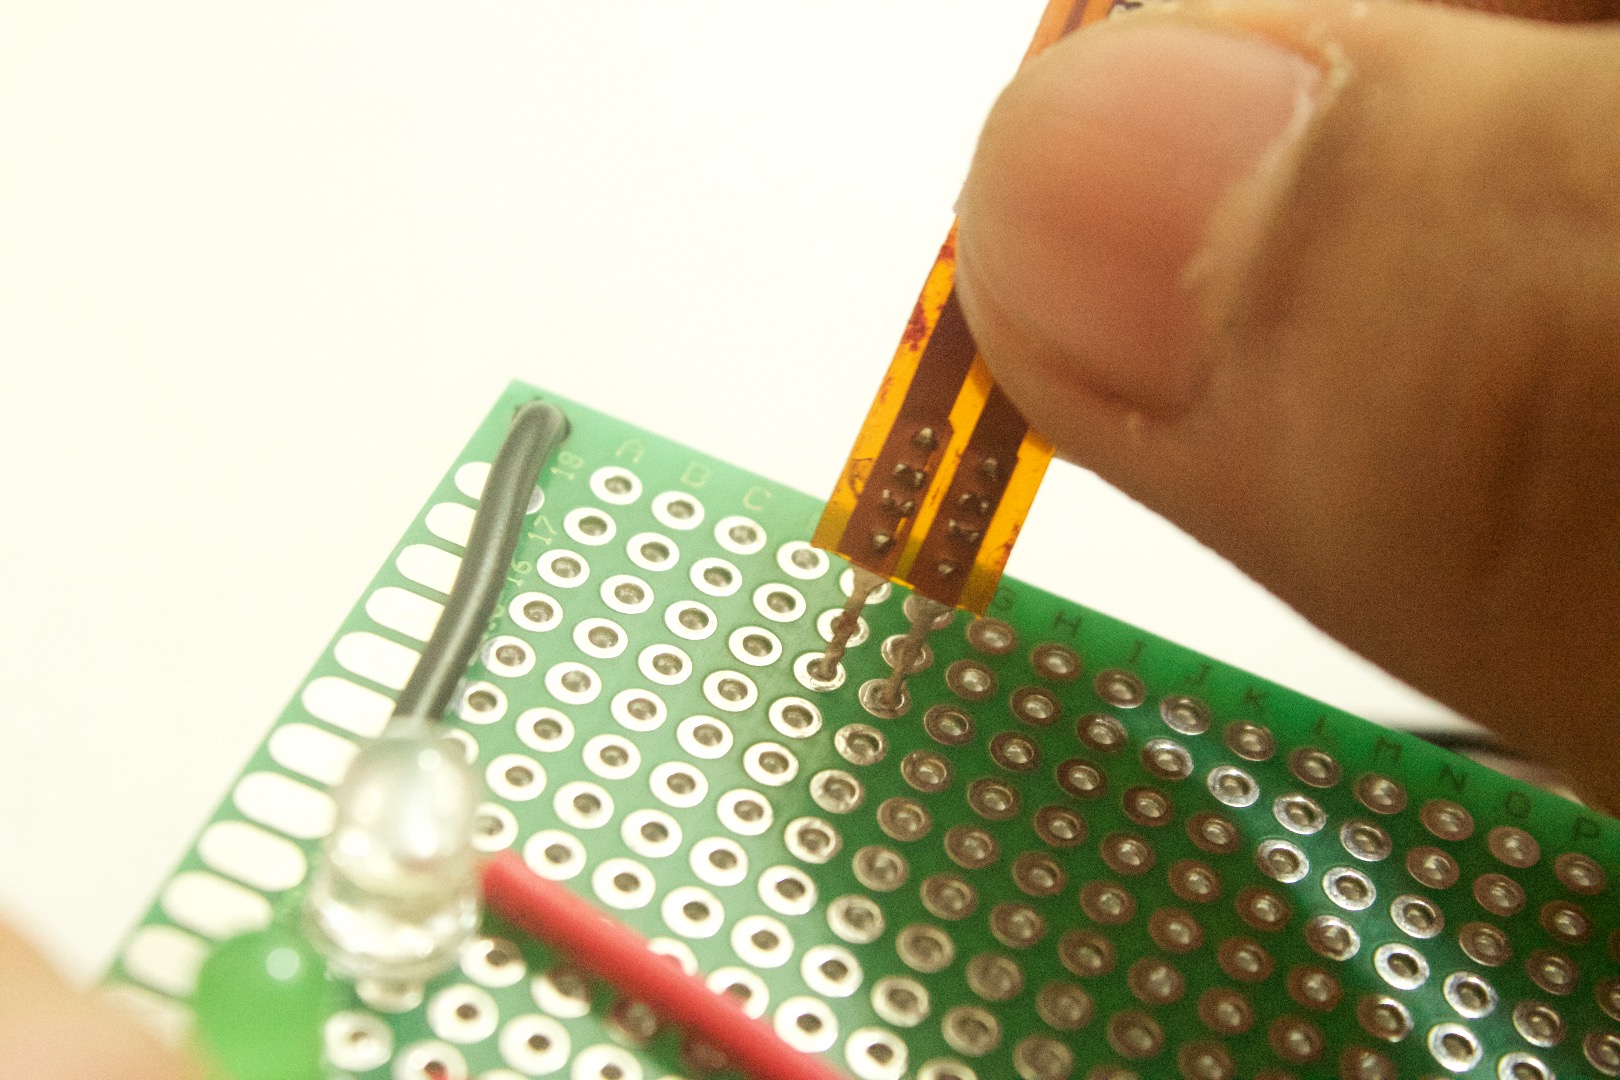
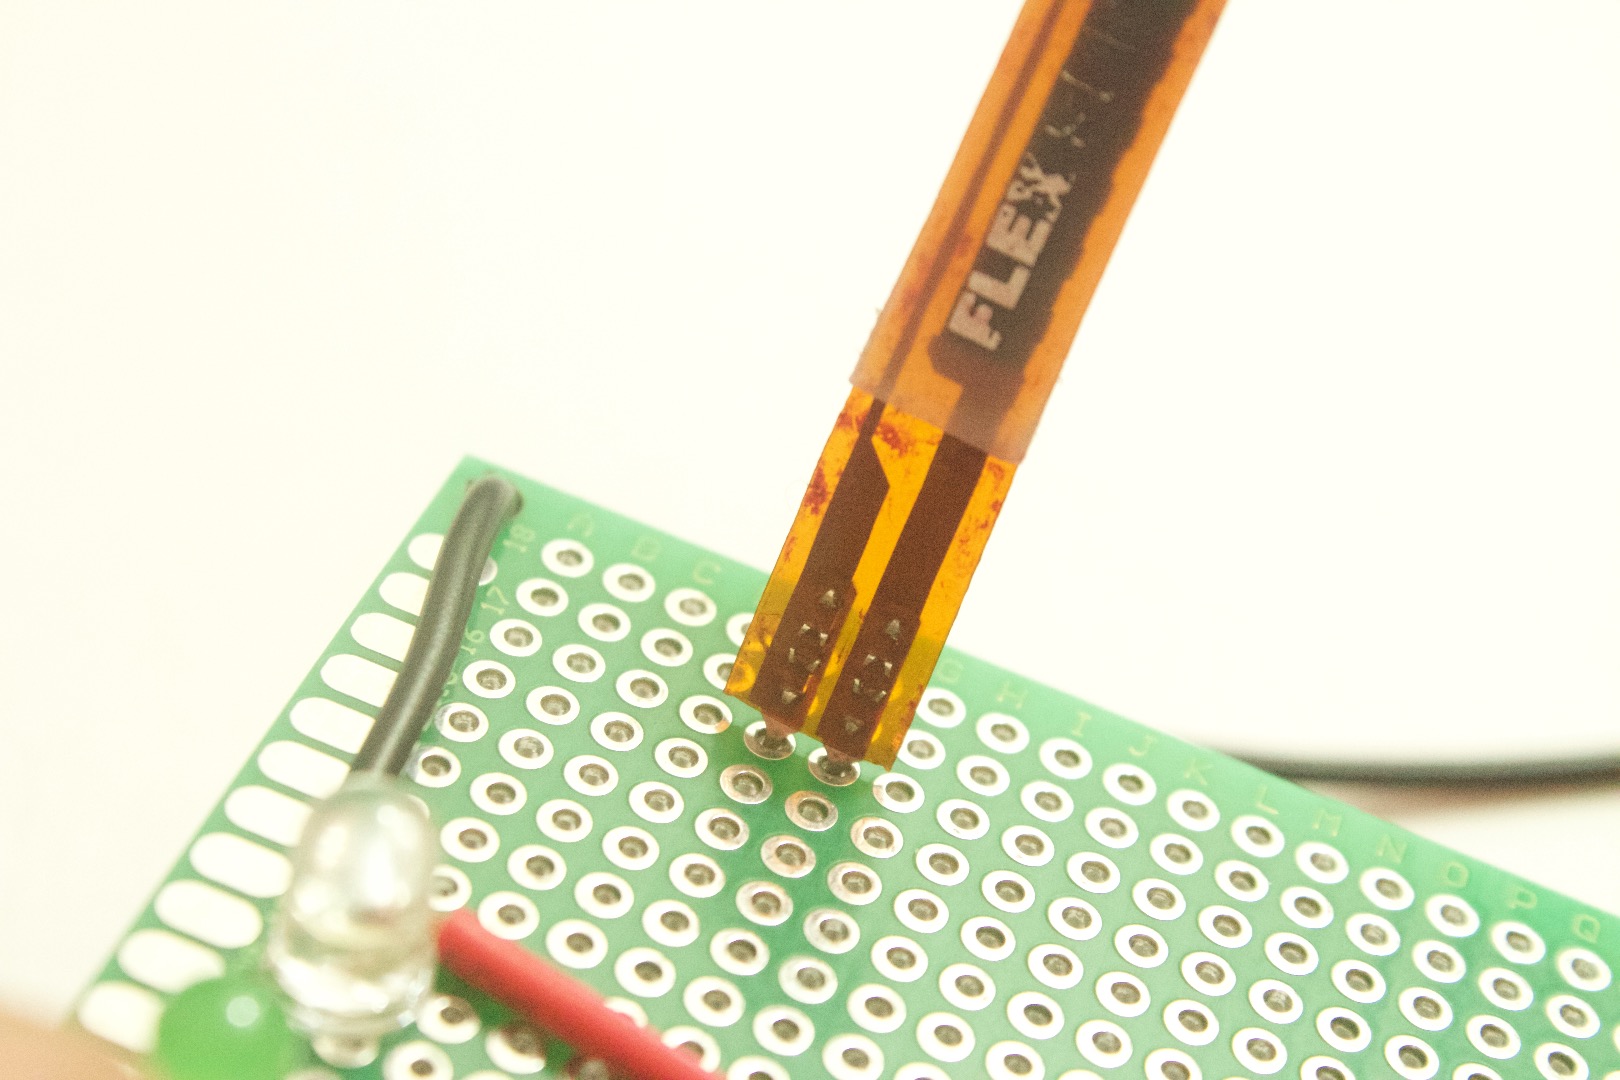
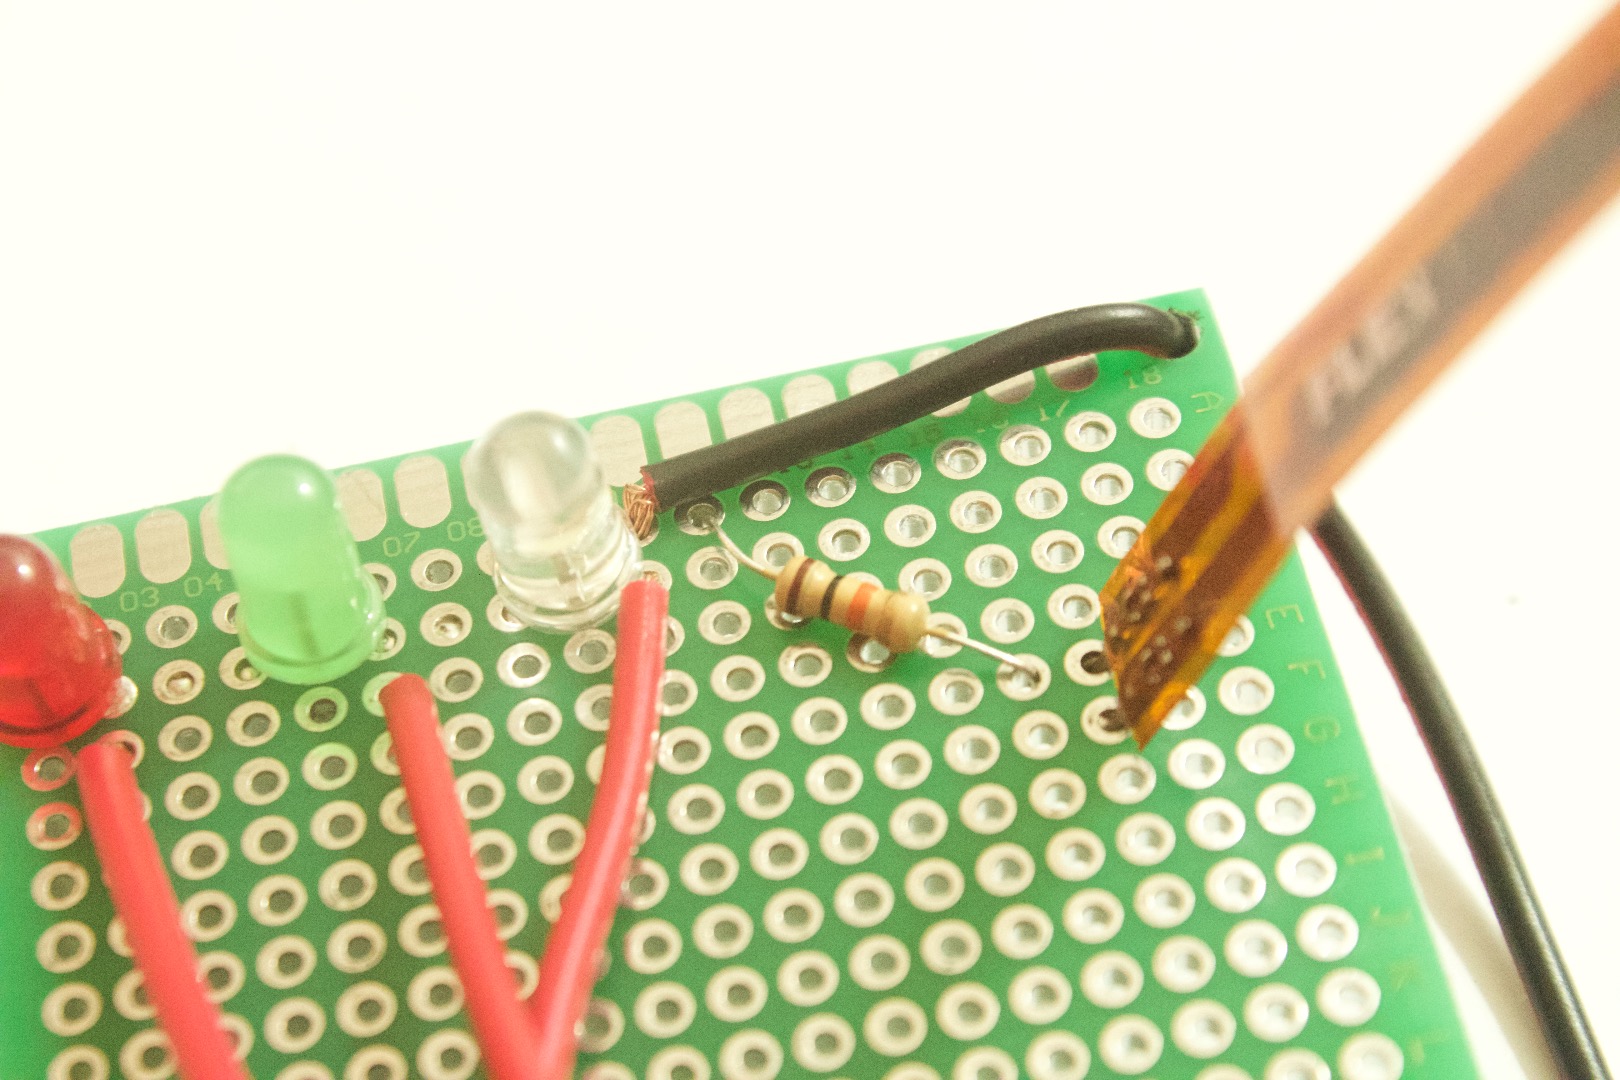
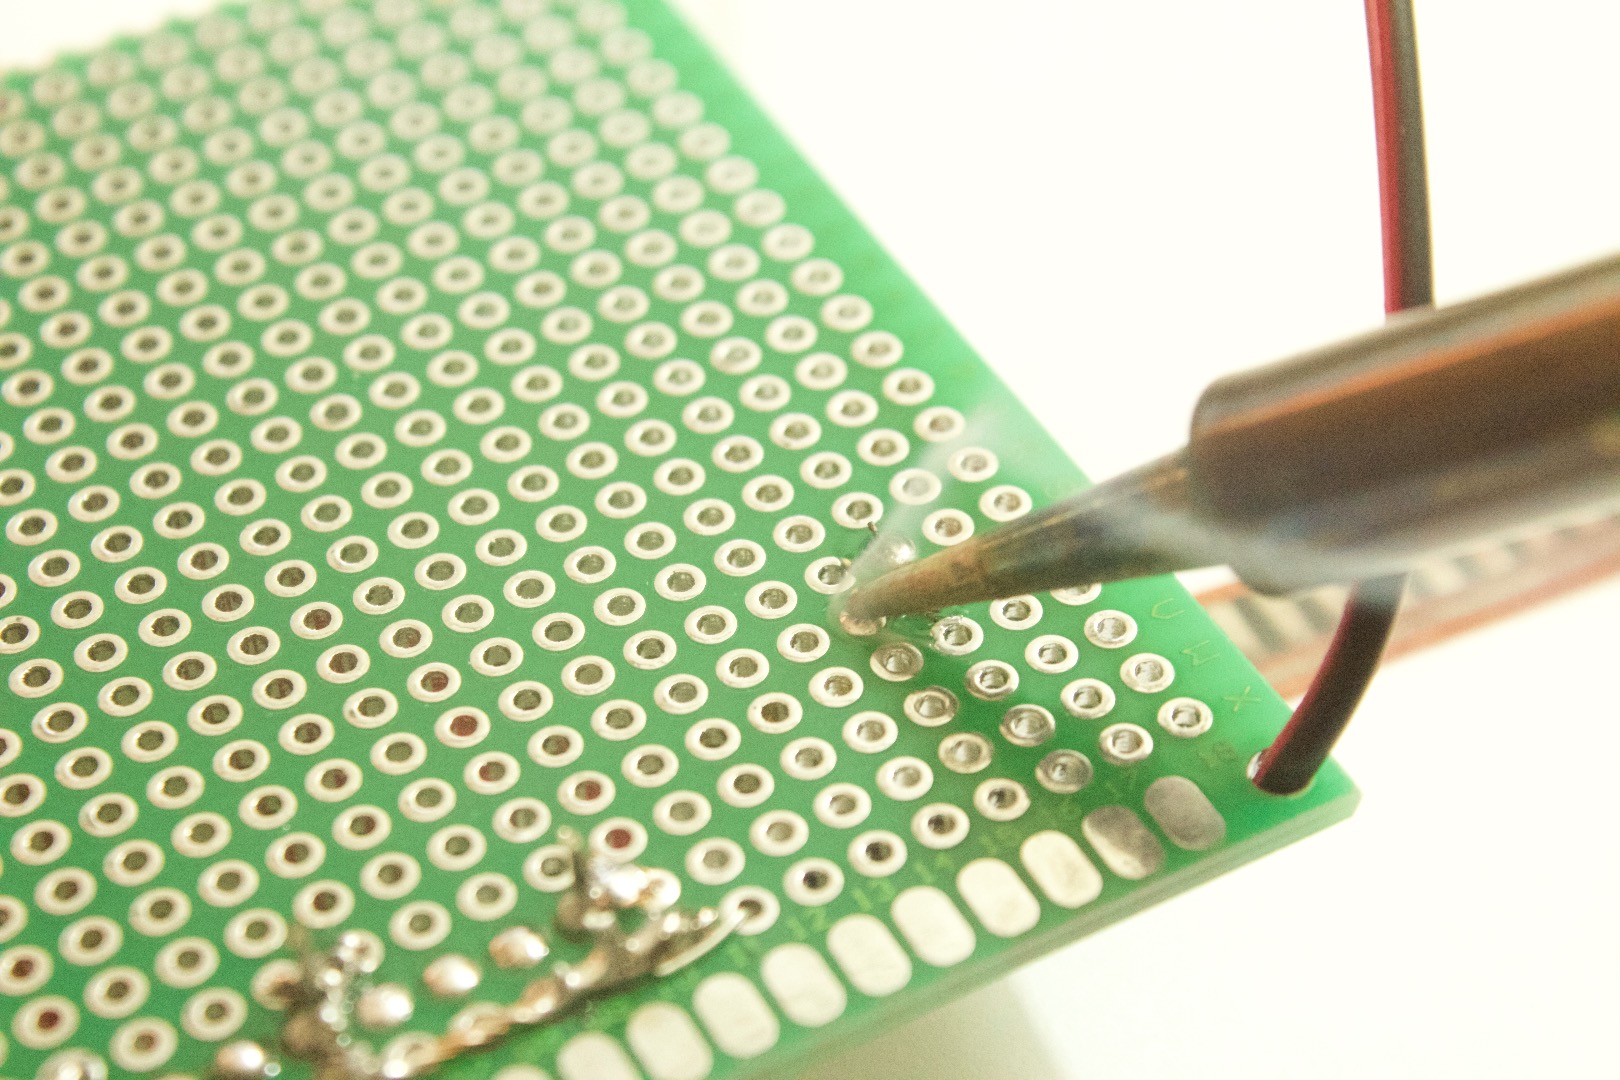
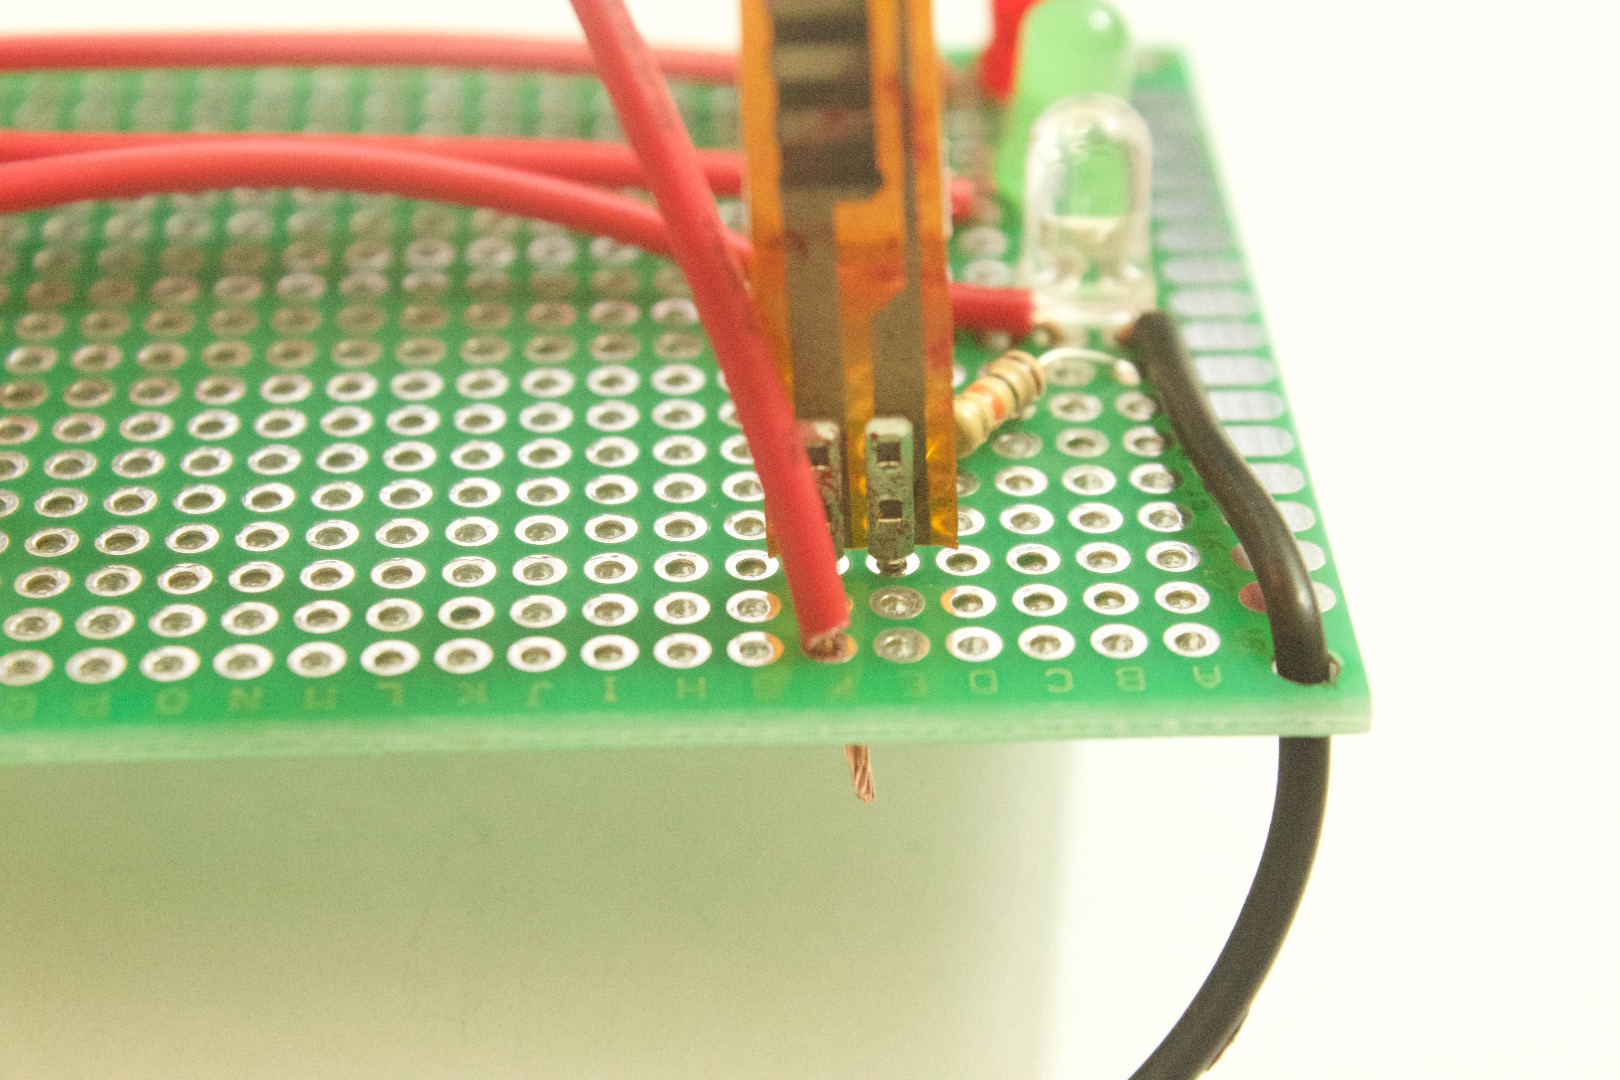
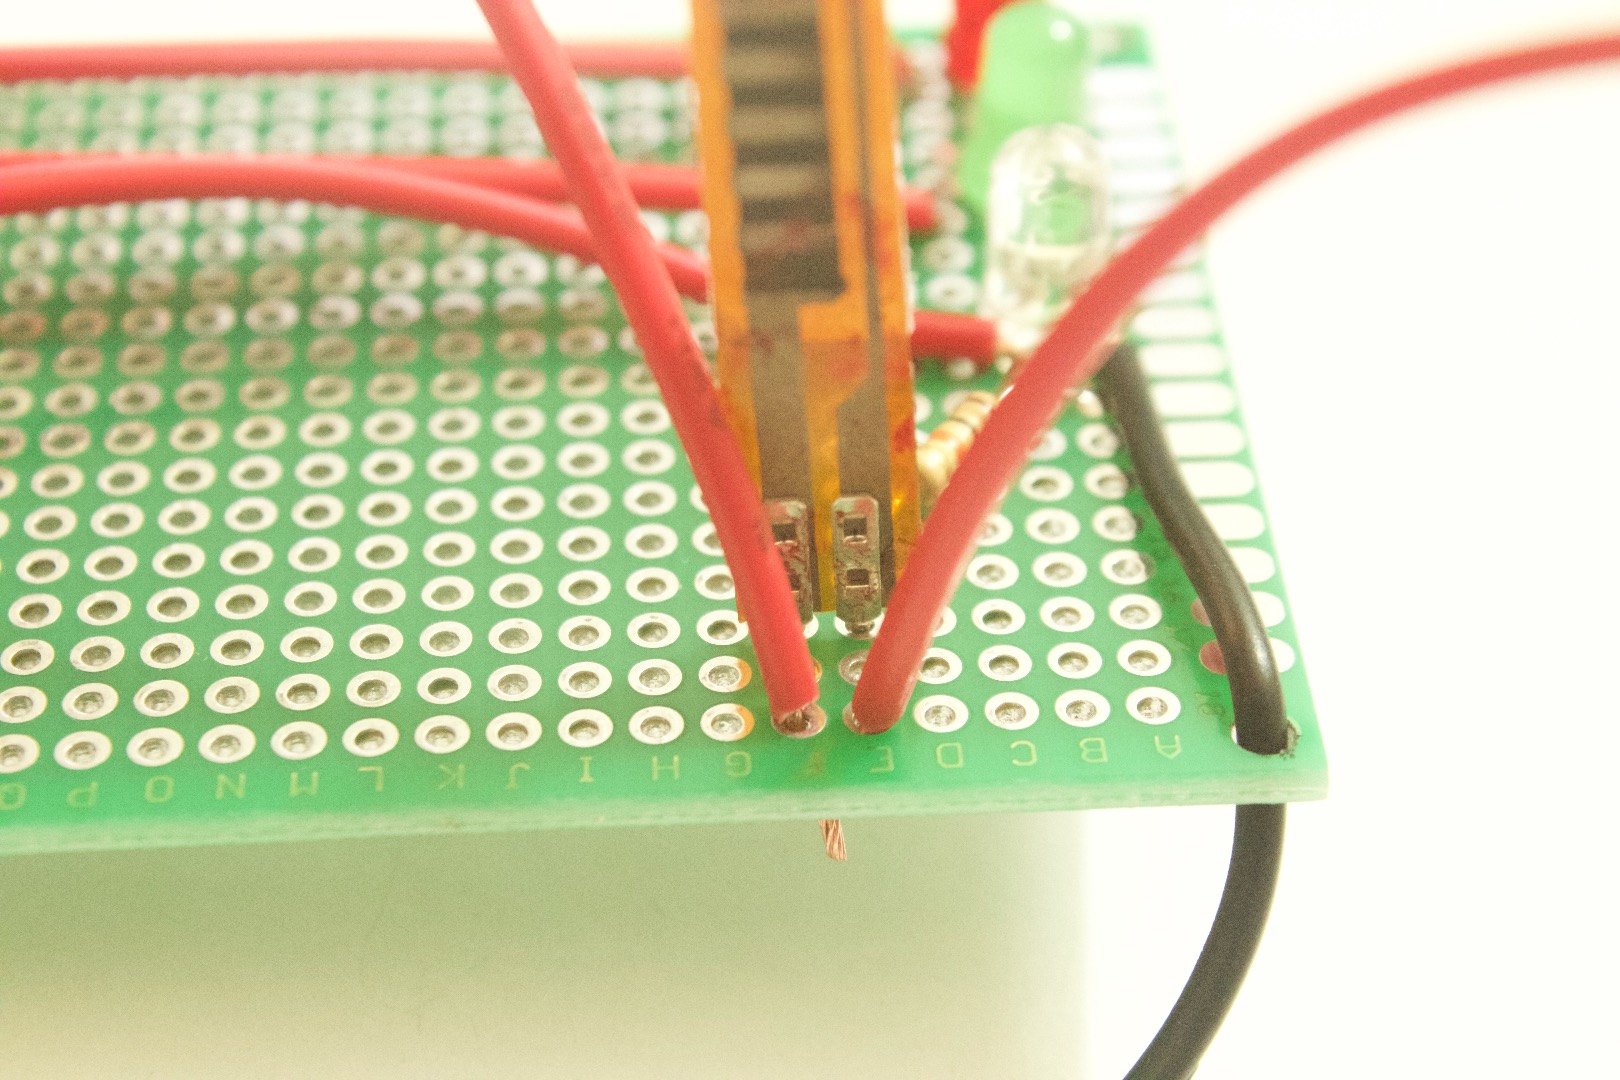
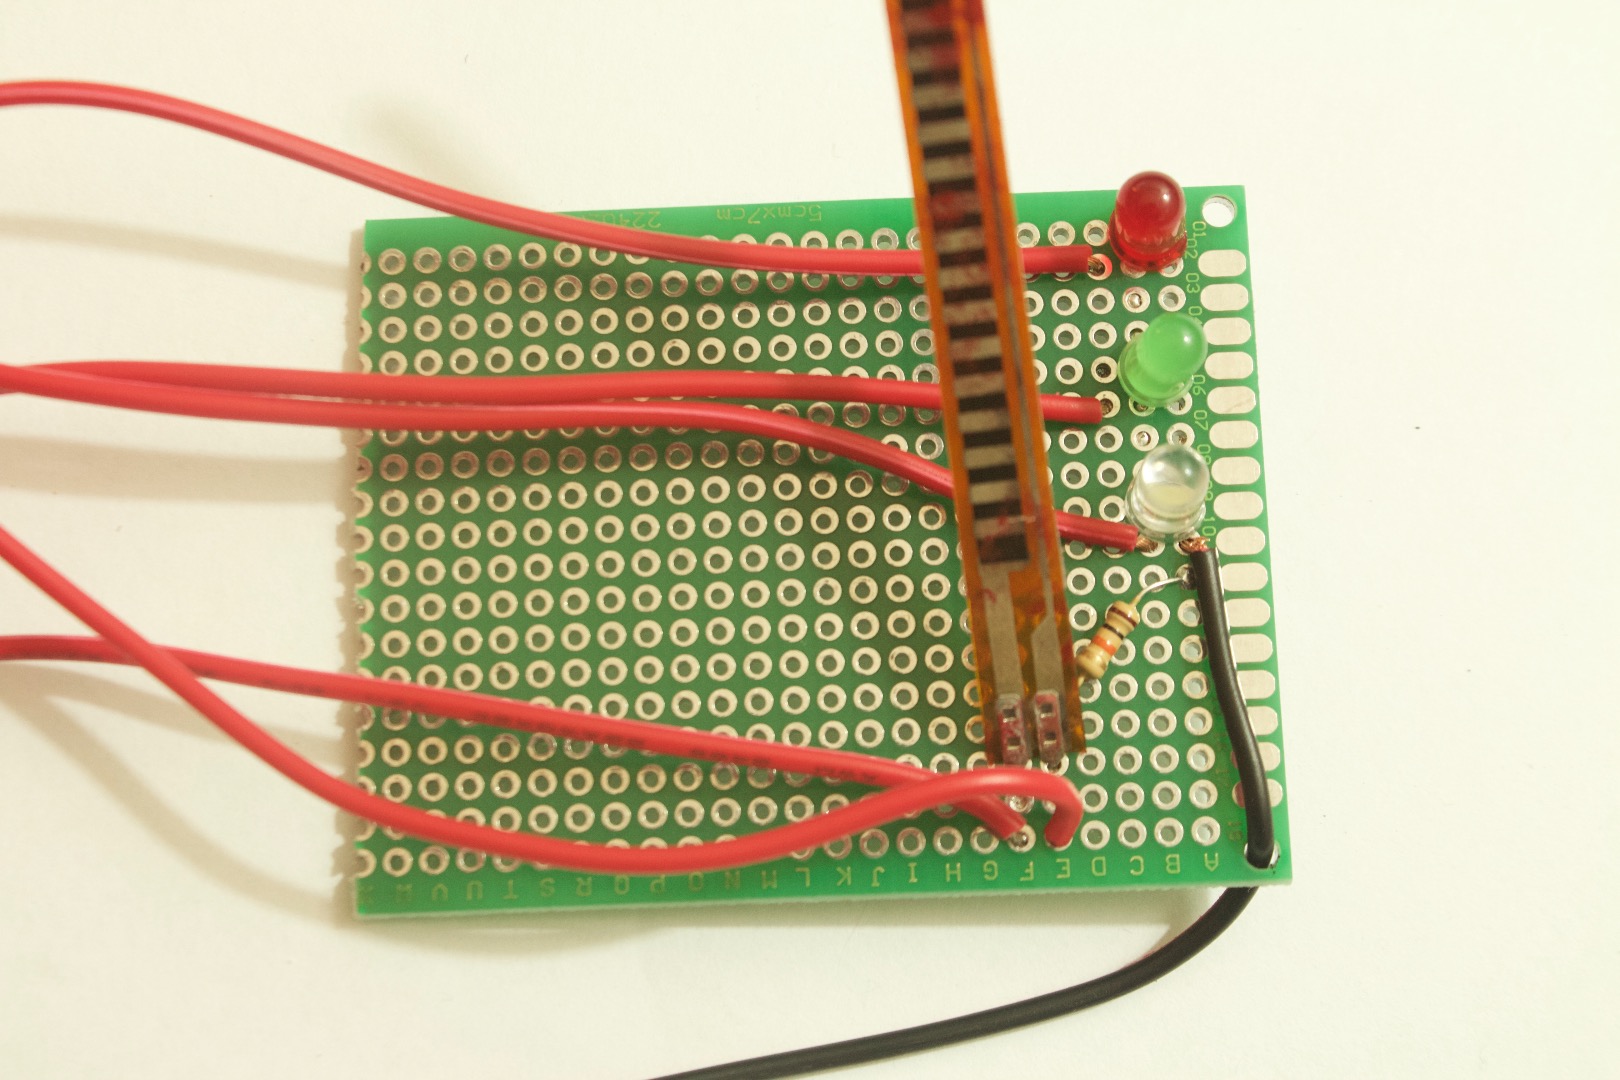
1. Insert the flex sensor into the board, solder it.
2. Insert the 10k resistor in one of the pins of the flex sensor, this pin will be your analog output pin. The other one would be VCC or power.
3. Connect the other pin of the resistor to ground.
4. Now connect wires to VCC and Analog Output of the flex sensor.
Thats all you're done with soldering. Make sure you have clean joints and no bridges and move on to programming the board.
Code It
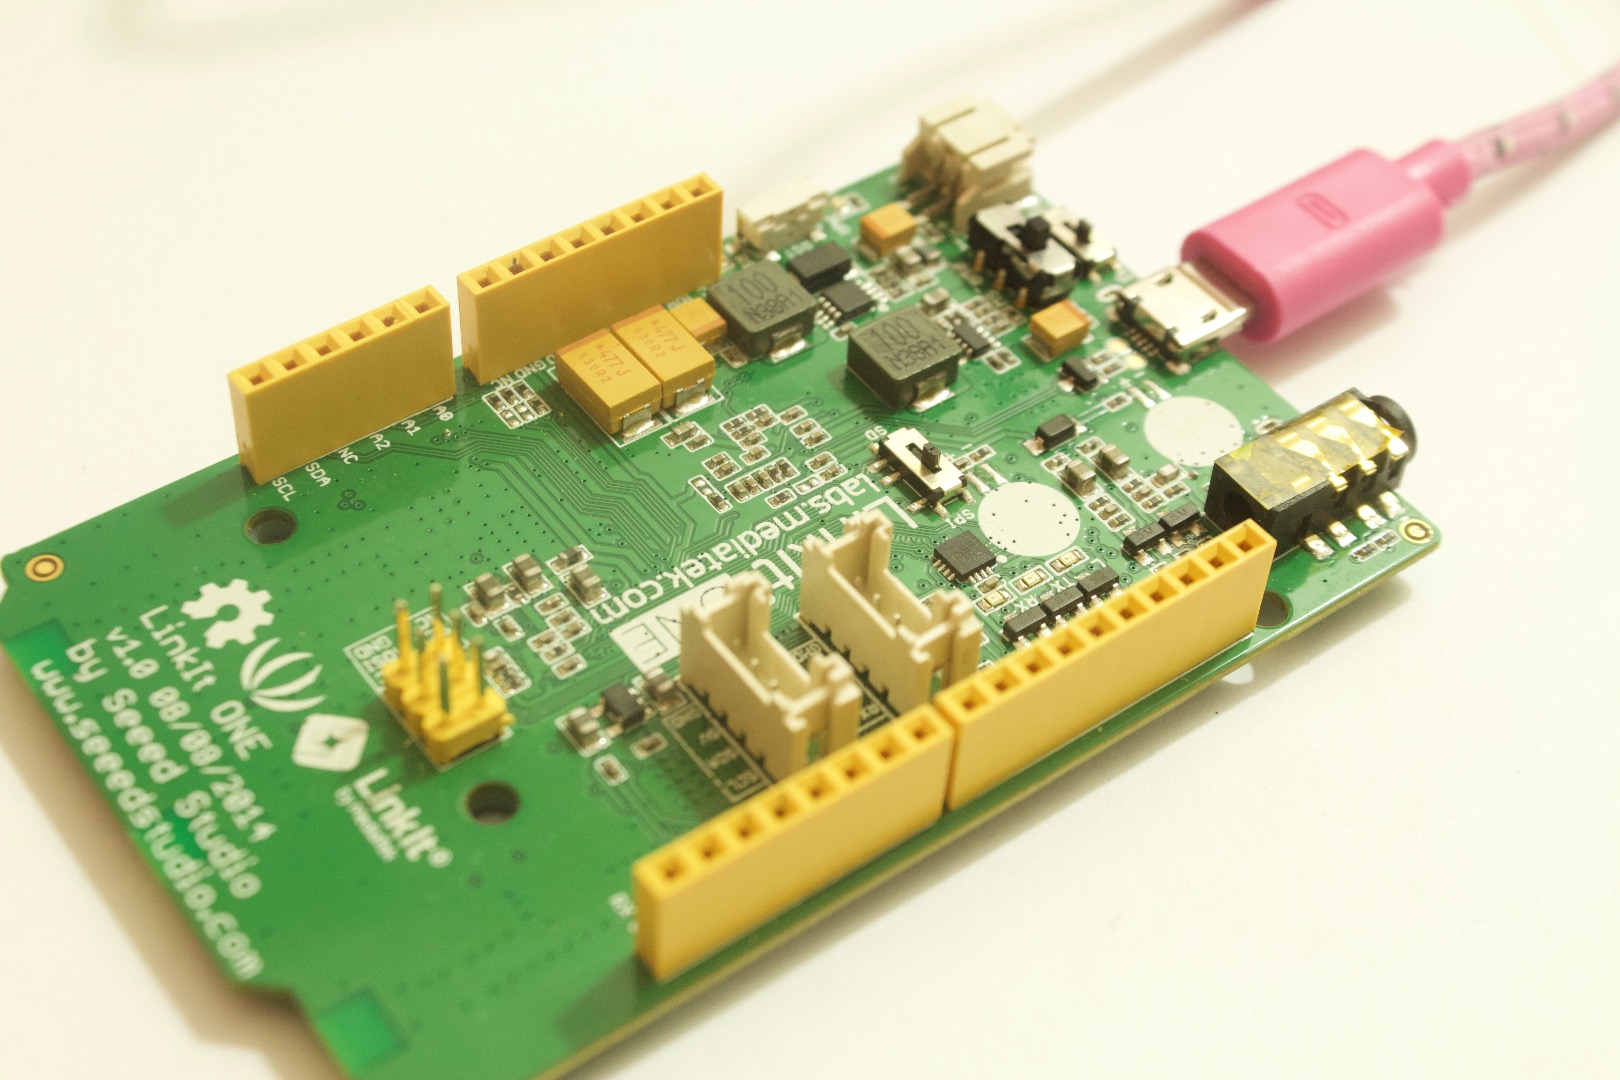
Plug the LinkIt One into your computer and program it using this code. This code allows for different LEDs to light up when the flex sensor bends at different levels.
int Rled = 8; // initialise the pins
int Gled = 9;
int Wled = 10;
int flexsensor = A0;
int sval;
void setup()
{
pinMode(Rled, OUTPUT); // pin mode define
pinMode(Gled, OUTPUT);
pinMode(Wled, OUTPUT);
pinMode(flexsensor, INPUT);
}
void loop() {
int sval = analogRead(flexsensor);
if(sval > 200 && sval <= 500) // change these numbers according to your readings
{
digitalWrite(Rled, HIGH);
}
else if(sval > 510 && sval < 720) // these
{
digitalWrite(Gled, HIGH);
}
else if( sval > 730 && sval <= 1023) // and these
{
digitalWrite(Wled, HIGH);
}
}
Wire It
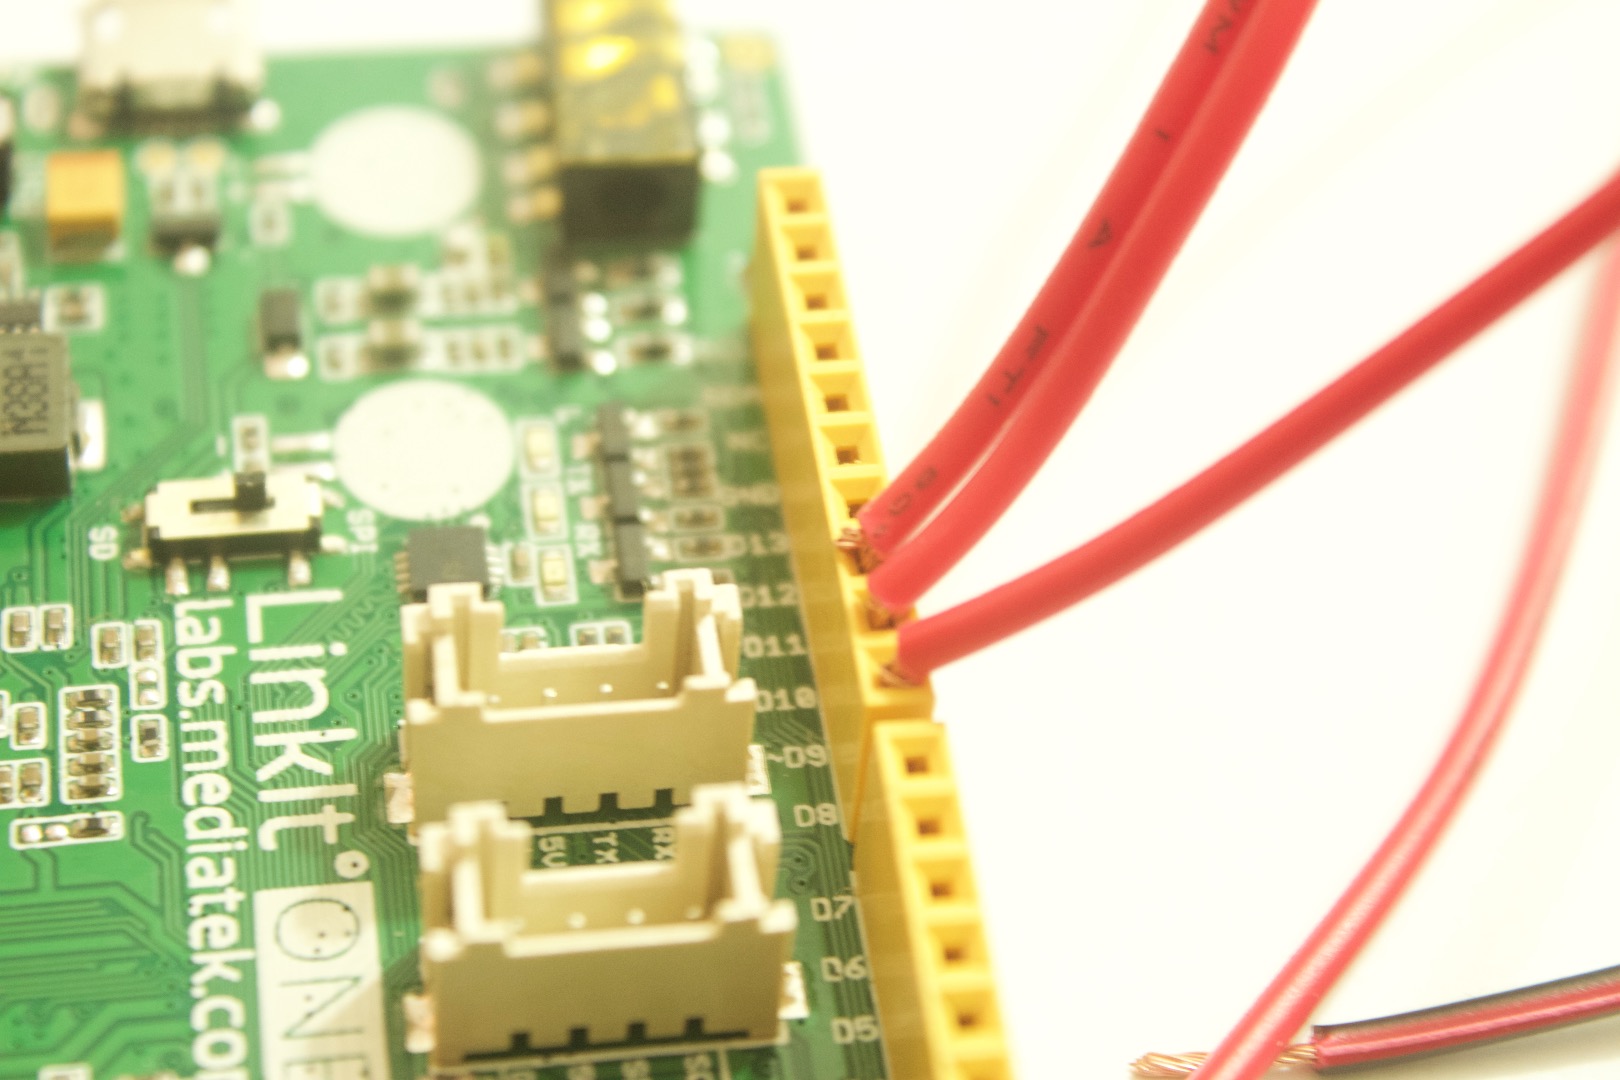
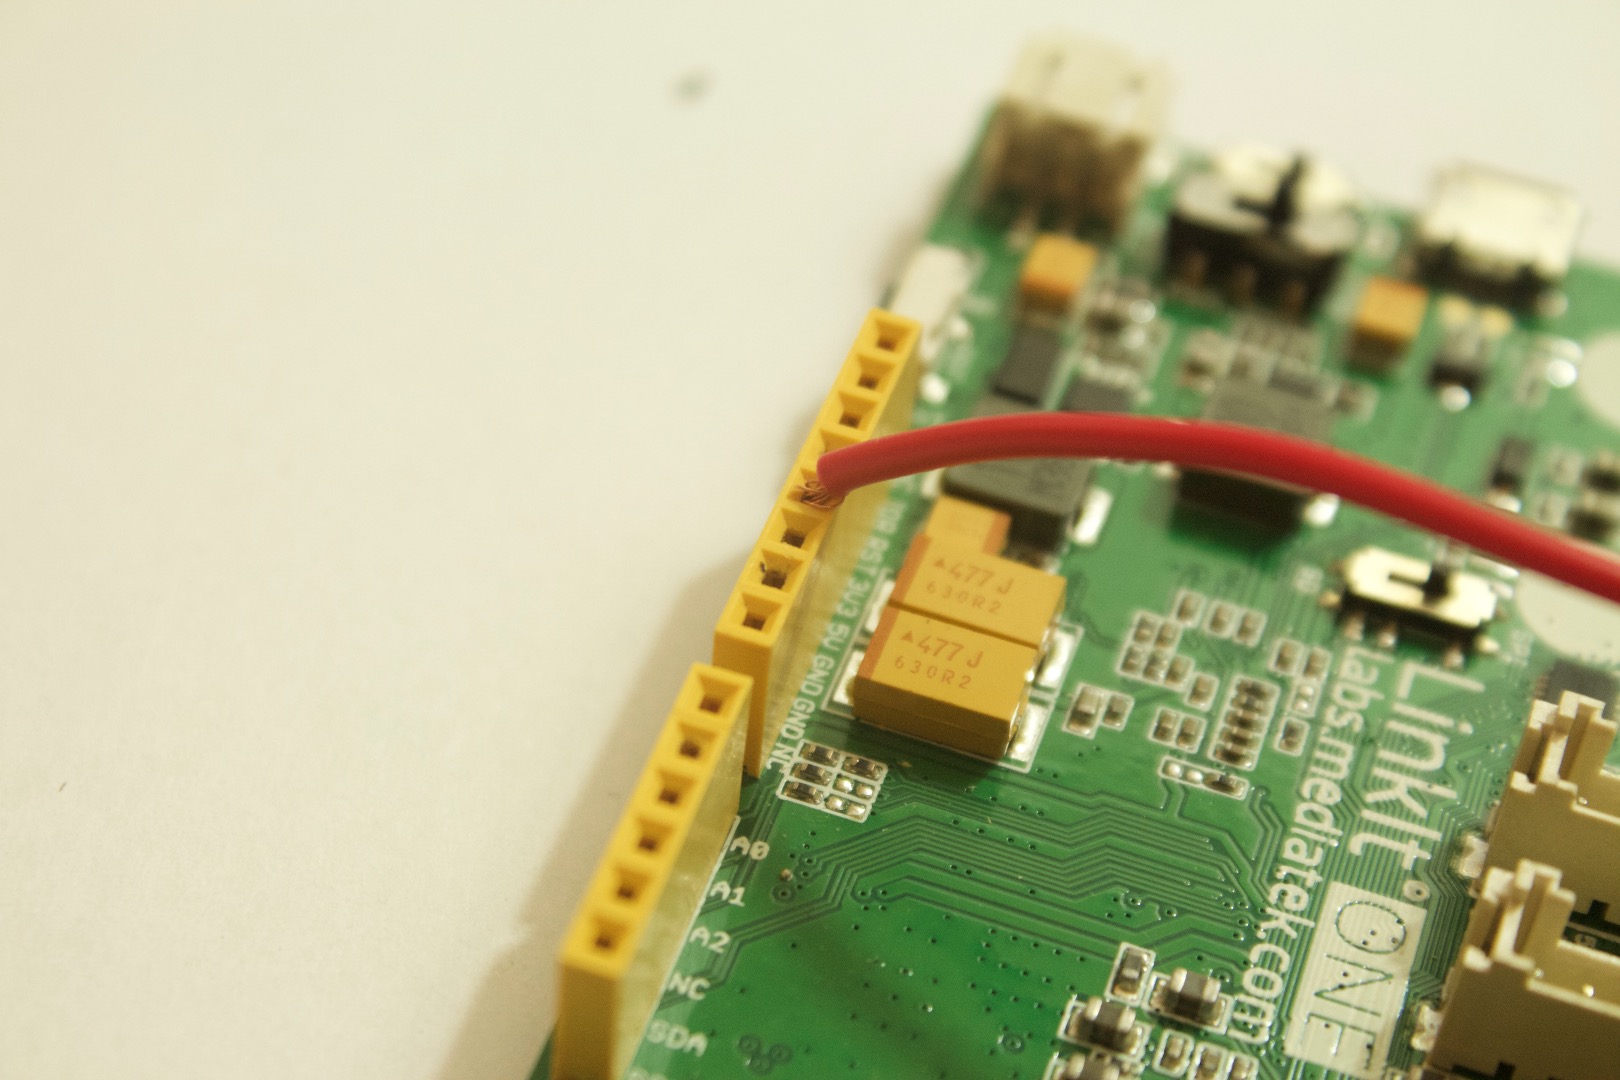
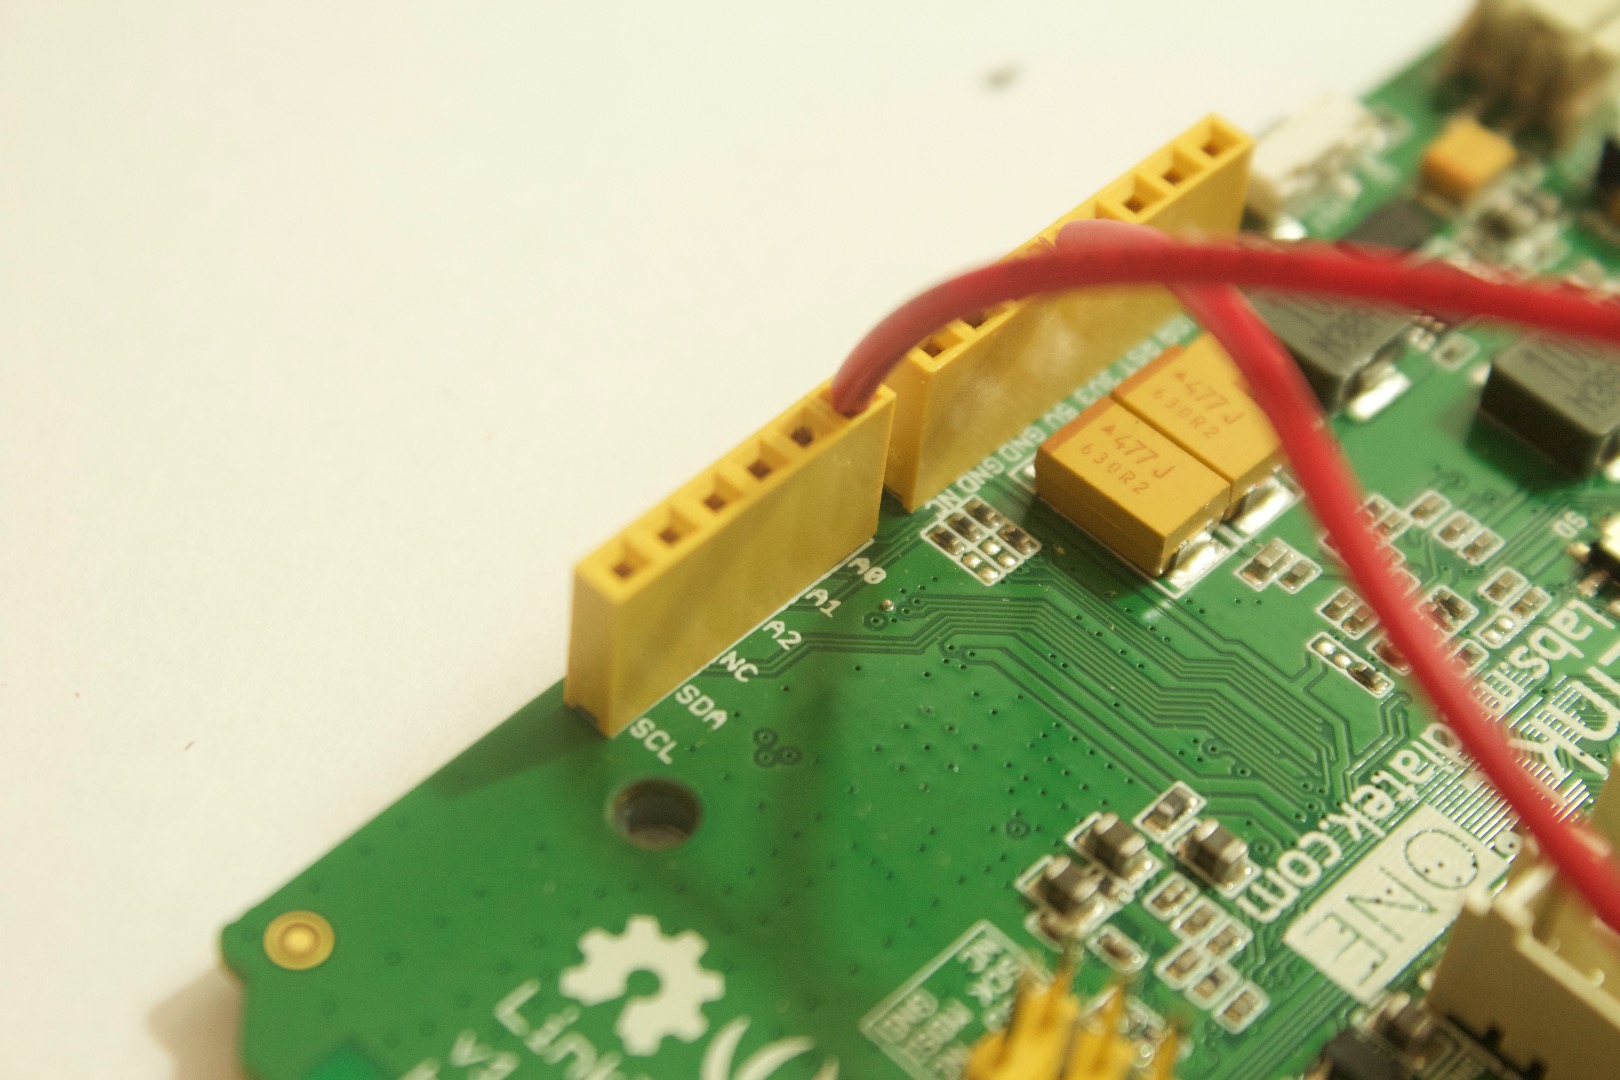
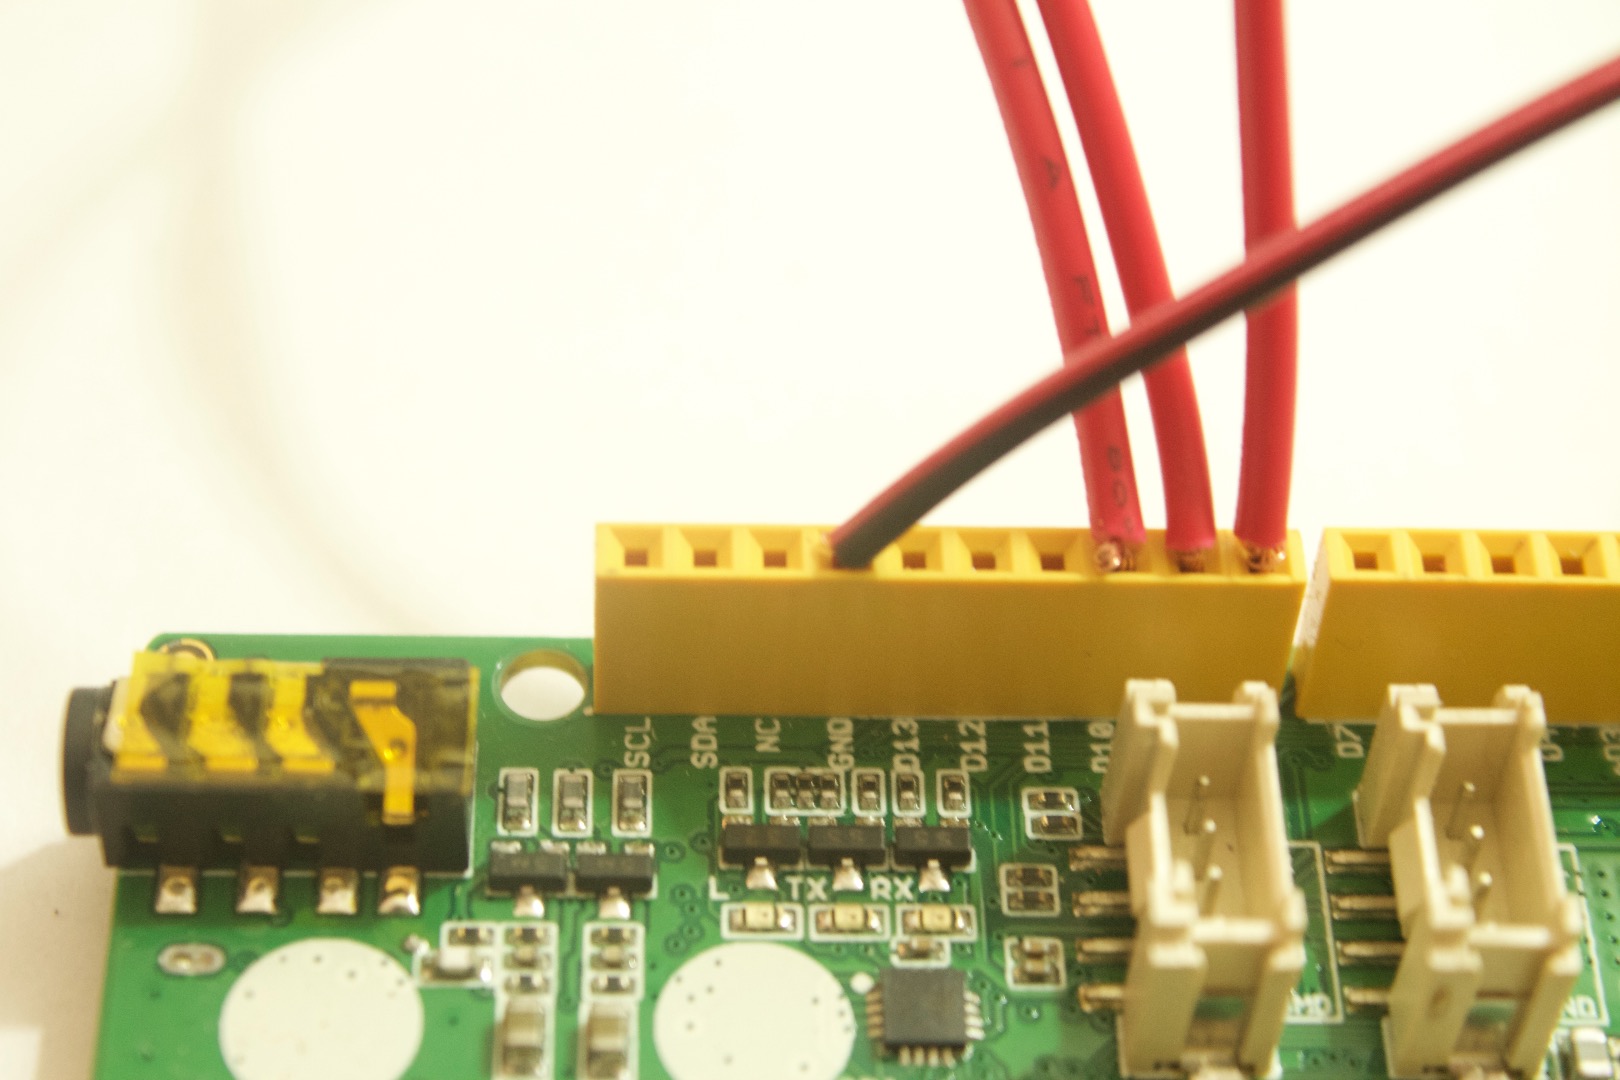
1. Connect the LED's wires to the pins as shown in the code.
2. Connect the GND to GND.
3. Connect VCC of the flex sensor to the 5v
4. Connect the signal Wire of the sensor to the A0.
Thats it you're done:) Now time to test it.
Test and Conclusion
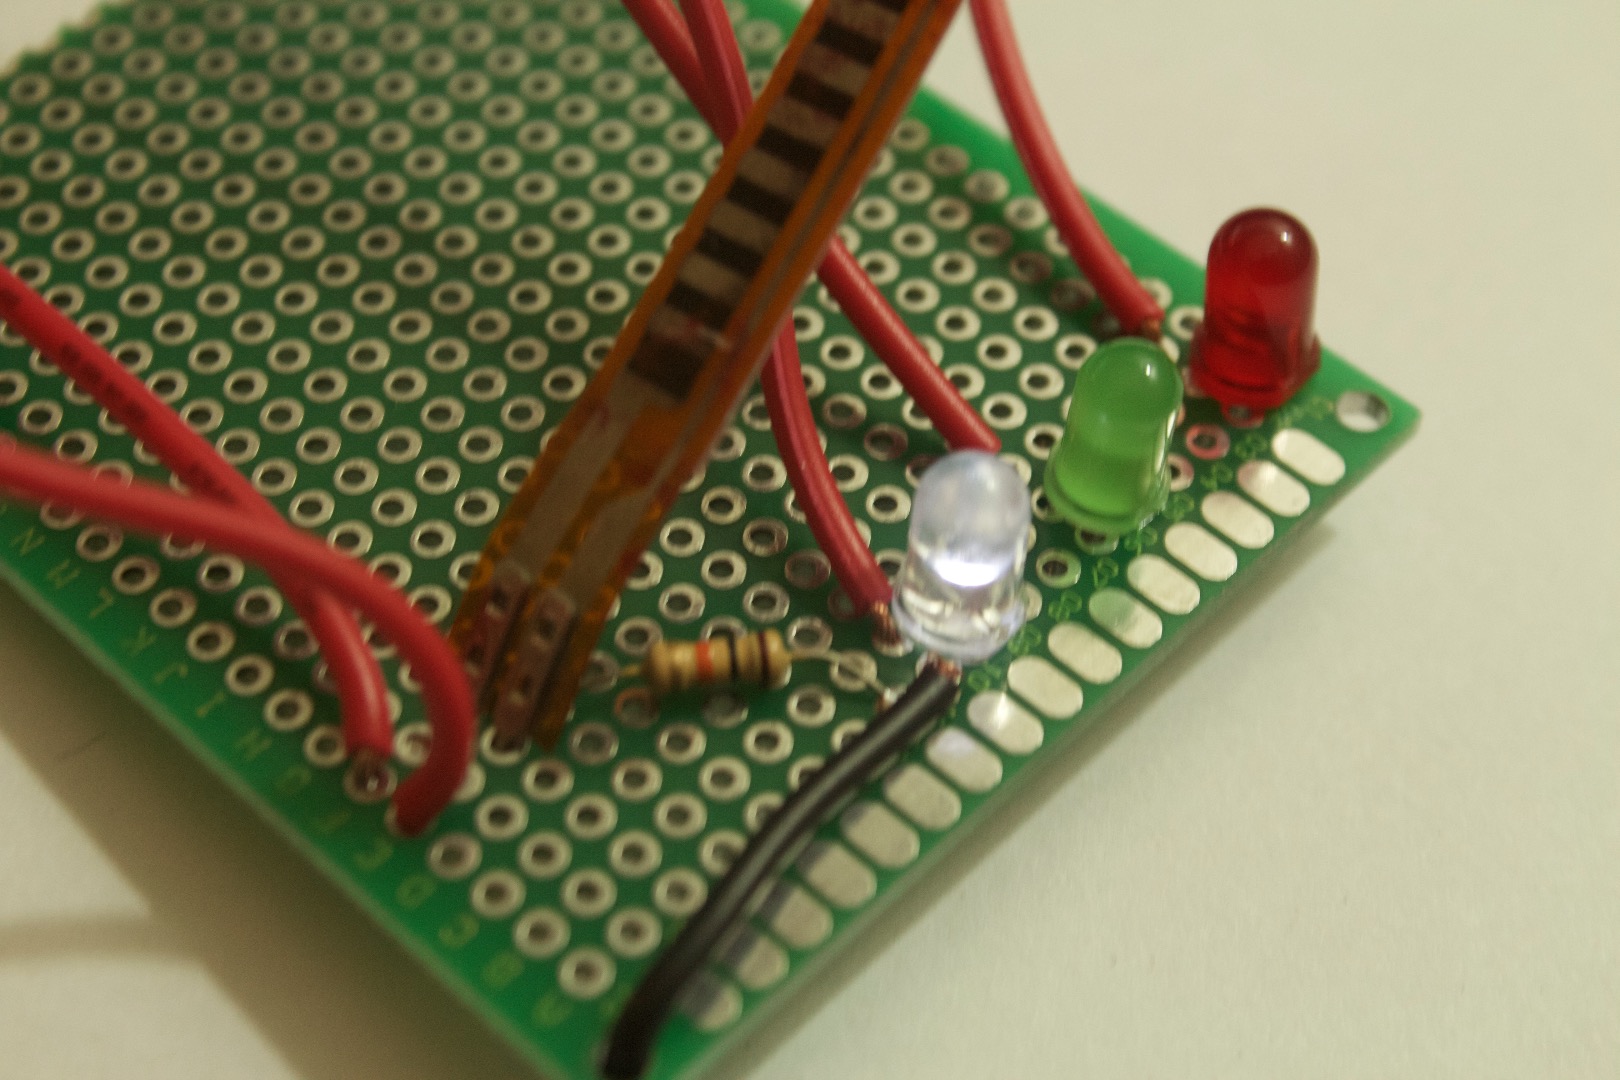
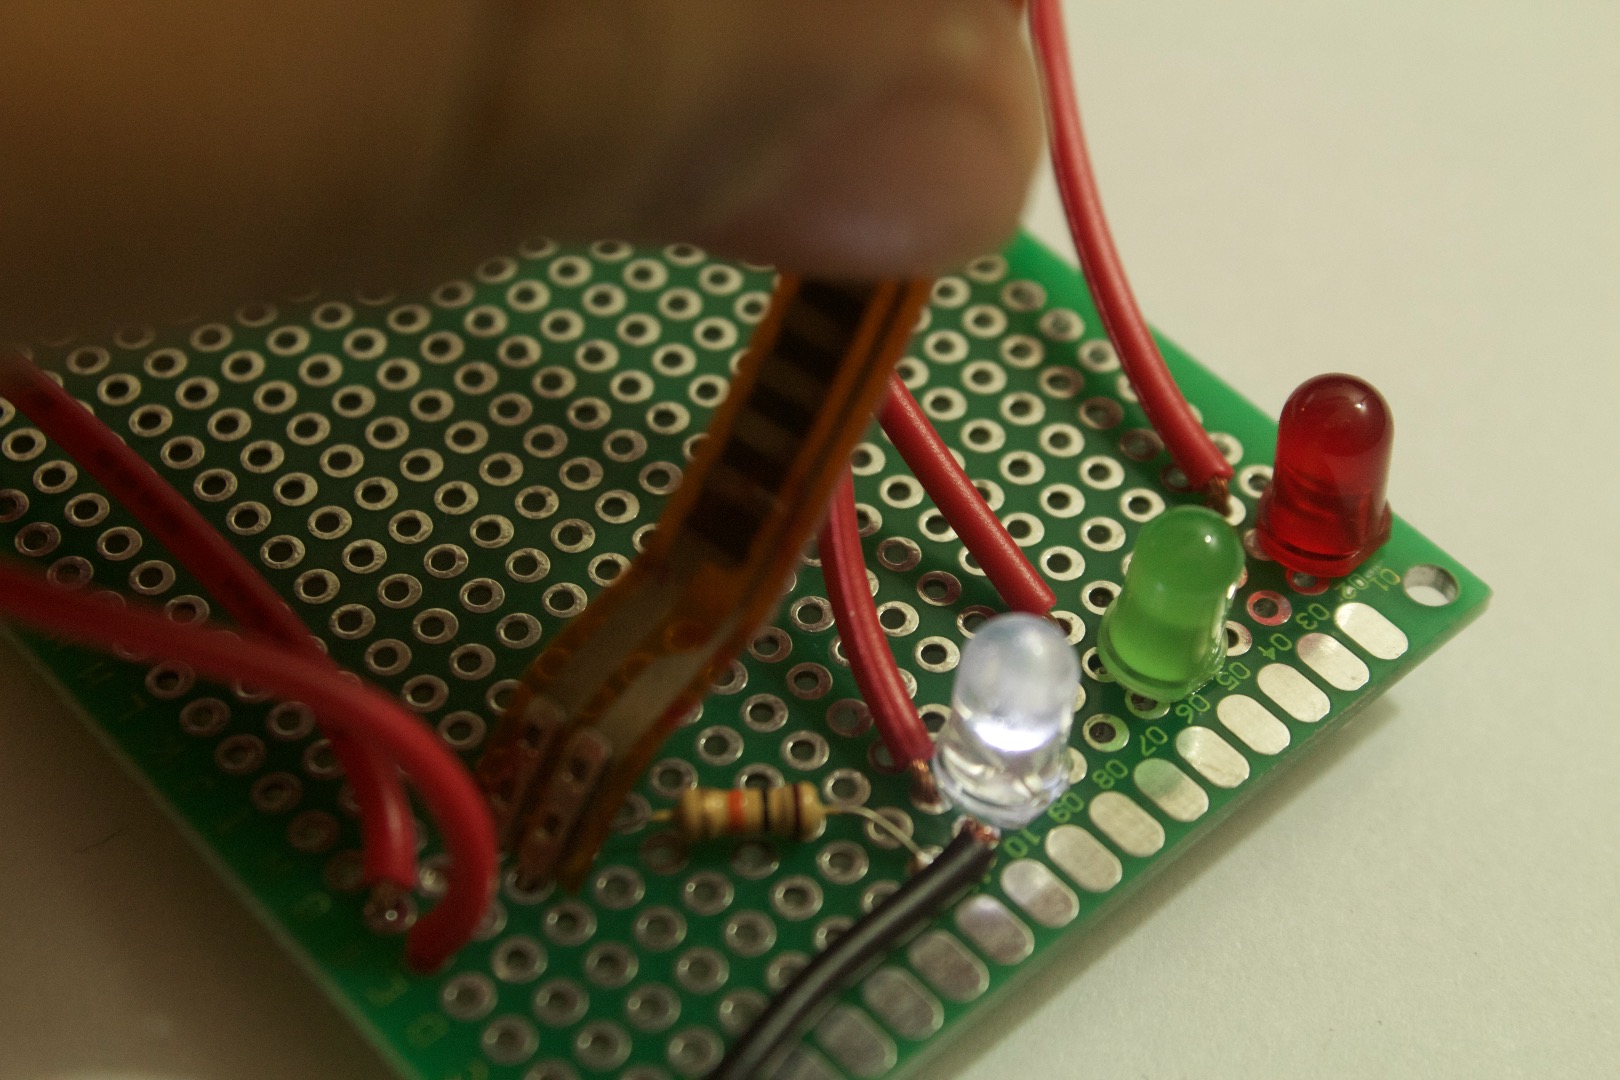
It works! When you bend the flex sensor one of the LED's will light up depending on the amount of bend.
This project can be further used to indicate the maximum point of bend in an object. Hope you learned from this 'ible and if you have any questions feel free to ask them in the comments below.