Lil Picasso Kit-El Kit De El Joven Picasso.
by Mr.Sanchez in Workshop > Woodworking
2060 Views, 4 Favorites, 0 Comments
Lil Picasso Kit-El Kit De El Joven Picasso.
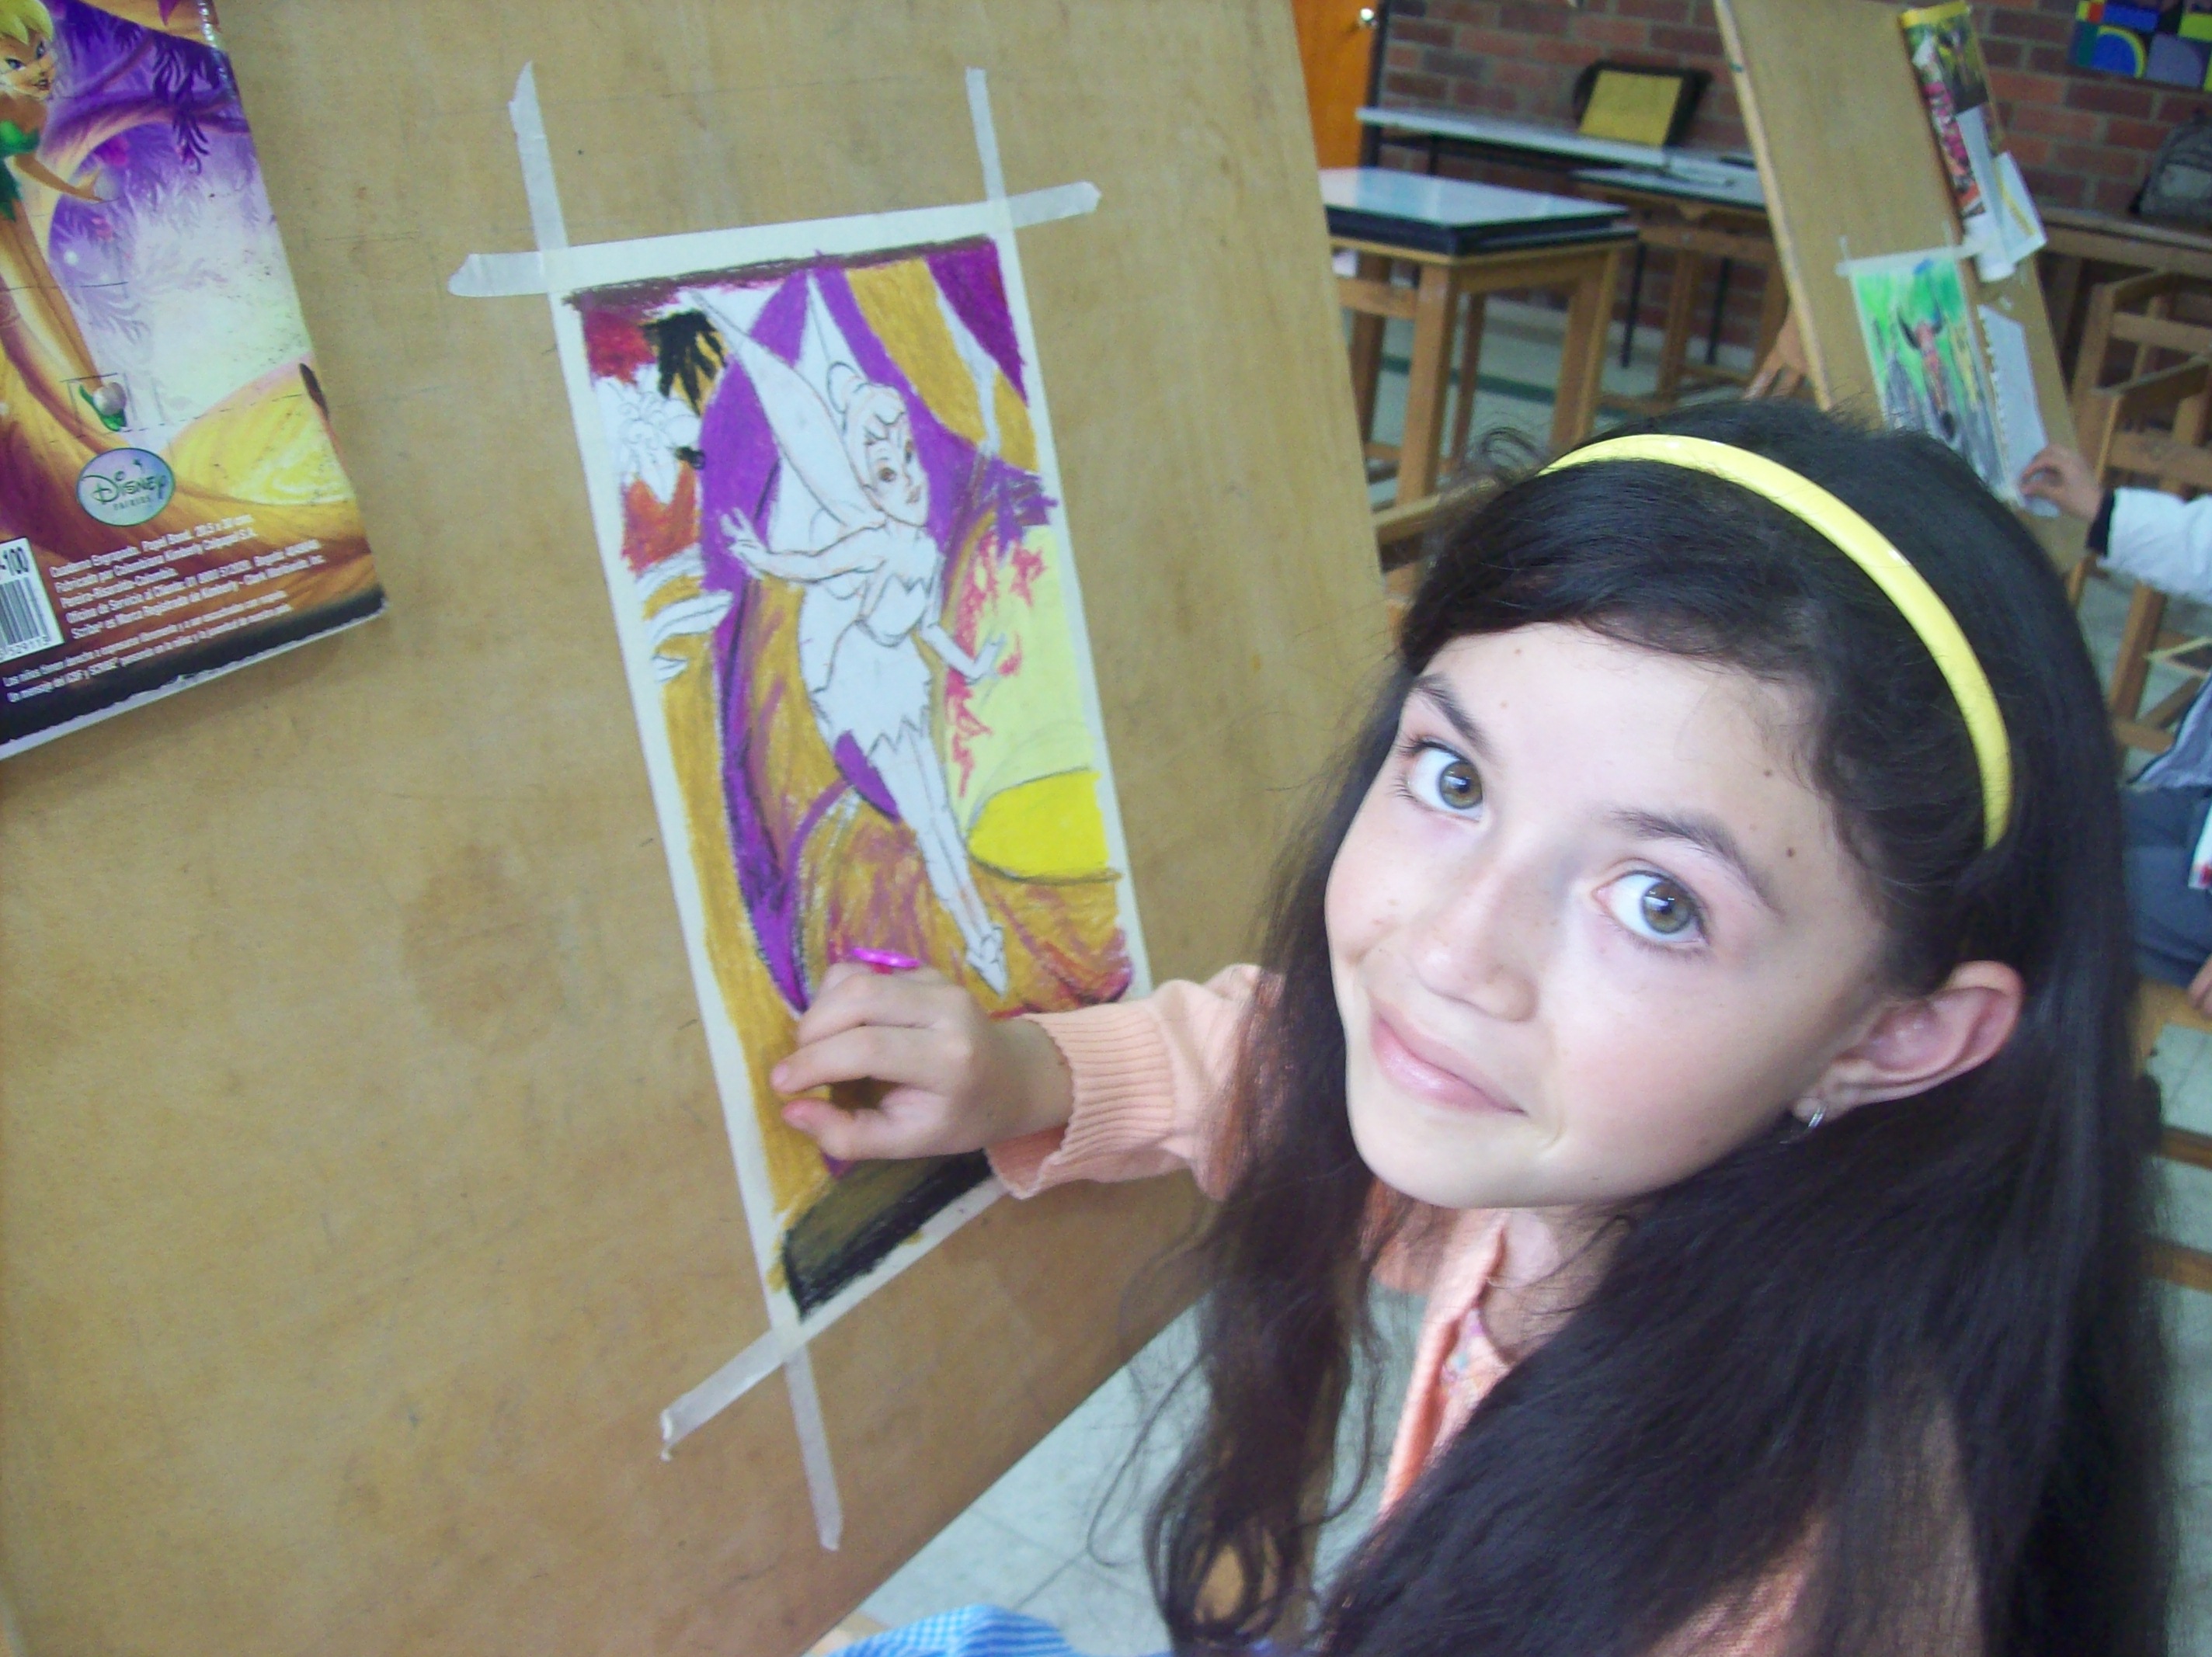


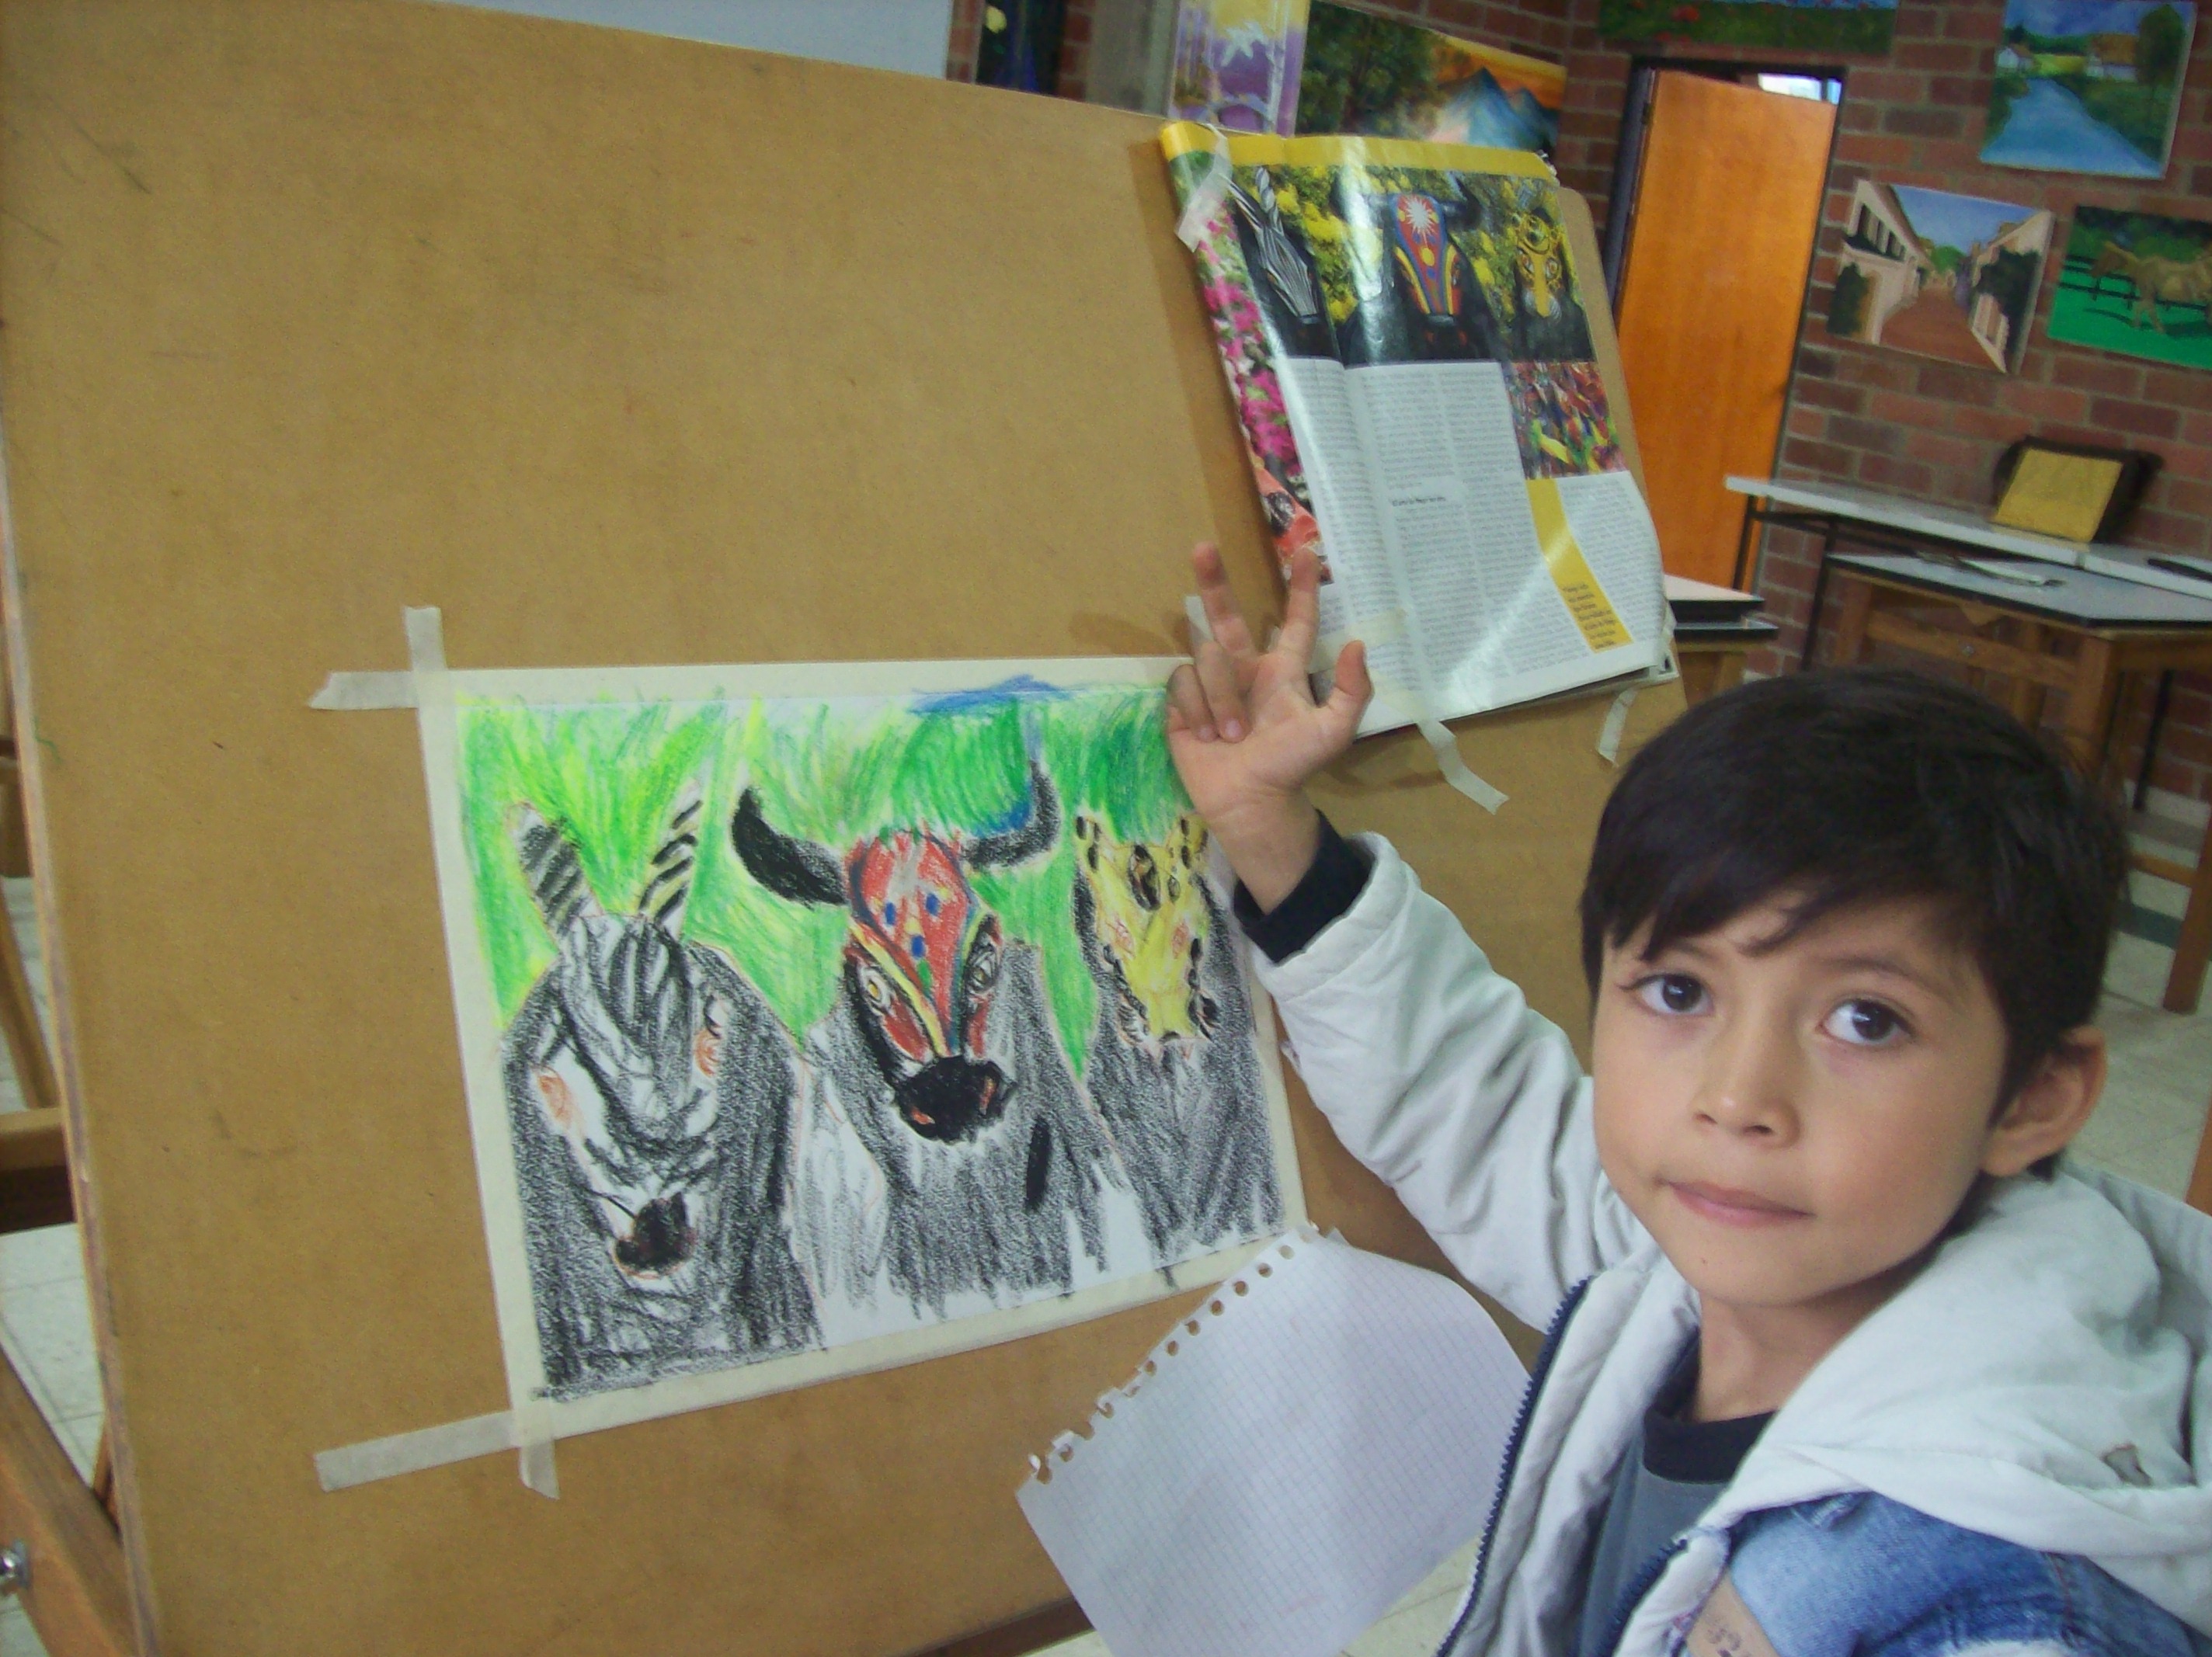
We all have a Little Picasso inside of us claiming to get out .Behold my latest creation to empower the family drawing skills.
Back to school I always wanted to share with my kids the learning of art classes, so we went to a High school for some educational stuff, but we need some supplies to practice in home.
I give you :” Lil Picasso Kit”.
Para todos los que tenemos dentro un pequeño Picasso suplicando por salir a crear obras de arte, y expresar lo que sentimos, comparto la enriquecedora experiencia que estamos viviendo en mi familia en el aprendizaje del dibujo y la pintura.
De regreso a clases mis hijos y yo nos inscribimos en la Universidad en un curso de arte Plásticas, y al ver que necesitábamos practicar en casa, construí una serie de ayudas para facilitar el aprendizaje.
Les doy : “El Kit del pequeño Picasso”
Stuff and Equipment.


Wood.
3 mts x 5cms x 8 wood.
155 cms x 5 cms x 2 cms wood.
20 cms x 4 cms x 3 cms stick.
80 cms X 5 cms x 5 cm
Tools
Drill.
Handsaw.
Carving Knife.
6 Drywall Screw.
Screw driver.
Tape measure.
Ruler.
Pencil.
3 mts x 5cms x 8 wood.
155 cms x 5 cms x 2 cms wood.
20 cms x 4 cms x 3 cms stick.
80 cms X 5 cms x 5 cm
Tools
Drill.
Handsaw.
Carving Knife.
6 Drywall Screw.
Screw driver.
Tape measure.
Ruler.
Pencil.
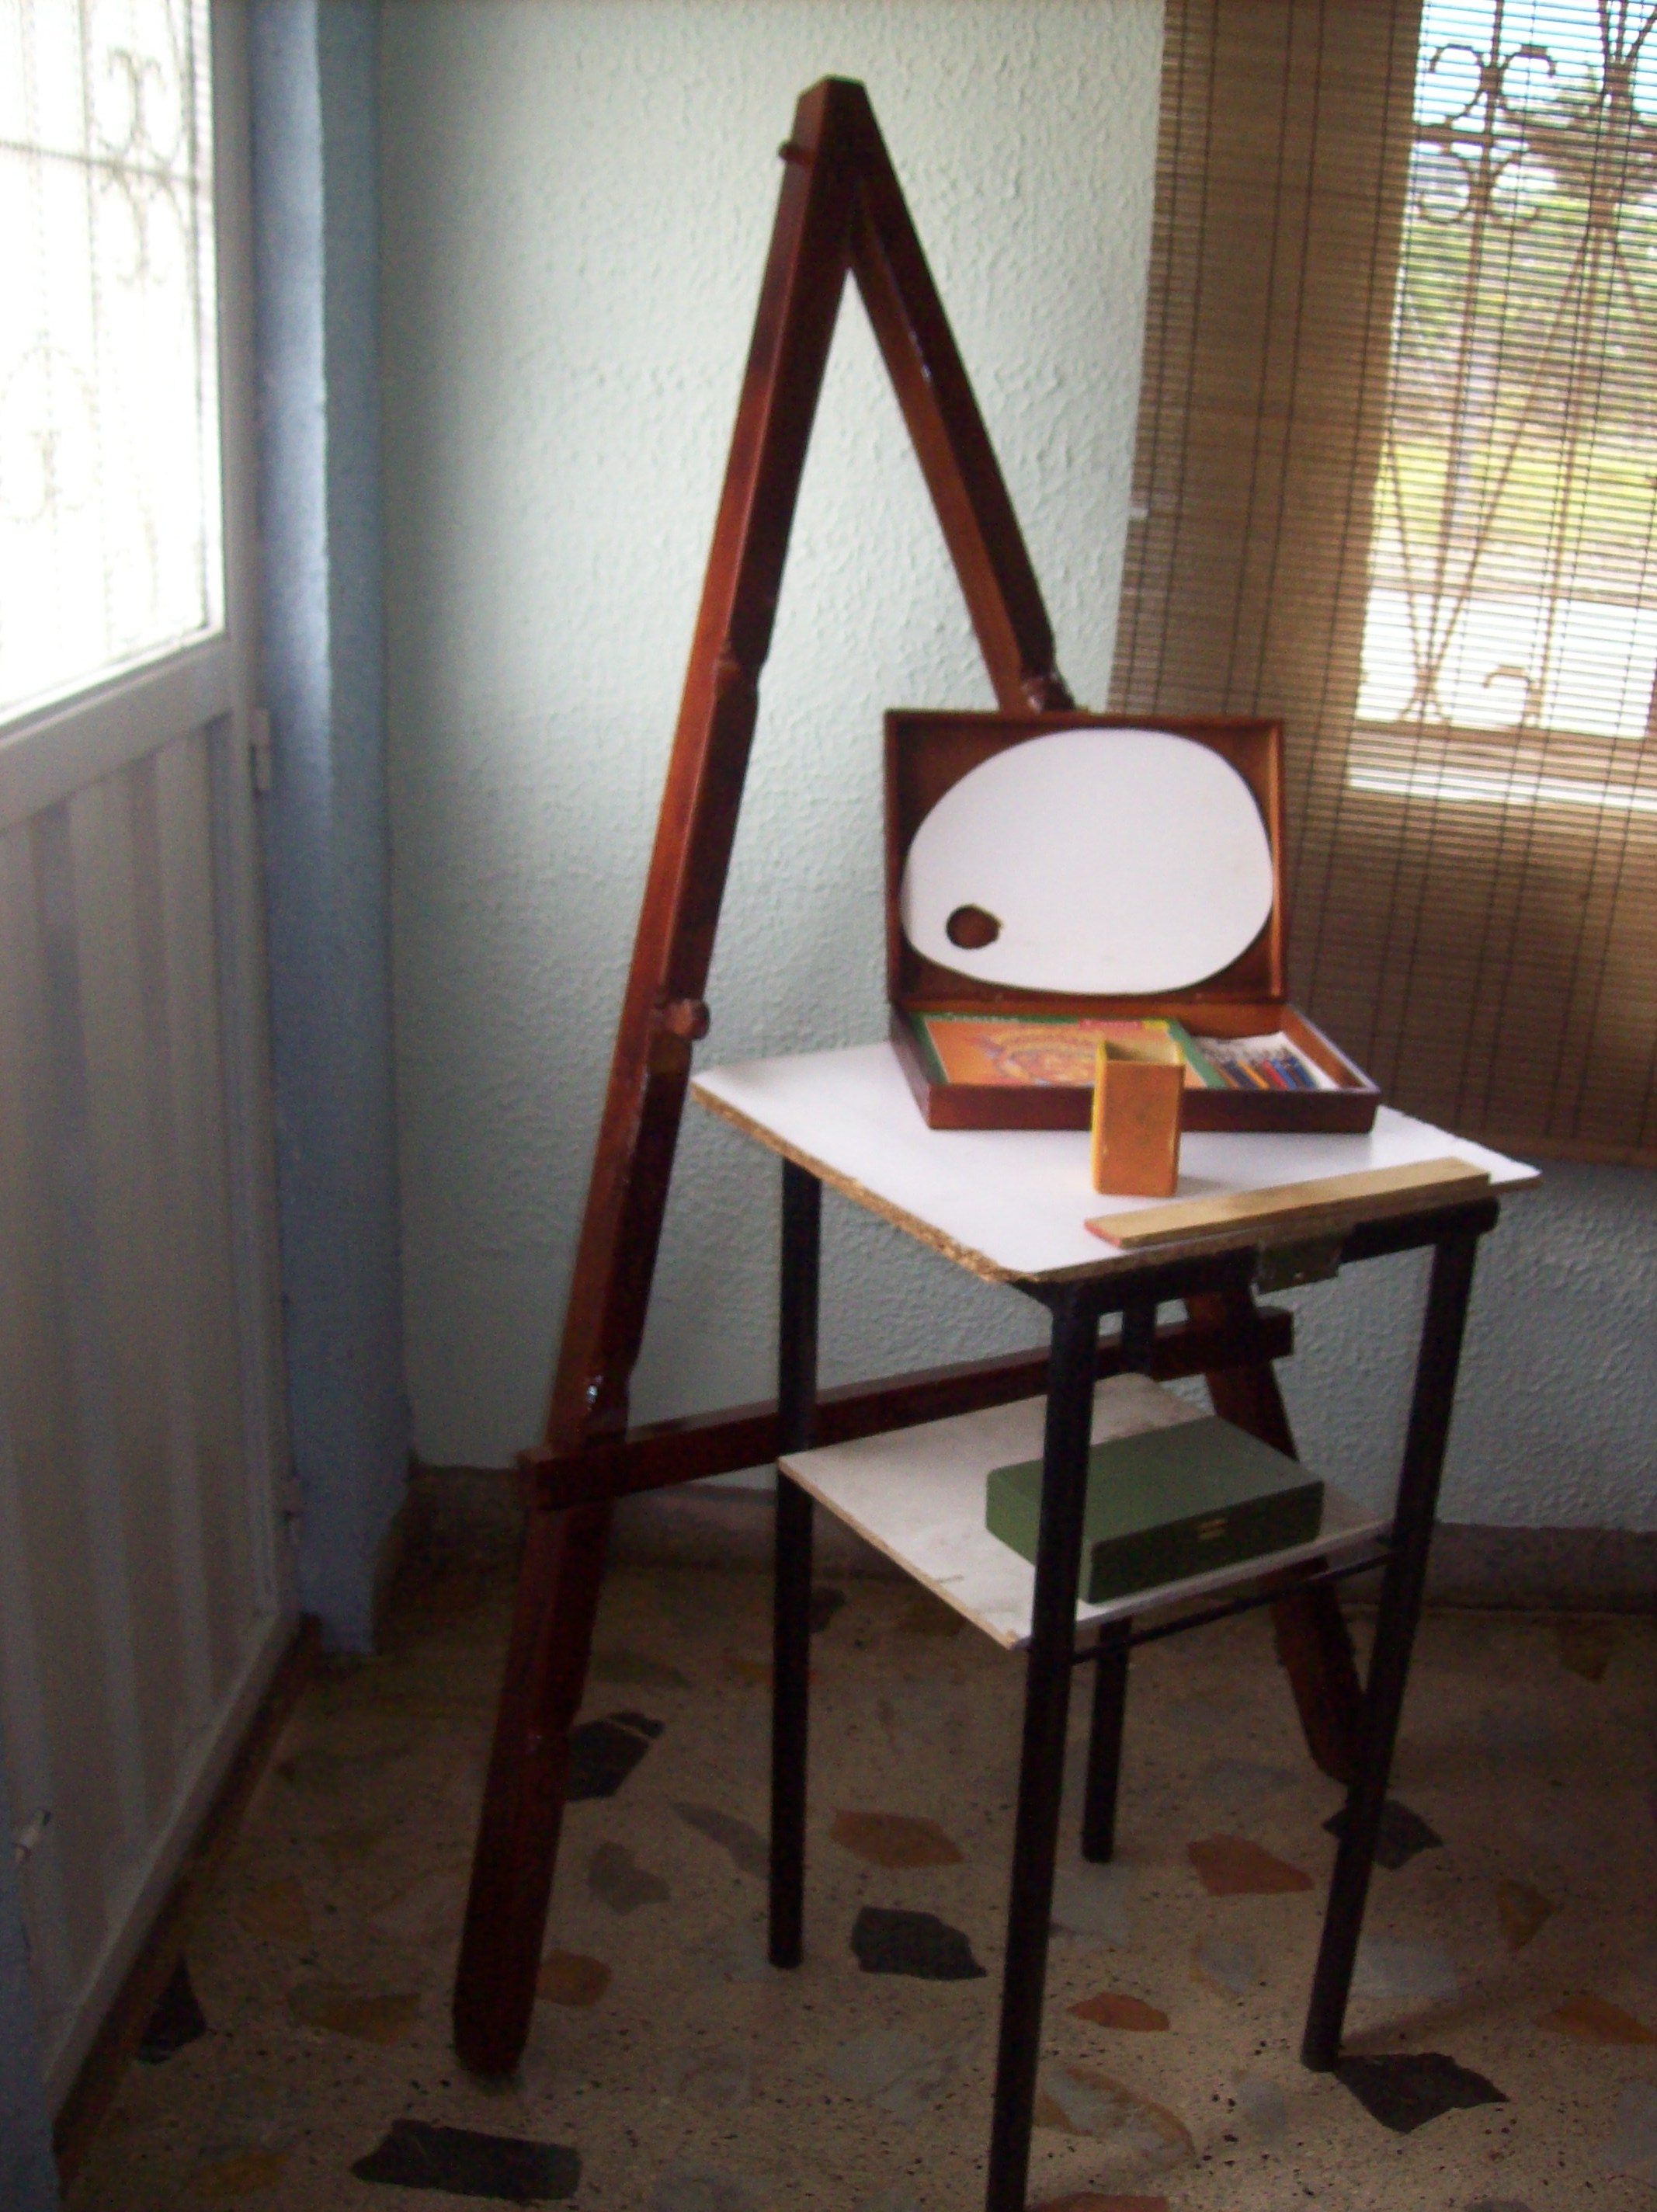
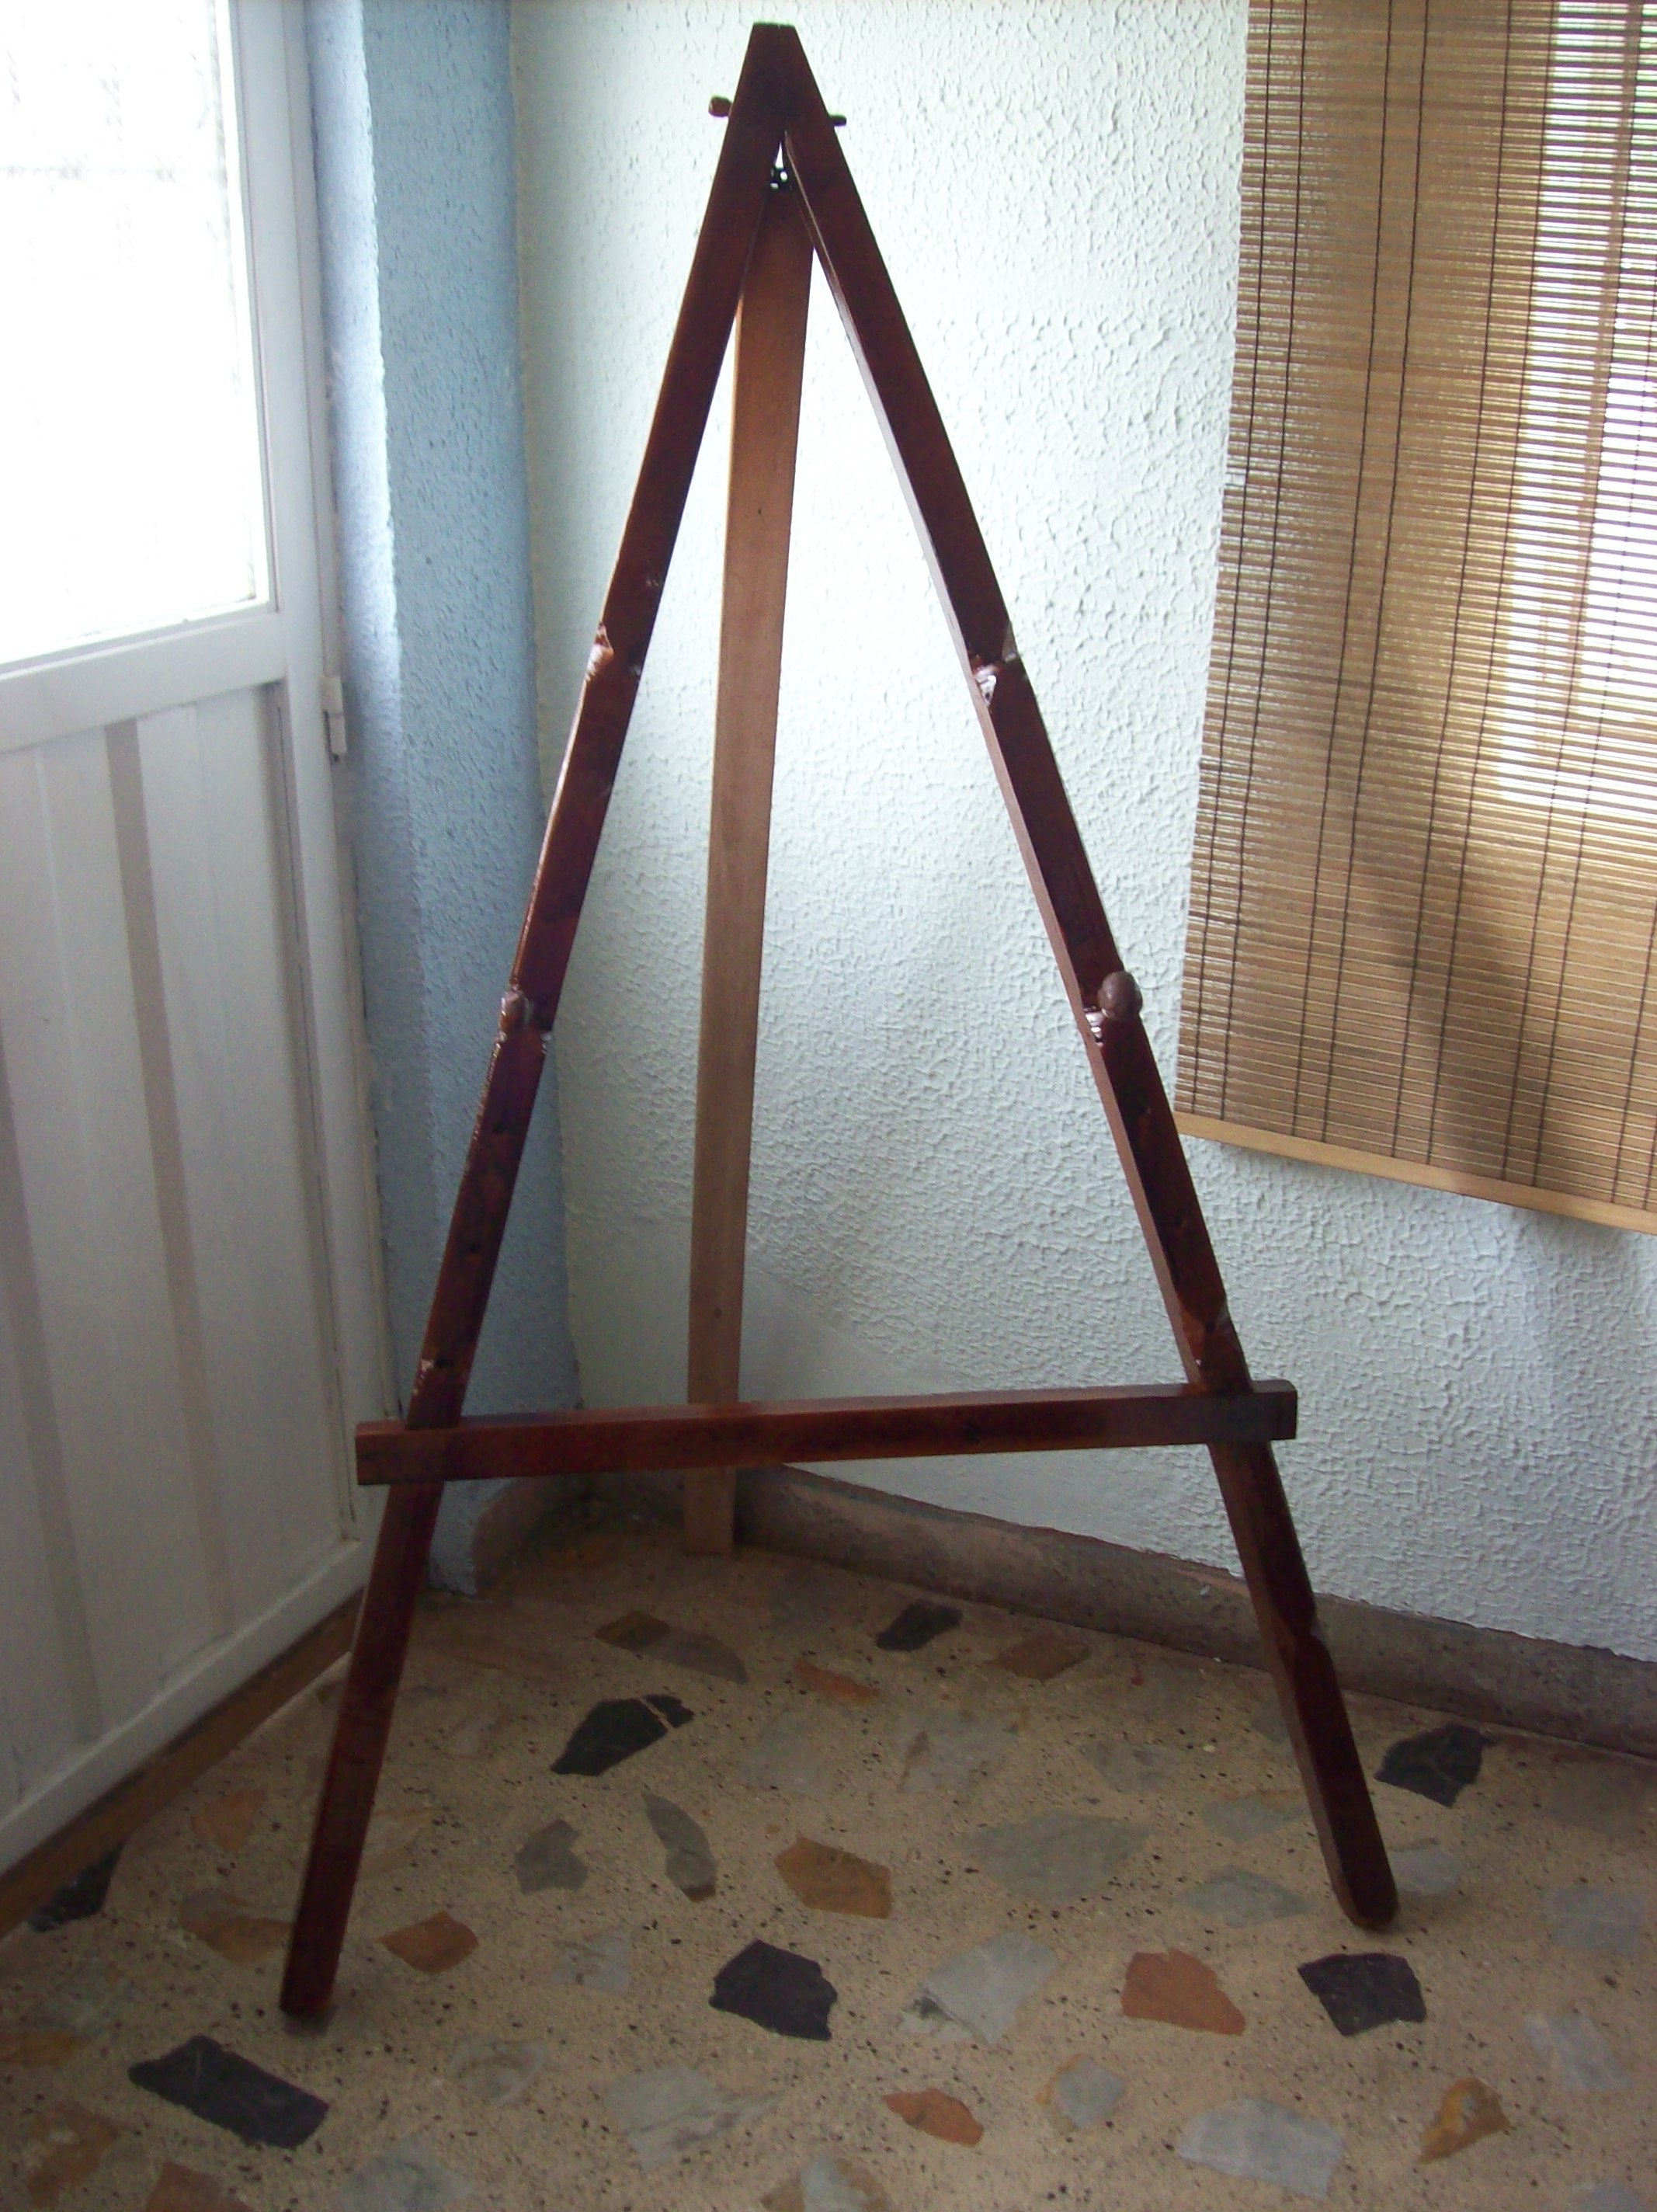
Easel.


We need two pieces of wood of 175 cms x 5 cms x 8 cms . trace an angle of 160 degrees to the top of the wood. Cut with the Handsaw, drill a hole, and assemble , Dril 4 hoes to hold the table where you are going to Paint.
The Plans are so Simple but is just to show you so easy it was.
The cuts fits so tight so I dont need Nails neither screws.
The Plans are so Simple but is just to show you so easy it was.
The cuts fits so tight so I dont need Nails neither screws.
Auxiliar Table.


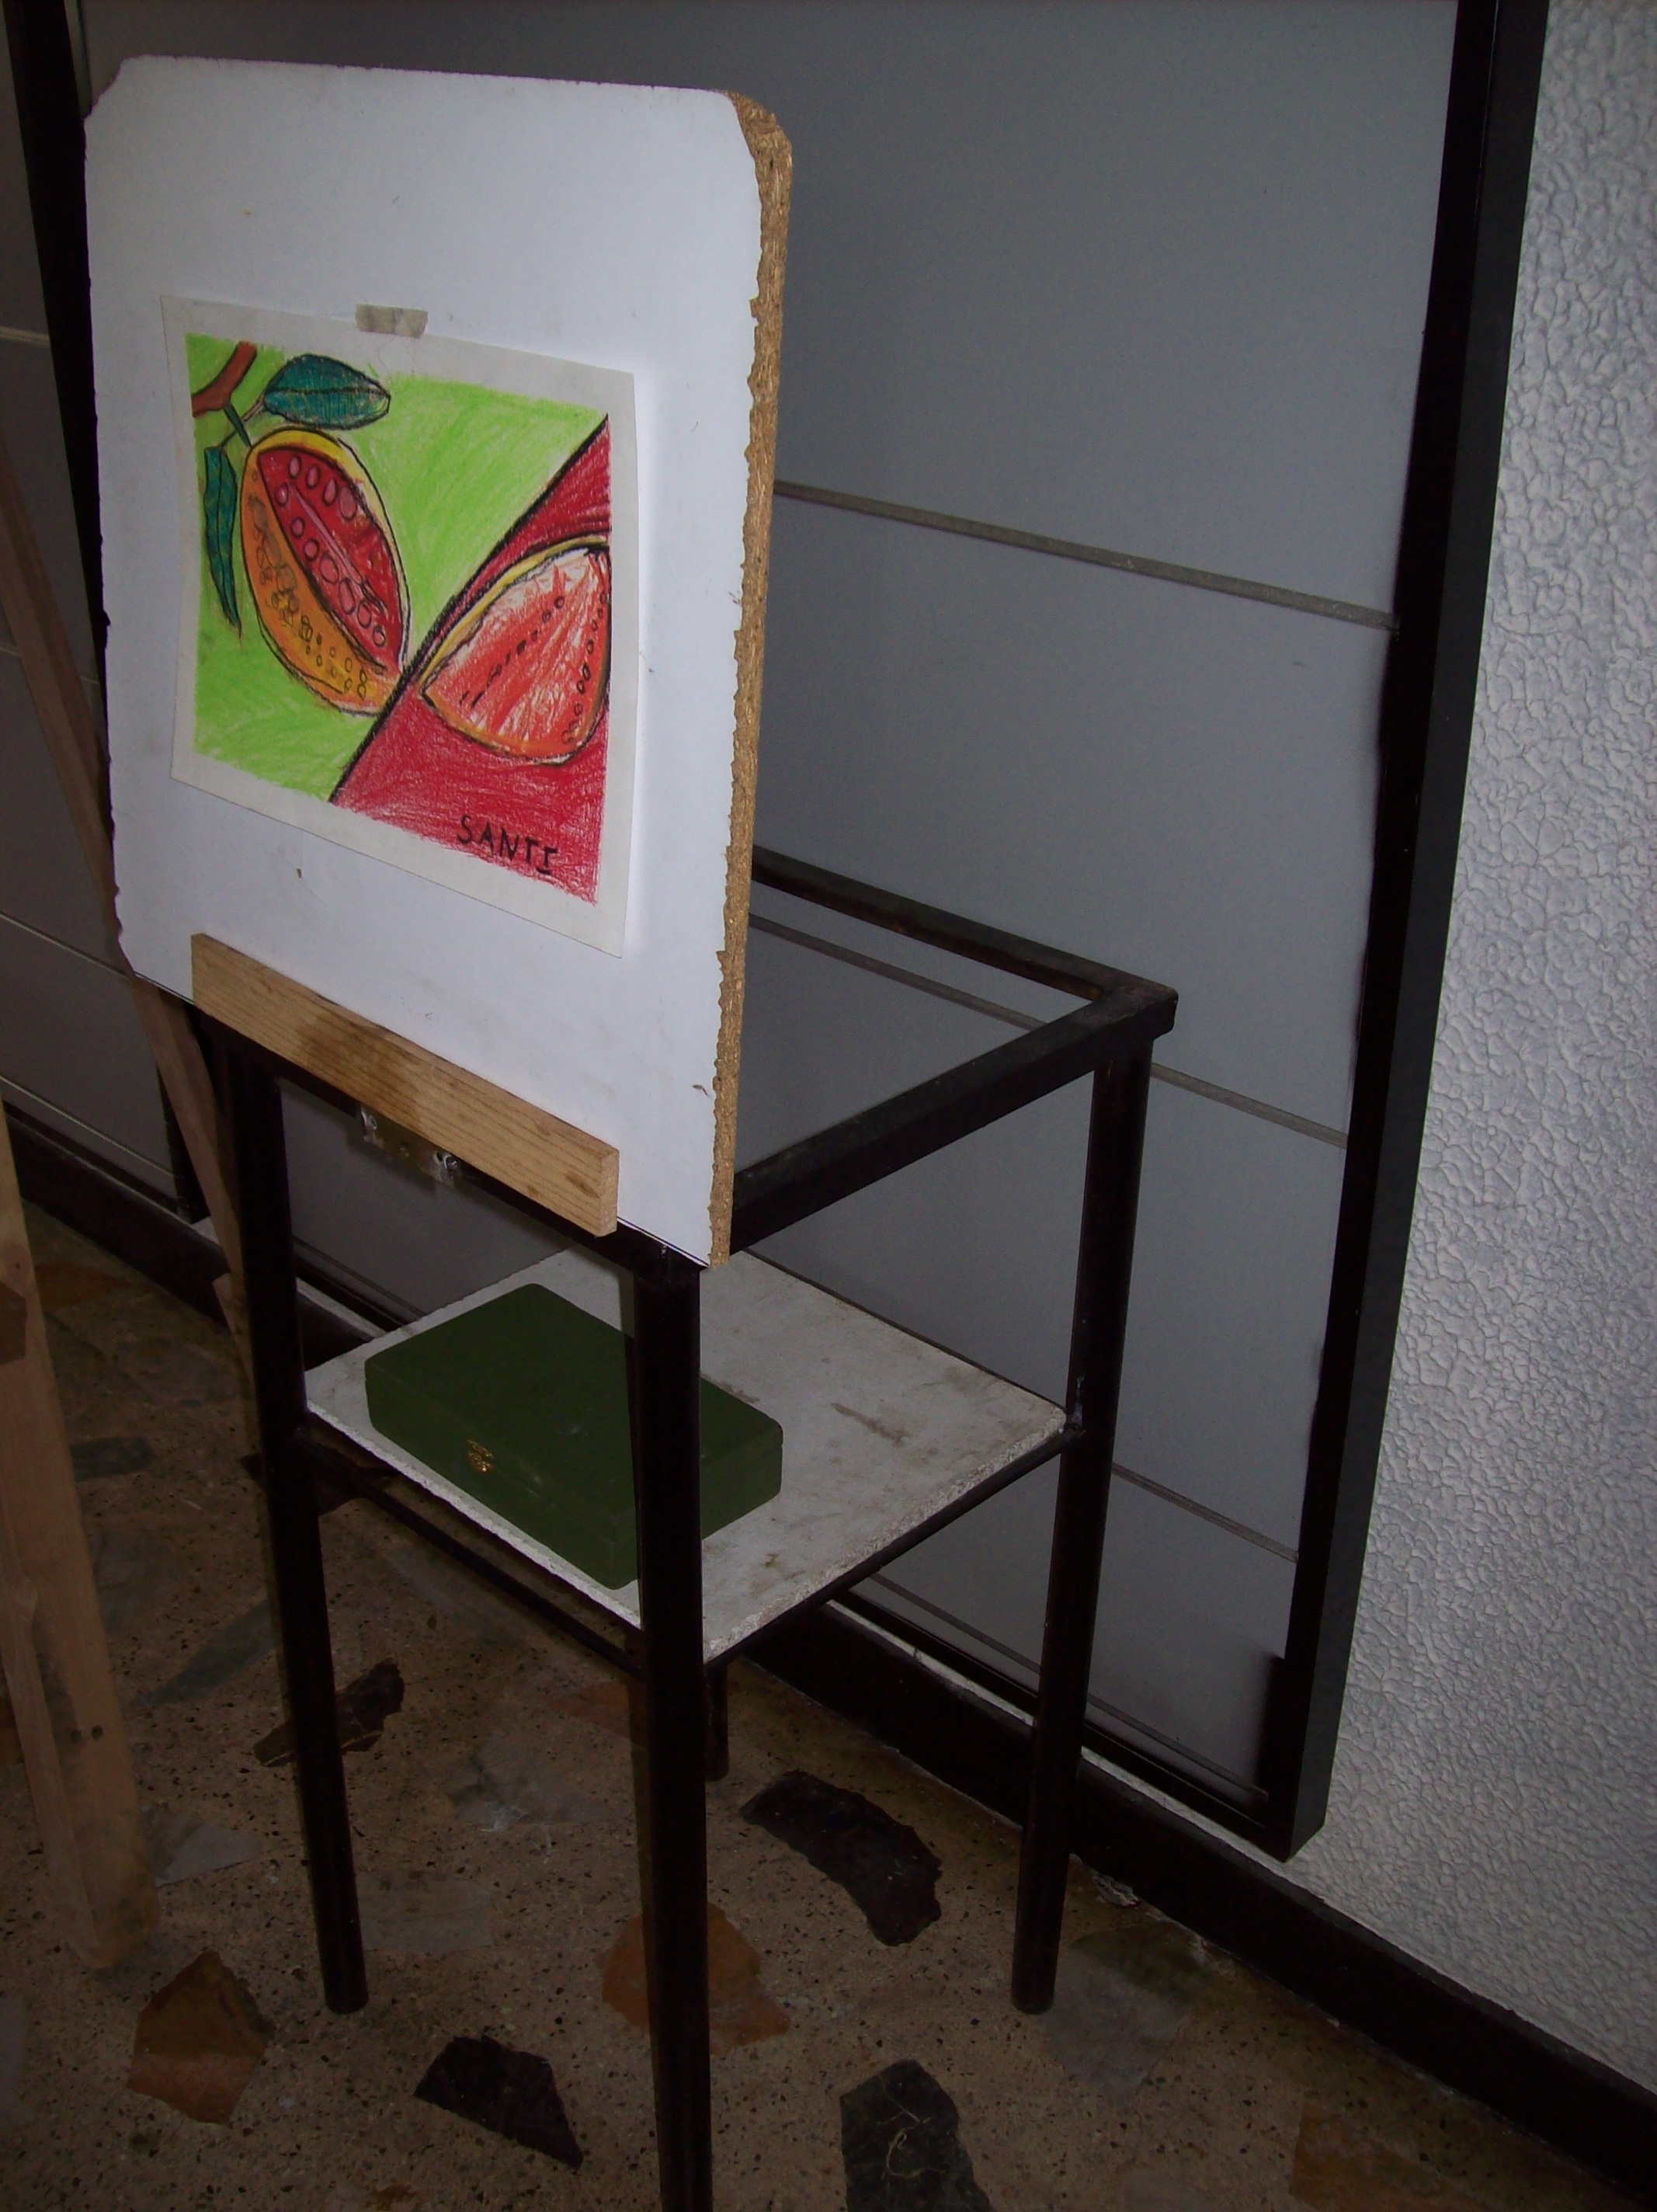
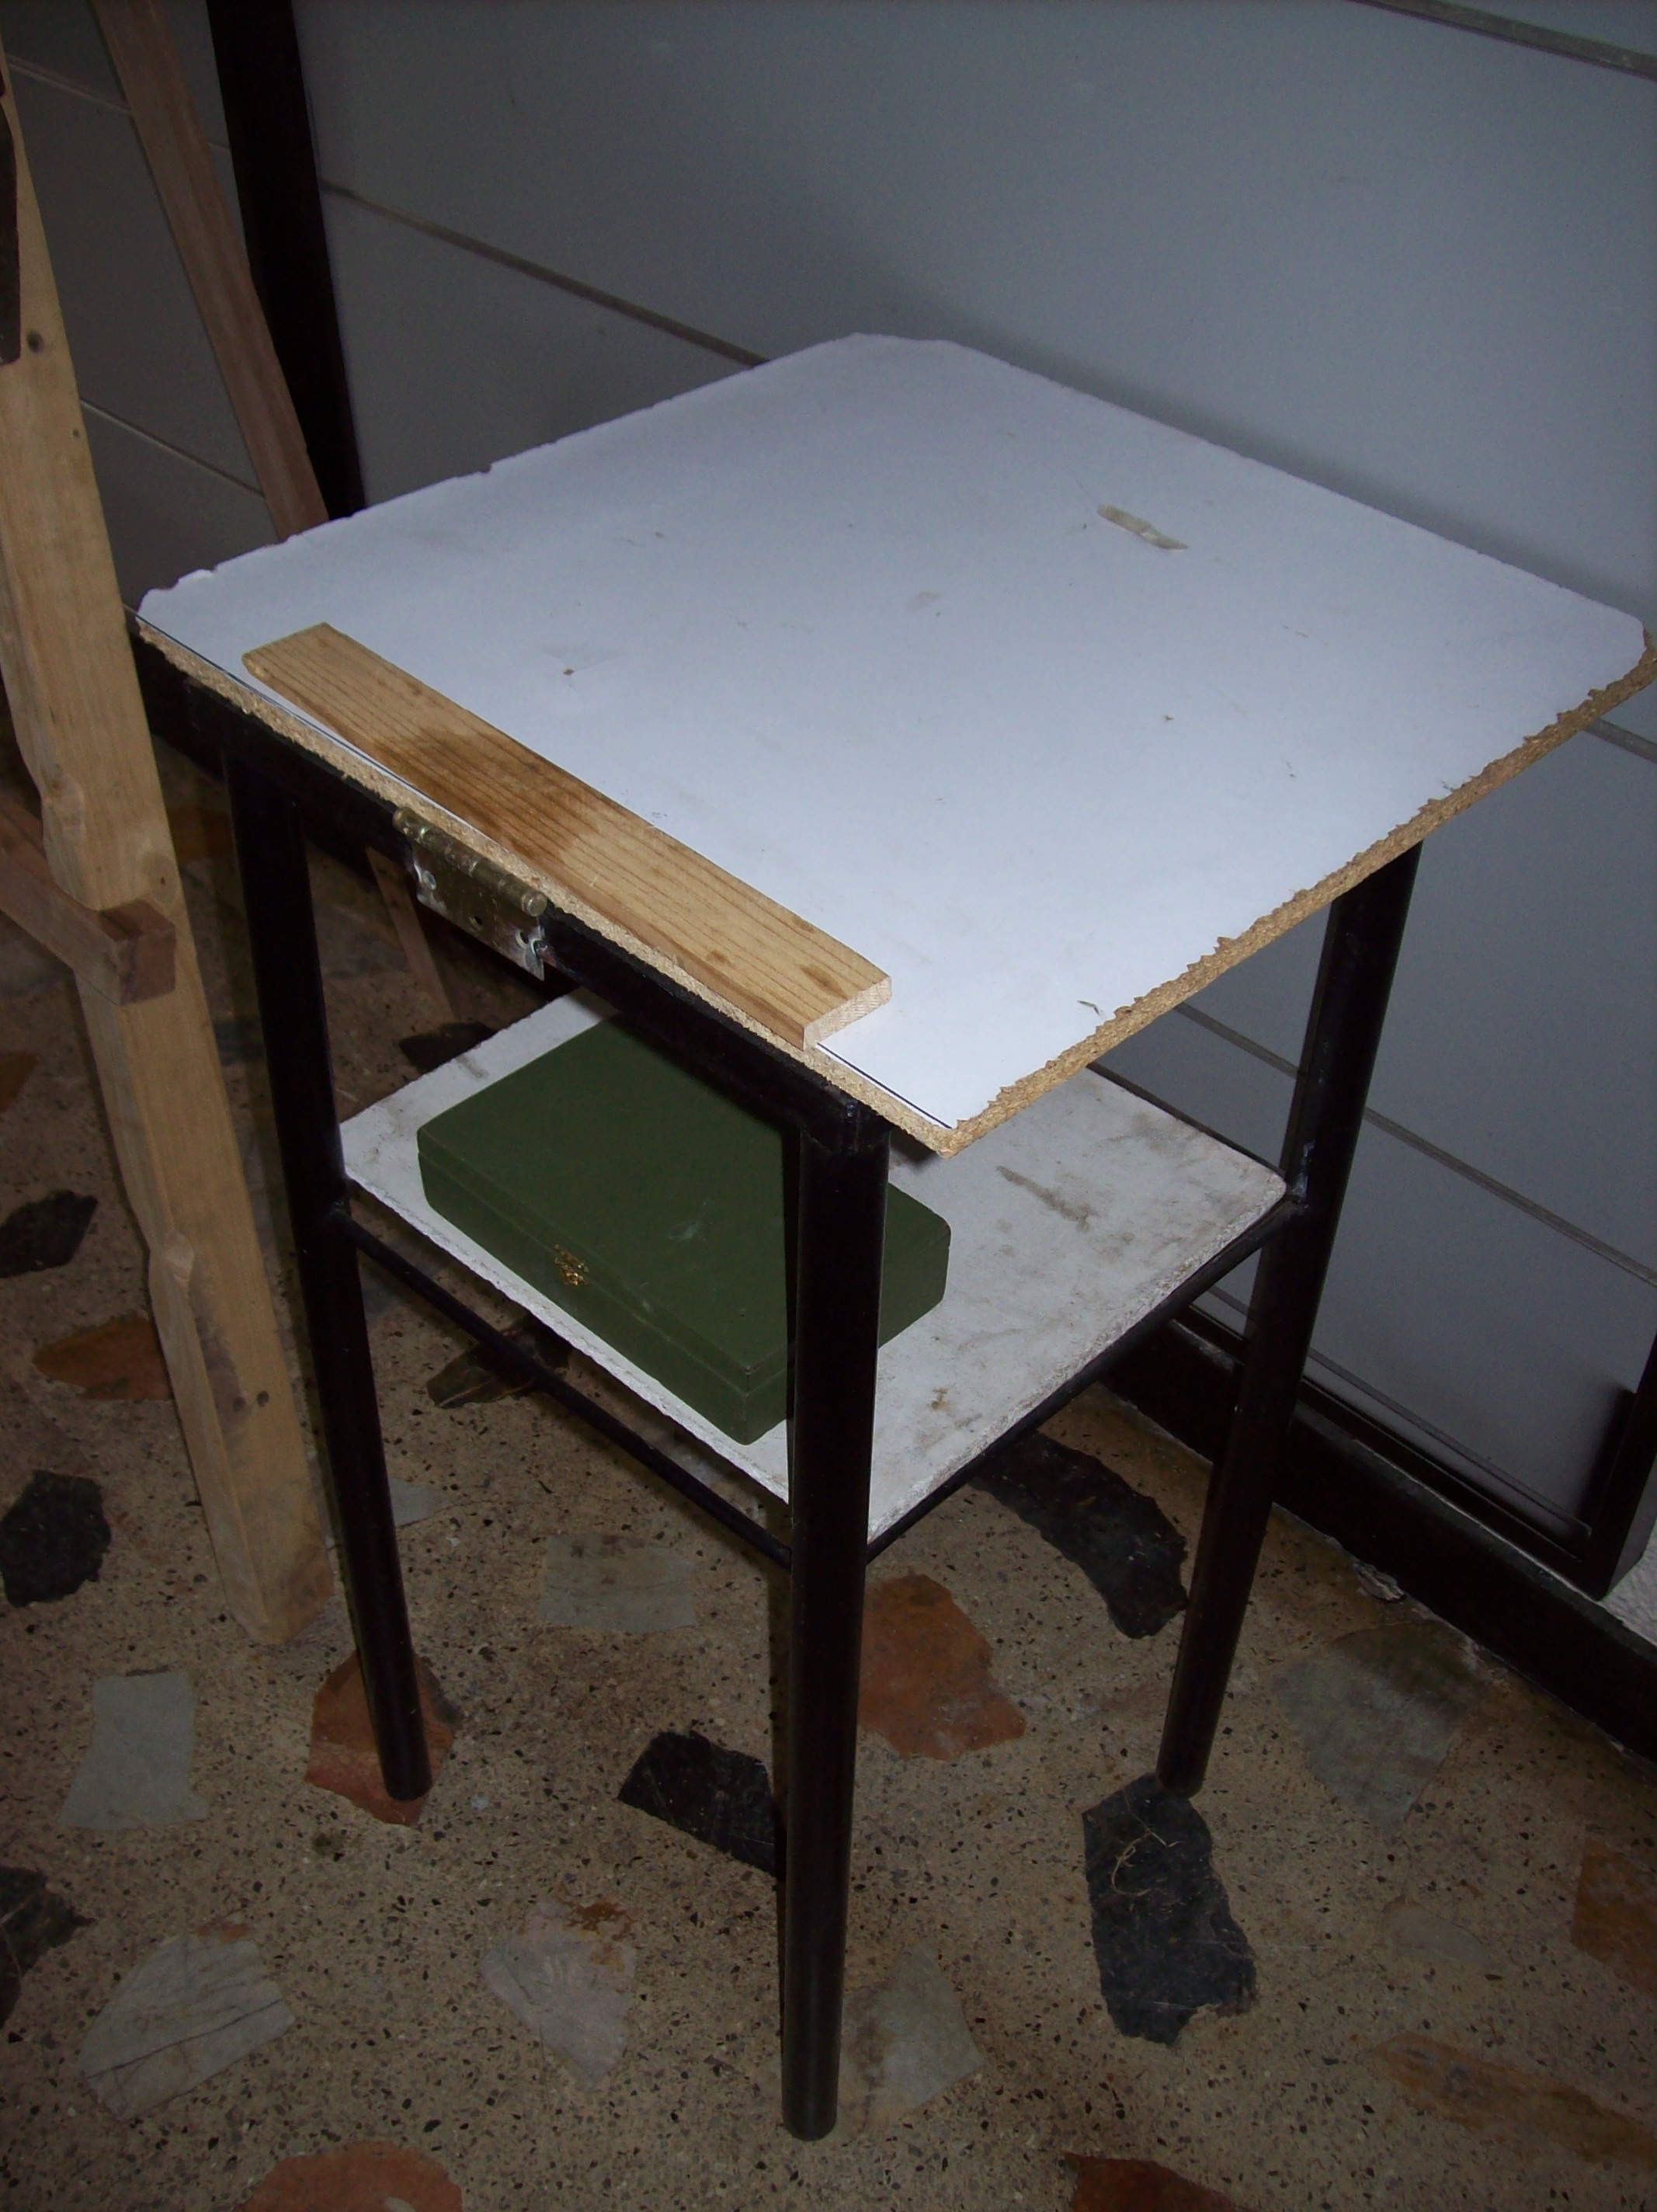

The base is made of Iron, just weld a hing between the top and the base.It s so usefull to draw and Paint.
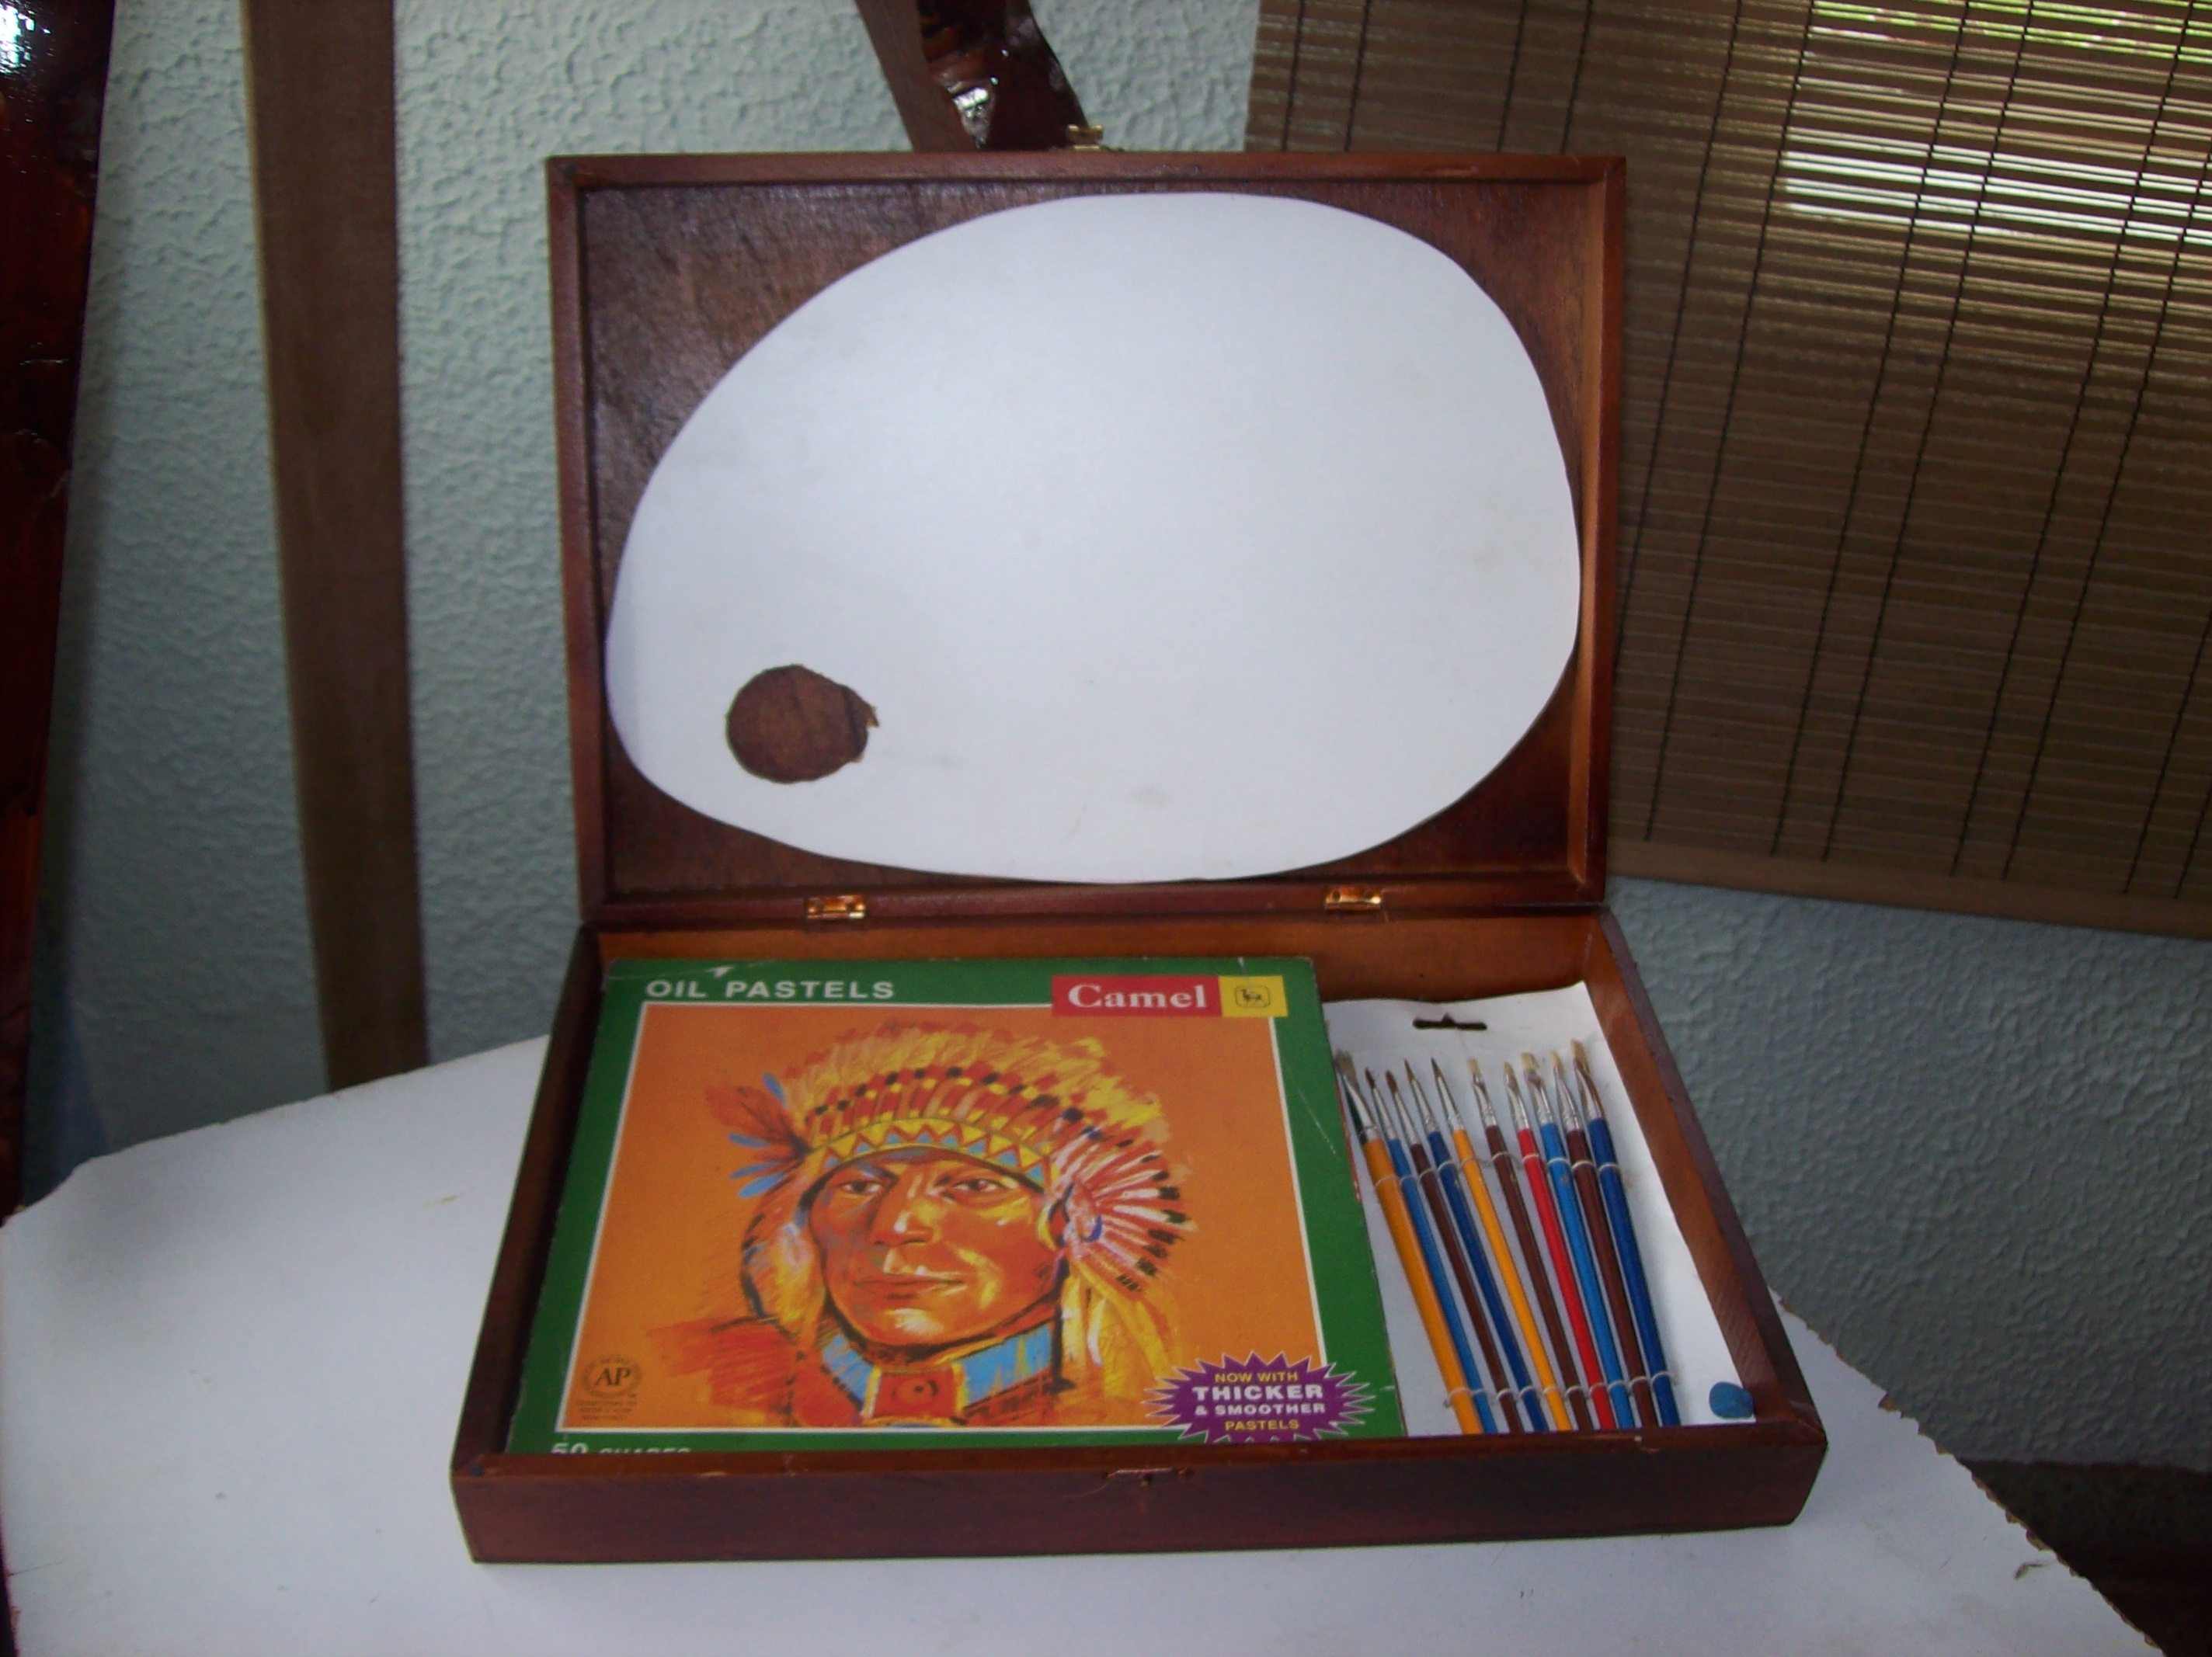
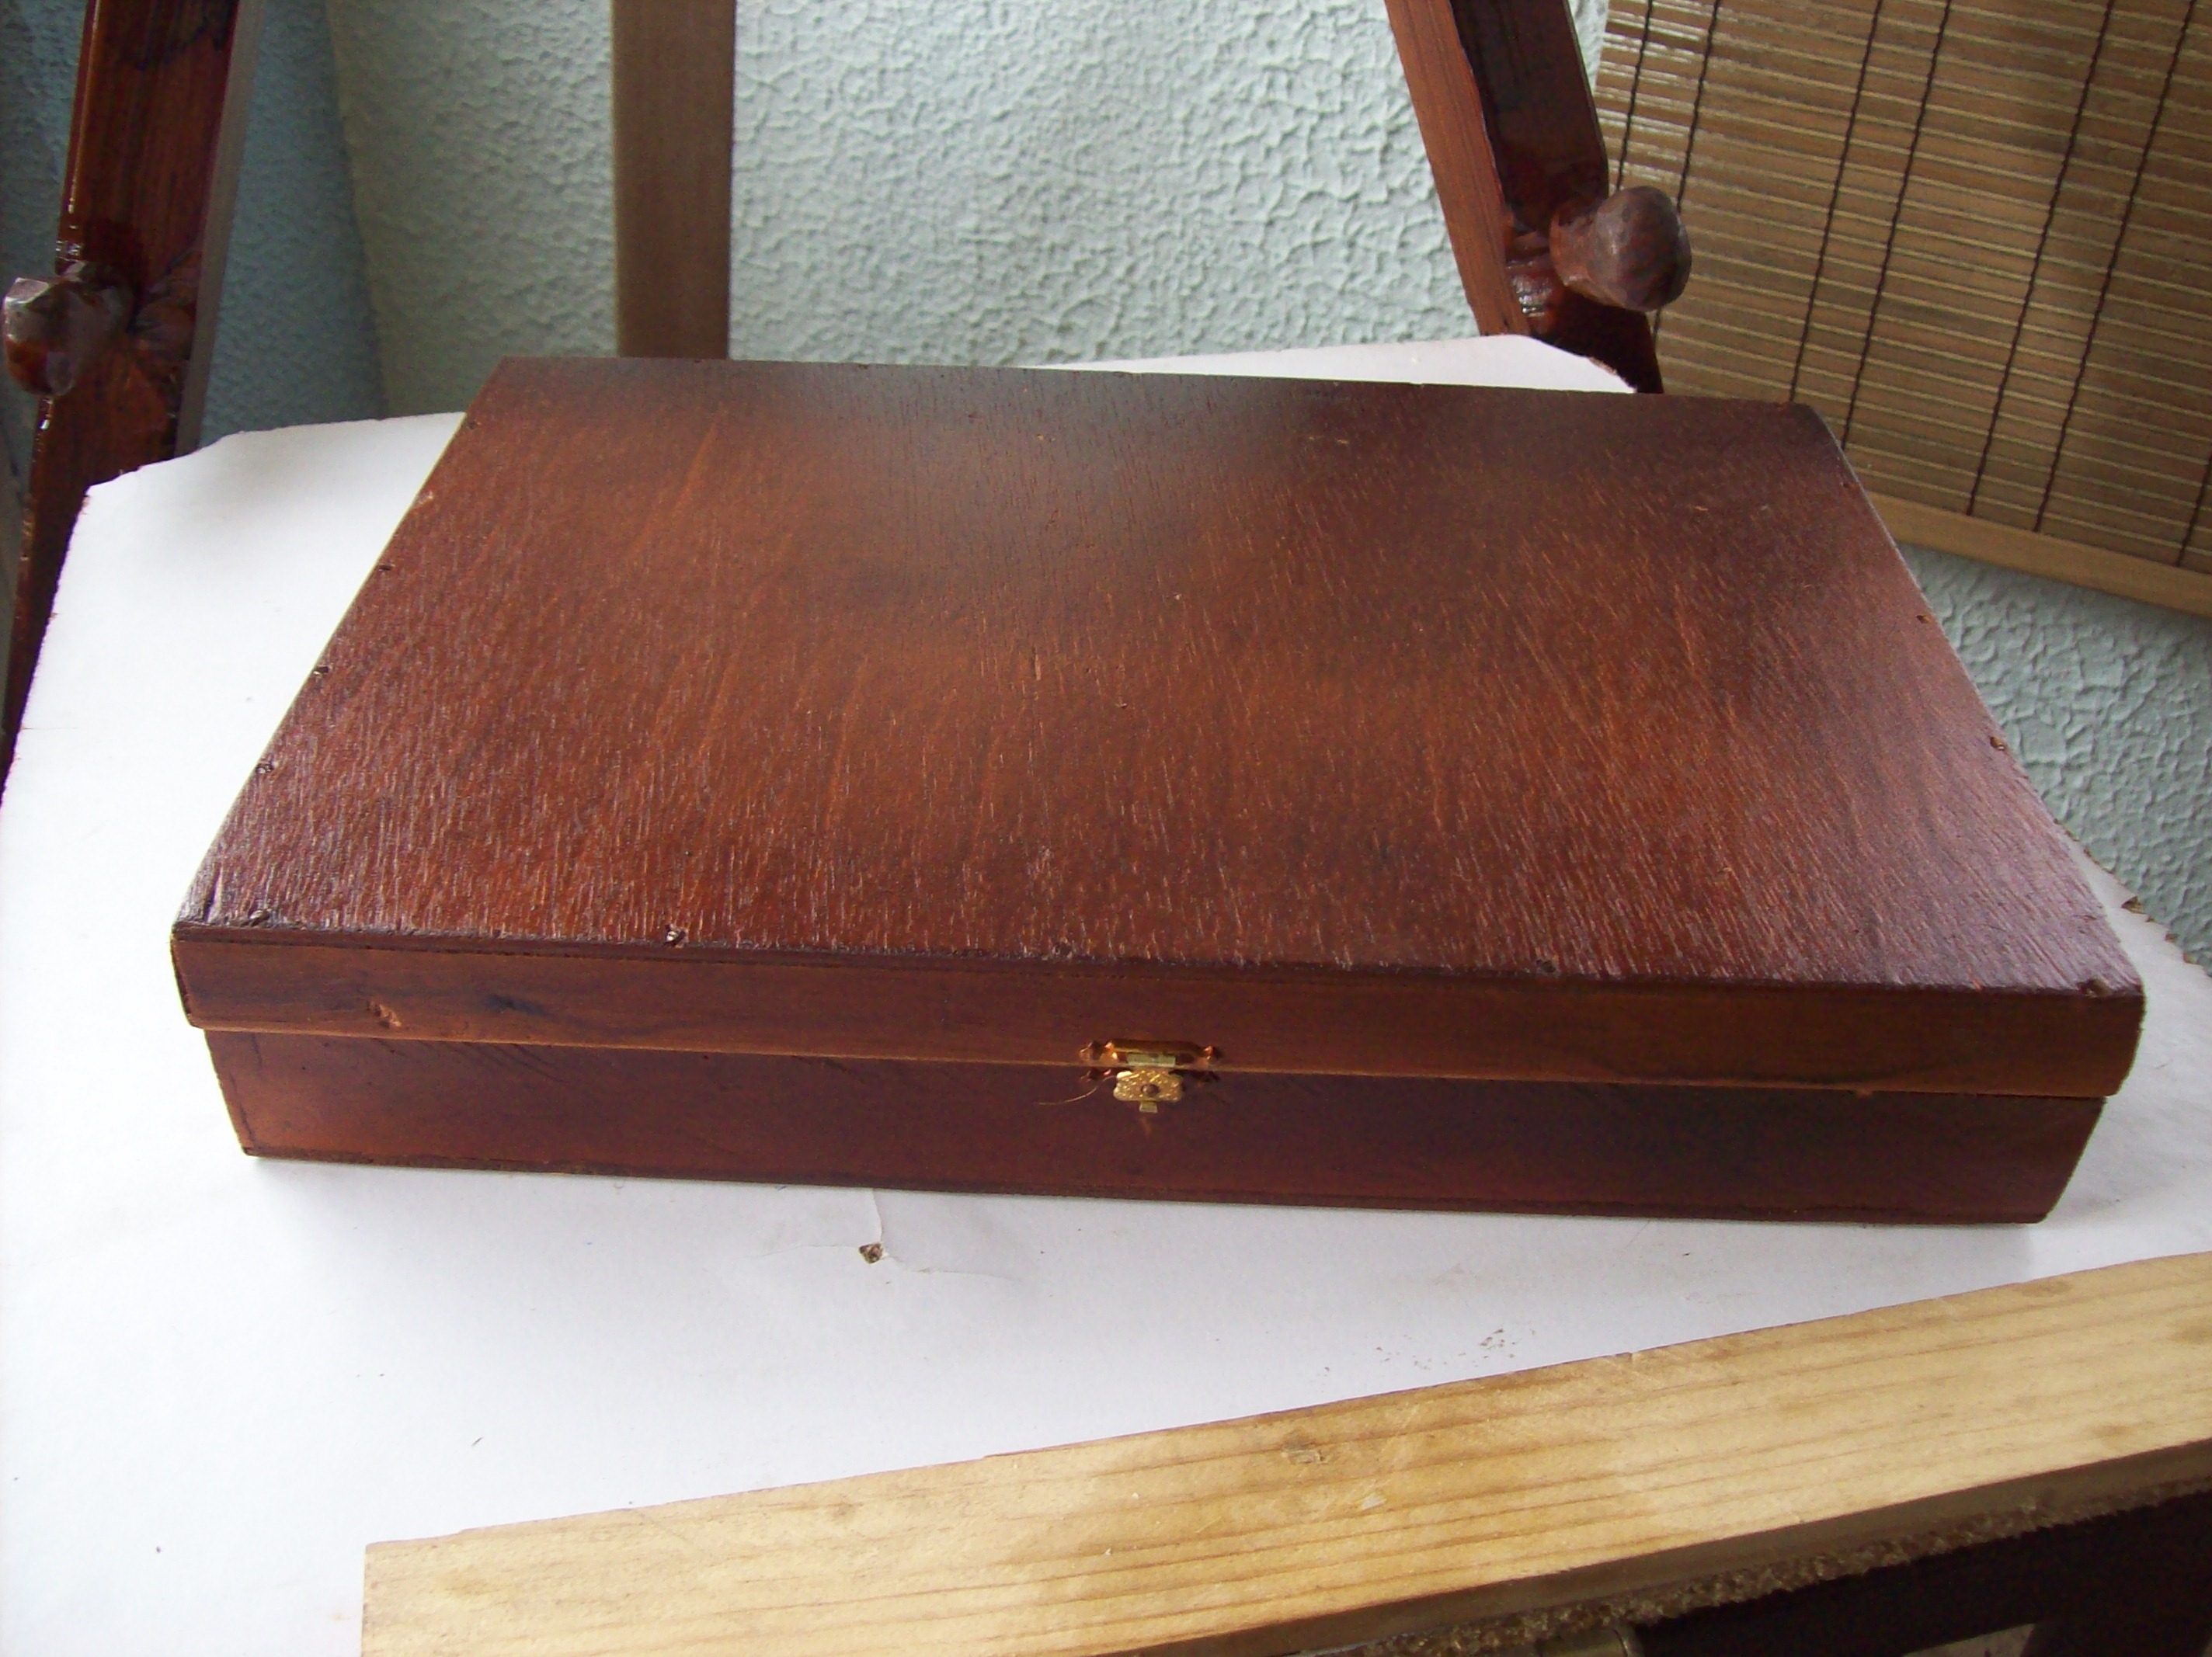
Wood Case.
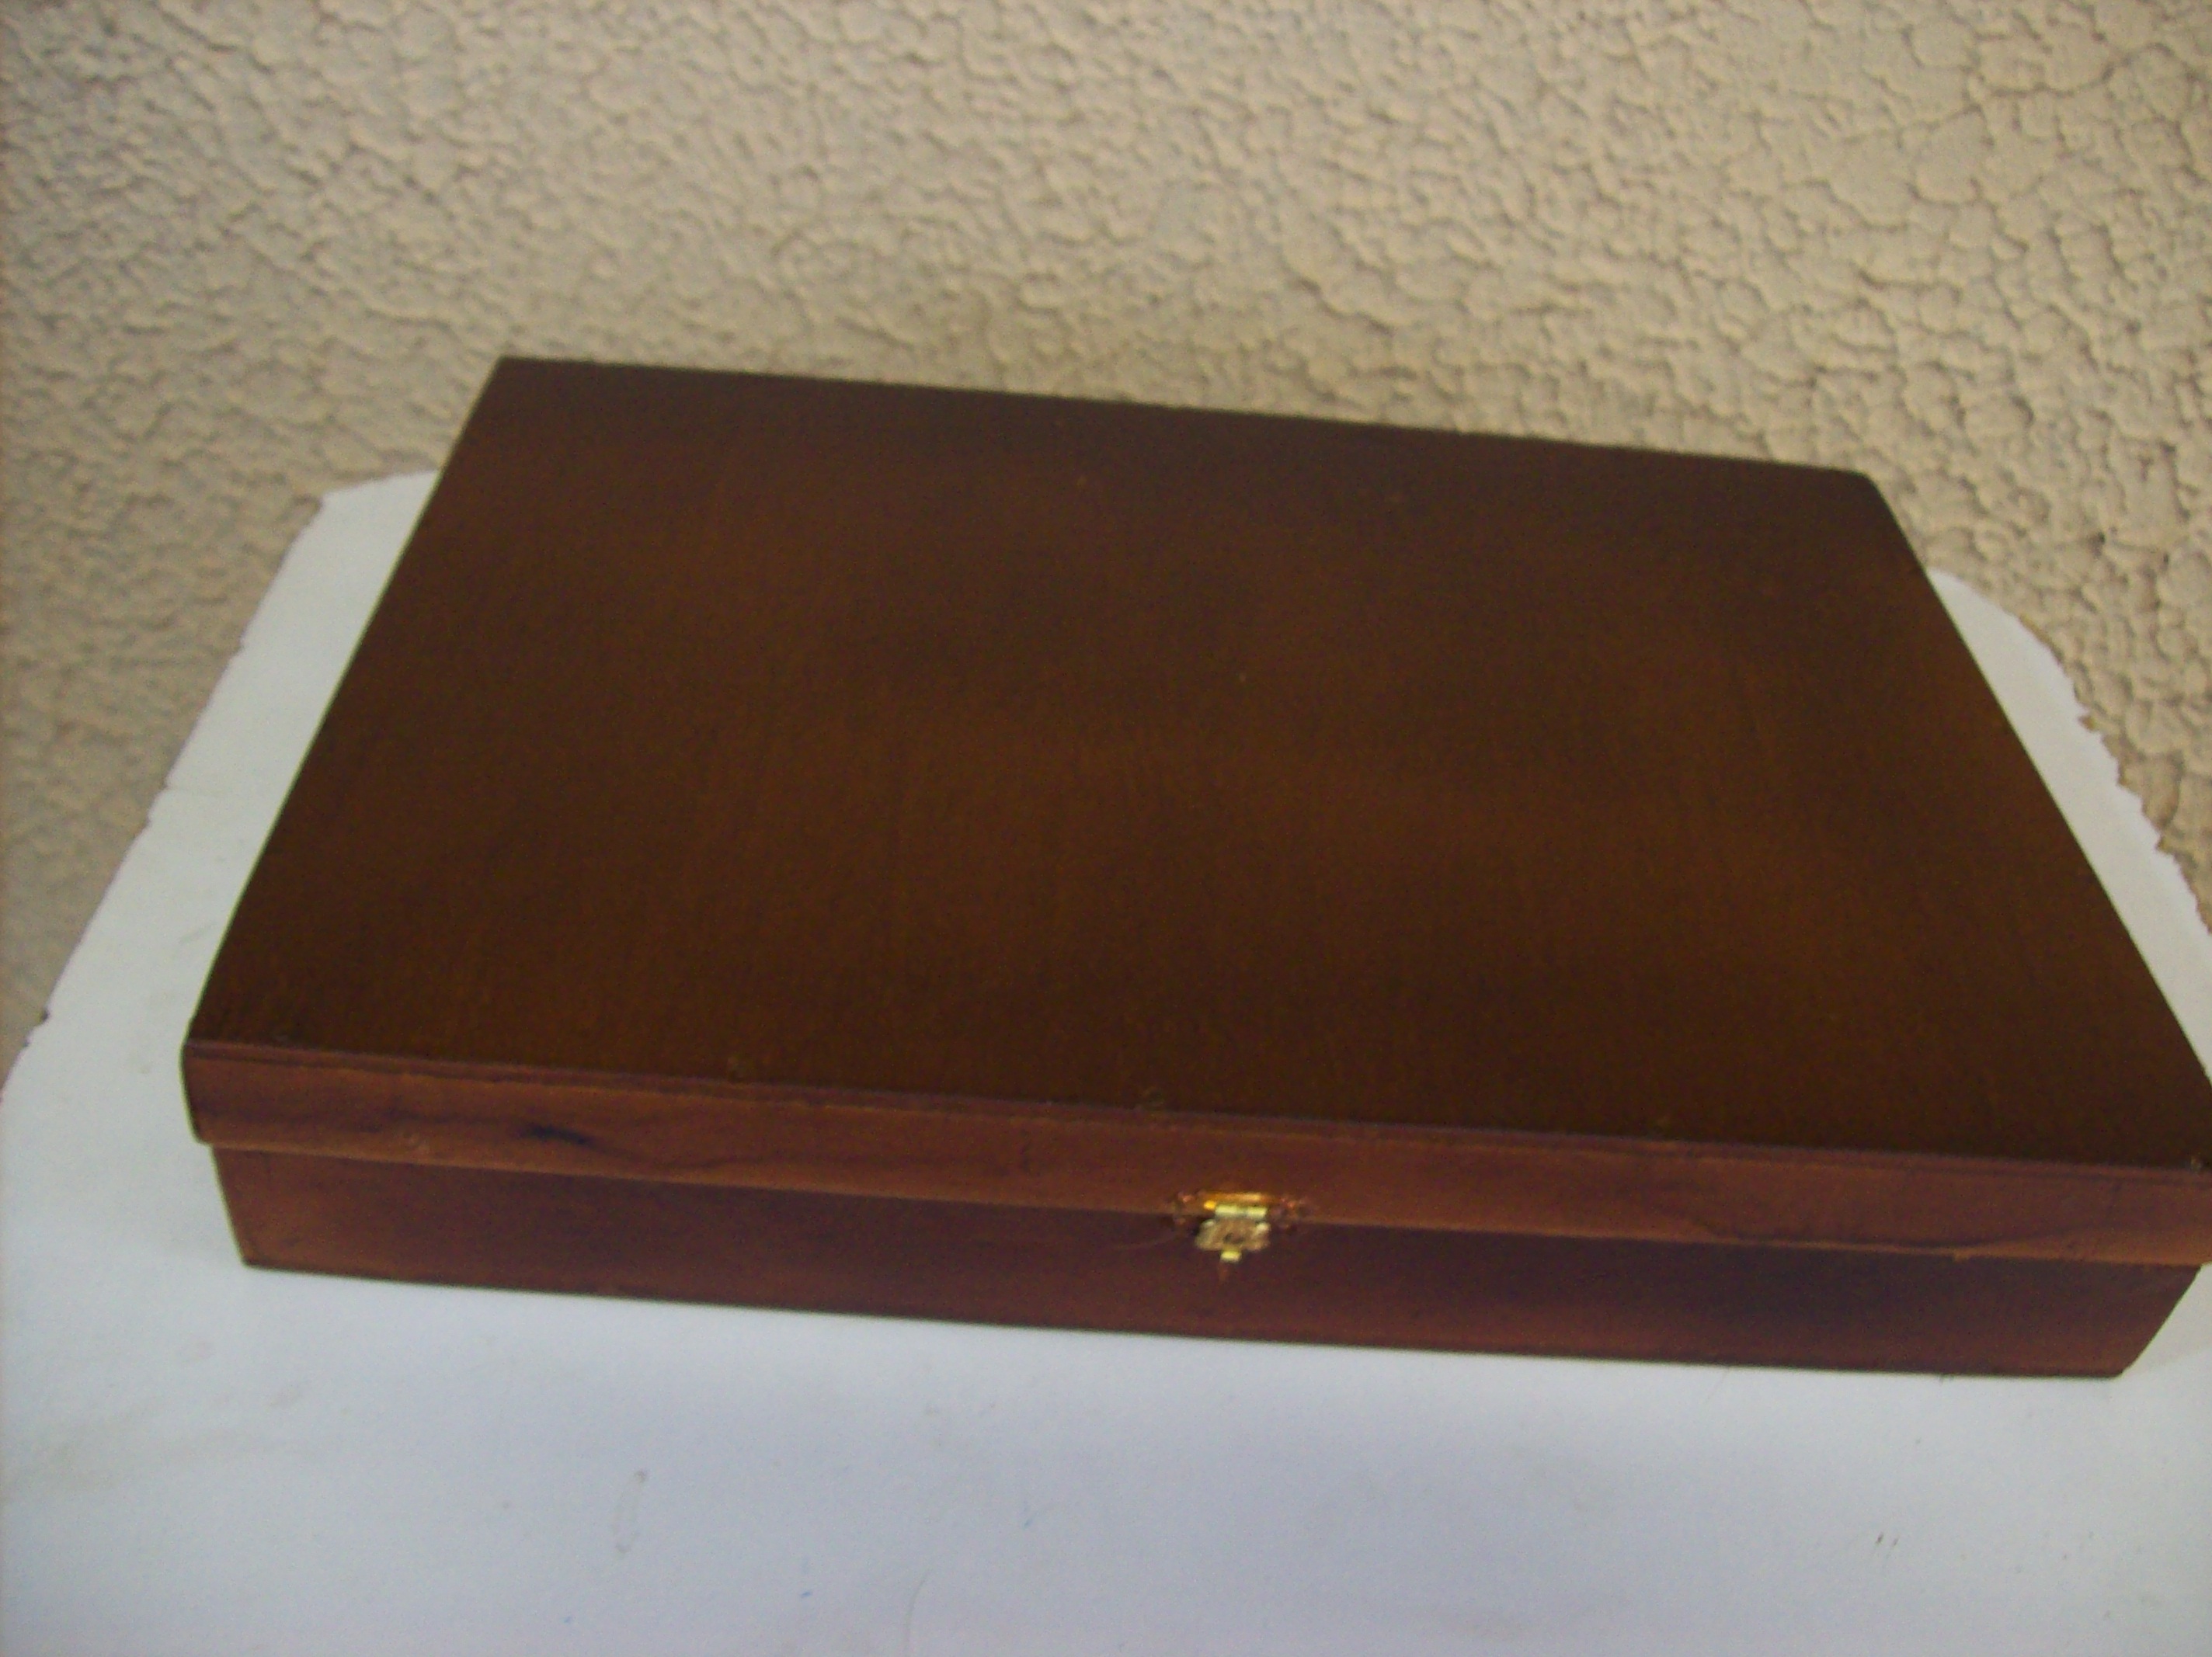


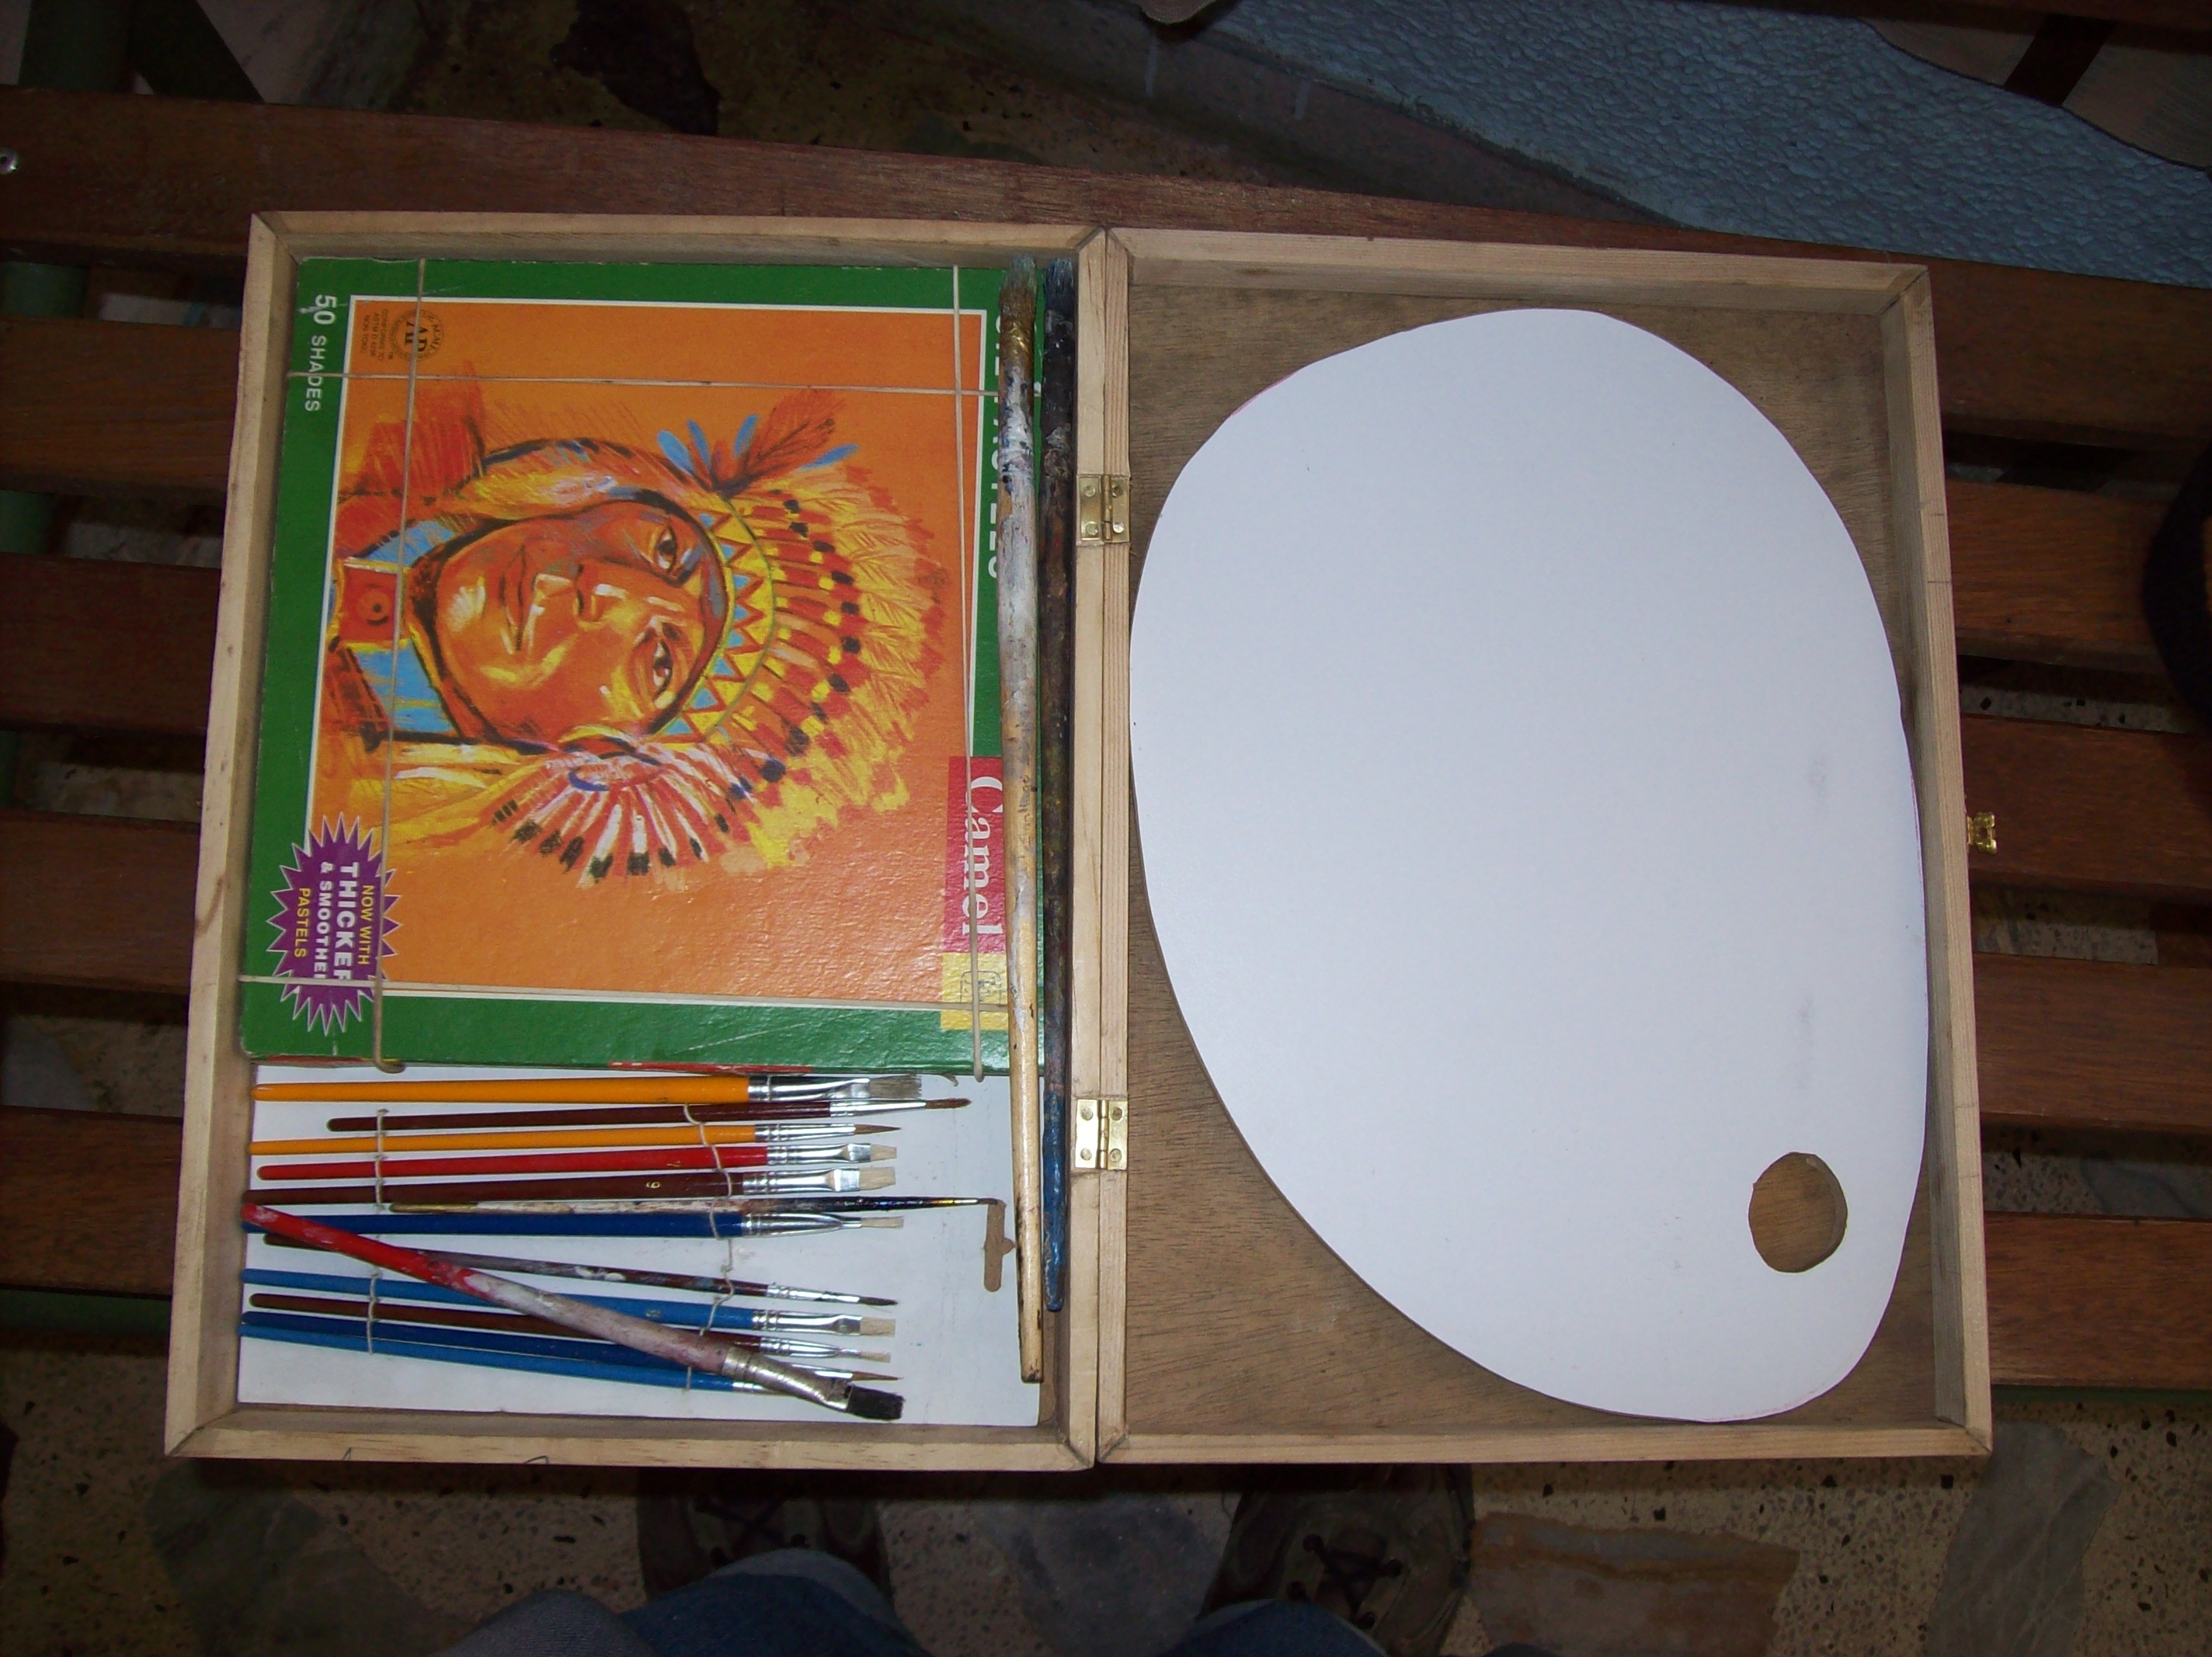
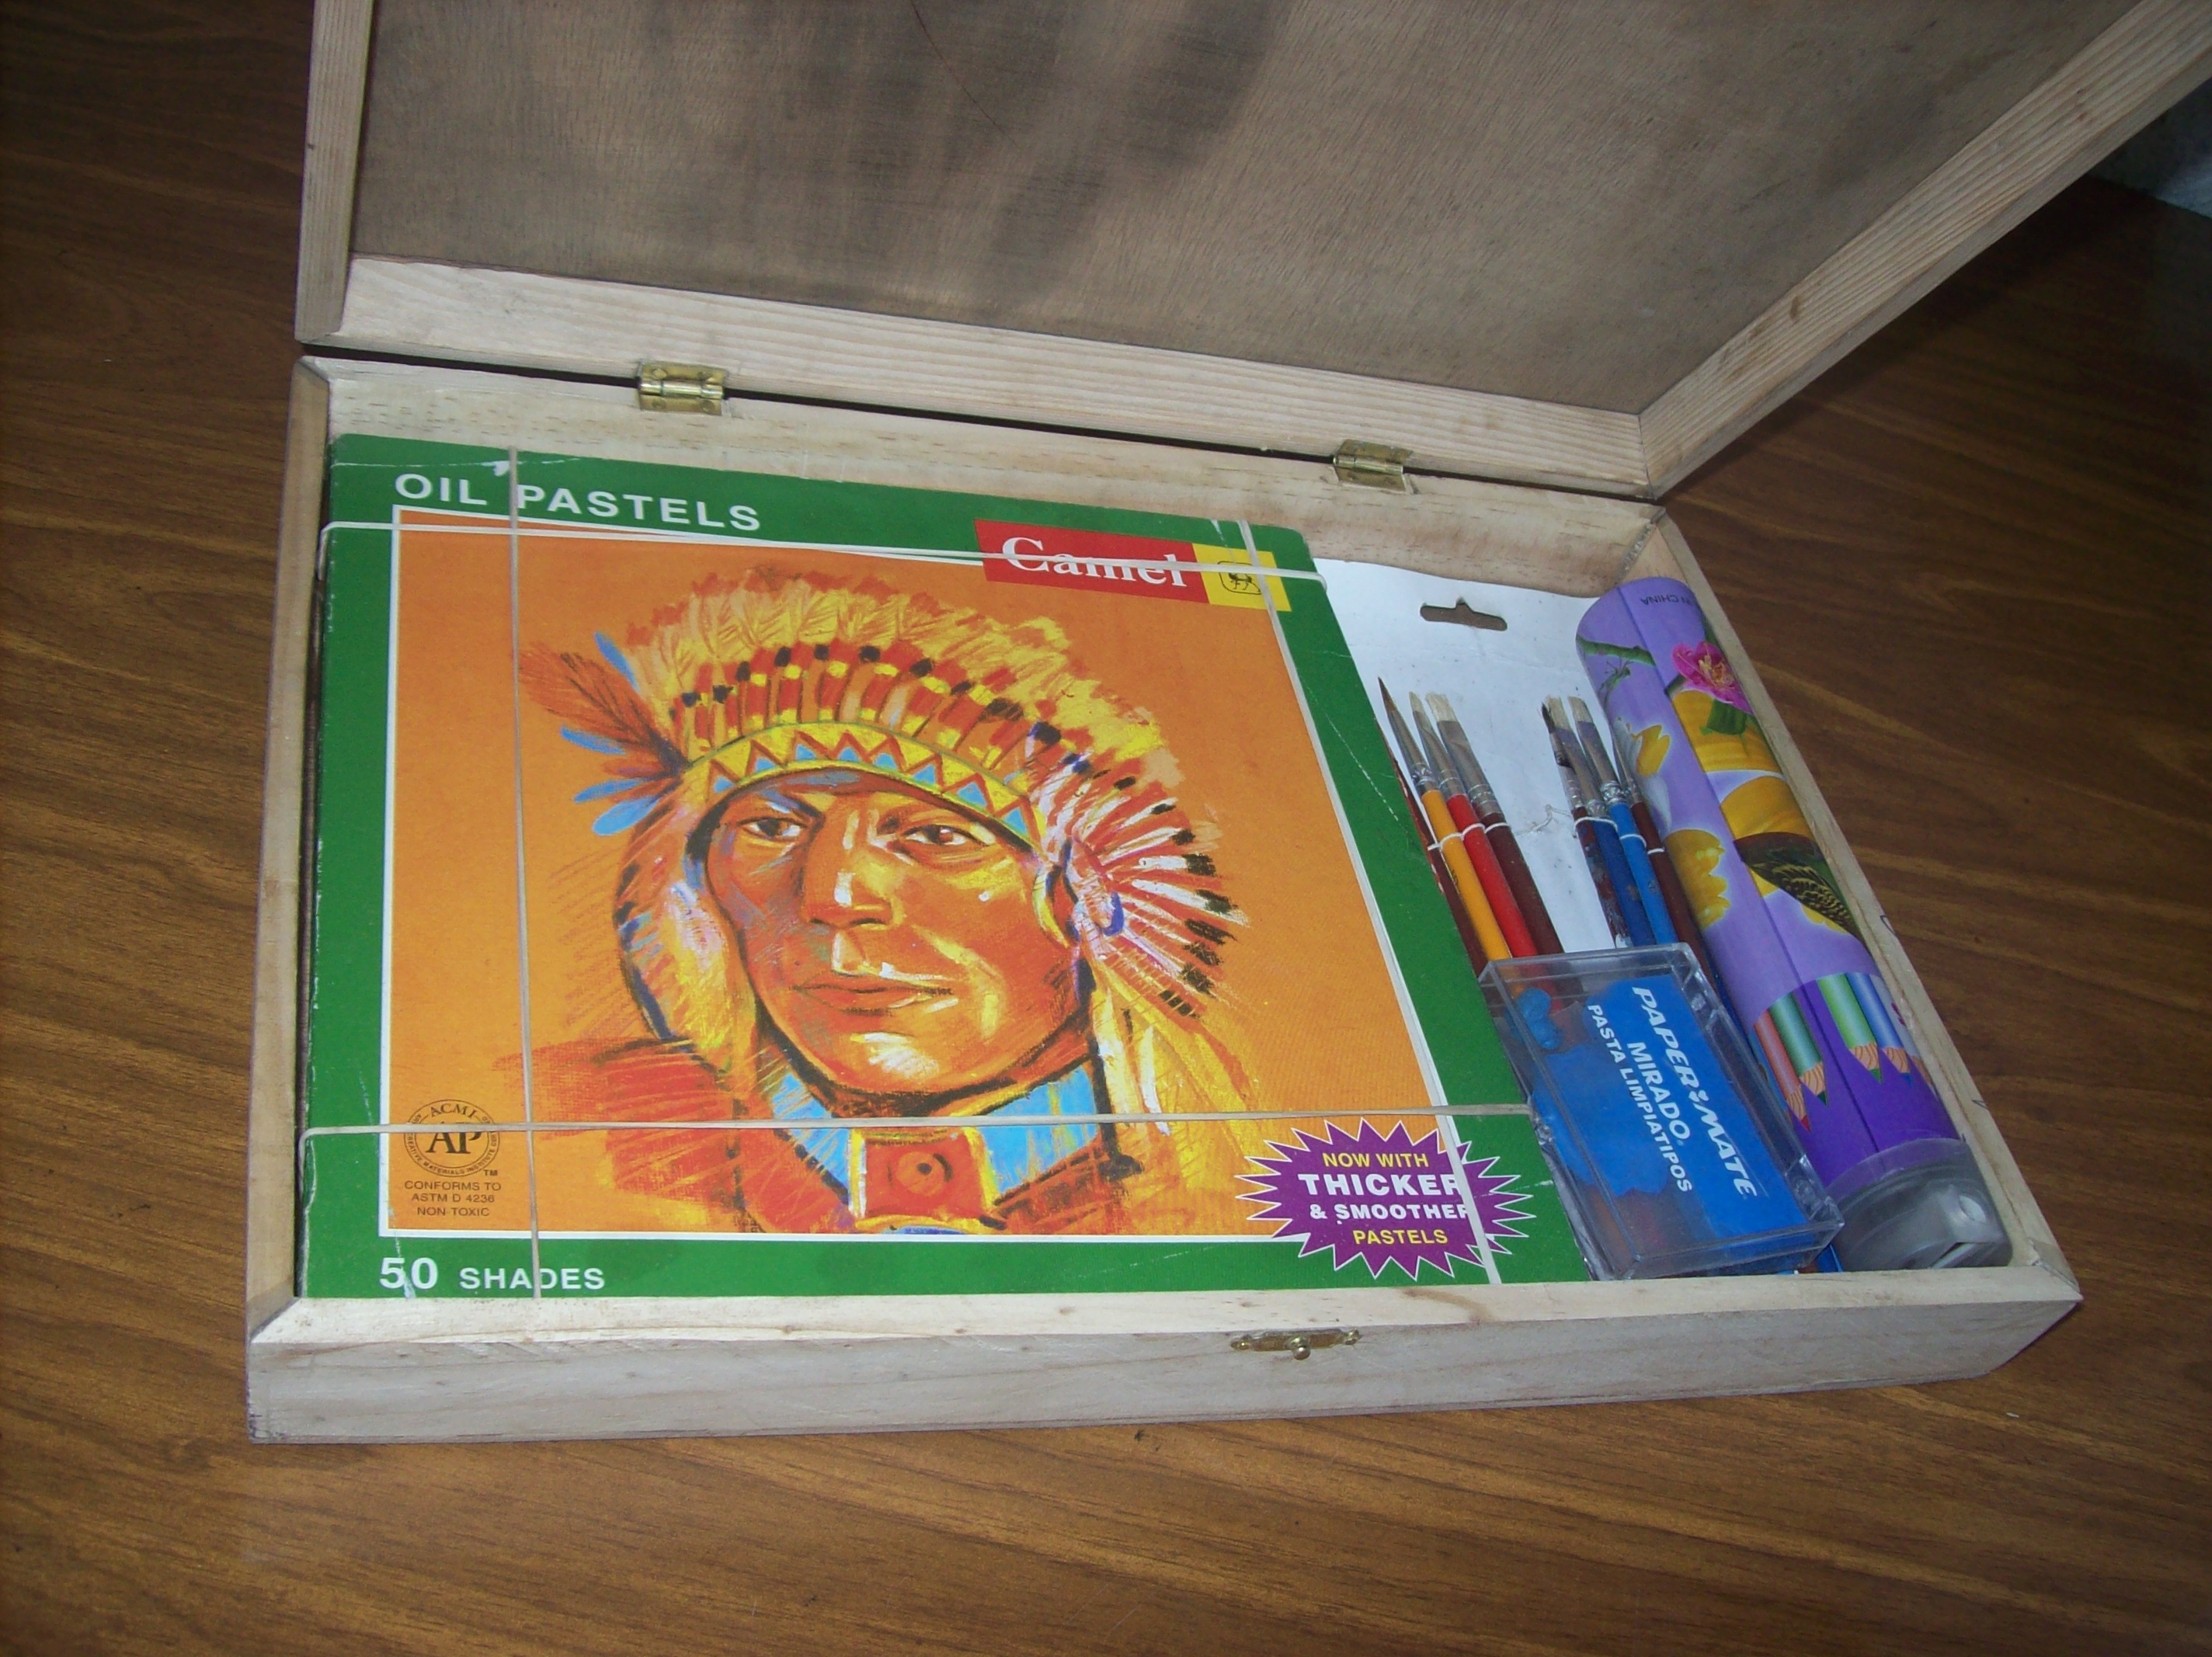
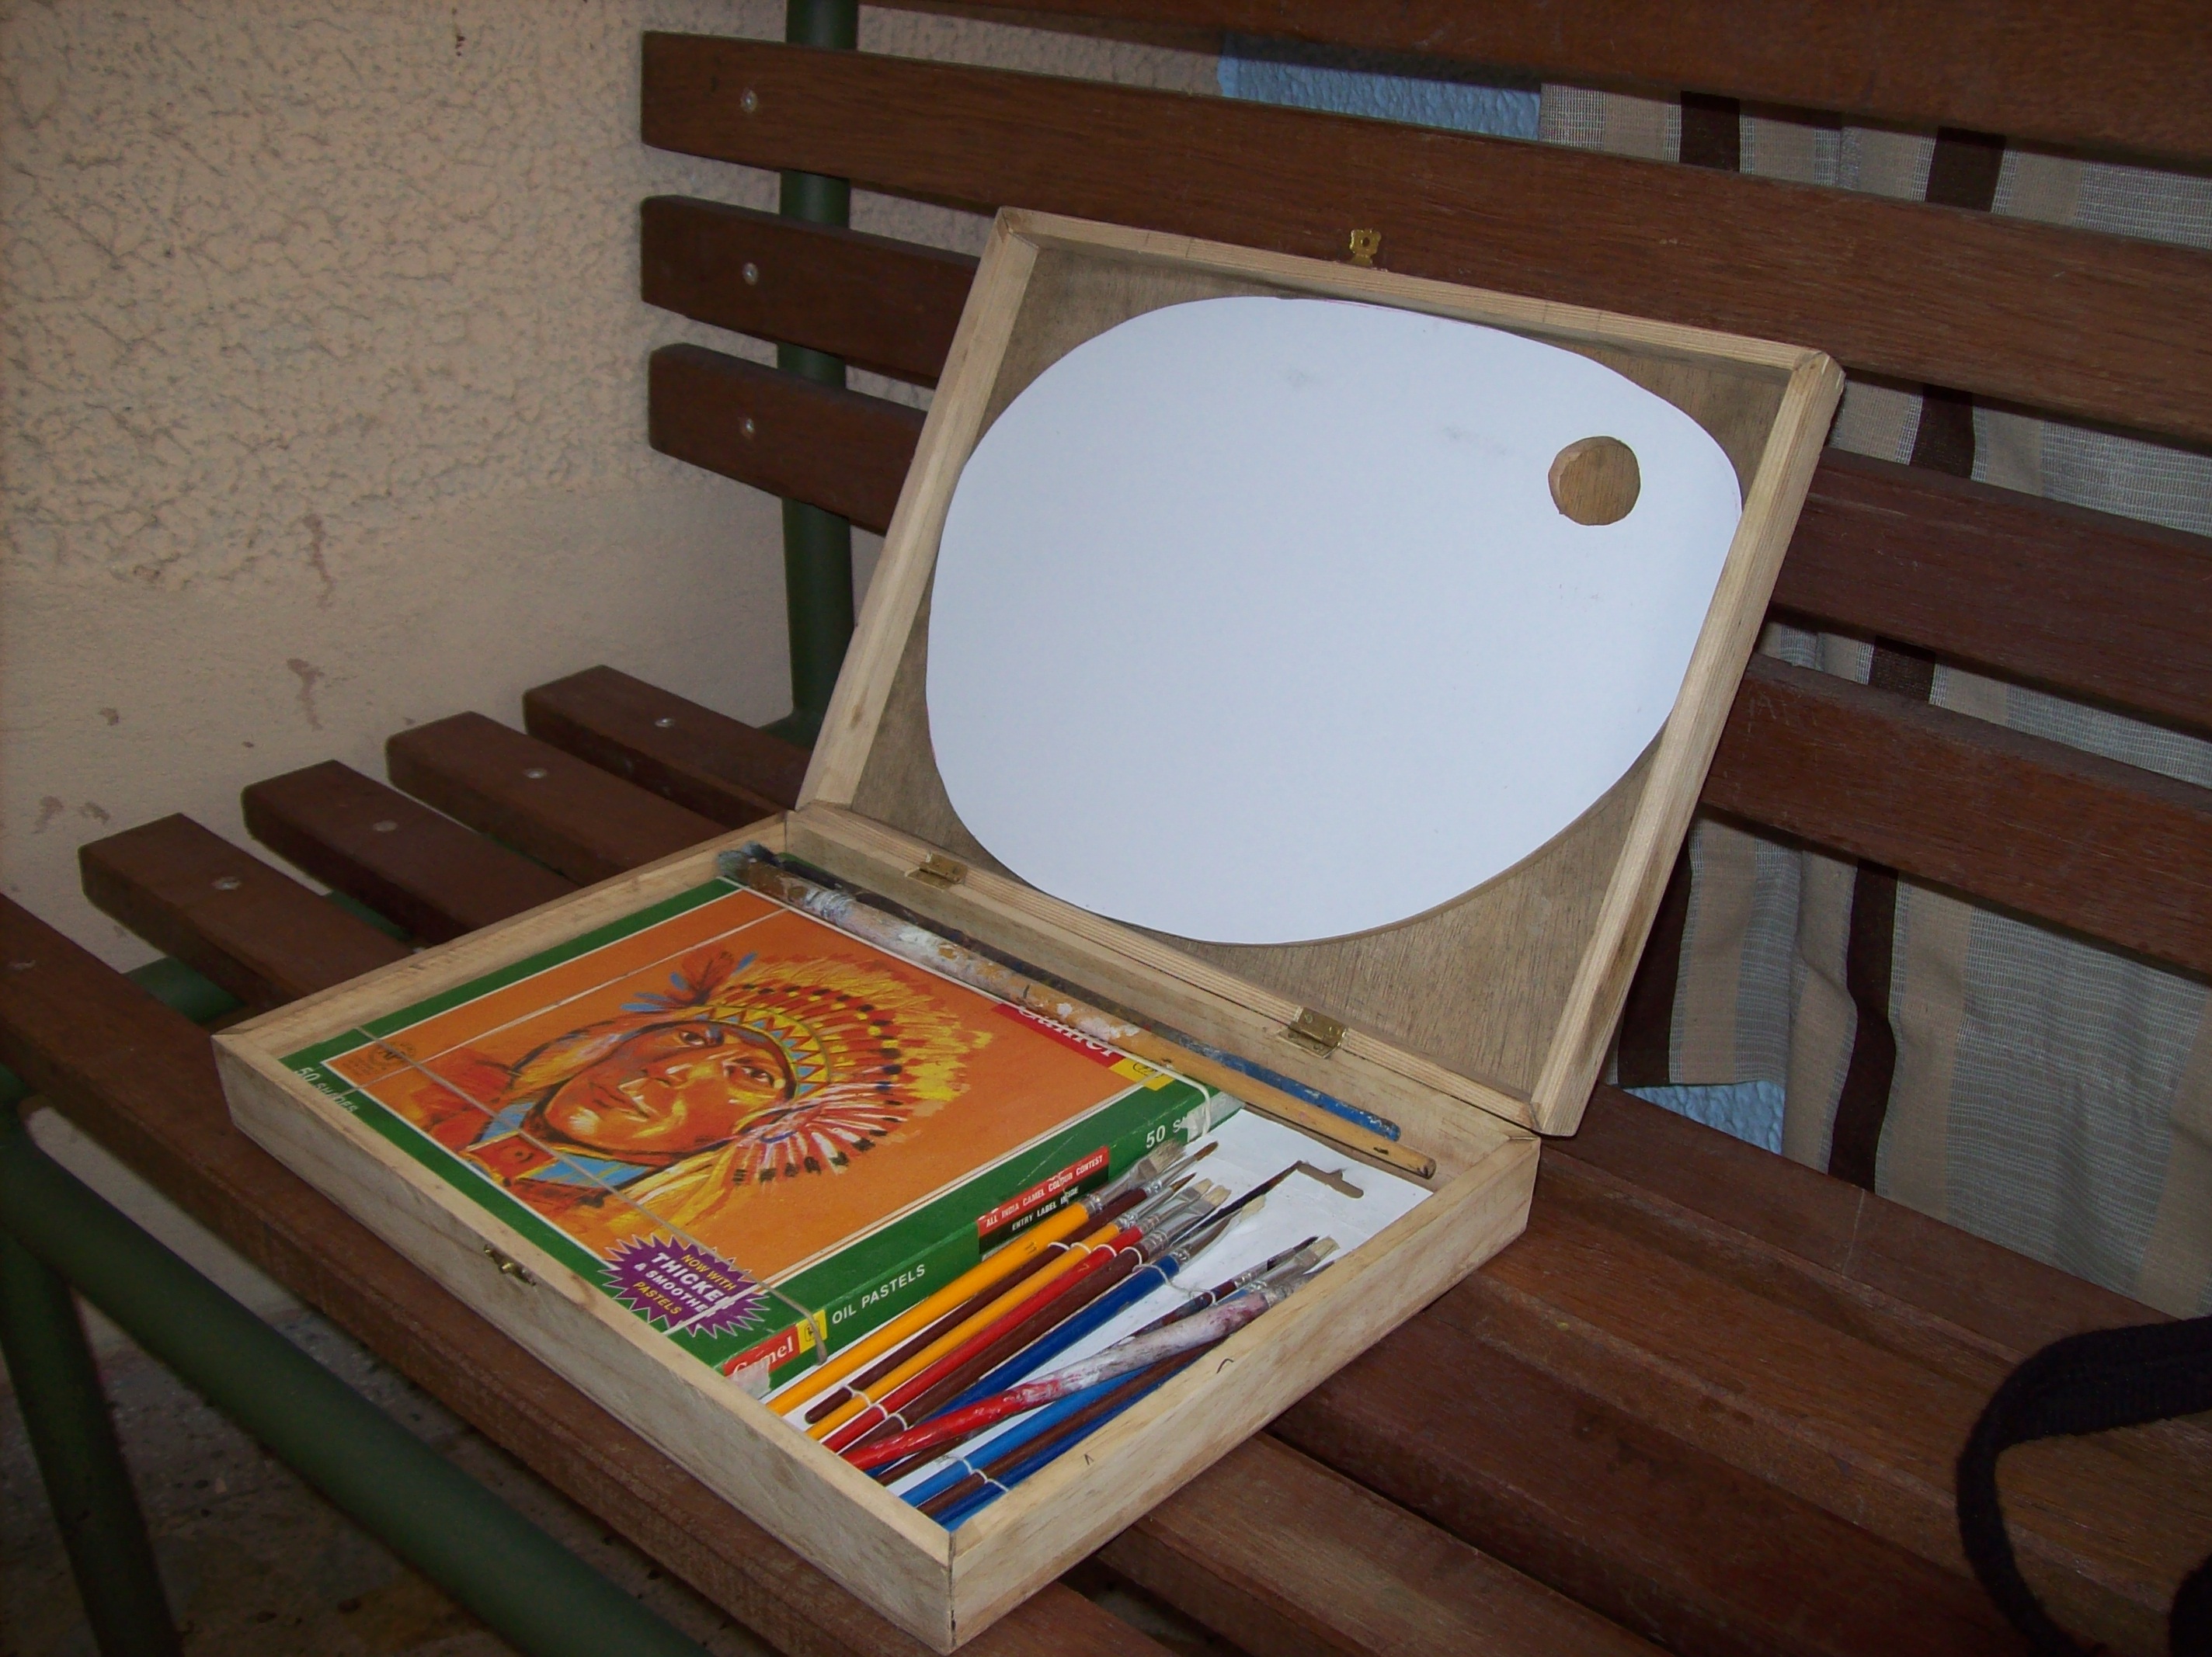
Its so usefull because the oil pastels are so fragile and the oleos too.
Frames.


Balsa wood it is so soft to work with cutter, just trace a line in the middle and carefully cut the both sides.
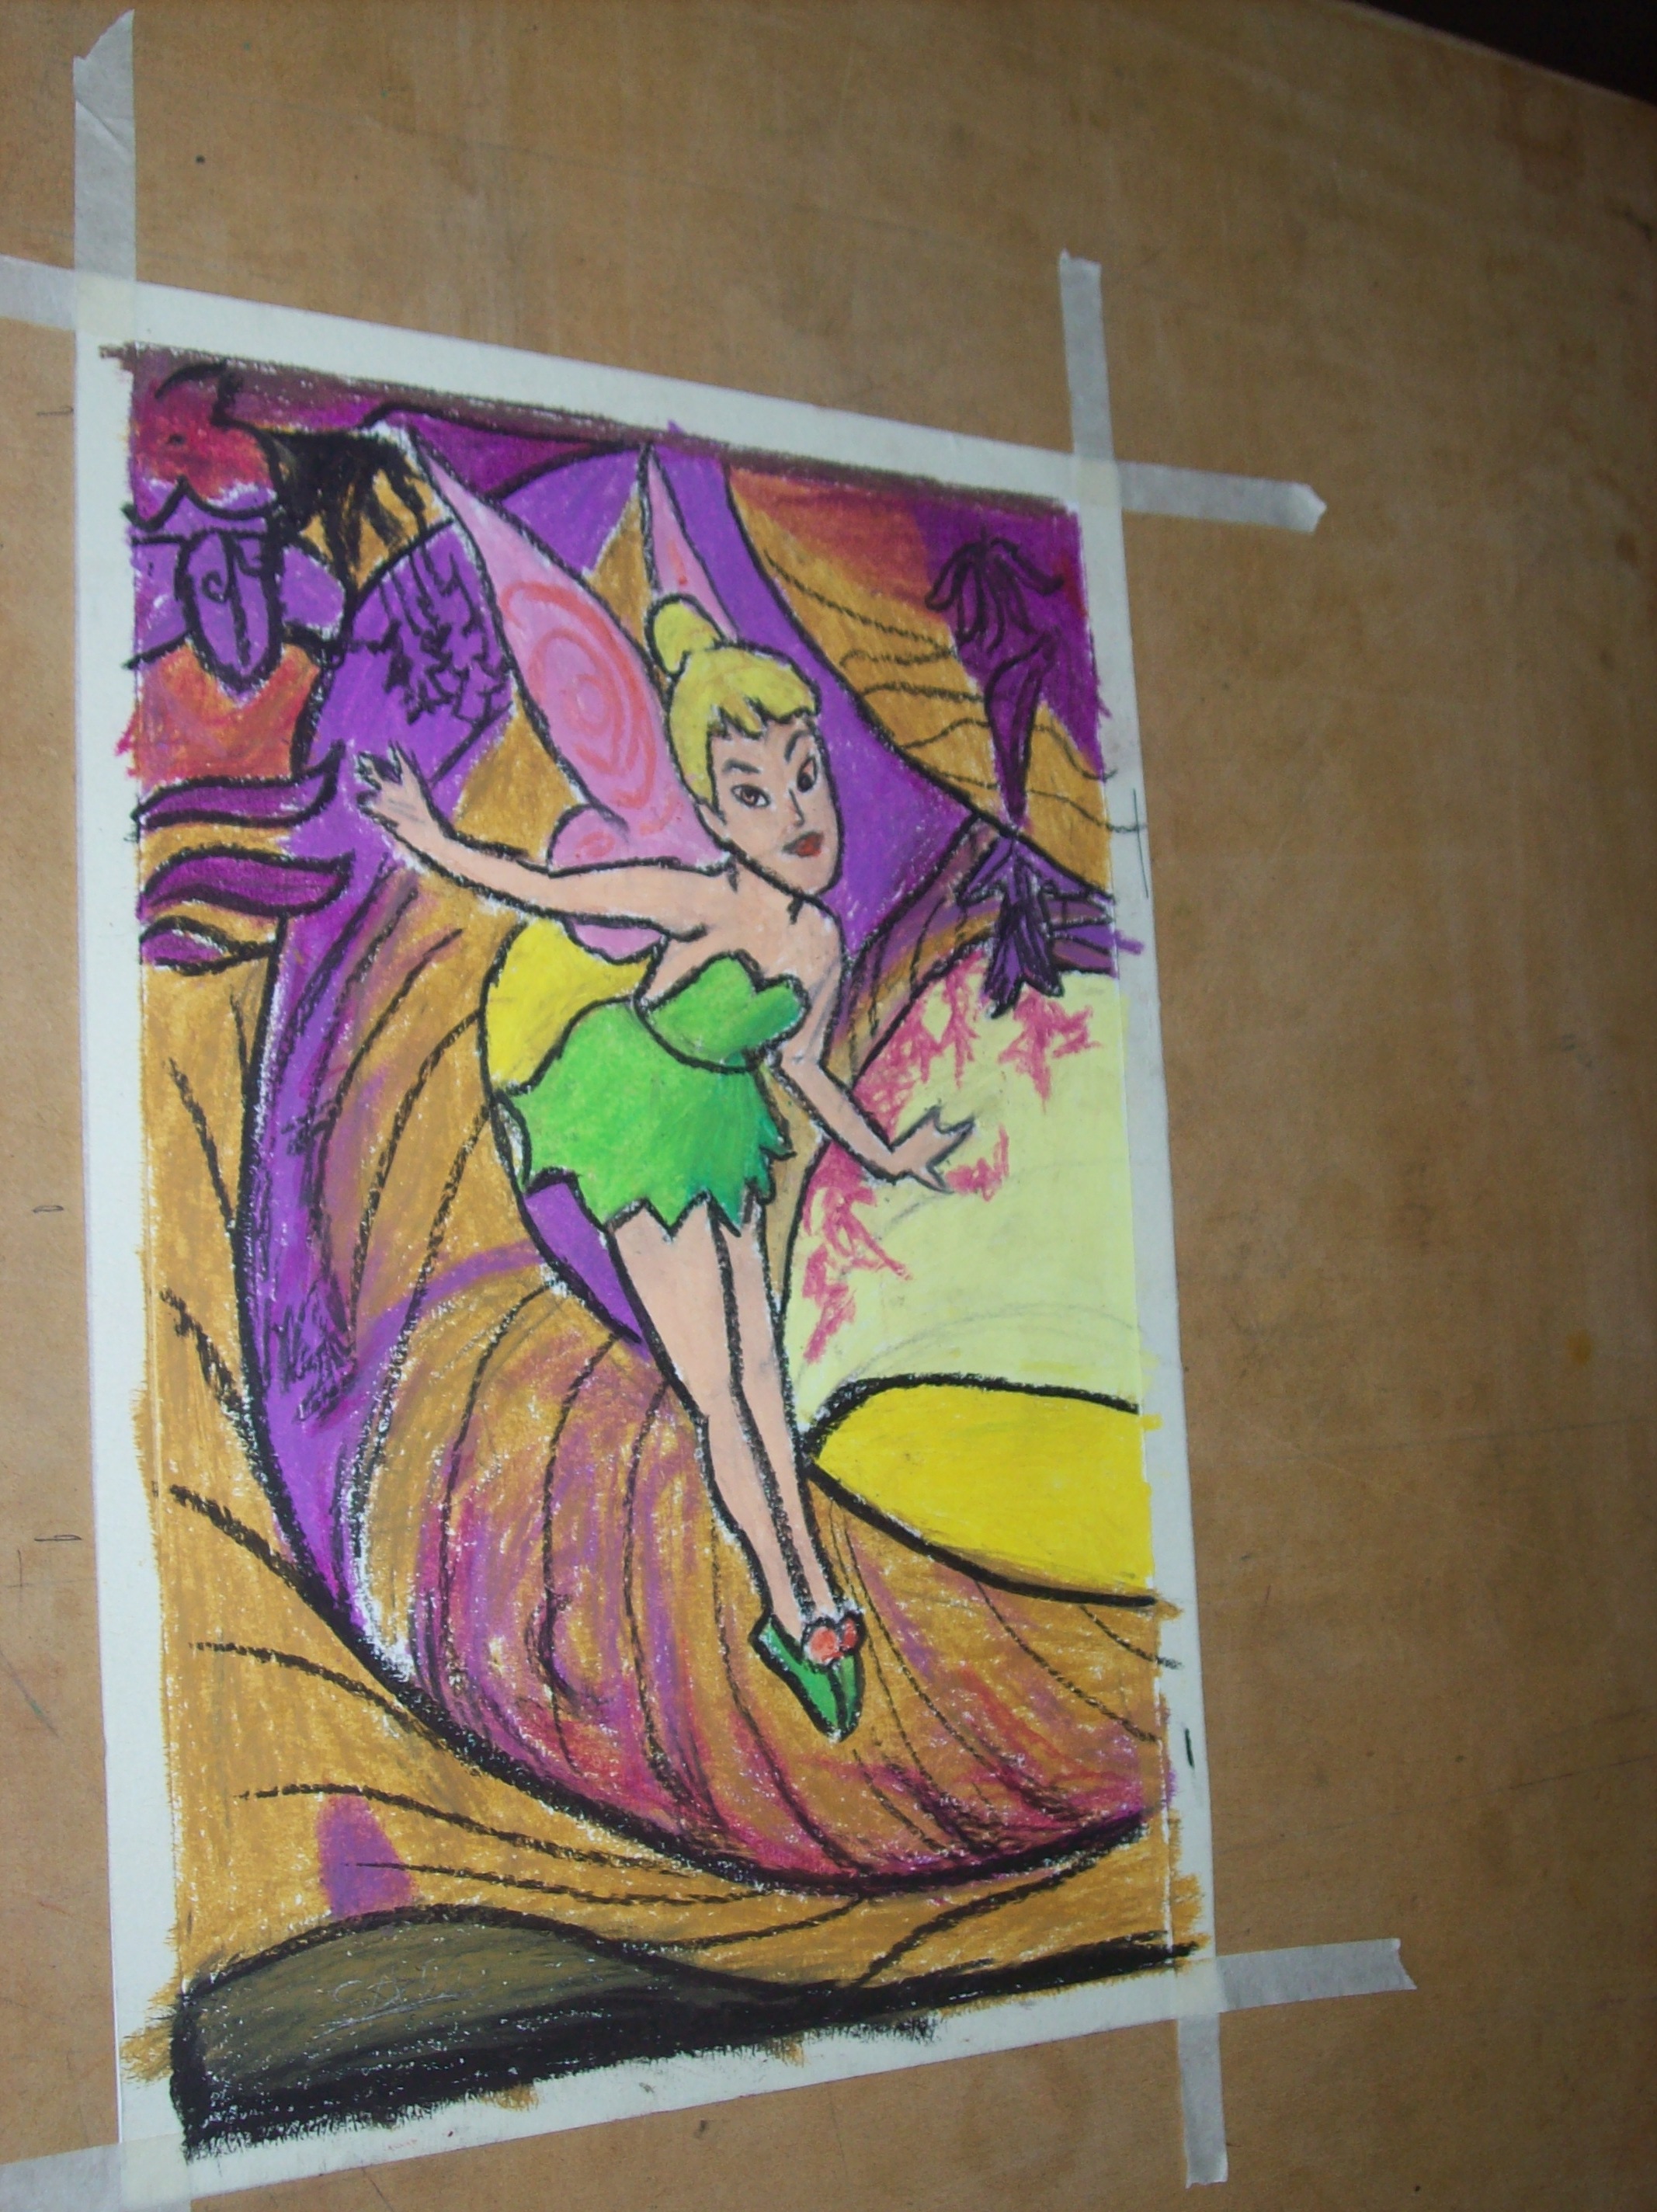
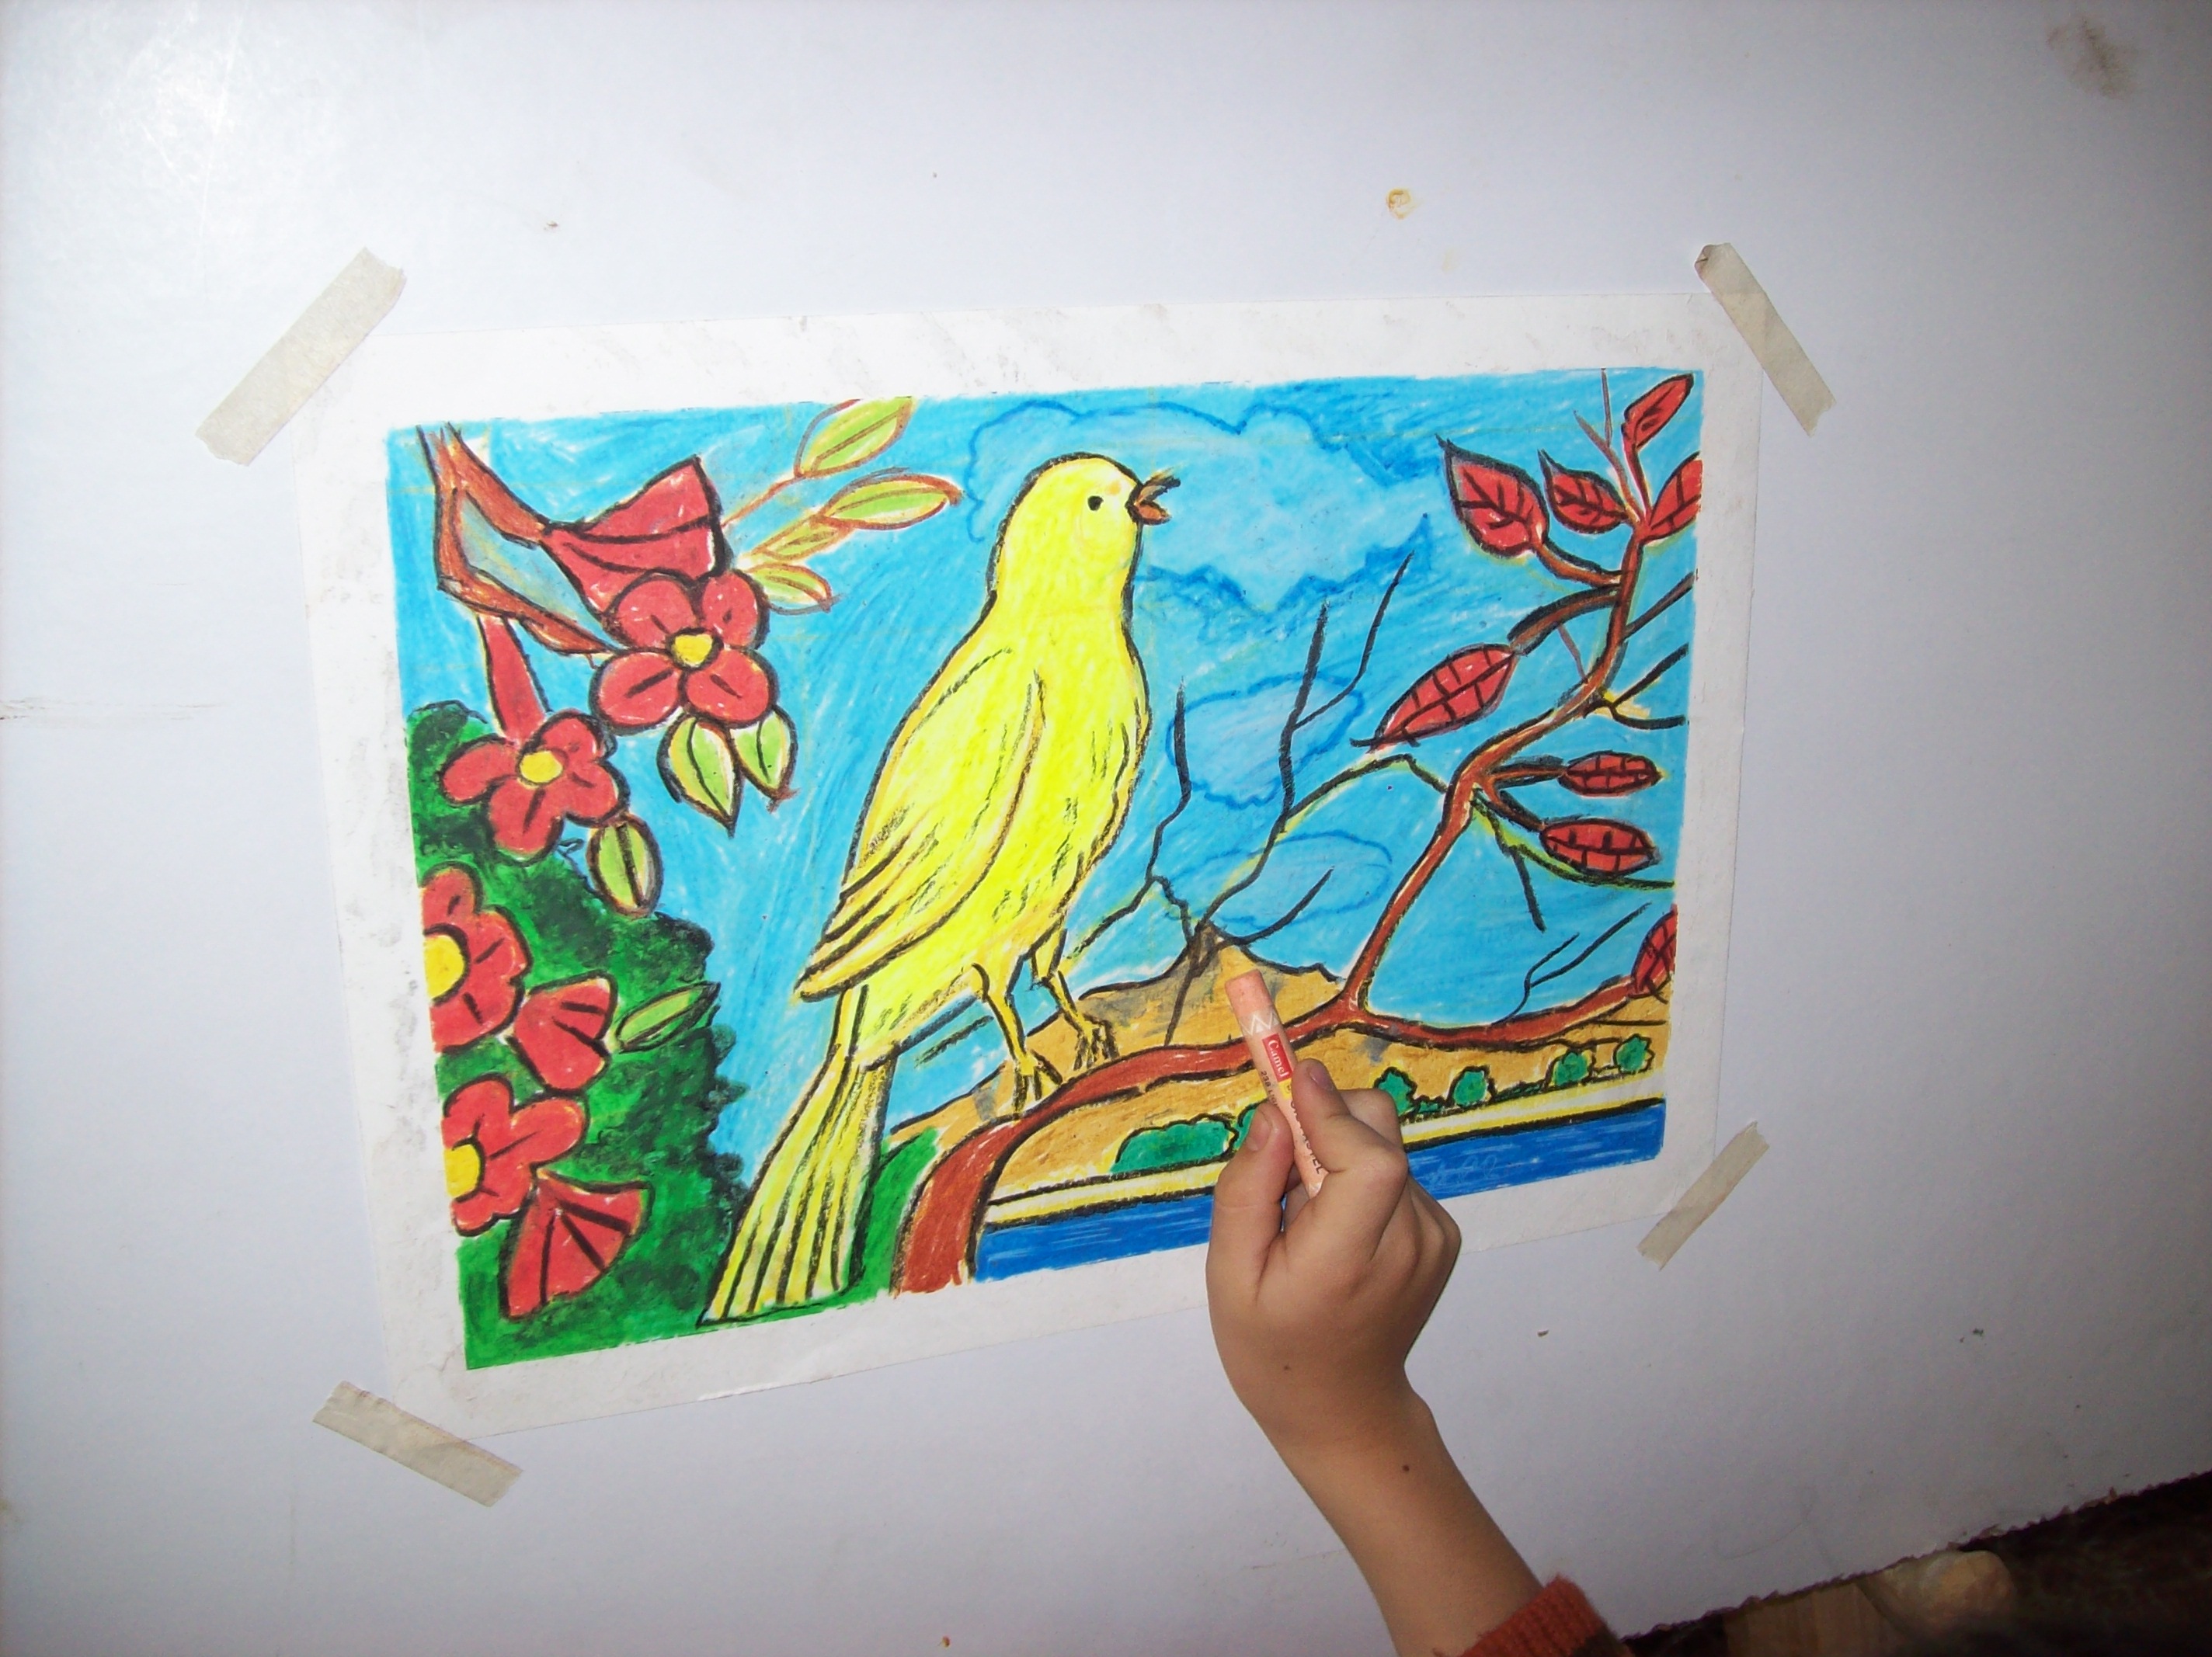
Once you have done the frames there are a lot of techniques to paint or just cover with paper.
Reinforce the corners with some mdf designs.
Once you have done the frames there are a lot of techniques to paint or just cover with paper.
Reinforce the corners with some mdf designs.
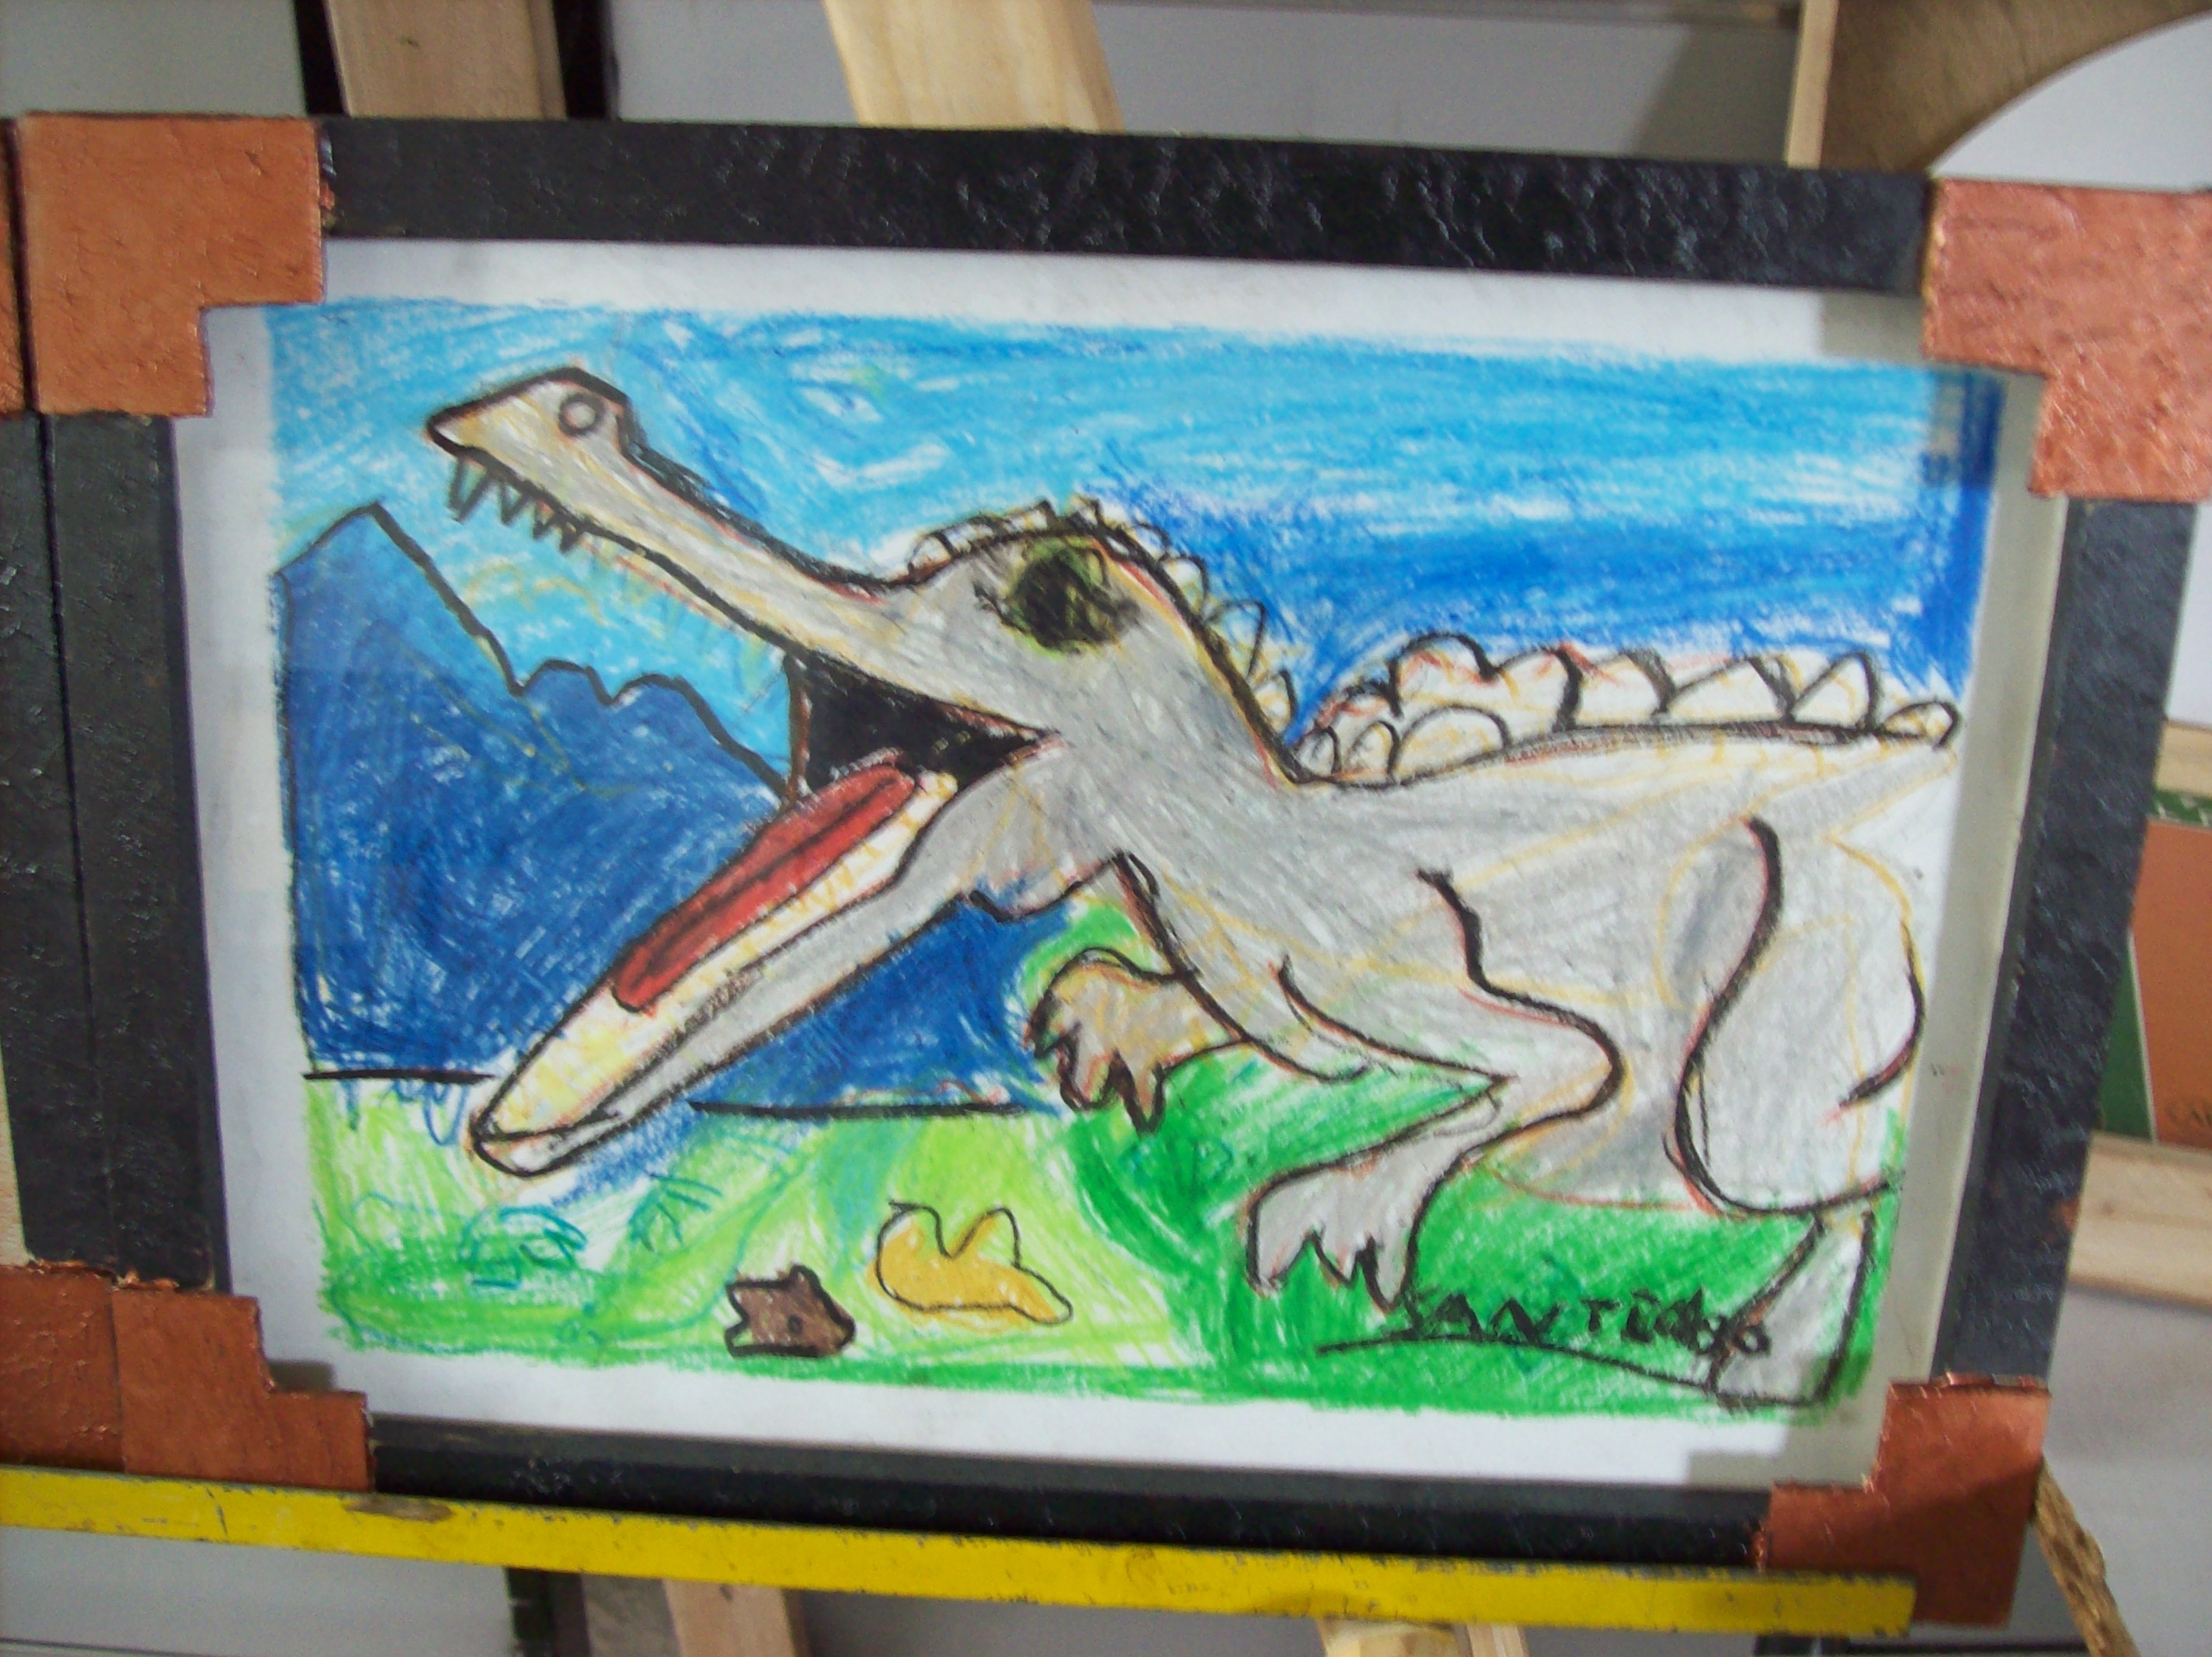
Have Fun


Hope you like it...yes a I know I wasnt so clear but I think with the pics is enough.
Try at home rated and vote.