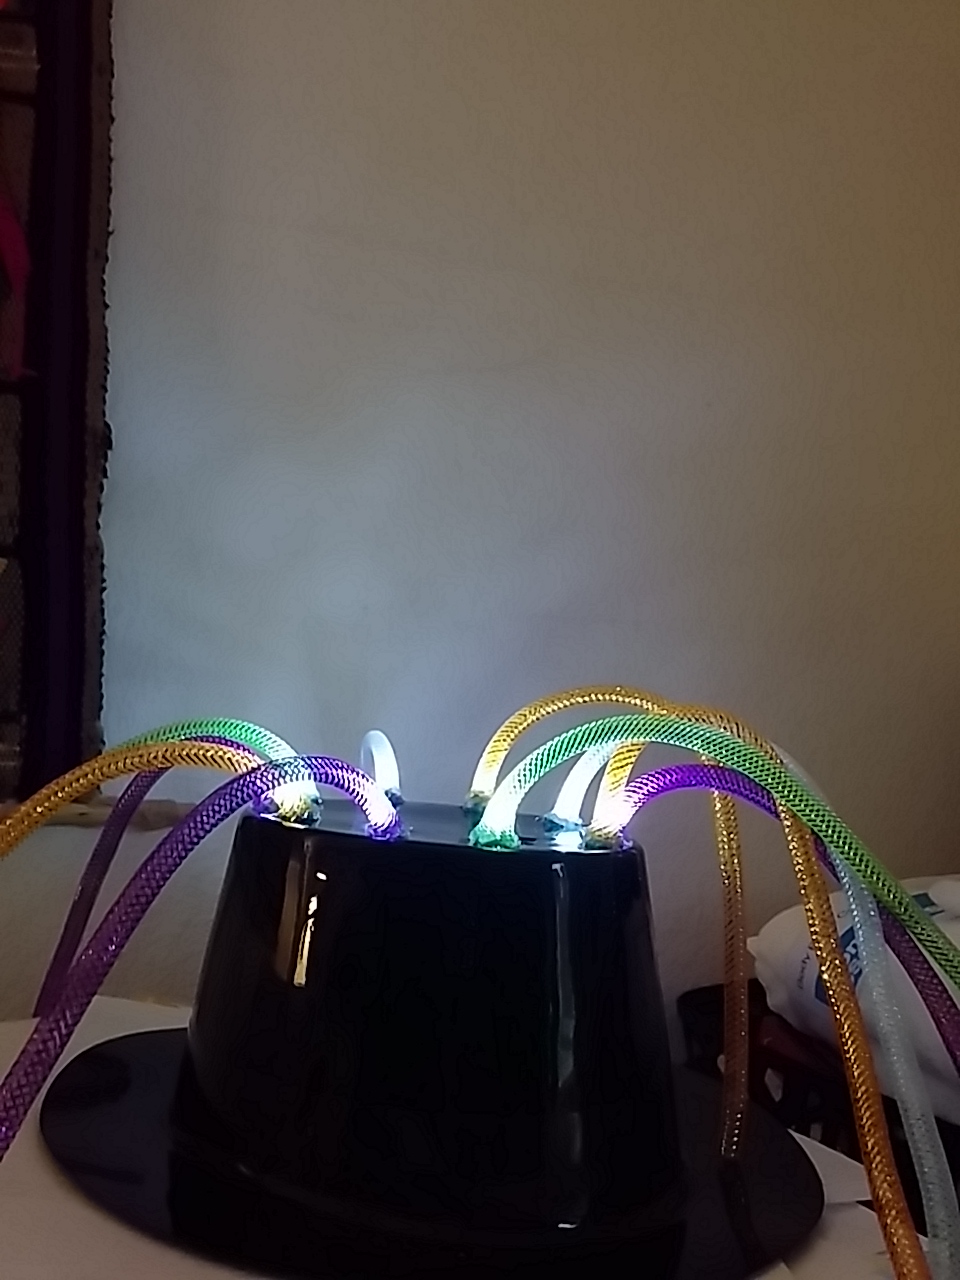
Lighted Party Hat.


Here is a fun project using a battery powered LED string, a dollar store plastic hat and mesh tubing from a crafts store.
I first made holes in the top of the hat for the led lights to poke up through into the mesh tubes, then glued the led lights into place from the top using a hot glue gun.
Making Holes in the Plastic Hat for LED Lights to Fit Up Through.


First, mark your hat with a white-out pen. Whenever you need to draw onto a dark surface, white-out pens come in very handy. Next, I heated up an old screwdriver with a torch and poked holes into the plastic hat. I used very little heat because the hat material was thin plastic.
I worked on a brick patio and heavy wood table to make sure I didn't burn down the back yard. You could cut or drill the holes, but I like the clean hole a hot circular screwdriver makes.
Installing the LED Lighting Assembly.


Naturally, the LED lights I bought had the battery cover on one side, and the on/off switch on the other. First, I glued in the 10 LED lights with enough material sticking up through the top of the hat to glue the mesh tubing onto.
I cut a small hole in the top of the hat for the on/off switch with an X-acto knife, then glued the battery box up inside the hat.
This hat was only a dollar, but it's pretty tall so there was plenty of room for the box and wiring to fit. I used a lot of glue to hold the battery box into place, and I glued some of the wiring up inside so it won't mess with your hair when wearing the hat (if you so dare !)
Finishing Touches...


Here, you can see the LED's in place and me cutting the hole for the on/off switch. I tried to angle the LED lights slightly outwards so they would light up as much of the mesh tubing as possible.
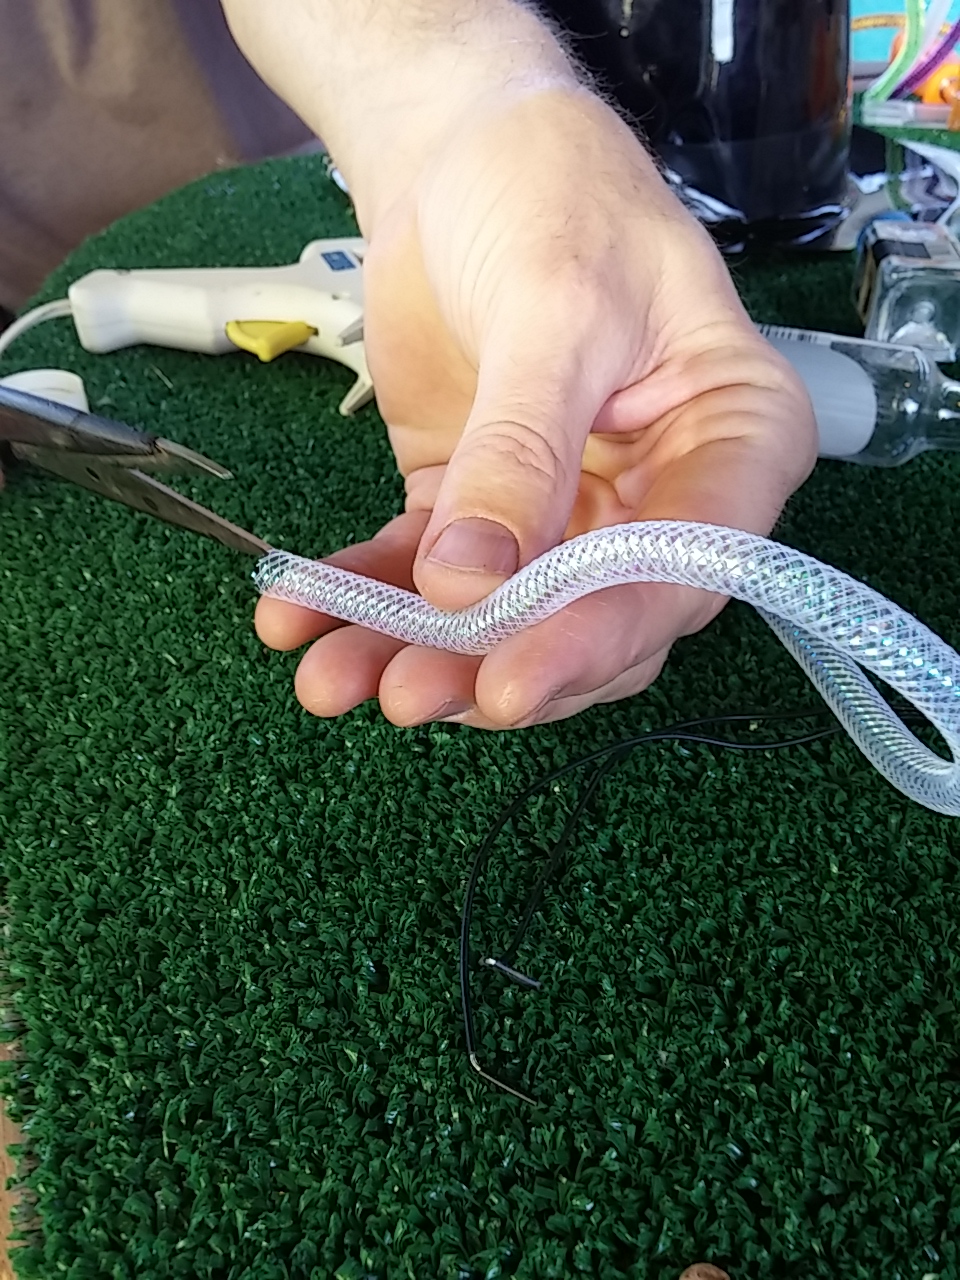
The LED's were slightly bigger than the mesh tubing, so I cut about 1/2" into the mesh tubing to help it fit over the top of each LED. Then I glued the mesh onto the LED with the hot glue gun.
The Final Product...

Now, I am ready to go to the costume party !
Well, this may be a better hat for the kids. I am thinking about adding more detail to this hat like a colored band above the rim or something. I spent about $16 to make this hat. Enjoy !