Lighted LED Holocron (Star Wars): Made in Fusion 360
by Quantum Admirer in Circuits > LEDs
33394 Views, 31 Favorites, 0 Comments
Lighted LED Holocron (Star Wars): Made in Fusion 360
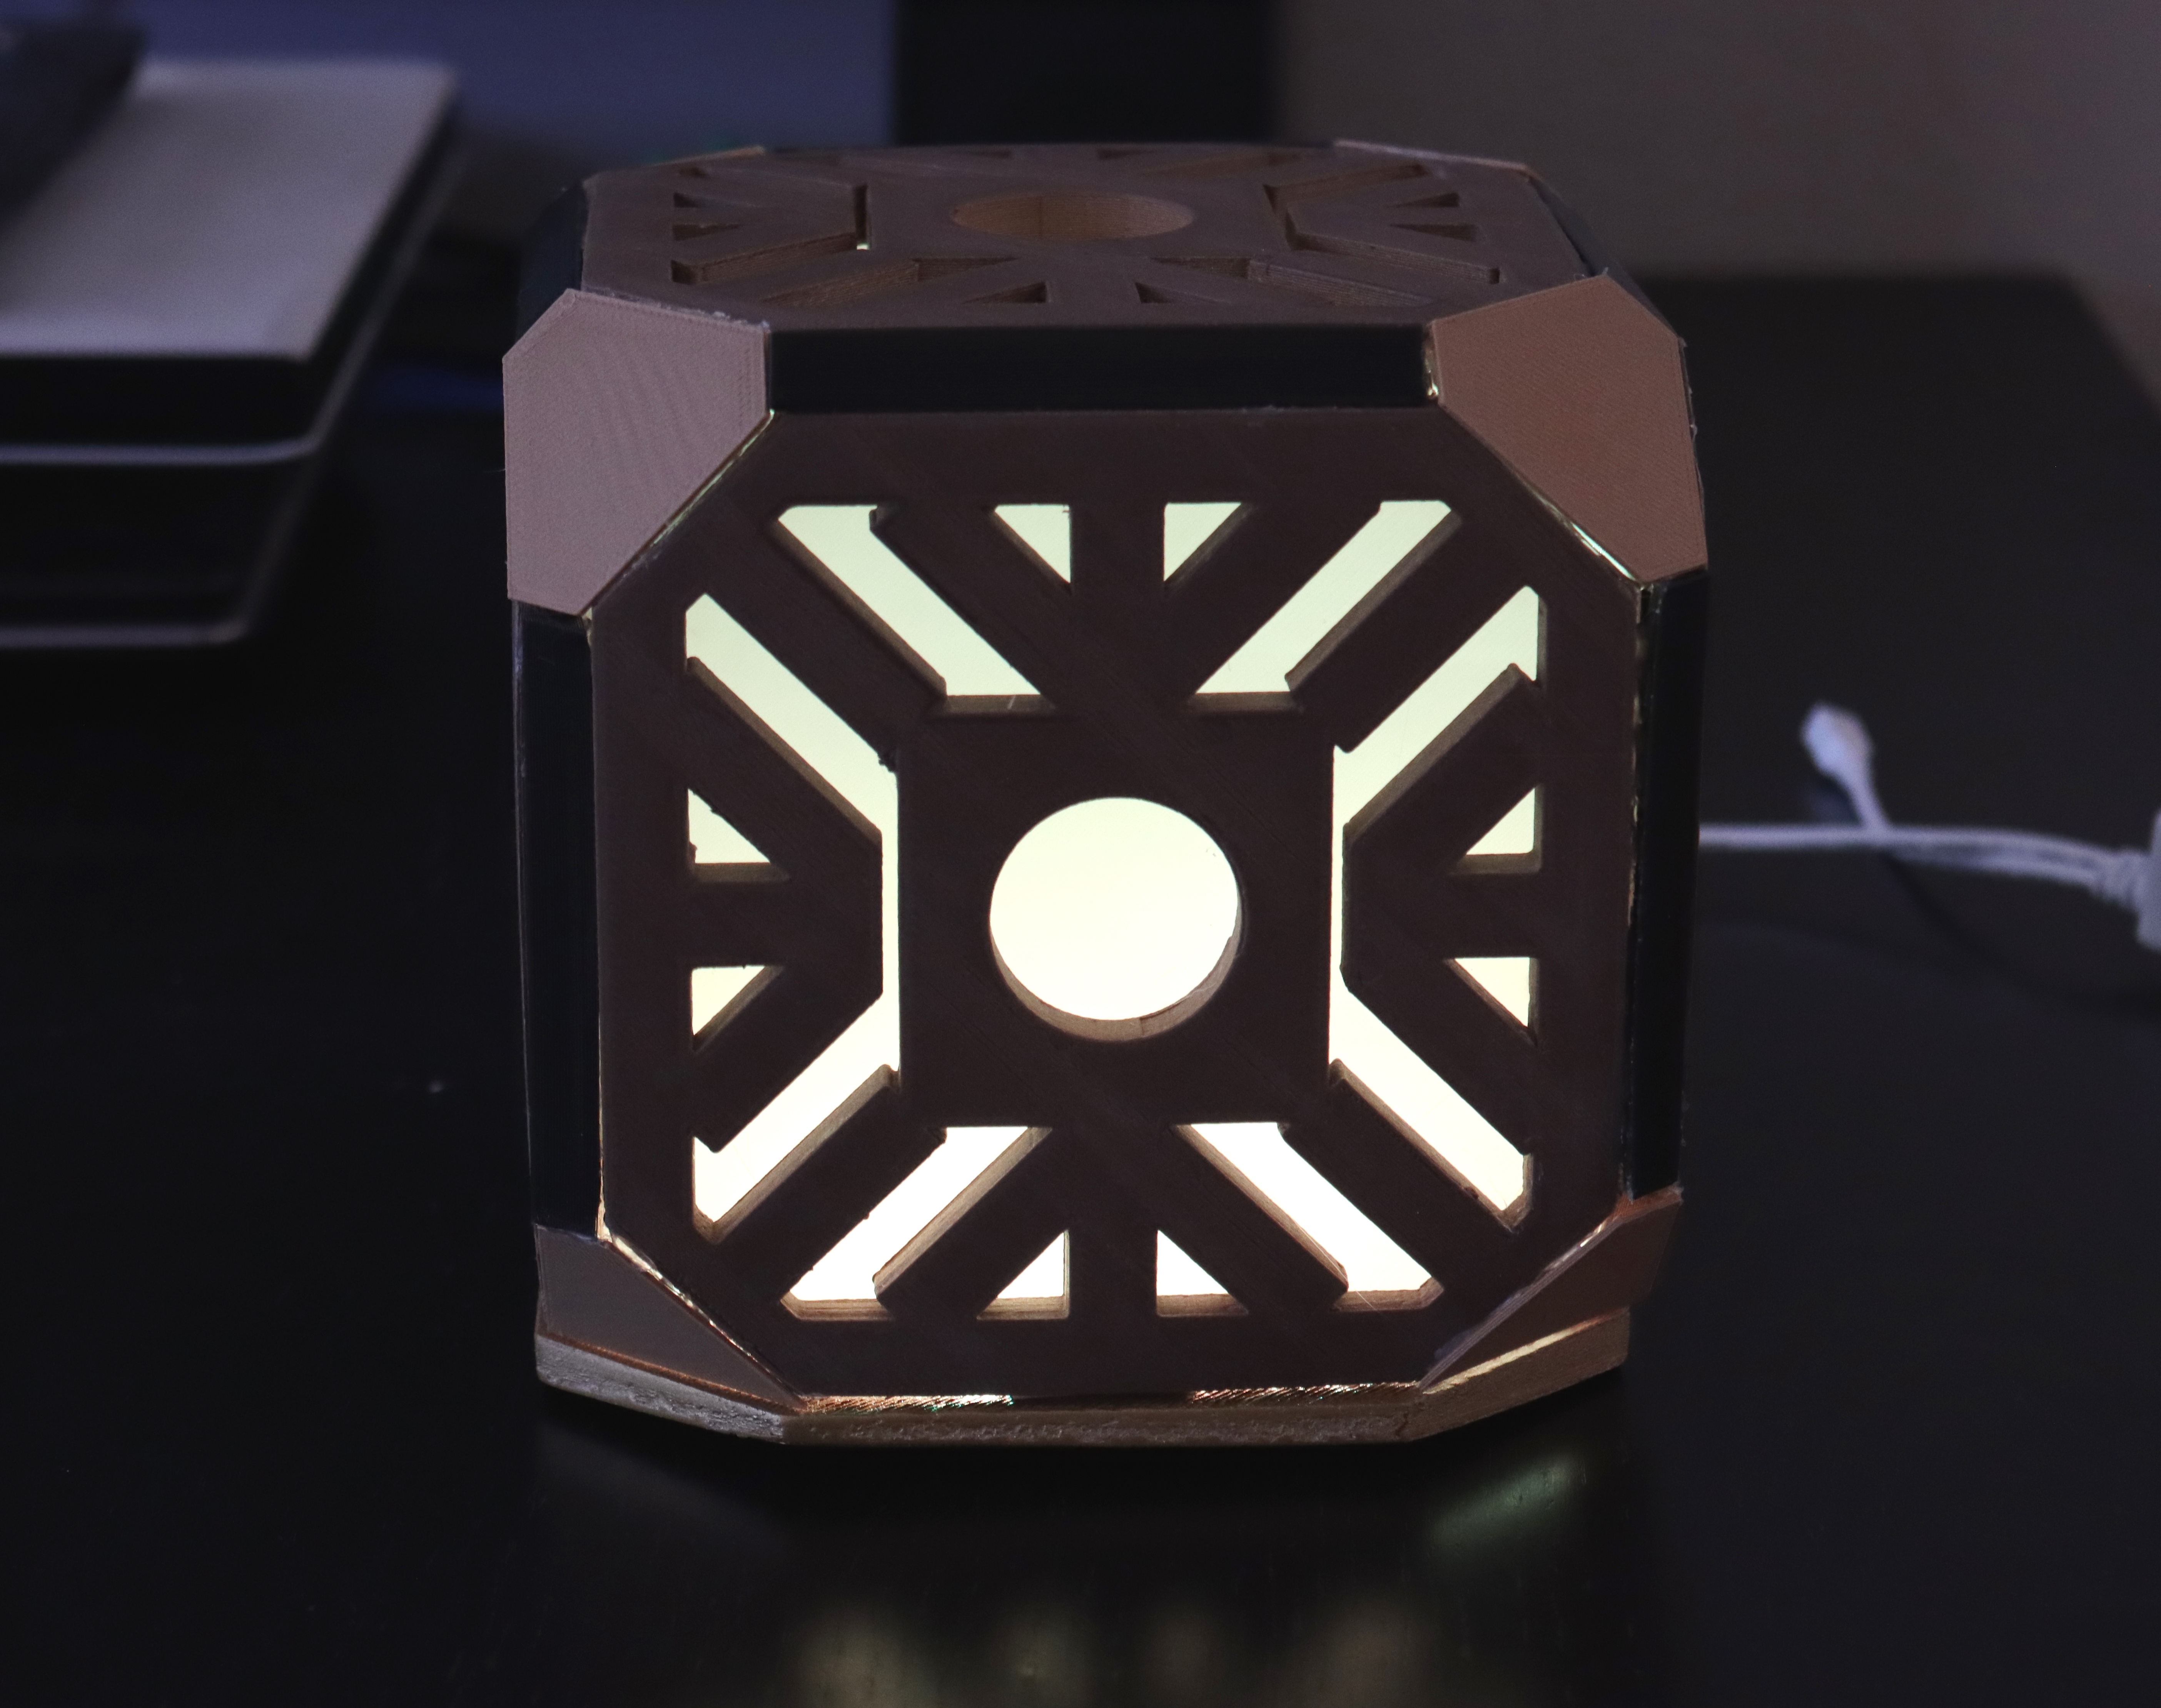
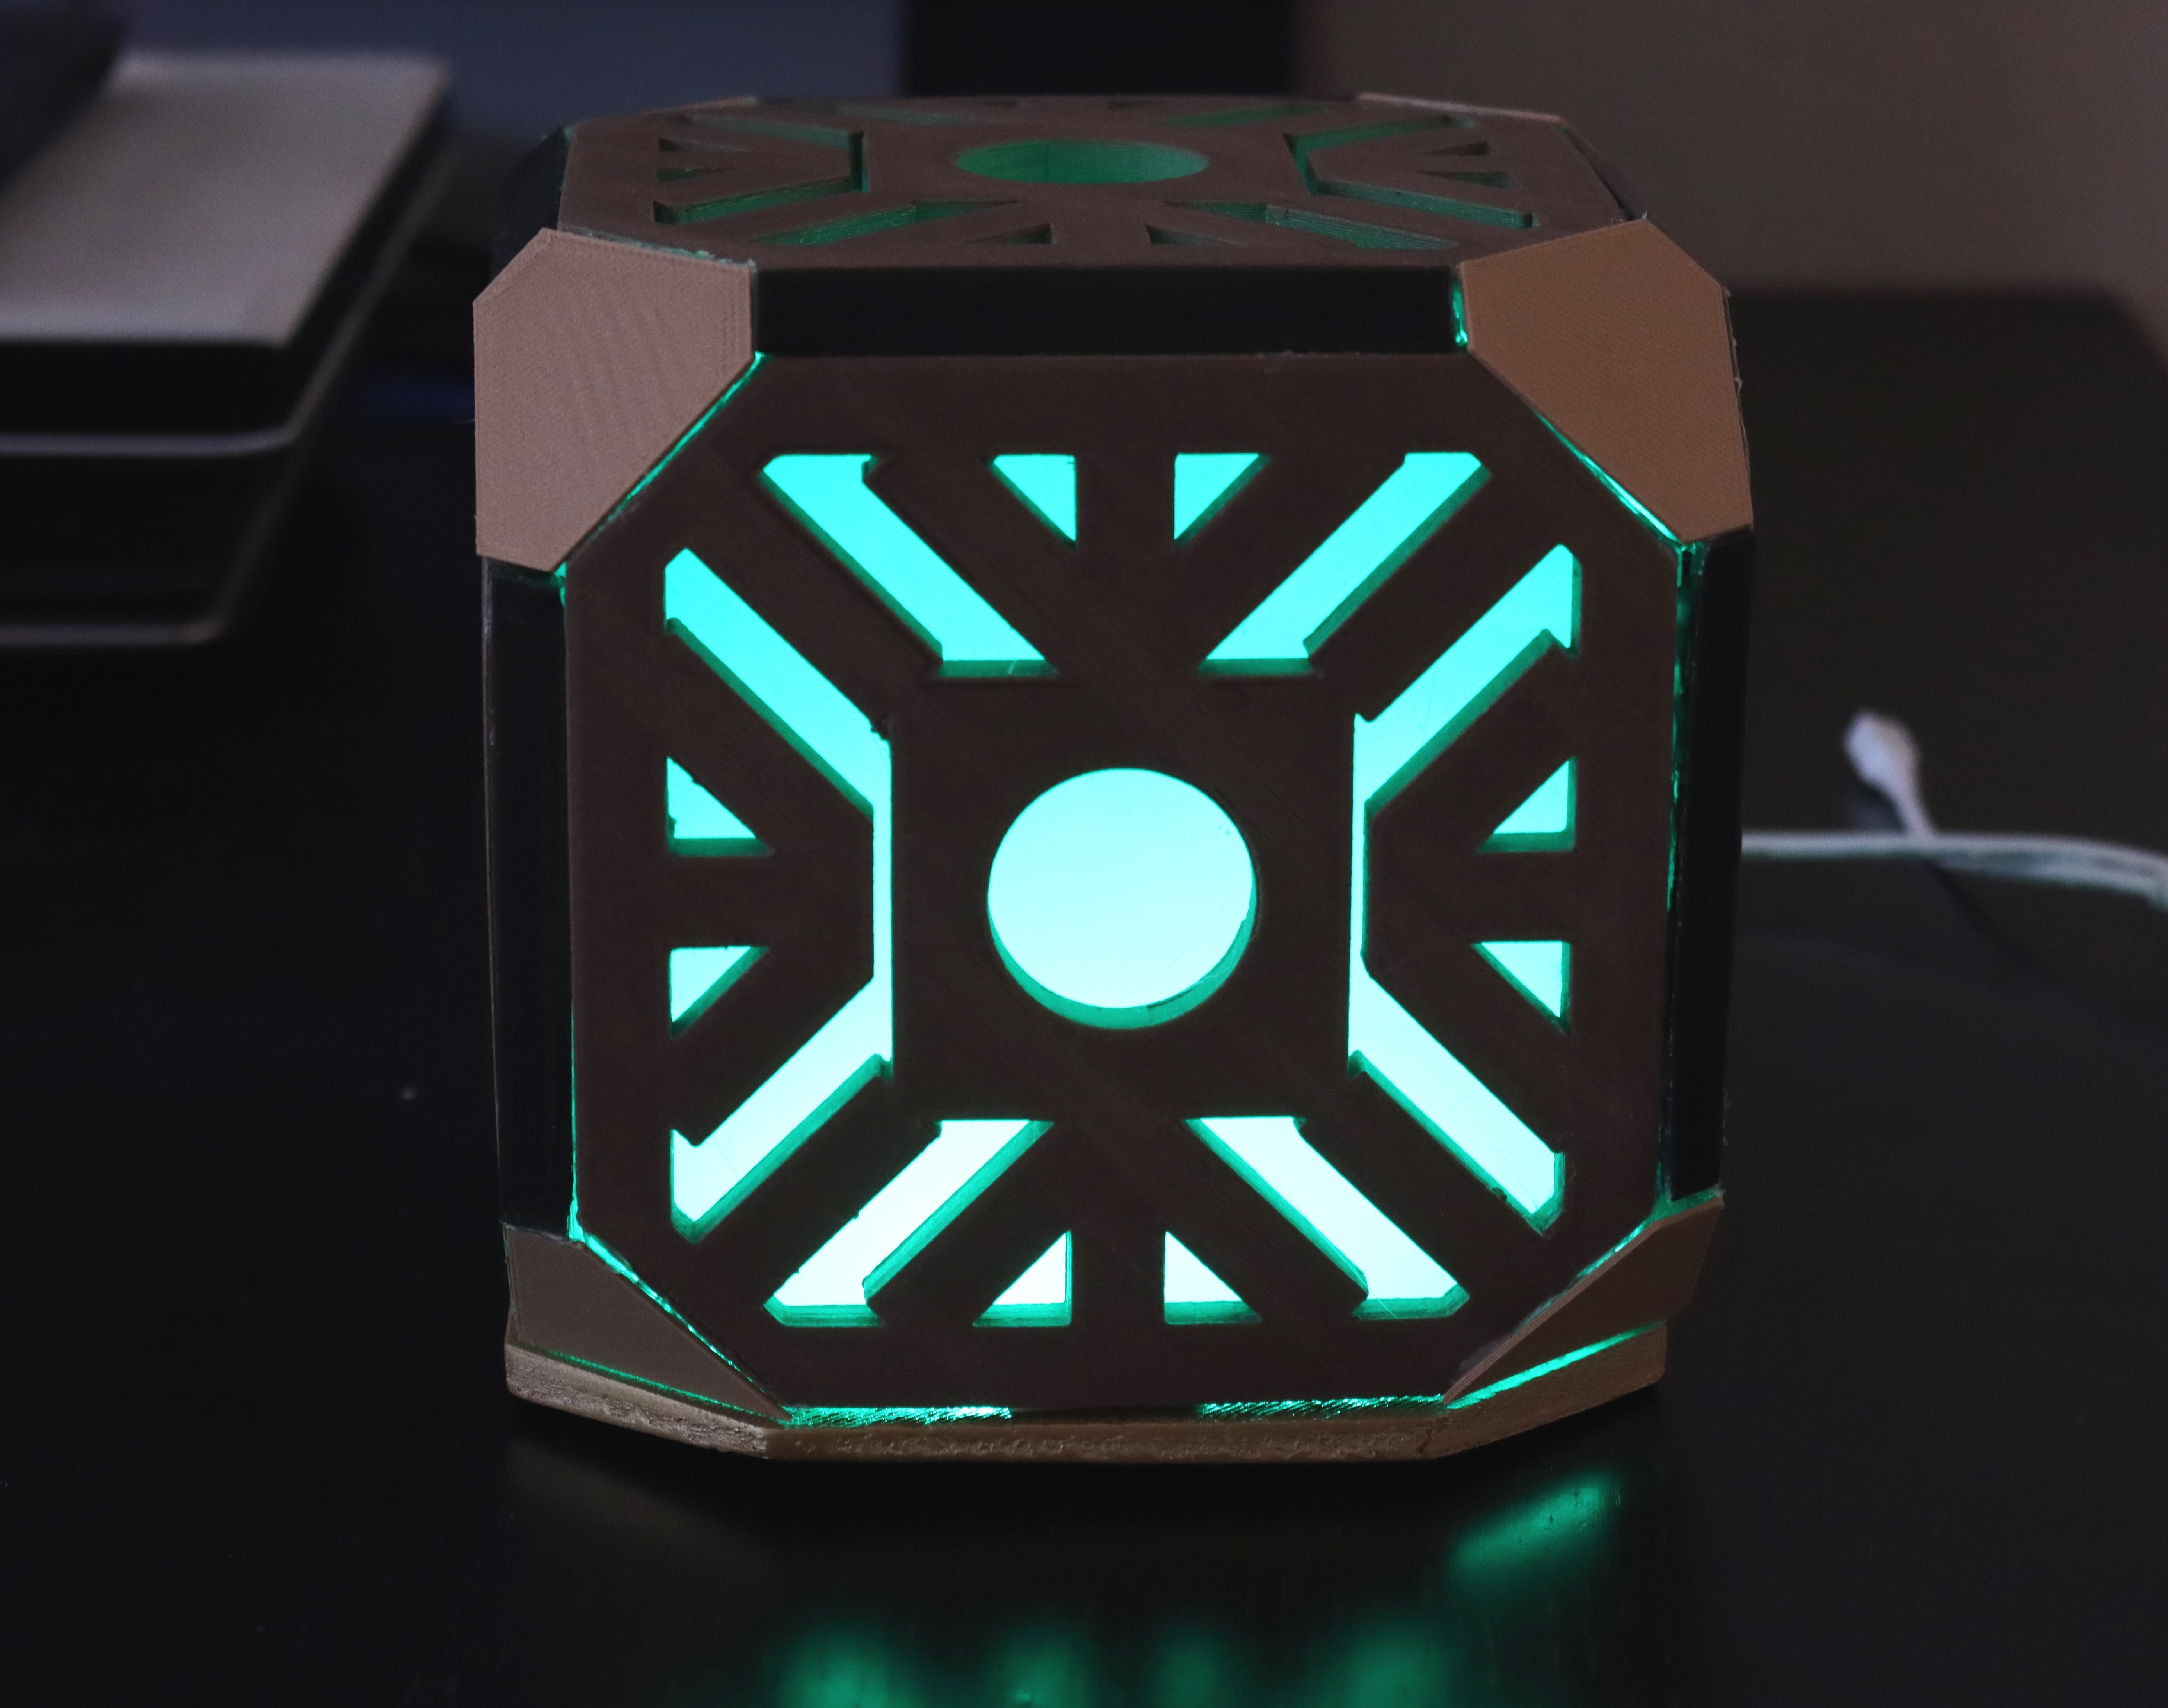
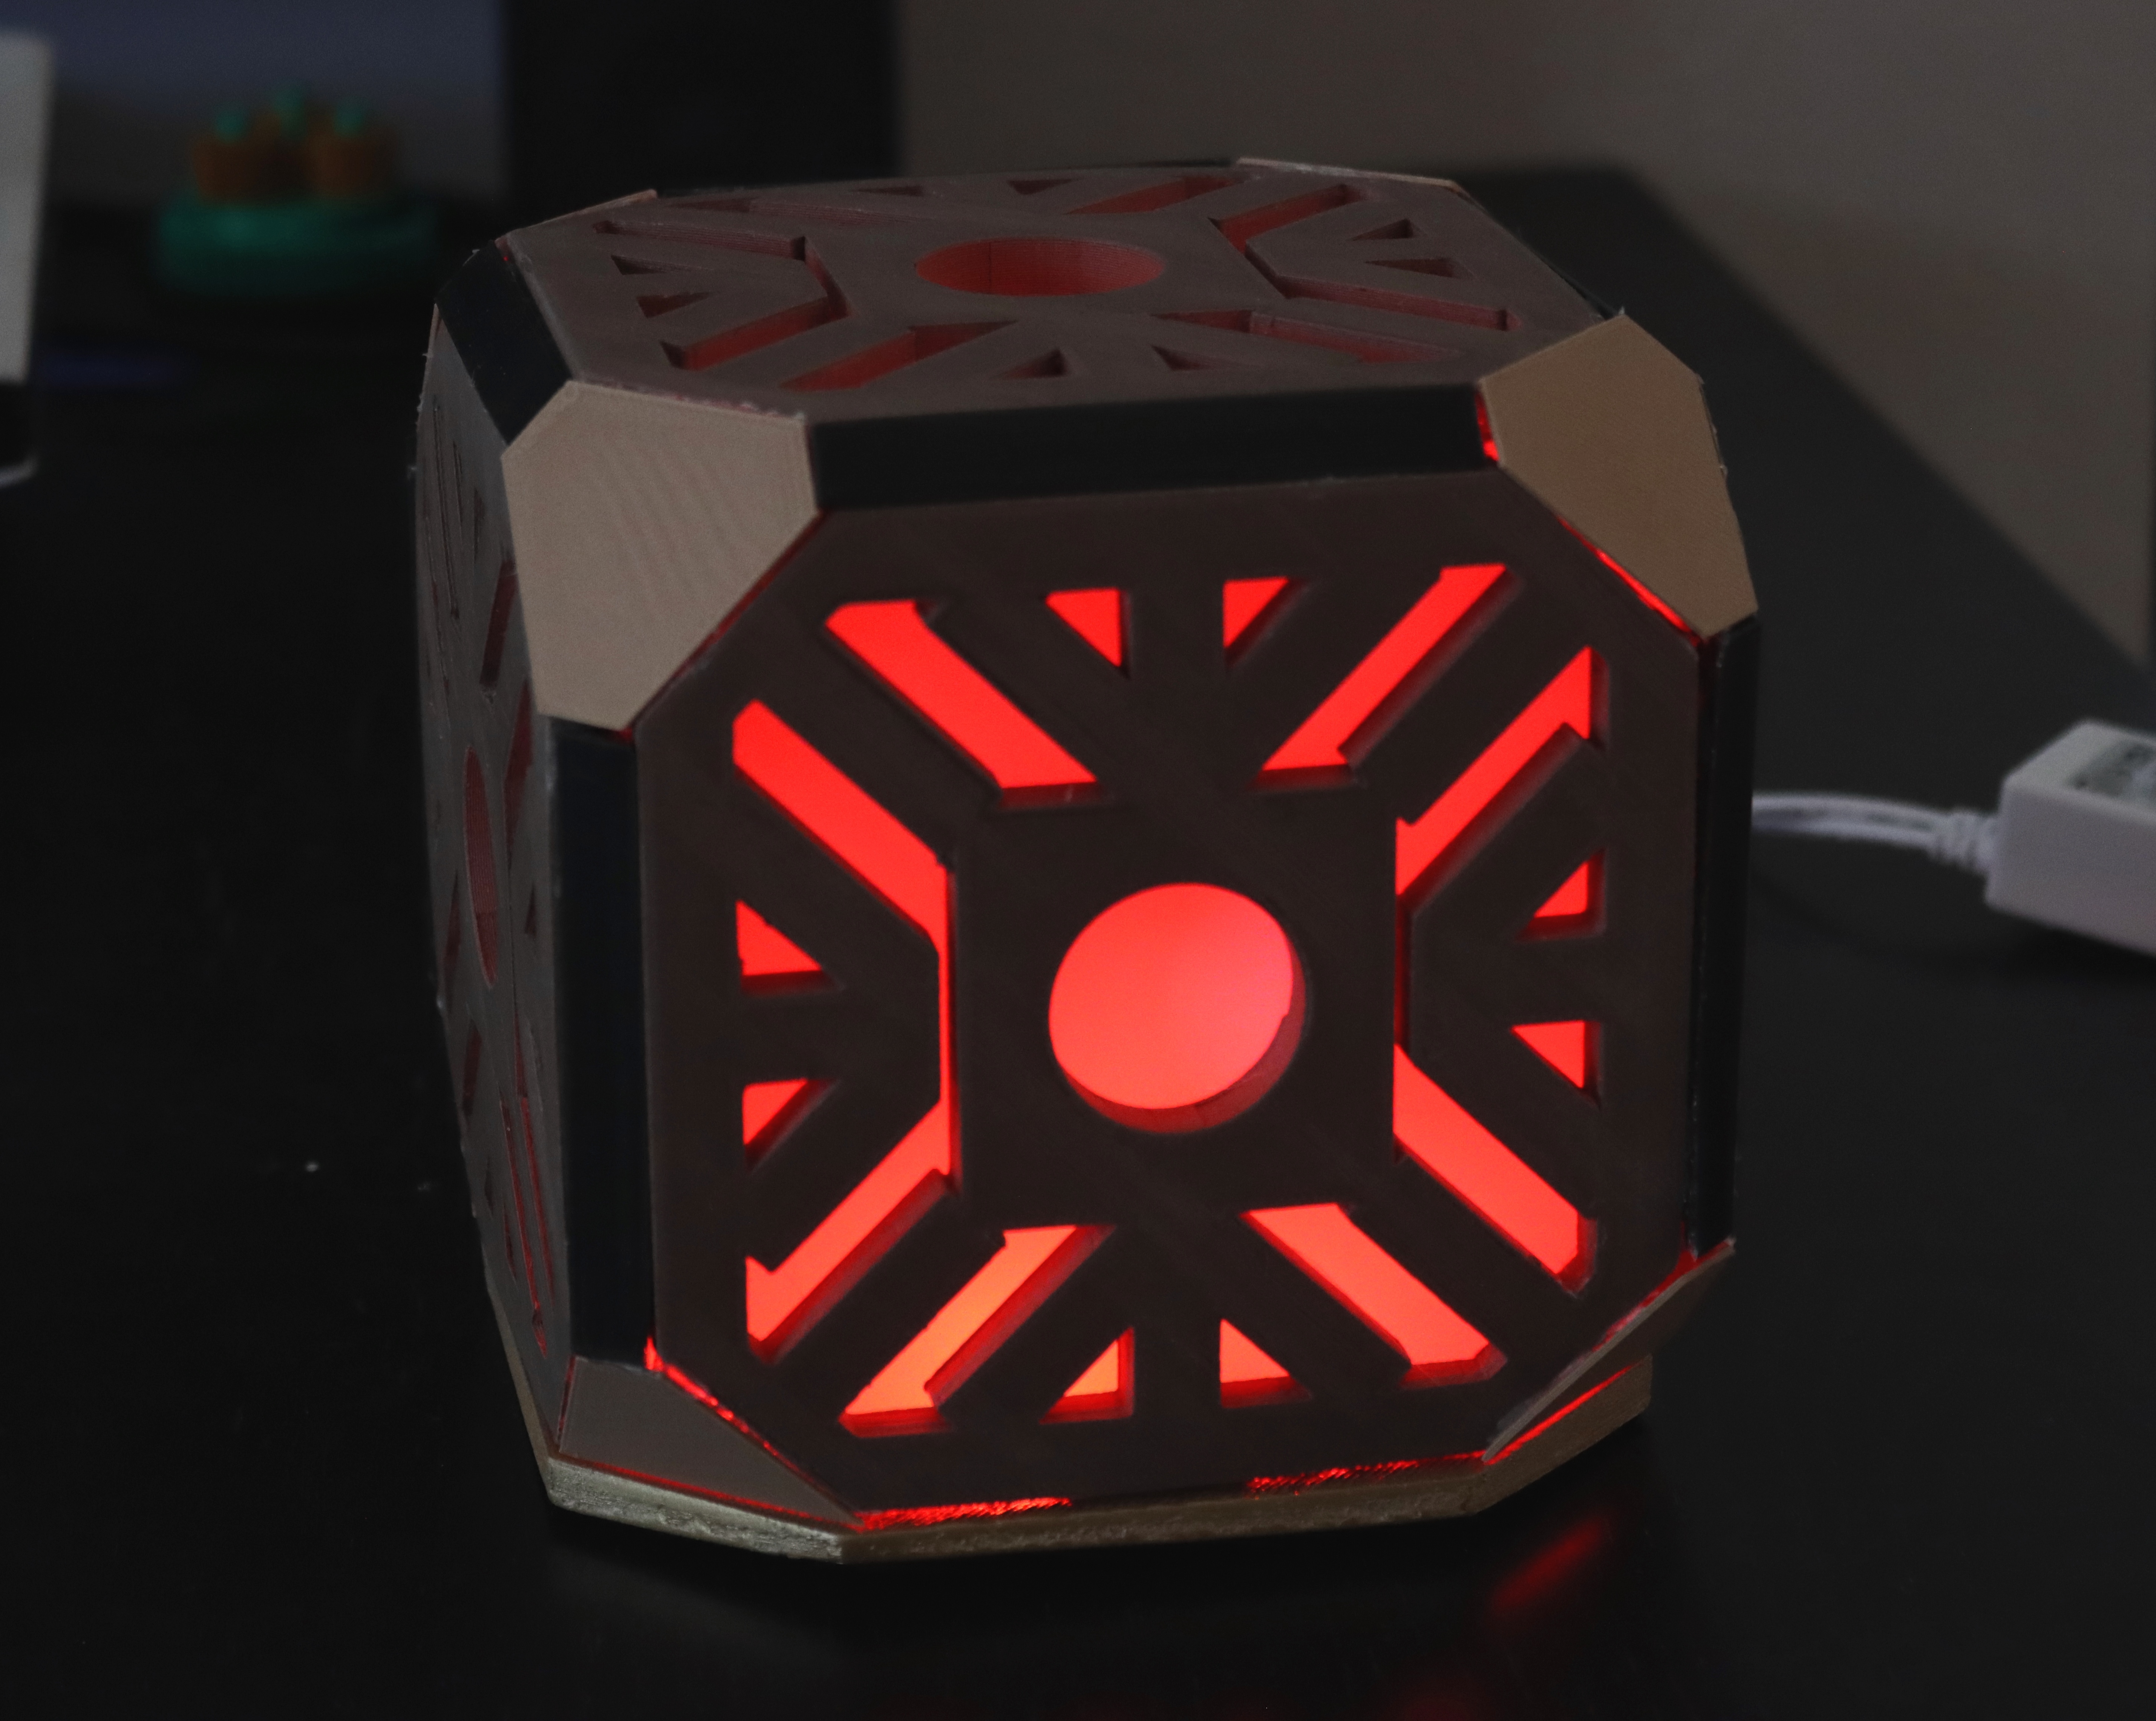
I am very delightful when working with Fusion 360 to create something beautiful, especially for making something with lighting. Why not making a project by combining Star Wars movie with lighting? Therefore, I decided to make this instructable project with LED strip with the design that was made with Fusion 360.
You can find my design in Cults3d.
Disclaimer:
Lighted Holocron project is a DIY project that is intended for fun only. I am not responsible if someone experienced injury from this project. Do this project carefully as you deal with electricity and LED strip. Remember LED strip is different. Read the direction previous before you do this project. My project is not suitable for children.
Supplies
Materials:
Autodesk Fusion 360
3D Printer and Slicer
PLA Filament (Dark Wood, Black, and White)
Sandpaper
20 cm LED strip and adapter
Hot Glue
Super Glue
Gold Spray Paint
Wood Filler
Lip Balm
Paper towel
Frame-1
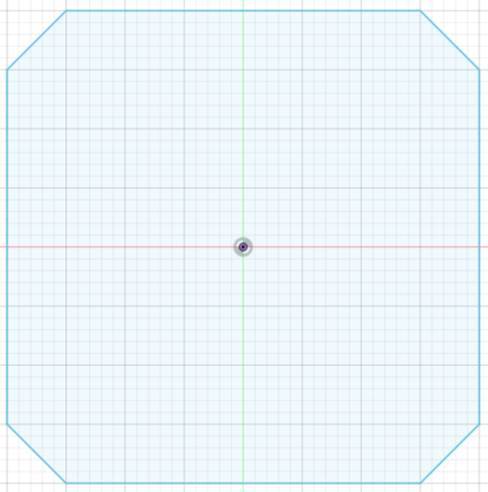
For making the frame of this Holocron, we should make a sketch first. Make a rectangle shape by using a 2-point rectangle. Each corner of the rectangle, make a line as shown in the pictures. Trim the unwanted edges, so you will get the shape of an octagon.
Frame-2
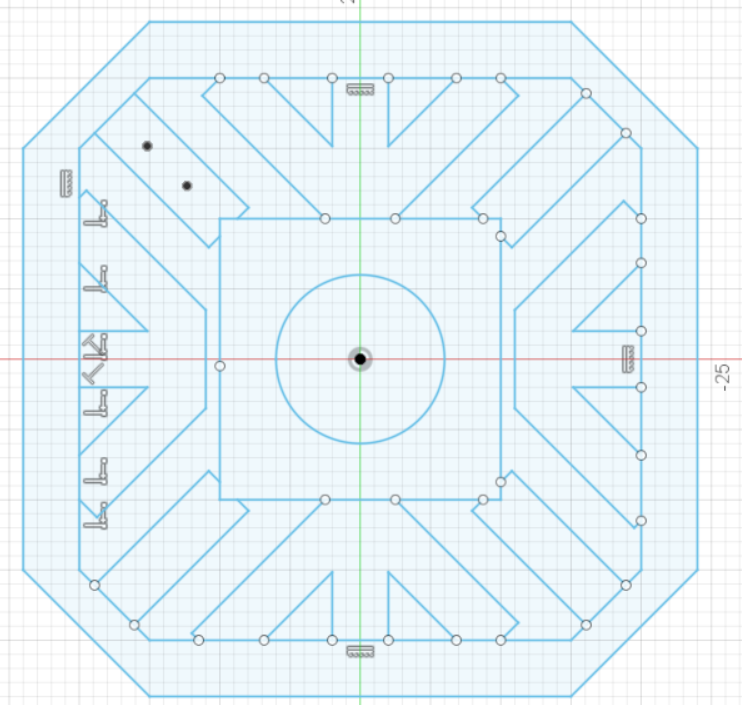
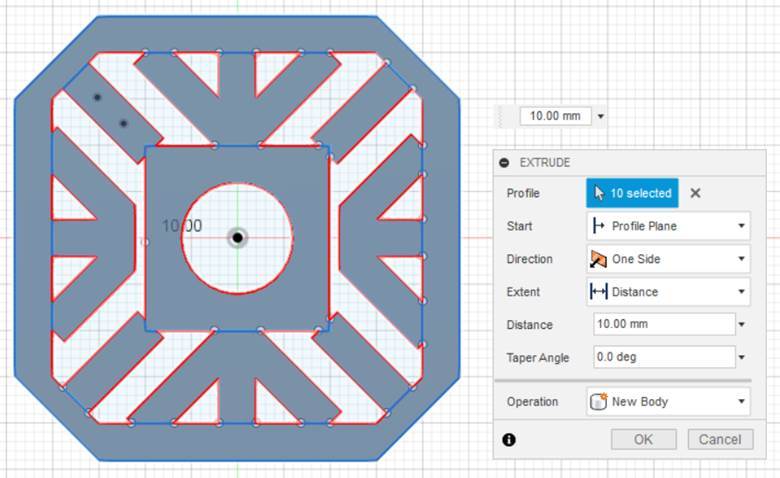
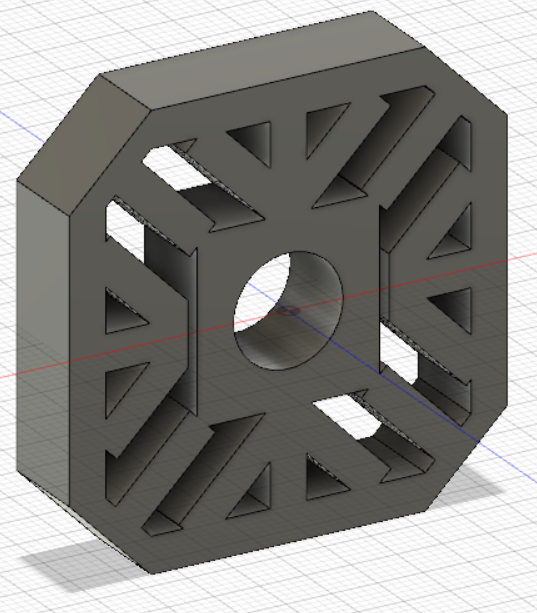
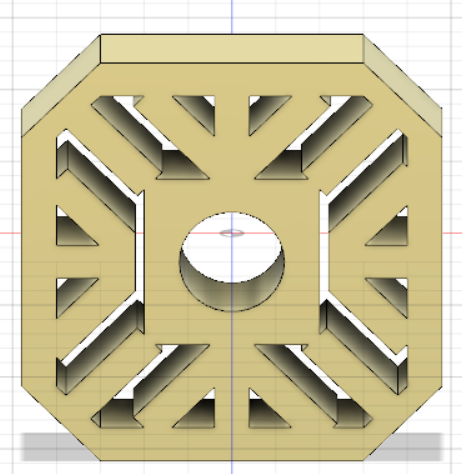
Make other details for the frame. Use some lines and center diameter circle. All still are in the sketch area. Make sure all lines are connected with other shapes. Select the sketch that you want and extrude it.
Frame-3
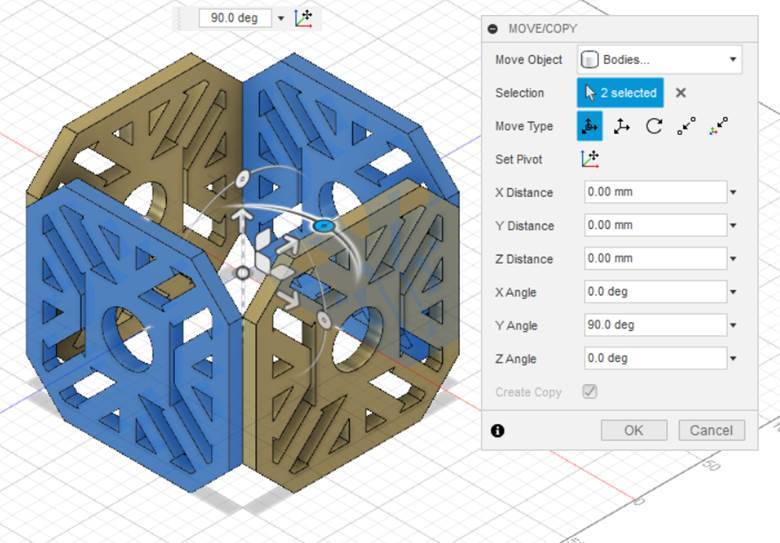
Make a copy for the frame until you get five frames in total. Move and arrange them one by one until you get a cube design.
Base for Holocron Cube
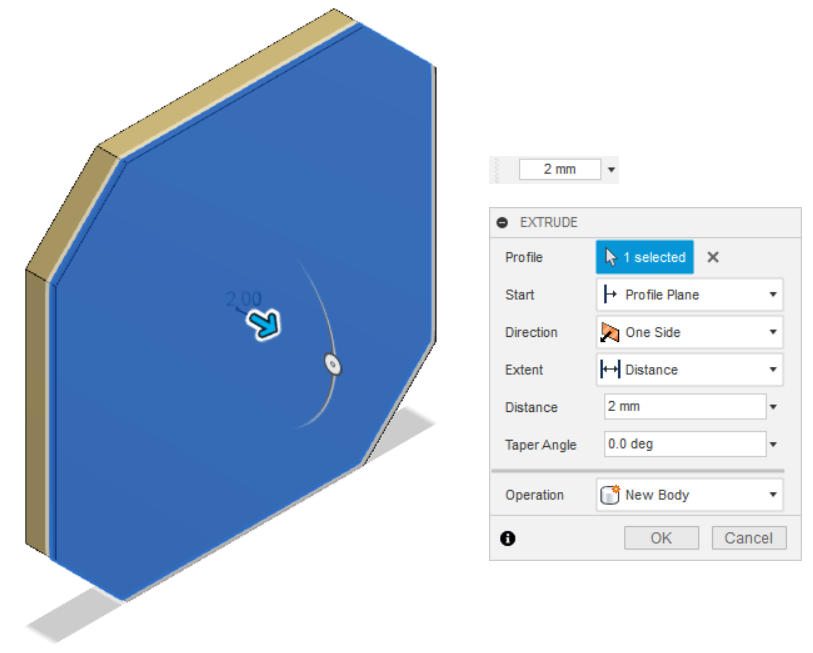
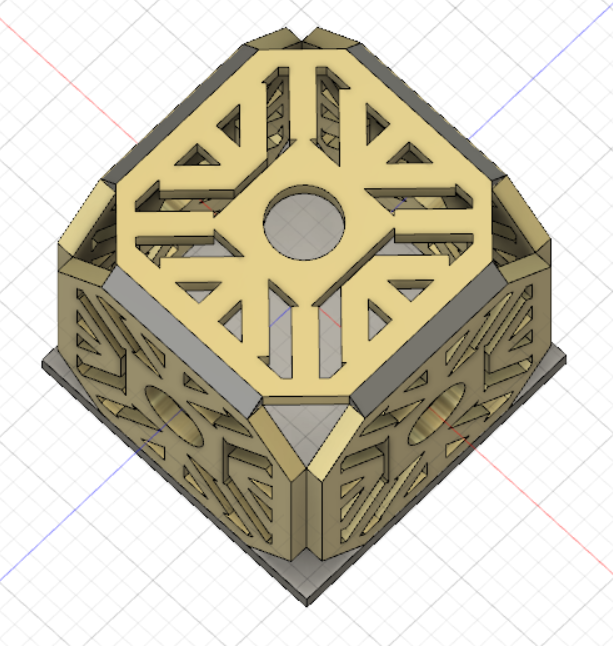
Because you already make five sides previously, you still need 1 side for the base. For making the base, it is quite simple. Copy and paste the first sketch (See step Frame-1), but this time you do not have to make any details. Extrude it. The cube still has uncovered edges. To cover the edges, make a triangular prism by using the loft. Extrude it one by one. Finally, combine them together. Repeat this step until eight edges are covered.
Corner of Holocron
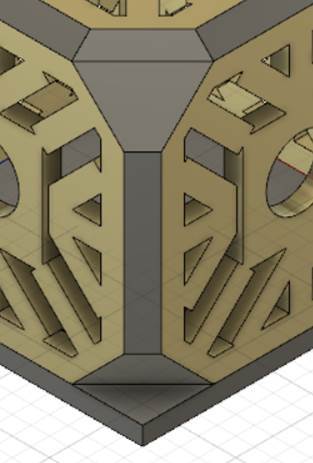
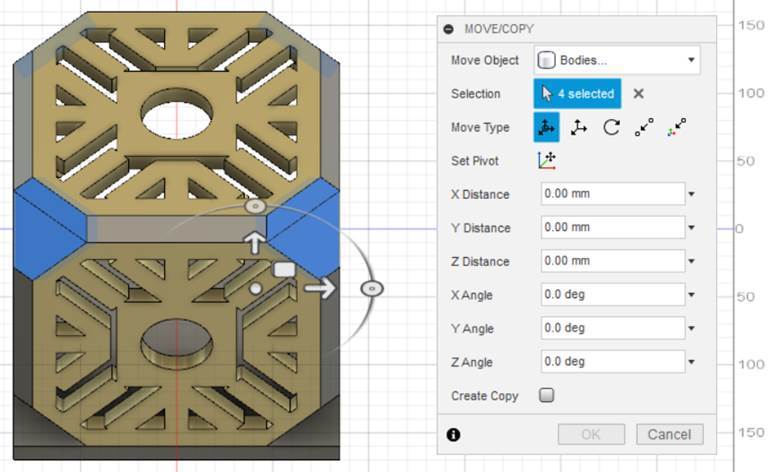
Each corner of the Holocron is still uncovered. To cover this, patch the corner and extrude it. Copy and move it until you get eight corners in total, so the corner of your Holocron is covered now.
Inner Face
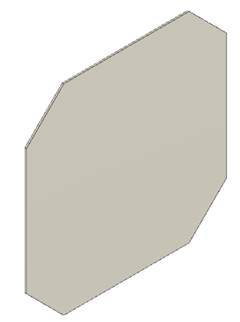
Also, make the inner face for the Holocron. Copy and paste the base's sketch, but make the precise dimension, so it will fit in the inner of the side. Extrude it. Make its depth as thin as you can, because we want the light to appear. If it is too thick, the light will be dimmed and it is not good for the project.
Scale
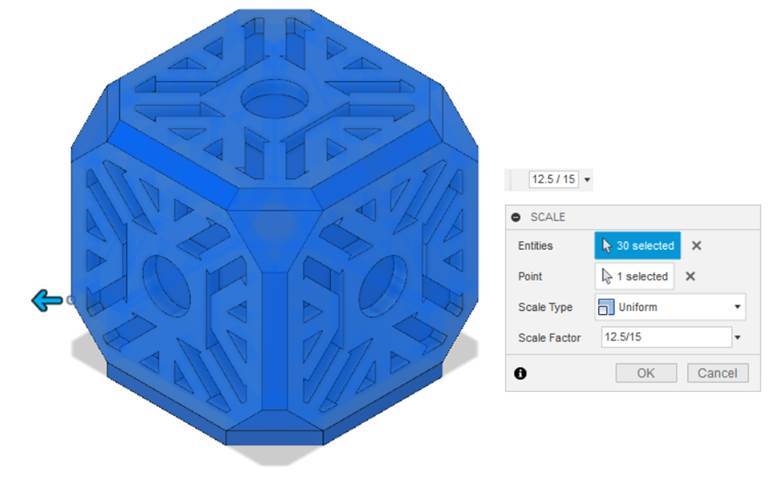
After finish with your design, lastly, scale it with the dimension as you want. To do this, you need to enter the scale factor and choose uniform for the scale type. Click ok.
Finish Designing
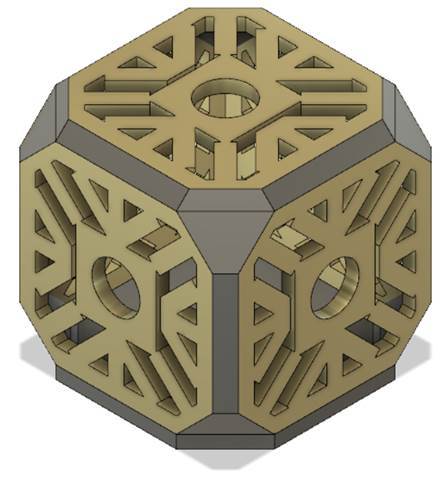
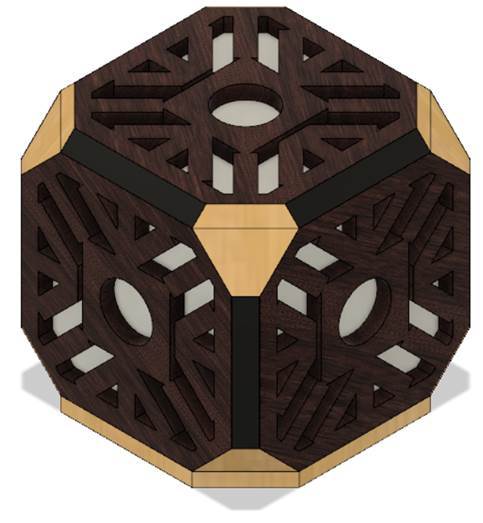
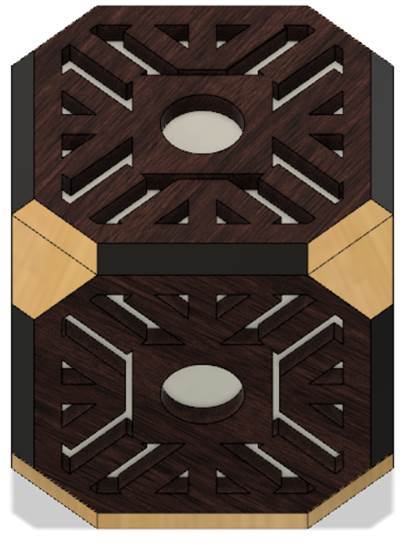
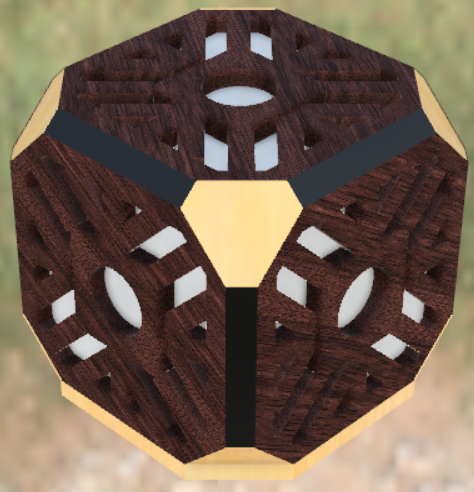
You are finished with your design. Now you can render it as you like. I rendered my design with wood texture. Play around with the material as you desire. I like playing around with rendering in Fusion 360. You can also set the setting in the render. You see in my last picture, I add a background environment to my design. Feel free to play around with the render mode.
Printing
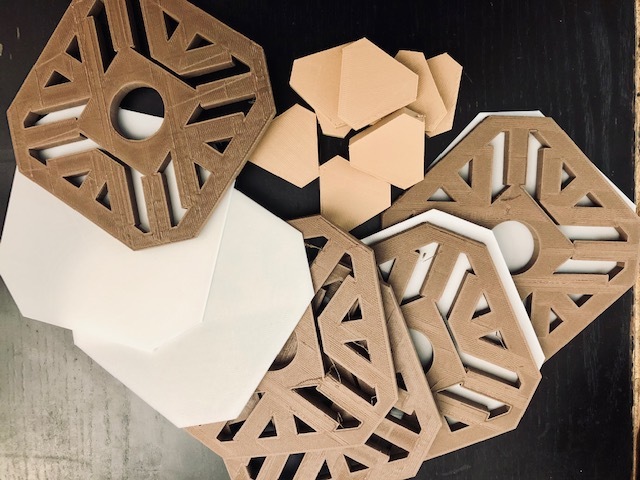
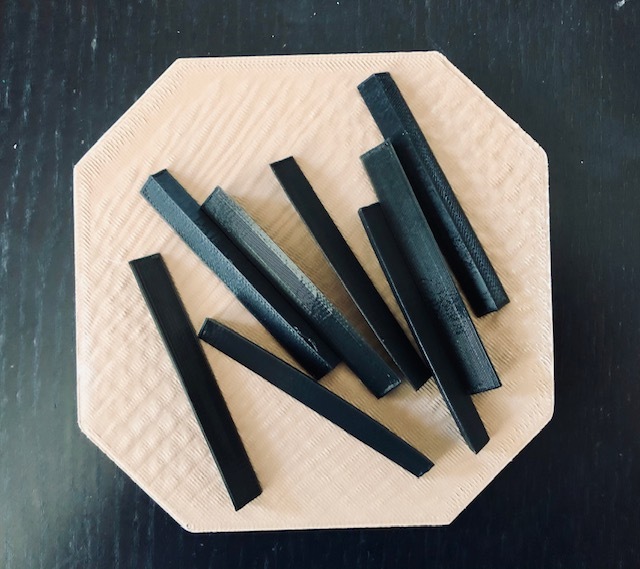
Now it is time to print them one by one. Export to STL file and print it. Print the frame 5 times, the top corner 4 times, the bottom corner 4 times, the side list 8 times, and the inner face 5 times. Yet, remember, you only need to print the base once. All of the printing, I used no support, 20% infill, and 0.34 mm for the layer height. Total printing time and length are about 17 hours and 40 minutes and 159 m long, respectively.
Polishing After Printing – 1
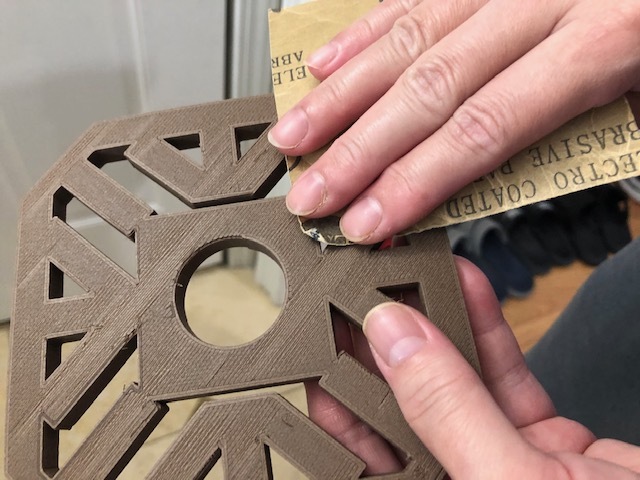
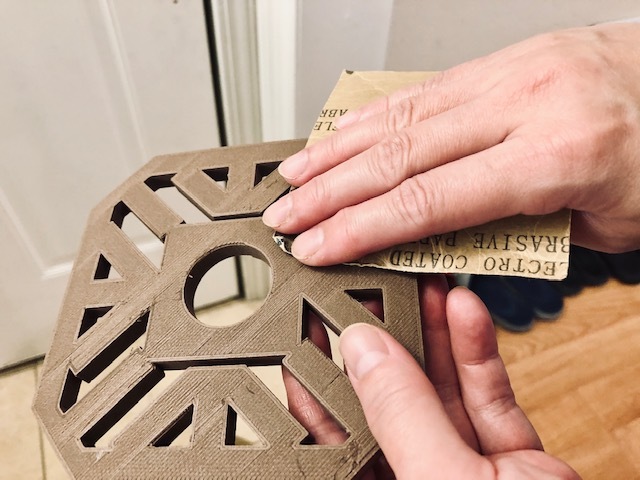
After printing, sand them with sandpaper from #240, 320, 400, 600, 800, 1000, 1200, 1500, and 2000 with a circular motion.
Polishing After Printing – 2
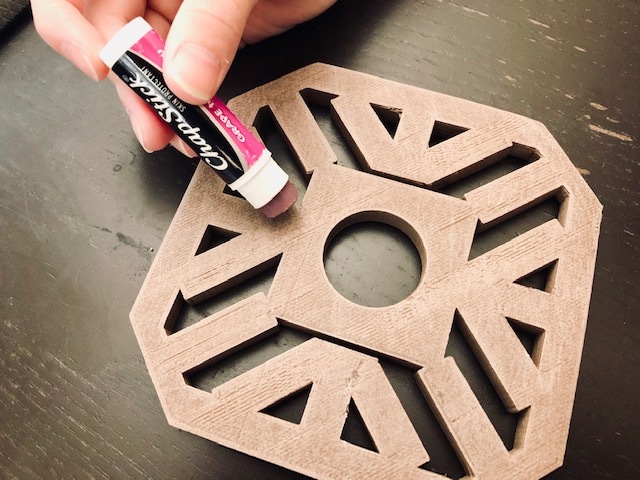
After sanding, wipe the excess dust and dirt from sanding using towel paper and 70% Alcohol. In order to make the printing shiny, apply lip balm on it, and wipe with a paper towel.
Mistake and Solution – 1

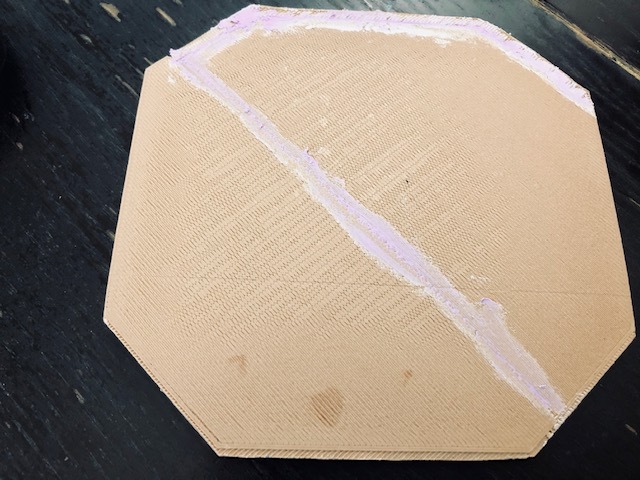
In this project, somehow when I printed the base, my filaments were tangled and pull my extruder. It resulted my model being not printed correctly because my printer's extruder made the calibration going improperly. For this printing take a long time to print (2 hours and 15 minutes), and waste filament of 24 m, I should find a solution for this. To solve this problem, I glued the unbalanced part with super glue. After the super glue dried, I applied the wood filler, so it filled the gap. I waited for the wood filler to dry for 10 minutes.
Mistake and Solution – 2
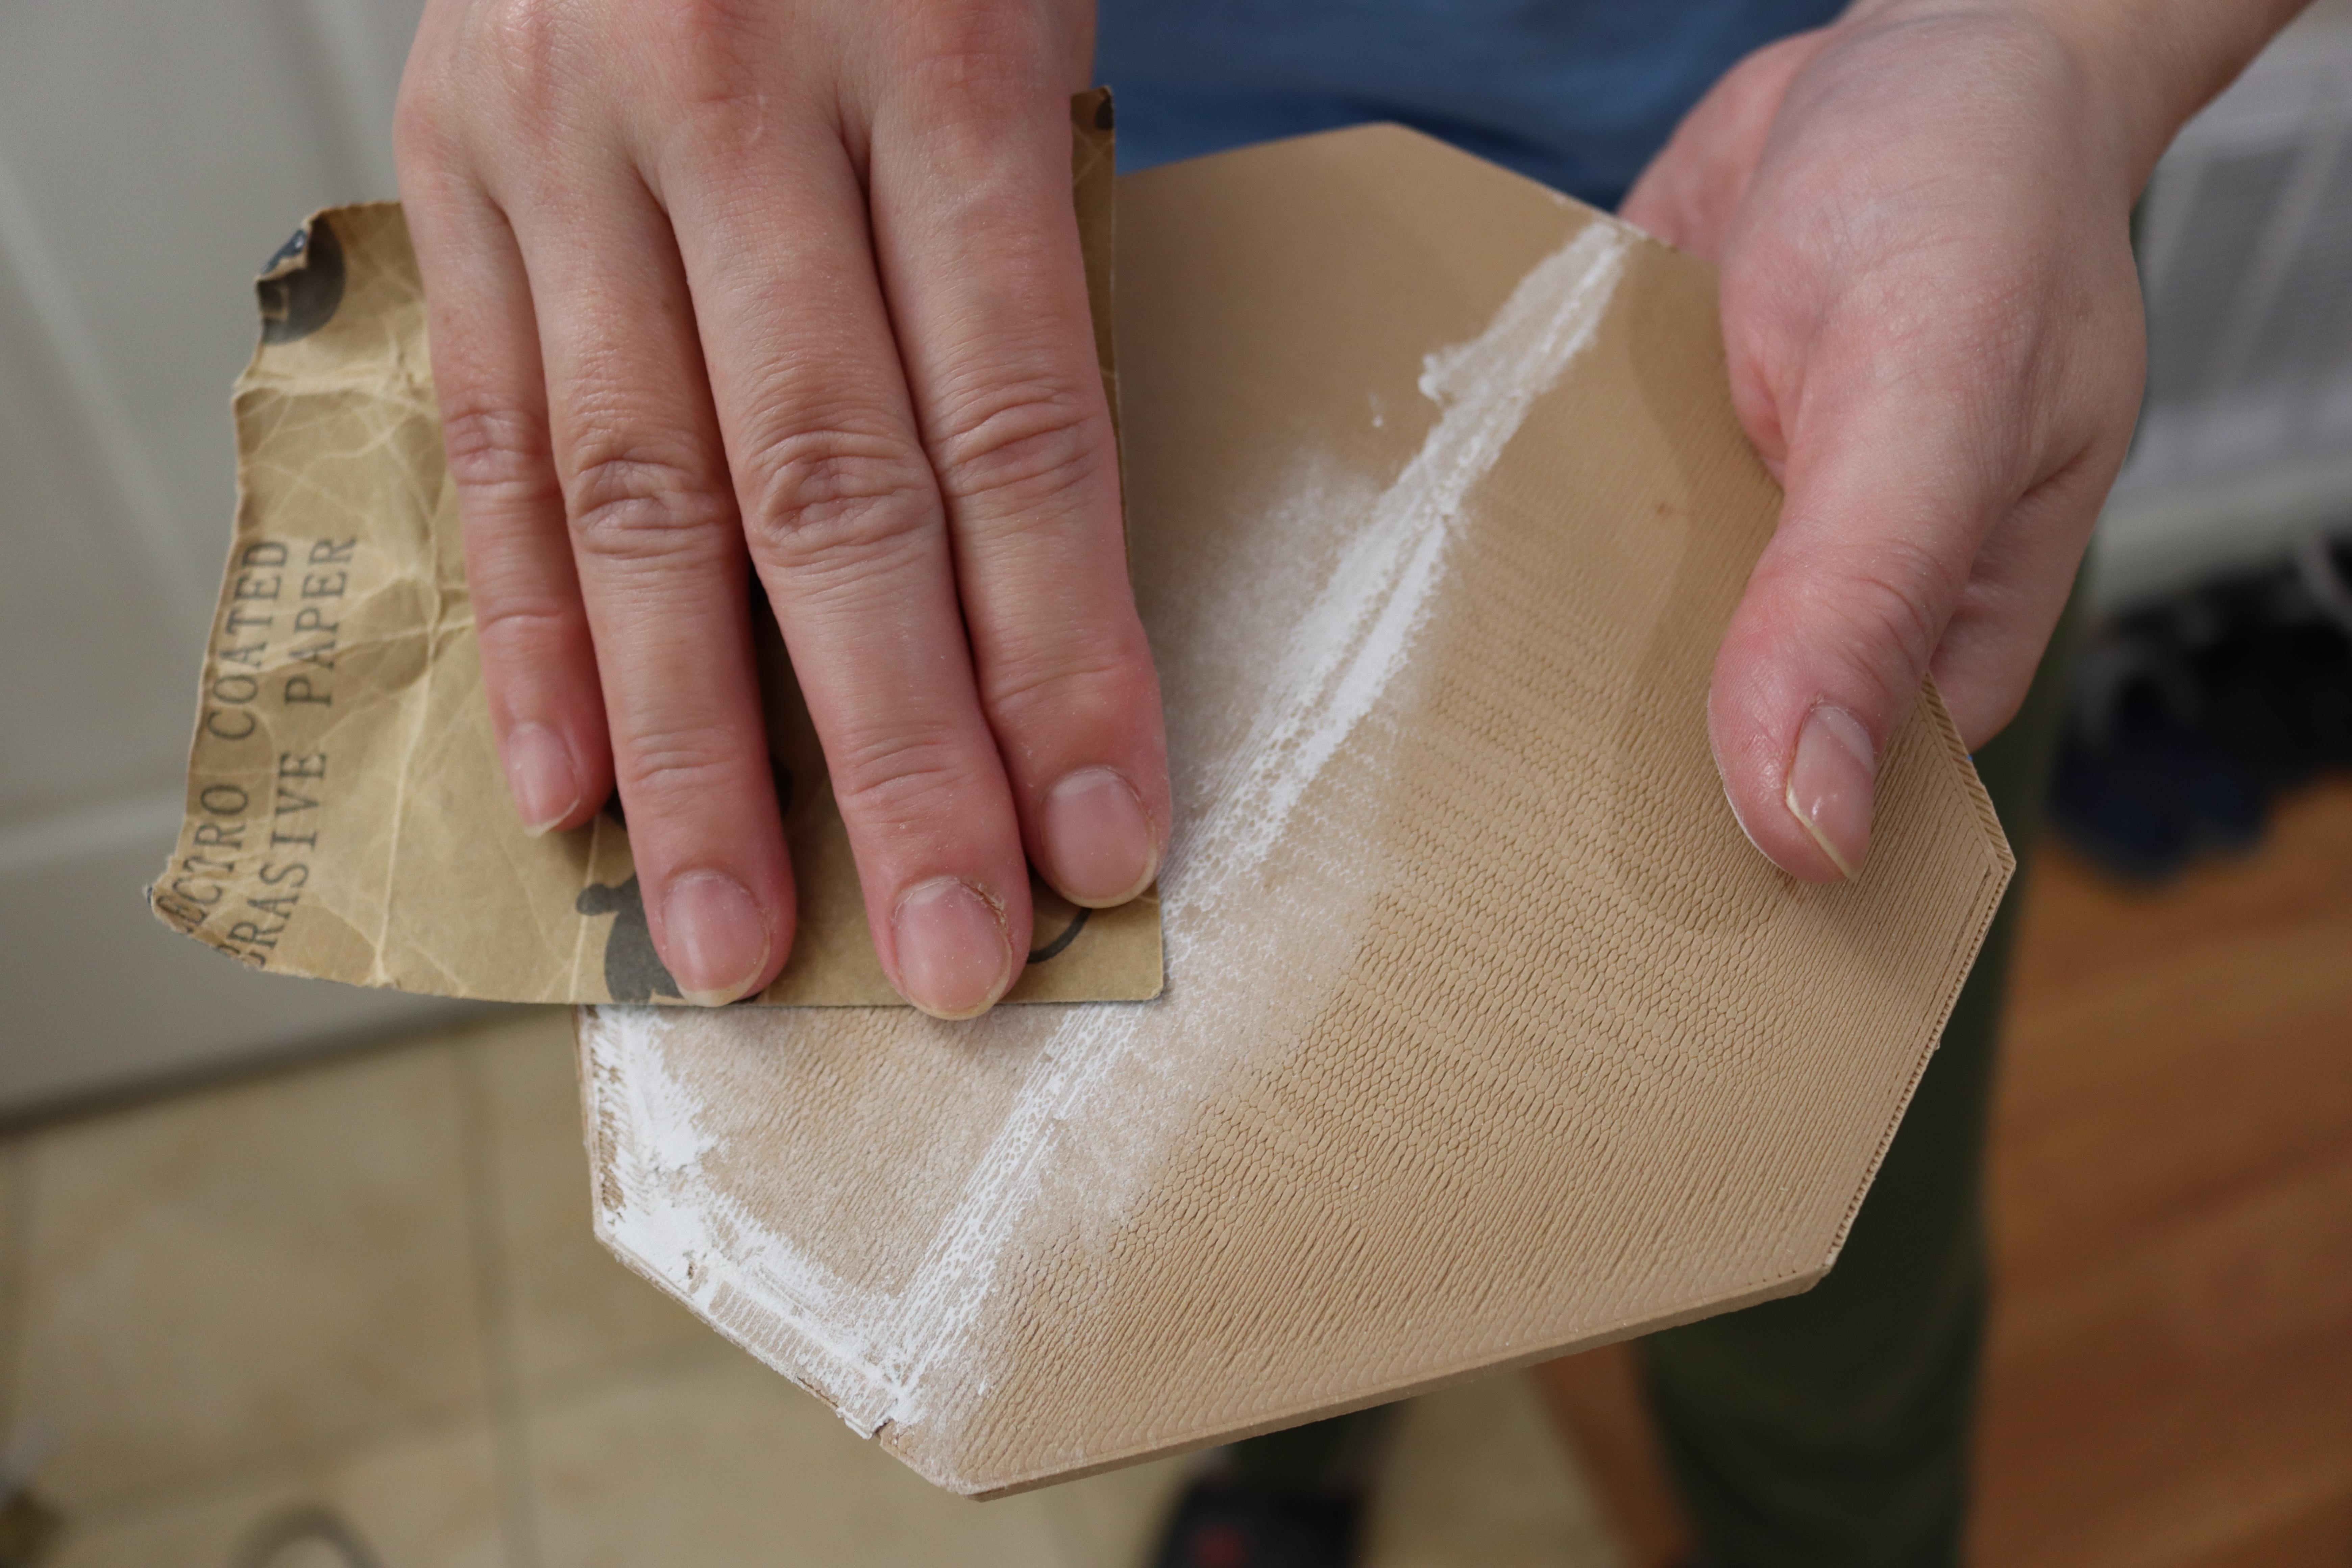
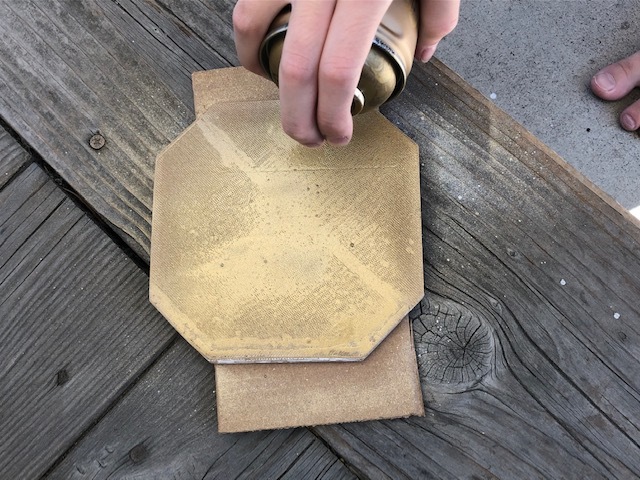
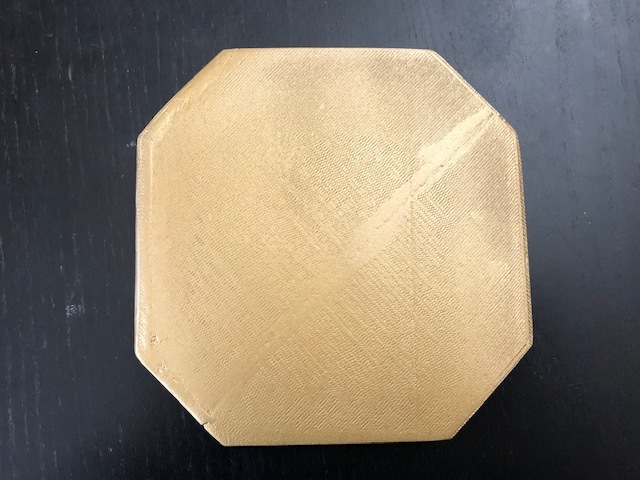
After drying, I sanded the base with sandpaper. Wipe the excess dust and dirt from sanding using towel paper and 70% Alcohol. I started to paint with Montana gold spray paint.
Making Hole for Cable Path
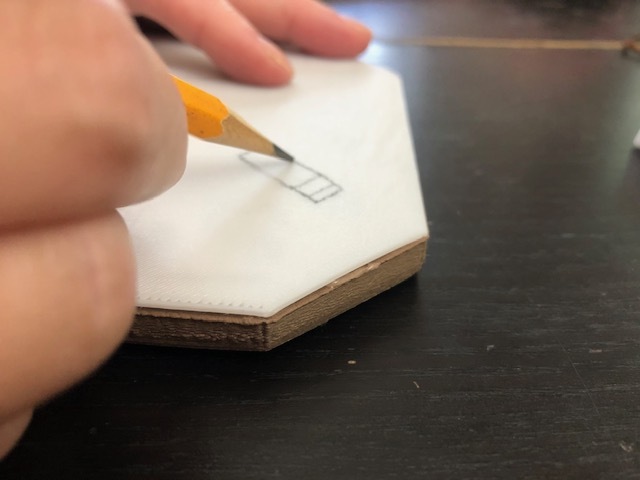
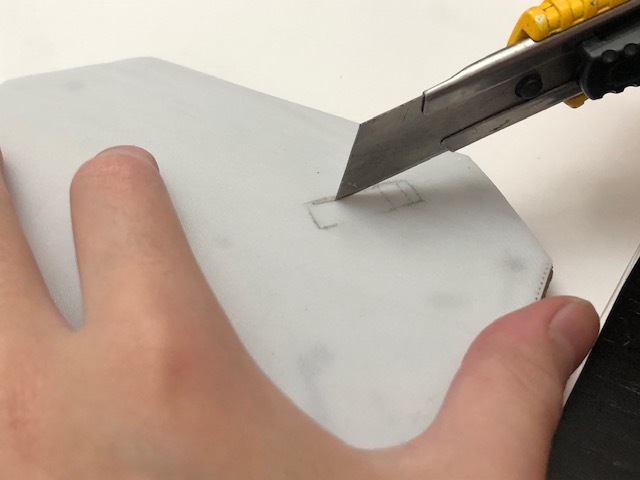
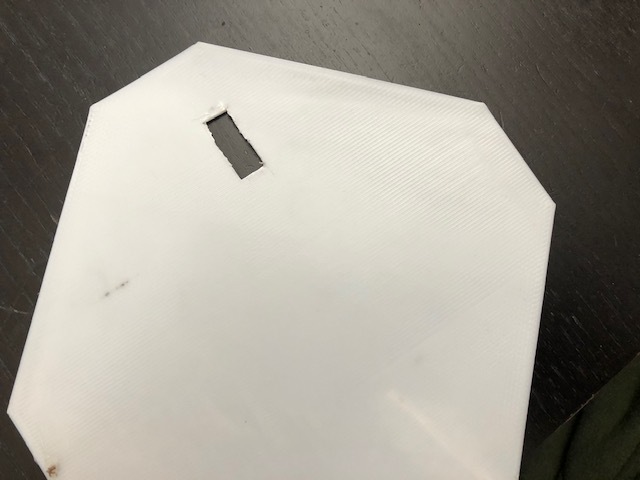
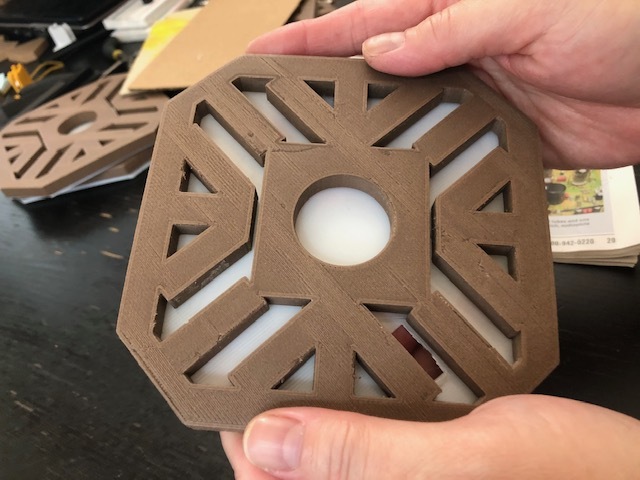
Draw a rectangle for the hole for cable's path to one of the inner faces. By using a cutter and a cutting plier, cut the rectangle to make a hole.
Assembling
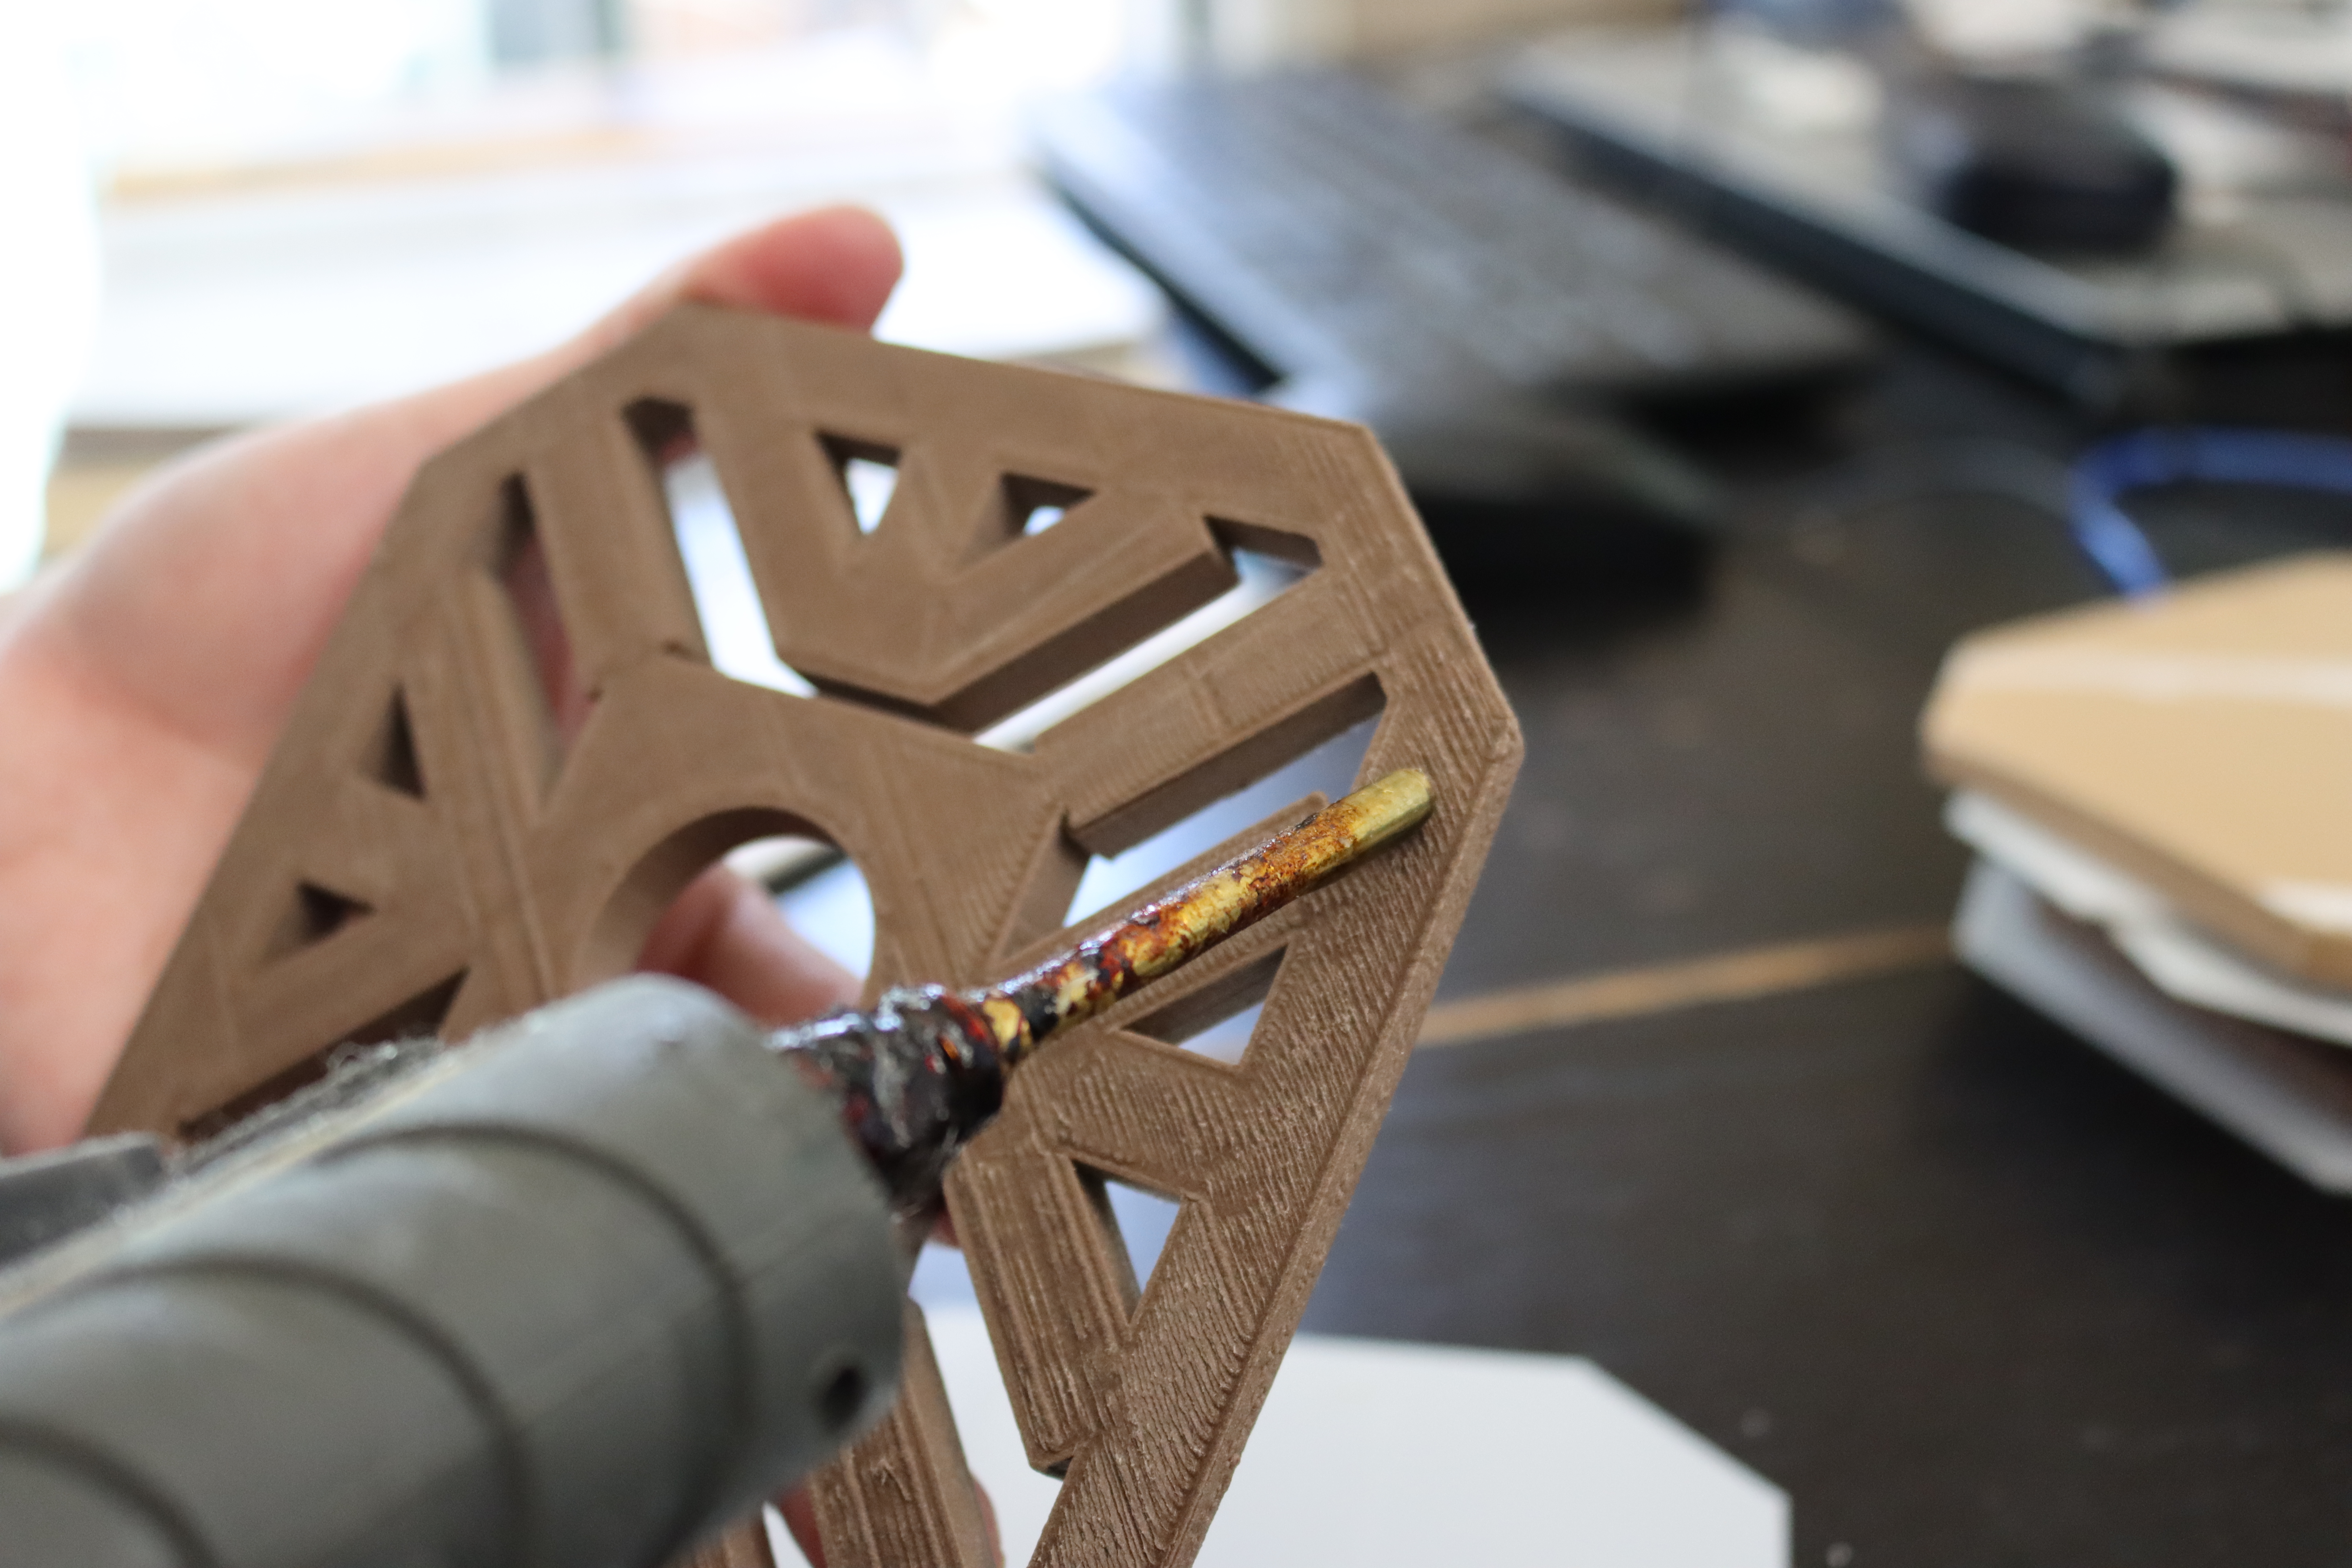

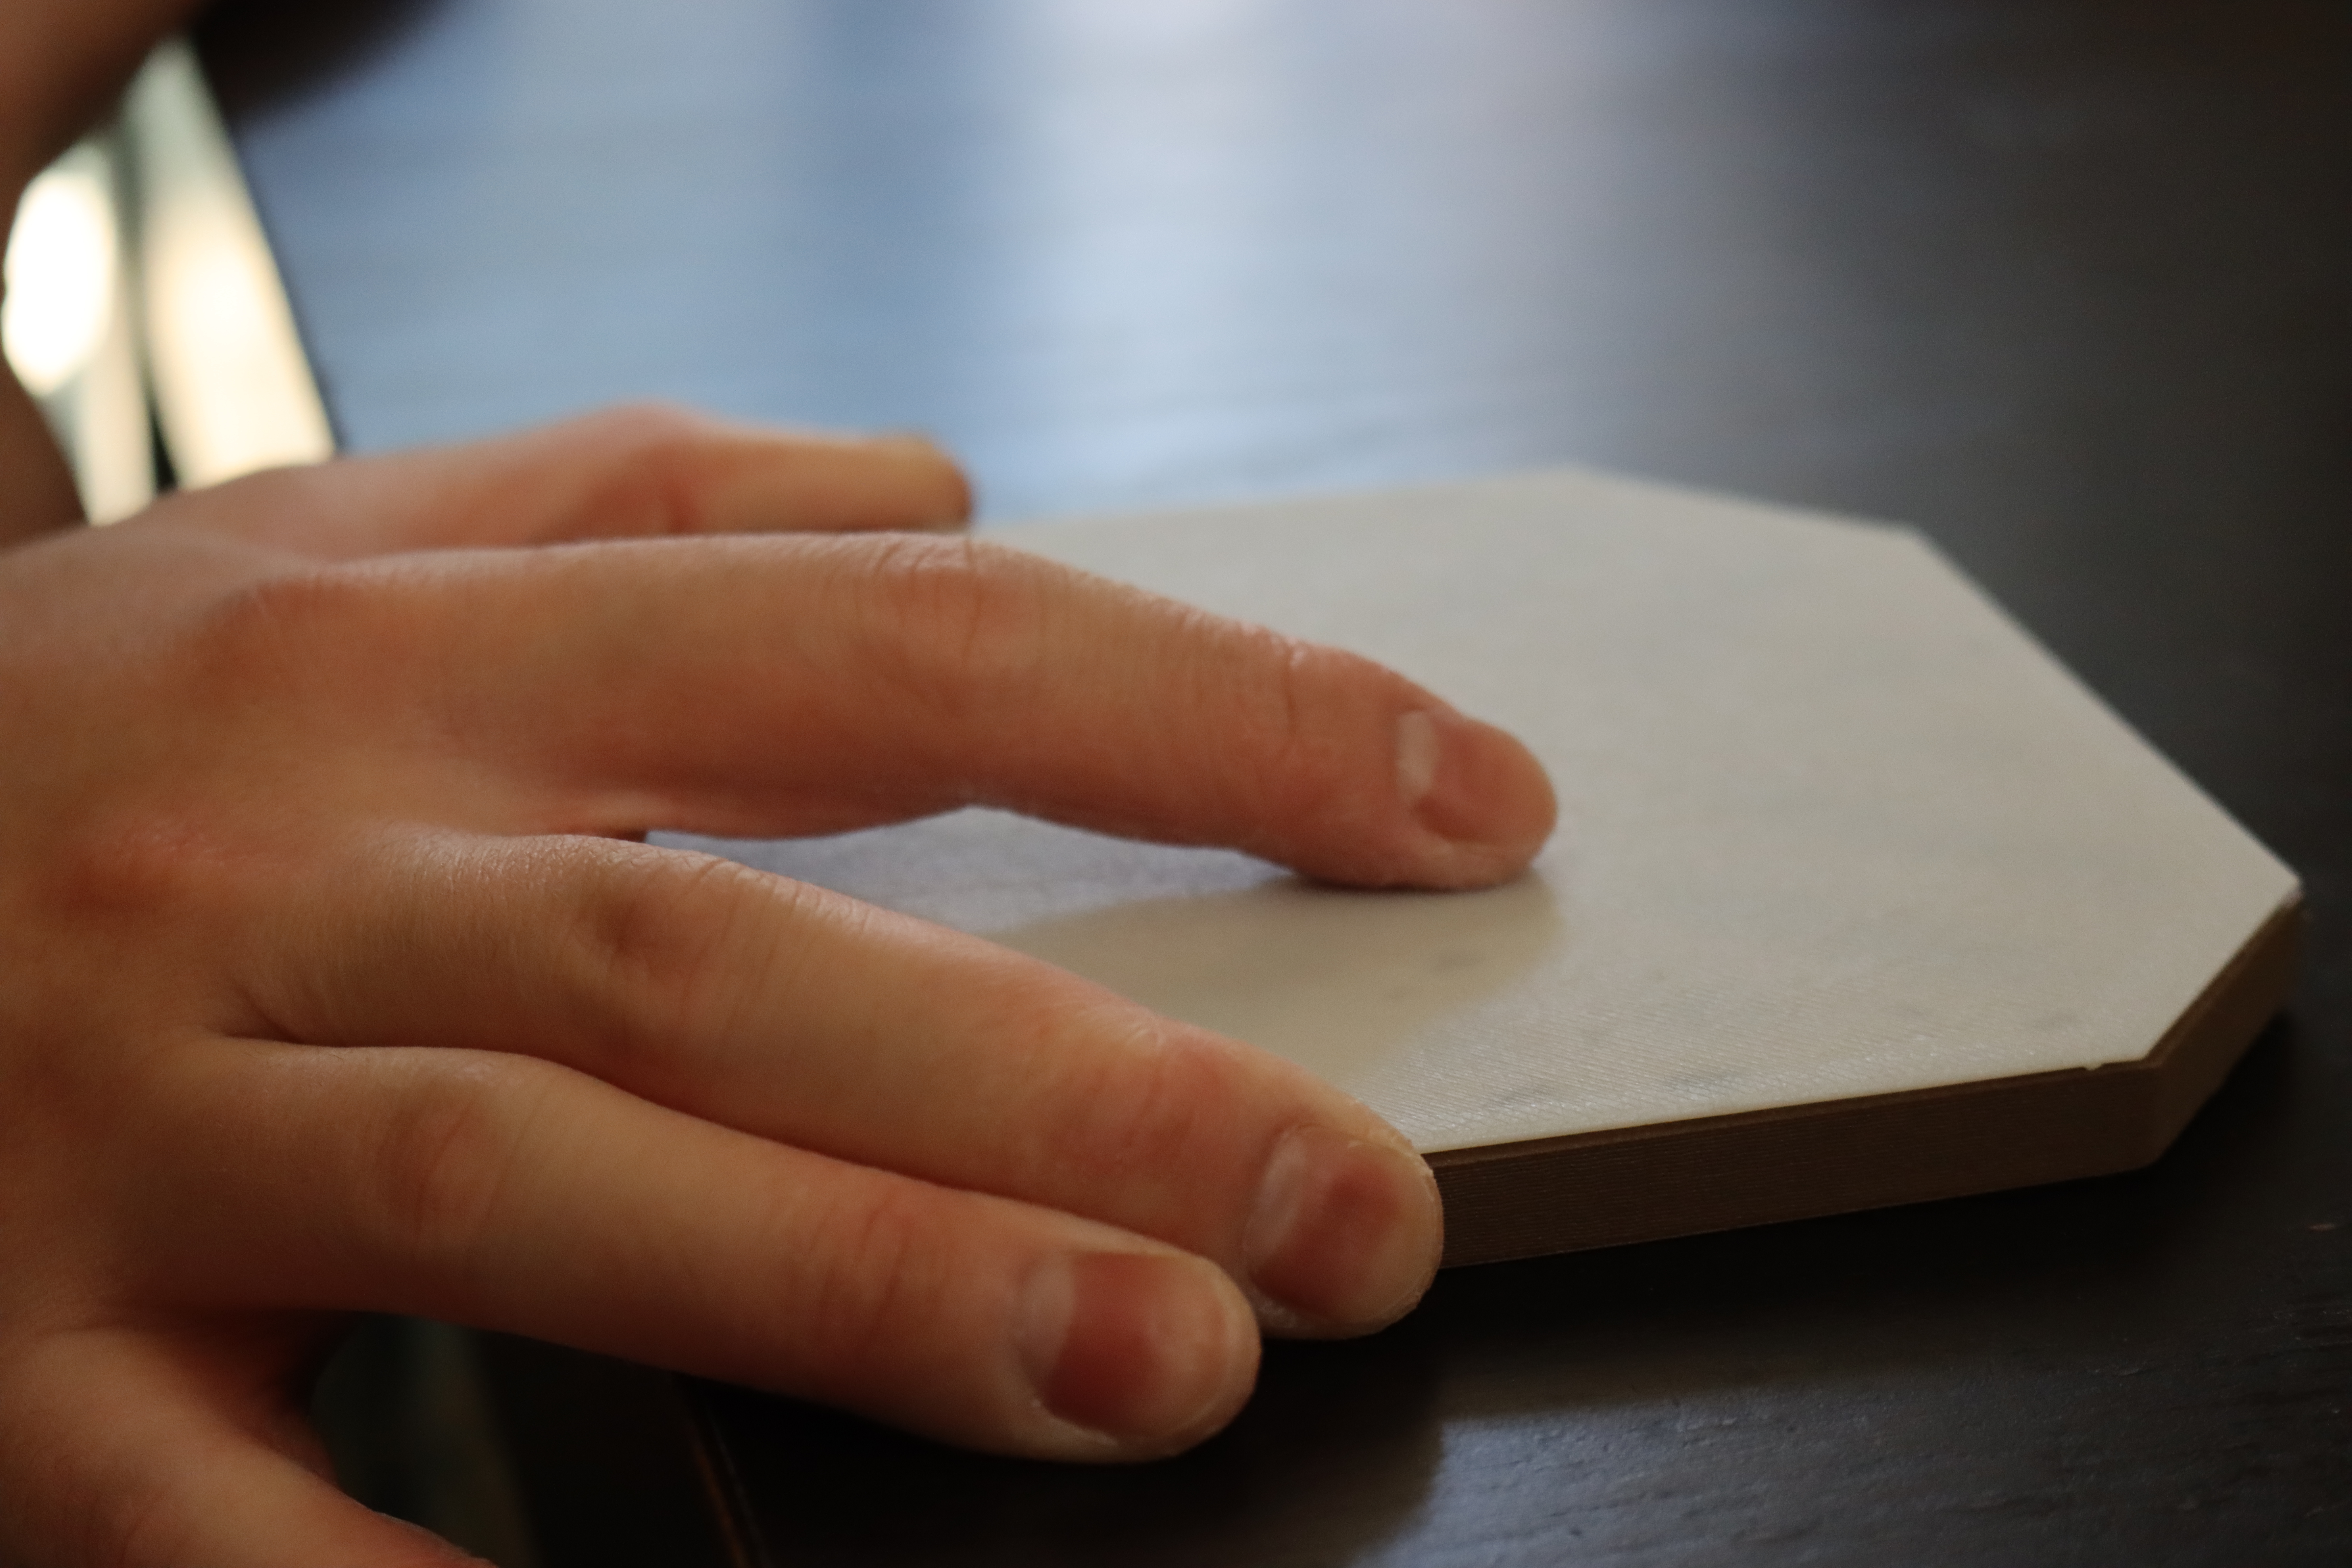
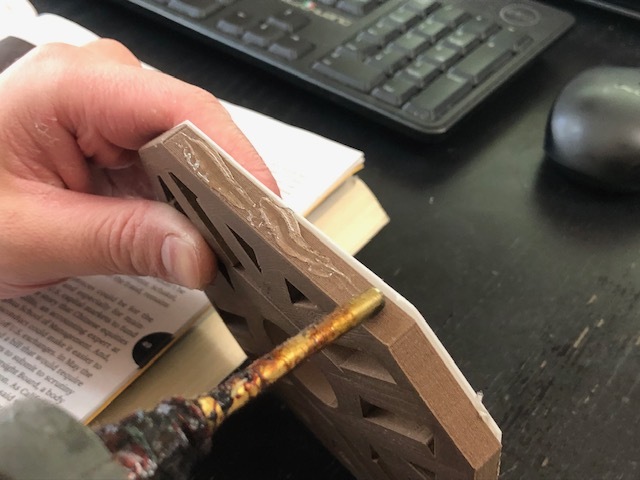
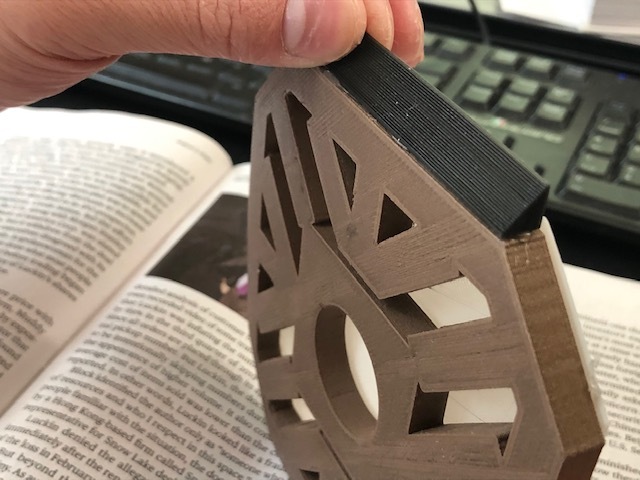
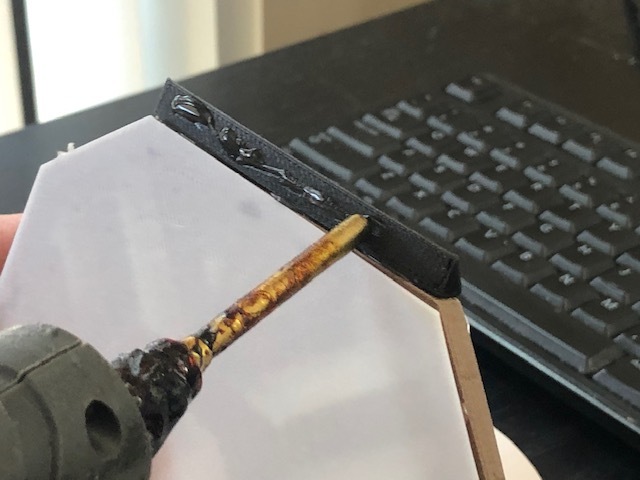
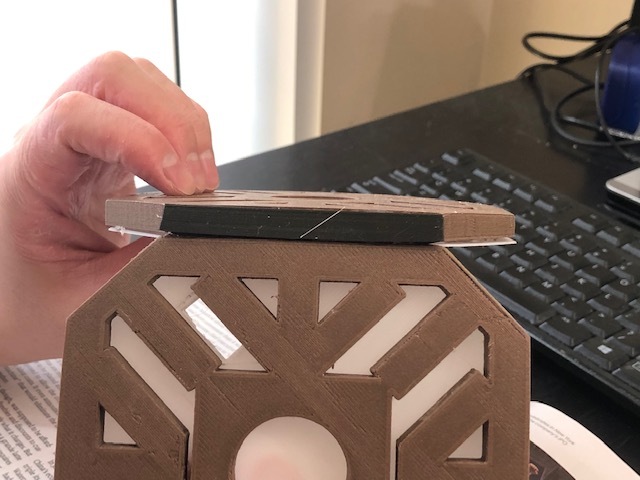
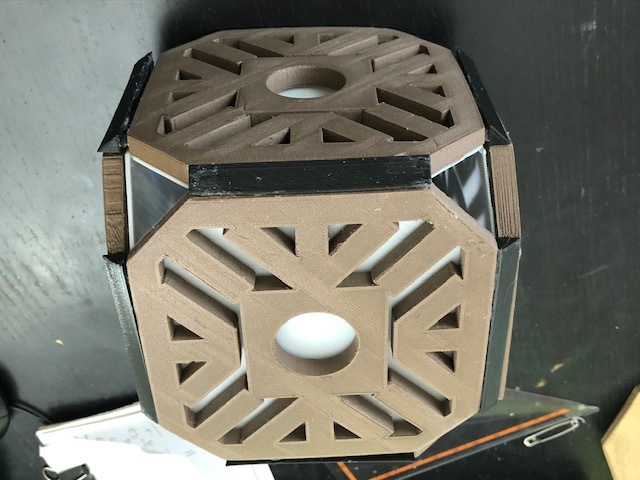
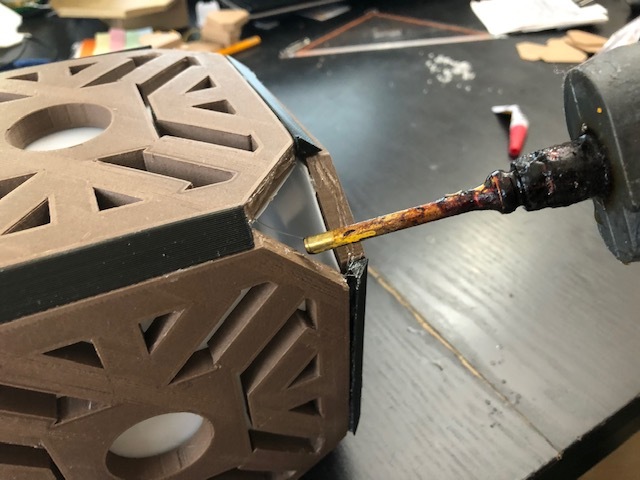
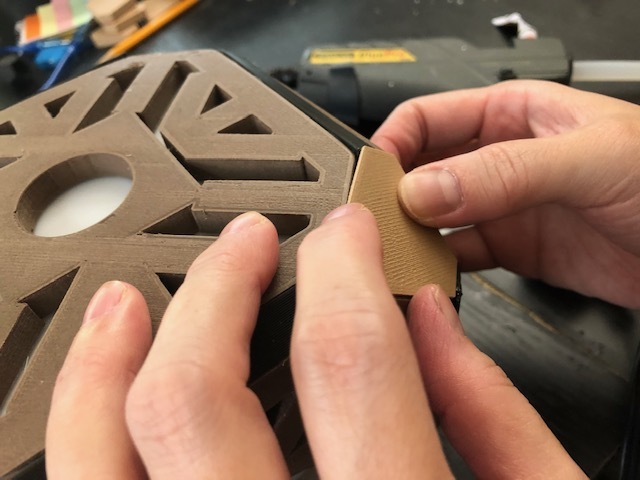
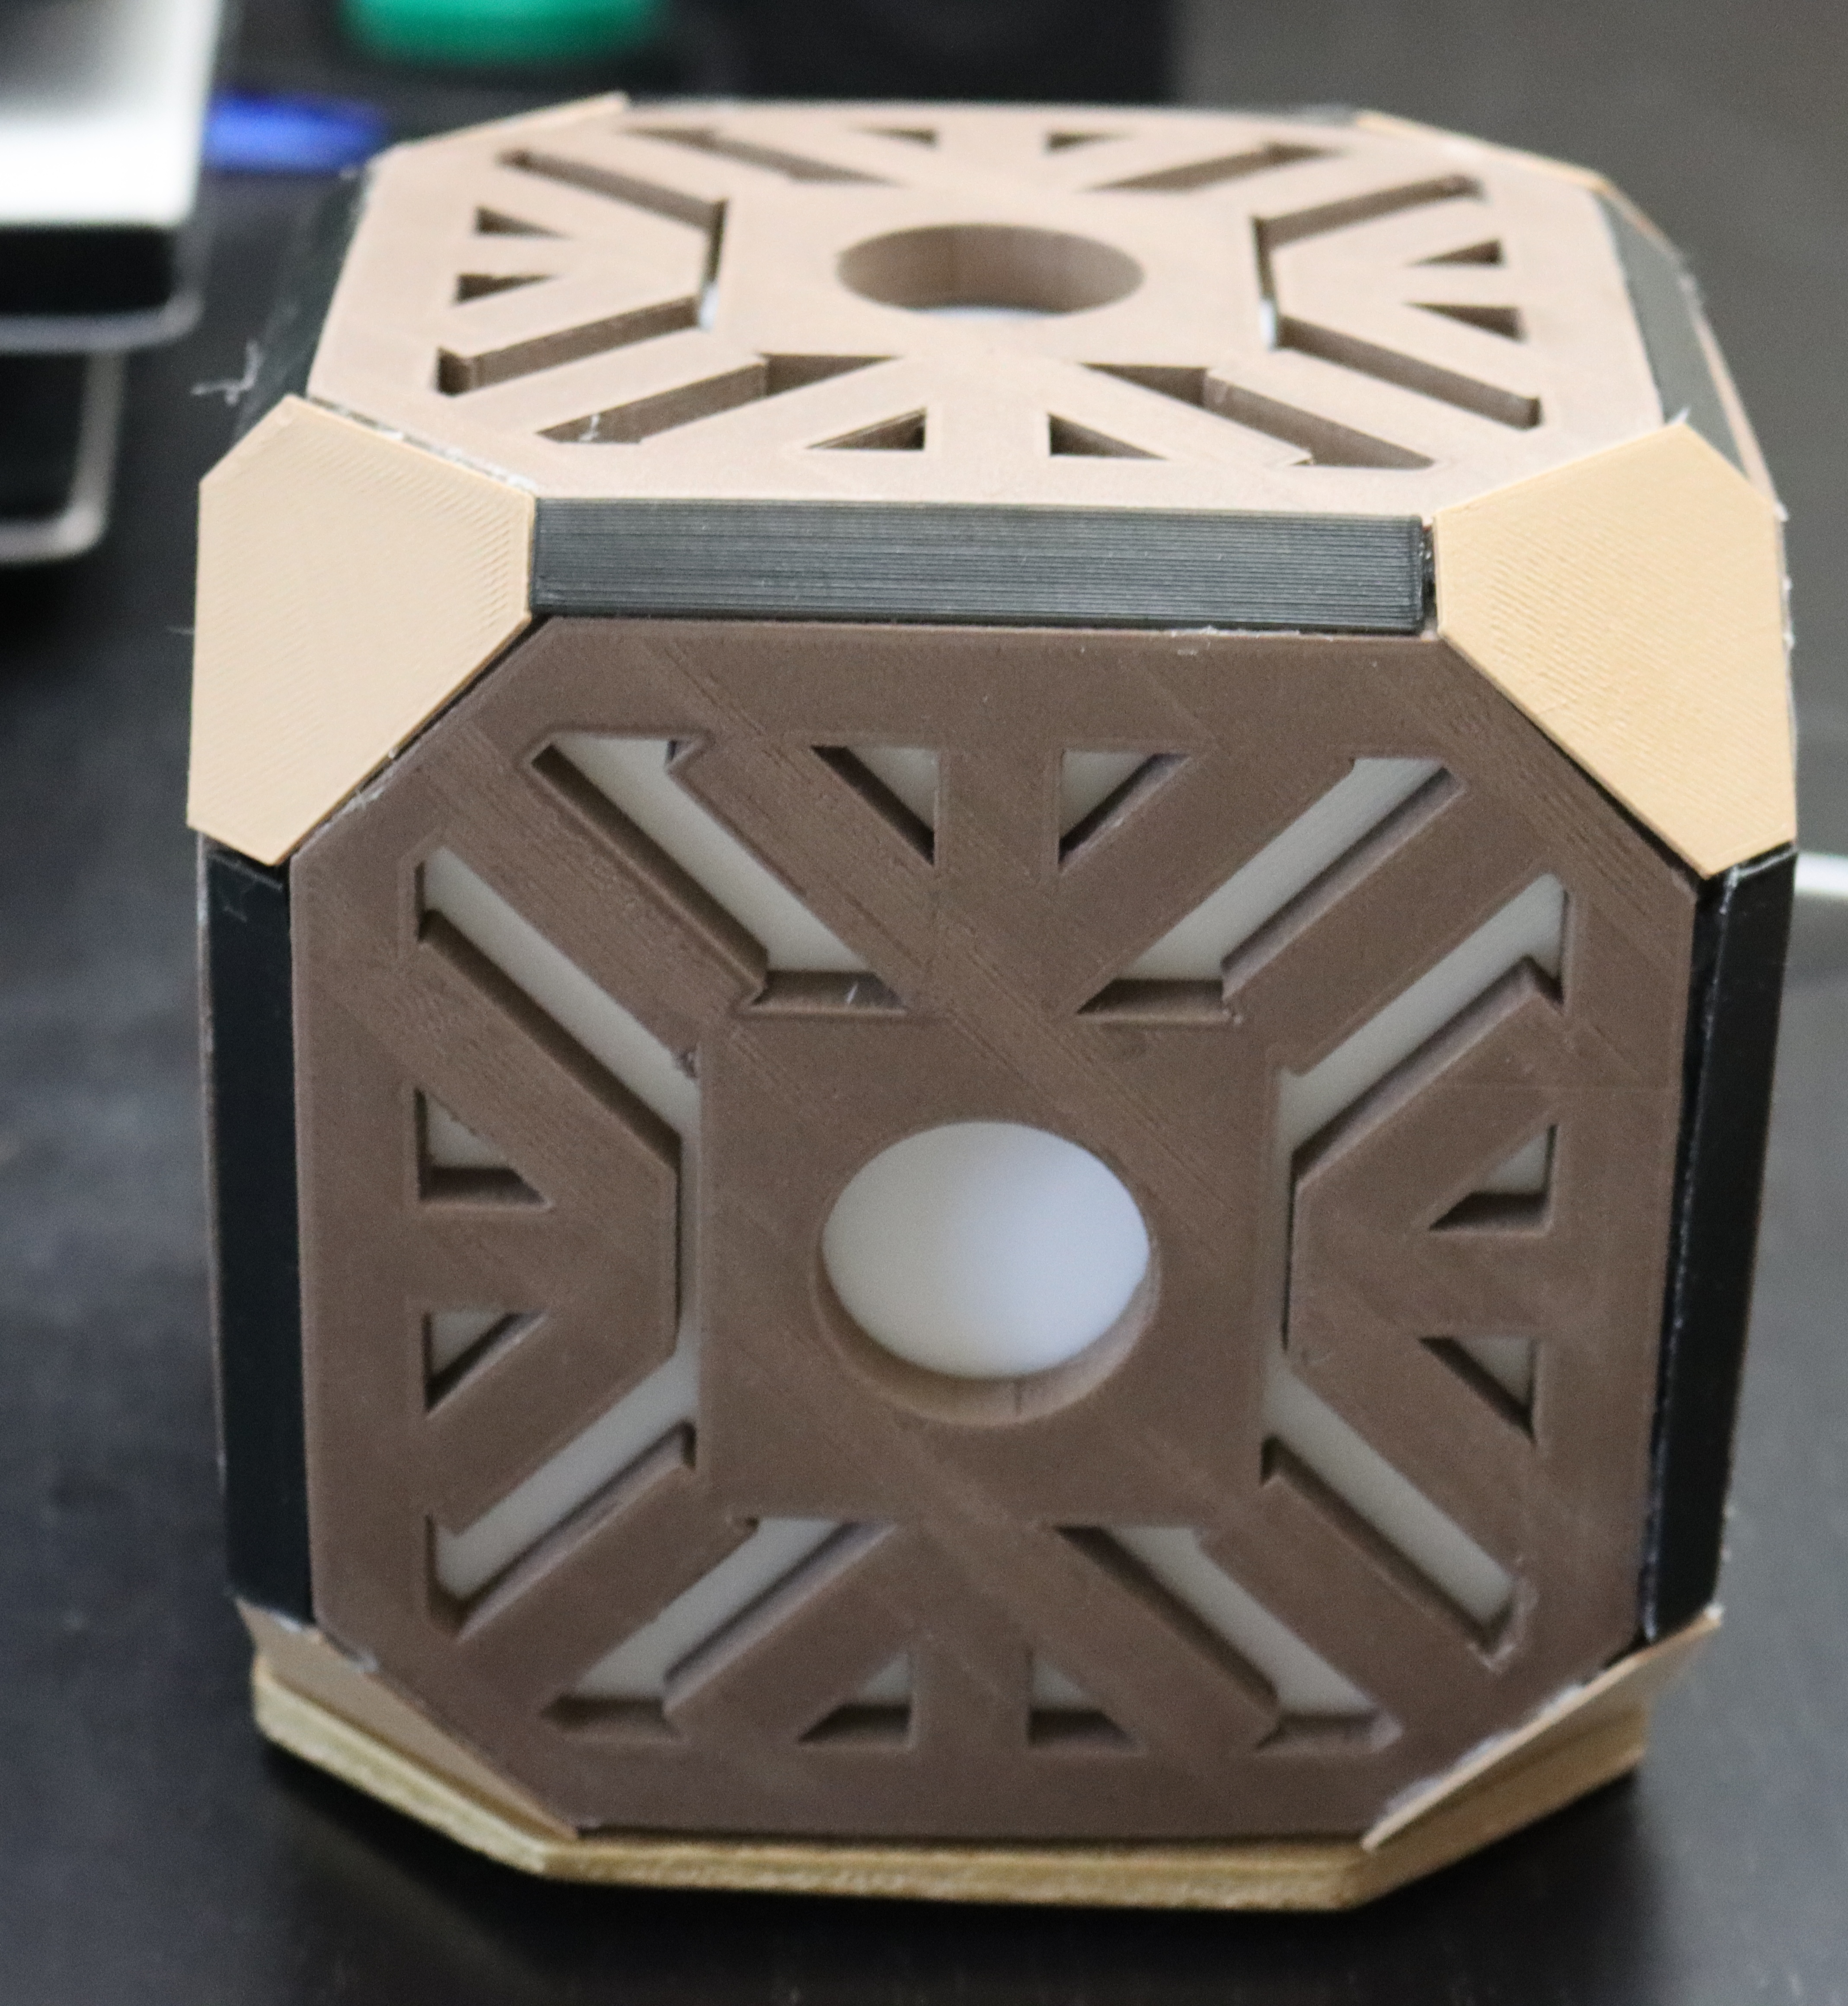
Glue all the printing one by one by using hot glue and super glue. First, stick the inner face with the frame. Next, glue all the frames together until you get a cube. Lastly, glue the corners one by one.
Installing LED Strip
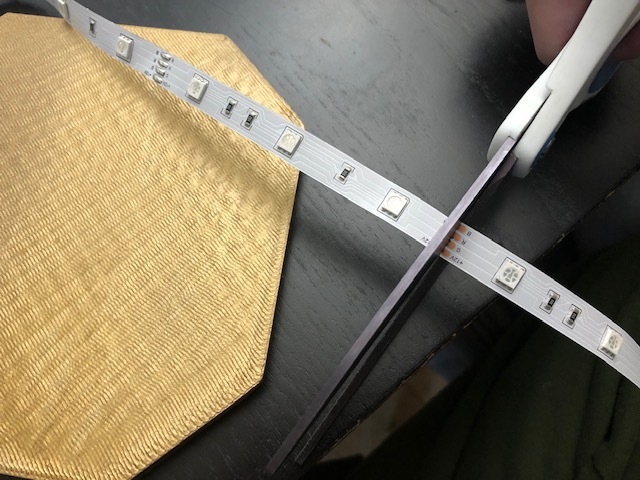
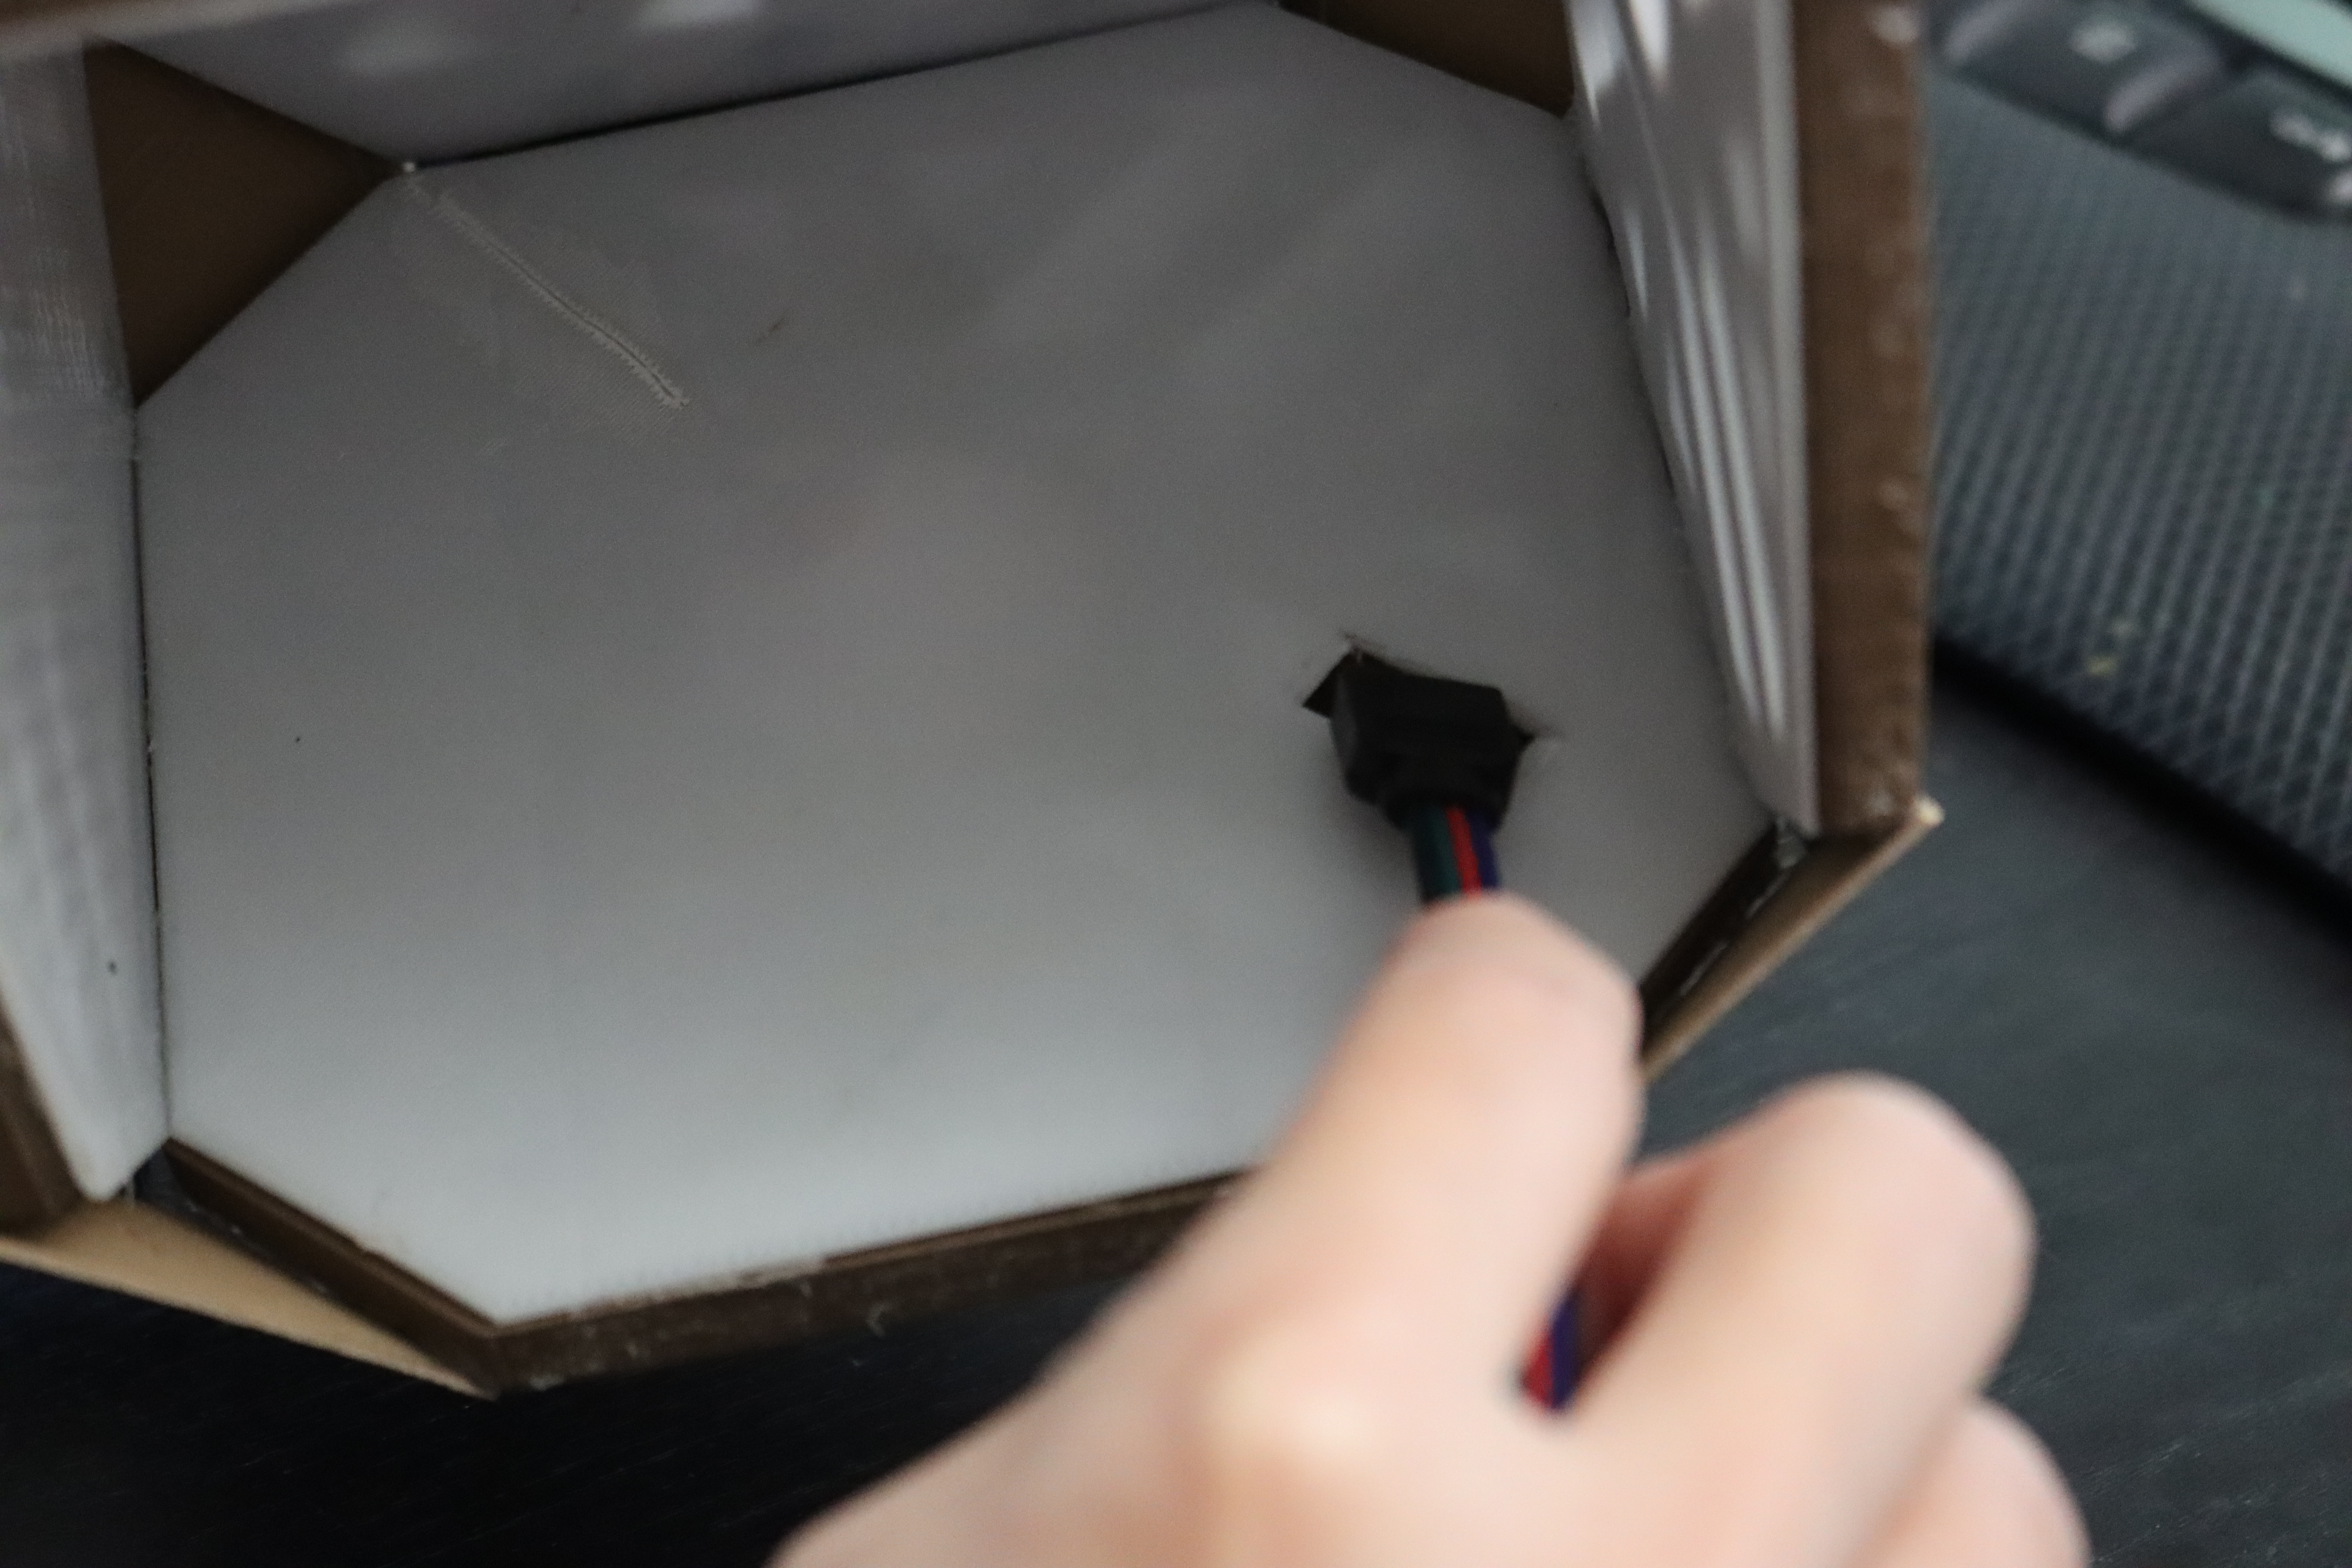
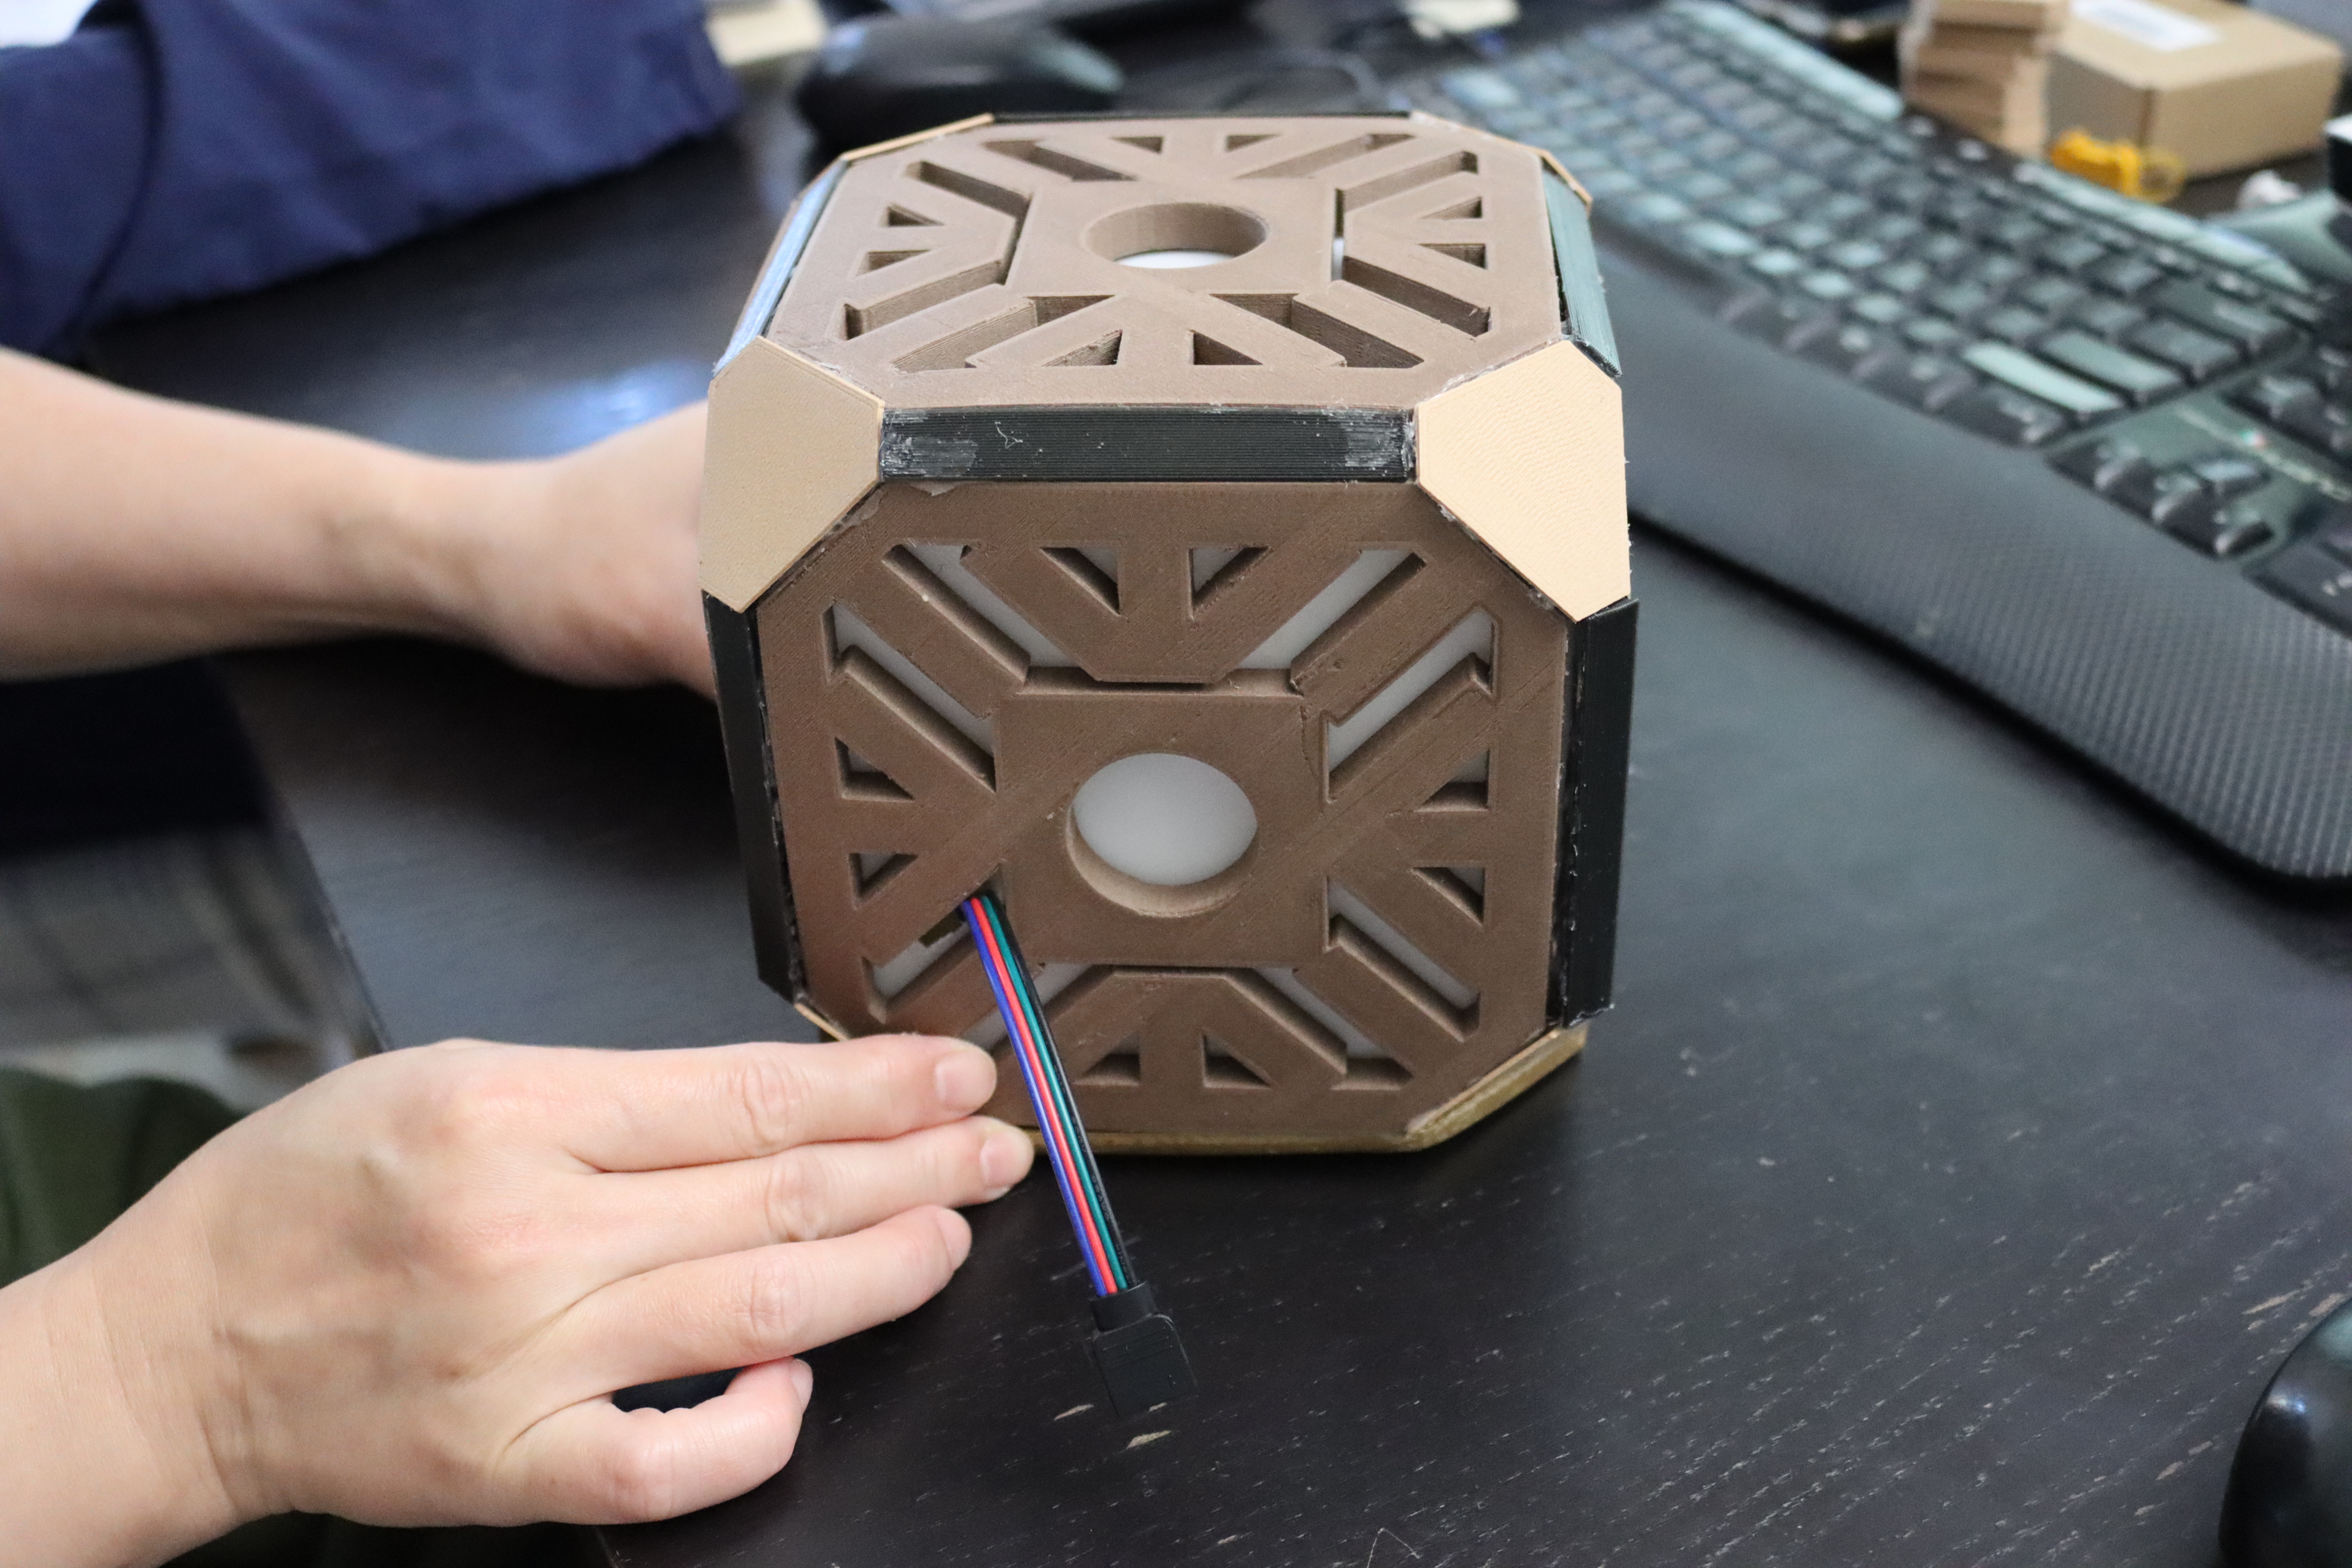
You have finished assembling the Holocron. Now it is time to install the LED strip. Measure the length of the LED strip that you need. Make sure to cut the LED strip correctly. Clean the surfaces of the base with an Alcohol prep pad, so there is no dust that sticks on the surface. After they dry, peel off the LED strip tape. Stick to the base of the Holocron and press it firmly until the LED strip sticks nicely on the base. Glue the base to the body of the Holocron.
Testing
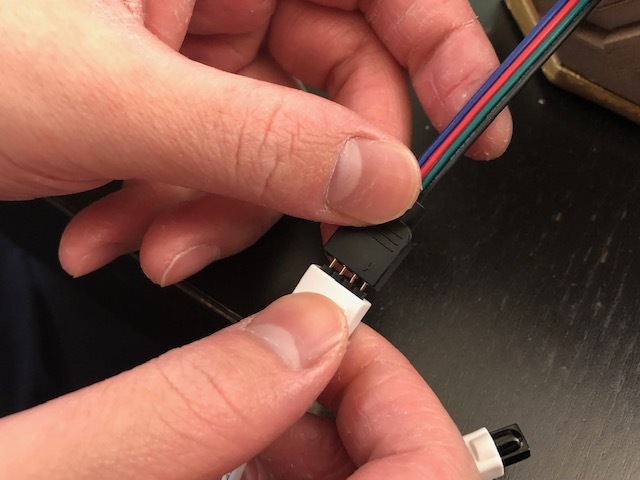
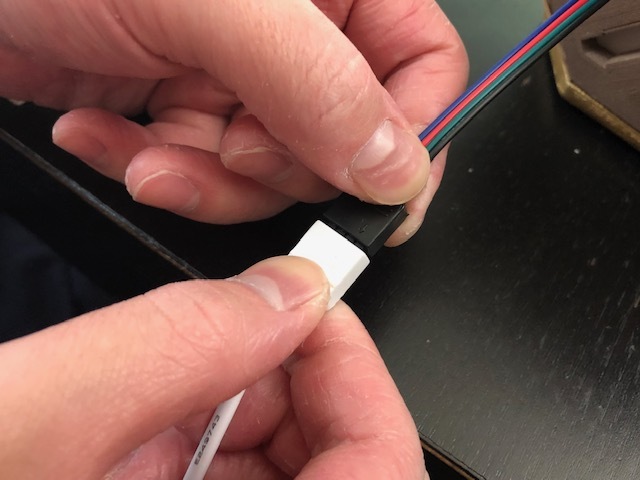
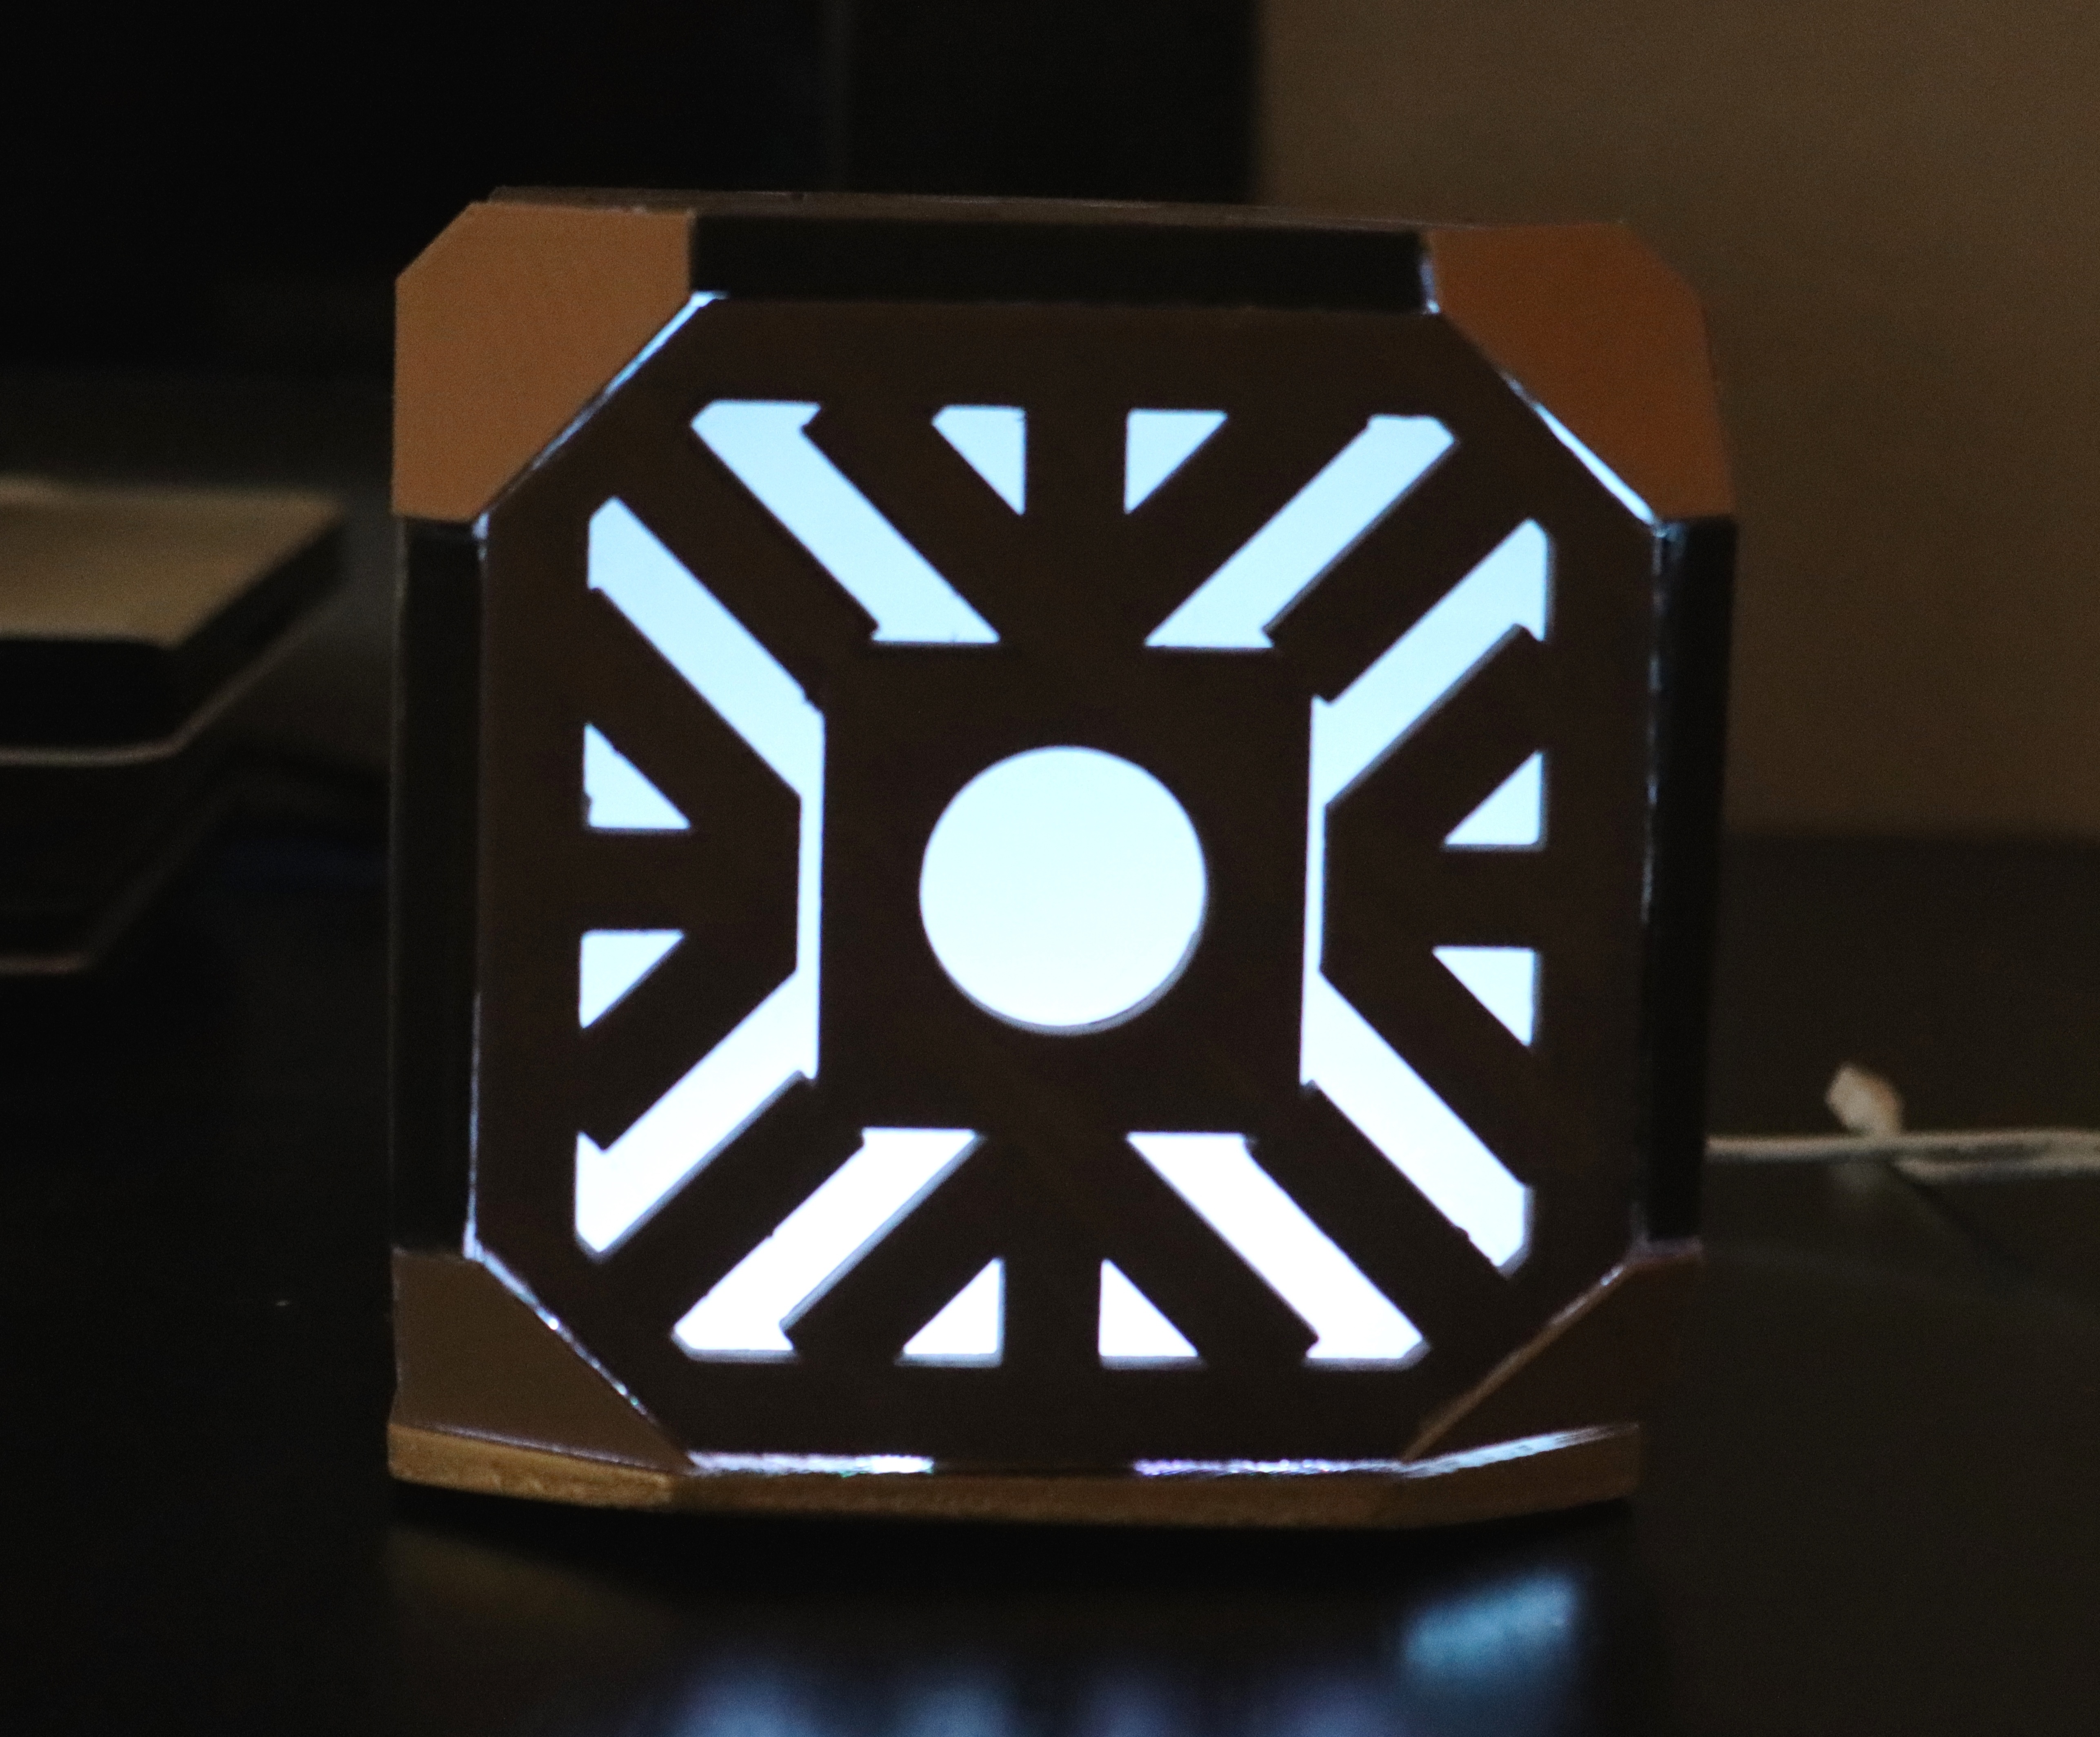
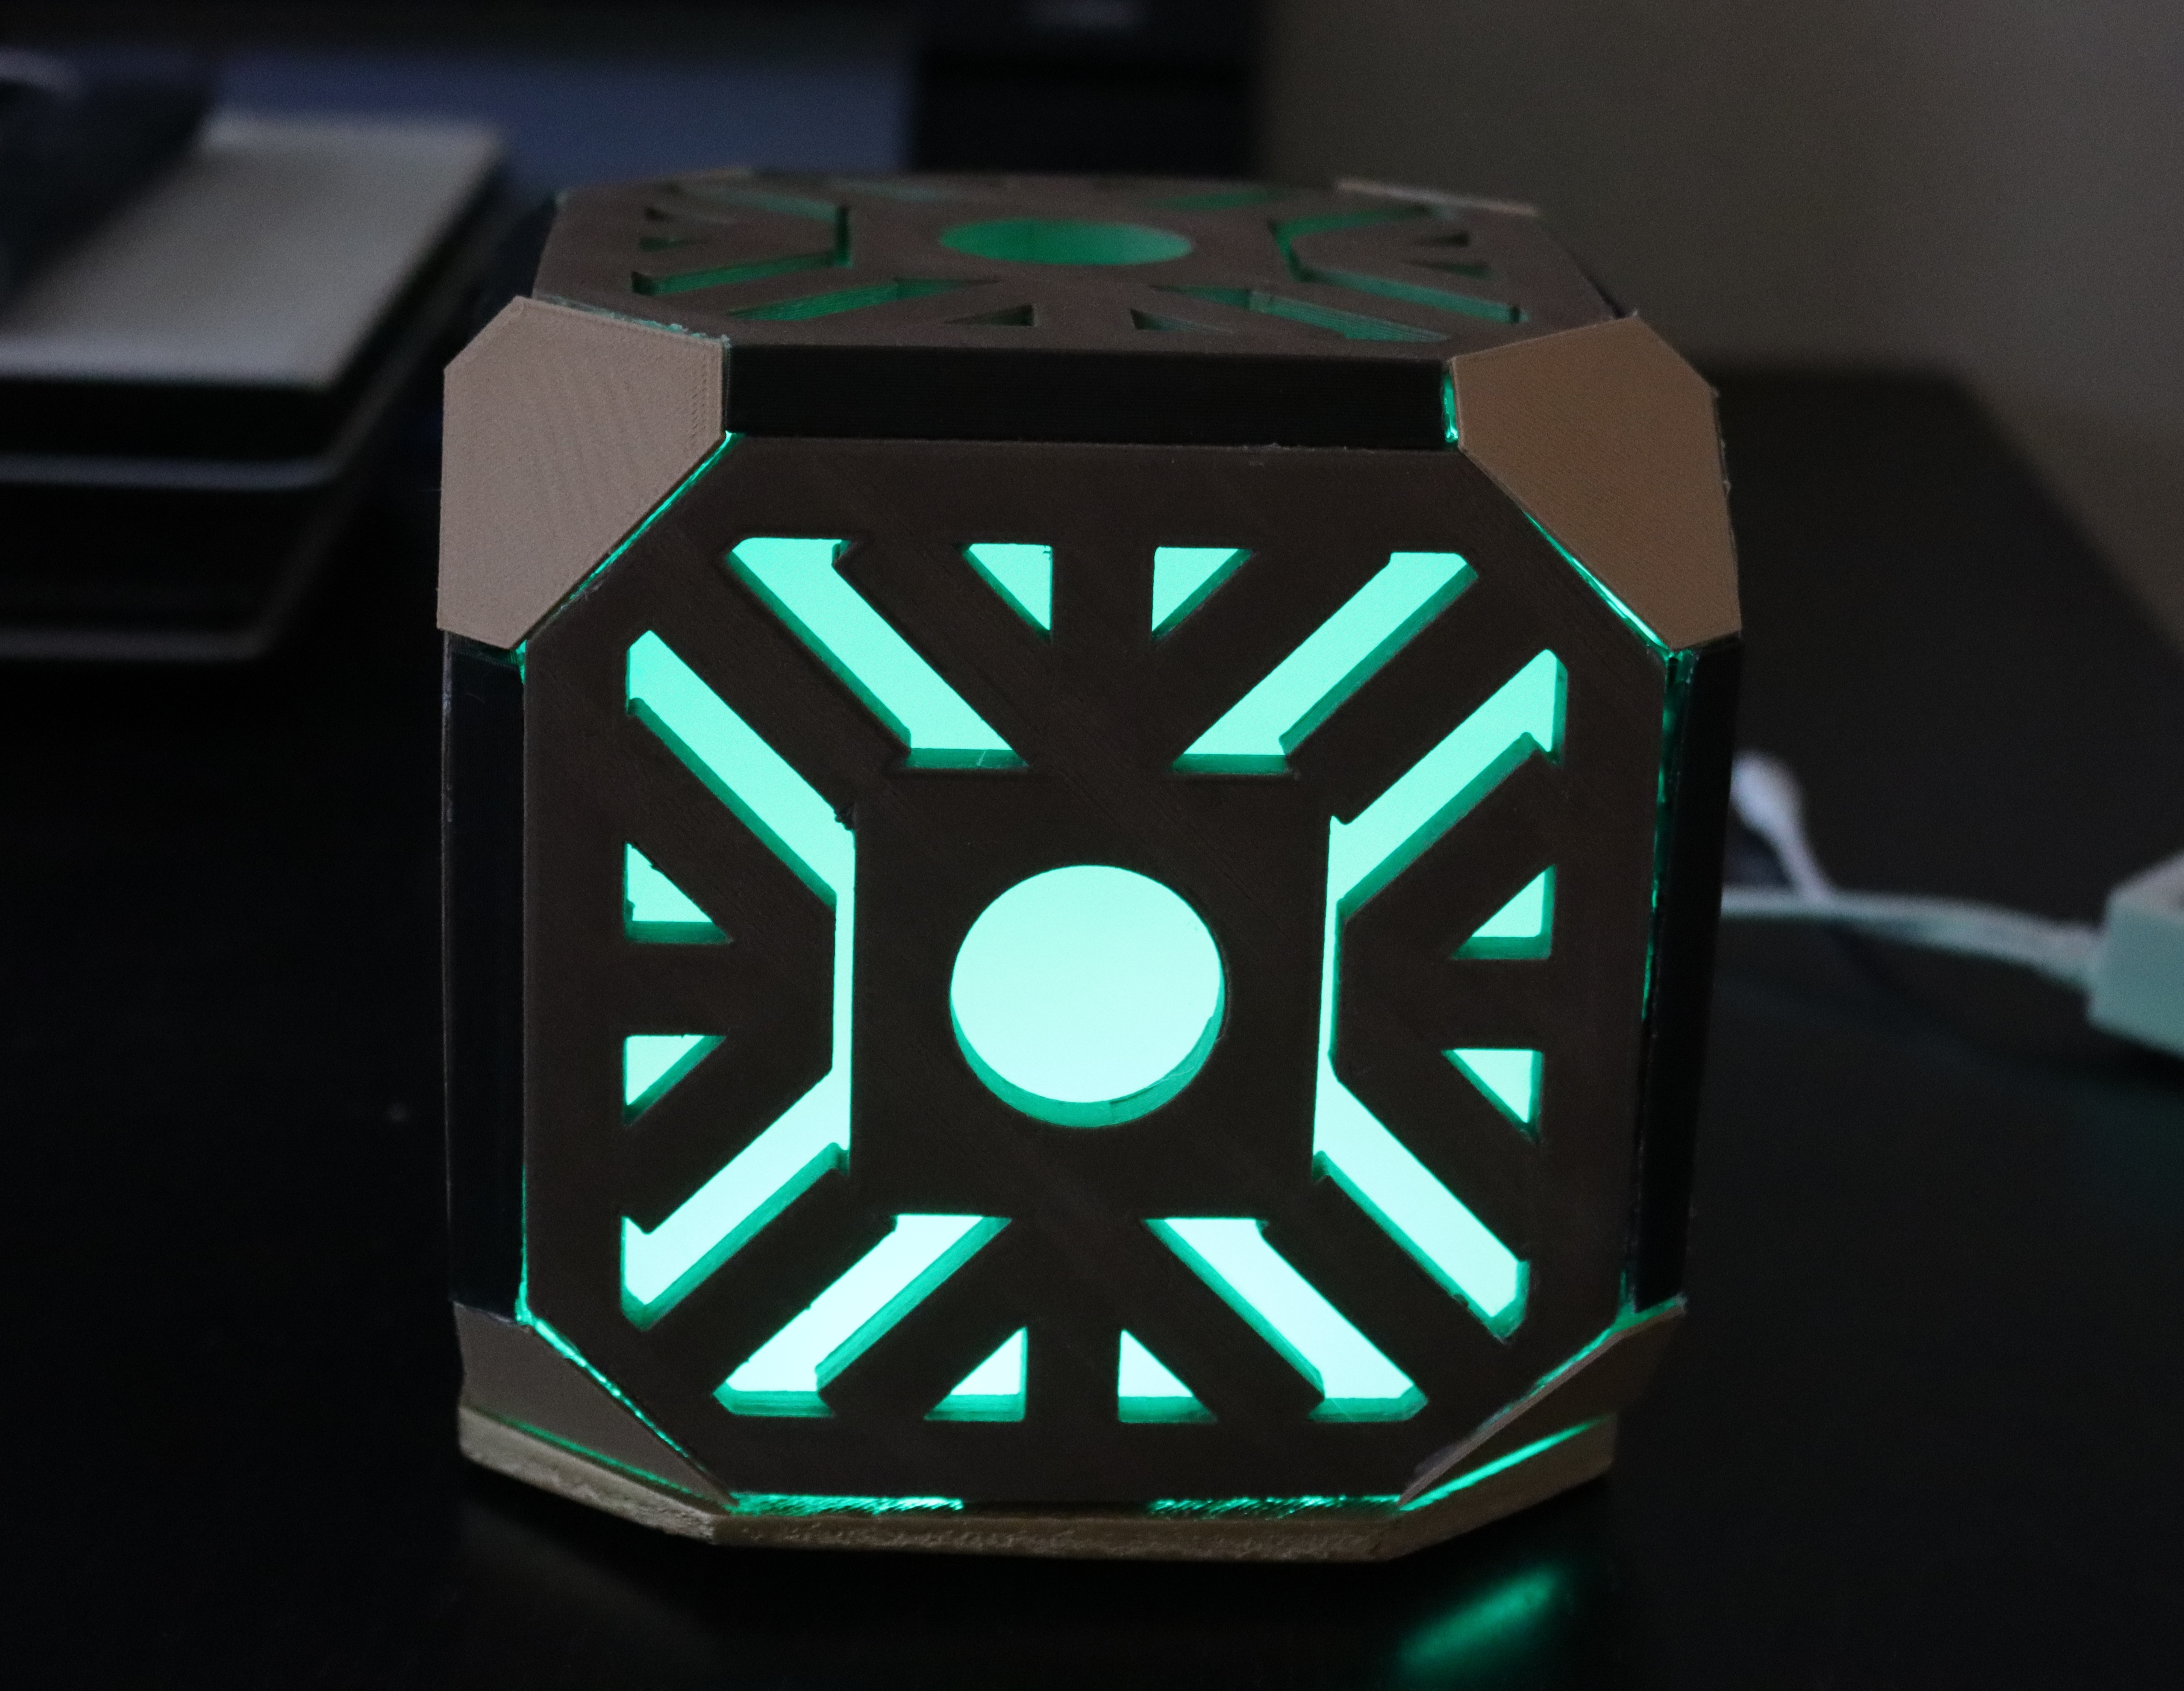
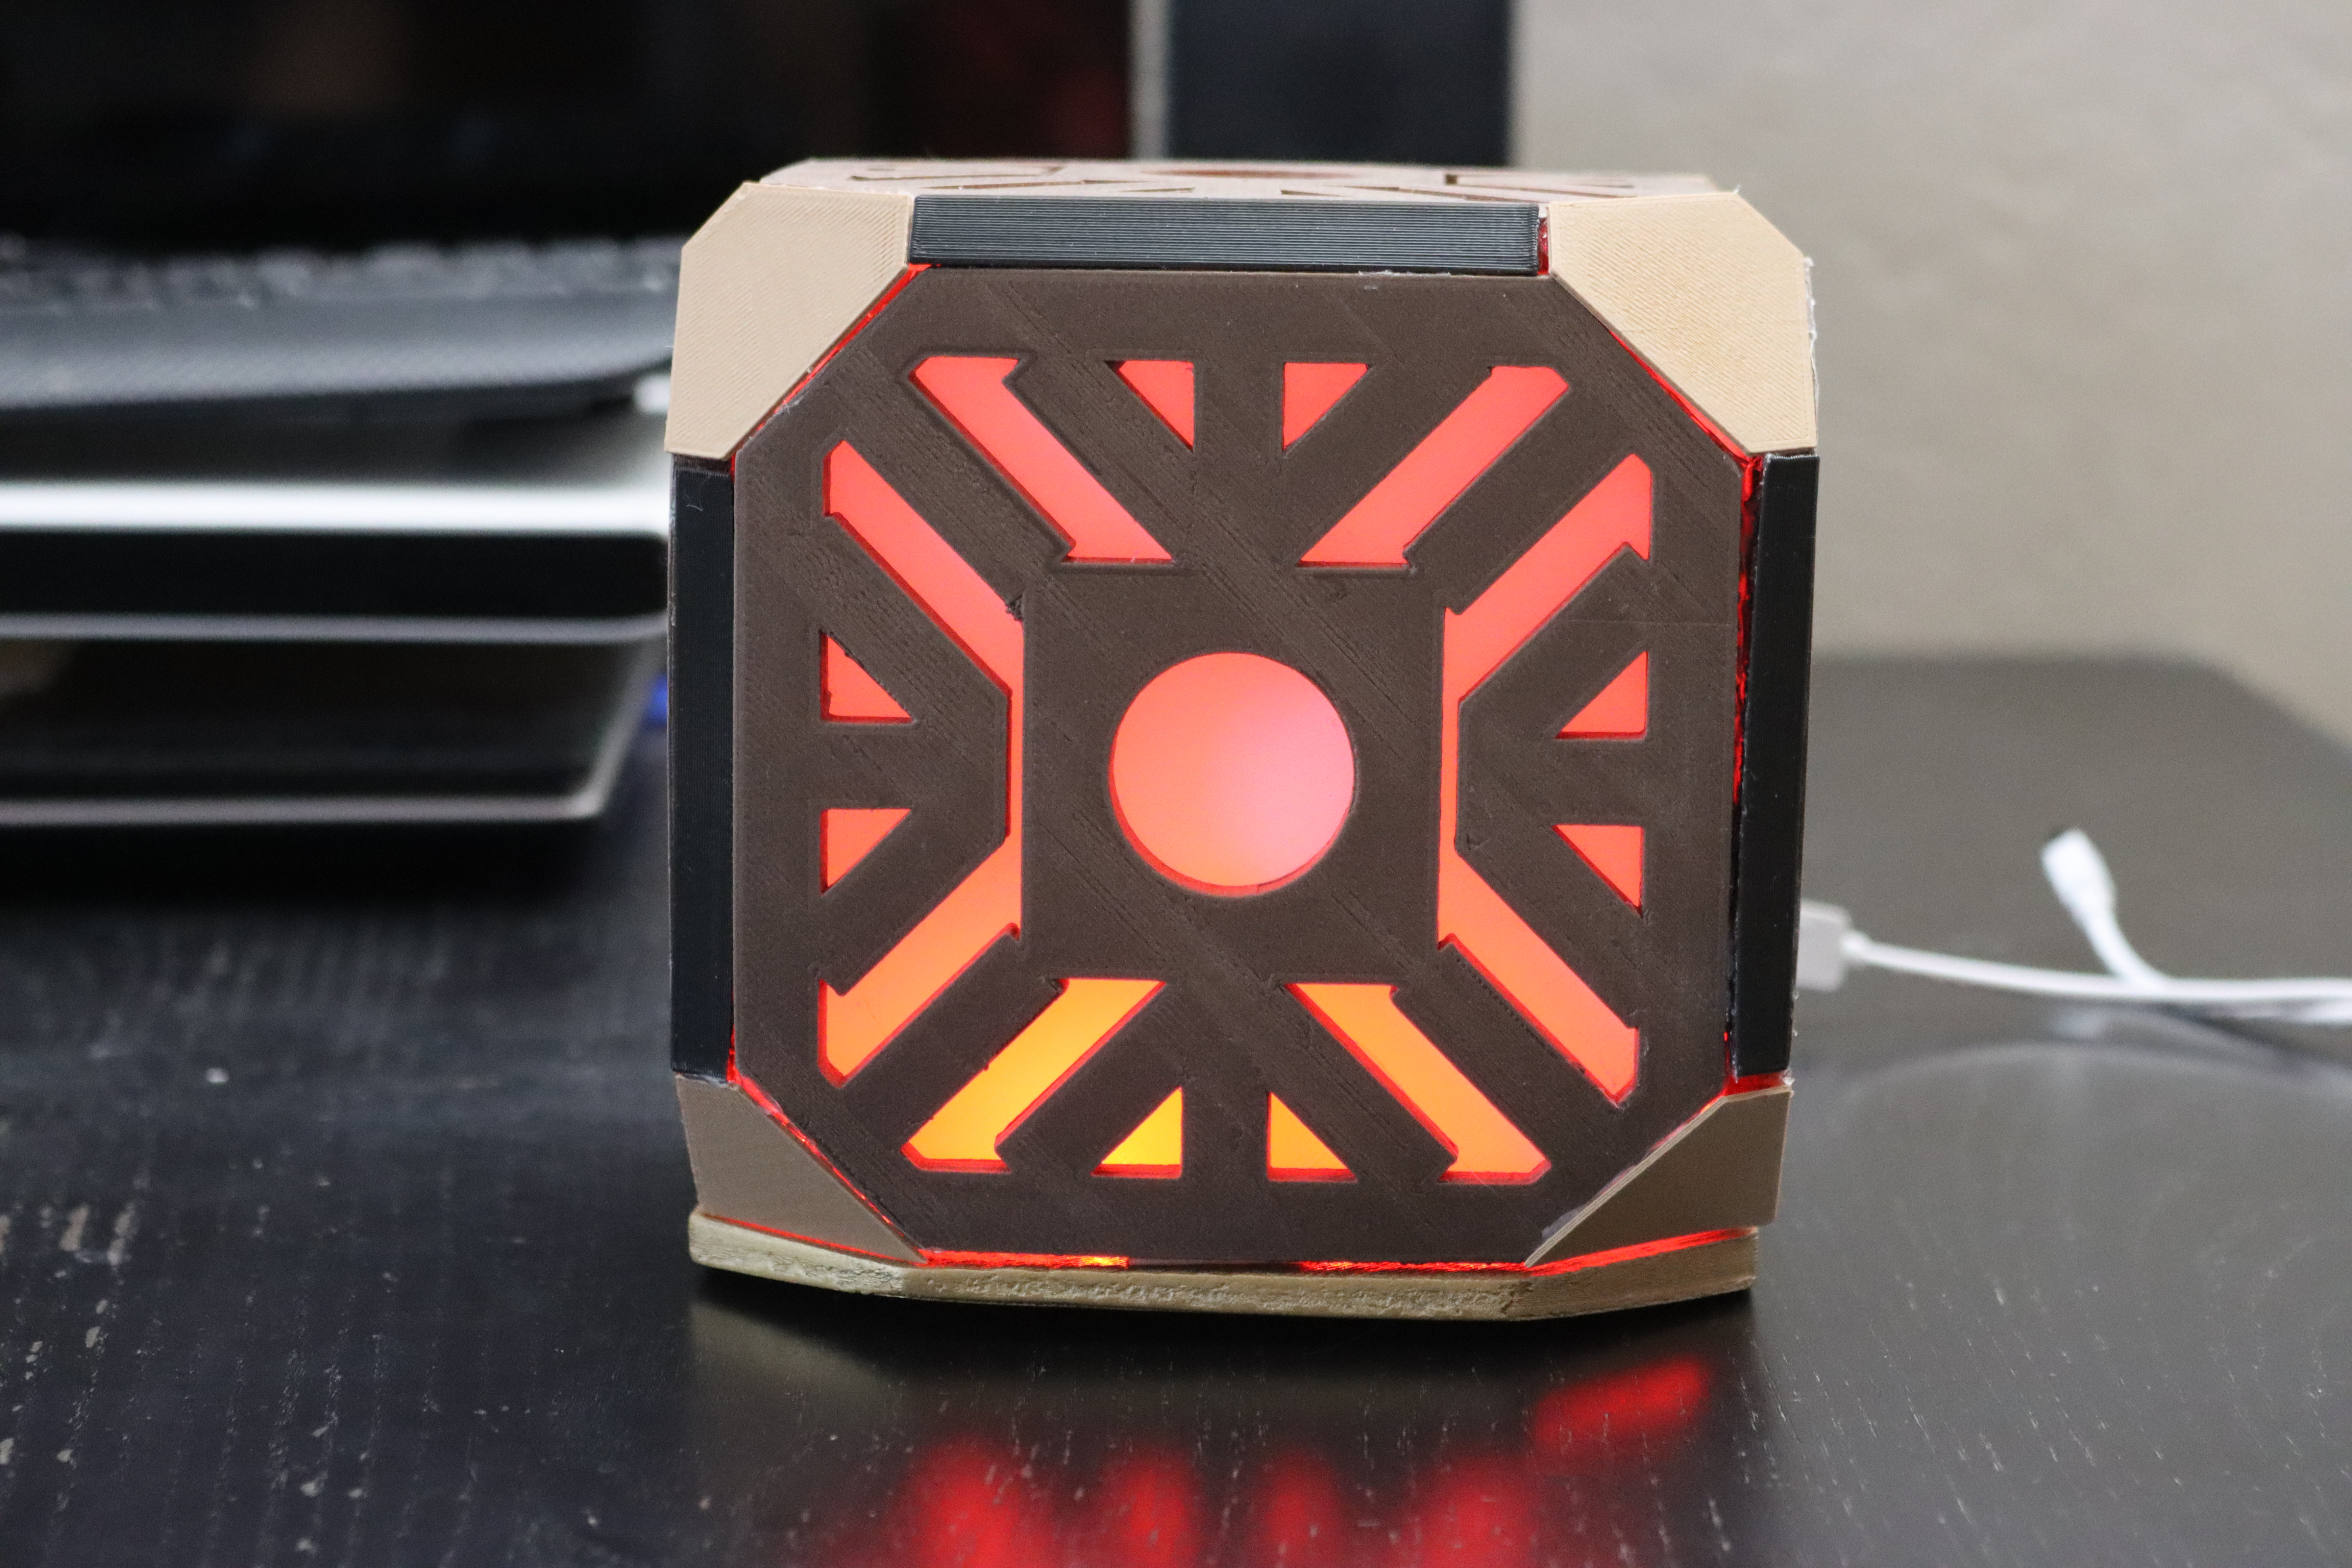
After installing the LED strip, connect it with the adapter. Plug it to the electrical outlet. Now it is time to test your LED strip. My LED strip has a remote. Press the button of the color you desire.
Final Result
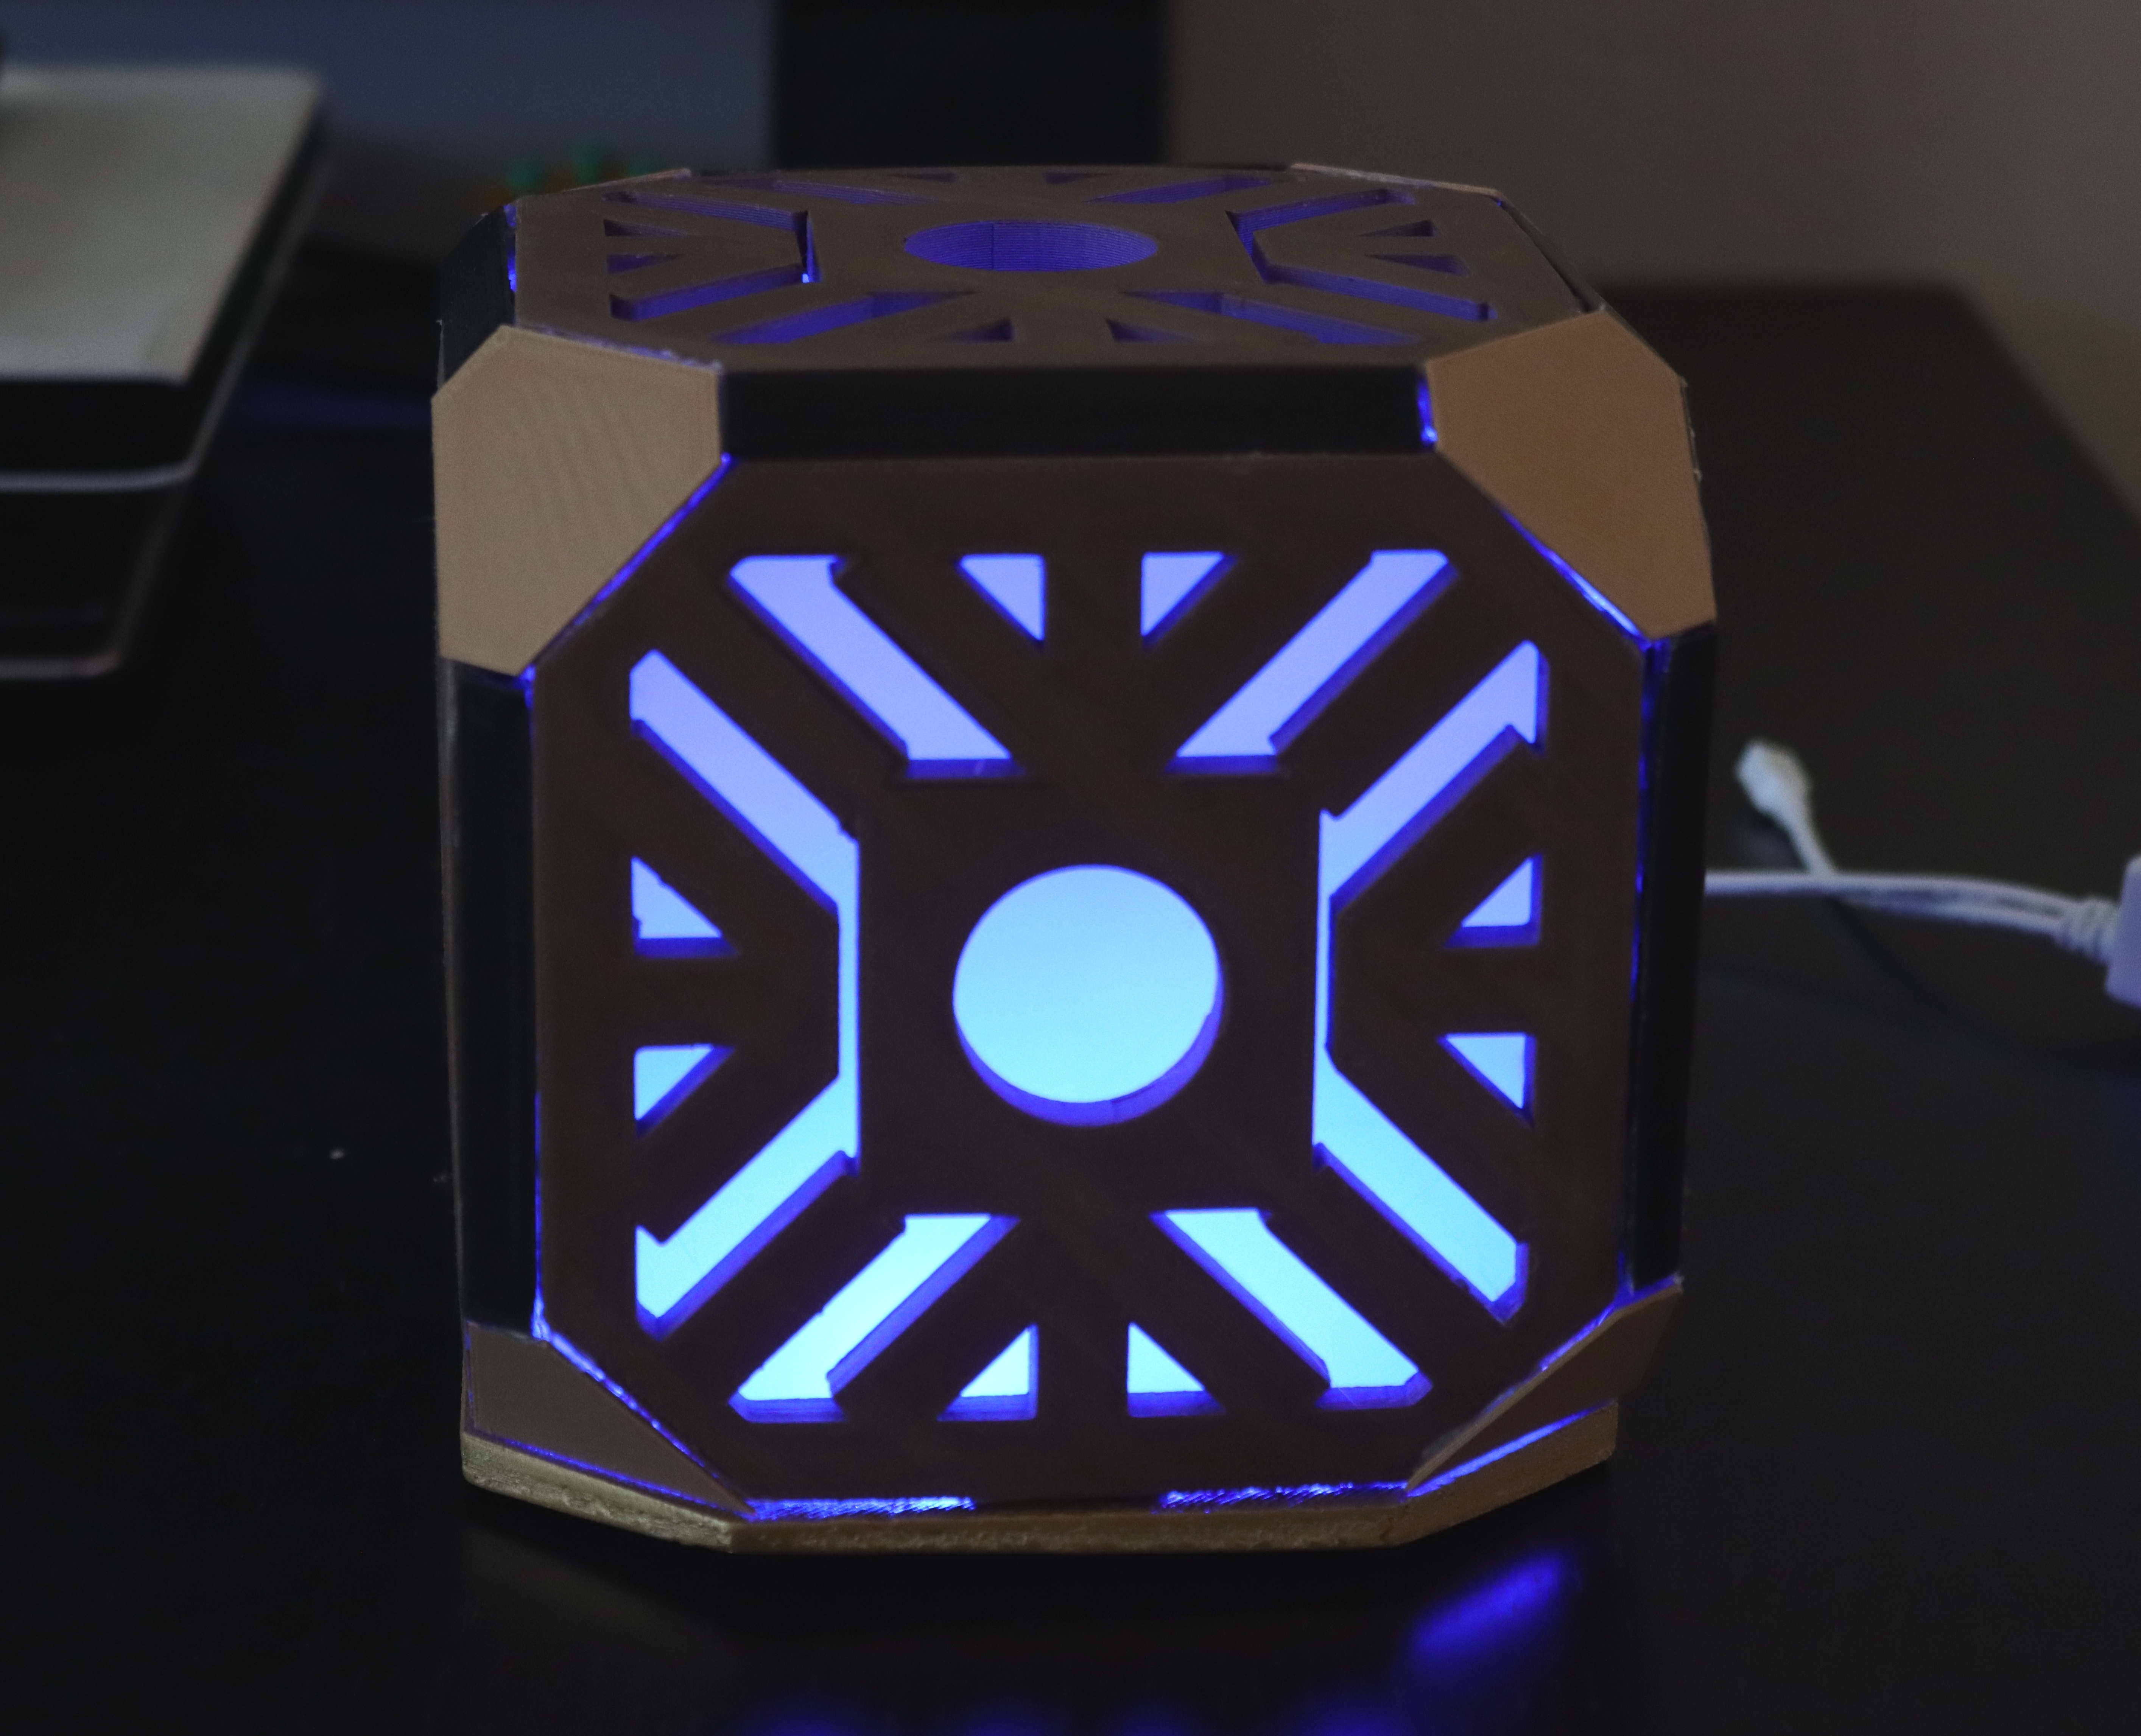
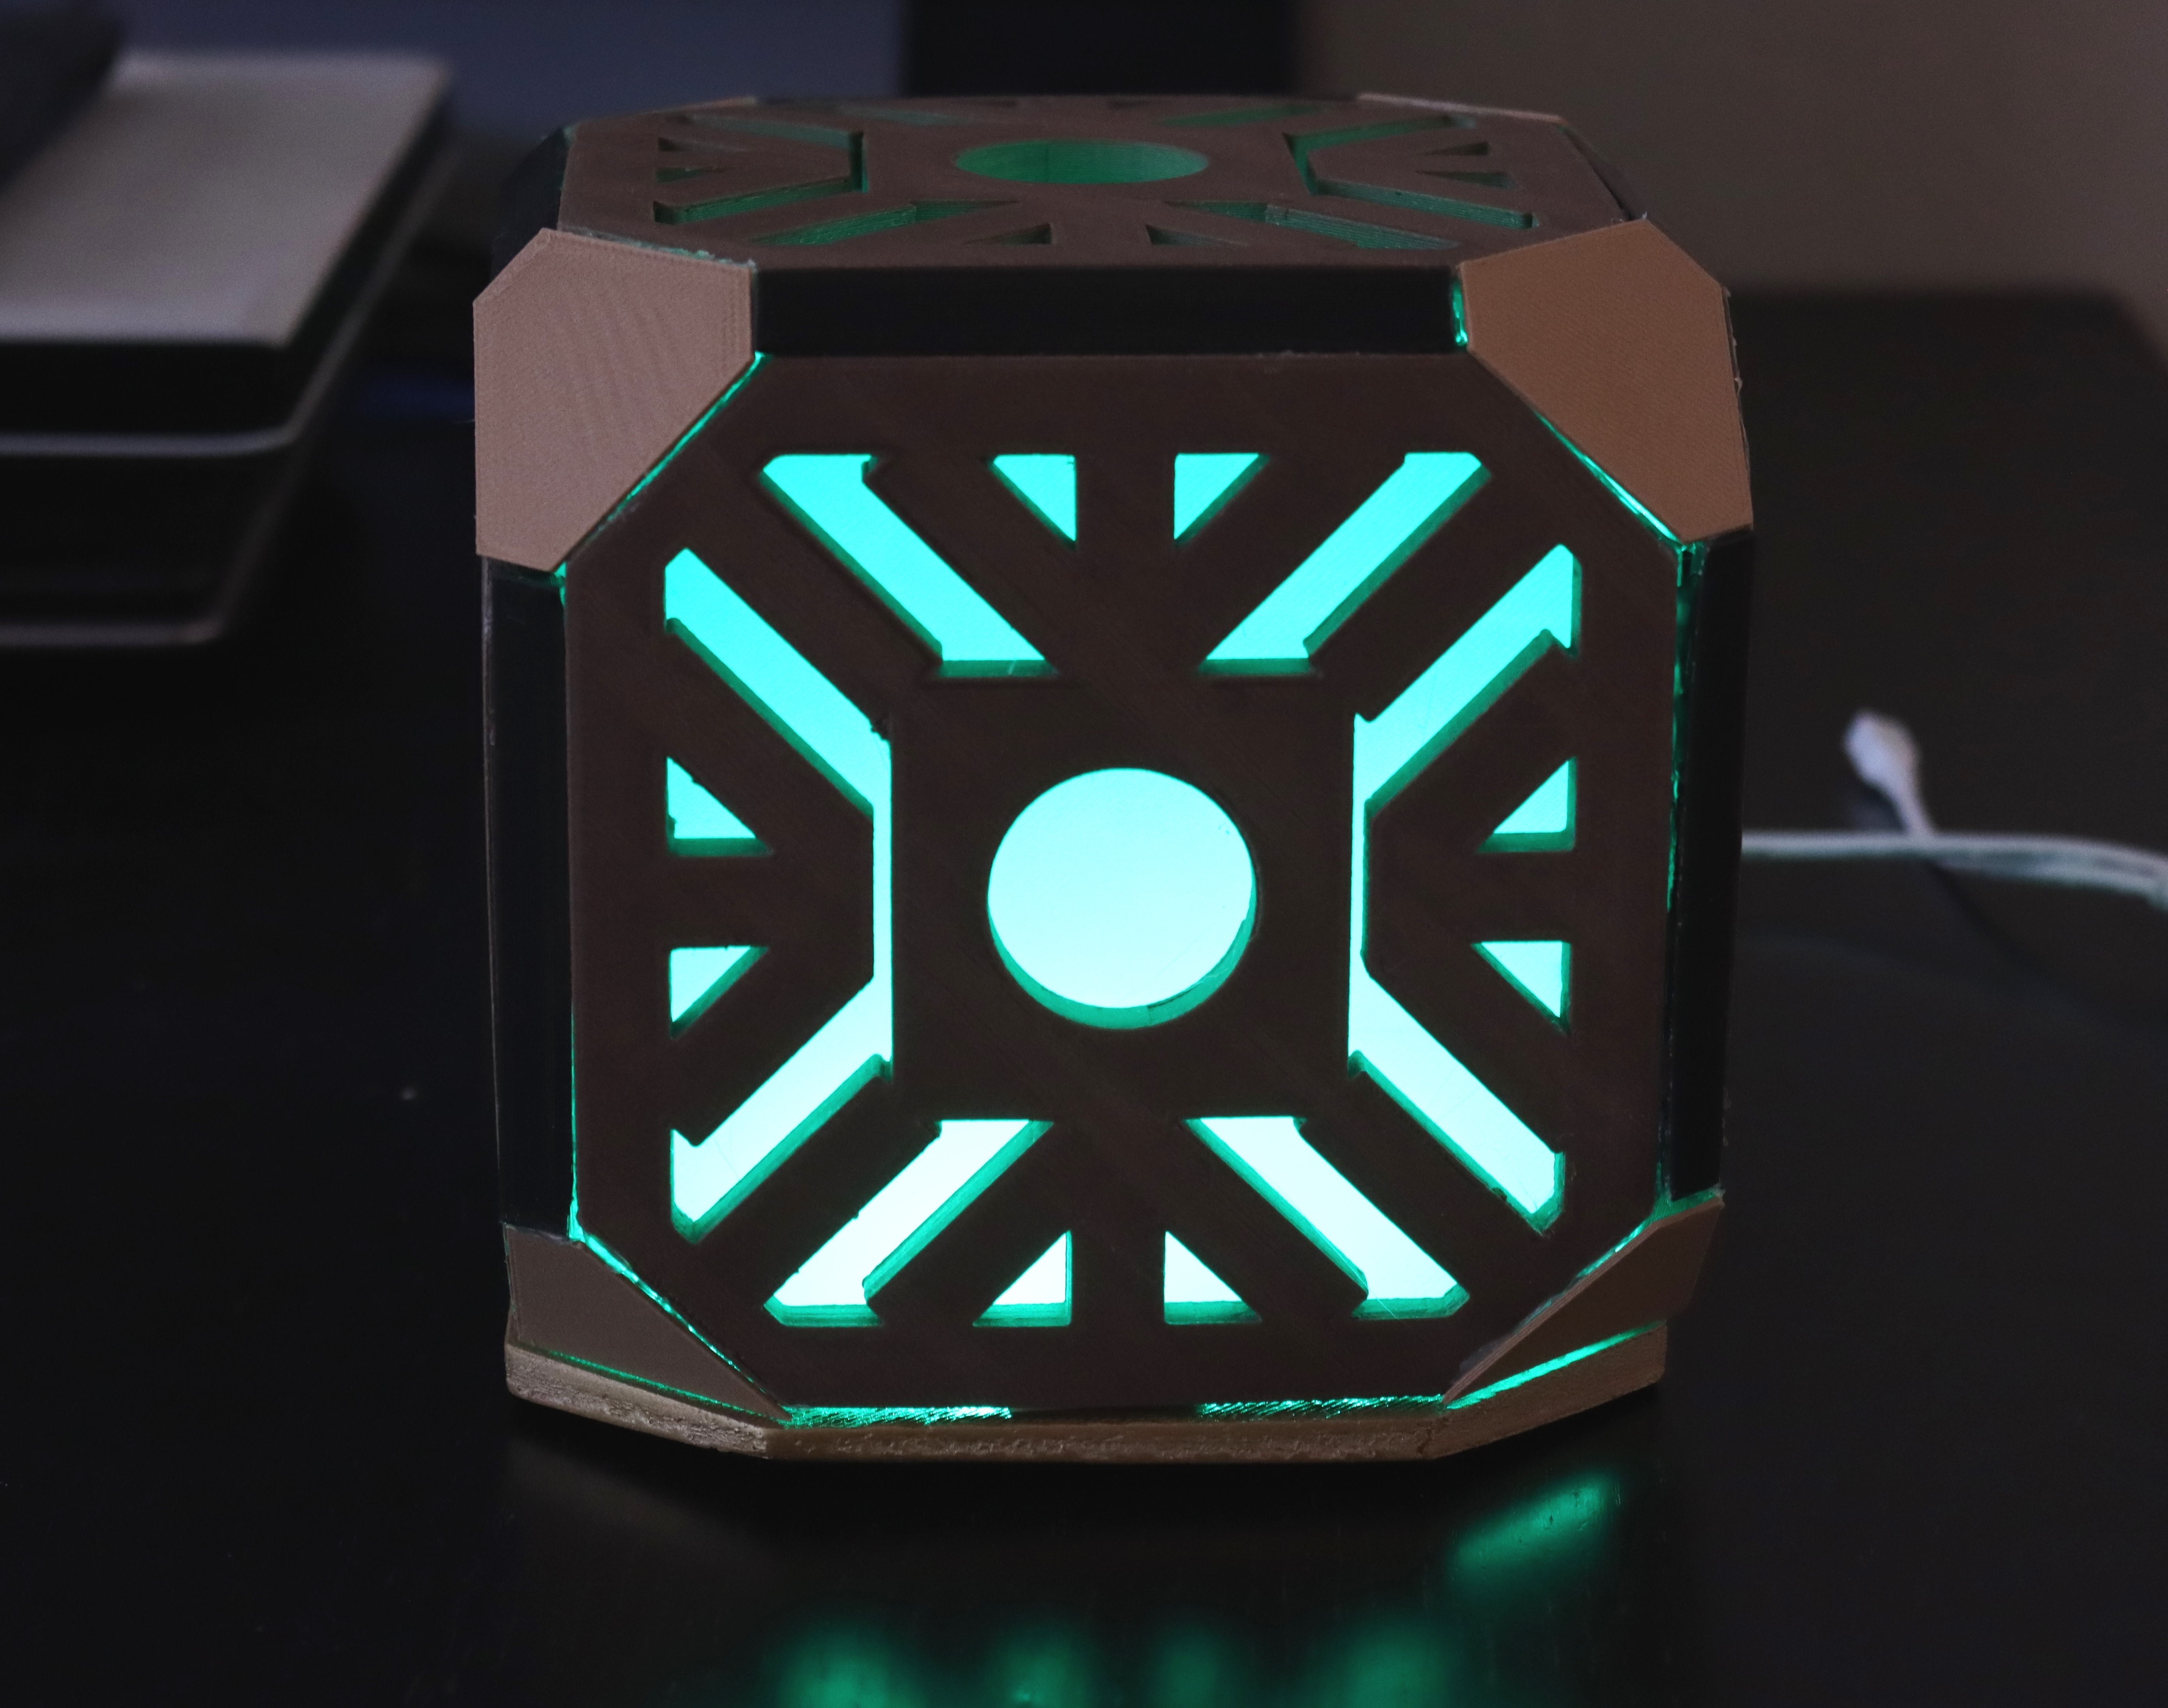
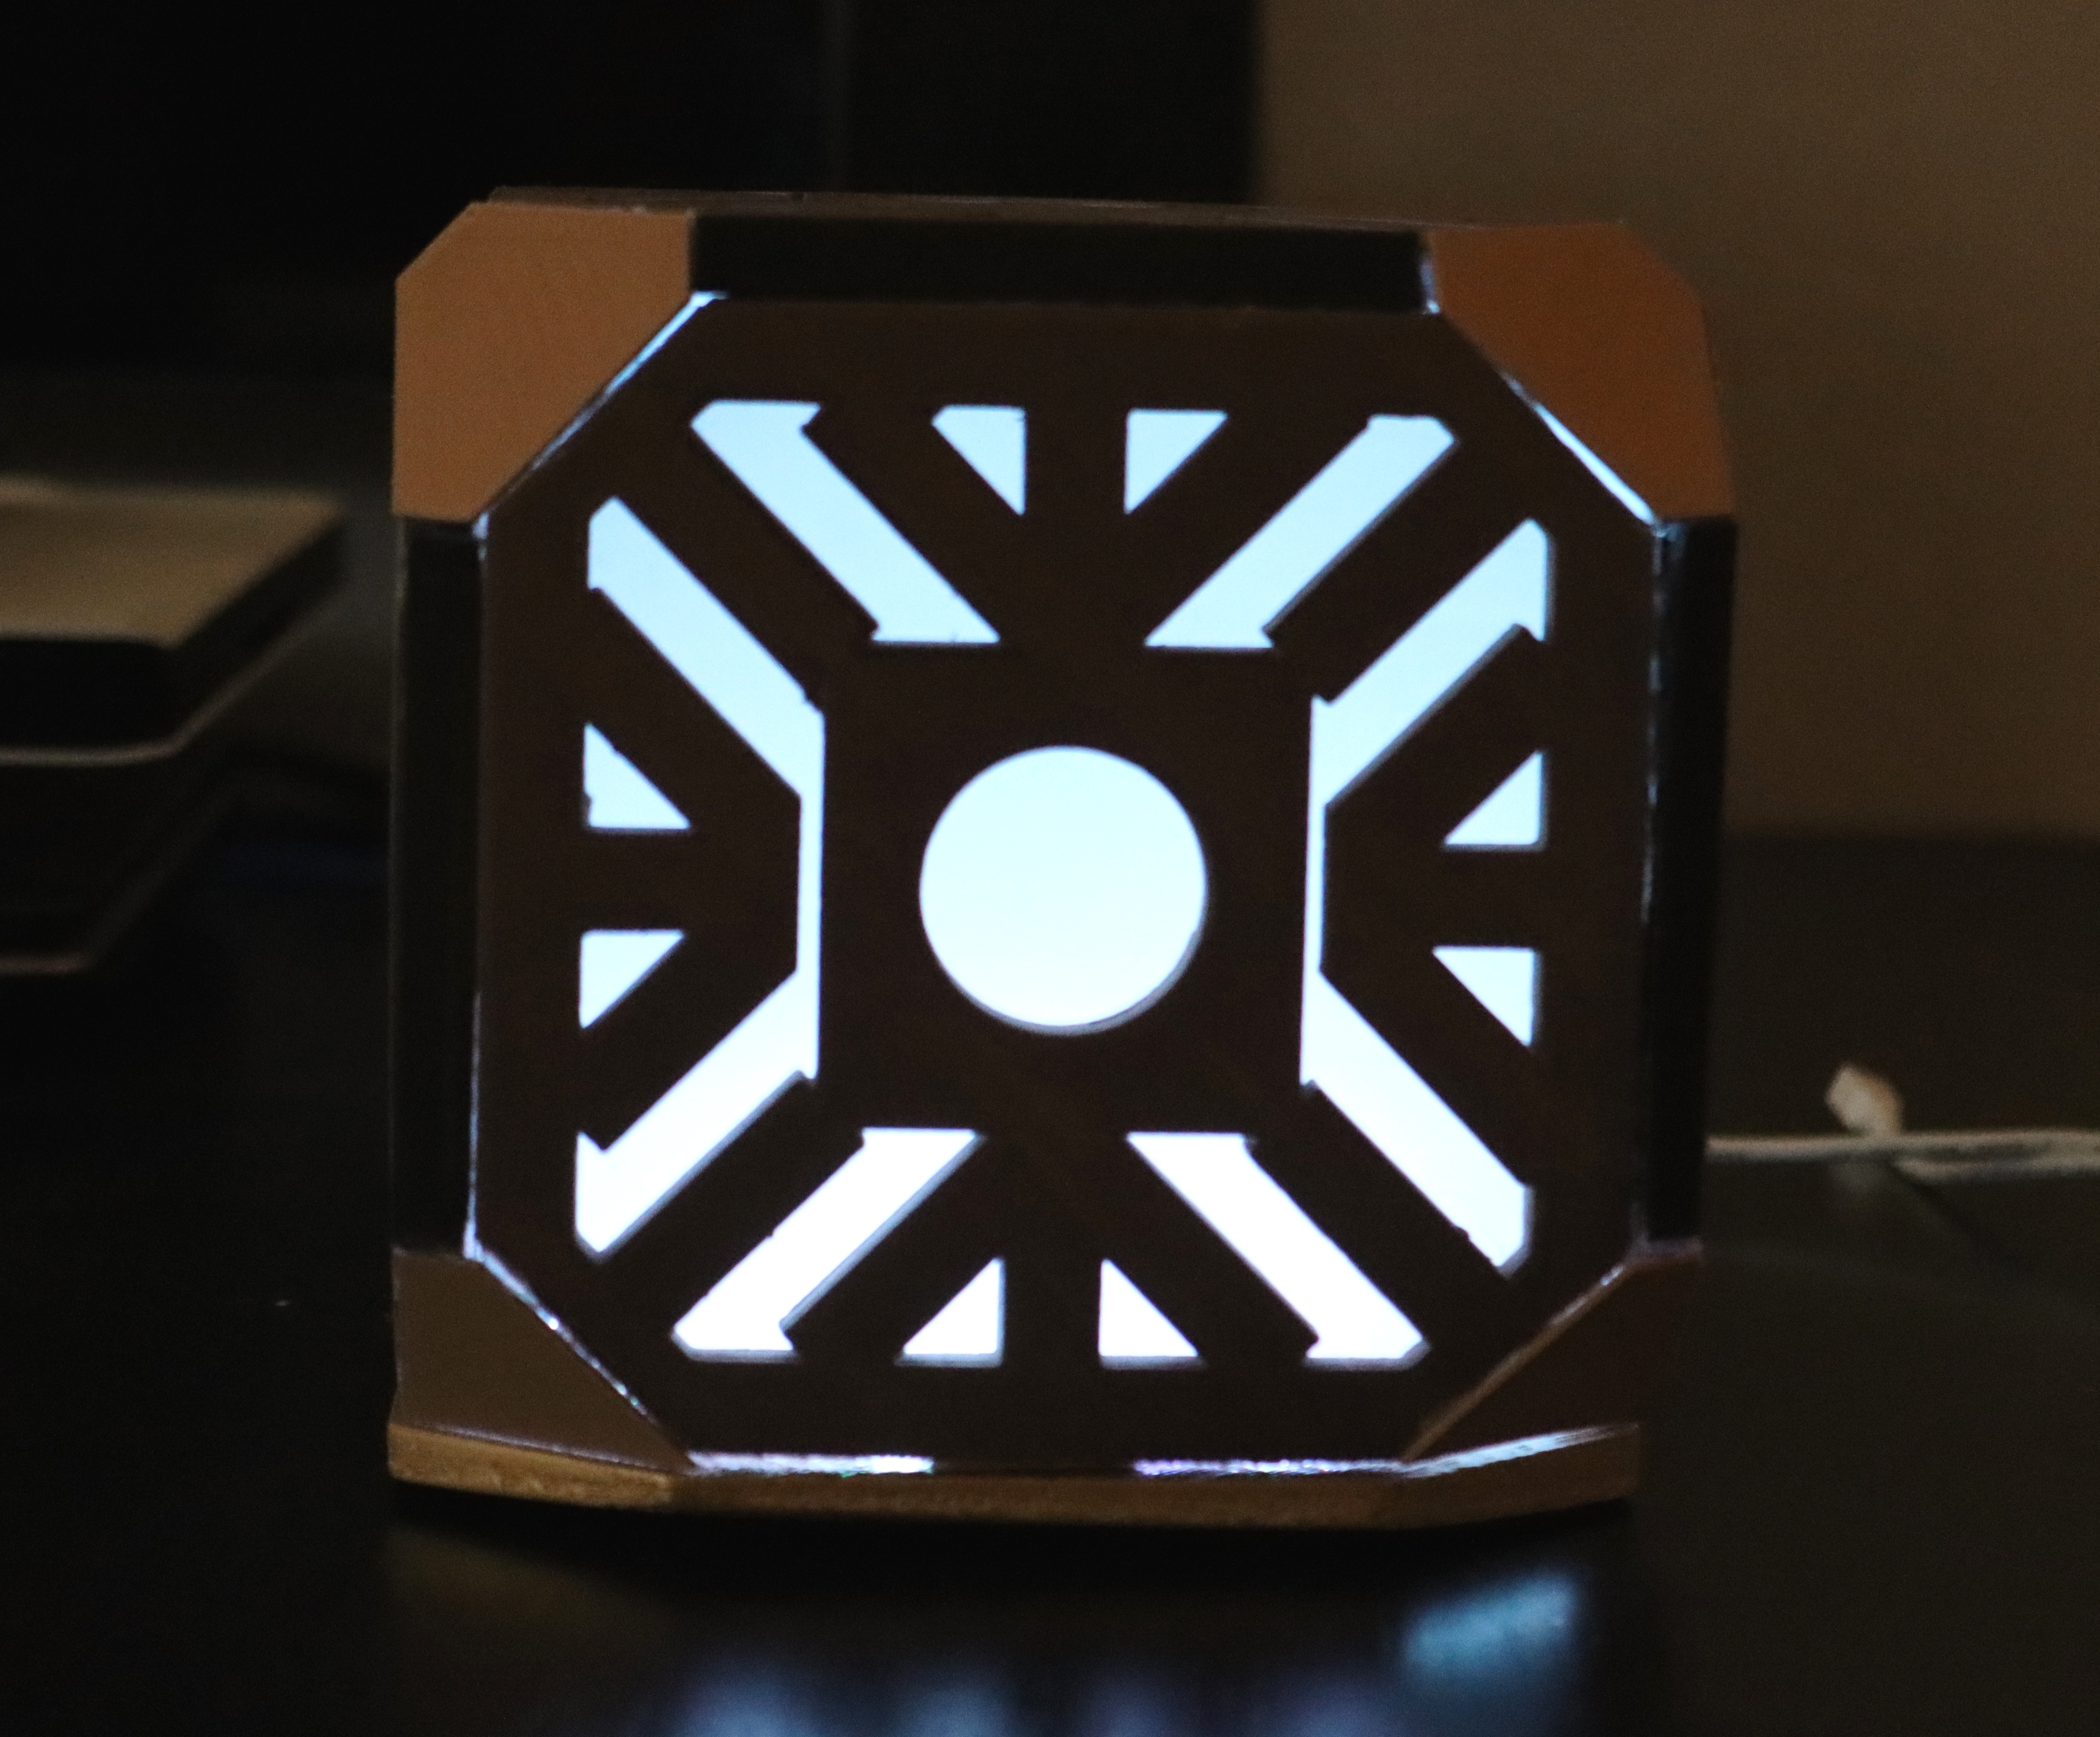
You are finished making a lighted holocron. Thank you for reading my instructable. Enjoy making!