LightHouse

In project 2 we enhanced our original ideas of project 1. We made changes that would fit the requirements as well as benefit the project. Some changes included the size of the lighthouse and placement of the wires. In our lighthouse, we coded our CPX so that it was able to do three different functions; spinning, sounds and lights. The CPX is also battery operated which connects to the servo motor allowing our object to spin.
Supplies


Brainstorm Changes for Project 2
- Taller base
- Hollow center for CPX
- Glue battery case to side of lighthouse
- Put hole in side to hide wires from battery pack
- Supports between base and center layer
- Servo motor on center layer to spin roof
- Add a flag to show the roof spinning
Use TinkerCad to Redesign
- First we went into TinkerCad and started redesigning our pieces
- For the base of our project we redesigned it so that the CPX was able to fit inside the base
- We increased the height of the base and hollowed out a hole to hide and hold the CPX
- Hollowed out another hole to hold the servo motor to fit snug
- Increased the height of the support beams for the center layer and roof

Print Parts
- Once we were finished creating each part for our build we then saved each part as an STL file creating a .makerbot file
- The we would transfer each file onto a flashdrive that would then be inserted into the Makerbot Sketch 3D printer to print each of our parts
- None of the parts needed supports

Coding
- First we went into https://learn.adafruit.com/circuitpython-made-easy-on-circuit-playground-express/circuit-playground-express-library
- We start a new project
- Write the code for the servo motor to move
- Write the code for the lights
- Write the code for the sound
- Save and upload to CPX

Assemble
- First we glued in the part to hold the CPX inside the base
- Then we put the CPX into the holder
- After, we glued on the supports to hold the center layer
- Then we clicked the servo motor into the center layer and glued it to the supports
- Battery to CPX
- CPX to servo
- Servo to roof
- And attached the roof to the center layer with the servo motor allowing the roof to spin
- And glued the flag onto the roof to show the roof of our lighthouse spinning

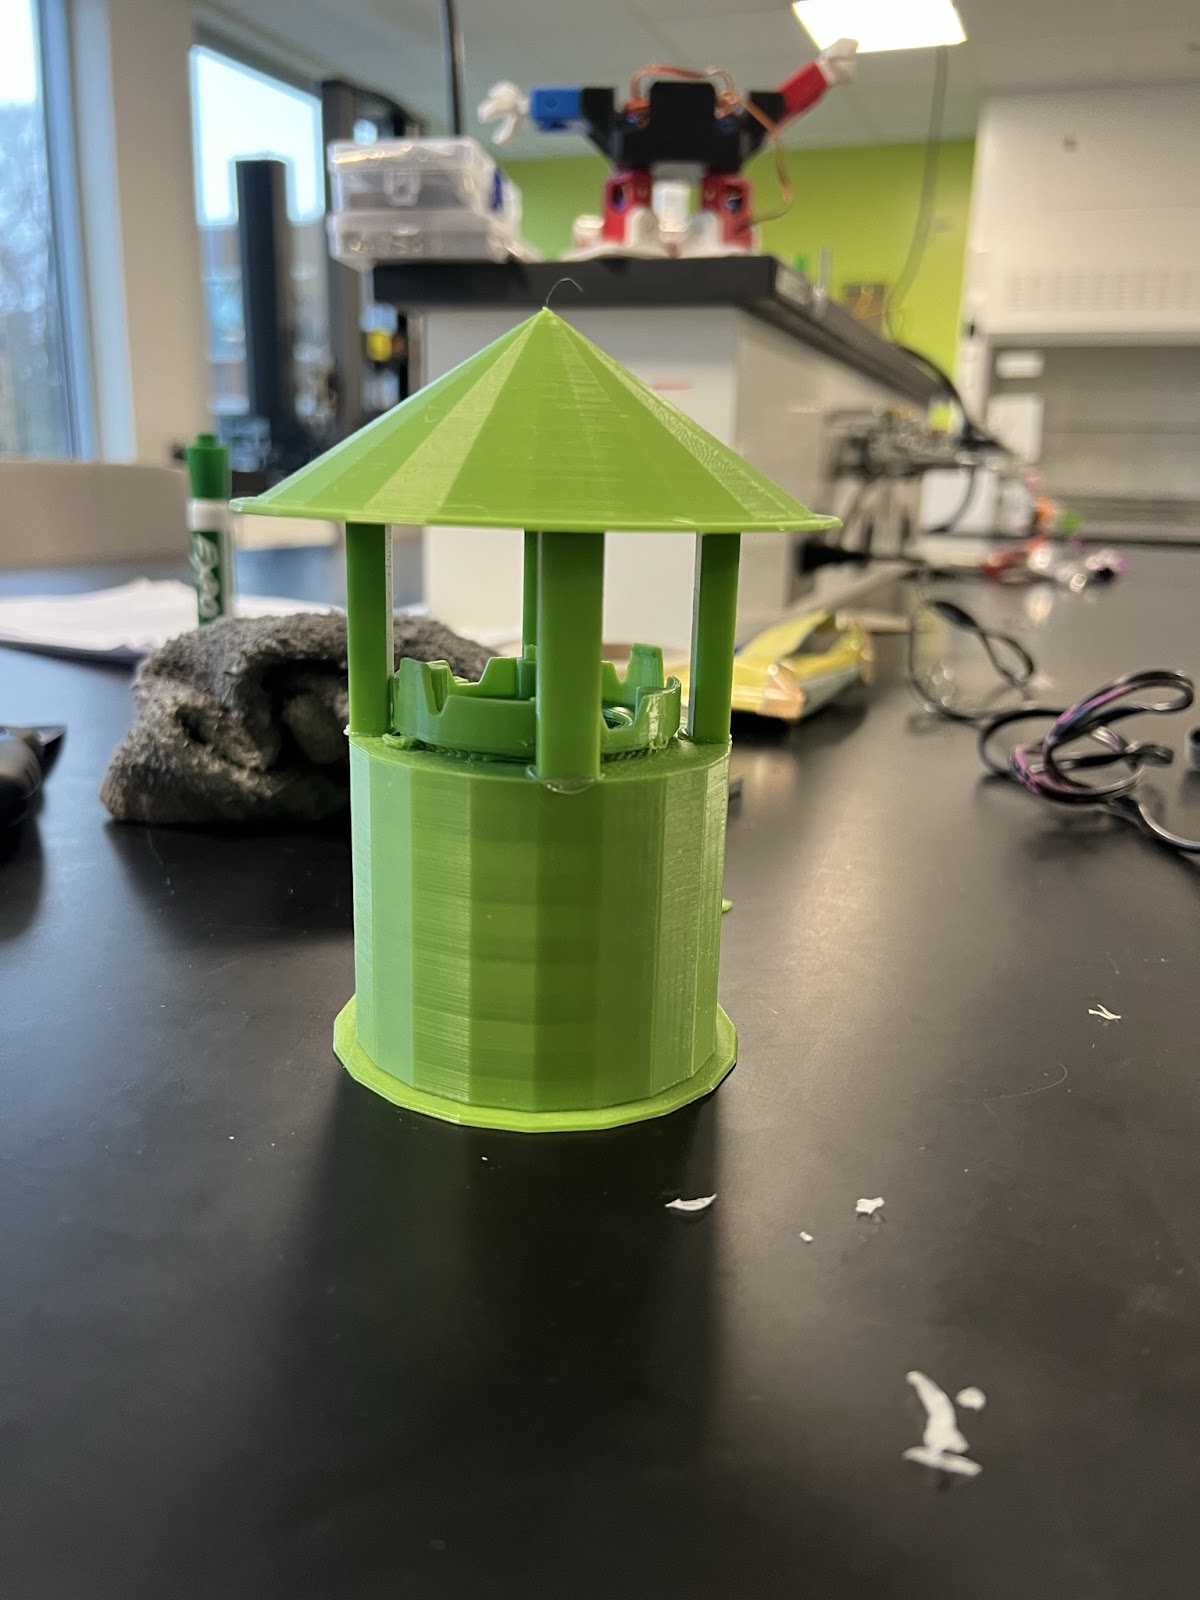
Final Design
- After assembling all the parts we then have our final product
