Light Up Pin! (using Circuit Playground Express)
by 102242 in Circuits > Wearables
433 Views, 2 Favorites, 0 Comments
Light Up Pin! (using Circuit Playground Express)
Is your regular button just not flashy enough for everyday wear? try this light-up button using simple coding and a circuit playground express board!
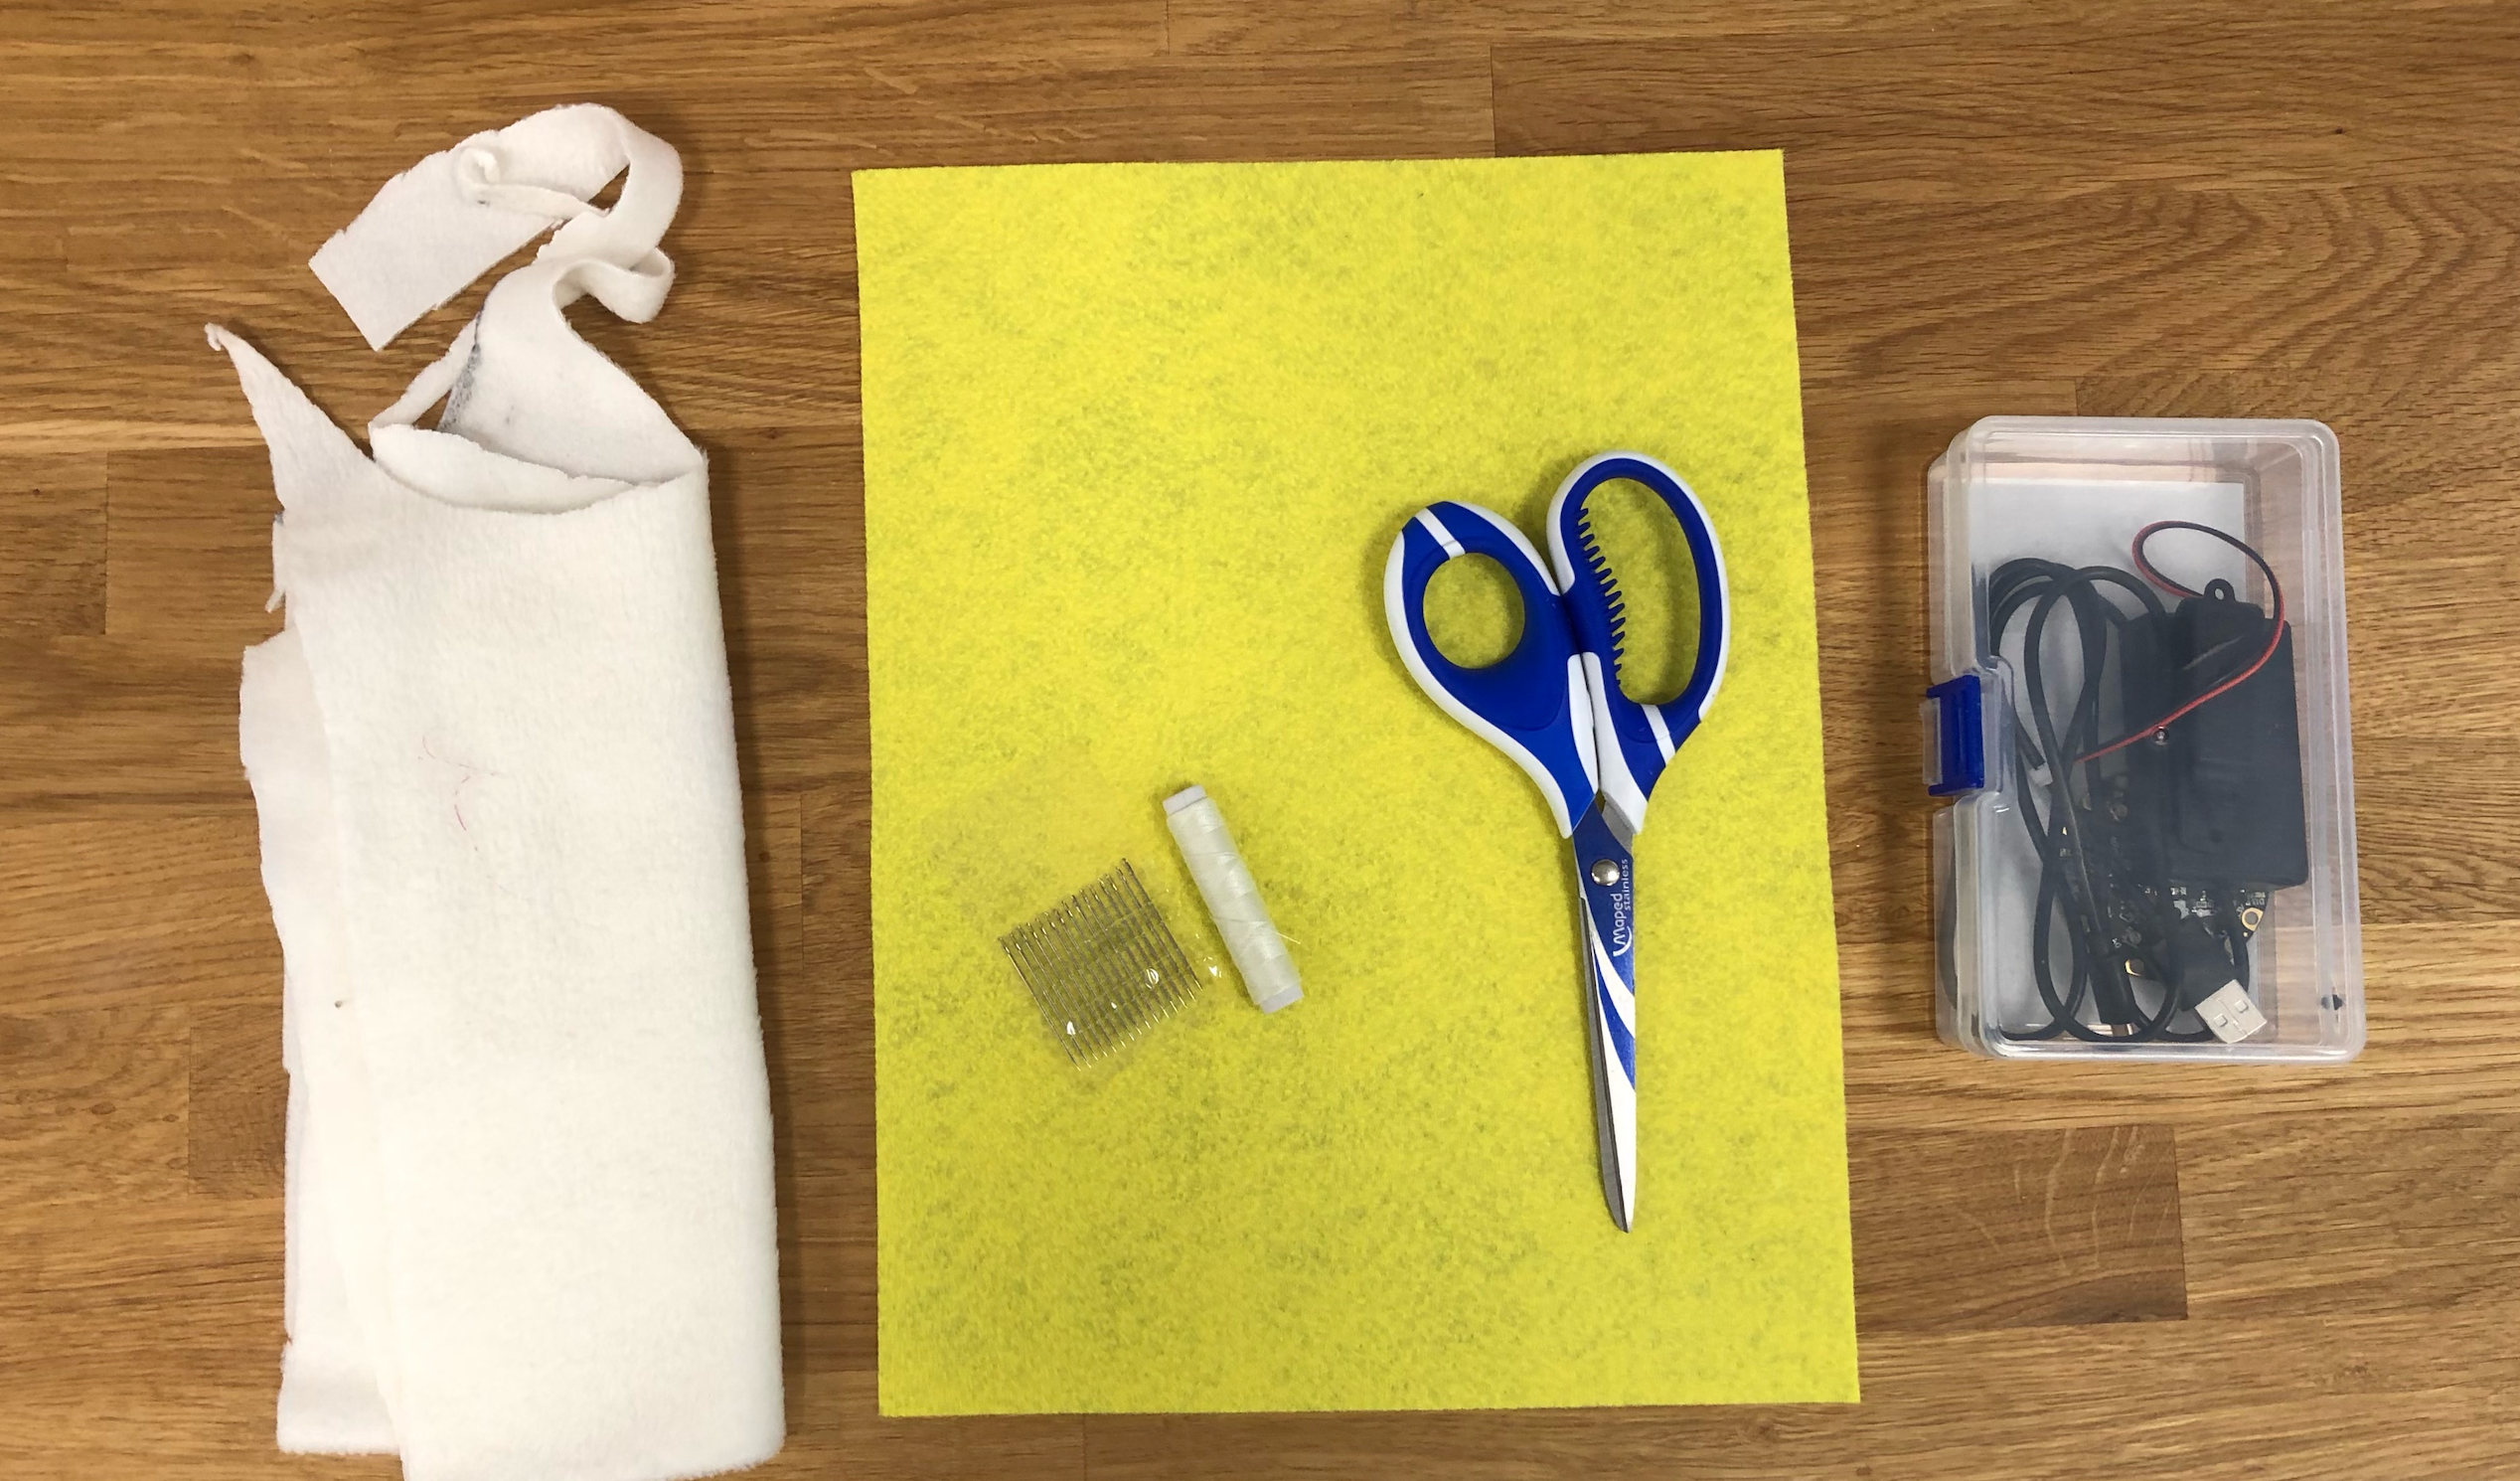
Supplies
-Circuit Playground Express (Board, Battery Pack)
-Micro USB (generally included with CPX)
-Light Coloured Felt
-Sewing needles and thread
-Scissors
-Fabric of your choice (optional)
-Silhouette Cameo Machine and Sticker Vinyl
Code Your Circuit Playground Express (cpx)
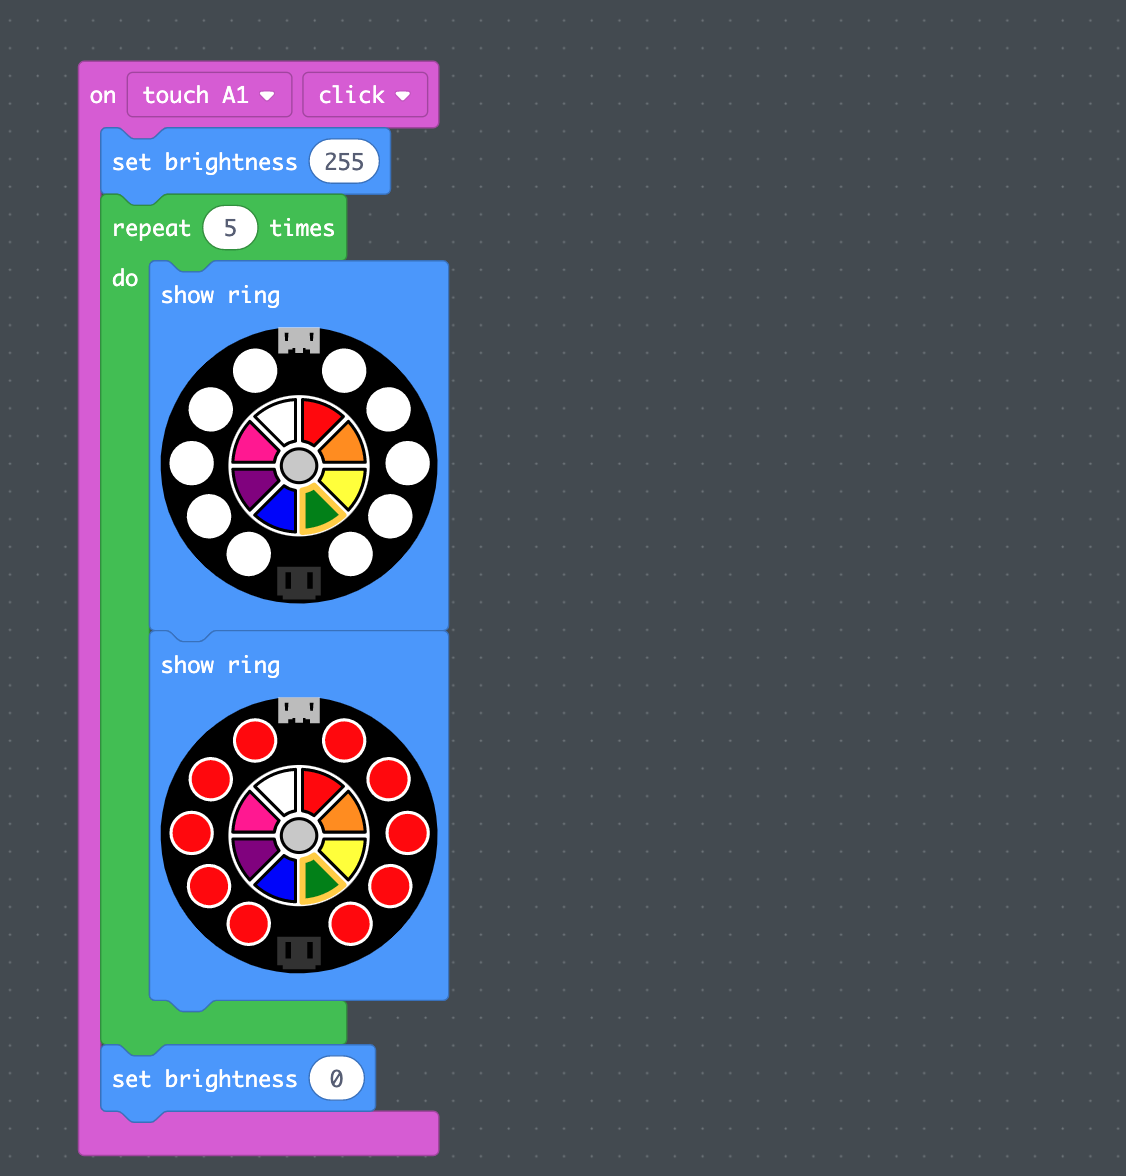
Go to https://makecode.adafruit.com to program your CPX board. Depending on your preferences, you can decide how you want your pin to flash and/or beep. I decided that flashing ten times would be a sufficient amount of flashes. Make sure to make the trigger one of the side buttons so you can add a capacitive touch switch later. Once you've checked your code works, download it to your CPX (at this point you can plug your battery pack into your CPX).
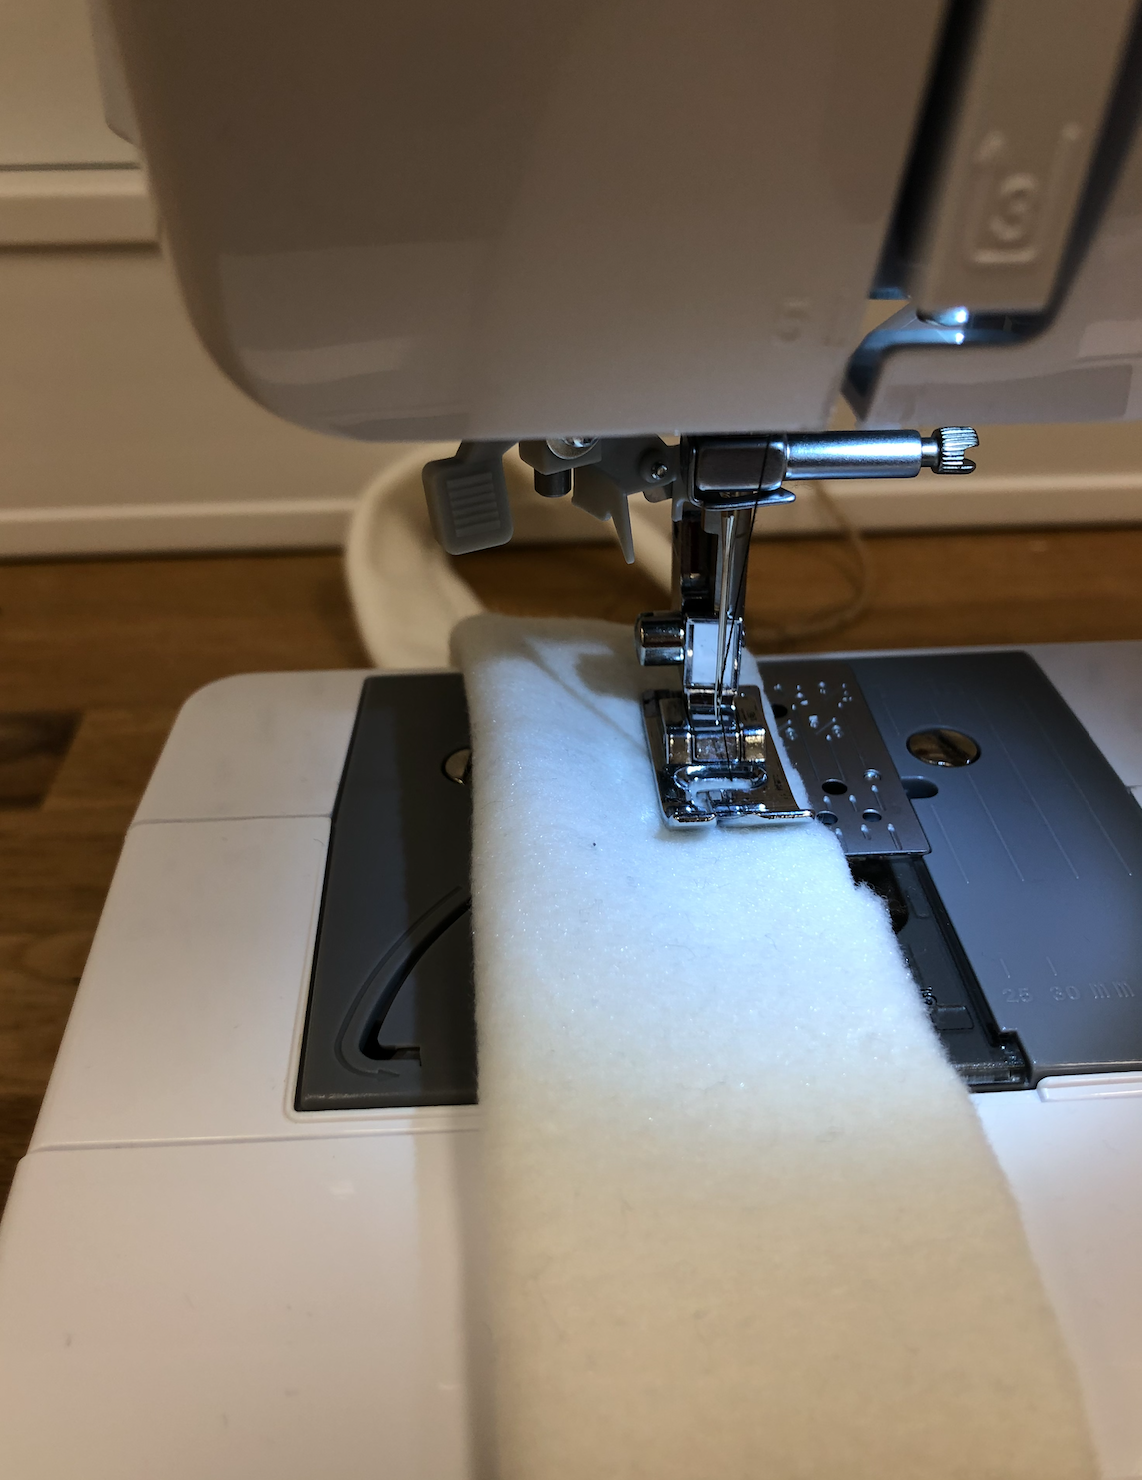
Make Your Pin Cover
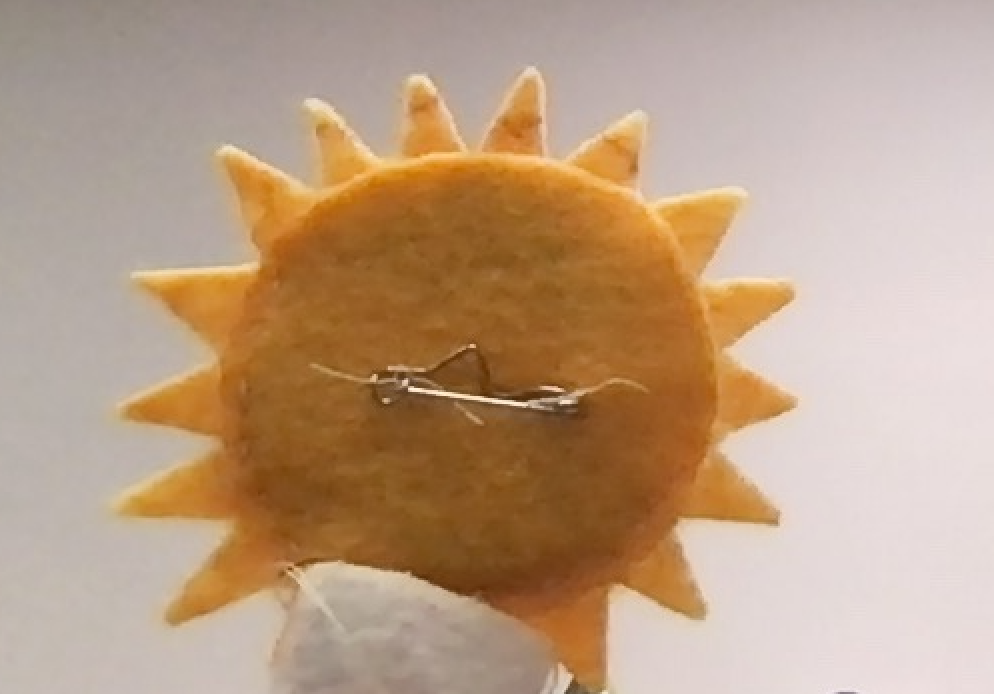
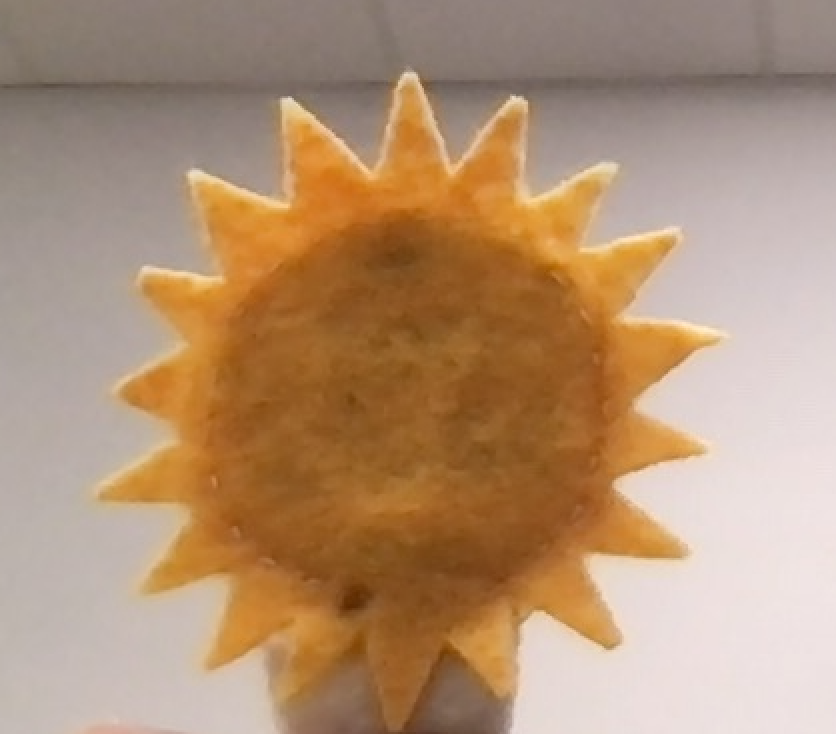
Using lightly coloured felt, cut out a circle slightly larger than your CPX board for the backing. For the front portion, you can either cut out a circle matching the back panel or stylize it. I chose to cut out the front to resemble a cartoon sun to make it more interesting. Sew a safety pin to the back. This allows you to clip your pin to your clothing. Keep in mind that any metal touching the CPX board could short circuit or accidentally trigger your pin. Do not sew them together yet.
Sew Wire Cover (optional)
If you want to, at this point you can sew a simple pouch and tube out of the fabric of your choice. this is purely for aesthetics, but it can make your pin more finished, especially if you decide to extend your wire.
Add Your Message
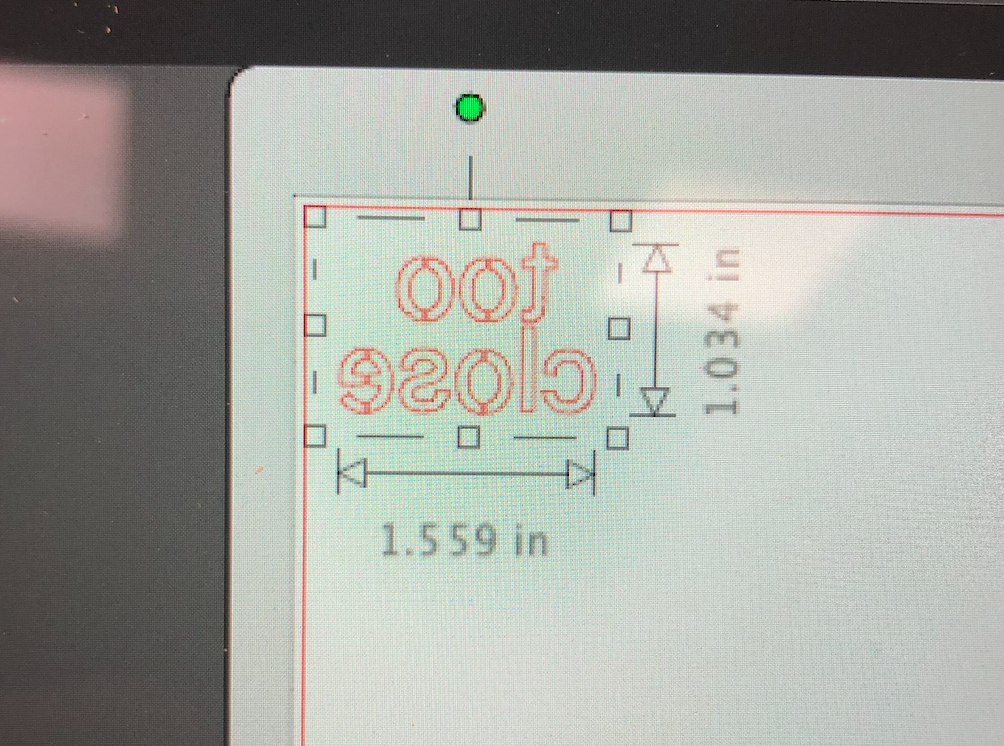
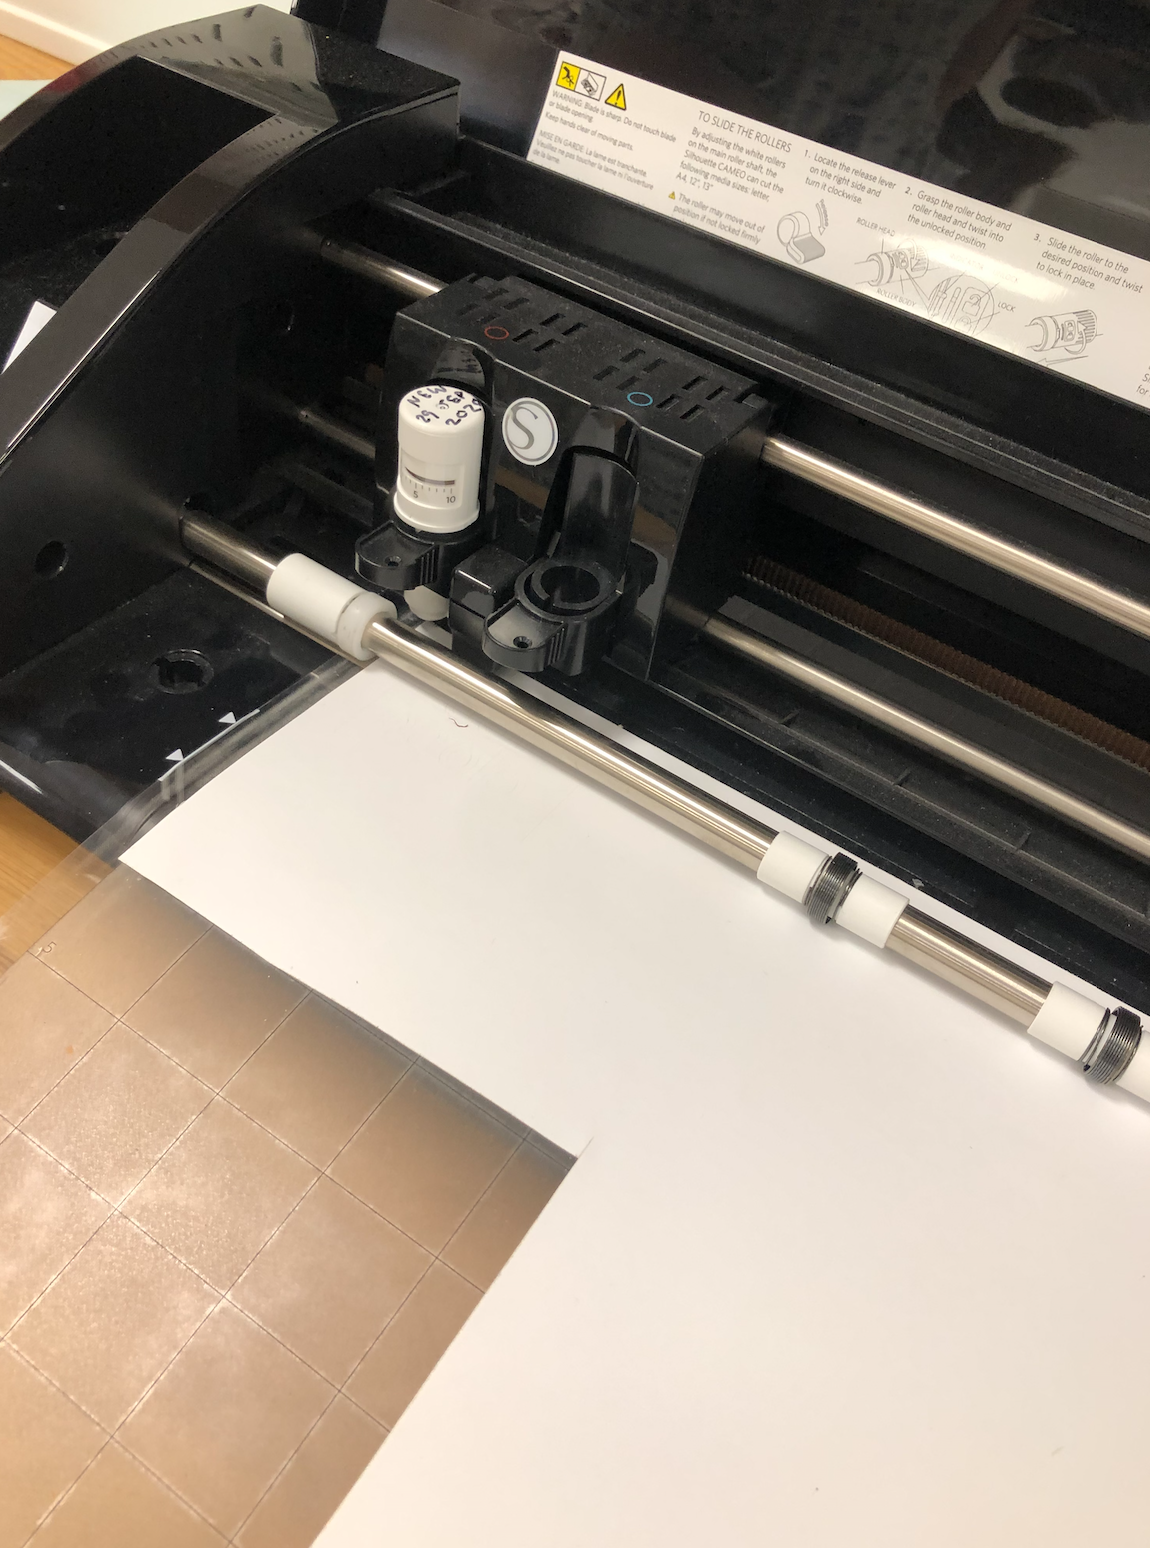

To add your message, open up Silhouette Studio on your laptop. Create your sticker, being mindful of the size of your pin cover (if you have never used silhouette studio watch this video from Design Bundles on youtube). Once you are happy with your sticker, be sure to flip your design. Insert your sticker vinyl into the Silhouette Cameo machine and print. Once printed, apply your sticker to the back of the front piece of your pin. Once you are happy with your placement, you can assemble your pin cover. When you sew both sides together, leave a space at the bottom for wires and a wide gap at the top so you can remove your CPX if necessary.
Capacitive Touch Button
Using conductive thread, sew a line from the cpx down to the battery pack. tie one ond to you trigger, and the other end to a button on your pattery pack cover (or just tie a knot that is easily accessible.
Assembly
Assemble your pin! put the wire cover on your wire, clip your battery pack to your belt/waistband, and press your button! presto, you have a blinky button to ward away pesky people.