Lift Your TV With a Roller Shutter Motor and a Safety Belt
by wavlew in Workshop > Home Theater
1463 Views, 9 Favorites, 0 Comments
Lift Your TV With a Roller Shutter Motor and a Safety Belt
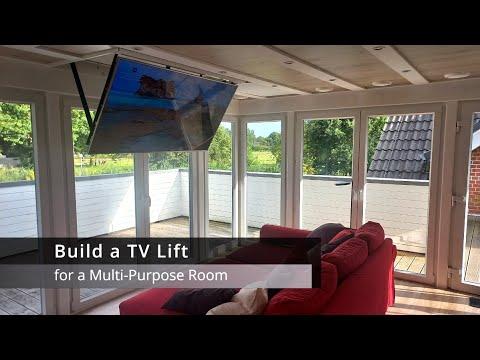
A couple of years ago, we built a multi-purpose room on top of our garage building. Some of the purposes are reading, doing sports and gaming. We liked to integrate a TV in the ceiling that is able to vanish while reading, to act as a television, while making sports or act as a PC-monitor while gaming and sitting on a sofa.
Supplies
- You need plastic-coated chipboard (we used 16mm) and appropriate bandings for the lift box.
- To reinforce the lift box, you can add a steel frame (we used 60x30mm rectangular profiles).
- Steel angle profile for the TV-frame (we used 25x25x3mm).
- Hinges, that we realized with 12mm screws, appropriate ball bearings and bearing blocks.
- Distance bolts, appropriate for your TV.
- A regular safety belt.
- A roller shutter motor (we used a 40mm shaft). The motor should be sufficiently strong to lift the TV and the steel frame (we used a 40kg version).
- A control for the roller shutter motor. This could be simply a shutter switch or a home automation system (we used Homematic).
- Optional: a position switch, e.g. from Panasonic.
- Tools for woodworks, metalworks and sewing.
Planing

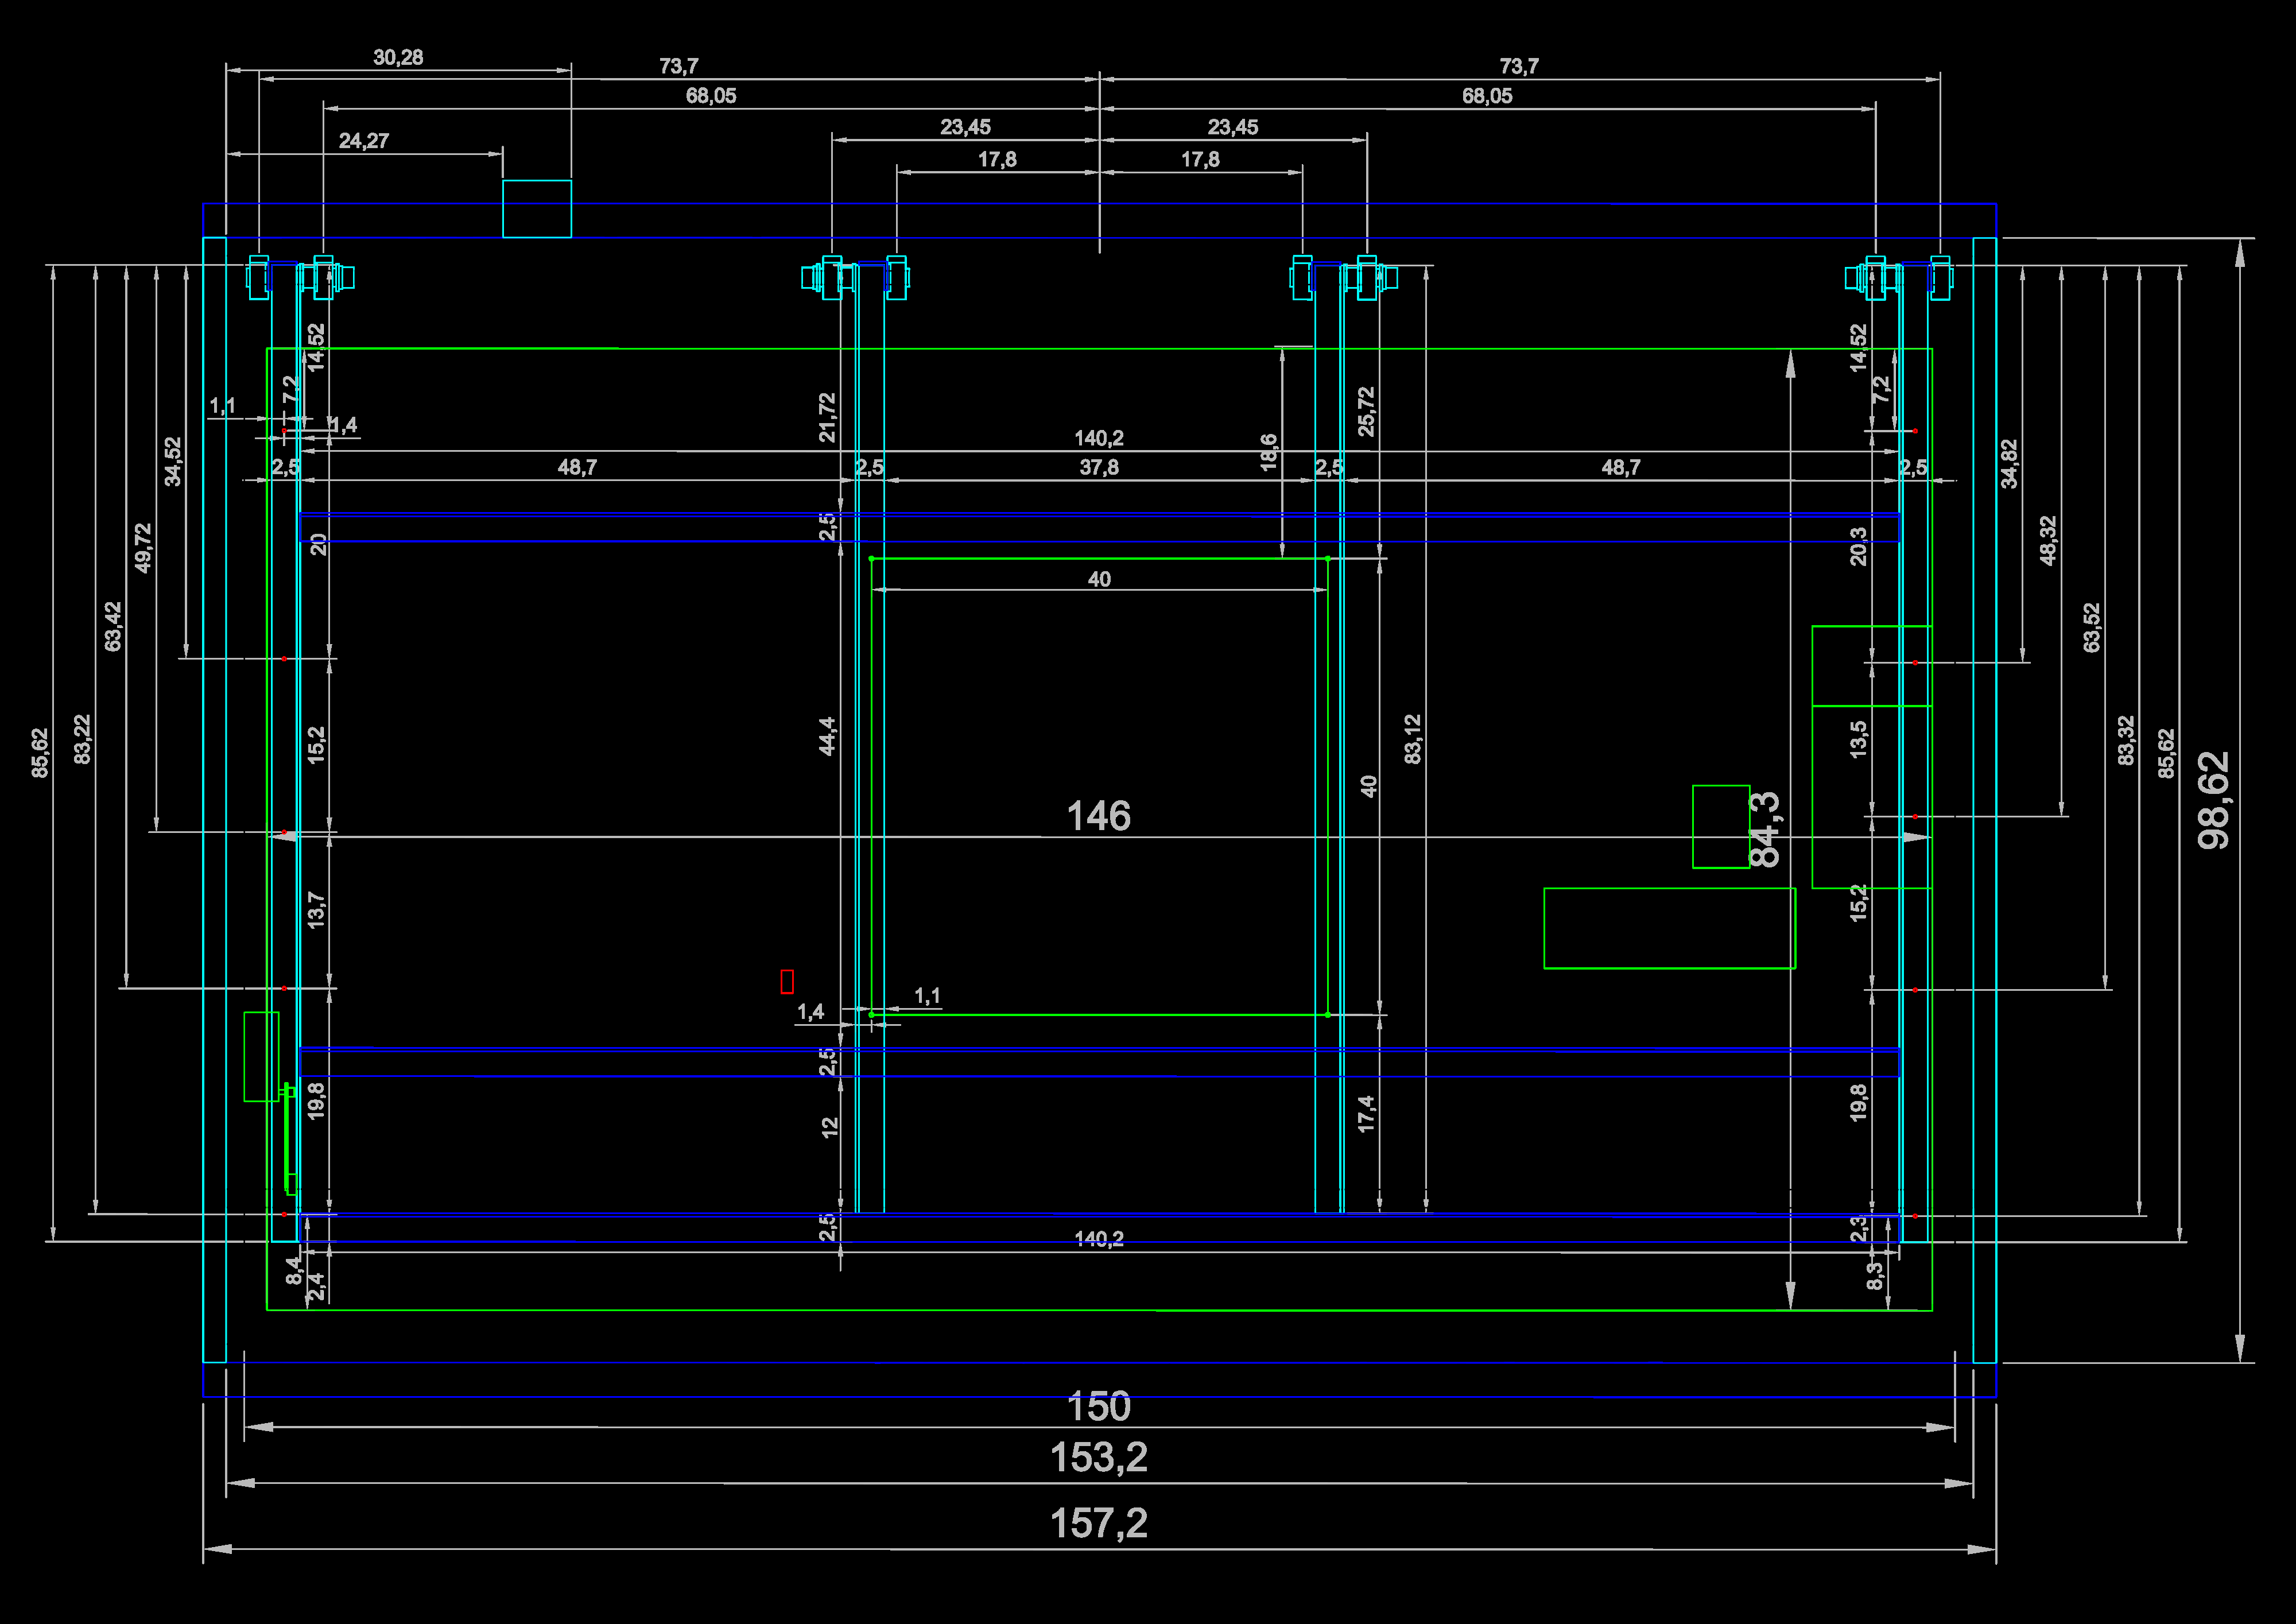
The design of this multi-functional room included the planning of different view locations relative to the TV. A true to scale sketch is helpful to plan the furnishing and the technical equipment.
Sitting on a sofa with outstretched legs and reclined in front of a sloped TV is big fun. Beforehand, there were concerns about getting a stiff neck. But this turned out to be no problem.
At project start time, the TV lifts that fold in the ceiling and were commercially available were very expensive or couldn't cope with large TVs. Even today most of the ceiling lifts only have Vesa mountings in the middle. Typically the TV vendors do not allow a horizontal mounting by Vesa explicitly. Only the vertical Vesa mounting is allowed. Some of the modern TVs are heavyweights. Our Panasonic TX-65CXW704 weighs 27kg. Certainly it would have a problem with a width of 146cm only being supported in the middle by 40cm Vesa width. A steel frame over the full width is by all means a good feature. But the TV with the steel frame is even more weighty - too much for a wooden lift box. So we added a steel frame around the lift box.
If you like to wind a rope to position something, you will have the problem, that you cannot plan, how the rope will locate on the shaft. Varying crossing overs yield varying diameters (and therefore positions) in dependence of the rotation angle. The result will not be reproducible. The safety belt solves this problem. It is broad enough to assure, that the winding is always reproducible and it is robust enough that no lenghtening or thinning effects occur. Our system runs now for a couple of years and the height is still as adjusted originally with an accuracy below millimeter range.
Normal Mode for Reading


Gaming Mode


Doing Sports Mode


Building the Room


The room itself is a usual wood construction and not in focus of this instructable. In order to keep the roof height small, the rafter over the lift box was notched. To compensate this structural weakness, an additional rafter was inserted in front of the box. The ceiling is made of MDF boards (holding the lamps). Two of them are stacked and the upper one is smaller. In this edge laminate flooring boards are inserted. This gives a wooden looking ceiling, that is easy accessible.
Building and Inserting the Lift Box

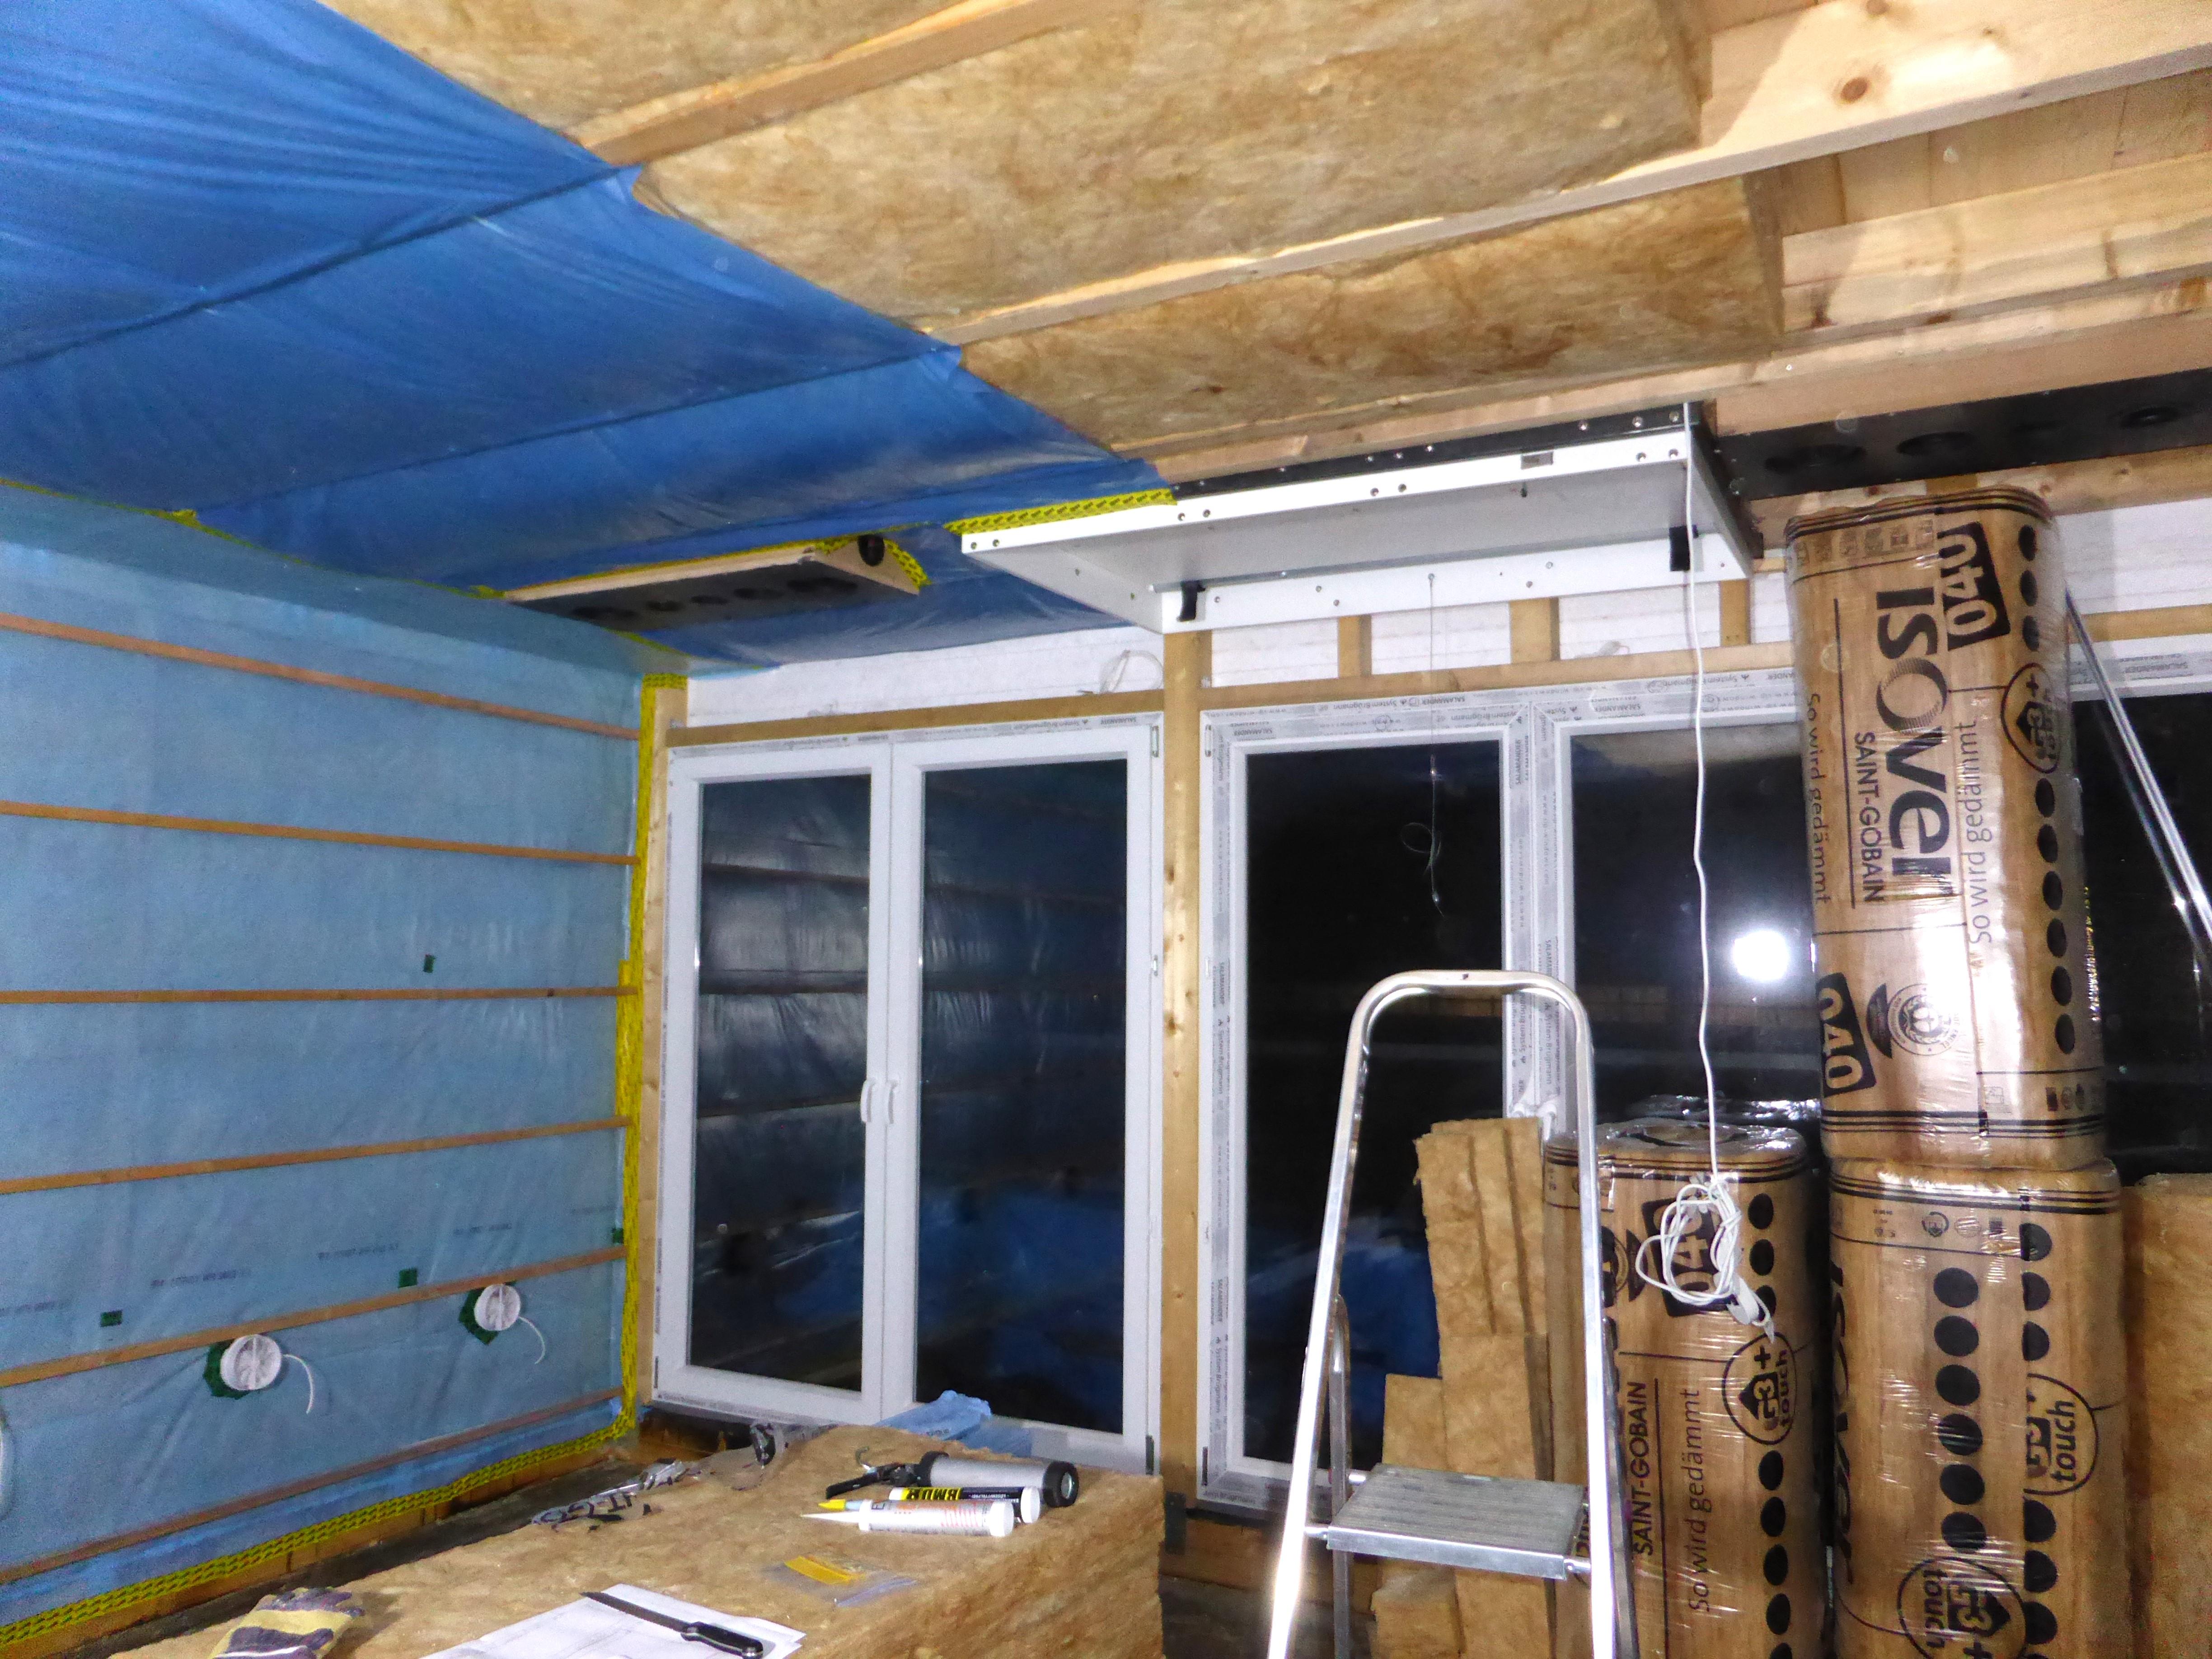


Unfortunately this project was not intended as an instructable originally. So we didn't made any photos from the building of the lift box.
The good news is, that the building of the lift box is quite easy. You can take the dimensions from the given plans or customize them to your needs.
Then you can cut the wooden parts from 16 or 19mm plastic-coated chipboard, assemble them with screws and attach the bandings with an iron.
Now you can weld the TV frame and the lift box (outer) frame, paint them and connect the outer frame with the lift box with machine screws. Install ball bearing blocks as hinges for the TV frame. Connect the blocks directly with the outer frame with appropriate long machine screws.
Before inserting the roller shutter motor with the shaft, you have to insert slots in the shaft with a slim angle grinder. Assure to sand the edges of the slots in a way, that they are not sharp-edged anymore. Insert the safety belts and sew their ends to the belt on the other side of the slots. They should form a short loop preventing slip out. The same should be done on the TV frame side.
Mount the lift box below the rafters. Do this with three persons. Two of them holding the lift box and the other screwing long screws through the outer frame directly in the rafters (you can see these screws with the slanted heads in the images).
At this point you can build the rest of your room, install power to the roller shutter motor, install all cables for your TV and the position switch, build the ceiling and decorate the walls.
Attach the TV Frame


Mount the frame on the TV. Unscrew the original TV screws and insert the distance bolts. Lay the frame on them and screw it to the distance bolts.
Then you are able to mount the TV frame in the lift box. Again, do this with three persons. Two of them holding the TV frame and the other screwing the hinges.
The next step is to attach the safety belts to the TV frame. Assure, that they have the same length. If necessary, adjust the position with the screwed cover plate.
Adjust the End Positions
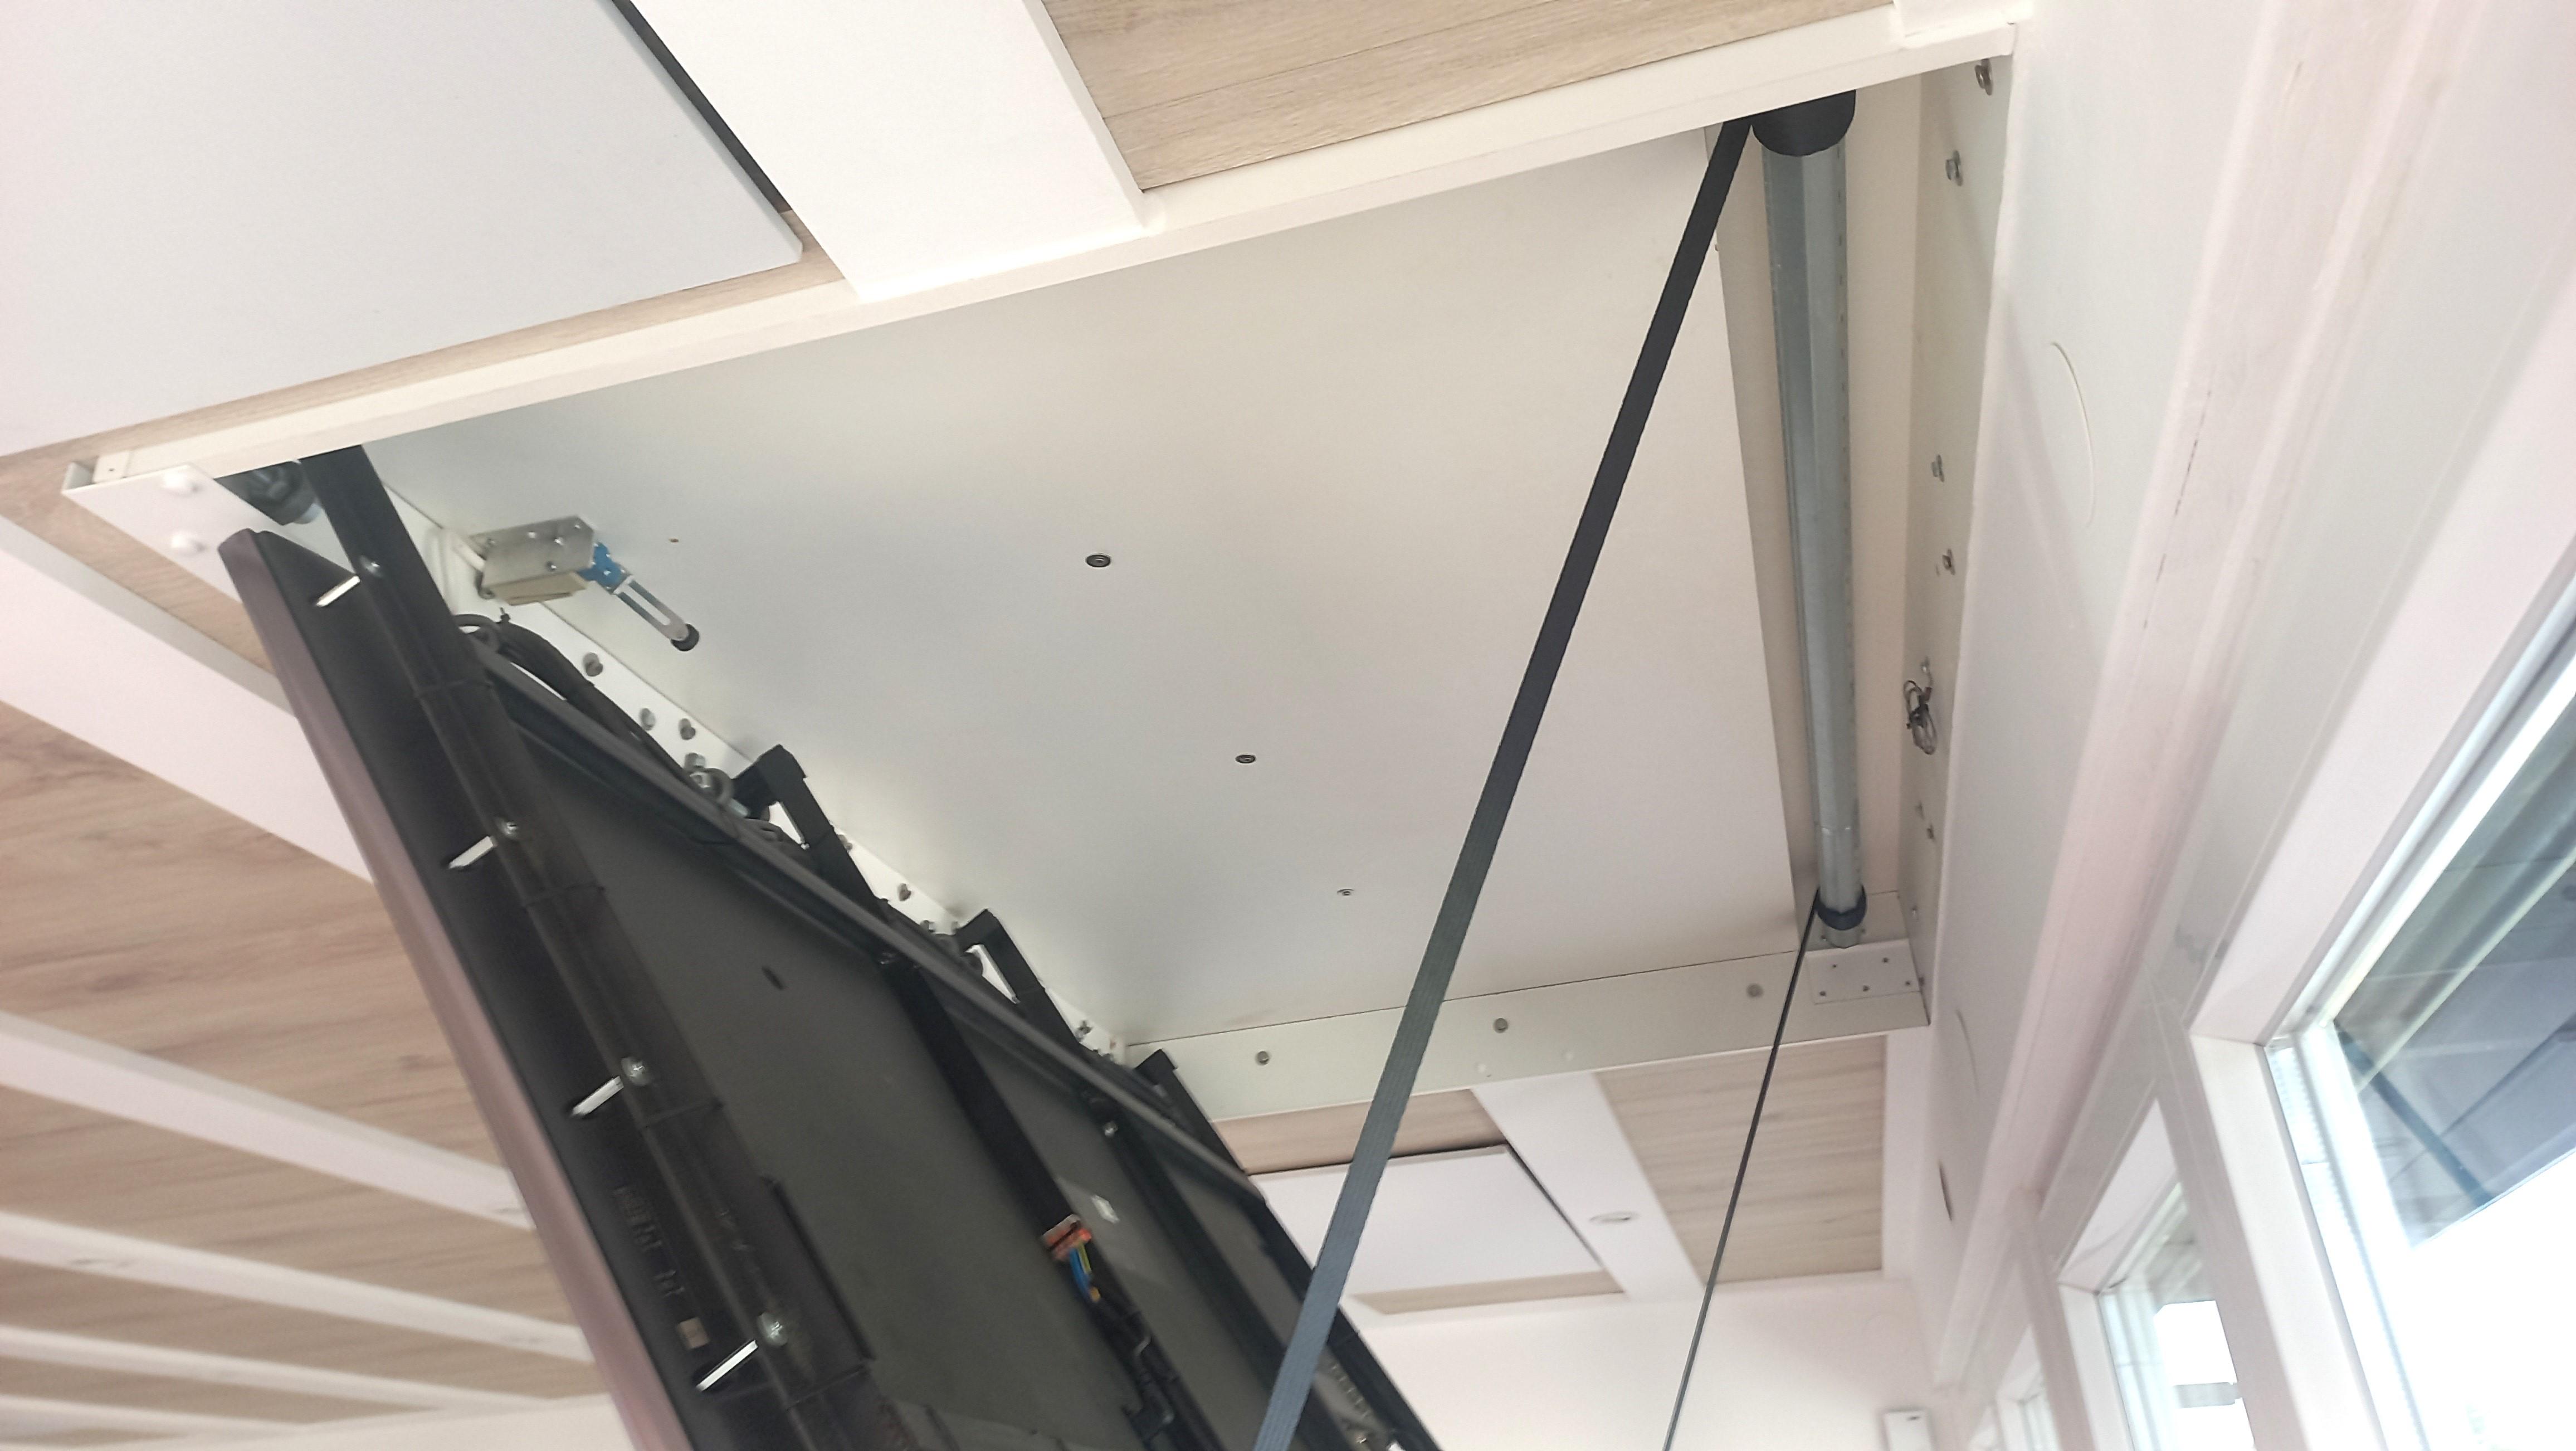

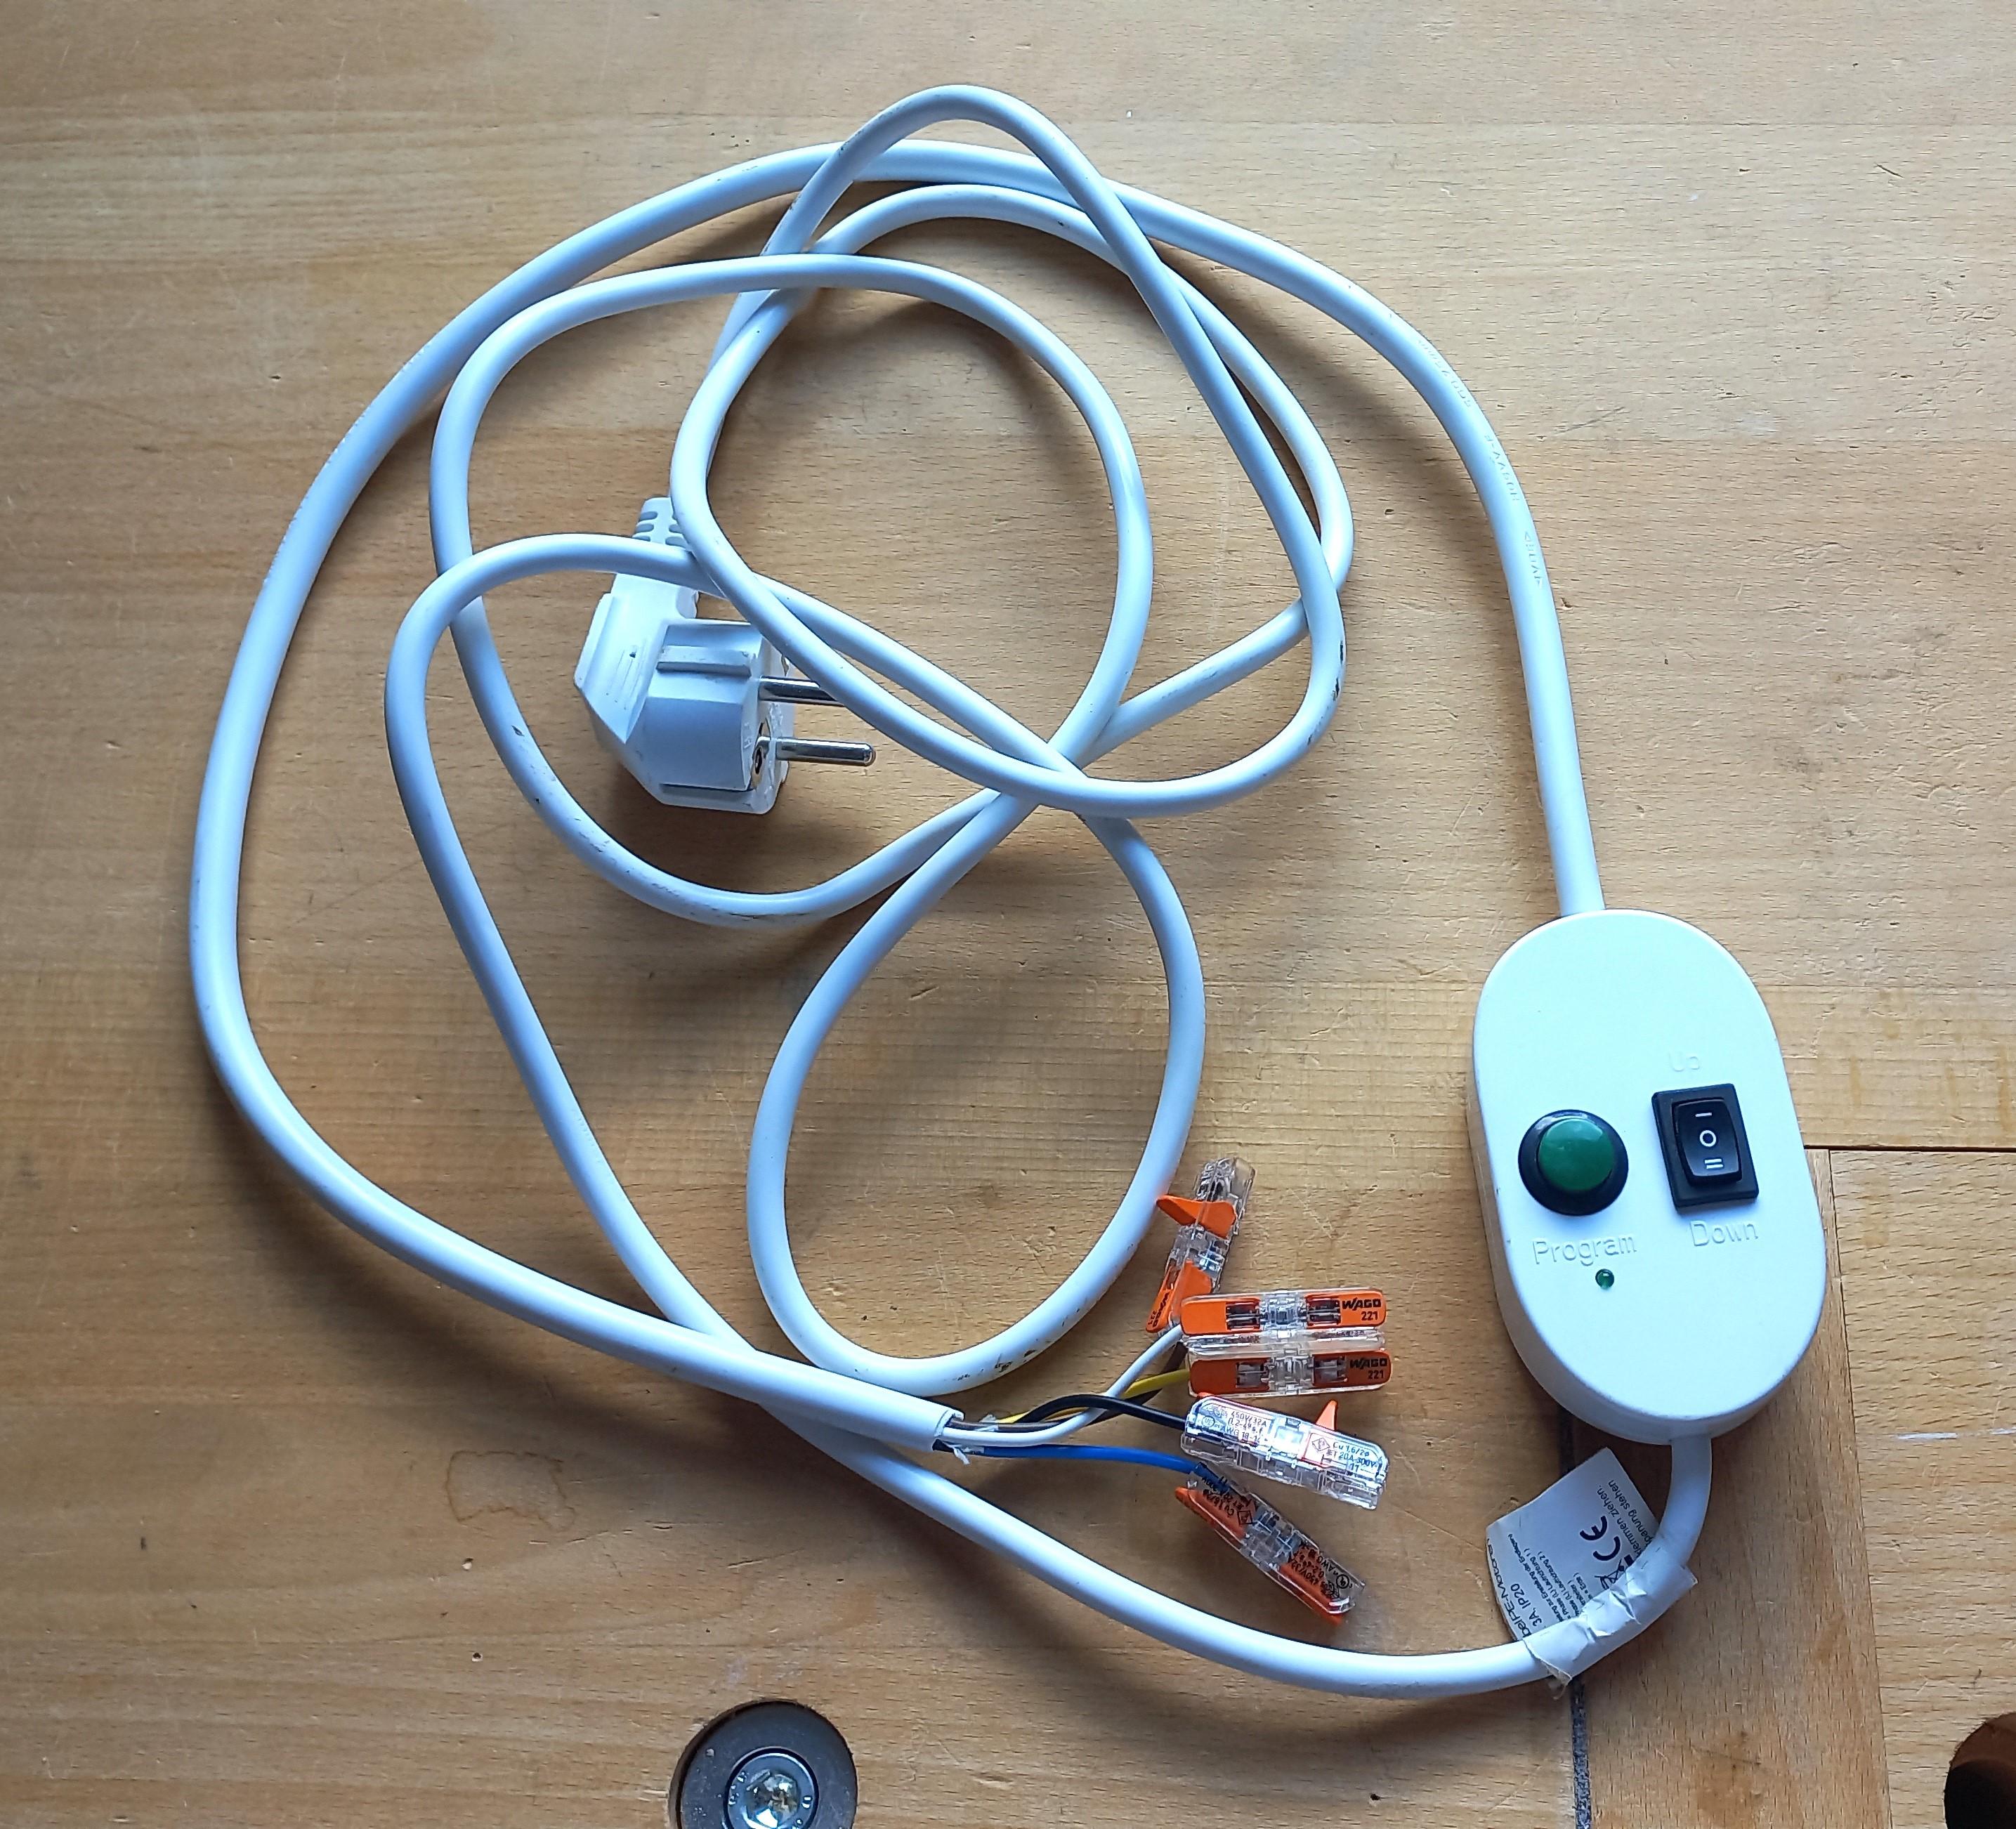
Then you can adjust the end positions of the roller shutter motor. Use an adjustment tool (see image), to be able to realize small rotations. Iteratively adjust the end position screws and move the motor in small rotations.
Realize Control

You may use a simple roller shutter switch to control the motor. Then you have to locate the position of the TV manually. It is more convenient to use an actor, that has knowledge about the TVs position by measuring the time of the motor drive. We use a Homematic actor, where you can program the time for up and down drive. Then you are able to drive to target positions. You can address the target positions by buttons or remote control. The installation is straight forward. You will find all relevant information in the Homematic documentation.
If you have a home automation system, you are able to realize scenarios. We have two buttons for this room in the main house. By pressing them short or long, we can set the four scenarios: "normal", "gaming", "sports" and "off". The Homematic then manages appropriate settings for the heating, ventilation, shutters, illumination, media devices and TV position.
Media Cabinet
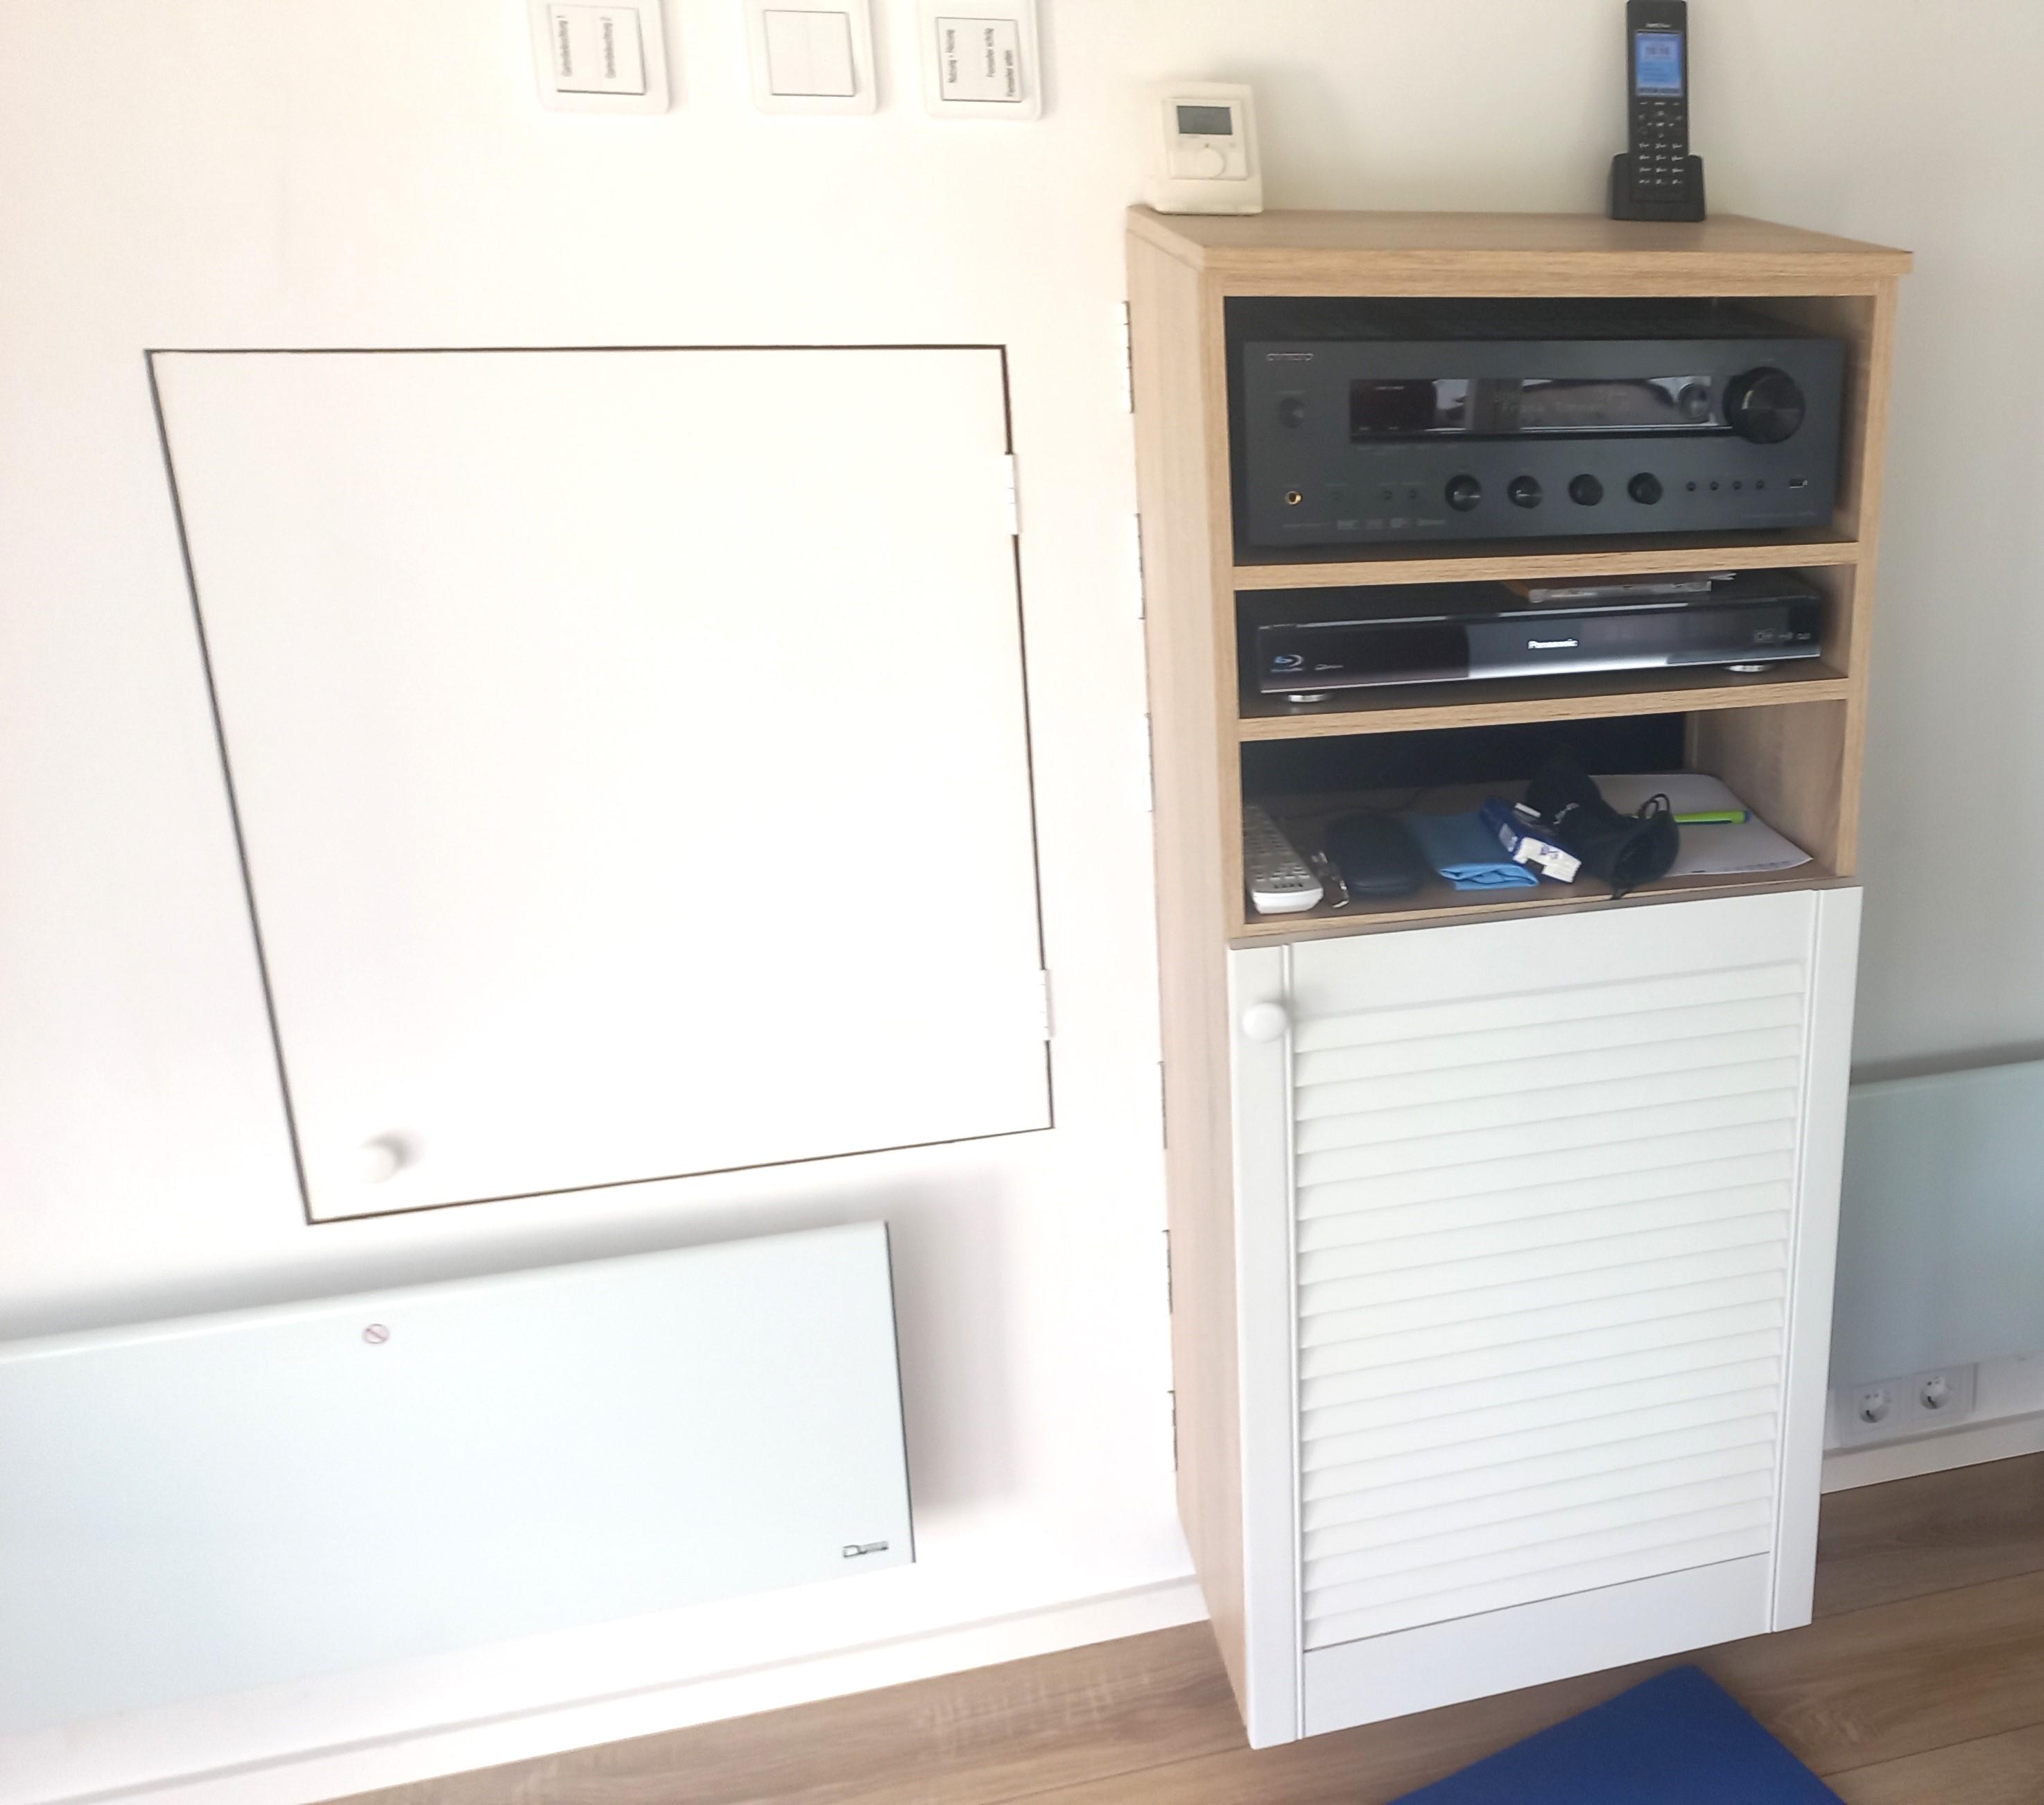


This step does not belong to the TV lift directly. But there is an interesting realization, that we like to show.
On the opposite room side of the TV, there is a media cabinet. It hosts a hifi receiver, a blu-ray player, a gaming PC, RF-Keyboard, RF-Mouse and four game controllers. The cabinet is hinged. As a result, you can access the devices from behind. In this area, the thermal insulation is realized with an XPS board which is thinner than the mineral wool. This yields more depth and enables the placement of a normal desktop PC by only 30cm depth of the cabinet.