Let's Be Online With Arduino! /Esp-8266
by ensarlevent in Circuits > Arduino
1722 Views, 8 Favorites, 0 Comments
Let's Be Online With Arduino! /Esp-8266
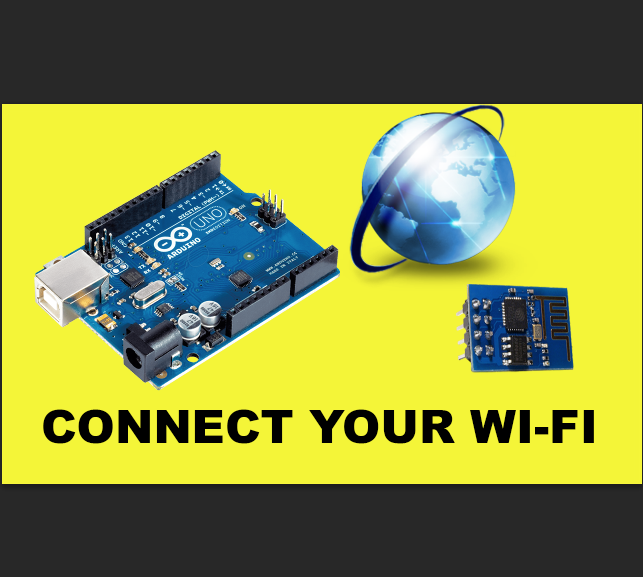
Hi Dear Friends!
Today we will learn everything about 'Being Online'.
First of all we can connect to Internet with Arduino.
There are many ways of connect to Internet. We will discuss them.
Especially we will learn using of ESP8266.
We can control the Arduino with an application or just a ''ip address''.
Okey, Let's Start!
Many Ways of Getting Online
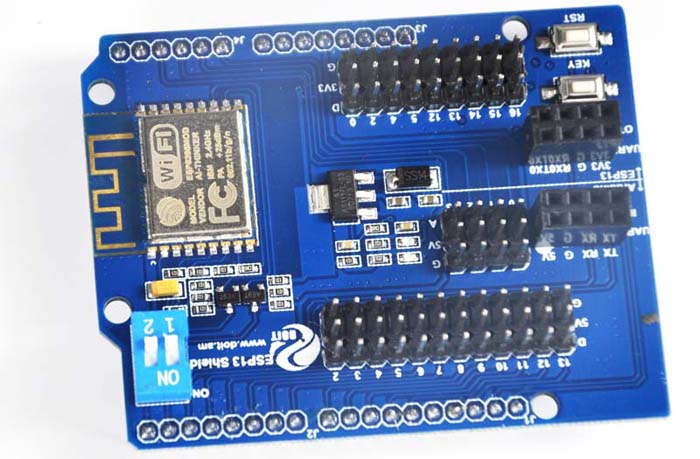
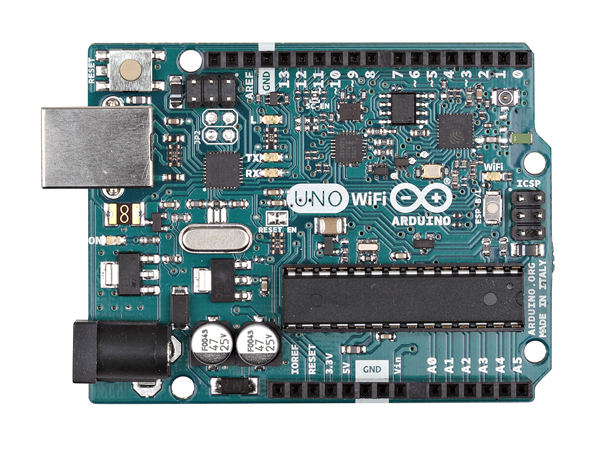
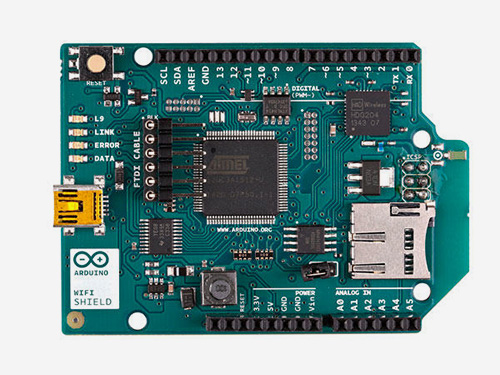
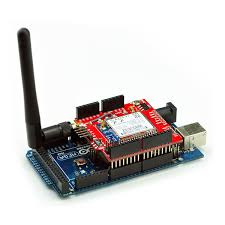
You can see in the photos of getting online with Arduino.
For example;
- Uno - Mega Wi-Fi Shield
- Arduino Uno Wi-Fi
- GPRS Module
- Most common module is ESP8266.
Now we are going to update our ESP-8266.
How Does It Work? Some Problems!
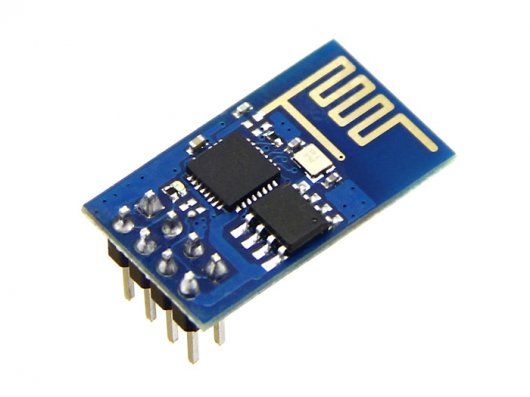

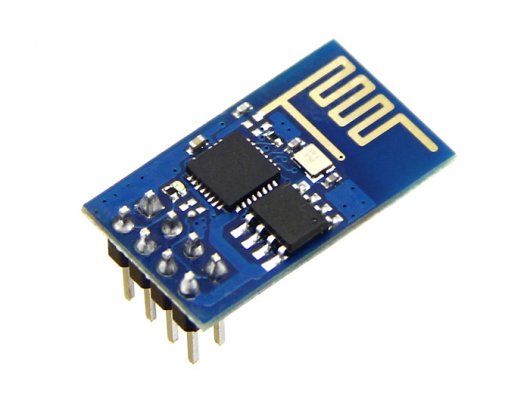
You can get easily ESP-8266. It is very cheap and useful.
But if you buy only Esp-8266 board, you will have a problem.
We saw it problem on 'nrf24l01'.
Sometimes it does not work.
You can connect a 10uf between (+) and (-).
Or you can use an adapter Buy Adapter.
You should buy the adapter.
Update Your ESP-8266
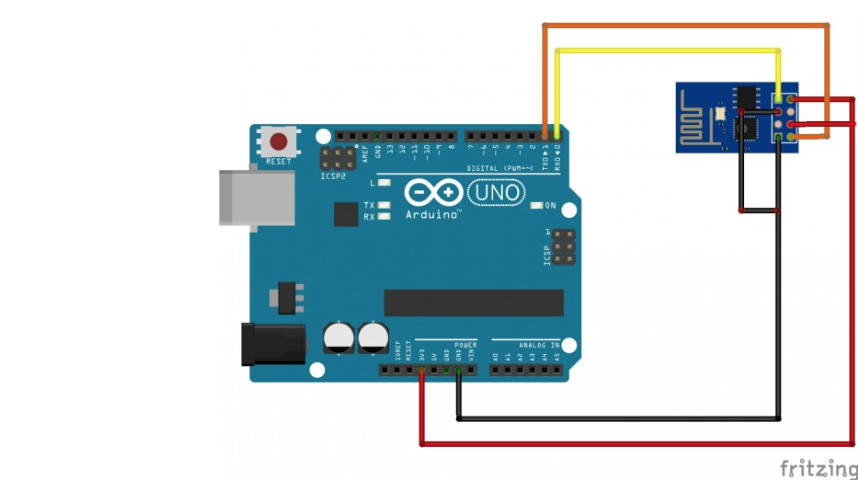
- First of all upload the blink code to your Arduino. For clean the chip.
- Connect Esp-8266 to true pins
- Download the '' Esp-8266 Updater'' update program. (Click the Blue Part)
- Unzip the files.
- Open the ESP8266Flasher.exe.
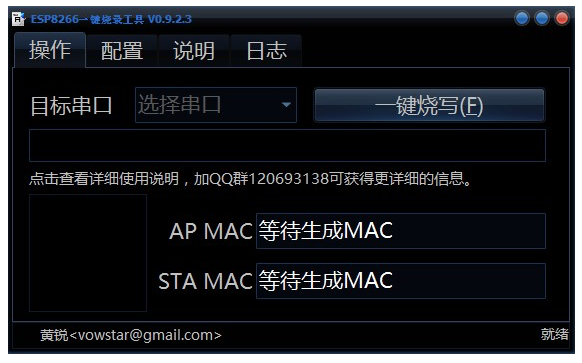
- You will see a black screen like 3.Photo. Do not Touch anything.
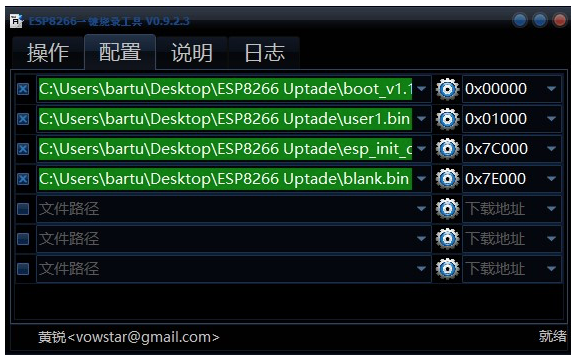
- Open the second tab from top bar.
- You will see green strips.
- Add the true files in order.
- Change the numbers(exp. 0x7C000) These will be different.
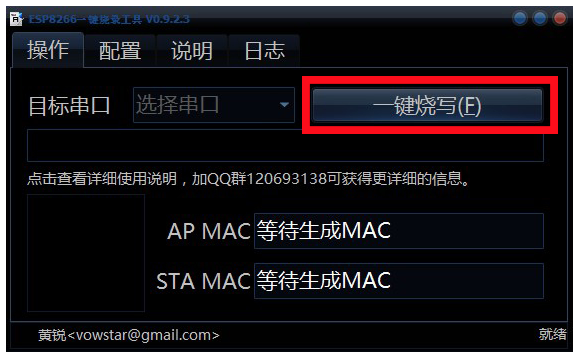
- And Open the first tab again from top bar.
- After that click the button (like 5.photo)
- Updating will start and you will see a blue progress strip. Also you will see a blue circle bottom left.
- If the update ends, you can see green tick.
- That's all. You can take out the Arduino.
Connect to a Network Now!
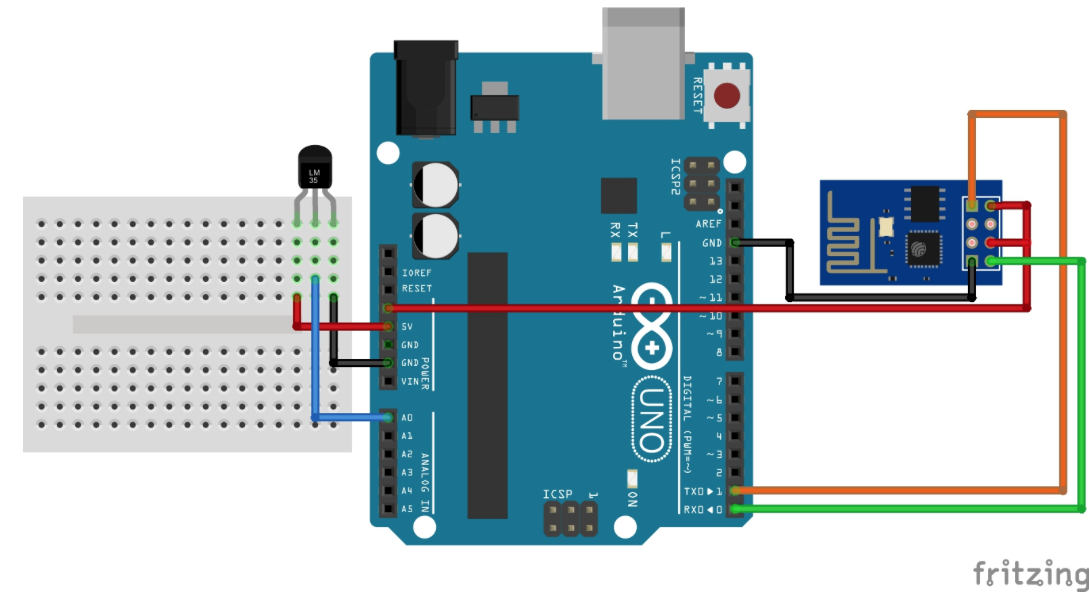
You can see the datas in many ways.
One of these ways is the ThingSpeak.
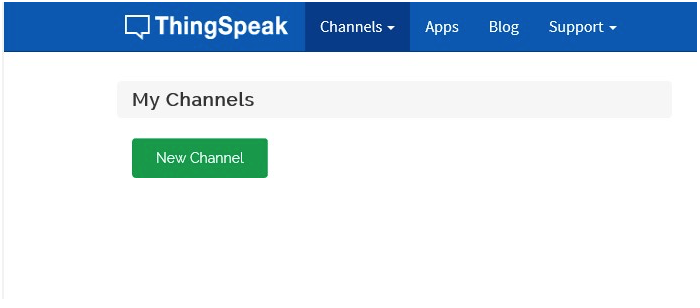
- Signup an account on ThingSpeak.
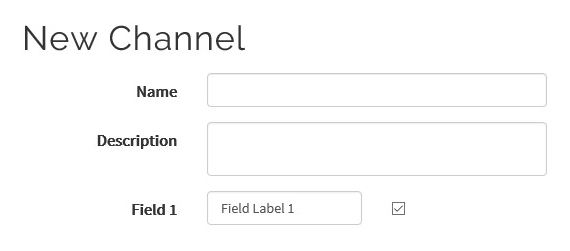
- Create a channel.
- Write Name, Description and Field 1.
- You can change the options after creating.
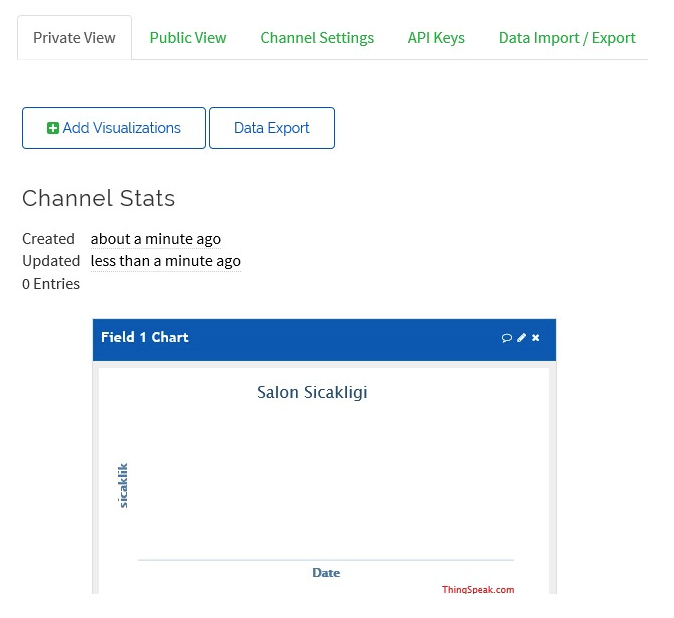
- And click the 'Save Channel'
- You will see a screen.(like 4.Photo)
- Now get the code from Next Step
Coding;
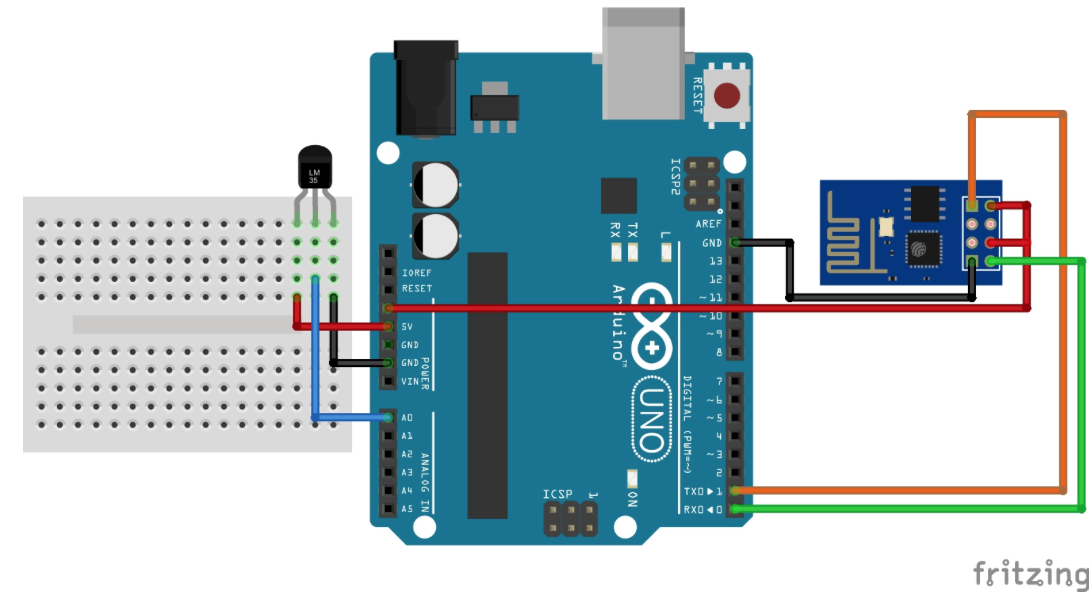
Get The Arduino code ''Arduino Code'' .(Click the Blue Part)
Final Result! Congratulations!!
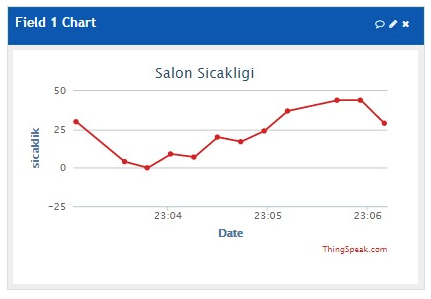
You can get datas from all around the world.
You are now online!
Congratulations..:)
If you like it; Please follow me on Instructables and Subscribe My YouTube Channel!
For More Useful Instructable!
You Should See My Other Useful Instructables!
If you have a problem, you can add a comment..:)
See You Friends.:)
Thanks..:)