Letrero Luminoso

Hey what's up! I'm Rodrigo and this is my first instructable, I hope you like it :)
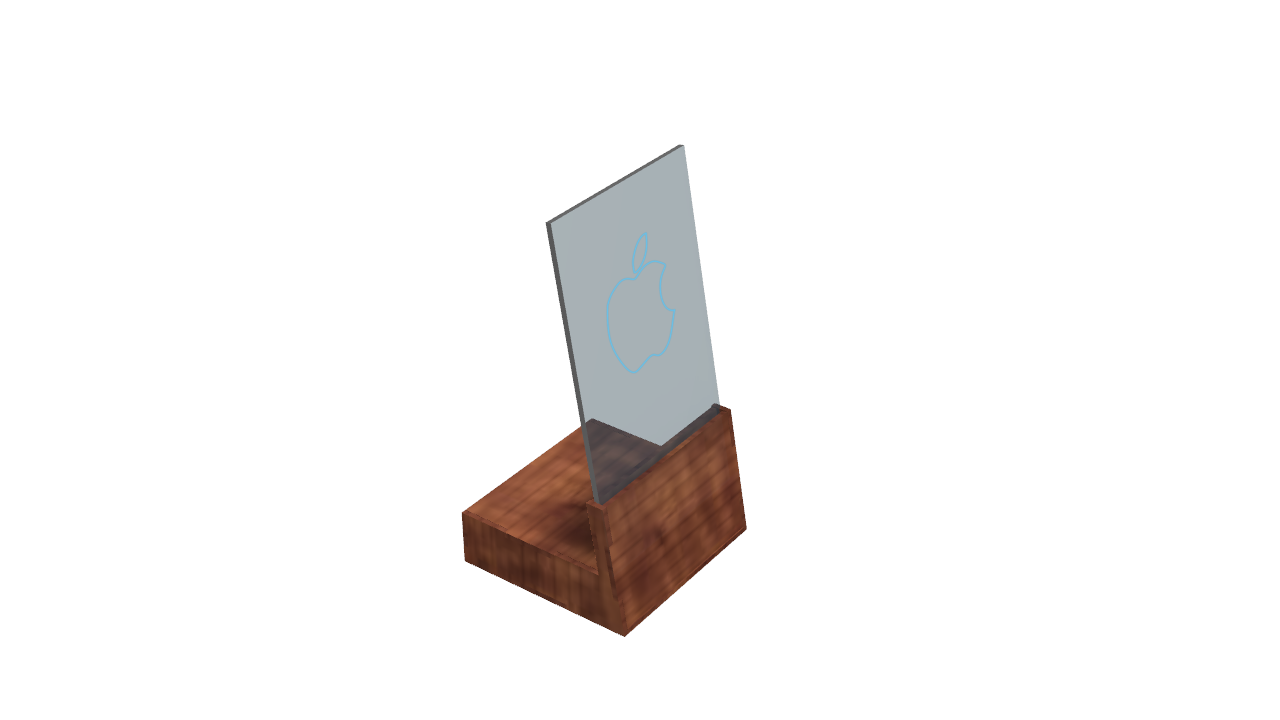
Look at this! An illuminated sign to decorate your living room, your room or anywhere in your house with any image you want. If you want to know how it's done, come and take a look.
Supplies

-Fusion 360
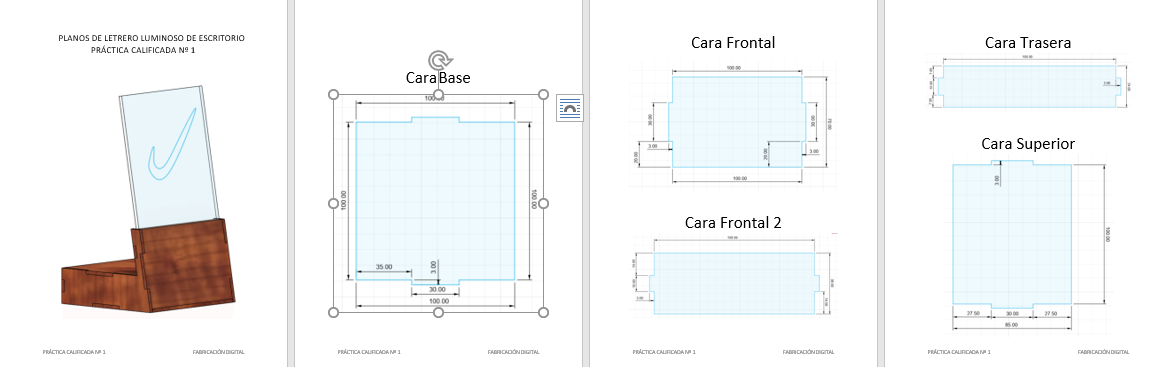
-Construction plans
-Finally, just your creativity
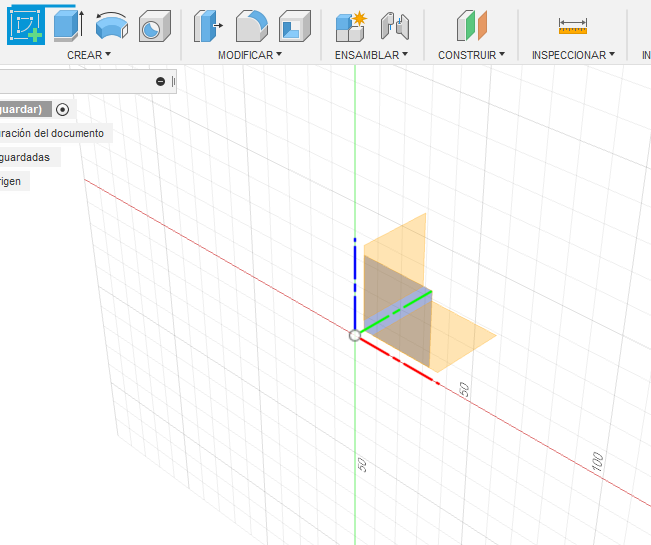
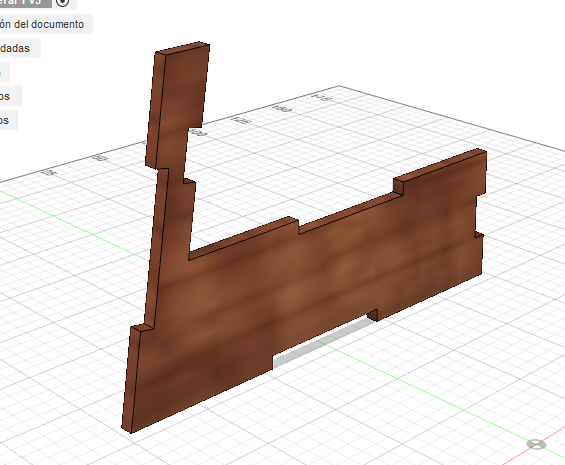
To begin with, you create a new sketch, and choose the coordinates that best suit the side that the sign is going to face.
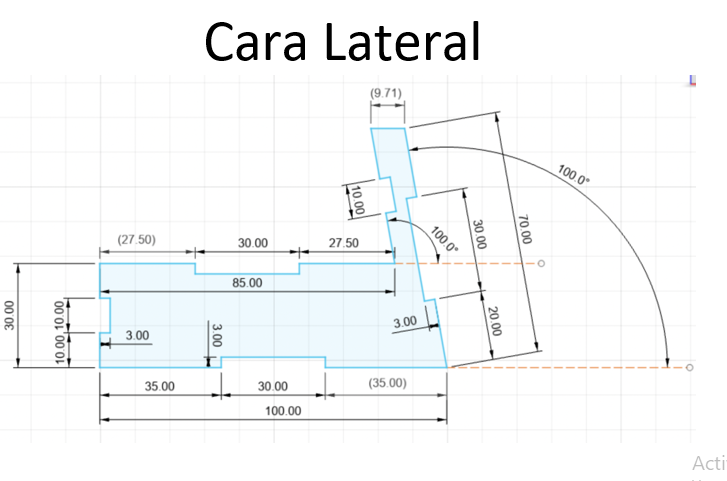
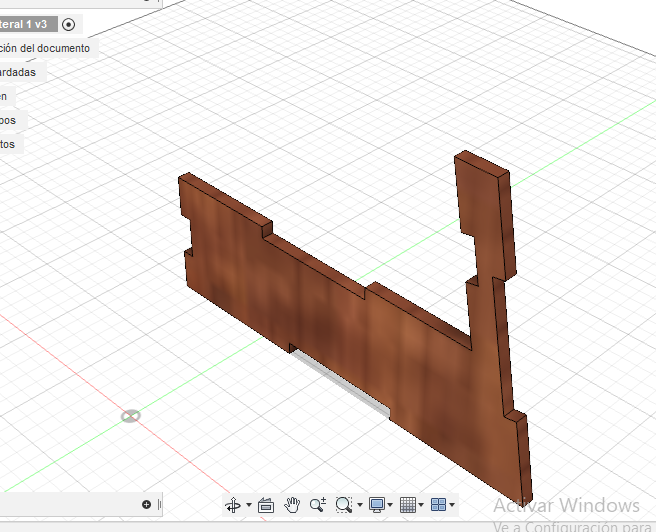
I recommend you start with the side face, because it is a bit more laborious than the other faces. In the create tool, in the Lines option, from a point you click and drag the mouse to the measurement said in the plane, to be more exact, you write the millimeters that they ask for.
Don't create two side faces, it won't be necessary. At the end you can only insert the side face twice.
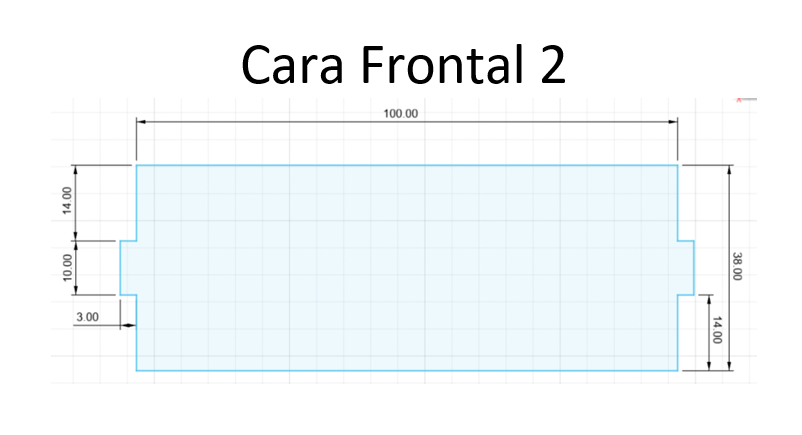
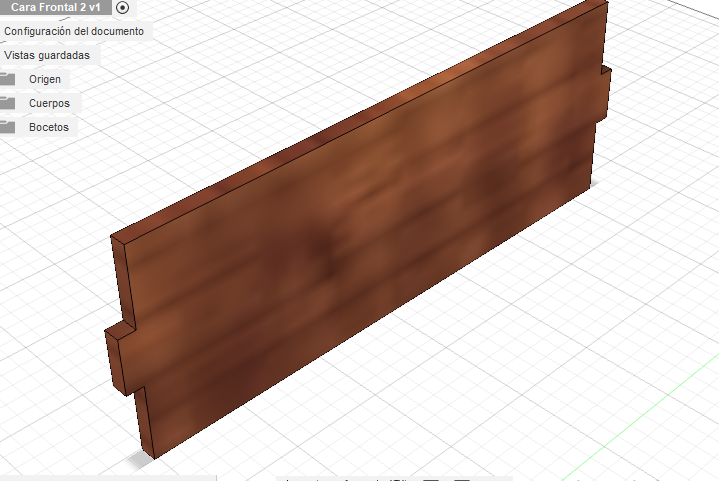
Now it is time to create the front faces, which are very easy, they are similar to rectangles.
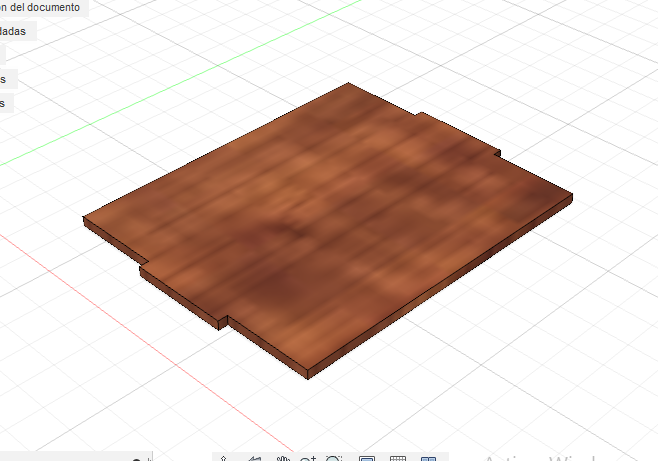
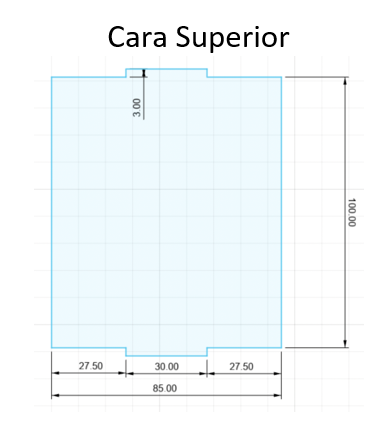
Now the top face which is very much like a square.
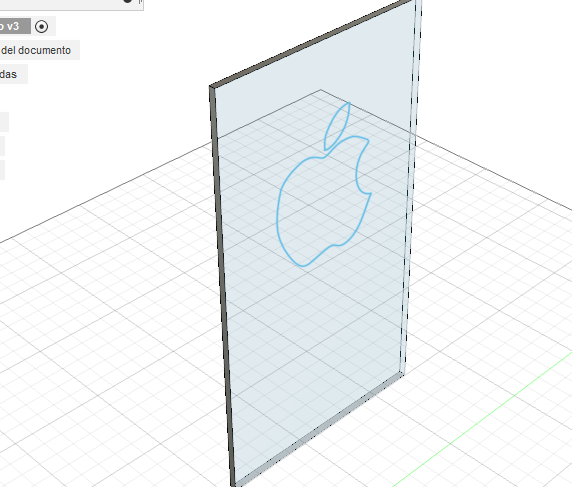
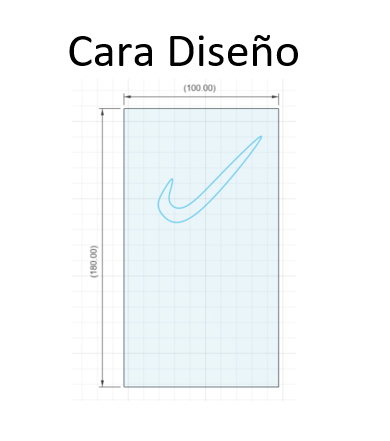
For the design of your sign, you must choose any image you want, and download it to your computer. And then make the sign with the measurements in the plans.
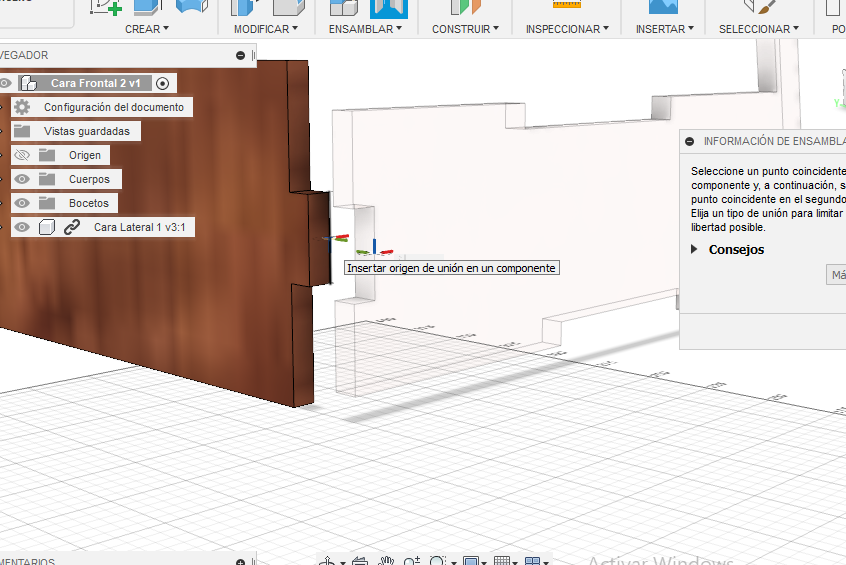
Finally, when assembling all the pieces, you must work with the midpoints of the edges, choose a point from where you want to assemble to the point you want.

To put the glass inside it is not necessary to assemble. Carefully make it fit inside the sign.