Let There Be Light!
.png)
After a long escape room you have now gotten to the circut, the last step of the escape room. You have worked so hard to get here and now, Let there be light! In this portion, you will make a Neopixle light up in rainbow colors!
Supplies
- Arduino Uno
- NeoPixle ring 16
- Mini Breadboard
- Resistor
- Pushbutton
- 9 jumper cables
Explaining the Code


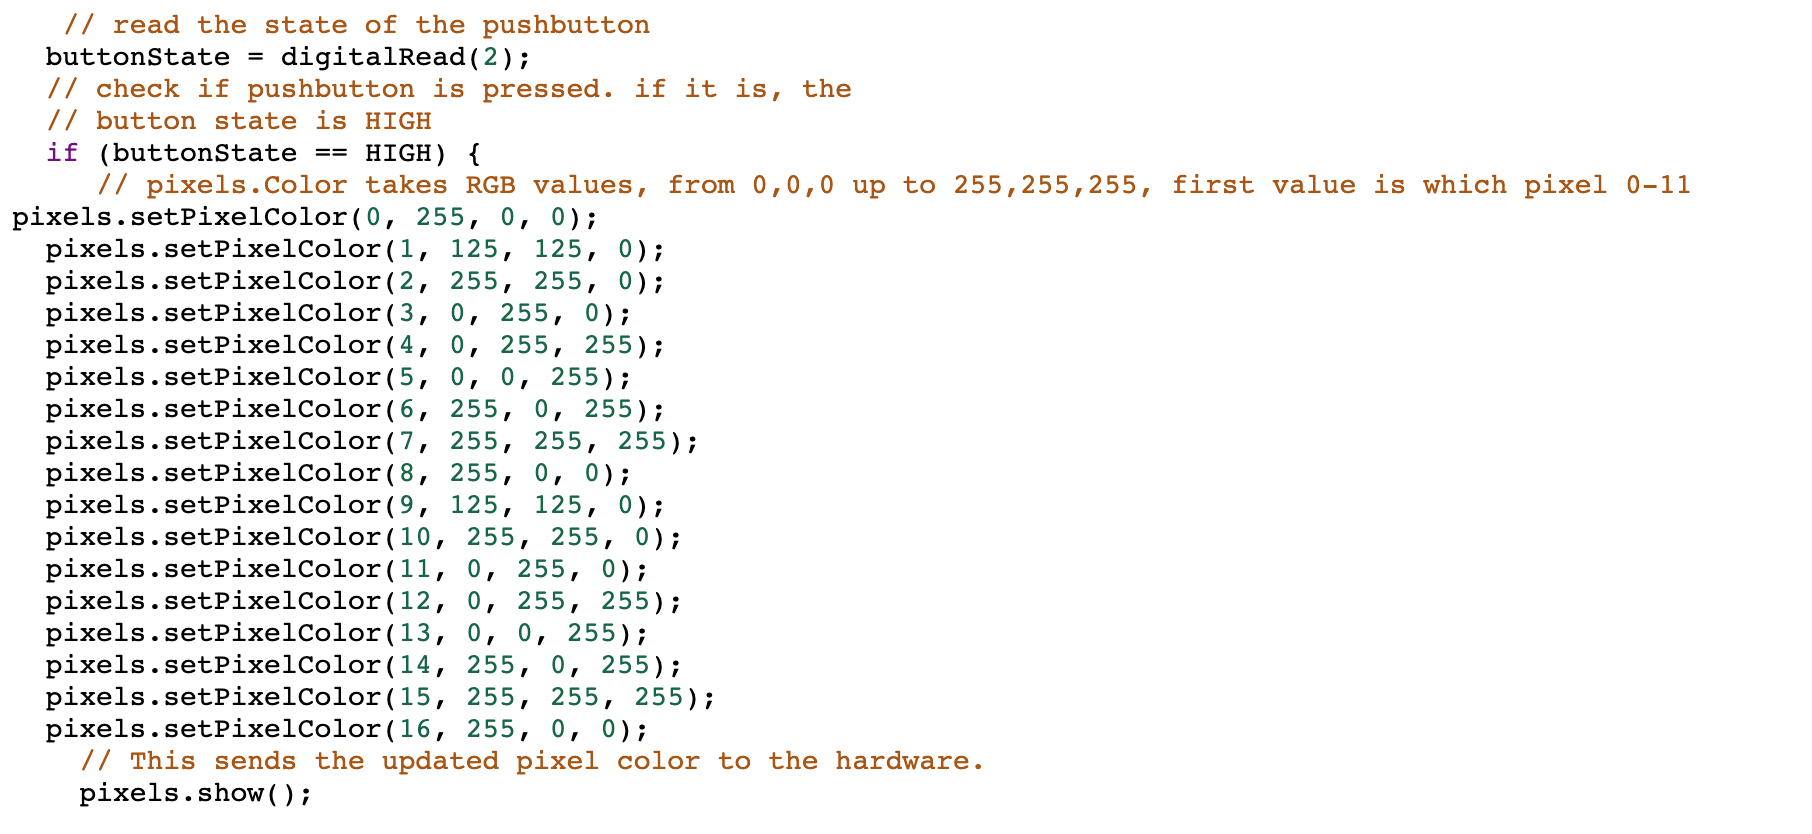
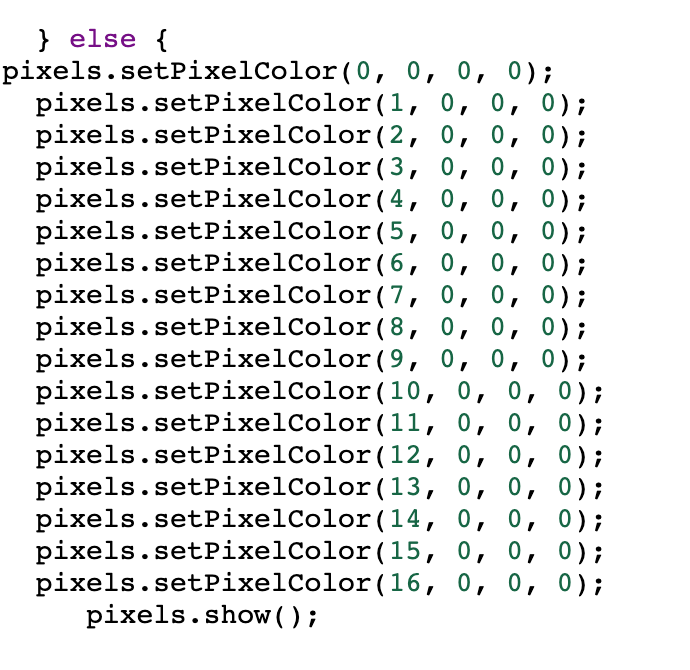
In the attached file is the code used to light up the NeoPixle.
In the code i listed each of the lights in order from 1-16. After I listed the lights i put what I wanted each color to light up as.
This code was relitively easy, because i instructed it to light up when i pushed the button and turn off when i let go, however if you hold the button and the shift key, the button stayed pushed.
Downloads
Assembly
After collecting all of the materials needed, we will start to assemble the circut board.
First, we will get the breadboard and the NeoPixle and attach those.
- Connect your first jumper cable from D1 to ground on the NeoPixle
- Next, connect a jumper cable from D5 to V+ on the NeoPixle
- After that connect a jumper cable from D10 to IN on the Neopixle
Next we will connect the Arduino to the Breadboard
- Connect a jumper cable from A1 to Ground
- Next connect a jumper cable from 5V to B5
- After, connect a jumper cable from ground on the arduino, to F13
- Next we will connect a cable from D12 on the arduino to B10
- Lastly we will connect a cable from D2 on the arduino to G17 on the breadboard
Lastly, we will work on connecting the pushbutton
- You will need to connect a jumper cable from C5 to C15
- Next we will put a resistor from H17 to H13
- Lastly you will put the pushbutton in F17, F15, E17, E15