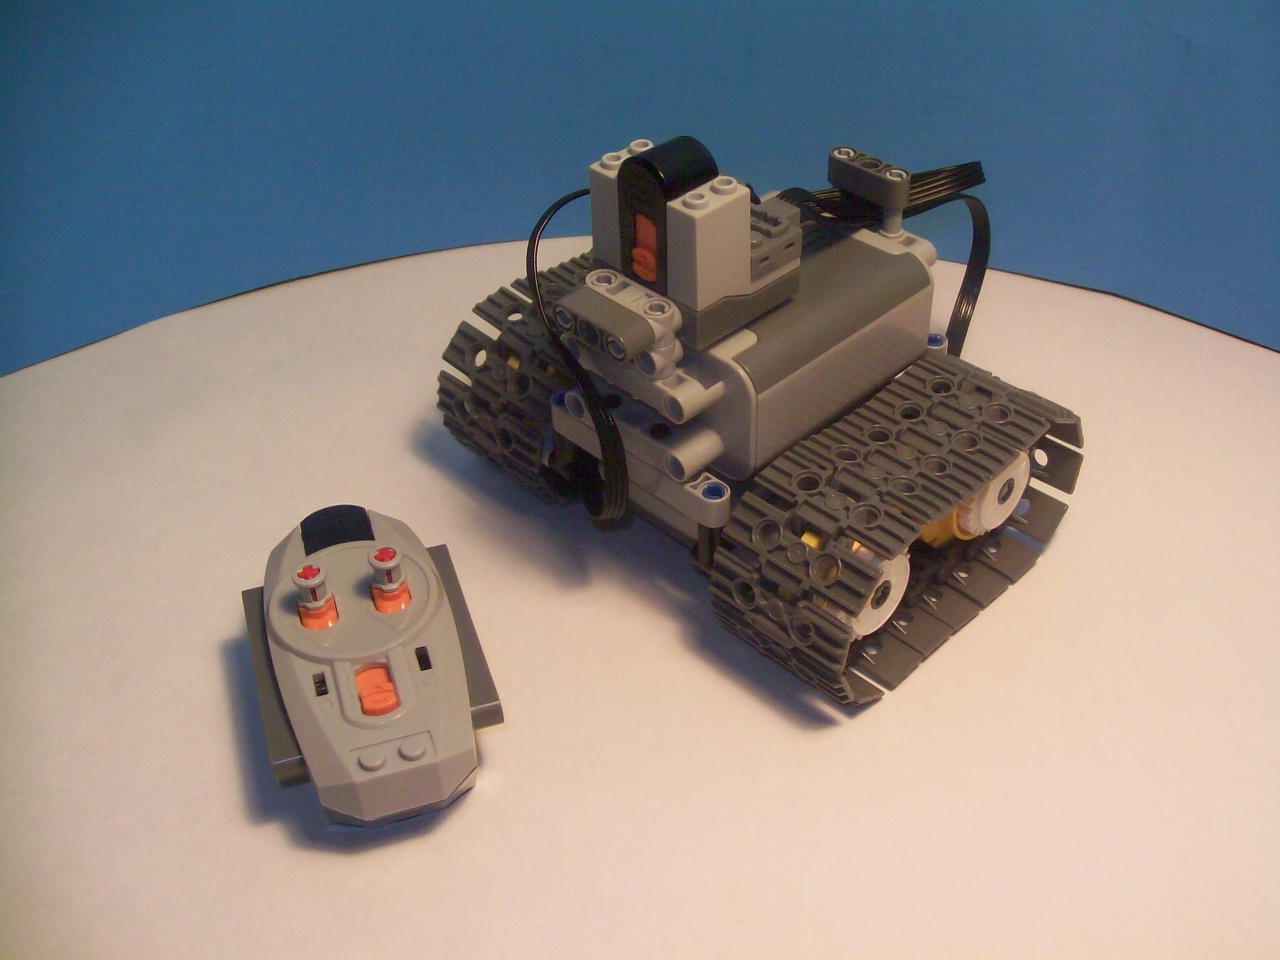
Lego Power Functions Mini Tank (With Video)
by Troy_1 in Living > LEGO & K'NEX
13207 Views, 24 Favorites, 0 Comments
Lego Power Functions Mini Tank (With Video)
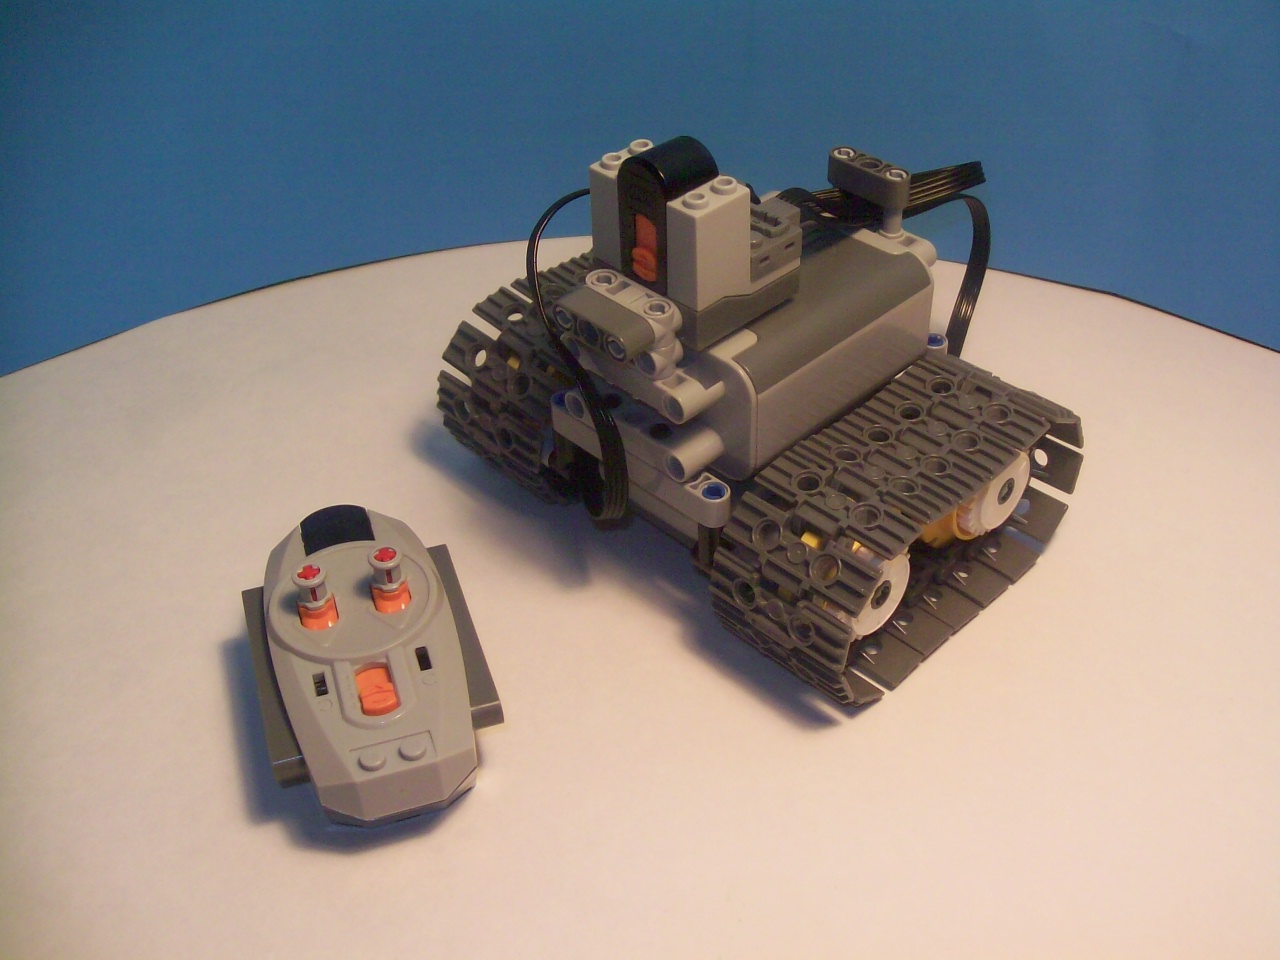
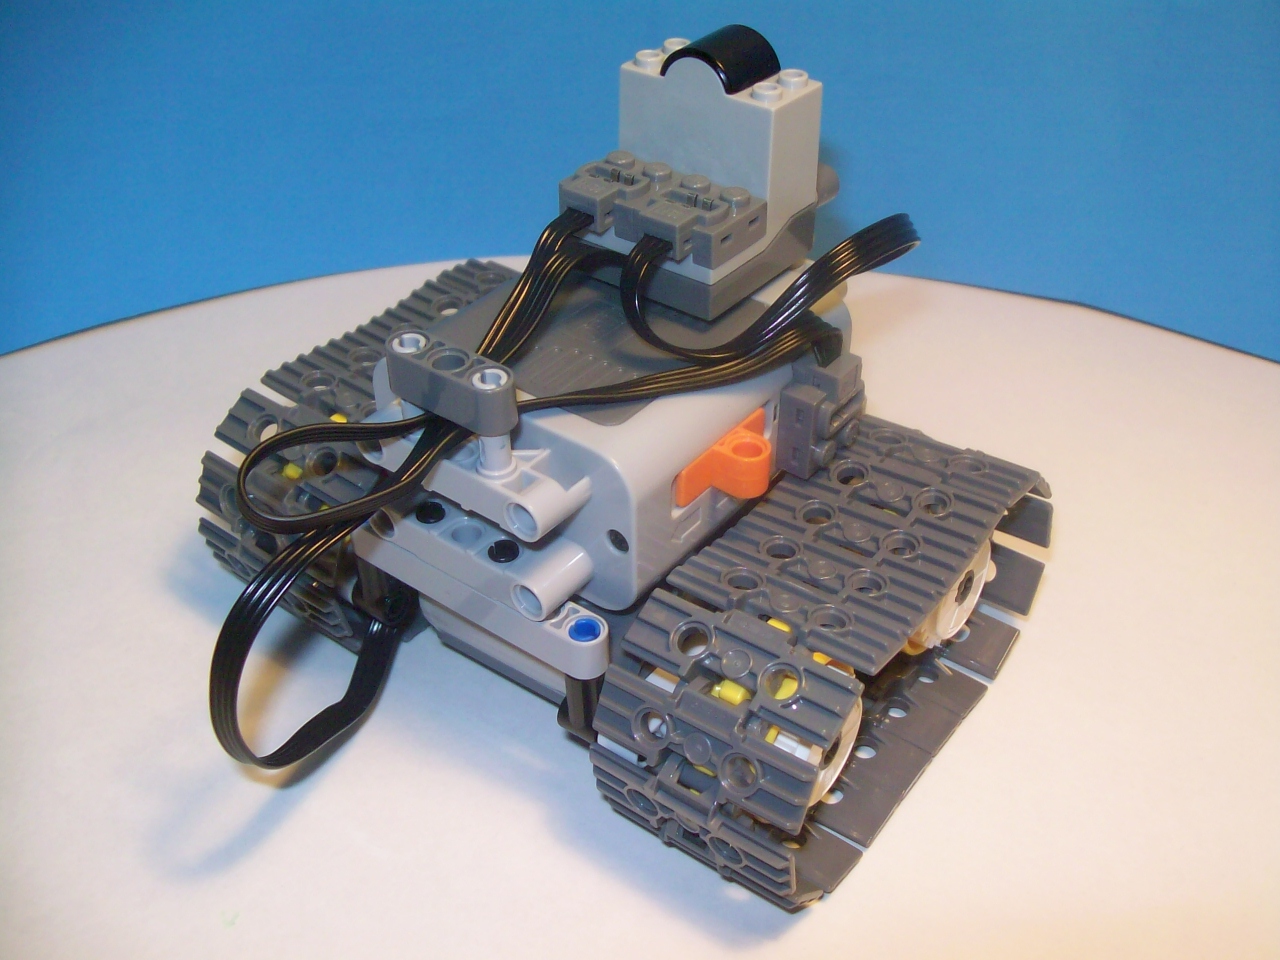
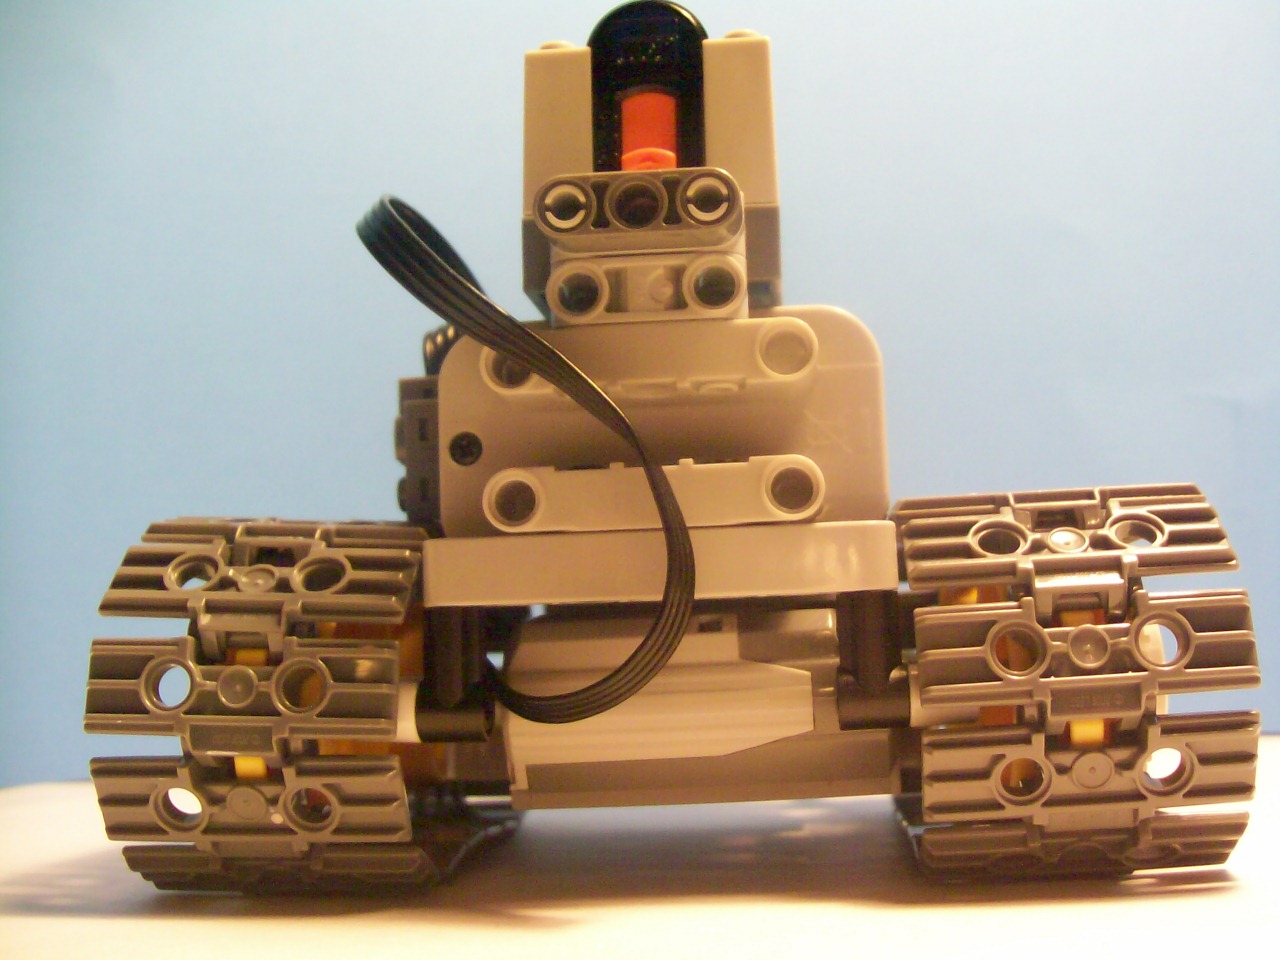
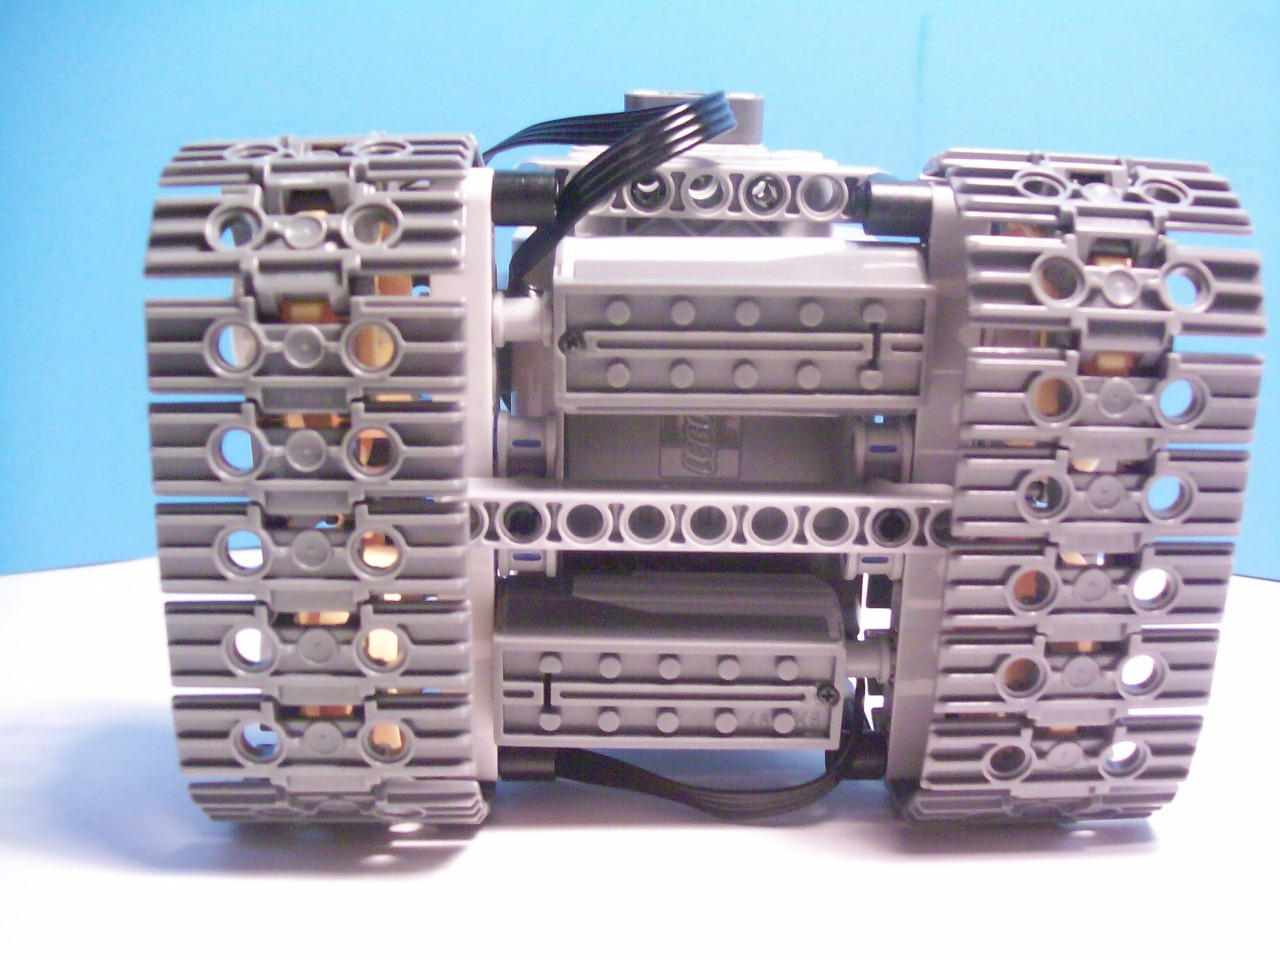
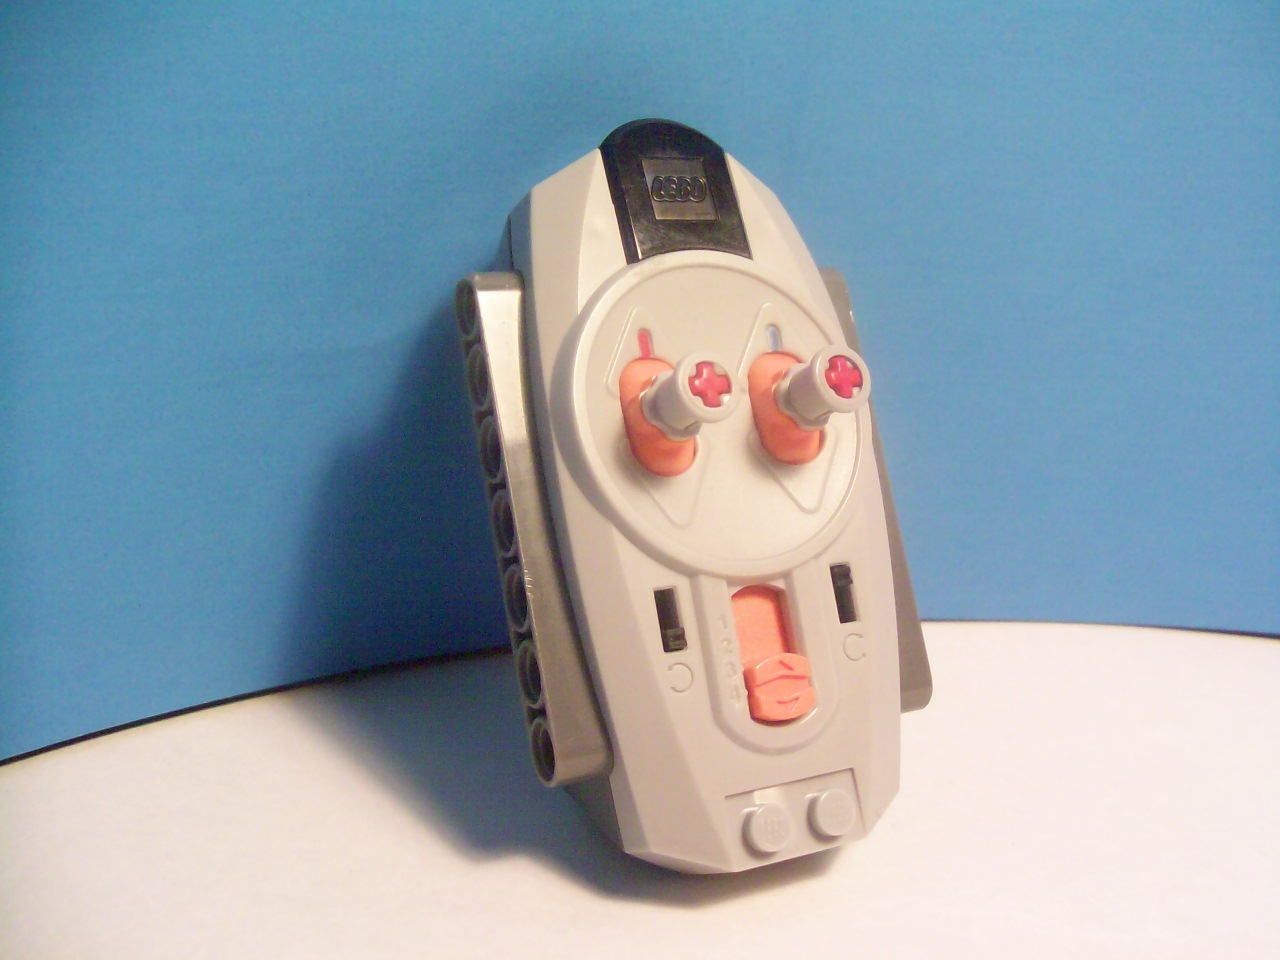
- (2) Small Motors
- (1) Batter Pack
- (1) IR Receiver
- (1) Remote Control
If you need Power functions, you can get them off the Lego Shop website. (Click the link)
There are several sets that include tracks and sprockets. You will need 4 sprockets and 36 individual track pieces. If you need tracks and sprockets, you can get them off of the Lego education website. (Click the link)
The rest of the pieces you should be able to find in most Lego Technic sets. Feel free to substitute the pieces out for other colors that you like. This model should be able to be put together in 15-30 minutes depending on how long it takes you to find the pieces in your collection of Legos.
Building the Frame
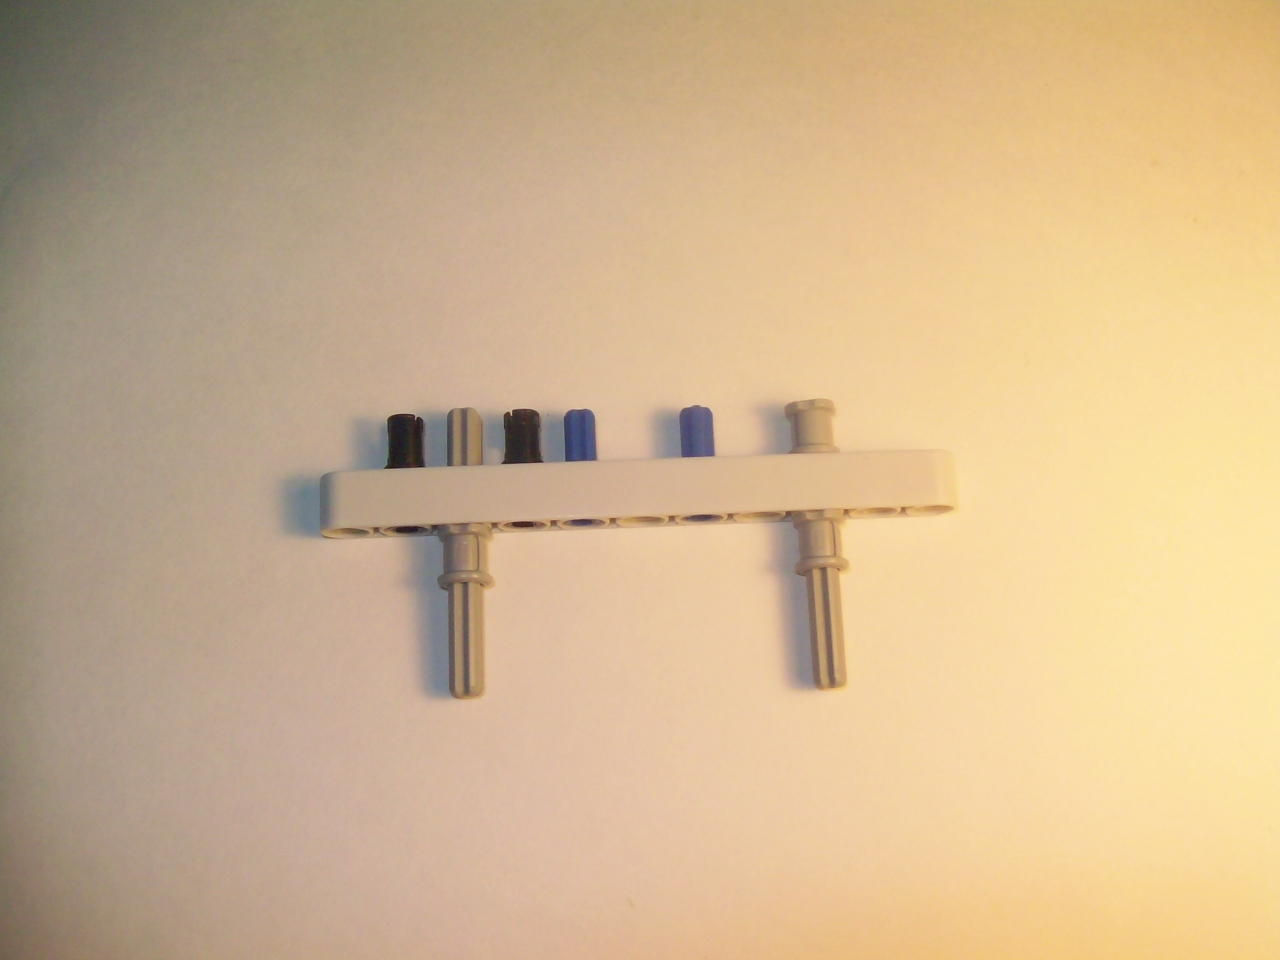
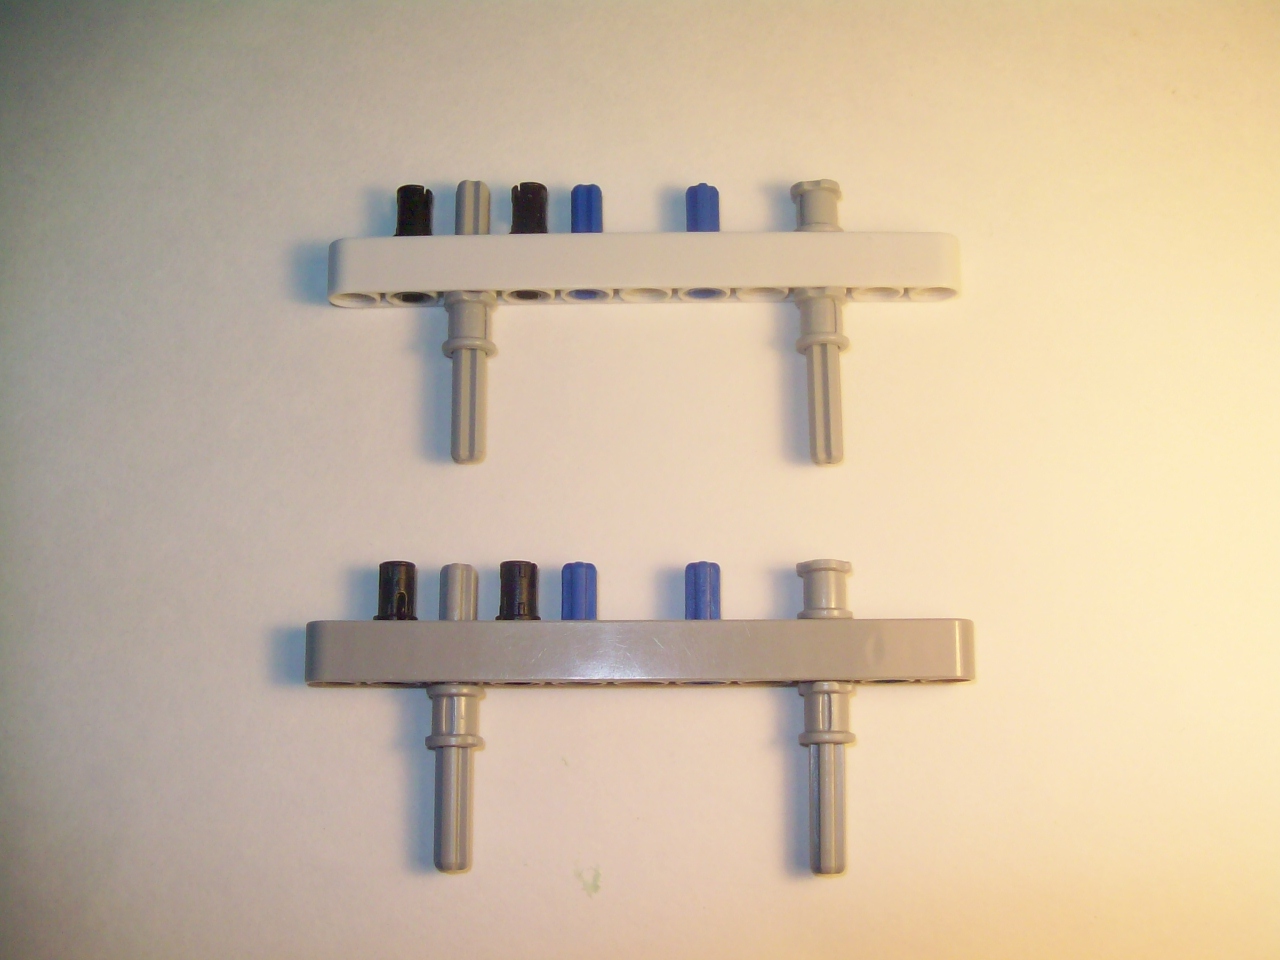
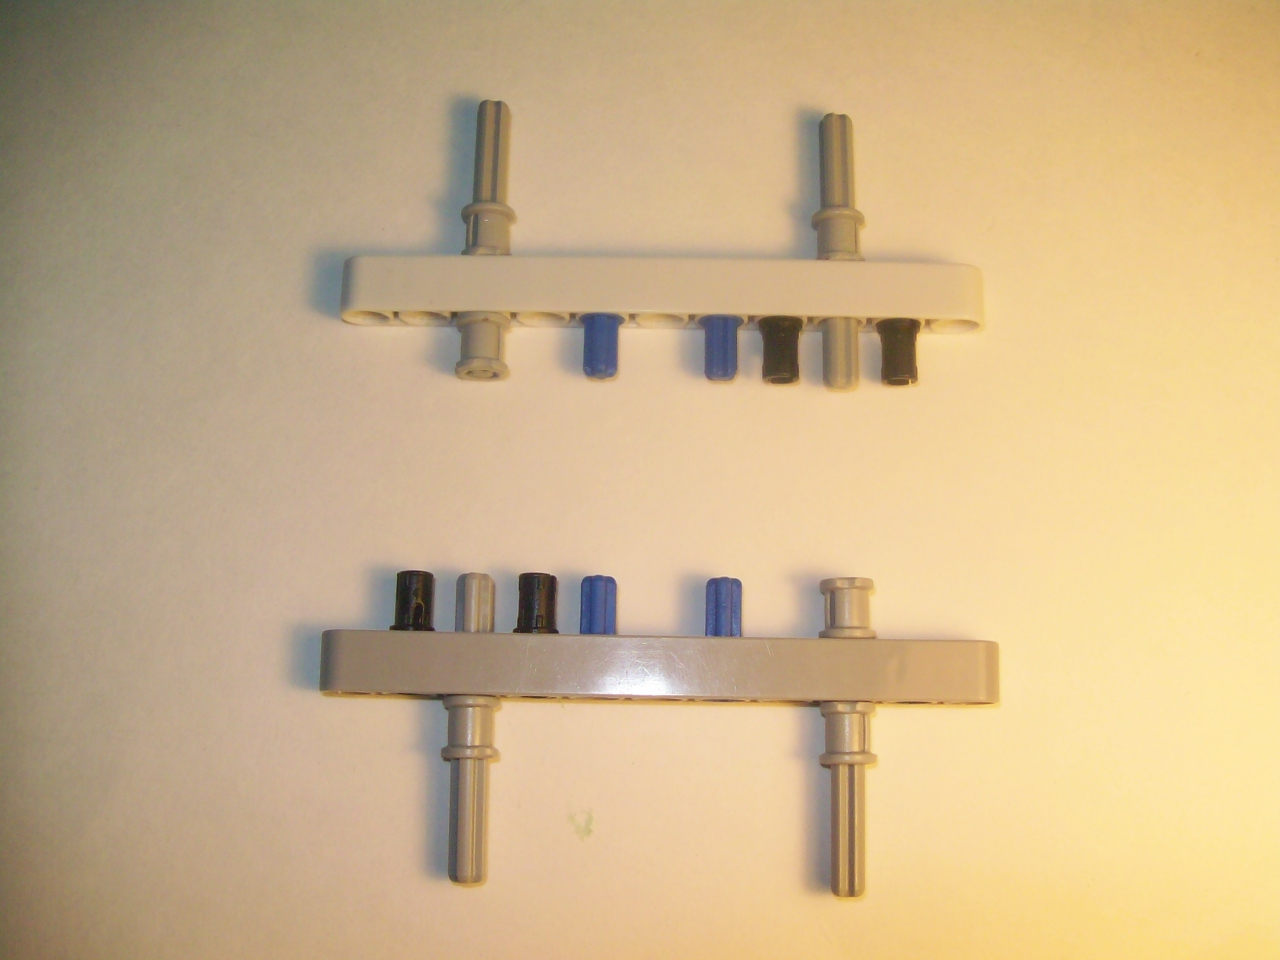
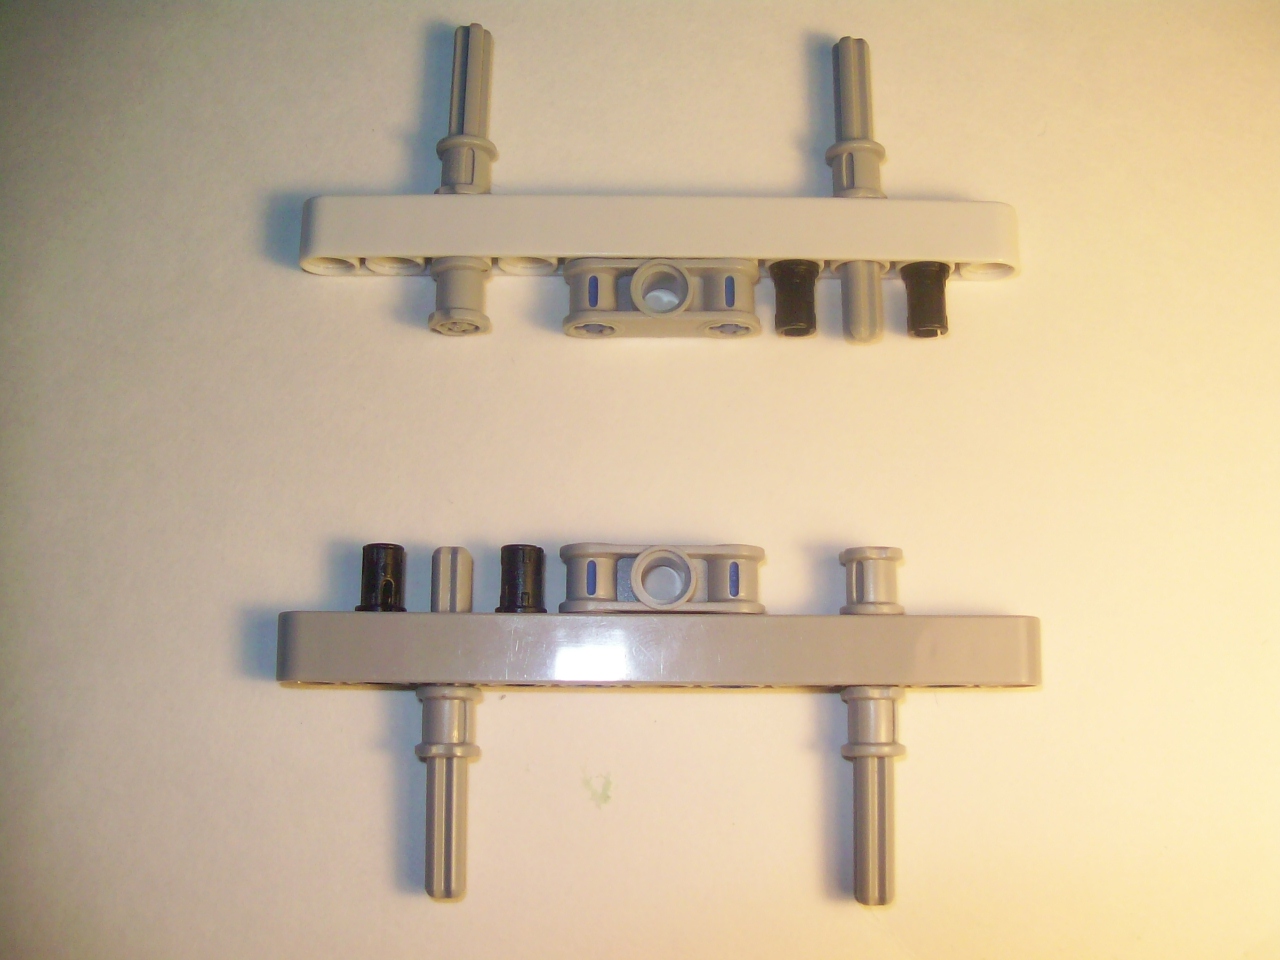
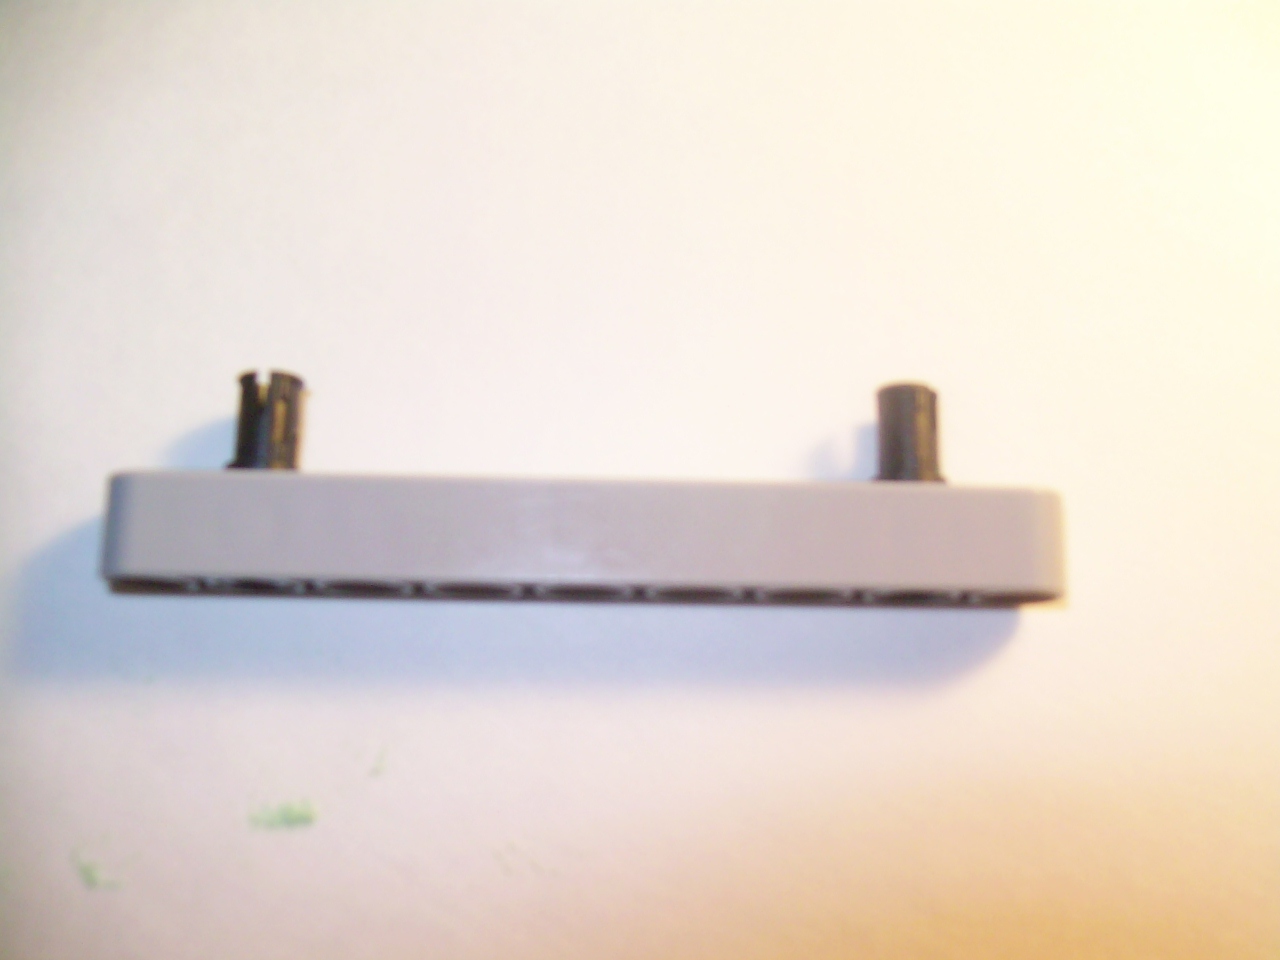
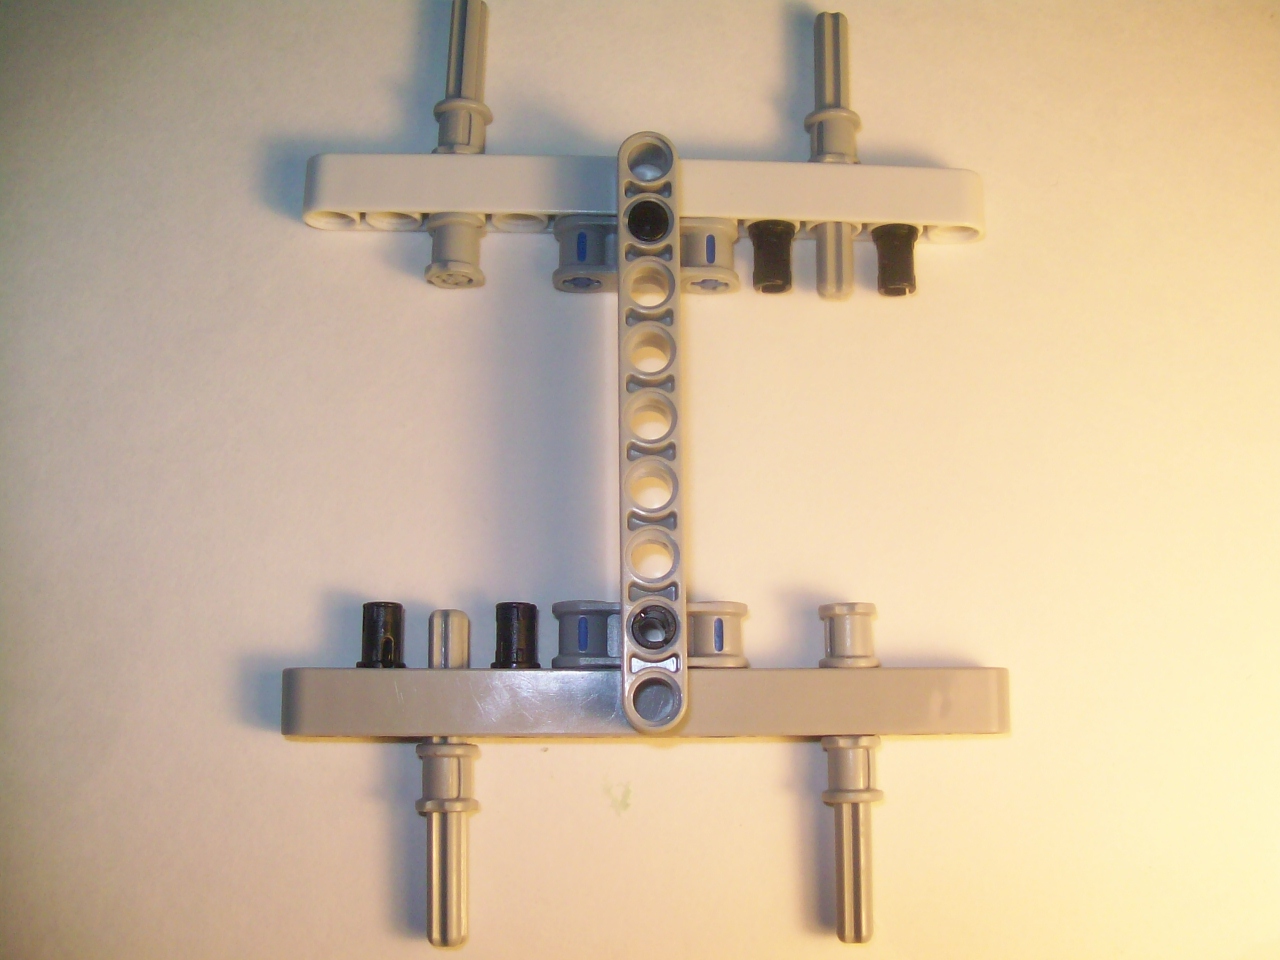
In this step I will show you how to build the main frame for the vehicle.
Pictures:
1) Build the section shown in the picture. Notice that one of the rods has one bushing on it and the other has two.
2) Build the same thing that you built in step one again.
3) Rotate one of the structures 180 degrees.
4) Add the two pieces shown in the highlighted box.
5) Insert two black pins into to 9 length beam as shown.
6) Take the structure that you built in the last picture and insert the pins into the the grey pieces that you added in picture 4.
Installing the Motors
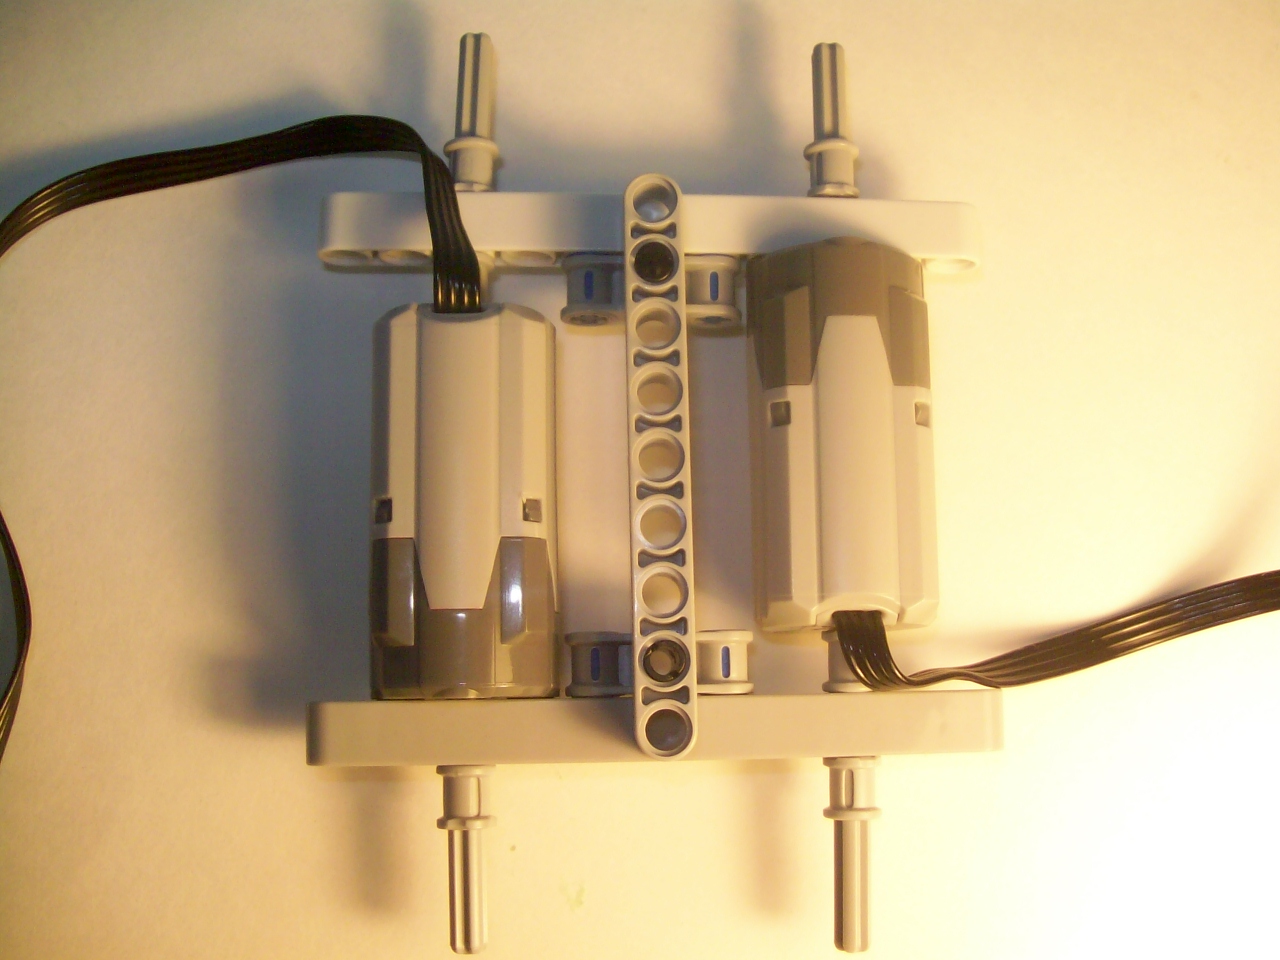
Insert the motors into the model. Make sure that the 5 length rods are inserted into the motors and that all 6 of the bushings are still attached. I highlighted all of the bushings with the boxes.
Installing the Battery Pack Mount
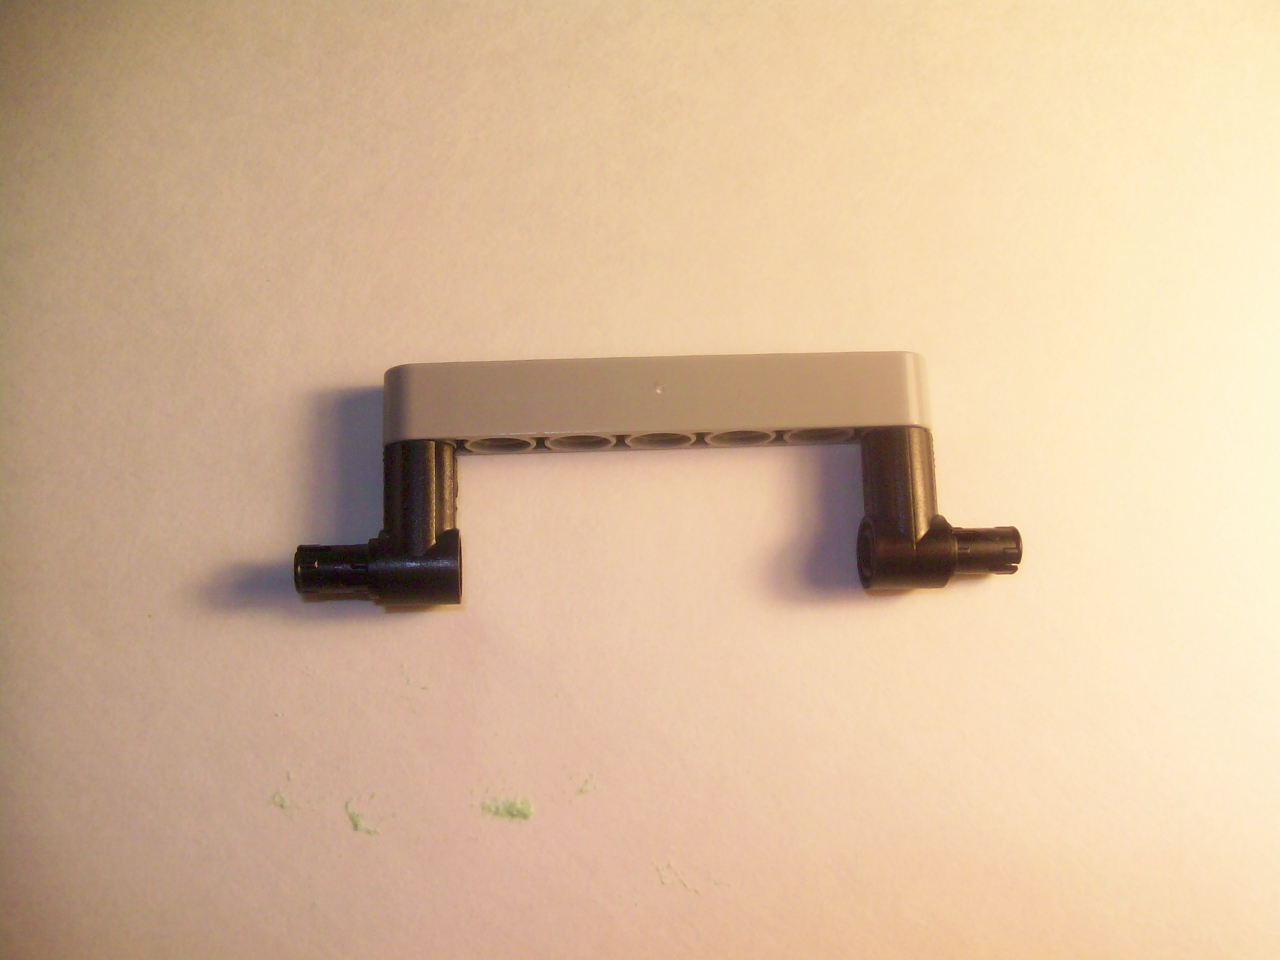
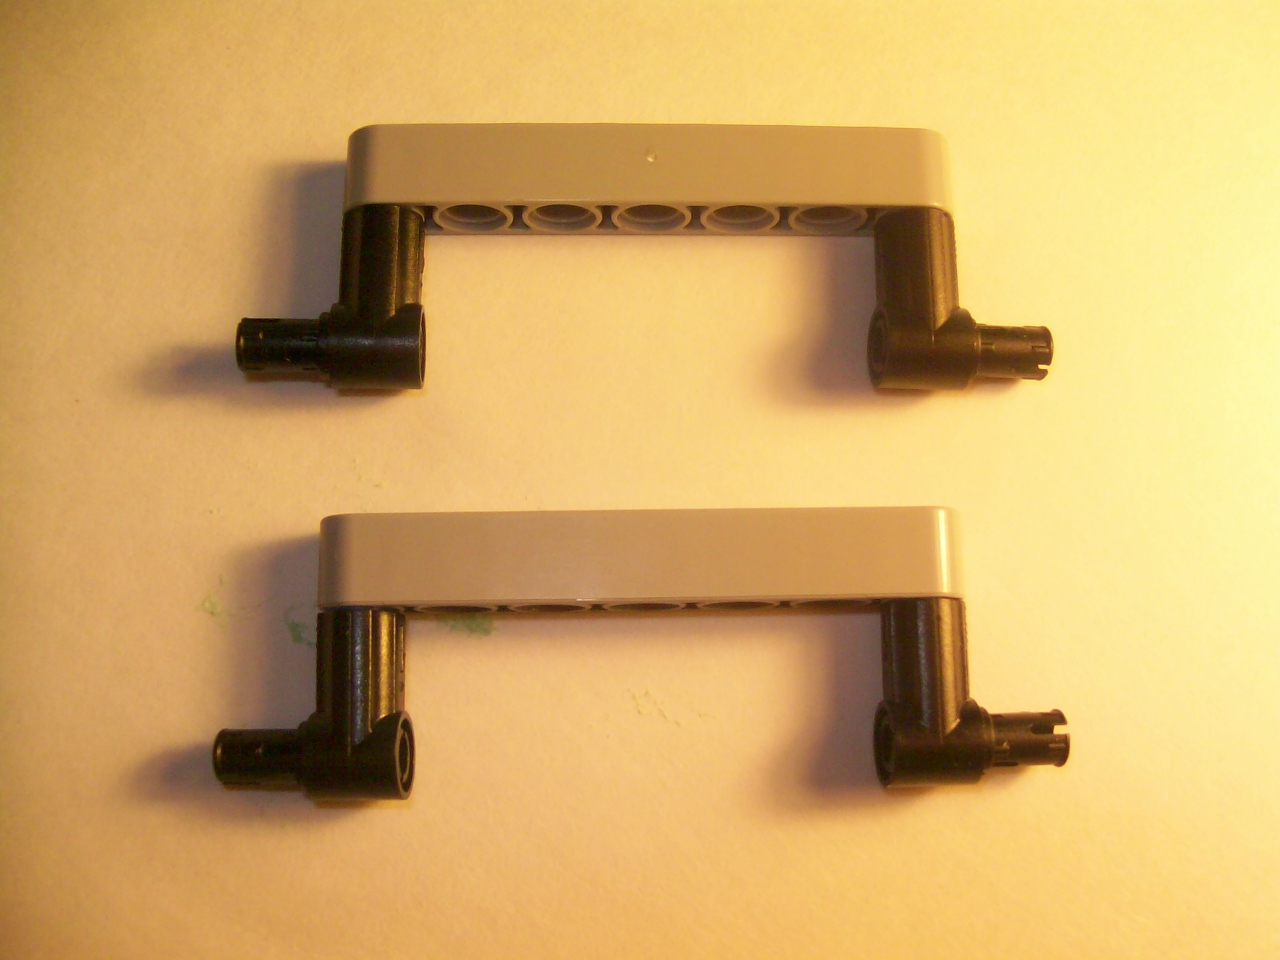
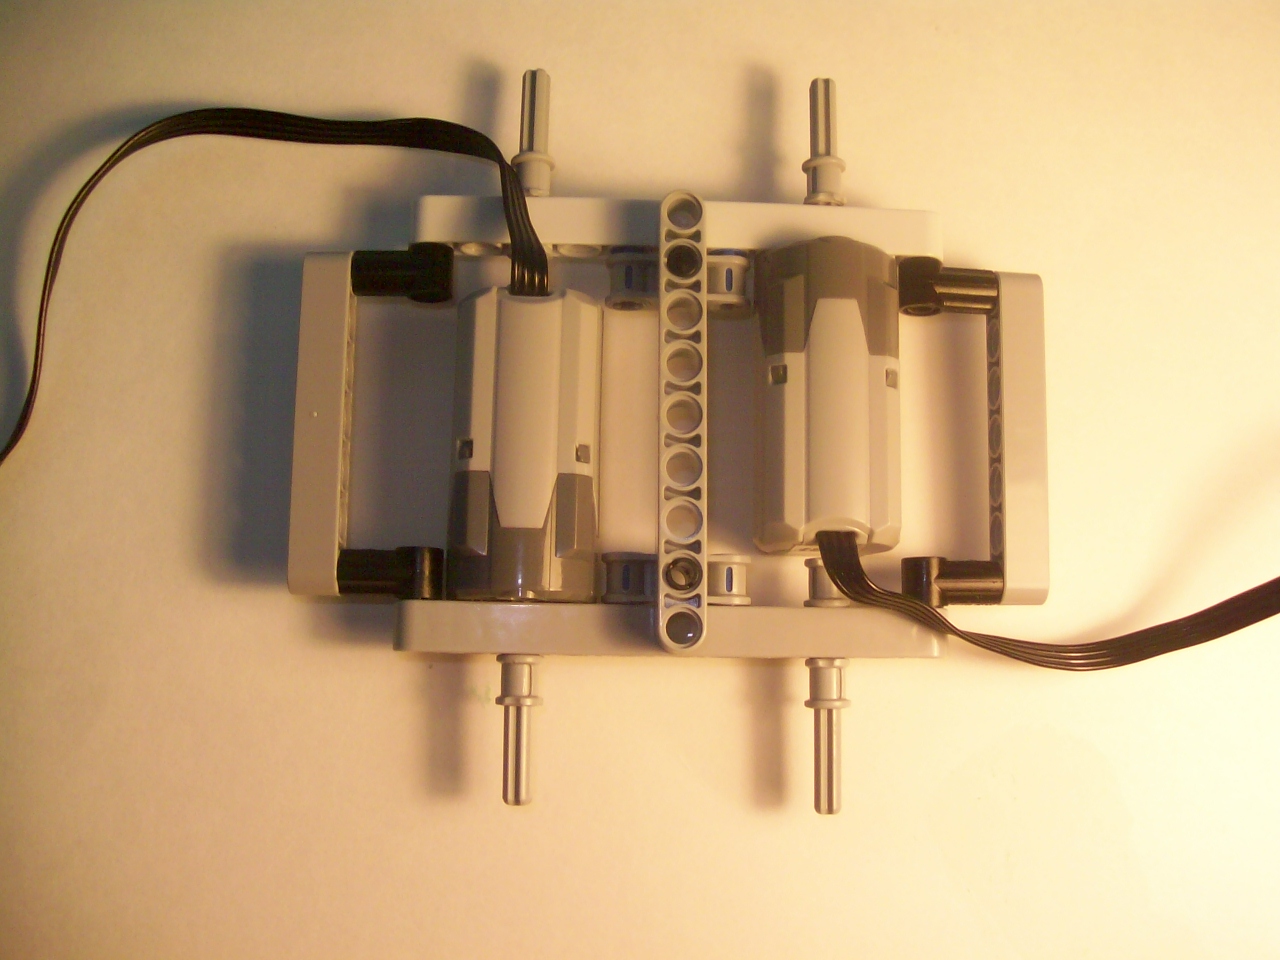
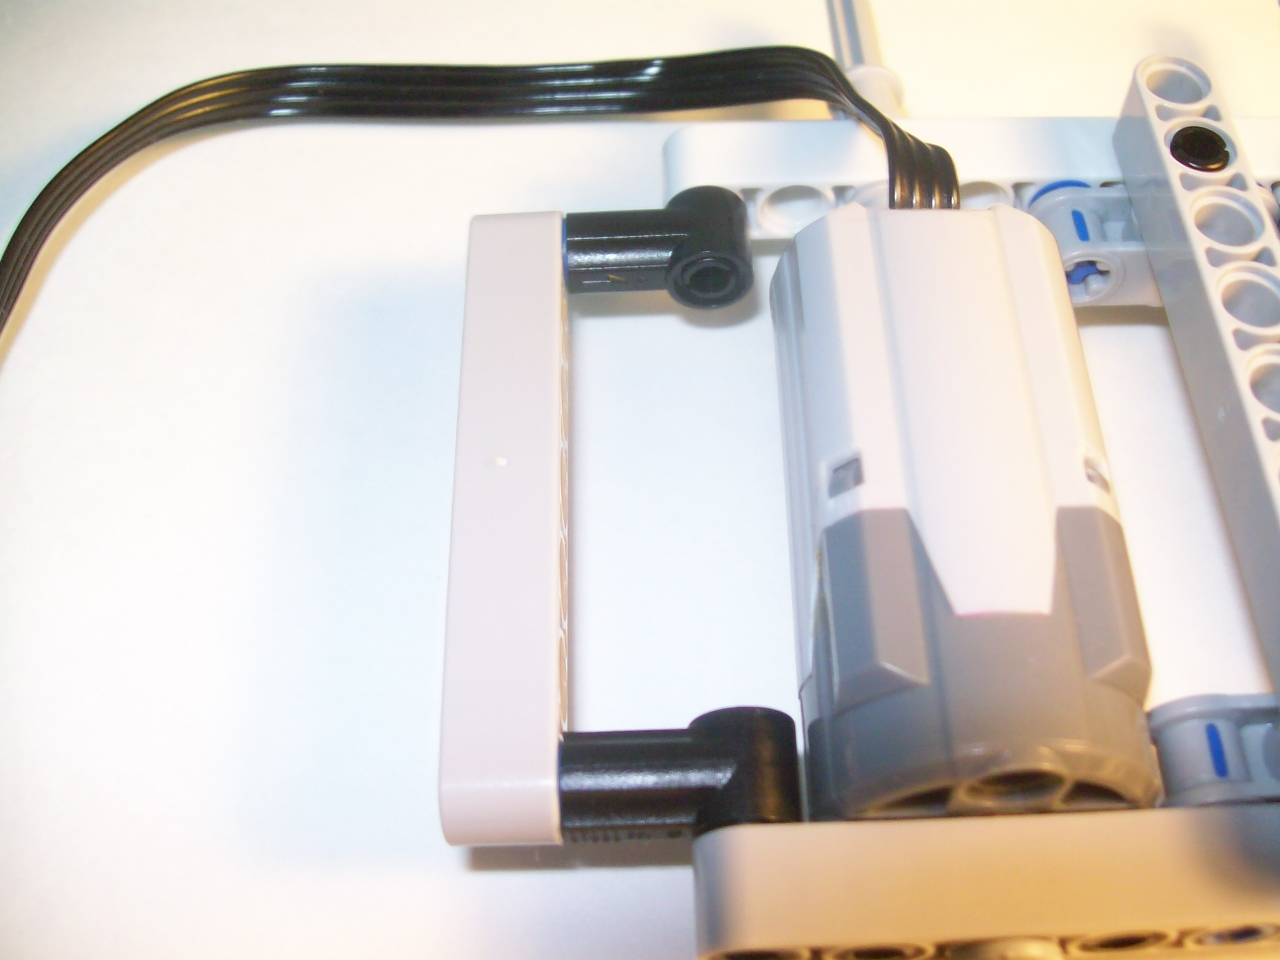
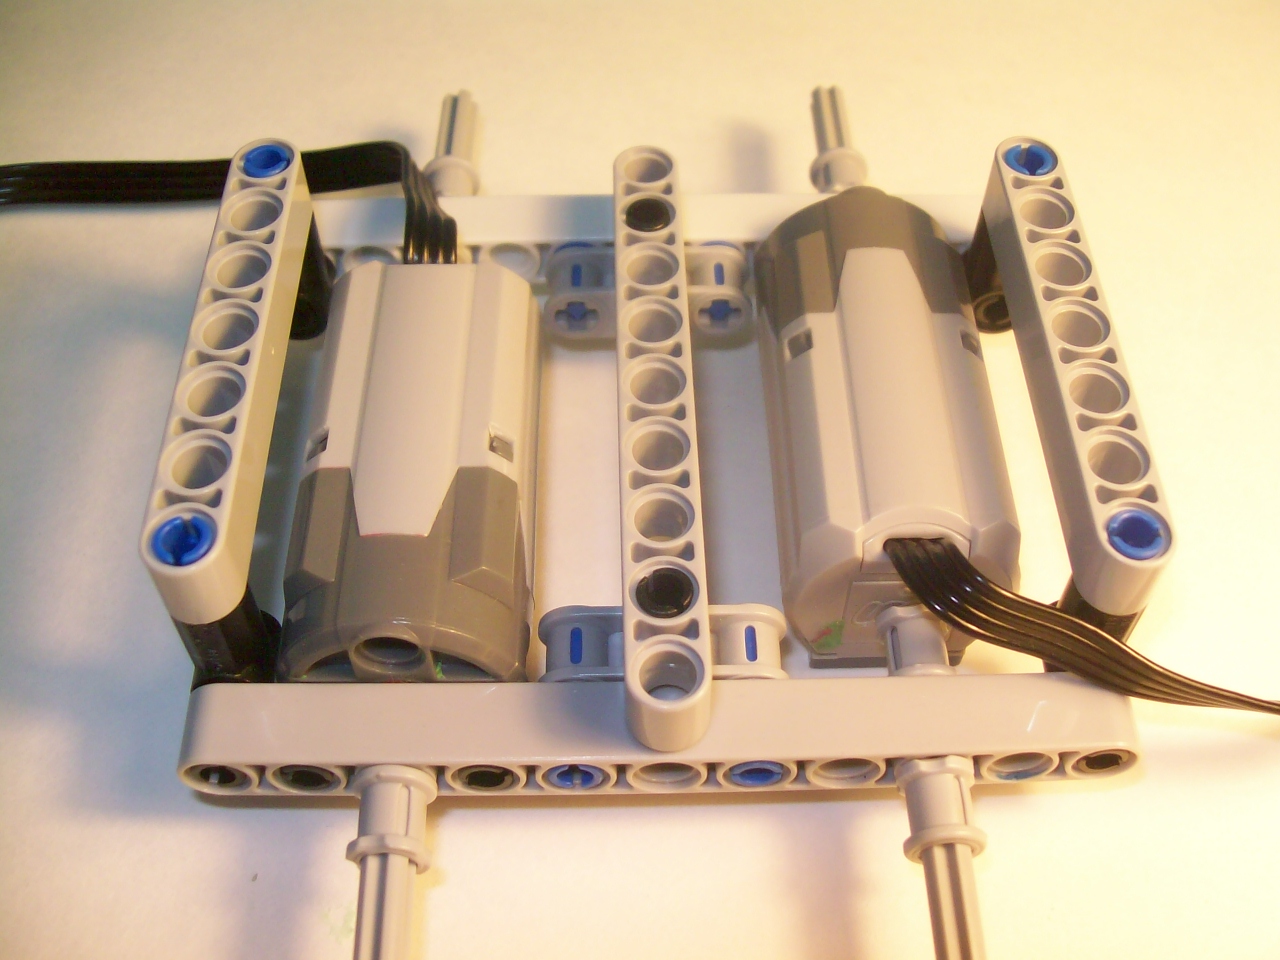
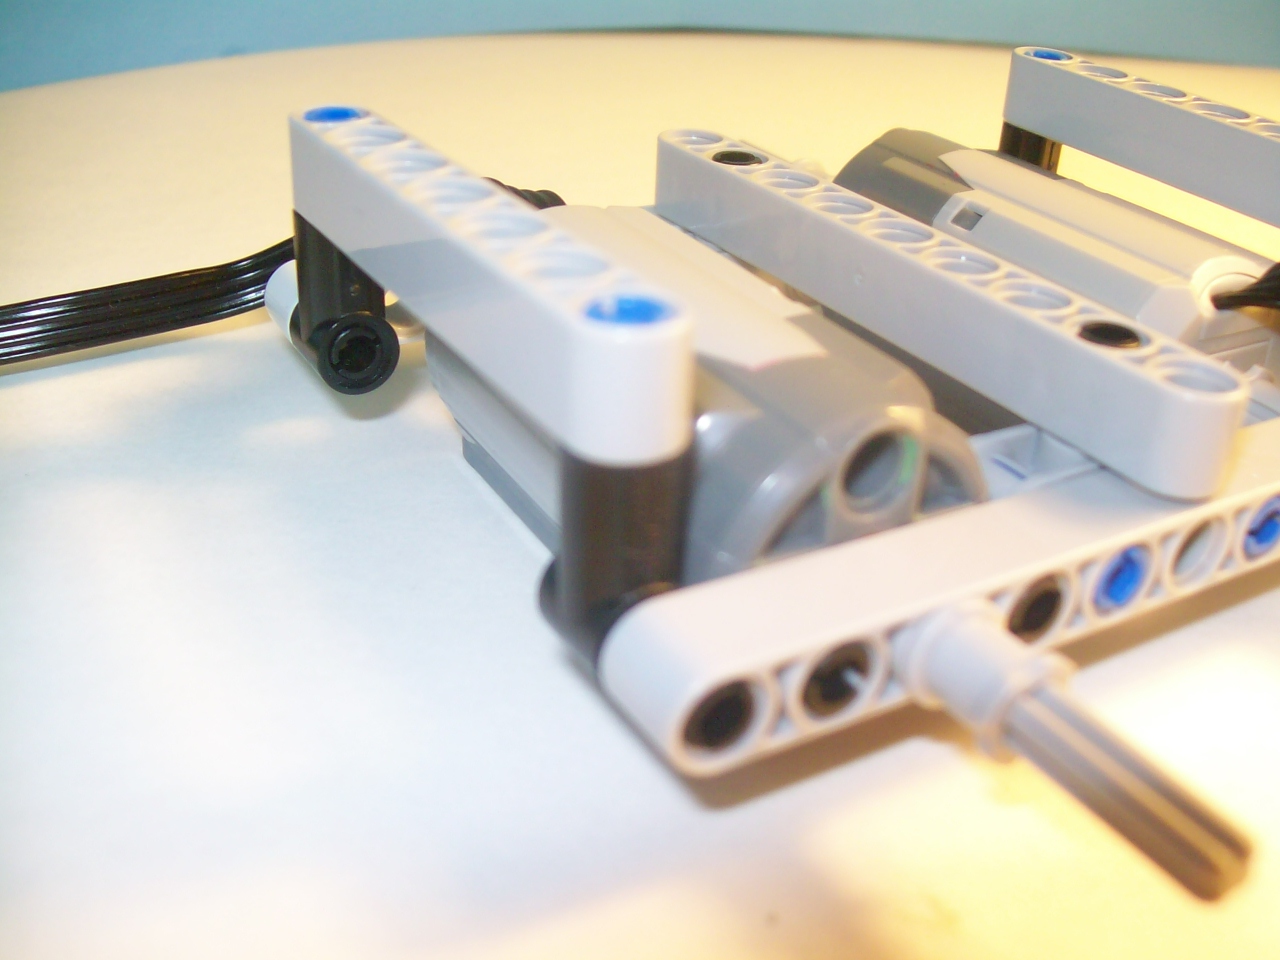
In this step I will show you how to build and install the battery pack mount.
Pictures:
1) Build the structure shown with a 7 length beam.
2) Build another one.
3) Install the structures from the last picture as shown.
4) Close up view.
5) Rotate them upward 90 degrees.
6) Close up view.
Pictures:
1) Build the structure shown with a 7 length beam.
2) Build another one.
3) Install the structures from the last picture as shown.
4) Close up view.
5) Rotate them upward 90 degrees.
6) Close up view.
Installing the Battery Pack
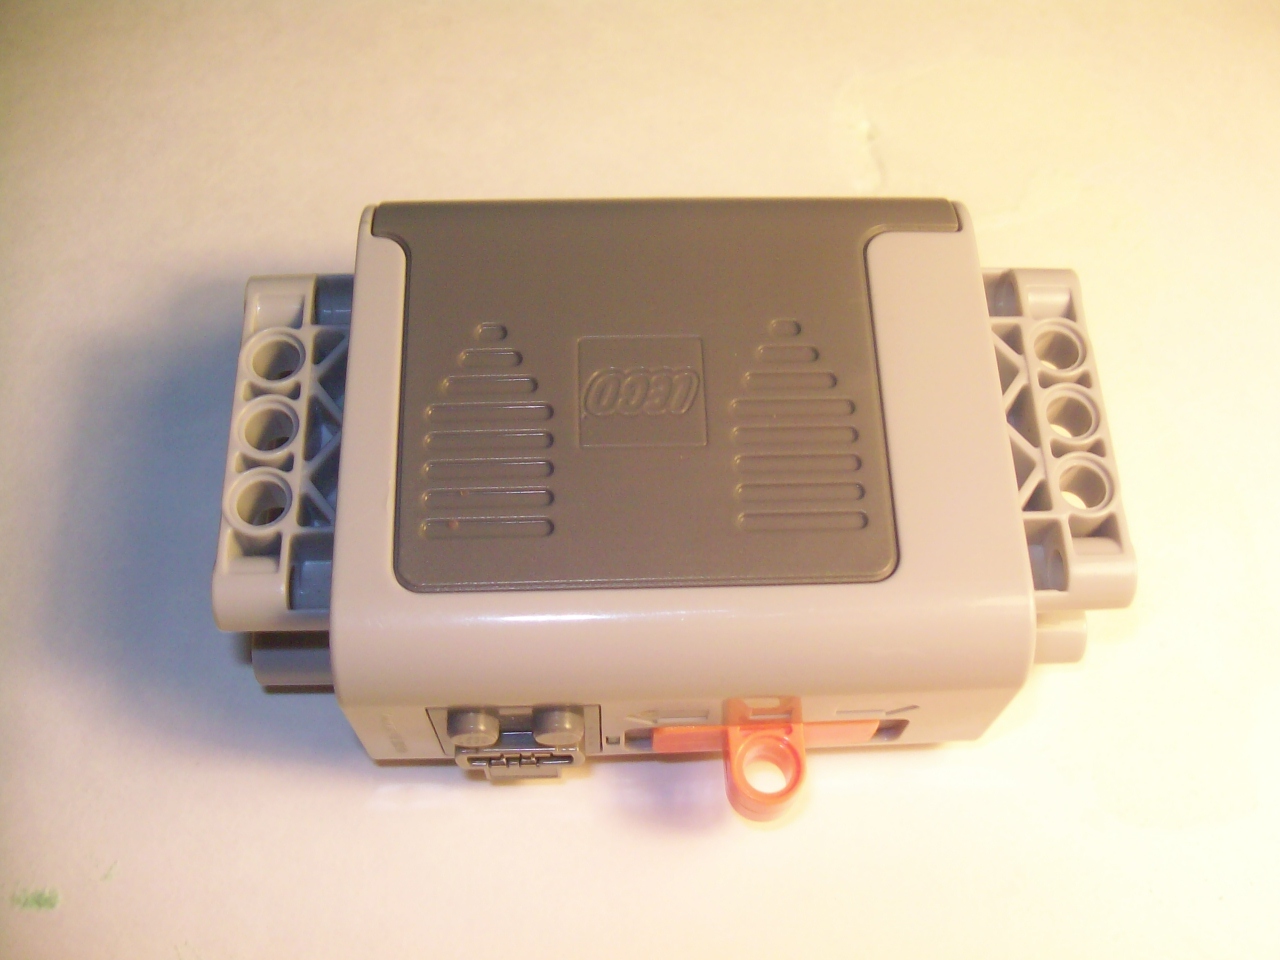

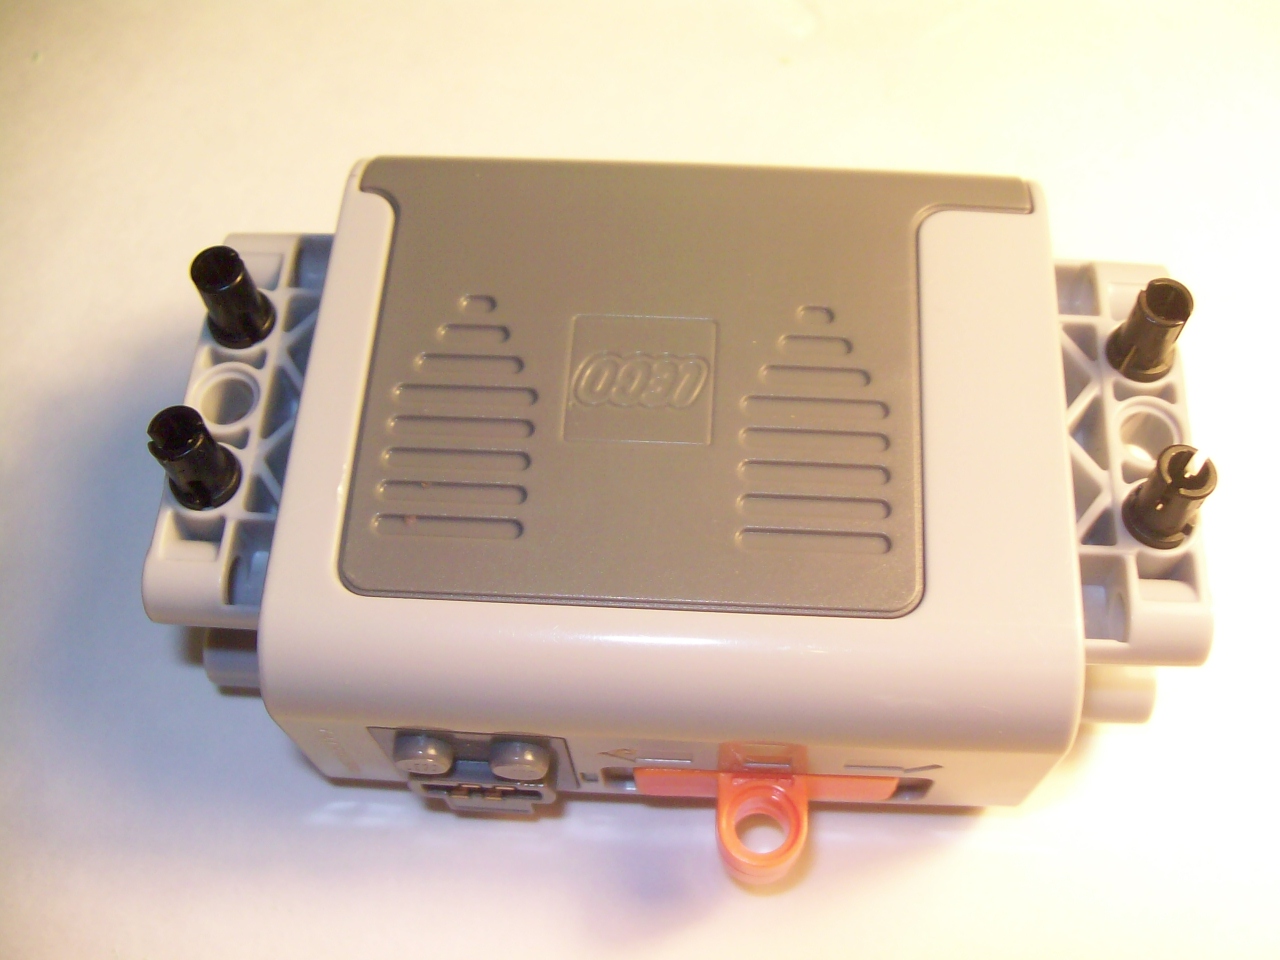
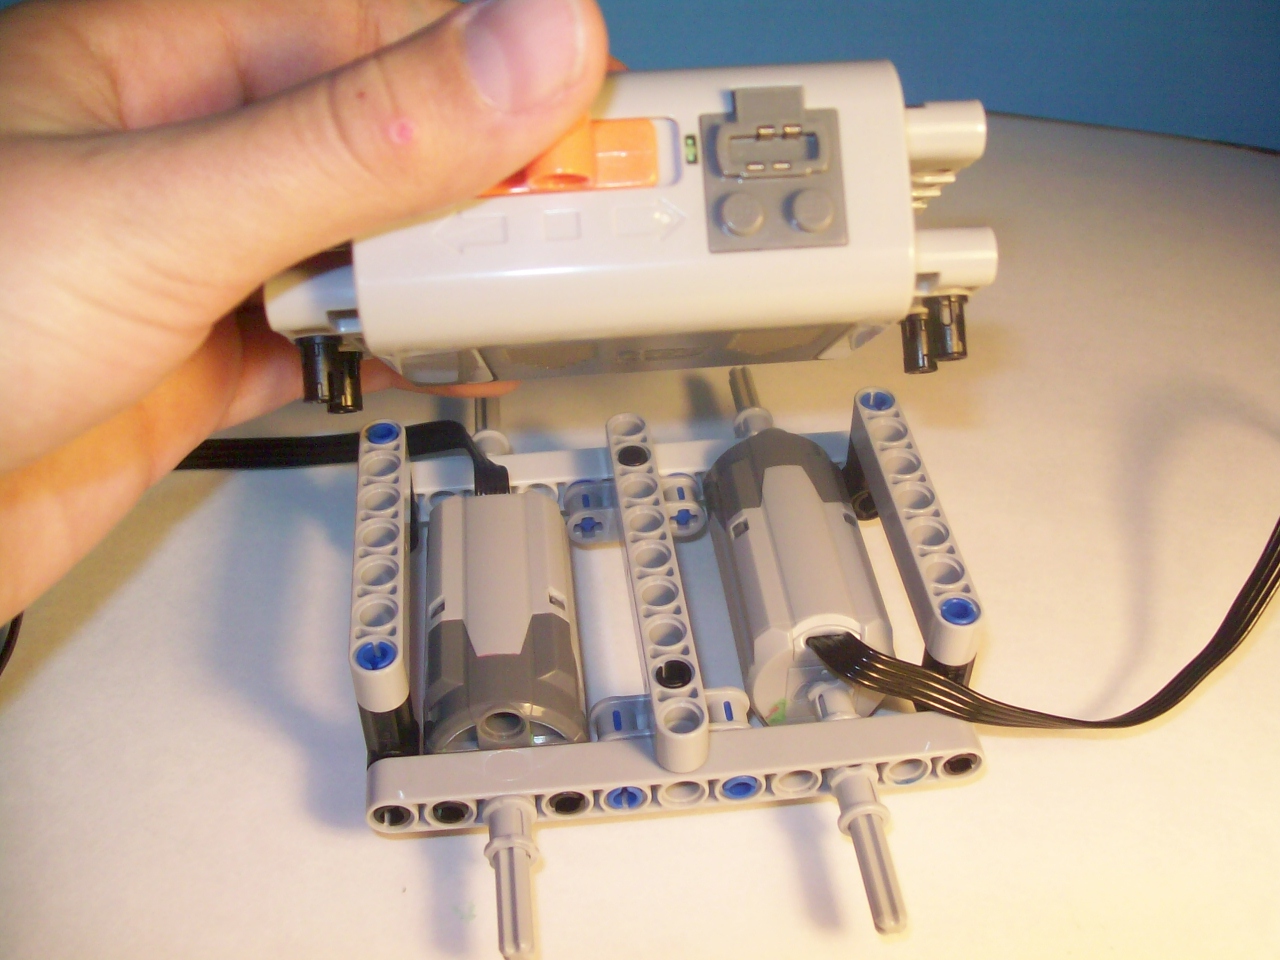
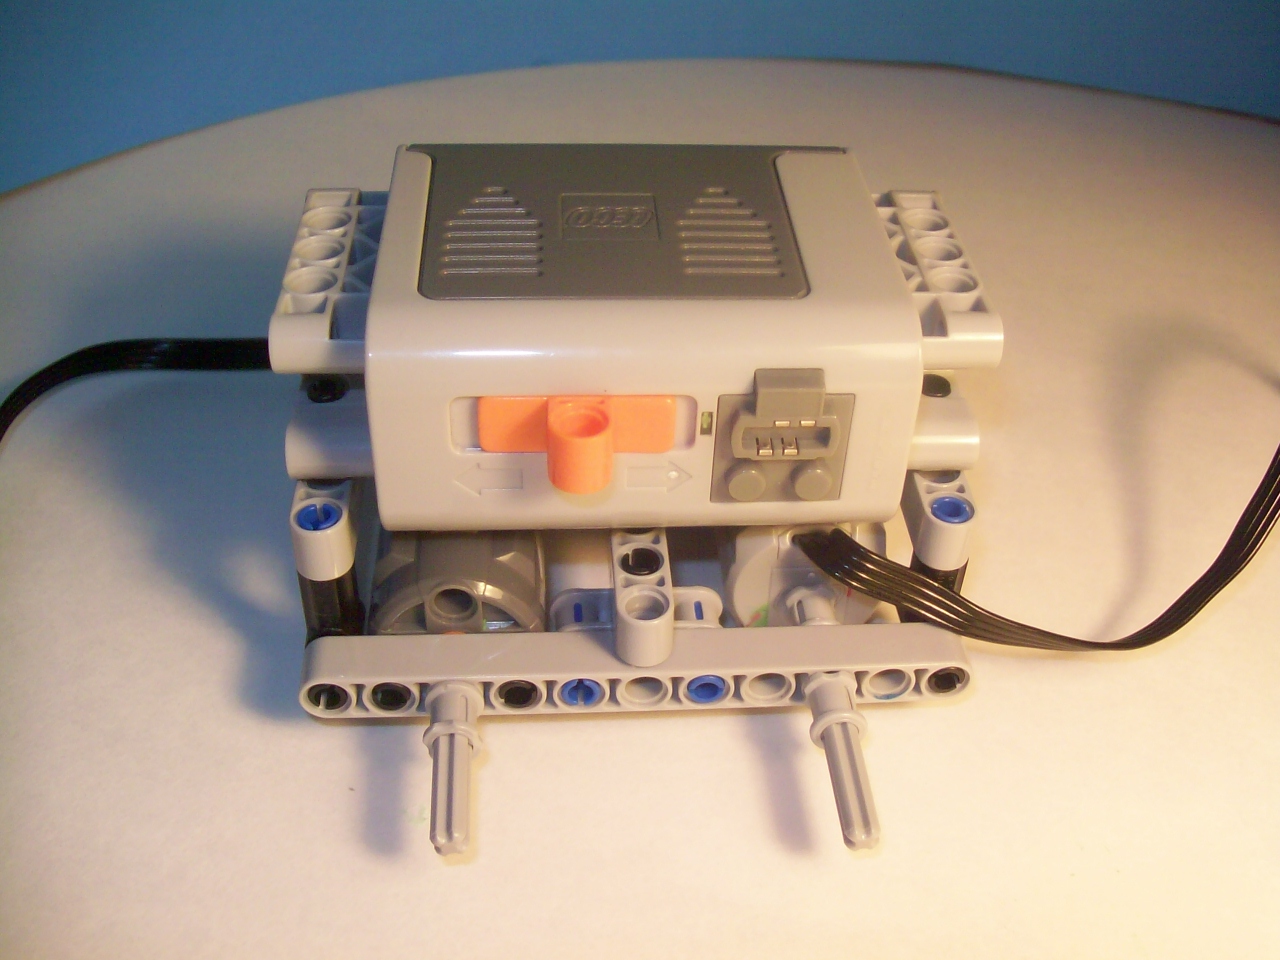
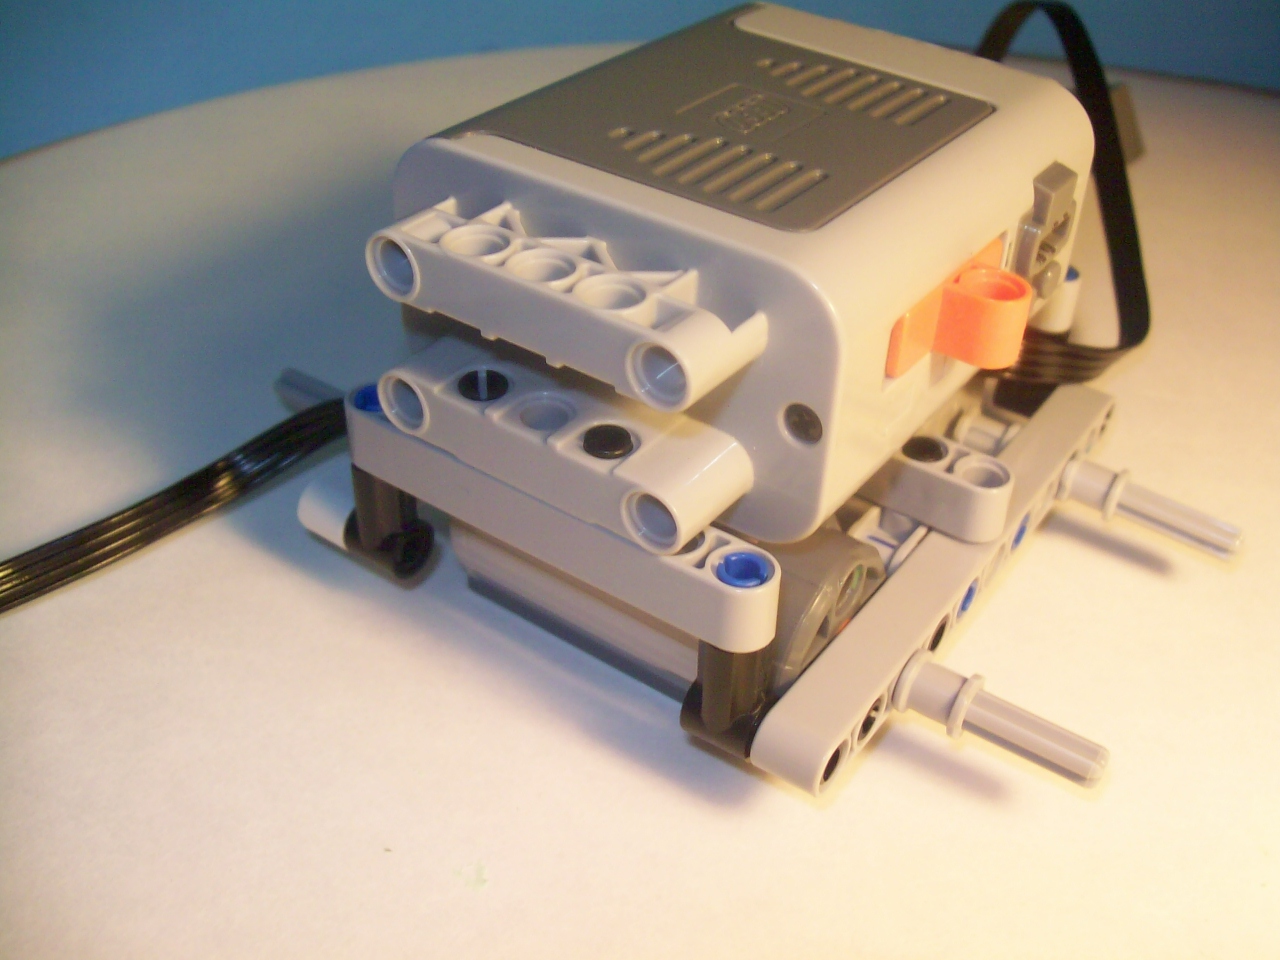
In this step we will install the battery pack.
Pictures:
1) First, get you battery pack piece. Make sure that there is batteries in it before we start this step.
2) Look at the orientation of the switch an electrical port. If that side isn't facing up, then flip it over so that it looks like the picture. This will be very important in the end.
3) Now, insert 4 black pins into the battery pack as shown in the picture.
4, 5, and 6) Mount the battery pack as shown. make sure that it is centered on the model.
Installing the IR Reciever
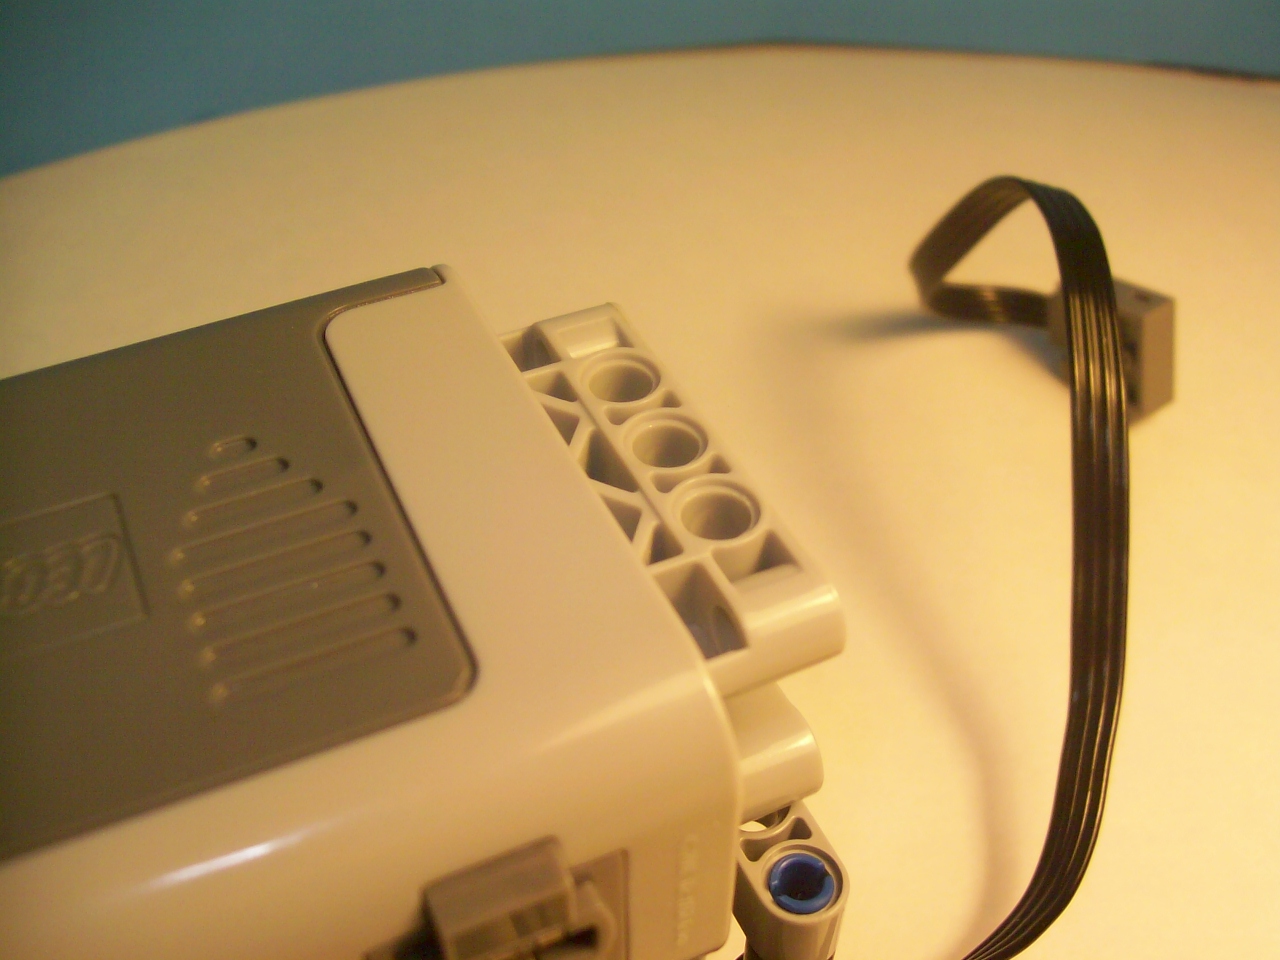
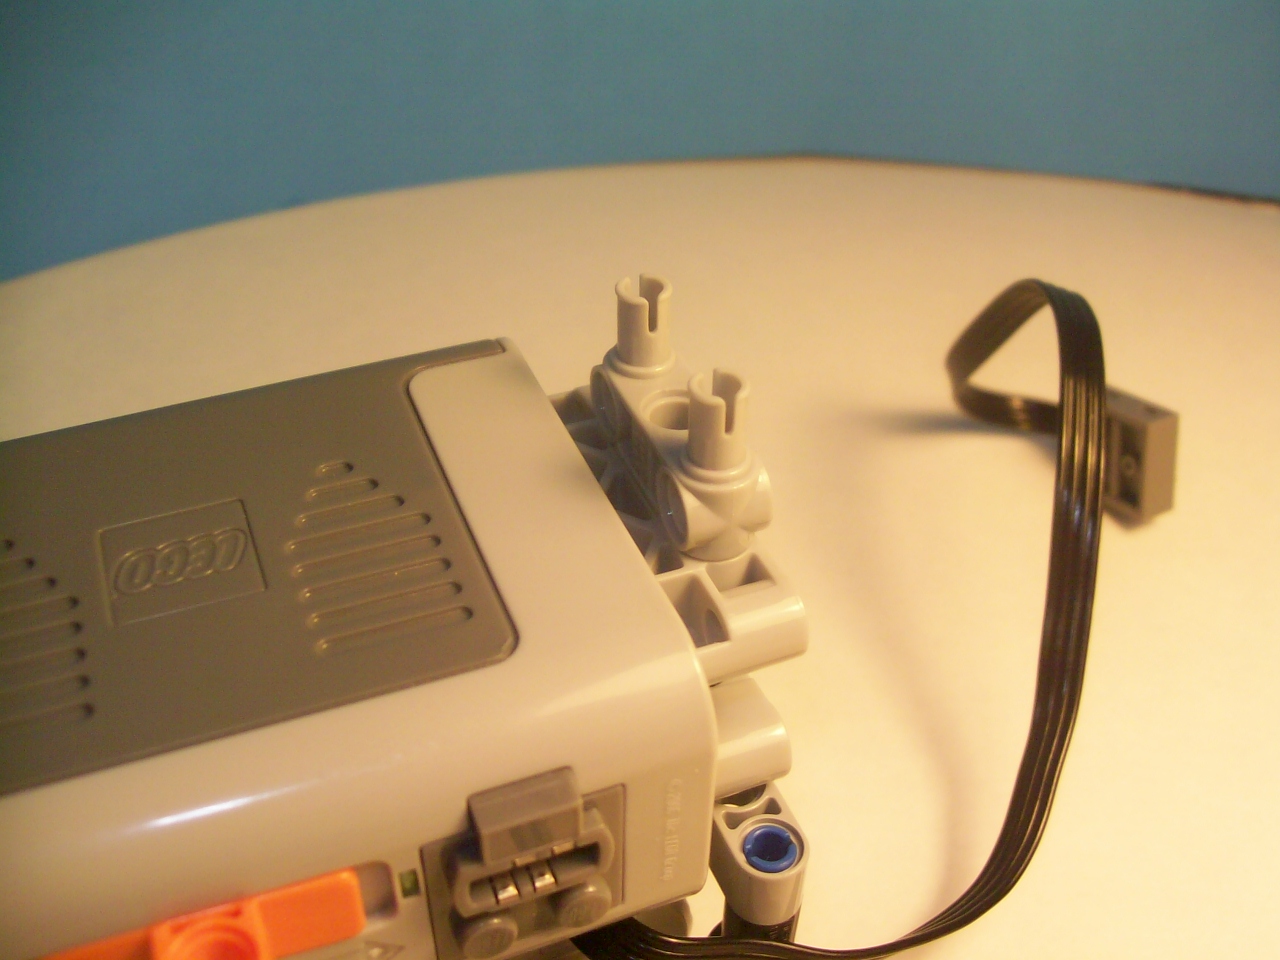
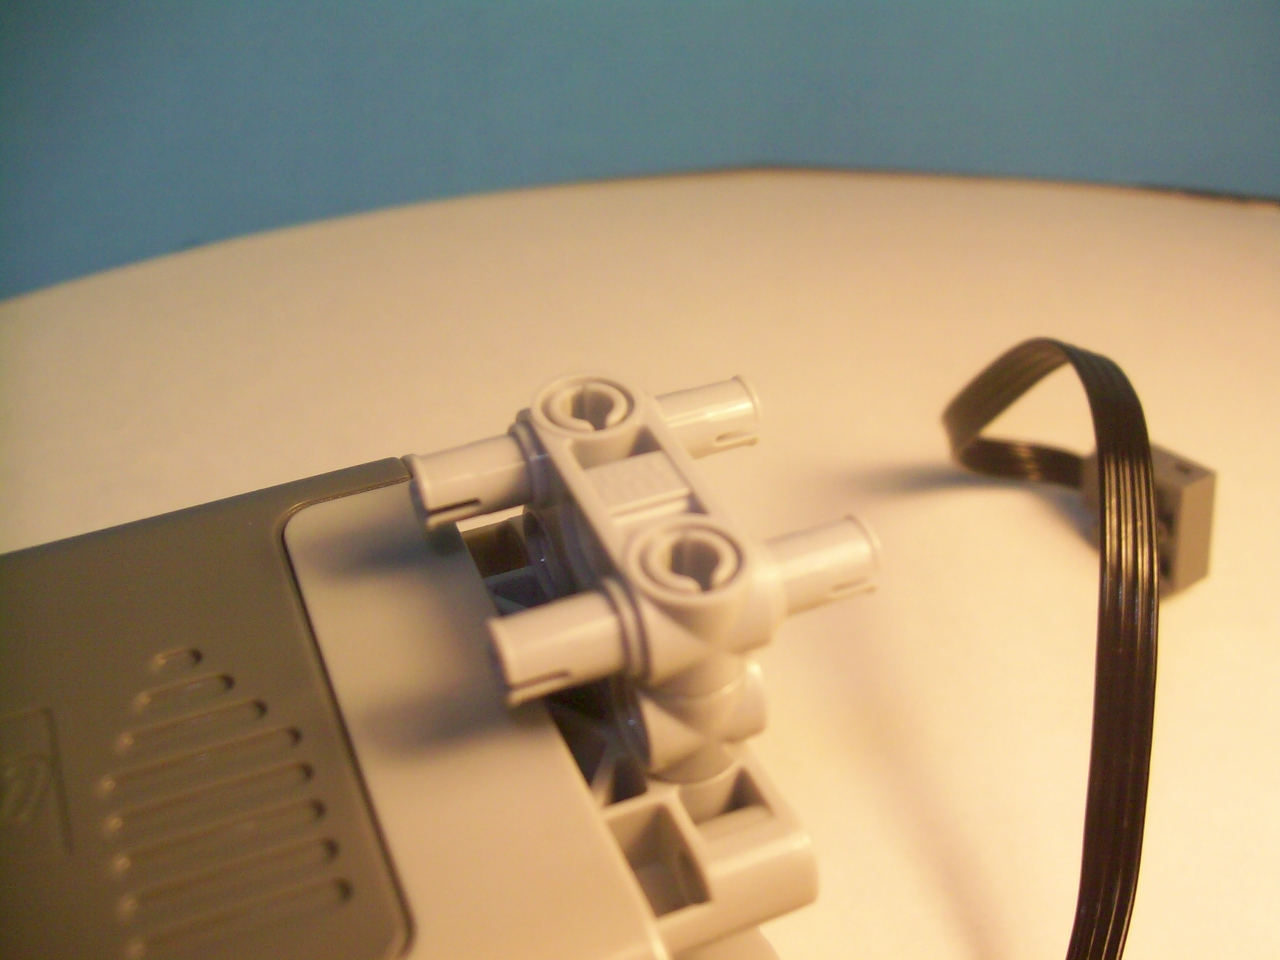
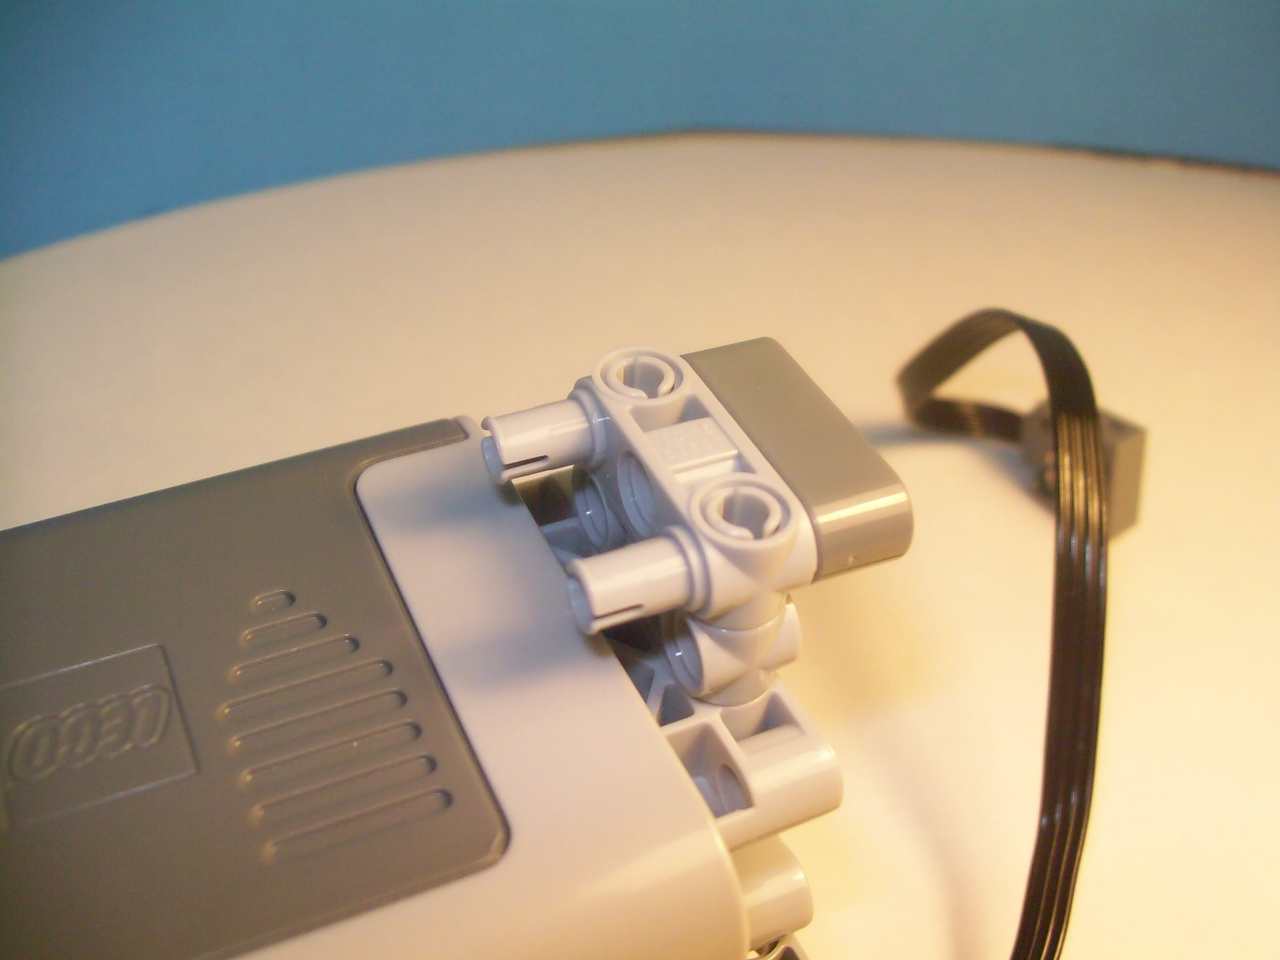
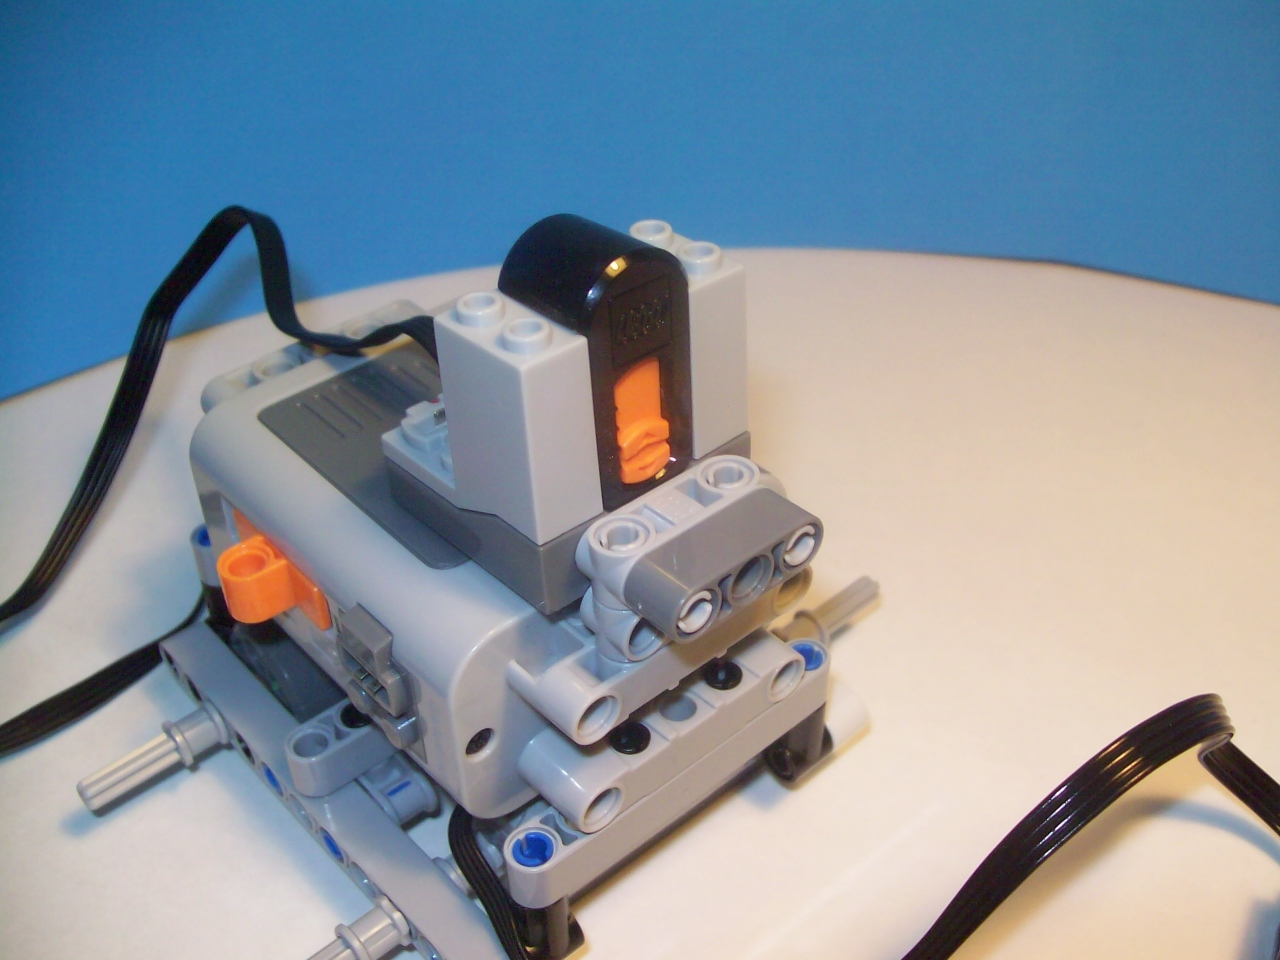
Pictures:
1) Start here.
2) Add a hassenpin.
3) Add hassenpin number 2.
4) Add a 3 length beam.
5) Add the receiver.
1) Start here.
2) Add a hassenpin.
3) Add hassenpin number 2.
4) Add a 3 length beam.
5) Add the receiver.
Adding the Tracks
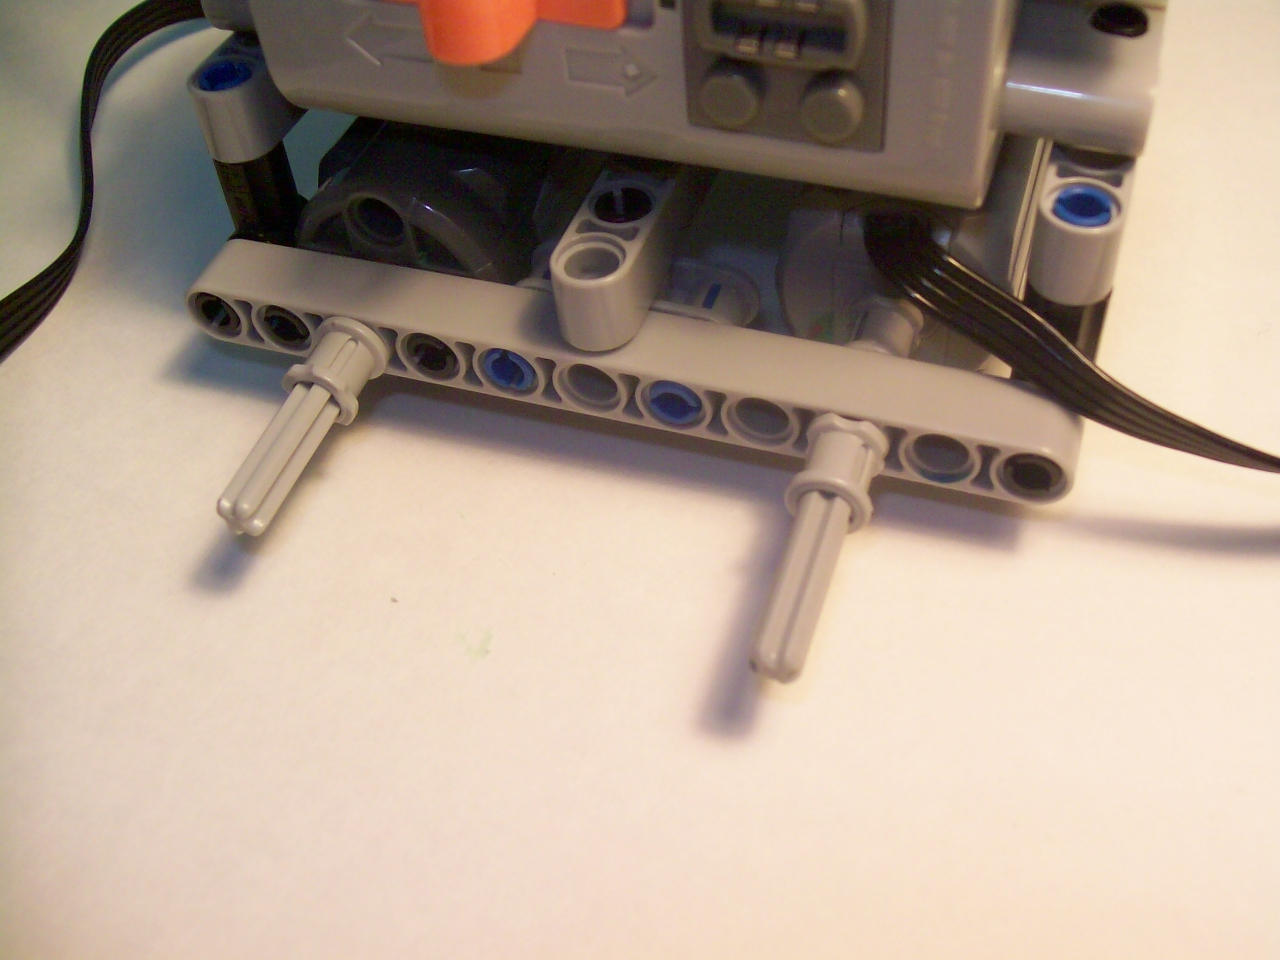
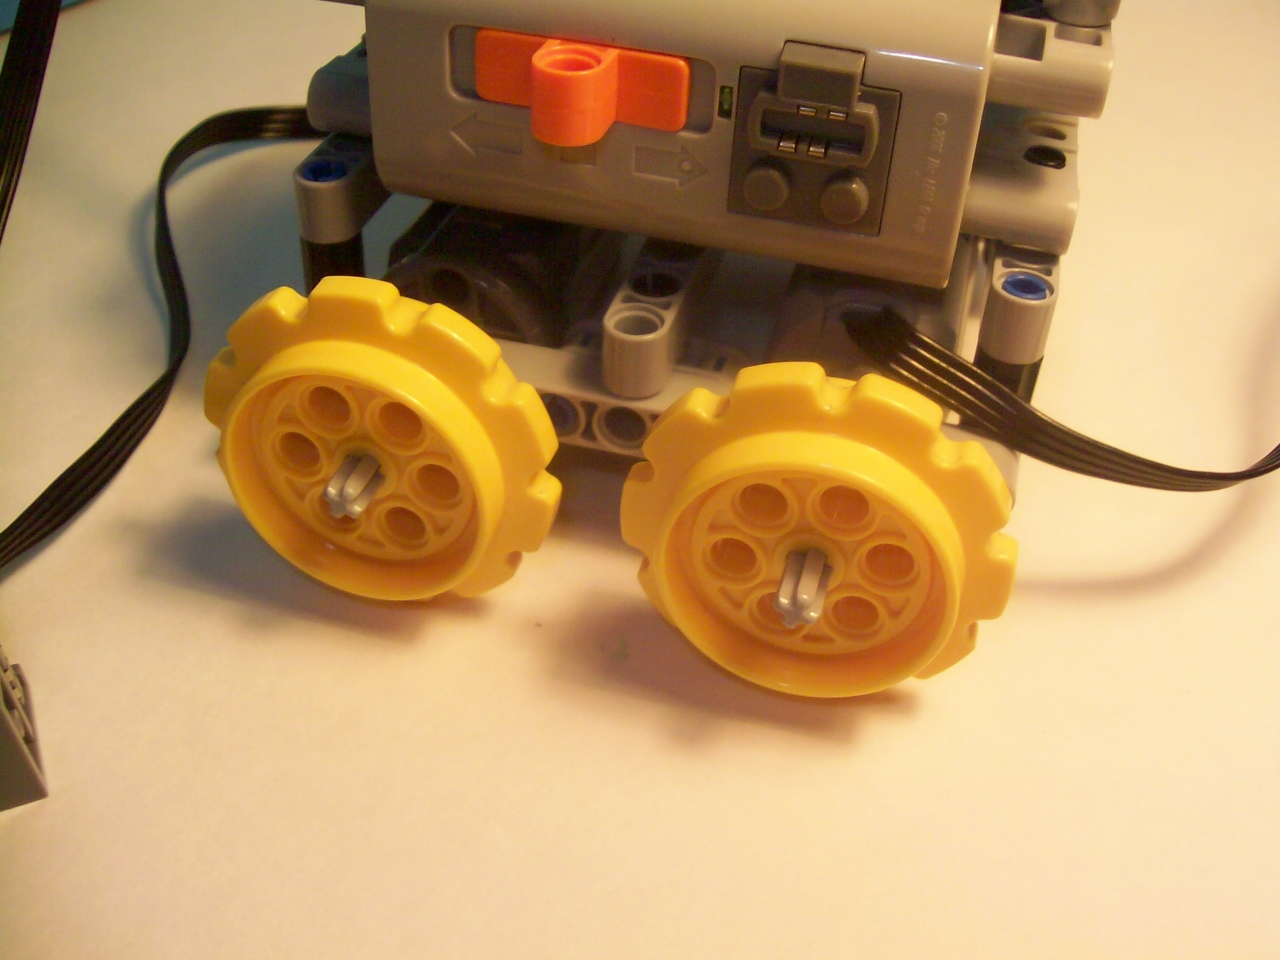
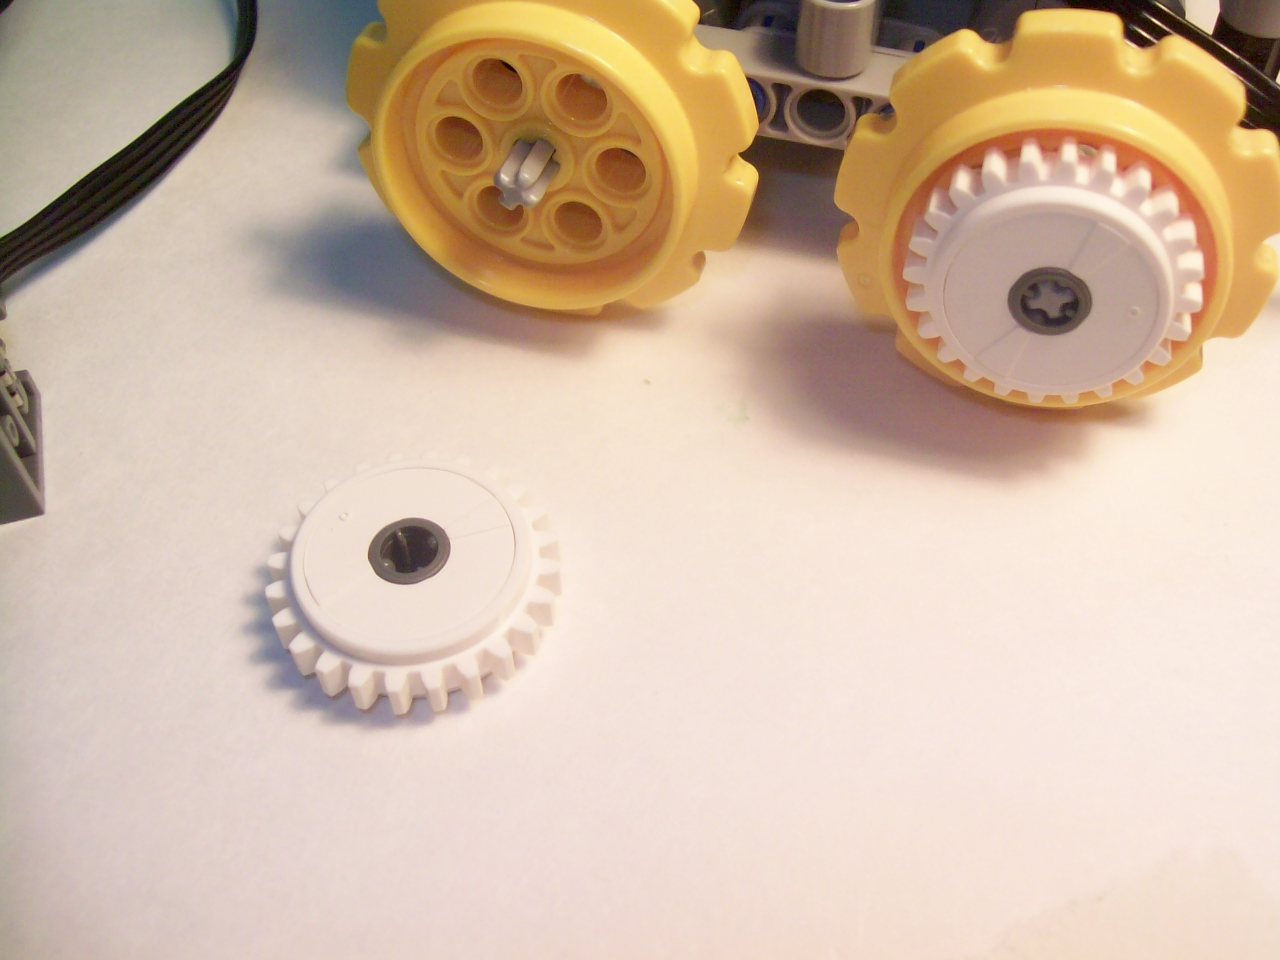
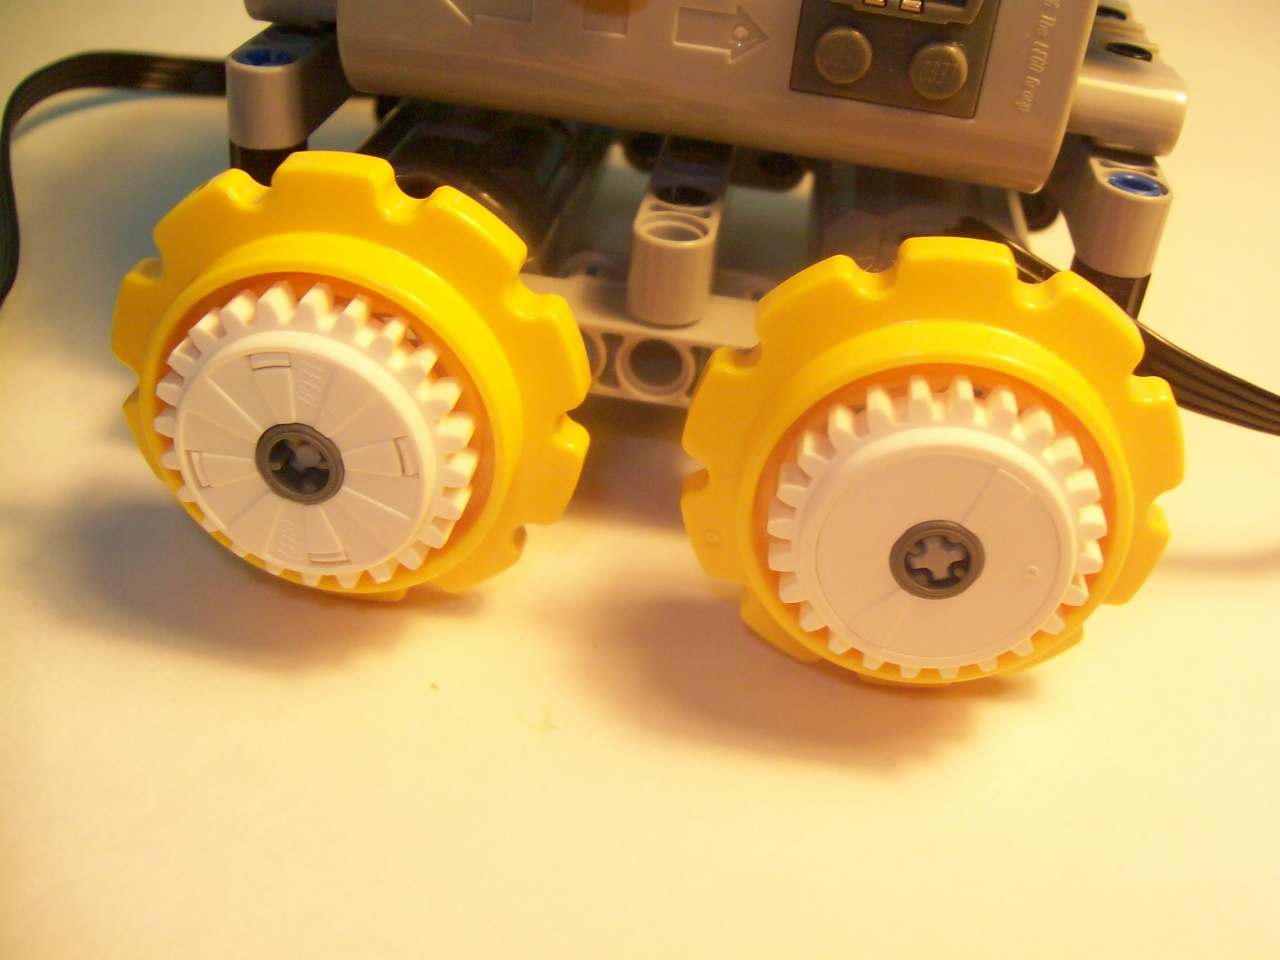
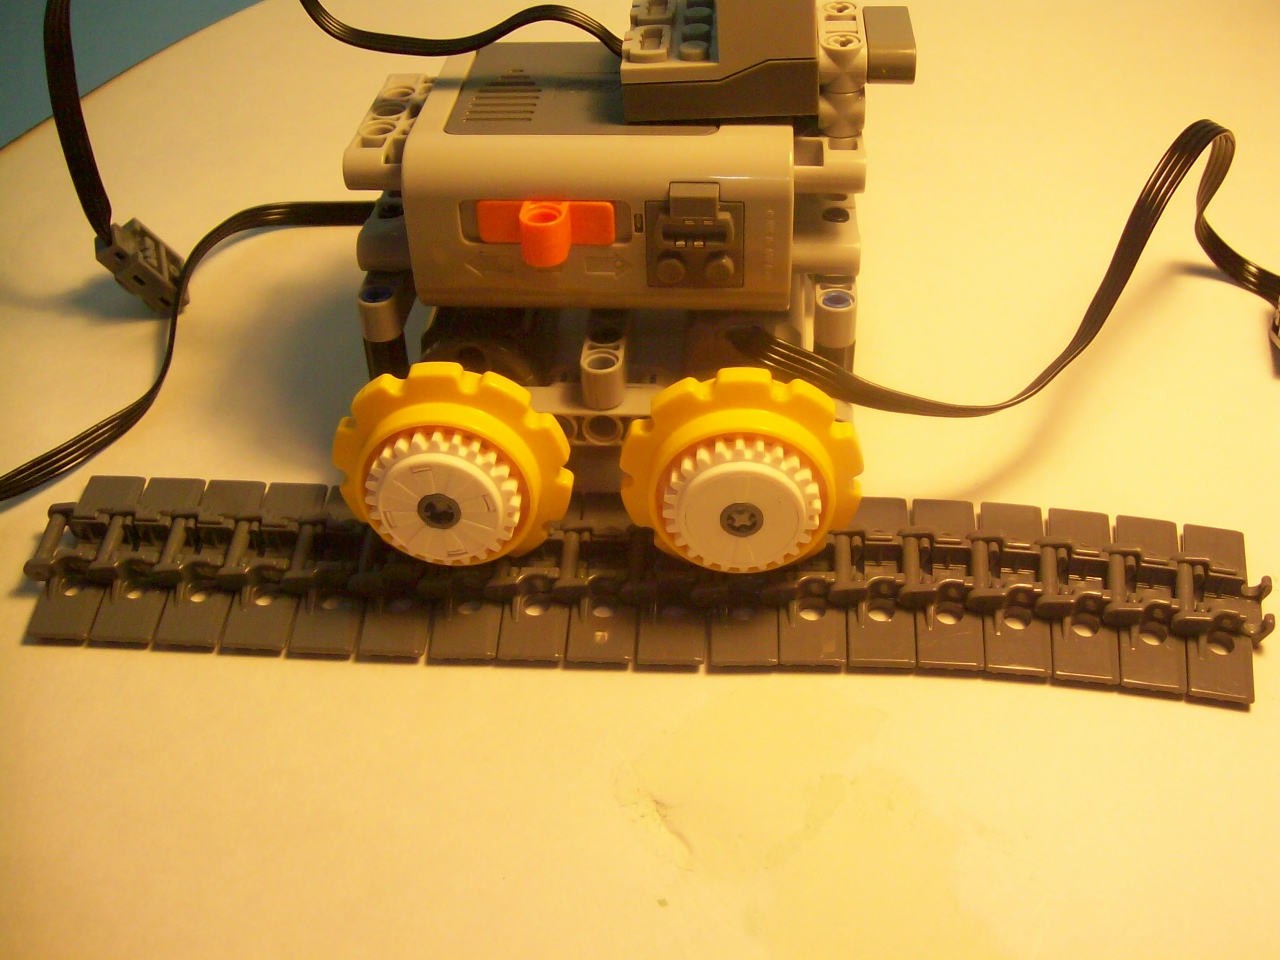
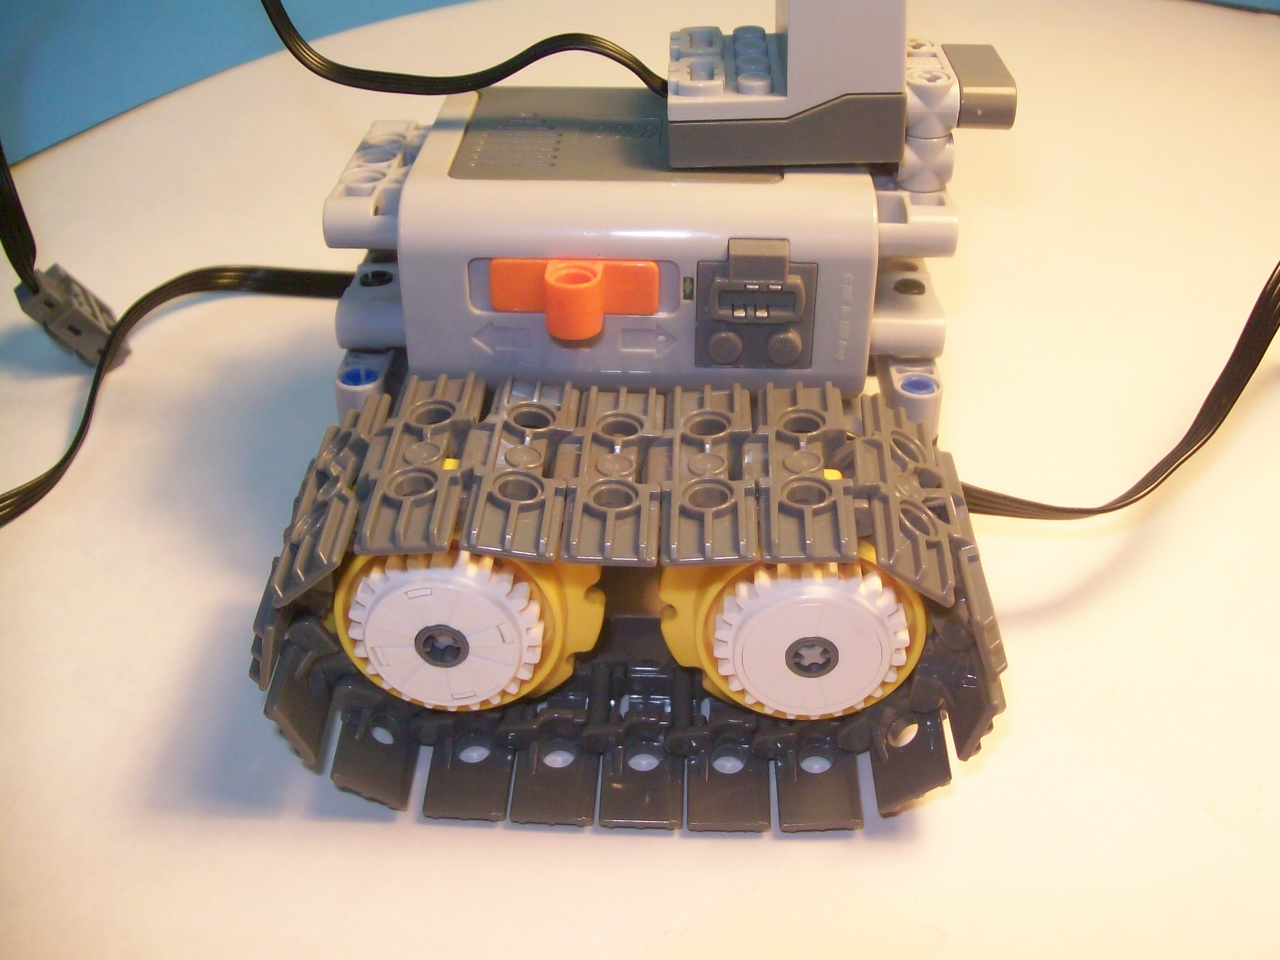
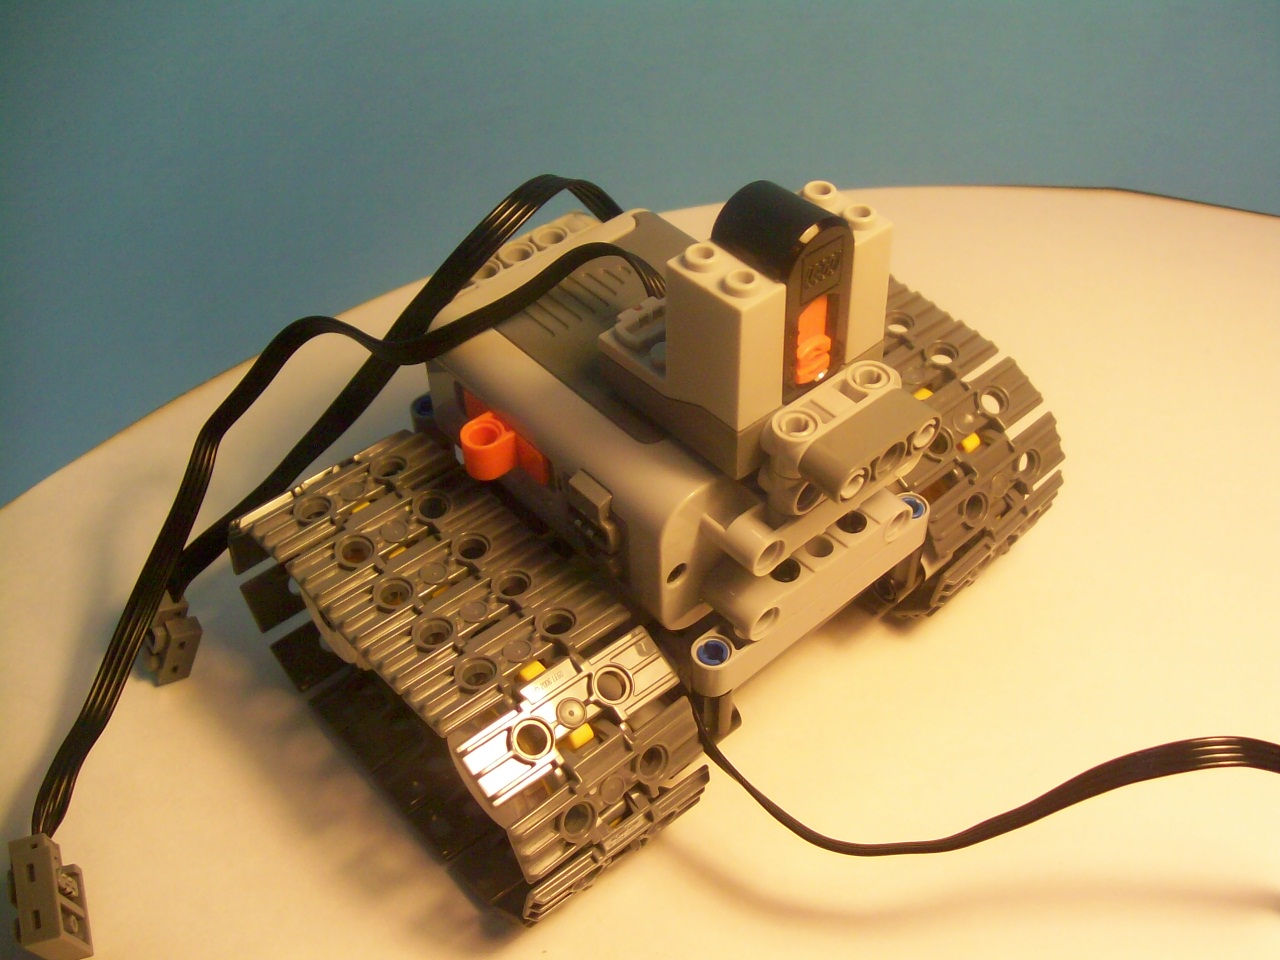
In this step, the model will start to look more like a tank.
Pictures:
1) Start here.
2) Add the sprockets.
3) Here, you can add any sort of decorative gears. I chose to use the white 24-tooth clutch gears.
4) Same thing.
5) Use 18 track pieces...
6) ...and hook them around the sprockets.
7) Do the same to the other side.
Pictures:
1) Start here.
2) Add the sprockets.
3) Here, you can add any sort of decorative gears. I chose to use the white 24-tooth clutch gears.
4) Same thing.
5) Use 18 track pieces...
6) ...and hook them around the sprockets.
7) Do the same to the other side.
Final Wiring (FINAL Step) M
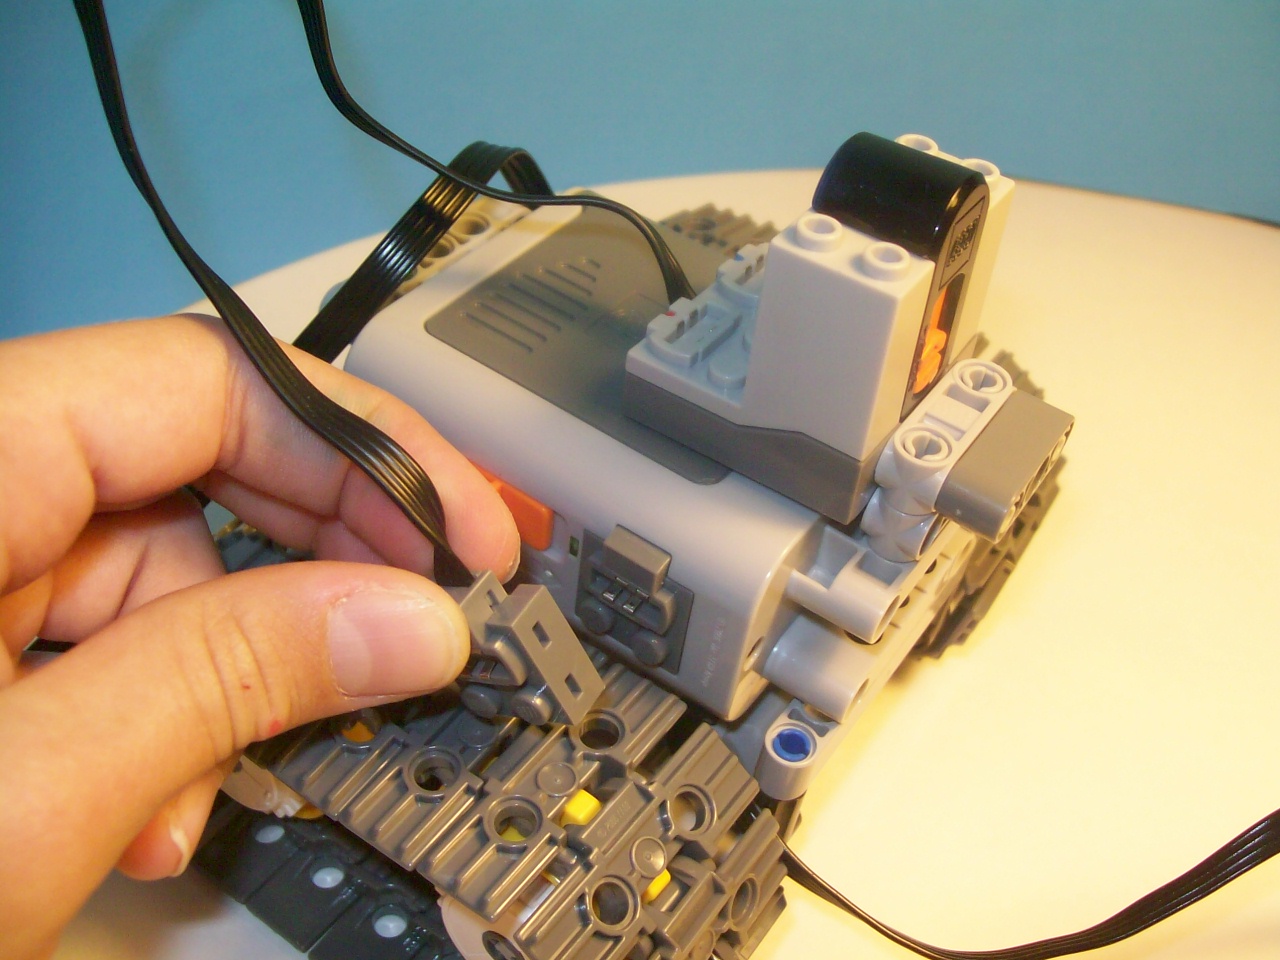
Pictures:
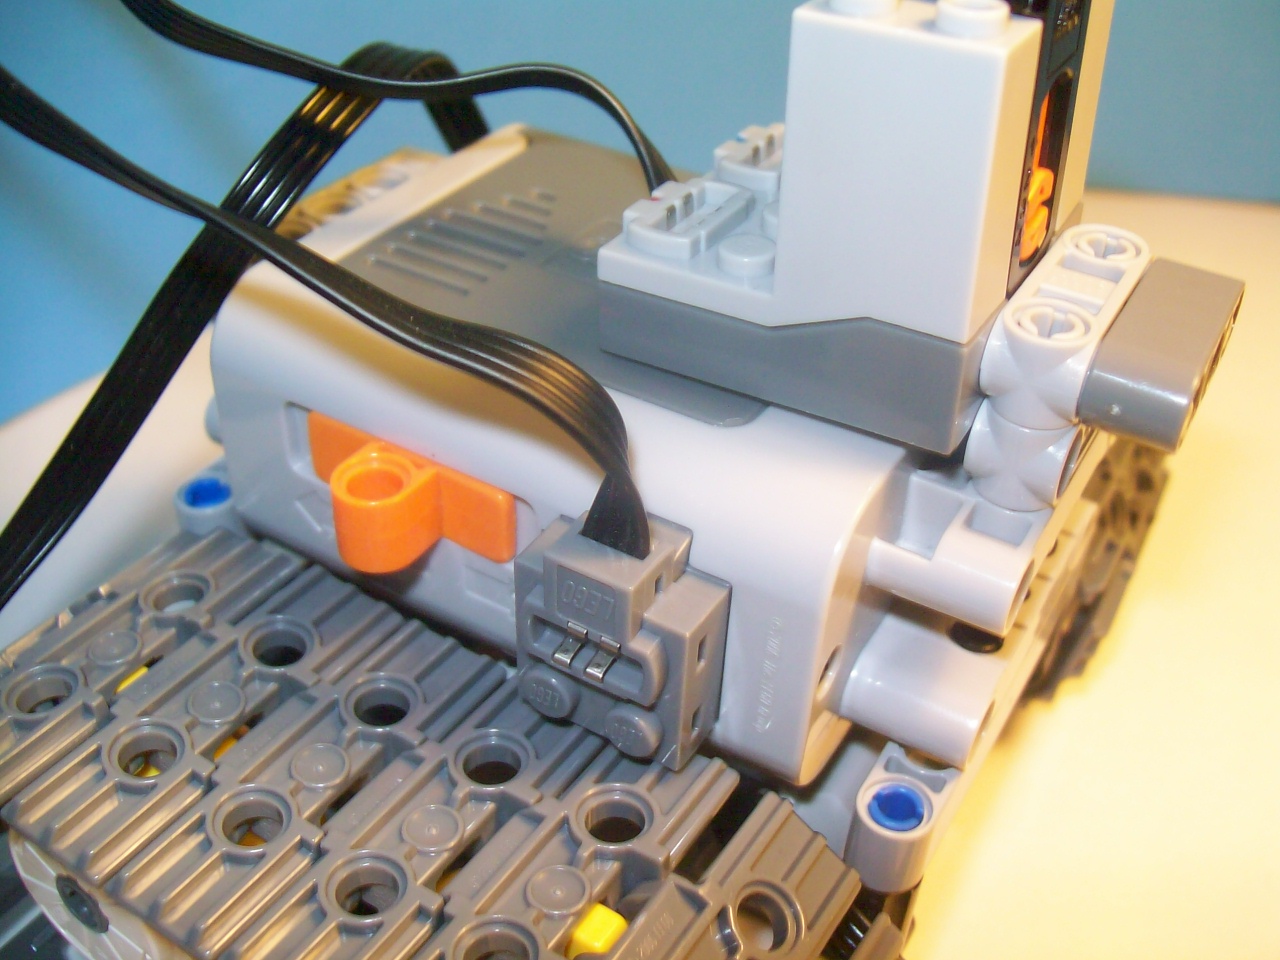
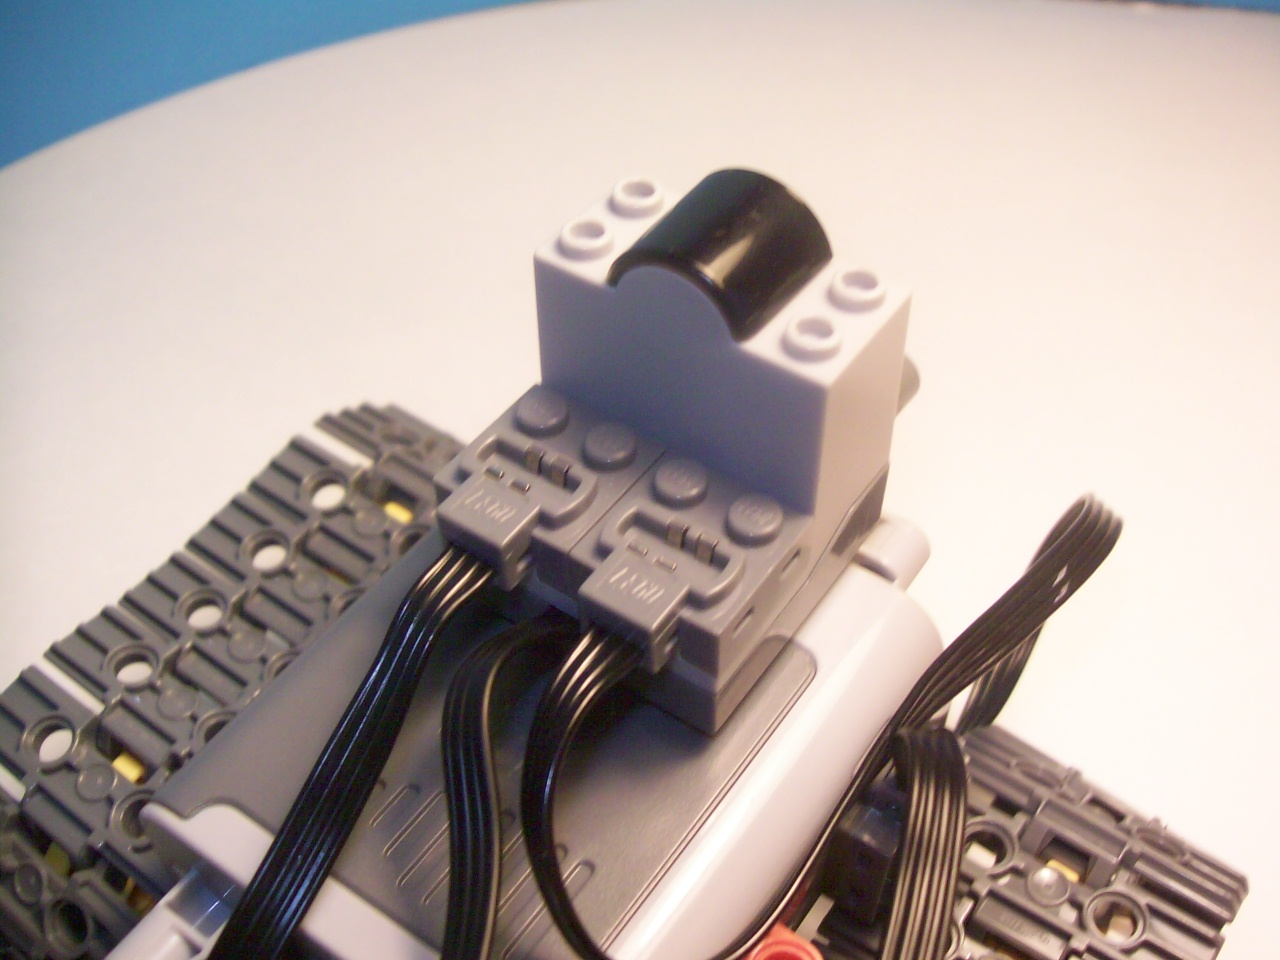
1 and 2) Plug the receiver into the battery pack.
3) Plug the motors into the receiver.
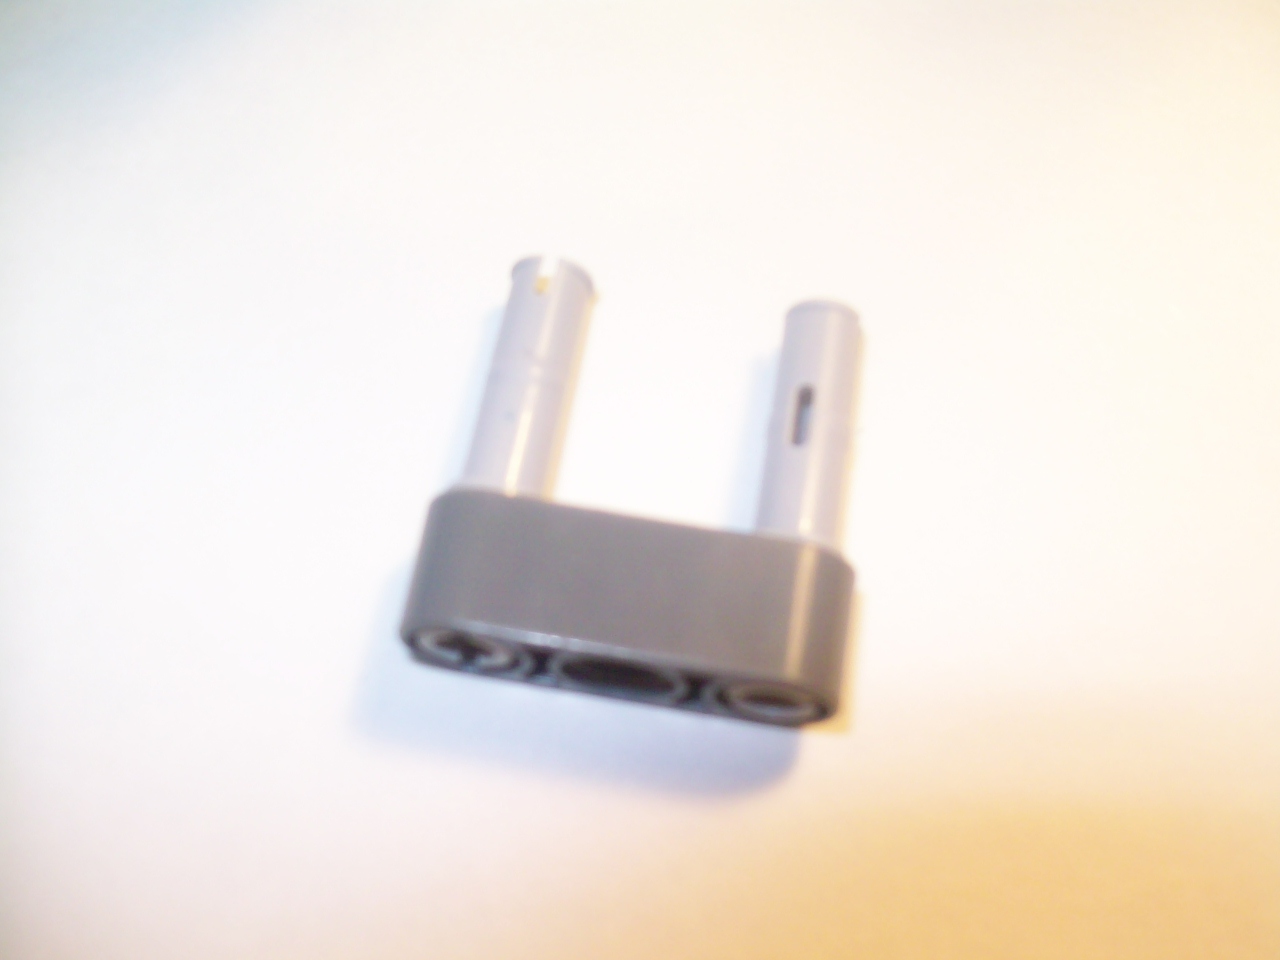
4) Build this.
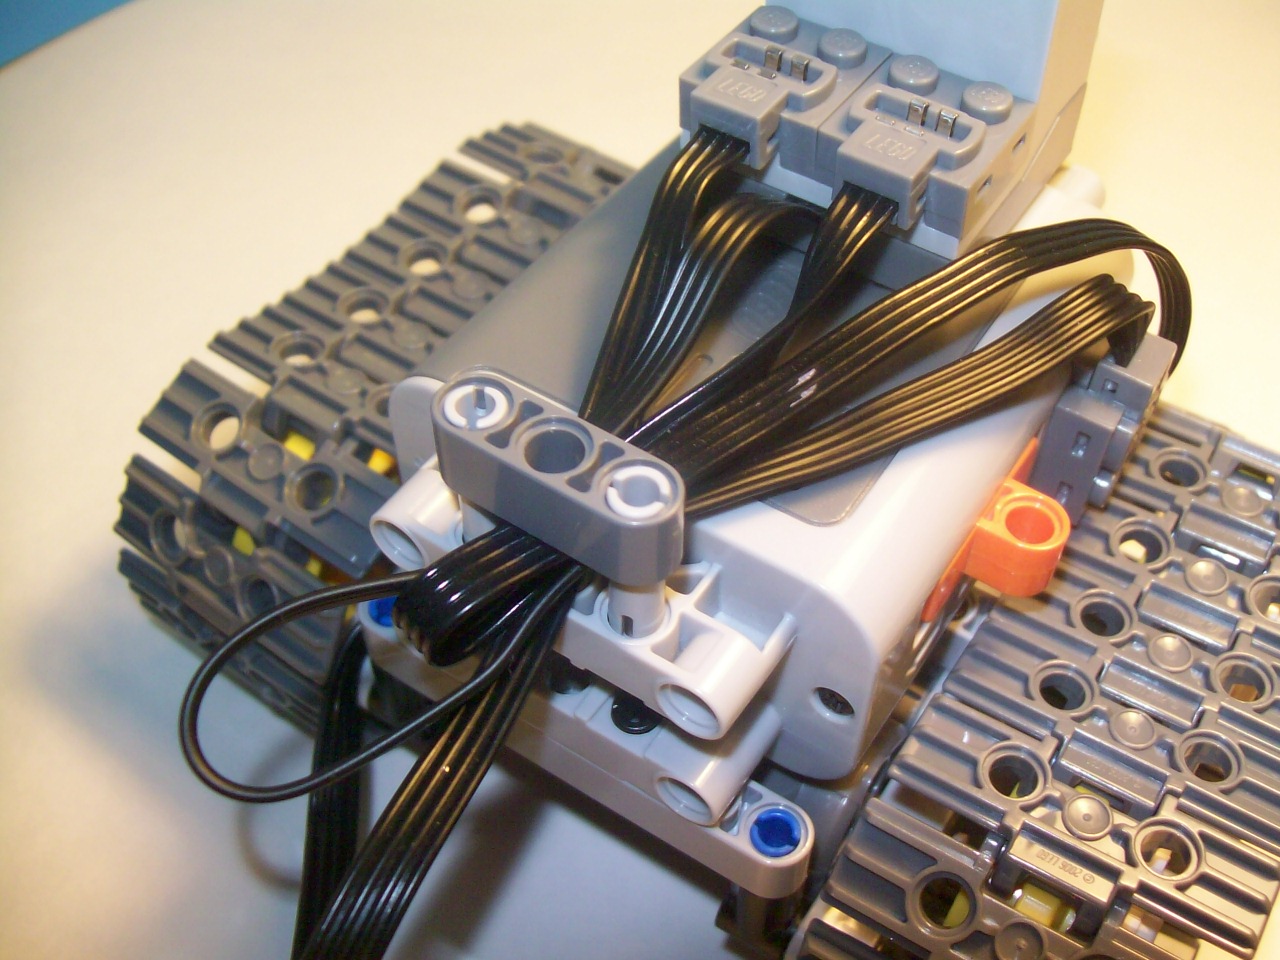
5) Use it to pin the wires back.
1 and 2) Plug the receiver into the battery pack.
3) Plug the motors into the receiver.
4) Build this.
5) Use it to pin the wires back.
Troubleshooting
The remote doesn't work.
Make sure that the battery pack is on and that the remote and the receiver are on the same channel.
The switches on the remote aren't controlling the right motors.
Switch which motor is connected to what terminal on the receiver.
The tracks are going the wrong way.
Fix this problem using the toggle switches on the remote.
The tracks are getting stuck and/or falling off.
The tracks are probably getting jammed in-between the tracks. Pin the tracks back tighter with the piece that you built in the
last step.
I will answer any more questions that you post as comments. I am entering this into the Toy Challenge 2 so if you like it, please vote. Thanks!