Led Dice Arduino Shield
by agupta52 in Circuits > Microcontrollers
2329 Views, 13 Favorites, 0 Comments
Led Dice Arduino Shield

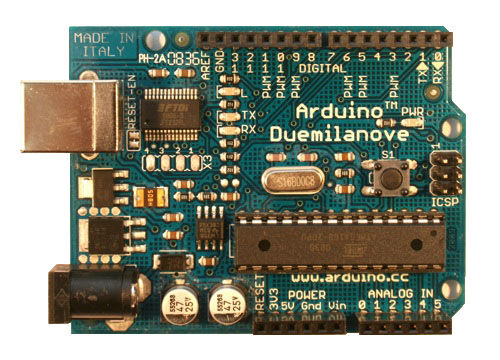
Step-by-step instructions for Arduino based LED Dice. I had arduino Duemilanove (the older version).
Here i made arduino shield for LED DICE.
What is a Shield?
Shields are boards that can be plugged on top of the Arduino PCB extending its capabilities. The different shields follow the same philosophy as the original toolkit: they are easy to mount, and cheap to produce. If you'd like to make your own shield, you may want to start with the Eagle files for an existing shield.
Step 1: Getting Started

Components Required
SMD Leds (I used 0805 package RED LEDs)
SMD 220ohm resistors (I used 0805 package)
Pushbuttons
A copper board obviously
Arduino
Jumper wires
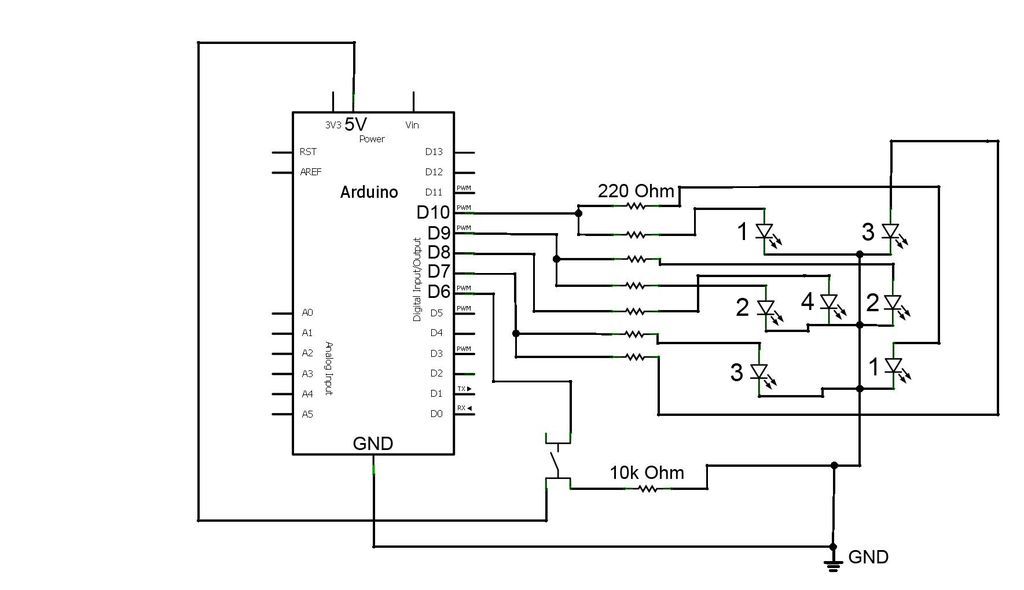
Open up your eagle and create a schematic of circuit shown here.
SMD Leds (I used 0805 package RED LEDs)
SMD 220ohm resistors (I used 0805 package)
Pushbuttons
A copper board obviously
Arduino
Jumper wires
Open up your eagle and create a schematic of circuit shown here.
Step 2: Creating the Board
When you are done with schematic make the board file. Try to Rout all the wires manually.
As i did here. If you're in a hurry you can just download mine board file. Obviously you can improve it much better.
Caution Dont need to mirror it while printing if you're using my board file.
When your board get completely ready solder the components on it.
As i did here. If you're in a hurry you can just download mine board file. Obviously you can improve it much better.
Caution Dont need to mirror it while printing if you're using my board file.
When your board get completely ready solder the components on it.
Step 3: Here It Goes
If everything went correct till now. Put the shield on the arduino and upload the code. ( I prefer to write your own code because it's always better). But stiil as always you can download my code from here. On pressing the start button interrupt routine will be called and a random no. will be displayed (electronically here just like in a physical dice) at the top for few seconds (i programmed it to be 2500ms).
Enjoy with this.
Hope you like my first instructable.
Enjoy with this.
Hope you like my first instructable.