Learning to Use the Adobe Illustrator Pen Tool for Beginners
by lfrazb in Craft > Digital Graphics
2260 Views, 3 Favorites, 0 Comments
Learning to Use the Adobe Illustrator Pen Tool for Beginners
Tools needed:
- Computer or laptop with mouse or touchpad
- Adobe Illustrator program installed on device of choice
- Patience!
The ability to use the pen tool is an important skill to learn when first starting out in Adobe Illustrator. While the pen tool can be difficult to work with at first, the more you use it, the easier it will become! For this particular tutorial, I am going to trace over an object in a photo as a way to show how to make different points and curves in order to create a vector shape with the pen tool. Tracing over other objects and shapes in images is a great way to practice with the pen tool. For this tutorial, I am working with the touchpad on my laptop, but you can also use a mouse. I am using the Creative Cloud version of Adobe Illustrator.
Create New Document
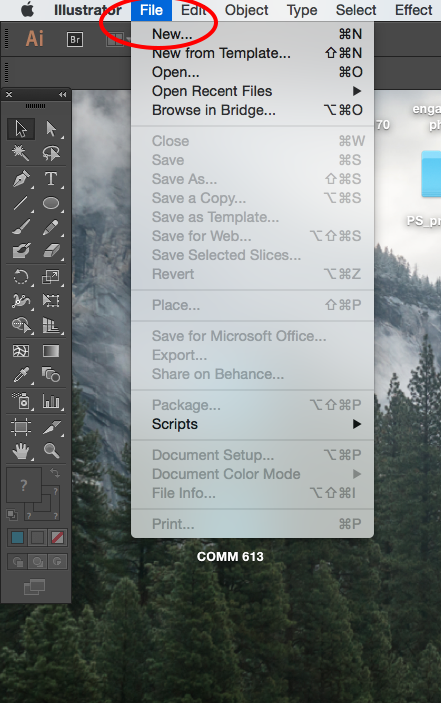
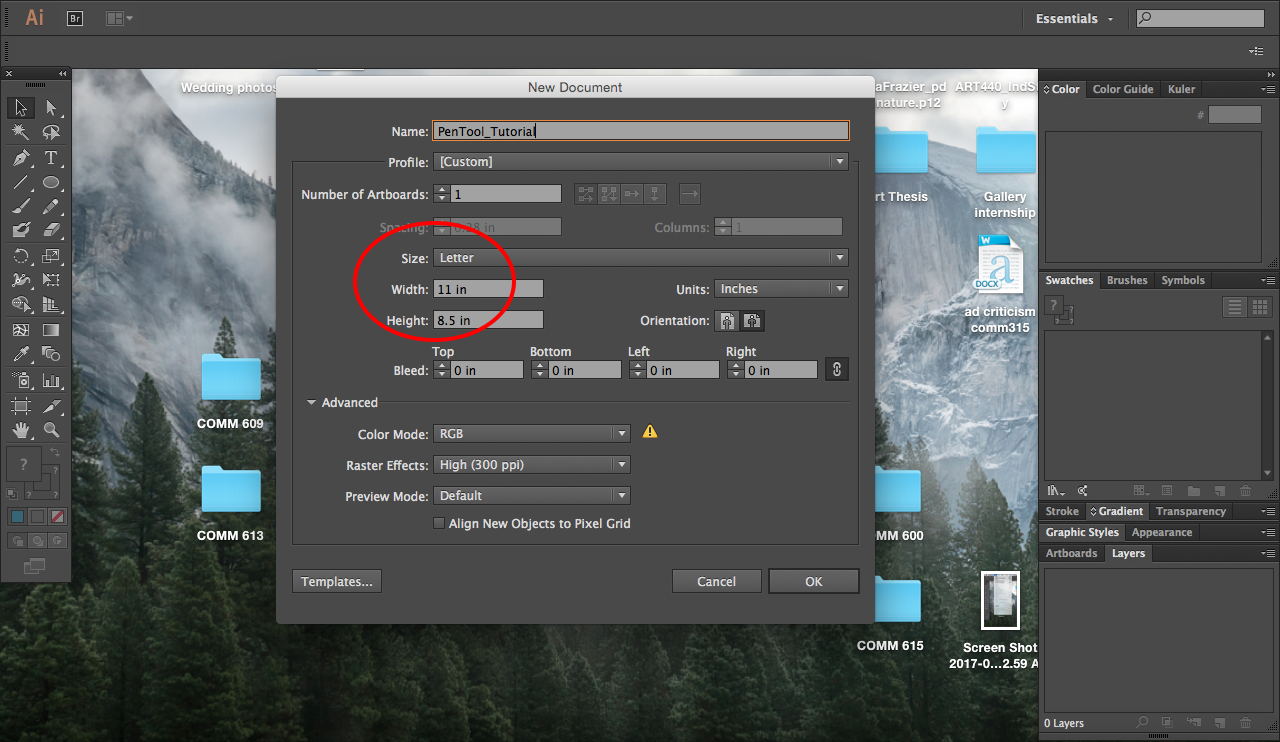
-“File” > Select “New…” -Pick size of choice (I am doing a standard letter size, 8.5x11 inches).
Drag Desired Image Into New Document and Resize
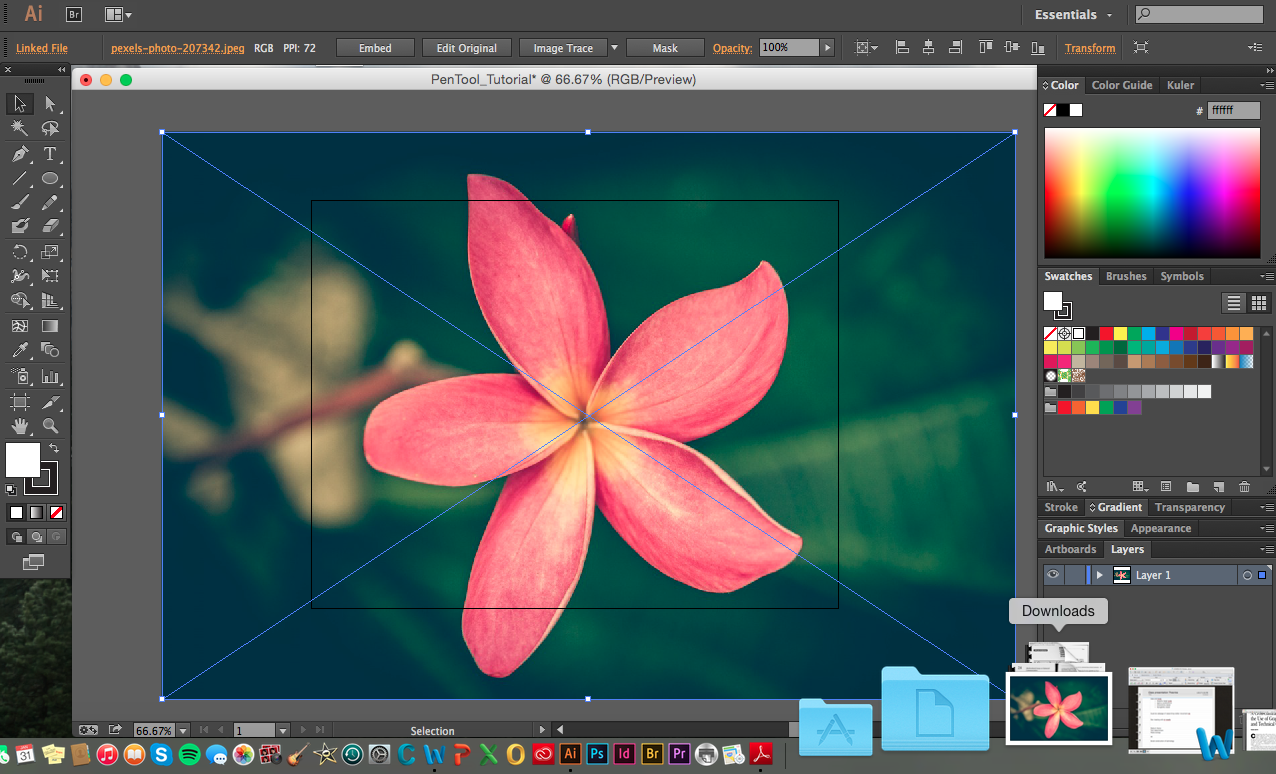
-This image will automatically go onto “Layer 1.”
-To resize proportionally, hold down “Shift” as you pull the corner of the image (I am using a stock photo for this tutorial).
Click Box Next to Eye Icon to Lock “Layer 1”
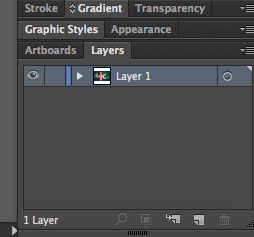
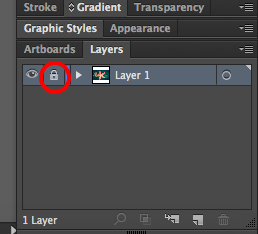
-This will hold the image in place.
Make a New Layer, “Layer 2”
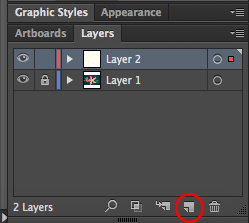
-This is the layer where the pen tool will be used.
Select Pen Tool From Tool Menu

-The pen tool can be found in the tool menu on the left side of your screen.
-Choose a color different from the background image you are using. This will make it easier to see where your pen tool is going as you work. At the end, you can select the finished object and change it to the color of your choice.
Create First Anchor Point
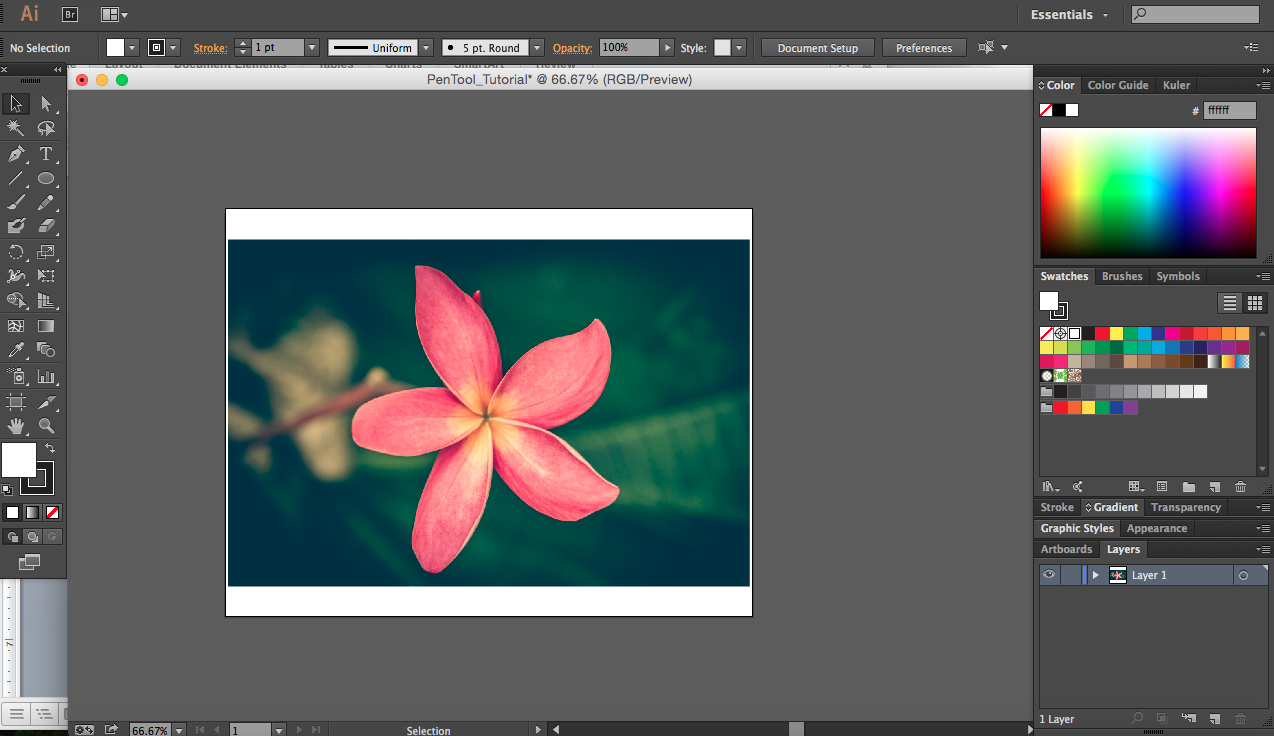
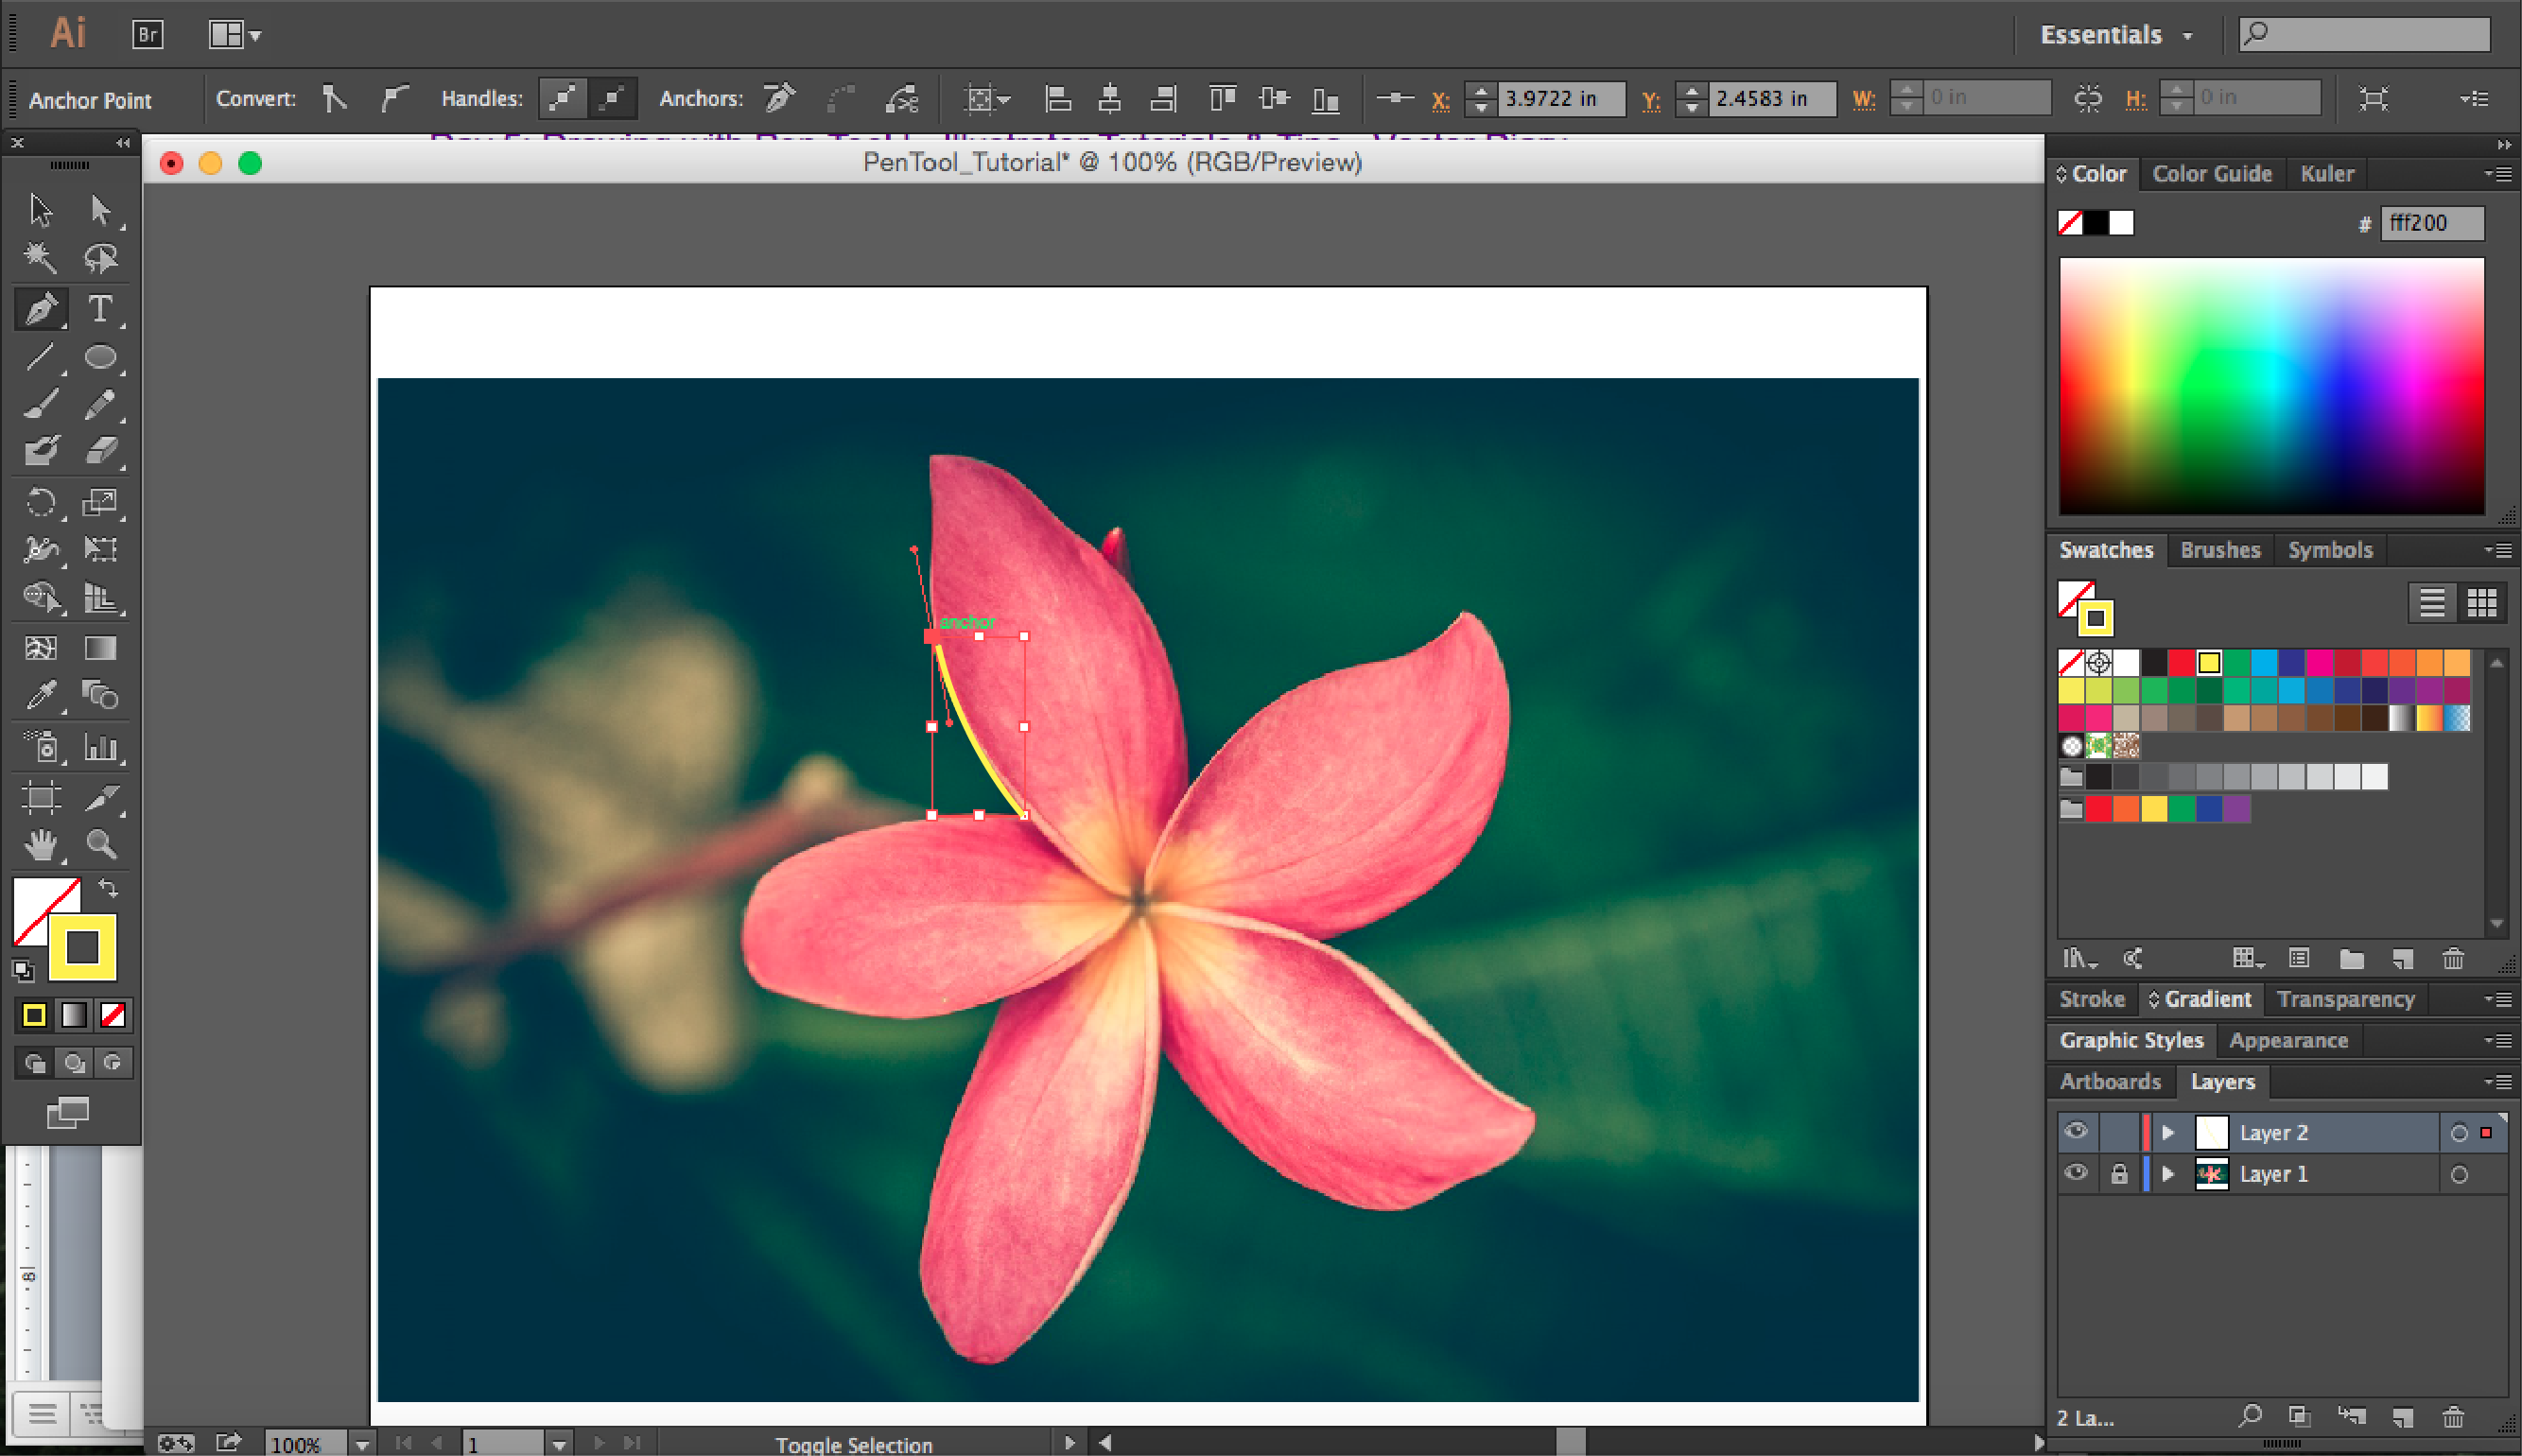
-Choose a starting point on edge of the object you are planning to trace and click once.
-This will create the first of several anchor points.
Continue Making Anchor Points Along Edge of Object
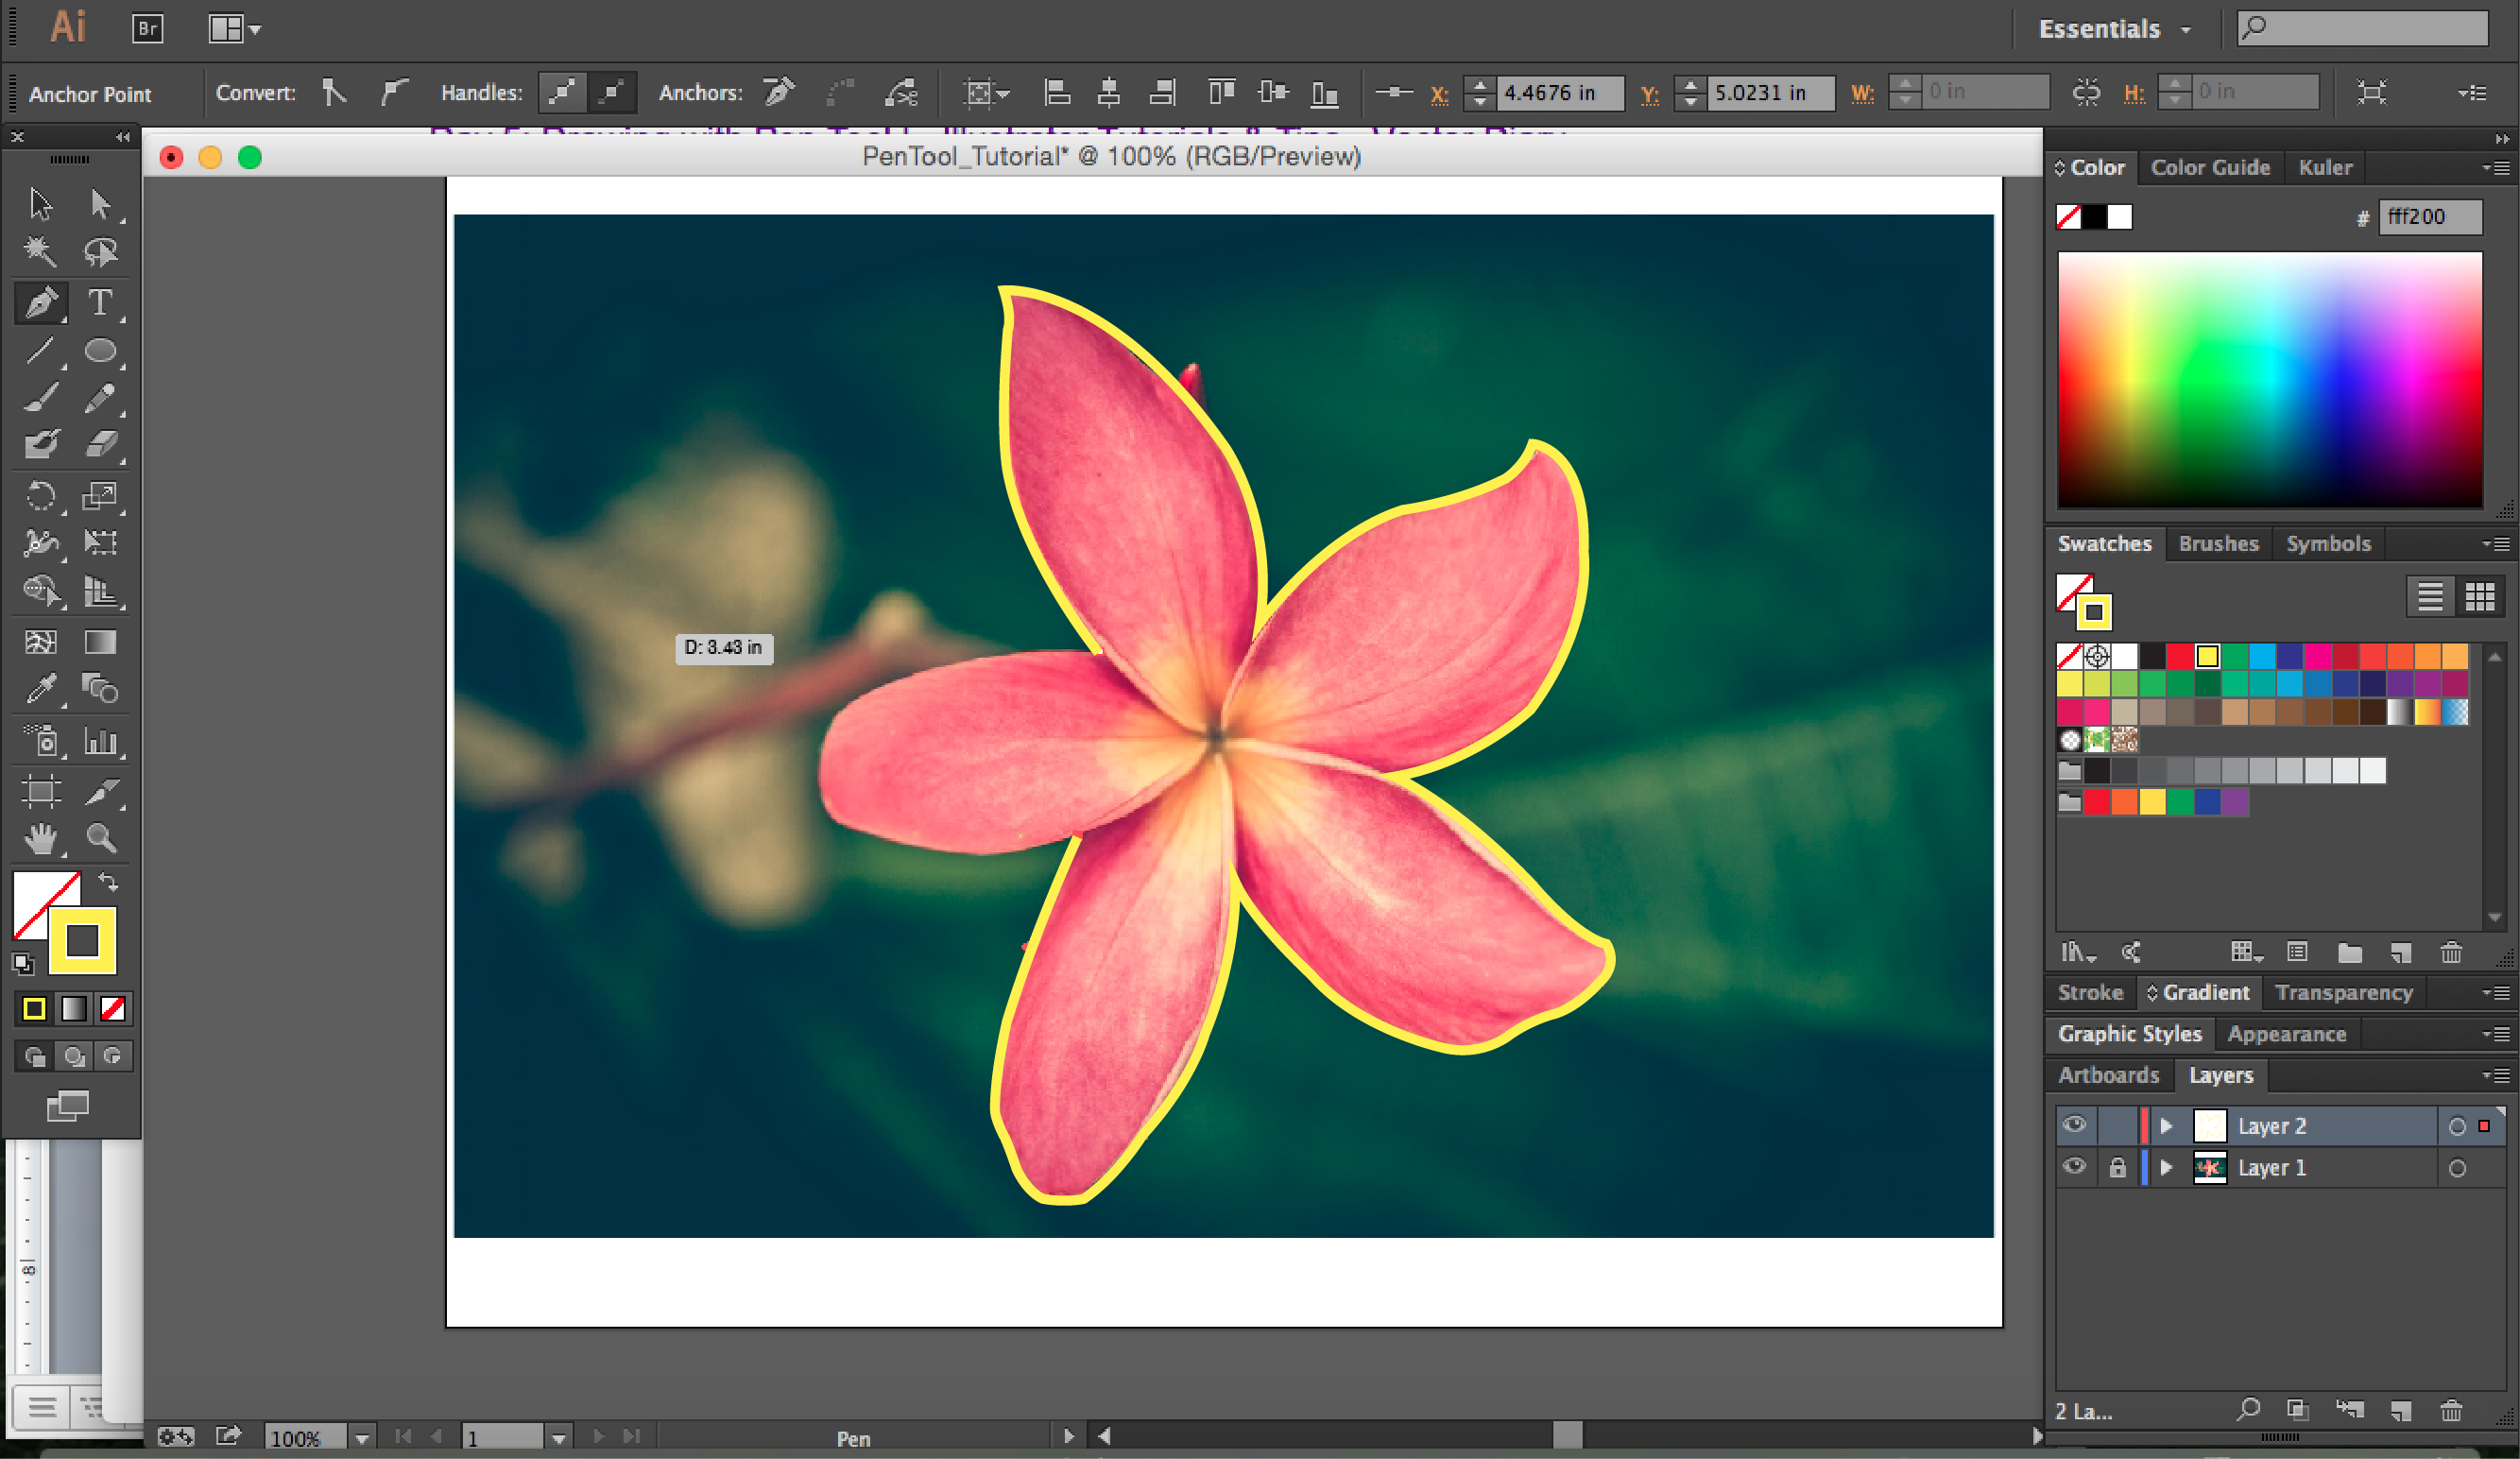
-Click further along the edge of object, but do not immediately release your finger off of the mouse or trackpad.
-Drag the arrowhead to create the desired curve. Release the mouse or your finger off of the touchpad when you are satisfied with the current segment.
-To undo something, press the “Command” key and “Z” to “Undo” or go to “Edit” in the top right and click “Undo.”
-Click the most recent anchor each time you form a new segment in order to remove the handles. This makes the next segment easier to work with.
Close the Object
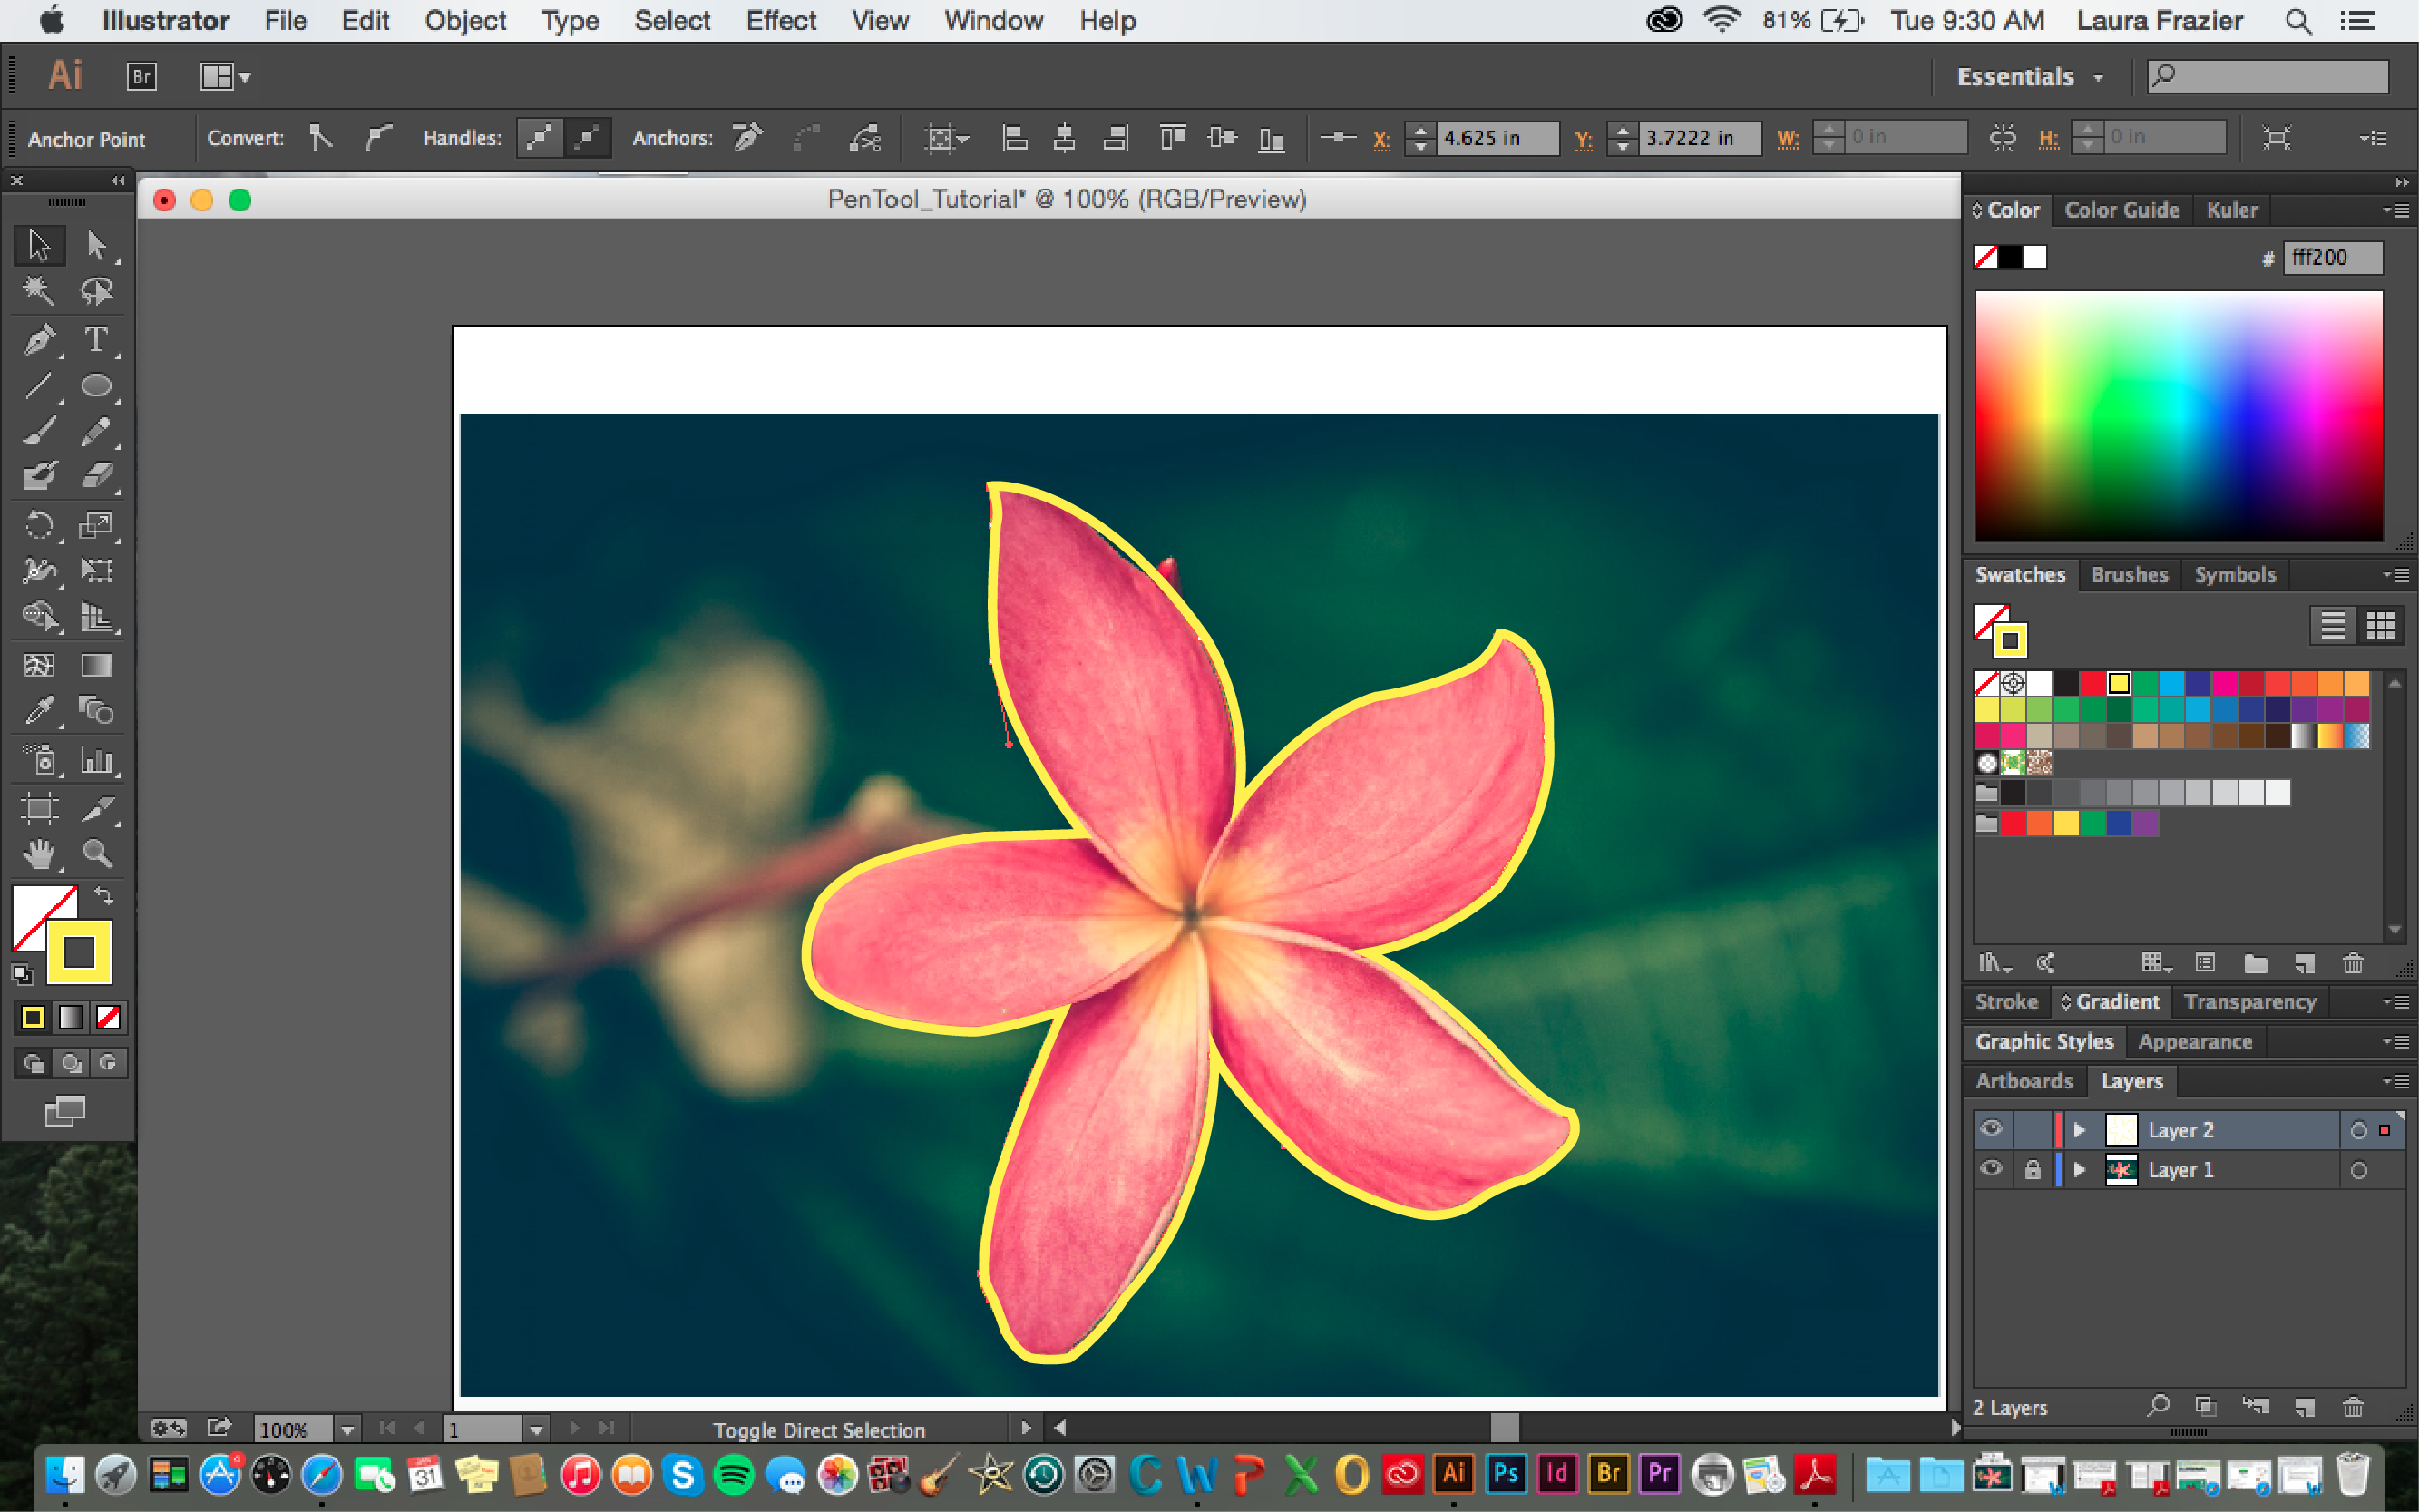
-When you are ready to connect it to the original anchor to close the object, hover over the original anchor point where a circle will appear. Click once to connect and close the object.
Hide Background Image for Better View of Finished Object
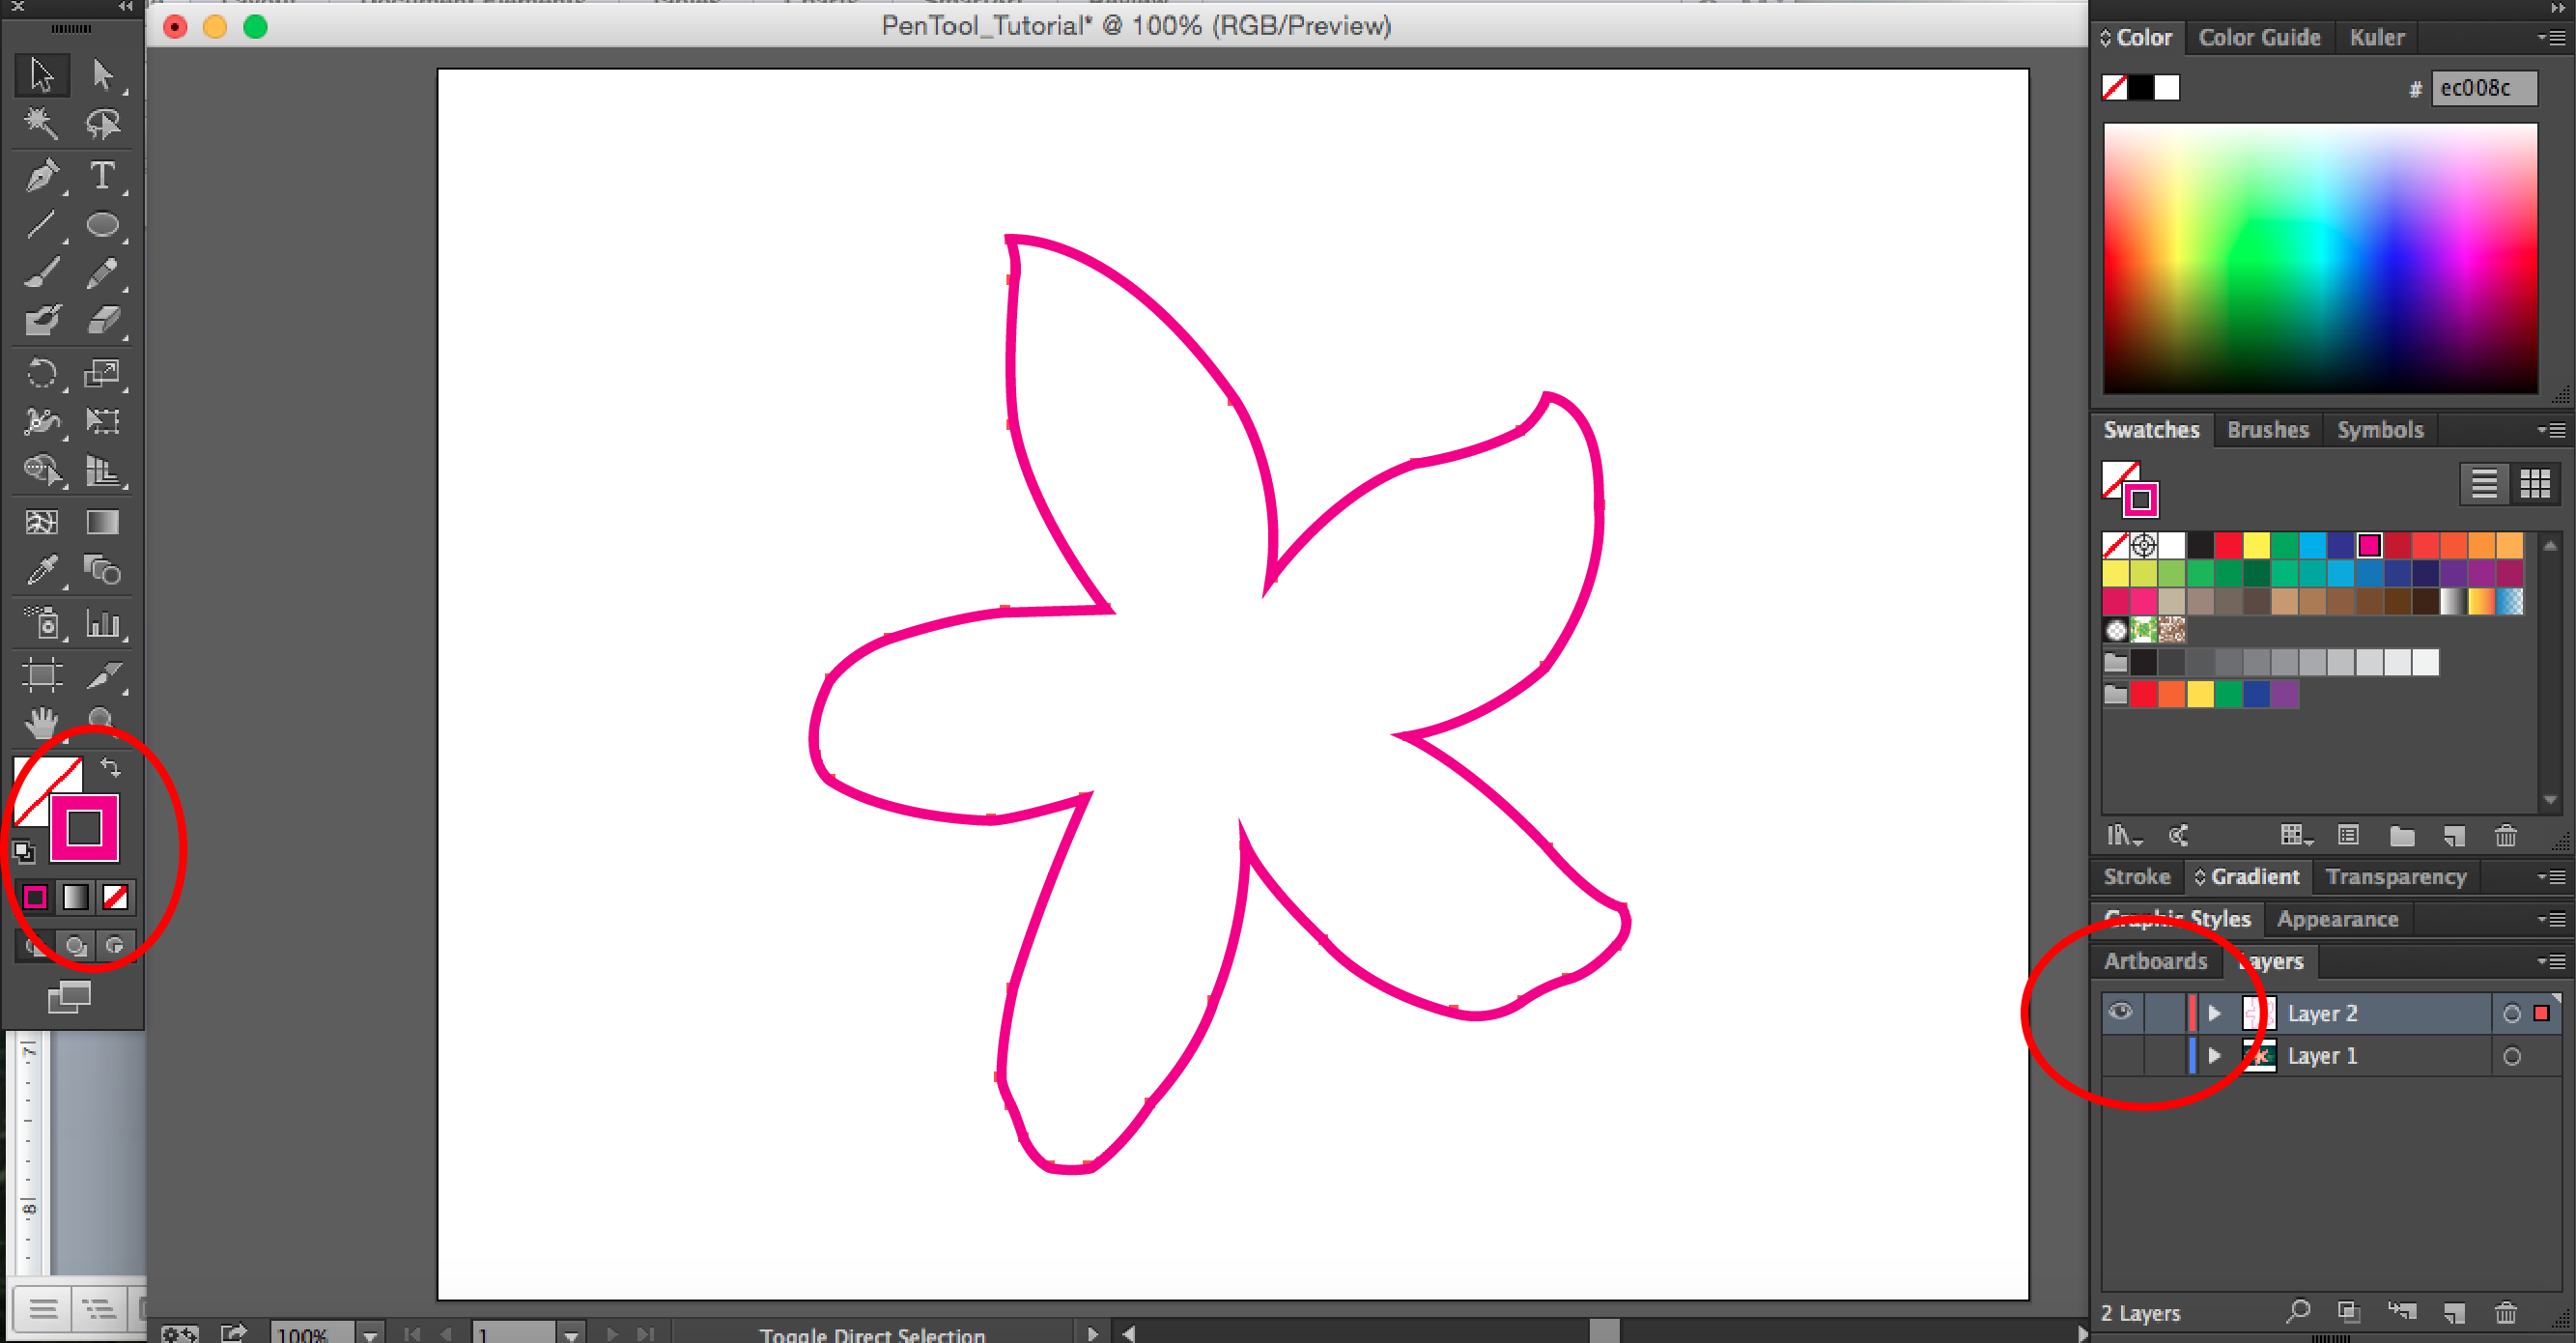
When you are satisfied with the vector object you created, hide the background image by clicking on the eye next to “Layer 1.” This will give you a better view of your object. Since I used yellow originally to stand out against the background image, I changed the color to something brighter against the white background.
You have now made a vector object with the pen tool!