Learn to Hack Ethically With RasPwn OS
by boffinry in Circuits > Raspberry Pi
20015 Views, 76 Favorites, 0 Comments
Learn to Hack Ethically With RasPwn OS

Do you want to learn how to hack computers and websites without going to jail? Thanks to the Raspberry Pi and RasPwn OS you can learn how to pen-test without even getting online!
This project shows how to use RasPwn OS to turn a Raspberry Pi 3 (or alternatively a Pi 2b + compatible WiFi adapter) into a private web server that has been designed to be intentionally vulnerable. RasPwn OS is a Raspberry Pi image that emulates a vulnerable Linux Web Server. It exists only to be attacked and comes pre-configured with DNS, SMTP, Samba, Apache and a host of web applications. The web applications are of two varieties-
- Intentionally vulnerable applications- This includes apps like DVWA and OWASP WebGoat
- Out-of-Date web applications - Older versions of popular applications like Wordpress, Drupal, Joomla, etc.
This allows would be pen-testers hackers and system admins to practice both offensive and defensive network security techniques in a relatively safe environment.
To learn more about RasPwn OS visit http://raspwn.org.
What You Will Need
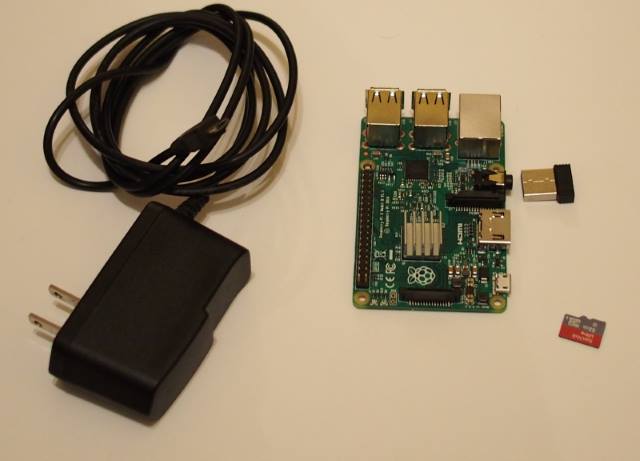
The parts list for this project is very short. It requires only -
- Raspberry Pi 3 (or 2b)
- Micro SD Card 4GB or greater (Recommend 8+GB, Class10)
- 5V, >2A Micro USB Power Supply
- A Heatsink for the Pi (possibly with fan, see below)
If using a Pi 2b you will also need-
- USB WiFi adapter compatible with hostapd (recommend either Atheros ath9k or Edimax RTL8188)
Optional but Recommended Accessories-
- A Case to protect your Raspberry Pi
- A cooling fan (you will want this if you are going to practice DOS attacks. The Pi 3 gets pretty hot under a load
Finally, if you wish to log onto the pi locally you might also want-
- an HDMI monitor
- a USB keyboard
*You will of course need to have a computer to pentest from and optionally a USB key to use as a live disk for your pen-testing distro of choice.
Flash the Image
Flashing the image is the same as for Raspbian or other Raspberry Pi images.
- download the RasPwn OS image from http://raspwn.org/install (available as zip or 7z archive
- Extract the archive
- (optional but recommended) Verify the SHA1 signature of the raspwn-0.12g-release.img file - (for the 0.12g release - c430f184747b915af1954666a17cfcab1de8b29d)
- Flash the image- (follow the links below to the relevant utility and instructions for your OS)
If on Windows you can use Win32DiskImager
If on MacOS you will need ApplePiBaker
If you are running Linux you are a guru and can use dd
Once the SD Card has been written you can proceed to the next step!
Get It Running
Now you can take the Raspberry Pi and plug in the SD card. If you are using a Pi 2b you should also plug in your USB WiFi adapter. You can also optionally plug in a monitor and keyboard. But it's not usually required.
Now plug in the power. On first boot the pi will expand the filesystem to the size of the SD card and reboot. (You may see SQL socket error from this if you have HDMI plugged in. Don't worry.) Once the system reboots You should be good to go!
To test connectivity From your computer look for a wireless access point with the SSID RasPwn OS and try to connect to it. The password is (In53cur3!).
Once you are connected, navigate to http://playground.raspwn.org. That should take you to the Raspwn Web Playground.
If all of that worked, then proceed to the next step and start hacking!
If you do not see the RasPwn OS access point or cannot connect to it see 'Troubleshooting' at the end of the article.
Choose Your Pen-Testing Distro
Now you have a target system ready for attack. But you will probably need to set up the system you are attacking from so that the tools and utilities you will need are at your fingertips. You've got a lot of options, many of which are beyond the scope of this article. You can use -
1. A pen-testing Linux Distro on a Live USB drive
2. A pen-testing Linux distro Persistently installed on your hard drive
3. (Pi Lover's Option) Kali Linux installed on an SD card and running on a Raspberry Pi
4. You can run ZAP or Burp Suite from Windows directly
5. You can install a pen-testing distro in a virtual machine on top of the OS of your choice.
There are also quite a few pen-testing distributions to choose from. Some of the ones I like:
- Kali Linux - Based on Debian, lots of documentation, geared towards offensive securit, probably the most popular pen-testing distro right now
- Parrot Security OS - Based on Debian, geared towards privacy as well as security, good all around distro
- BlackArch Linux - Based on Arch Linux, tons of tools, docs not so much, great but not for beginners
- Pentoo - Based on Gentoo, also very cool but again not for beginners ;-P
The simplest option is to simply run a distribution from a USB flash drive. So if for example we want to use Kali, then we can
- follow one of the links above and download the live image for your distro of choice
- flash it to a USB thumb drive
- boot to that USB drive.
- logon (for Kali the default user is root and the password is toor)
- Connect to the RasPwn OS via WiFi (Click the networking icon in the top right corner of the desktop), the SSID is RasPwn OS and the password is In53cur3!
- Verify connectivity by opening Firefox or IceWeasel from Kali and navigating to http://playground.raspwn.org
If this works you can proceed to the next step. (If not, see troubleshooting...)
Set Up an Attack Proxy
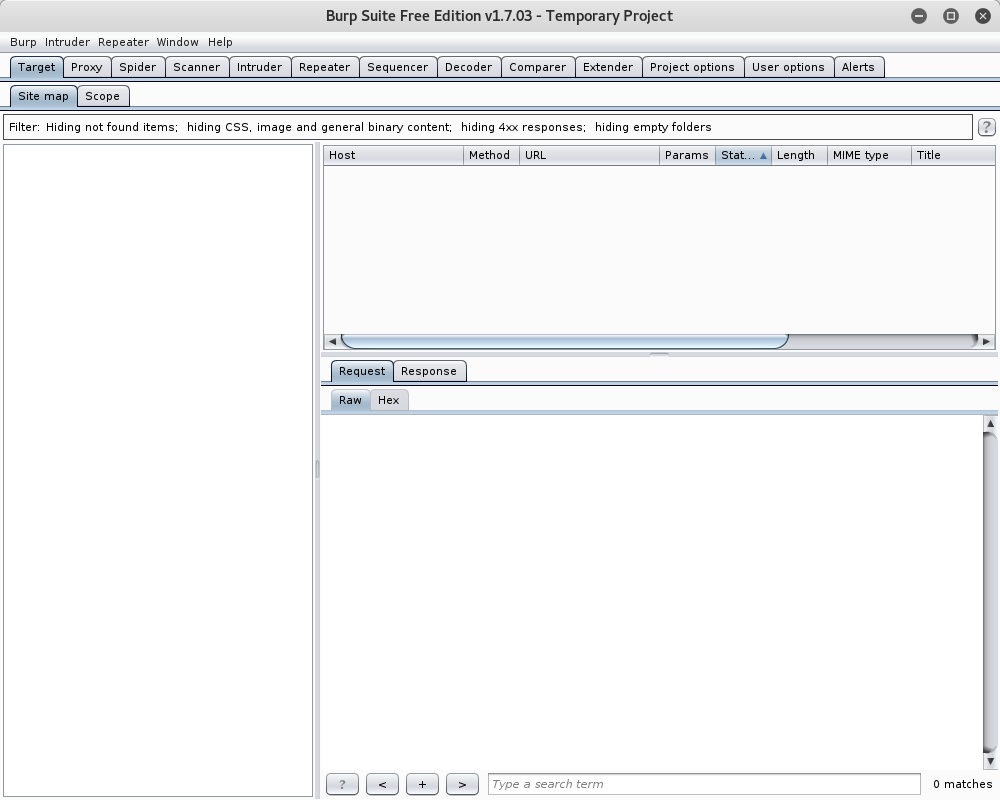
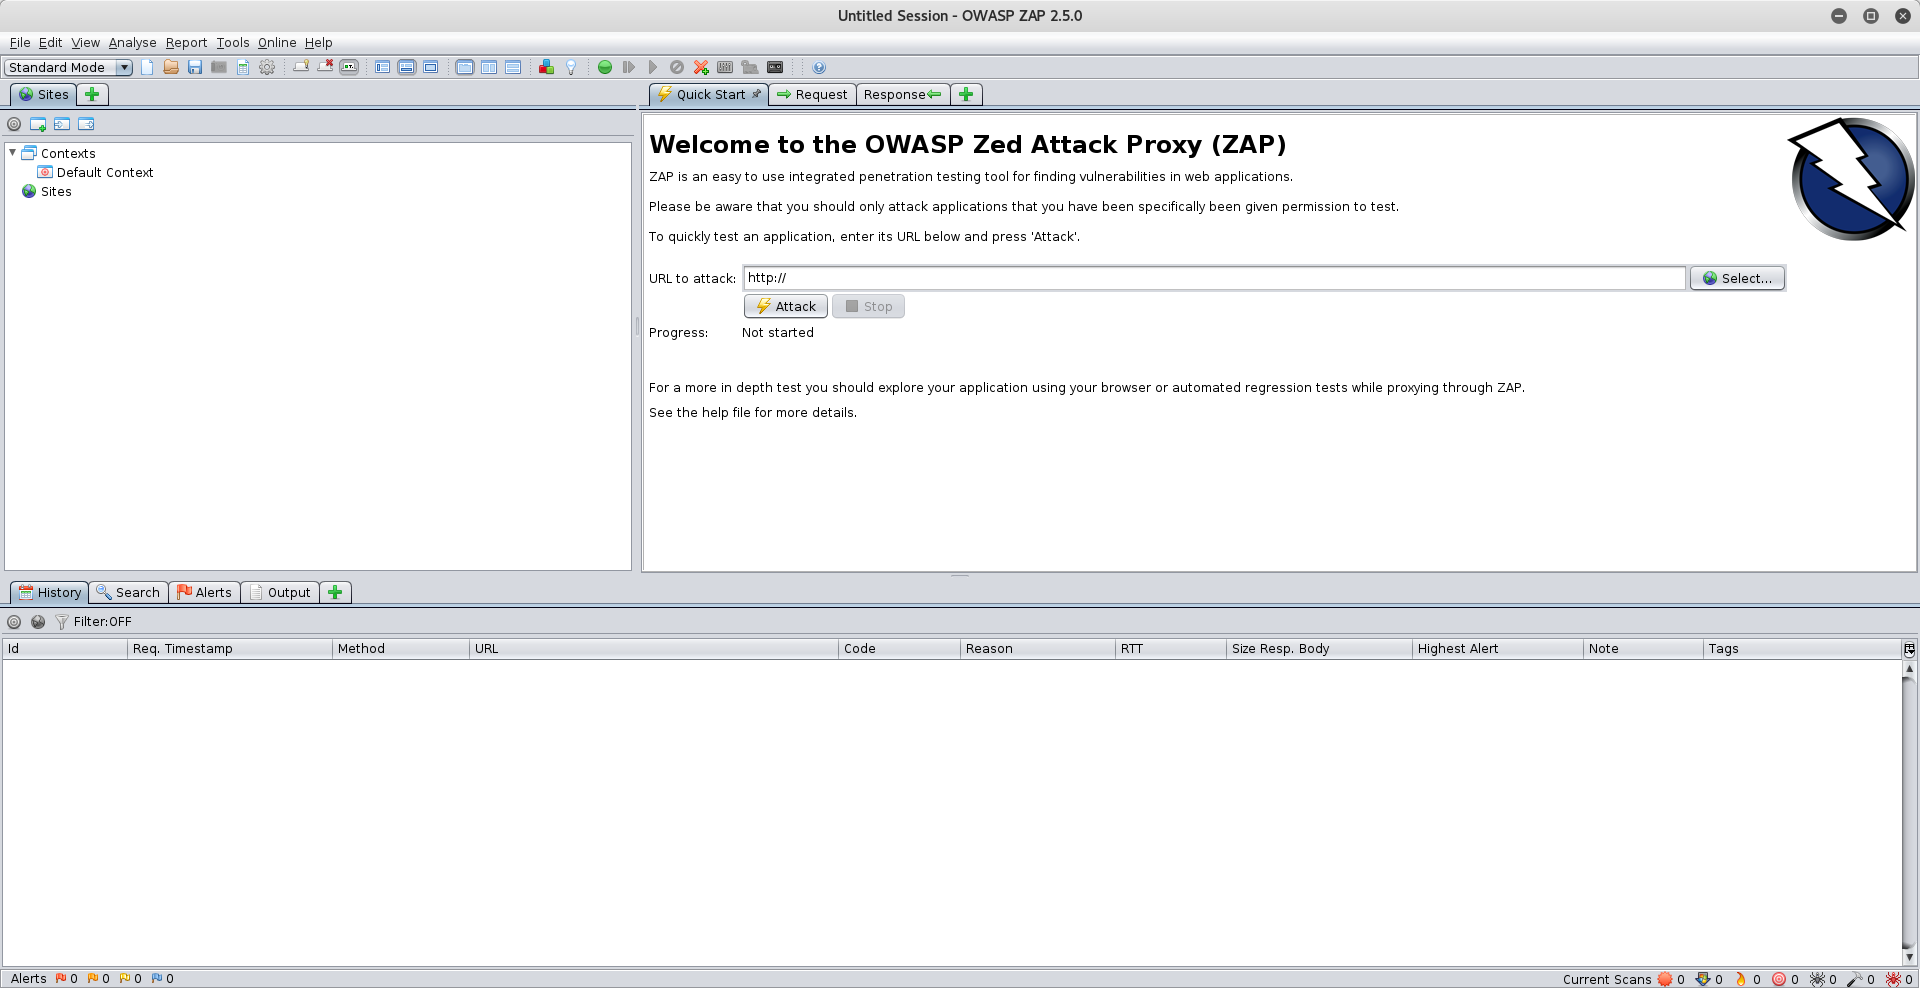
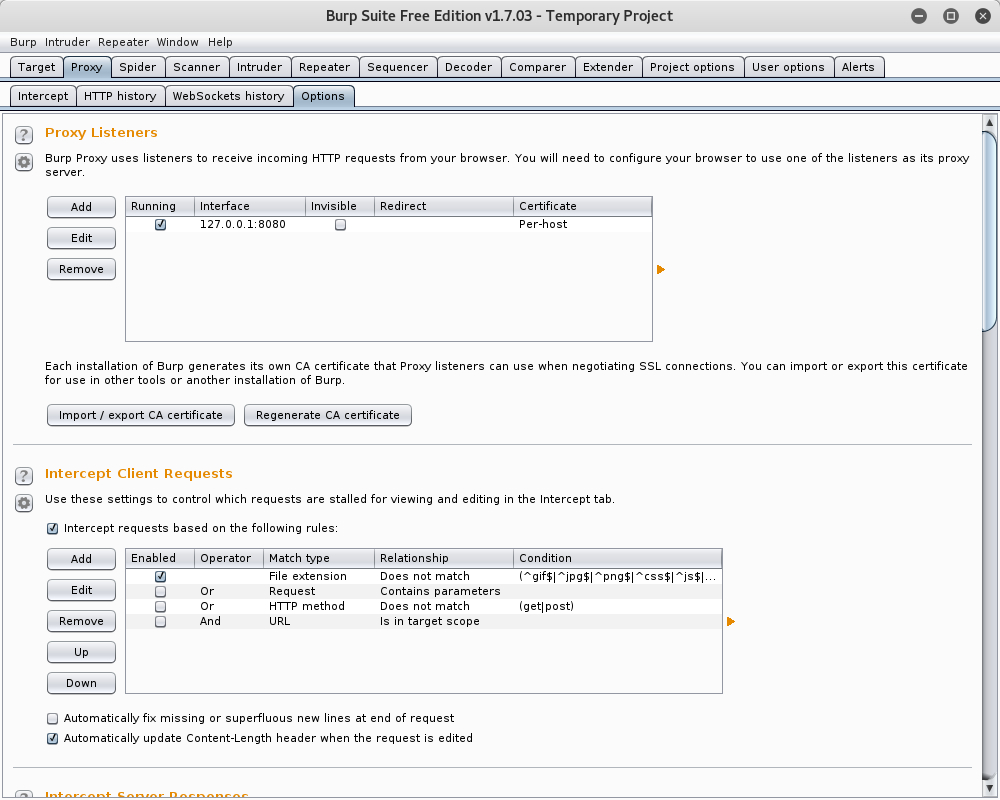
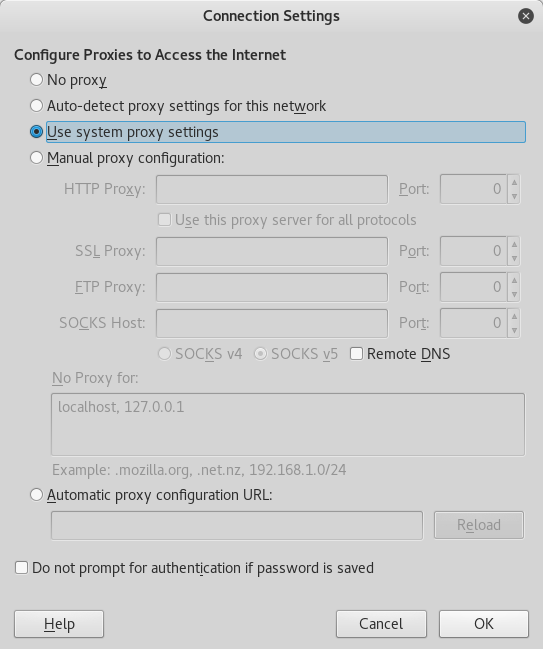
Now that you've set up a system to hack and a system to hack from, you are ready! The last step is to set up a proxy. You have two choices and I recommend setting up *both* then just using whichever suits the task at hand
- OWASP Zed Attack Proxy (ZAP) is free and fairly easy to use proxy from OWASP
- Burp Suite is a very nice attack proxy with both free and paid versions
To install both on Kali Linux run:
apt-get install zaproxy burpsuite
(Note that you don't run them both. At any given time you only run one of these as they use the same IP/port and perform the same function.)
Start either proxy, then start fiirefox and:
- go to Preferences->Advanced->Network->Connection and click the Settings button.
- In the window that pops up select 'Manual Proxy Configuration'.
- Then in the 'http proxy' input box, enter localhost
- and for the port enter 8080
- select the checkbox that says 'use this proxy server for all protocols'
- click OK
Your browser is now mostly configured to use your proxy. The last step is to accept the proxy's SSL cert so that it can succesfully MITM the browser session. For that follow the instructions below that match your proxy-
For Burpsuite - https://support.portswigger.net/customer/portal/ar...
For OWASP ZAP - https://2buntu.com/articles/1517/adding-ssl-certif...
Hack Away!
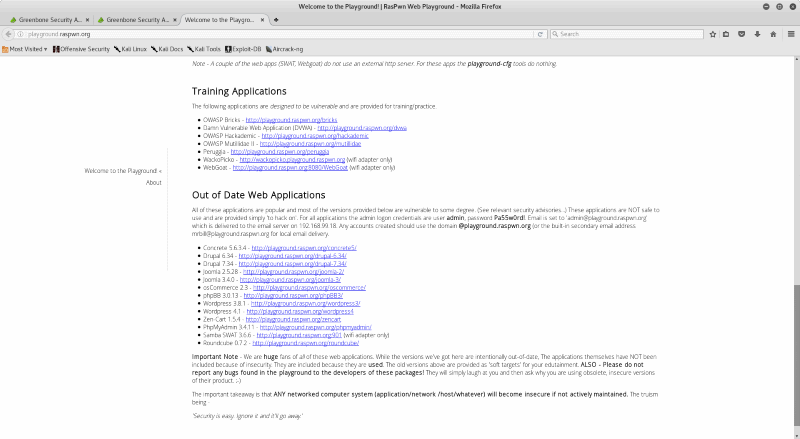
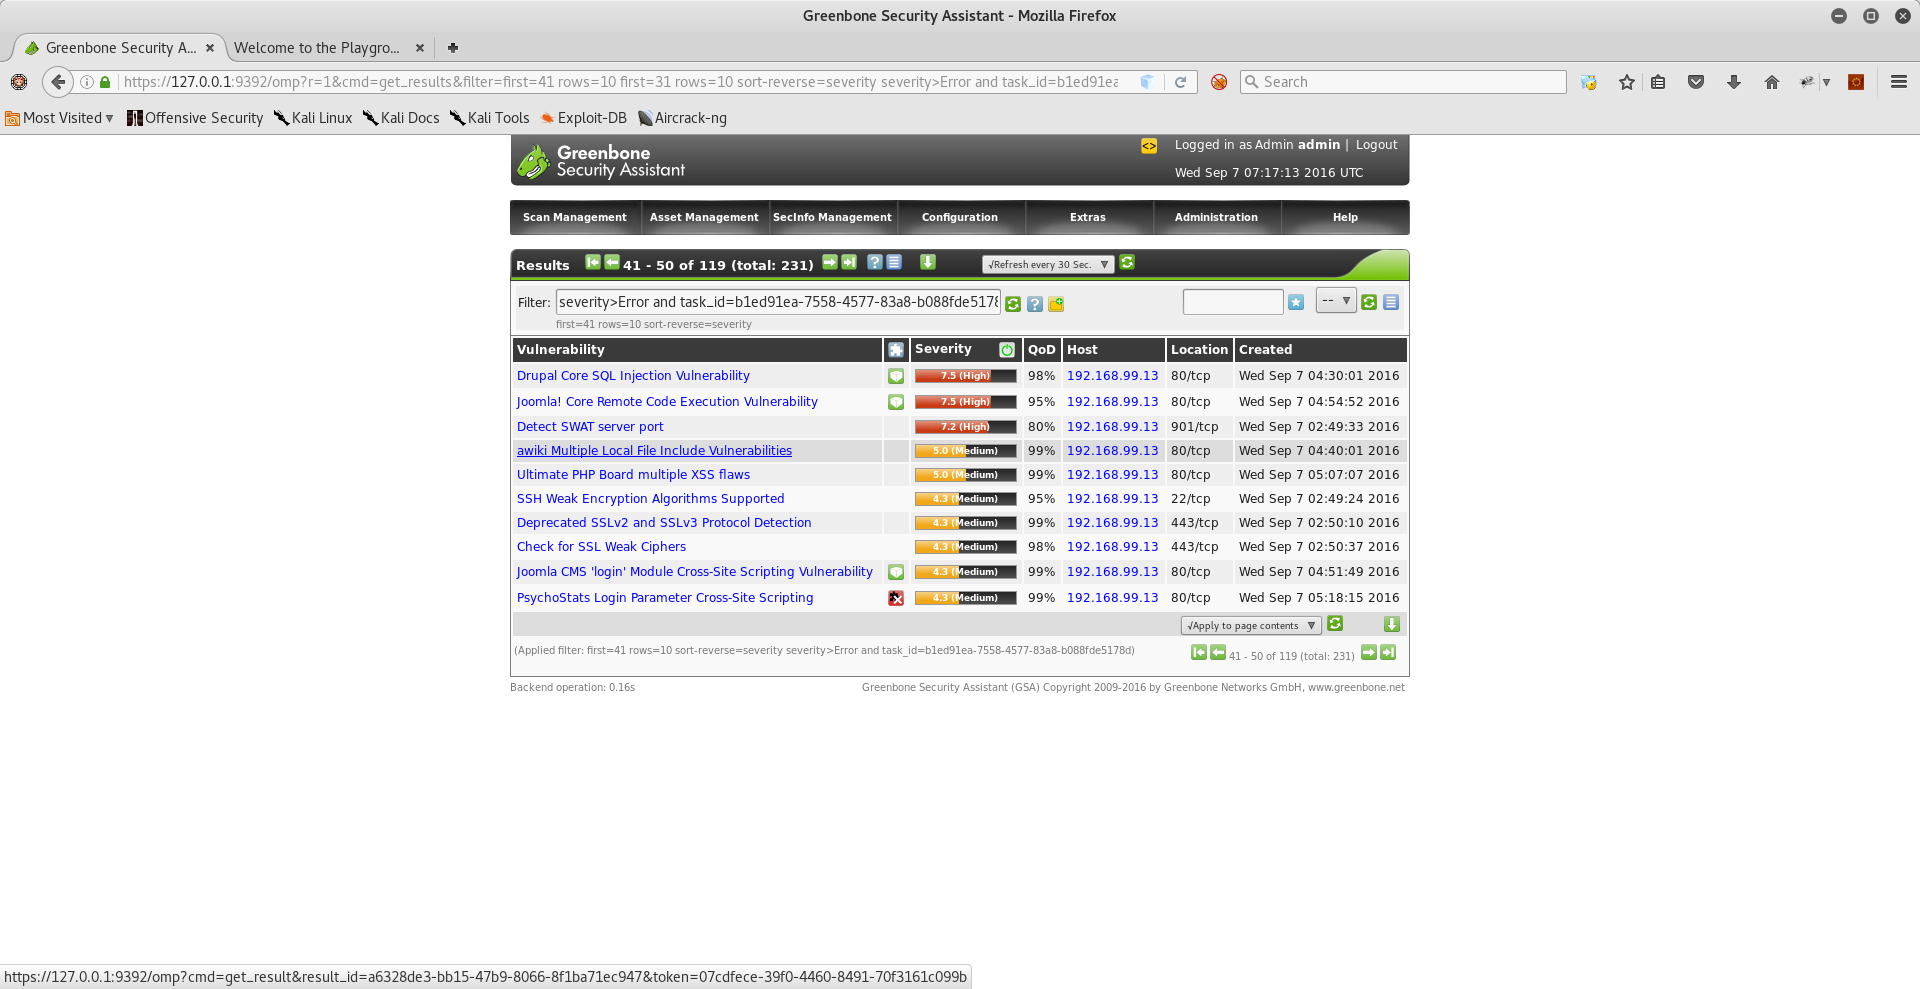
Now you have everything you need! To start hacking, open up firefox in Kali, connect to the RasPwn OS SSID, and navigate to http://playground.raspwn.org . There you will find a variety of web applications to attack. The RasPwn OS Web Playground includes out-of-date versions of popular apps as well as intentionally vulnerable web applications. The RasPwn Web Playground is a self-contained micro-verse and includes DNS, email, Samba, http servers, all pre-configured.and connected to each other. (For more information and to see a full list of the applications installed visit - http://www.raspwn.org/documentation )
Getting Started
Web hacking is a broad topic and RasPwn OS is vulnerable to a wide range of attacks. The following is a brief outline of the kinds of attacks that can be practiced, the tools available to do so and a list of further resources.
Attacks
- XSS - Cross site scripting attacks are attacks that allow a user to feed input to a page that causes code to execute in the browsers of other users that visit the page. It's probably the easiest attack to execute on RasPwn as most of the web applications in the playground have known XSS vulnerabilities.
- SQL Injection - SQL injection is an attack that allows web users to execute arbitrary queries inside the database environment either stealing or destroying data. It is also a fairly easy attack on RasPwn as several of the web applications in the playground have known SQL exploits.
- RCE - Remote Code Execution is where a web user is able to execute code on the server as if they were logged on to it. It is not as easy of an attack as XSS or SQL injection, but again several RCE vulnerabilities exist in the RasPwn OS playground
- DOS - DOS is fairly easy to demonstrate in PasPwn as we've only got limited resources to work with. (You will also want to have a heat sink with a fan if you intend to demonstrate DOS on the Raspberry Pi 3...)
These are just the lower hanging fruit that can be discovered by exploring the NVD database and comparing it to the apps installed in RasPwn OS.
Apps
A selection of mostly free applications to get started pen-testing and web hacking.
- Nmap (Network Scanner)
- Burp Suite (Attack Proxy, Paid and Free Versions)
- OWASP ZAP (Attack Proxy, Free with a Growing Feature Set)
- MetaSploit (Attack Framework, Paid and Free Versions)
- OpenVAS (Vulnerability Scanner, Free)
- WPScan (Wordpress Vulnerability Scanner, Free)
- WireShark (Network Scanner, Free)
- w3af (Web Attack Framework, Free)
- sqlmap - (Automatic SQL testing)
Resources
Some resources to get started with
- OWASP - One of the best resources on the internet for web security
- Hacksplaining - Good site for starting out
- Cybrary - An entire online curriculum here focused on hacking - Very Nice!
- DefCon - Legendary convention, tons of links, papers, resources, etc.
- Google's BugHunter University - Some good info here especially for those who intend to bug-hunt professionally
- Security Tube - What it sounds like, very good site!
- HackForums - Meet and talk to other security minded people.
You can even become a bounty hunter and Get Paid to Bughunt!
All of this is just the Tip of the Iceberg!
Troubleshooting
IF
- something goes wrong and you can't see the RasPwn OS SSID or
- you can connect to the SSID but the web playground is not accessible or
- you wish to customize the RasPwn installation or
- you want to play Red vs. Blue
- you just want to poke around
THEN you will need to plug in a monitor and keyboard to the pi to figure out what's up. To log on to the pi the credentials are:
user - pi
password - pwnme!
The pi user can sudo without password so that gets root too.
The most likely cause of the SSID not working is an unsupported USB WiFi card. Once you have logged on to raspwn you will need to see if your card is both wifi and hostapd compatible. Both the ath9k driver and the RTL8188 driver are known to work . In theory any adapter compatible with hostapd should work. If your card works with hostapd in access point mode but not with RasPwn, then head over to raspwn.org for help. ;-)
If the SSID works but you cannot access the URL http://playground.raspwn.org, and this is a first install then the troubleshooting steps are-
- make sure you don't have a second internet connection (i.e. a LAN cable connected to the internet in addition to the raspwn OS connection) RasPwn OS overrides DNS for the *.playground.raspwn.org subdomain .
- Make sure you are not using cached DNS info by restarting either your browser or even your host. (see #1)
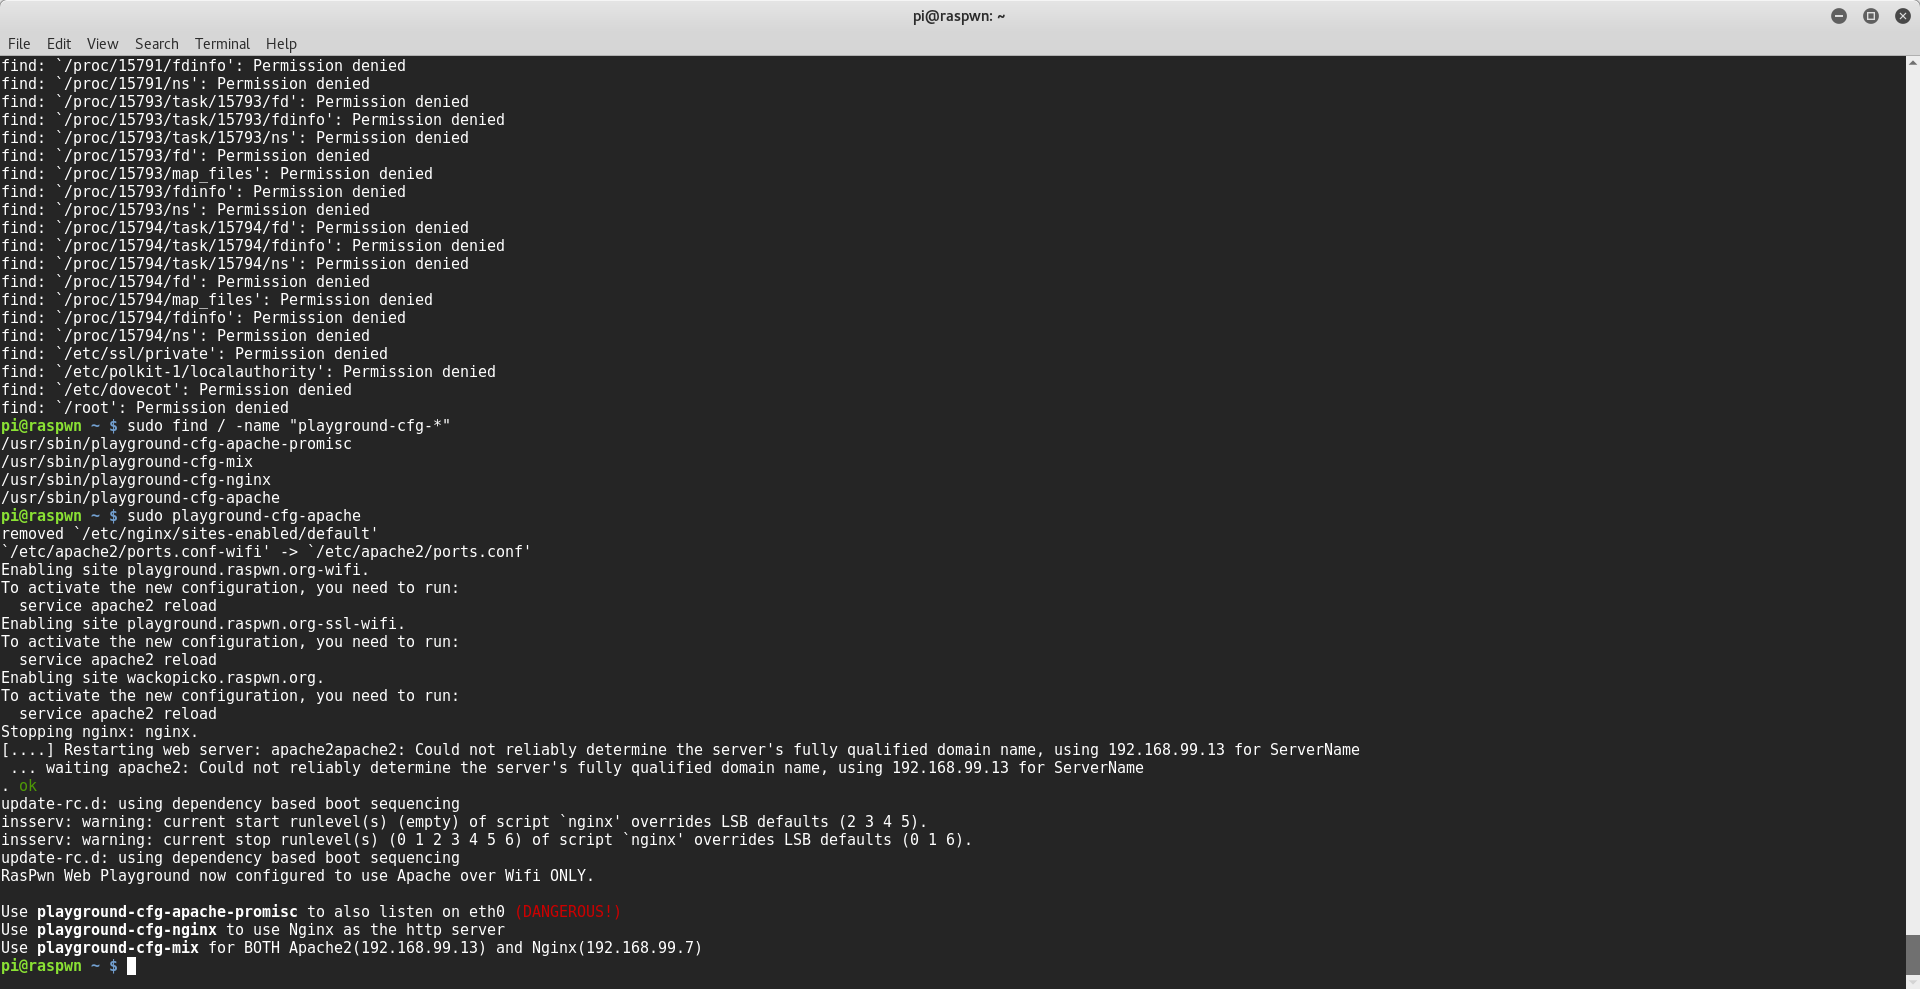
- reconfigure the http server by logging on locally to the pi with the command sudo playground-cfg-apache
- try using Nginx instead of Apache2 by logging on locally to the pi and with the command sudo playground-cfg-nginx
- re-flash the RasPwn OS image
- If the same issue still persists head to raspwn.org for help. this is a bug I want to hear about.