Learn Time-lapse Photography in No Time Flat
by The Porsche Fan in Circuits > Cameras
7500 Views, 26 Favorites, 0 Comments
Learn Time-lapse Photography in No Time Flat
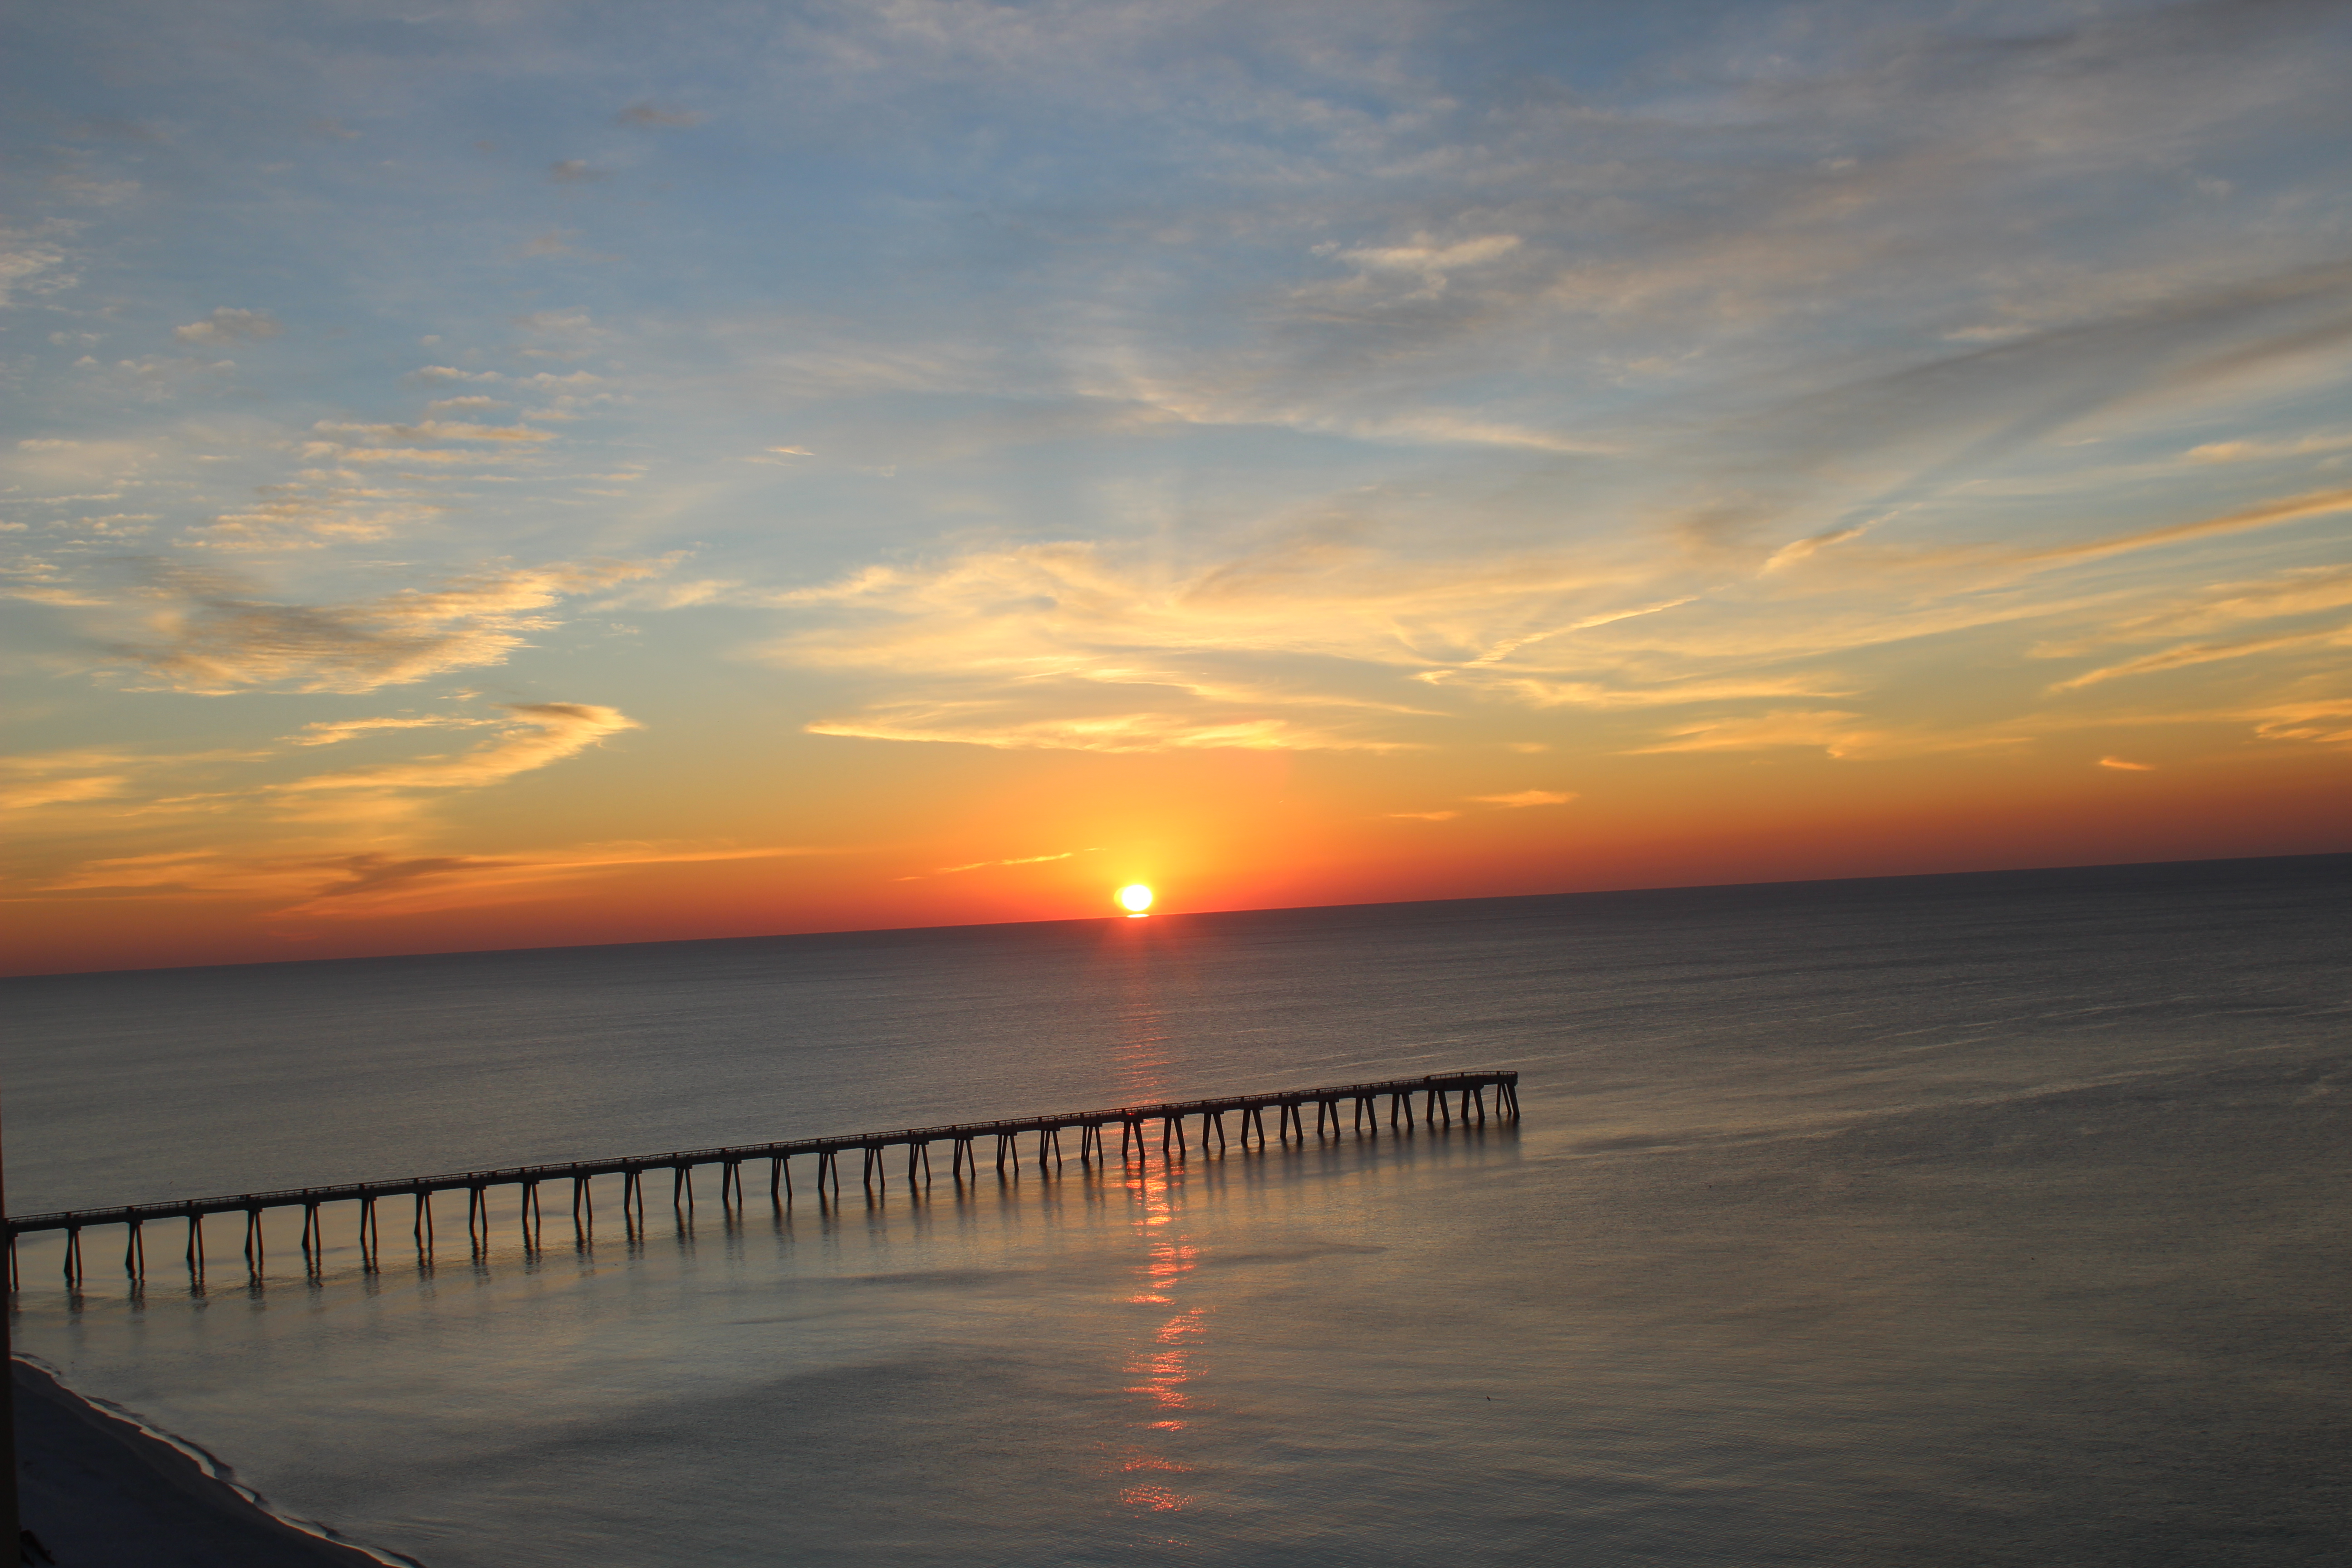
In this Instructable, I will show you how to make your very own time-lapse video.
I will also share helpful tips that I have learned from experiences.
Here's a video of some of the time-lapses that my friend and I made:
Per Wikipedia, time-lapse photography is making "Processes that would normally appear subtle to the human eye, e.g. the motion of the sun and stars in the sky, become very pronounced."
Almost everyone has seen a time-lapse because they are frequently used as stock footage in news shows.
From here out, I will refer to time-lapse photography simply as "time-lapse".
Supplies Needed
For this project, you will need:
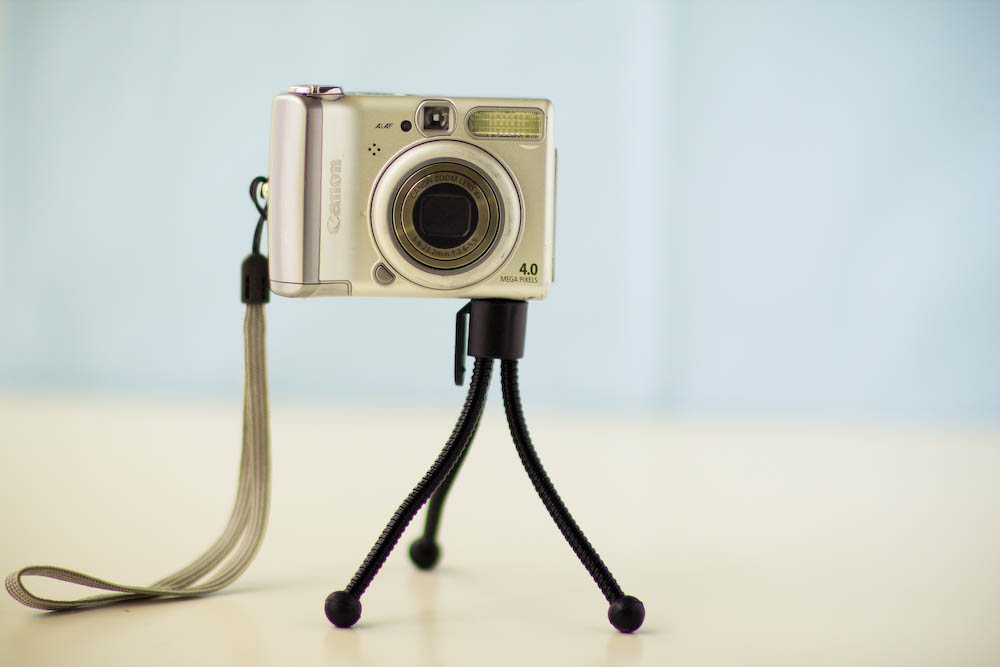
- Camera (does not matter what kind,)
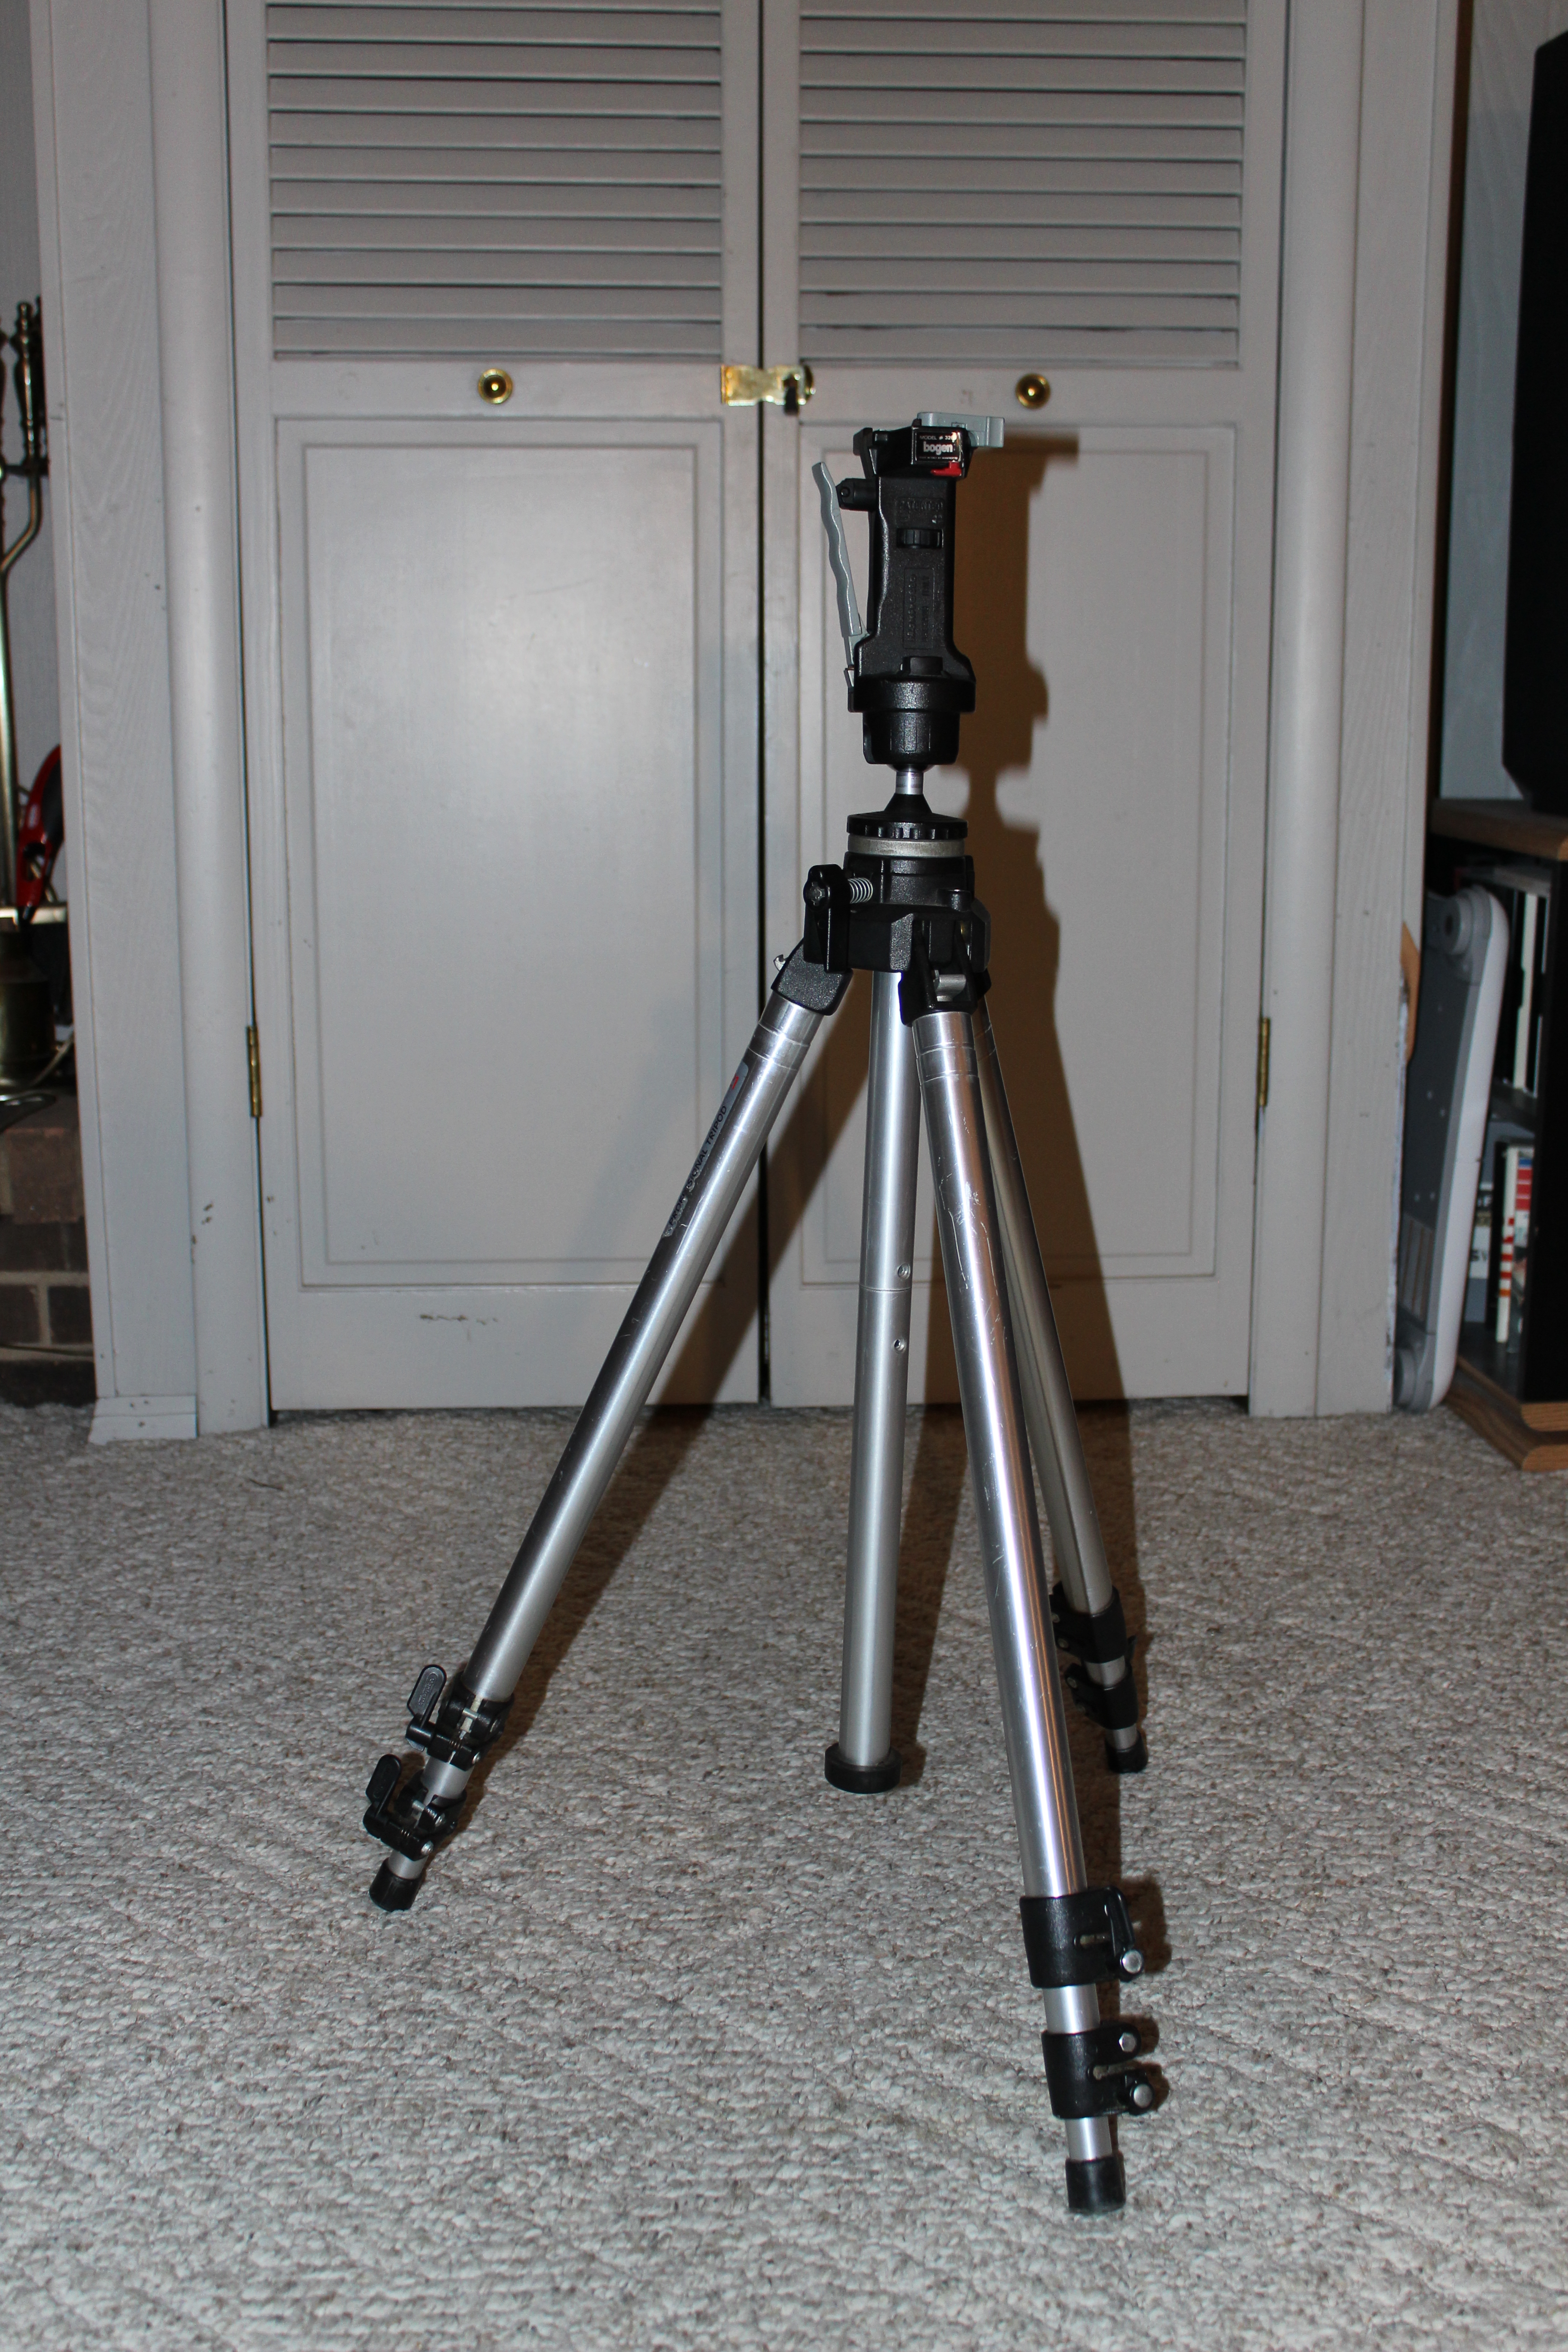
- Tripod or a lamp with a lampshade- almost all lampshades are attached to the lamp with a 1/4 inch threaded bolt which is the exact same size as a camera tripod mount. So, no tripod no problem!
- Computer
- Lawnchair
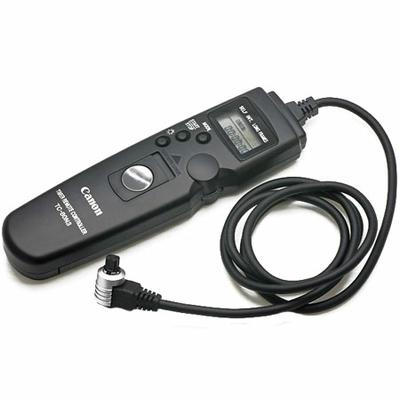
- Intervalometer (helpful, but not necessary)
- A big chunk of time (at the very least, around an hour, otherwise, there might not be a whole lot of motion in your scene)
An Intervalometer Is Helpful

An Intervalometer is a device which counts intervals of time. They are commonly used to signal, in accurate time intervals, the operation a device.
You plug it into your camera (if your camera has an input jack) to send a signal to take pictures at any specific interval of time that you want.
You plug it into your camera (if your camera has an input jack) to send a signal to take pictures at any specific interval of time that you want.
Location Location Location
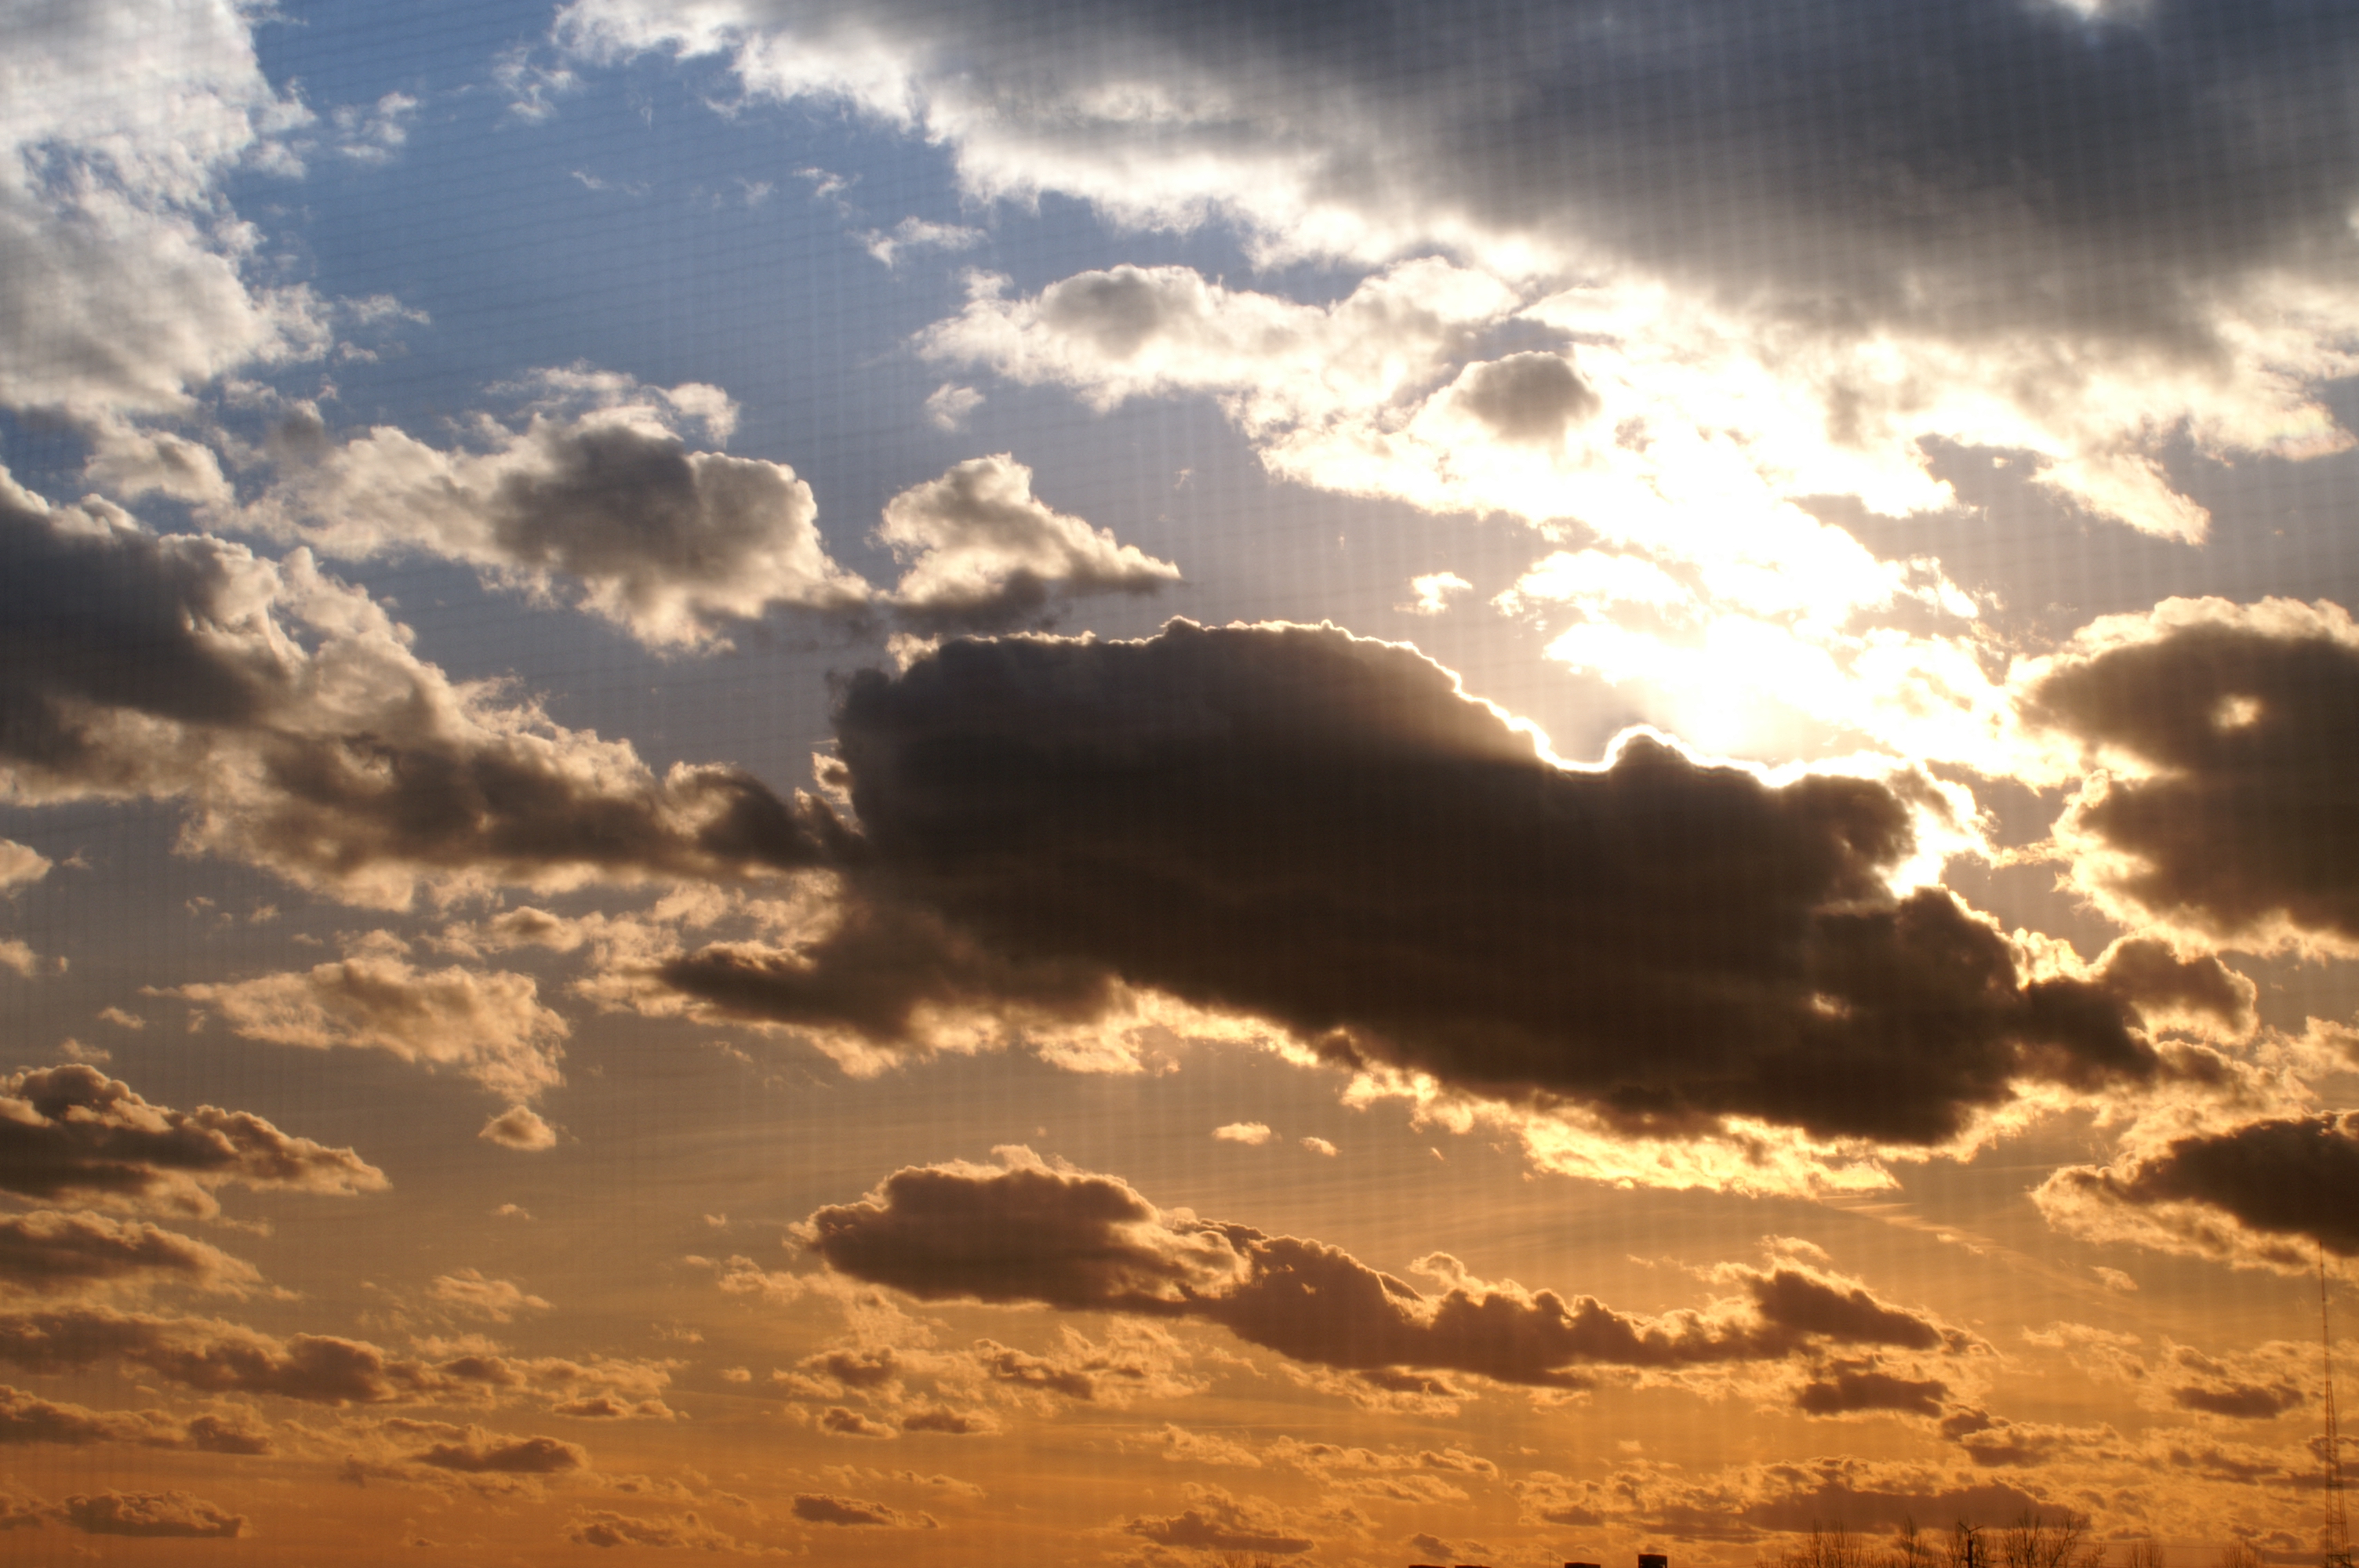
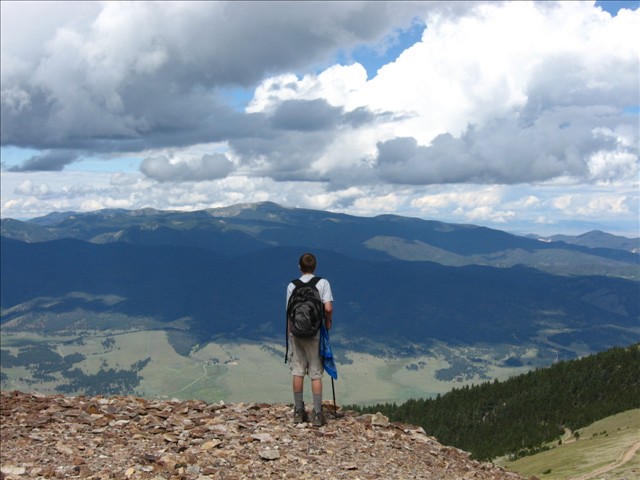
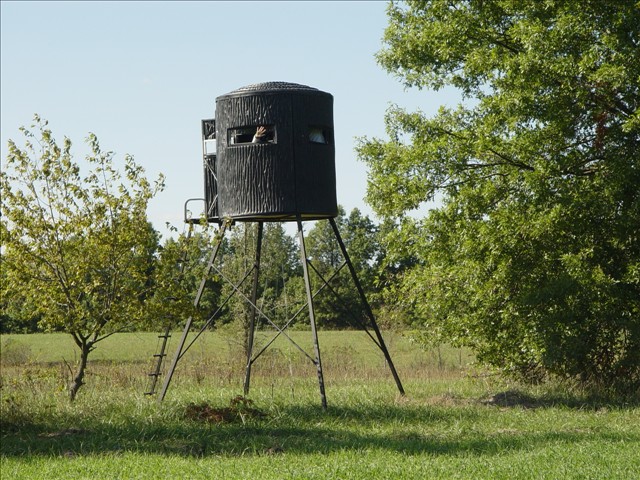
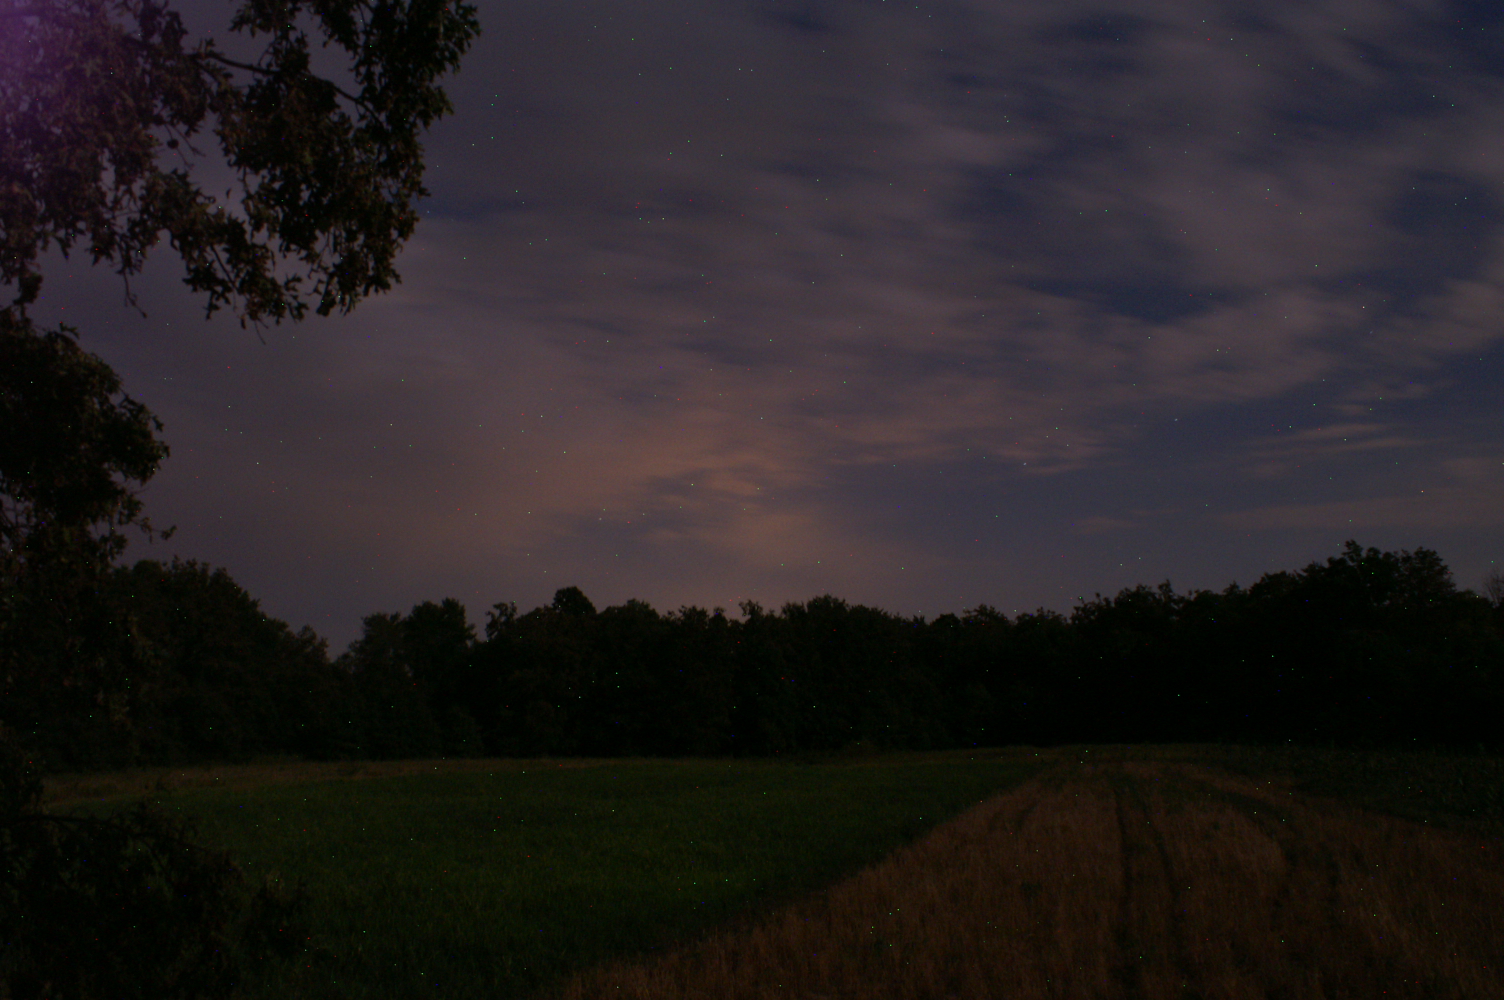
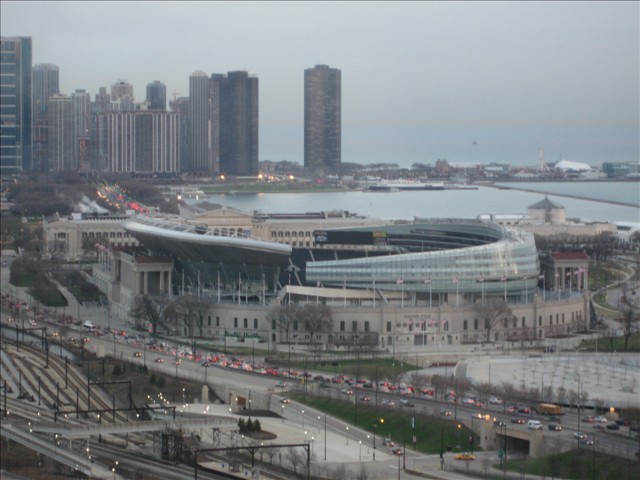
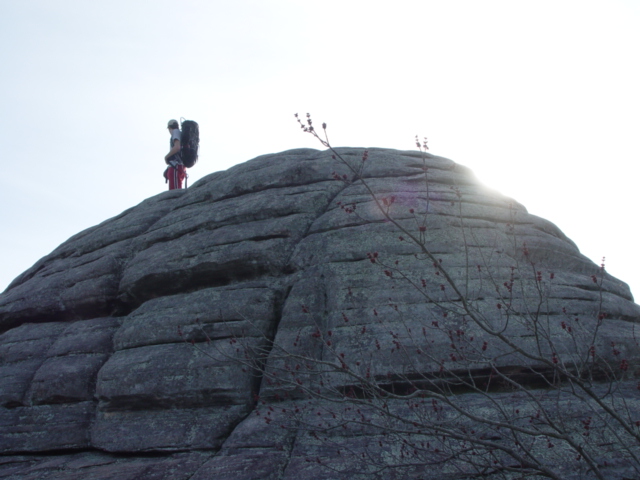
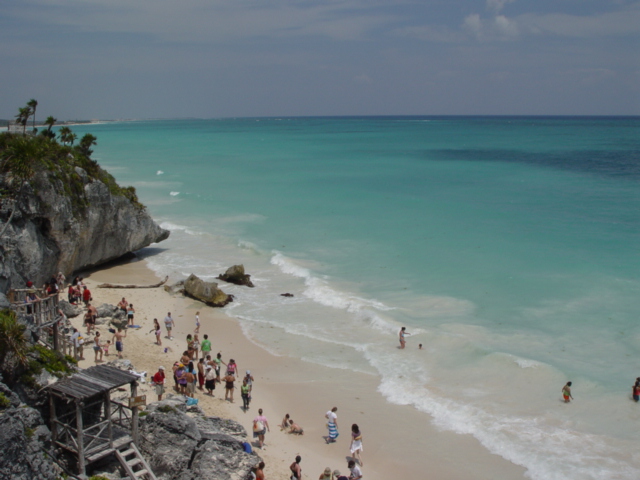
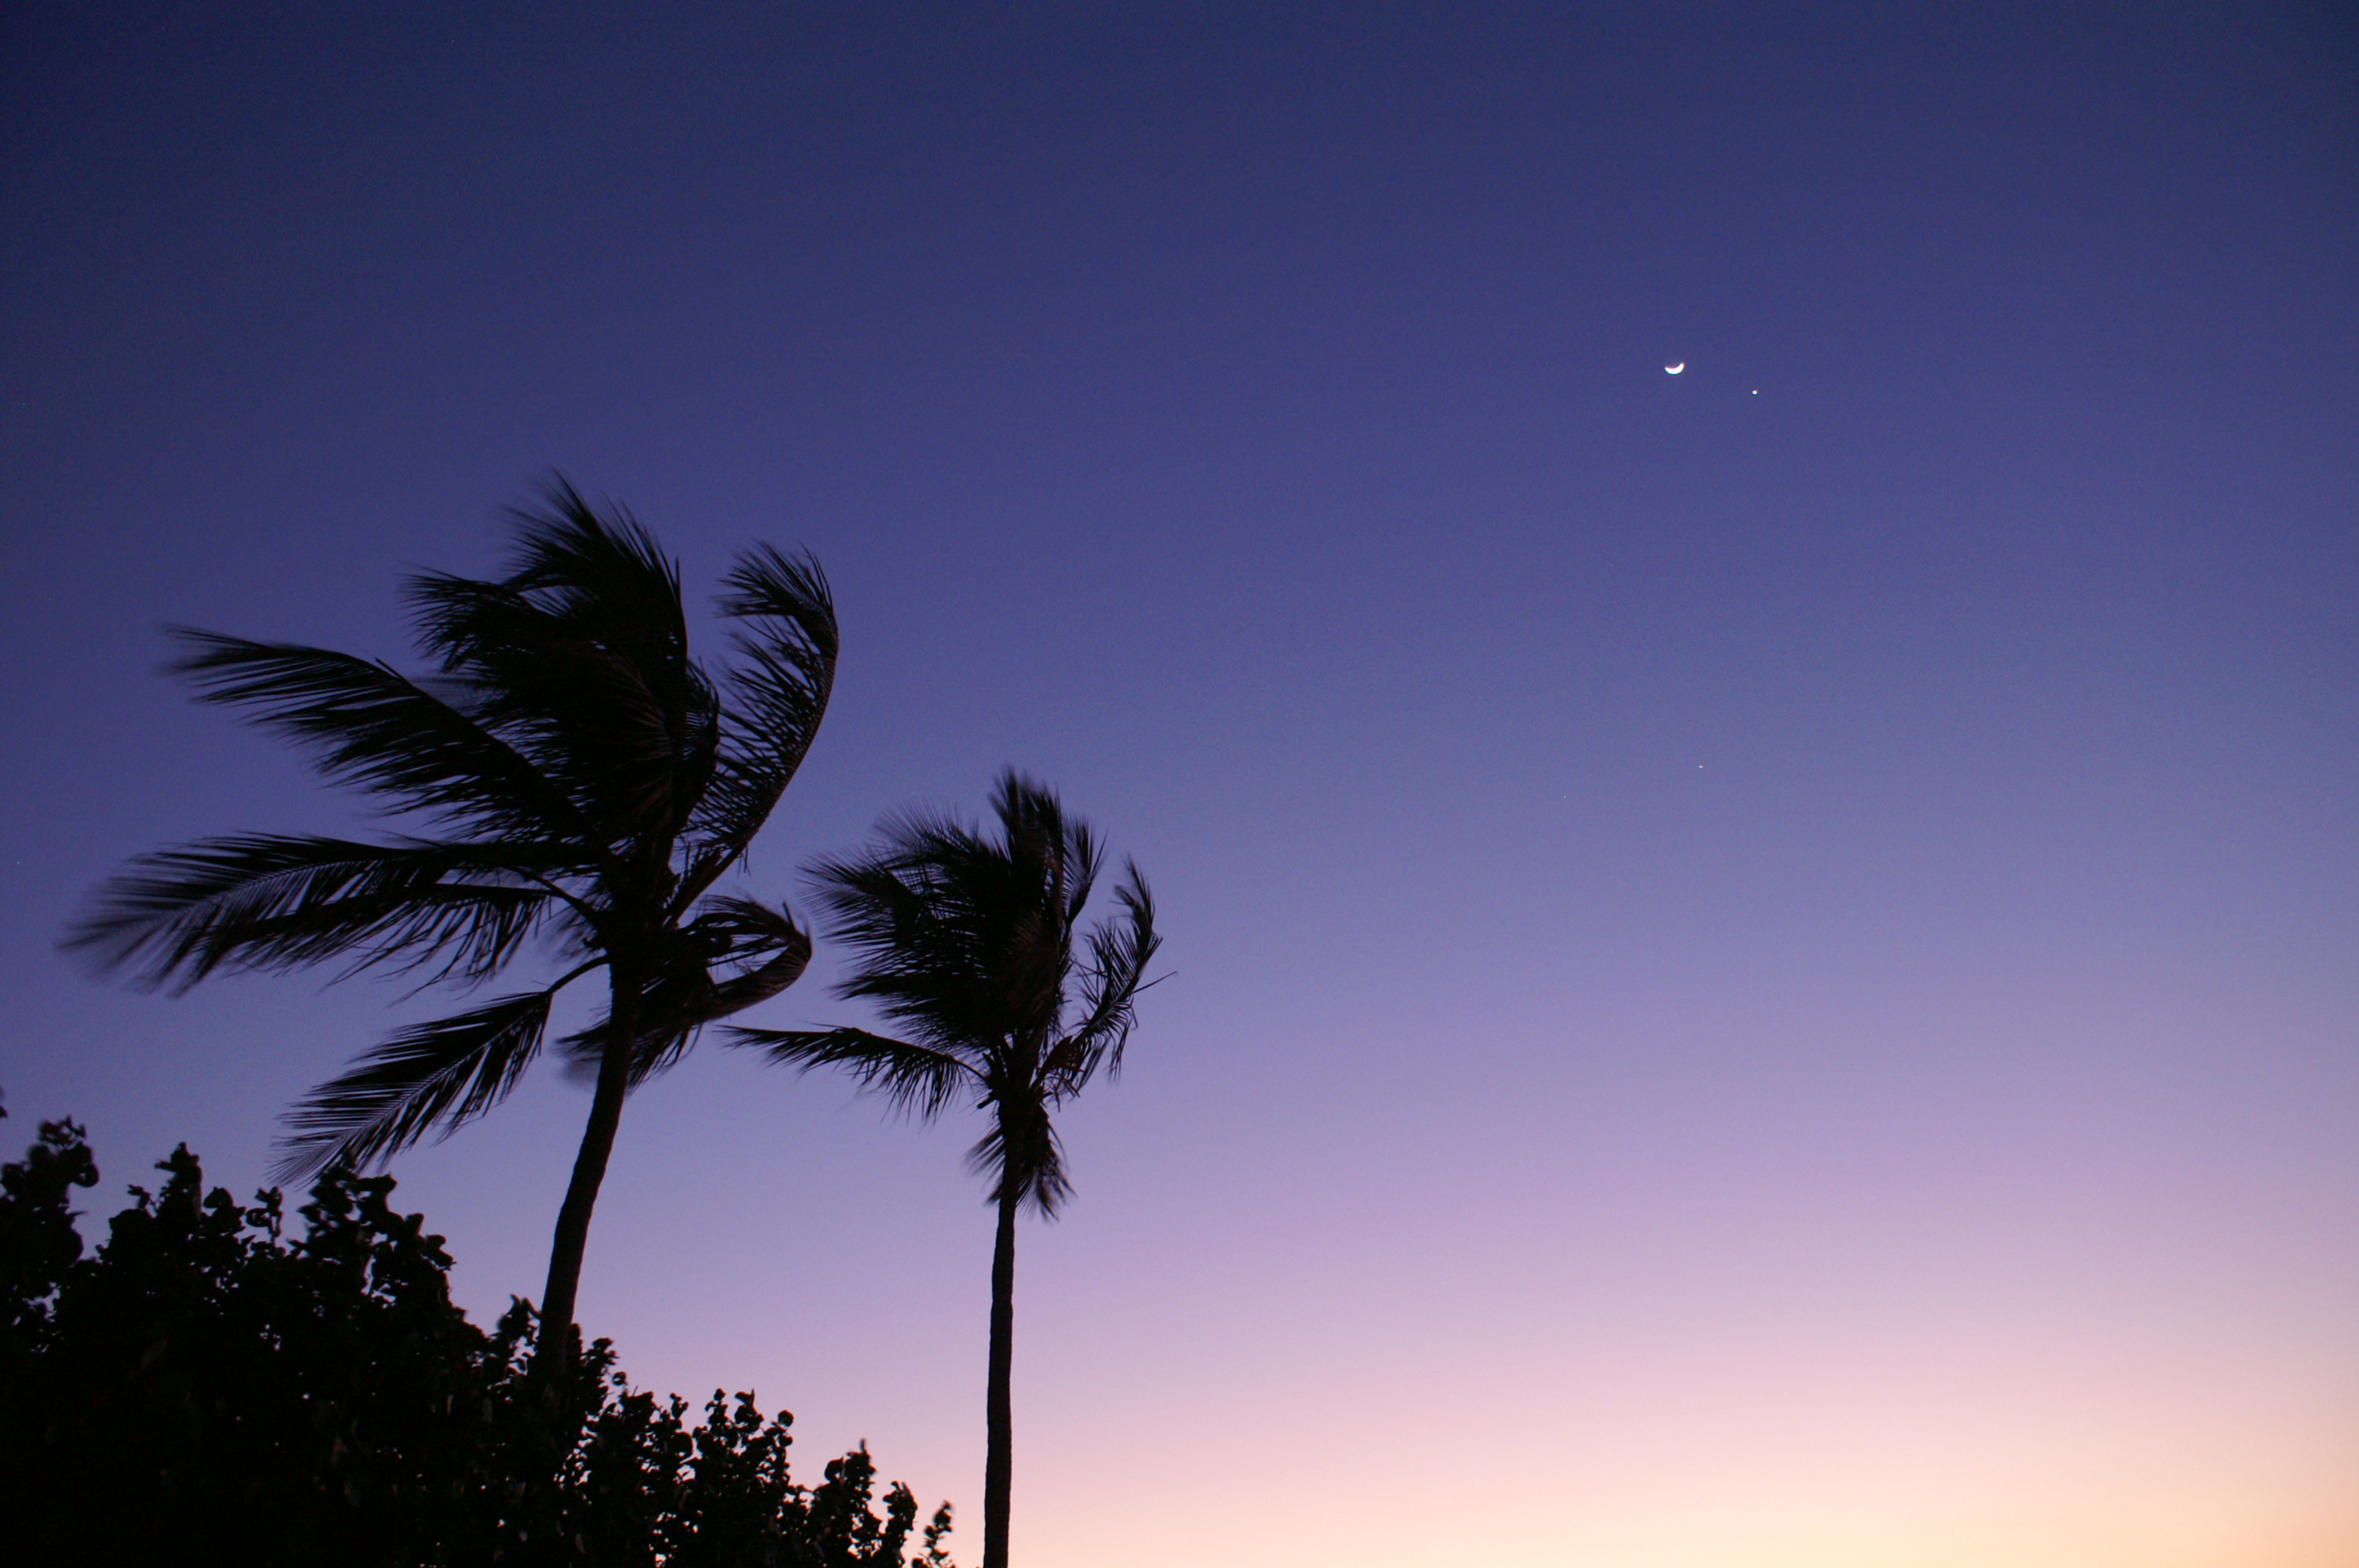
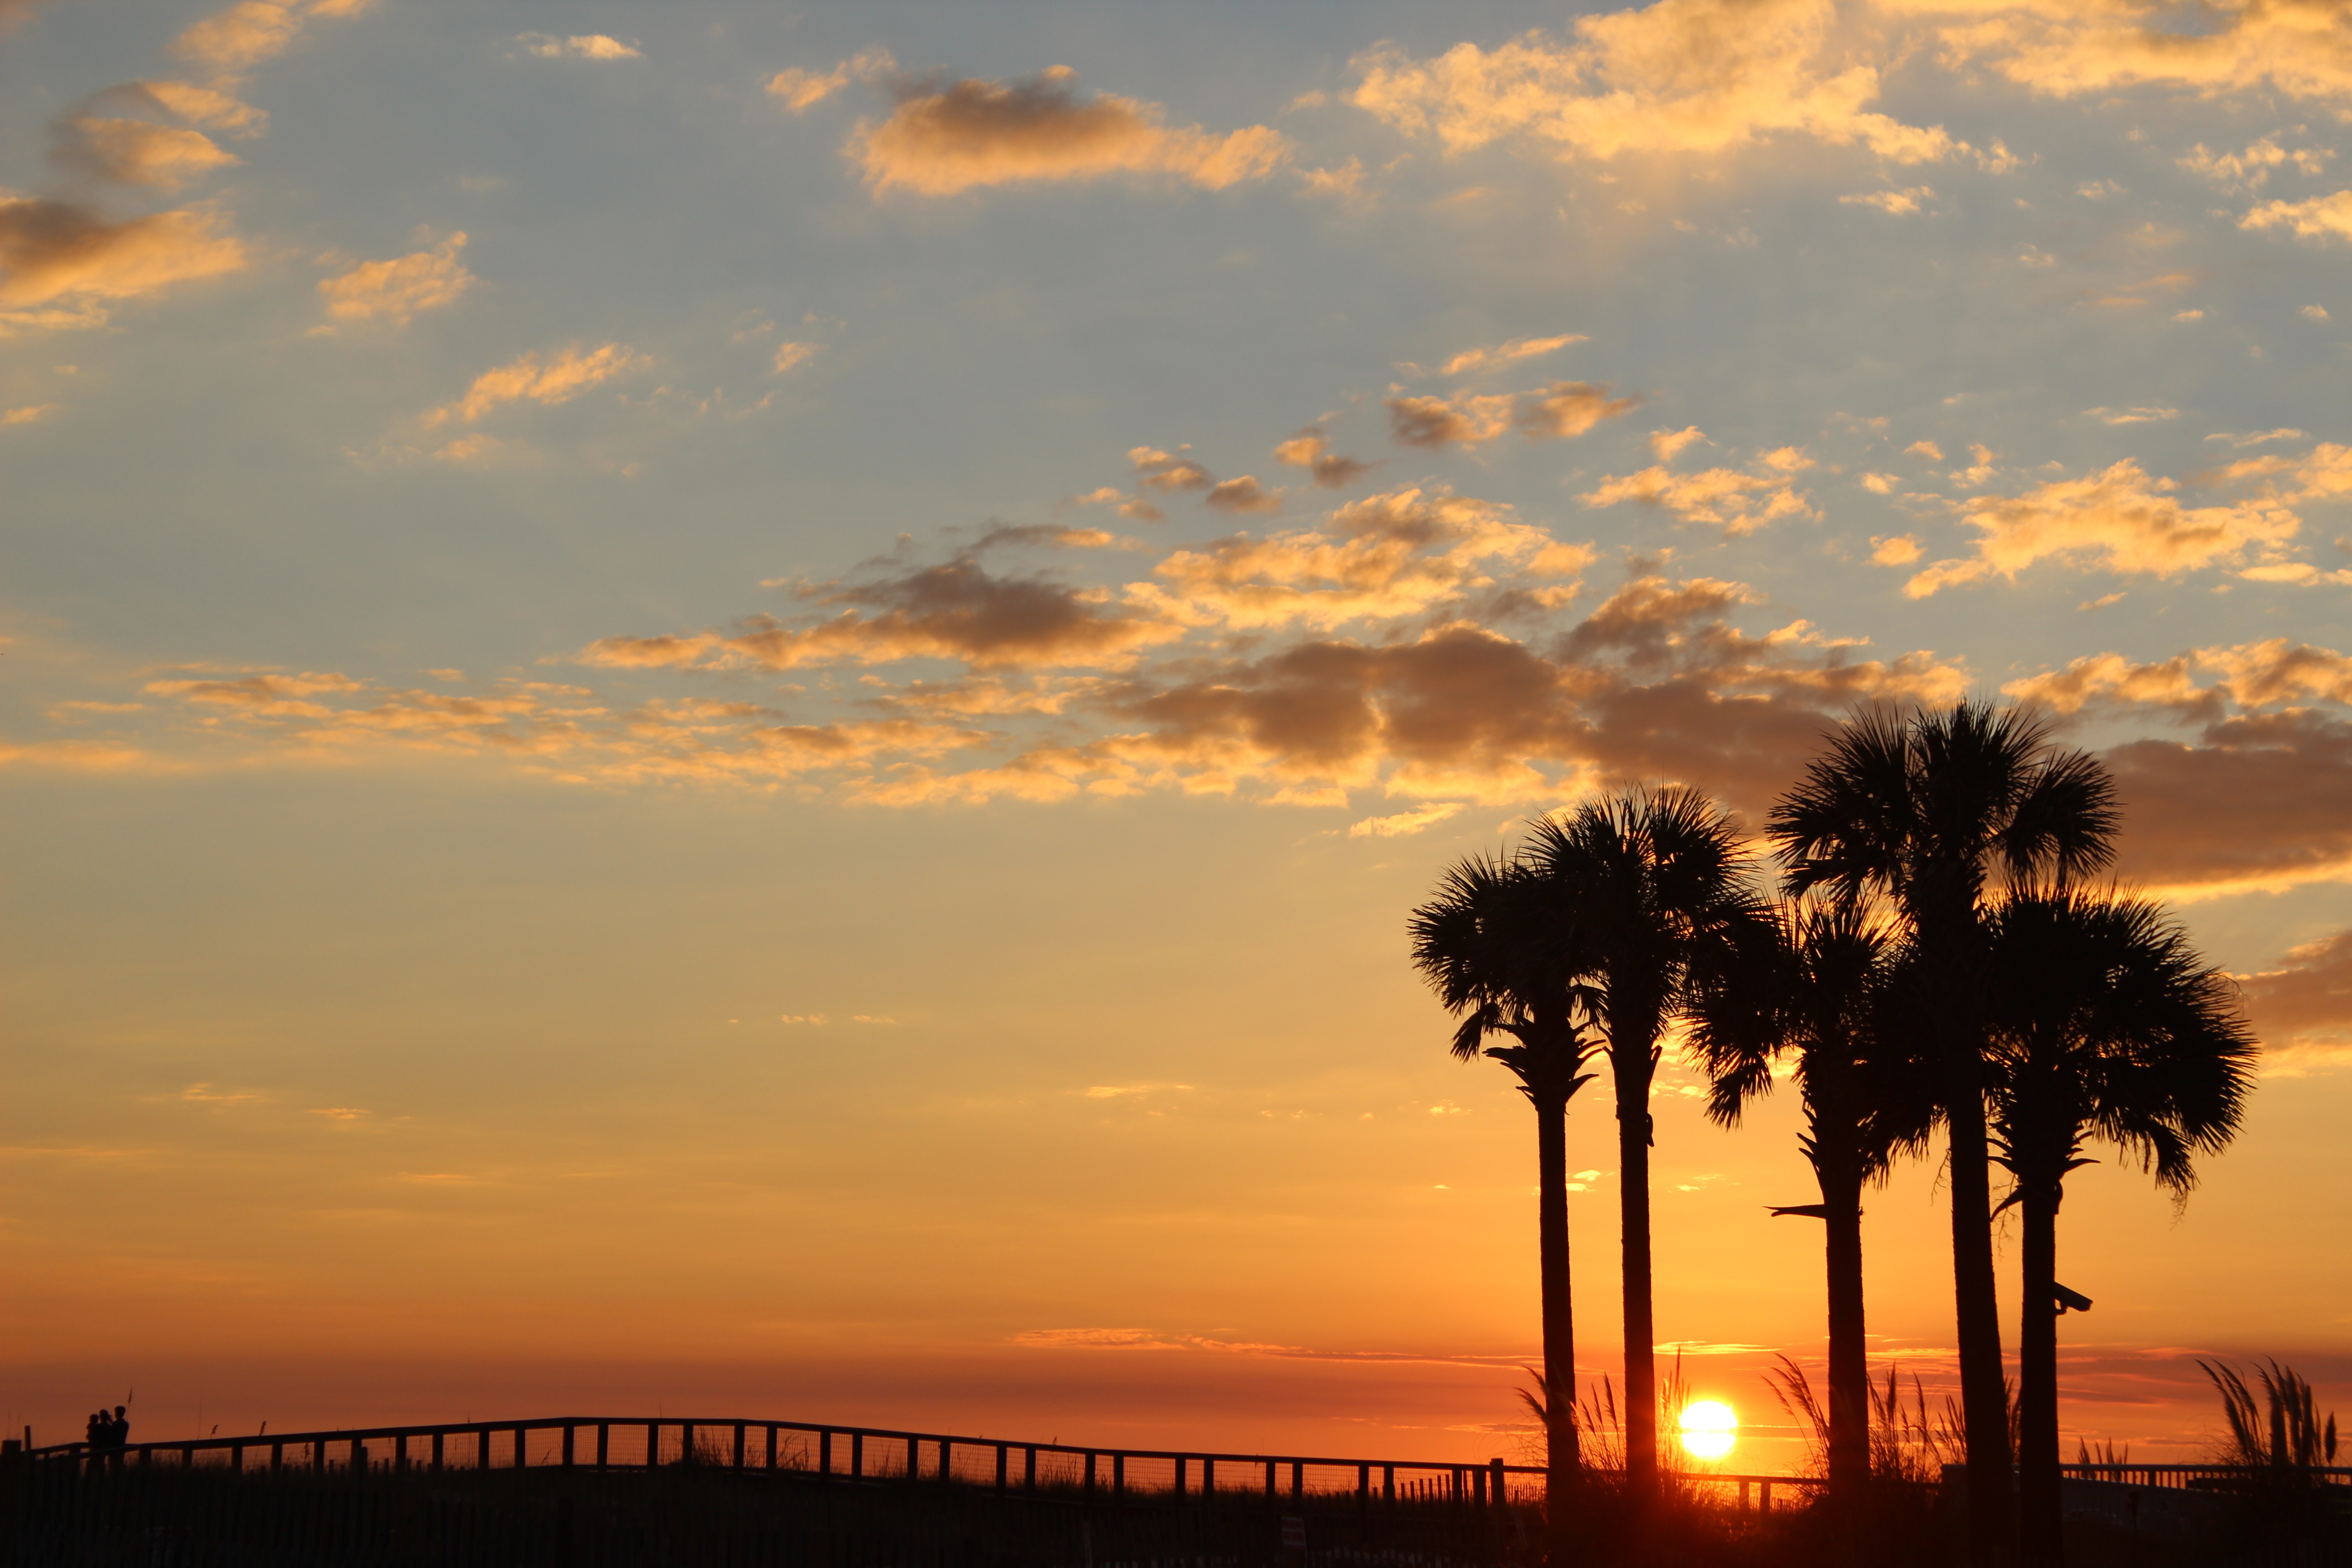
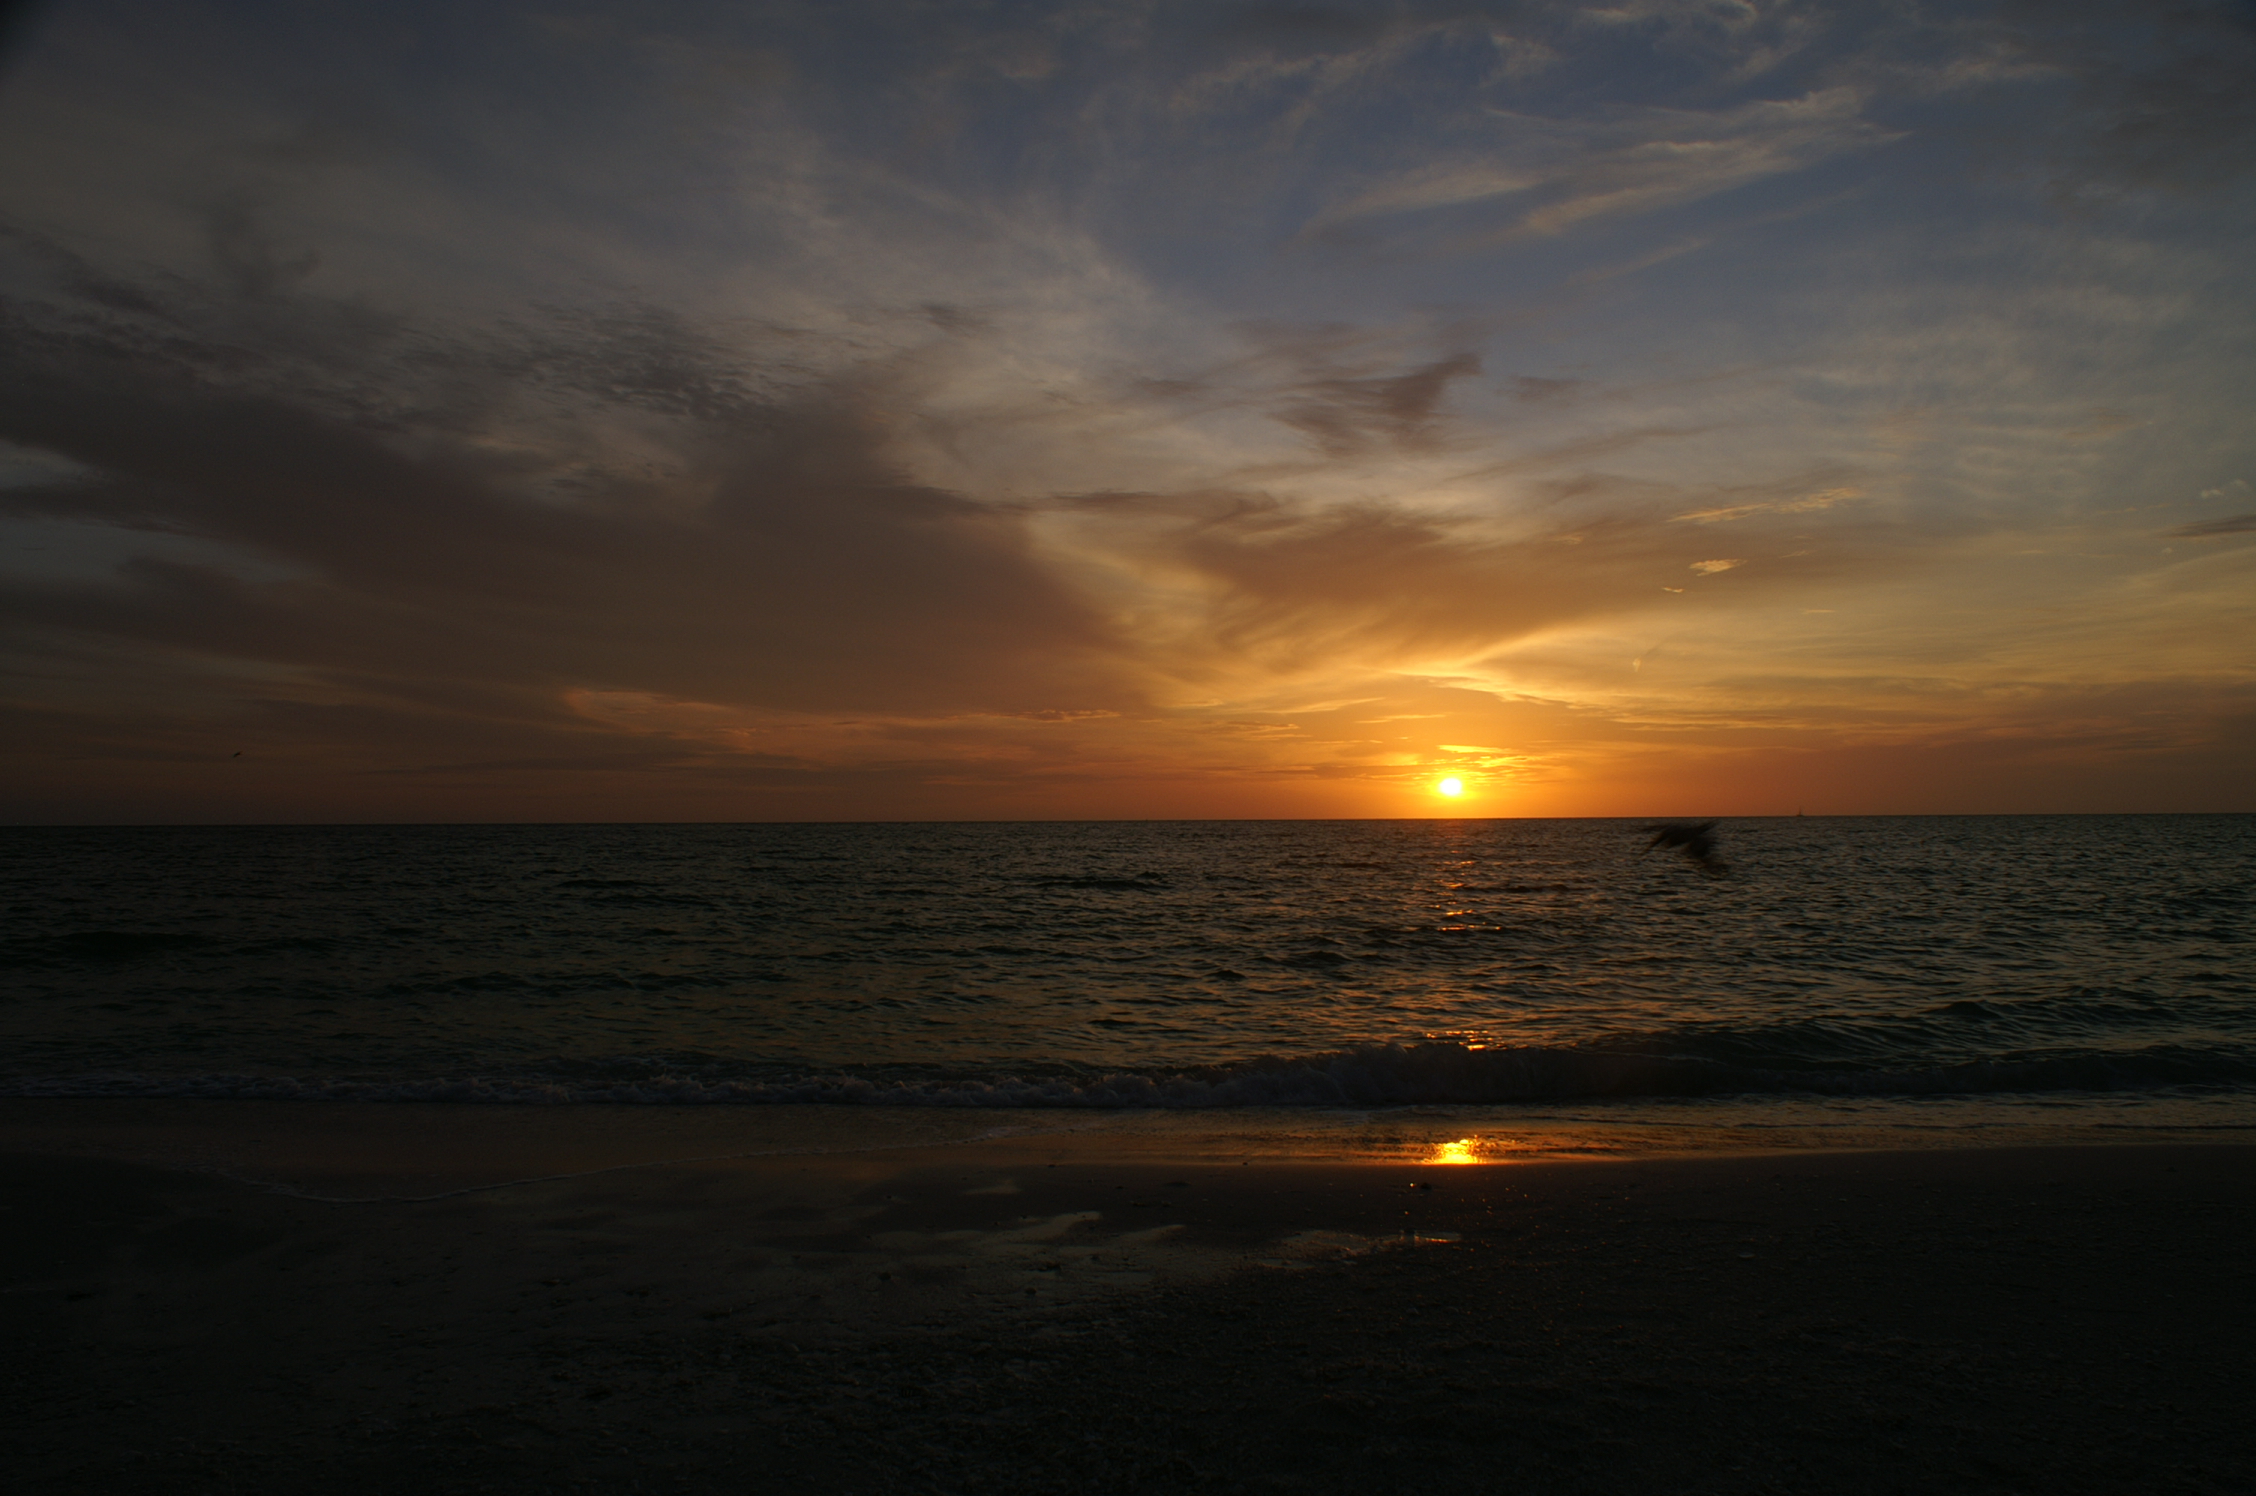
In real estate, "location, location, location" really helps in pricing and selling homes, it also applies to time-lapses, location is key.
For maximum "wow factor," an interesting locale or occurrence is a great first step.
Clouds, shadows, stars, running water, tides, sunsets and moon rises are great subjects.
An exotic or uncommon vantage point such as a mountaintop, rooftop or high floor balcony, cliff, beach or tropical scene work well.
The Setup
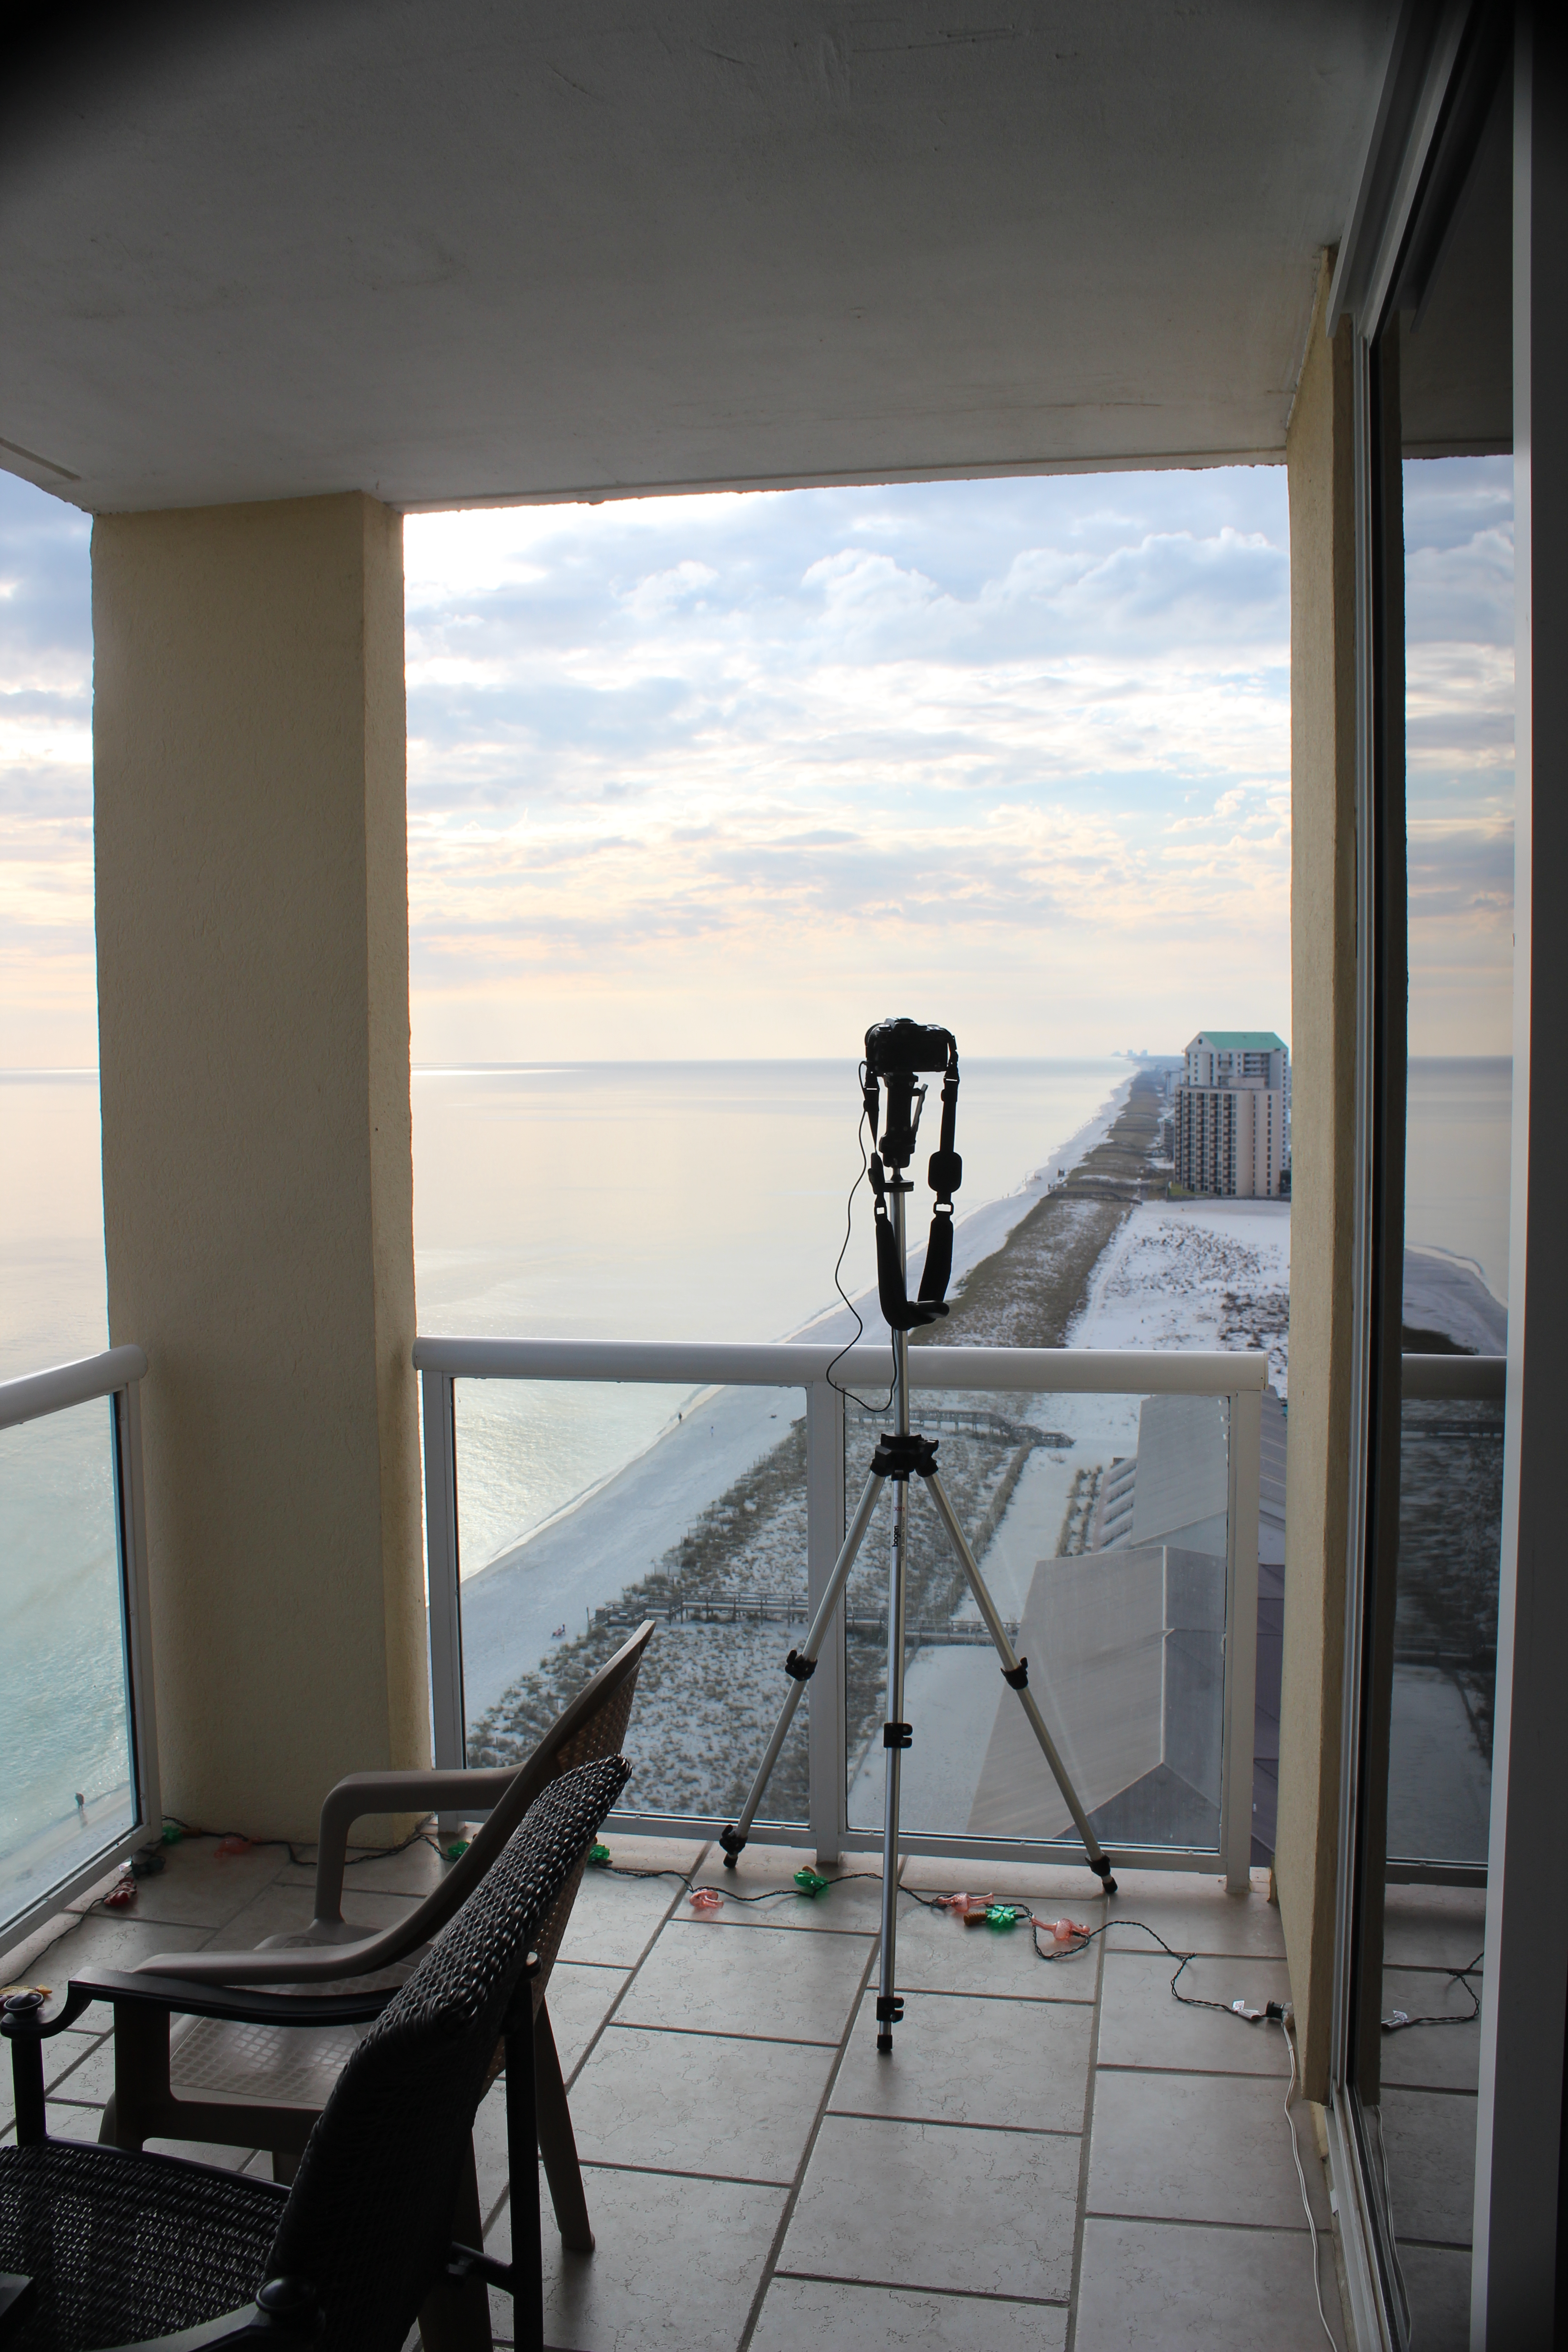
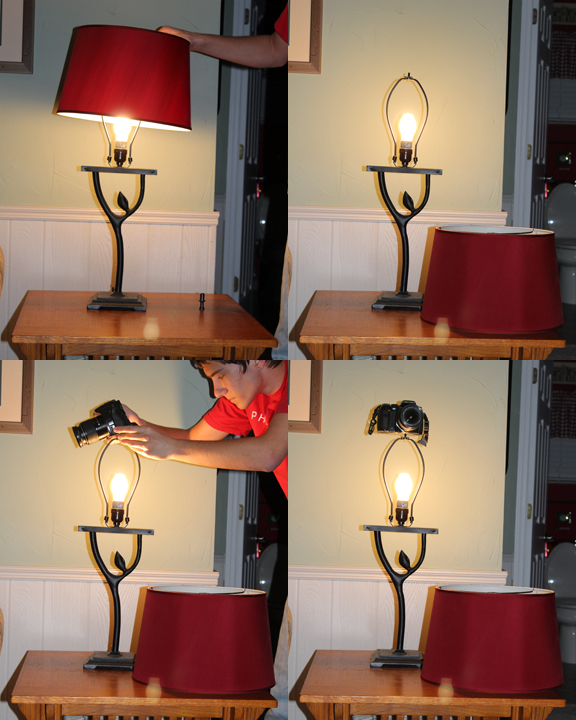
So, you've found your spot.
Stake out a nice, clear and safe place for your camera and tripod.
Attach your camera to the tripod.
You may want to get a lawn chair to sit in. A time-lapse requires patience, so you may as well relax and enjoy the scenery. This is especially so if you don't have an Intervalometer because you will have to press the shutter manually.
My first time-lapse was very enjoyable even though I didn't have an Intervalometer. I sat on the beach for several hours enjoying the sunset and sound of the surf. I didn't really mind pressing the shutter every 20 seconds. Here is the result:
Camera Settings
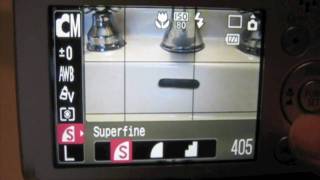
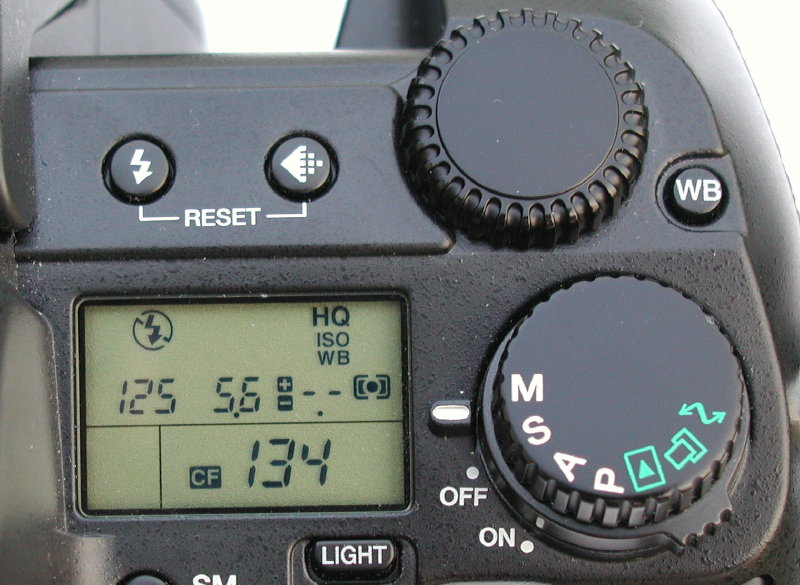
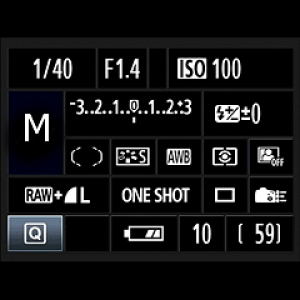
I'll start off by saying this: No matter what camera you use, you can set it to full automatic settings with no flash. If you don't have or want to use manual, you can skip the rest of this step. This is the easiest way, but if you have manual control, you can make your time-lapse more dynamic.
One thing that you will definitely want to do is to reduce the photo quality instead of using the highest resolution. If you don't do this, your memory card will fill up quickly and your computer will take longer to process large images.
For a point and shoot, your best option is to take advantage of the "scene" options that are almost always built in. Pick one that best describes your time-lapse subject.
Here is what you can do with manual controls on your camera if you have them and want to use them:
Make sure that you use manual focus, otherwise, your camera will try to focus before every shot and most likely miss shots because the camera doesn't know what to focus on.
For clouds, sunset, and sunrise, you will want to:
Set your aperture to f/11. Use the lowest ISO possible (usually 100). Change the shutter speed and review pictures until you you are satisfied with the brightness of the picture.
Take pictures with an interval between 5 seconds and a minute (the interval determines both movie length and how smooth your final product will look.)
For stars, you will want to:
Set your ISO to around 400. Set your aperture to a low f-stop (should be under f/7). Use long shutter speed that is at least 15 seconds. Take pictures at an interval of your shutter speed + 5 seconds.
If you have an Intervalometer, set it up with your chosen interval.
From Pictures to Video (Several Ways)

First, transfer your pictures from your camera or memory card to your computer.
I'll show you two ways to create a video, you can use a free program called VideoMach to make a video file, or you can make a GIF file with Photoshop or GIMP, another free program.
VideoMach allows for a longer and higher quality time-lapse which will have a larger file size than a GIF.
To get VideoMach, go to http://download.cnet.com/windows/
Look for the "Find software" box on the left side of the page.
Type in VideoMach and press enter.
Scroll down to the VideoMach icon and click the green download now button.
Download to a location of your choice.
Now, install VideoMach.
You can also make a GIF. However, A GIF has the drawbacks of limits for number of pictures and limits on resolution.
To make a GIF, you can use either GIMP or you can use Photoshop.
To get GIMP, use the same steps from above, GIMP is also available on http://download.cnet.com/windows/
Photoshop is a program that must be purchased from Adobe.
Using VideoMach

Open it VideoMach
Select the open media files button under the files tab.
Locate and select all of your images and click okay.
Now you're ready to export.
Under the file tab, click the Save as button.
In the box that pops up, click the video tab.
Now click final resize.
Deselect the "use fixed aspect ratio of" by clicking on the checkmark.
My recommendation is to use either HD or standard definition sizing.
For HD video, you will want to use 1280x720
For standard definition use, 720x480.
Click the OK button.
A window will pop up.
Click the file tab, then name your video.
Click the start button to save your final product.
A window warning about file size and run speed may pop up. This is normal, click yes.
When it is done saving, a box will pop up. If you click the green play button, you will view your final video.
Bam! you've got your very own time-lapse!
Making a GIF
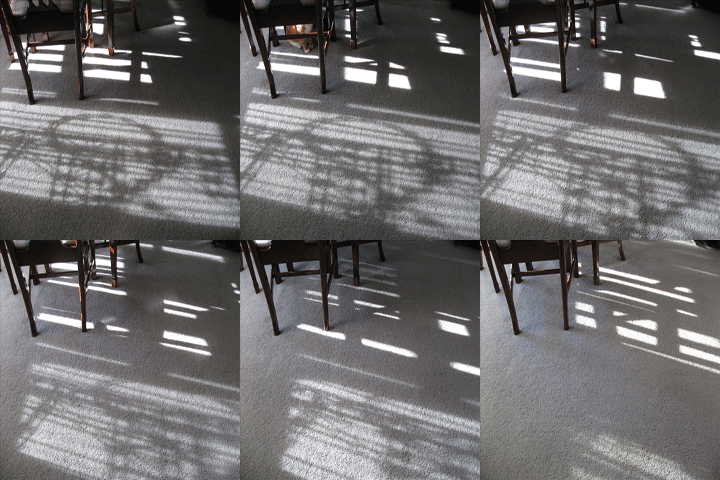
Here are two Youtube videos that will teach you how to make a GIF.
This one by dmanbiker shows how to make a GIF using GIMP.
SamoaJoe420 shows how to make a GIF with Photoshop.
After you finish this,
Again, Bam! you've got your very own GIF time-lapse!
This one by dmanbiker shows how to make a GIF using GIMP.
SamoaJoe420 shows how to make a GIF with Photoshop.
After you finish this,
Again, Bam! you've got your very own GIF time-lapse!
Protips
Here are a few tips and tricks that I have learned through trial and error.
- For a smooth time-lapse, you will want many pictures so you can a high frame rate video that isn't too short.
- If you have a spare battery, always have it charged and ready to go.
- Be sure to start with a fresh, empty memory card.
- Make sure your camera is focused. This one is extremely important when you are dealing with stars in the night sky.
- Be sure to turn off auto image playback/ review, this wastes batteries fast.
- Don't use a flash.
- Remember to properly protect your camera from the elements if you leave it somewhere (I've left my setup in a deer stand, on a balcony, and in my backyard.)
- For a more natural look, try to avoid obstructions such as telephone wires/poles, mesh screens and windows for an outdoor time-lapse.
- An AC adapter would be really helpful because you won't have to worry about batteries running low.
- Check on your camera periodically if you are using an Intervalometer.