Leak Detector With Text Message Notification
by tgeiser in Circuits > Raspberry Pi
855 Views, 3 Favorites, 0 Comments
Leak Detector With Text Message Notification
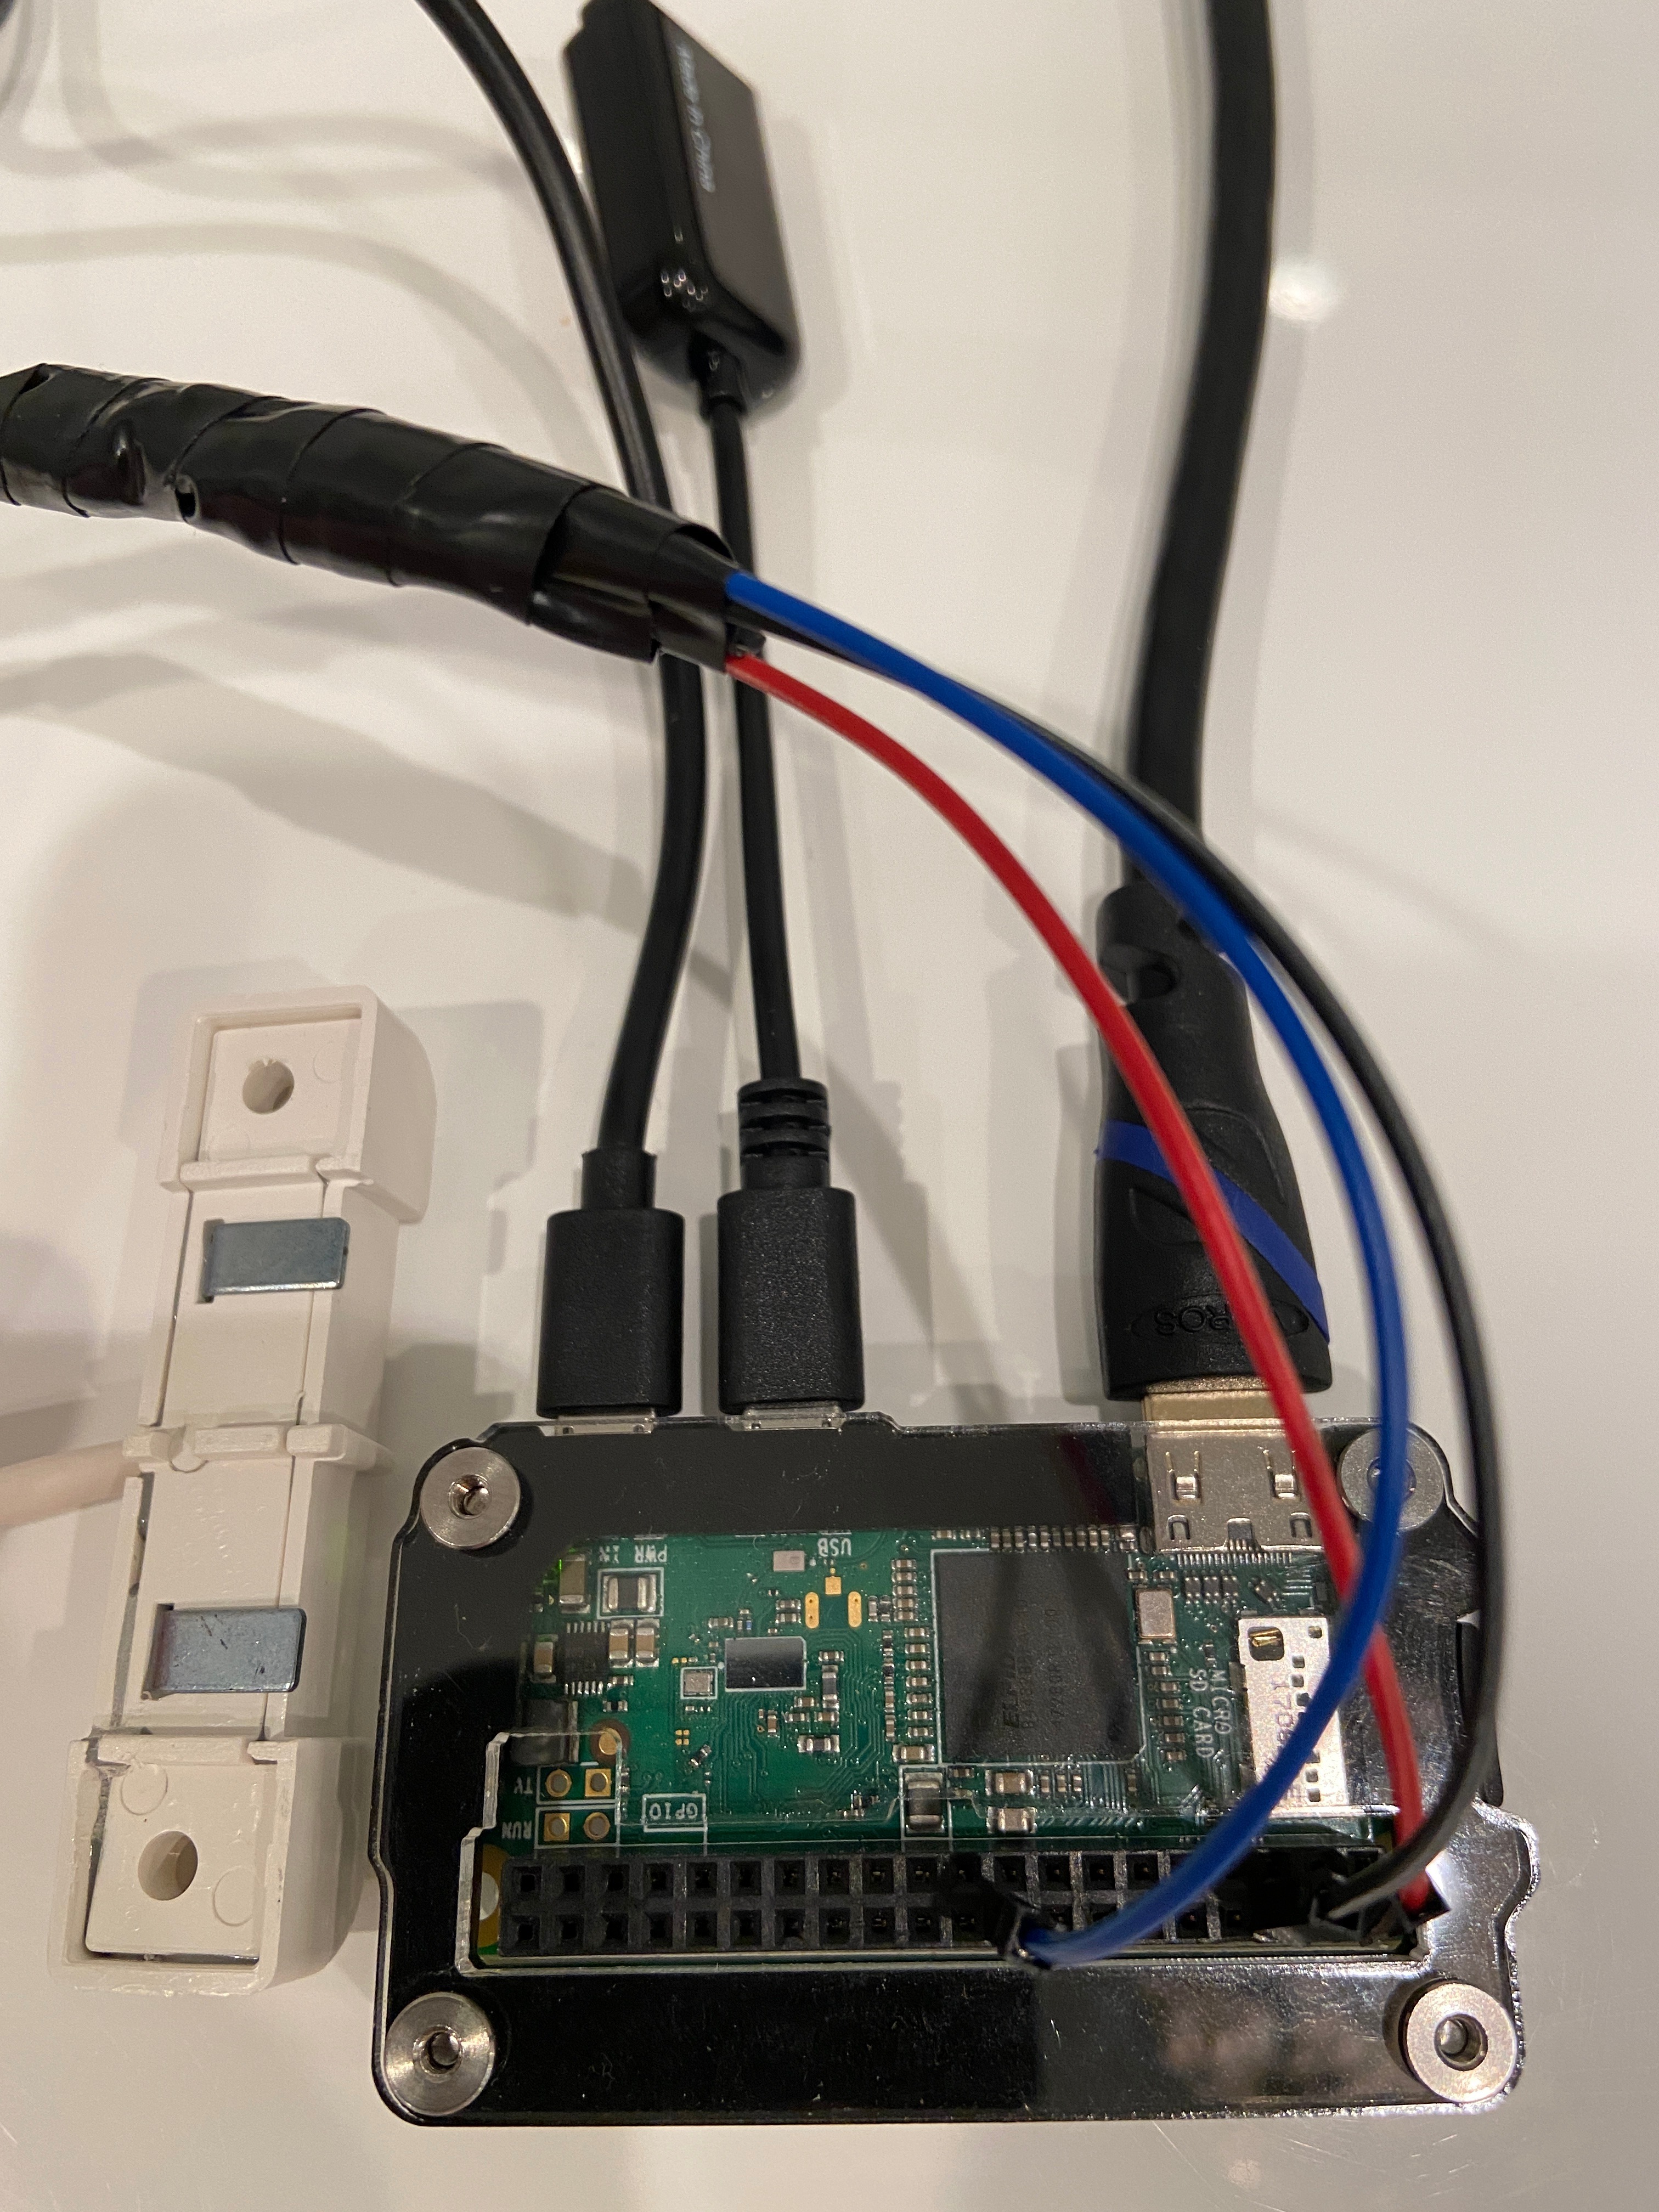
This guide demonstrates how to build a leak detector that sends text message notifications. It sends alerts if water from a burst pipe or backed up drain is sensed. The guide is intended for anyone interested in Python 3, Raspberry Pi, Secure Shell (SSH), Shell, crontab, command line, linux, and open source related projects. The text notification service (Twilio) works in the United States. It may or may not work in other countries. Windows was used though Linux and Mac should work too.
Supplies
Raspberry Pi Zero W
Case: Zebra Zero for Raspberry Pi Zero
3 A Micro USB Power Supply
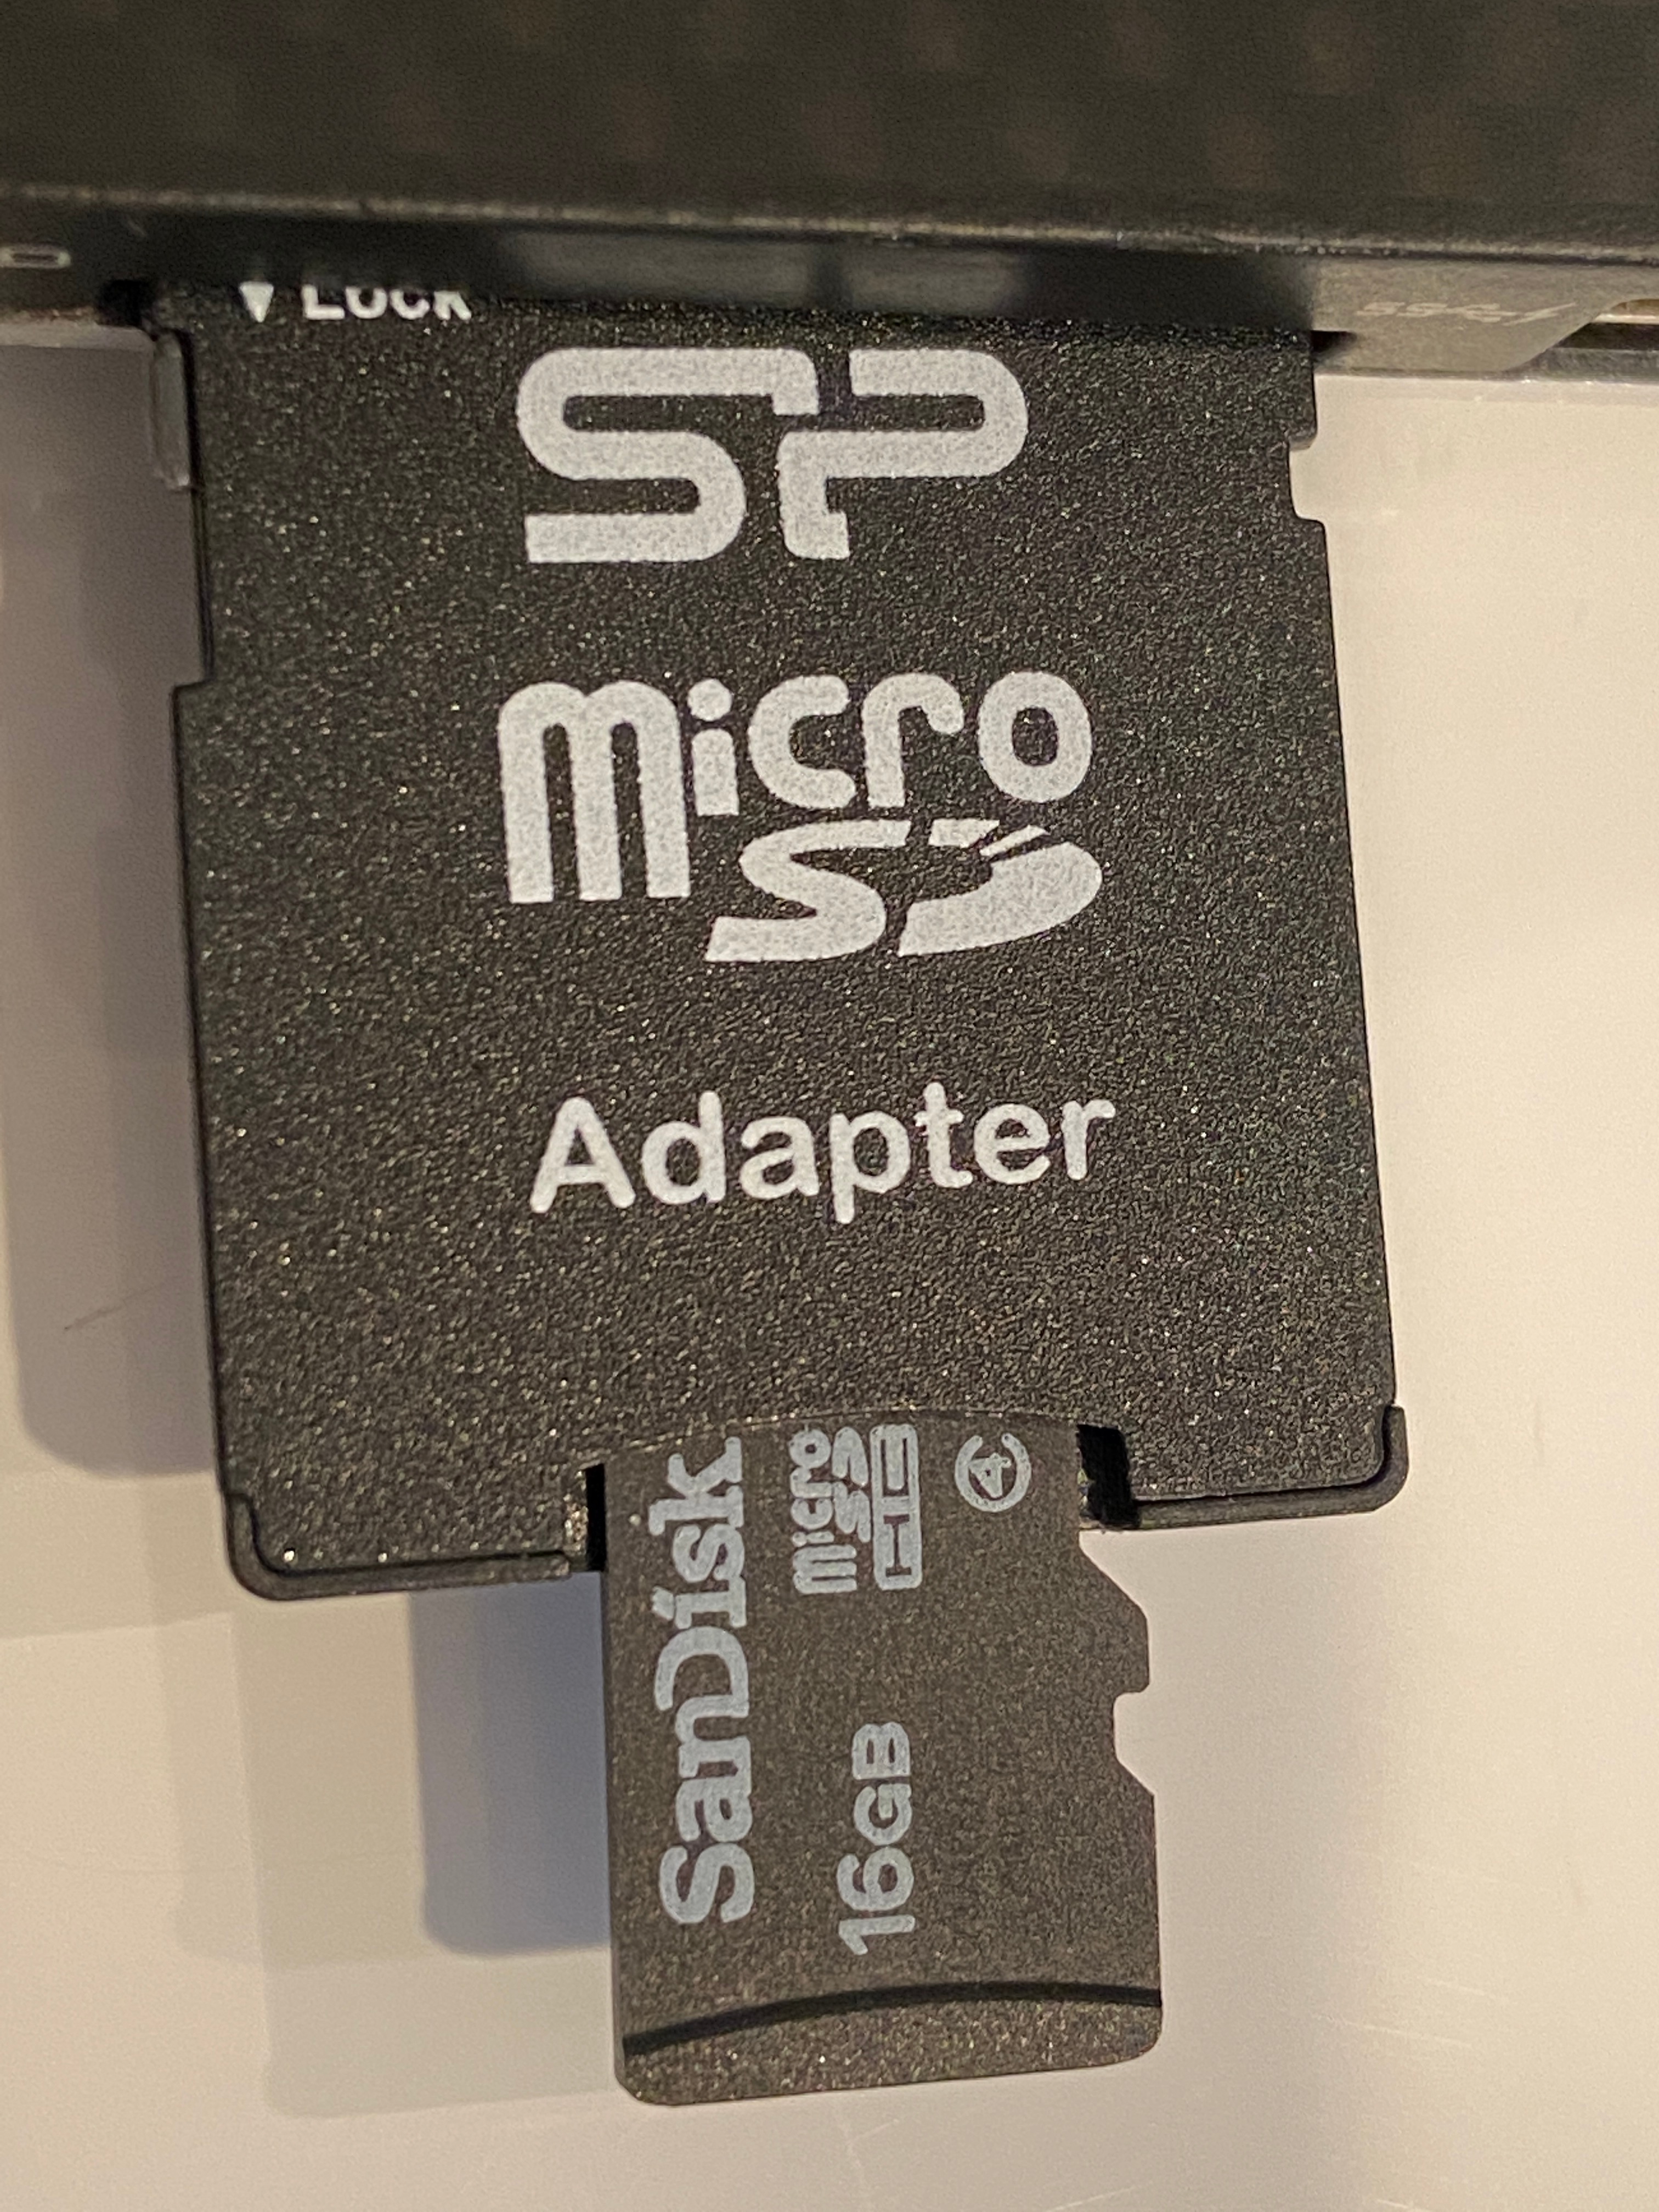
16 GB MicroSD Card with Adapter
Hammer Header Female - Solderless Raspberry Pi Connector
Water Leak/Flood Alarm Sensor w/Leads
Jumper Wires
3 Resistors (1.5 kOhm, 6.8 kOhm & 9.1 kOhm)
Mini HDMI to HDMI Cable
Male Micro USB to Female USB
USB Keyboard (most models will work, trackpad is not necessary)
Volt meter to check resistors and perform any troubleshooting
Monitor with HDMI input
Format SD Card
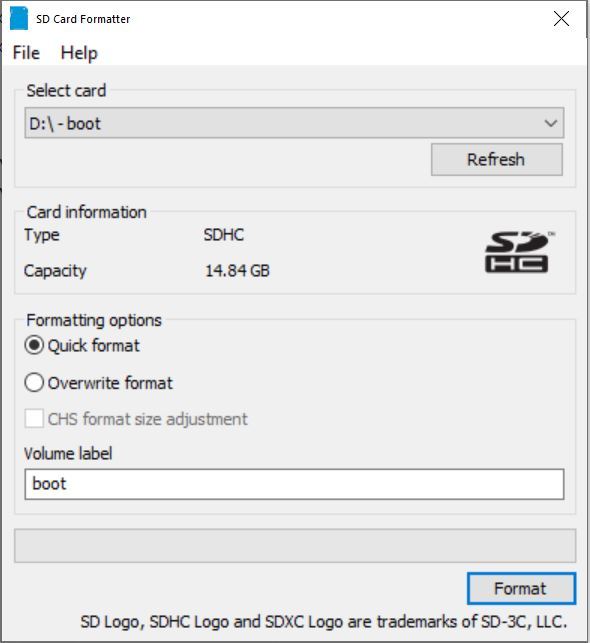
Install SD Memory Card Formatter
Insert MicroSD Card and adapter into computer
Confirm the correct card is selected (D: here)
Format --> Yes --> OK --> Close
Download Operating System
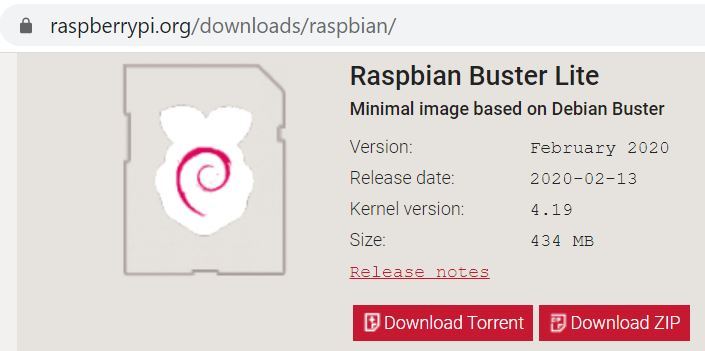
Go to Raspbian Downloads Page
Download Raspbian Buster Lite ZIP
Unzip file
Write Image File to MicroSD Card
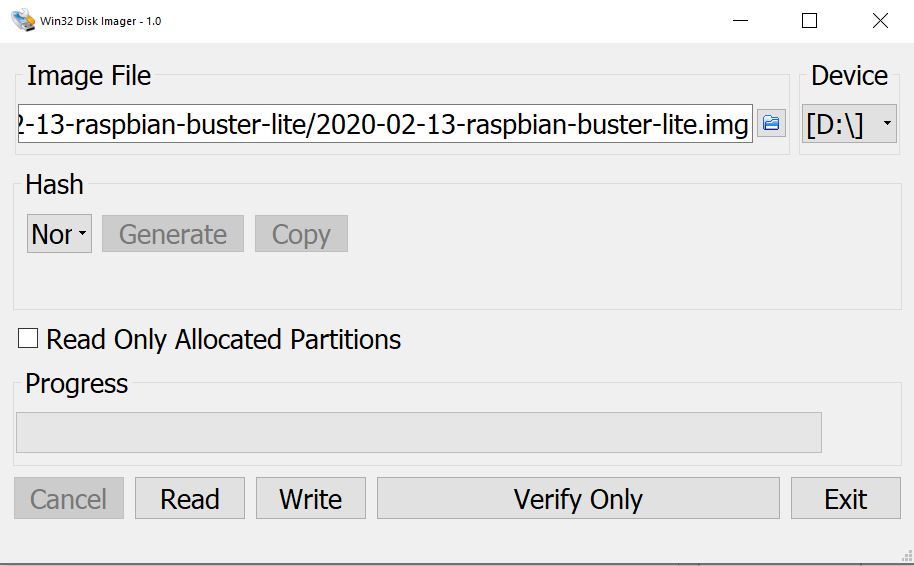
Download Win32 Disk Imager (download starts automatically)
Run the .exe to install
Click "I accept the agreement" --> Next --> Next --> Next --> Next --> Install --> uncheck View README.txt --> Finish --> Win32 Disk Imager should open
Click the blue icon and navigate to the new .img file
Confirm the correct Device (D: here)
Click Write --> Yes. This will take a few minutes
Safely remove the SD card
Remove micro SD card from SD card adapter
Insert micro SD card into the Raspberry Pi
Build Resistor Circuit, Connect Wires, and Power Up
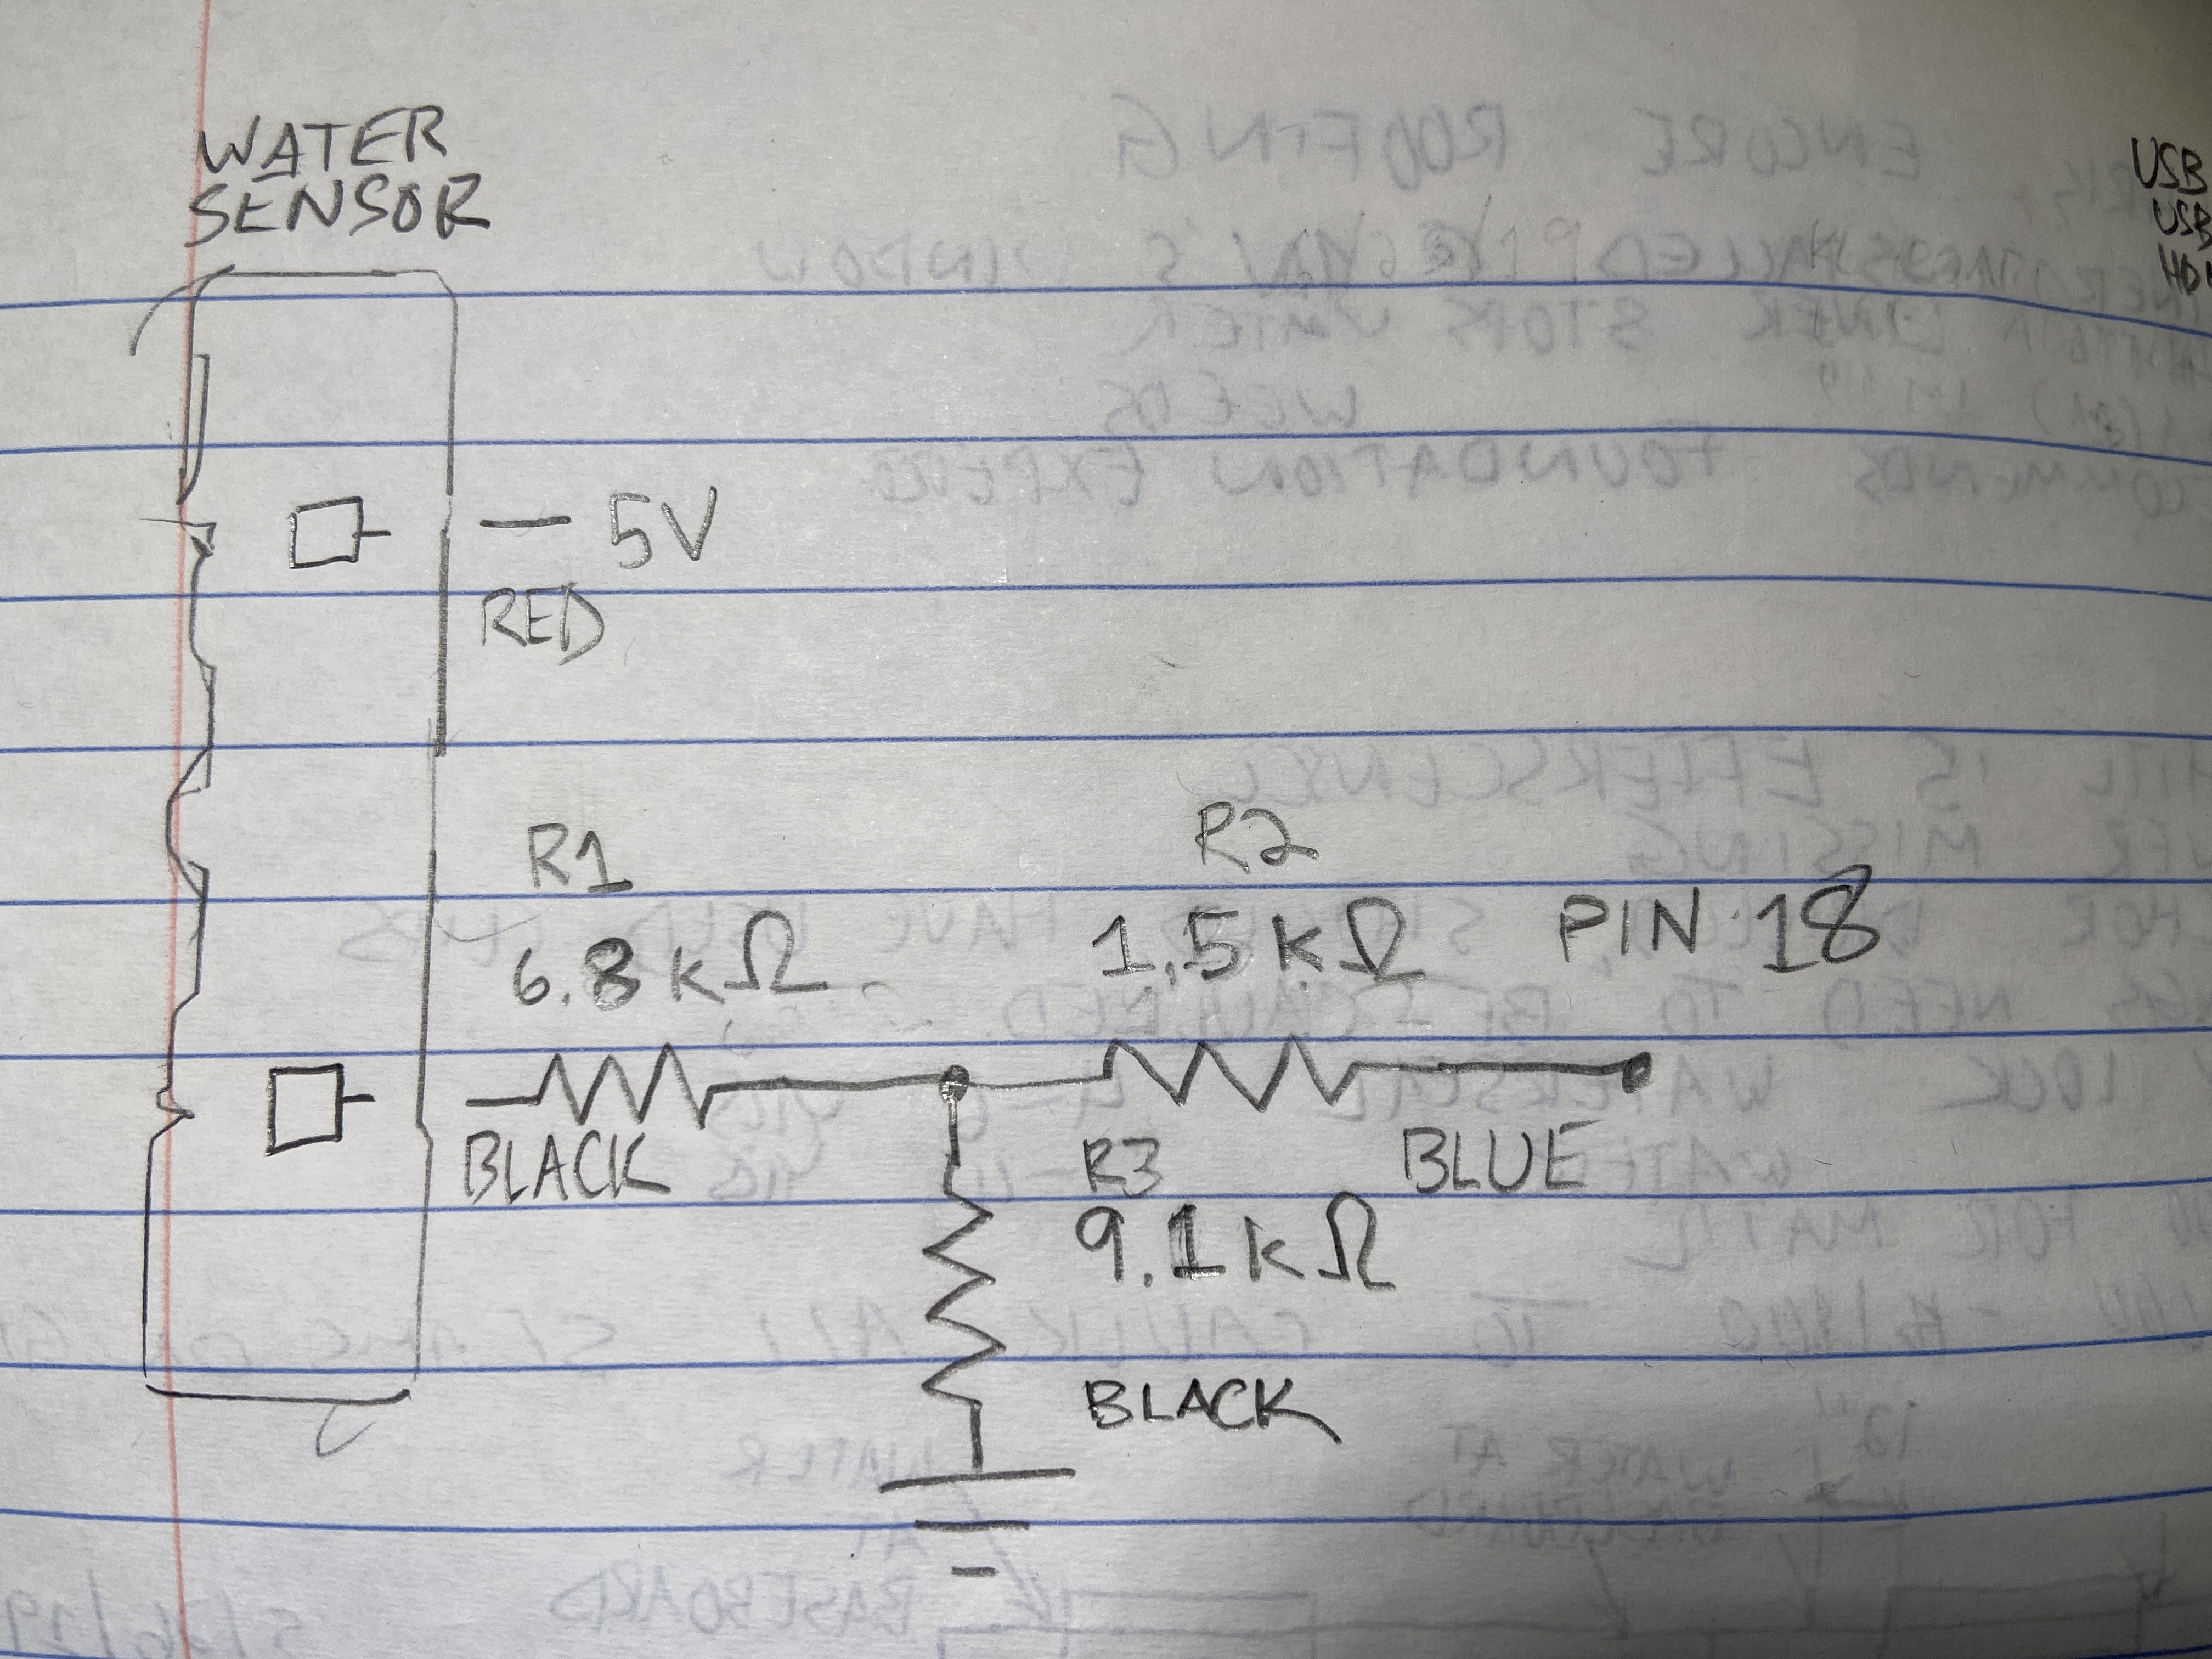
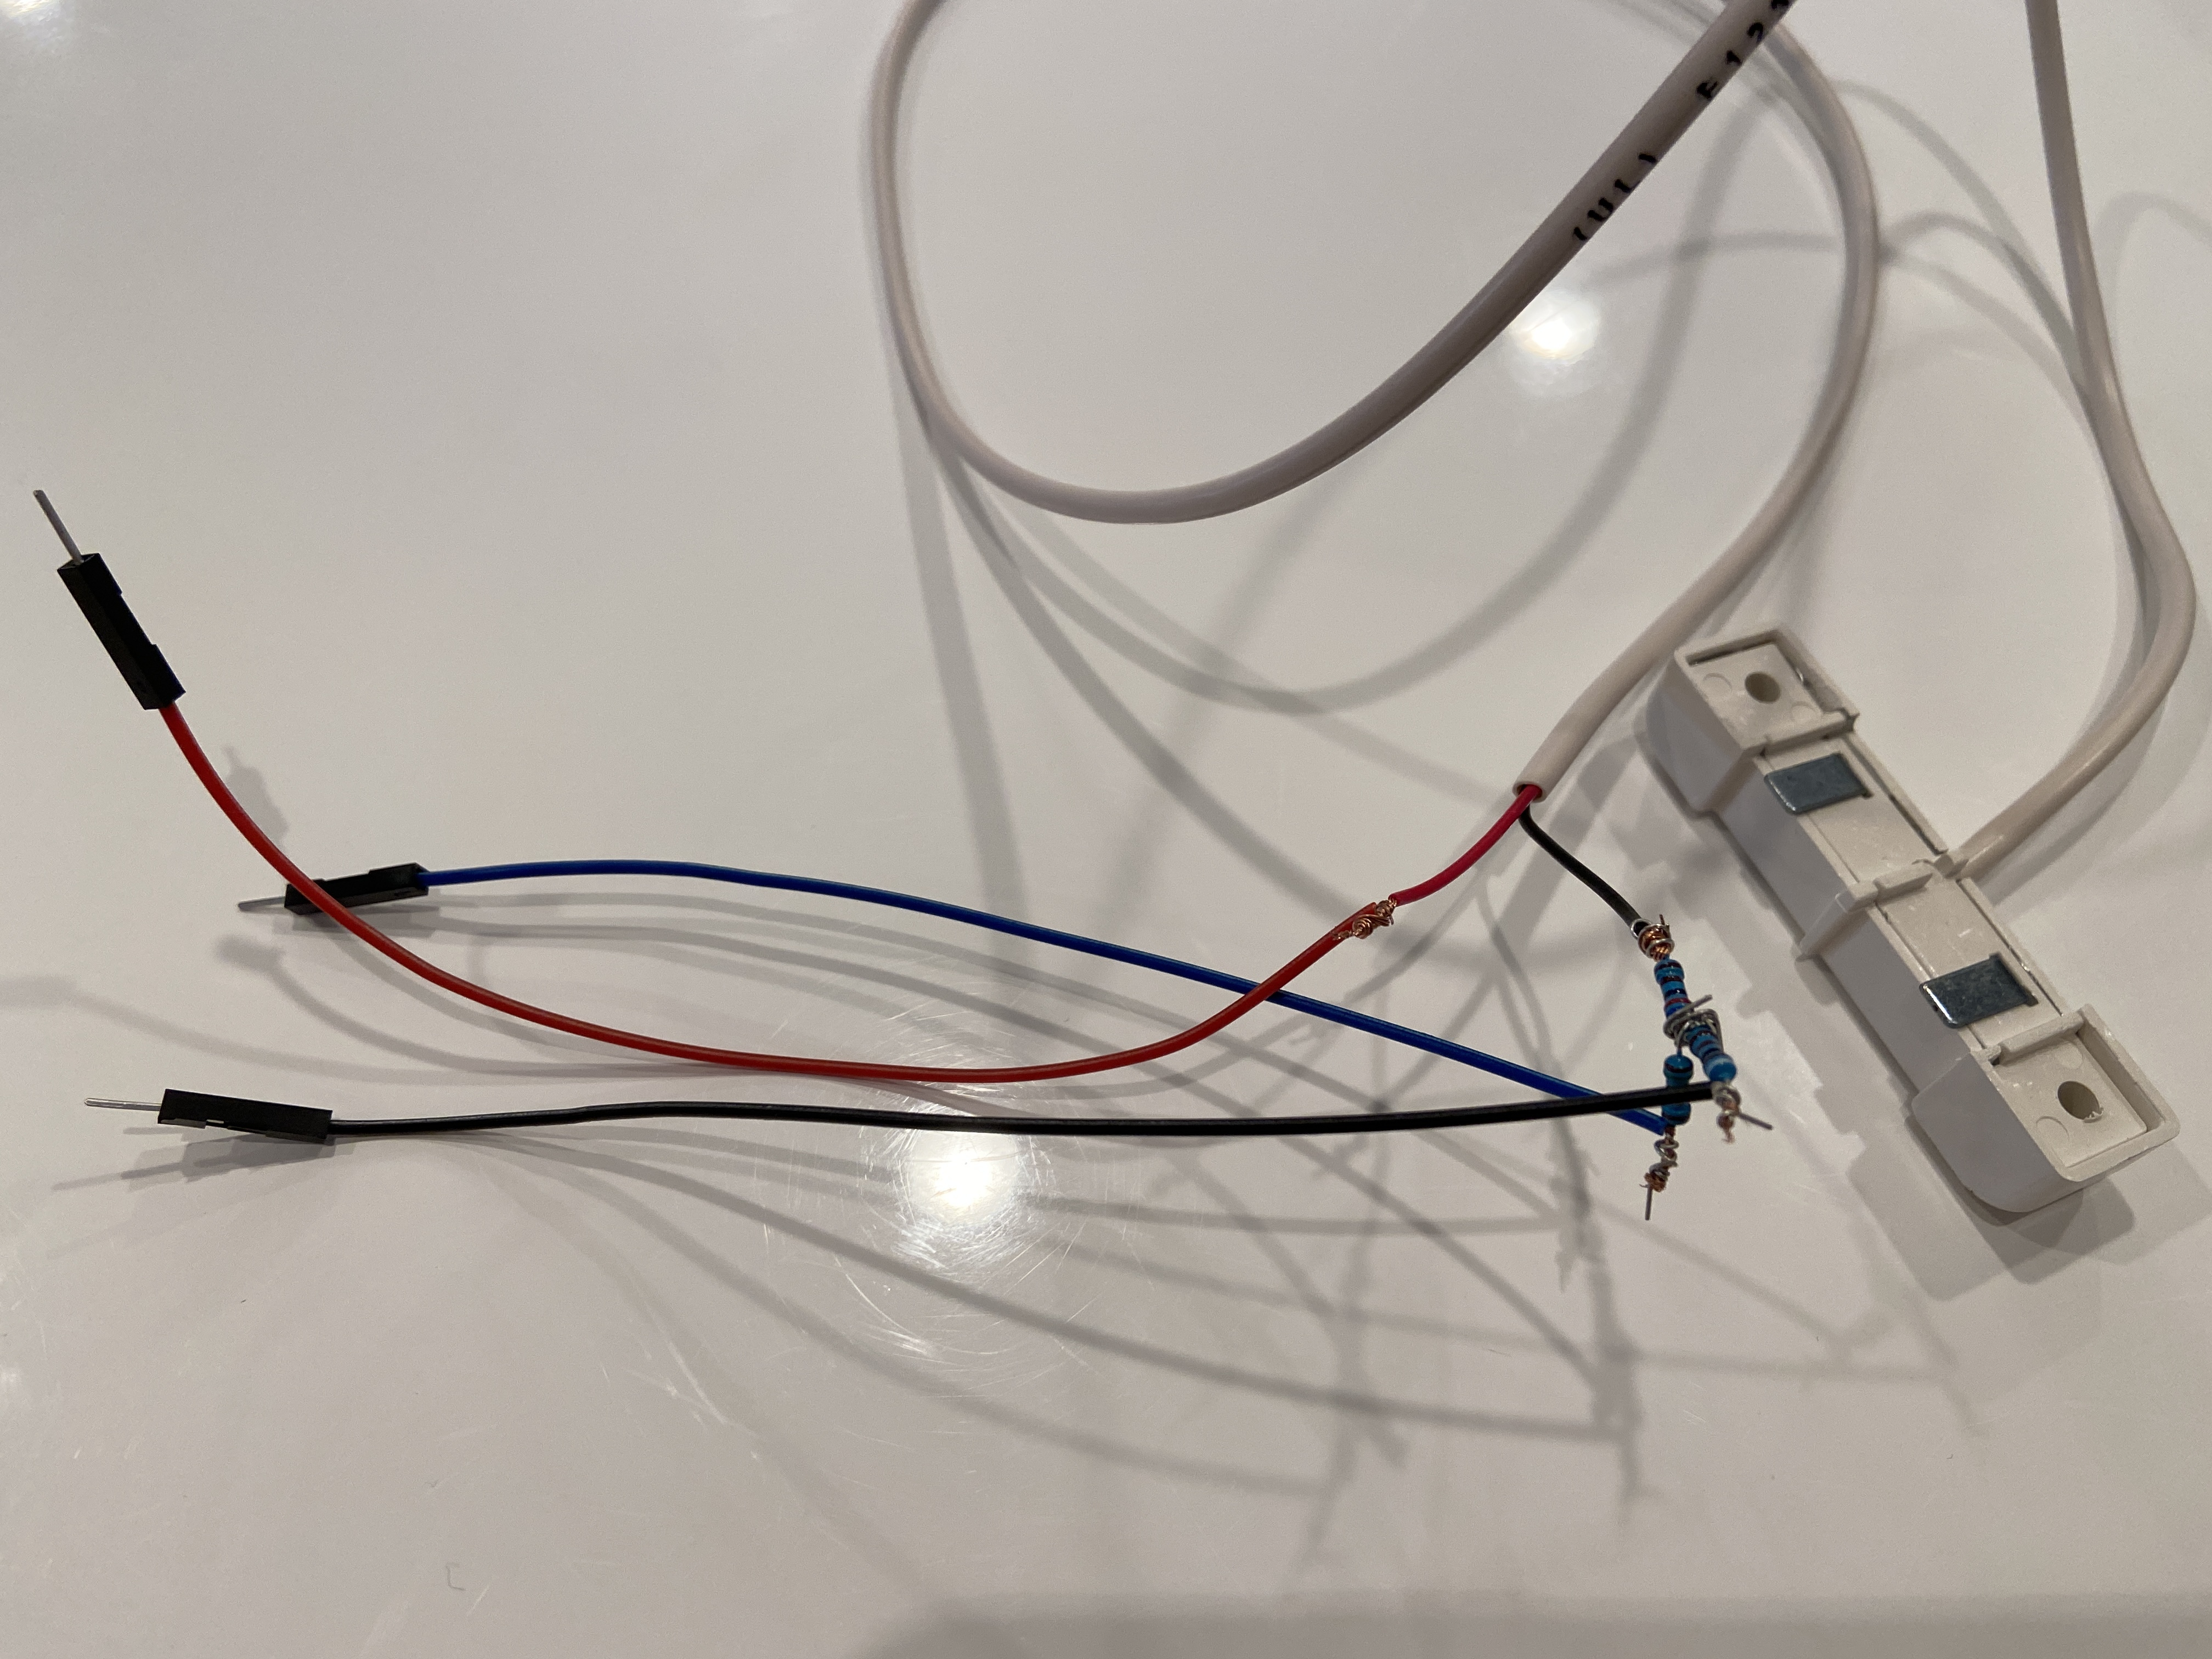
Build the circuitry per the diagram
Insulate the connections with heat shrink tubing and/or electrical tape
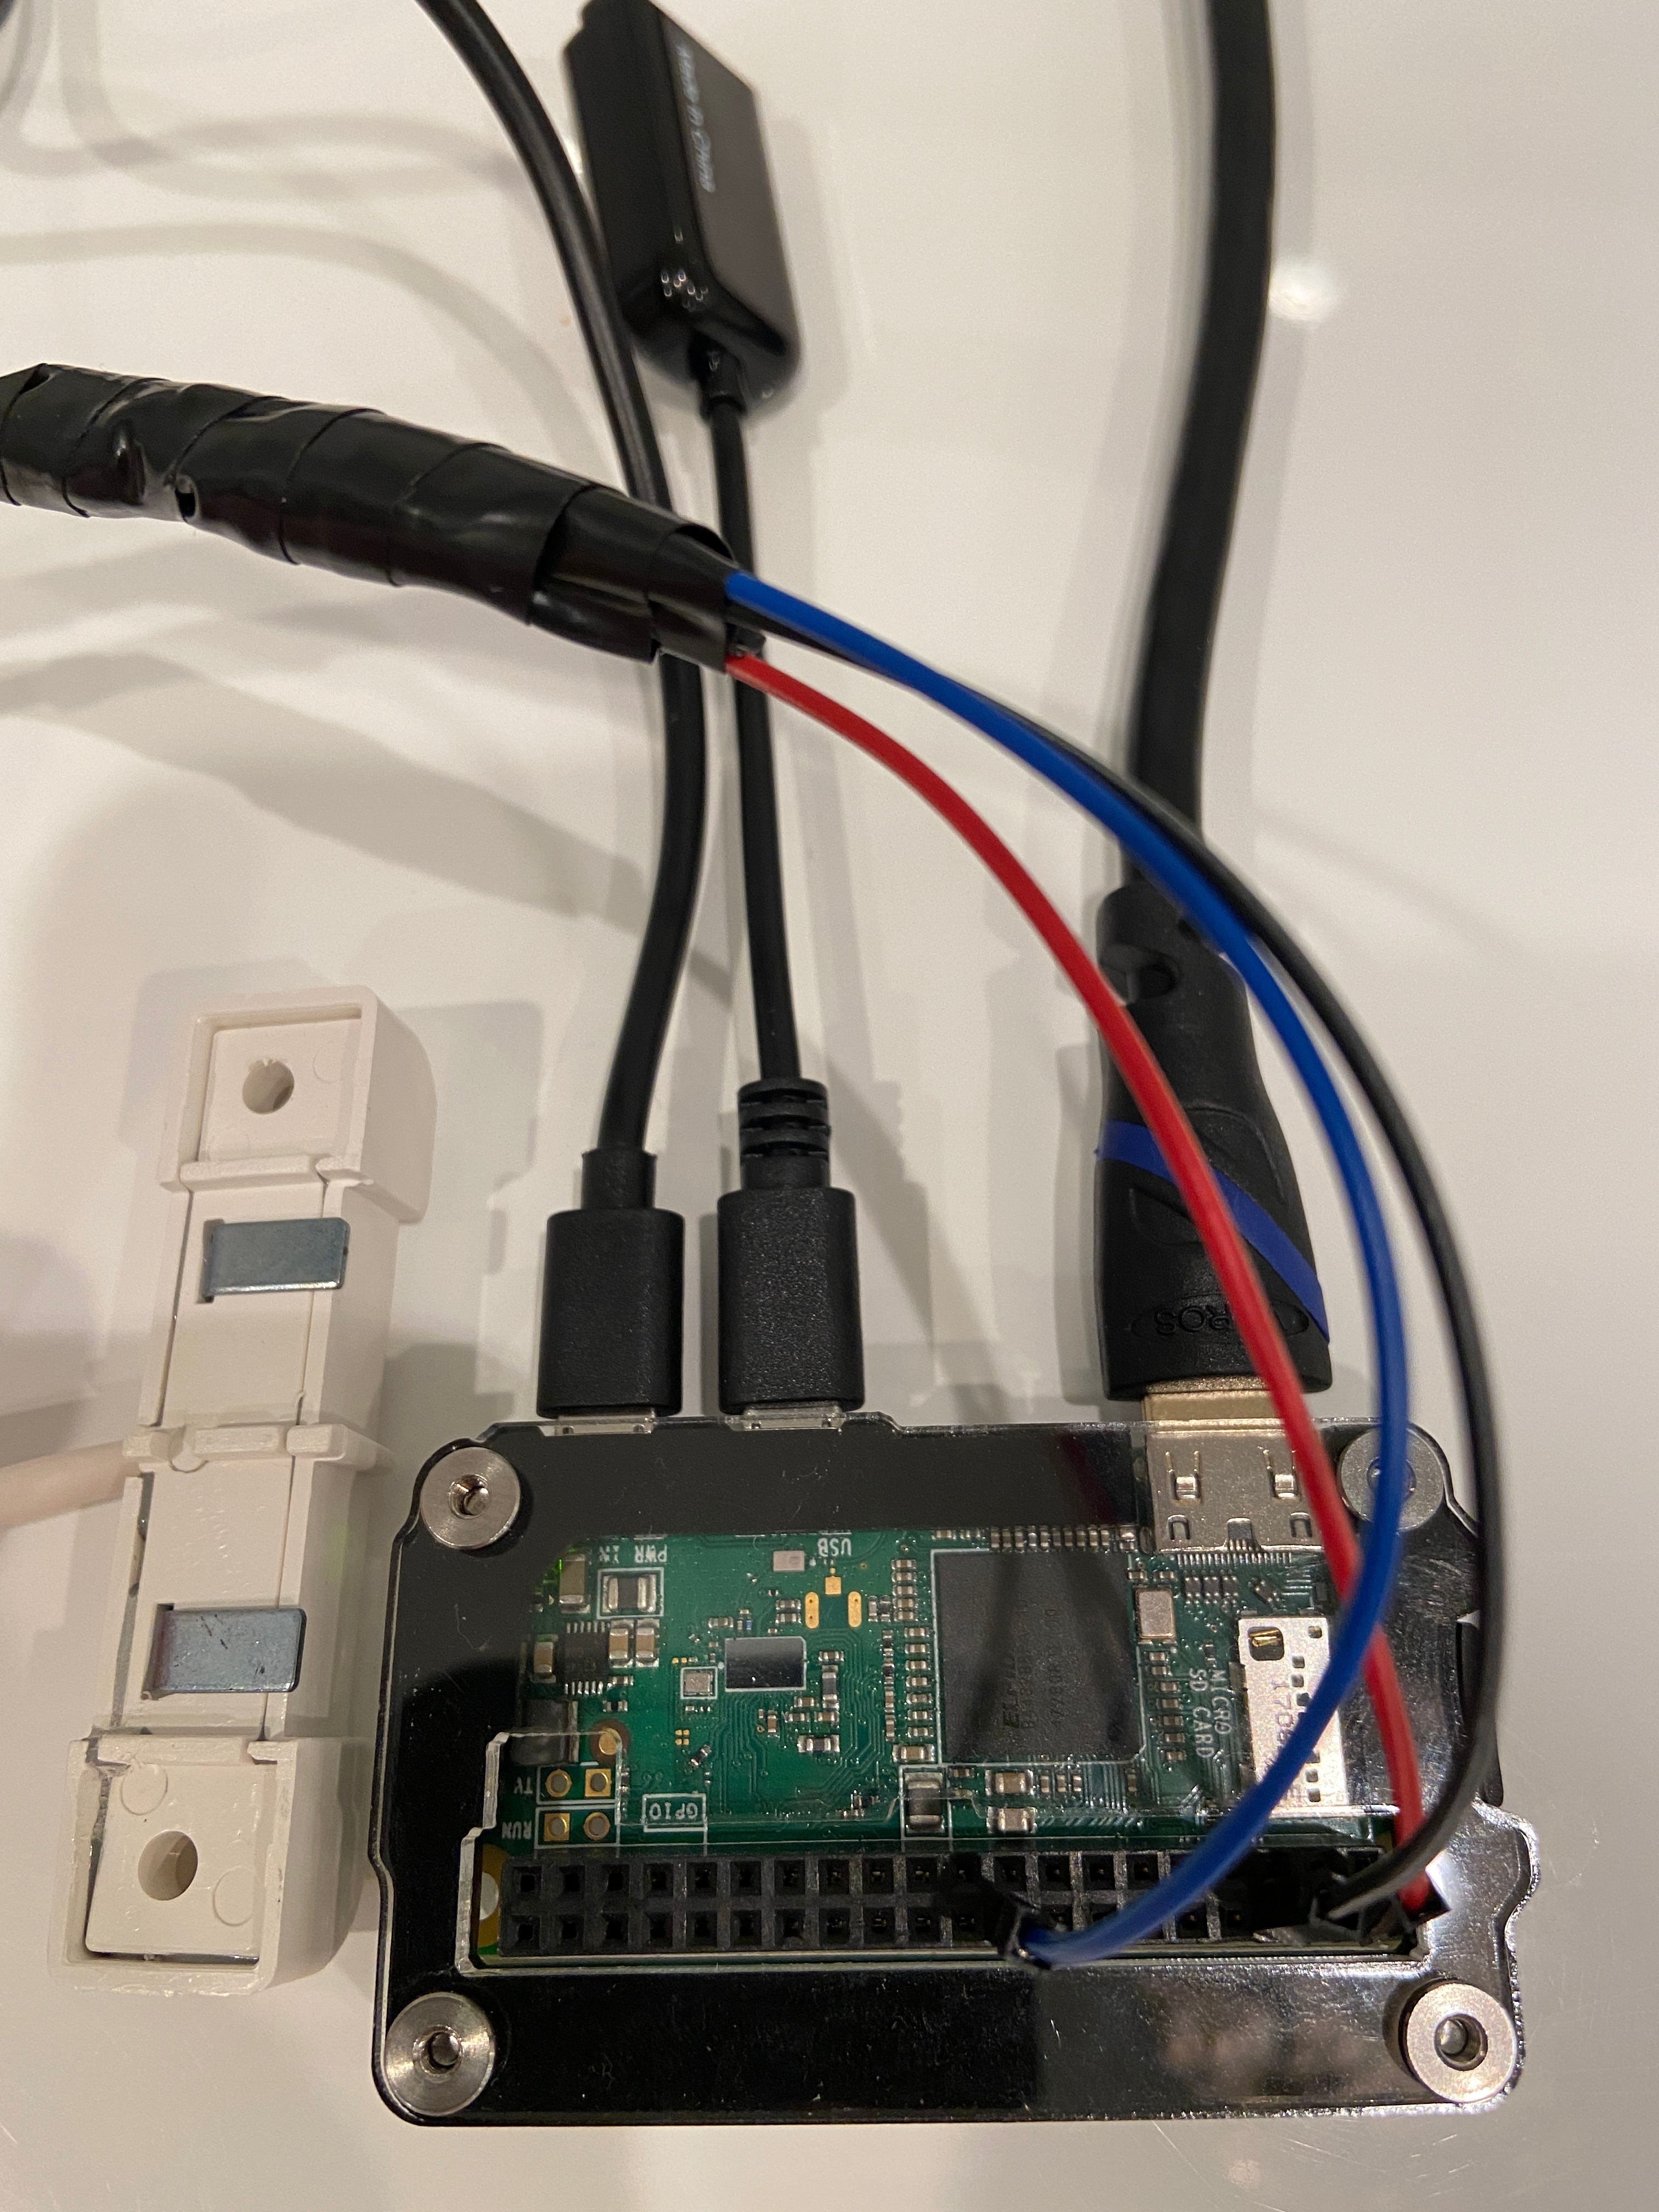
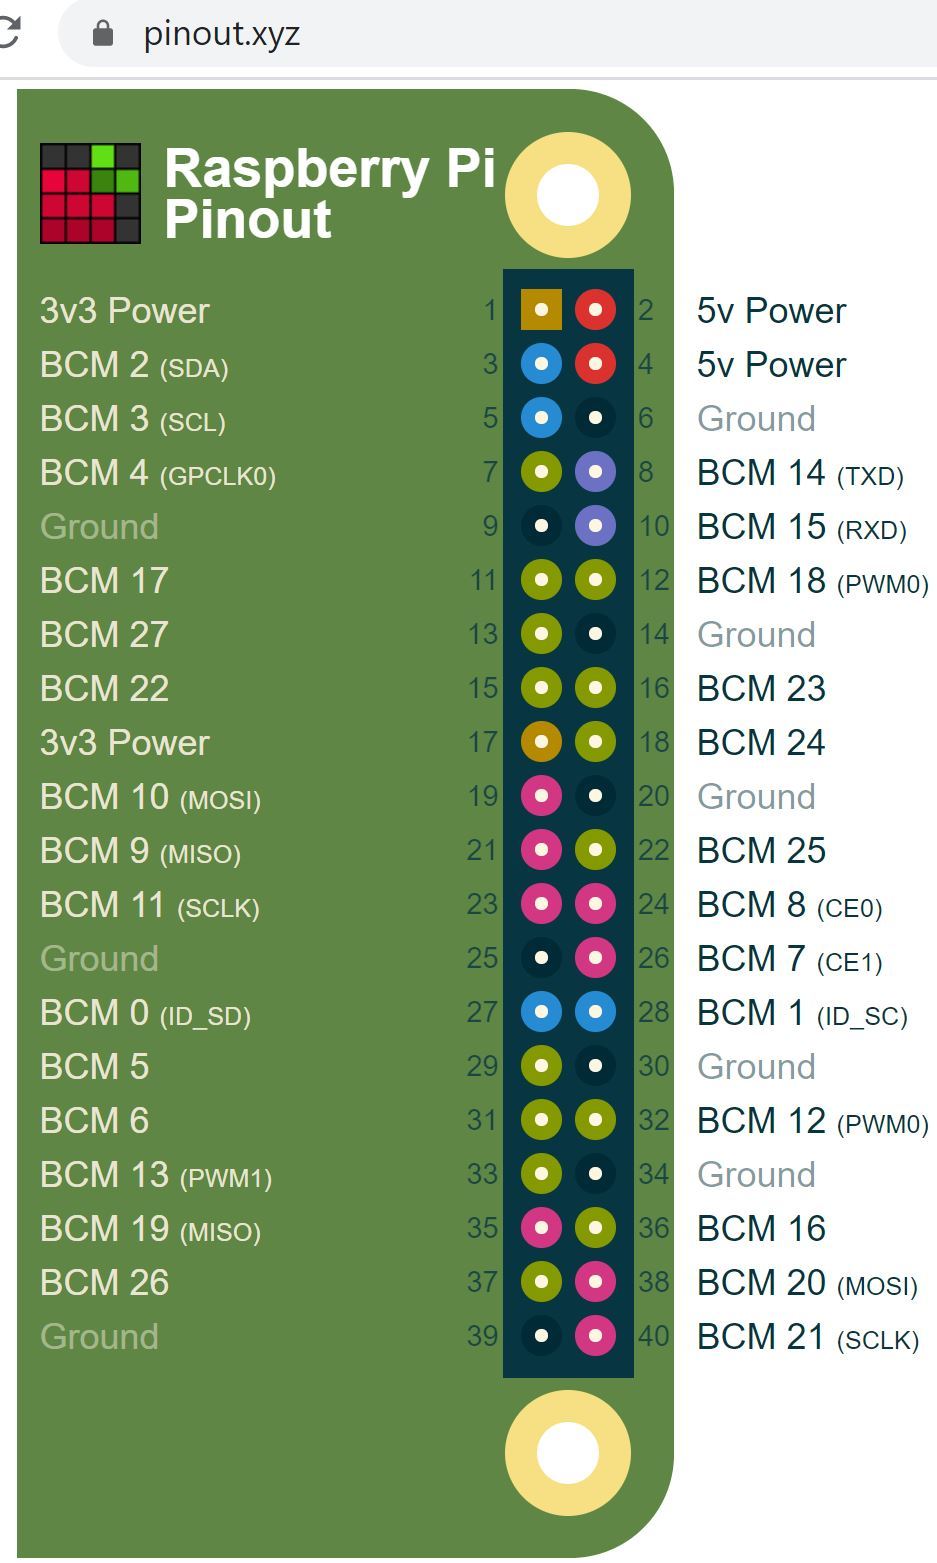
Connect the jumper wires to the Raspberry Pi per the pinout diagram
Connect HDMI cable to monitor and Raspberry Pi
Connect USB adapter and keyboard to the middle port of the Raspberry Pi
Connect 5 v from power supply to power up, ensure power is connected to the port at the corner of the Raspberry Pi and not the middle port.
Change Password, Config Wifi, Enable SSH, and Run Updates
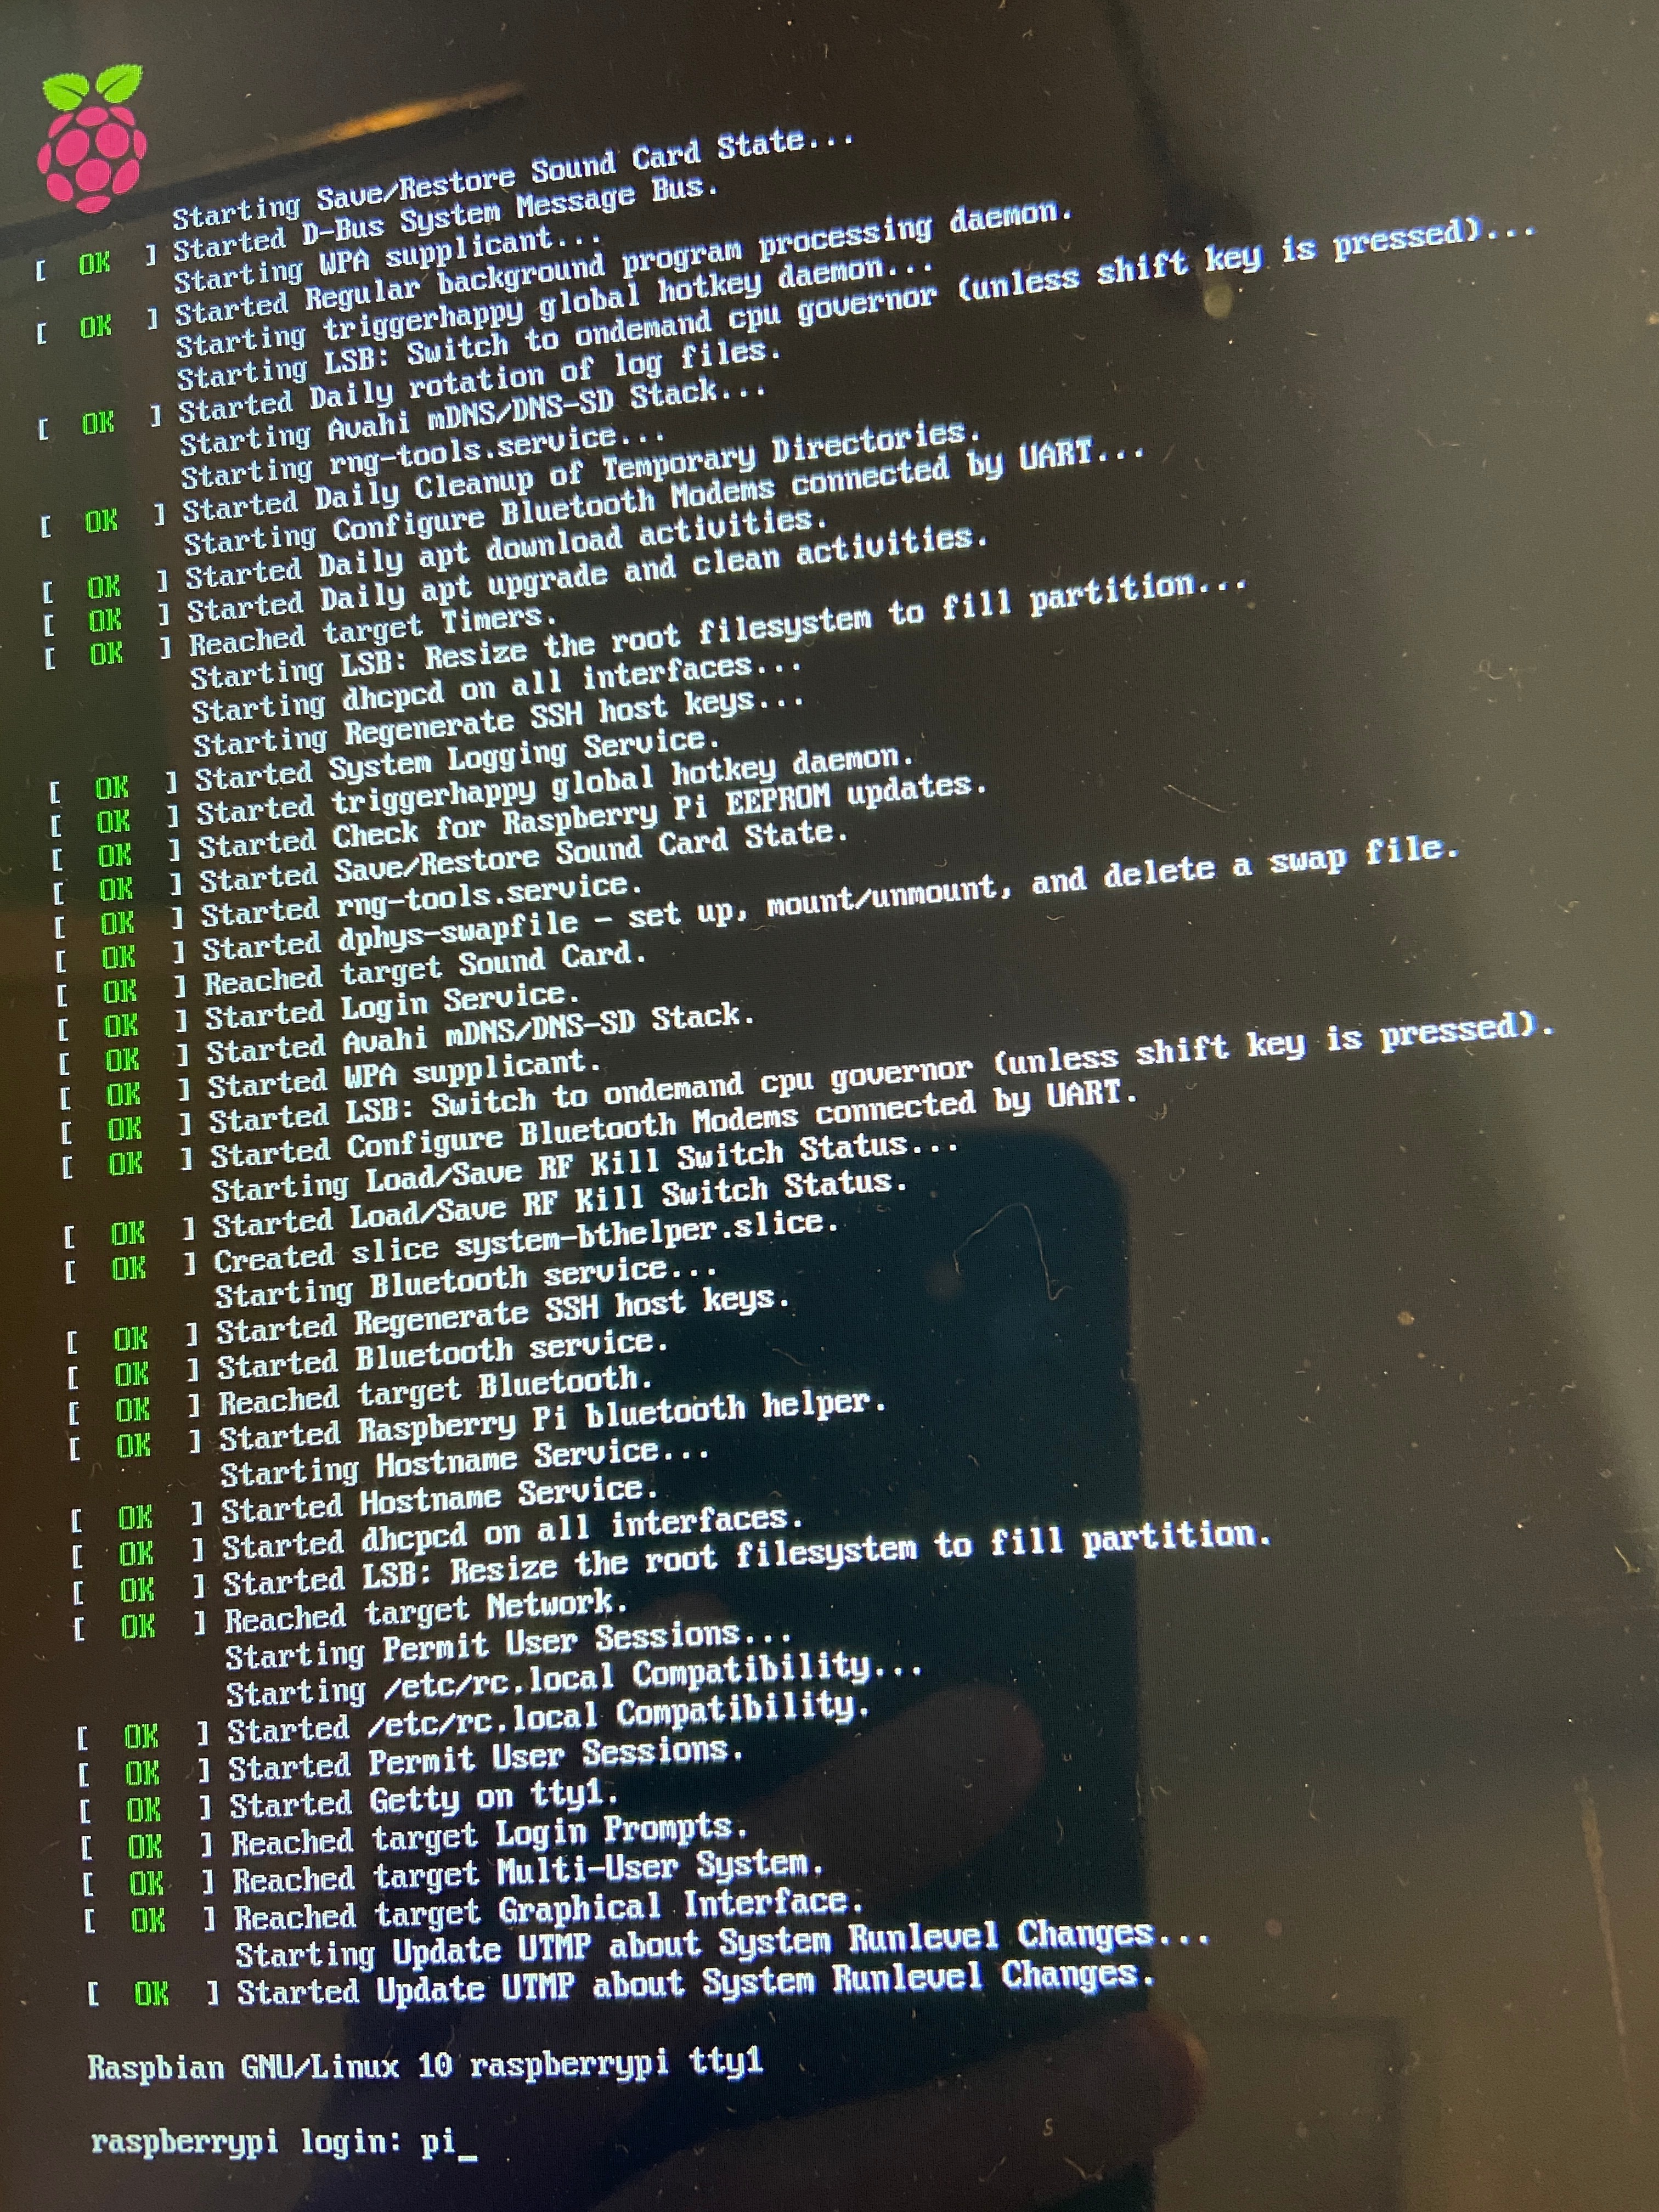
At 'raspberrypi login:' enter
pi
At 'Password:' enter
raspberry
This default password isn't a secure so next change it to something else
sudo raspi-config
Click Enter to '1 Change User Password'
Click Enter again
Type new password twice
Click enter / OK
To configure the wifi, click down arrow to go to 2 Network Options --> Enter --> down arrow to go to N2 Wi-fi --> select country (go down to US if in the United States) --> Enter --> Enter --> Type name of SSID --> Enter --> Type passphrase --> Enter
To enable Secure Shell (SSH) which will be used to access the Raspberry Pi from the Windows computer --> 5 Interfacing Options --> Enter --> P2 SSH --> Left arrow key --> Enter --> Yes --> Enter --> Enter
To change keyboard to US format --> 4 Localisation Options --> I3 Change Keyboard Layout --> Generic 105-key PC (intl.) --> Enter --> Other --> English (US) --> Enter --> English (US) --> Enter --> Enter --> Enter --> Right arrow twice --> Enter to finish --> at the command line now --> hold Shift and press the number 2 --> you should see an @ symbol now. If you see a " symbol, the keyboard is still configured to the UK.
To check if the wifi now works, delete the @ symbol and type:
ifconfig
In the middle of the output, look for something that shows "wlan0:" and on the next line "inet 192.168.86.XX" (your internal ip address will have unique digits for the XX part). Take note of this ip address for use in the next step.
Run updates (this may take a few minutes):
sudo apt-get update && sudo apt-get upgrade -y
Create Twilio Account, Install Libraries, Copy Code From Github, and Send a Test Text Message
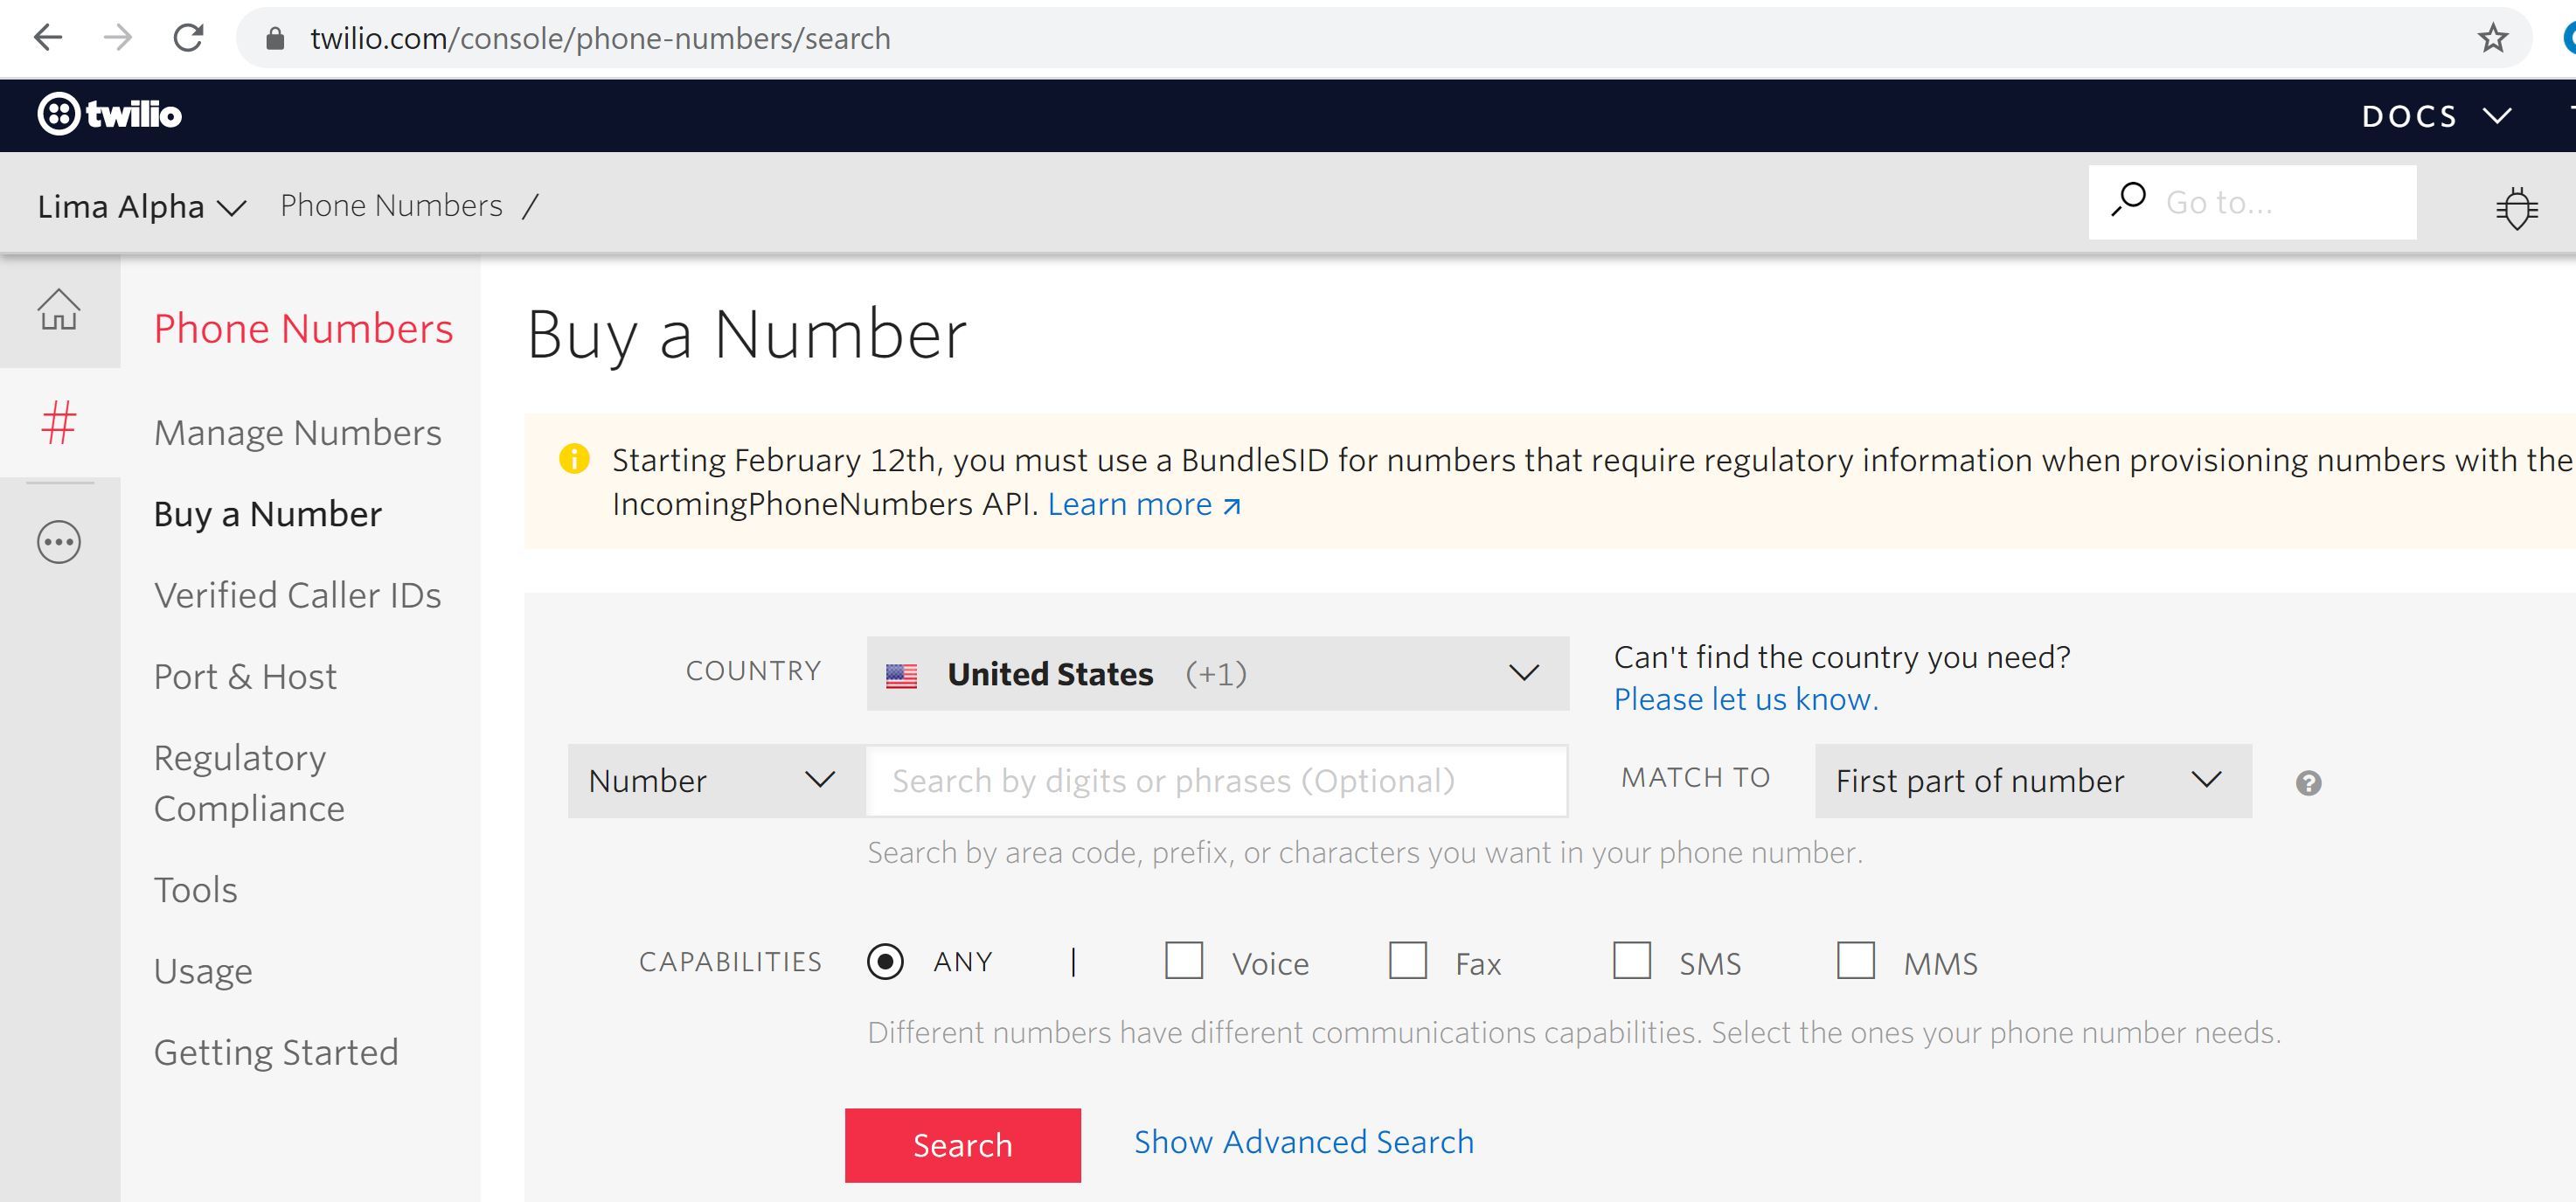
Register an account at https://www.twilio.com (they are not a sponsor!)
Create a new project (this example project is called Lima Alpha).
Buy a number which will be used to send a text message when water is detected. A credit card is required though the costs are minimal ($1.00 for the phone number and pennies for usage).
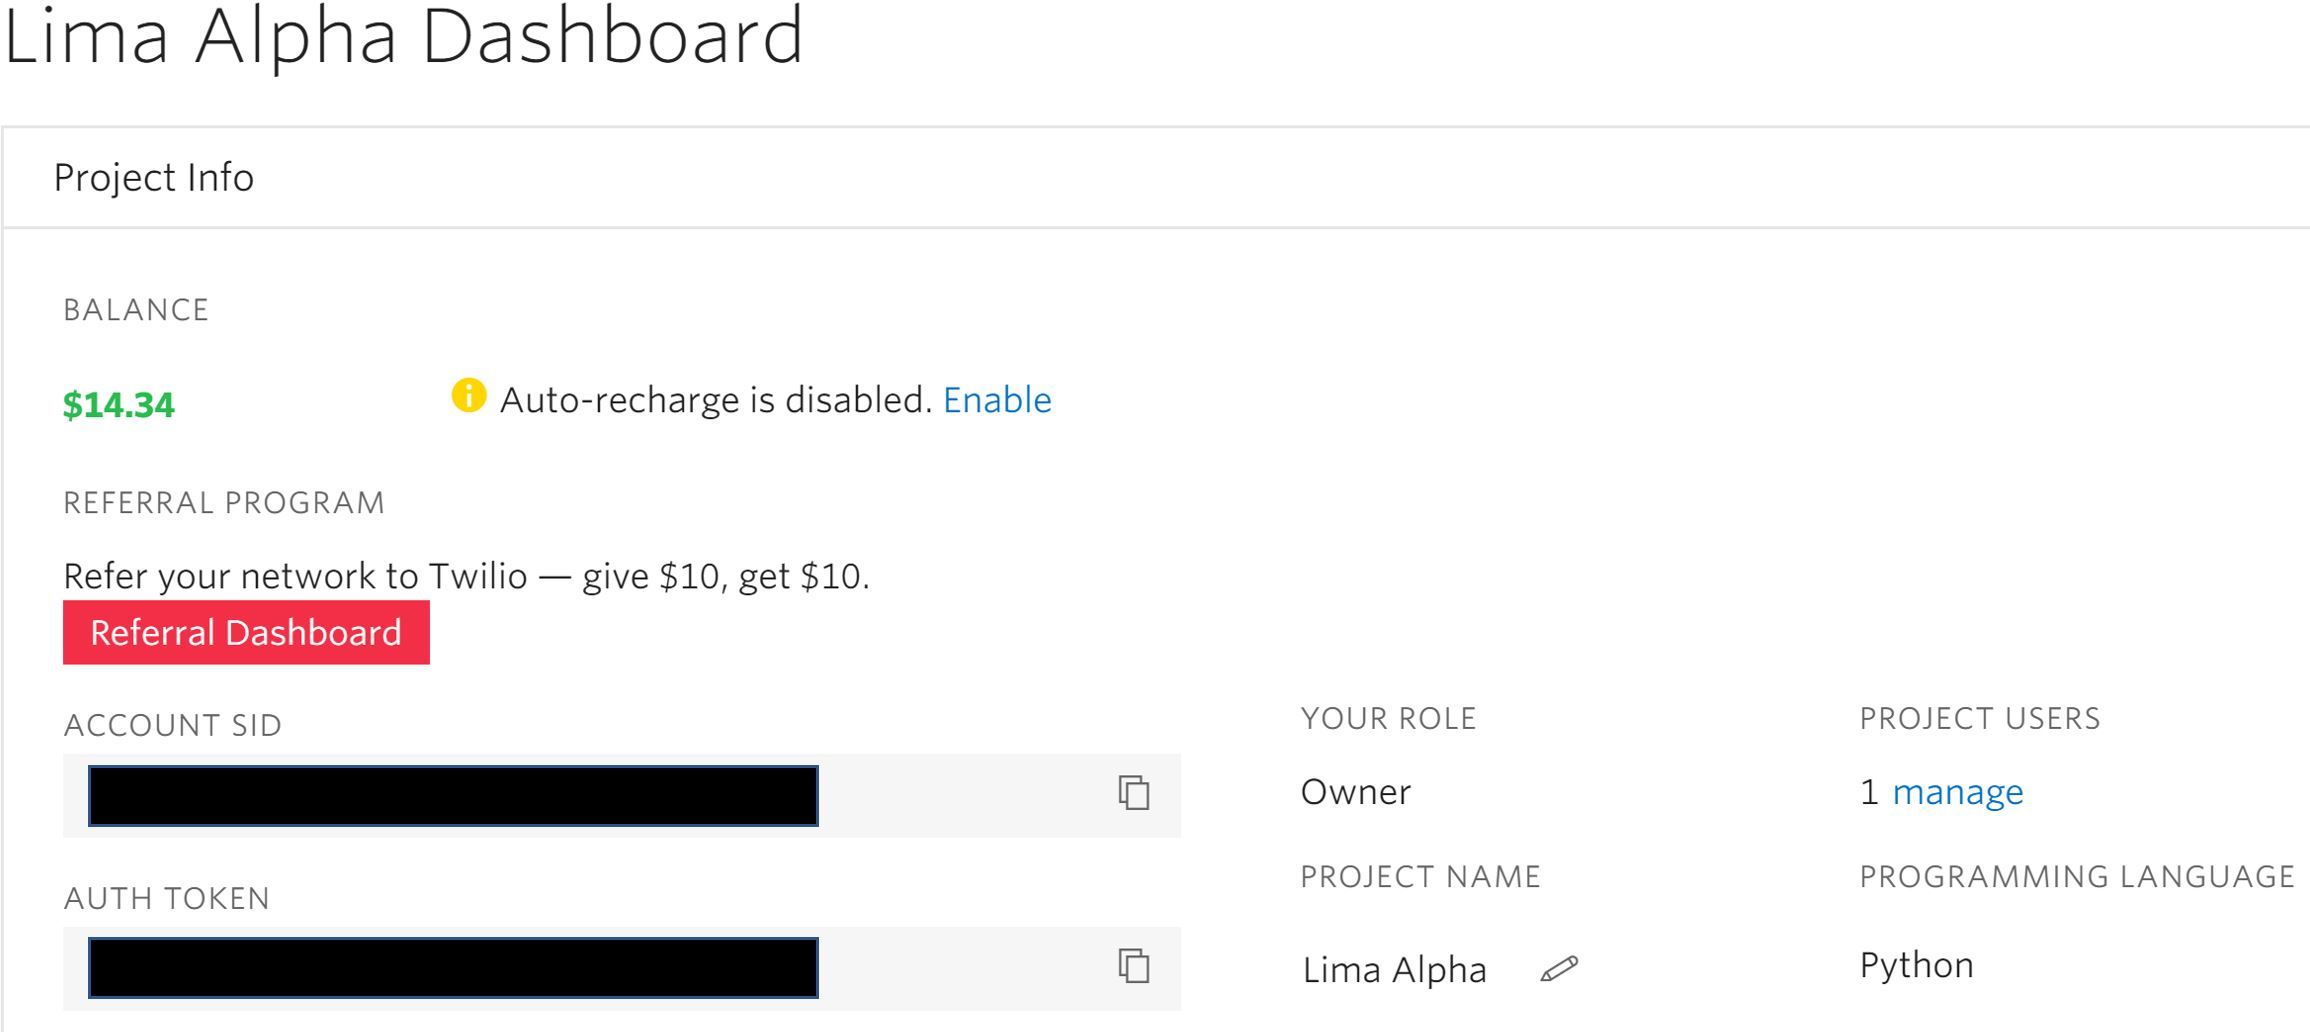
Note the ACCOUNT SID & AUTH TOKEN.
Download and install PuTTY from https://www.chiark.greenend.org.uk/~sgtatham/putty/latest.html
In PuTTY, change the "Host Name (or IP address)" to the IP address from the last step --> Enter a description in the "Saved Sessons" box --> Save --> Open --> Yes --> pi --> password --> now you have command line access from your main computer so you can disconnect the HDMI cable to the Raspberry Pi. The nice thing here is that the following commands can be copied and pasted into PuTTY. Simply copy the code to your Windows clipboard and right click in PuTTY to paste.
Install pip so the Twilio library can be installed, copy this to your clipboard then right click in PuTTY to paste
sudo apt-get install python3-pip -y
Install the Twilio library
sudo pip3 install twilio
Install the RPI.GPIO library
sudo apt-get install rpi.gpio -y
To copy the code from Github to the raspberry pi, first install the git library
sudo apt-get install git -y
Copy directory/folder from git
git clone https://github.com/timg1234/Leak-Detector-with-Text-Message-Notification.git
Change the directory by typing this
cd Le (then hit the Tab key which should automatically type out the whole directory's name):
There's some keys and phone numbers that need to be edited by
sudo nano test.py
Change the 'ADD_YOUR_SID_HERE' & 'ADD_YOUR_TOKEN_HERE' to the values from your Twilio account
Change both phone numbers while leaving the single quote characters.
To save this python script, hold Control --> press the letter O --> Enter
Then to exit, hold Control --> press the letter X.
Run the test script:
sudo python3 test.py
If everything works correct, you should receive a text message from your new Twilio number.
If you don't receive a message, check the ACCOUNT SID if you receive a "/errors/20404" code at the bottom of an error message. Errors often provide a line number for troubleshooting. In nano, you can turn on line numbers by holding Alt, holding Shift, and pressing the 3 key.
Modify Notifier.py & Crontab and Finish the Installation
Just like before, modify the four values in this script
sudo nano notifier.py
Test the script
sudo python3 notifier.py
You should see "Status = 0" every second. Now touch the two contacts on the sensor to simulate a leak.
You should see "Status = 1" and receive a text message.
To distinguish this from a normal text message, and if you have an iPhone, create a contact for your new number --> Edit --> Text Tone --> scroll to the very bottom --> Classic --> Alarm.
To run have the Raspberry Pi run this script automatically at boot, for instance after a power failure
sudo crontab -e
1 --> Enter. This selects nano as your text editor --> go to the bottom of the file --> add this
@reboot sh /home/pi/Leak-Detector-with-Text-Message-Notification/launcher.sh
Shut the Rapsberry Pi down
sudo shutdown -h now
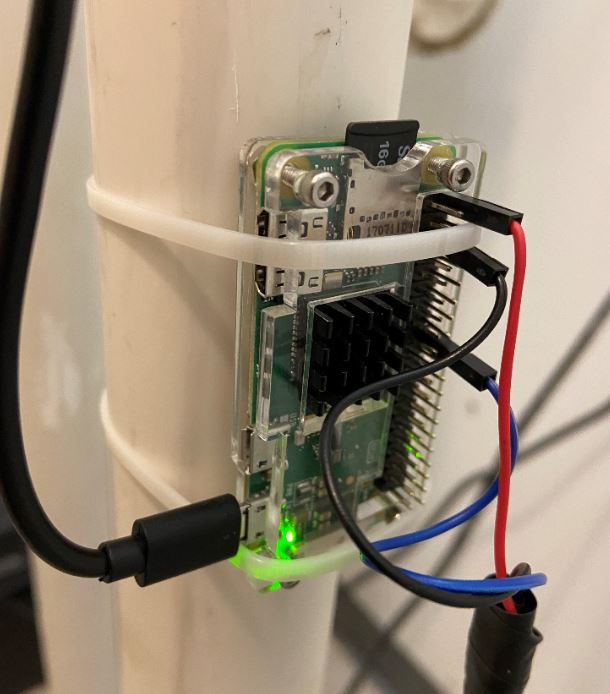
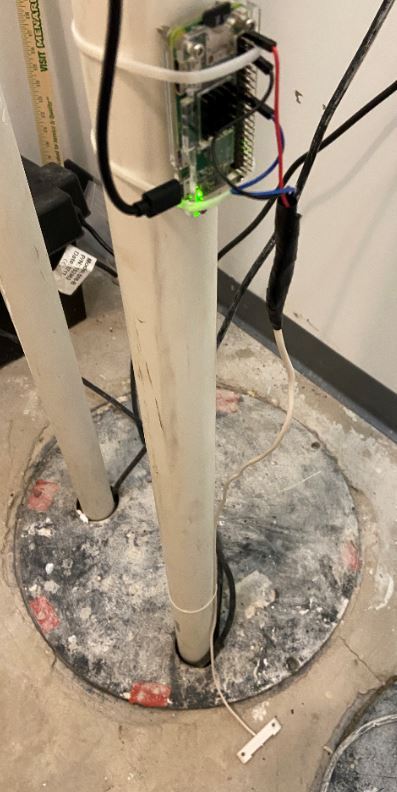
Lastly install the computer some place where it likely won't get wet. I used some cable ties to mount it to a pipe and placed the sensor on the floor. Test by placing an index and middle finger on each contact. Hopefully it's working! Inspect all electrical components. Check for loose connections and replace any damaged wiring that has exposed copper.