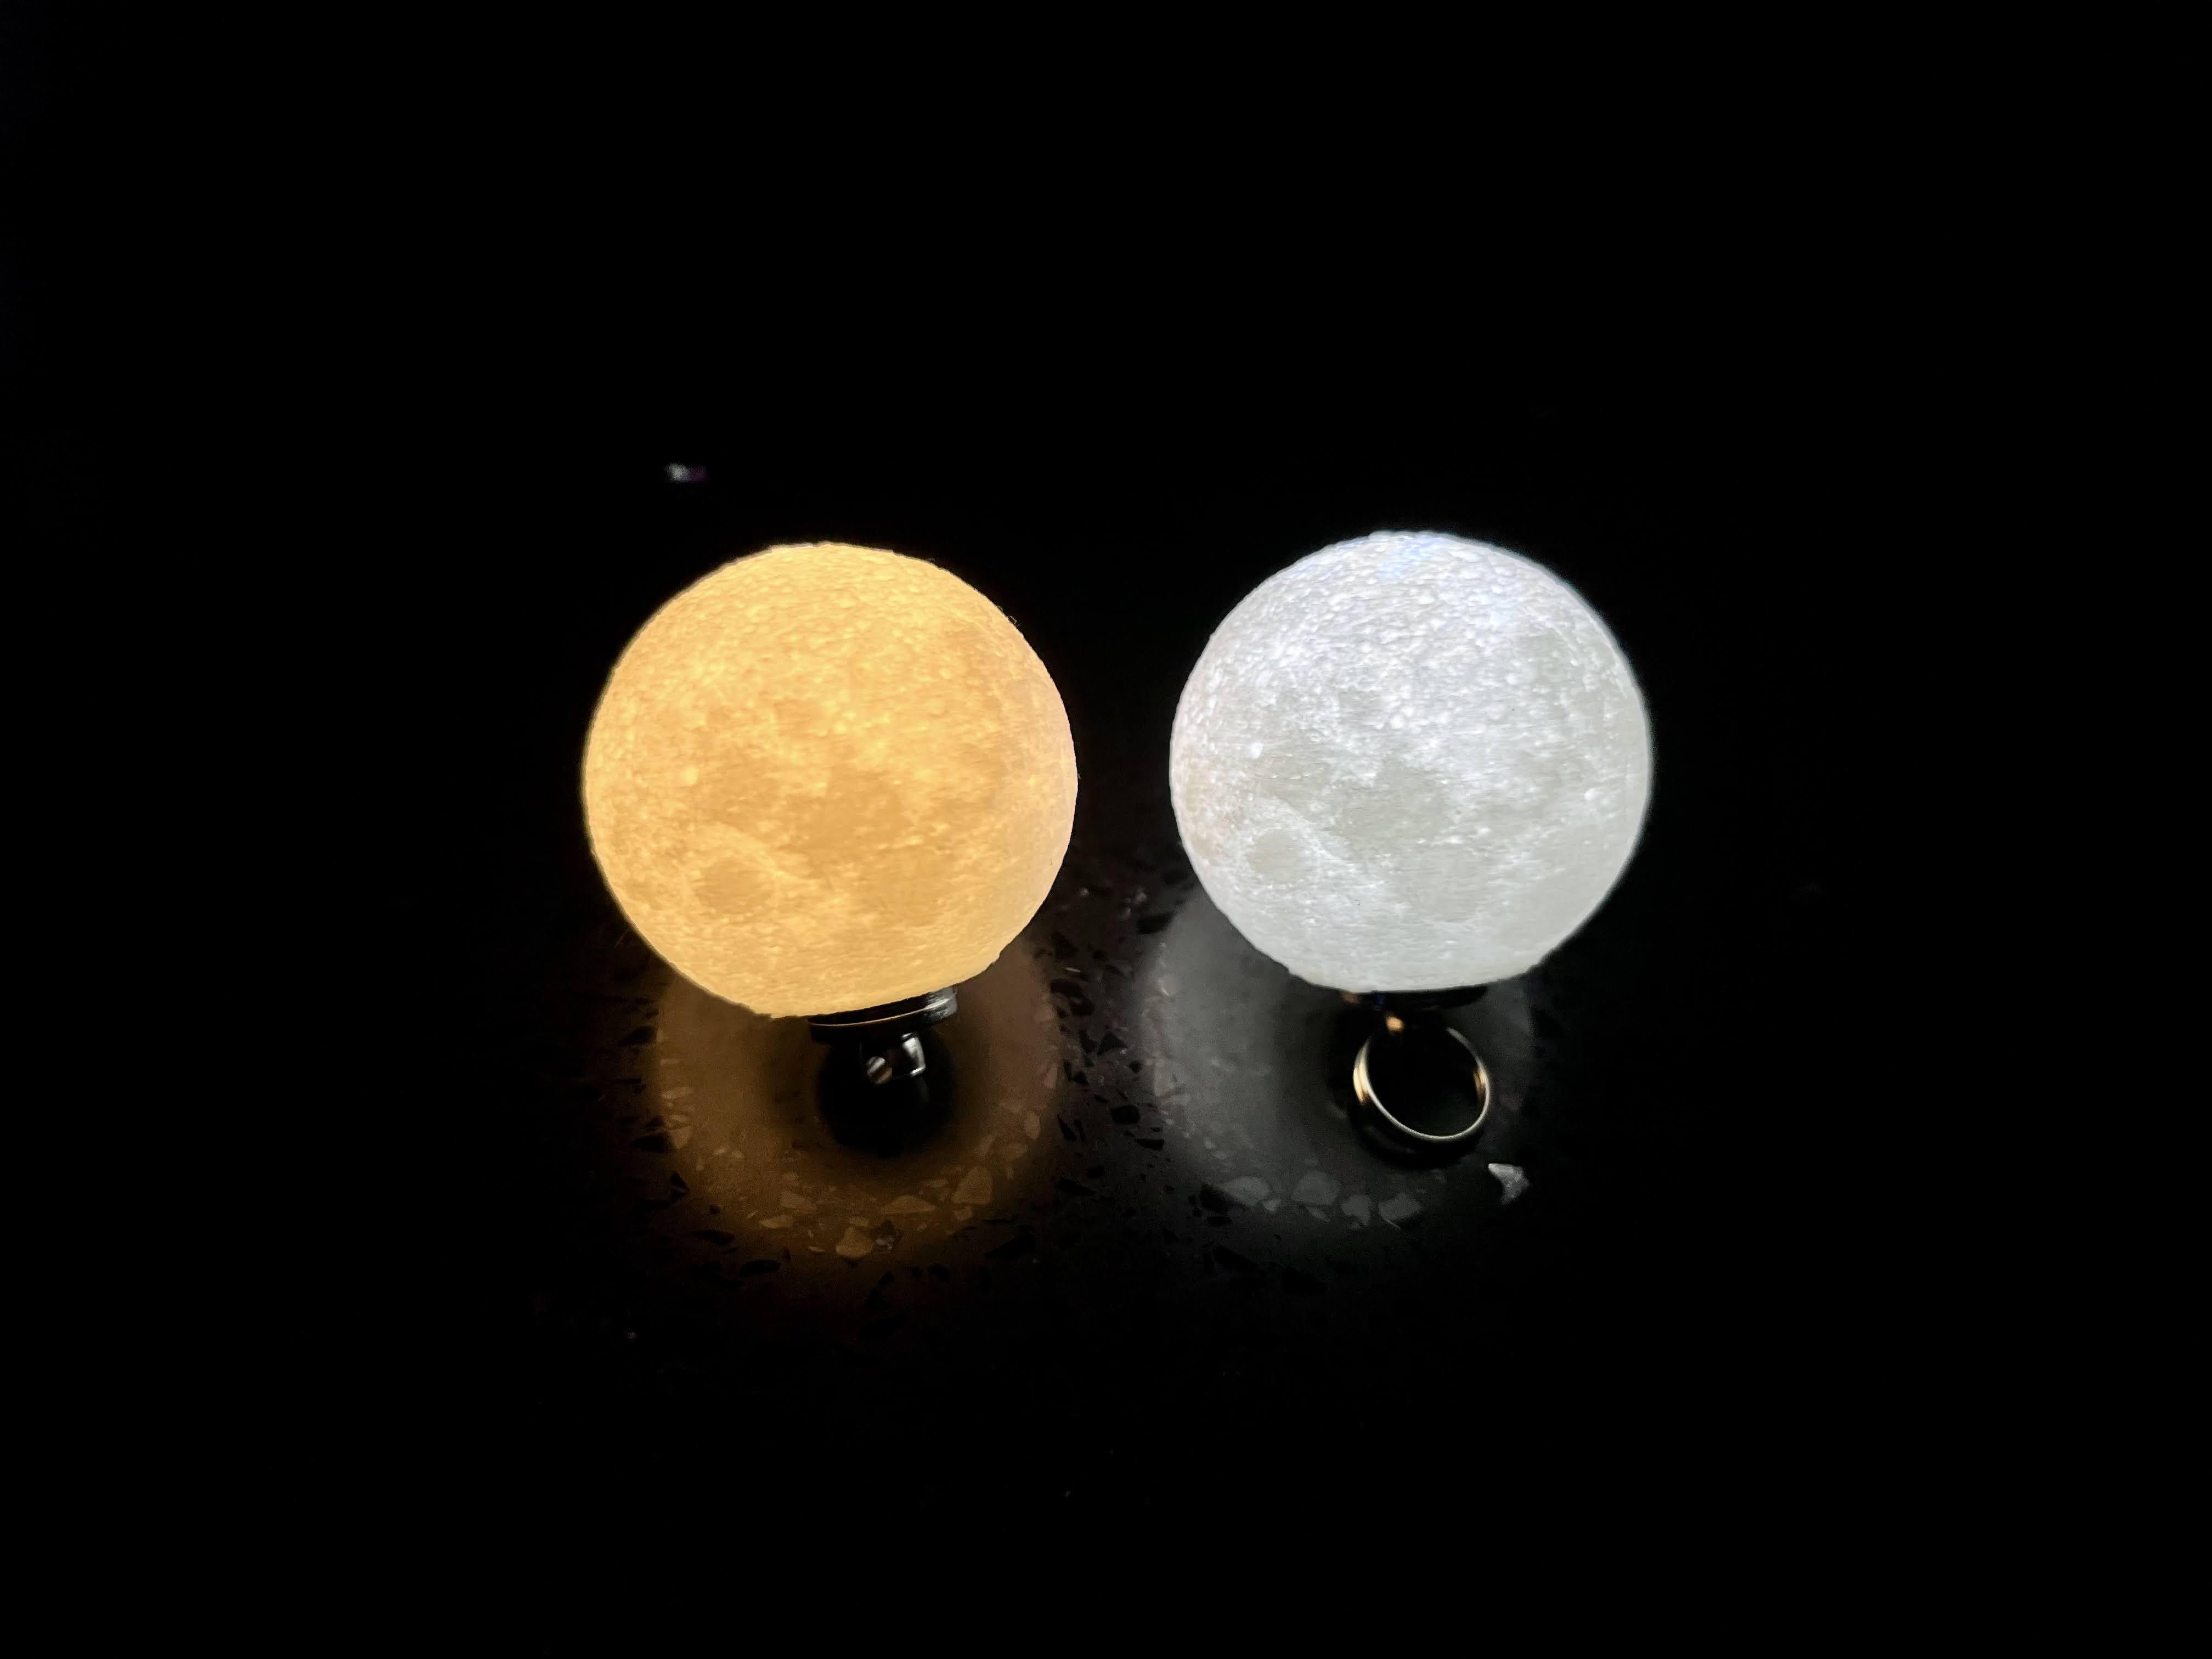
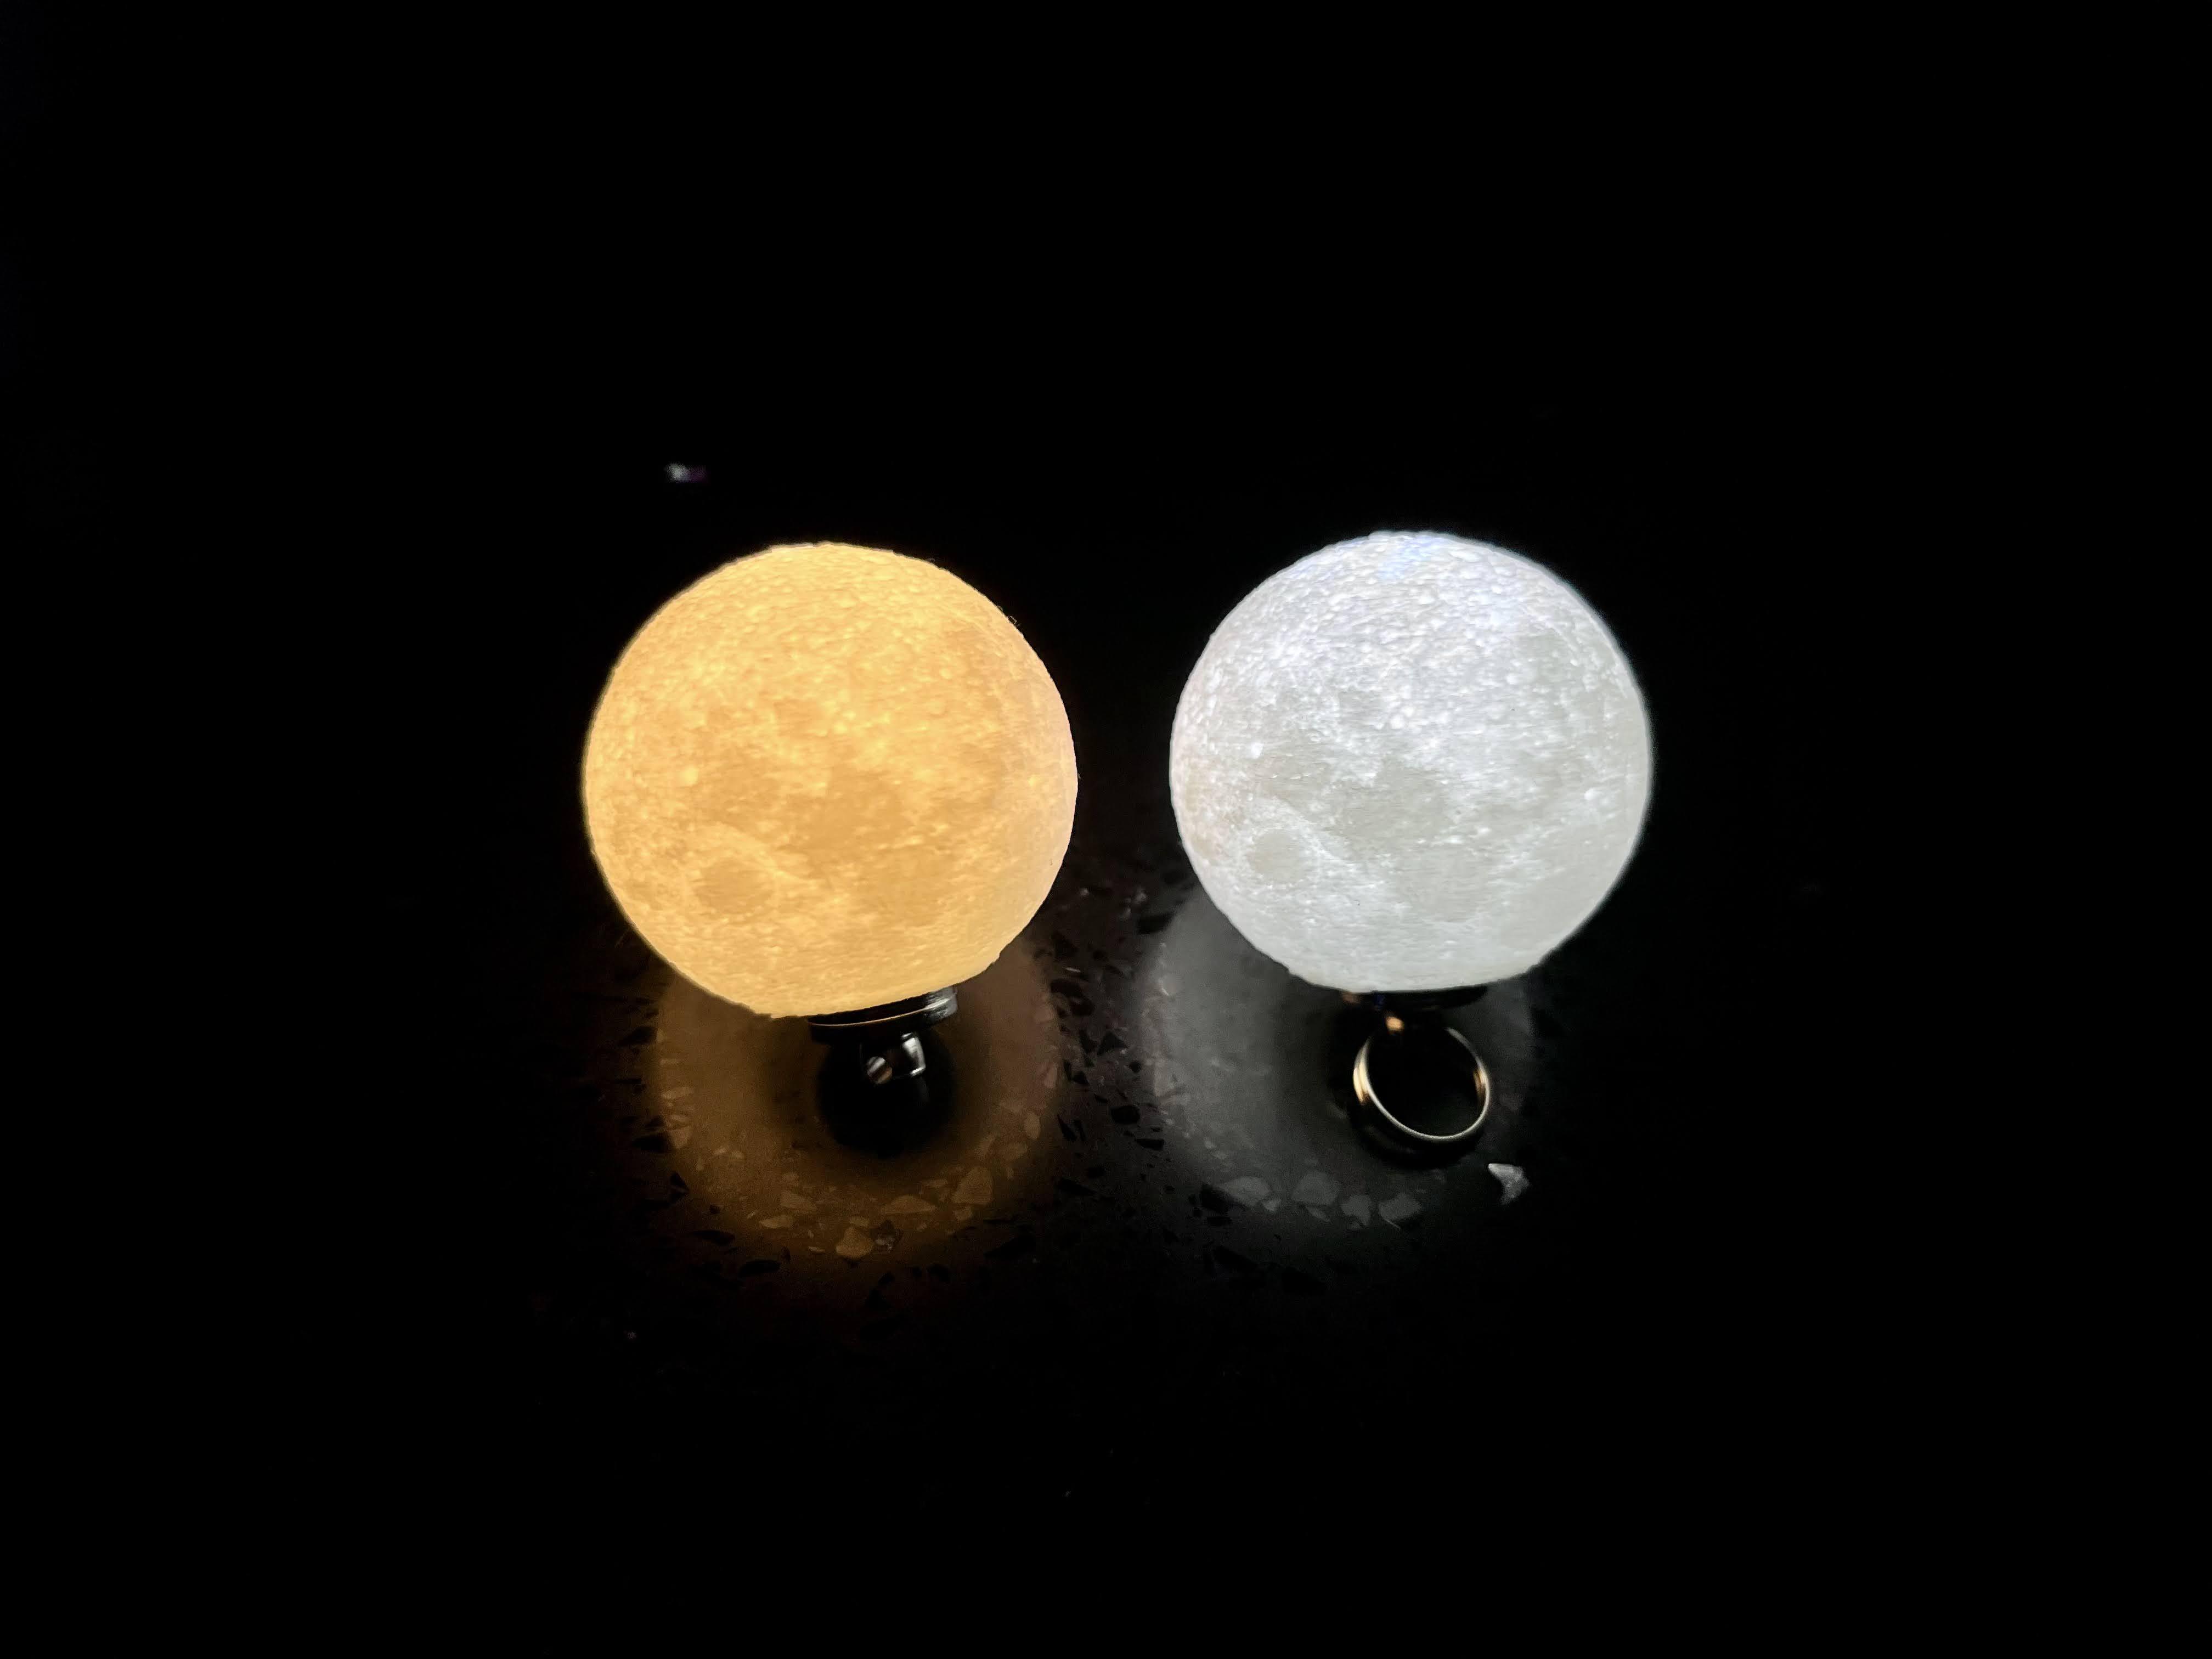
Lazy Tailor-made Moon Lamp

This instructables show how to 3D print a tailor-made Moon Lamp with a specific light source mount.
The Pain Point
The Moon 3D model is a very large data size object. It is hard to open with 3D modeling software to modify, e.g. cut a hole and then merge with a custom light source mount.
This instructables show a lazy way that can 3D print a tailor-made Moon Lamp with a specific light source mount without modifying the Moon model with a 3D modeling software.
Design Light Source Mount


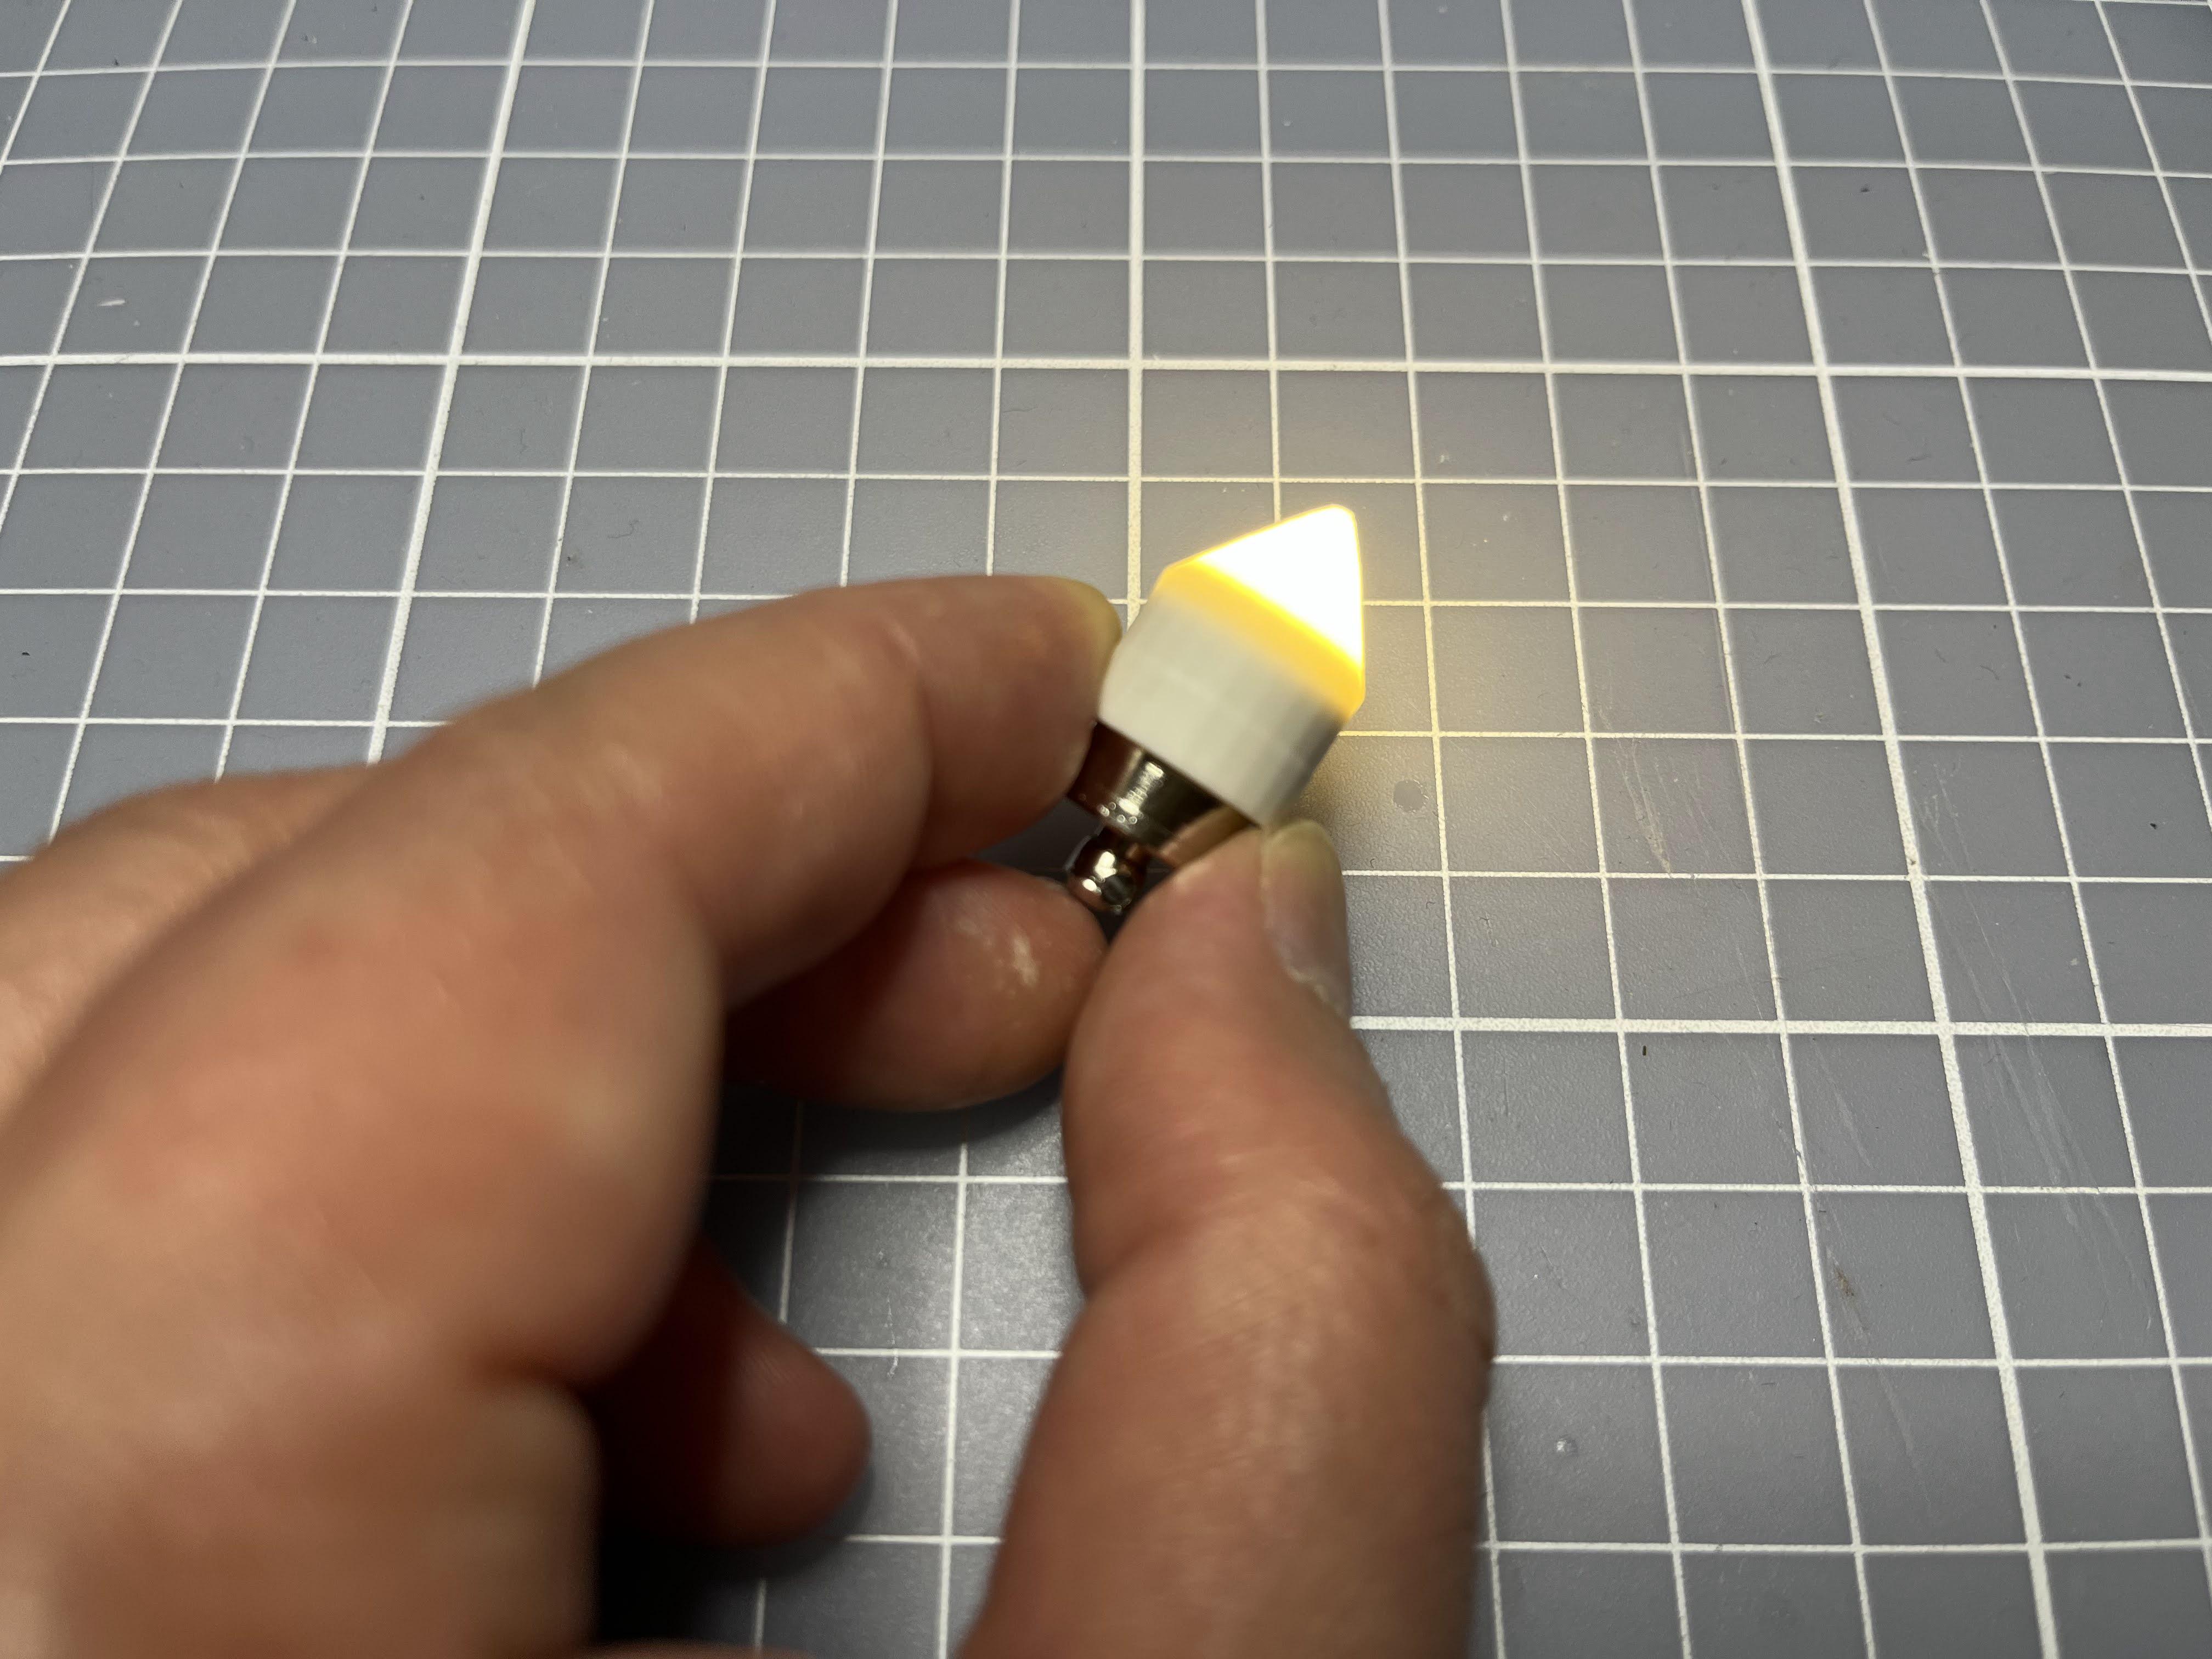
There are various light source you can selected, battery powered, USB powered or even AC powered. First you need to design a light source mount that can fit your selected light source. Then export the design in STL format.
Sample STL

In case you want to know the look and feel before design a mount yourself. You can use this STL as example:
https://www.thingiverse.com/thing:5273177
Slicer Software
This instructables use Cura as an example, other slicer may also have similar method to make it.
Please download and install Cura if not yet:
https://ultimaker.com/software/ultimaker-cura
Overlap Models

Open your light source mount STL and Moon model in Cura slicer and then right click select "Reset All Model Transformations". Both models should be in the center position now and they are overlapped.
Moon Lamp Hole

Moon model should have a corresponding hole size at the bottom to fit a light source mount in it. It is easy to do with Cura, simply set the Moon model Z position lower than Zero. The part lower than Zero will not print out so there will be a hole at the bottom.
Slice & Preview

We need a bottom hole size that just fit the light source mount.
The correct Z position value requires trial and error. Simply click "Slice" button, select "Preview" tab and select the layer range from 1 to 1 to check if 2 models can merge together.
If there are gaps between 2 models, decrease the negative value of Moon model Z position.
In contrast, if the Moon model covered the mount hole, increase the negative value of Moon model Z position.
Note:
While trial and error stage, larger layer height (e.g. 0.3 mm) can reduce the time of slicing. Once you found the correct Moon model Z position, adjust layer height to your desired quality and then slice again.
Enjoy!

Now you have a Tailor-mode Moon Lamp!