Laziness Monitor
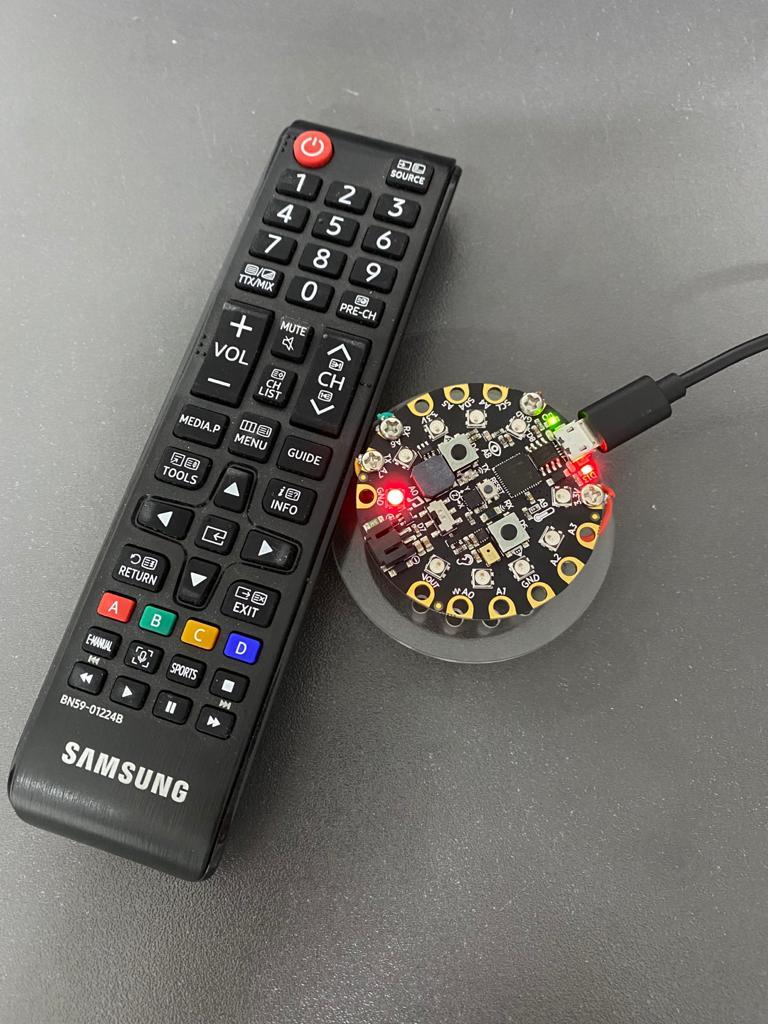
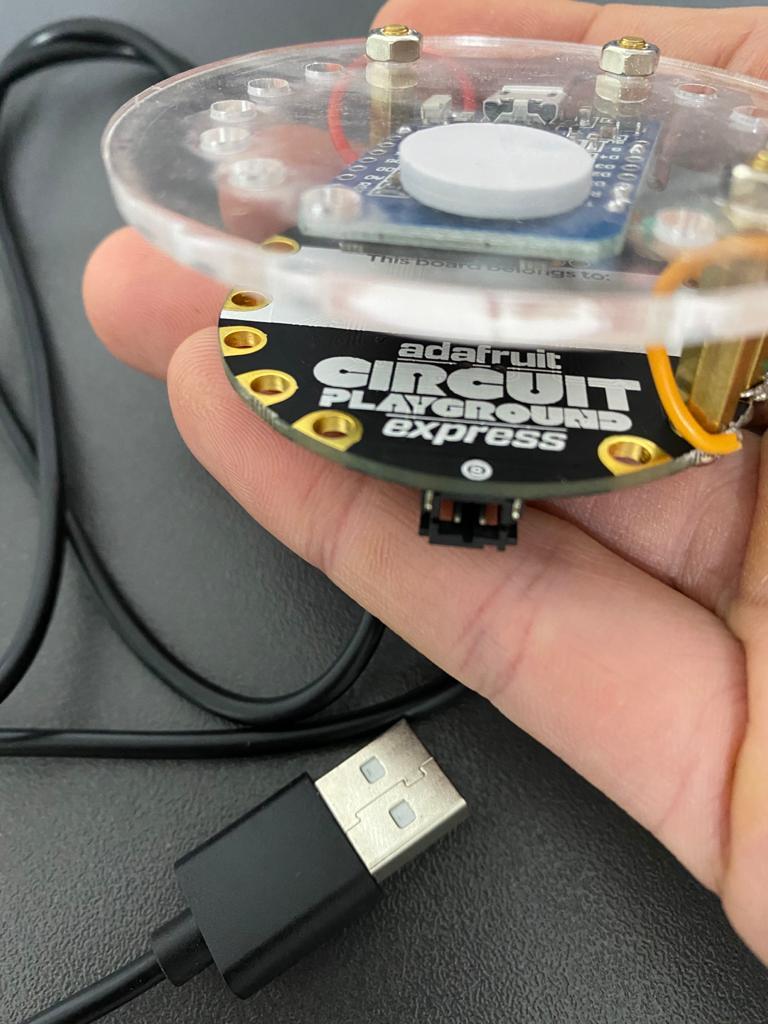
Build an affordable monitoring setup!
This project will help you easily get indications on how much time your are sitting in the couch watching TV.
This project will have time intervals in which you will get light indications from the board after X time has passed, sound indications, phone notifications and eventually when time has arrived it will mute your TV and turn it OFF.
I will show you how to setup the basic scenarios I think are useful and from there feel free to play around with the stages and time intervals as everything is easily configurable to your needs.
Supplies
- Adafruit Circuit Playground Express - roughly 25$
- TV (In my project I used a Samsung TV)
General Flow Overview
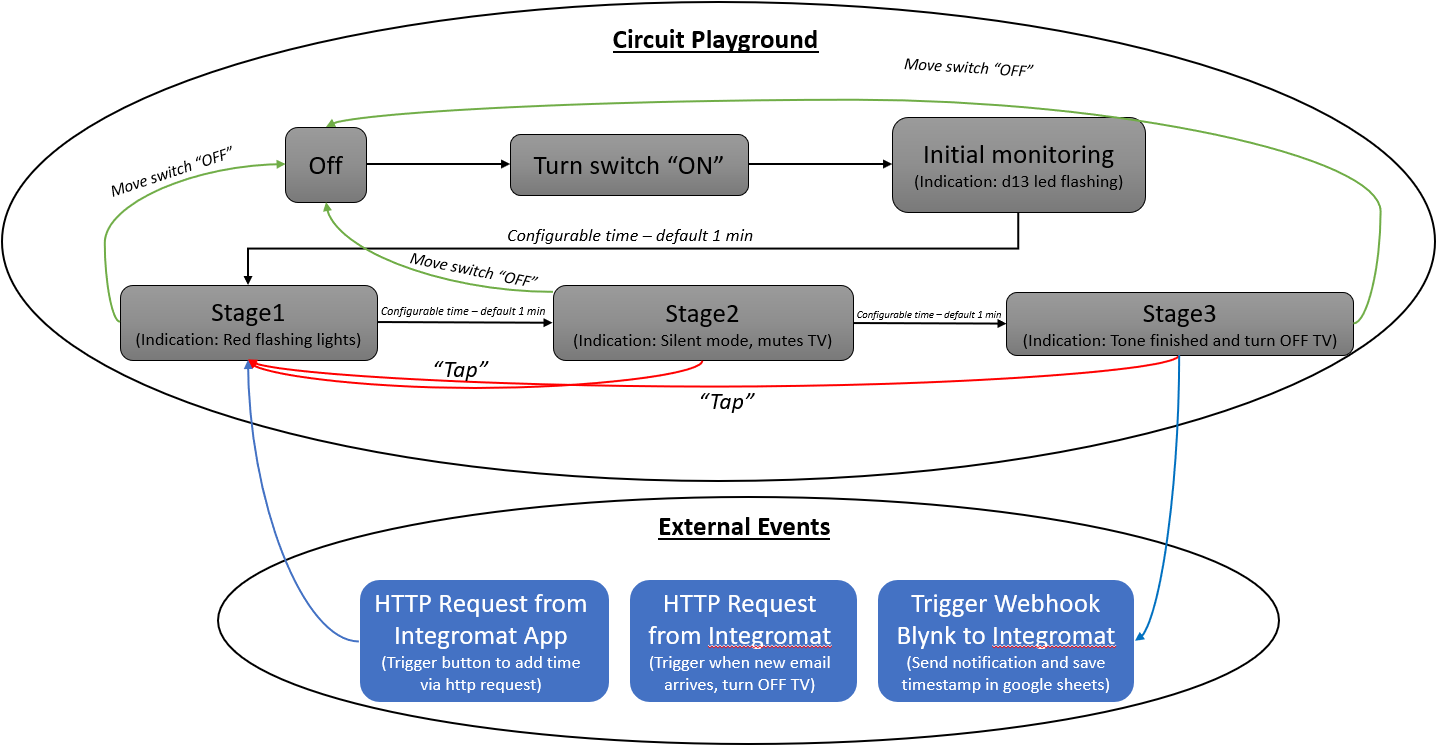
First, we will understand how the flow of this project will work. We will need to:
- Create a Webhook in BLYNK app in order to trigger HTTP Requests to Integromat.
- Create button trigger in Integromat app.
- Create the scenarios in Integromat which will handle the custom webhook and trigger the HTTP requests to our CPX board.
- Configure the code to our needs (if necessary).
Create Webhook in BLYNK App
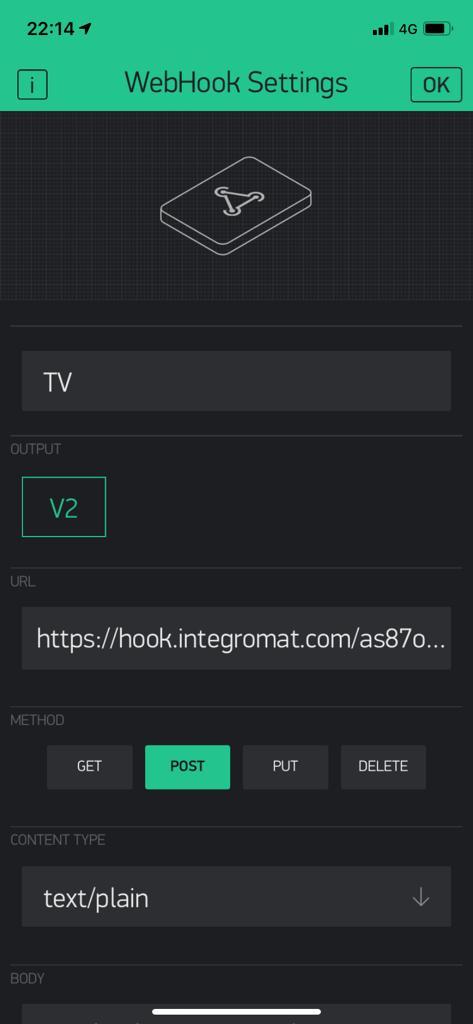
We will need to download the app from Google\App store.
Once downloaded we create a new project. In the project settings we will send the AUTH TOKEN to our mail (we will need it in the futher). Next step, we will add the Webhook in our project. We will see the window popup as shown above. In the webhook settings, there is a URL field where we will write the URL we would like to be triggered.
There is an option to send additional values in the URL, it is done as follow:
`https:// hook.integromat.com/XXXXXXXXXXXXXXXXXXXXX...myParam=/ pin/`
Create Button Trigger in Integromat App
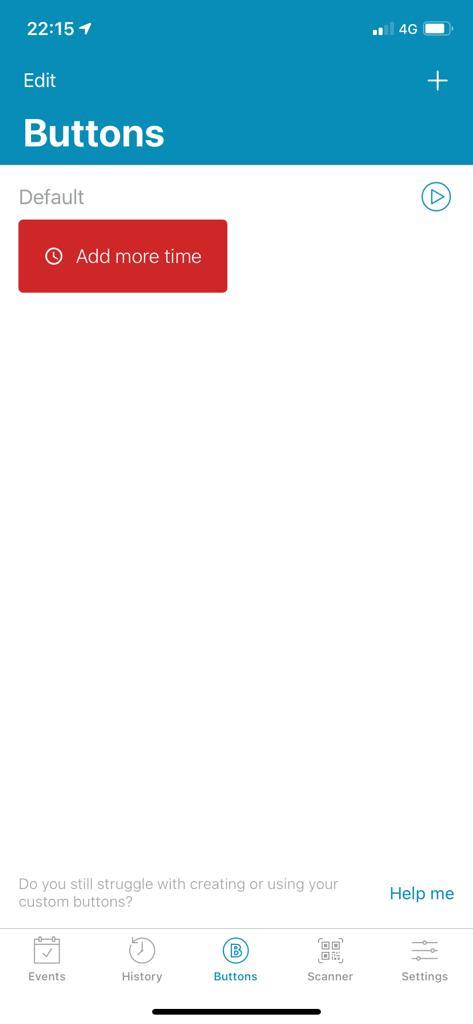
Next, we will create a button trigger in Integromat App.
The button will trigger the board to move to Stage1 (regardless the current State). This will basically add more time to watch TV:)
Download the Integromat app, and in the Buttons section click on the '+'. We will give the button a name and an ID that latter on we will use the same ID in the Integromat scenario to trigger the function.
Once finished click done.
Create Scenarios in Integromat
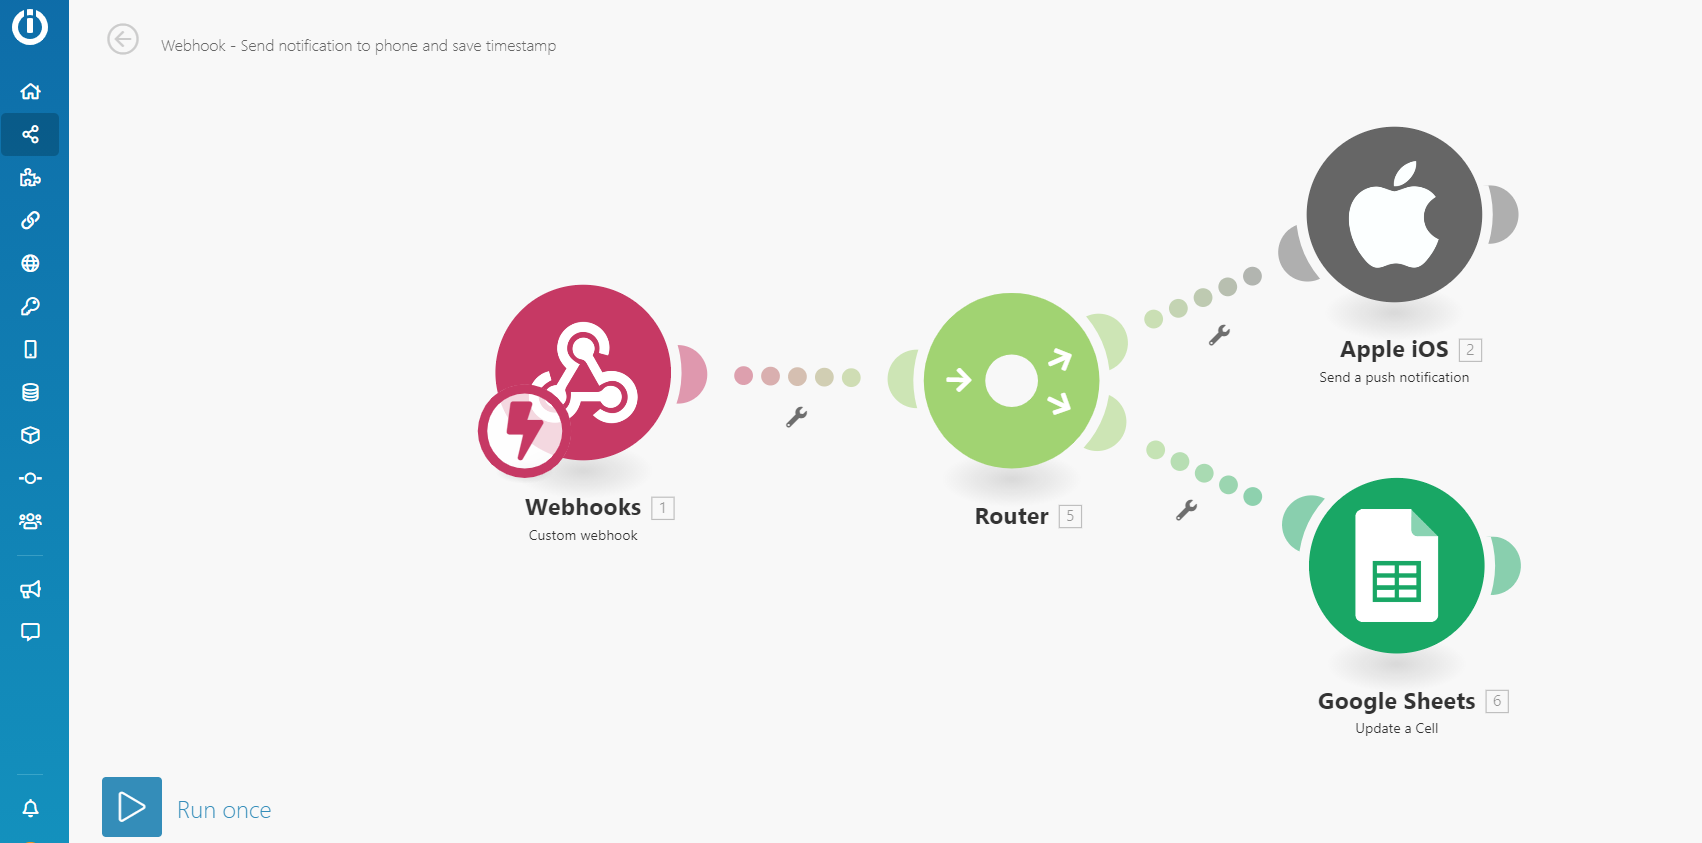
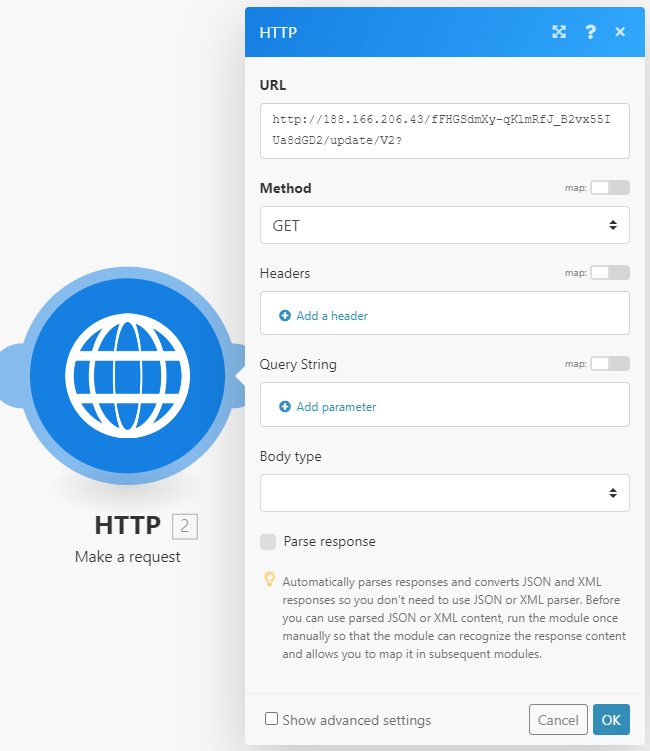
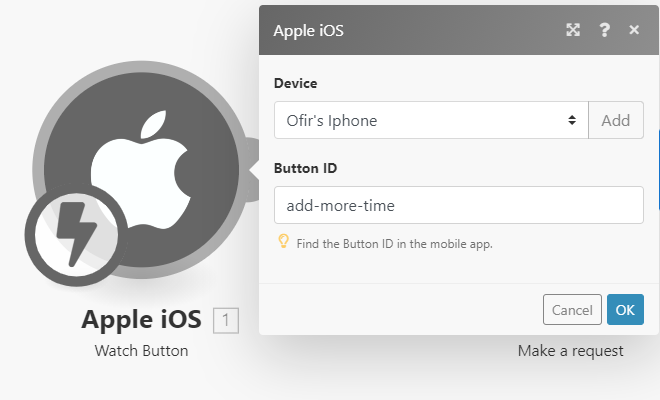
Now we will create the scenarios in Integromat in order to handle the custom Webhook from the board, button trigger and HTTP requests to the board.
- Create an account in Integromat
- Go to 'Create a new scenario'
- Add the service you would like and configure.
For example for the HTTP request to the board from the button we created we will add the services: 'HTTP Request' and 'Apple IOS - Watch Button'. Then we will need to configure the services as in the pictures.
In the Apple IOS service, we will choose our device that we added and give the button id from the previous step.
In the HTTP Request service, we will provide the URL we would like to use:
http://SERVER-IP/AUTHENTICAN-TOKEN/update/V3(PIN WE WRITE)?
The authentication code is the one we got from the previous steps, and we can send additional values to the board if we wish to.
Configure and Upload the Code
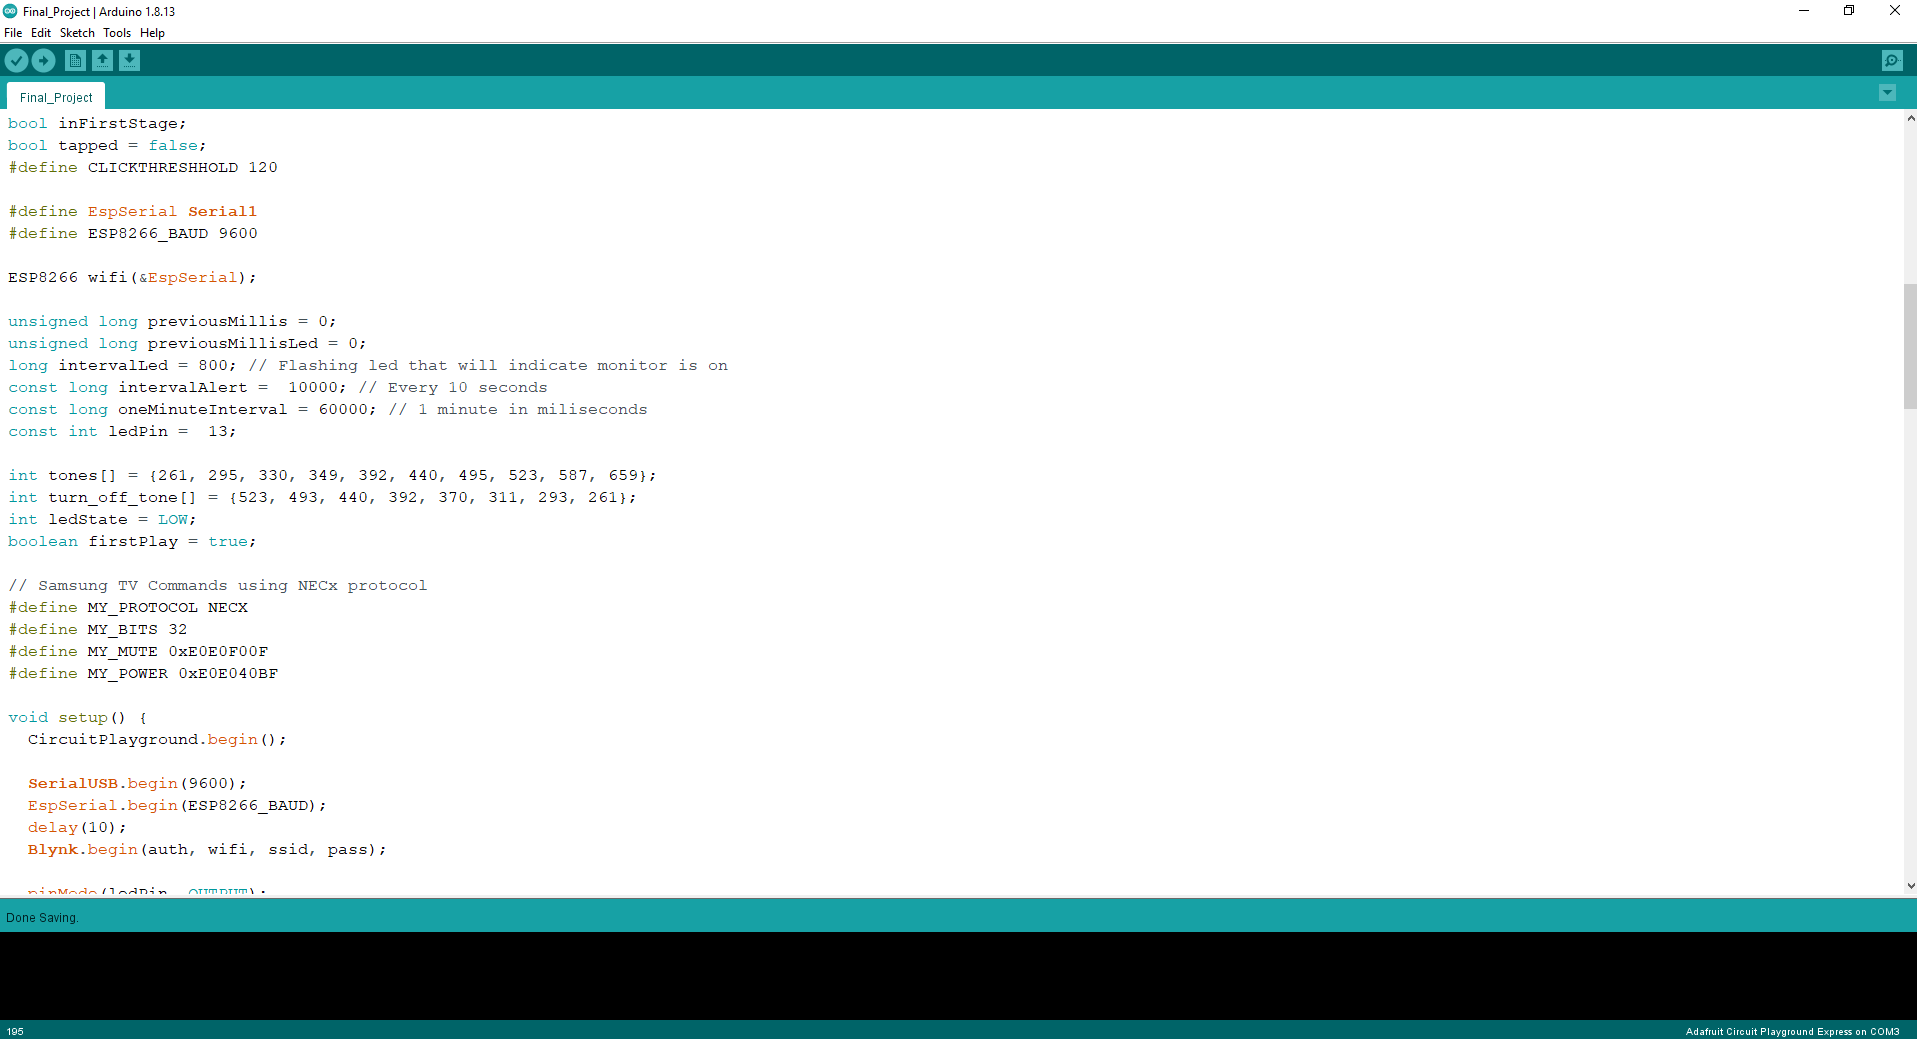
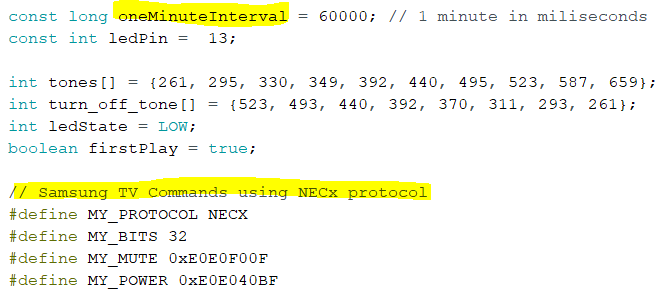
Last step will be to adjust the code provided here: https://pastebin.com/MrPFbWji.
Adjustments needed:
- auth - Insert you Authentication code from previous steps
- ssid - Insert your Wifi's network name
- pass - Insert your Wifi's password
- TV NECx protocol for IR - If you have a Samsung TV then it is alraedy set up. If not, you will need to find the right protocal commands for your TV brand and paste them there.
Optional:
- oneMinuteInterval - Currently configured to 60000 which is 1 minute in miliseconds
- ledPin - Currently 13 which is one of the leds on the board.
- You could play with the rest of the configuration (tones, colors, music, etc...).
Finally upload the code via Arduino and enjoy :)!!!