Layered Landscape With the Glowforge Laser Cutter
by jgrout1 in Workshop > Laser Cutting
1145 Views, 8 Favorites, 0 Comments
Layered Landscape With the Glowforge Laser Cutter
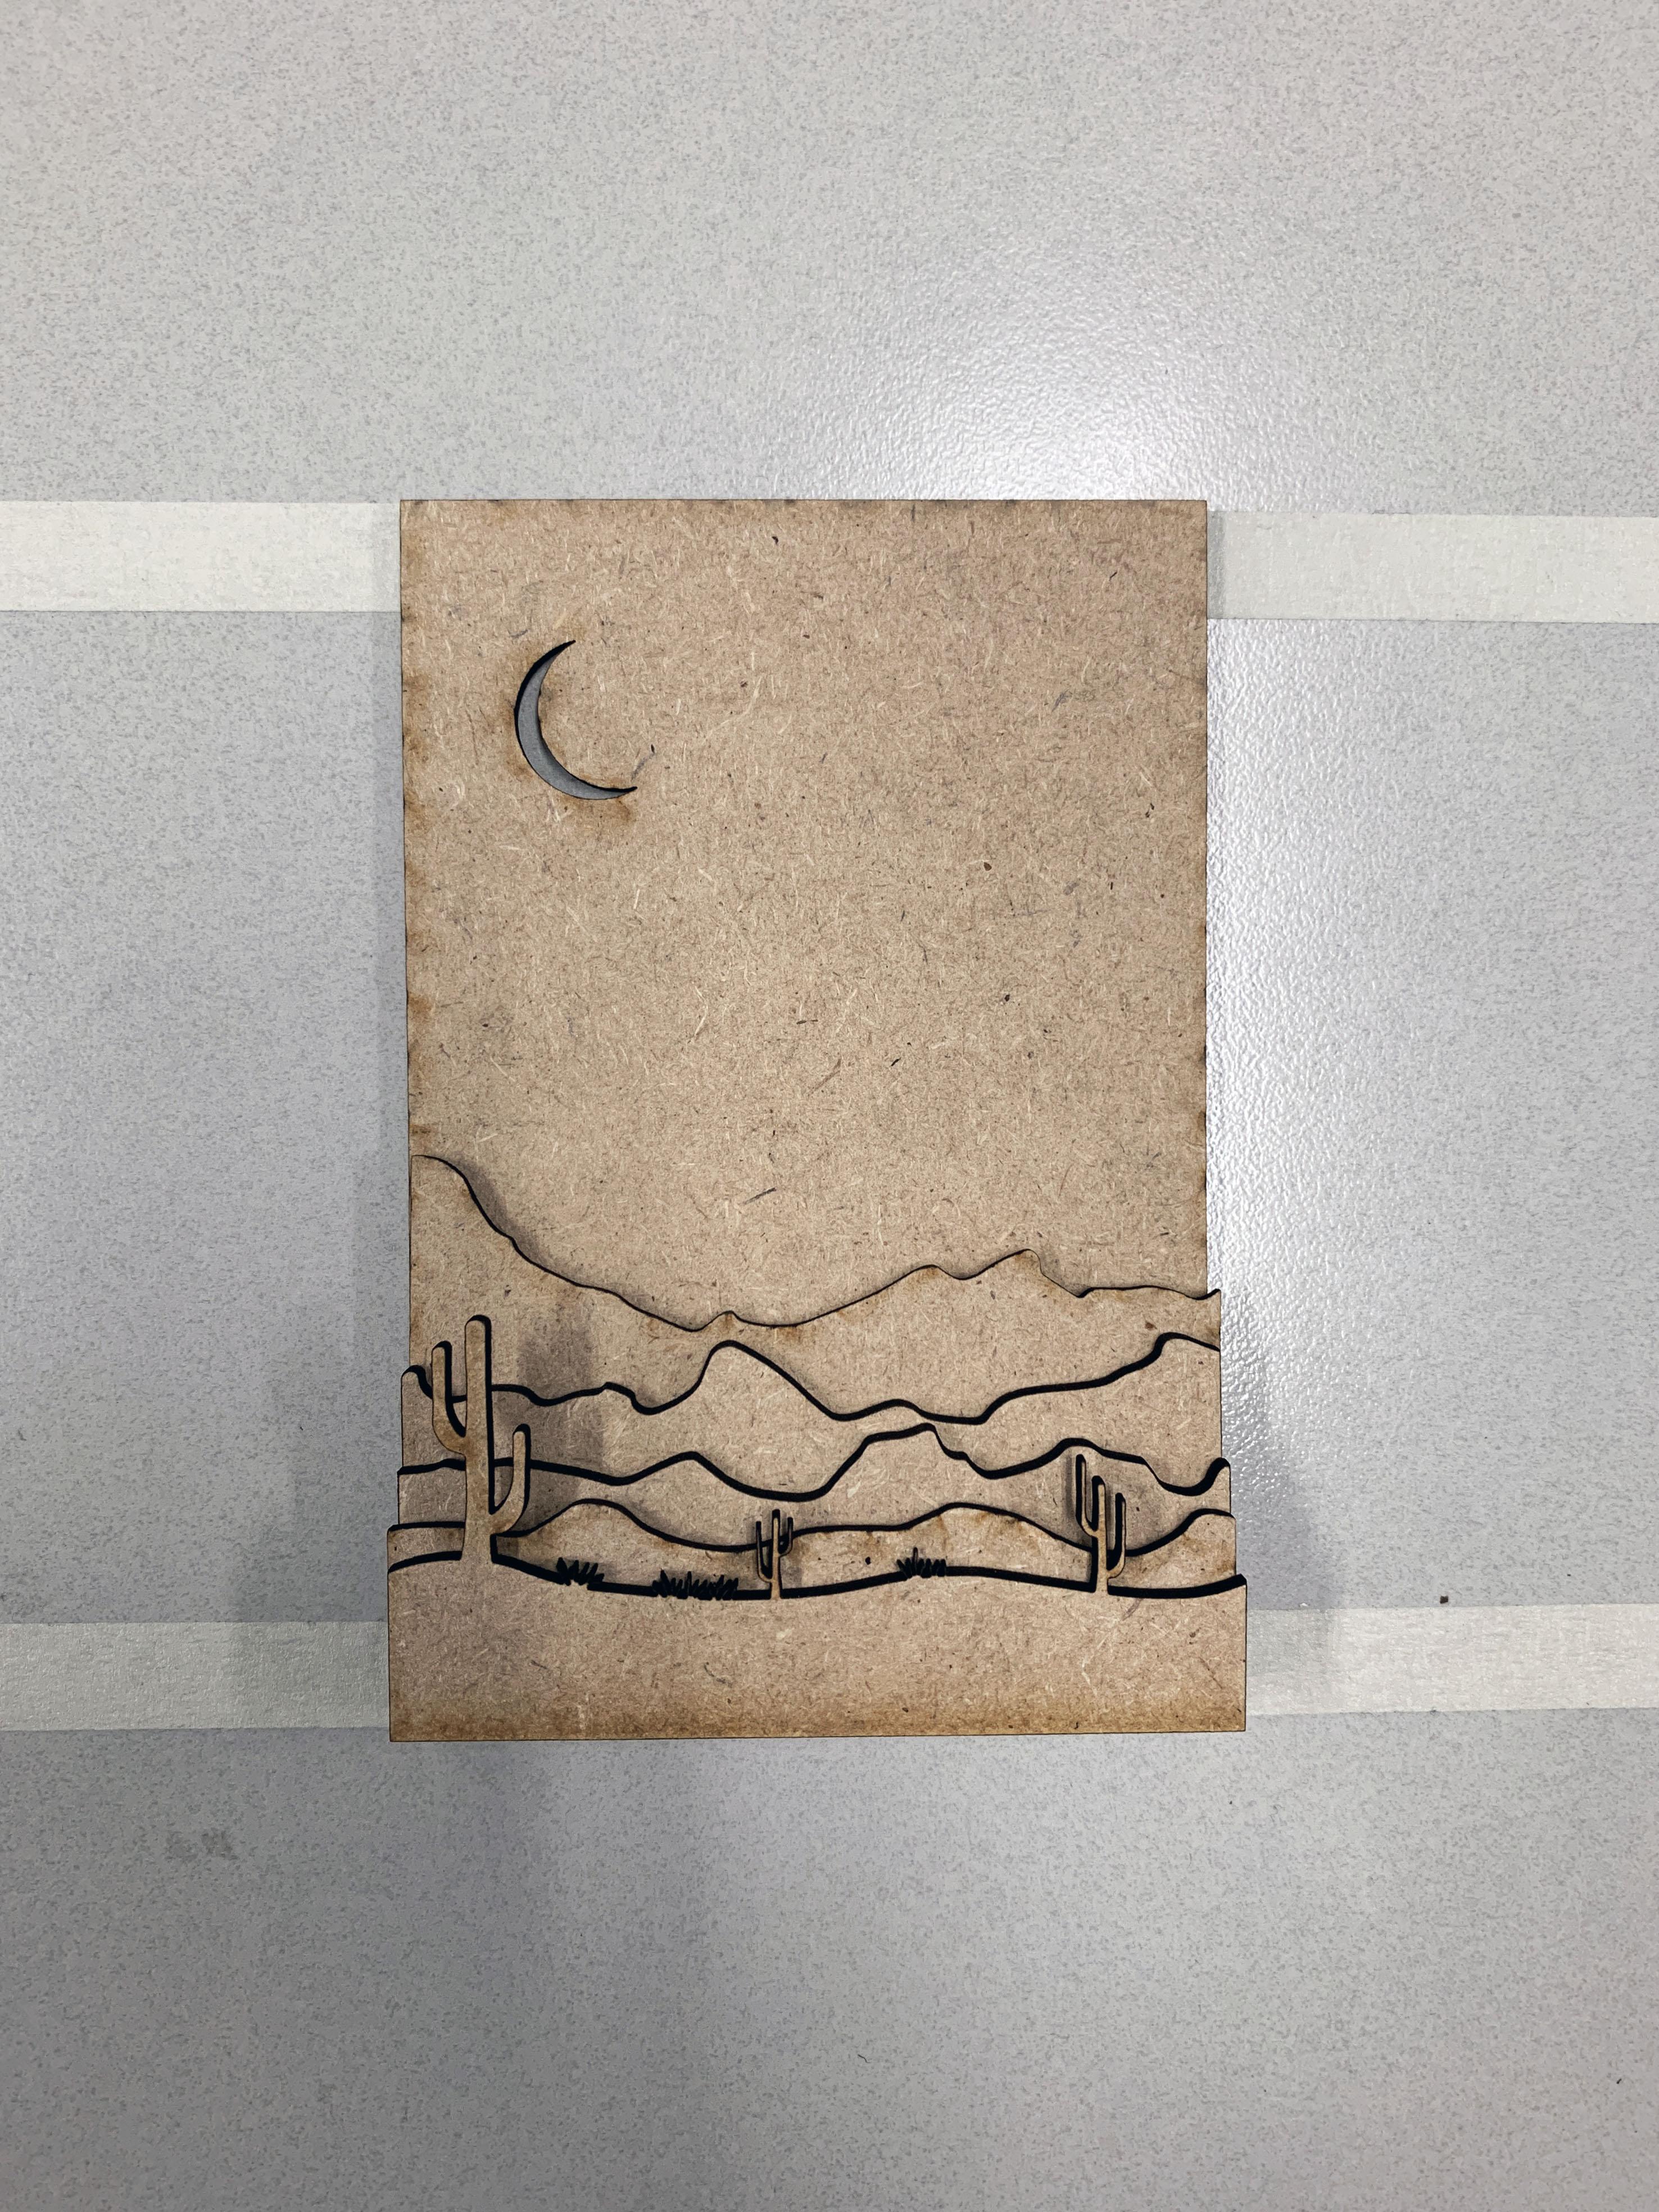
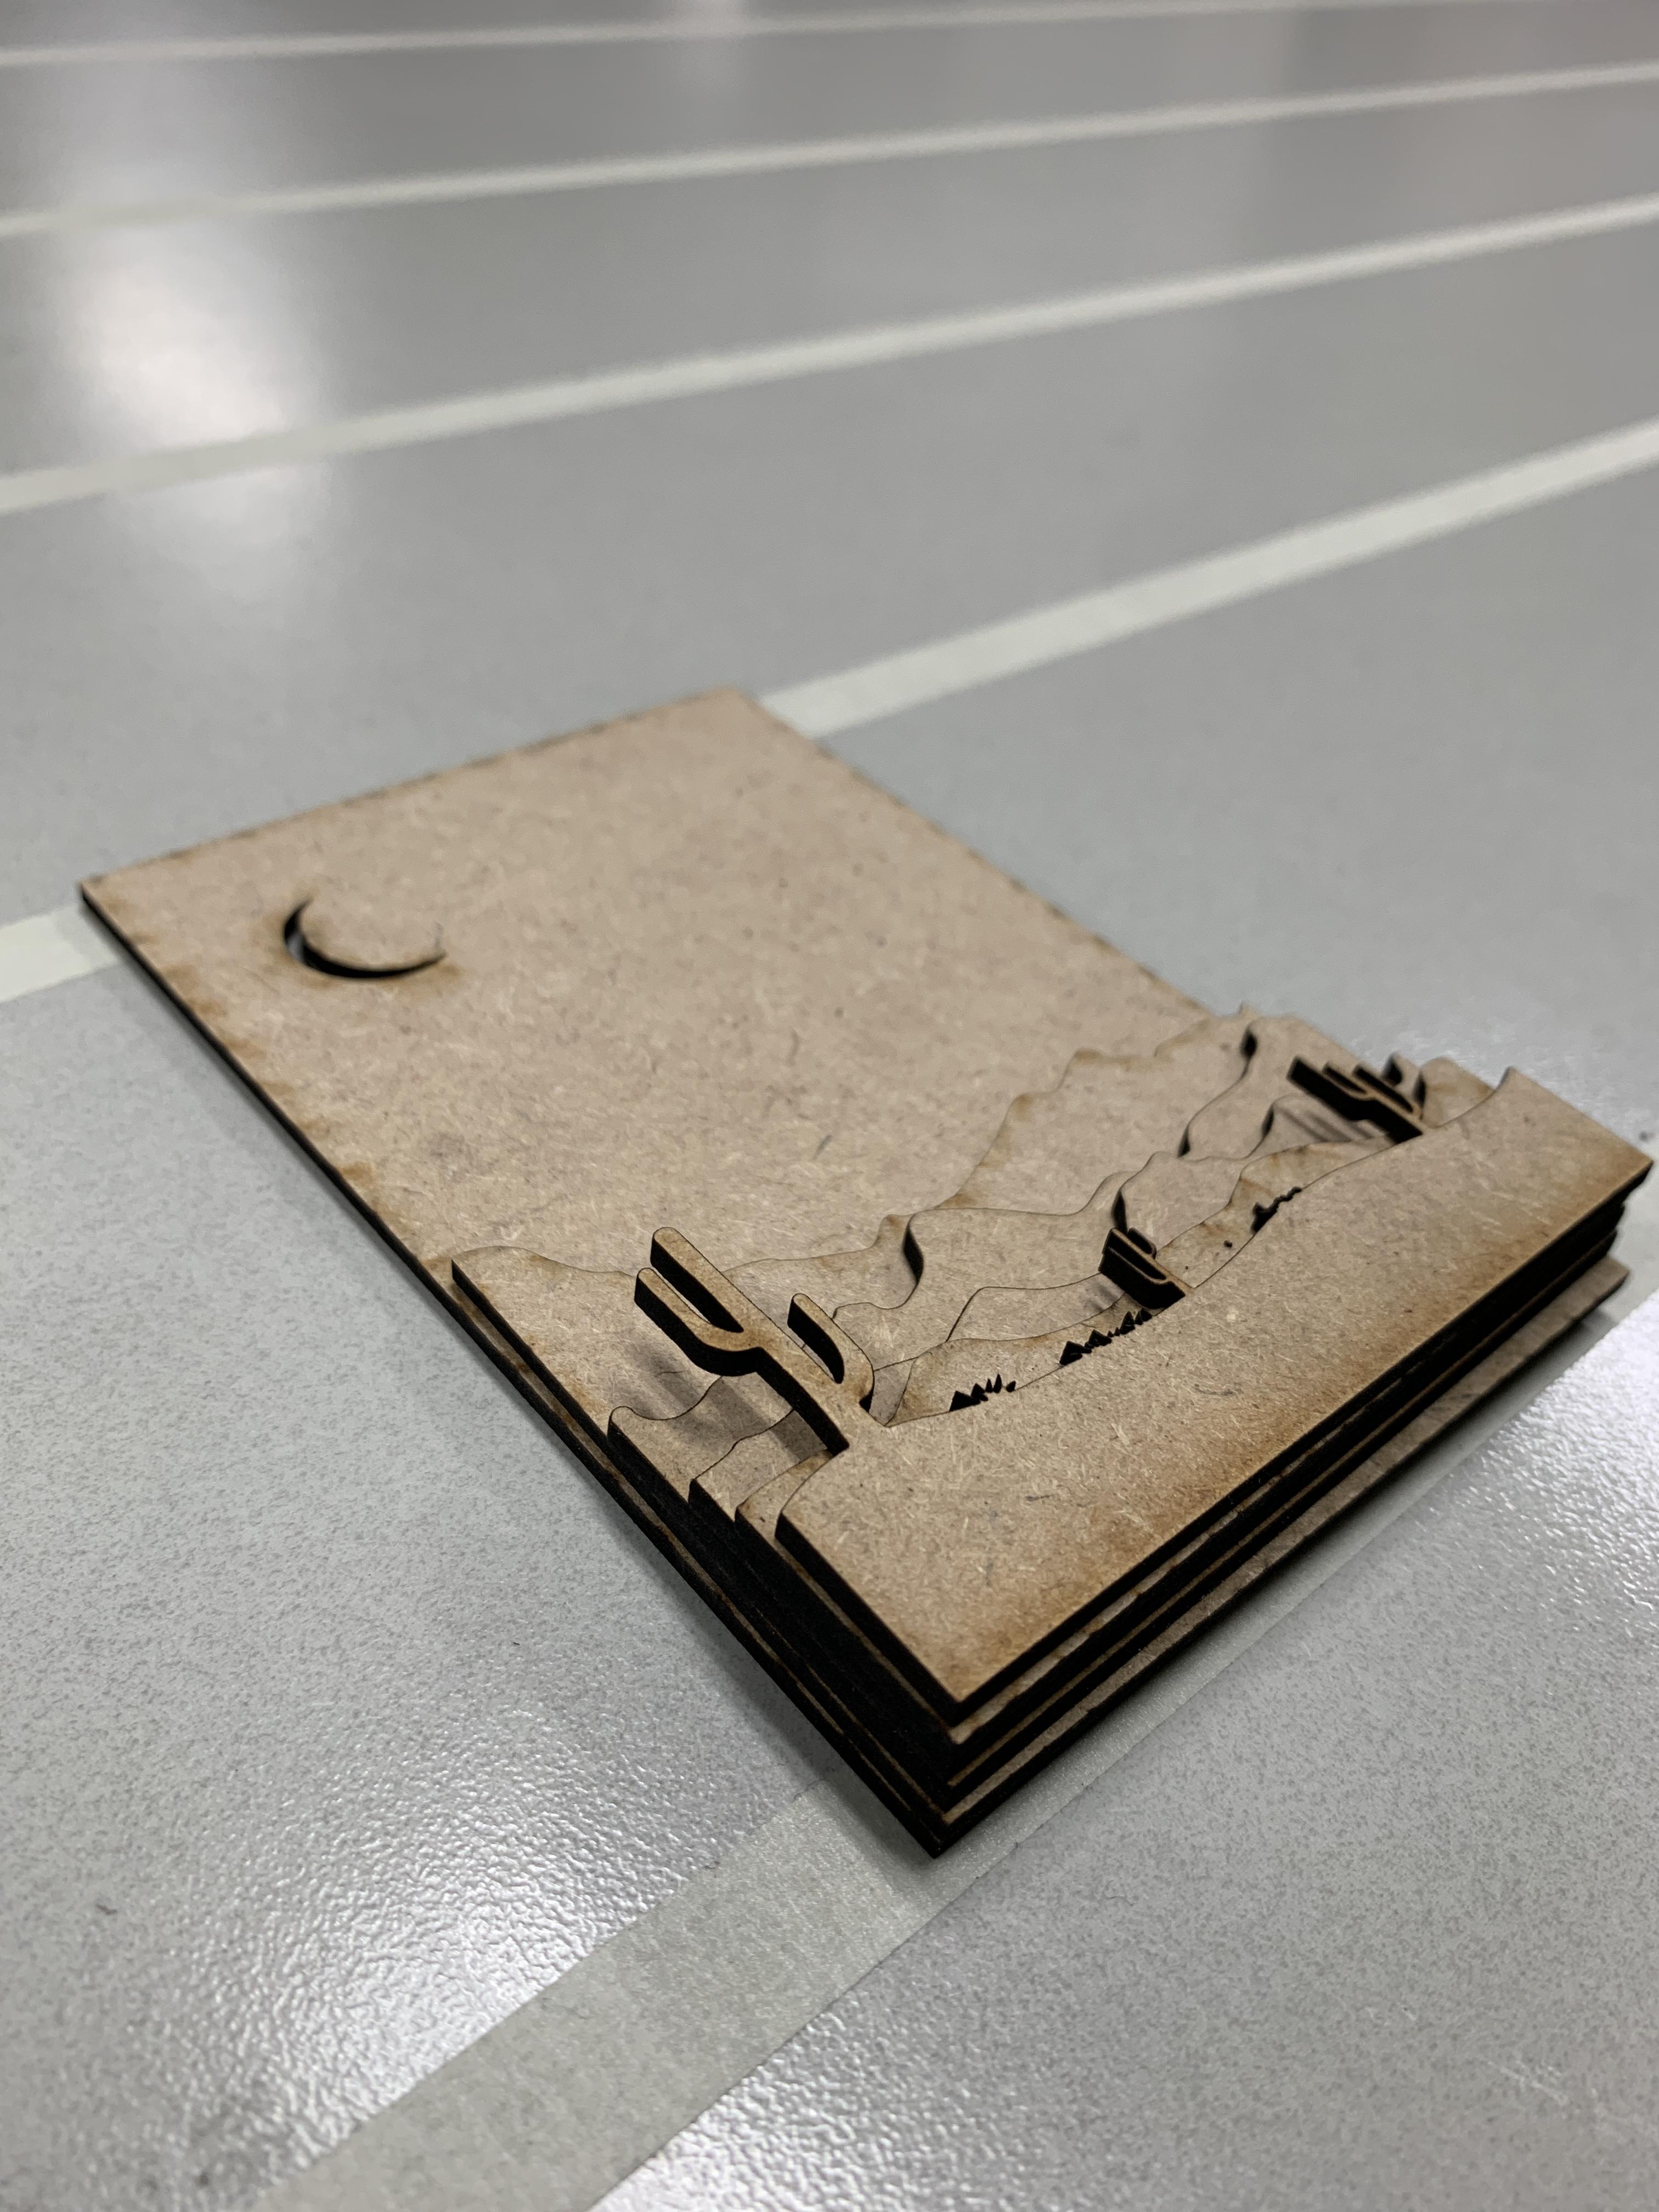
In this project, I created a Layered Landscape using the Glowforge Laser Cutter. This is the second version of the landscape after creating it in paper. Check out that tutorial HERE. I fabricated the landscape out of 2.8mm MDF This was an example project for my HS Digital Fabrication course for studnets to follow as they create their own Layered Landscapes.
Save As SVG
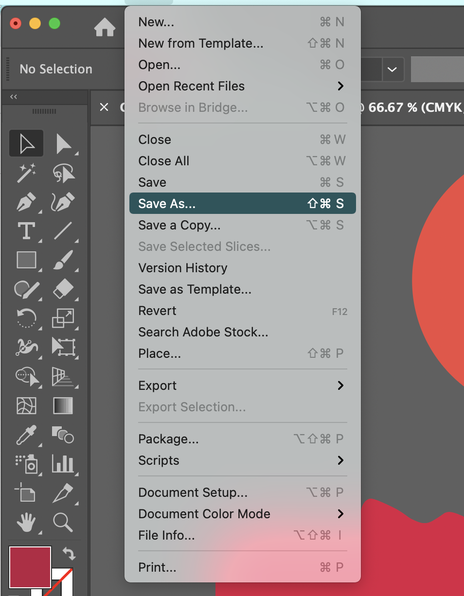
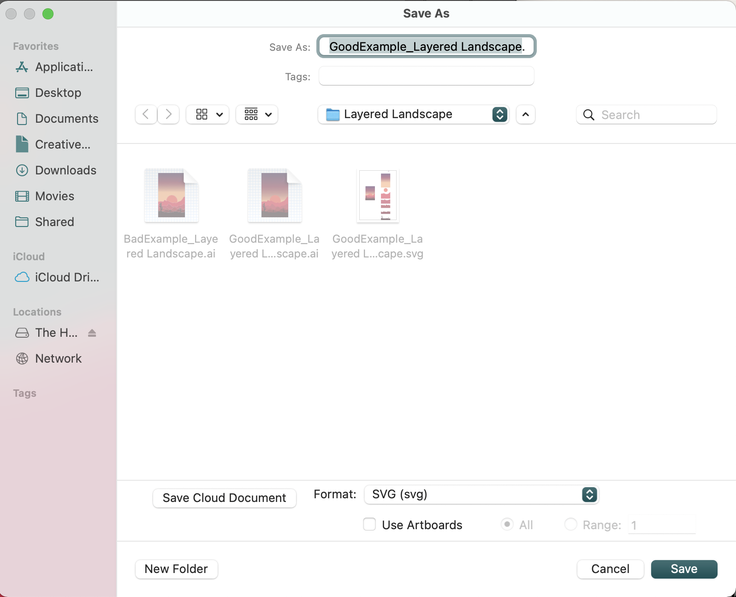
In Illustrator, press File > Save as. . .
Save the drawing as an SVG file (this is the vectorfile type that the Glowforge needs)
Pro Tip:
Take some time in Illustrator to organize your layers. This can be helpful to you as you manipulate the drawing in the Glowforge app.
In particular, separate each vector into one of 3 layers: CUT, SCORE, and ETCH. You can even color each layer in different ways to eunsure your project will come out right.
Check out the attached PDF for more.
Downloads
Upload to Glowforge
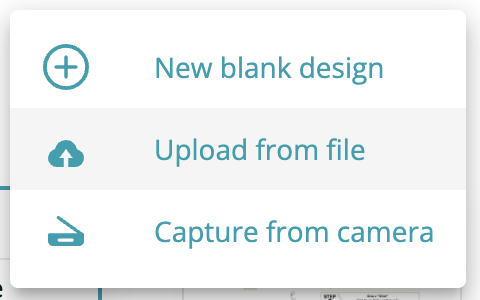
Go to app.glowforge.com and log into your account.
Press "Create" to make a new design and upload your SVG file.
Organize Your Layers
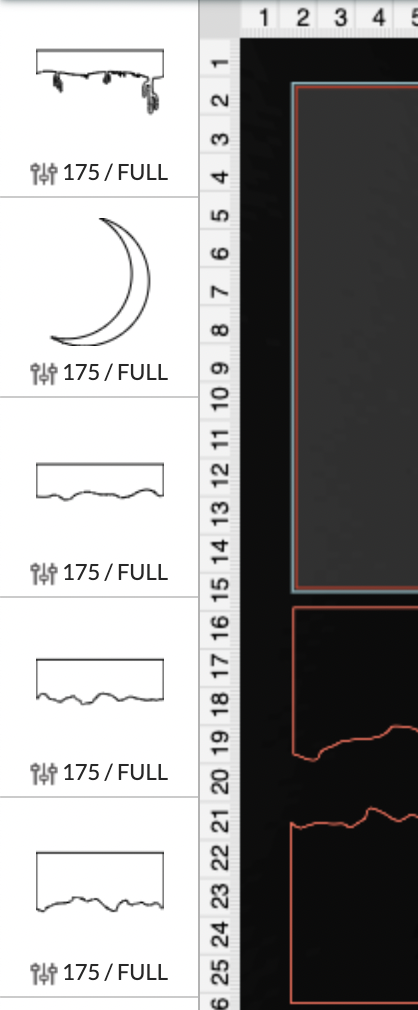

You need to tell the laser what to do with each vector line.
Select the vector shape in your layers panel on the left side of your screen. Then choose which action you want the machine to preform.
- CUT : Will cut the piece out of the material. MUST BE A CLOSED VECTOR
- SCORE : Traces vector line and darkens material
- ETCH : Darkens entire FILL area of drawing. MUST BE A CLOSED VECTOR
Repeat this for all of your vector shapes.
Chage the Laser Settings
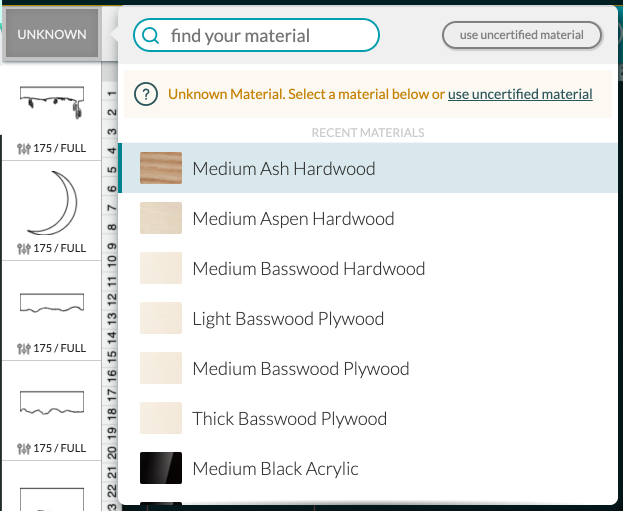
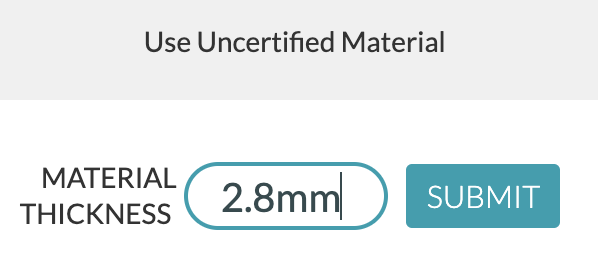
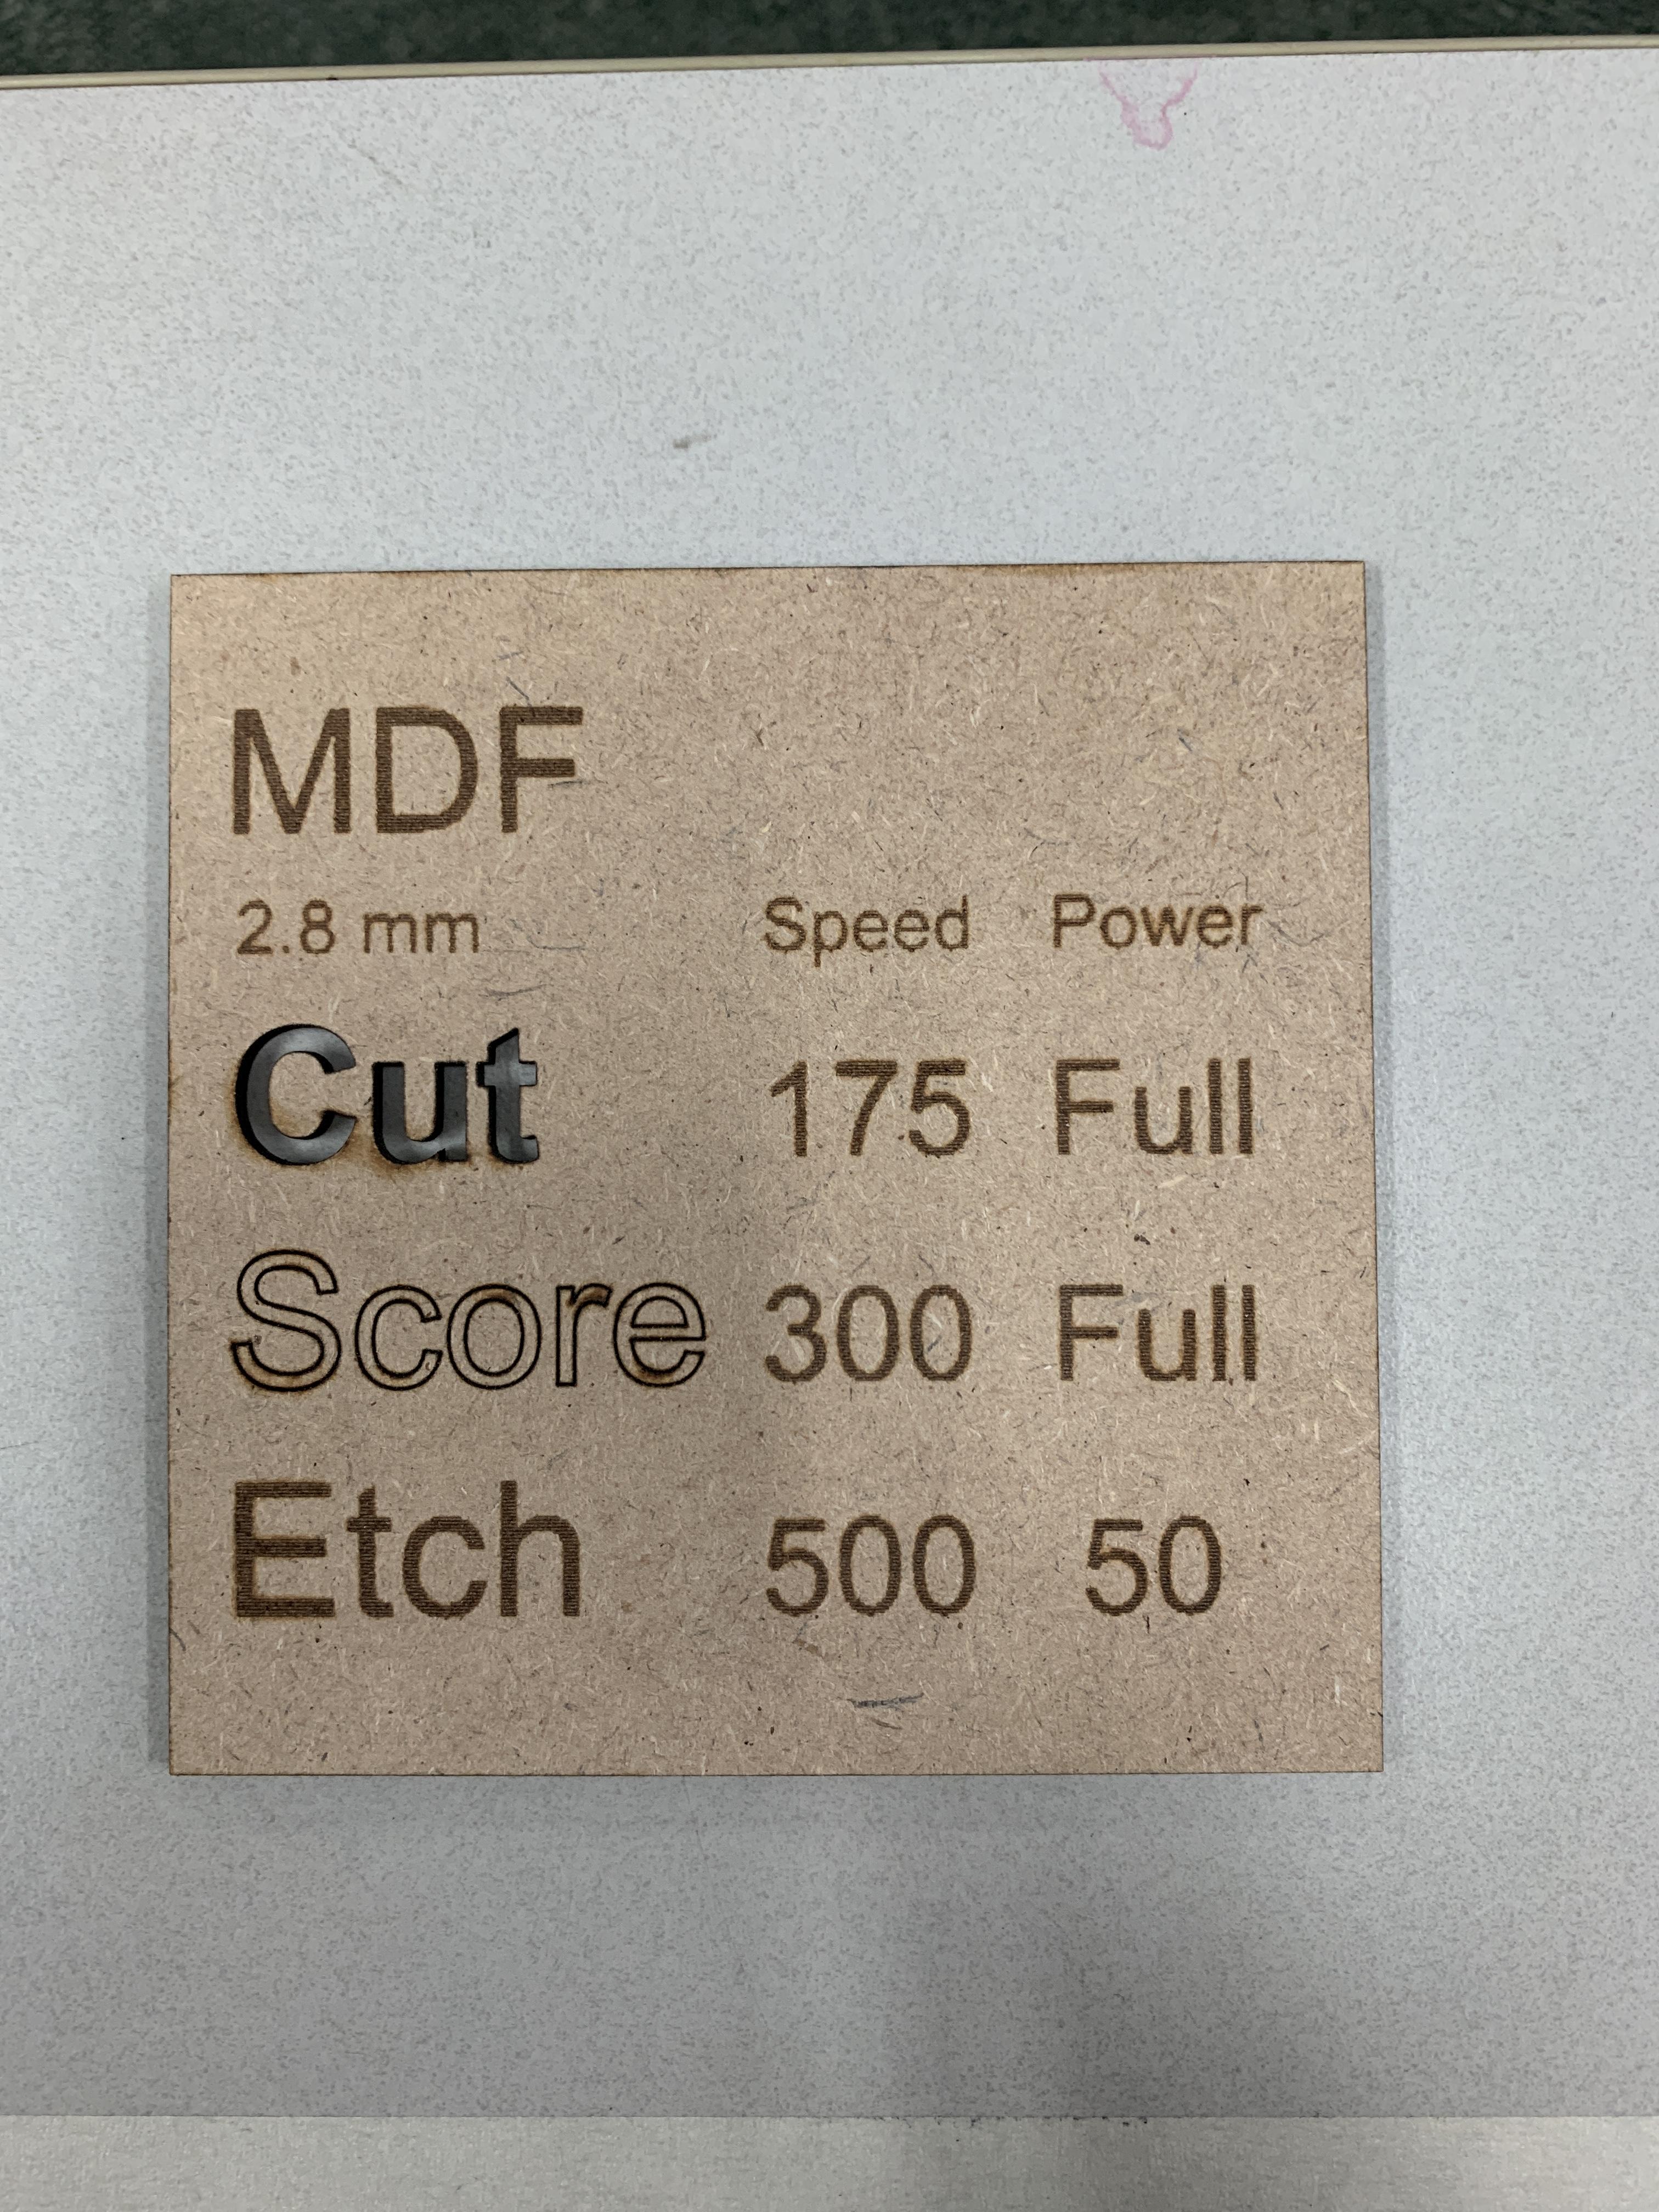

First, set the material thickness to 2.8mm.
Select the vector shape in your layers panel on the left side of your screen. Start with each shape to be CUT.
Select the Manual Settings option and type in the Speed and Power settings for a CUT operation.
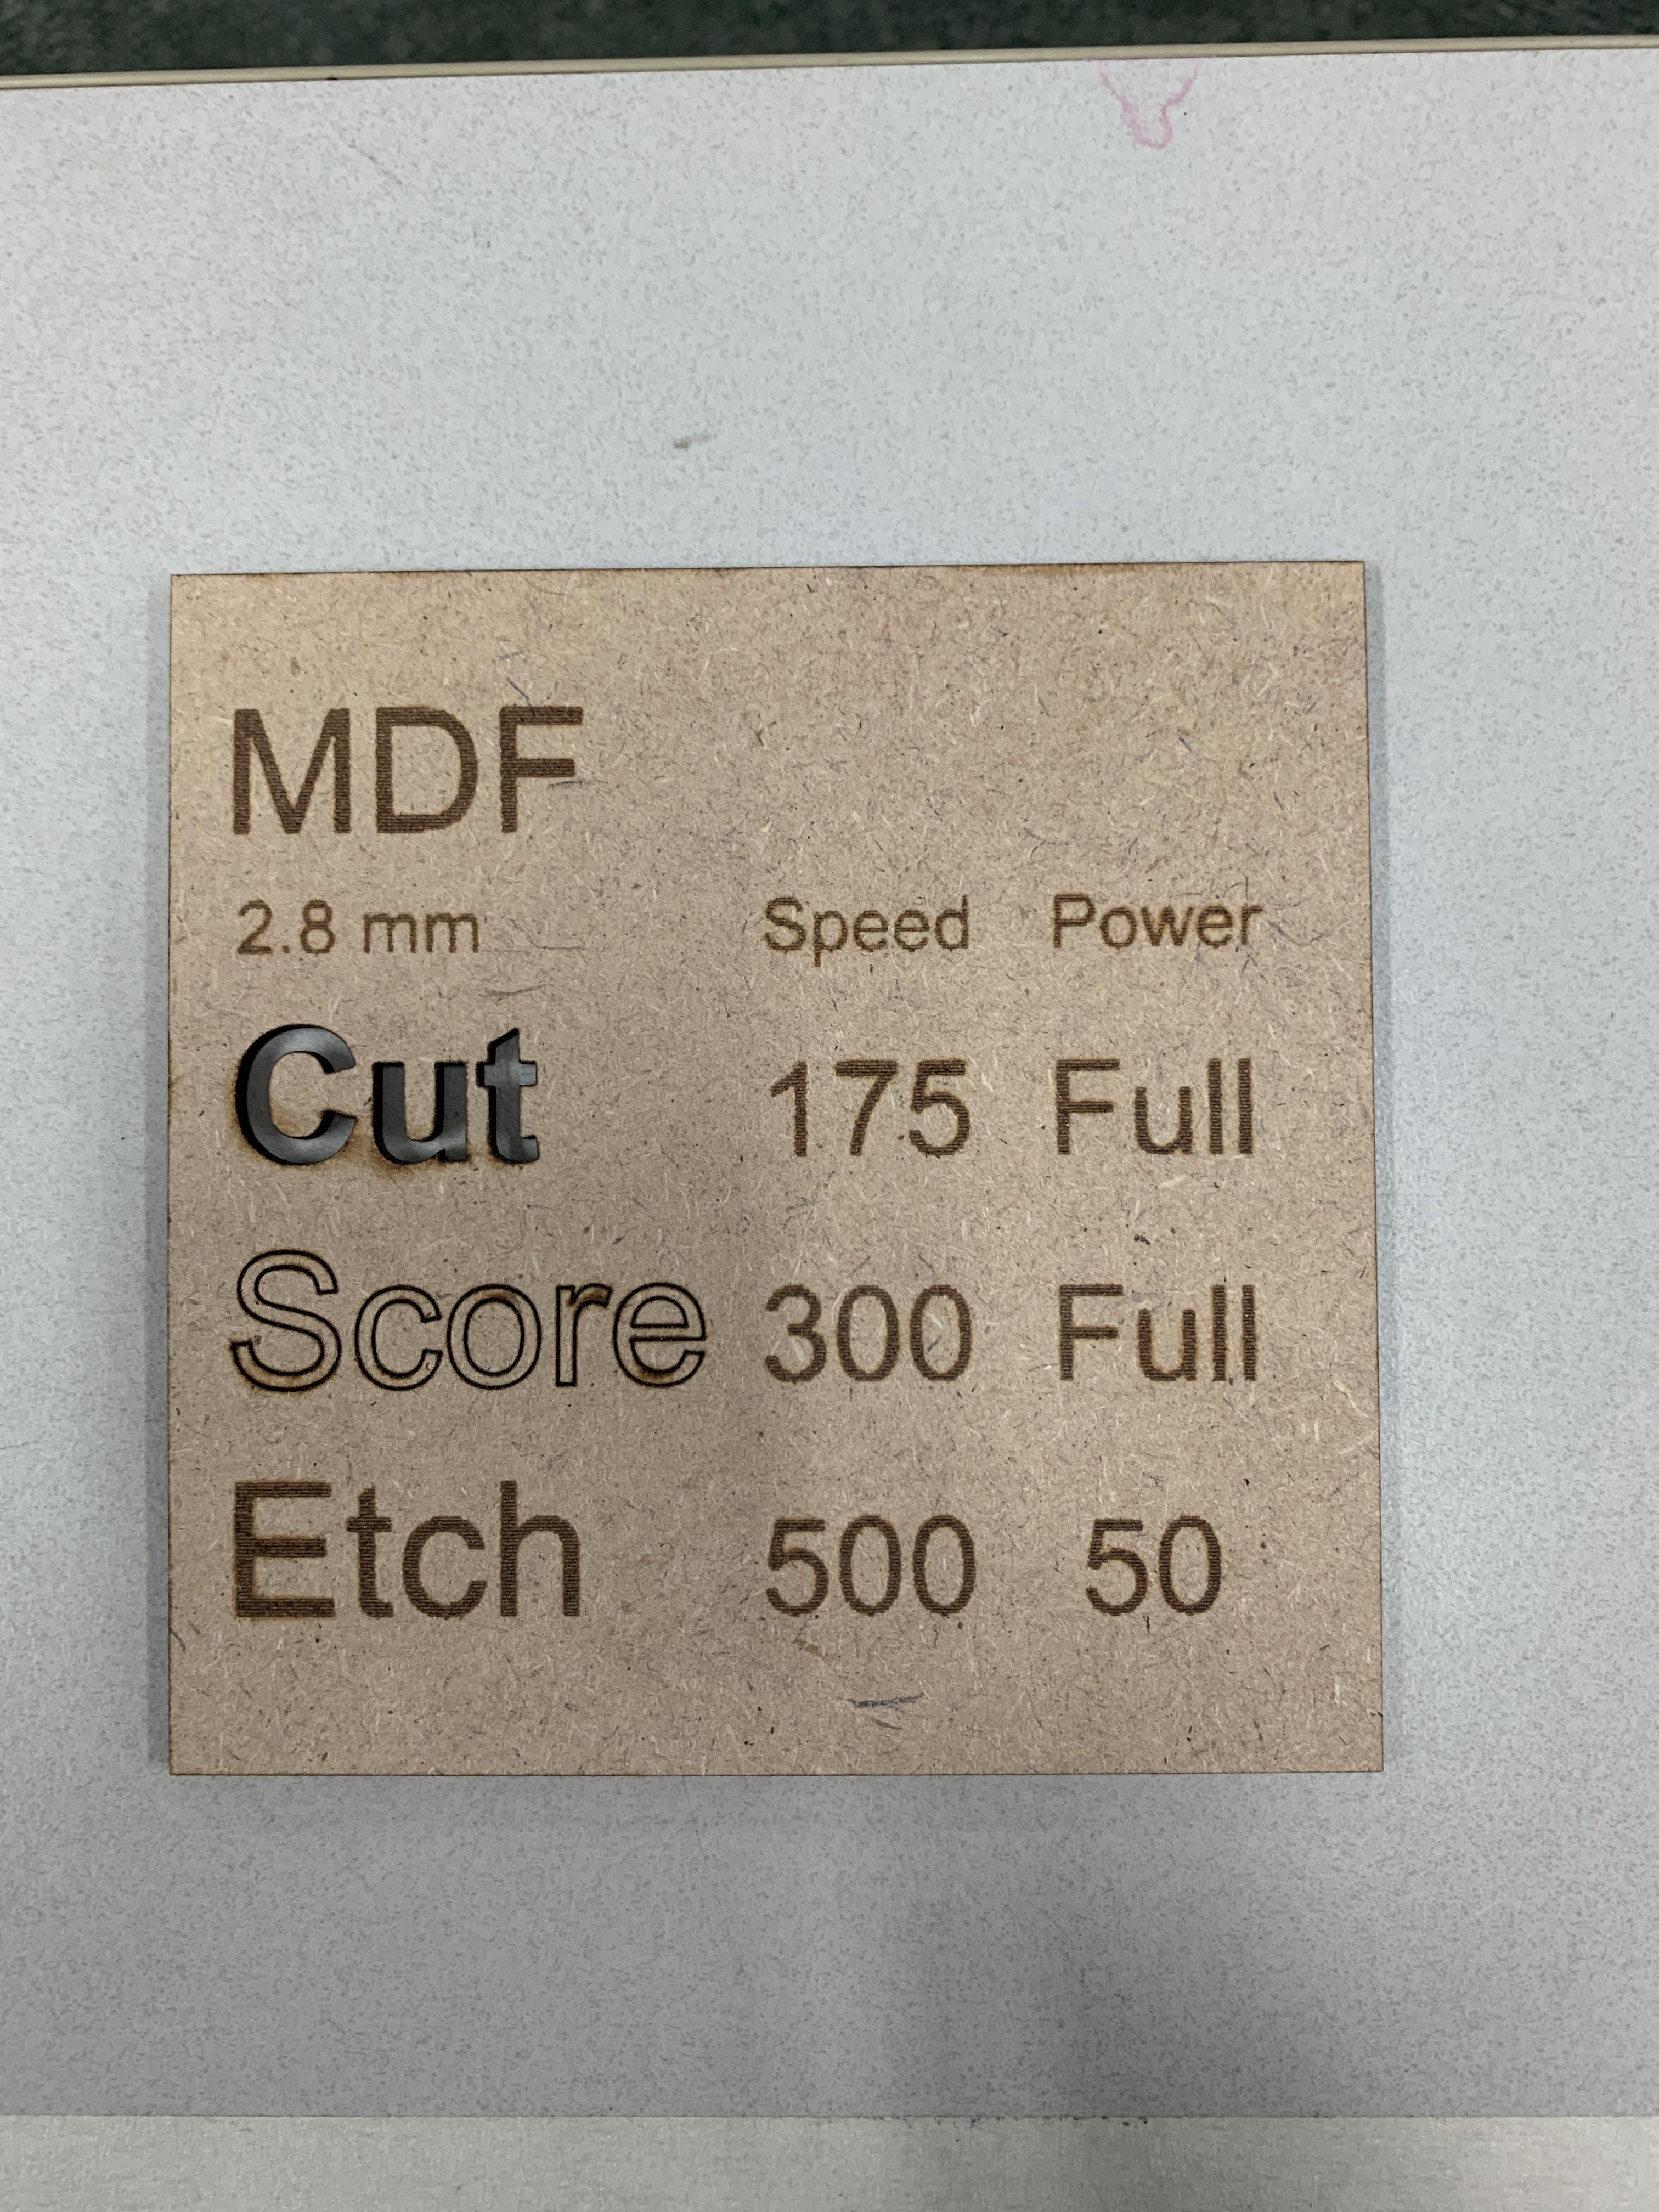
- CUT Speed : 175
- CUT Power : Full
Repeat this for the SCORE and ETCH operations, using the image above with settings.
Prepare the Material
Once the Glowforge settins are ready, select the sheet of material for the laser cutter.
Pro Tip
You can add tape to the surface of the material to avoid burn marks. This can cause the SCORE and ETCH to be lighter than without tape so you may need to increase the power or decrease the speed.
Load the Machine and Cut

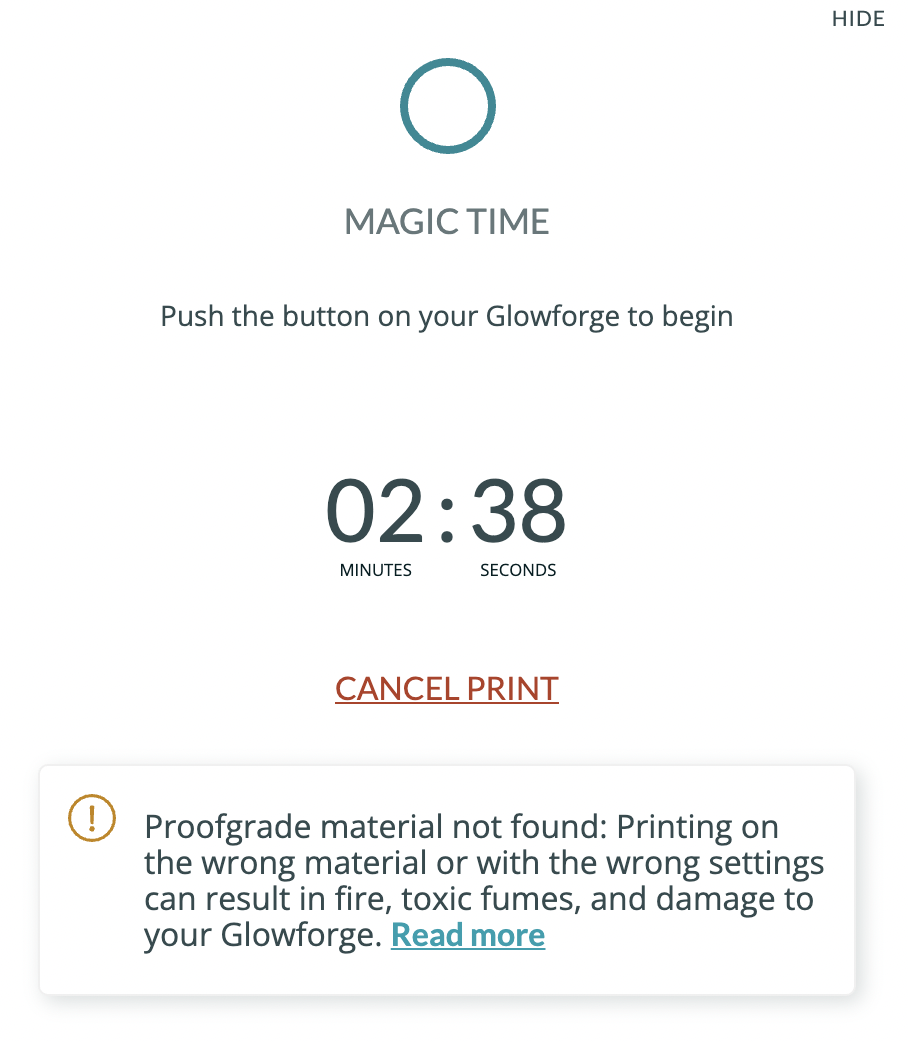
Load the material into the machine, aligning it with the edge guides of the crumb tray.
Press the print button on your Glowfore app and wait for the machine to prepare the cut.
Once the button on the Glowforge Machine glows white, you are ready to cut. Press the button and watch the magic happen.