Latest MacOS/Hackintosh High Sierra 10.13 Usb Wifi Driver "Future Proof" Solution Using Raspberry Pi
by AlanA131 in Circuits > Raspberry Pi
6389 Views, 2 Favorites, 0 Comments
Latest MacOS/Hackintosh High Sierra 10.13 Usb Wifi Driver "Future Proof" Solution Using Raspberry Pi

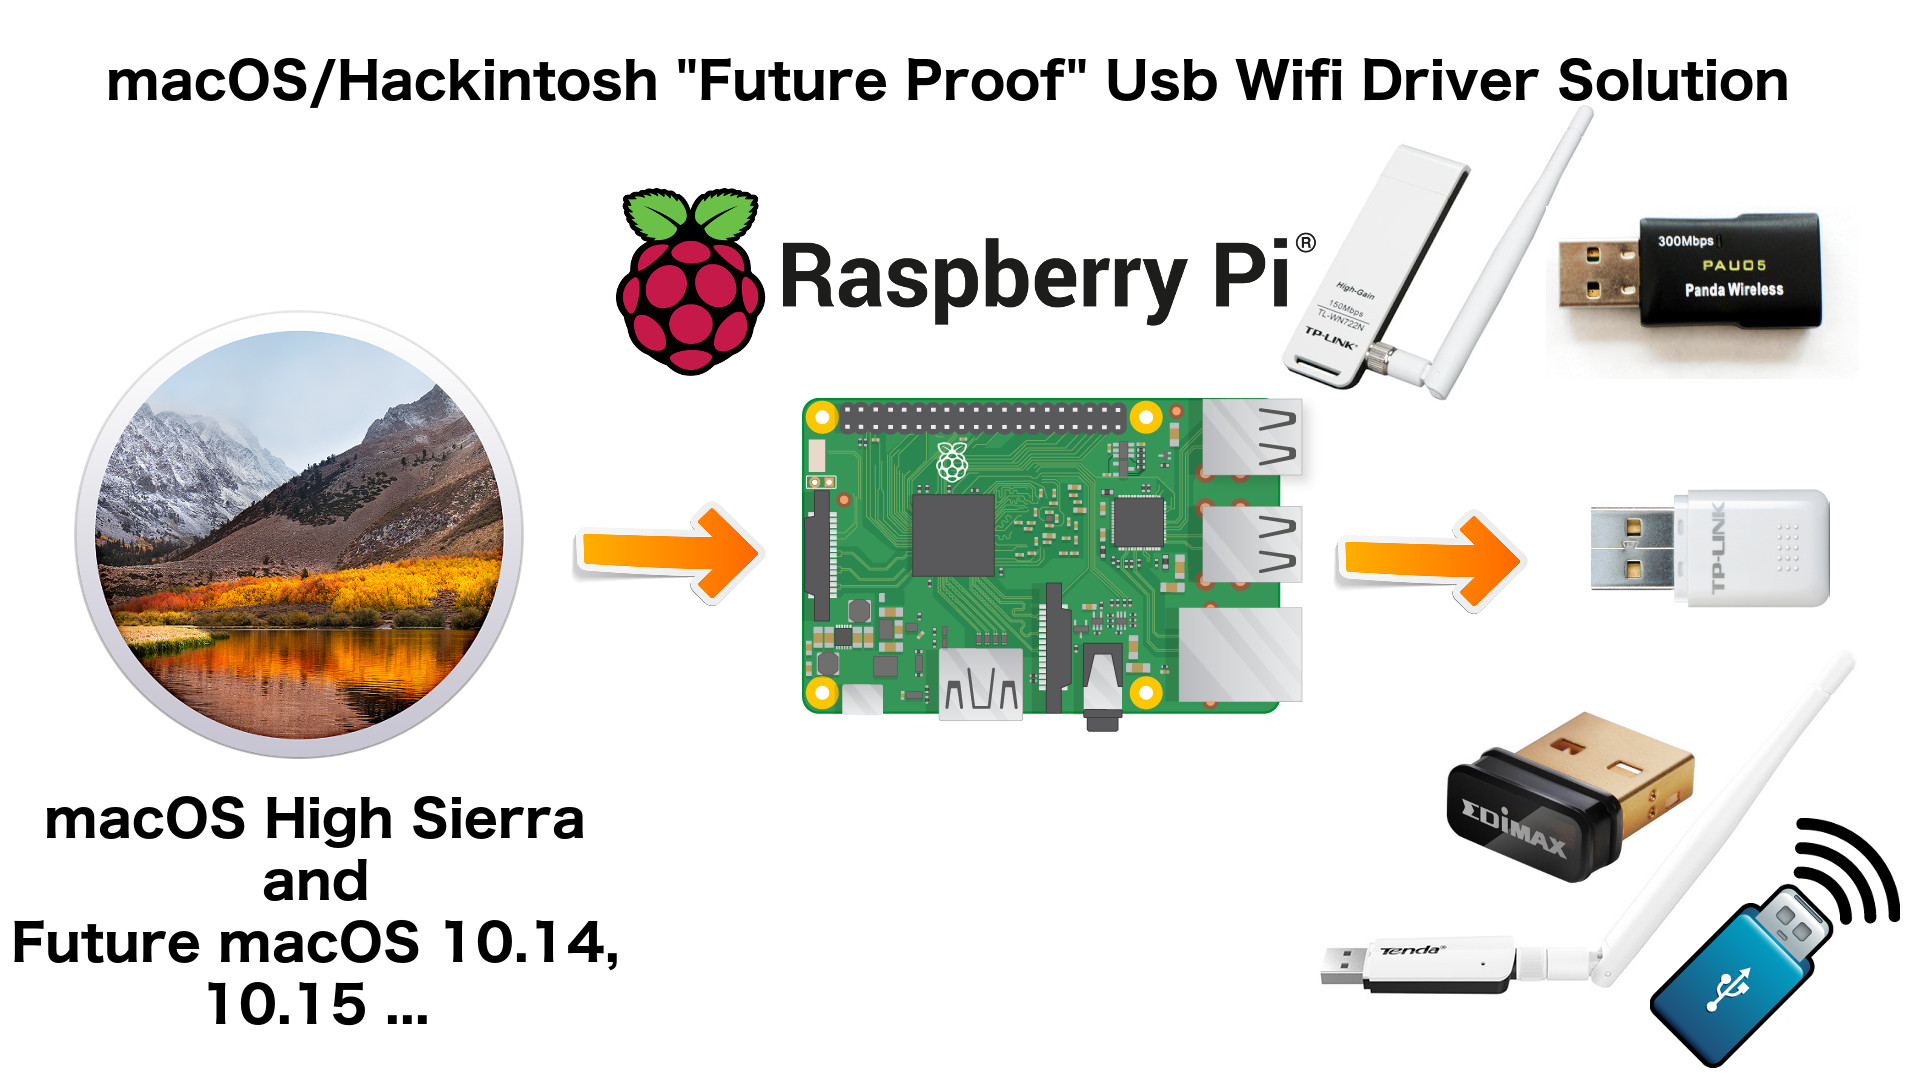
One of the most frustrating problem with the latest macOS/Hackintosh is the usb wifi driver availability.
I have 3 wifi usb non of them work on the latest macOS High Sierra 10.13
My latest usb wifi is panda wireless however the driver support for macOS High Sierra 10.13 is still "Coming Soon" on their website, which is previously working in macOS Sierra 10.12 with driver support.
Today I discover a future proof solution by using my unused old raspberry pi 1, where now I can even used my two old usb wifi and guaranteed to work on future macOS 10.14, 10.15 and so on.
Requirements

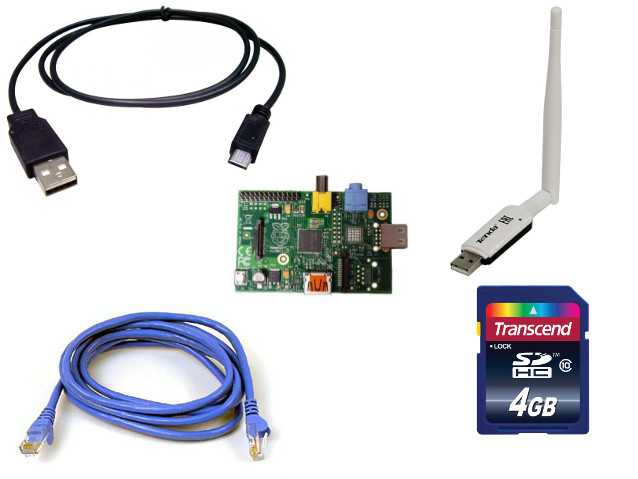
1. macOS or Hackintosh Computer
2. Raspberry Pi
3. SD Card 4 GB or above
4. Lan Cable
5. Usb Wifi (Note: if your using raspberry pi 3 or raspberry pi zero w you don't need this)
6. Power Supply for Raspberry Pi 3 Only
Installing Raspbian on SD Card
Download the image
https://www.raspberrypi.org/downloads/raspbian/
Choose "RASPBIAN STRETCH LITE"
Uncompress the archive
The following zip tools support ZIP64:
* 7-Zip (Windows) -> http://www.7-zip.org/
* The Unarchiver (Mac) -> http://unarchiver.c3.cx/unarchiver
* Unzip (Linux) -> http://www.info-zip.org/mans/unzip.html
Writing an image to the SD card
Etcher is a graphical SD card writing tool that works on Mac OS, Linux and Windows, and is the easiest option for most users. Etcher also supports writing images directly from the zip file, without any unzipping required. To write your image with Etcher:
1. Download Etcher and install it.Connect an SD card reader with the SD card inside.
2. Open Etcher and select from your hard drive the Raspberry Pi .img or .zip file you wish to write to the SD card.
3. Select the SD card you wish to write your image to.
4. Review your selections and click 'Flash!' to begin writing data to the SD card.
Configuration
Below link is the full guide for configuring your raspberry pi
https://pimylifeup.com/raspberry-pi-wifi-bridge/
See It in Action

You can check my video to see it in action