Lasercut Tree Ring Coasters
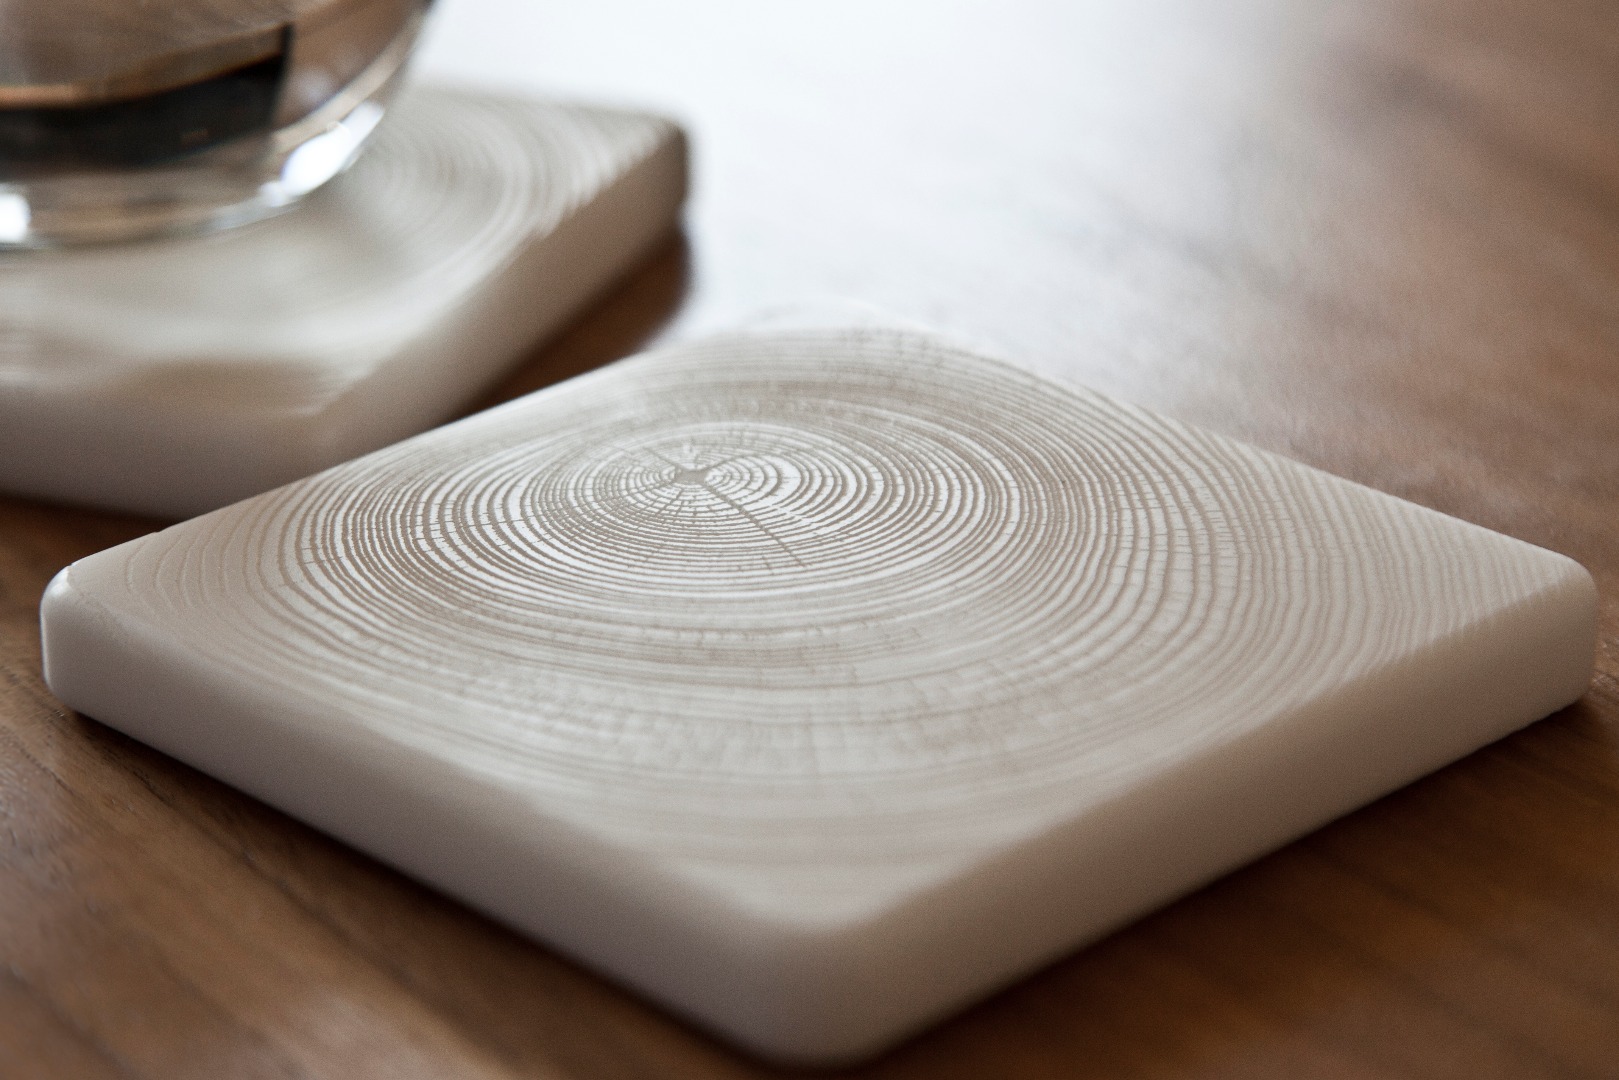
Working at an architecture office, you can amass lots of small samples of various materials. It's a time-honored tradition to put a mug on top of one and call it a coaster, but that would make for a very short instructable. I chose to personalize mine and make then less sample-y by laser-etching tree ring patterns into the surface. The result looks almost like a delicate porcelain casting.
Materials and Tools
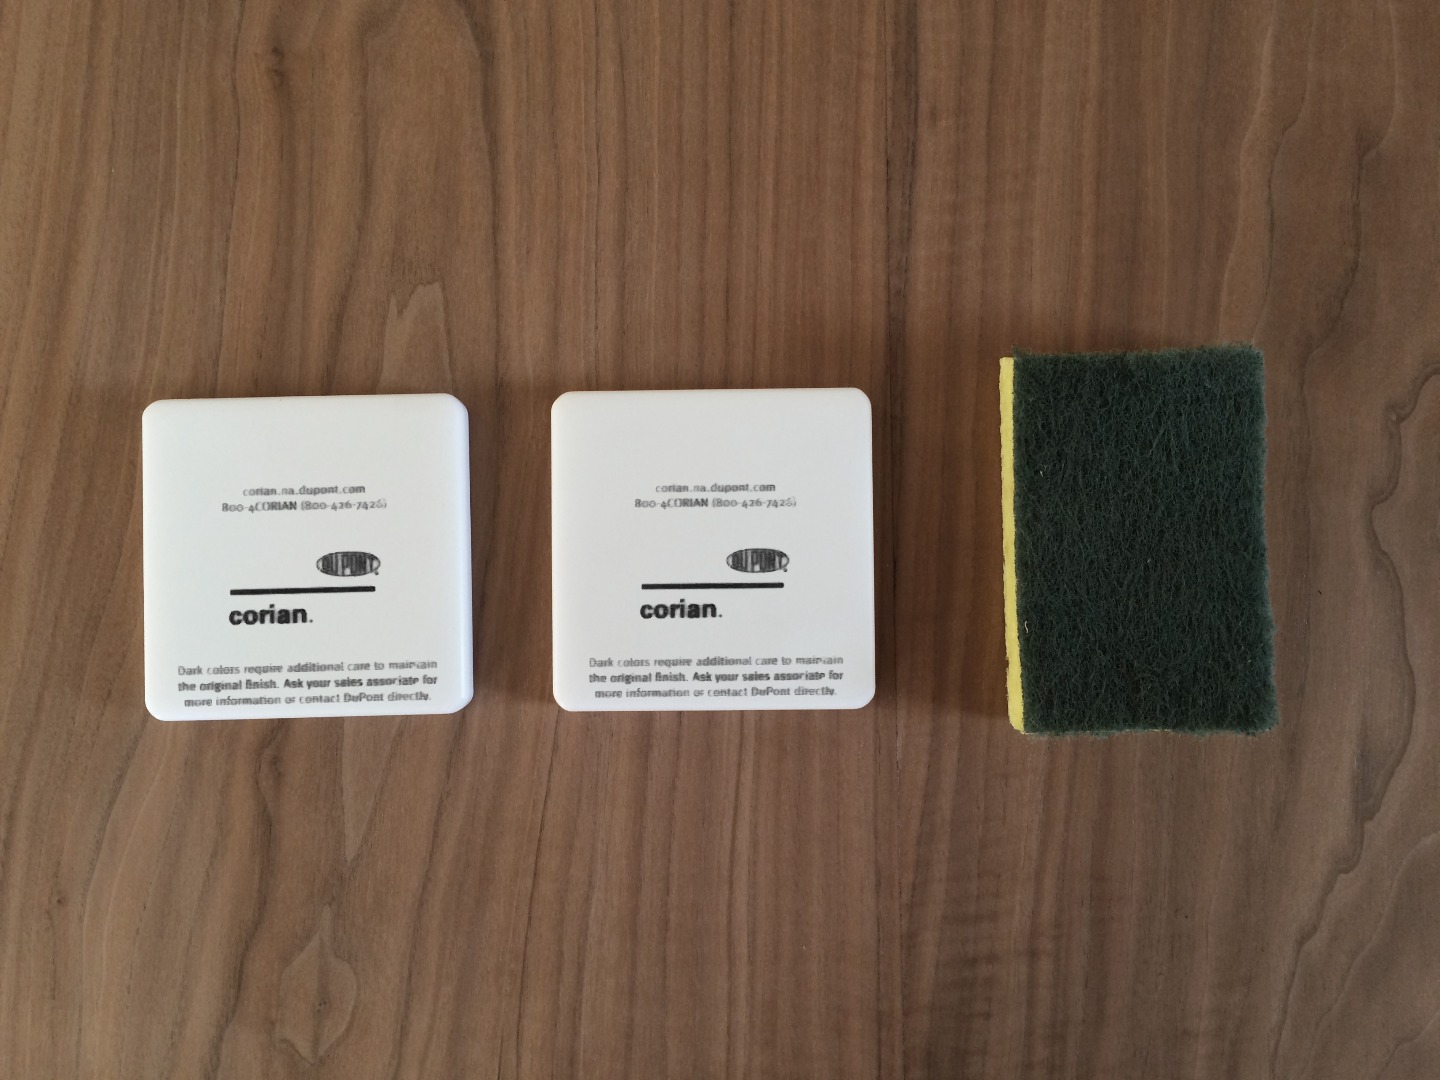
You only need 3 things for this project: Corian samples, the scrubby green side of a sponge, and a laser cutter.
To get the Corian samples, you can either raid an architect's material library or order the samples through Dupont's website. (Hint: if you check the box that asks if they're for a commercial project, they're free....). There's a lot of different samples to choose from, but I went with the ones that are just solid colors. Most of the options have "stone" particles in them and I can't vouch for how those will perform in the laser cutter. I chose various shades of white, but I think the etching will show up much better on darker colors.
Designing the Patterns
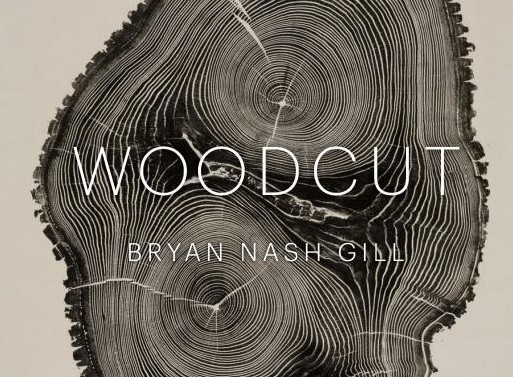
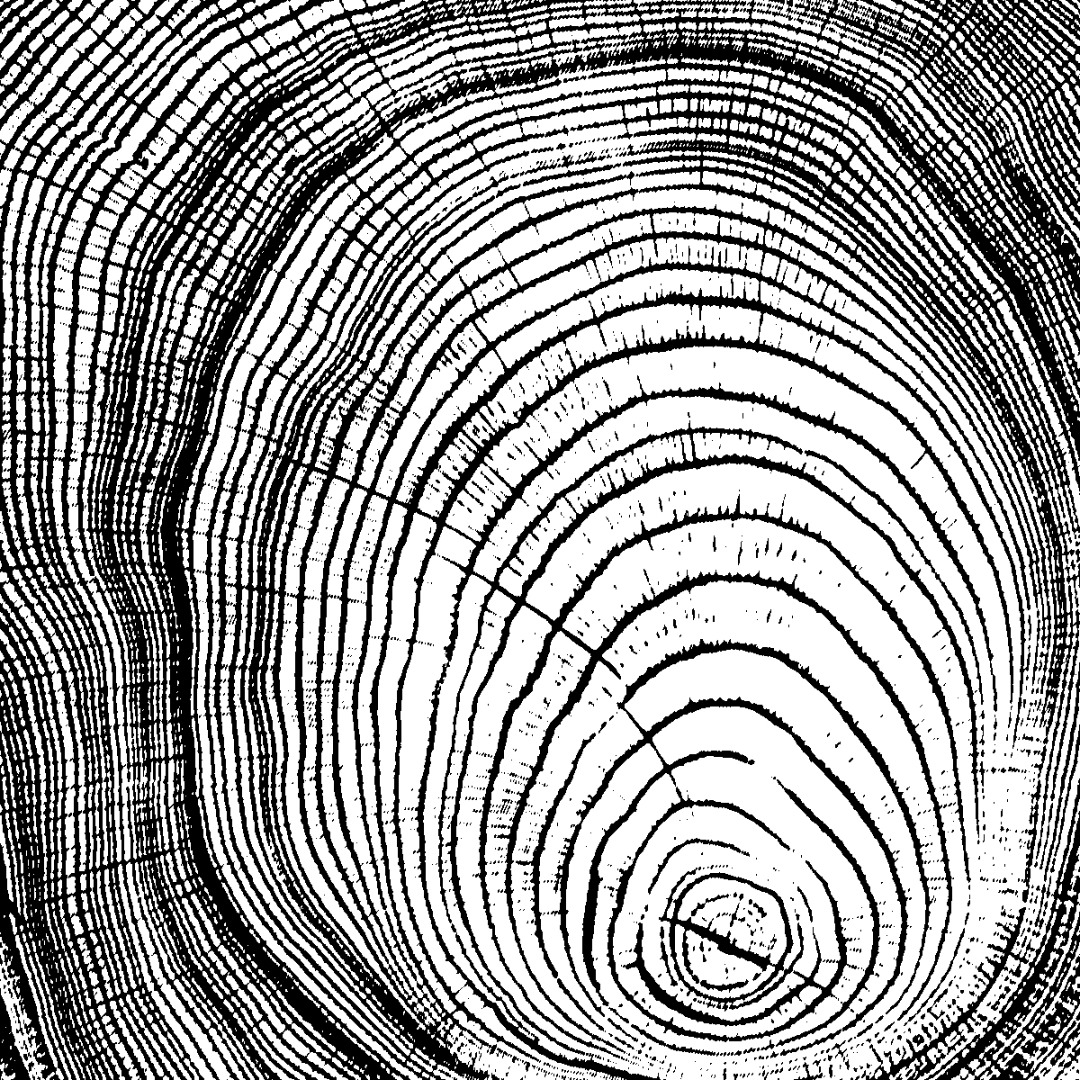
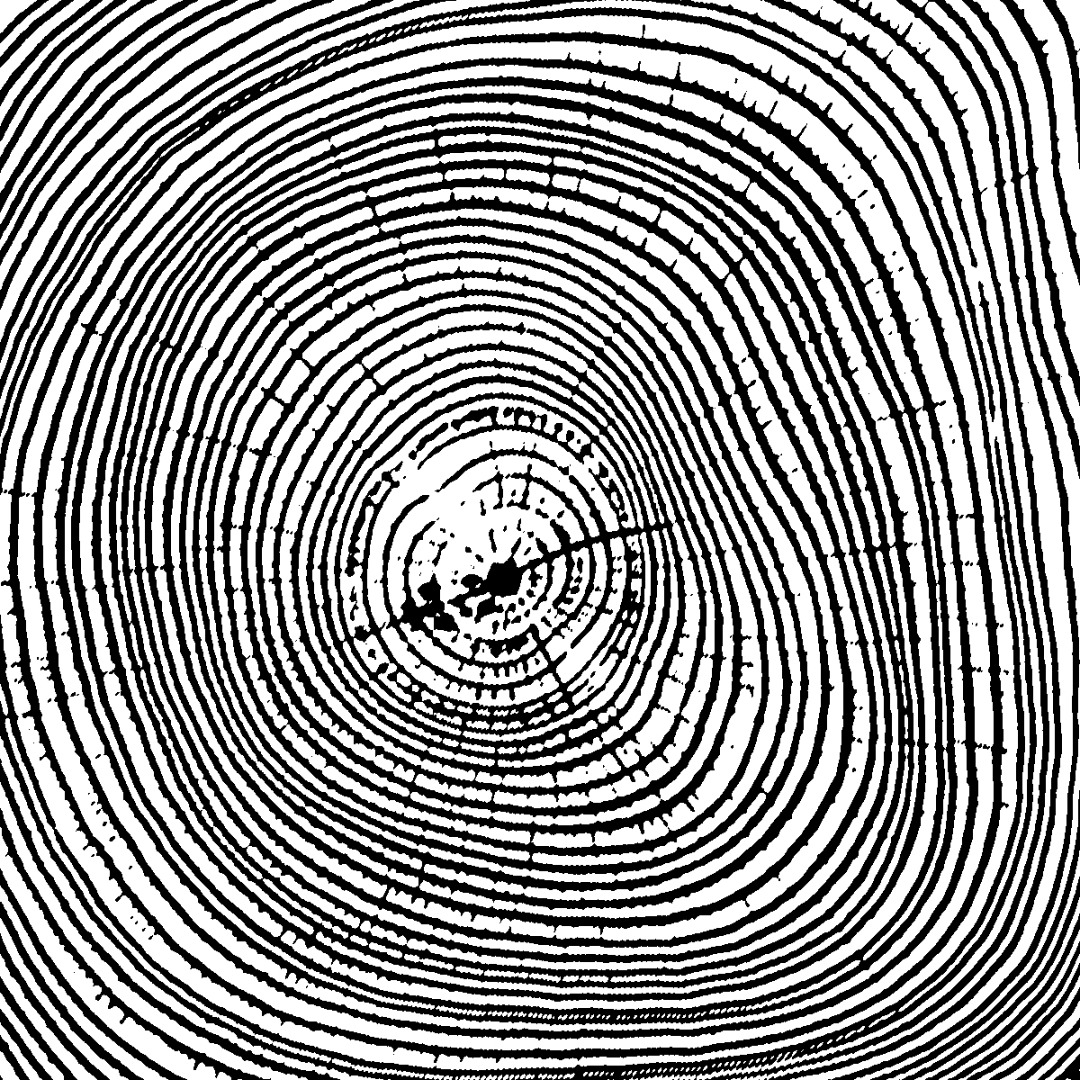
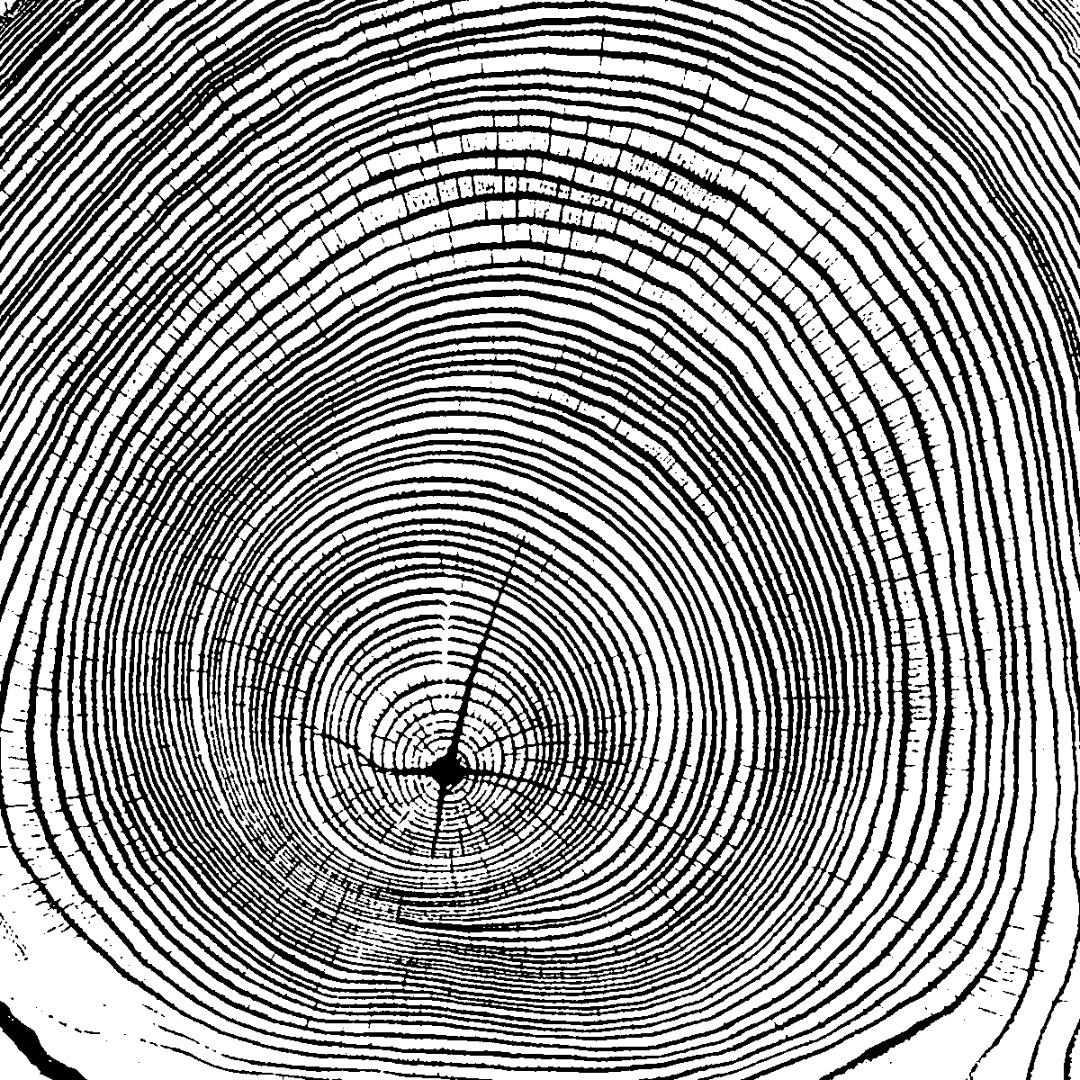
I have a beautiful book called Woodcut, which catalogs the wood prints of Bryan Nash Gill. I turned the prints of tree rings from the book into raster files for laser cutting. If you want to do this with your own images, the process is pretty straight forward:
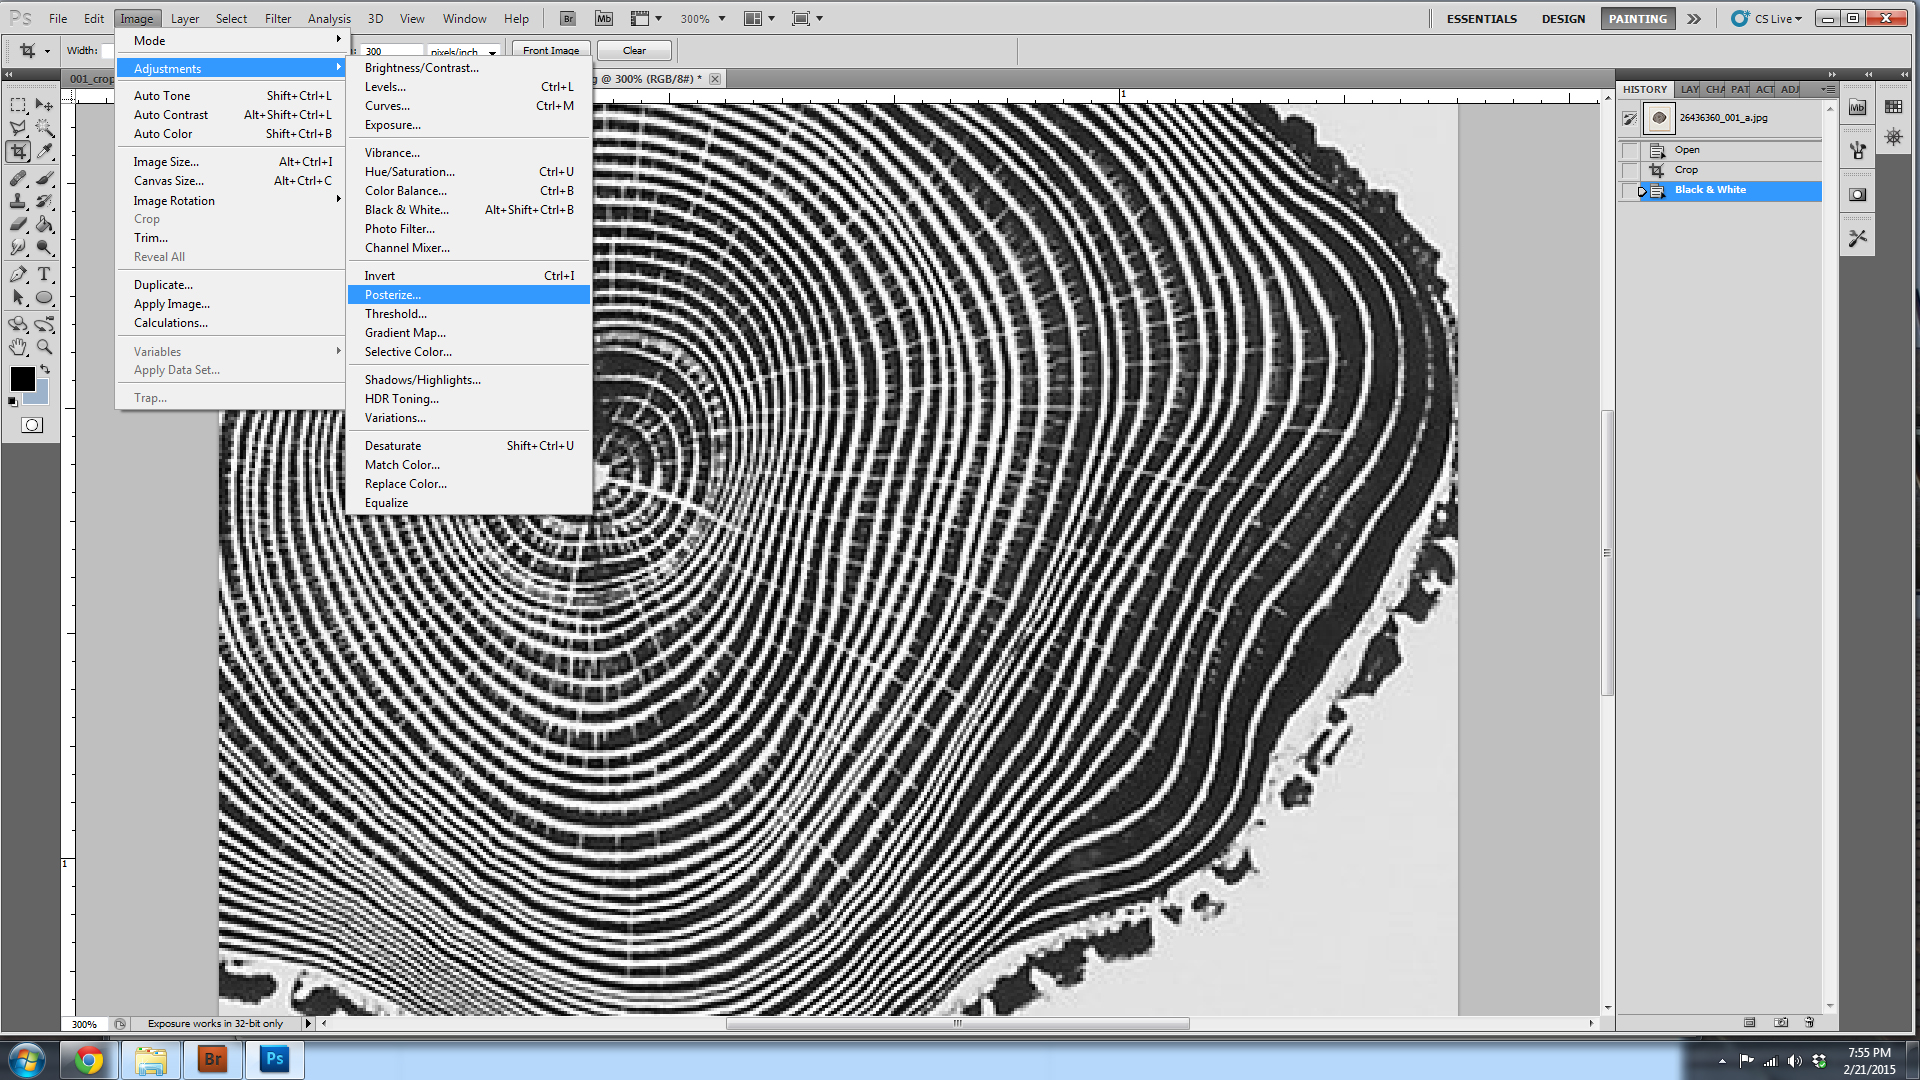
1. Bring the image into Photoshop.
2. Crop the image to the size of the sample, which in this case is 4x4". Make sure you keep it at high resolution to maintain the detail.
3. Make the file black and white. I also inverted the image to make the tree rings black, but this is optional and depends on what part of the image you want etched.
4. Go to Image>Adjustments>Posterize, and set your levels to 2. Everything that's black will be etched.
Prep and Laser Etch
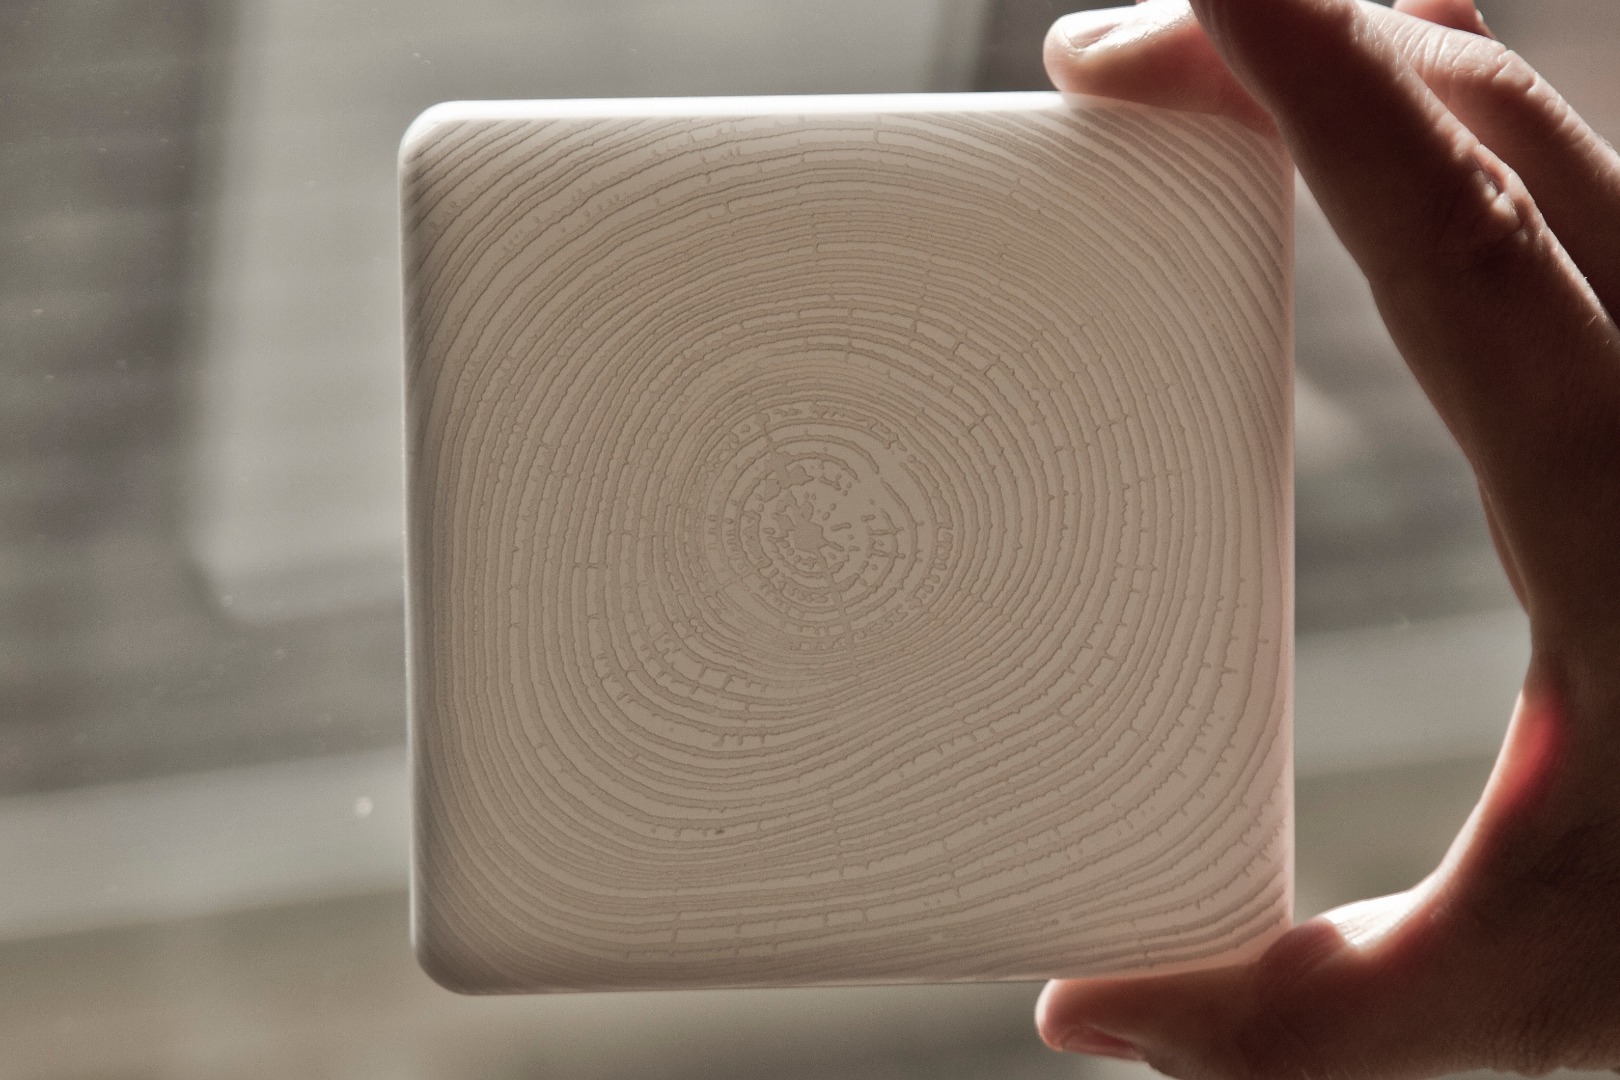
Using the green side of a sponge, scrub off anything printed on the samples.
Do a test on the laser cutter before etching your final piece, to make sure that the position on the laser bed is accurate.
I used a 75 watt laser cutter, and for settings I used power: 75% and speed: 90%.