Lasercut Puzzle Project
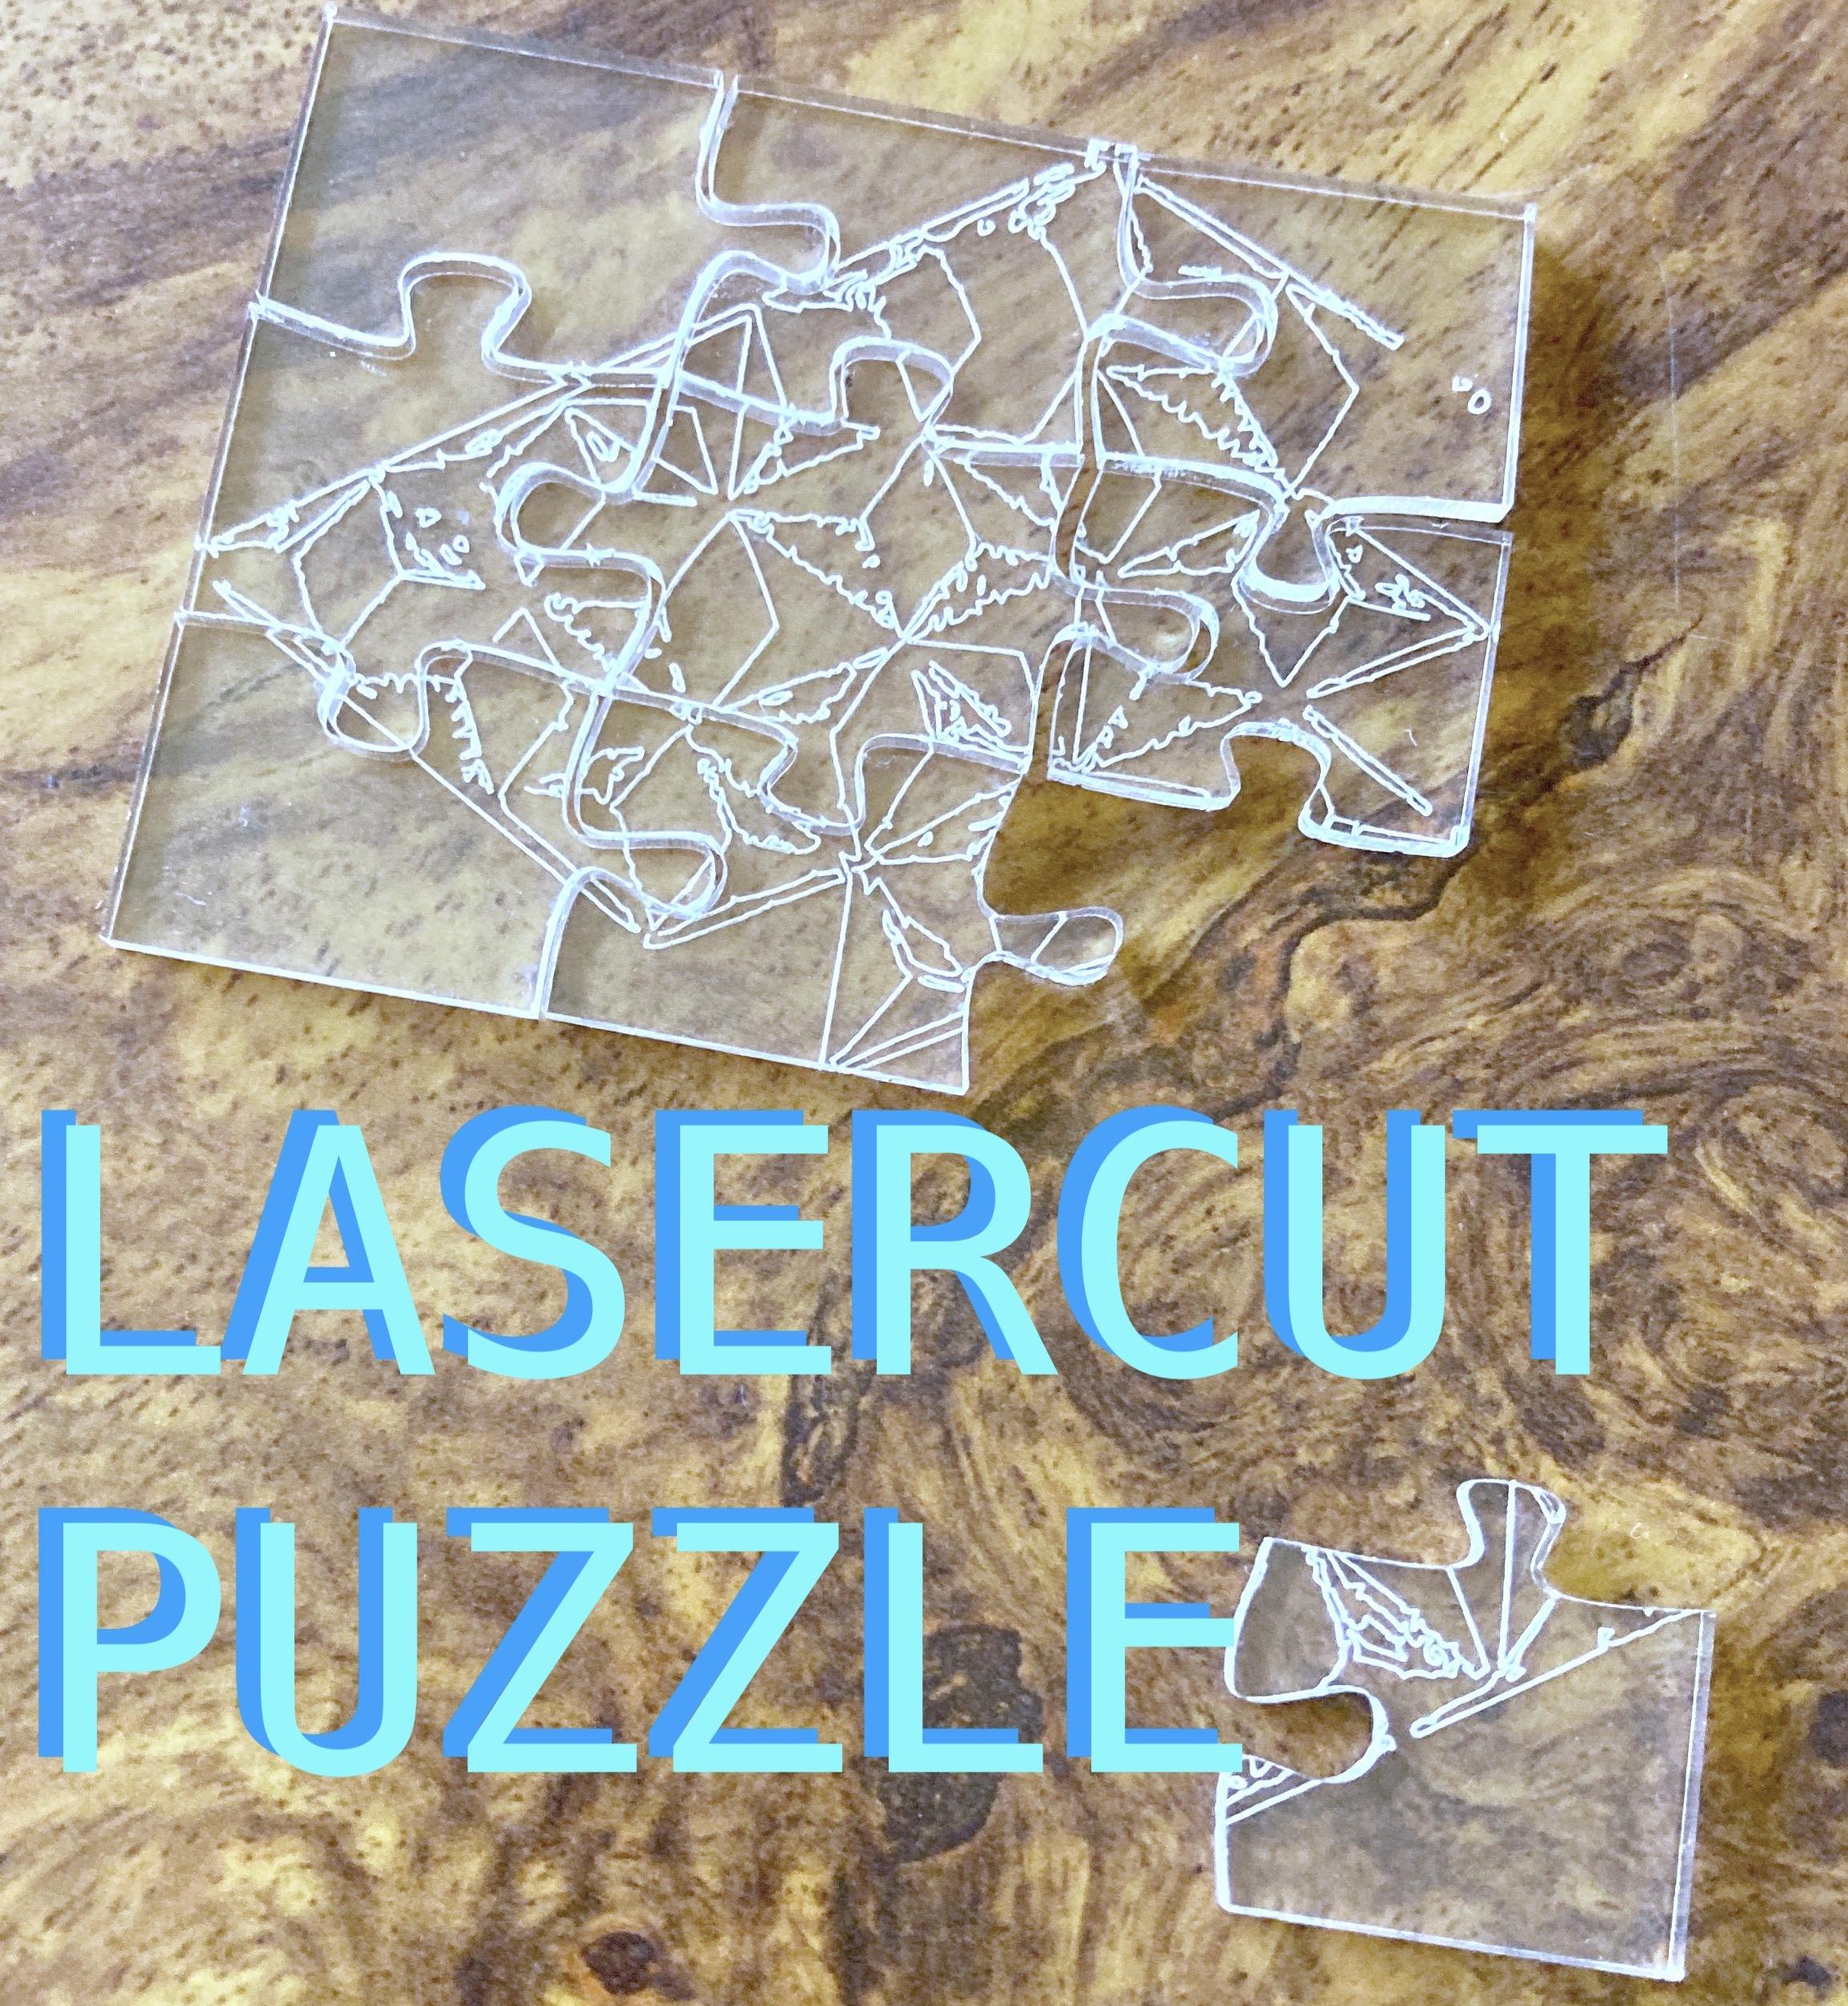
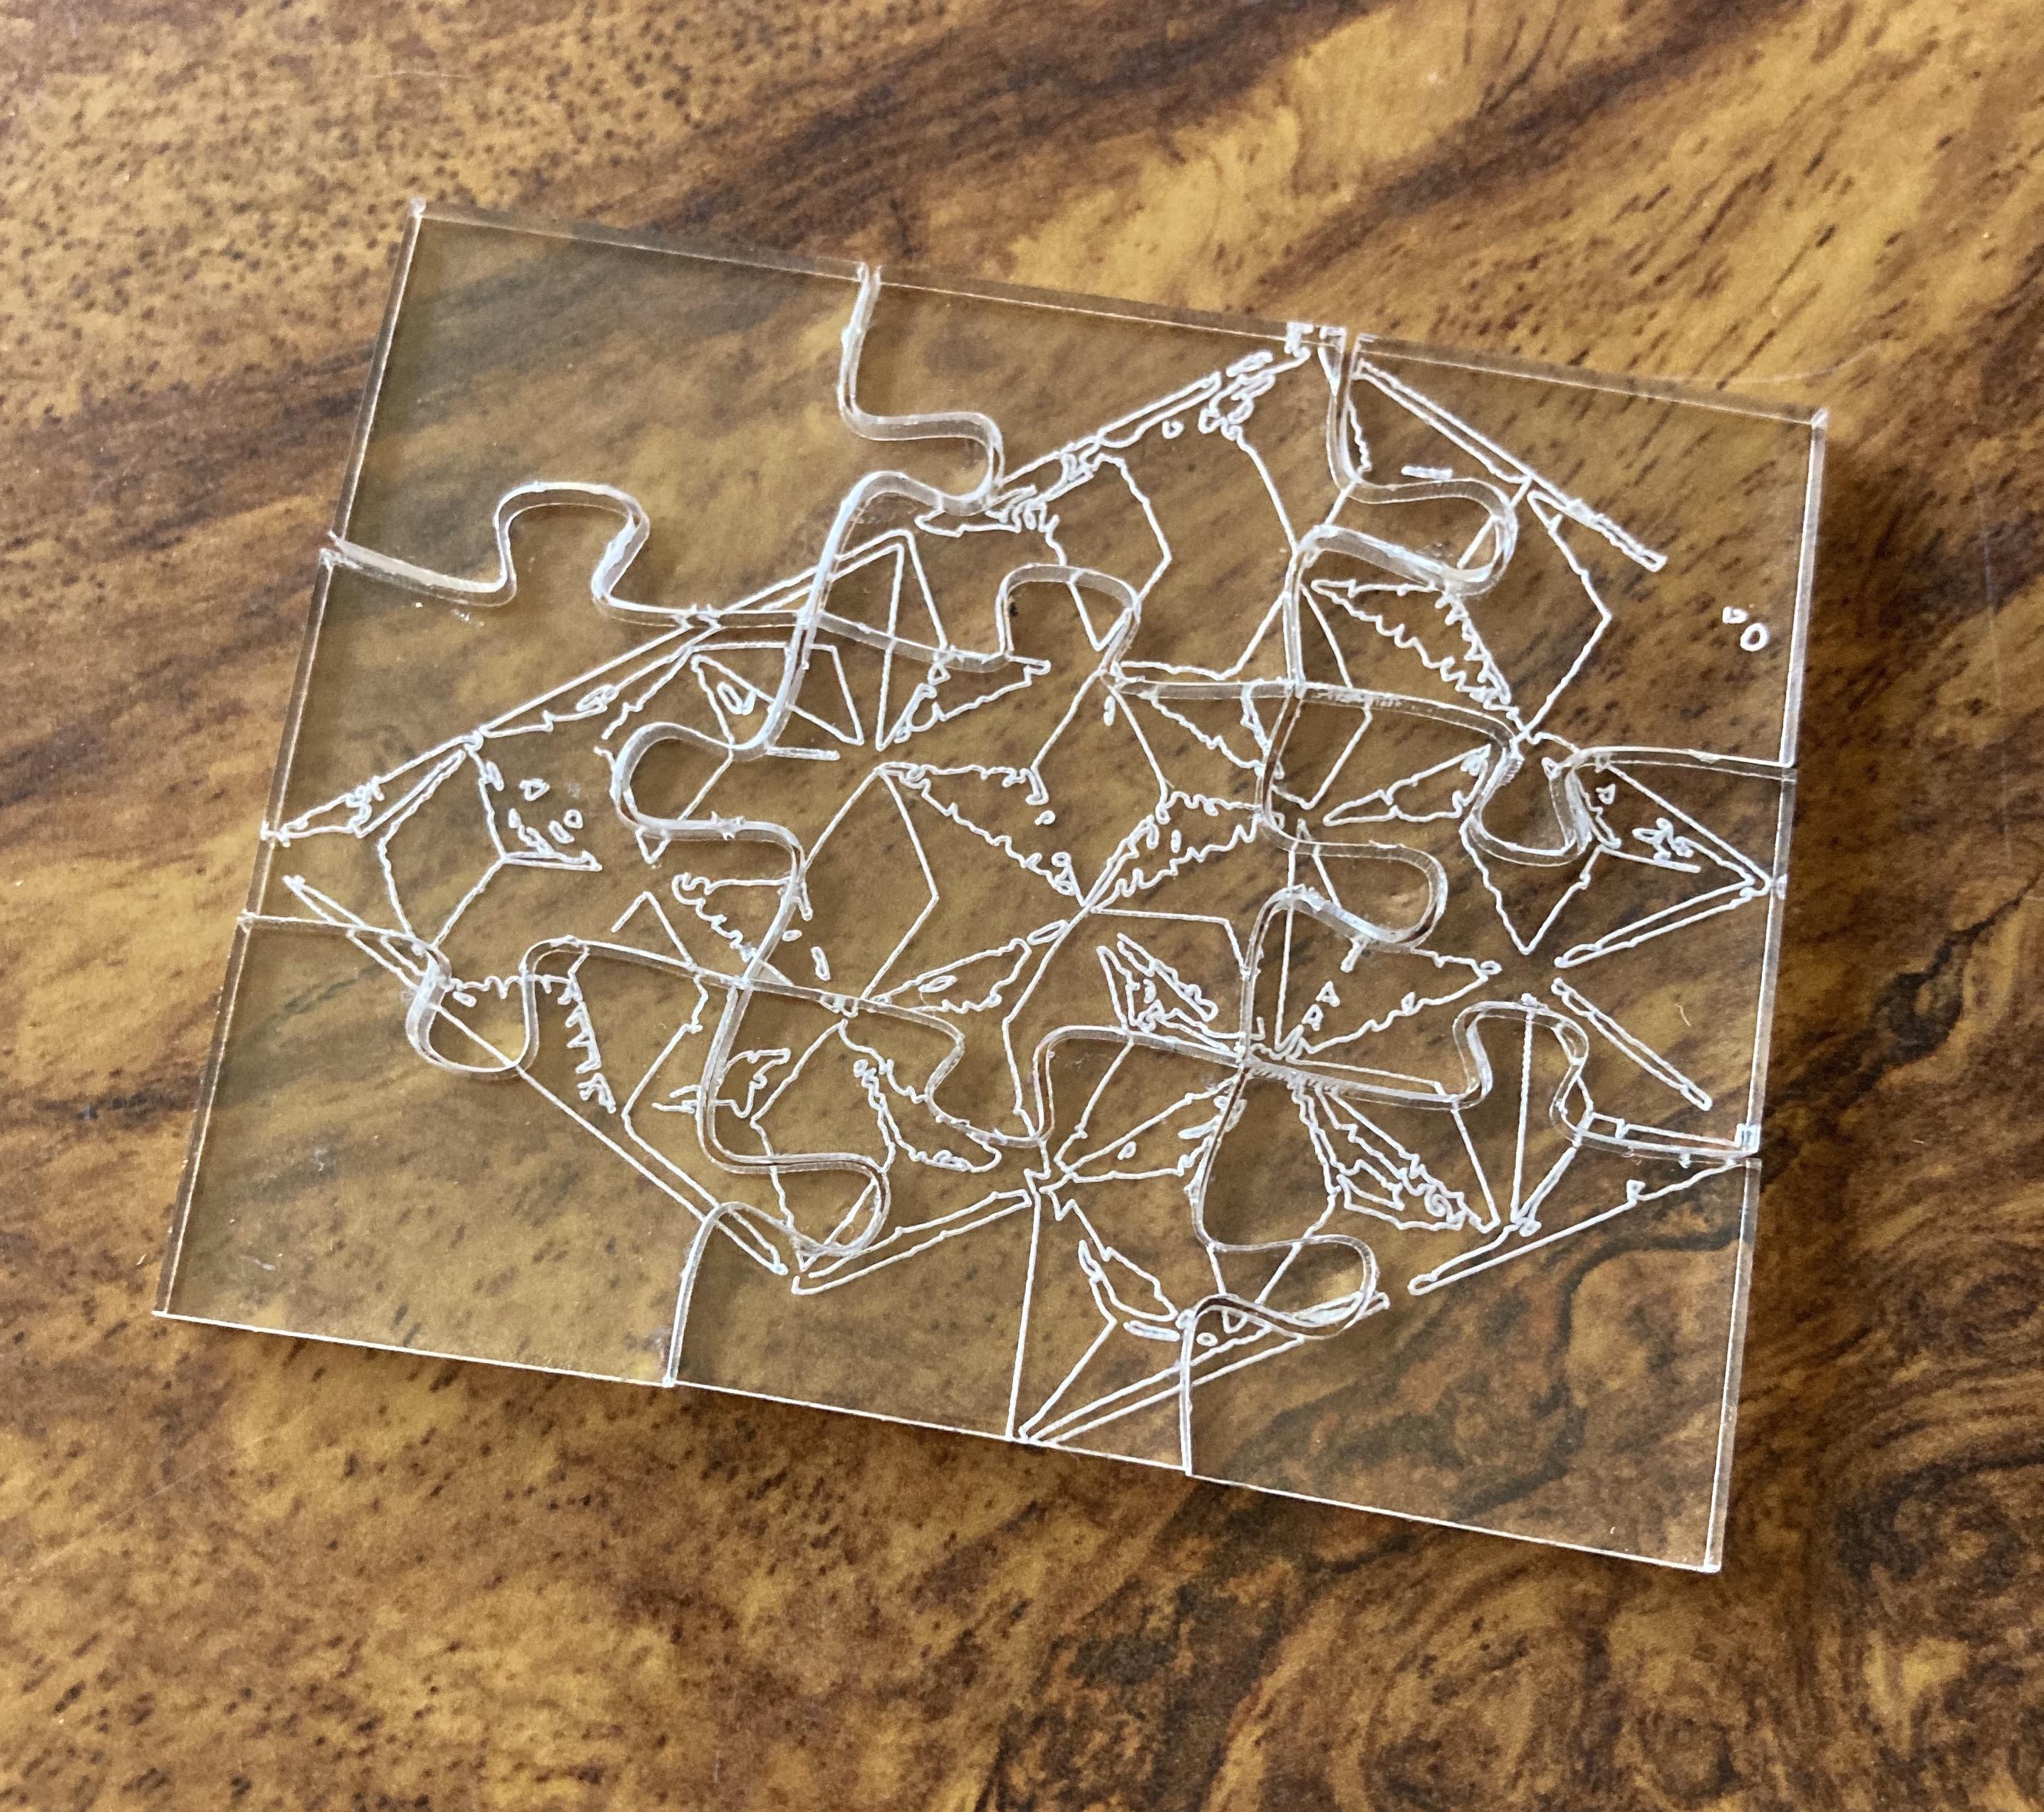
This Instructable will cover:
- designing a puzzle
- exporting for lasercutting and cnc routing.
About the Instructor: Richards is a digital fabrication designer, conceptual visual artist, and Professor of Art. She holds a Master of Fine Arts from Indiana University.
Supplies
- Easel CAD/CAM Software
- Glowforge Laser
- Acrylic
- X-Carve CNC Router
- 1/8 inch Wood or Expanded PVC Sheet
- Carbide Tip Fishtail Upcut - 1/32 in Milling Bit
- computer
- sand paper
- files
CAD- Design a Puzzle Using Easel
CAD- Design a Puzzle Using Easel
using the Puzzle Designer app
This step will cover two distinct ways to create a puzzle in Easel:
- The first way is to create a generic puzzle template that you simply overlay on top of the design. This puzzle template is a separate file that is placed on top of any puzzle design of the same size/shape.
- The second way is to create the puzzle design first, then use the puzzle maker app to break up that specific puzzle design.
Start with Puzzle_Project on Easel
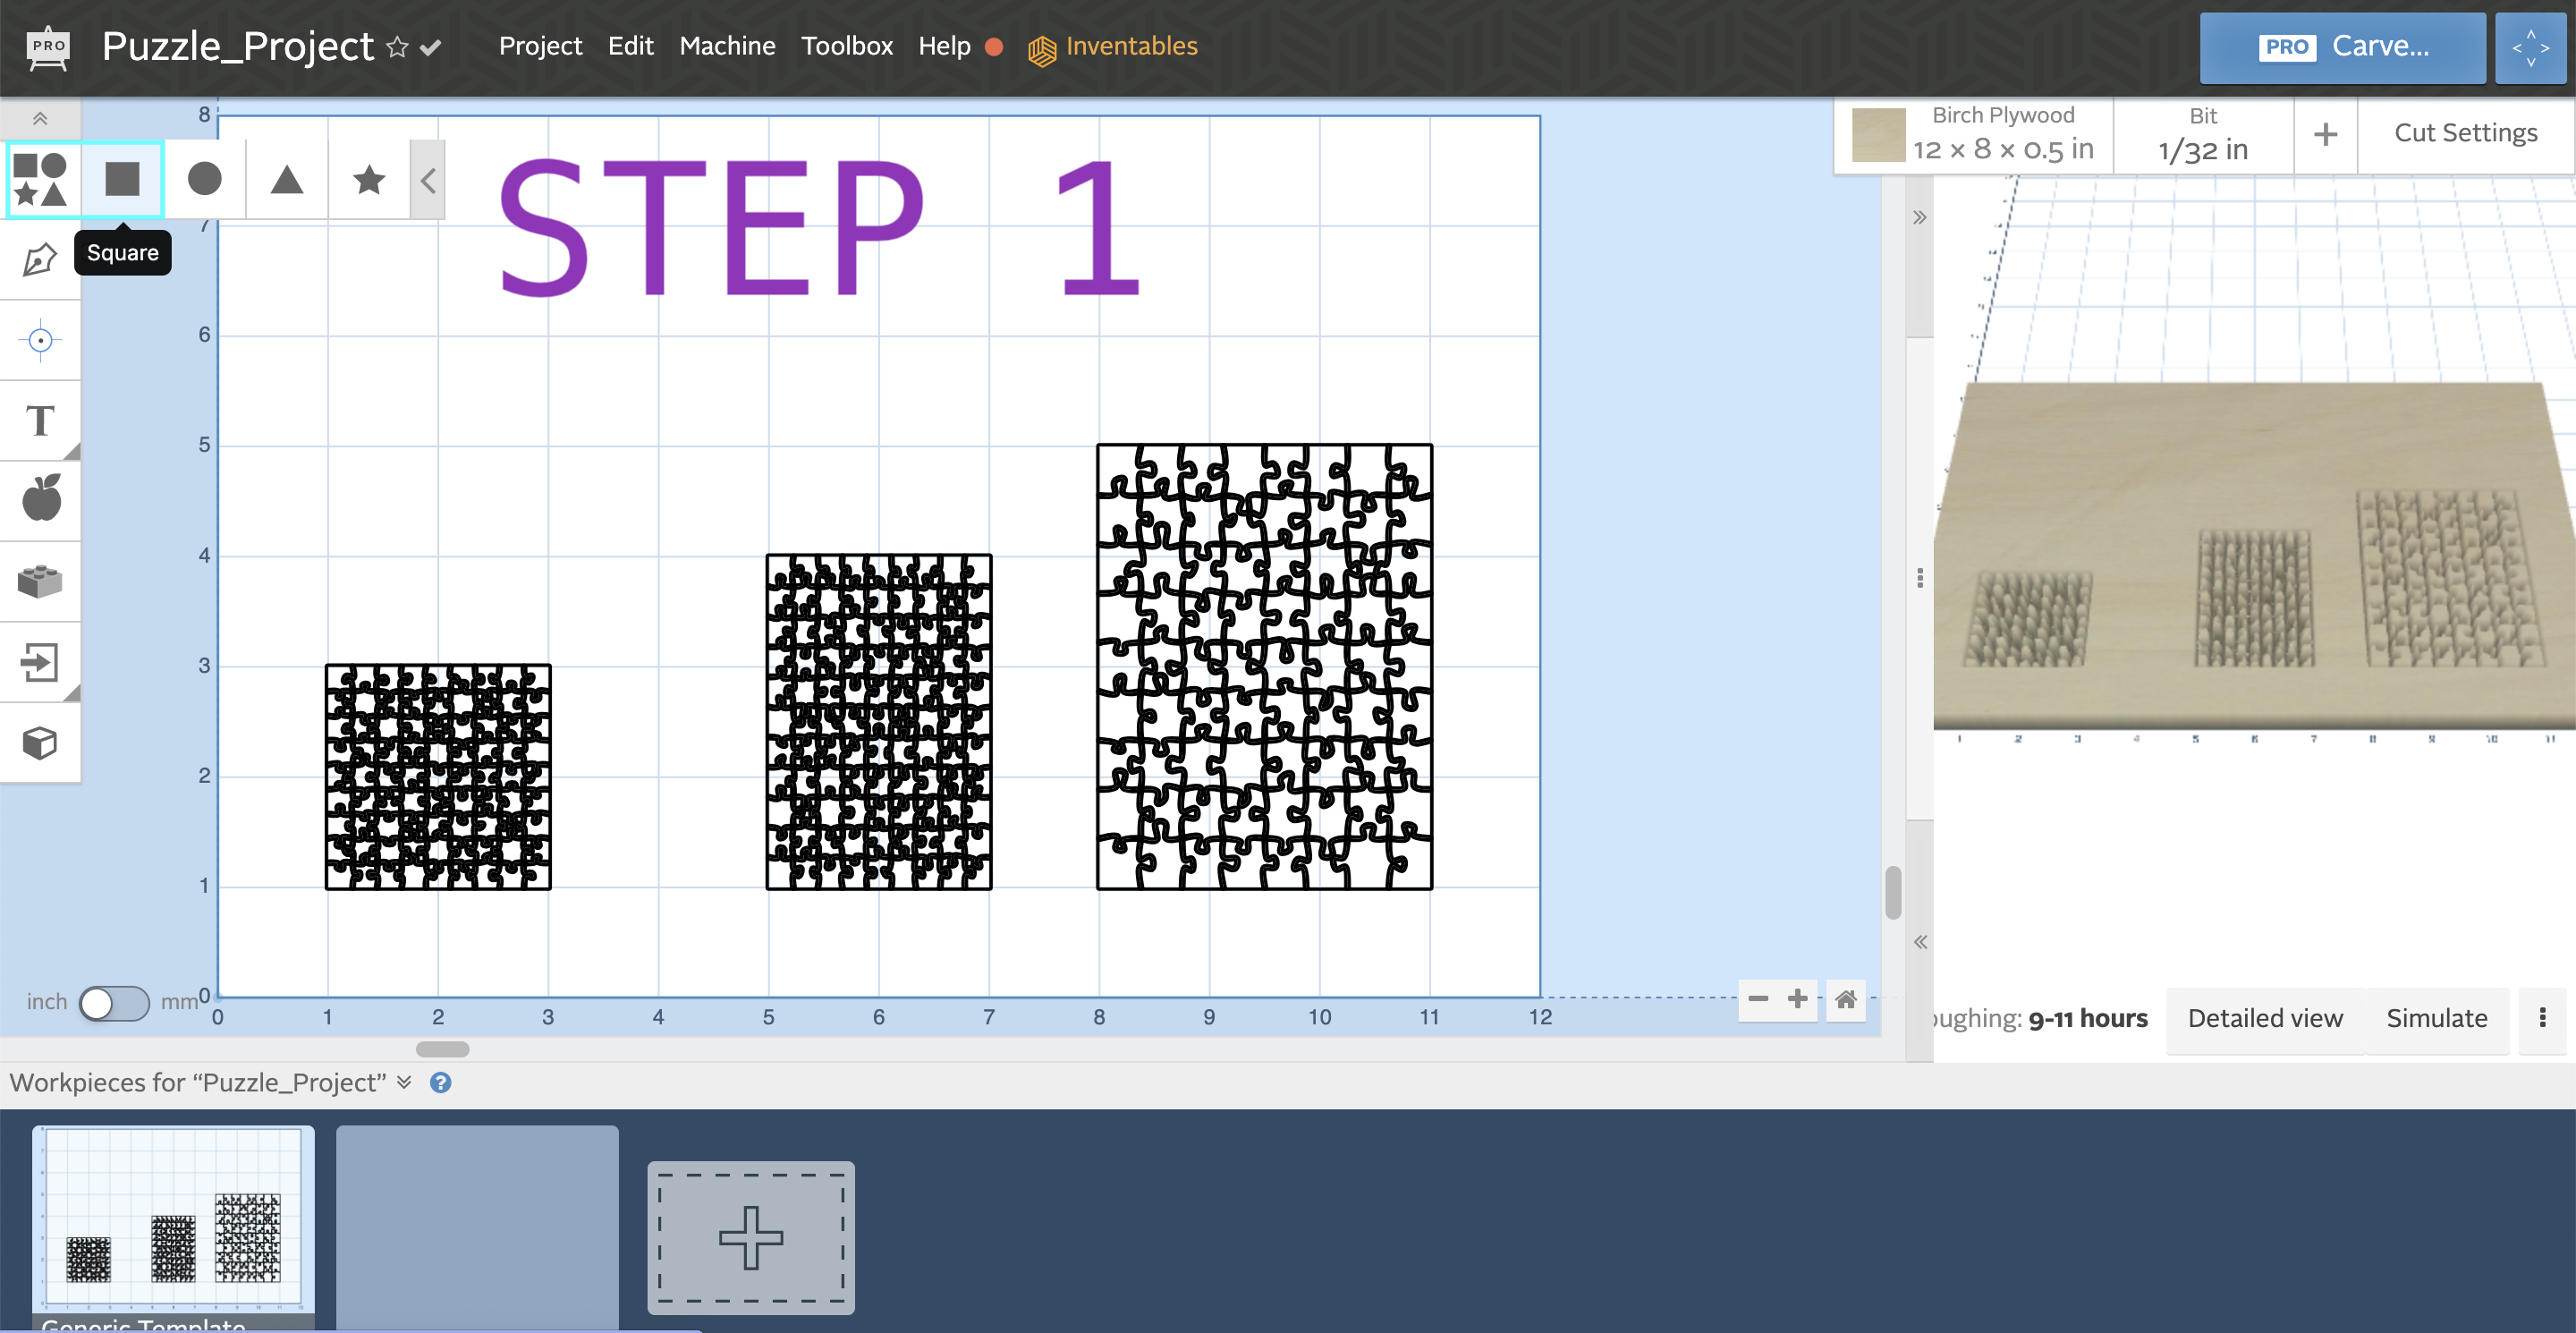
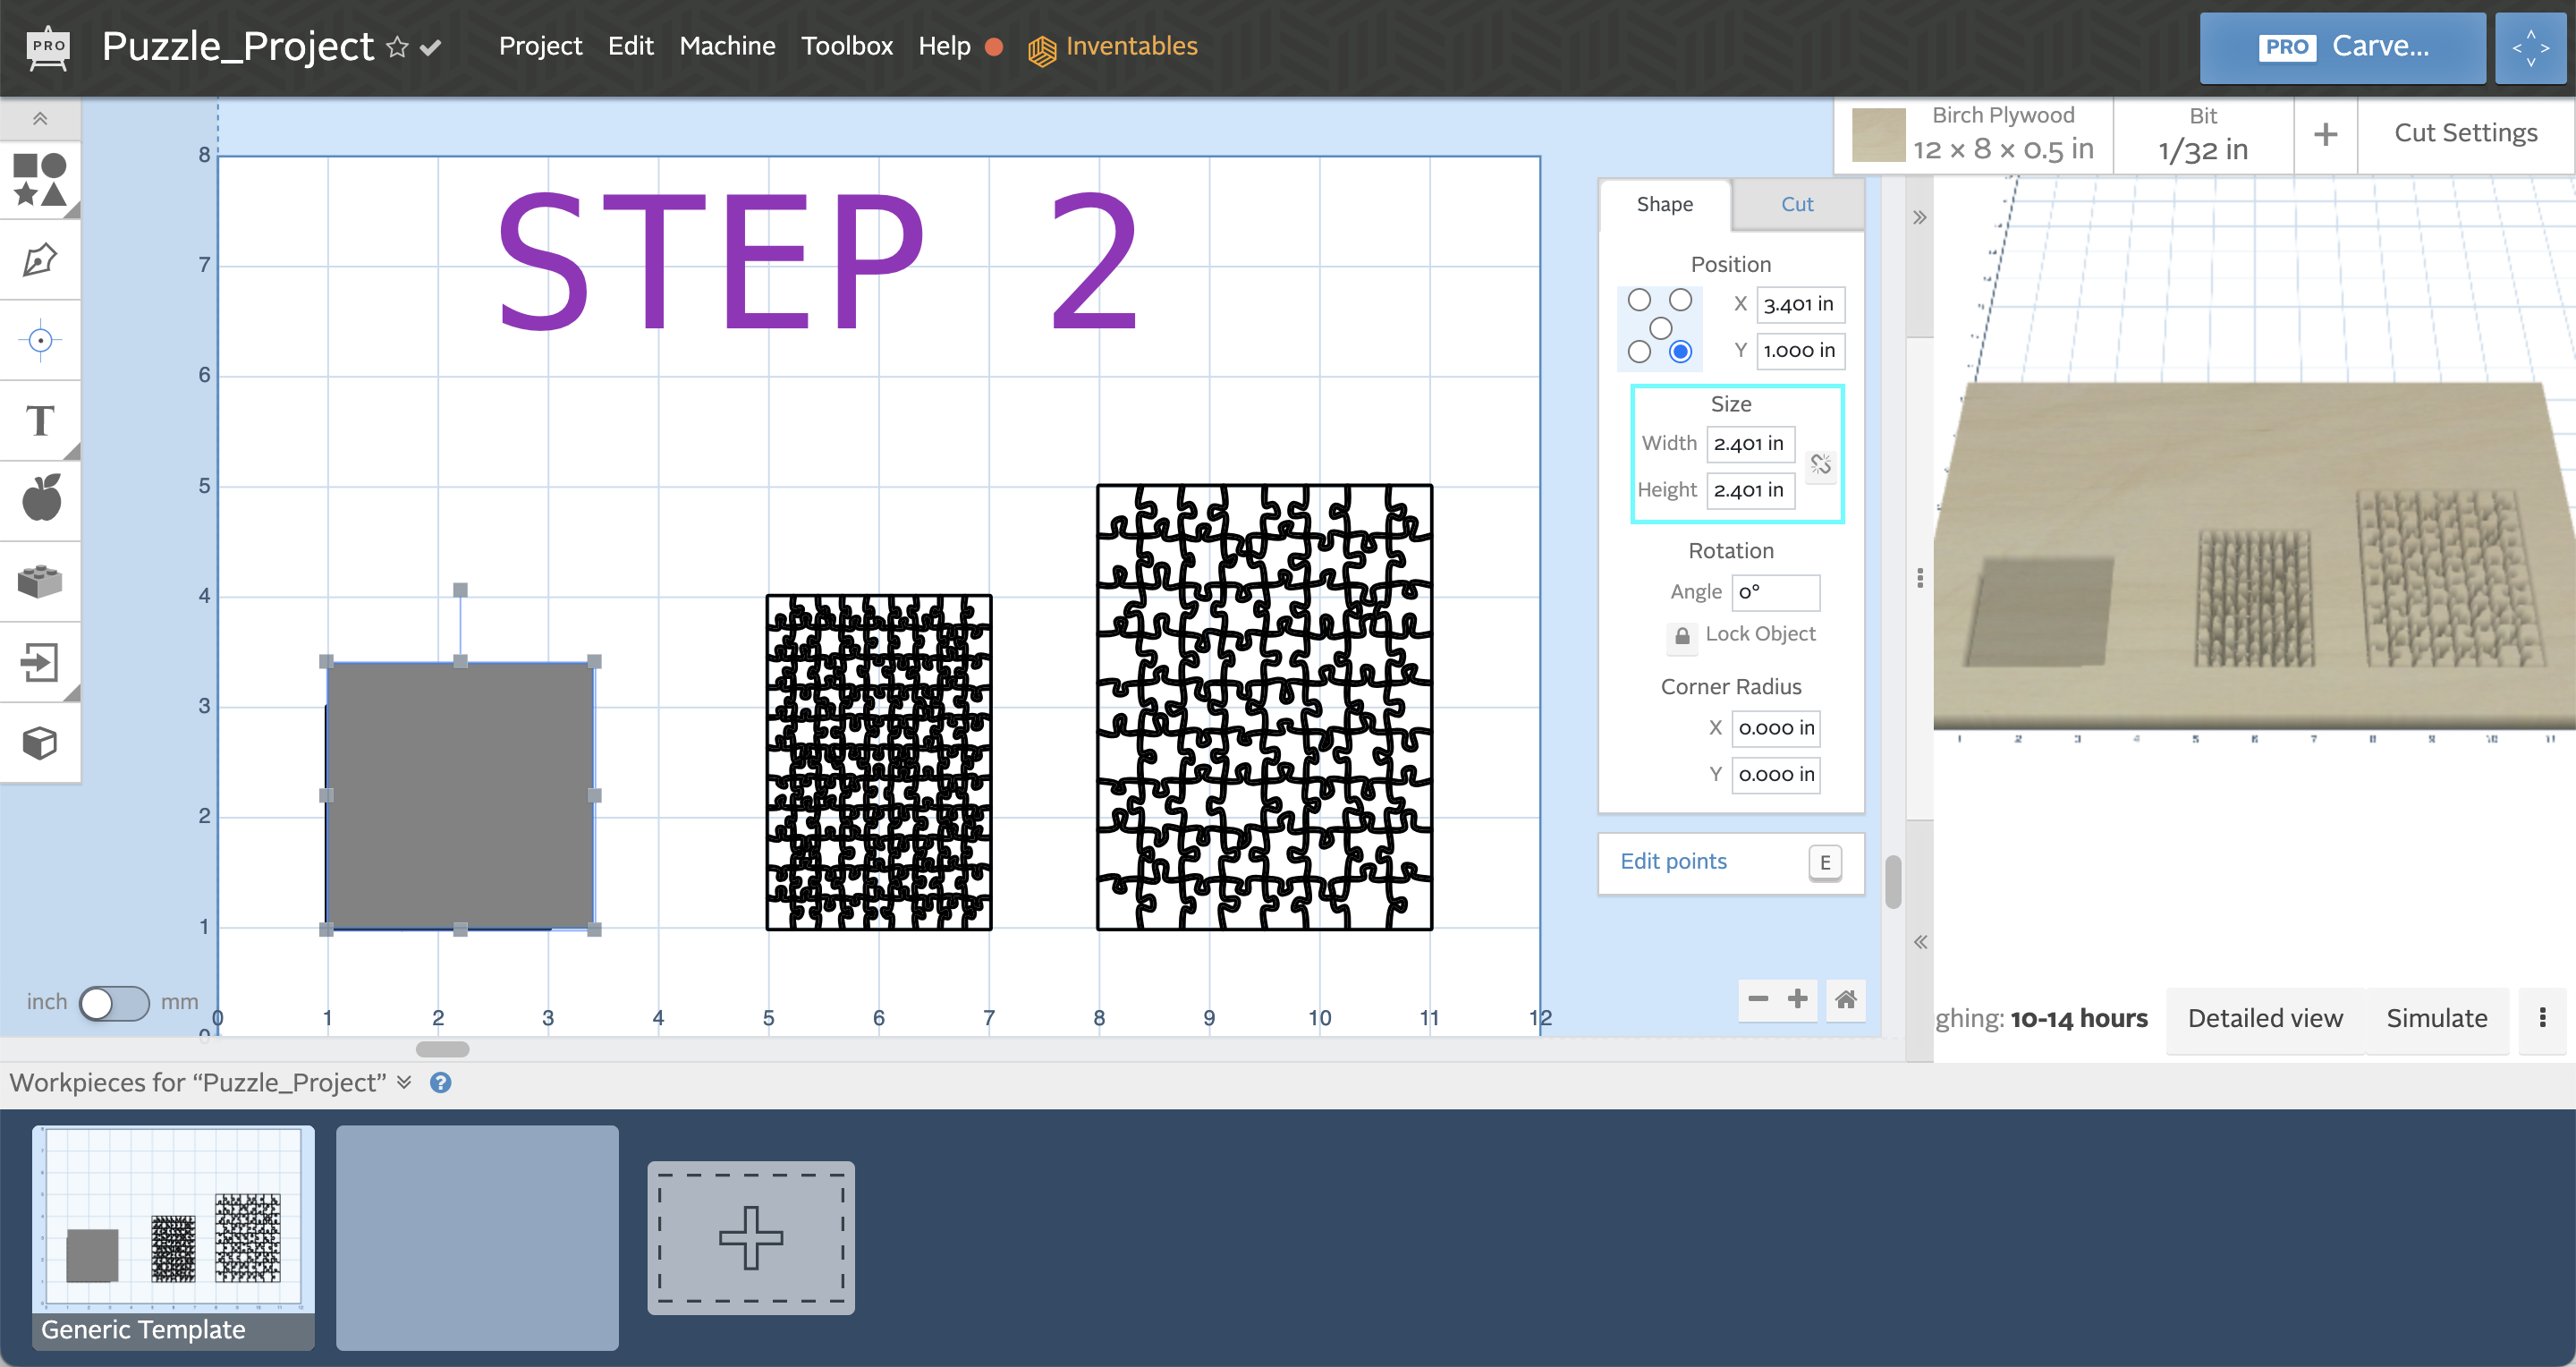
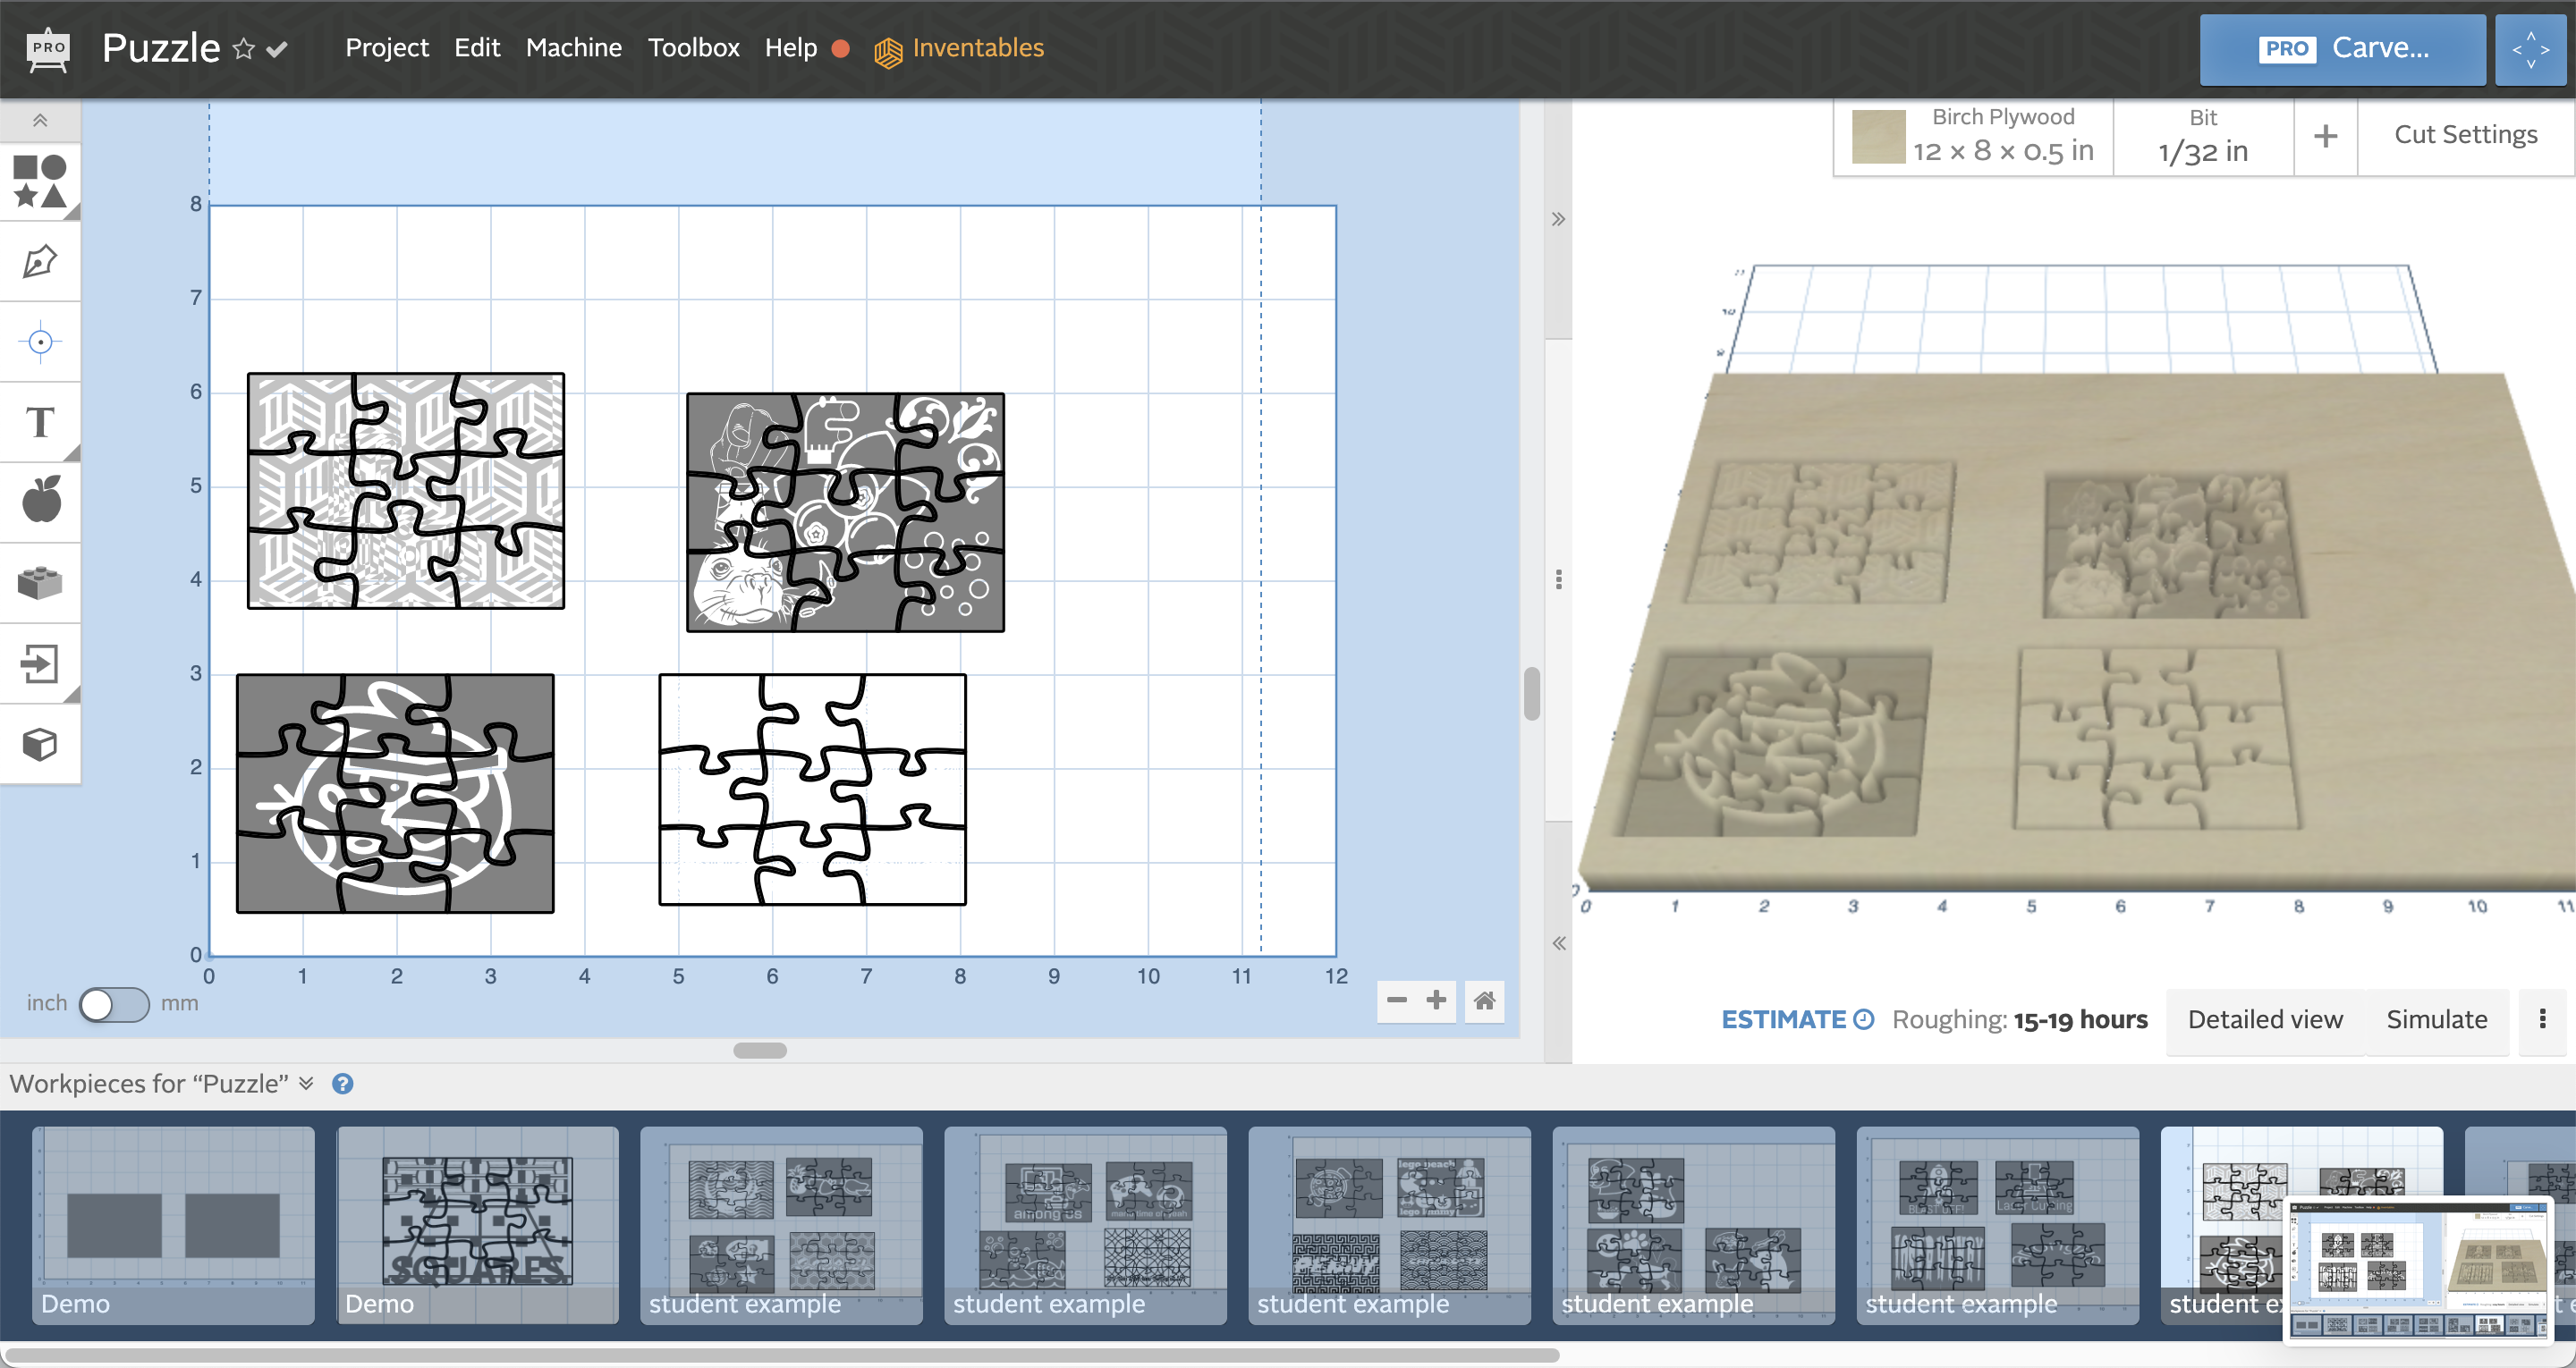
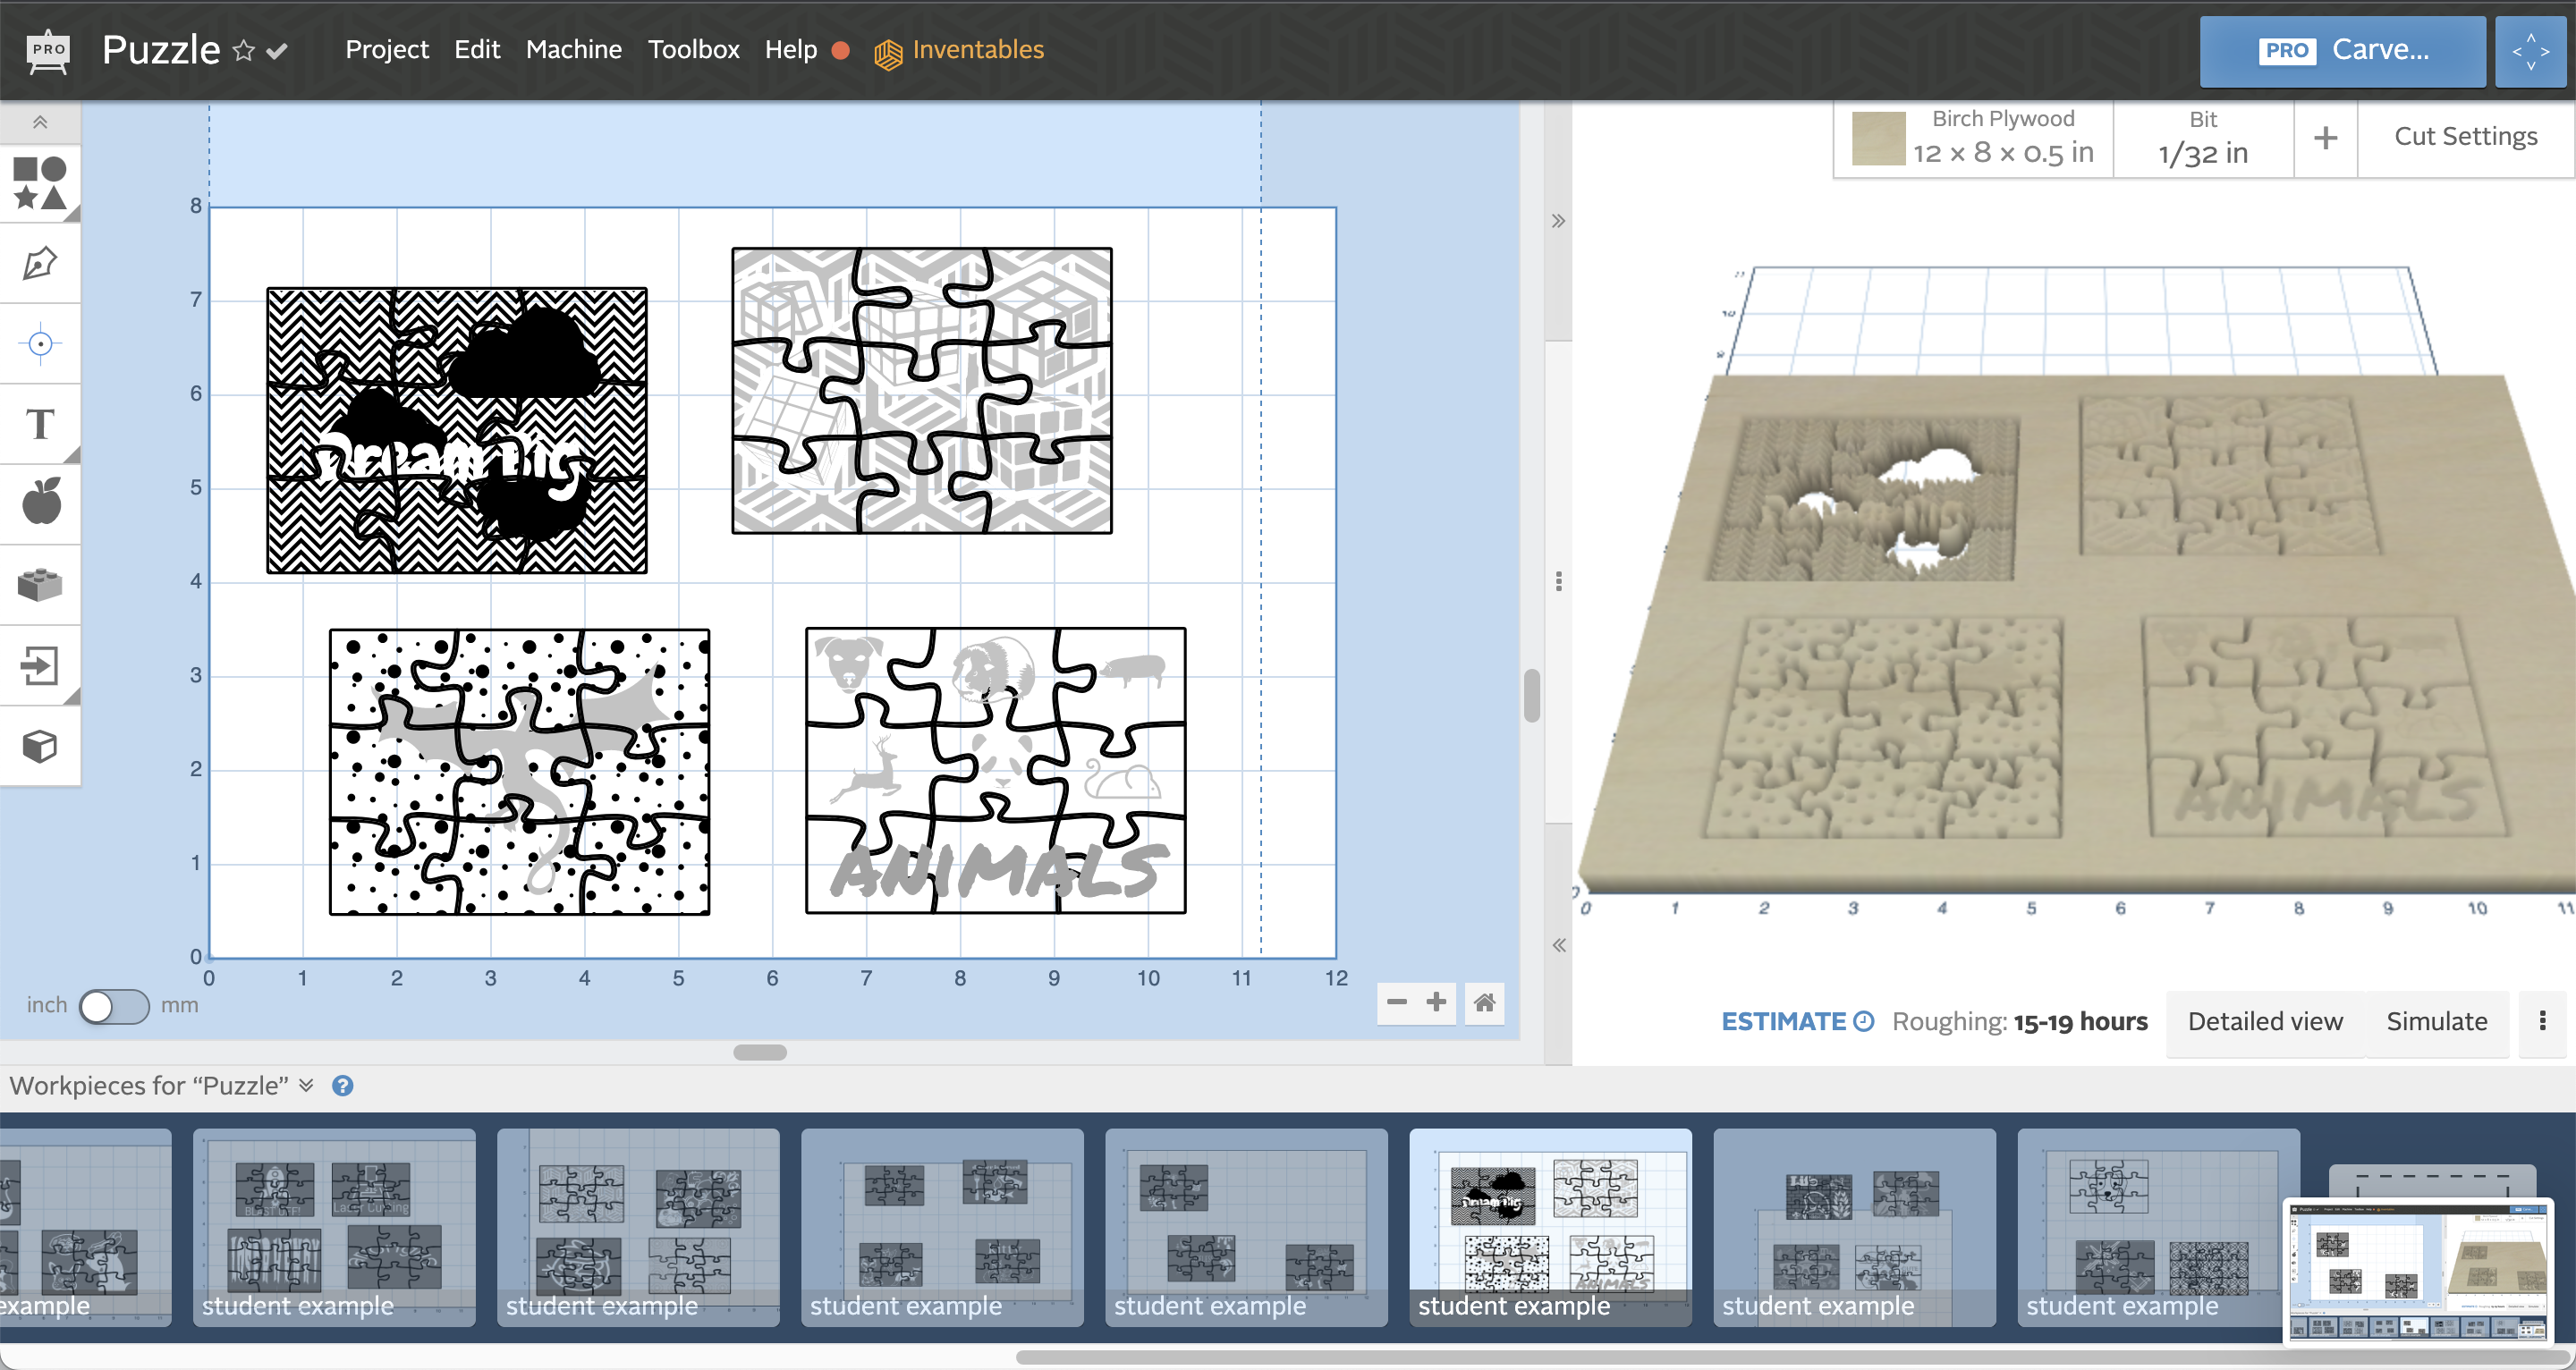
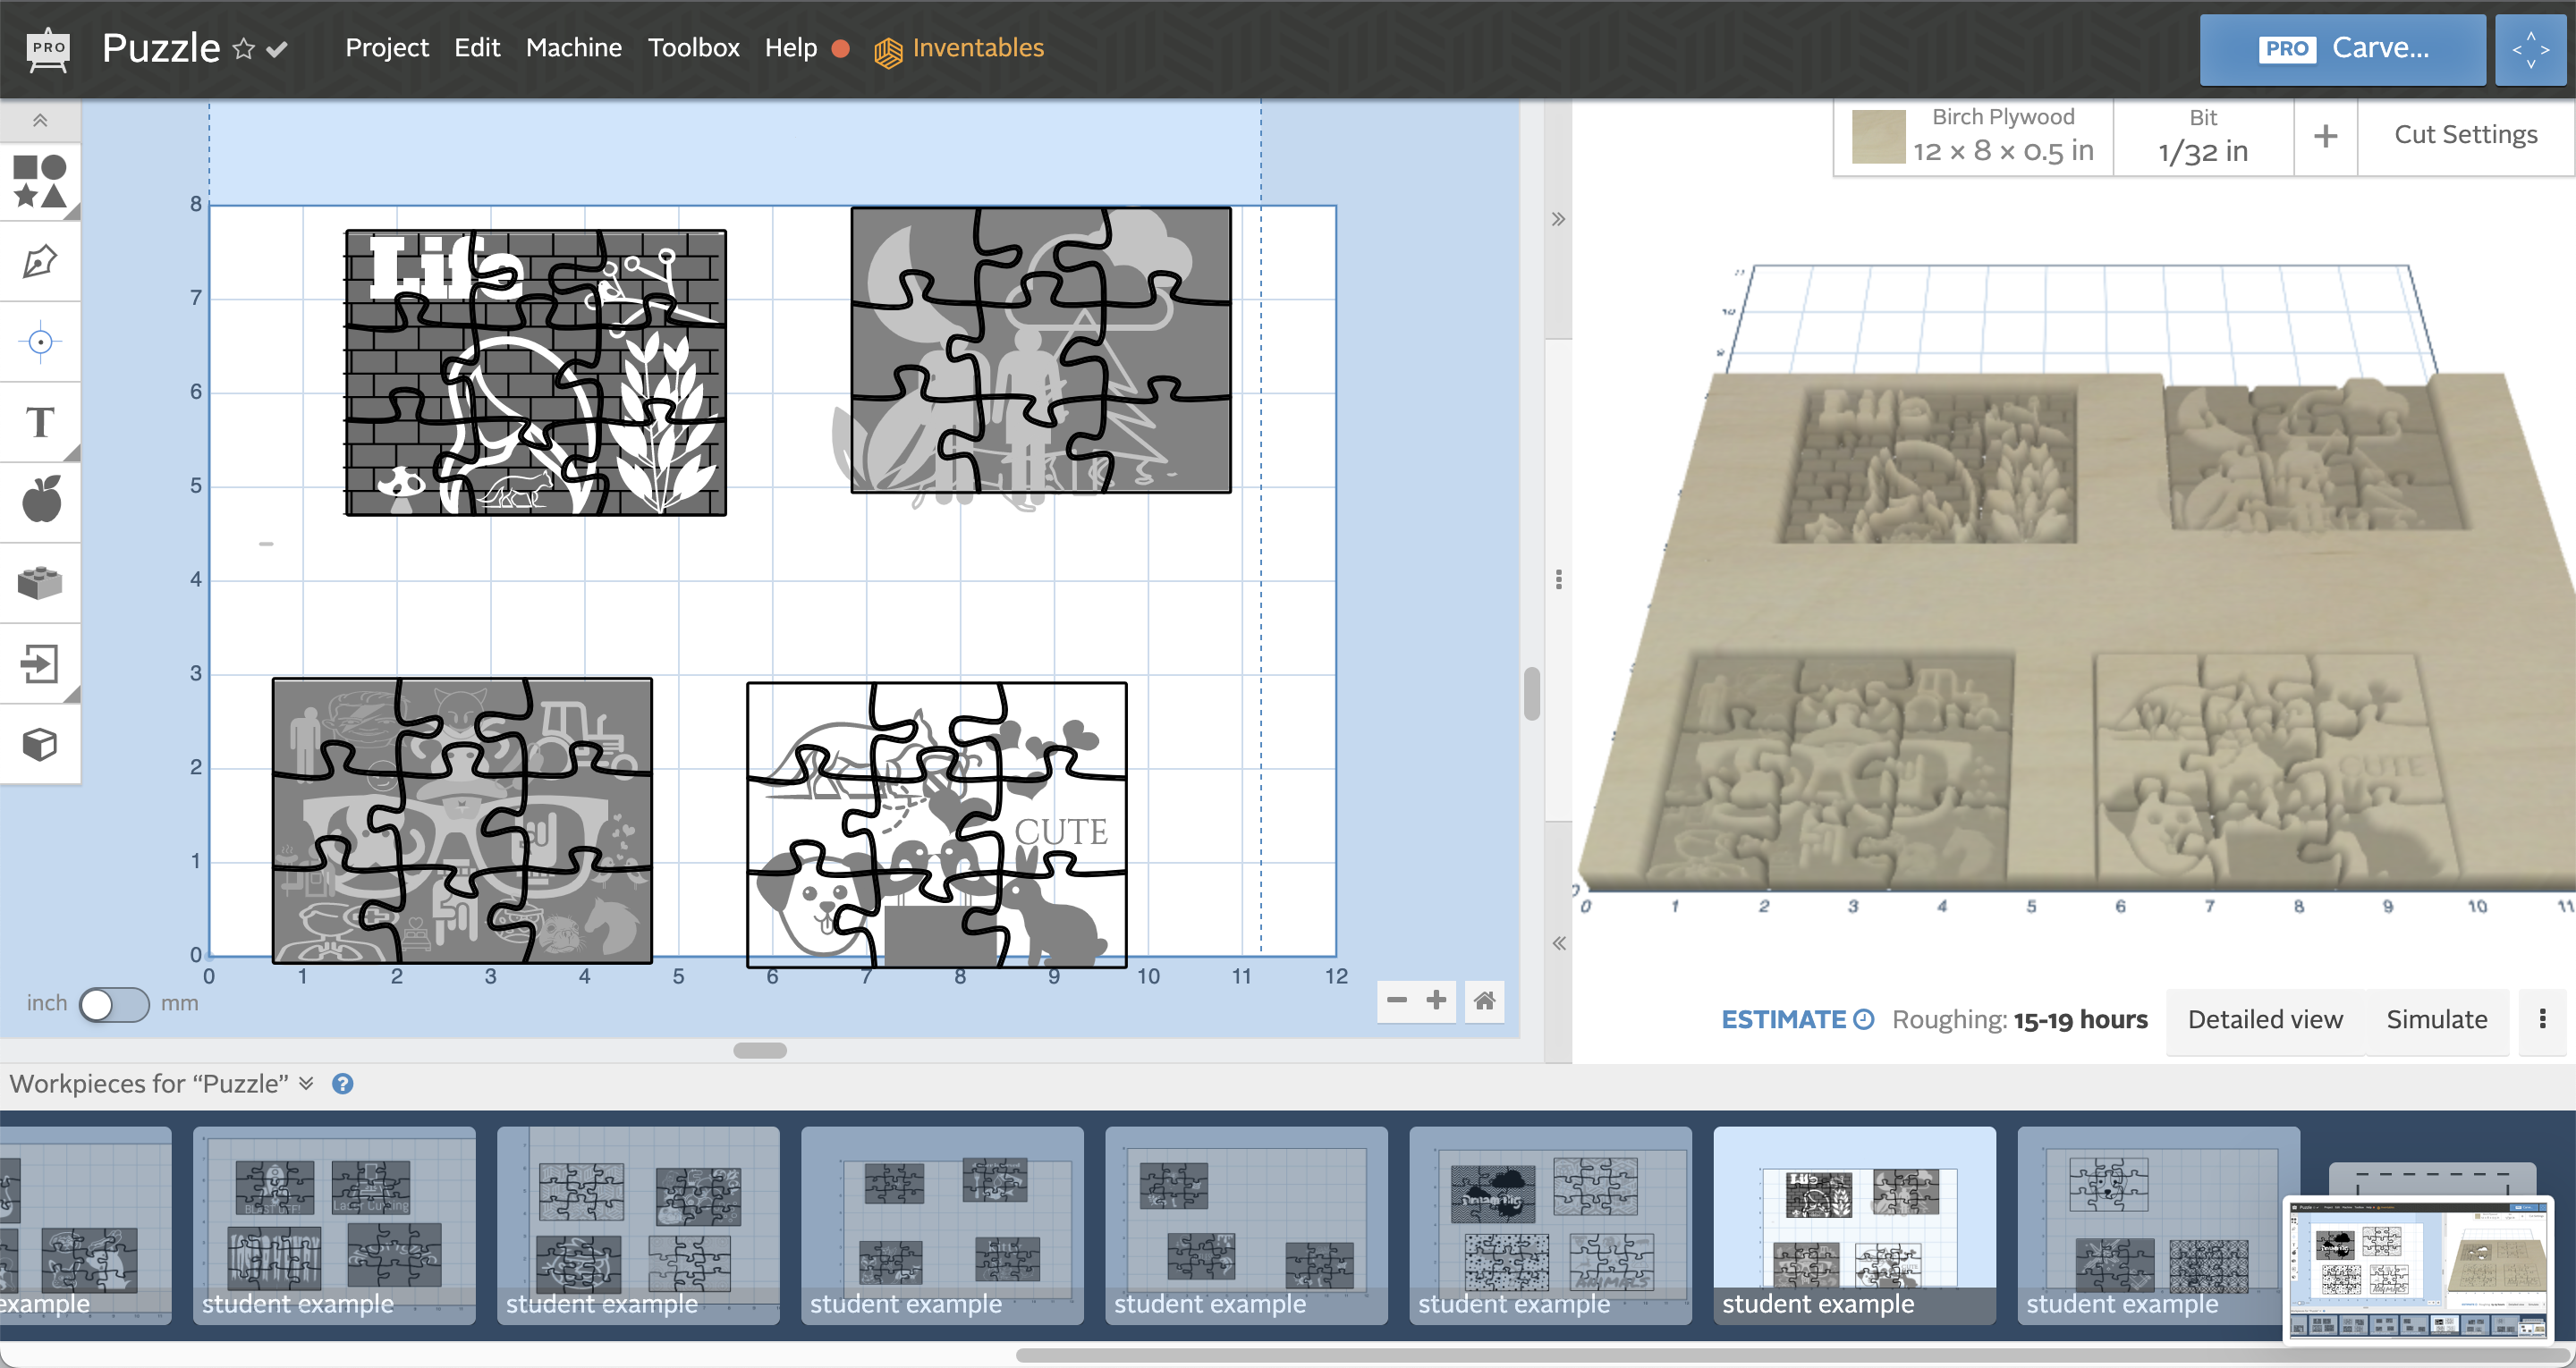
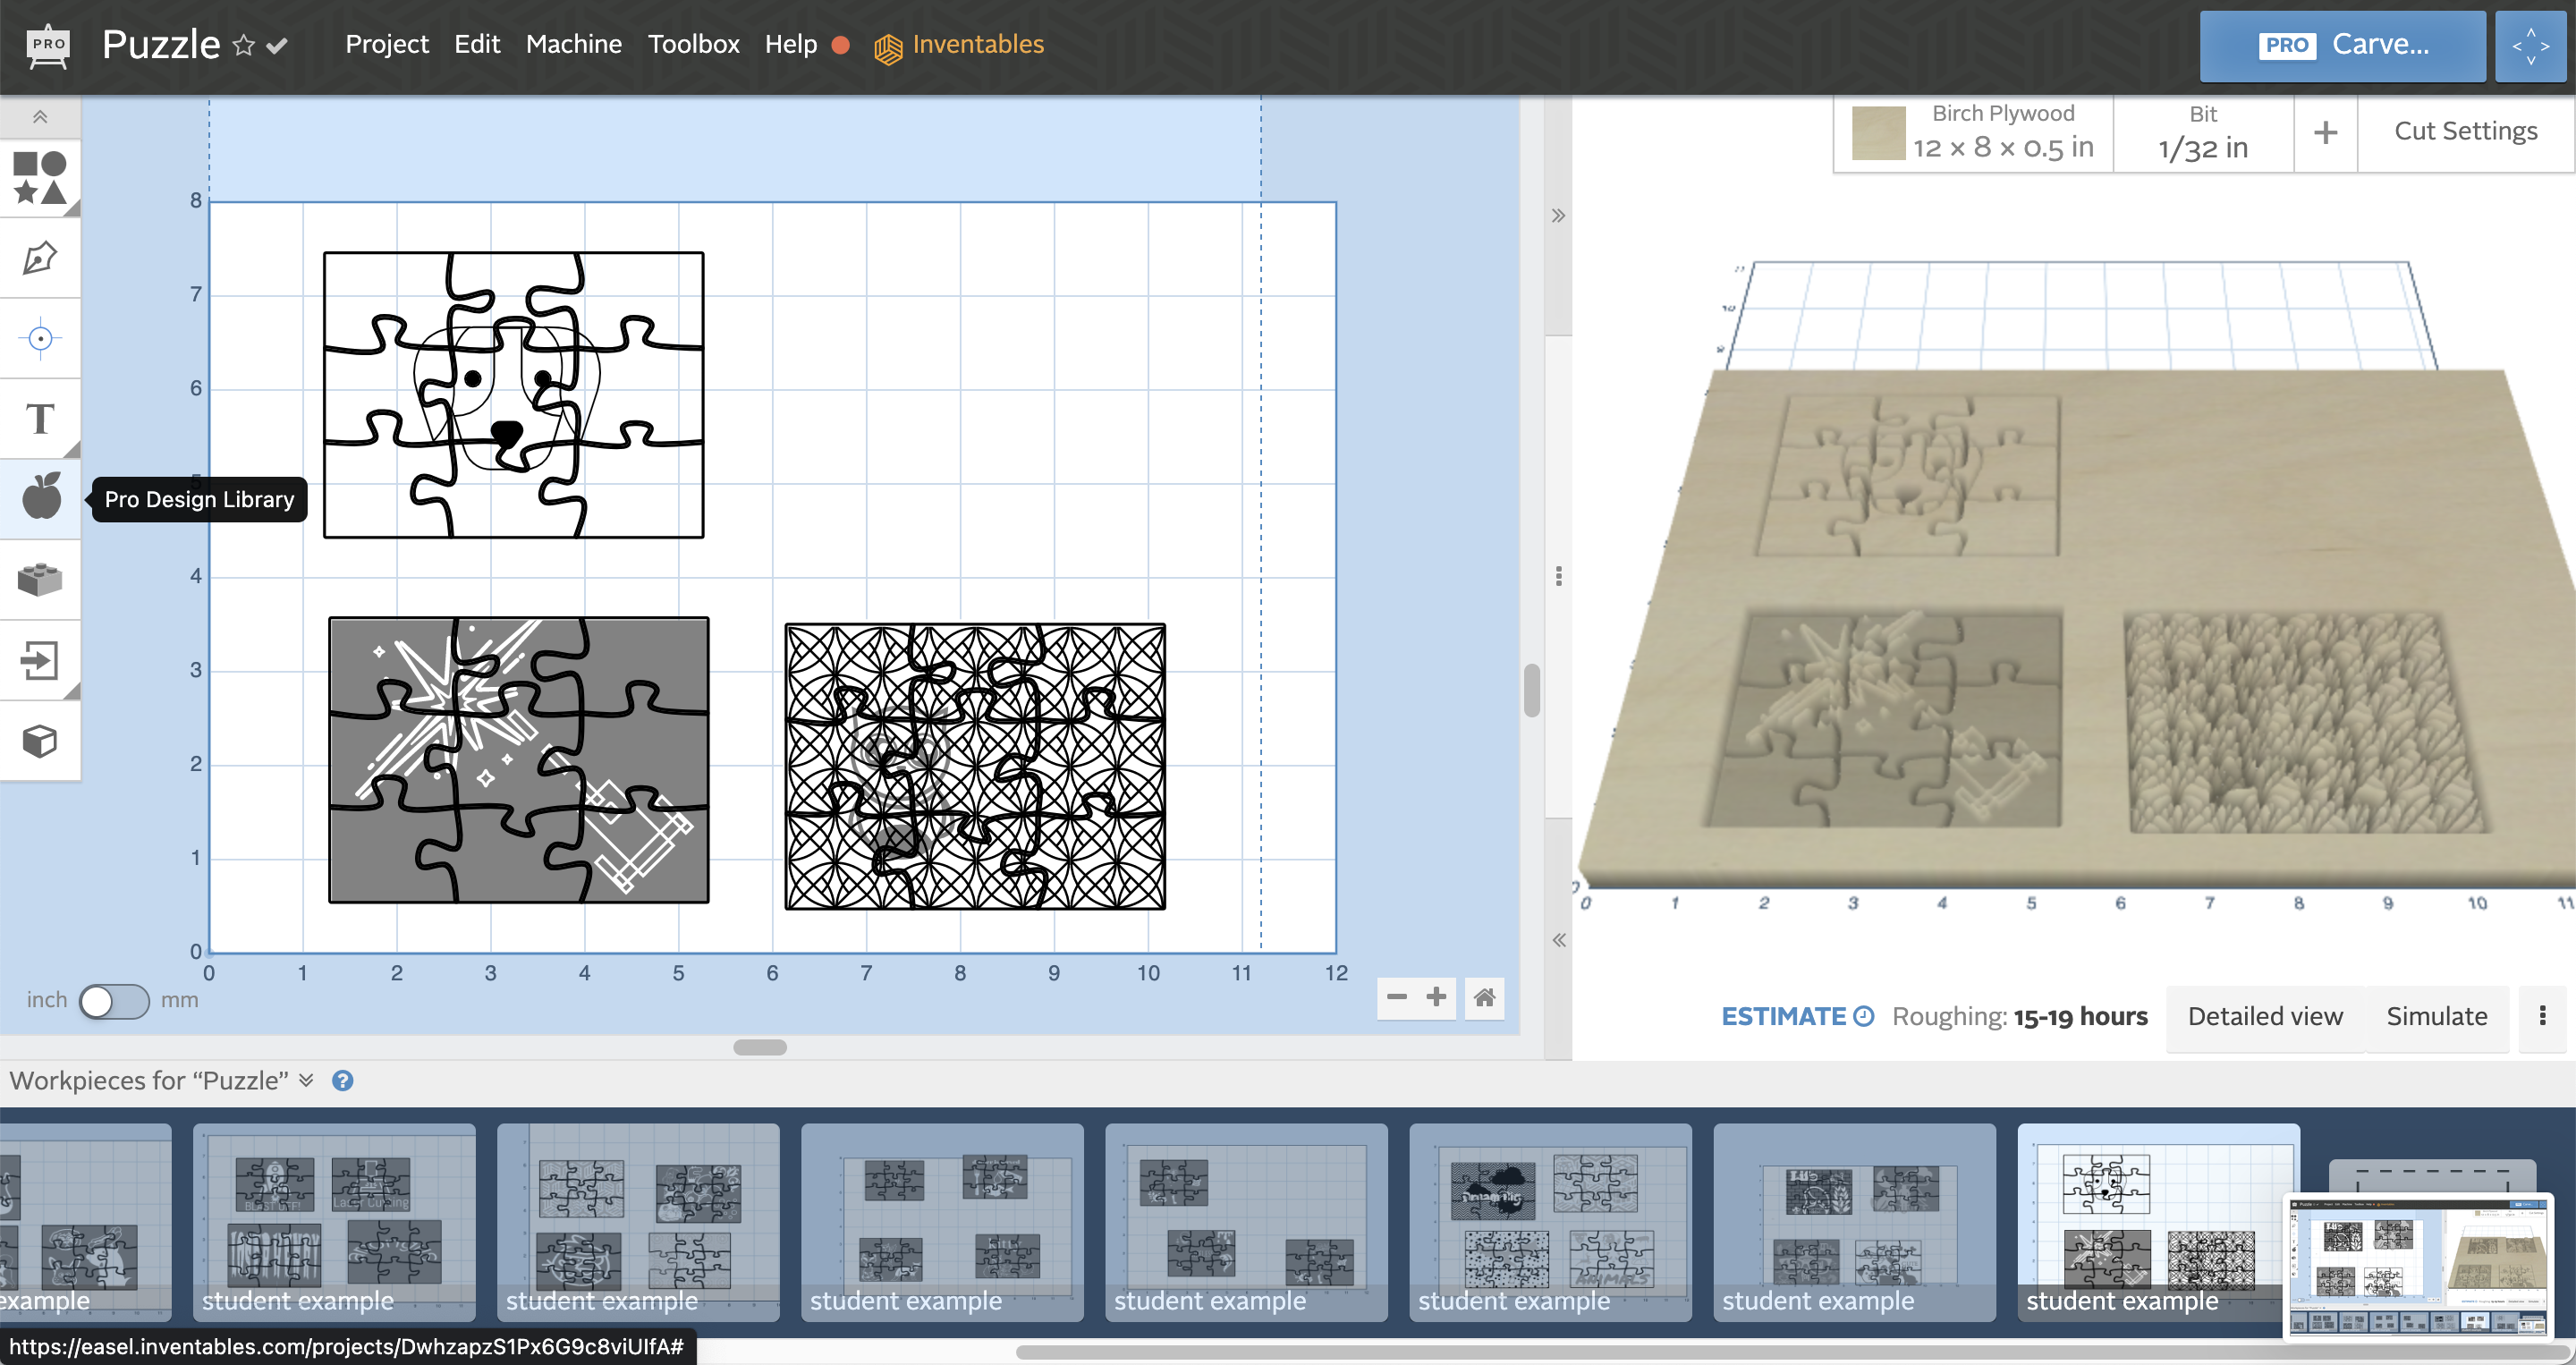
Creating a Generic Puzzle Template (see corresponding Images)
- Bring in a square from the Basic Shapes (see attached Easel cheat sheet)
- You can change the size and proportion of your rectangle
- Select your rectangle
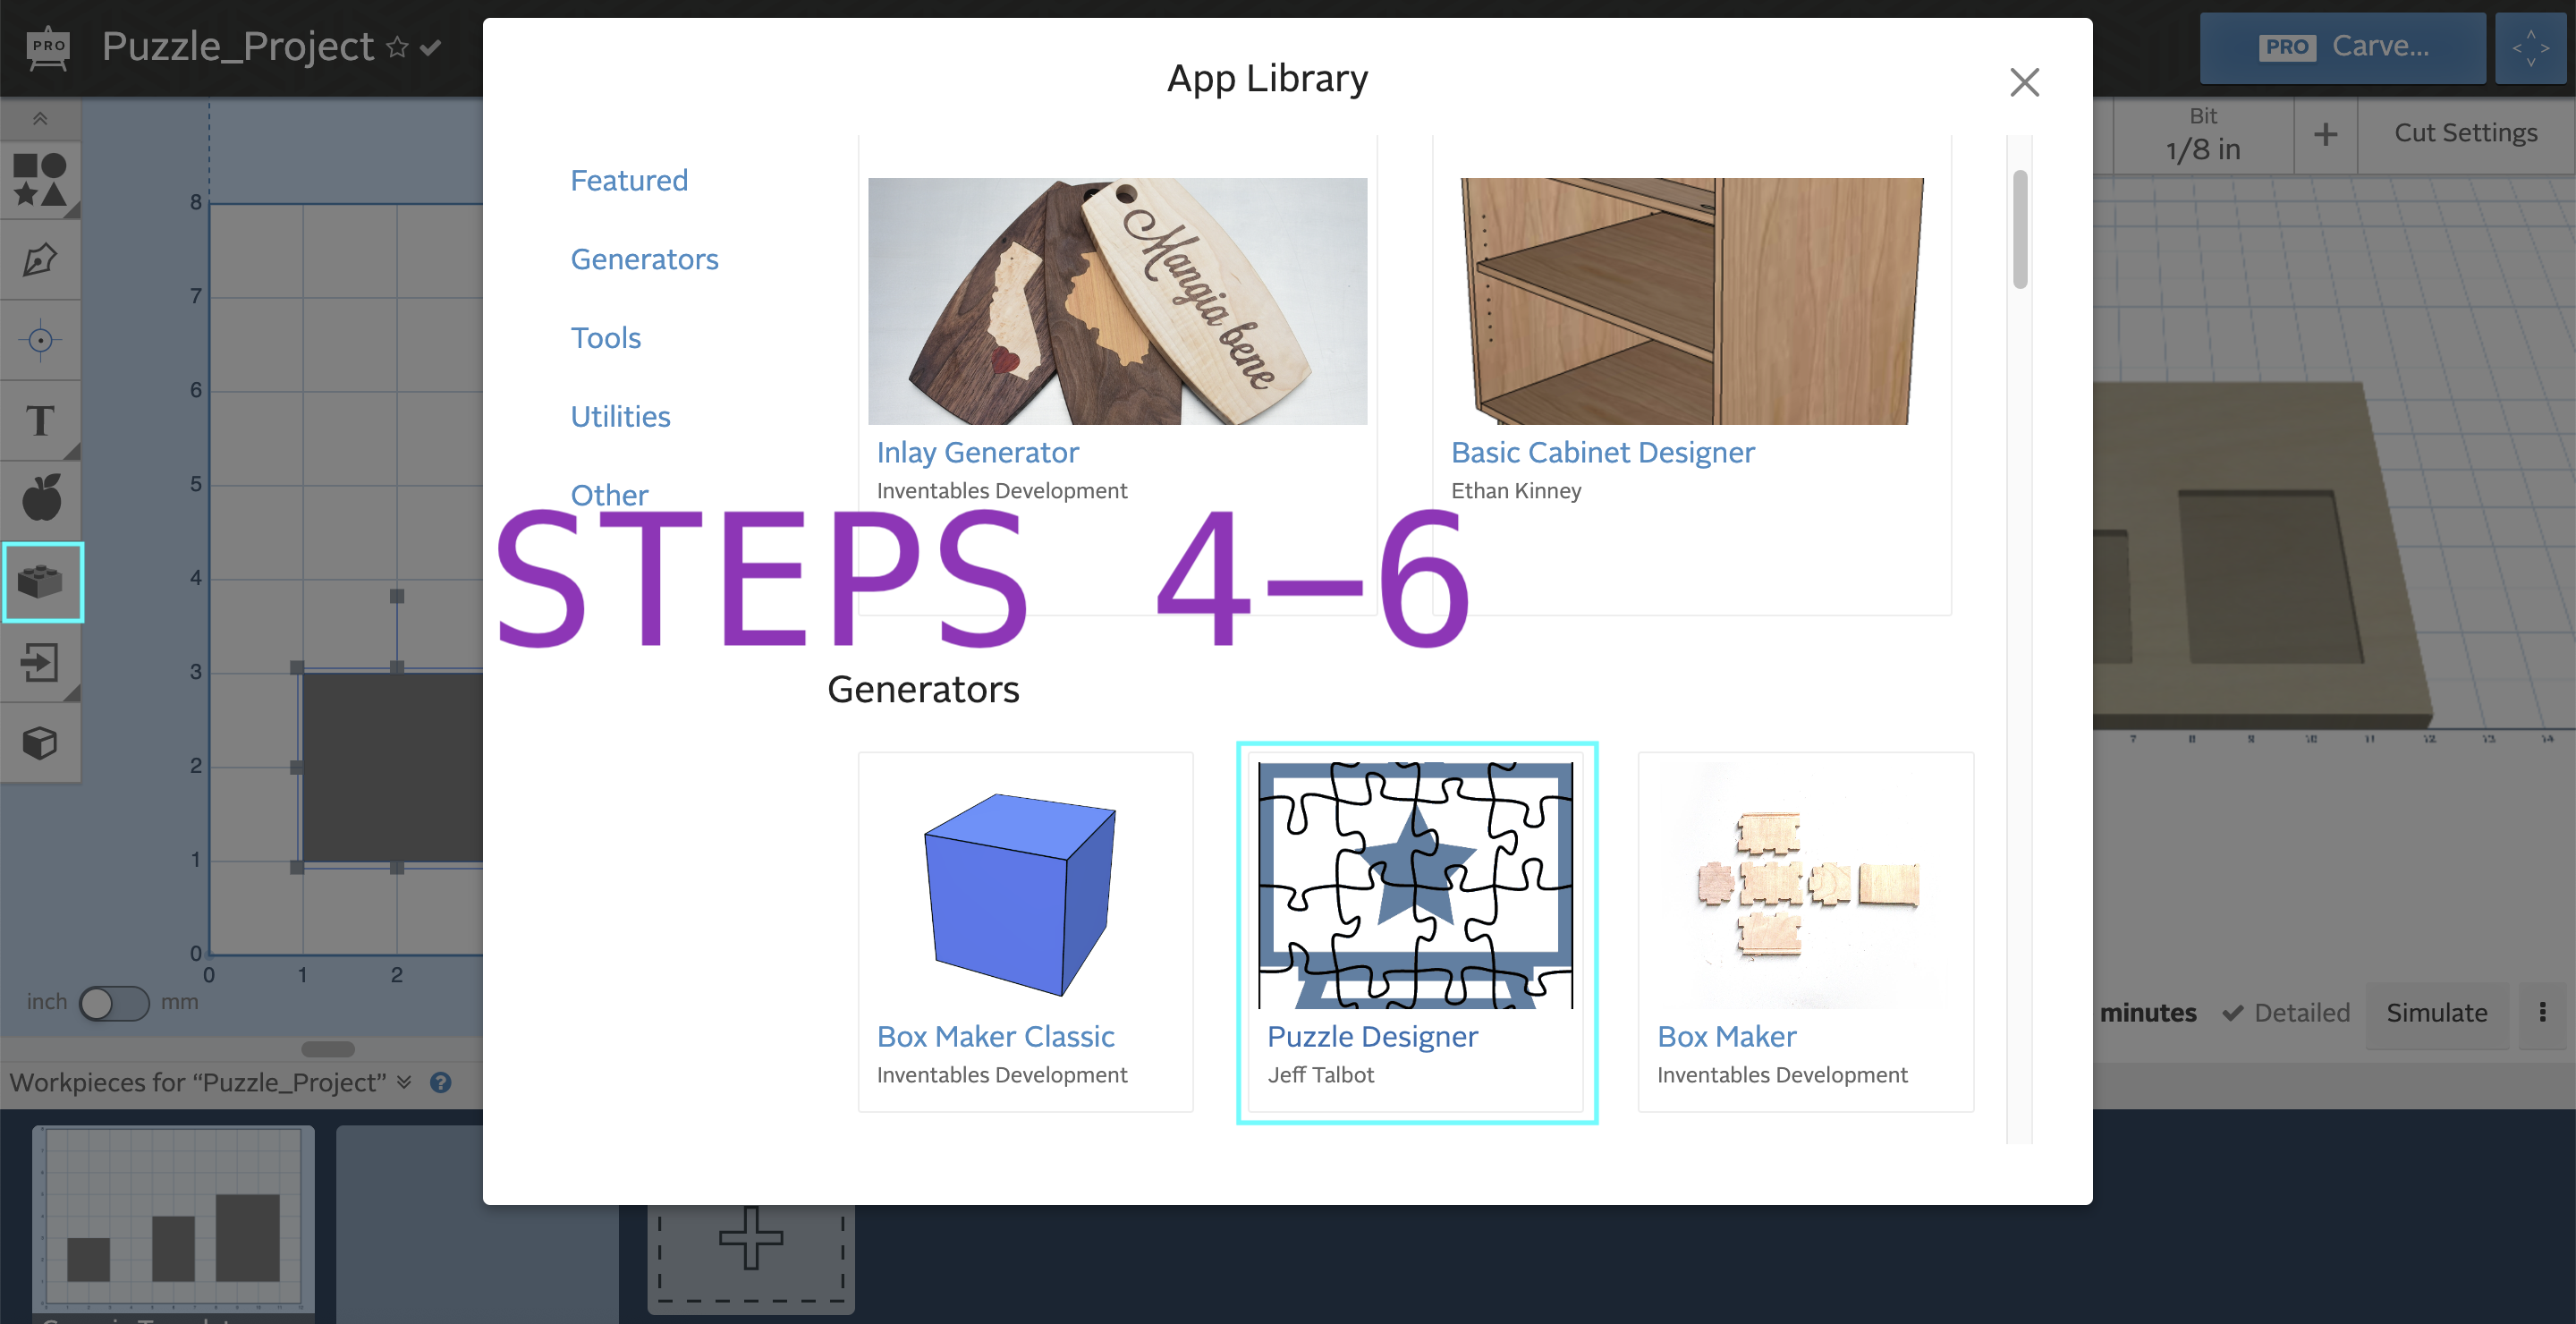
- Click the Apps icon
- Search for "puzzle" or scroll down to Puzzle Designer by Jeff Talbot
- Click the Puzzle Designer app
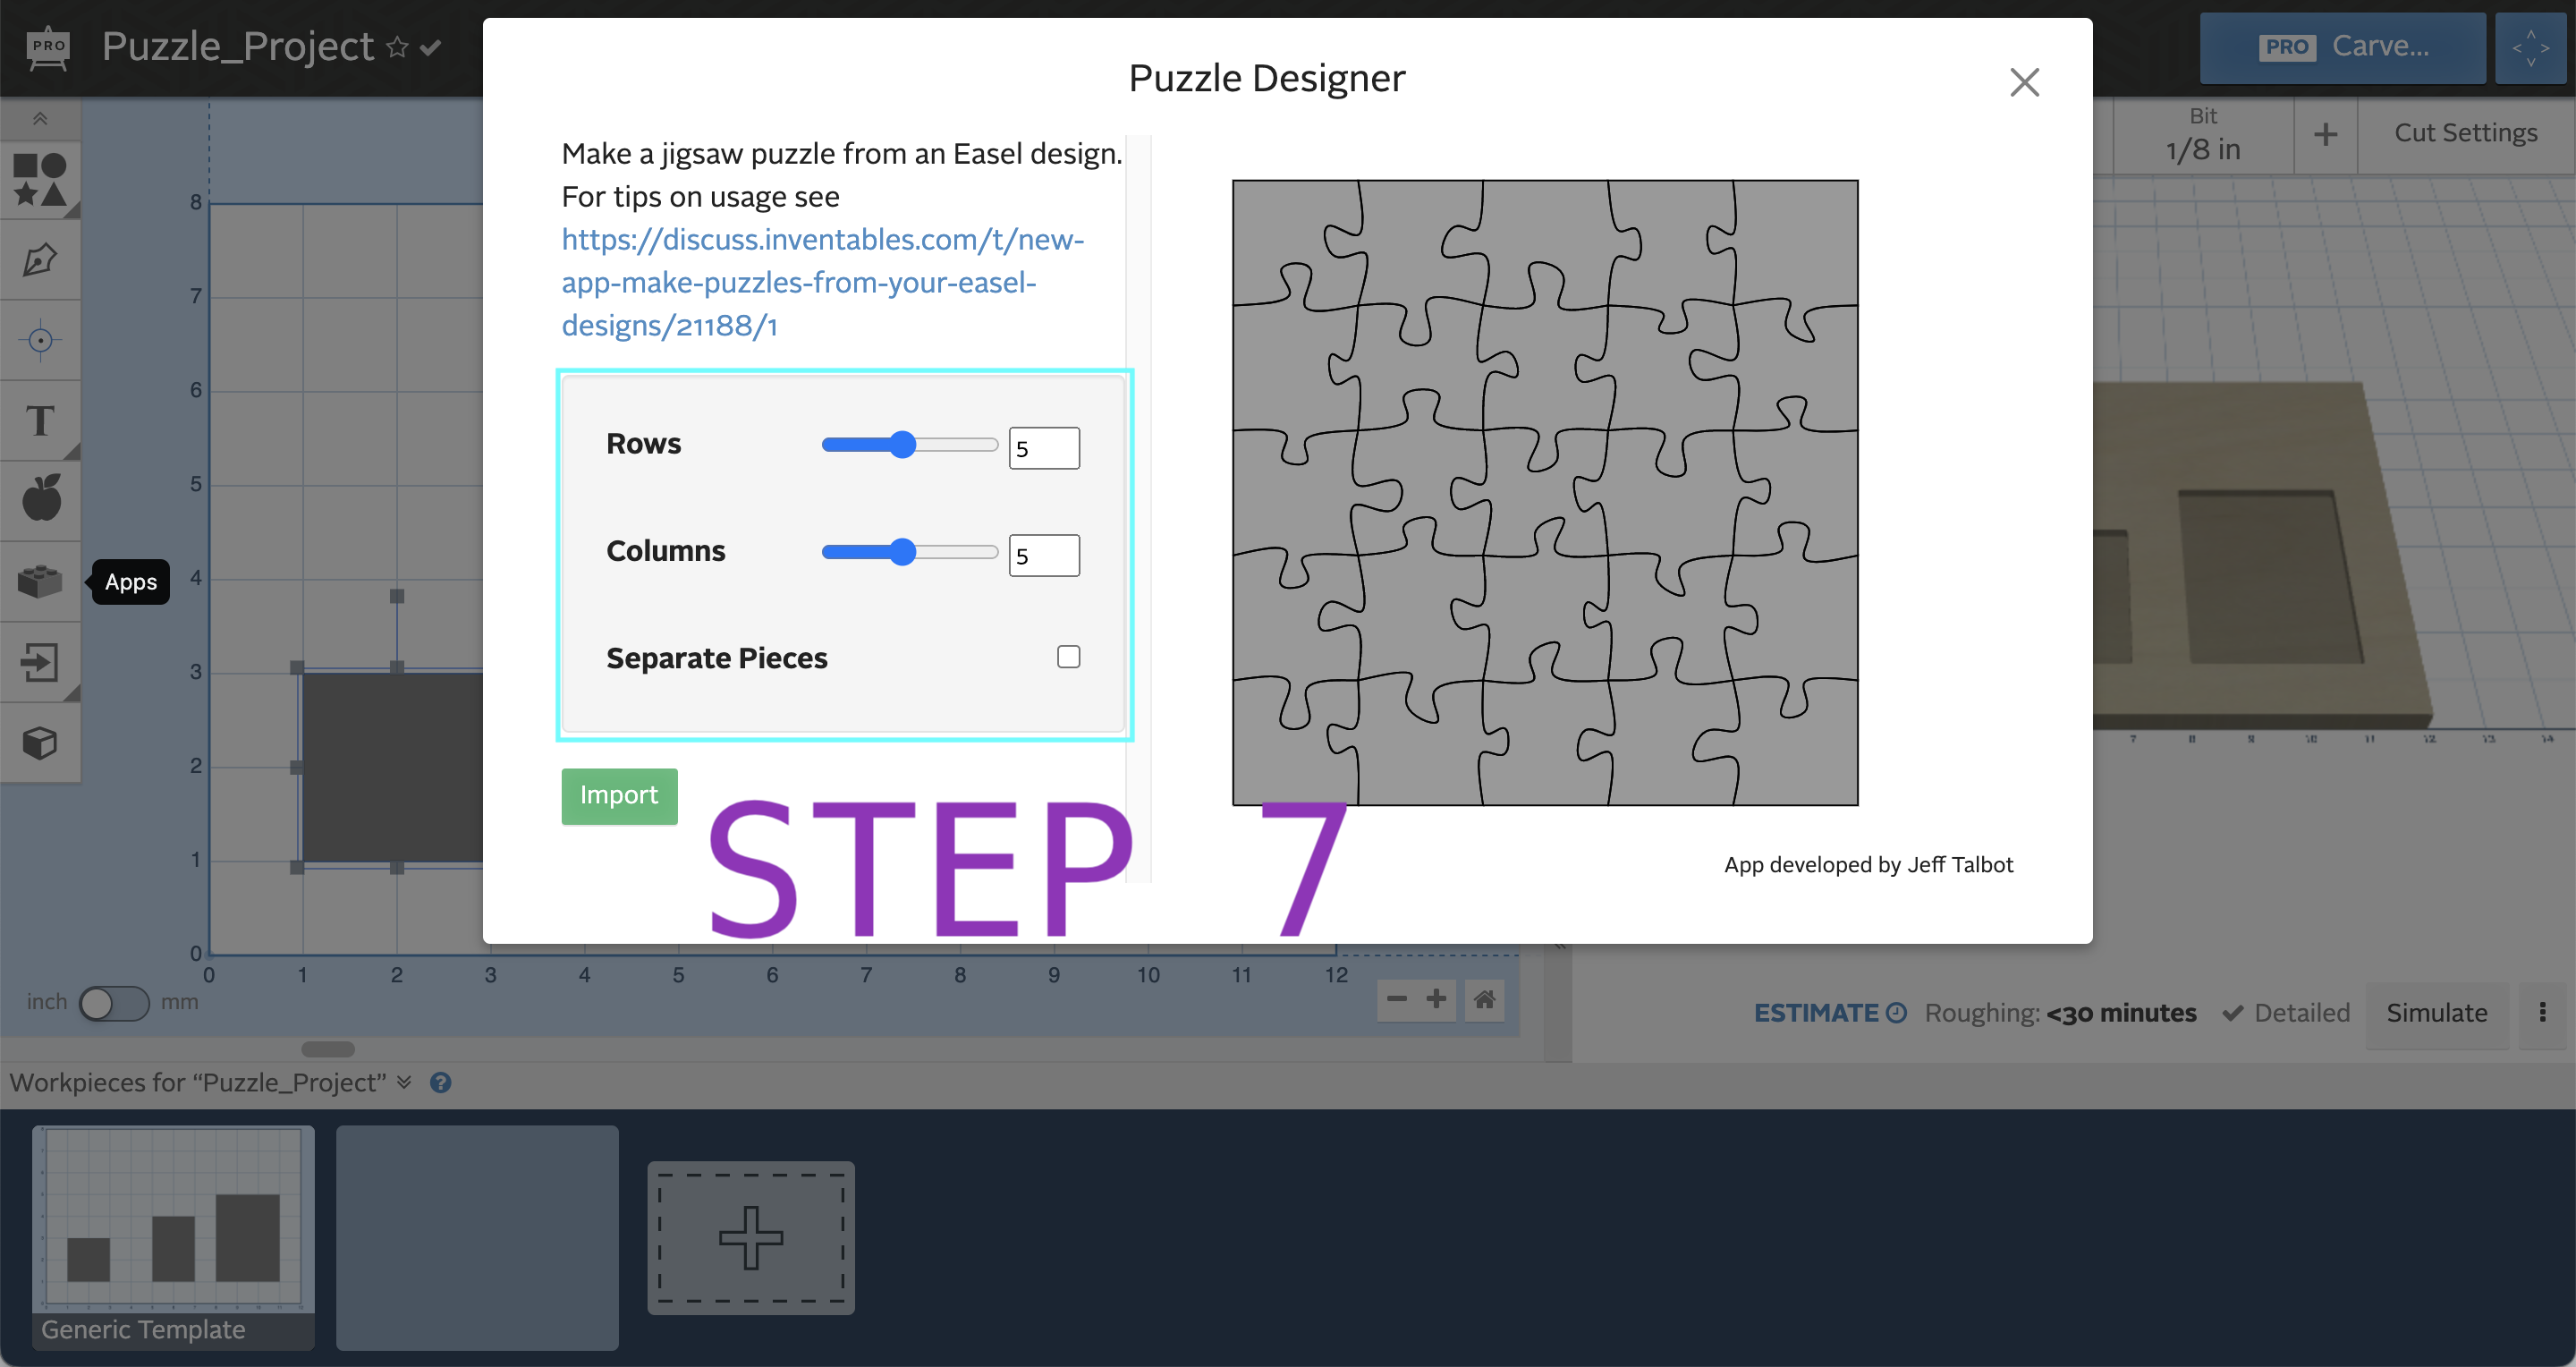
- Now you will see slider options to choose the number of rows and columns
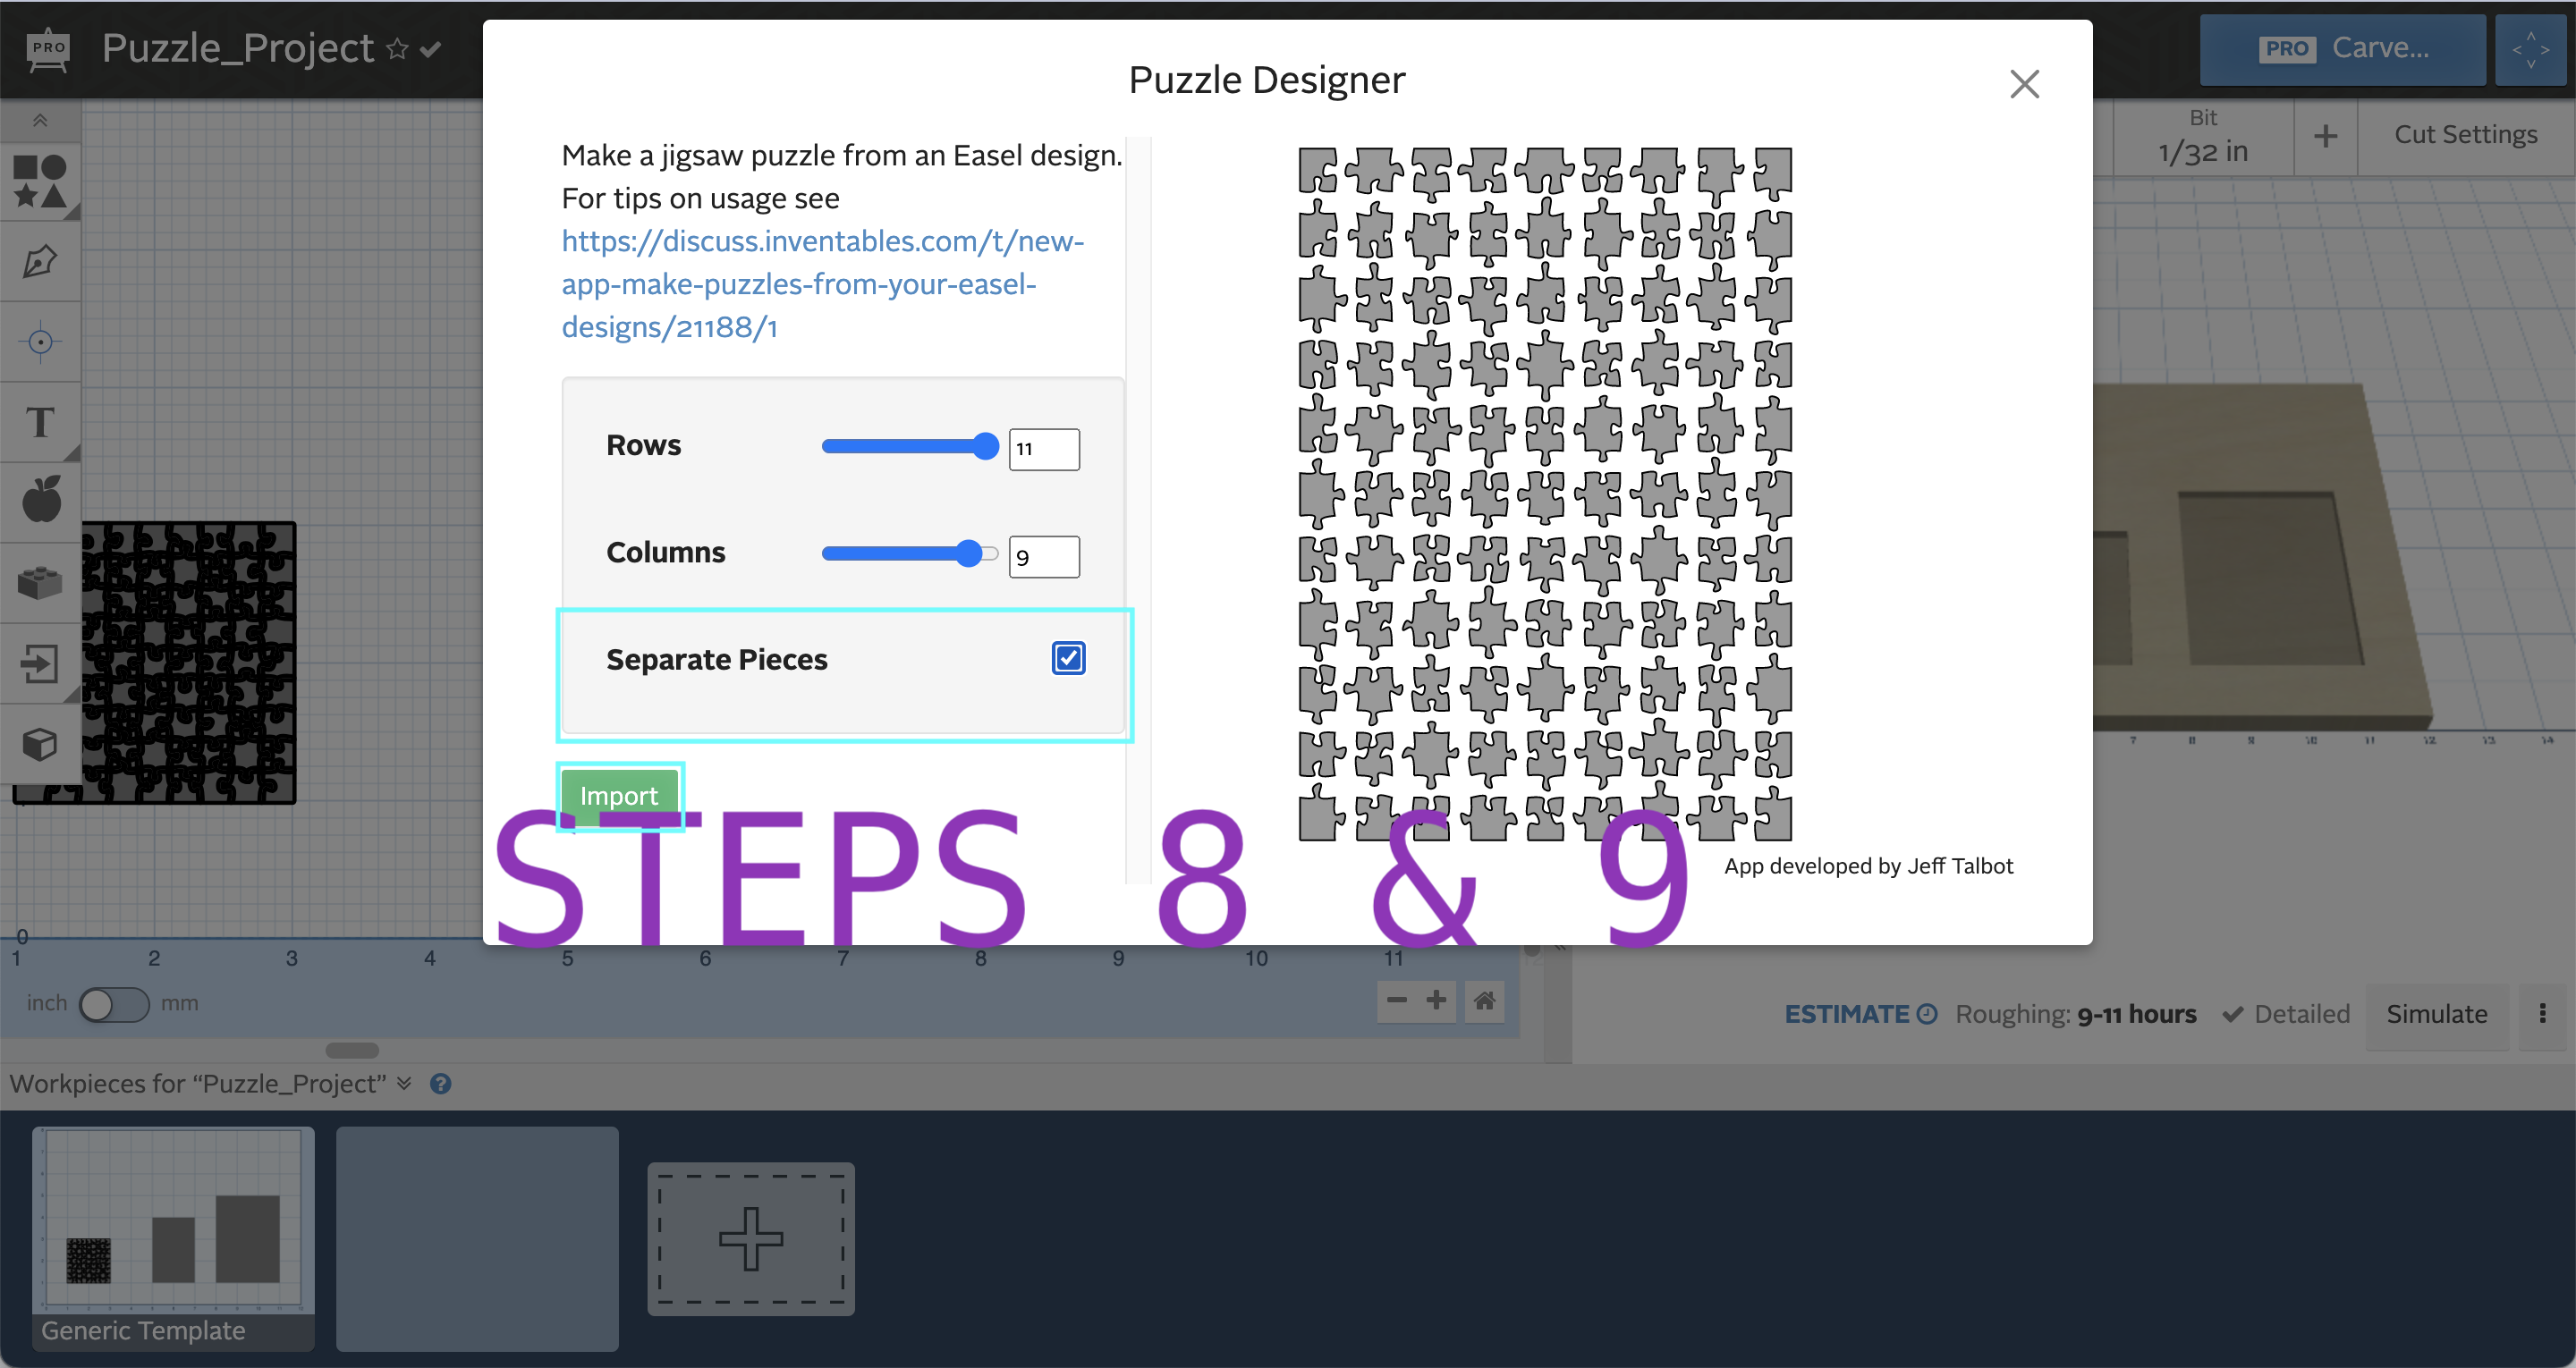
- Note there is also a check mark option to separate the pieces. I would suggest trying it both ways to understand the difference.
- Once you are happy with the preview- click "Import"
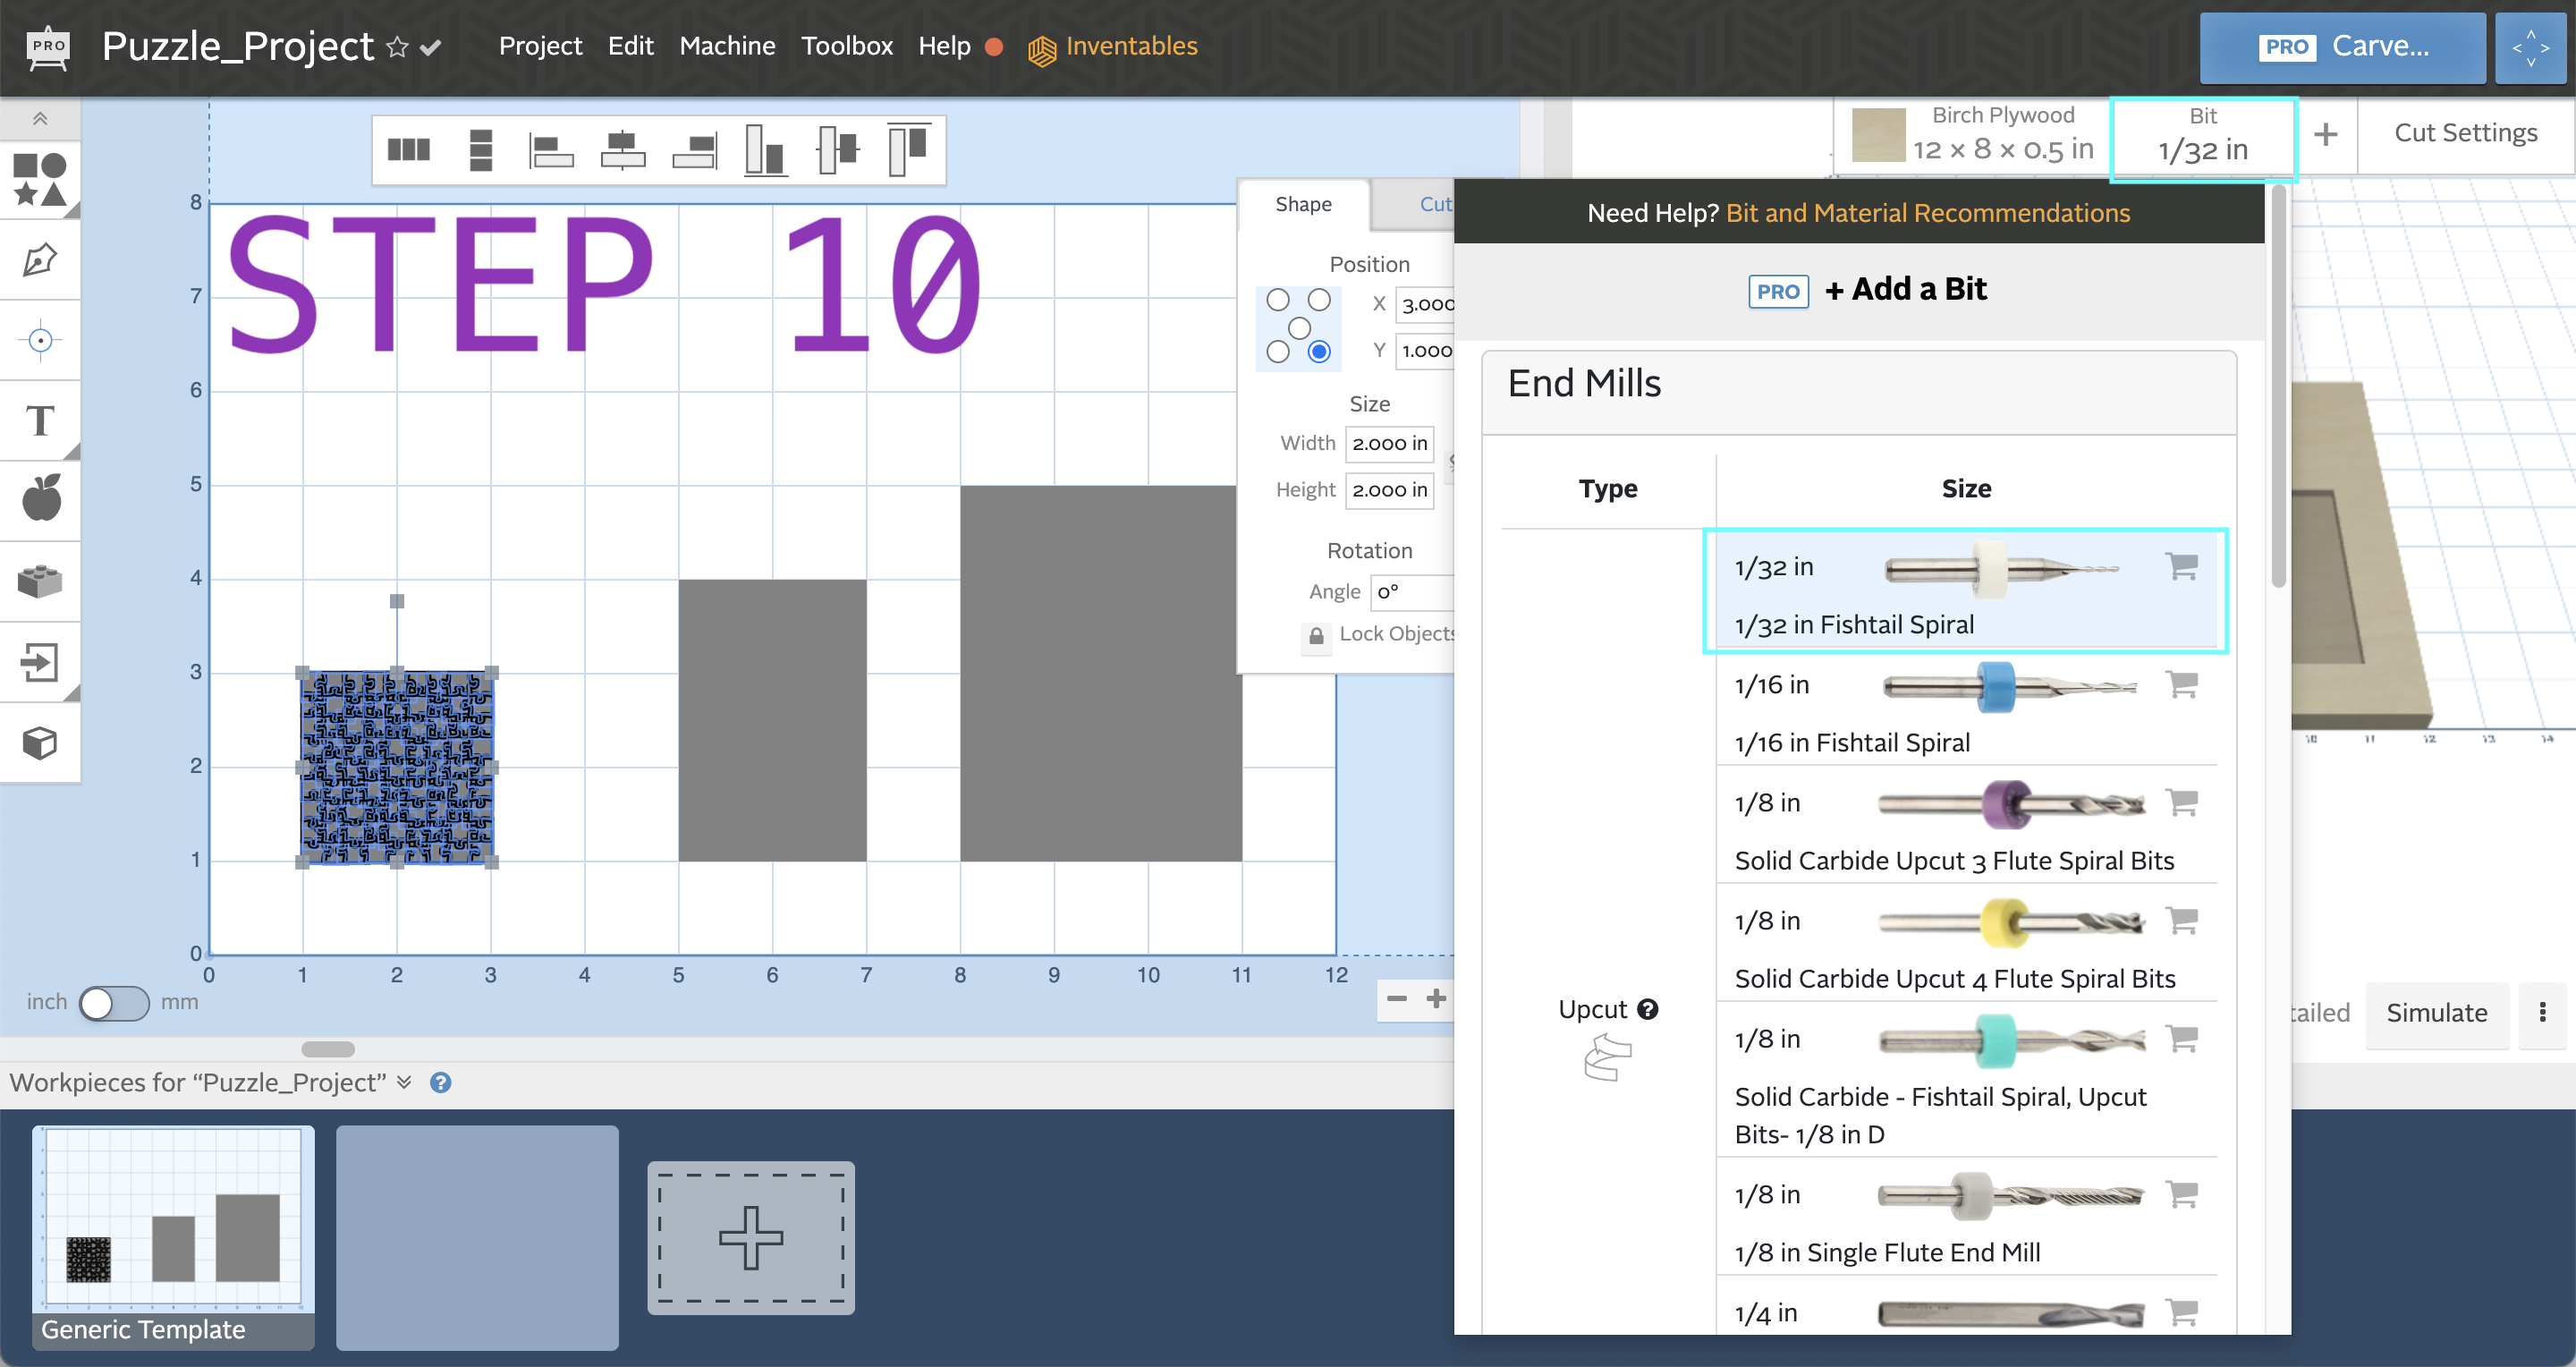
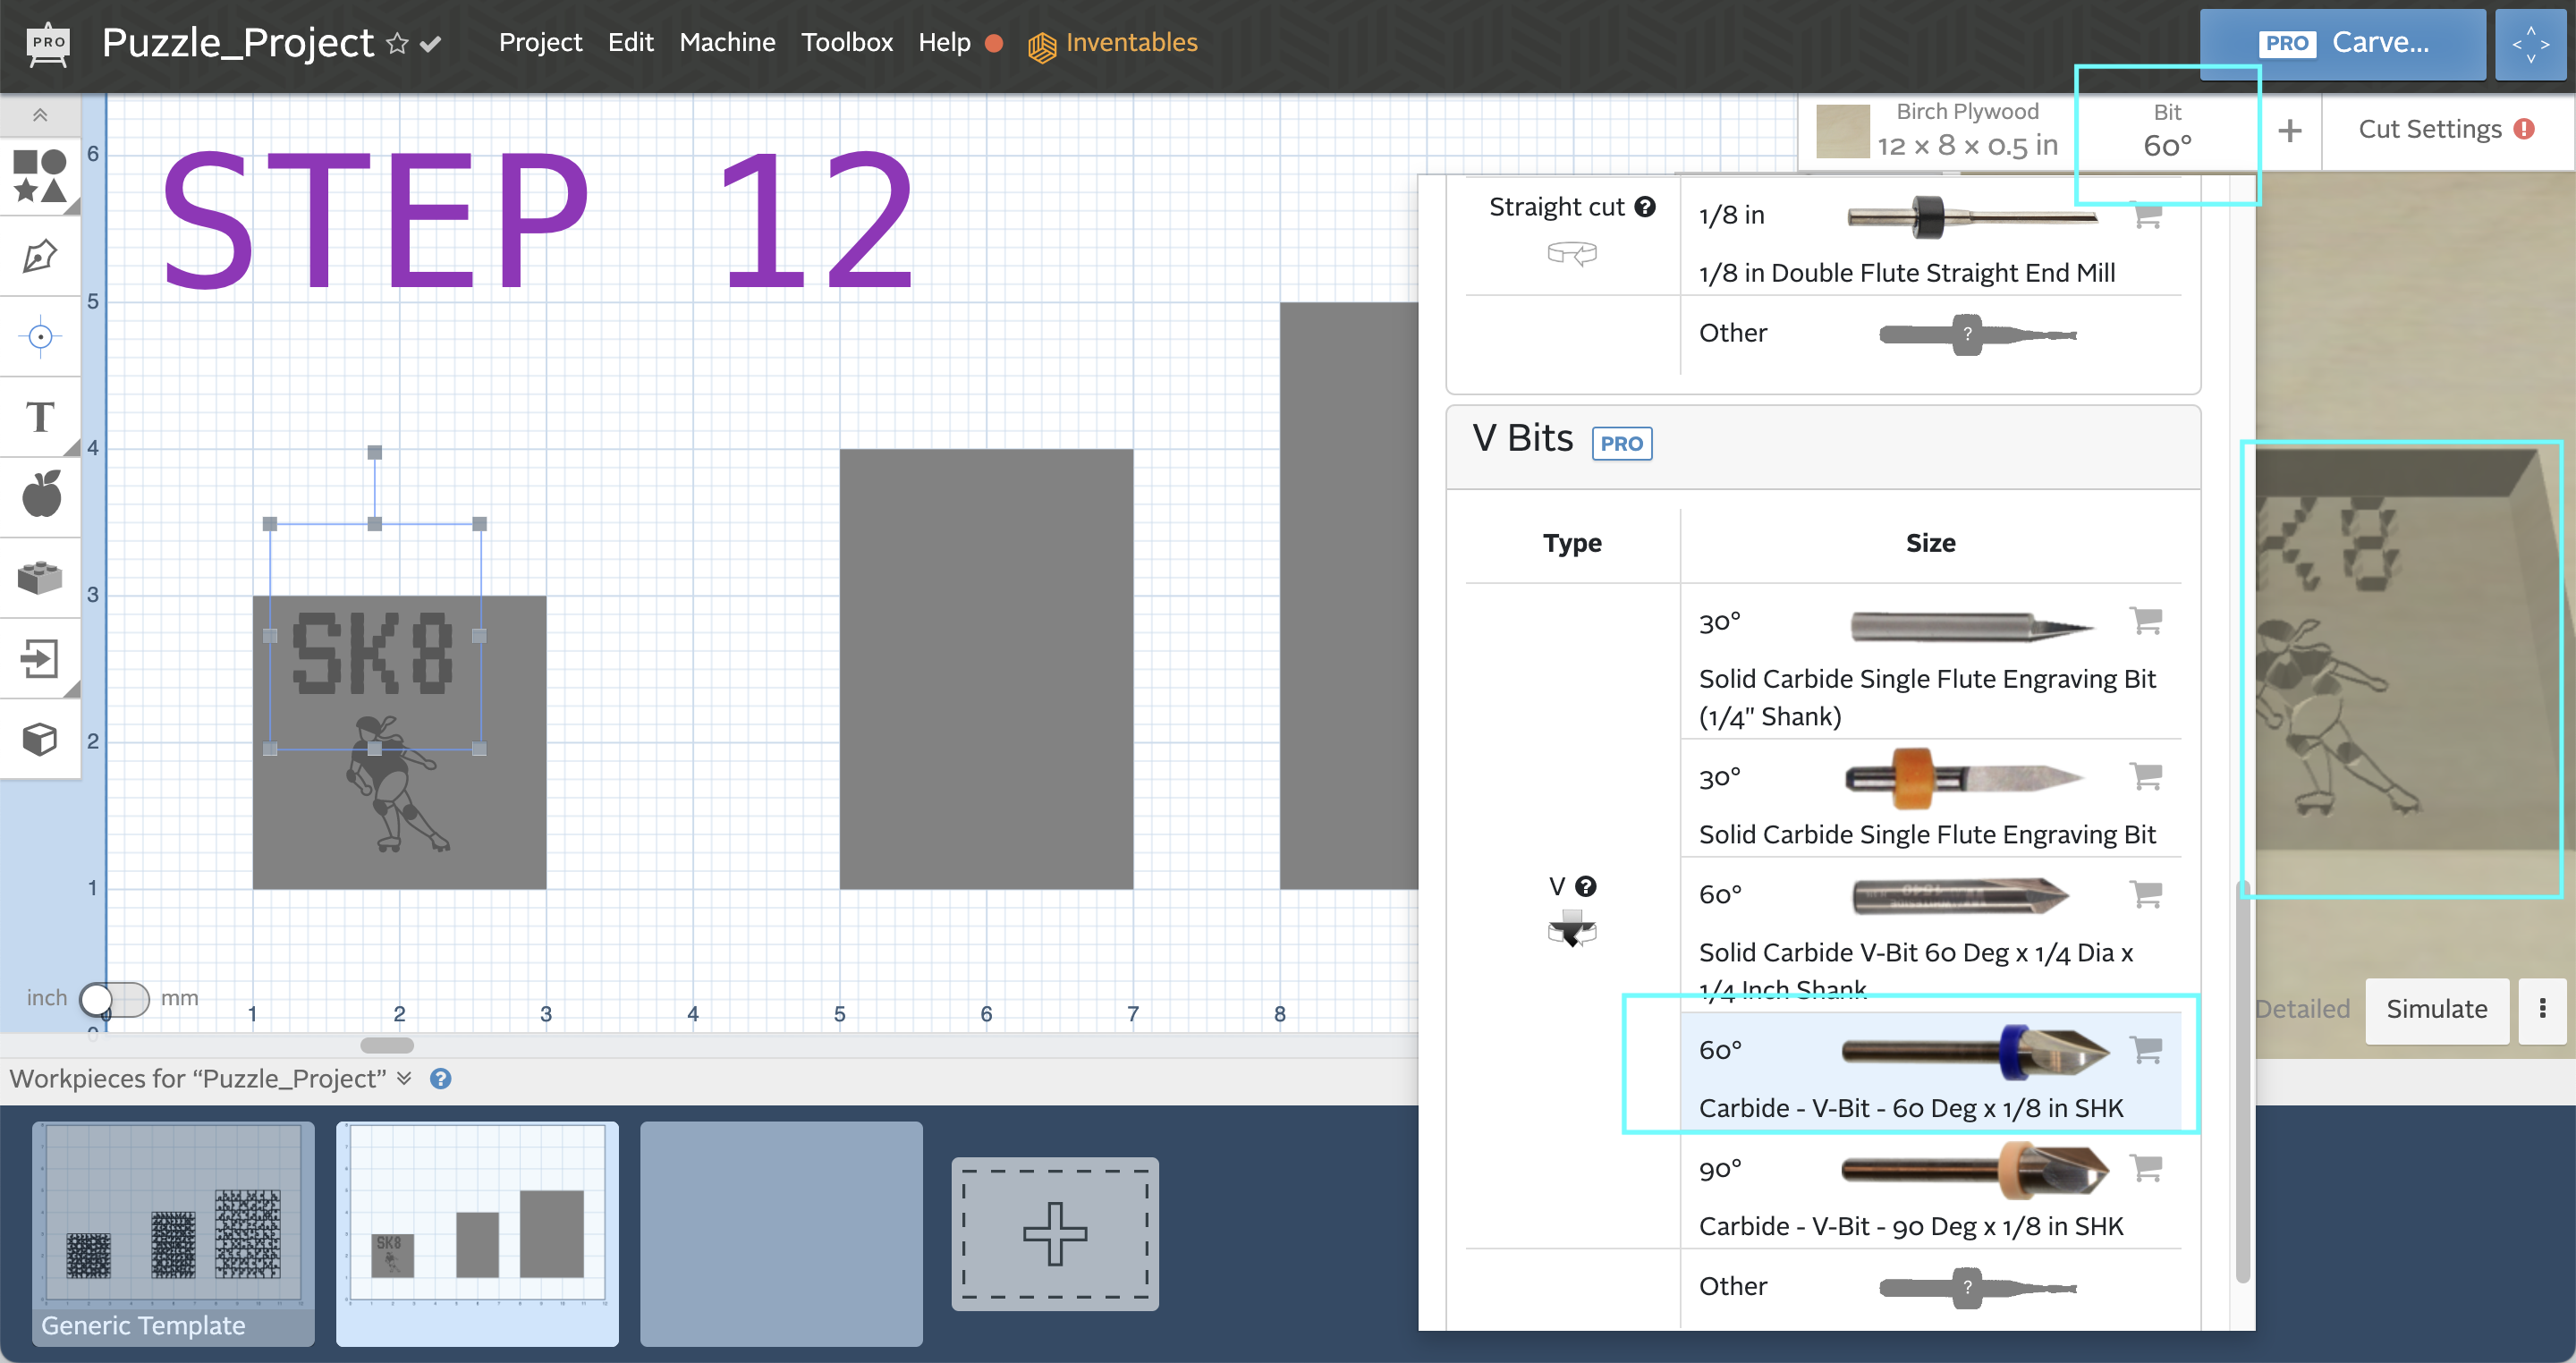
- Change the bit to any 1/32 inch bit to preview the individual puzzle piece. Do not worry about your actual bit yet, this will be covered in the next steps, depending on the machine type.
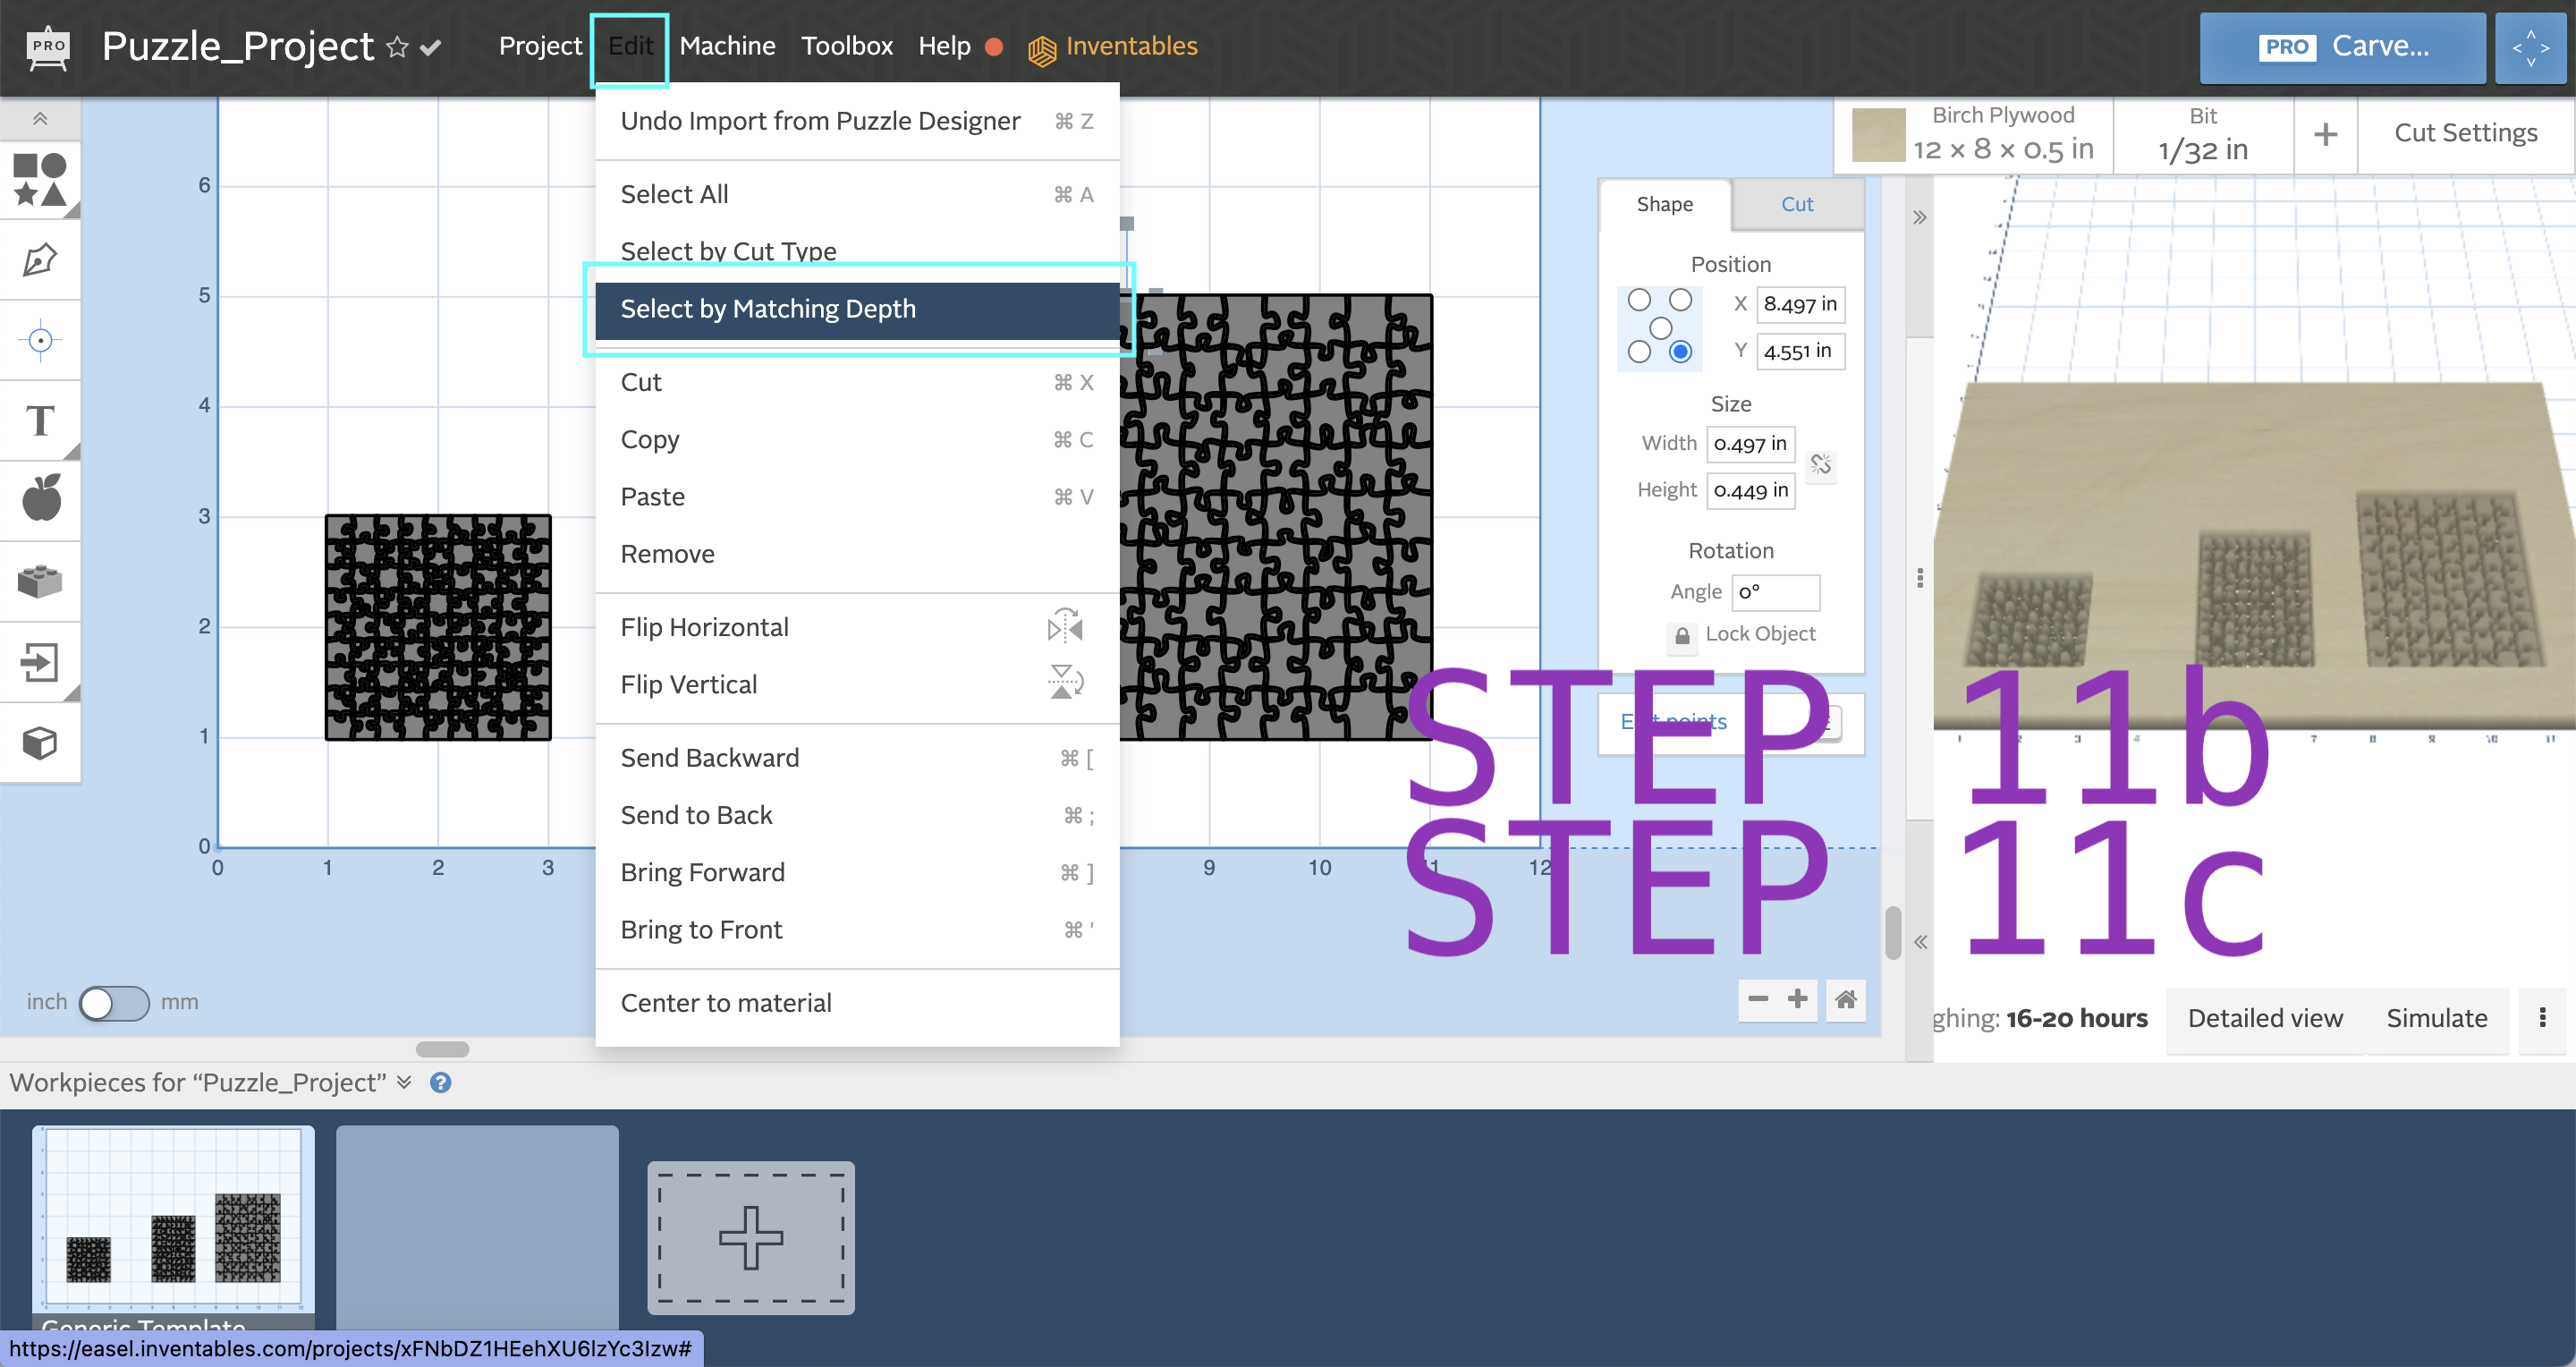
- The Puzzle Designer separates your original rectangle and creates another path that outlines each piece. We only need one of these two paths. In Easel the outline path will be black and the puzzle pieces will be gray. In order to remove the gray puzzle pieces:
- Click on one gray puzzle piece
- Navigate to the top menu and click Edit
- Select by Matching Depth
- This should select all the puzzle pieces
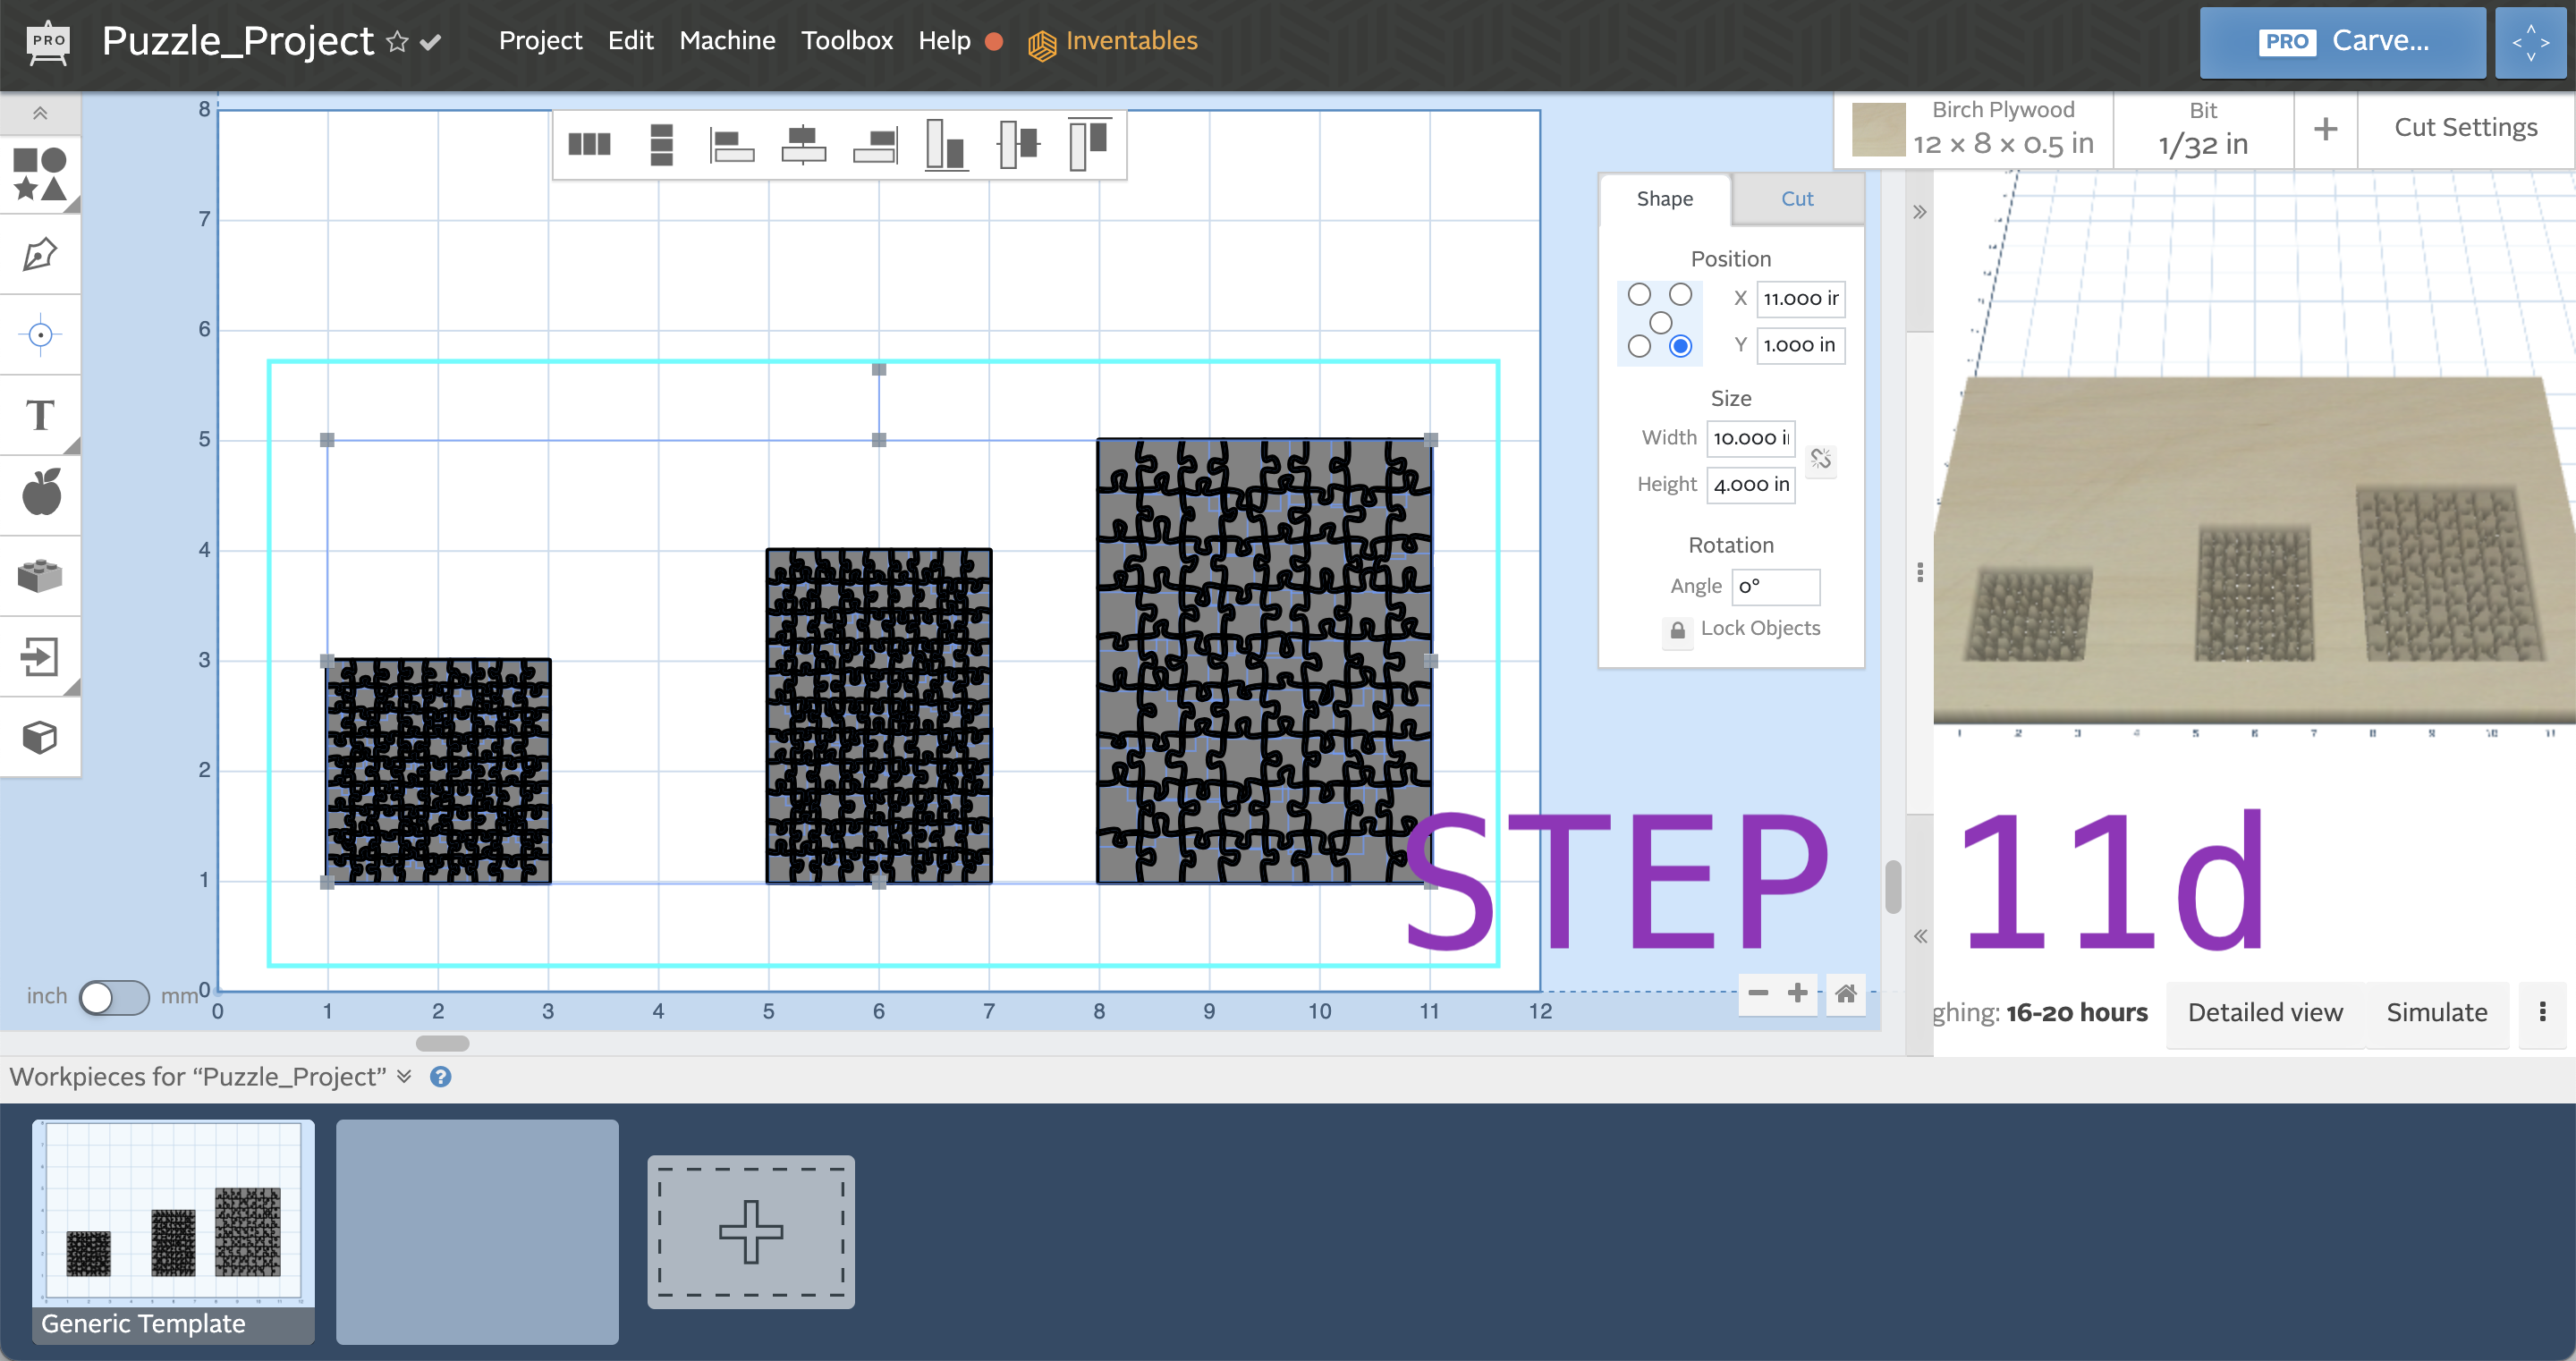
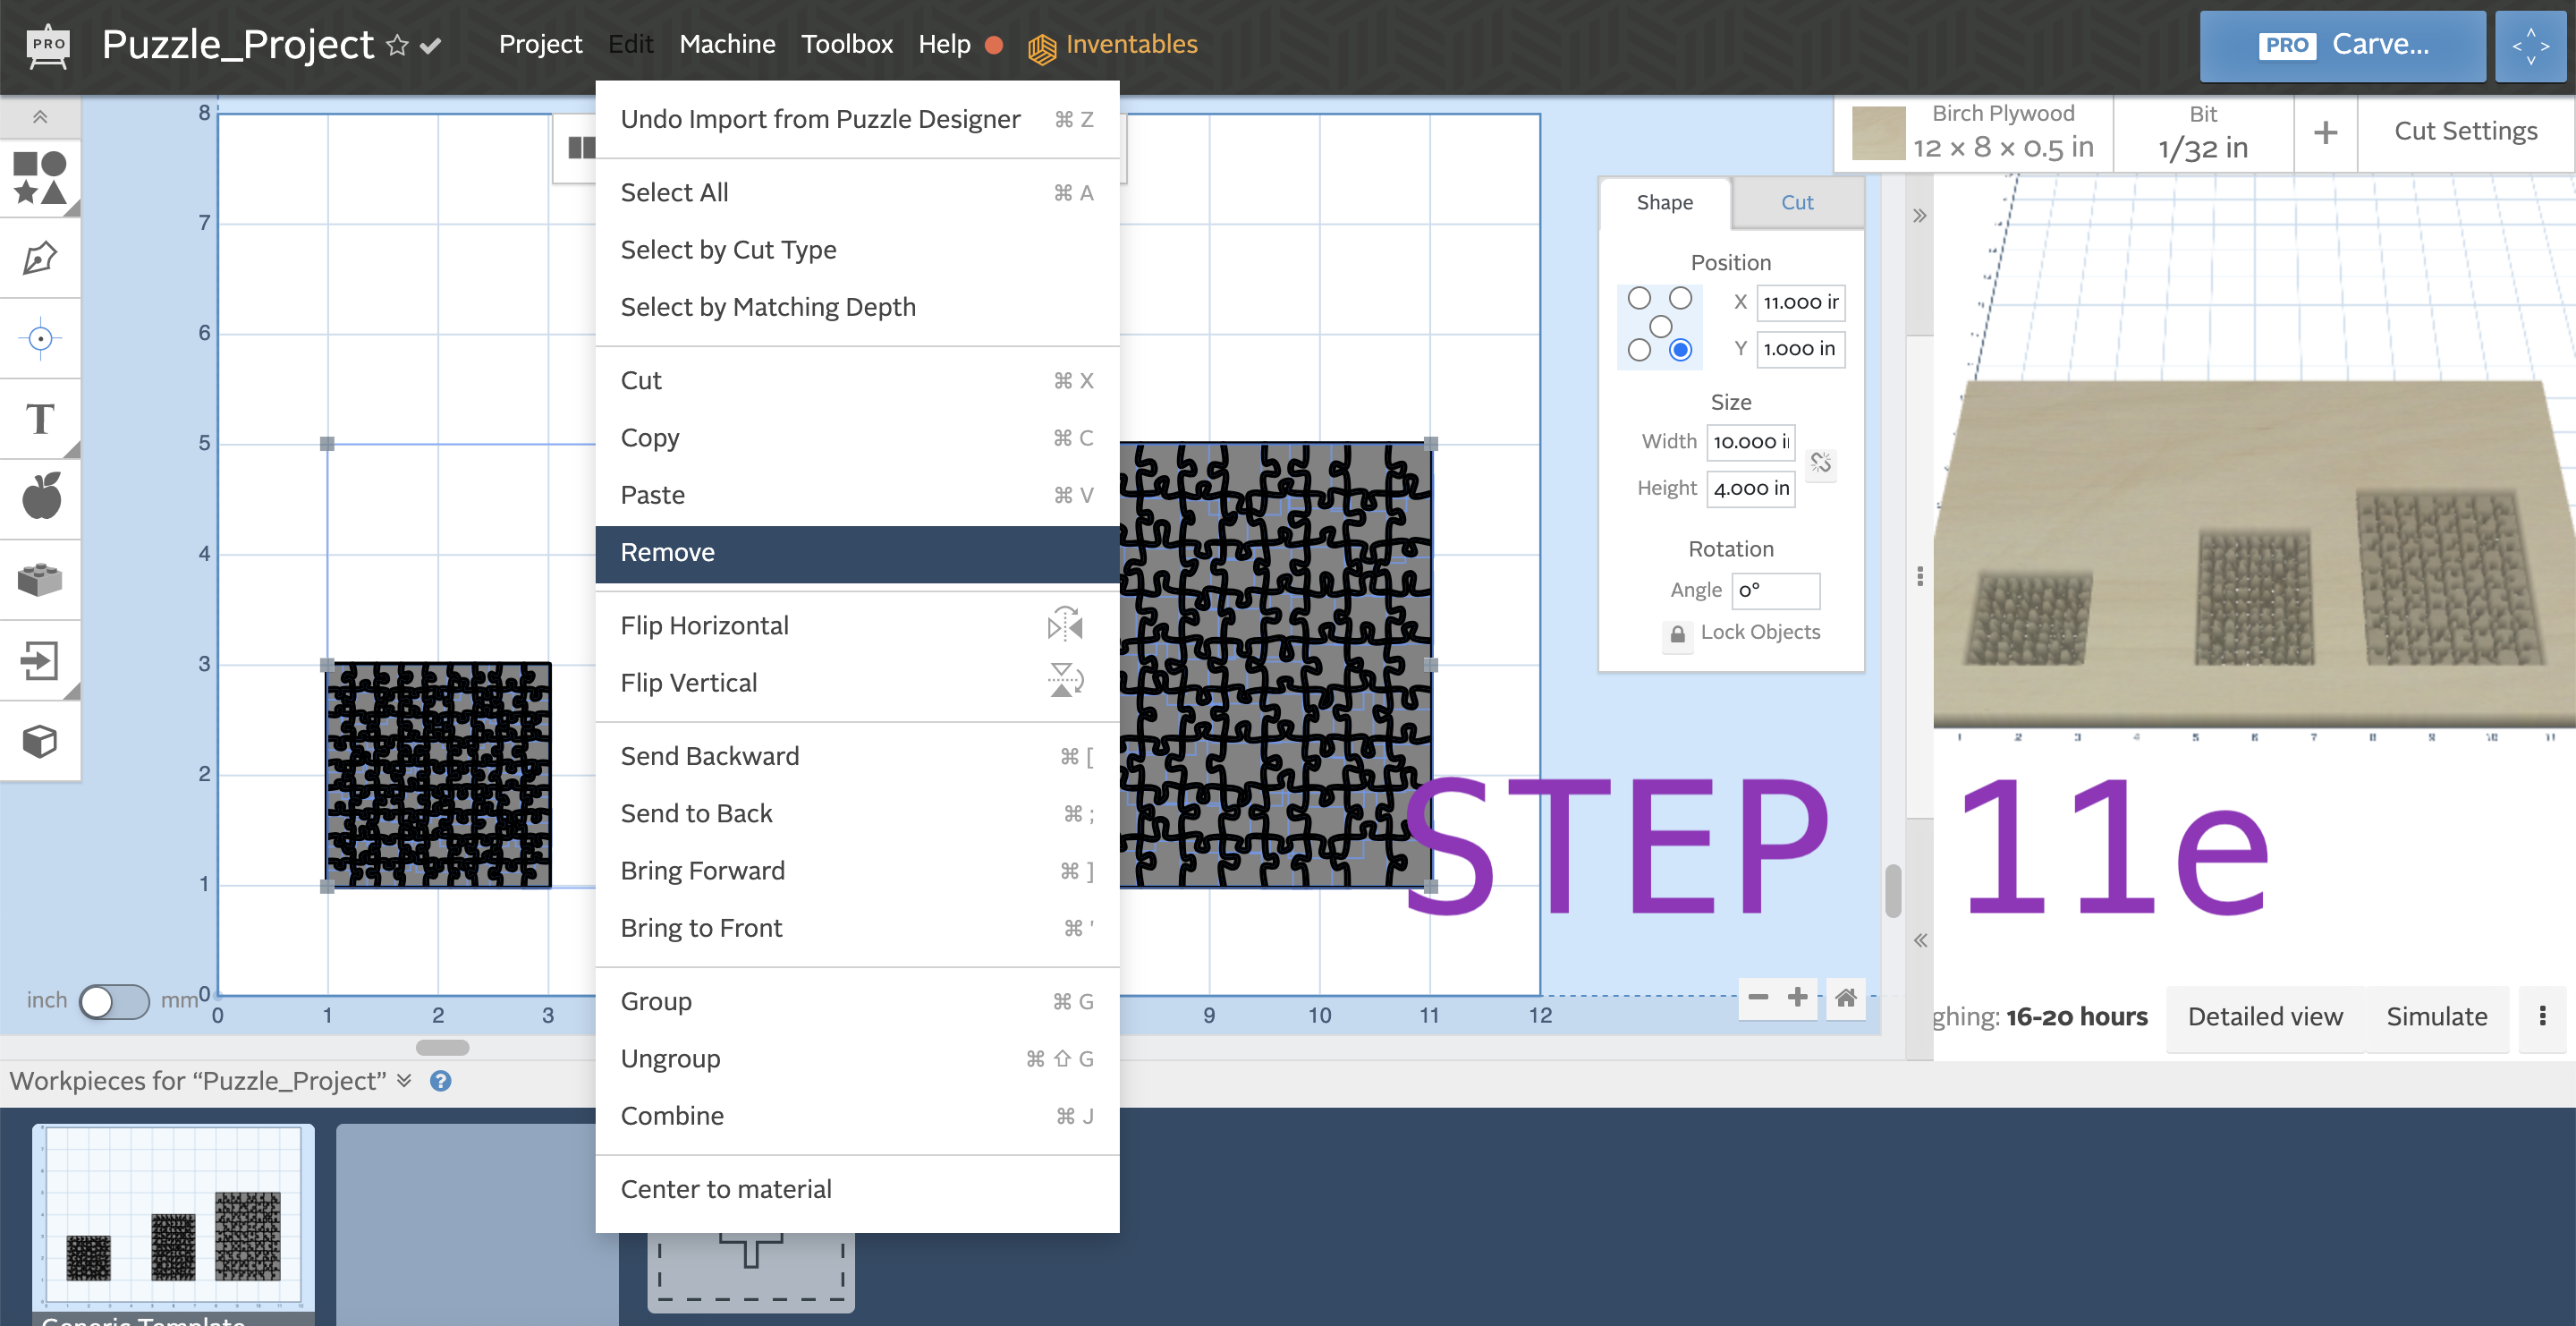
- Now click delete on your keyboard or go to Edit > Remove
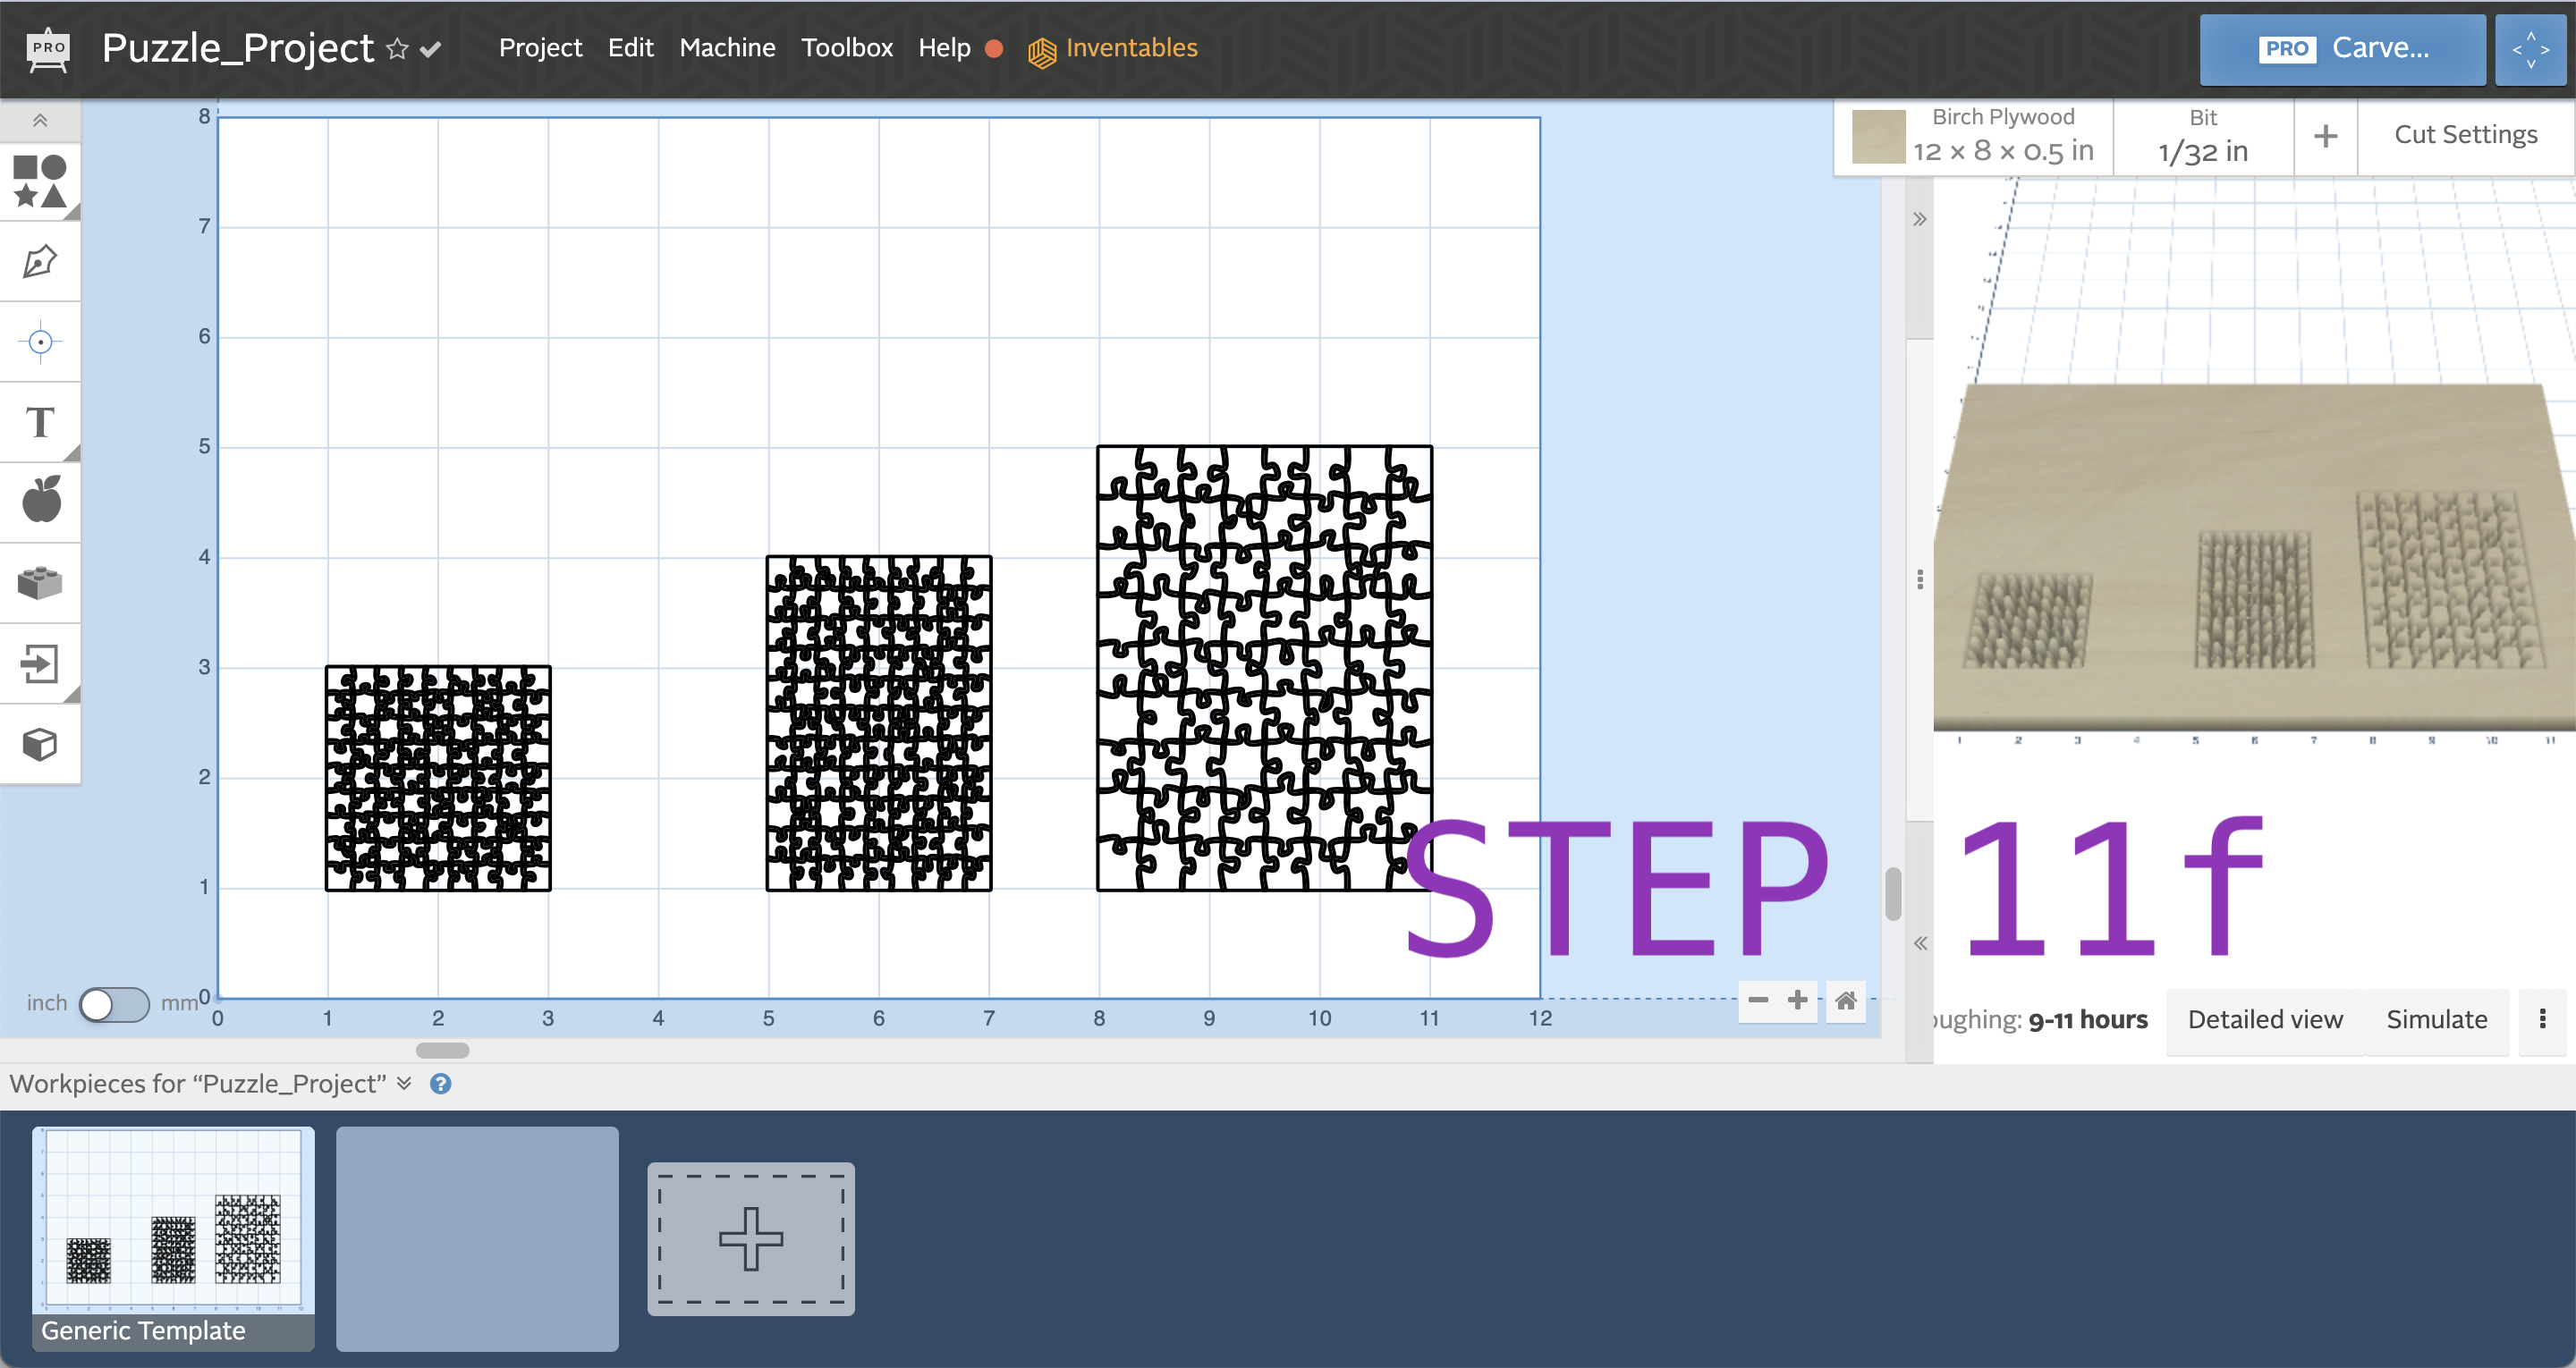
- This will leave you with just the outline
- Design your Puzzle on a blank Rectangle of the same size, using a separate workpiece, instead of making a whole new project.
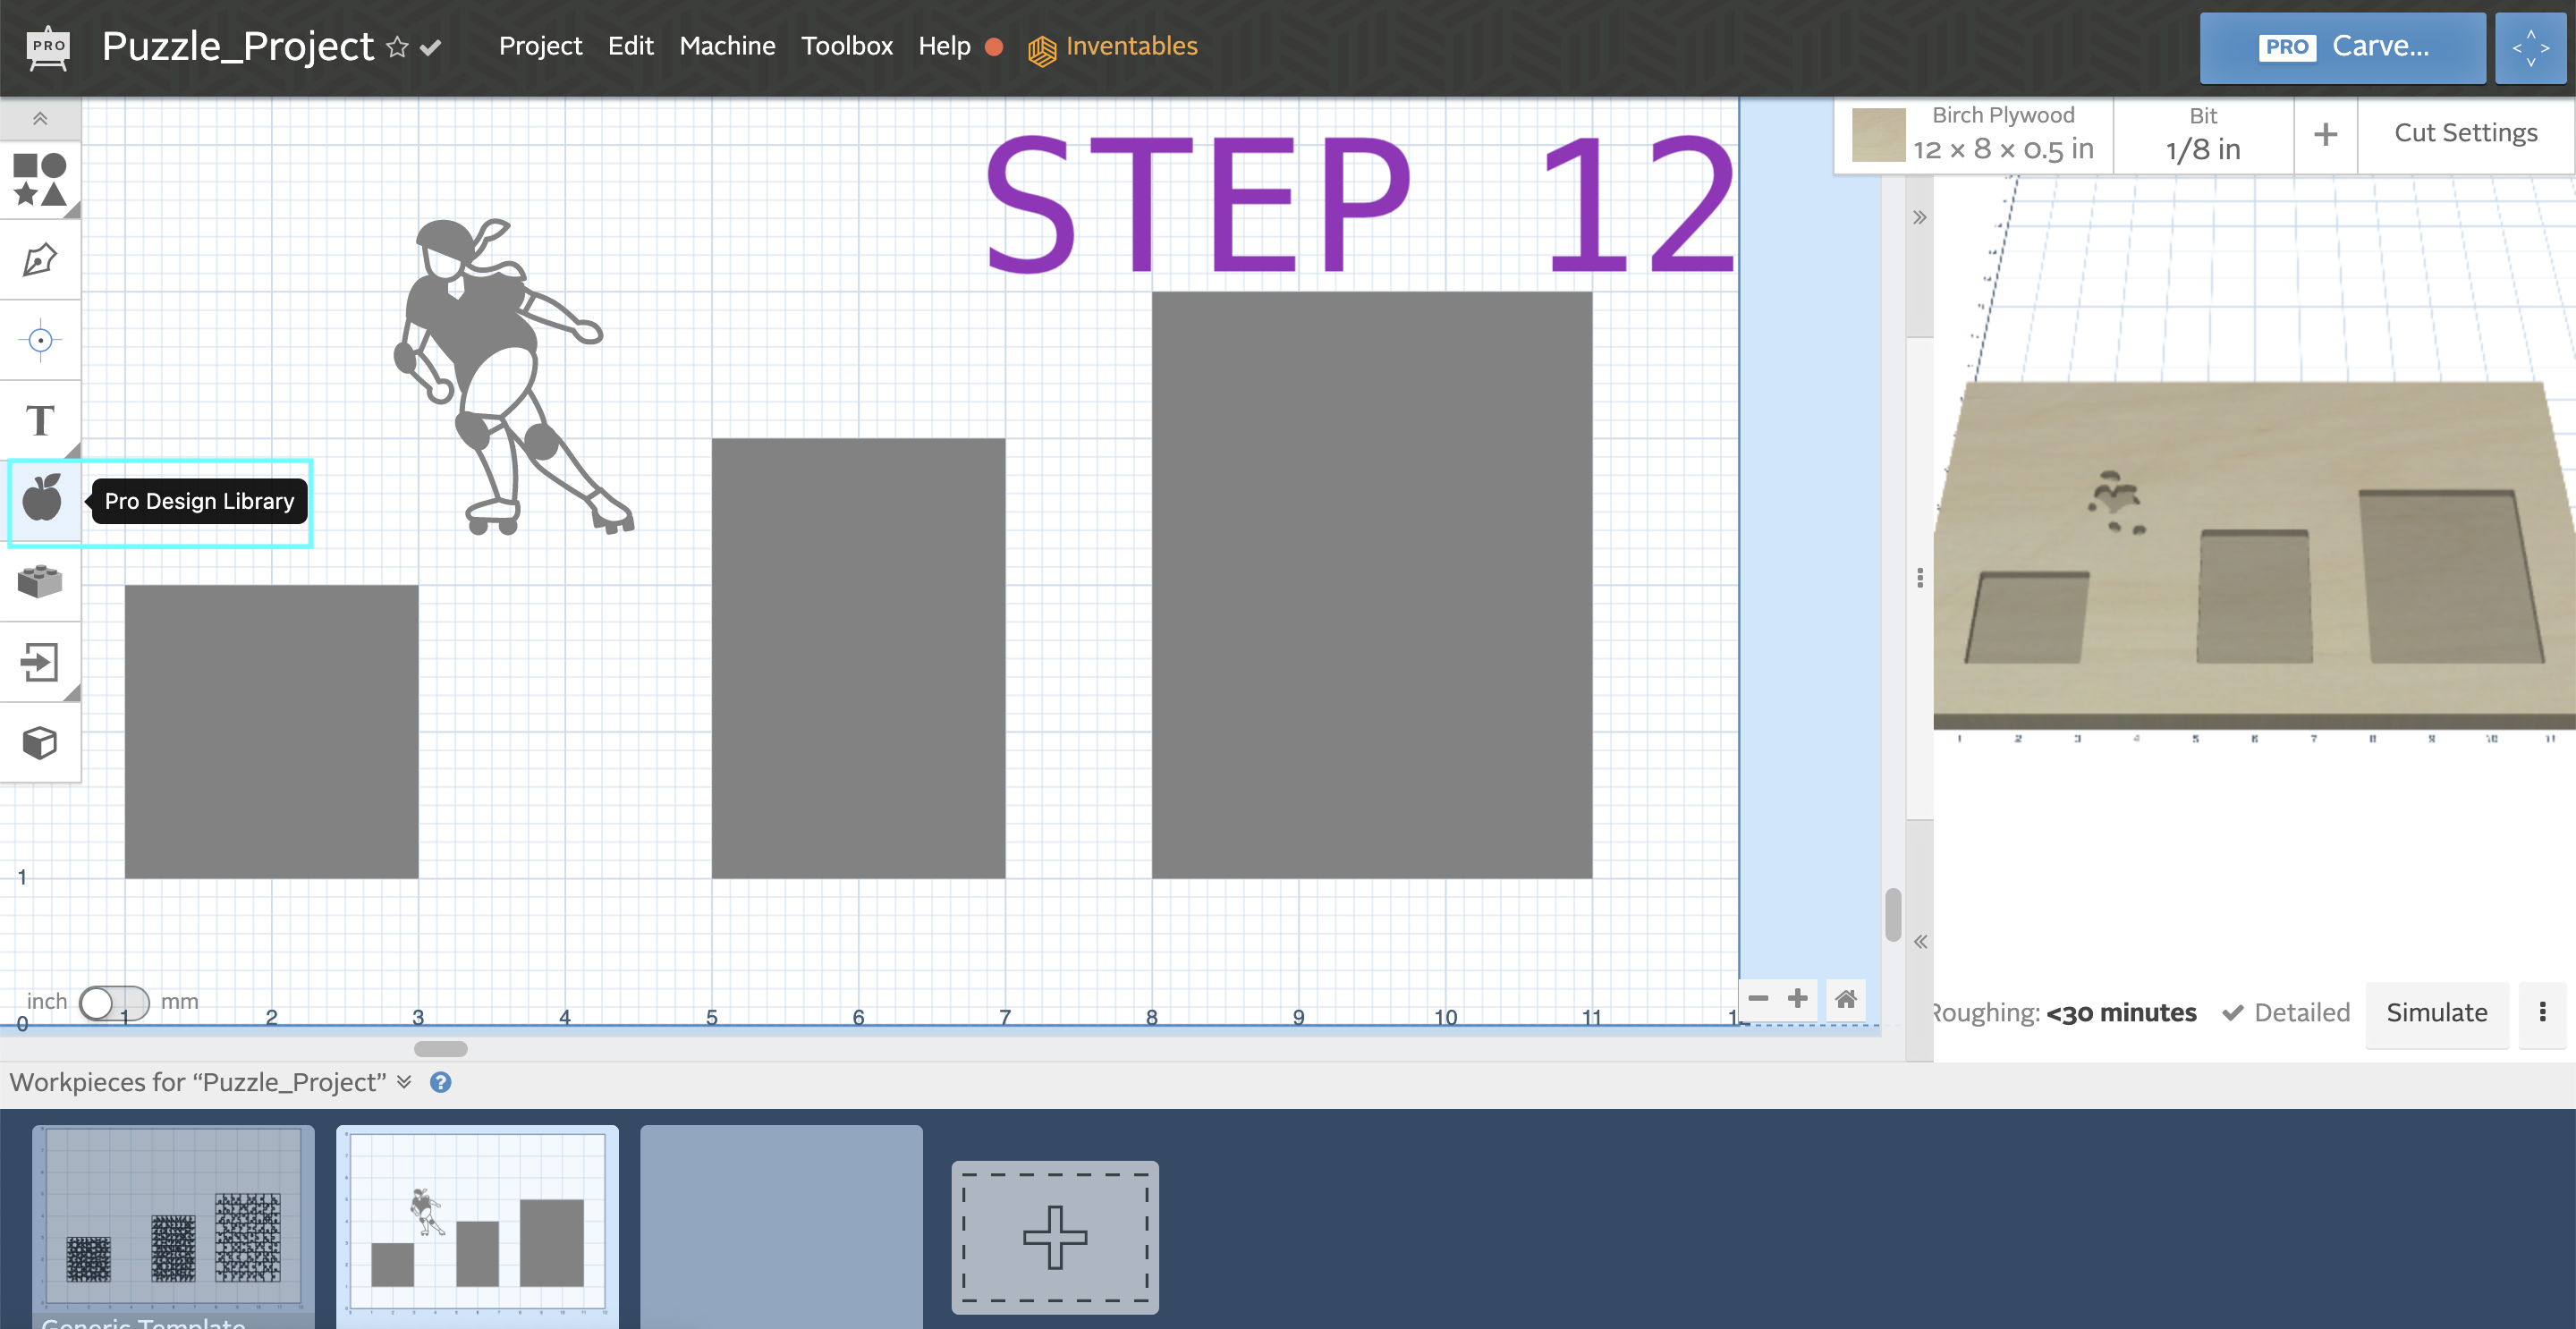
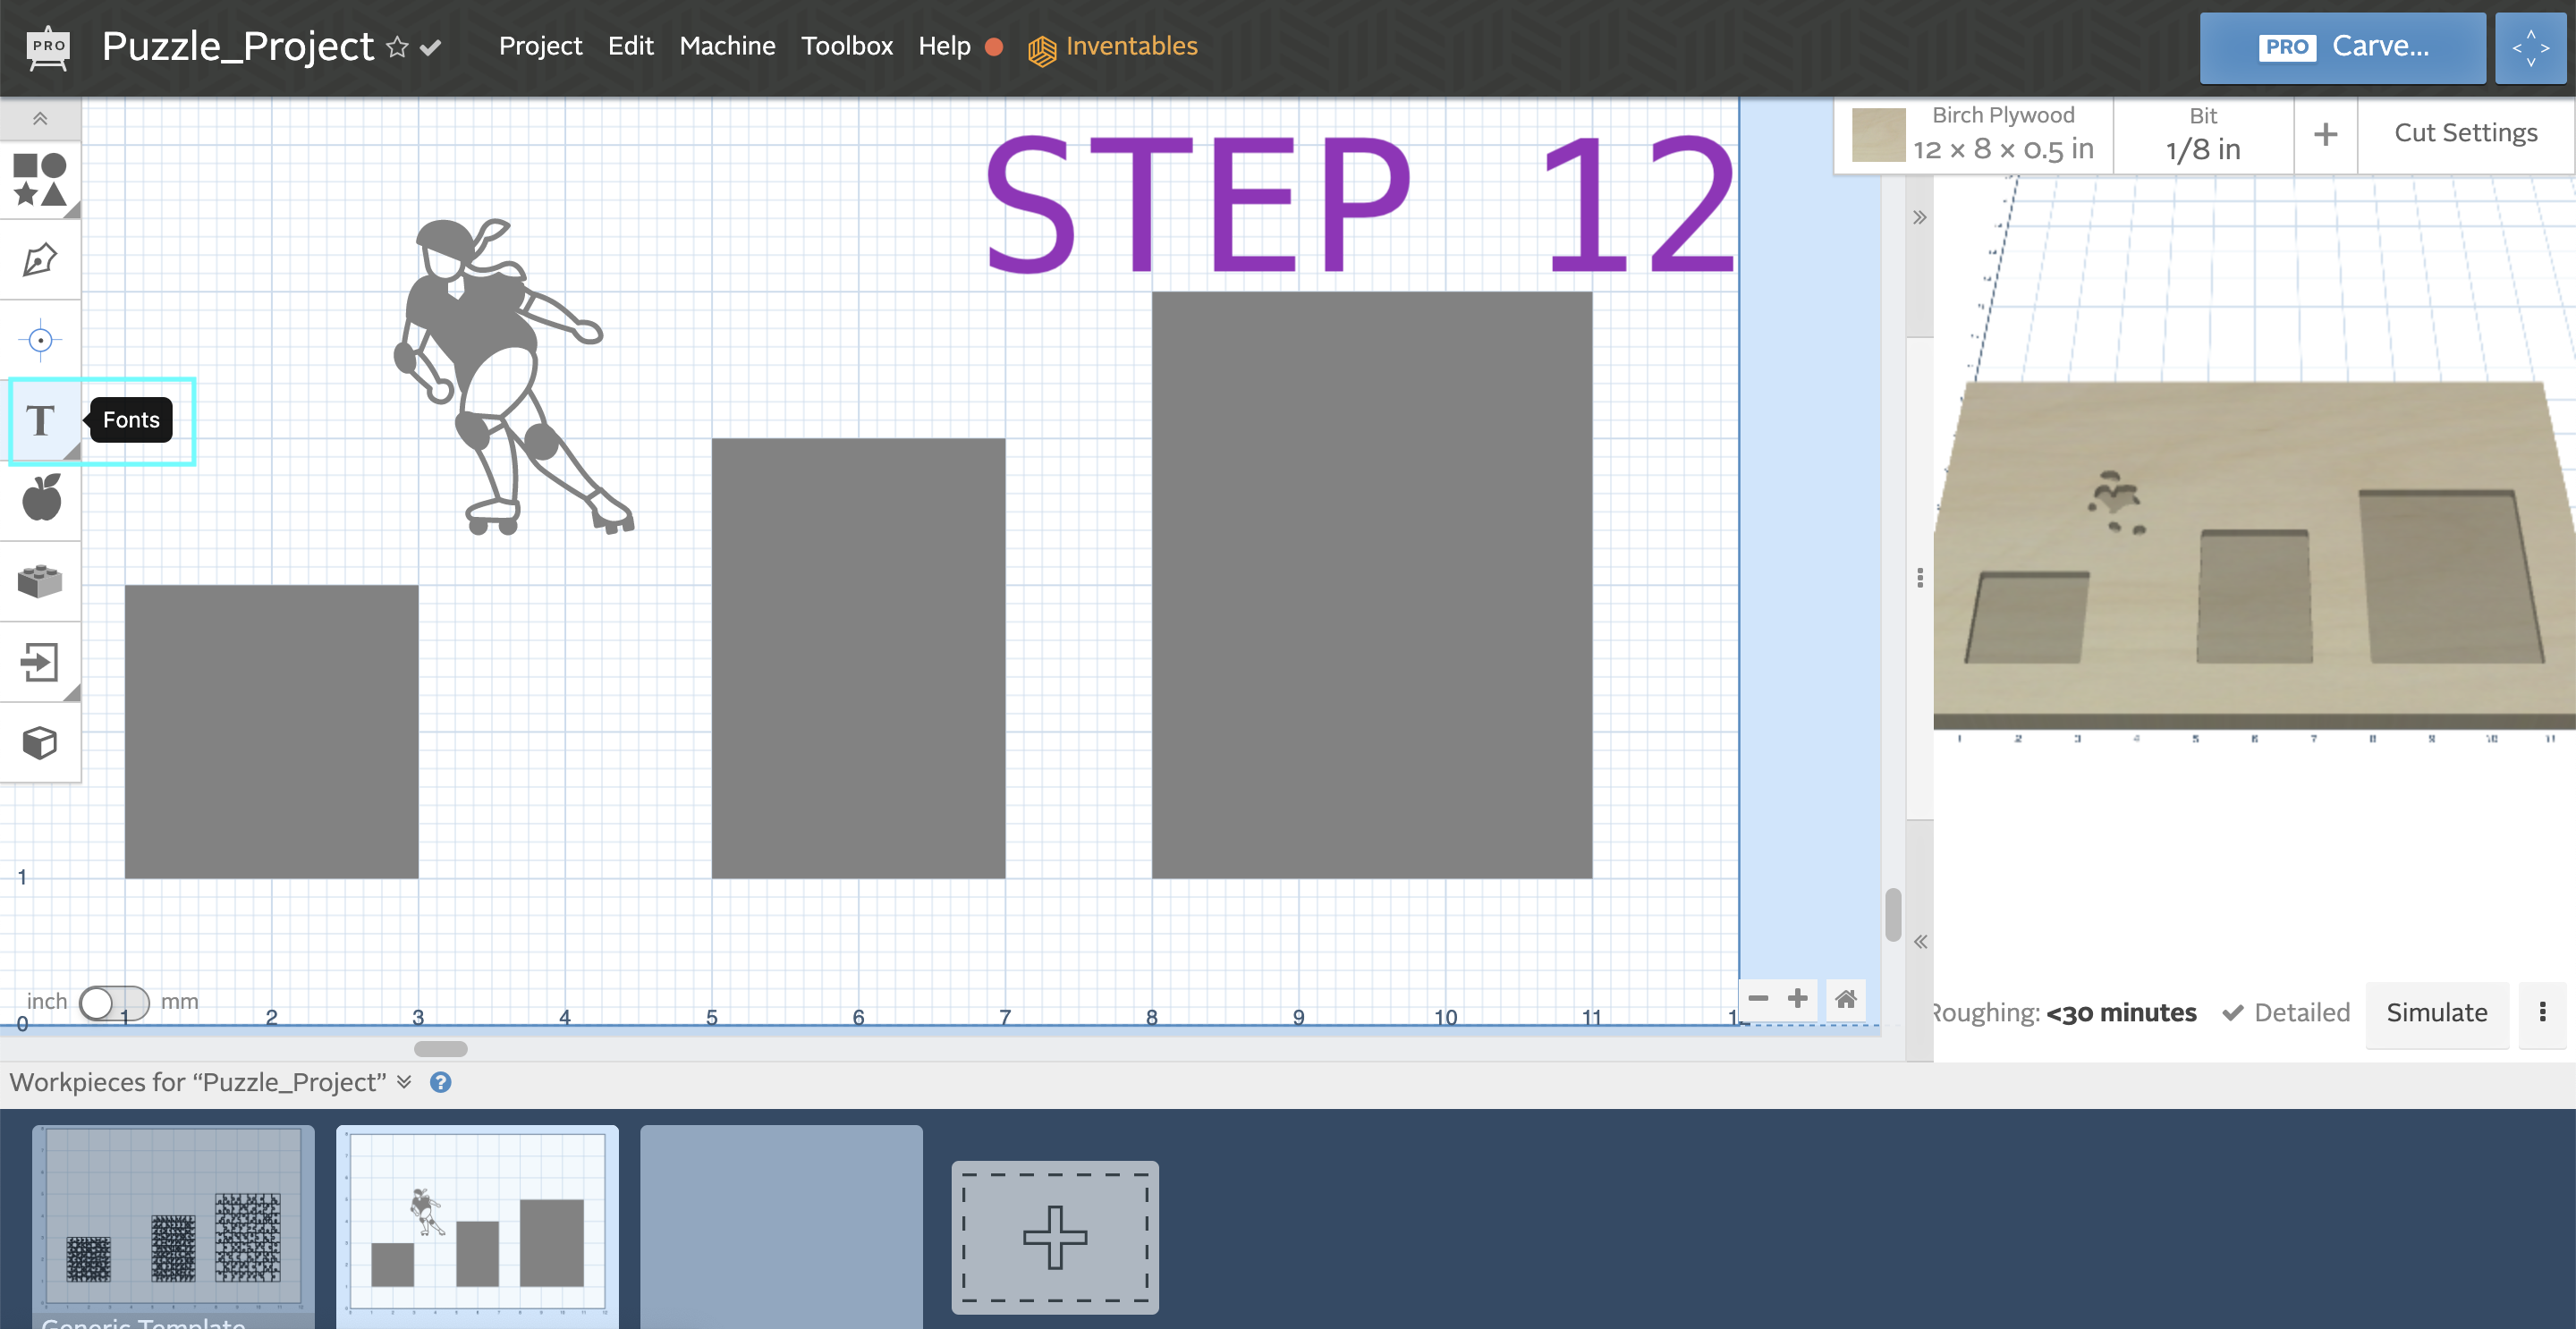
- The Fonts and Pro Design Library are great tools to start with putting a design on the puzzle (see attached Easel Cheat Sheet)
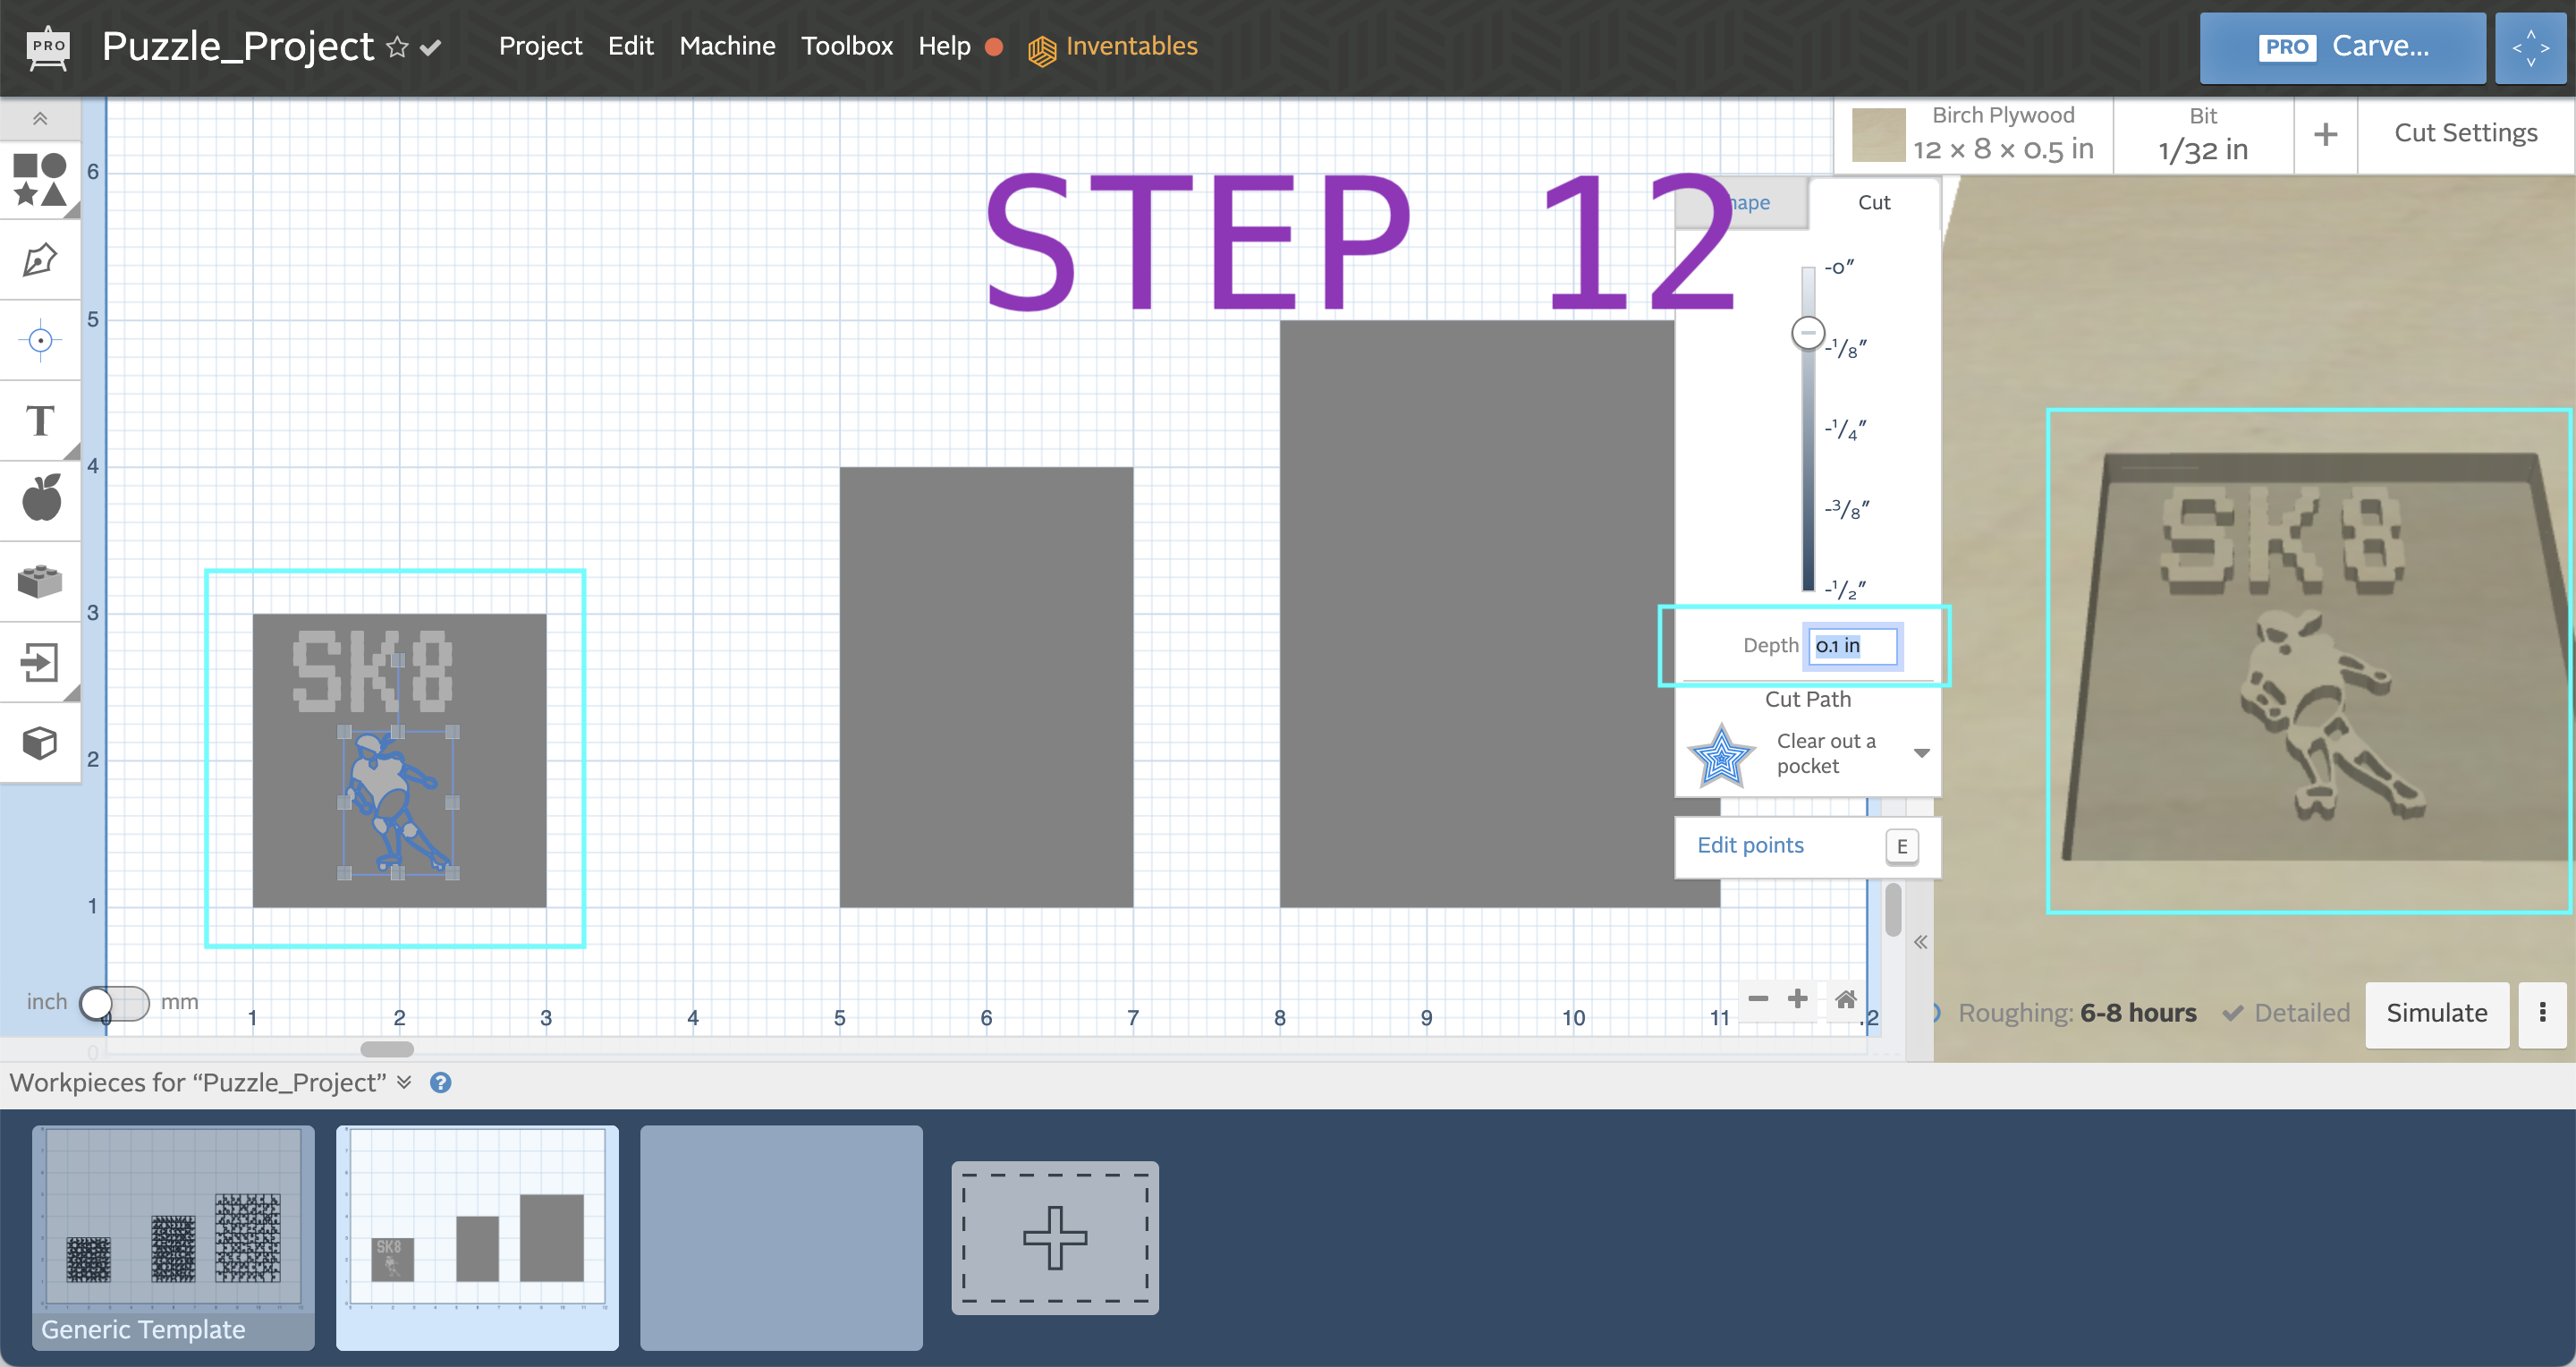
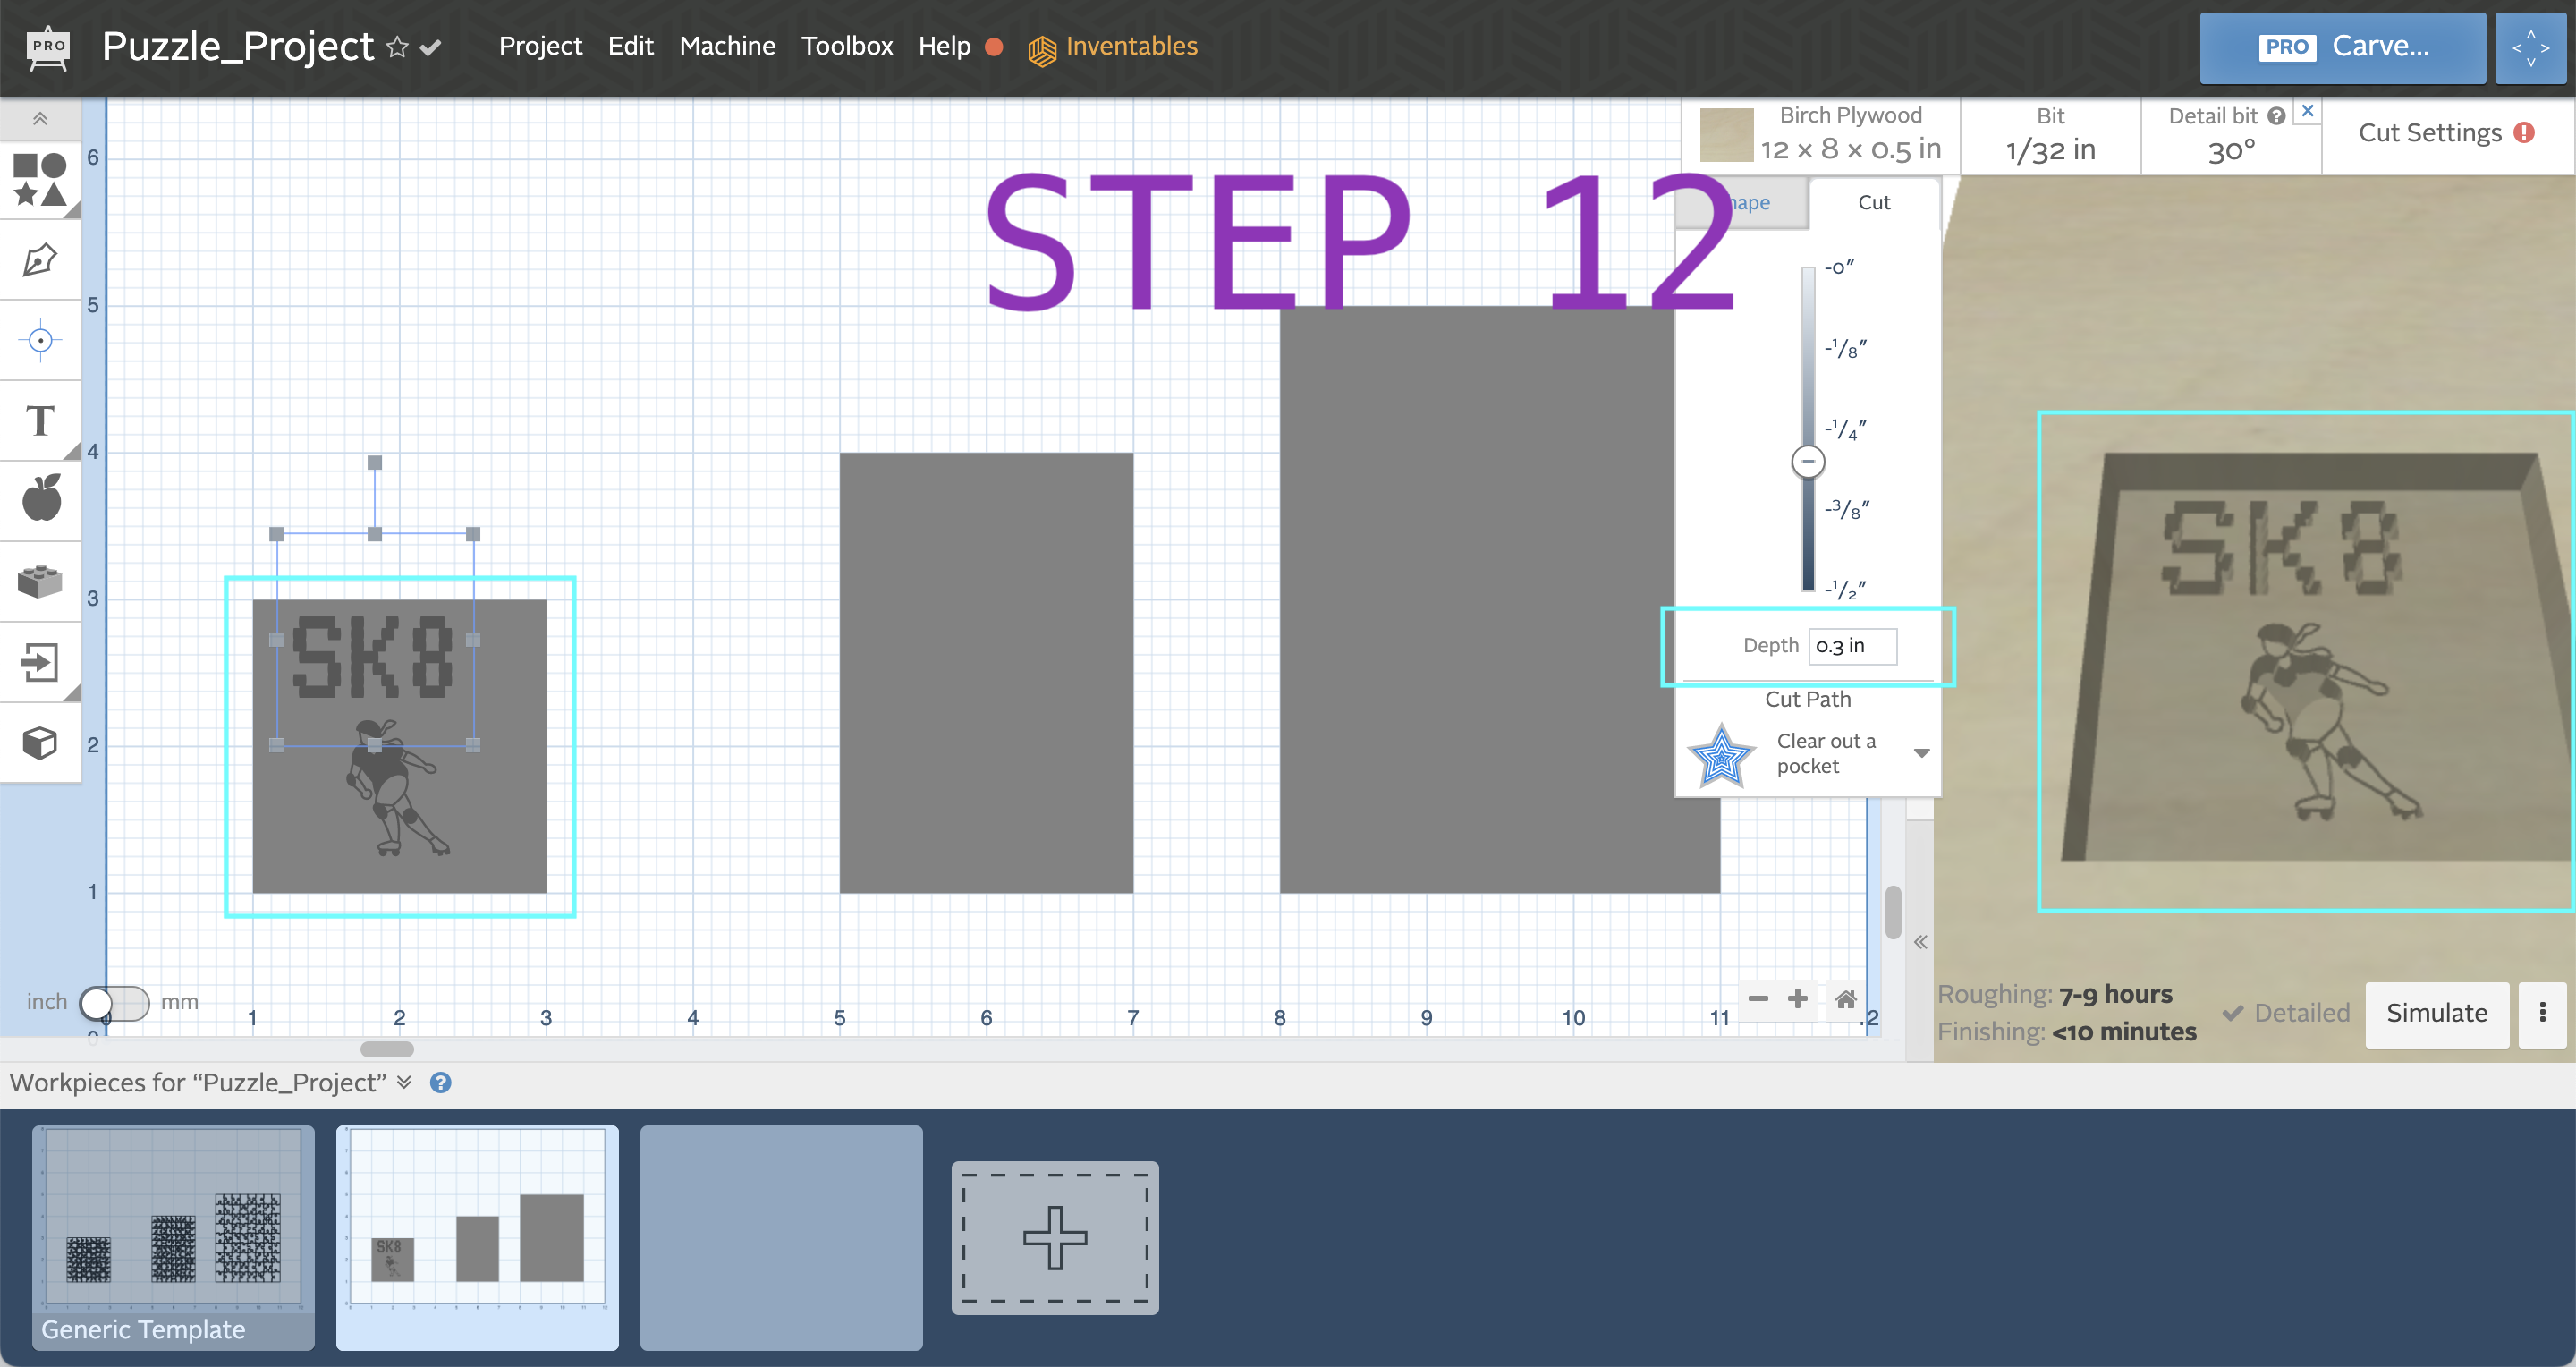
- You will have to change the cut depth to make it different than the rectangle background. Try keeping the rectangle 0.2, which is the depth it automatically import. Then changing your design at 0.1, see how that look. Next try chaning your design to 0.3 to see how that looks. The first option will raise your design to carve out the background, and the second option will indent the design into the material. Do not worry about set up yet, until the next step. For now, we're just going for what visually looks like you want it to.
- Note: if your preview does not look right, try choosing a smaller bit, like a 30 or 60 degree. You may have to add it into your toolbox.
- See Images
- We will add the puzzle on top in the CAM software for each machine. I'll cover this step in Easel for the CNC, in the Glowforge app, and the Cricut Design Space.
- These Generic Puzzle Templates can be placed on top of any design of the same size/proportion. The Steps 2-4 will cover file preparation for each machine type. See Next steps below.
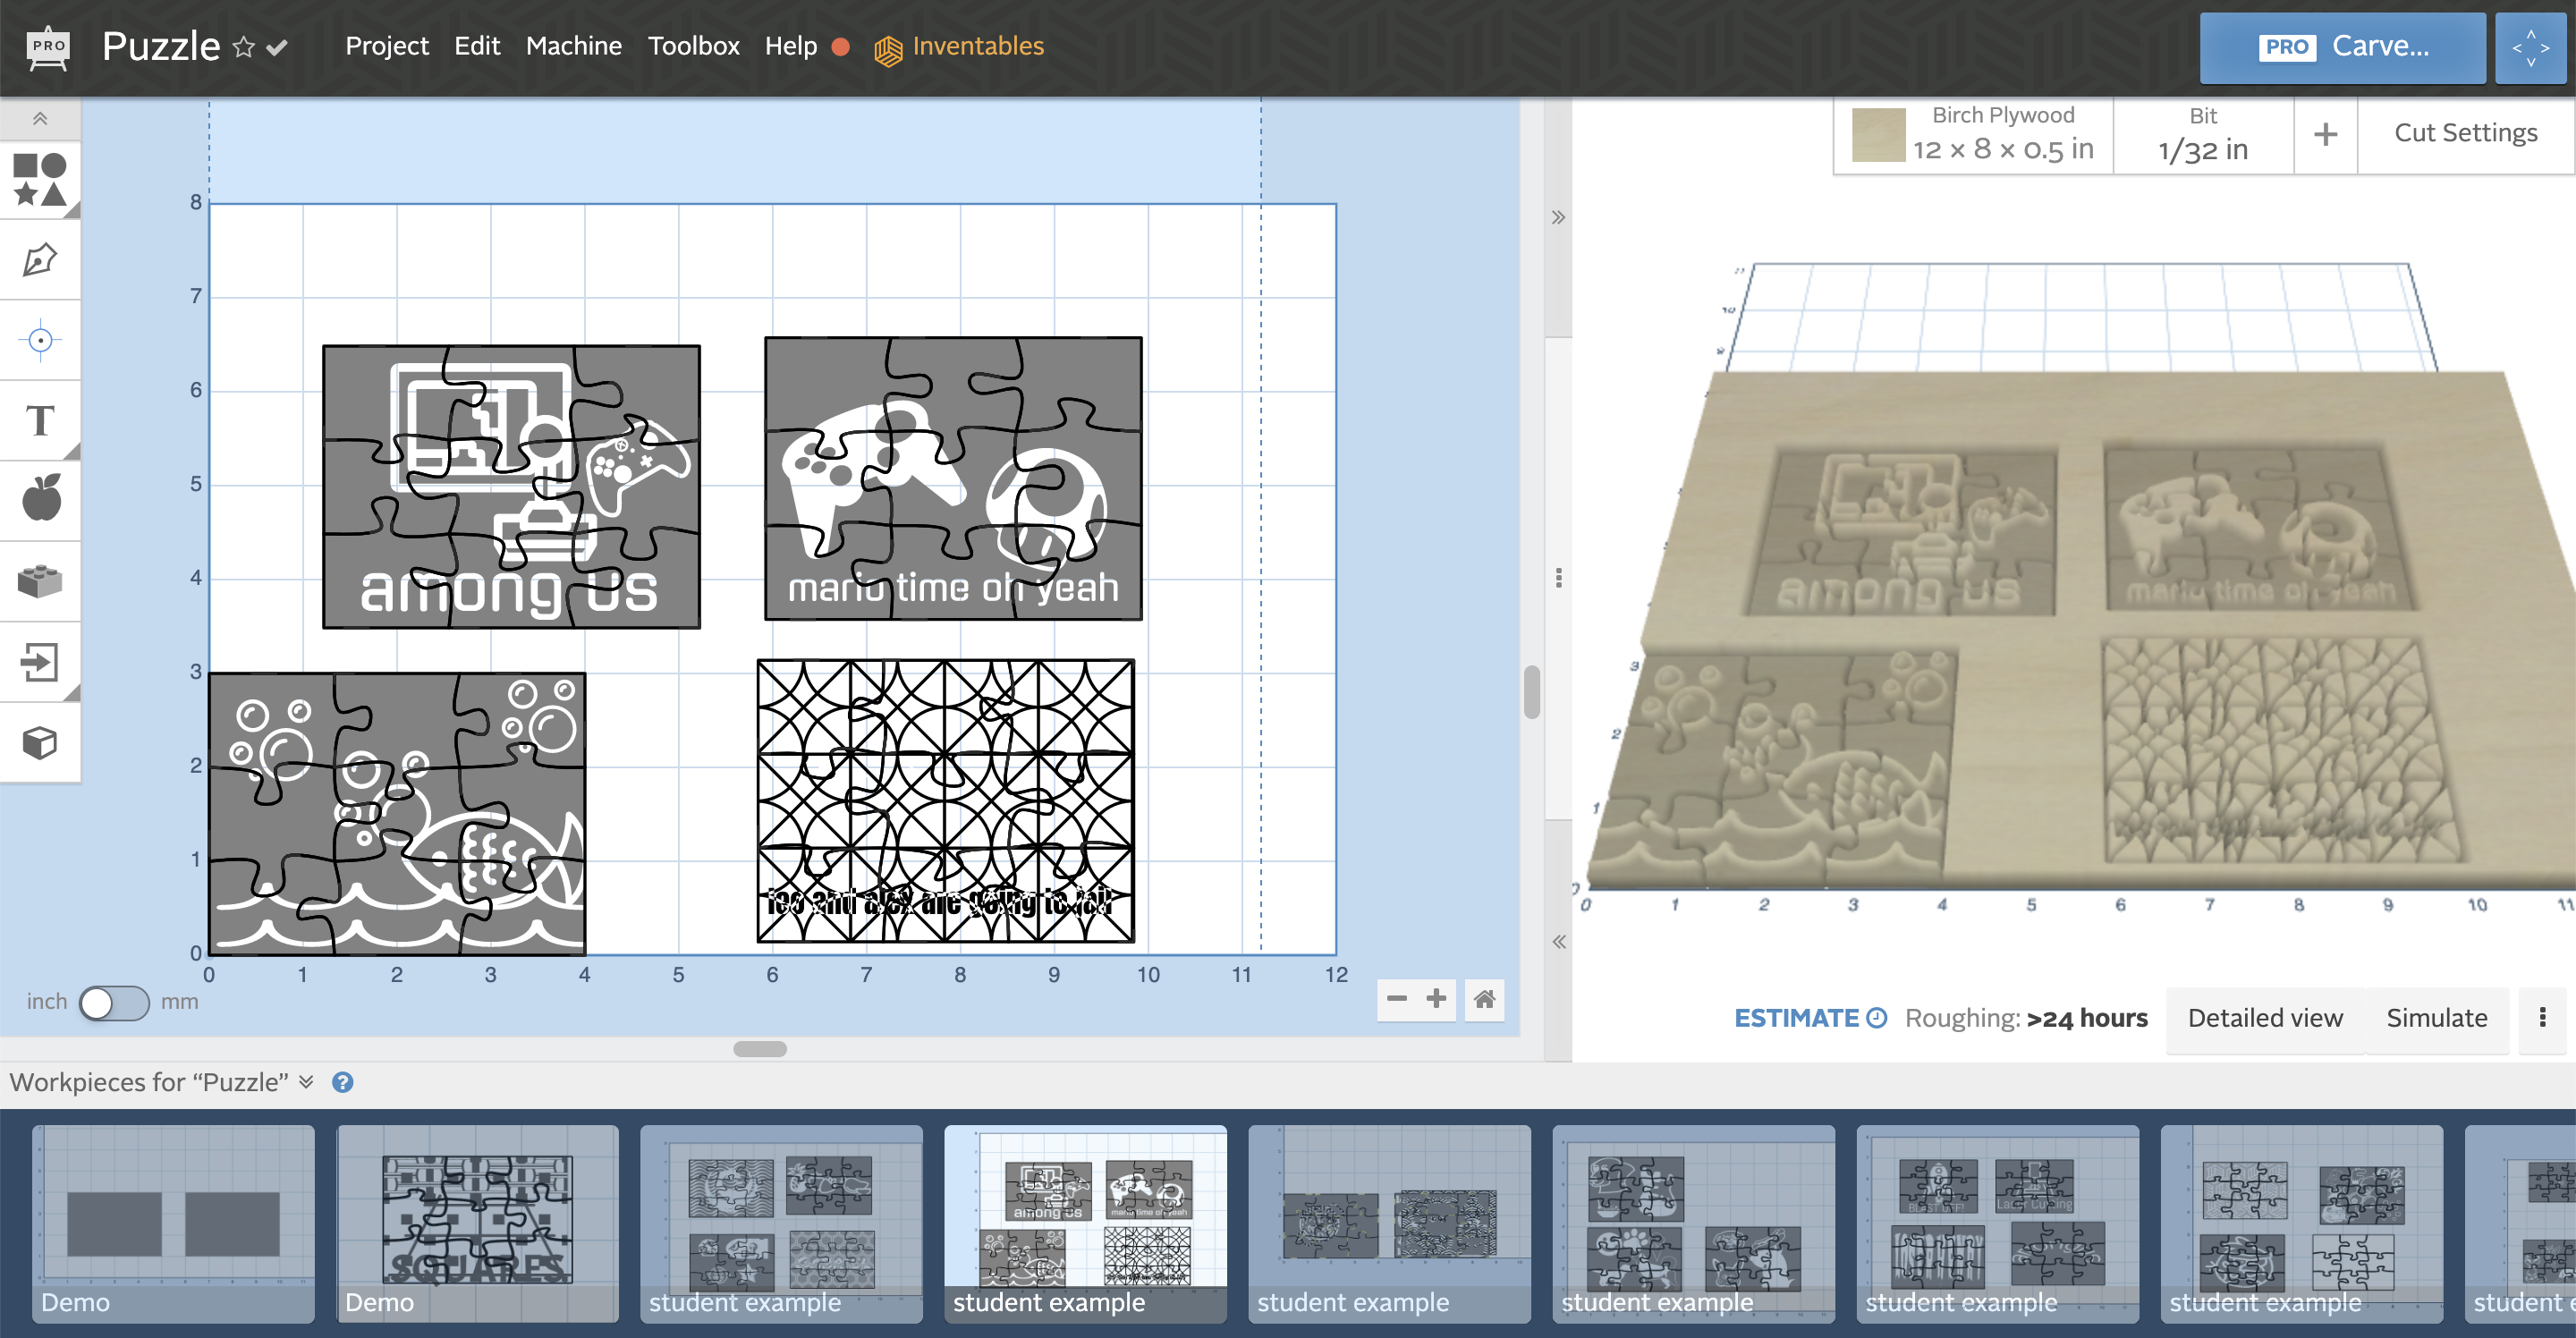
This method works really well for teaching. You can have the students design within a rectangle, import all of their designs onto one workpiece and overlay the puzzle template. One downside is that each puzzle will have identical puzzle pieces. If you follow the second method, listed below, then each puzzle will have unique generated puzzle piece shapes.
Slicing your own Design
This requires all the same steps, but in a different order. The images are for Creating a Generic Puzzle Template so the step number do not align with the instructions below, only the instructions above.
- Bring in a square from the Basic Shapes (see attached Easel cheat sheet)
- You can change the size and proportion of your rectangle
- Design you Puzzle on this blank Rectangle
- The Fonts and Pro Design Library are great tools to start with putting a design on the puzzle (see attached Easel Cheat Sheet)
- You will have to change the cut depth to make it different than the rectangle background. Try keeping the rectangle 0.2, which is the depth it automatically import. Then changing your design at 0.1, see how that look. Next try chaning your design to 0.3 to see how that looks. The first option will raise your design to carve out the background, and the second option will indent the design into the material. Do not worry about set up yet, until the next step. For now, we're just going for what visually looks like you want it to.
- Note: if your preview does not look right, try choosing a smaller bit, like a 30 or 60 degree. You may have to add it into your toolbox.
- See Images STEP 12 from Creating a Generic Puzzle Template
- Once you complete your design, we have one last step before using the Puzzle Designer.
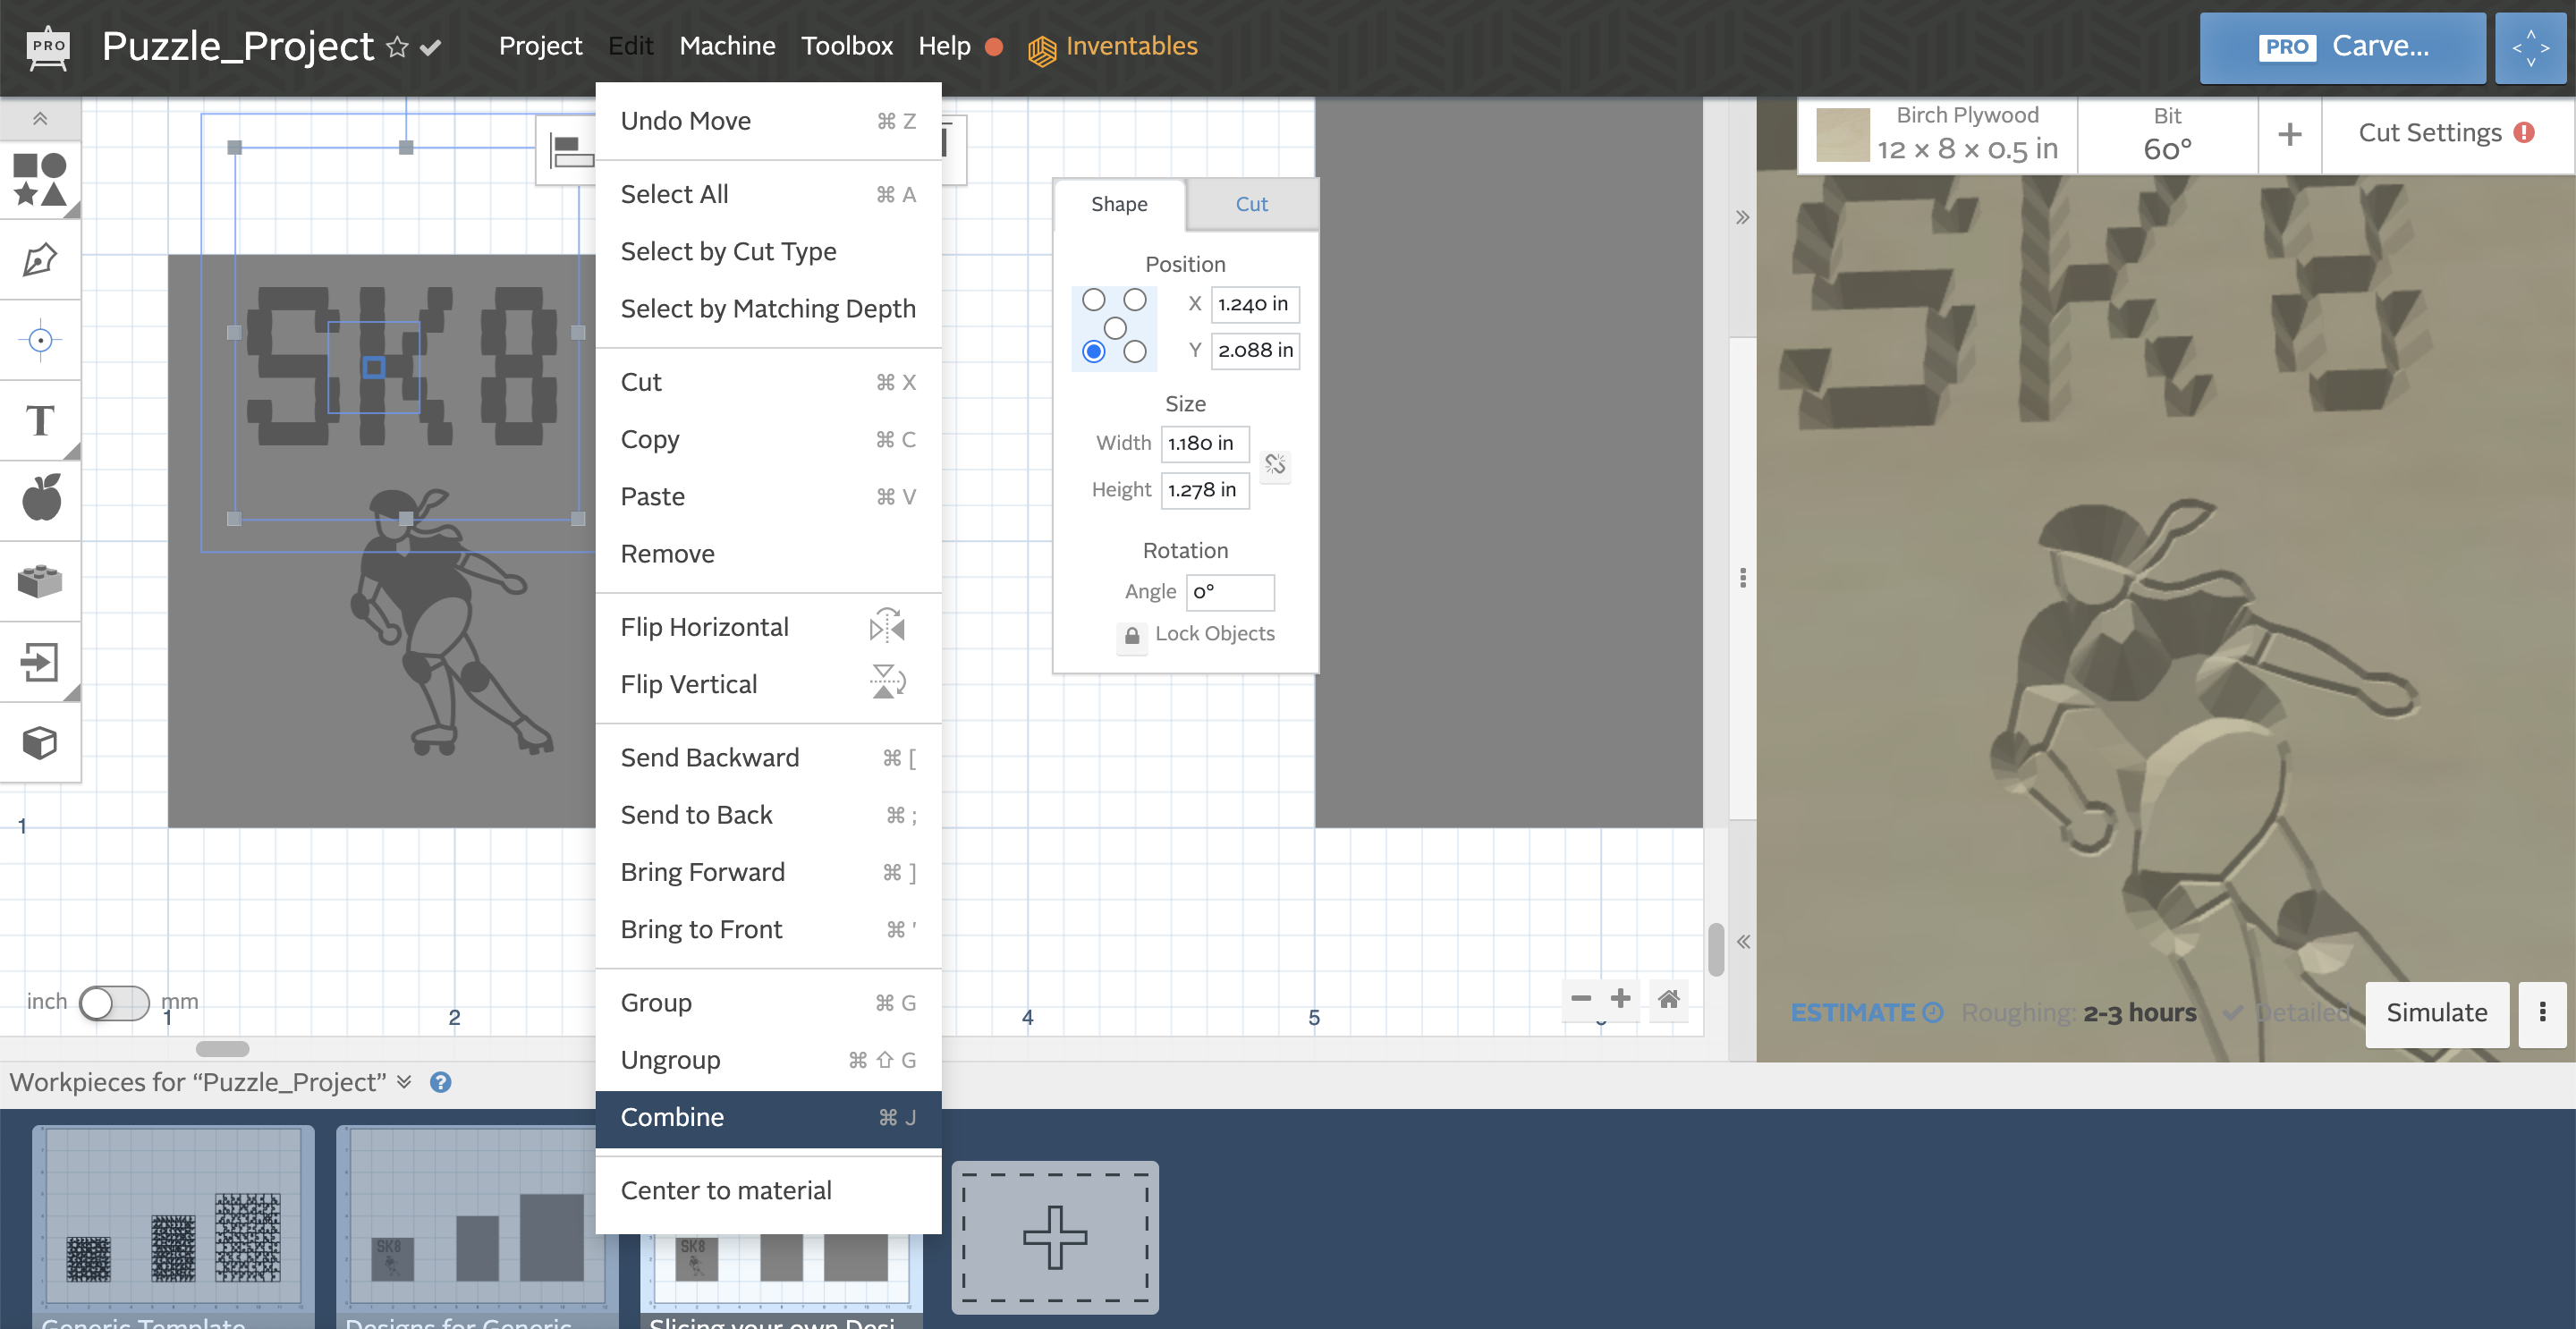
- Convert Text to Object
You can do this by creating another small shape set to the same depth, like a square or circle:

Then move it so that it fits entirely inside your text, like this:

Then, you will want to select both, and go to Edit > Combine:

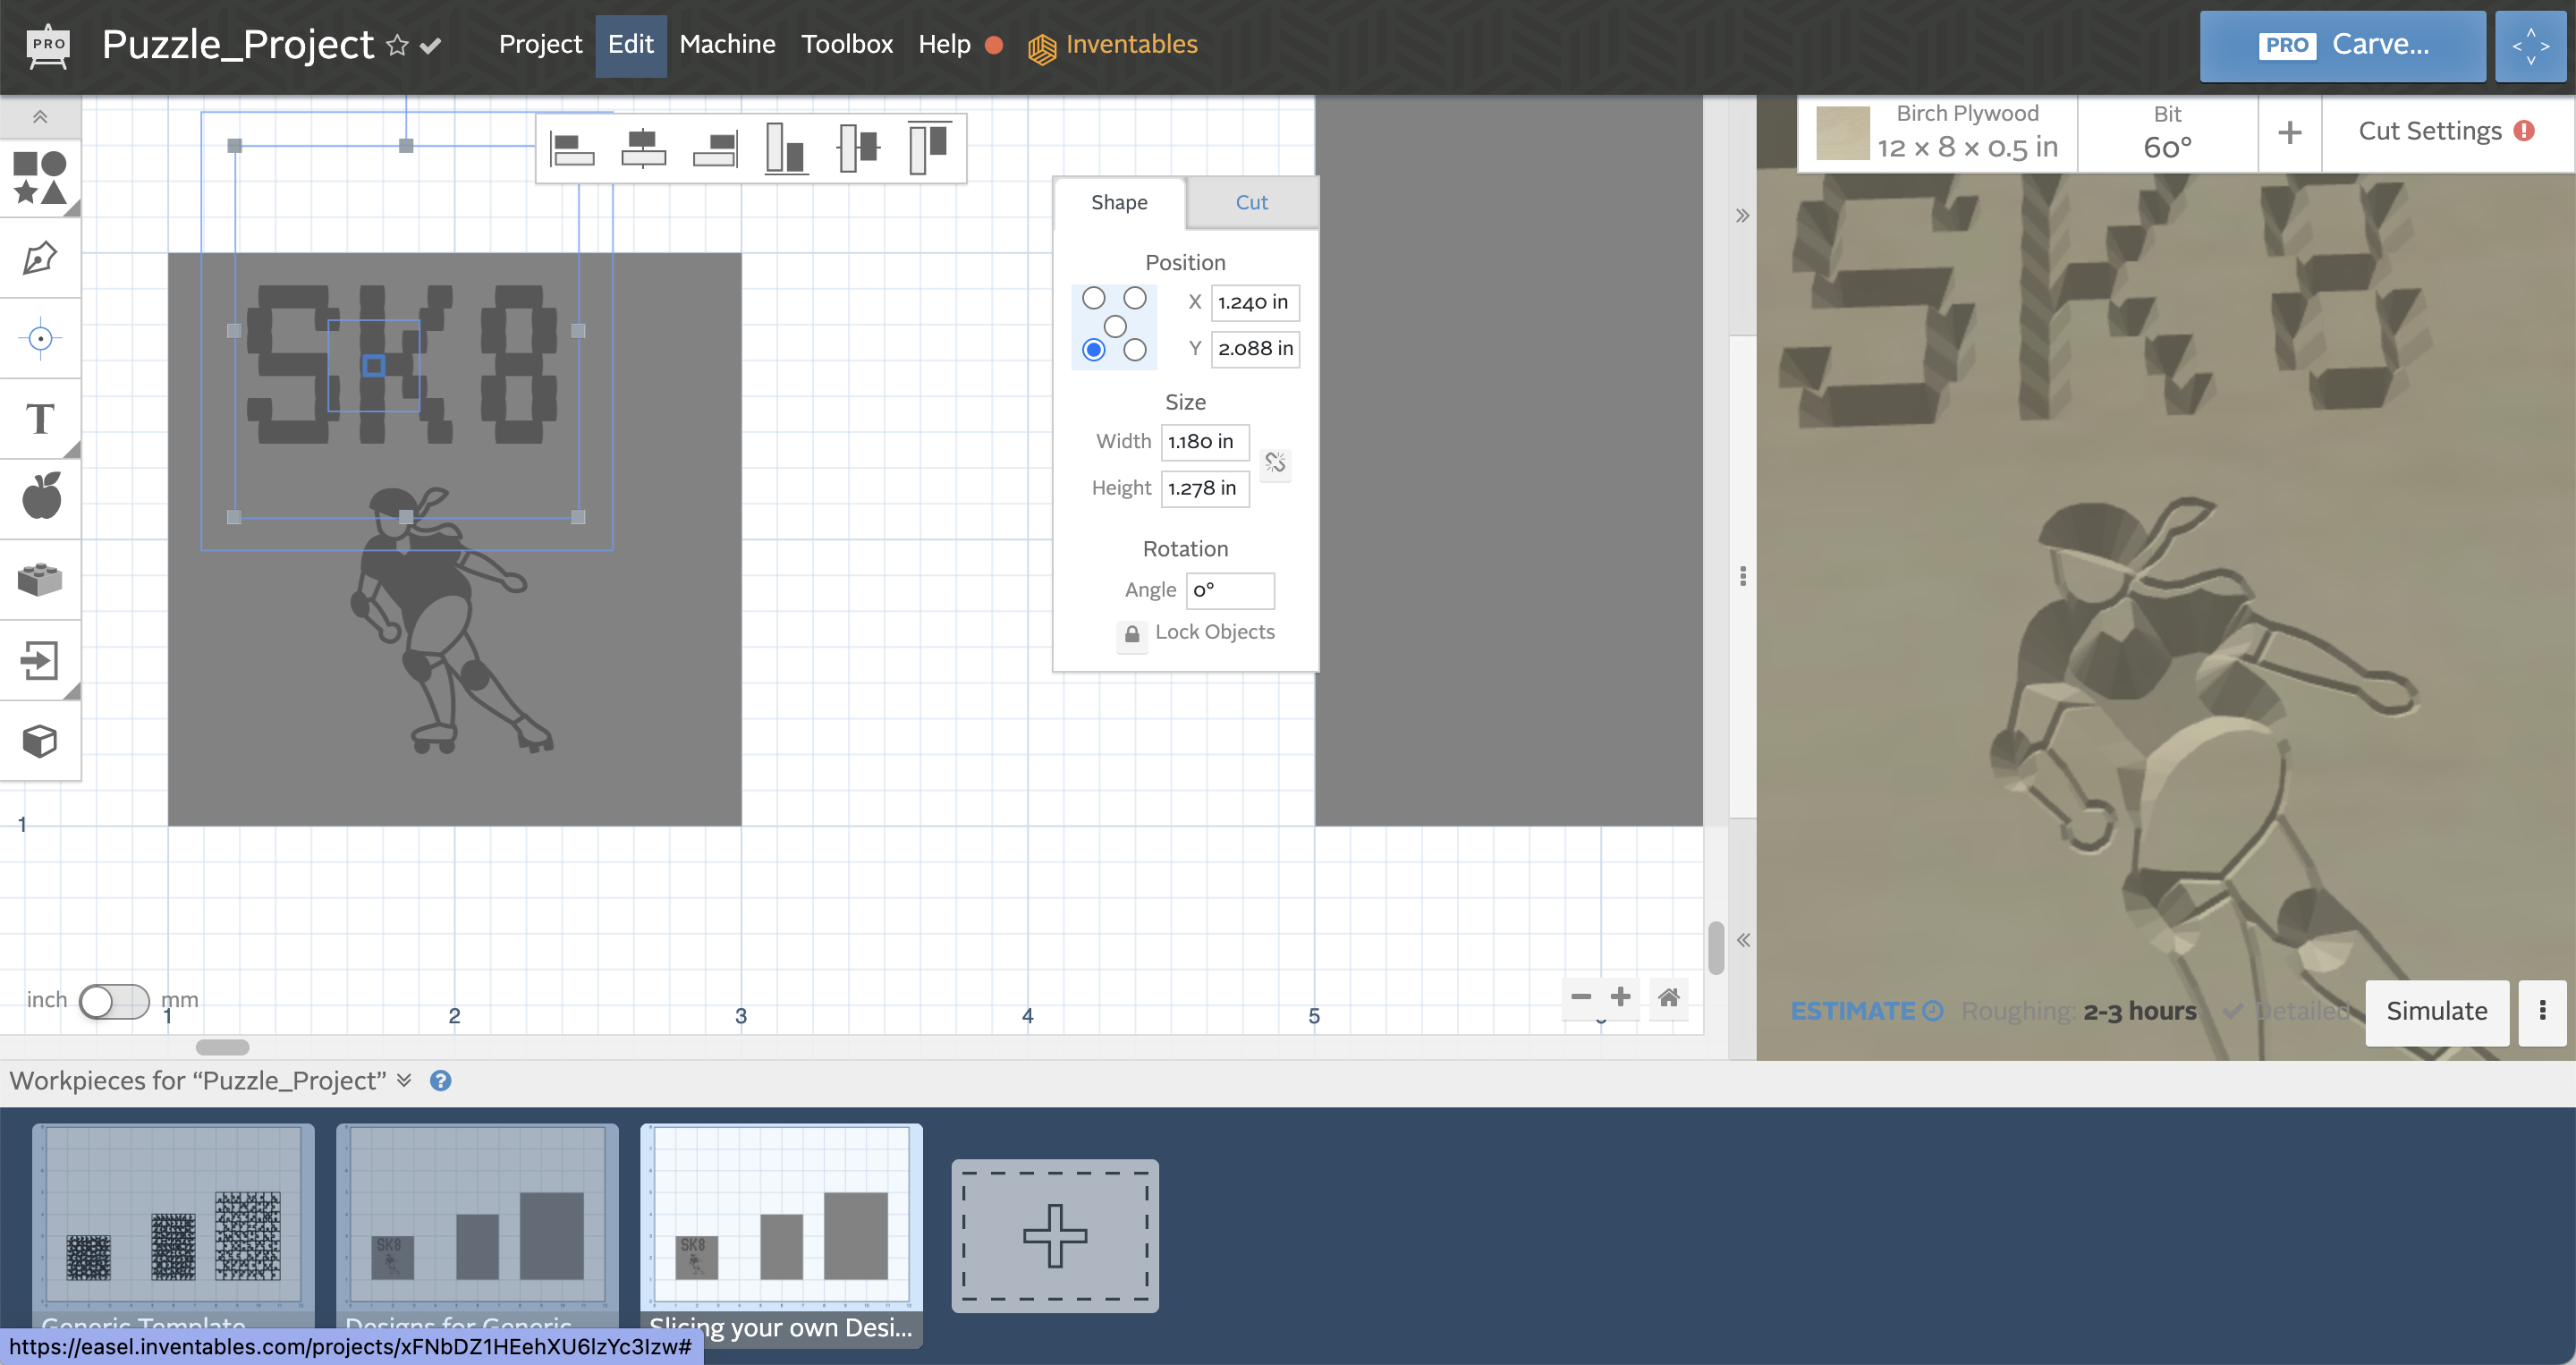
This converts the font to a shape, so you will no longer be able to edit what the text says. It does reduce the size of the blue box:

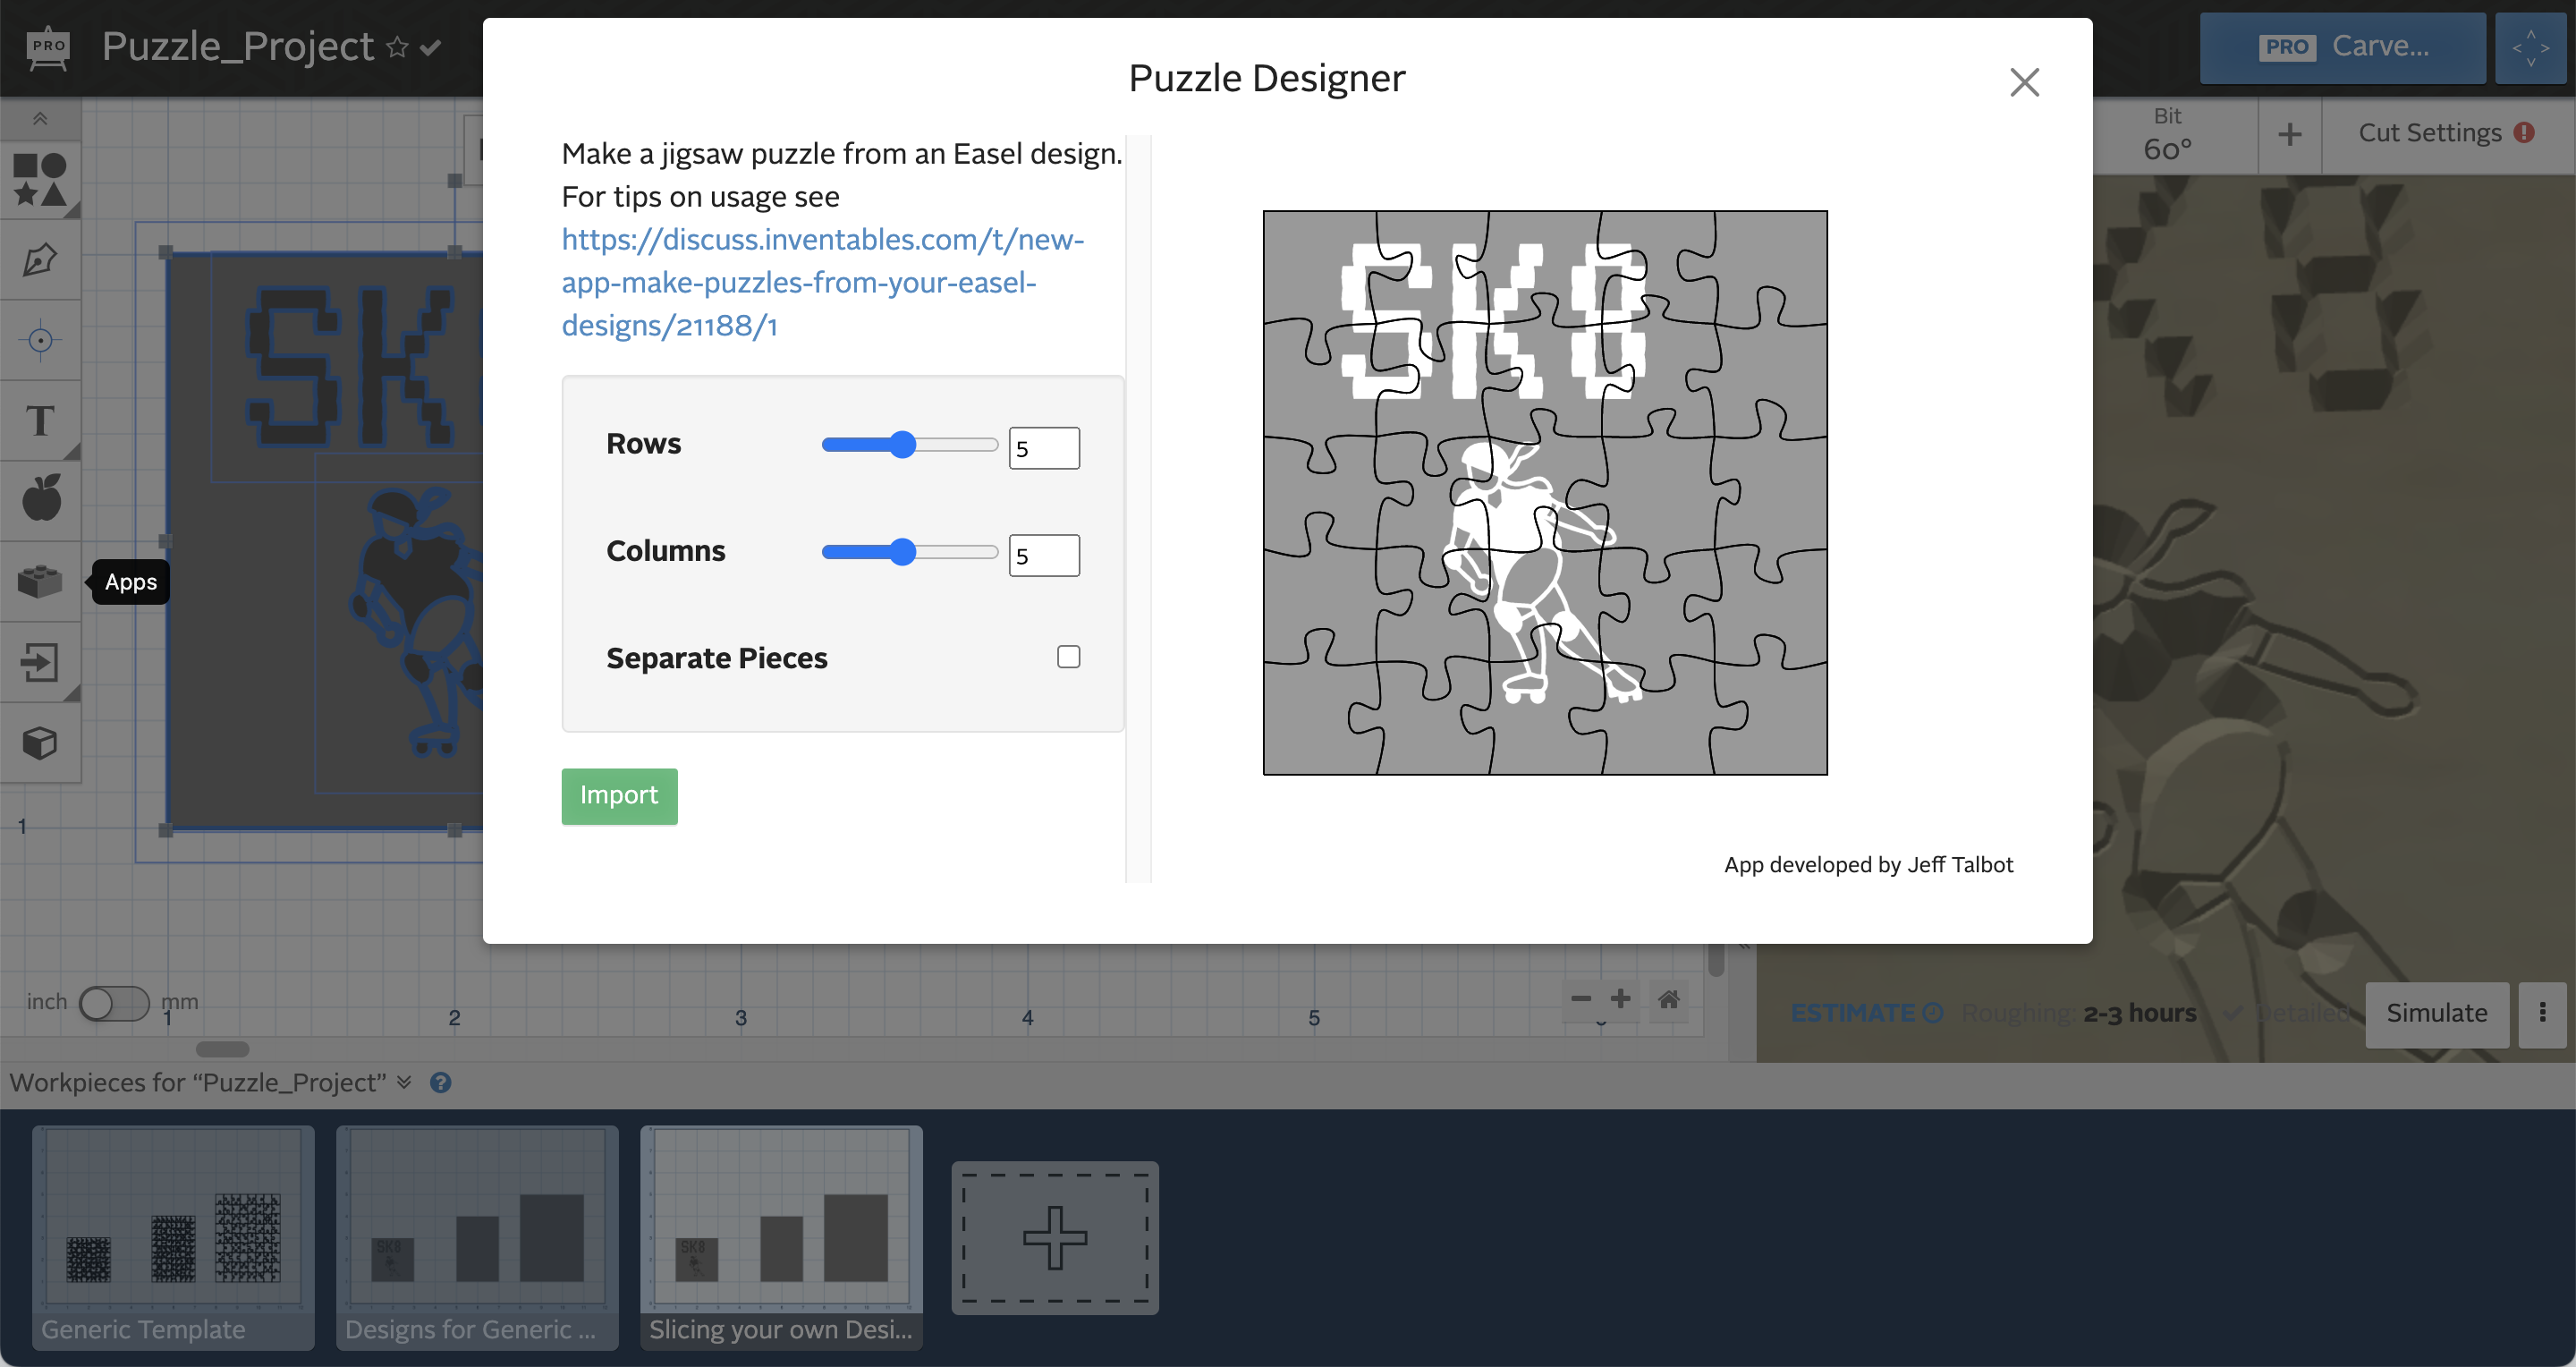
5. Now, select your design. (see last three images)
6. Click the Apps icon
7. Search for "puzzle" or scroll down to Puzzle Designer by Jeff Talbot
8. Click the Puzzle Designer app
9. Now you will see slider options to choose the number of rows and columns
10. Note there is also a check mark option to separate the pieces. I would suggest trying it both ways to understand the difference.
11. Once you are happy with the preview- click "Import"
12. Change the bit to any 1/32 inch bit to preview the individual puzzle piece. Do not worry about your actual bit yet, this will be covered in the next steps, depending on the machine type.
13. This puzzle has unique generated pieces that will be different each time you use the Puzzle Designer.
For instructions or any other troubleshooting check out the great documentation and tutorials at the Easel Knowledge Base and Glowforge Knowledge Base.
Downloads
CAM for Lasercutting- Exporting SVG
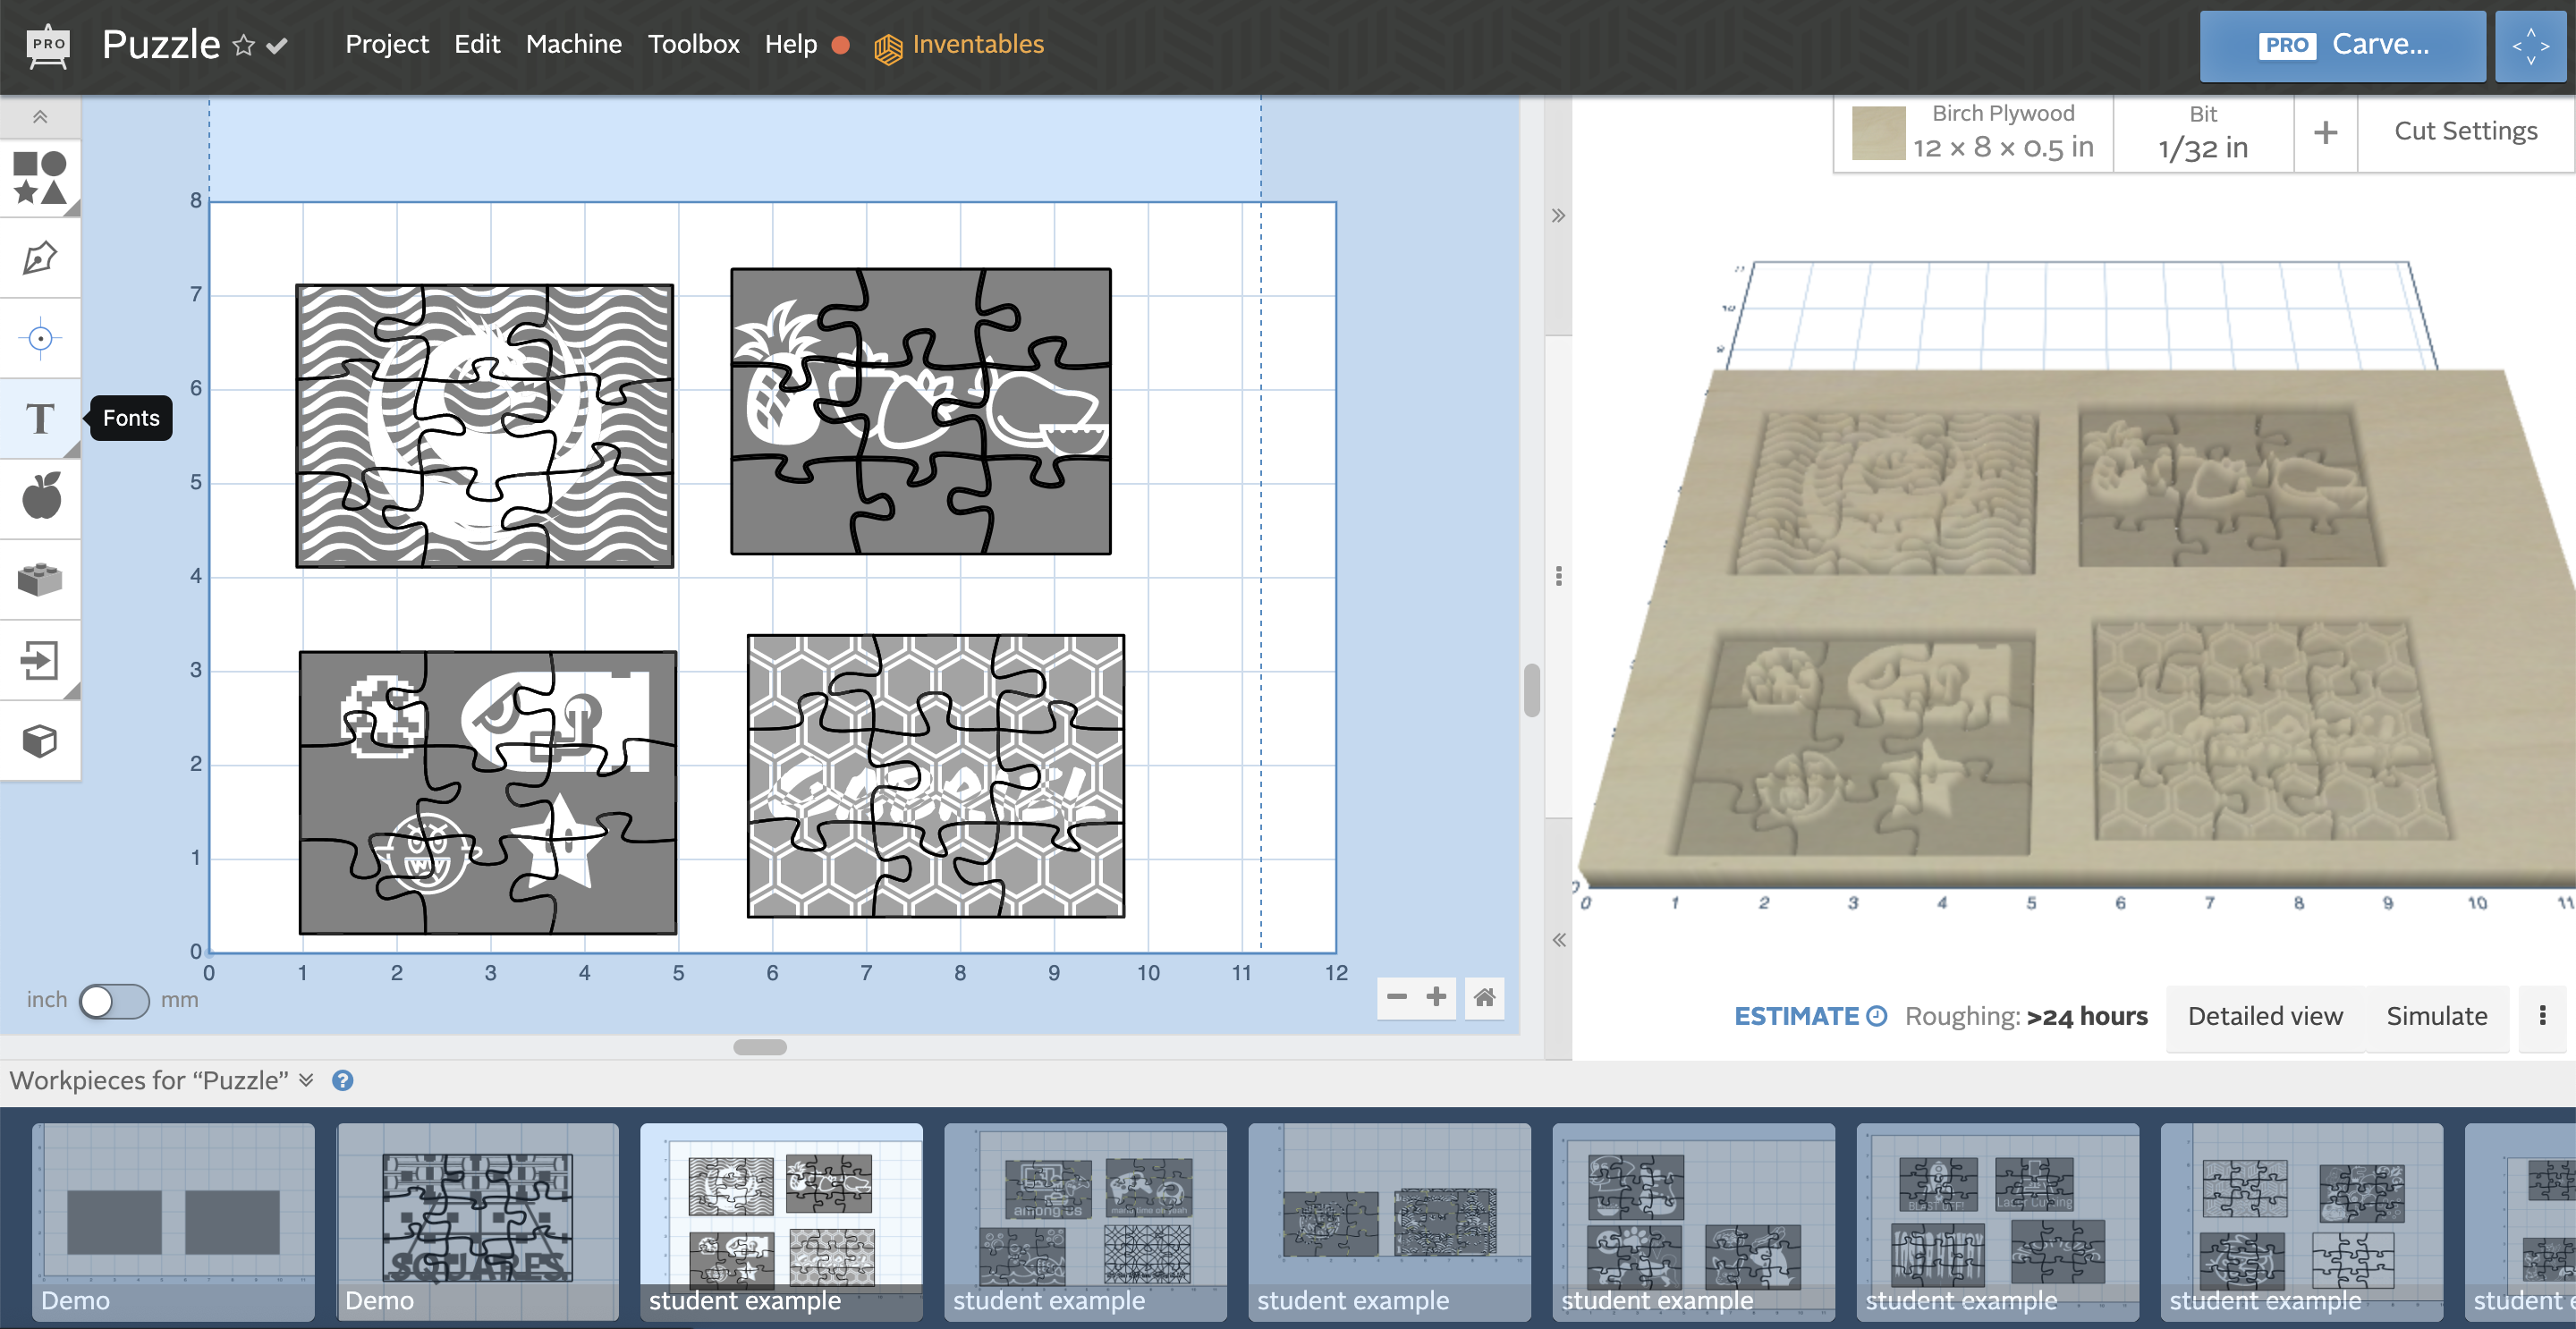
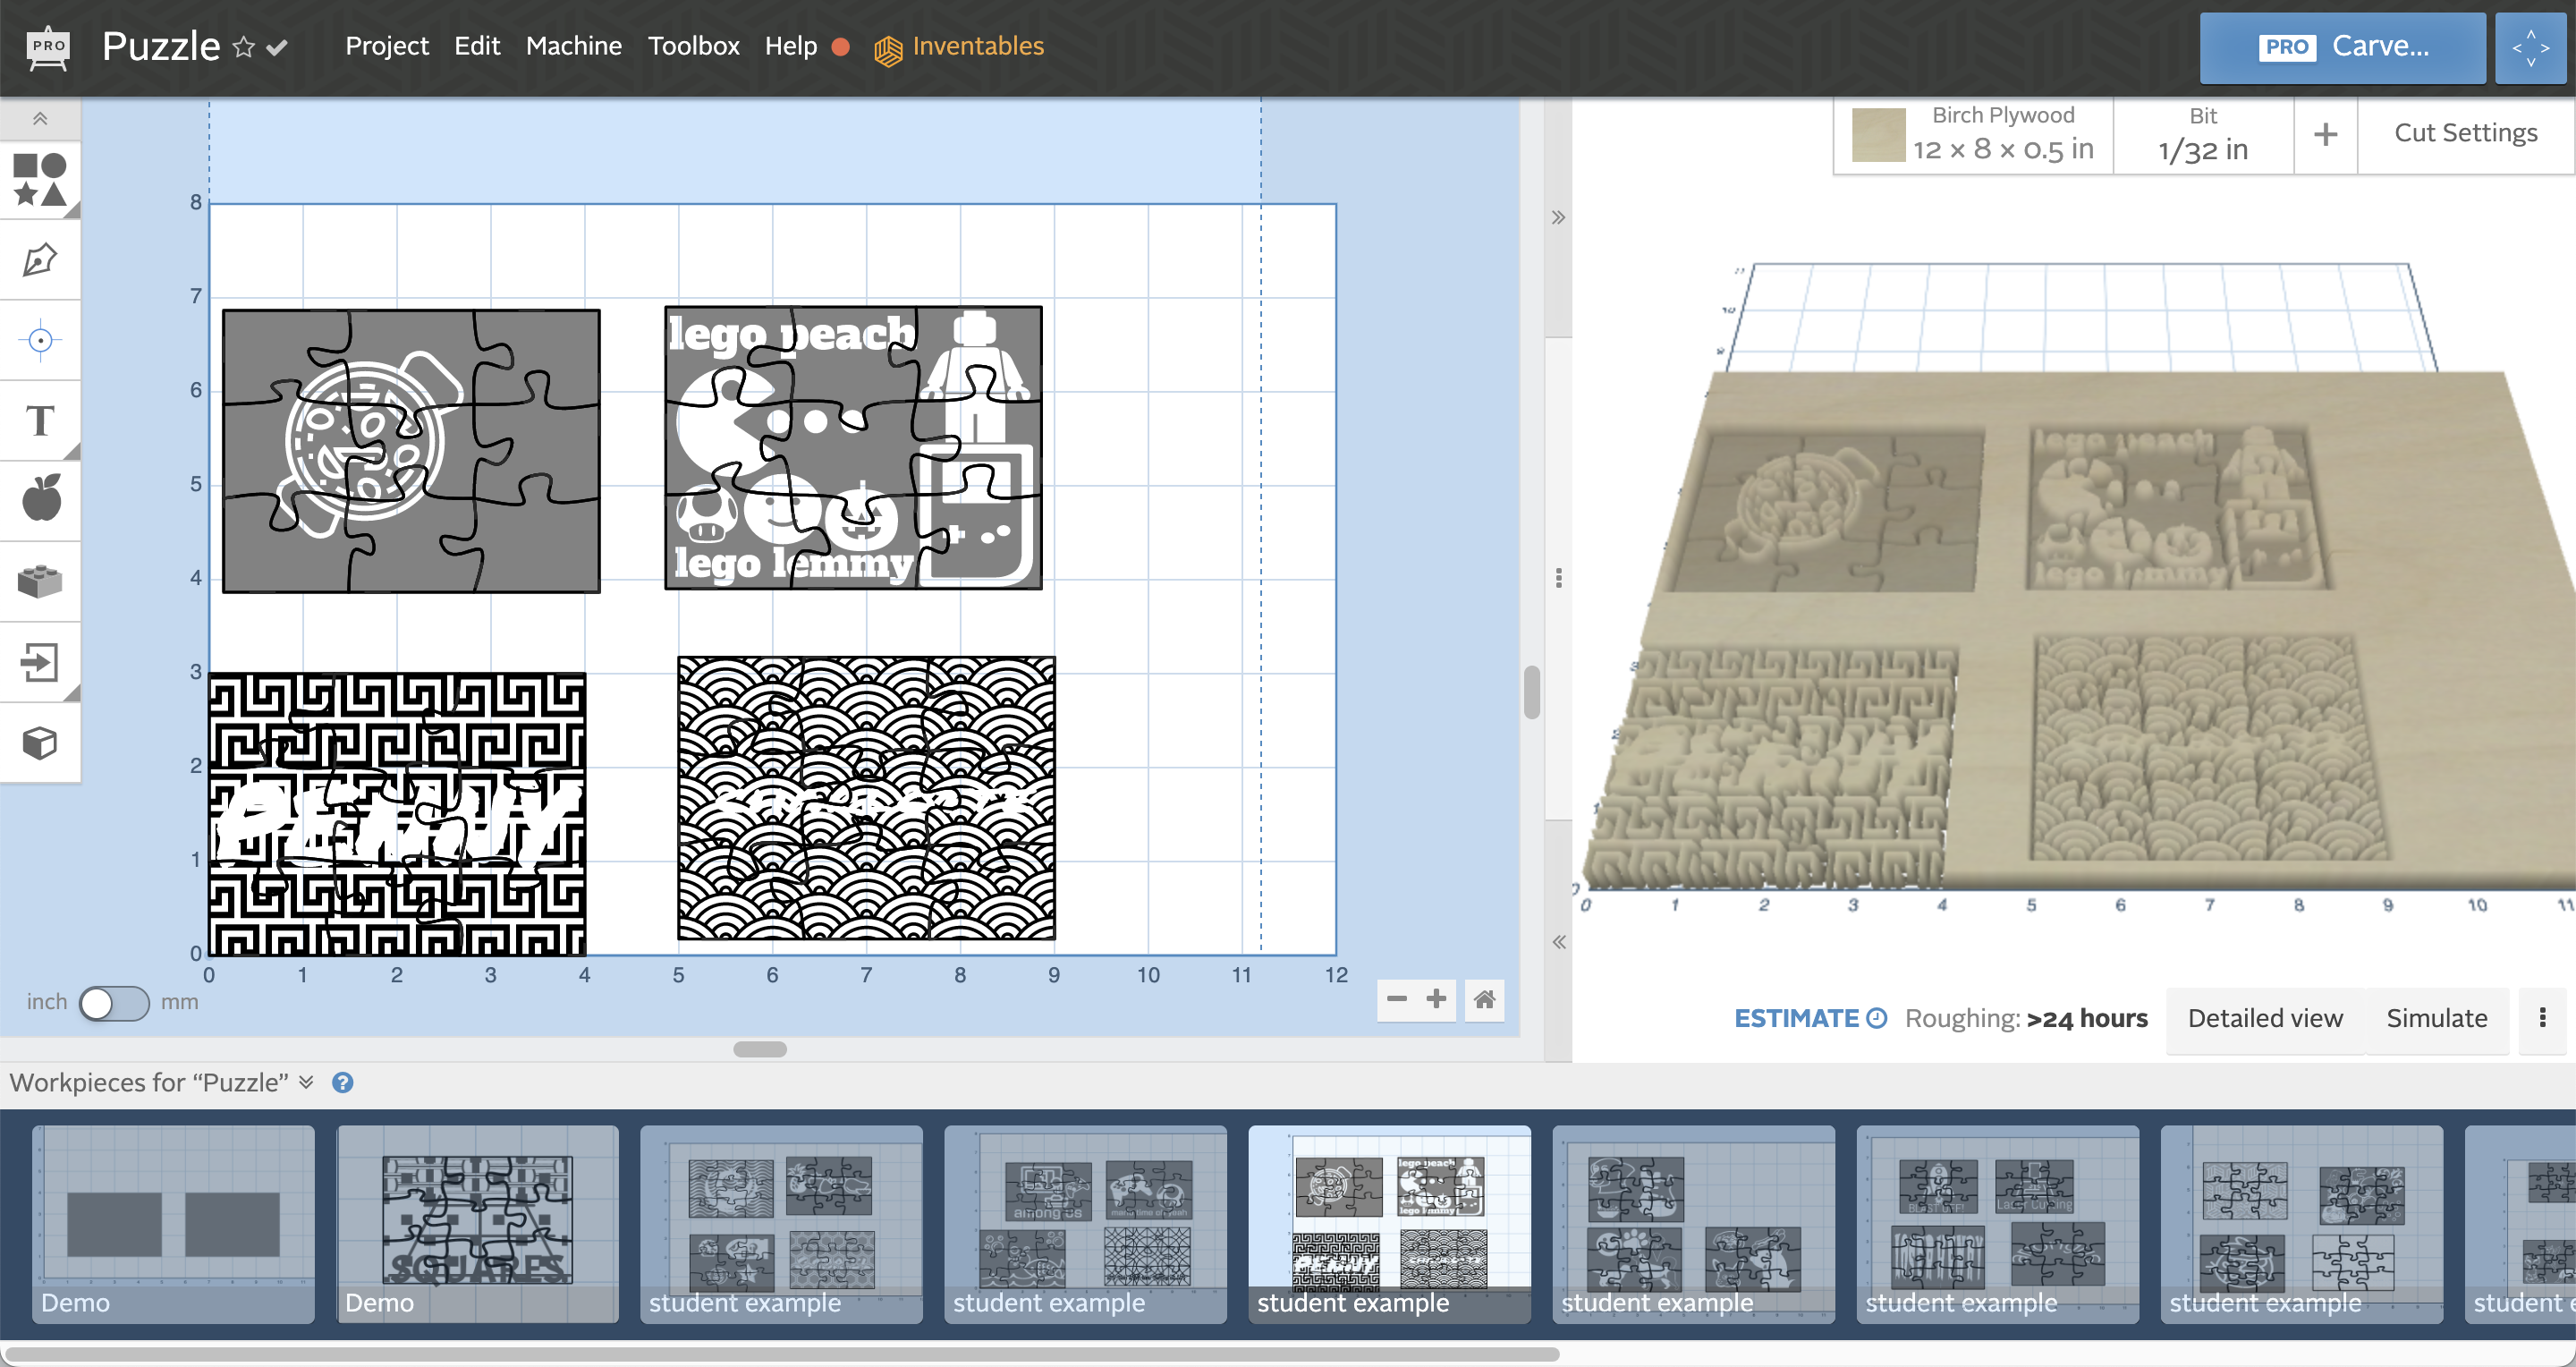
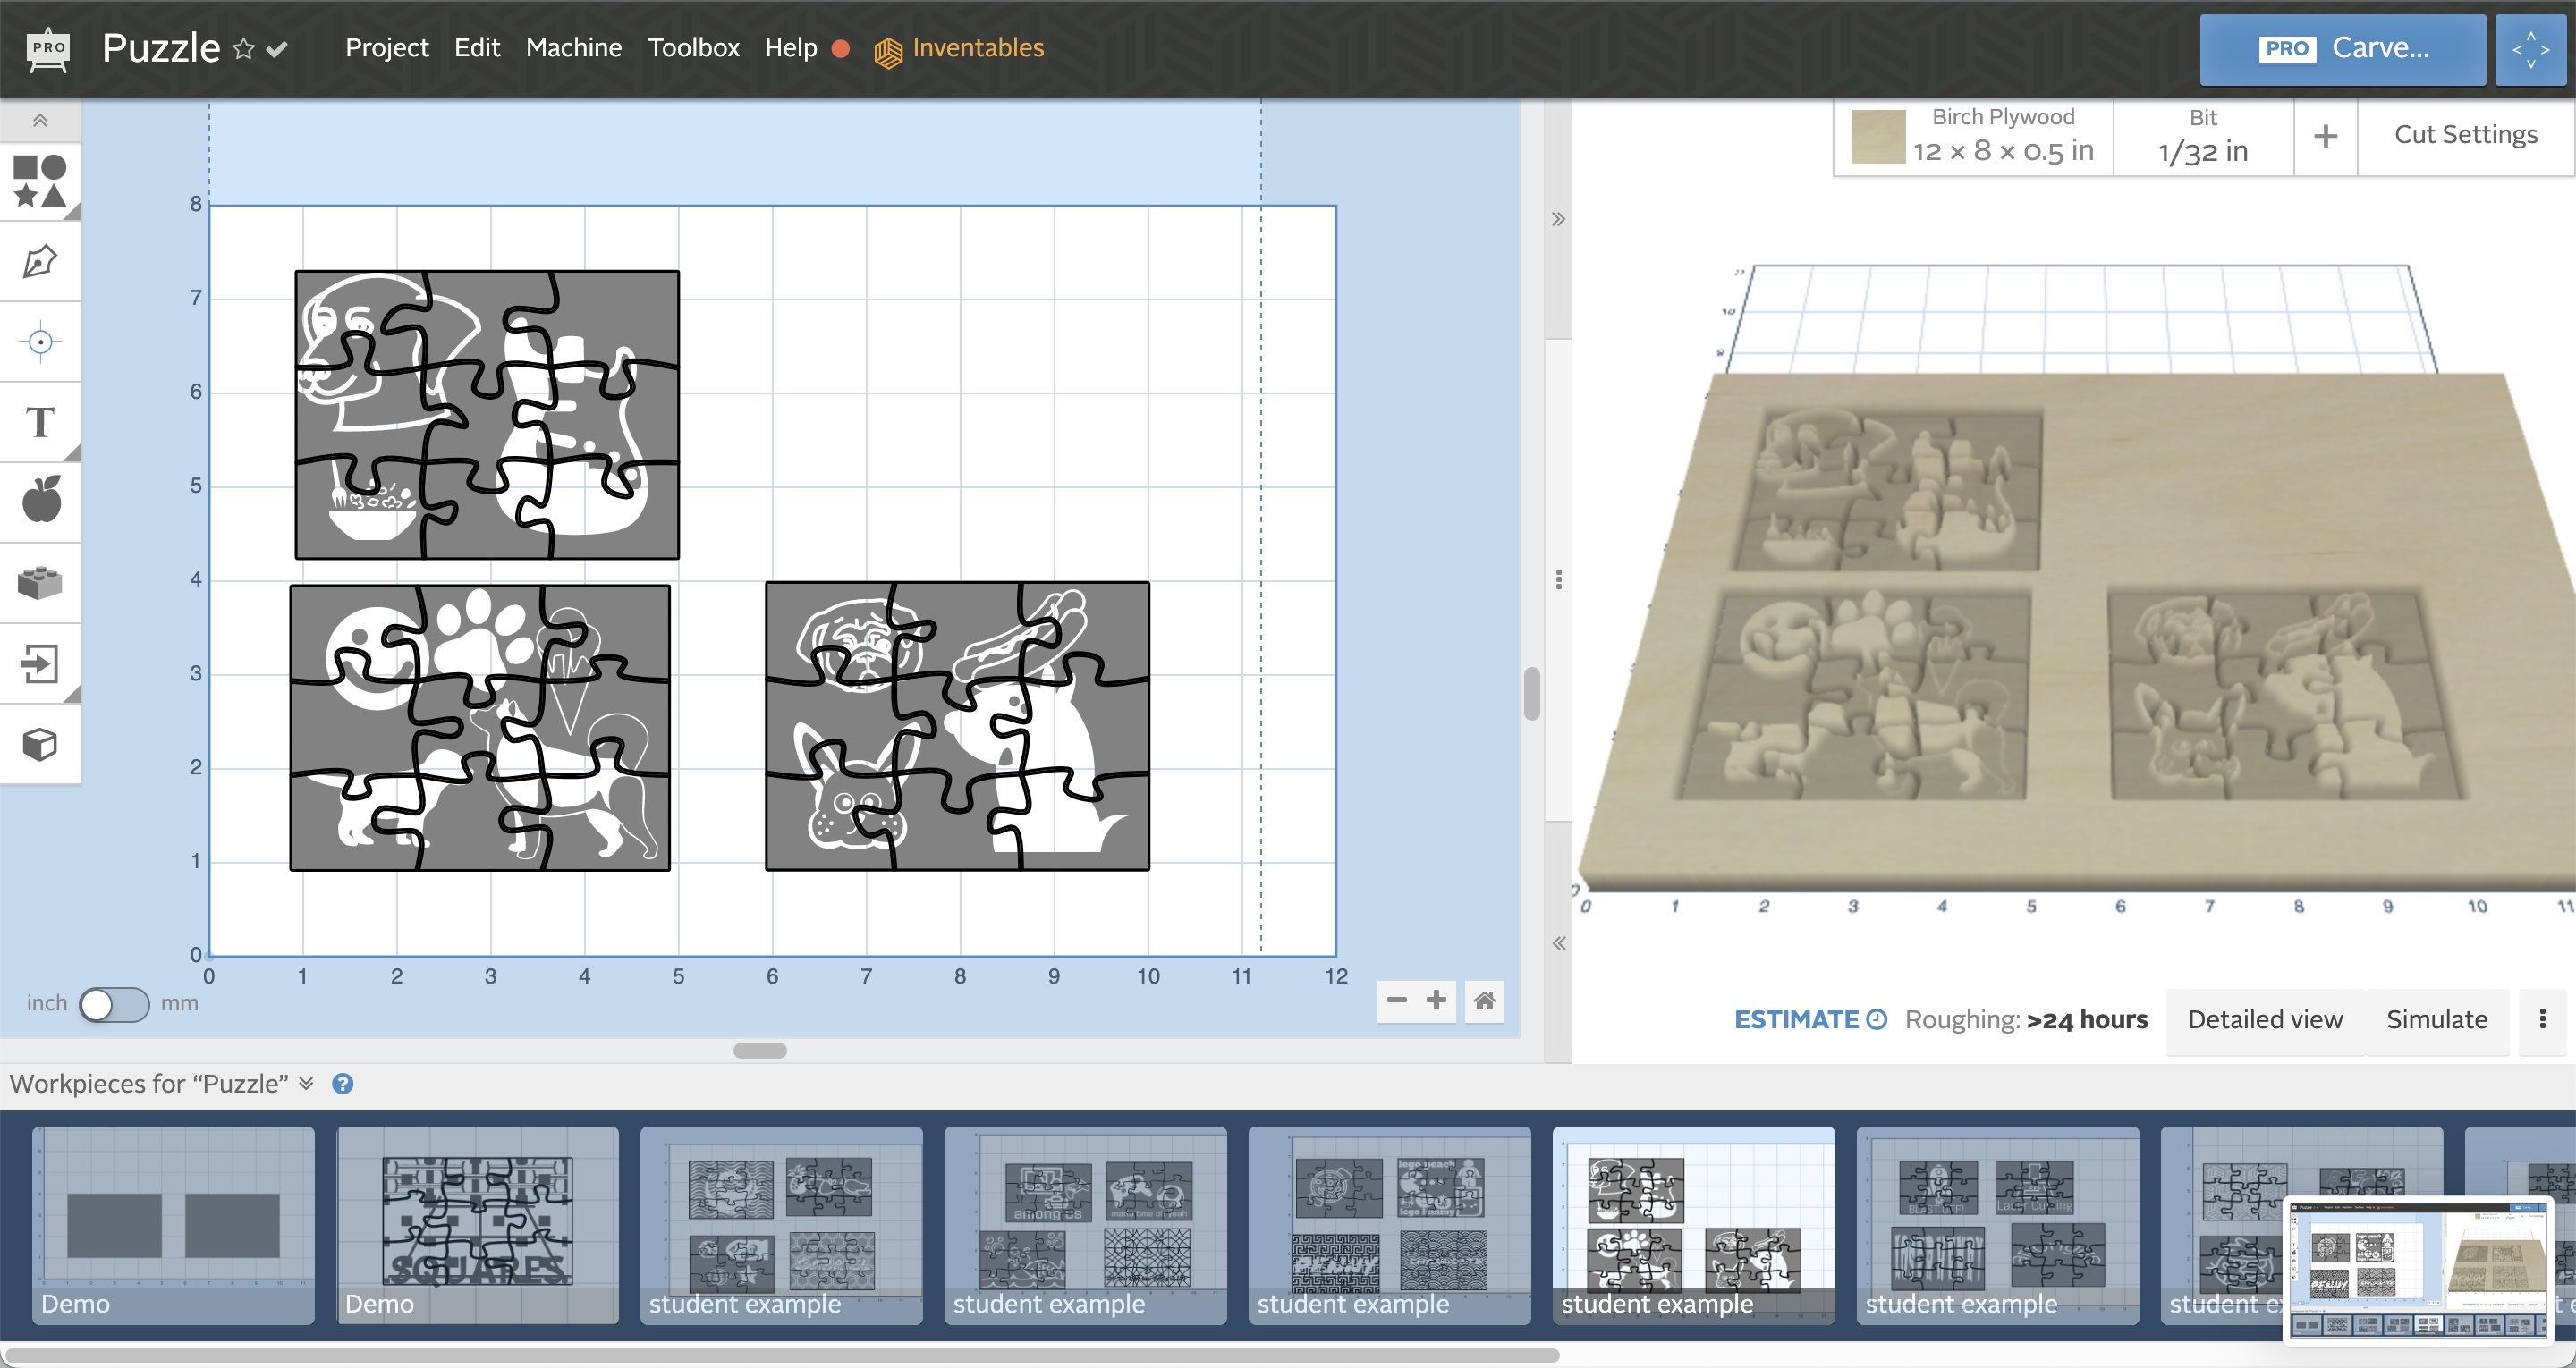
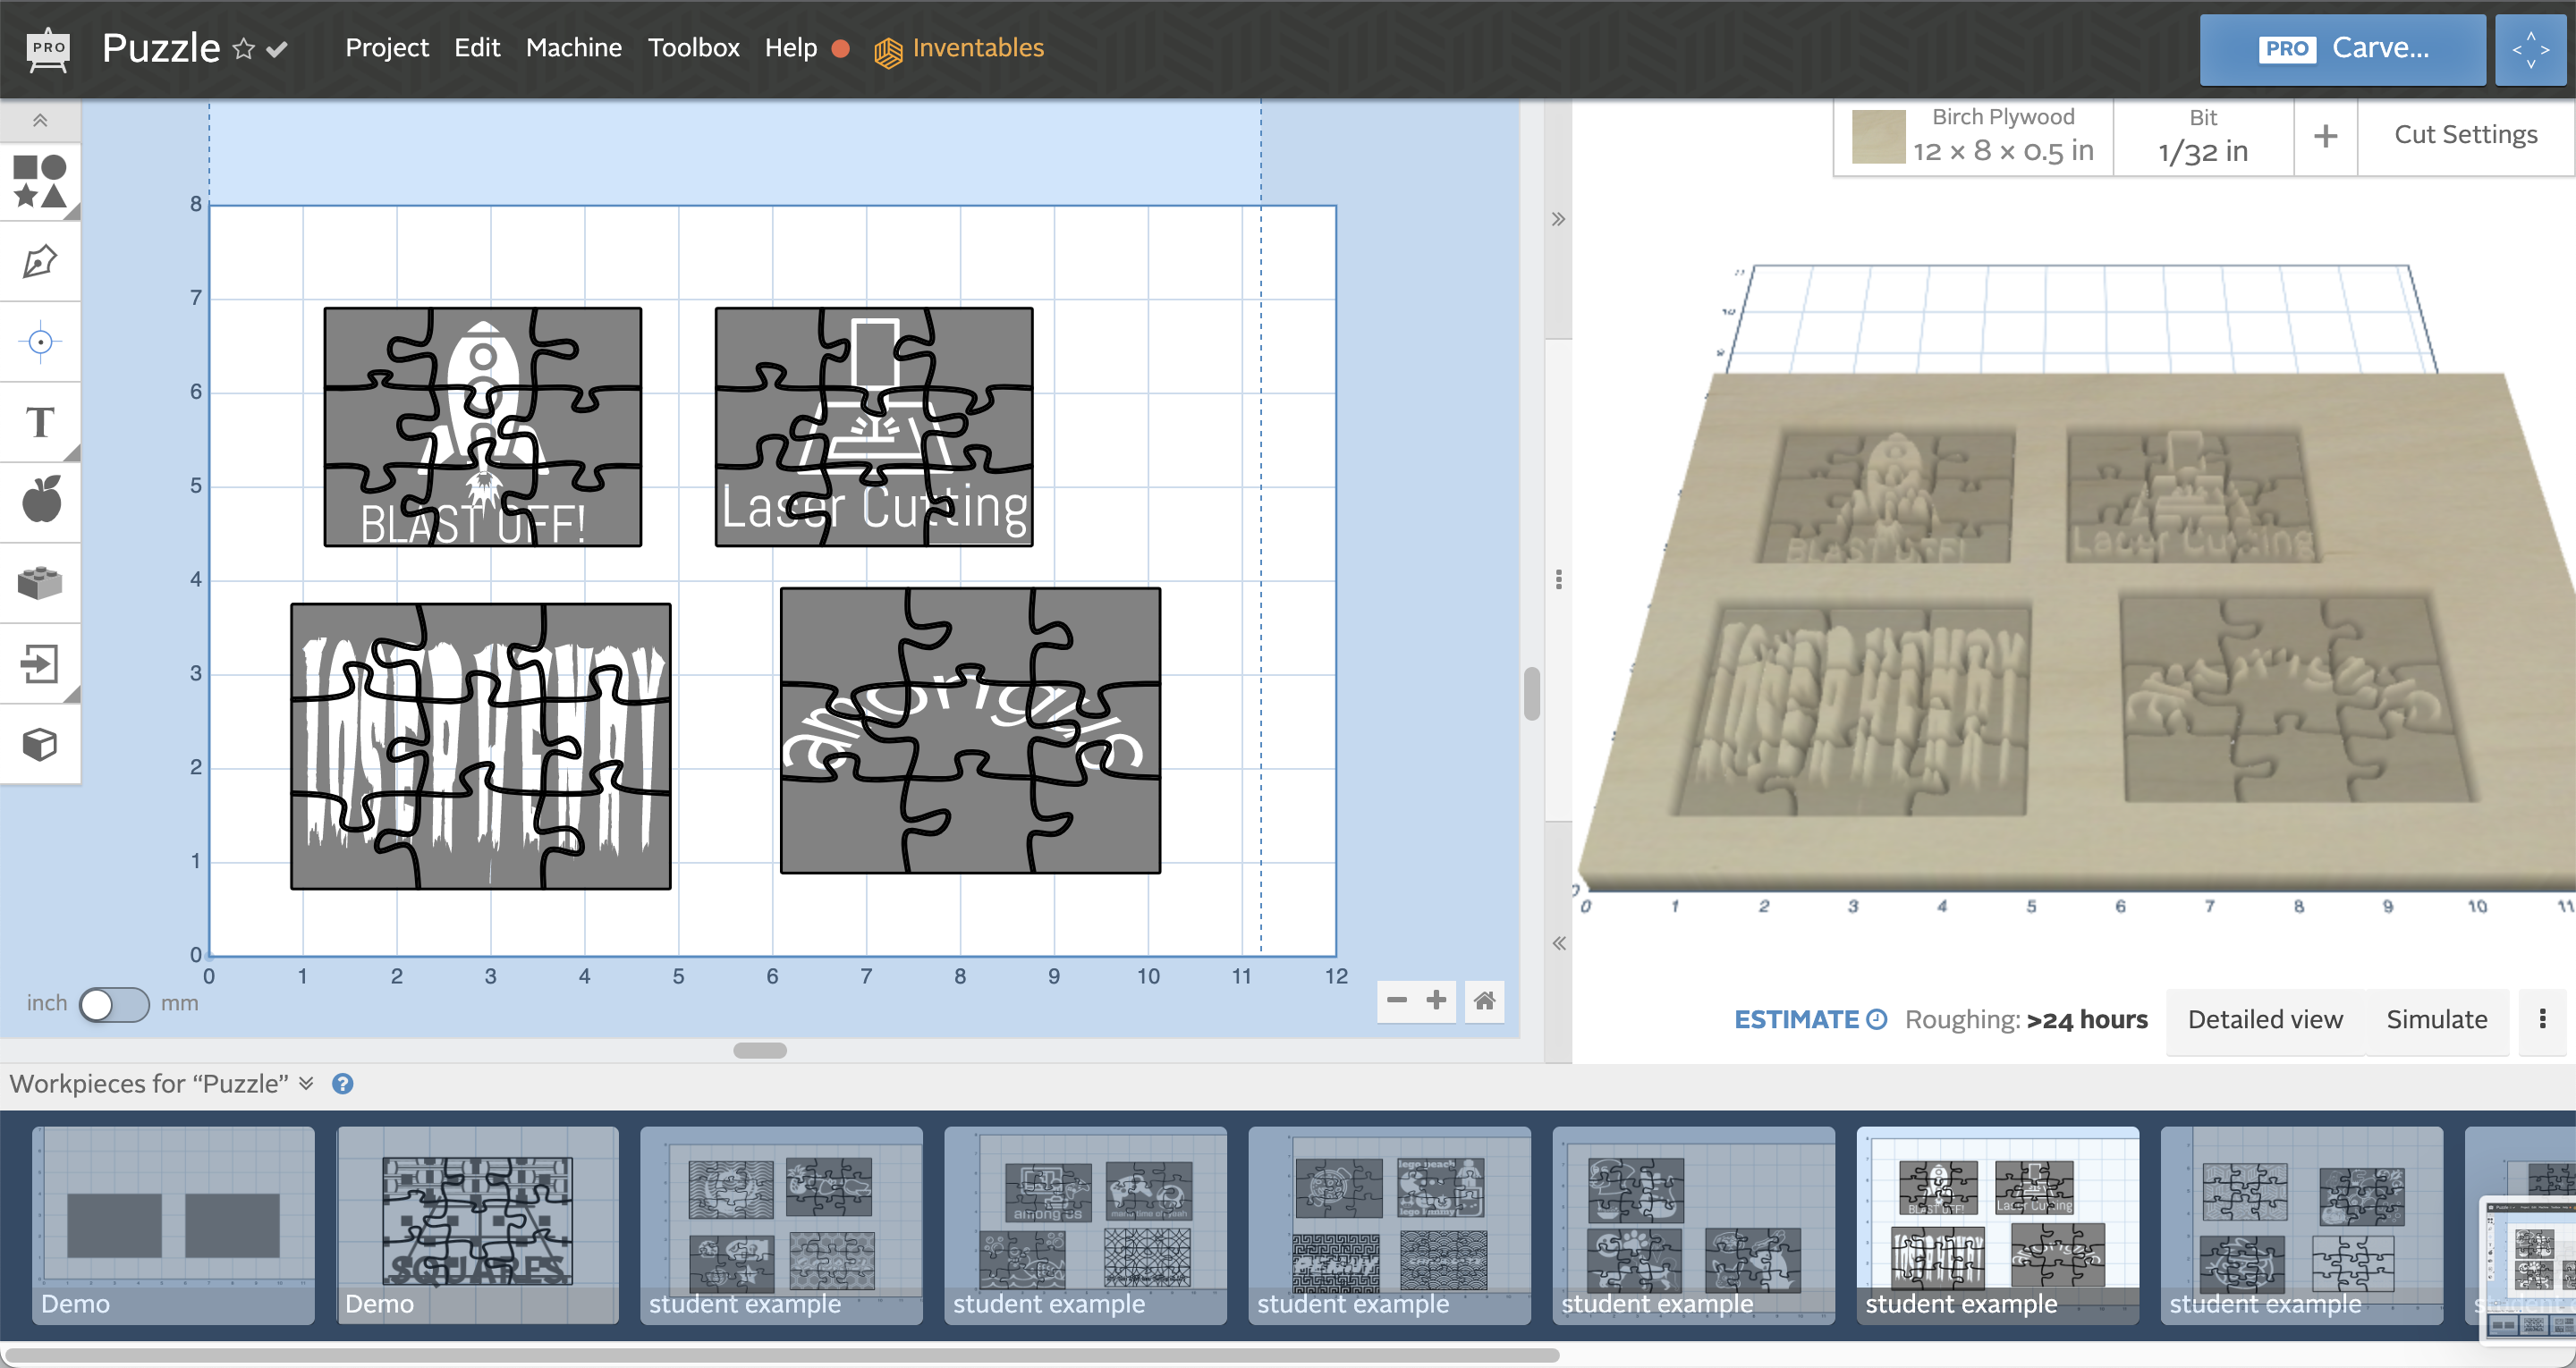
CAM For Lasercutting- Exporting SVG
Once you have your completed design (CAD), the next step is to create the toolpath that your machine will follow (CAM). See Learn CNC with These 5 Projects Step 1 for more explanation of CAD/CAM.
This step will cover:
- Exporting SVG Files from Easel
- Importing SVG Files into the Glowforge App*
*For the purposes of this Instructable, we'll be covering the basic workflow for importing into the Glowforge app. This is only barely scratching the surface of CAM options. You can also import your SVG into Corel Draw and other CAM/Communication & Control software for lasercutters, instead of the Glowforge app. In addition to Corel, in the past I've used Epilog and Trotec's laser drivers. In most cases, you can set up the laser as a printer option directly in your design software: Corel, Adobe Illustrator, Rhinoceros 3D and more. Andrew James Gregory (and 3 other contributors) have a great article on Adobe to Epilog Laser. Ryan McKibbin at MICA has a great guide on Rhino to Trotec Laser. I've used both of these workflows personally, and if set up correctly, they run very smoothly. In these cases, you can design directly in Corel, Adobe Illustrator, Rhinoceros 3D, etc, or import the SVG from Easel into your software of choice.
Exporting SVG Files from Easel
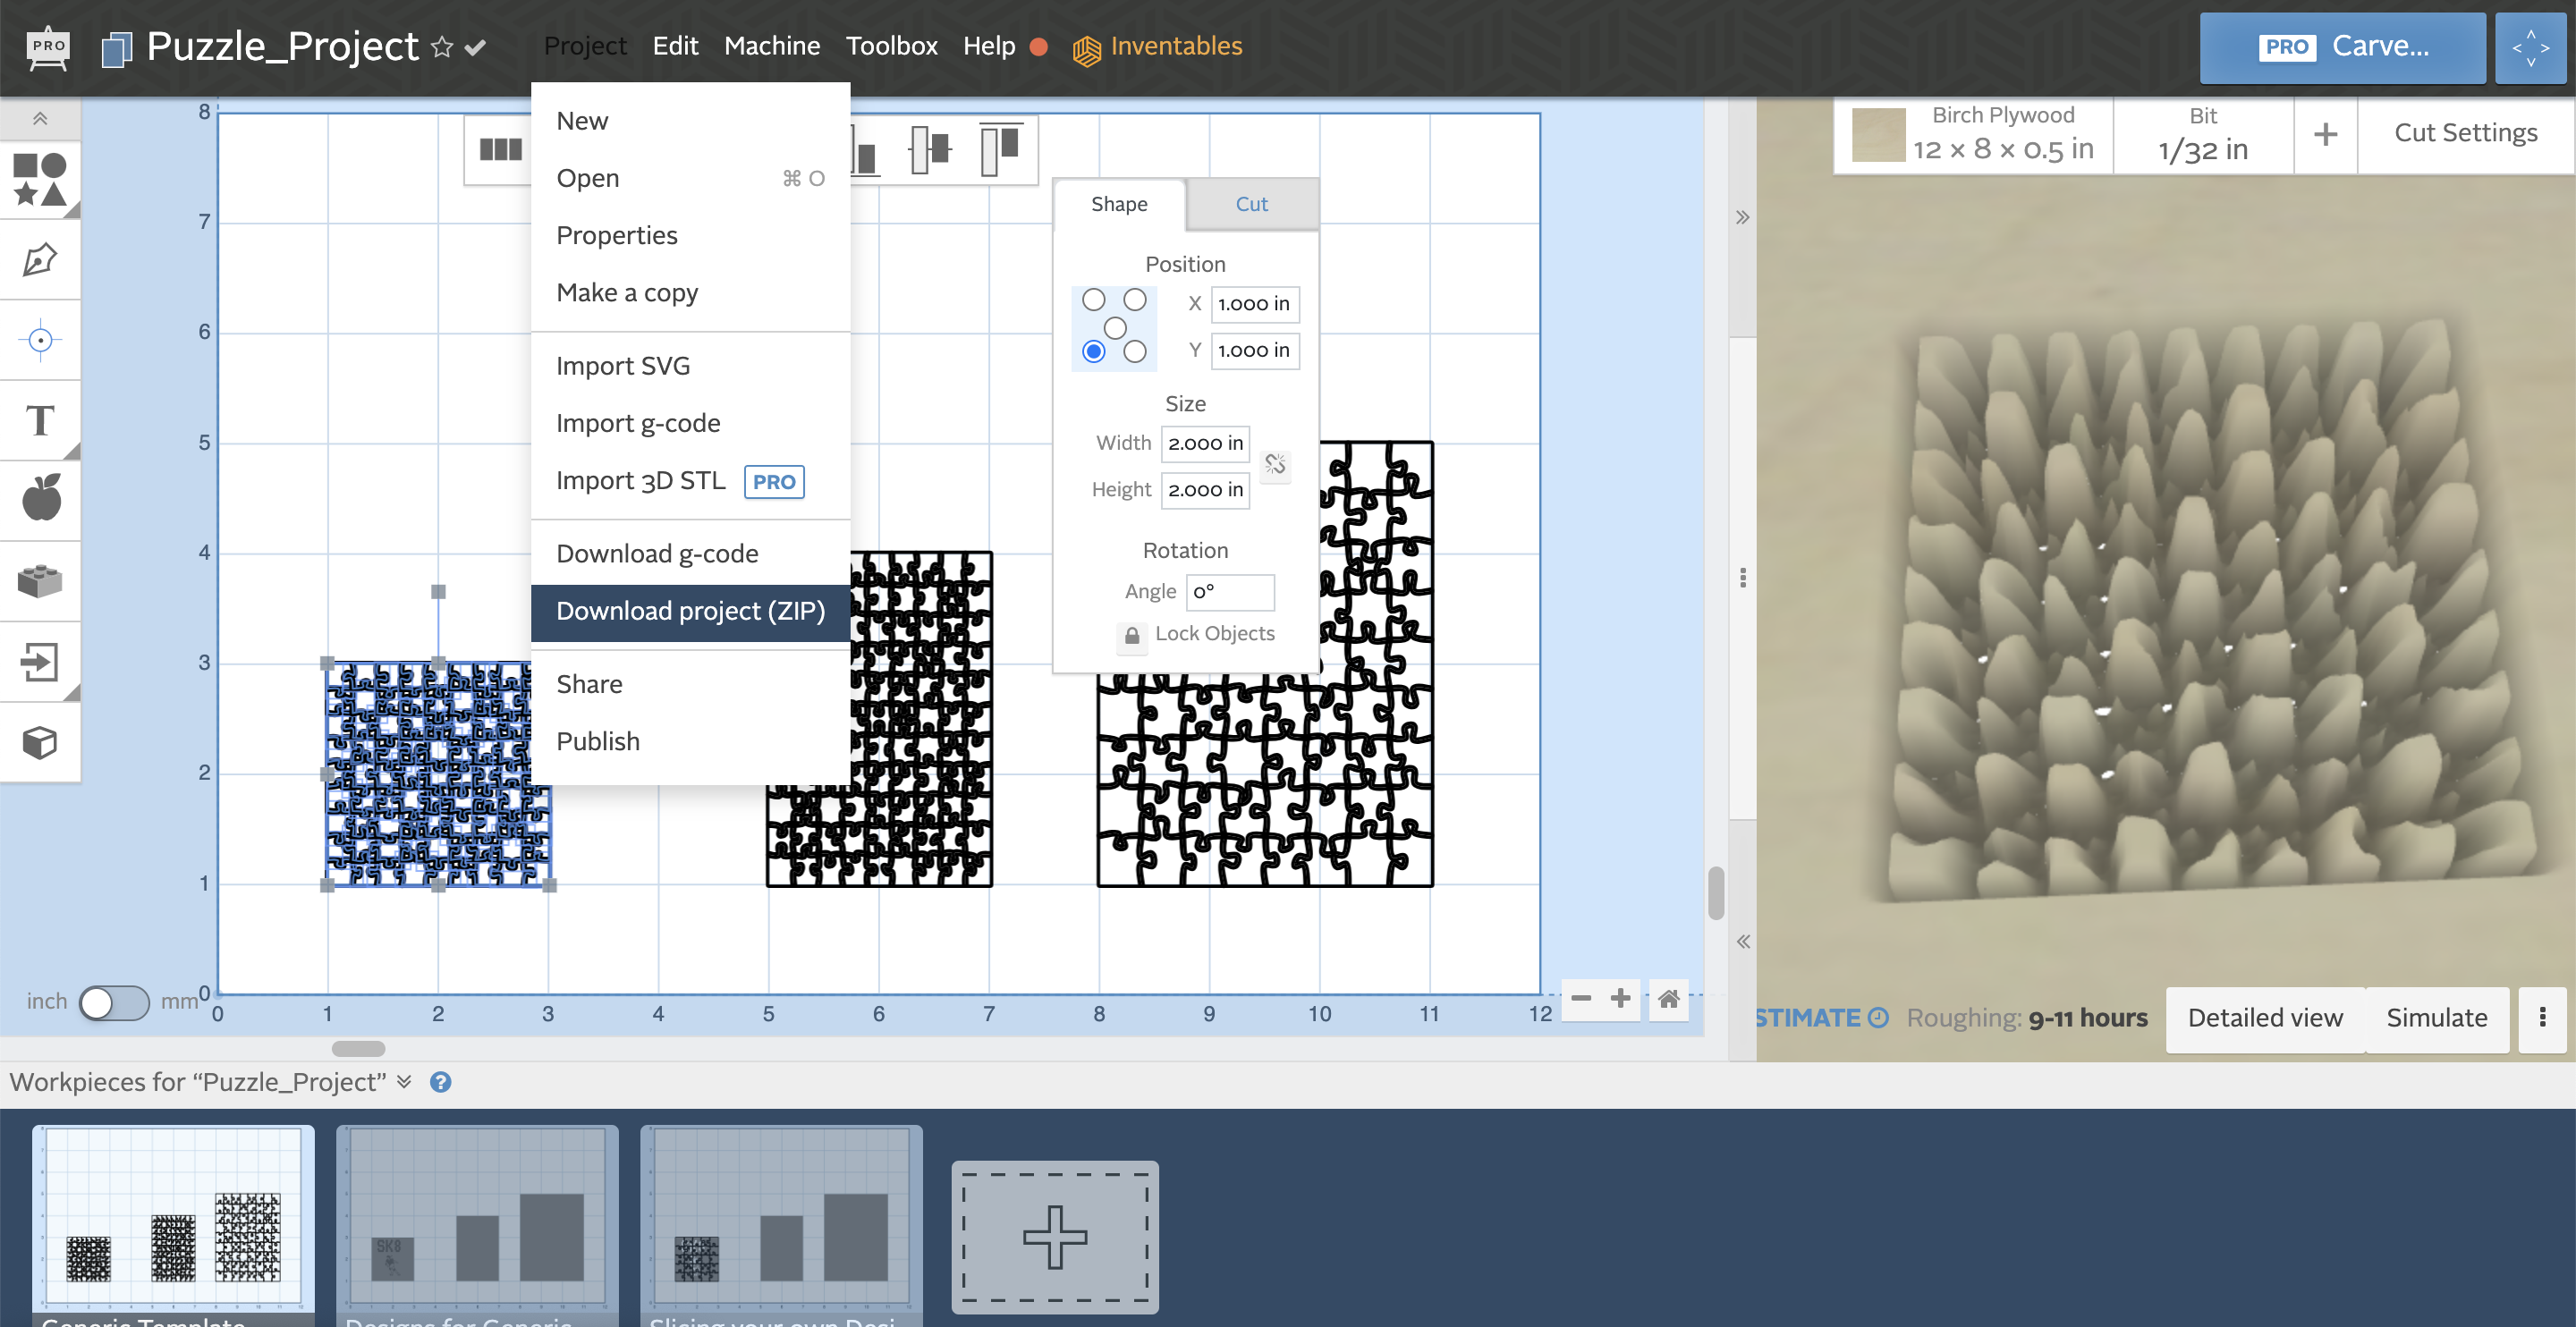
- Inventables has a great tutorial on Exporting SVG files.
- If you created a Generic Puzzle Template then you will need to export both the design file and the puzzle template workpieces.
- If you Sliced your own Design then you will export the one file.
Importing SVG Files into the Glowforge App
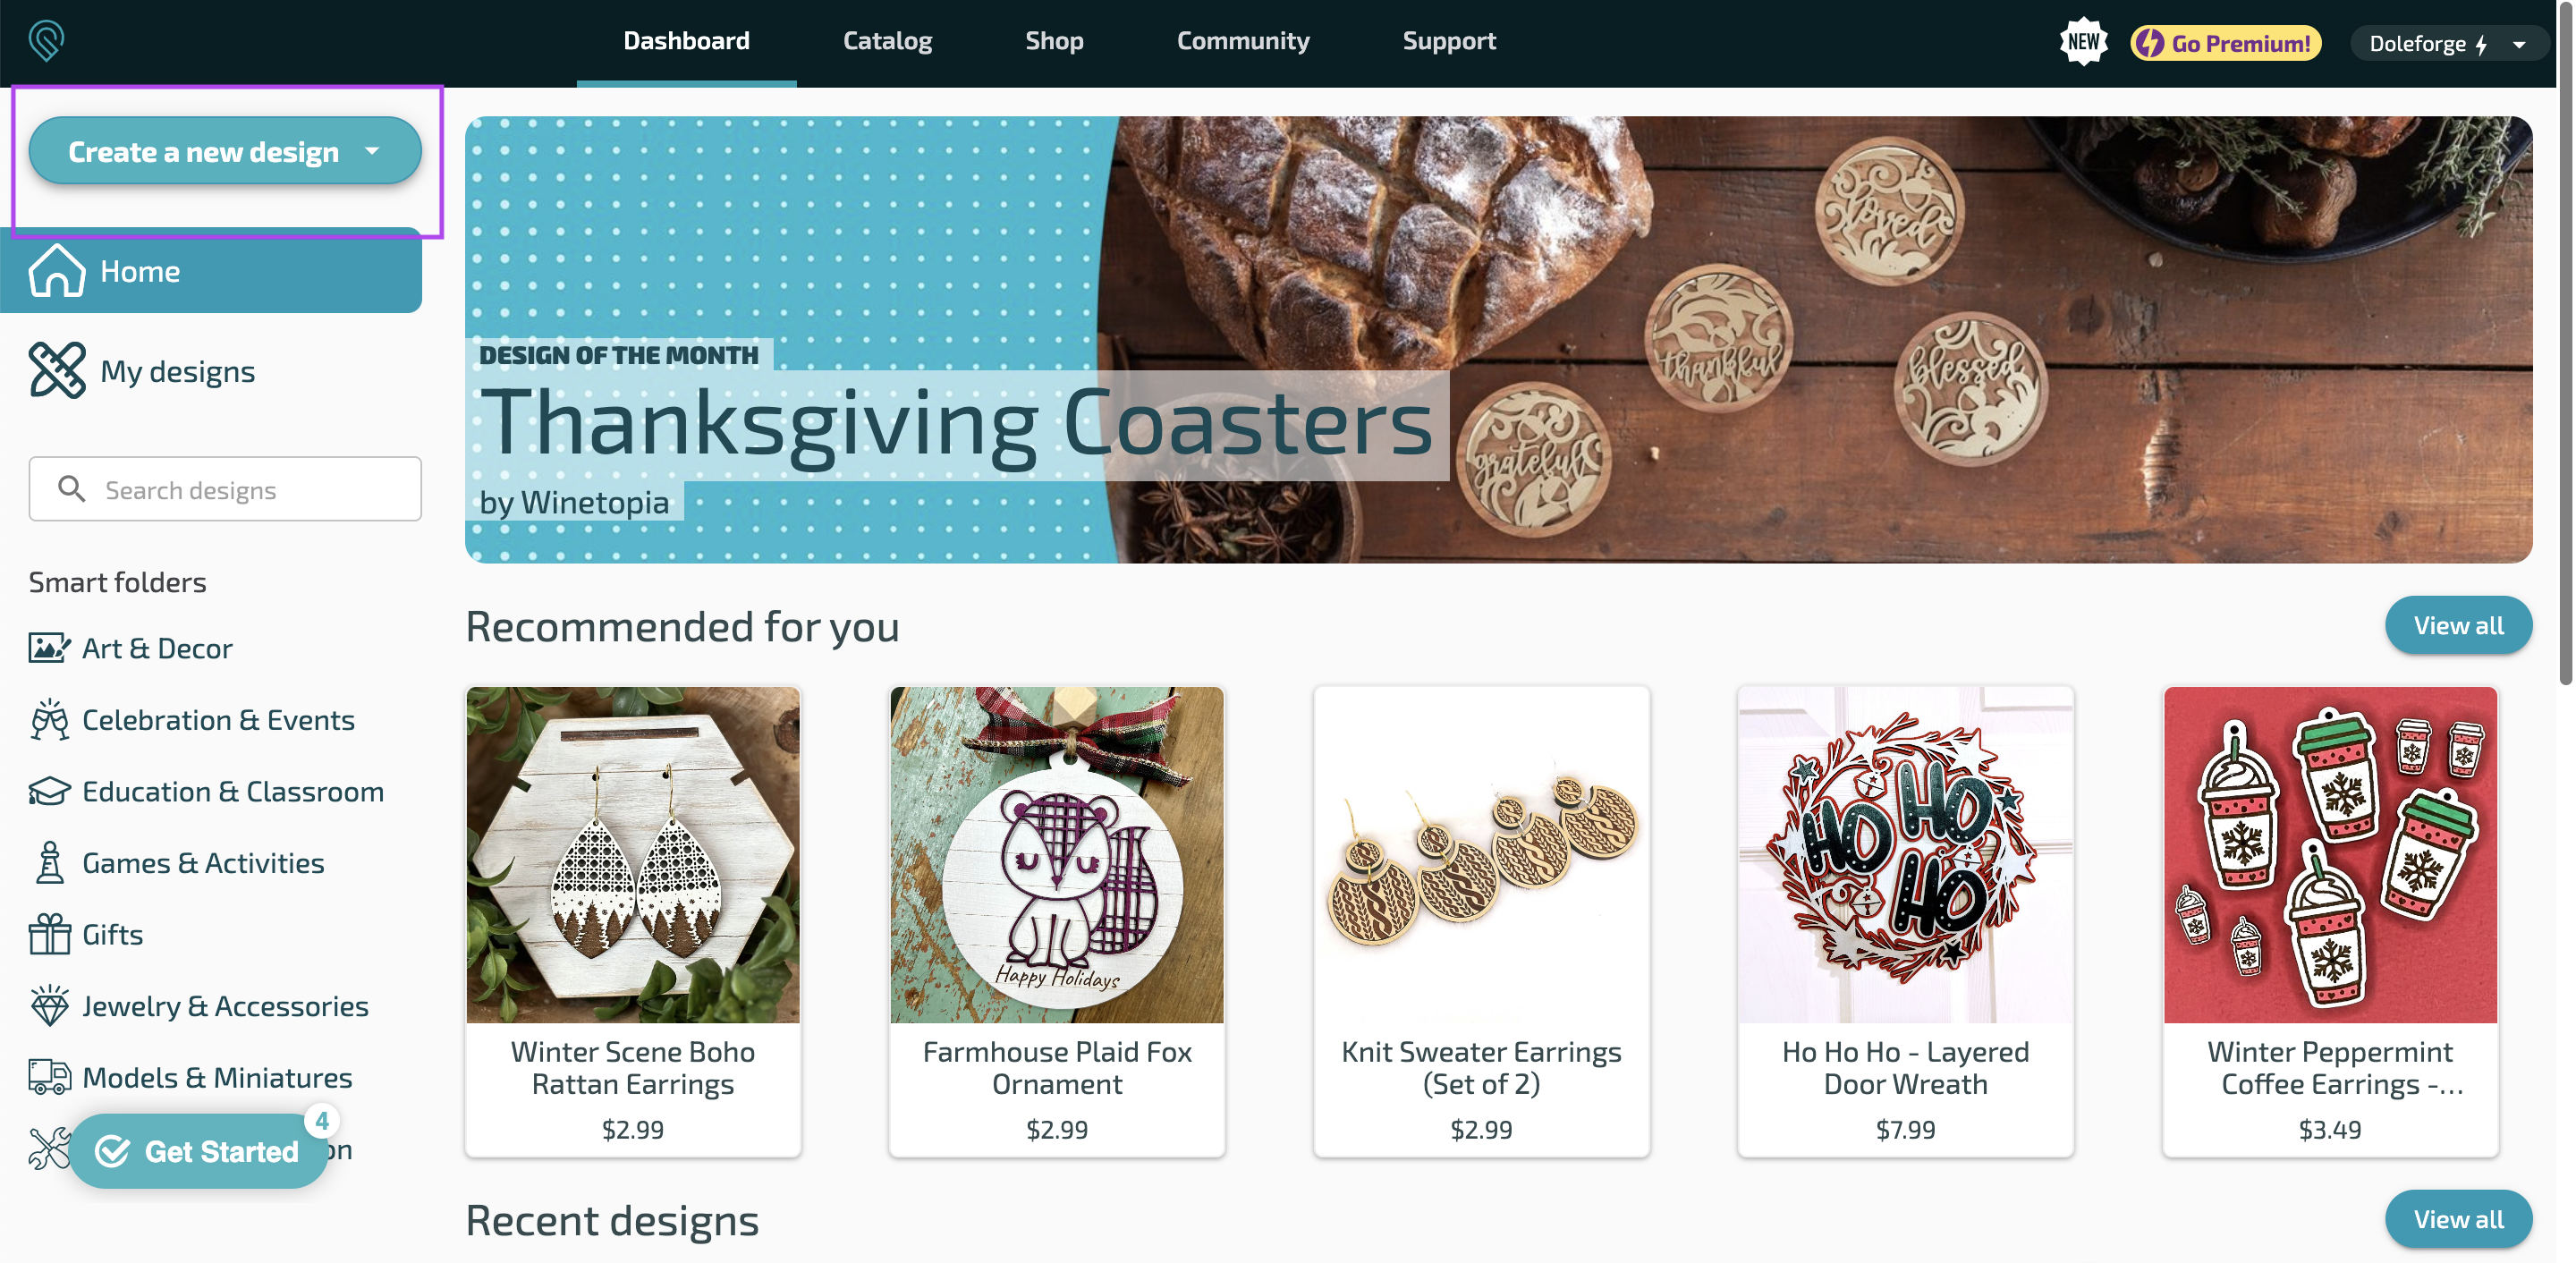
- Open the Glowforge App and sign in
- Click Create a new design
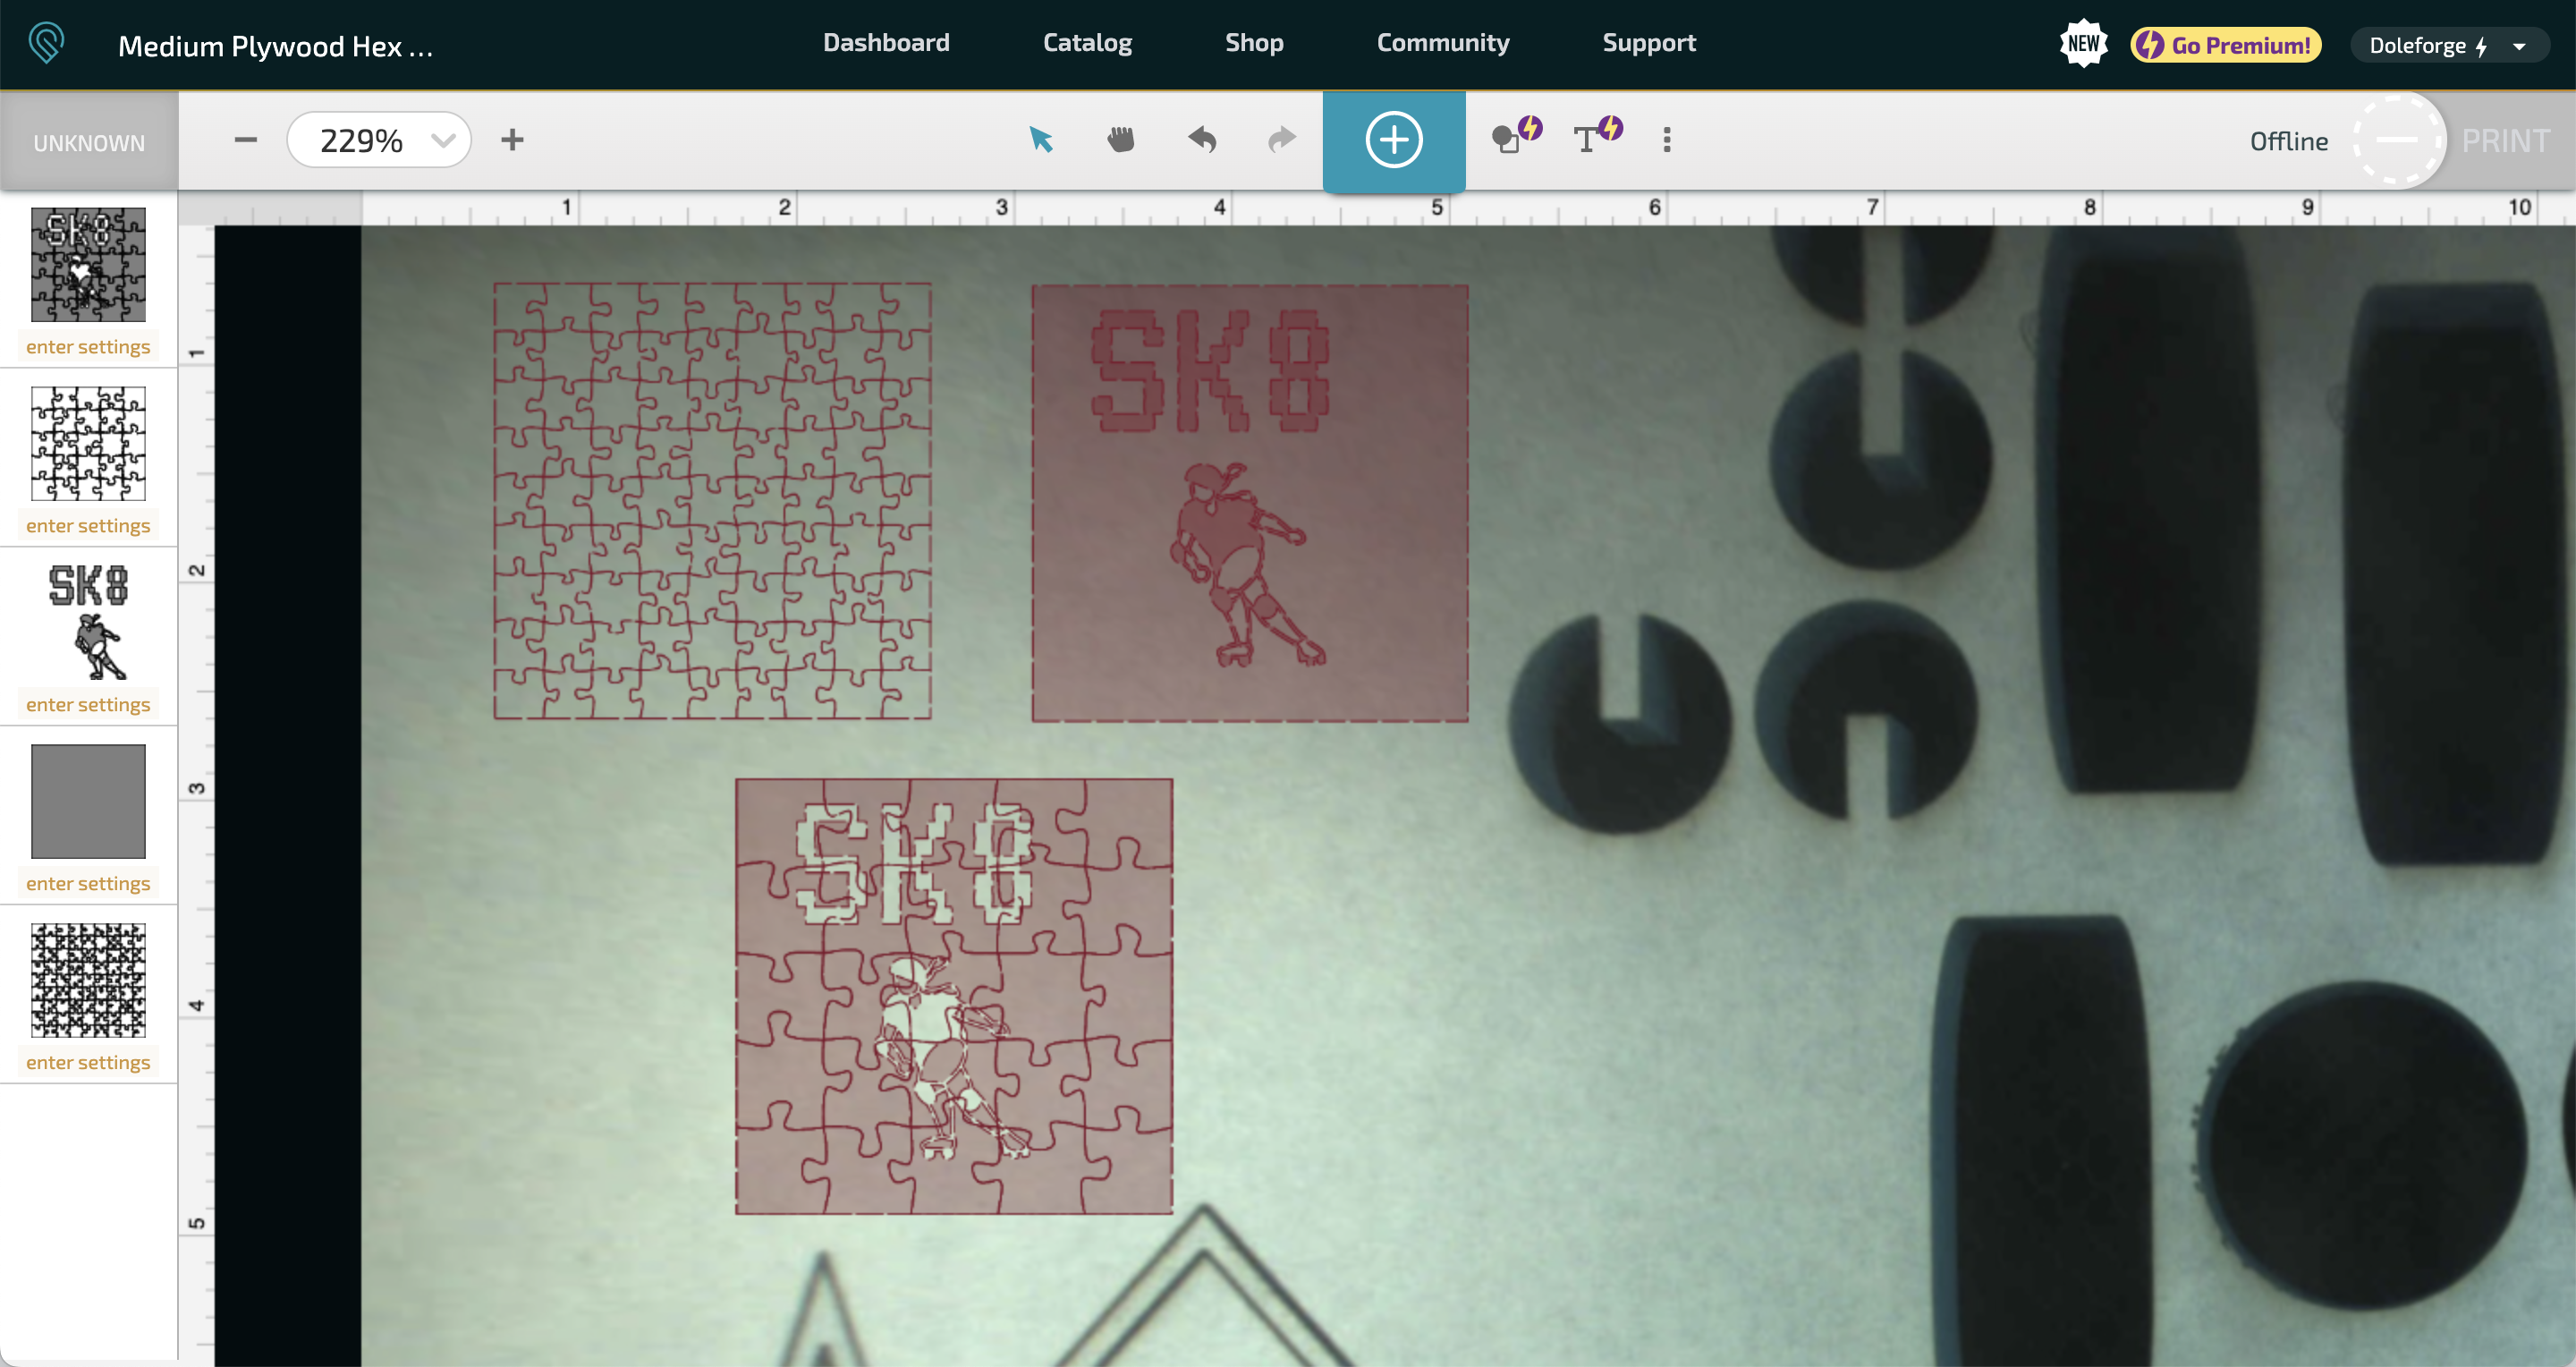
- Drag and drop your SVG onto work area. See Glowforge upload troubleshooting, and this guide on How to Use SVG Files with a Glowforge. You can practice by importing my attached SVG files.
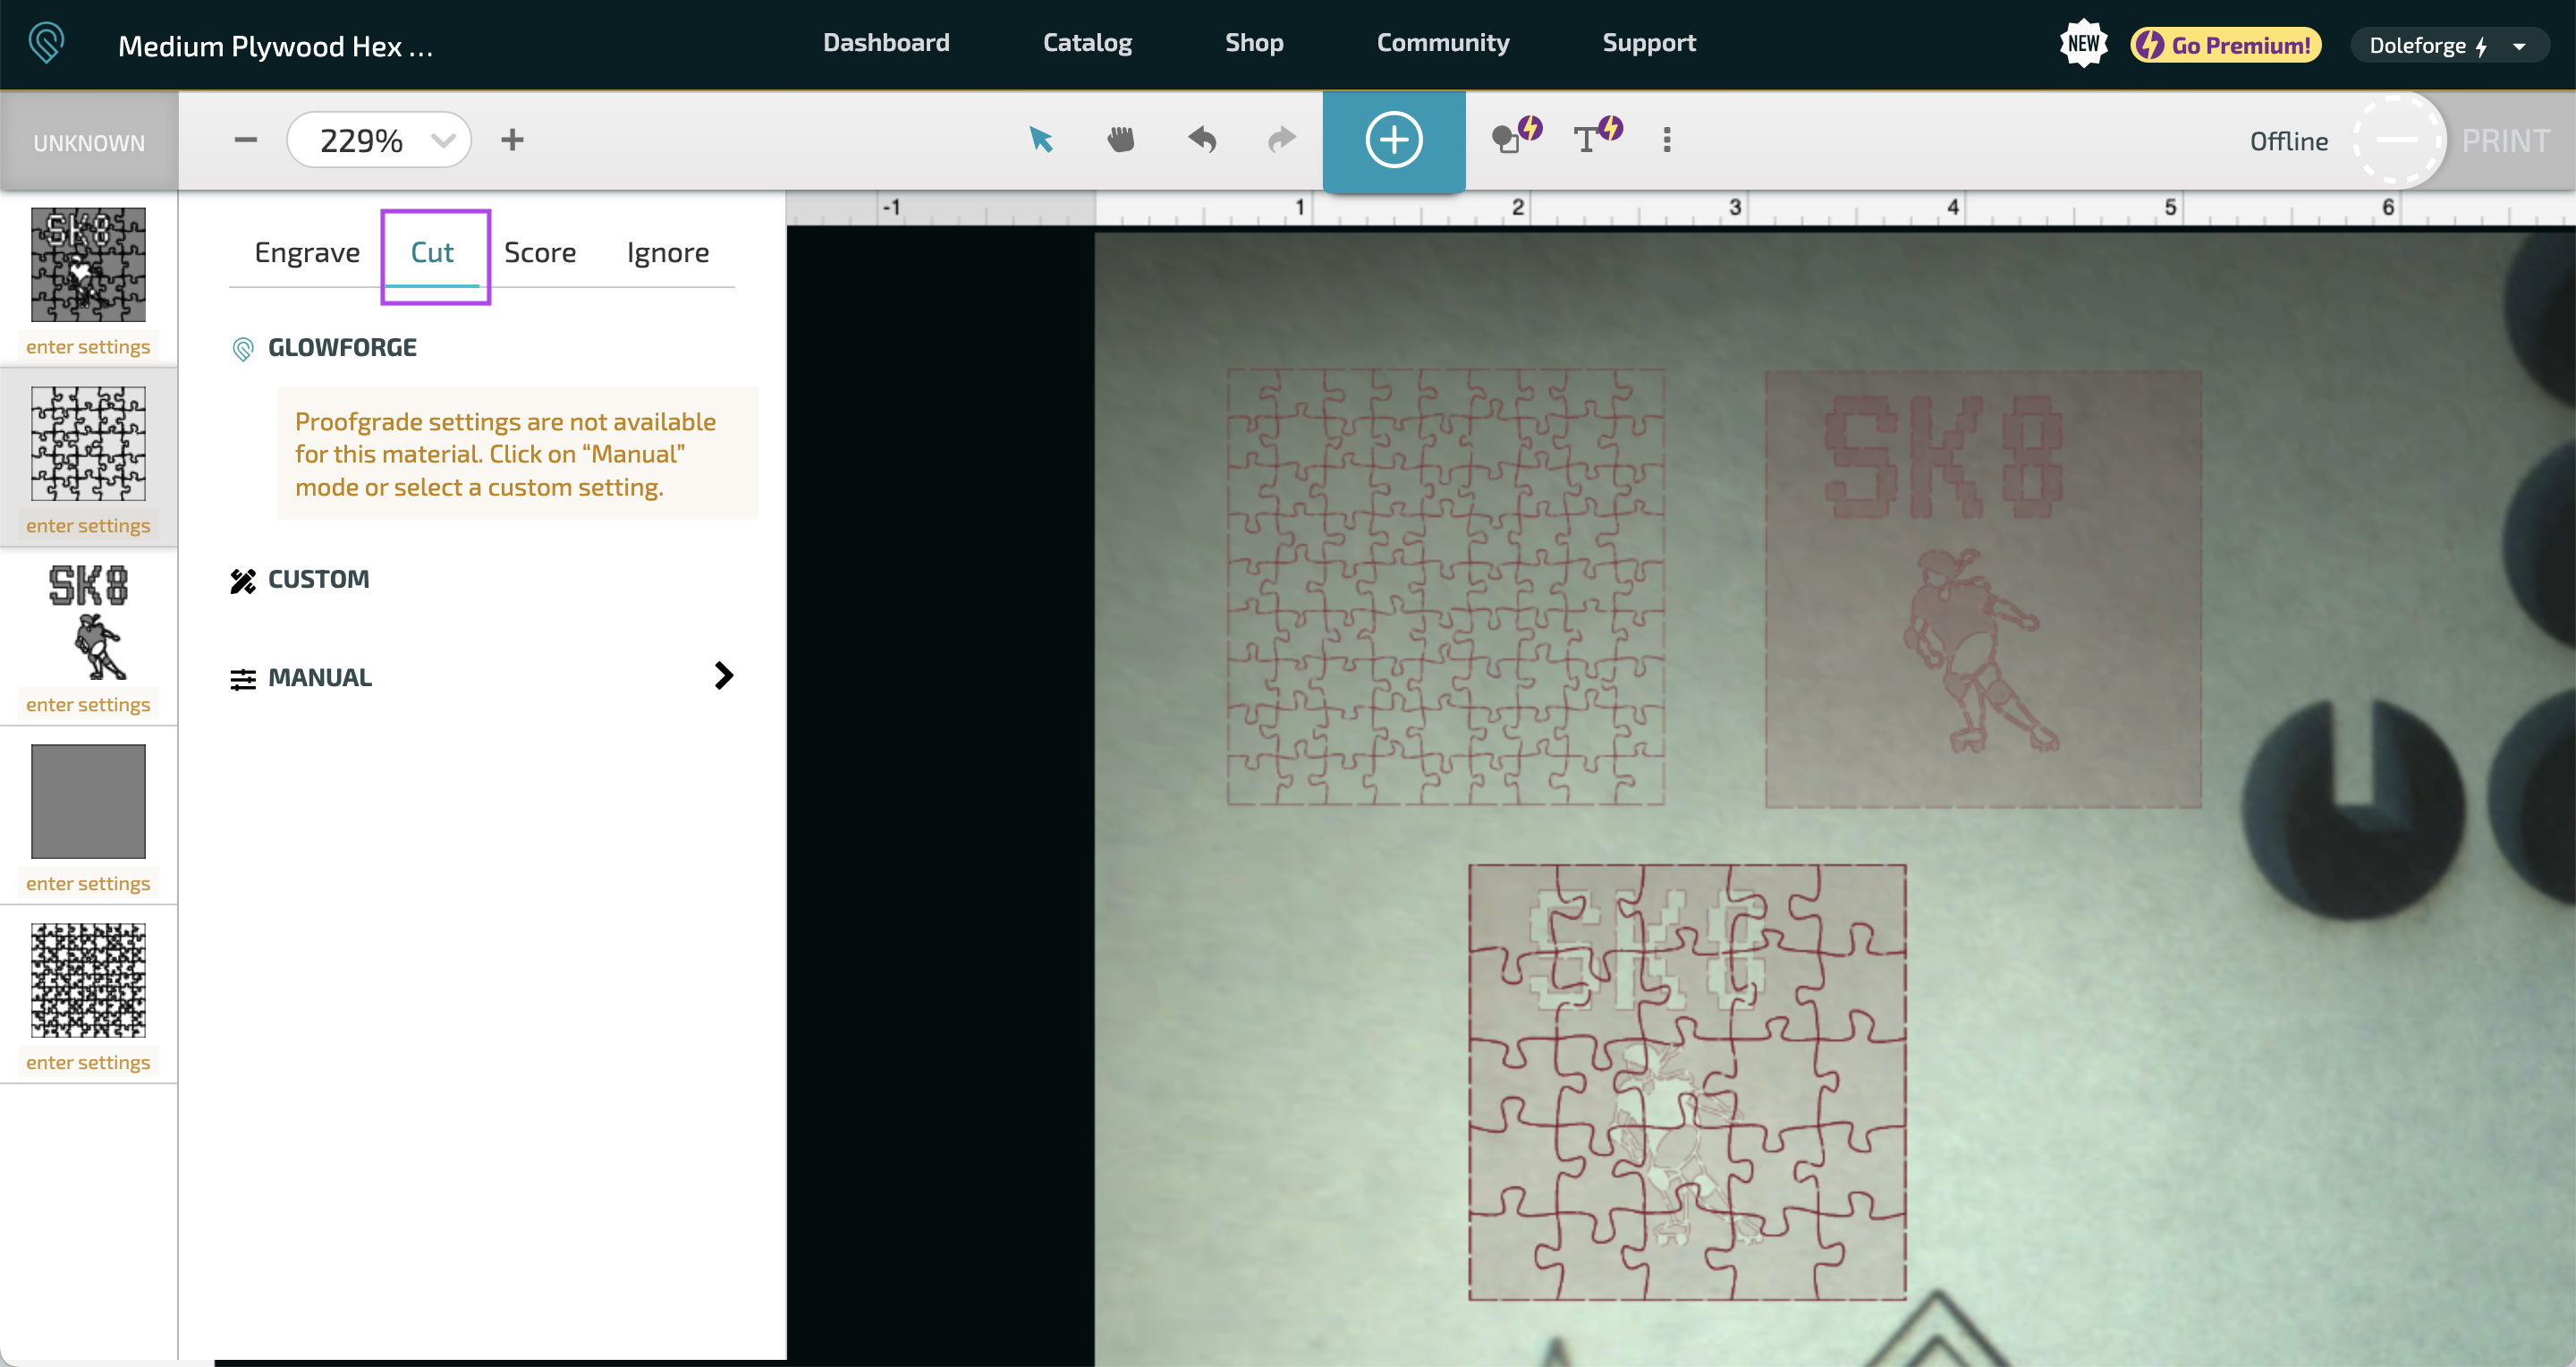
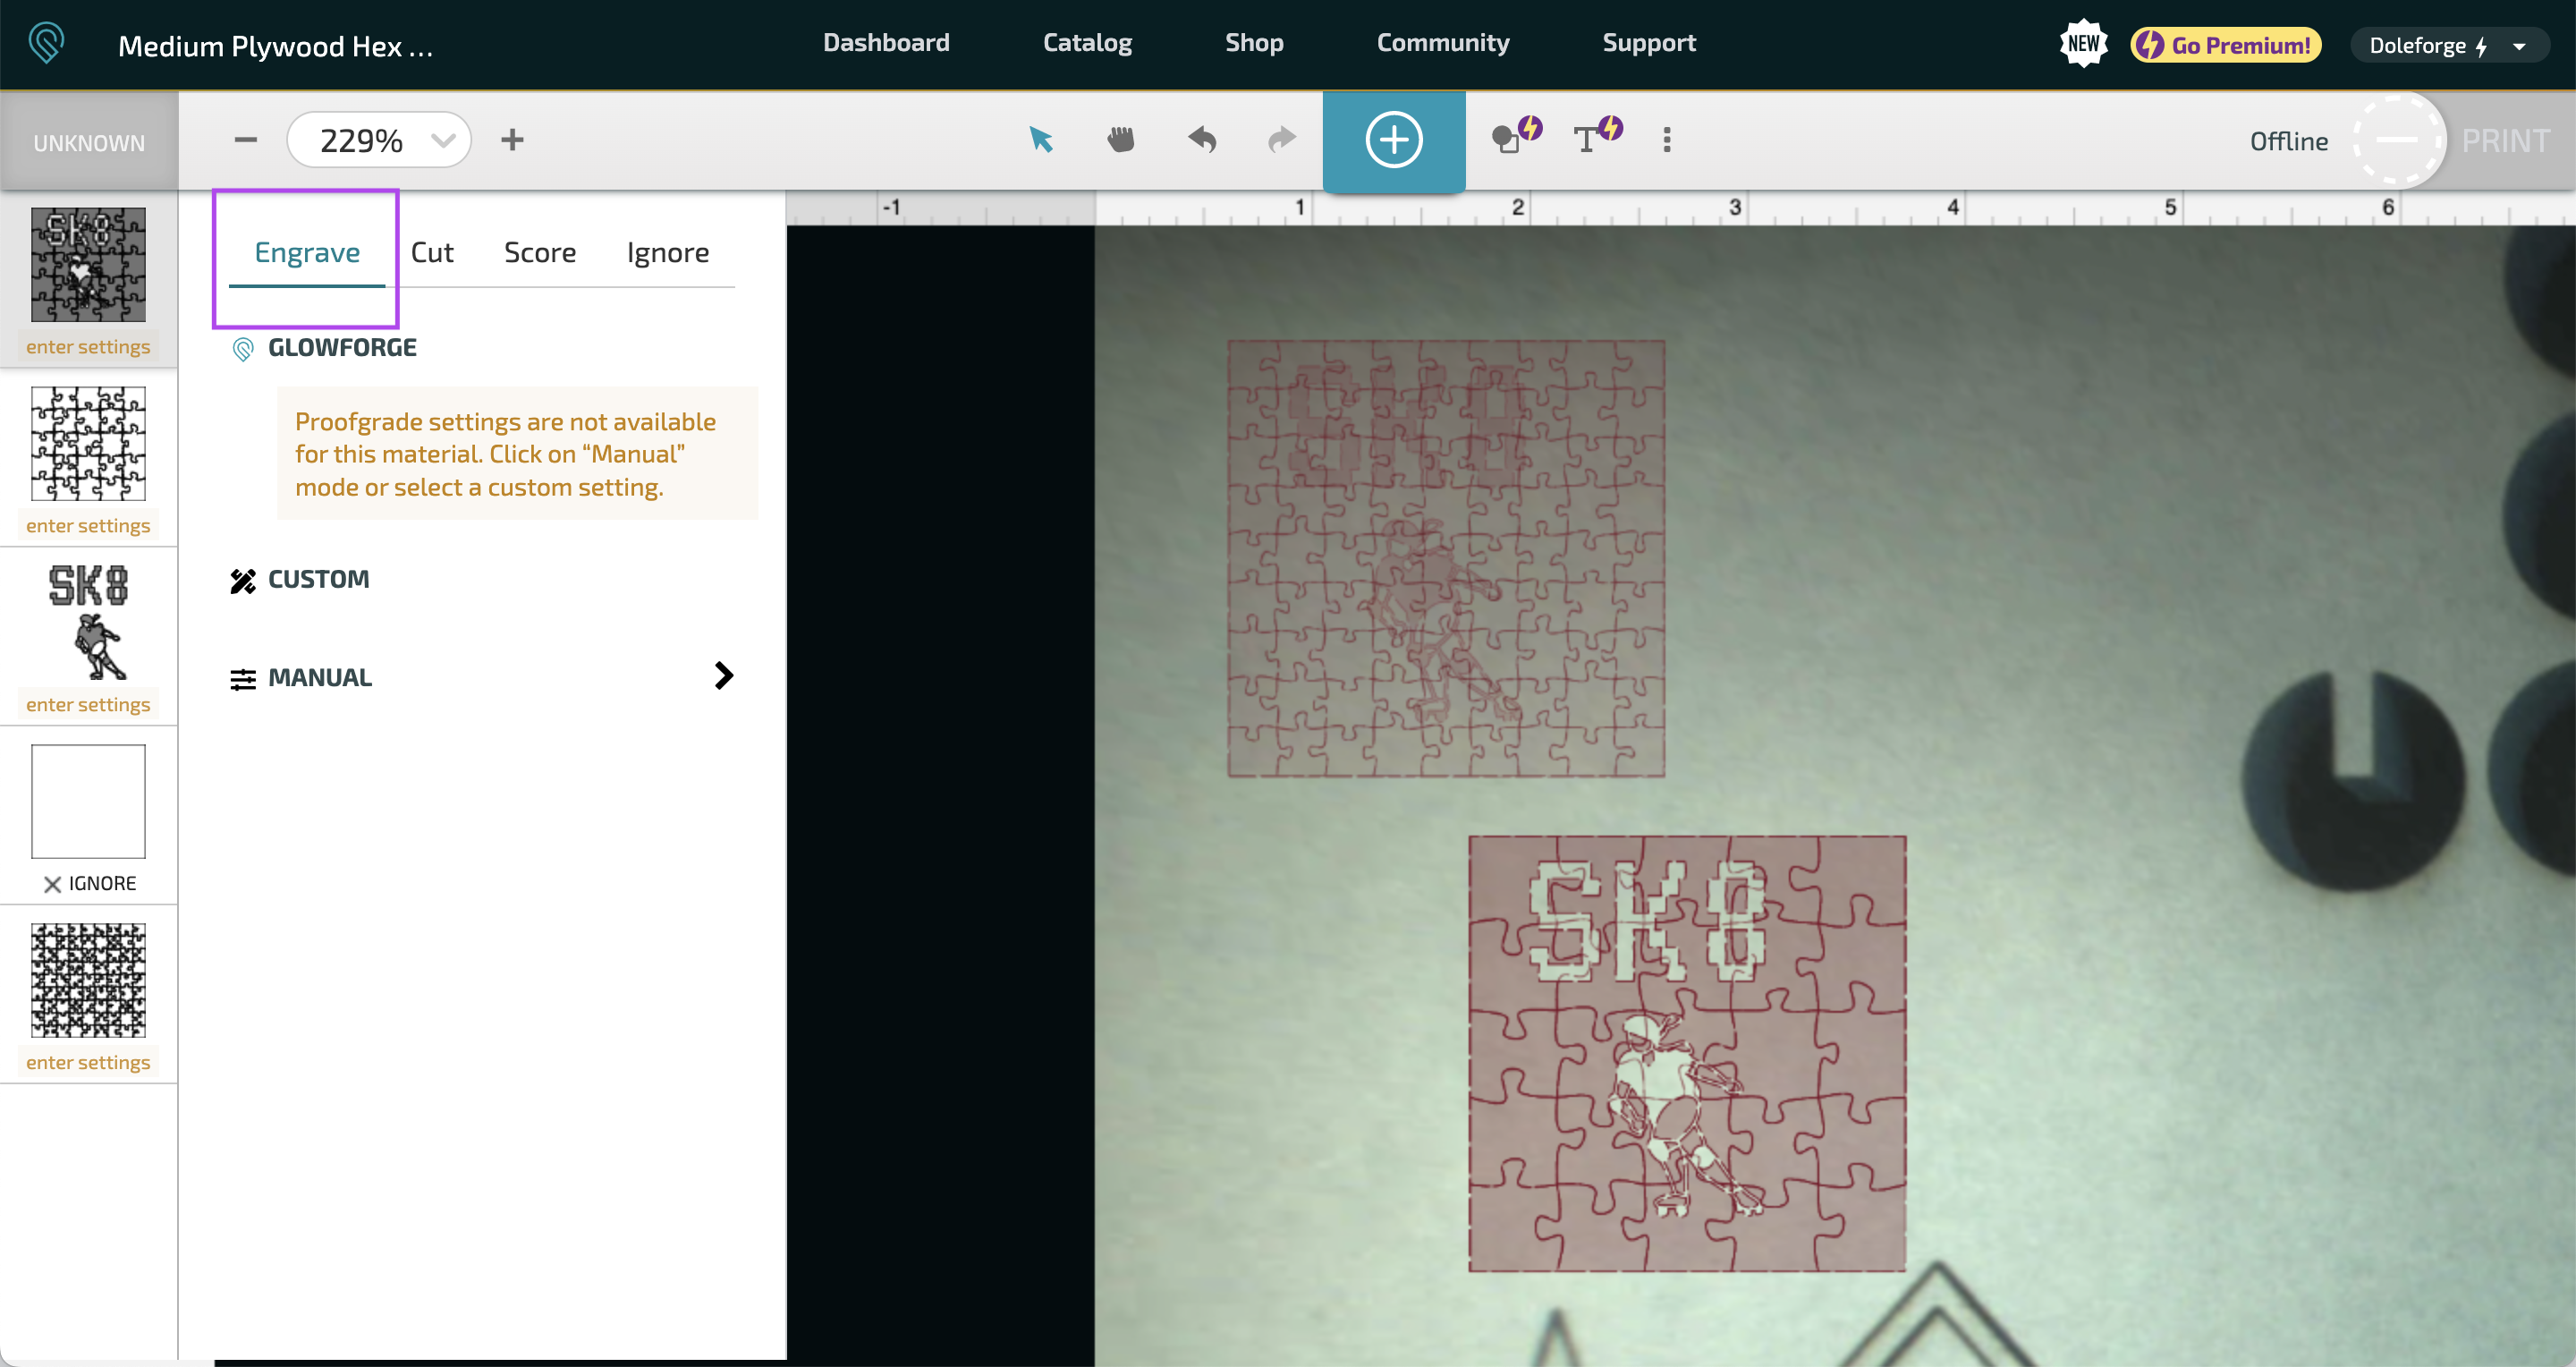
- If you used the Generic Puzzle Template, you will need to align the template with your design.
- Now, we need to set the puzzle outline to cut and the design to engrave.
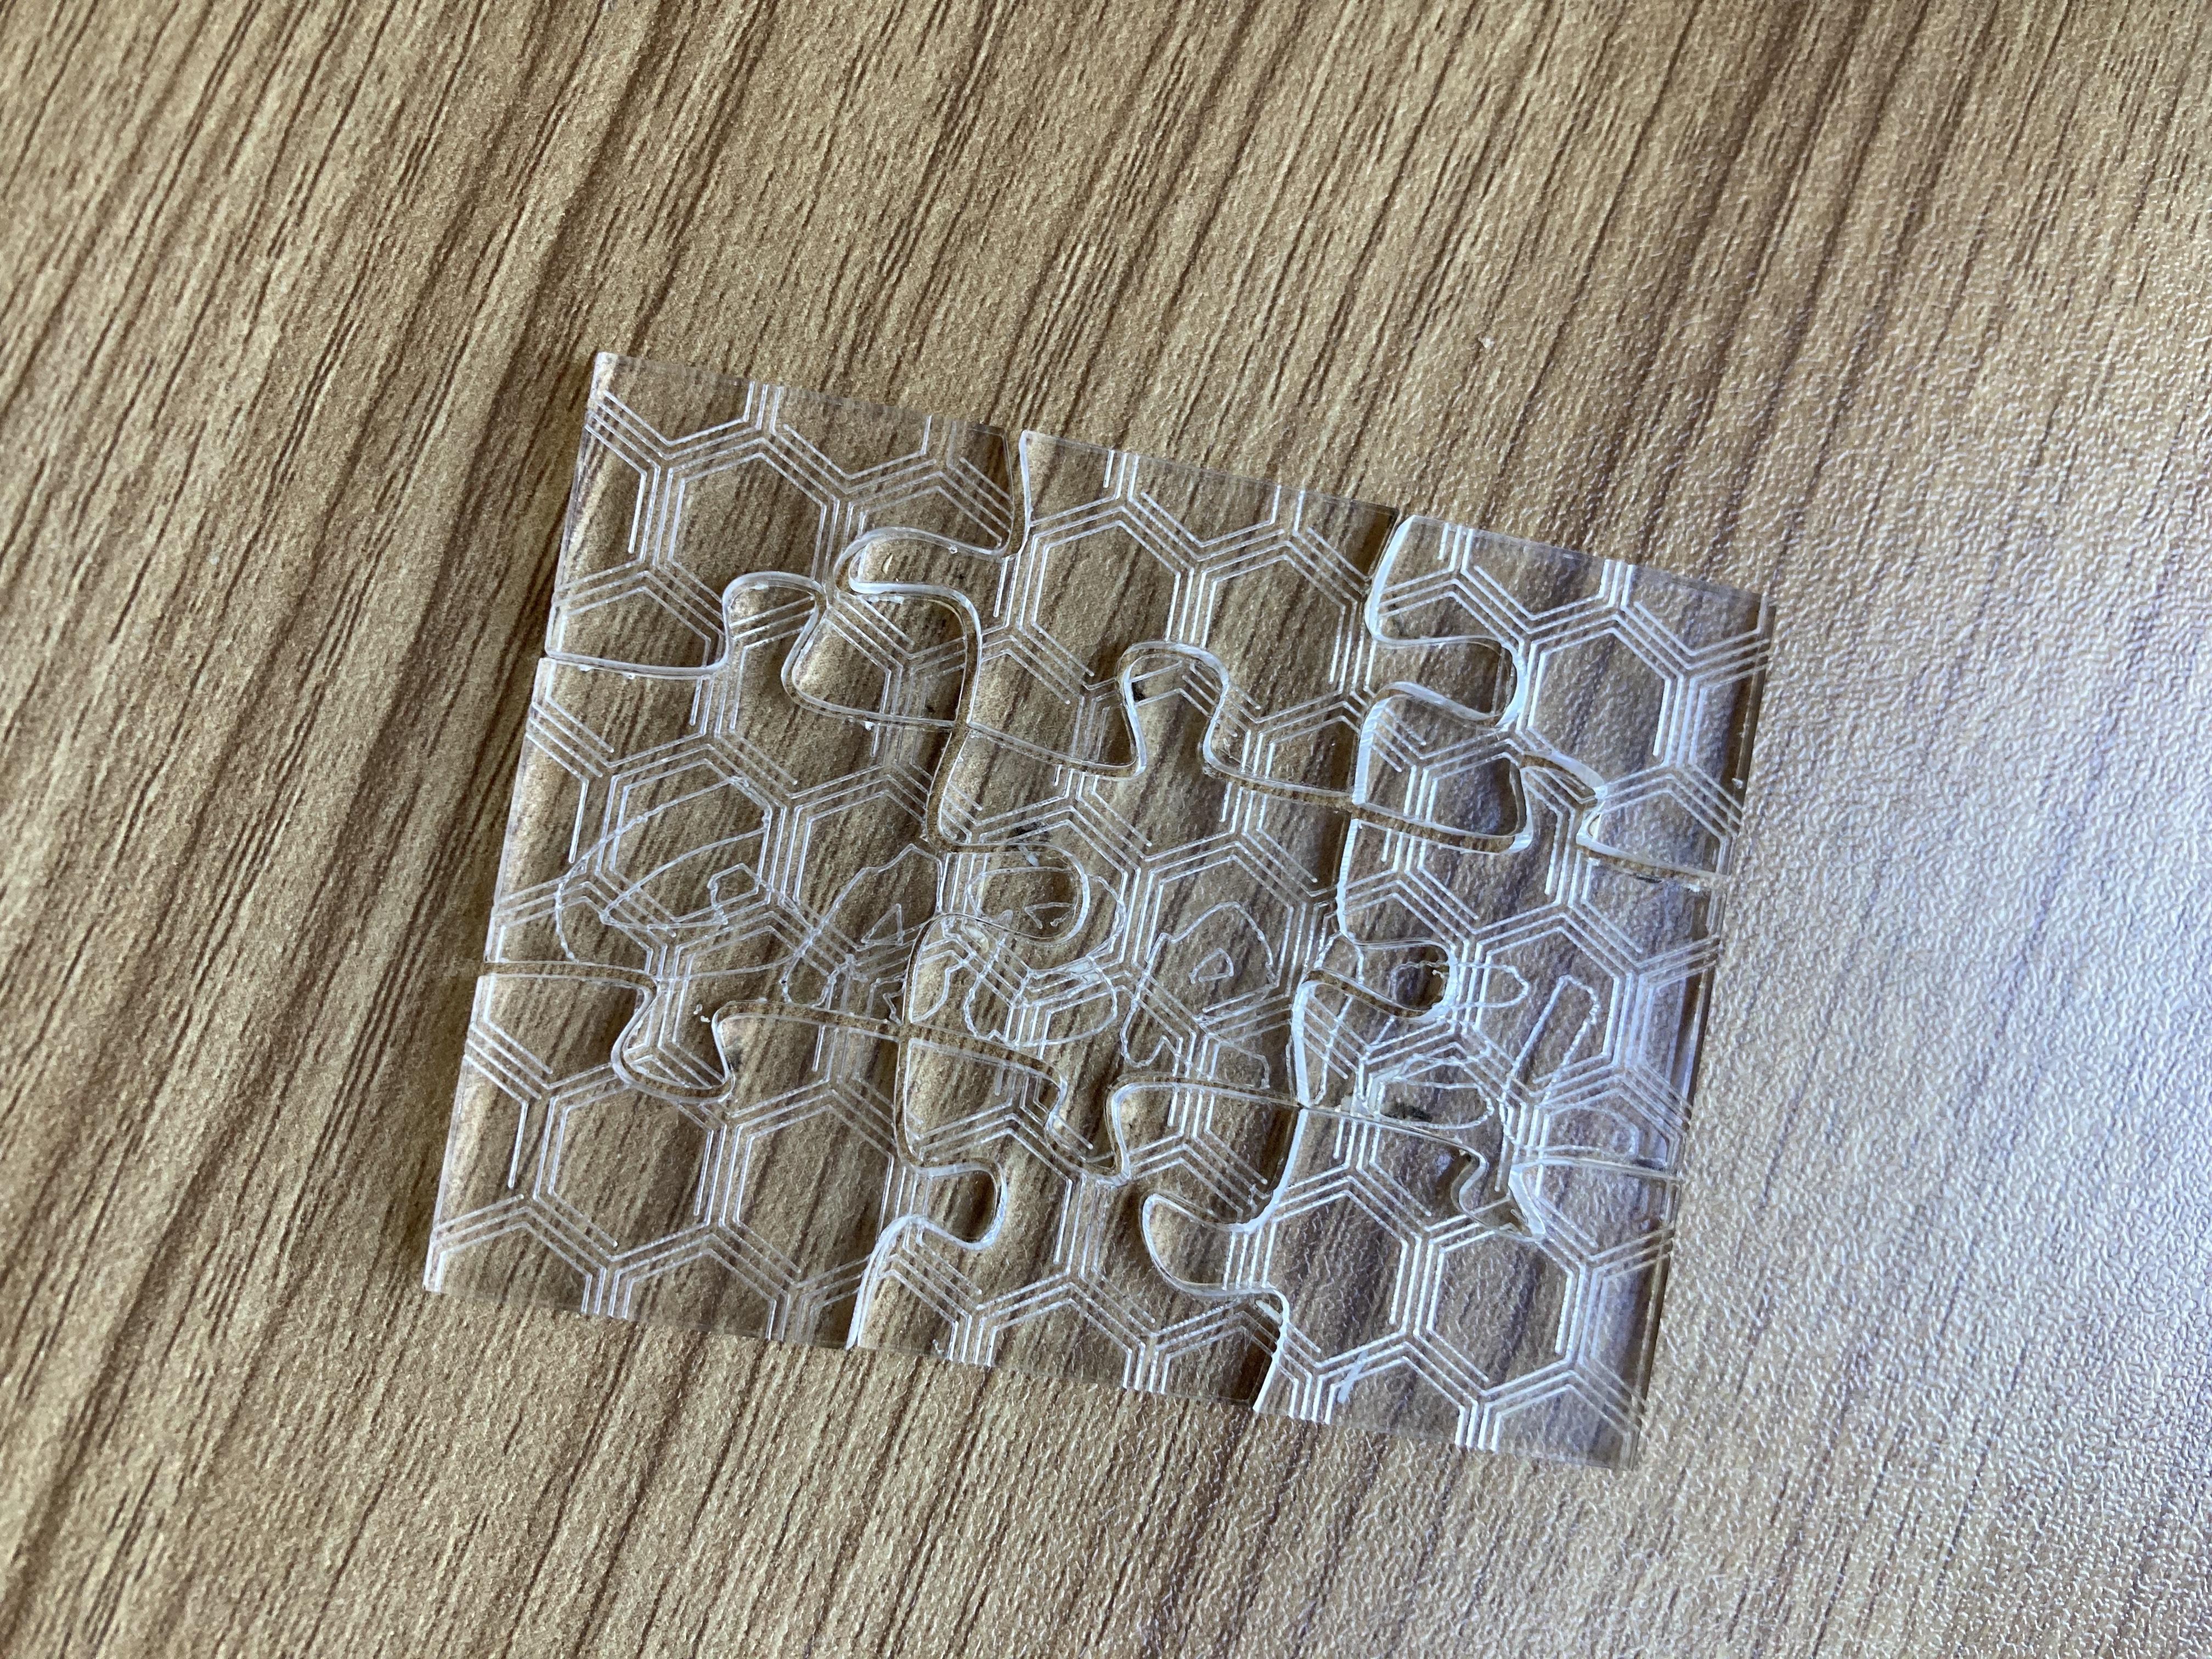
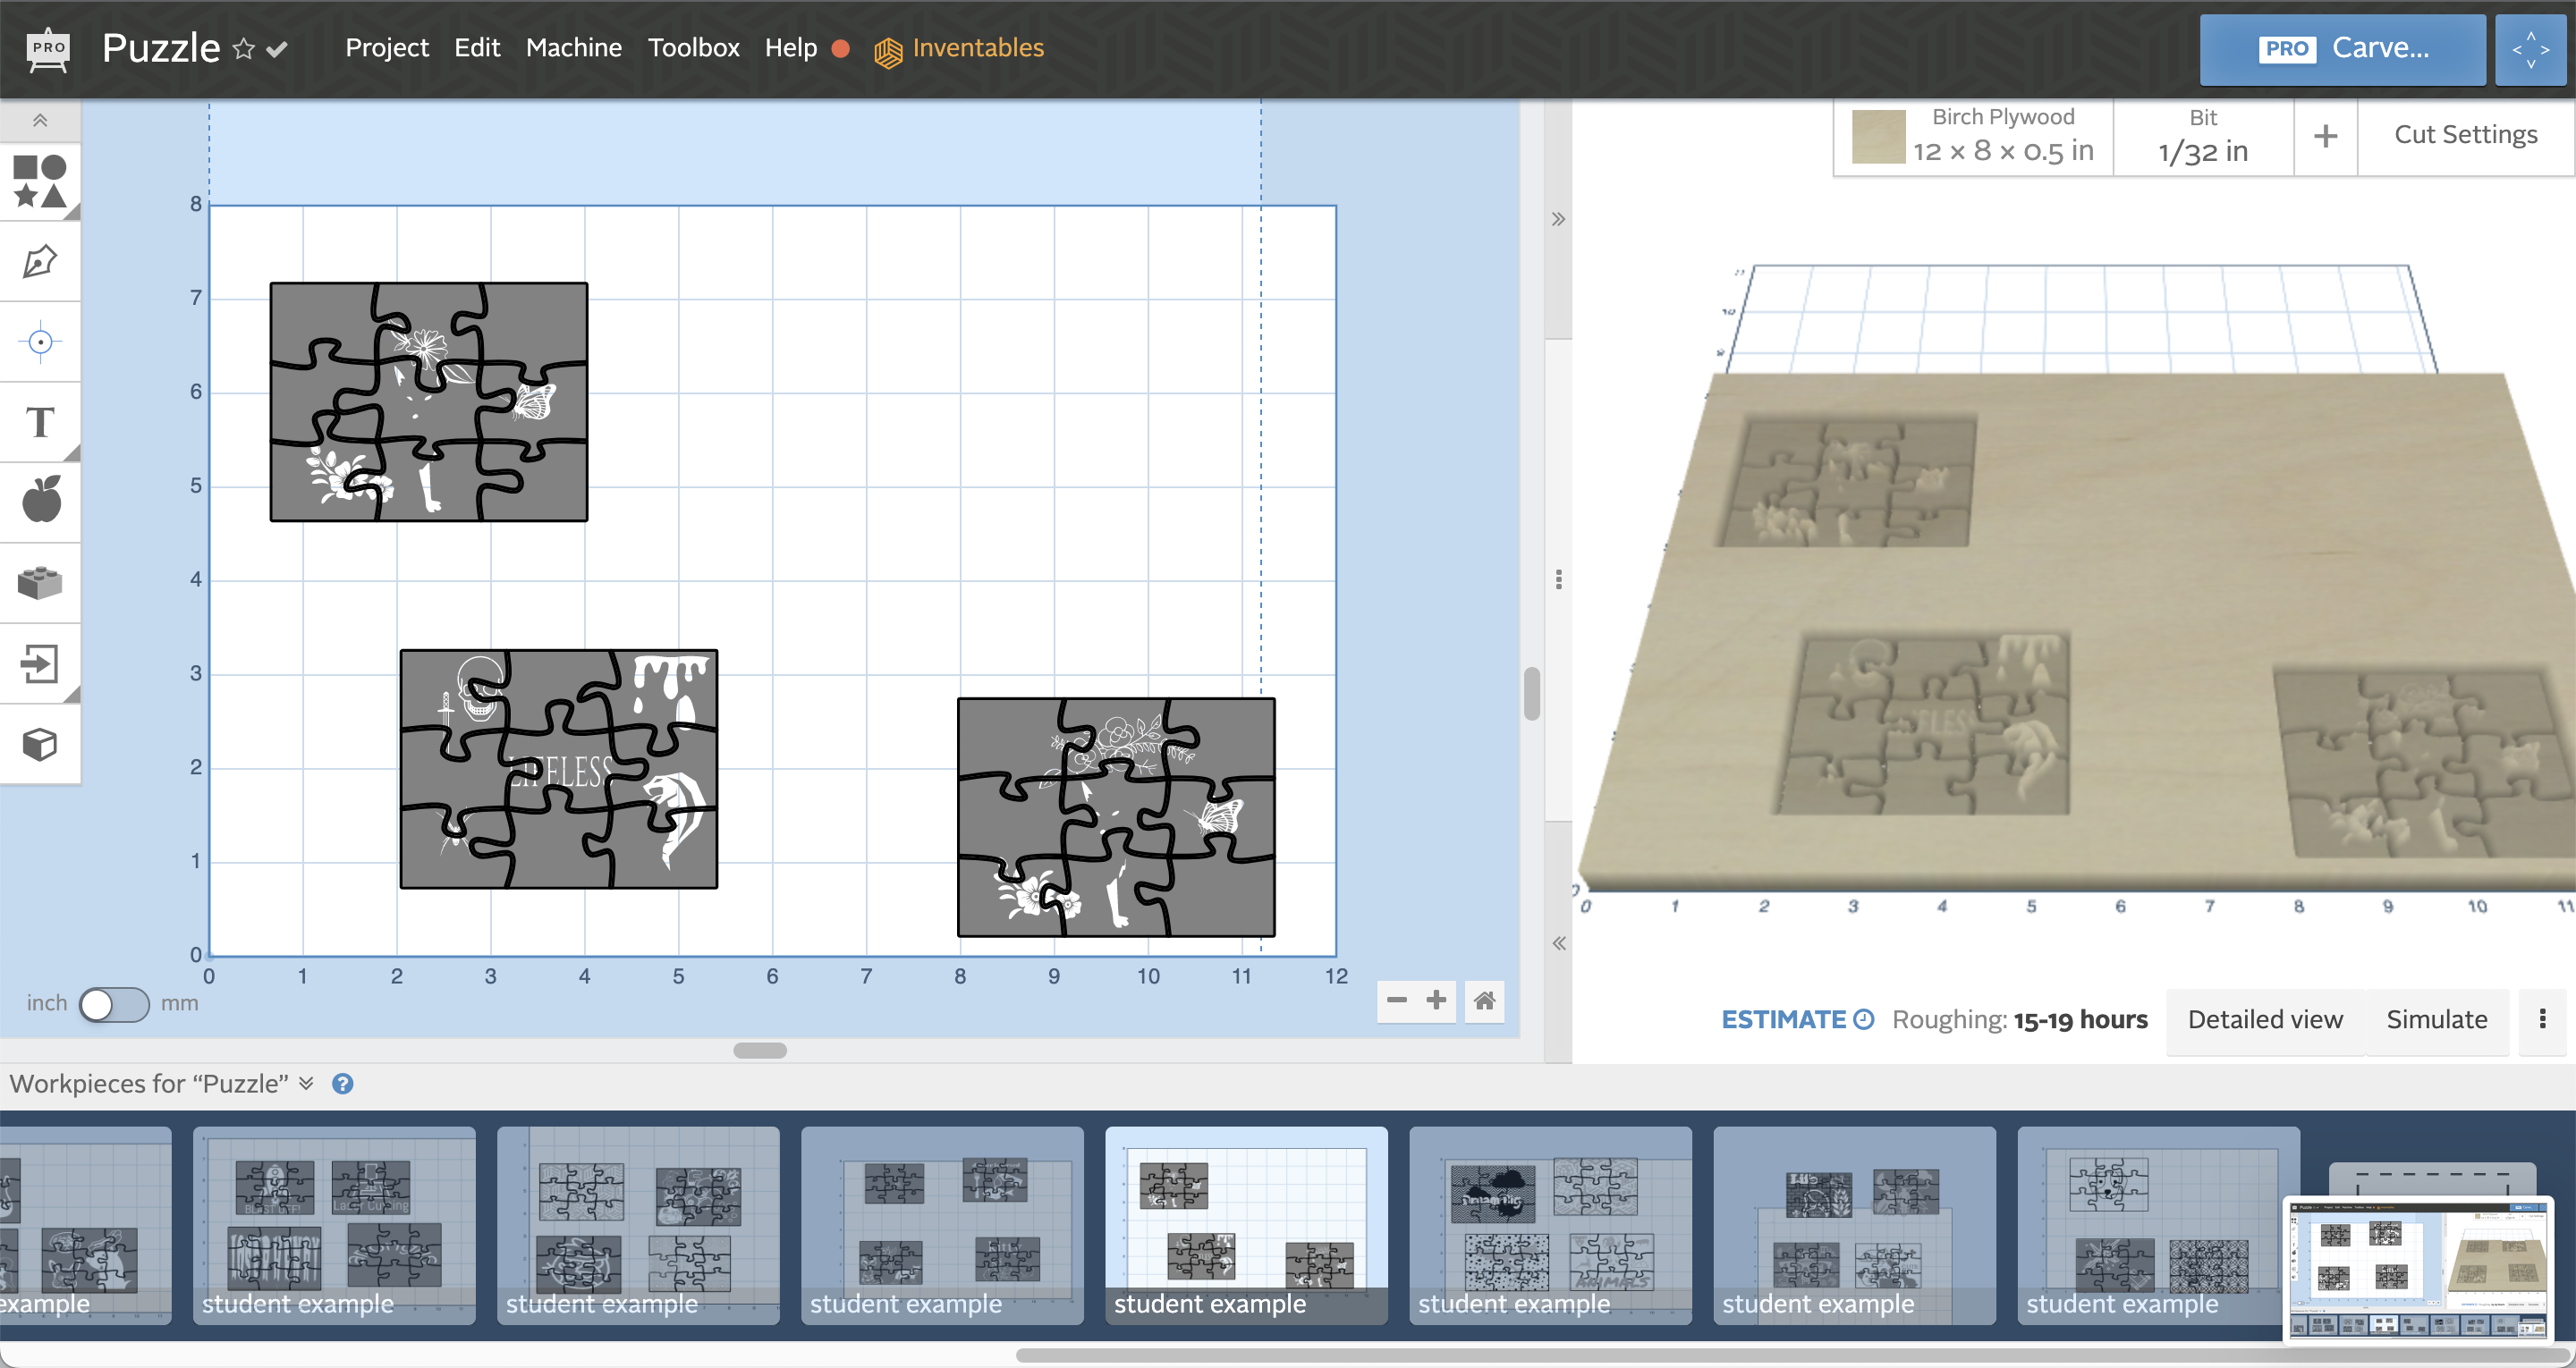
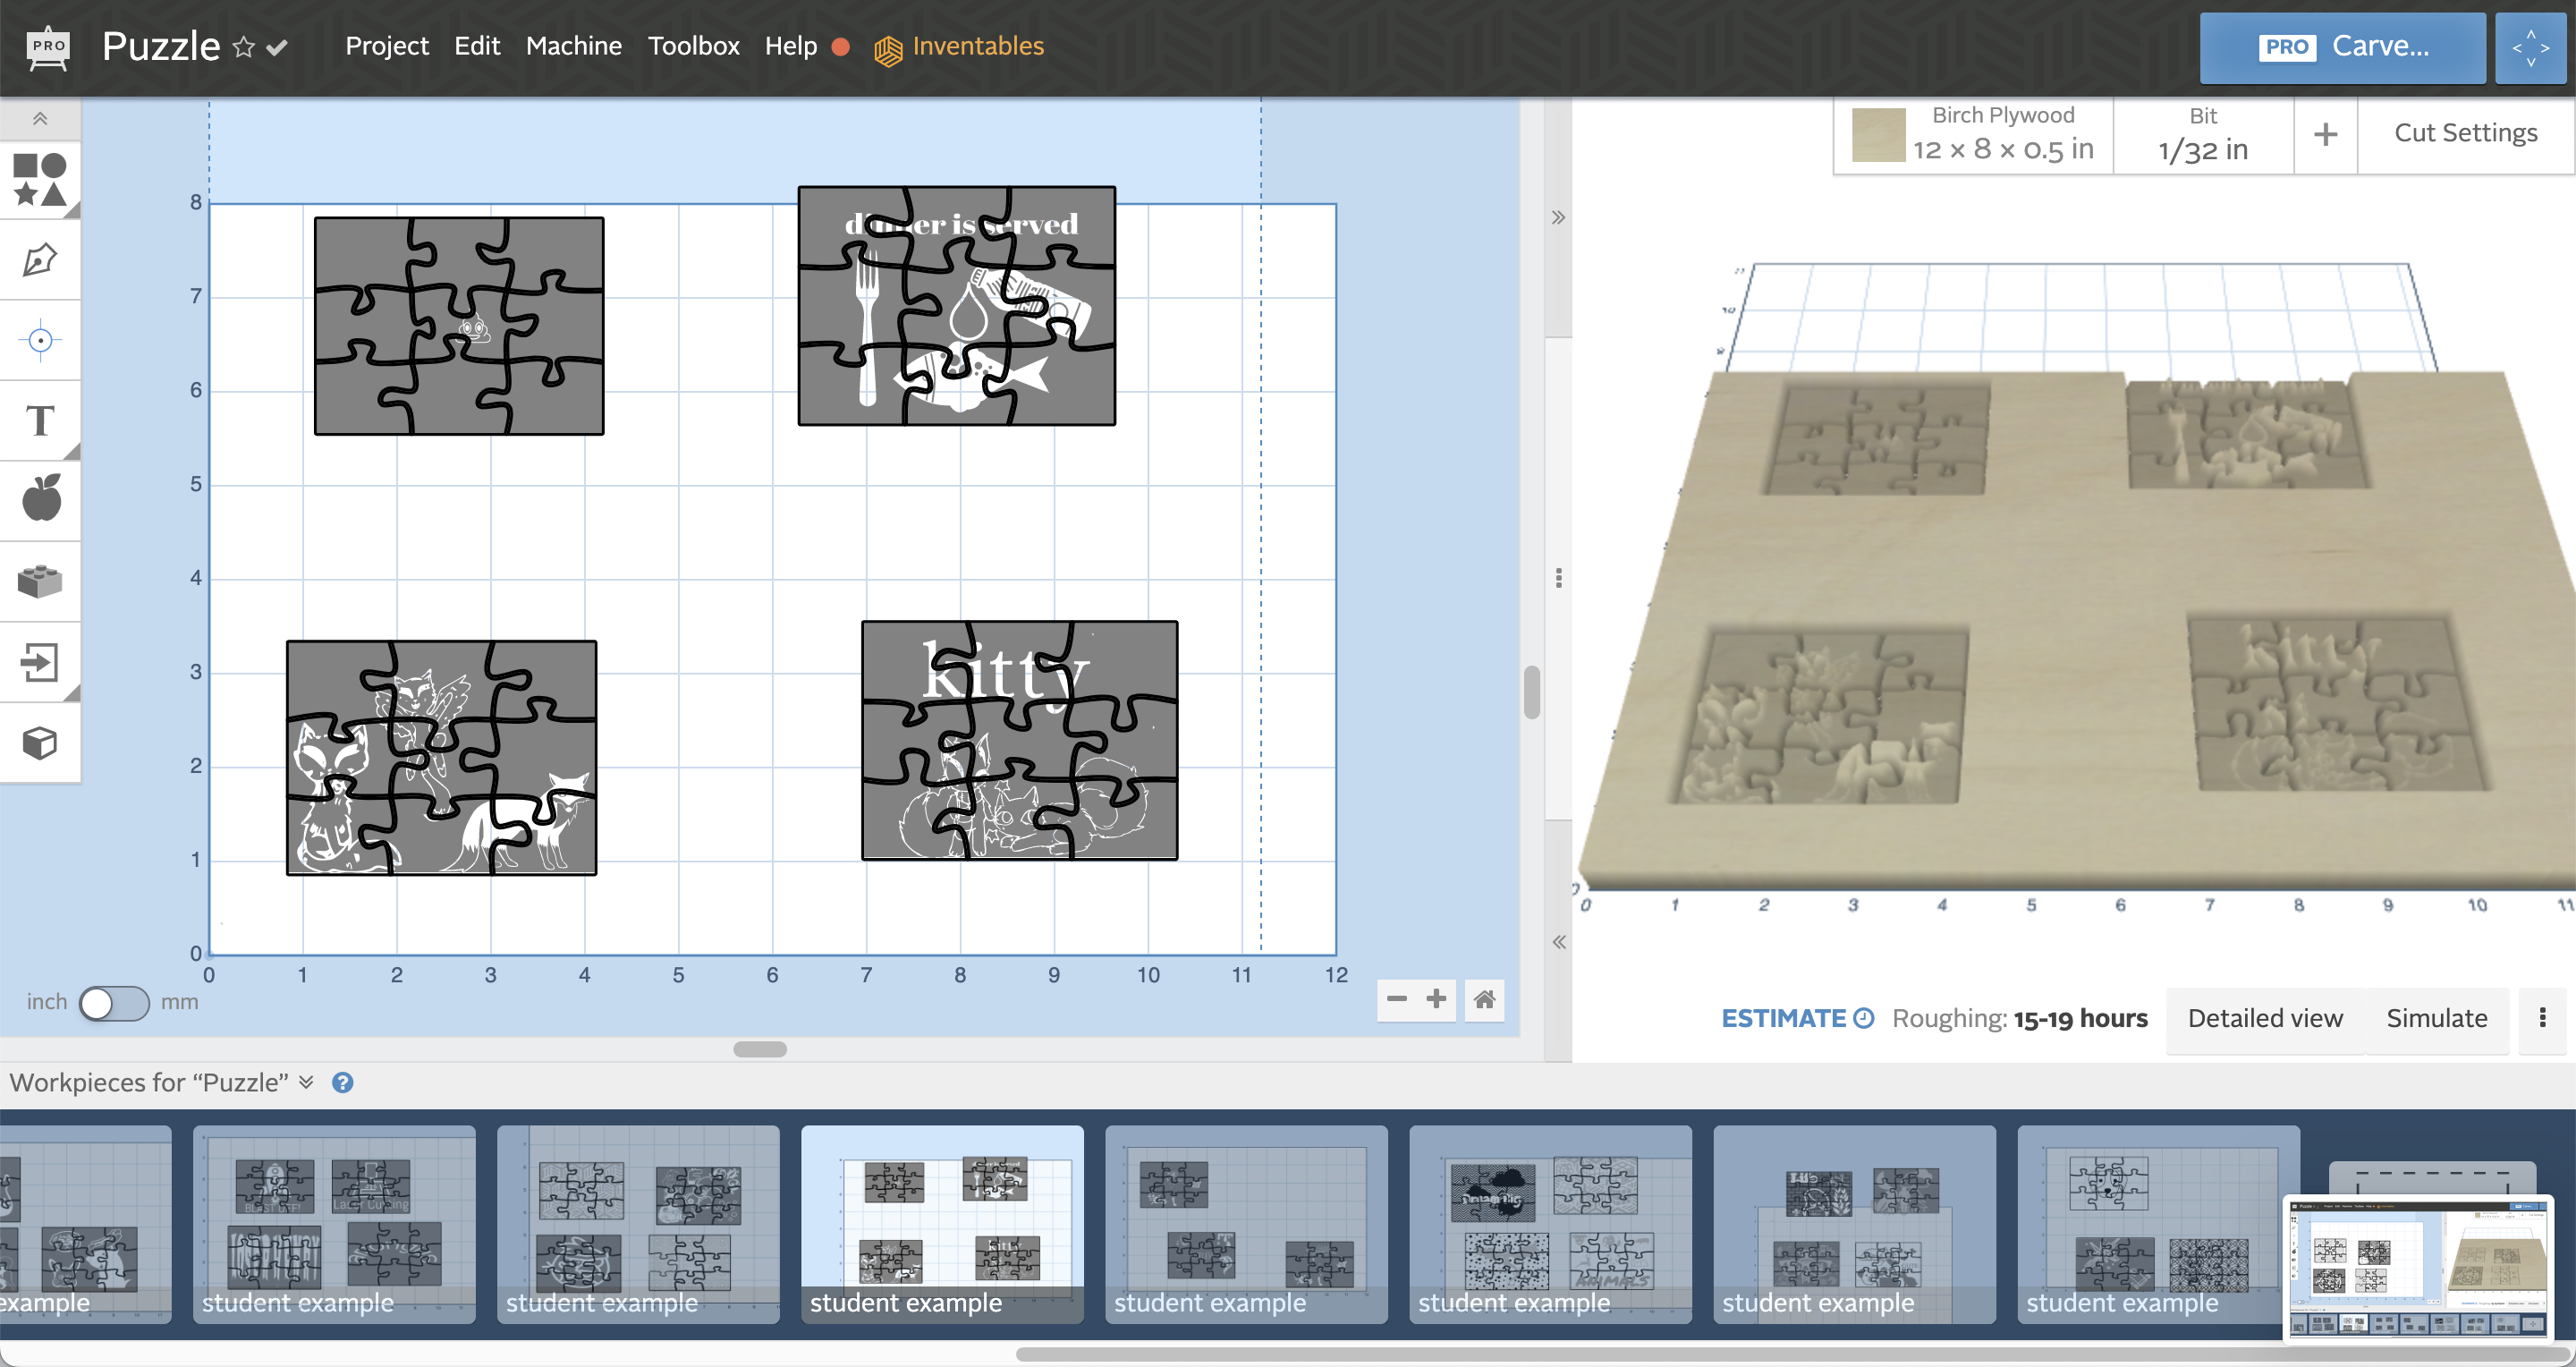
- You will see the two methods have slightly different outcomes, due to depth settings in Easel. The Sliced Design skips the figure and text because of the depth that was chosen. You can achieve this with either method. Try adjusting the depth in Easel and exporting again to see the results.
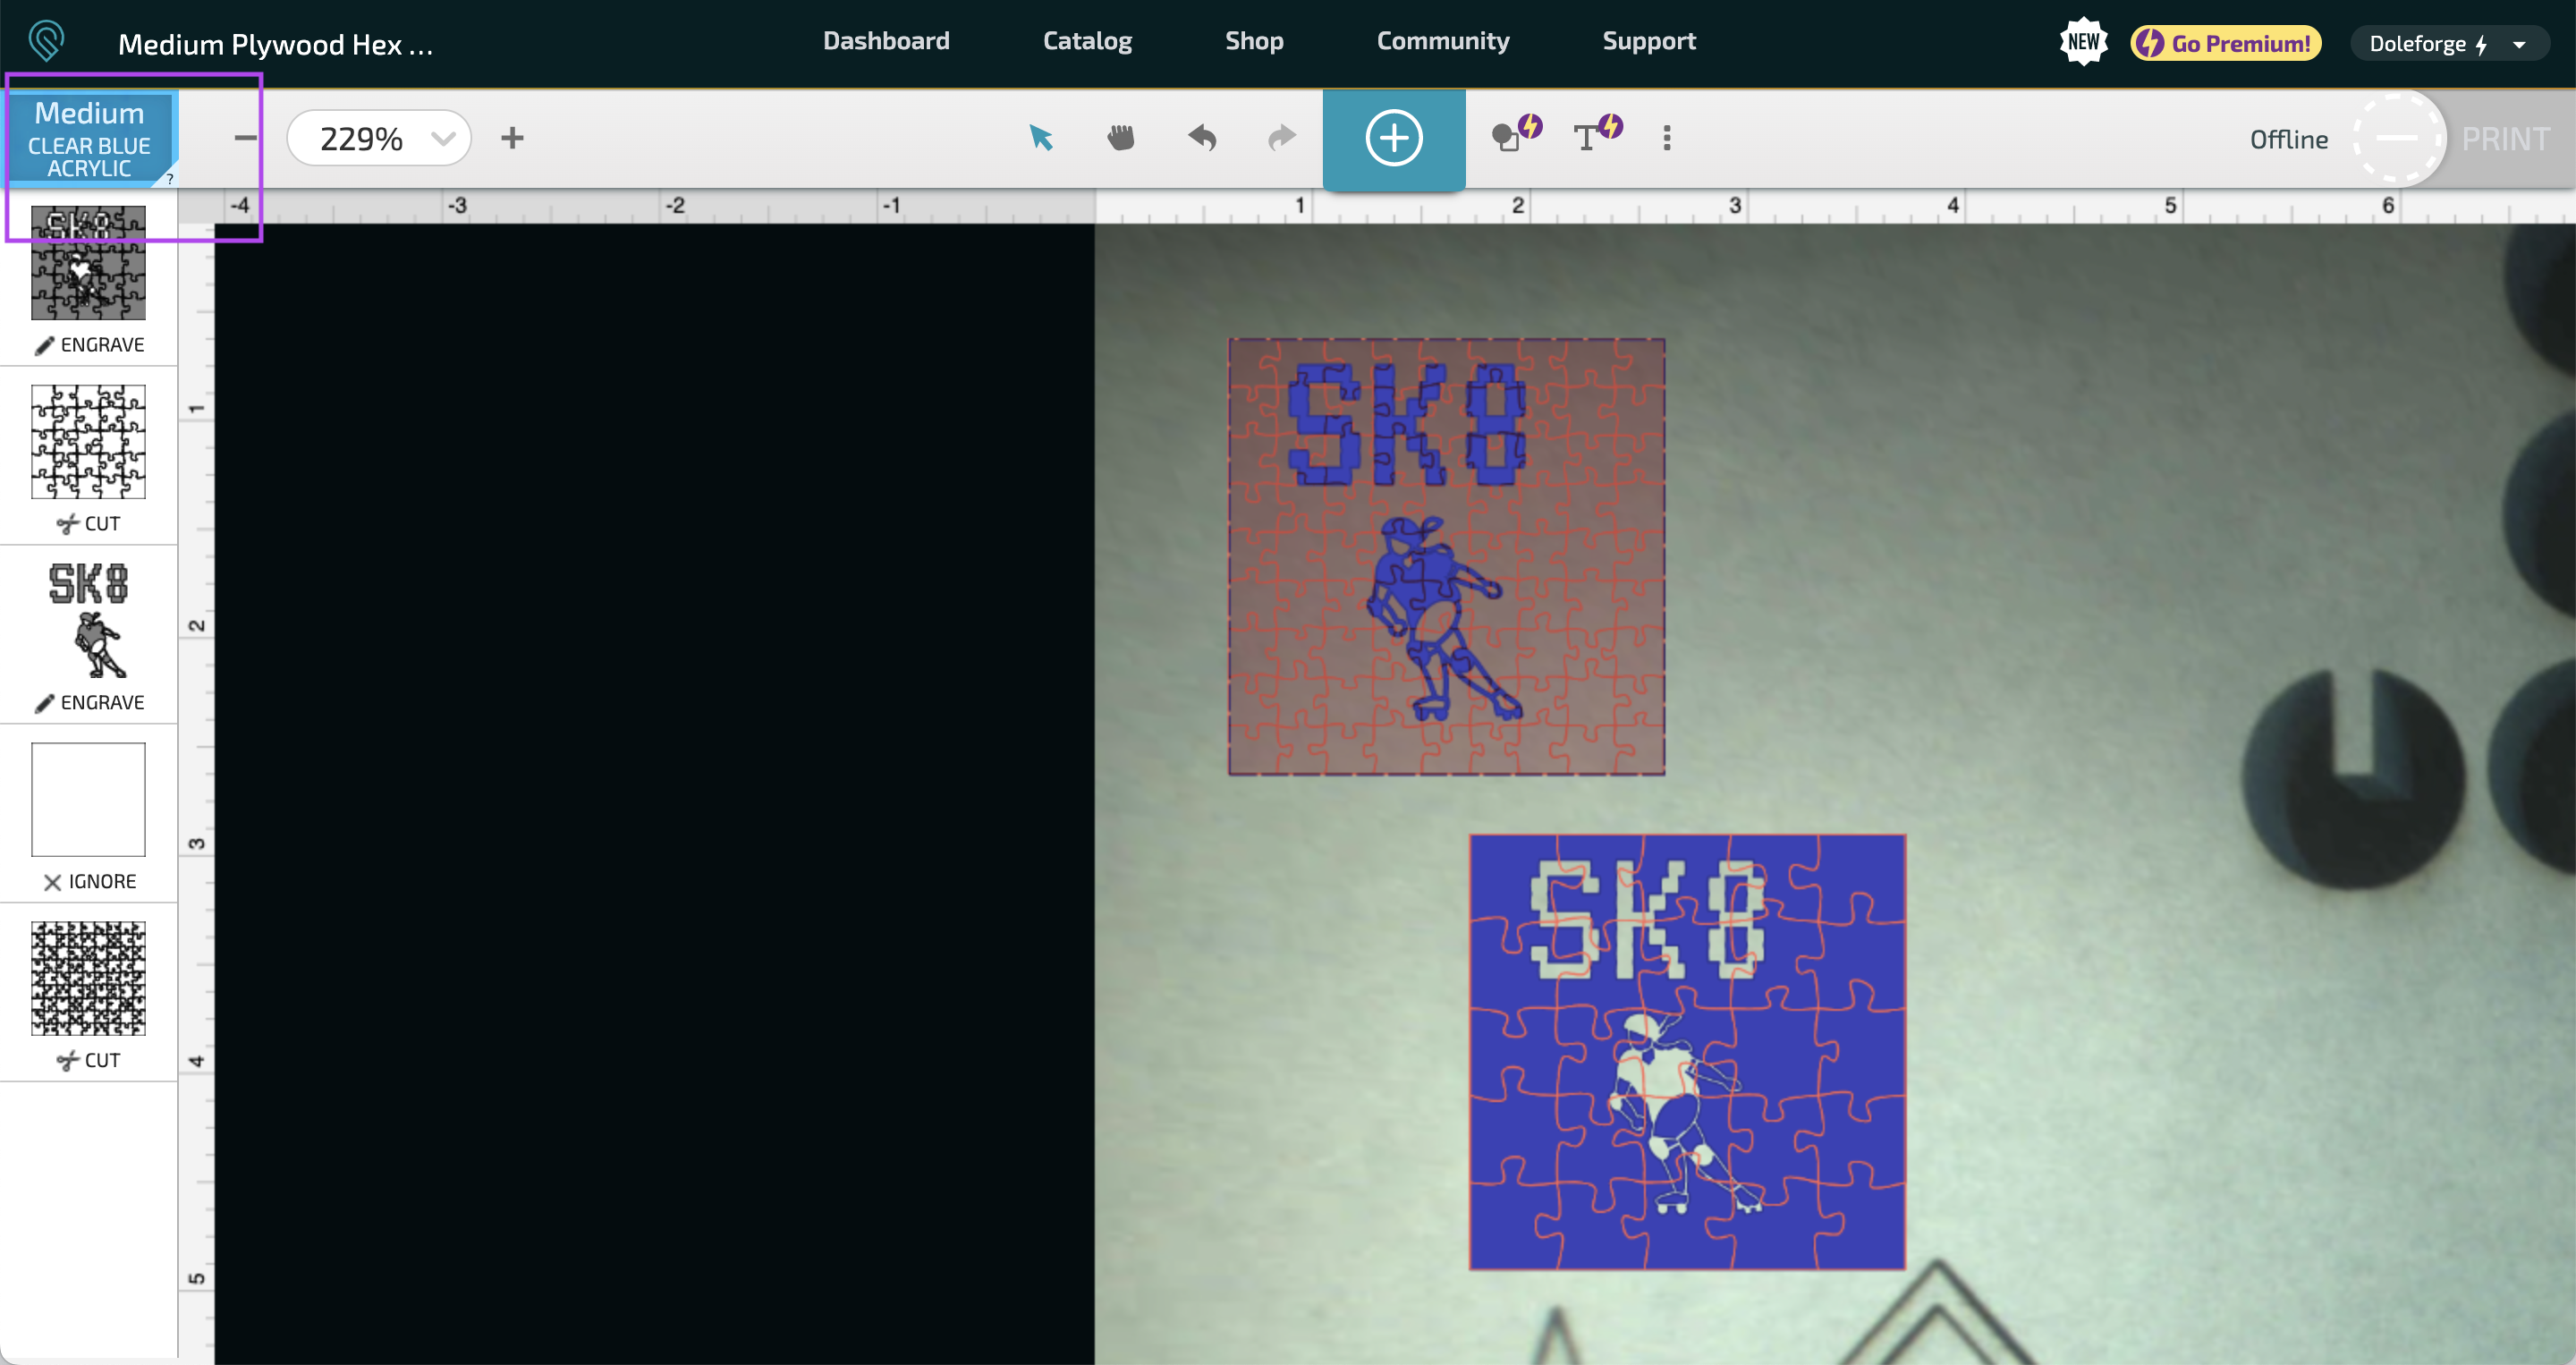
- Set Material- the Glowforge will automatically sense their proofgrade material, or you can select it in the upper left hand corner.
For instructions or any other troubleshooting check out the great documentation and tutorials at the Easel Knowledge Base and Glowforge Knowledge Base.
CAM for CNC Routing- Running From Easel
CAM For CNC Routing- Running From Easel
This step will cover:
- File Set Up
- Carving from Easel*
*You can also follow the instructions in Step 2 for exporting the SVG to your own CAM software, exporting gcode to run directly through another communication and control software.
File Set Up
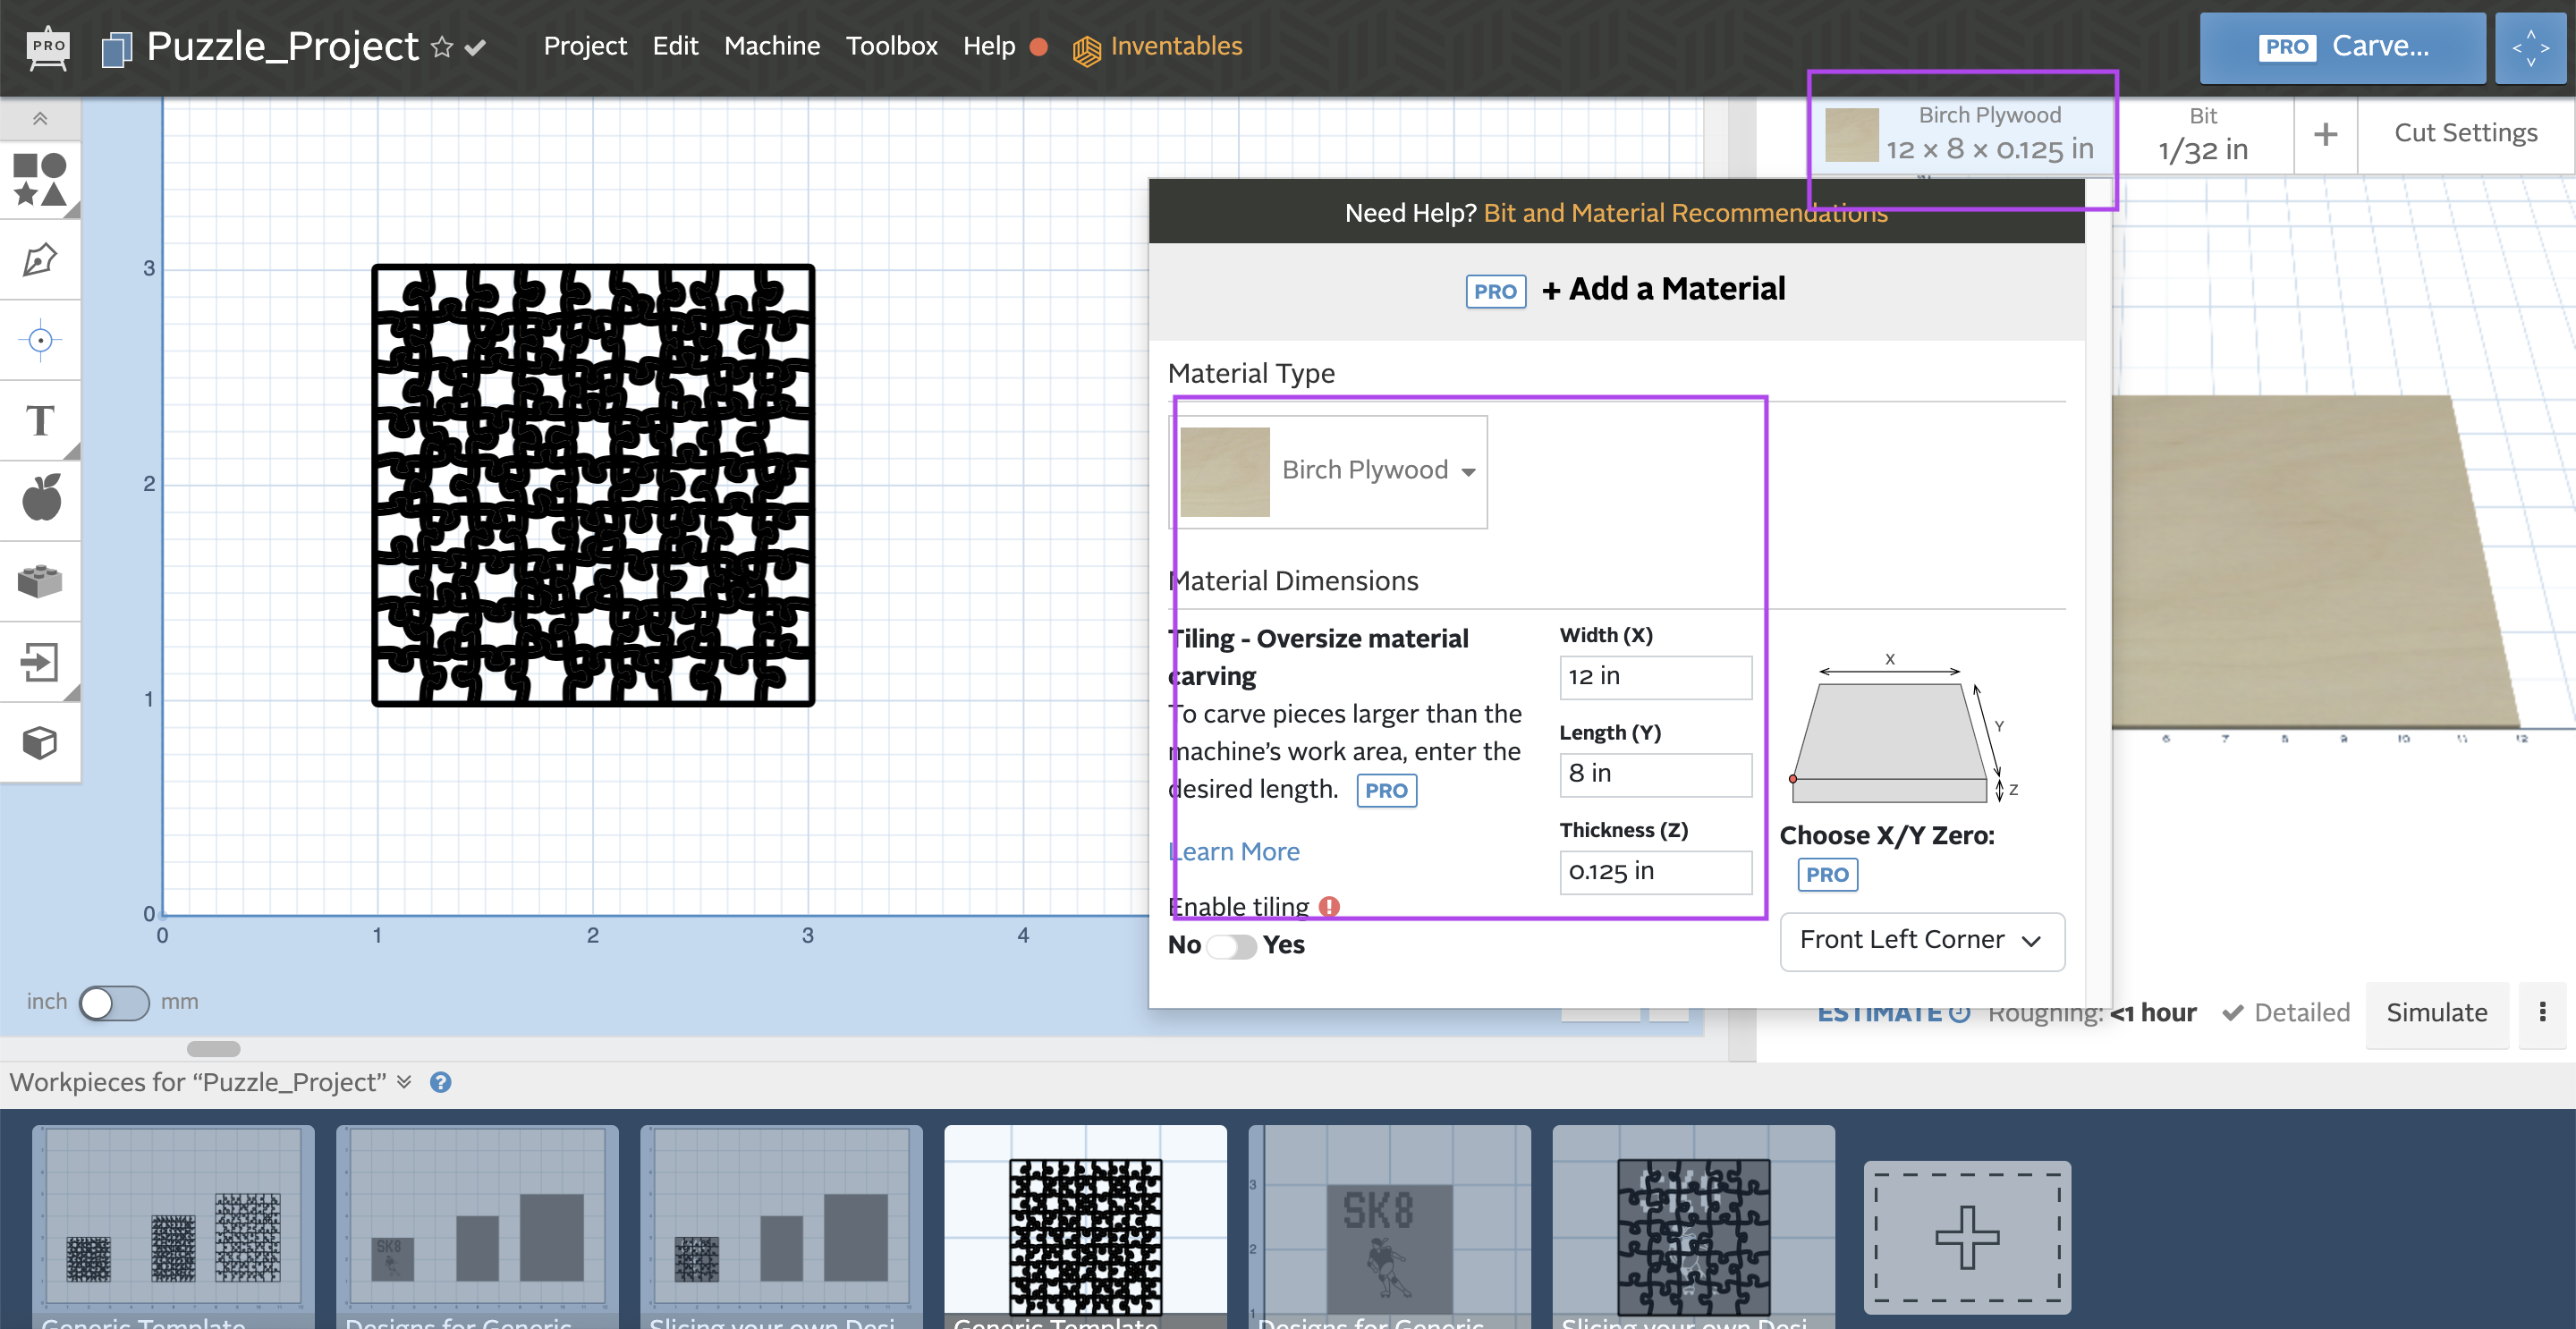
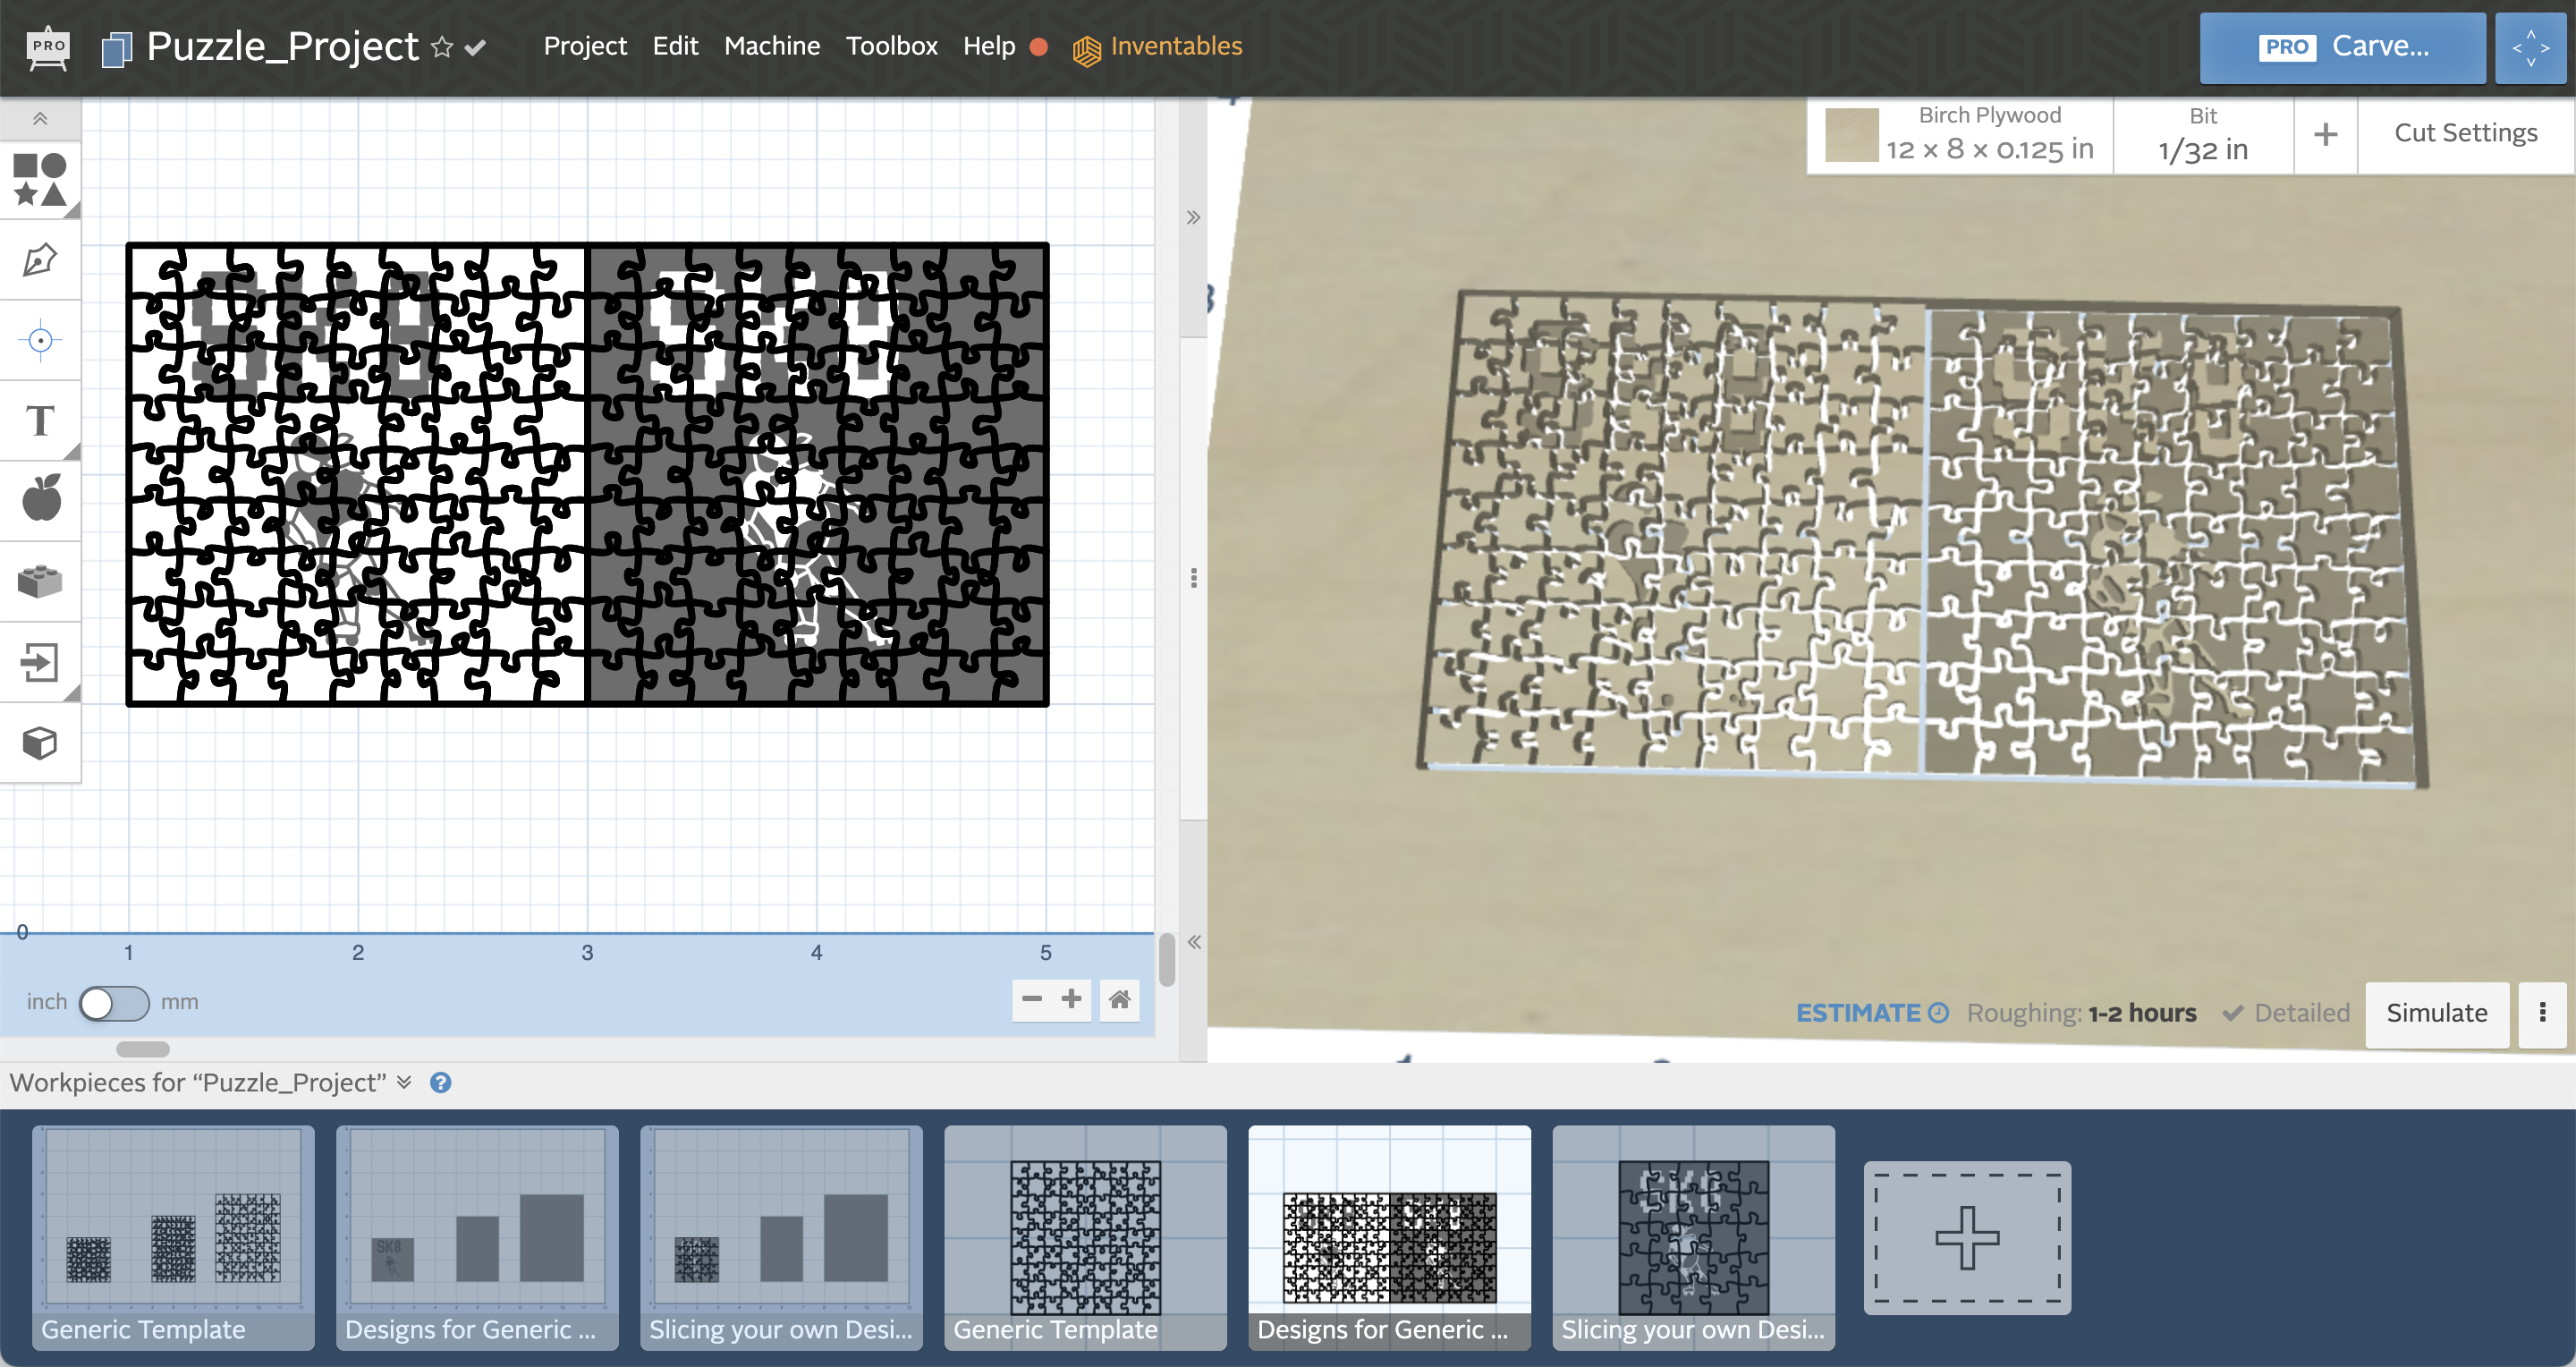
- Choose Material in upper right corner, (see attached Easel Cheat Sheet).
- Set: material type and thickness
- Bit Selection- keep the 1/32 inch bit. If you're going larger scale, you can use a larger bit. Defer to attached bit chart for bit and material combinations.
- Cut Depth
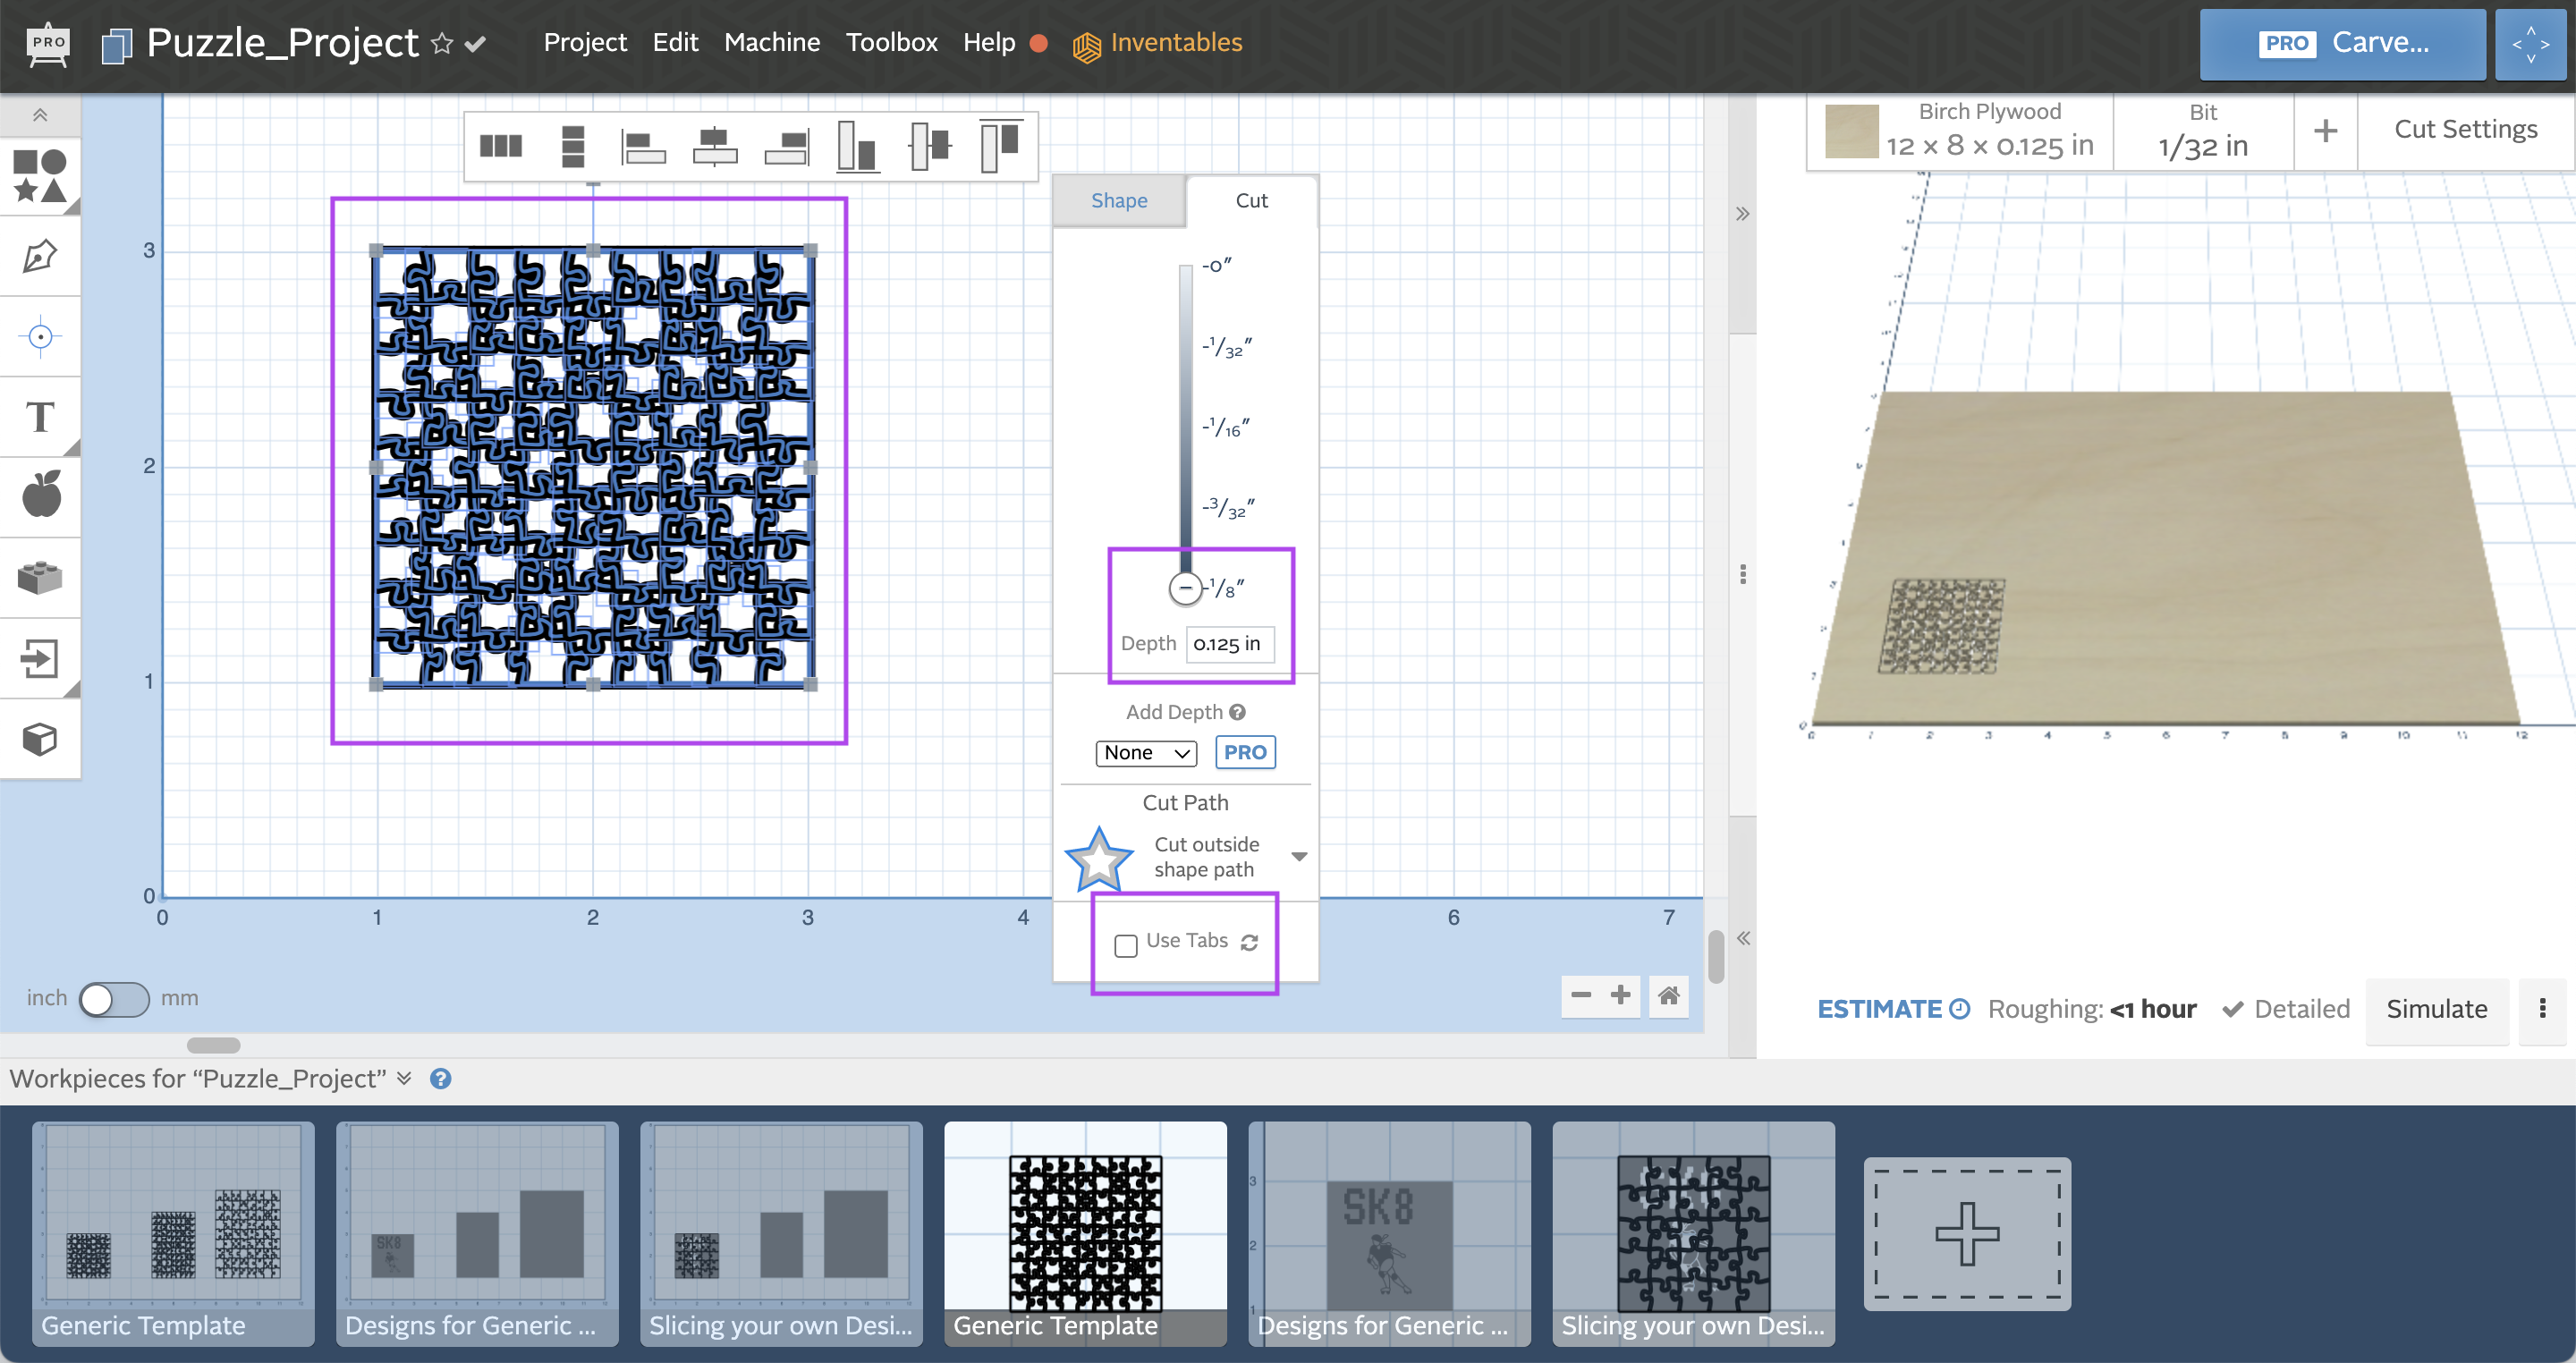
- Puzzle Outline- set to full depth
- I would suggest double sided tape in addition to clamping the material down. This will allow you to avoid using tabs. If you do not use double sided tape, then you will want to check on "use tabs", in order to avoid the material from shifting during carving.
- Design
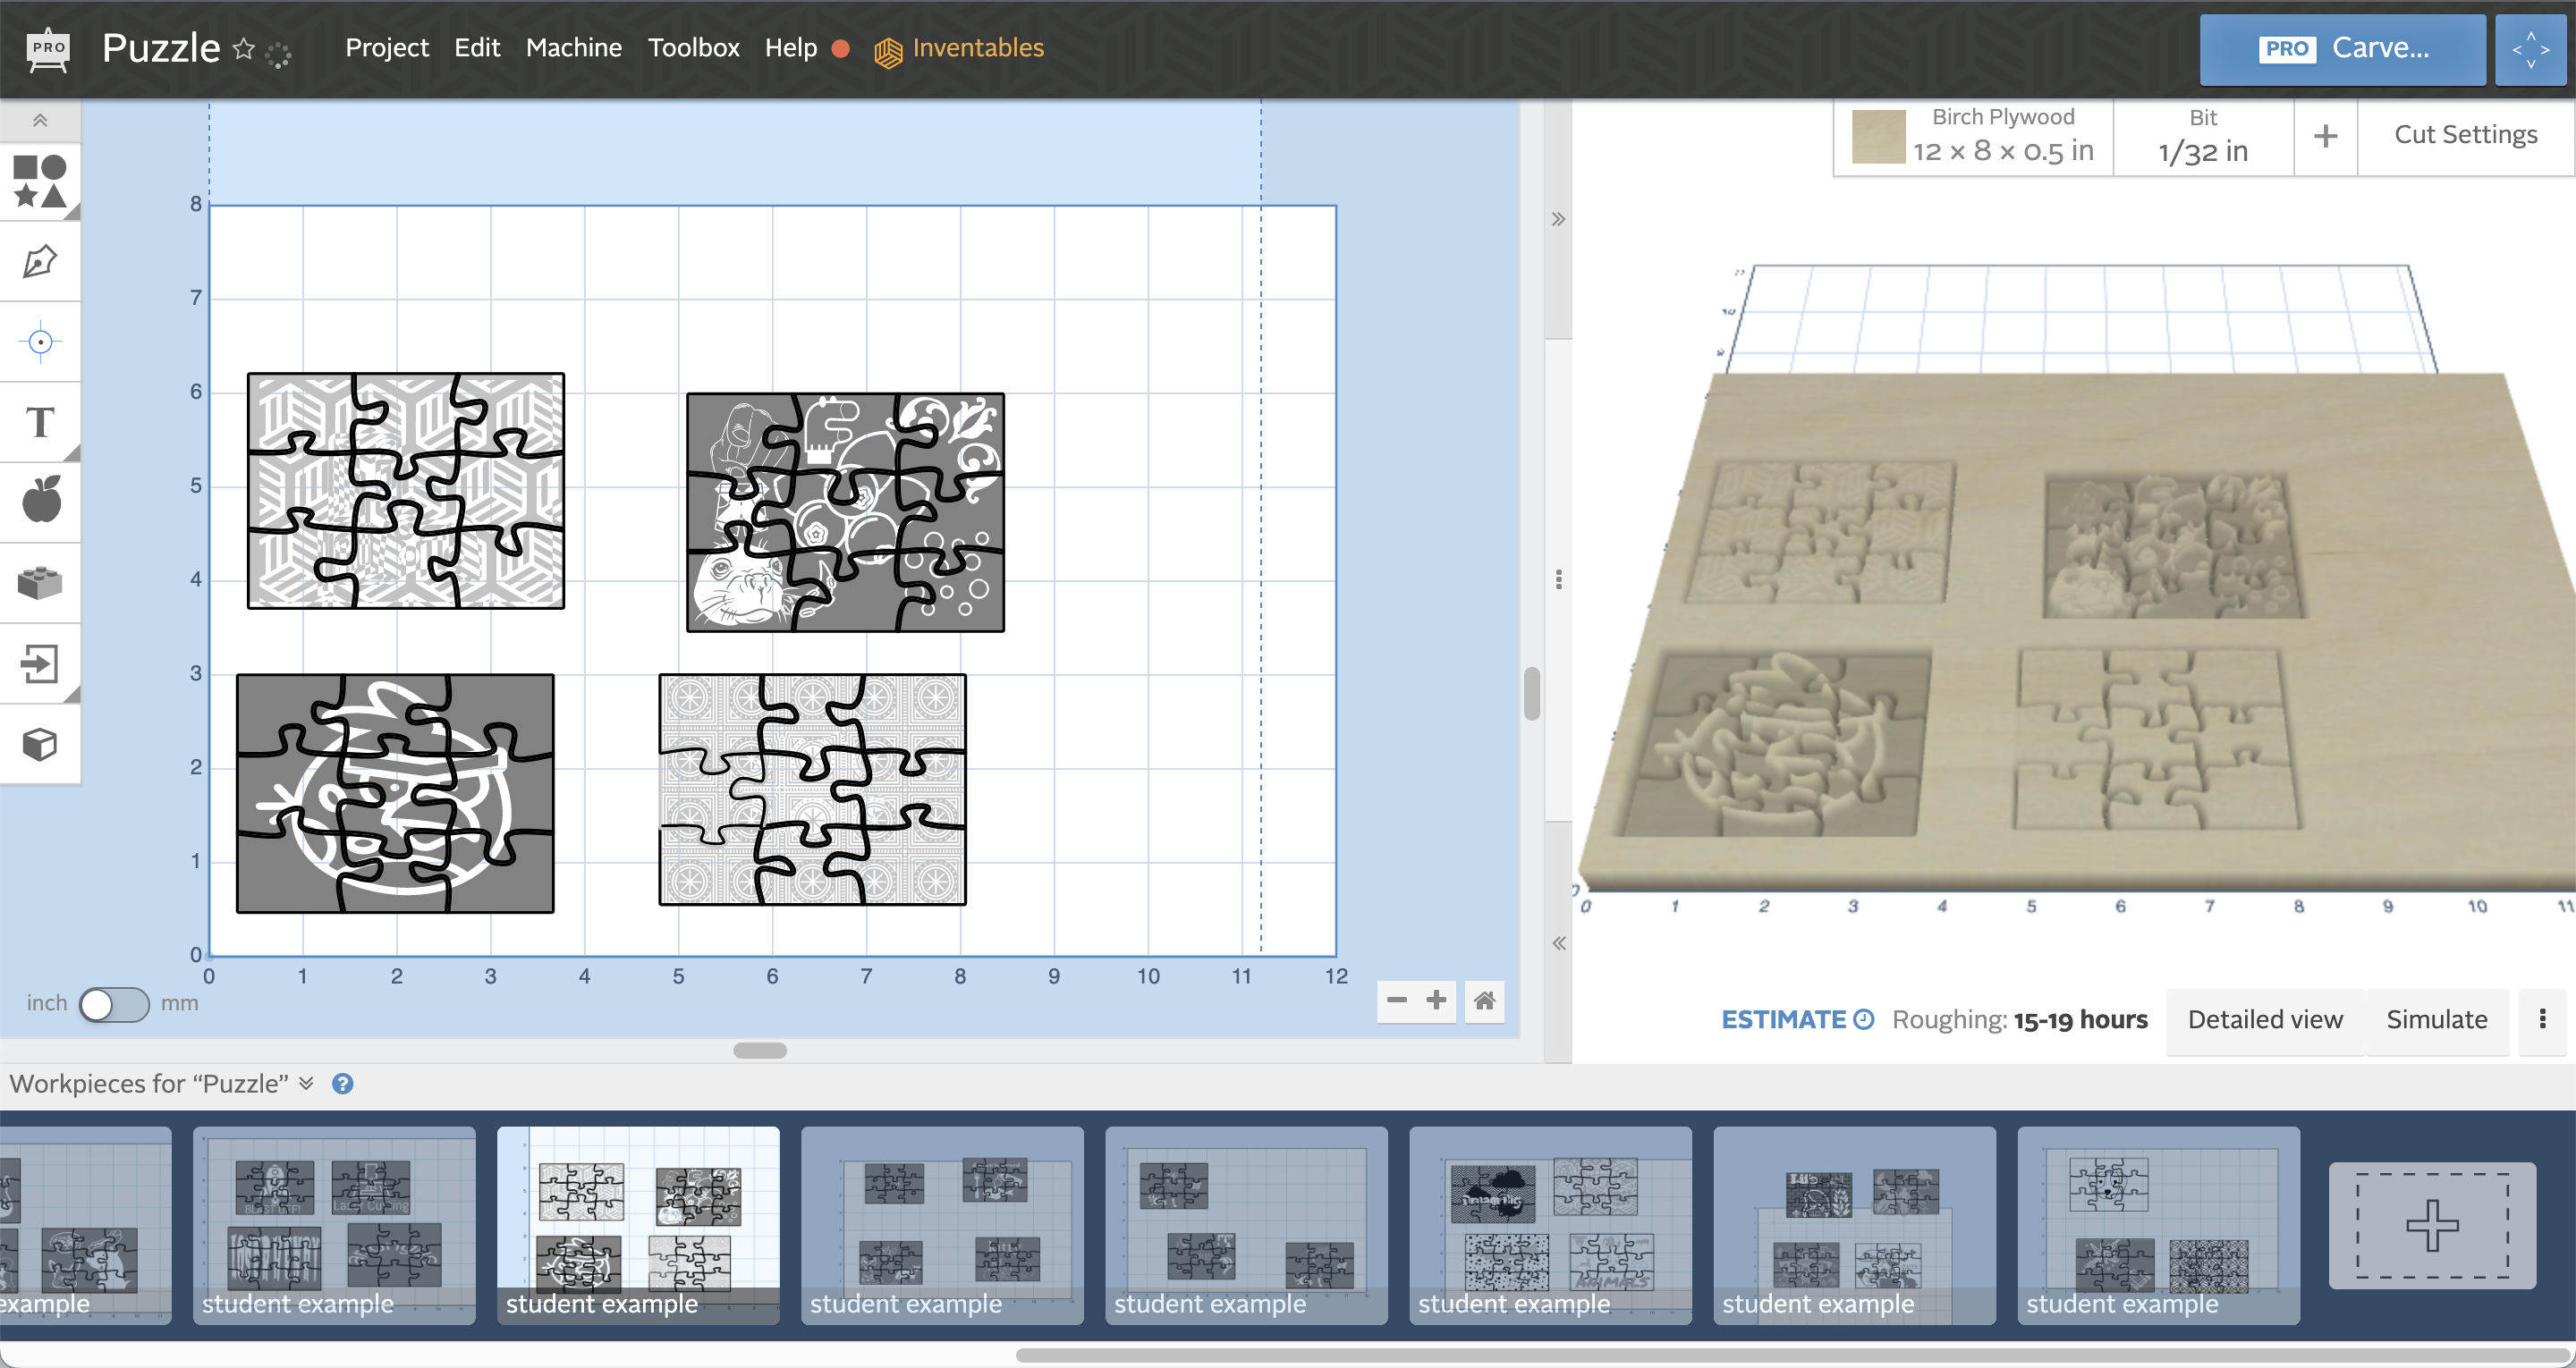
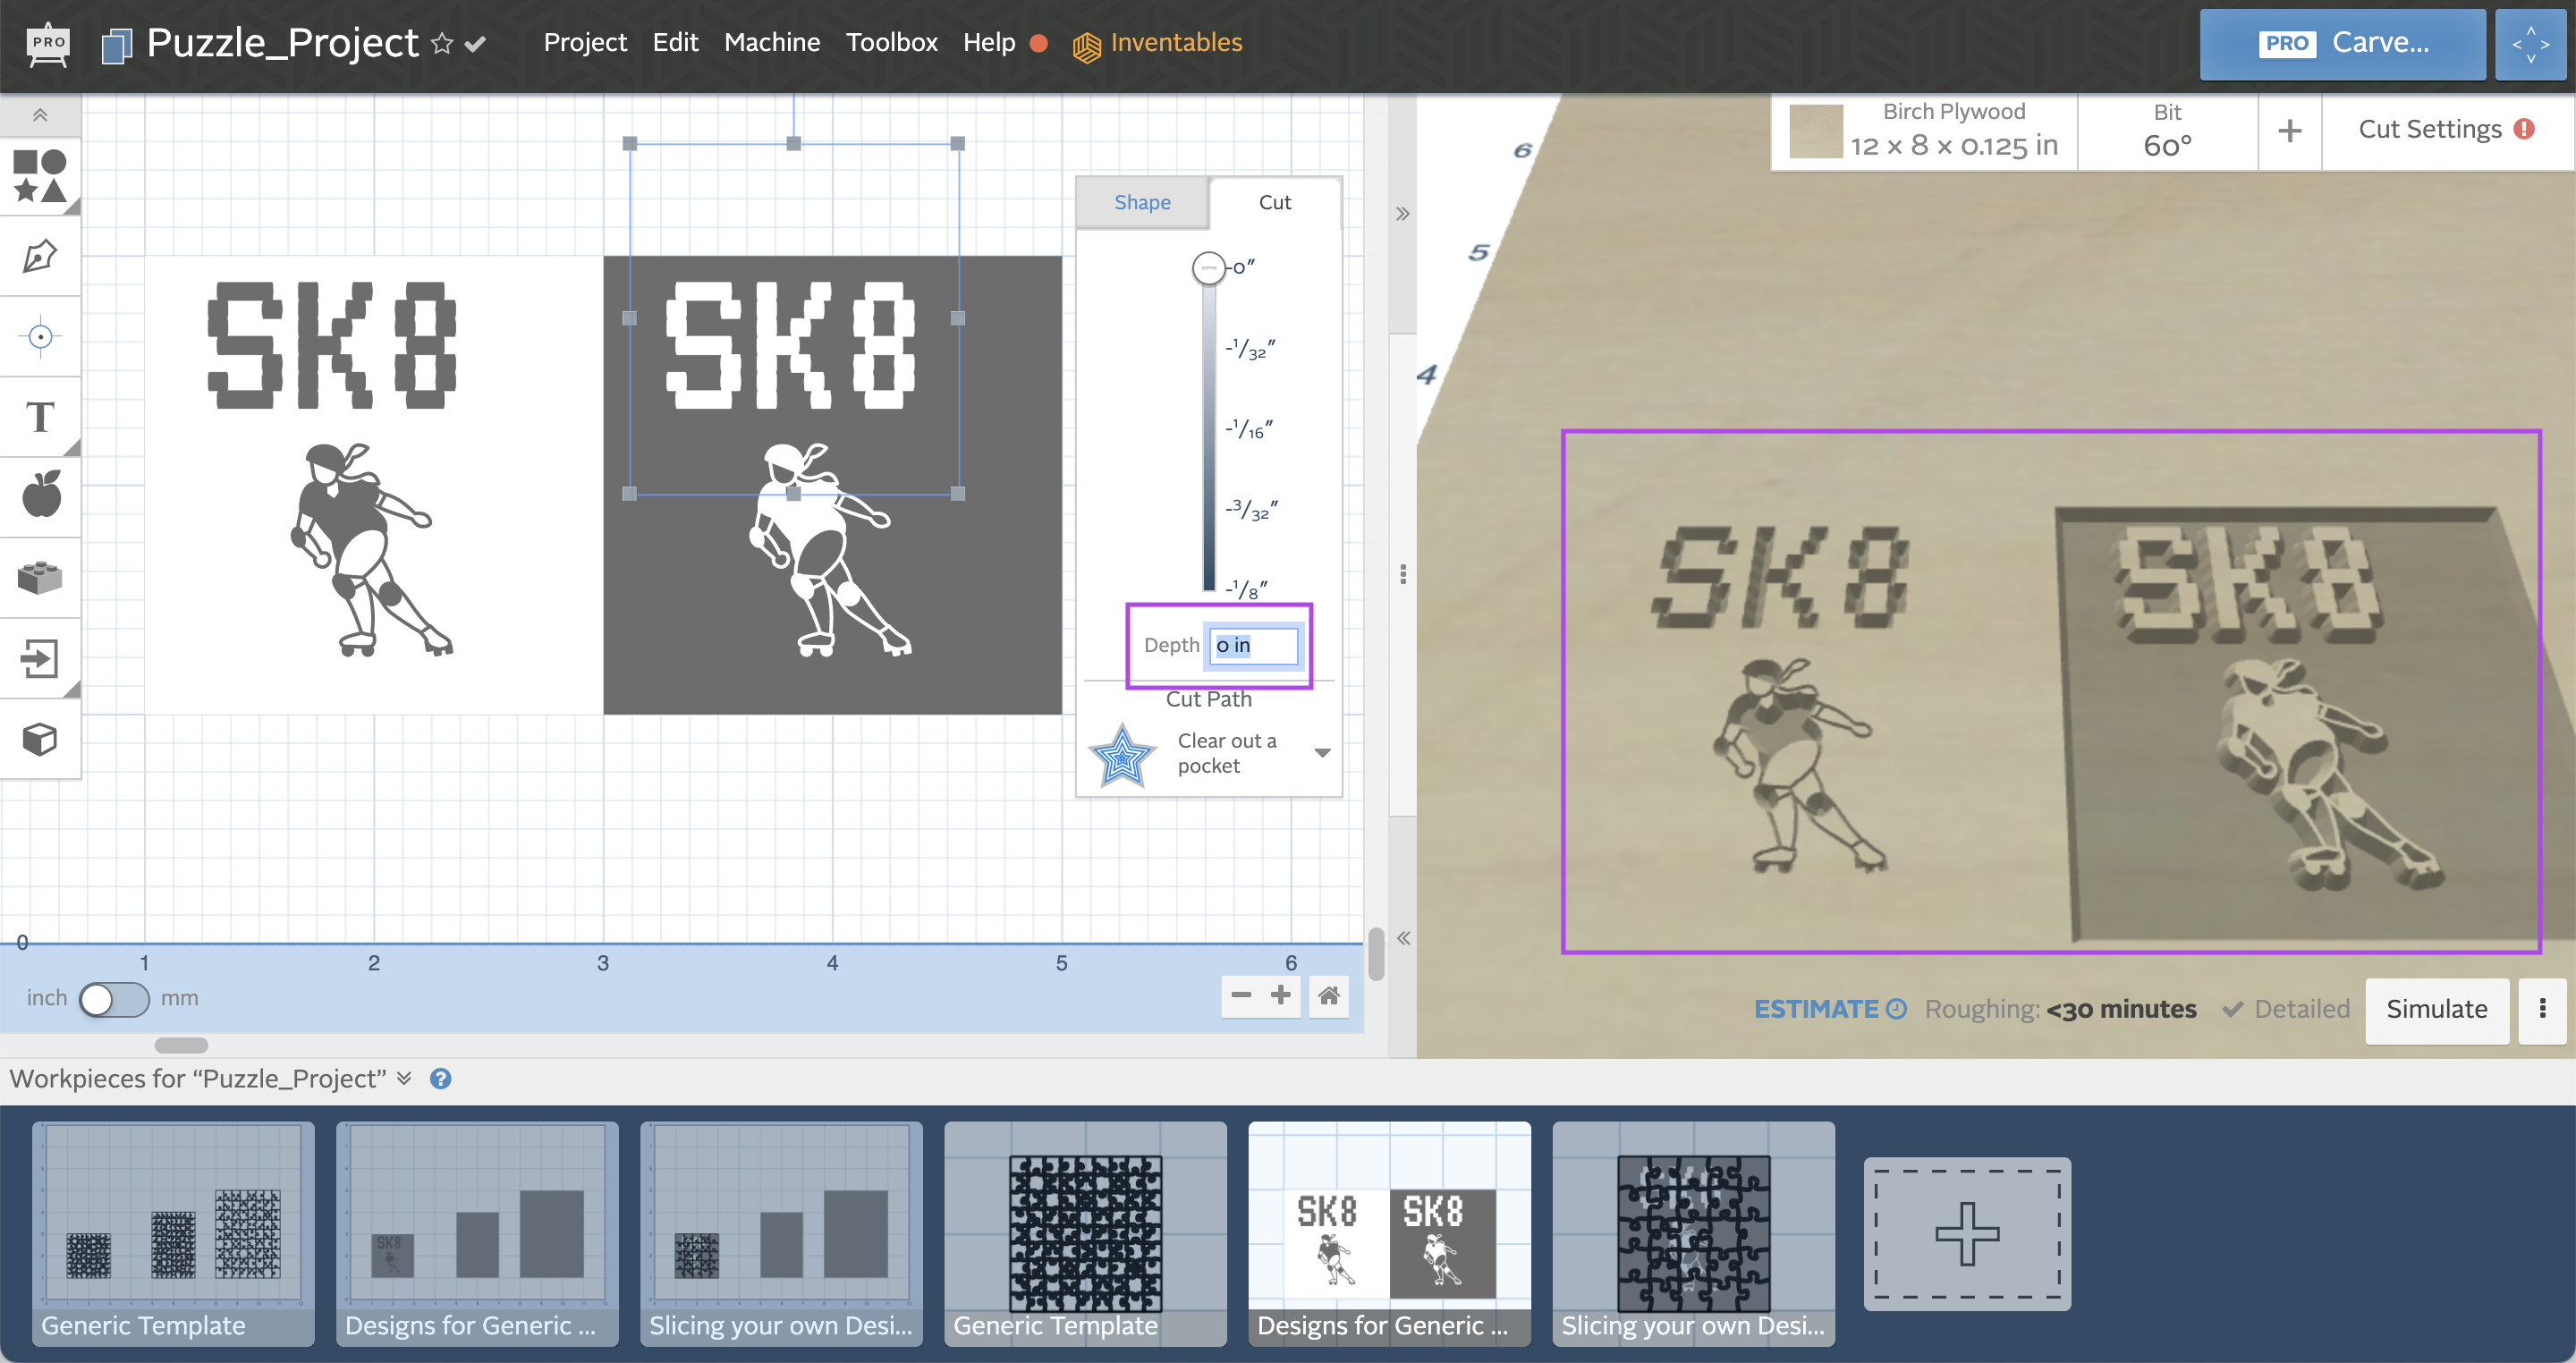
- You can choose to raise or carve in your design. If you want it raised, then your design will be set to 0 depth, with your rectangle set to 0.15 or some appropriate carving depth for your material. See images for an example of each.
- Cut Type
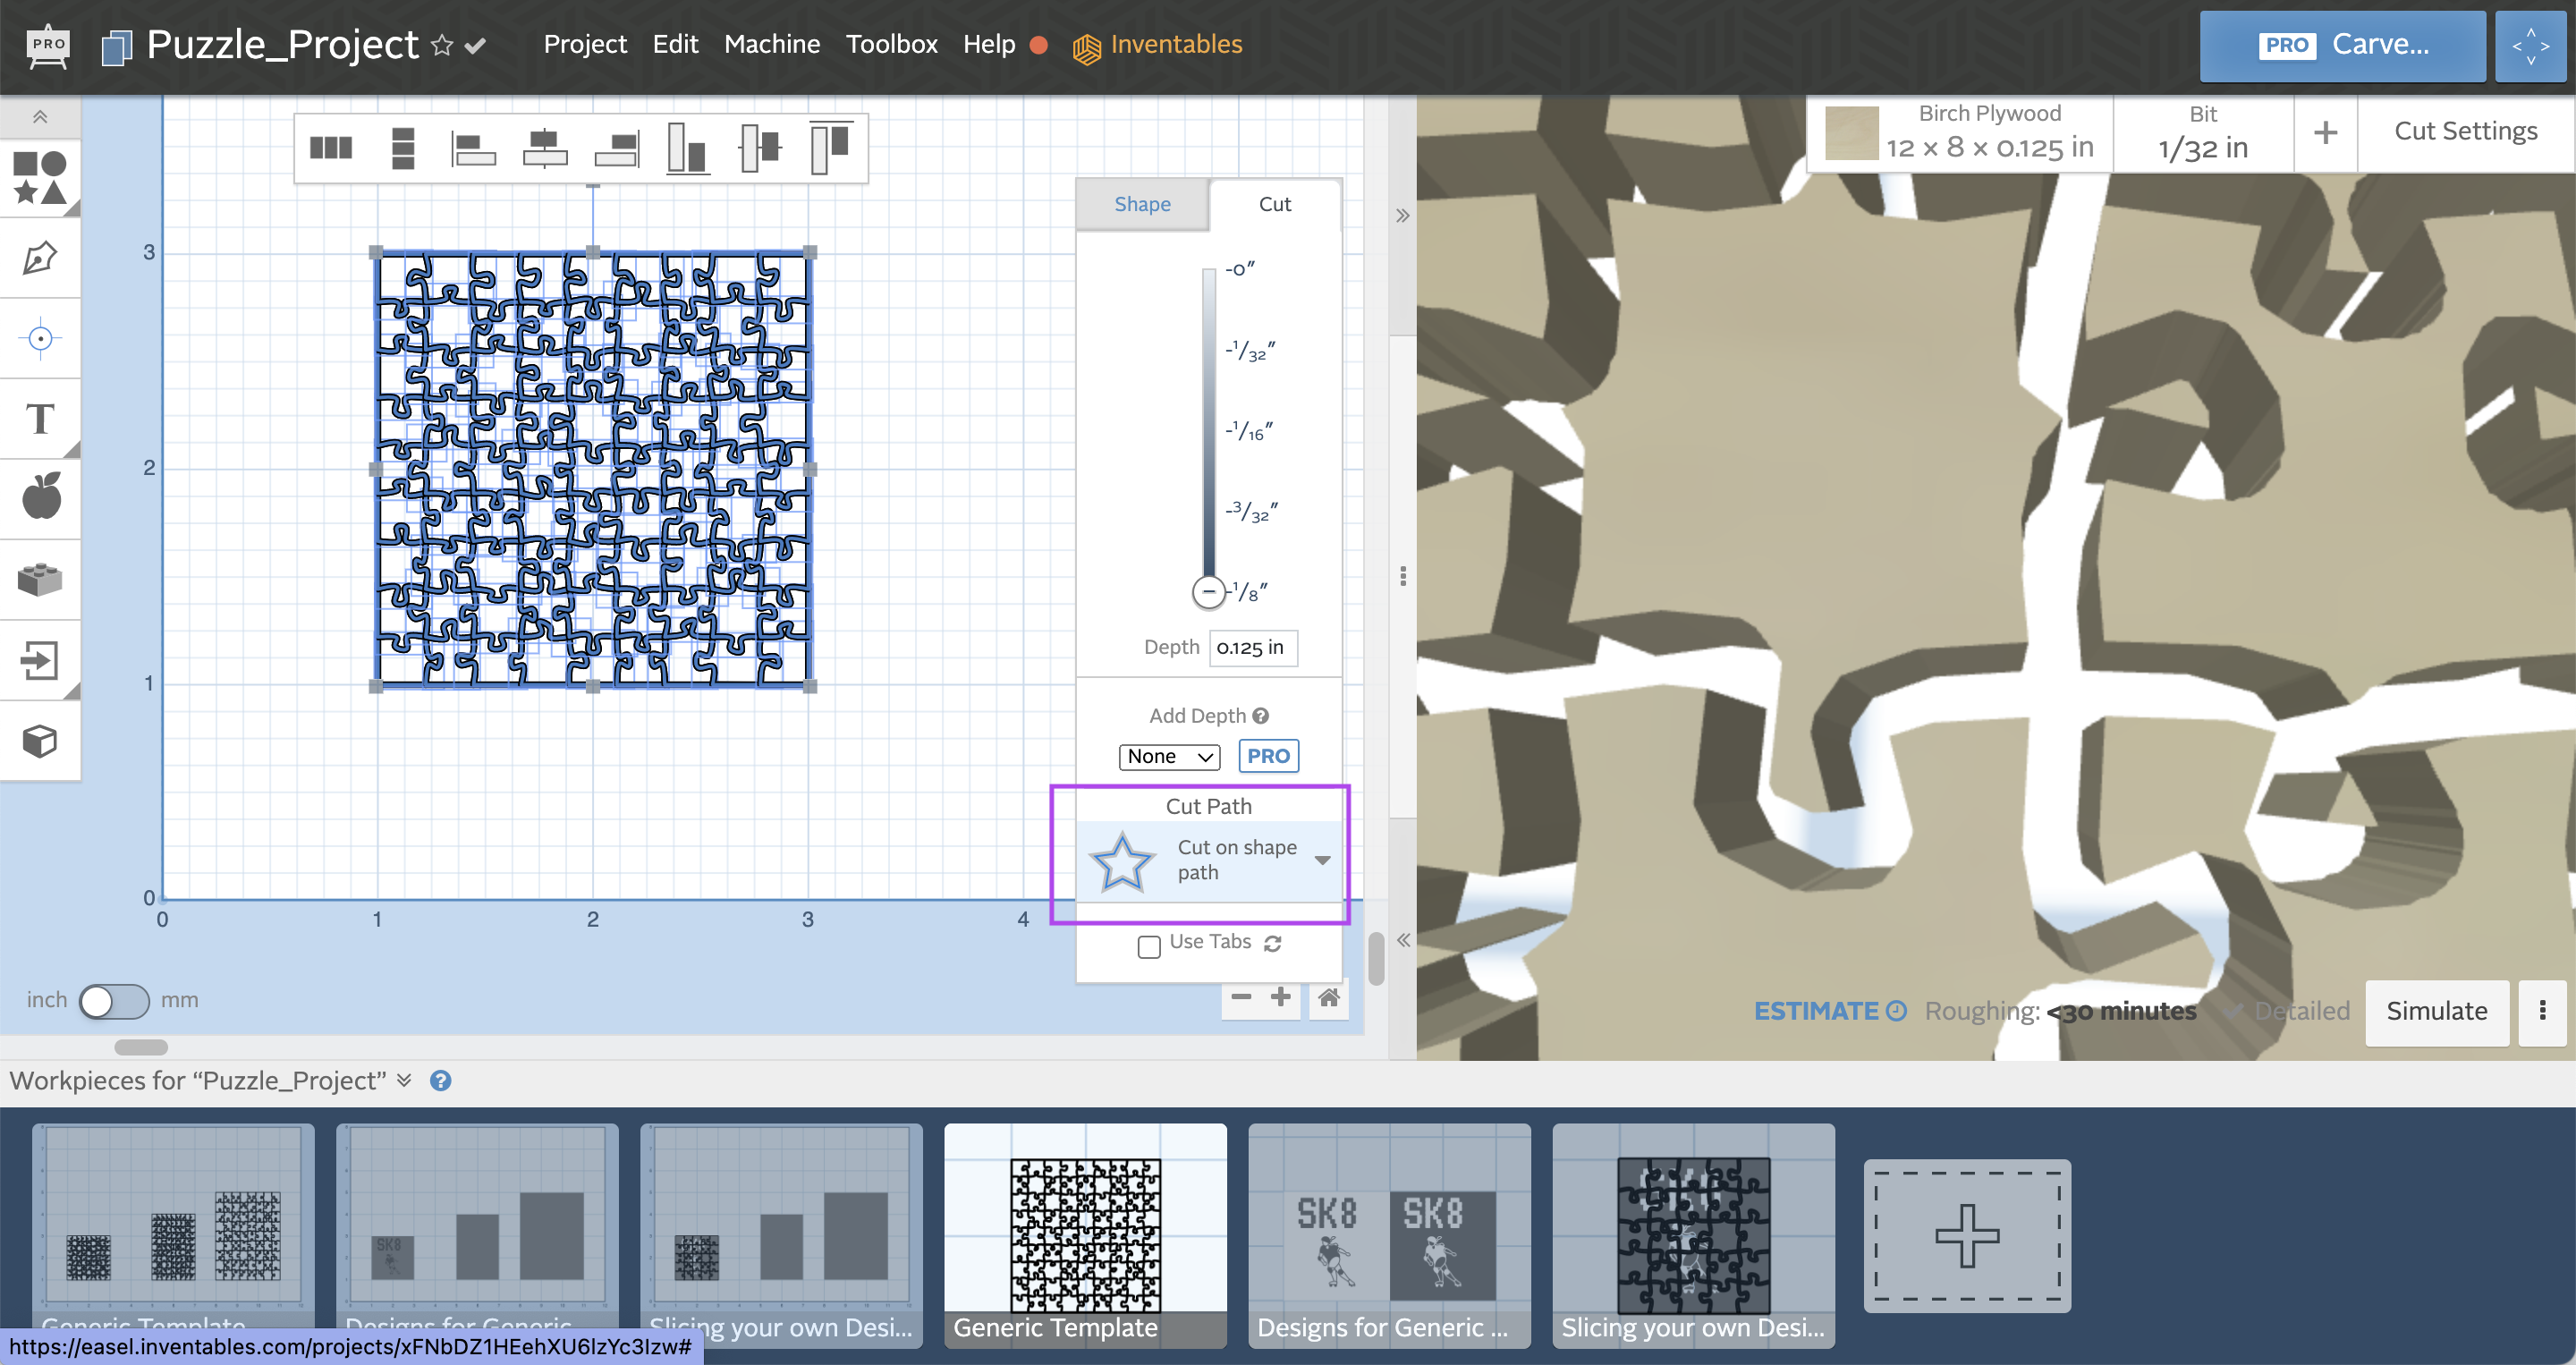
- Puzzle Outline- on shape path
- Design- no adjustments needed- should be "clear out pocket" cut type
- Last step
- Generic Puzzle Template, you will need to copy and paste your puzzle outline from one workpiece onto the design in the other workpiece. Tip- you can use the position points to align if needed.
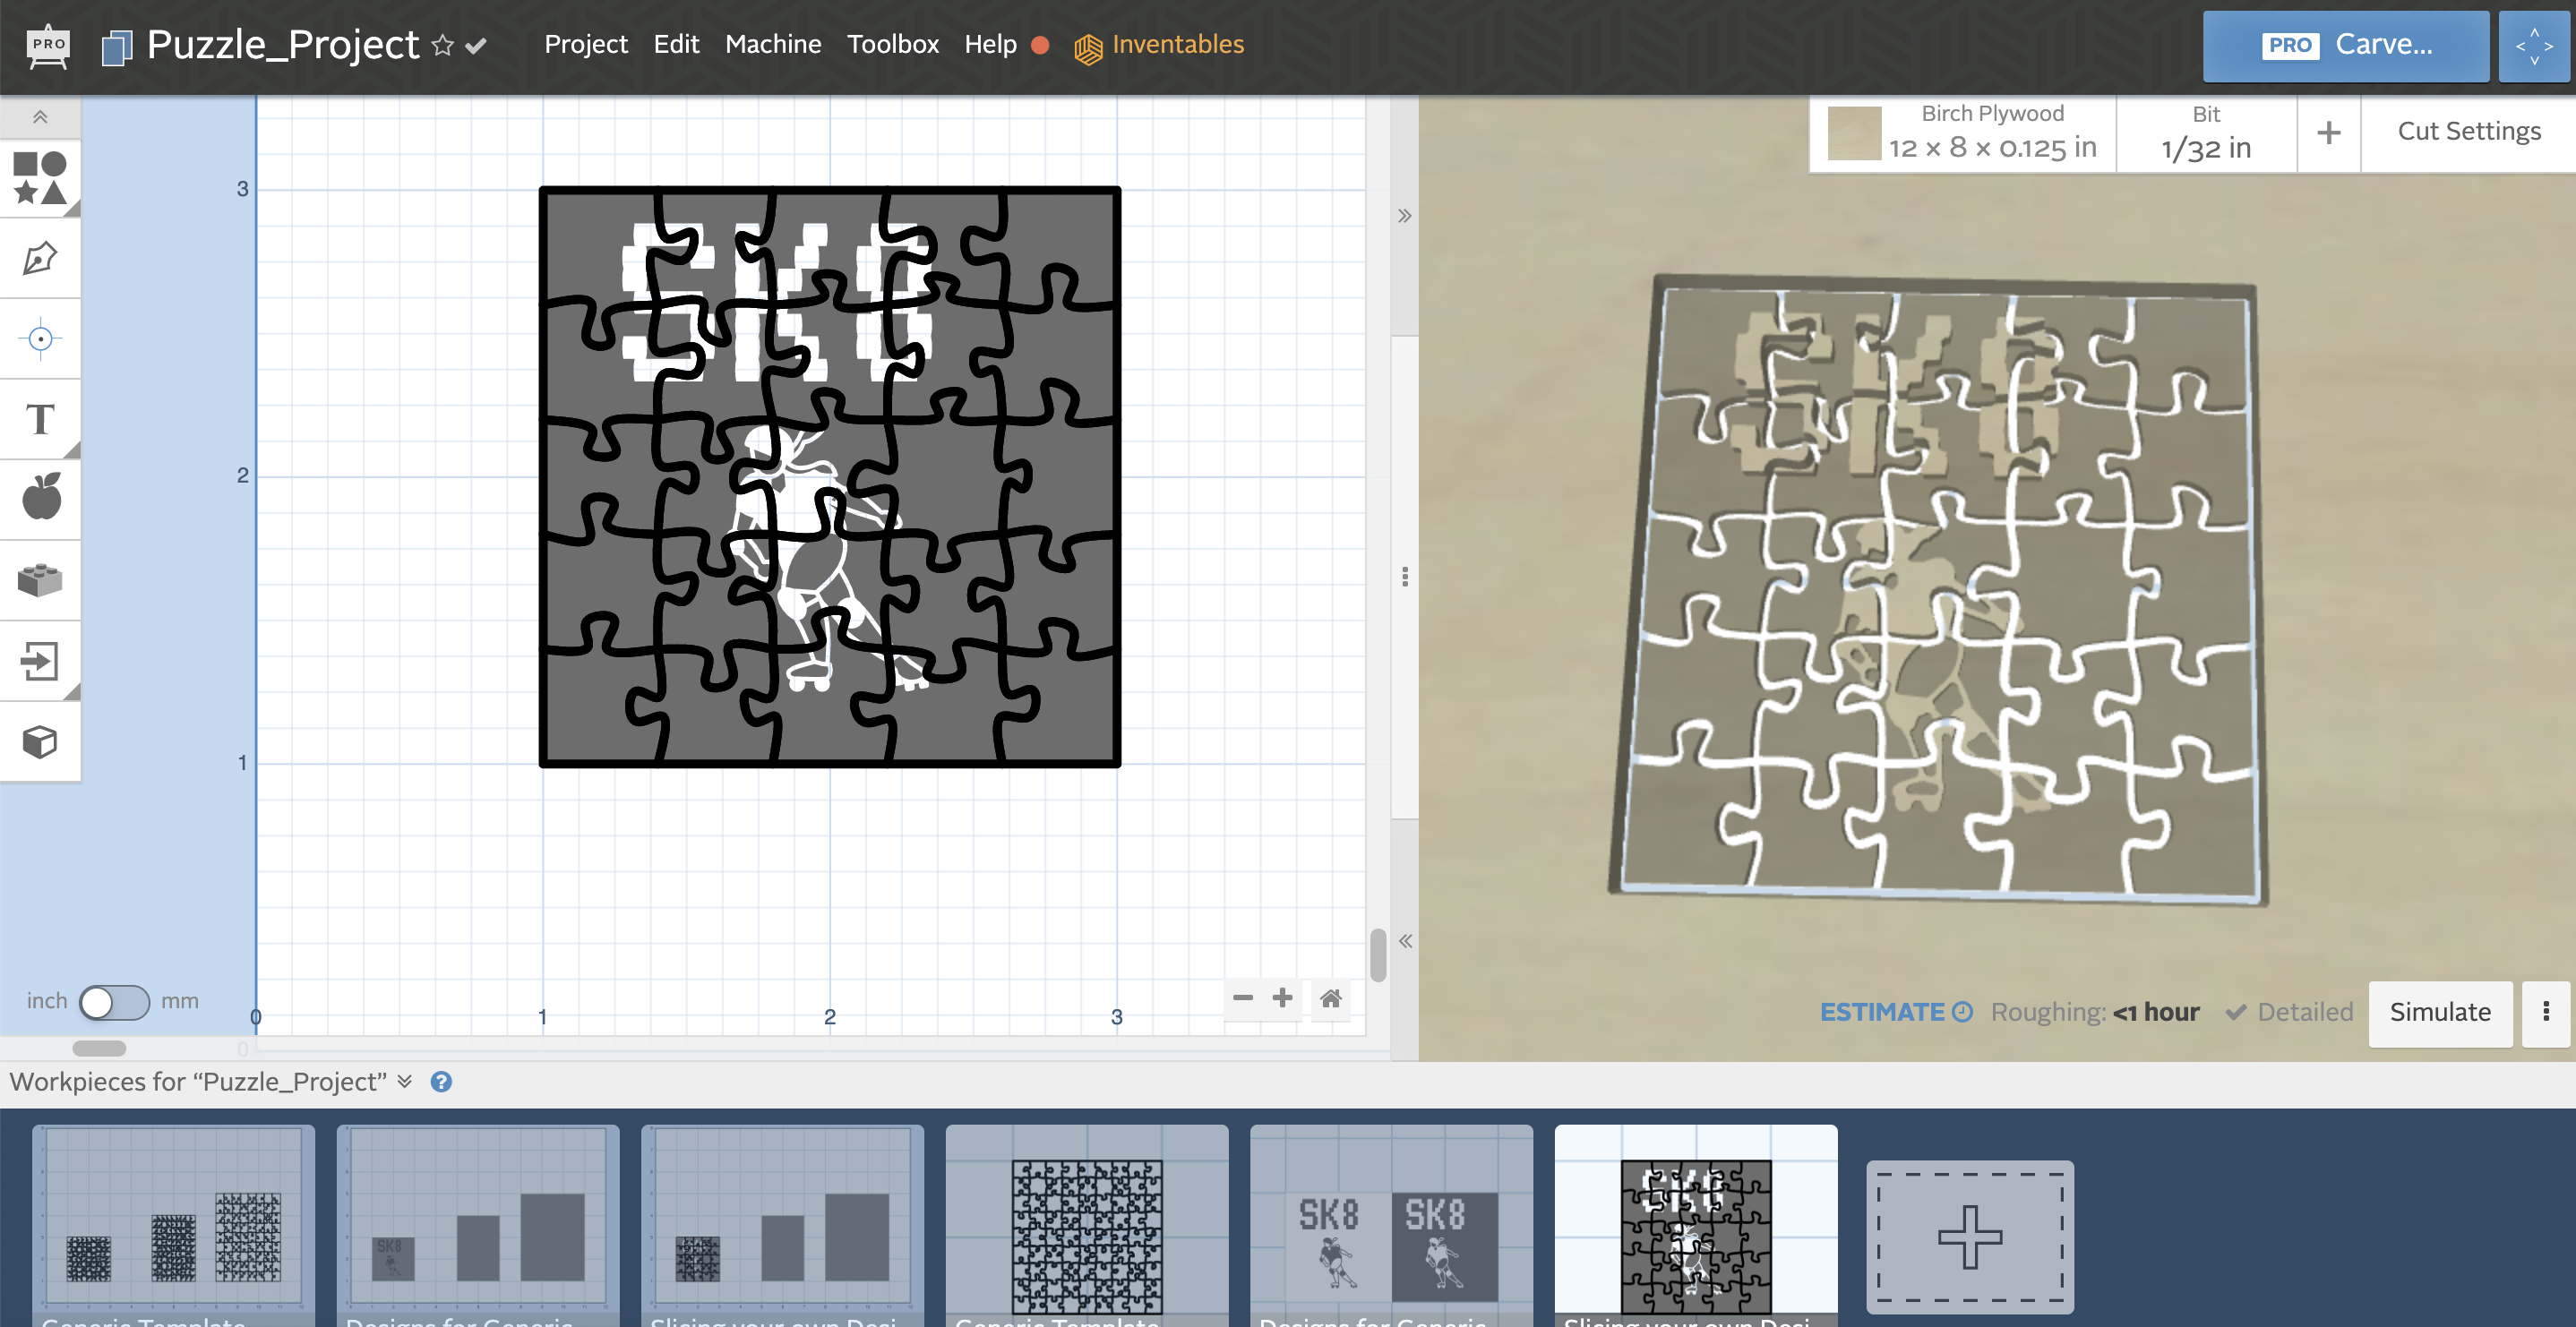
- The Sliced Design should be ready as-is.
Carving from Easel
- Click Carve- once your design is ready, click the carve button. This will take you into the step by step walk-through.
For instructions or any other troubleshooting check out the great documentation and tutorials at the Easel Knowledge Base and Glowforge Knowledge Base.