Lasercut Baby Mobile
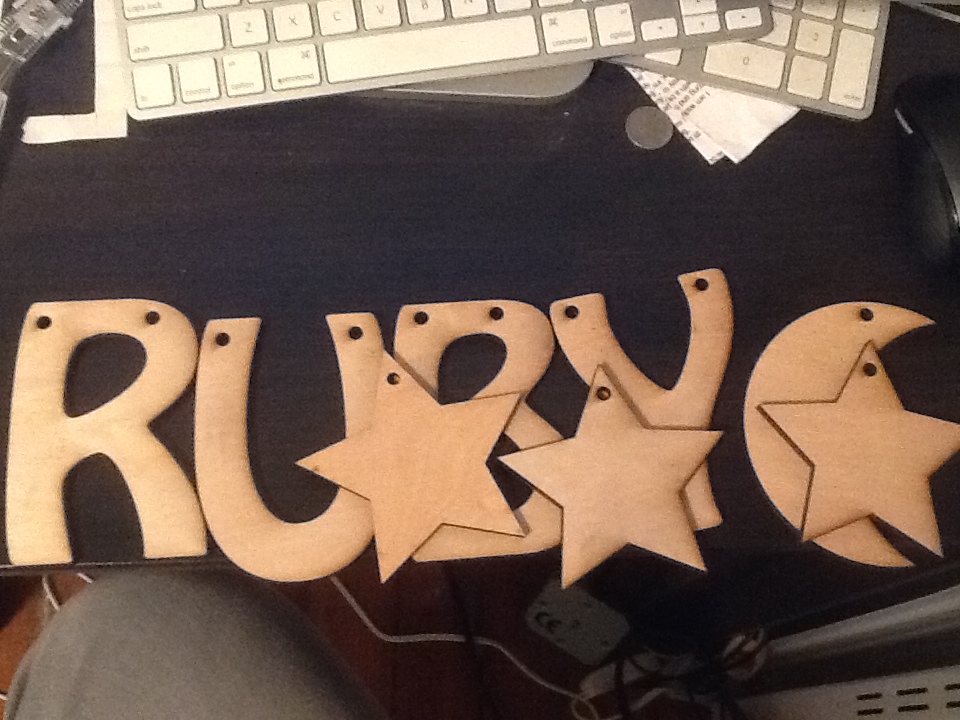
Supplies I Used
What you need:
Adobe Illustrator (that's what I used at least. Corel and Inkscape would probably be fine too...)
1/4" birch plywood cut to 24" width by 12" high. I cut it on the table saw with help from Kyle. Thanks Kyle!
Epilogue laser cutting machine (60 watts)
Jump Drive (or dropbox would work fine)
Wood Glue
Note: the laser cutting machine will hold a board up to 24"x18". I cut mine arbitrarily and didn't use the whole piece.
To make the mobile part:
This is the tutorial I am using to make the actual mobile part. You could laser the hoop or just use one from a sewing store.
Designing in Illustrator
Open a new file in illustrator. I think it's easier to make it the size of your wood, but as long as your design fits on your piece it's not imperative that your illustrator document size match your wood size.
This design only needs cuts (no etching) and therefore only needs vector lines at .001 in Illustrator.
How to set your lines in Illustrator so they'll cut (and not etch).
One techshop teacher told me to use .001 inches as the vector line width. Another told me .001 points. I went with points and it was fine.
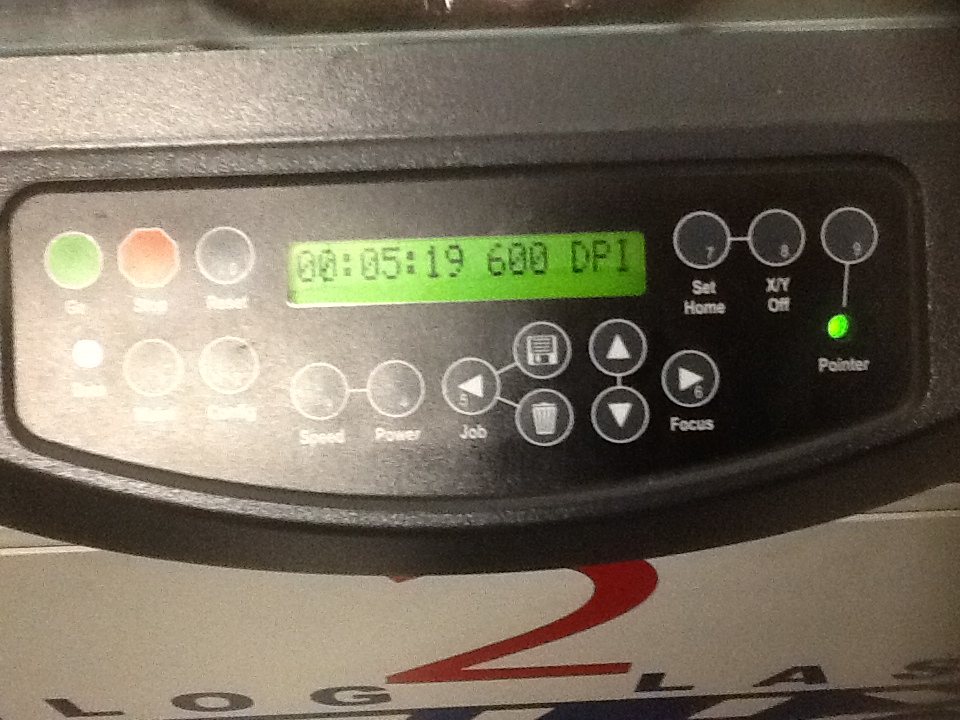
I chose 600 DPI.
The holes I made in the top of the letters were using the circle making tool .2" by .2". These popped out nicely and I will weave yarn through them to hold the letters straight up. I made one circle then copied it, and lined up the copies horizontally.
I designed my project on another computer, dragged it to a jump drive, then once at the computer that is connected to the laser cutter I opened it directly from the jump drive.
It's time to print!
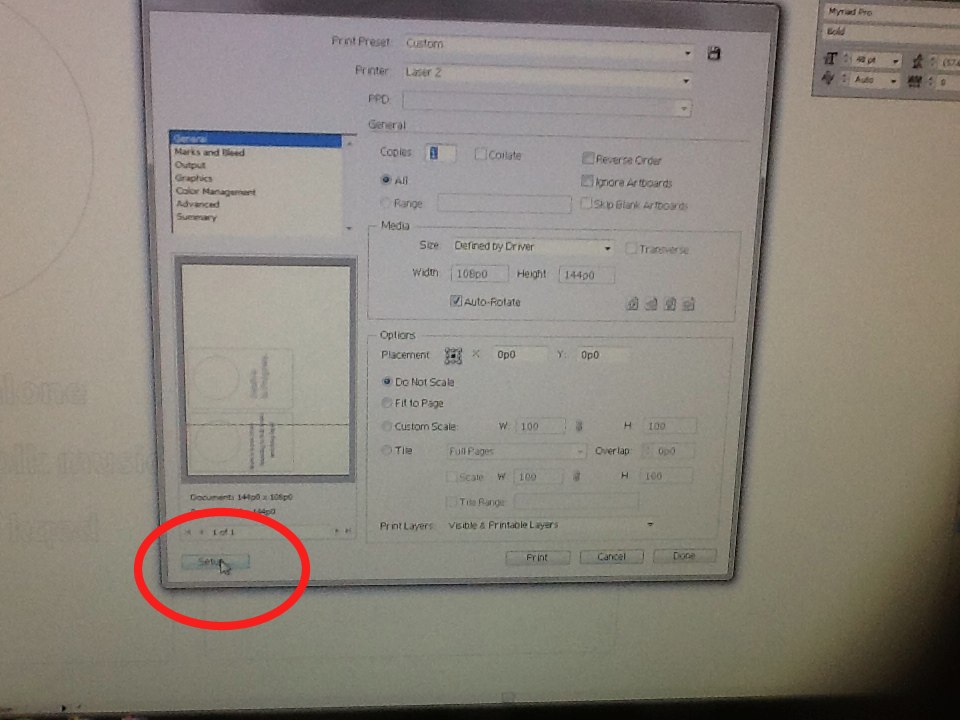
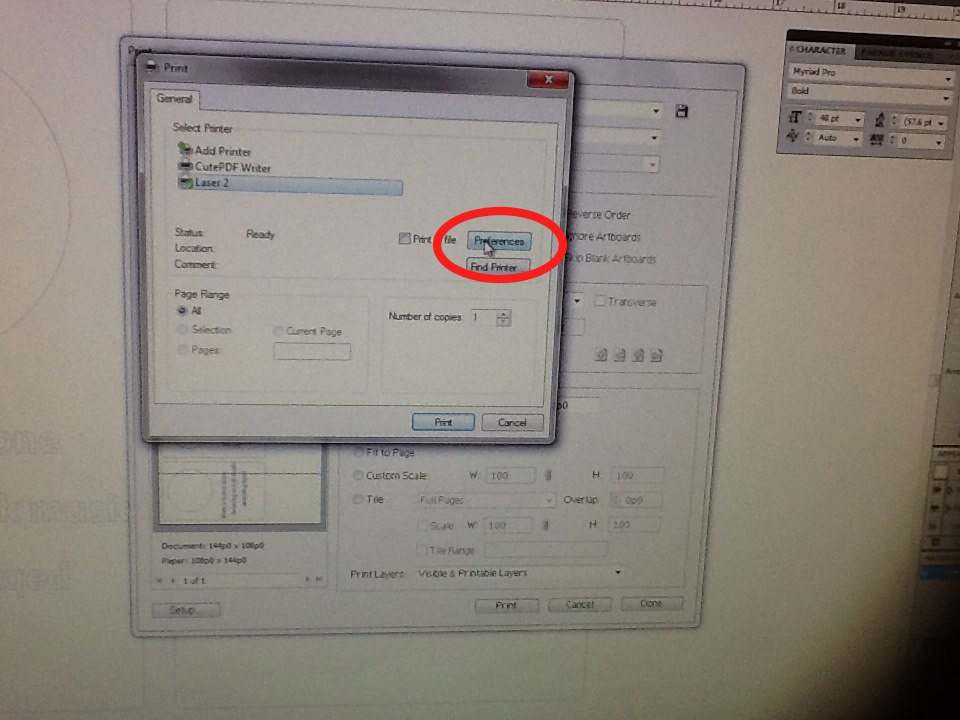
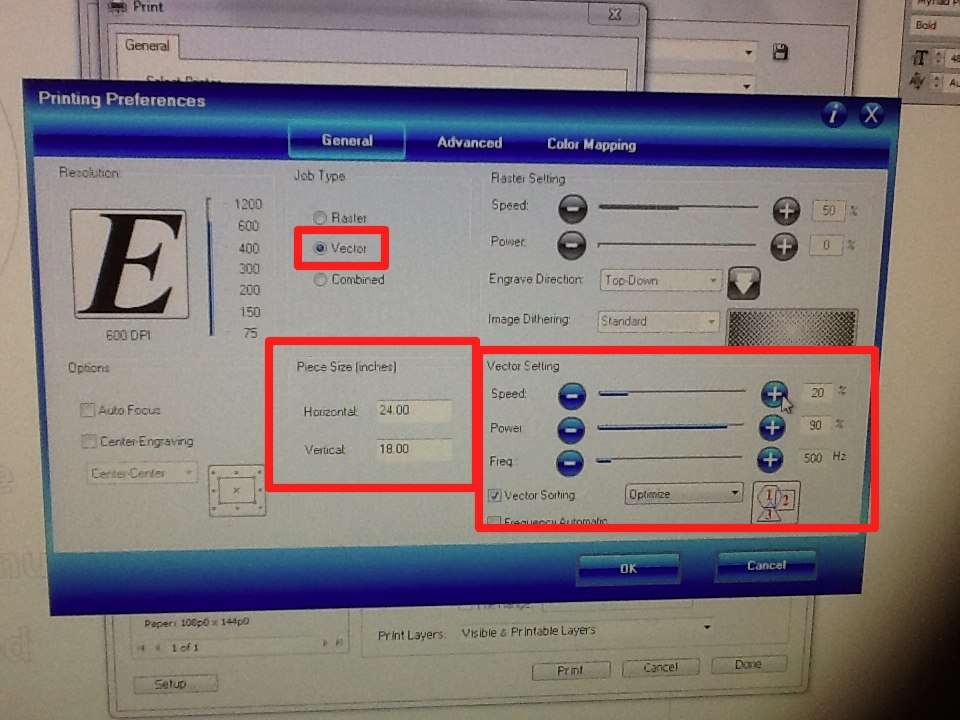
On the computer, select "Print", then click on the "Setup" button, then click on the "Preferences" button.
Following notes from class, on I set the vector at:
Speed 20
Power 90
Power 500
Then click "OK".
Turn to the laser cutting machine, and hit "go", lower the lid.
---------------------------------------------
(Remember my machine was a 60 watt. The Techshop class handout says the settings are 10/90/500 for a 45 watt machine. Not sure? Ask. Don't start a fire.)
If you're not sure of your settings, then in an area of your wood that is going to become scrap (i.e., off your real design), run a sample vector cut. Bobby, the gentleman at the adjacent lasercutter, told me that. It didn't work for me for some reason but it's still prudent. I just went for it.
Get That Laser Cutting
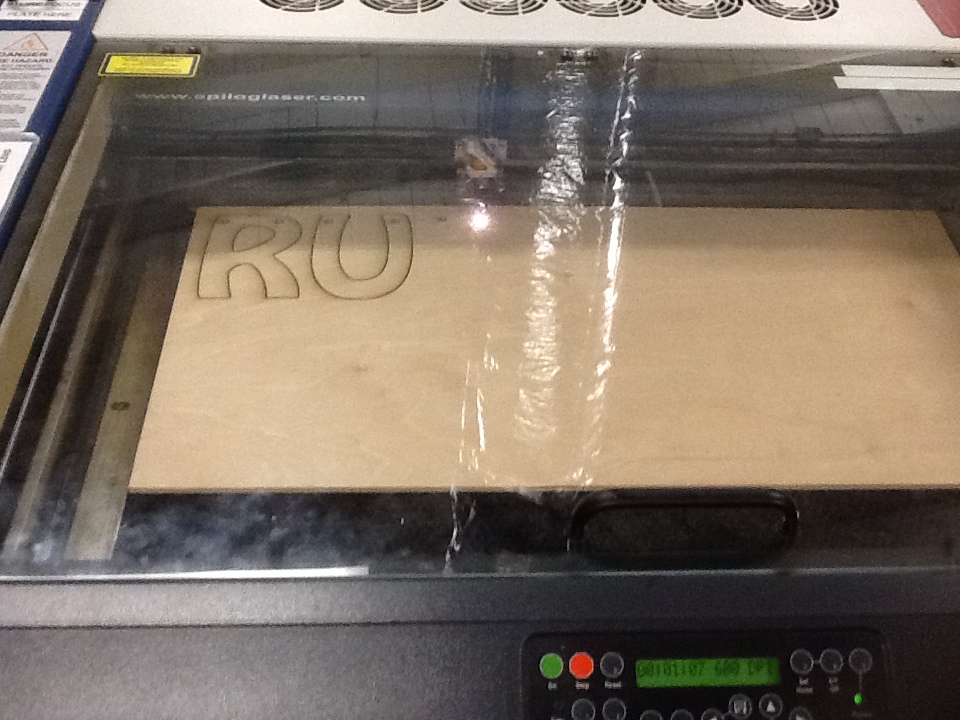
I've skipped some basic steps to do with the laser cutting machine itself. I'm assuming you've taken the basic class or know the basics of how to run a machine.
This is a picture of the laser cutting out the pieces.
It took under 3-5 minutes to cut it. (The rastering, which I did in other projects, took a lot longer.)
I'll probably sand and stain them before I hang them up. They smell a little burnt and obviously that's no good for a baby - hopefully that'll take care of it.
There are a million tutorials on making and hanging mobiles. I'll let those folks explain that.
Happy napping!