Lasercut 6-pack Beer Holder
by emilyshore in Workshop > Woodworking
12075 Views, 68 Favorites, 0 Comments
Lasercut 6-pack Beer Holder
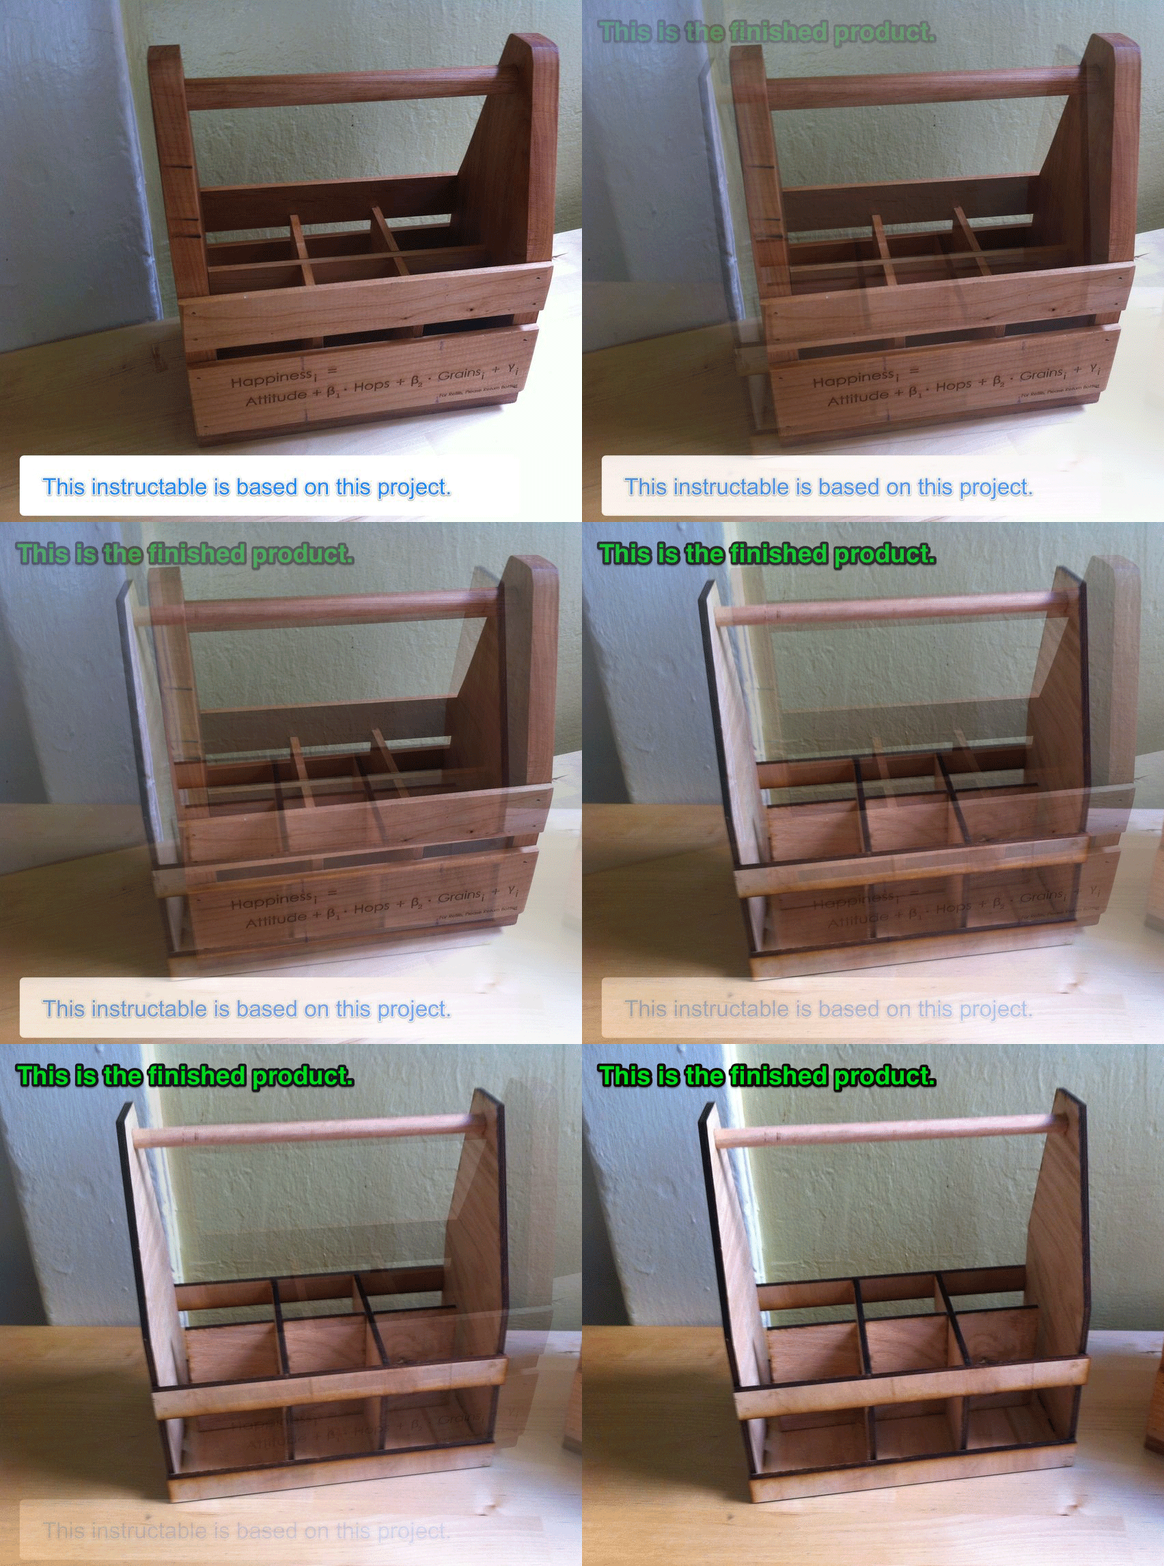
My friend and I made several wooden 6-pack holders in the woodworking area of the Techshop. We very closely followed this great tutorial by Chris in Chicago. I learned a lot and it was fun!
I've included a picture here so that you can see what I was trying to emulate on the laser cutter.
However, I also wanted to challenge myself to create the same thing on the lasercutter.
Goal: To create a 6-pack holder that is lasercut. Then, to tinker with the template so that it can holder other things, such as a picnic caddy or 4 mason jars to bring soup for the week to work or fill with jars of jam to give as a gift. You get the idea...
Materials:
Note:
*I used 1/4 plywood, but I suggest something thicker so it can hold more weight and more easily be nailed. Even for just the side panels.
I've included a picture here so that you can see what I was trying to emulate on the laser cutter.
However, I also wanted to challenge myself to create the same thing on the lasercutter.
Goal: To create a 6-pack holder that is lasercut. Then, to tinker with the template so that it can holder other things, such as a picnic caddy or 4 mason jars to bring soup for the week to work or fill with jars of jam to give as a gift. You get the idea...
Materials:
- *Plywood: 24"x18"
- Wood Dowel (I used 1/2" diameter. If you use a different size you'll just have to adjust the circle in Illustrator)
- Adobe Illustrator (I used CS3)
- Lasercutting machine
- Wood Glue
- Nail Gun
Note:
*I used 1/4 plywood, but I suggest something thicker so it can hold more weight and more easily be nailed. Even for just the side panels.
Boxmaker
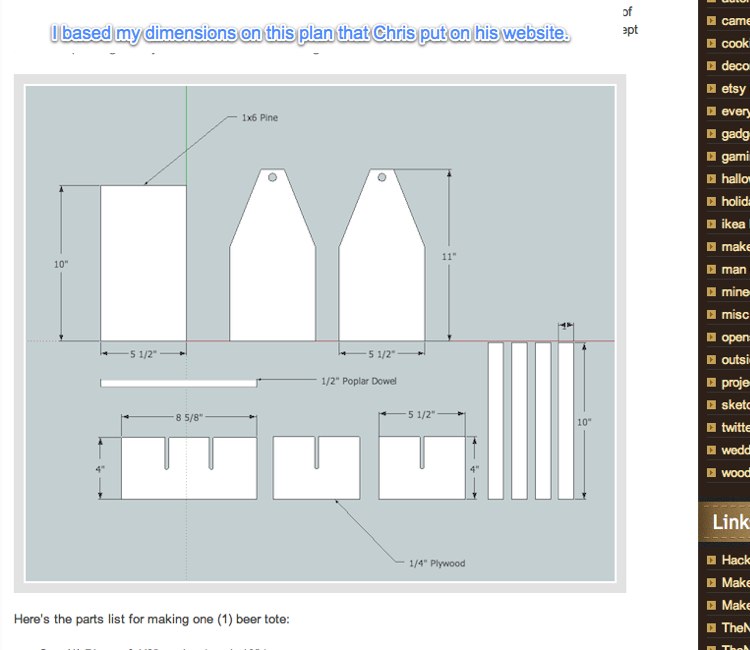
What I Based My Illustrator File On:
To see the original dimensions, go here.
Make a "Box"
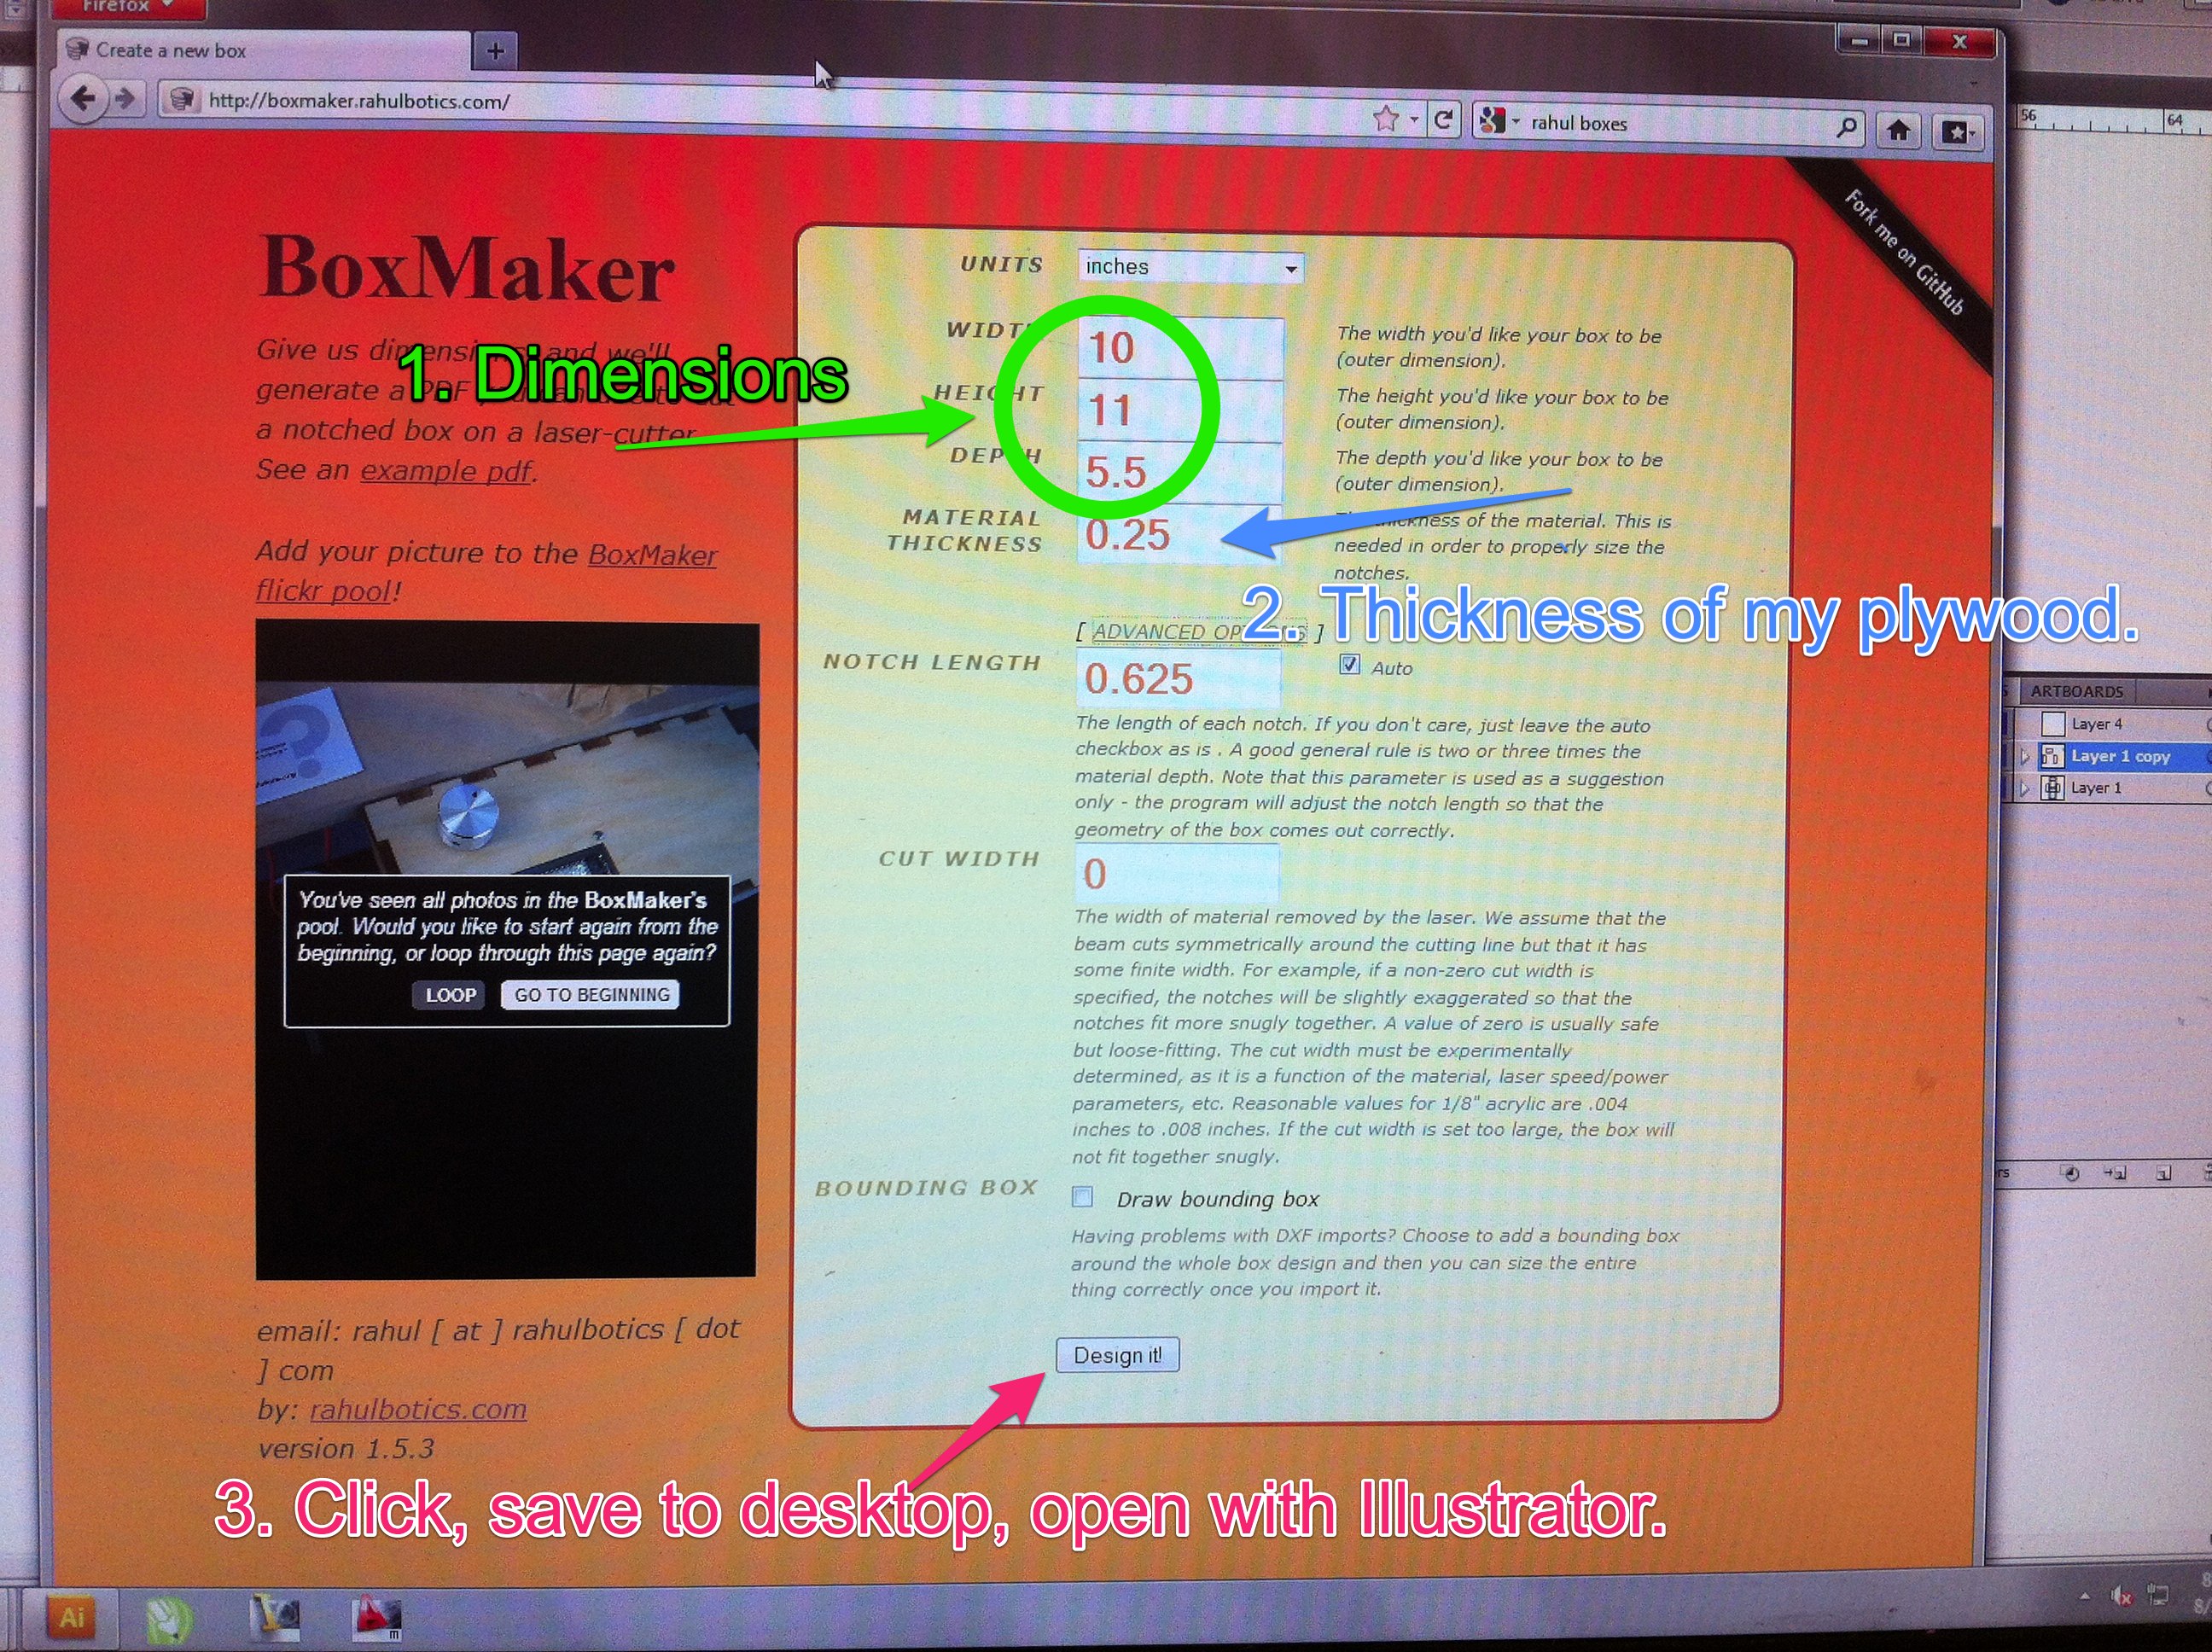
I started making the parts of the holder that were essentially 3 sides of a box that had to join together. Rahulbotics has a great website that allows you to type in the dimensions of the box you want to make, and then it spits out the vector document that you can basically print off of. (I just imported it into Illustrator.)
I needed one rectangle (the bottom) 10" x 5.5"
And I needed two rectangles 11" x 5.5" (that I would taper in Illustrator, and would become the sides.)
That meant I needed to make a box with the dimensions of 10"x11"x5.5".
So I entered those dimensions, clicked on the "design it" button, and opened the file in Illustrator.
I checked if the vector lines were thin enough (.001) to lasercut as a vector. They were. You should probably check too.
NOTE:
If I could go back in time (oh how I wish I could make that phrase a link to an instructable for a time machine!!) I would get calipers to measure the exact thickness of my plywood - I assumed it actually was .25" and that made my joints not quite snug enough.
Play With the File in Illustrator
-1.jpg)
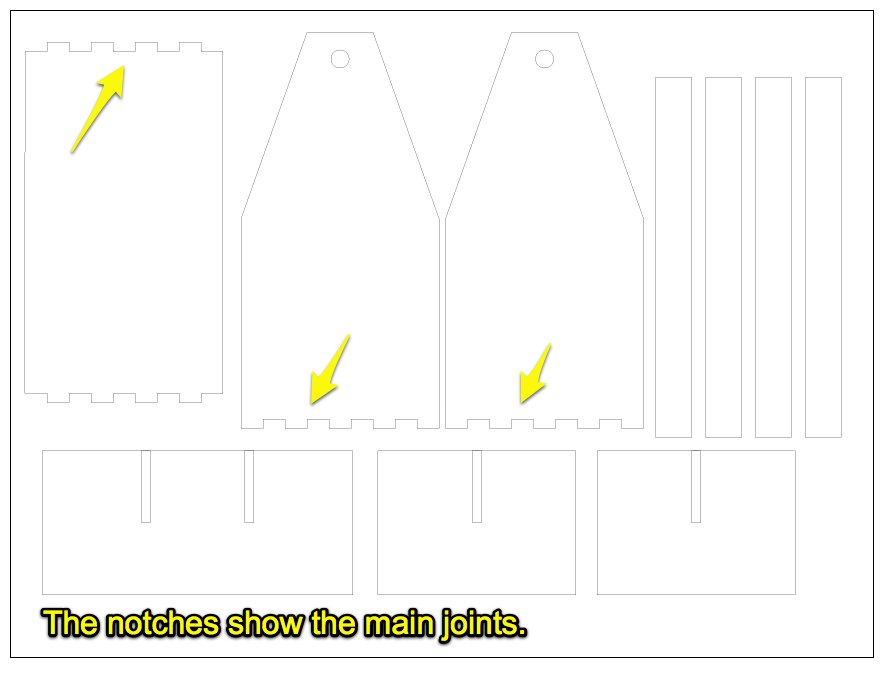
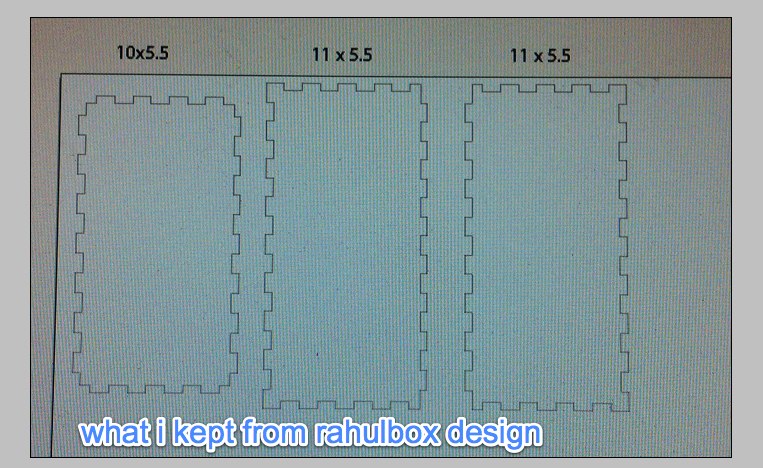
The only reason I used Rahulbotics to make the box was so that it would automatically make the notches for me. Now, in this step, we will modify the Rahulbotics design to match Chris's design.
I deleted the parts of the Rahulbotics box design I didn't need, and kept only the 11x5.5 and 10.5.5 sides, one of each.
Using the "Delete Anchor point tool" I got rid of all the anchor points I didn't want. Then I selected the two points I wanted to connect and "joined" them (right click, join.). I'm not great in Illustrator, but we learned this in the basic Illustrator class.
To make the remaining shapes, I used the "rectangle" tool, and then entered the exact dimensions. (Once again, look at Chris's design for these measurements.)
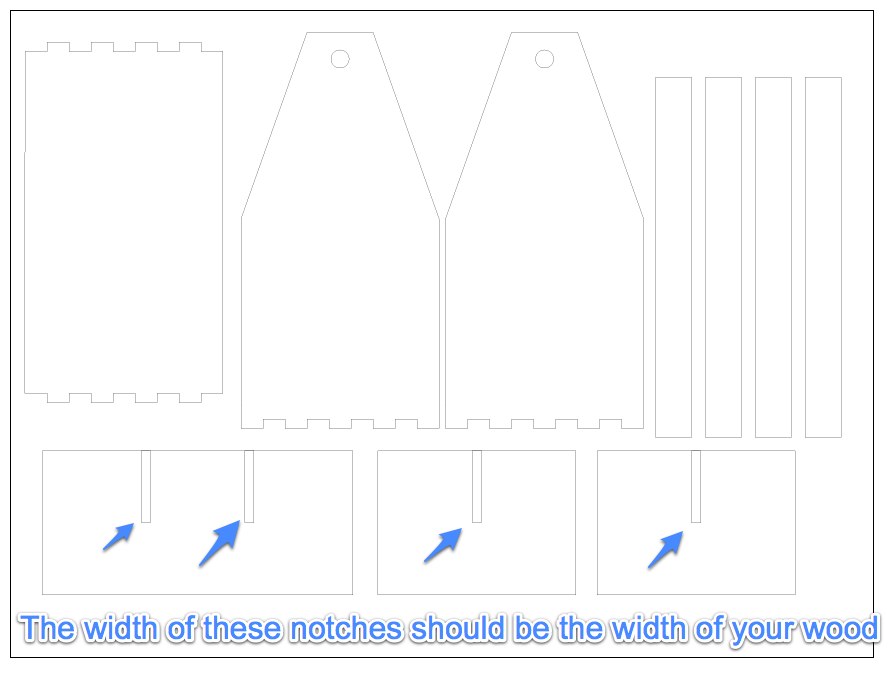
The notches have to be the thickness of your material. For that reason, I have put them on a separate layer so you can modify them to suit your material. ( I know, me caring about layers shows me that I'm much more fluent in photoshop than illustrator....)
You'll also want to modify the two circles to match the diameter of the dowels that you will use for your handle.
The image here shows a screen shot of my final design.
I have attached my illustrator file.
Downloads
Send the Print Job to the Lasercutter
Printing Preferences
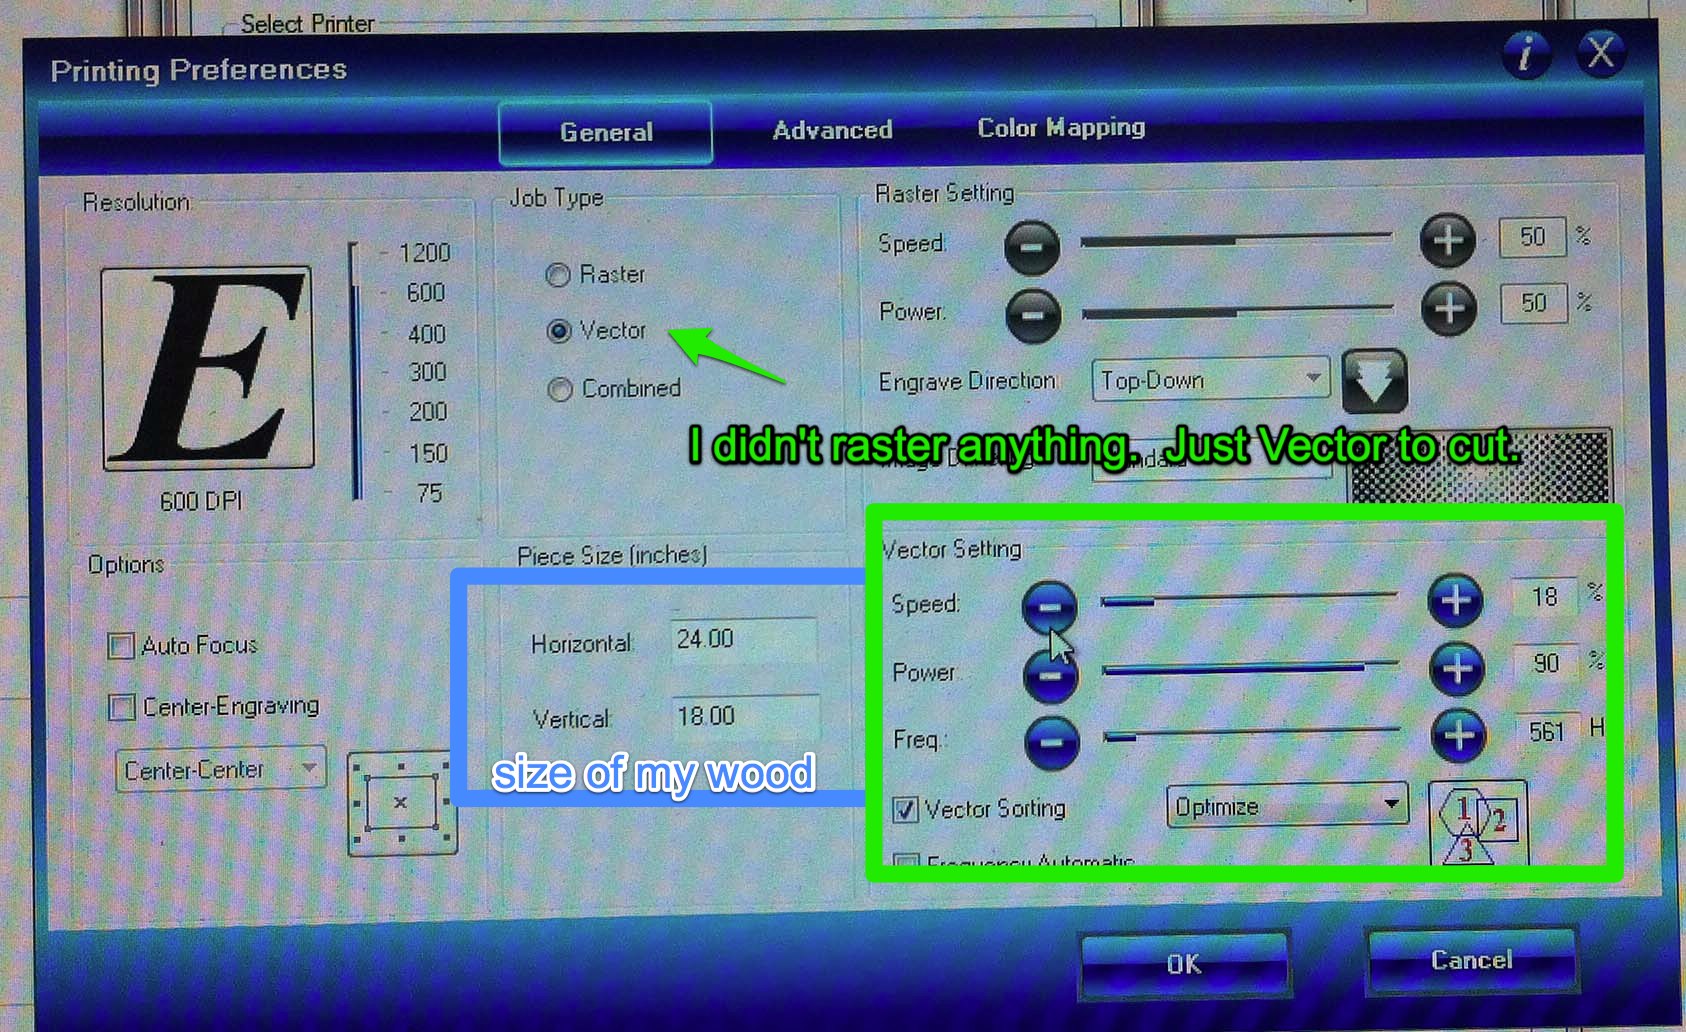
These are the print preferences I used. You should calibrate yours to the lasercutting machine you're using.
I sent the job twice because, as tends to happen, the laser tends not to completely cut through the right side of my piece of wood. (Is this because my wood warped? Is it the machine? I don't know.)
Obviously, don't move the wood at all before you print it the second time or it won't be exactly in the same spot.
Let the Machine Do Its Magic
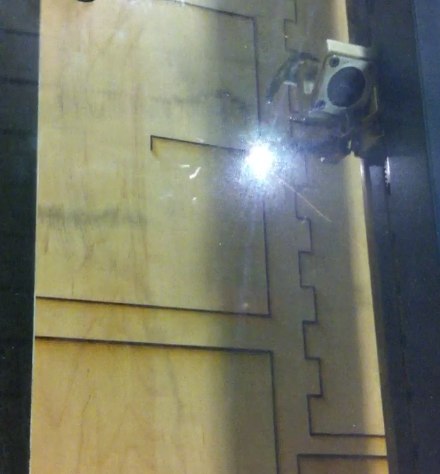
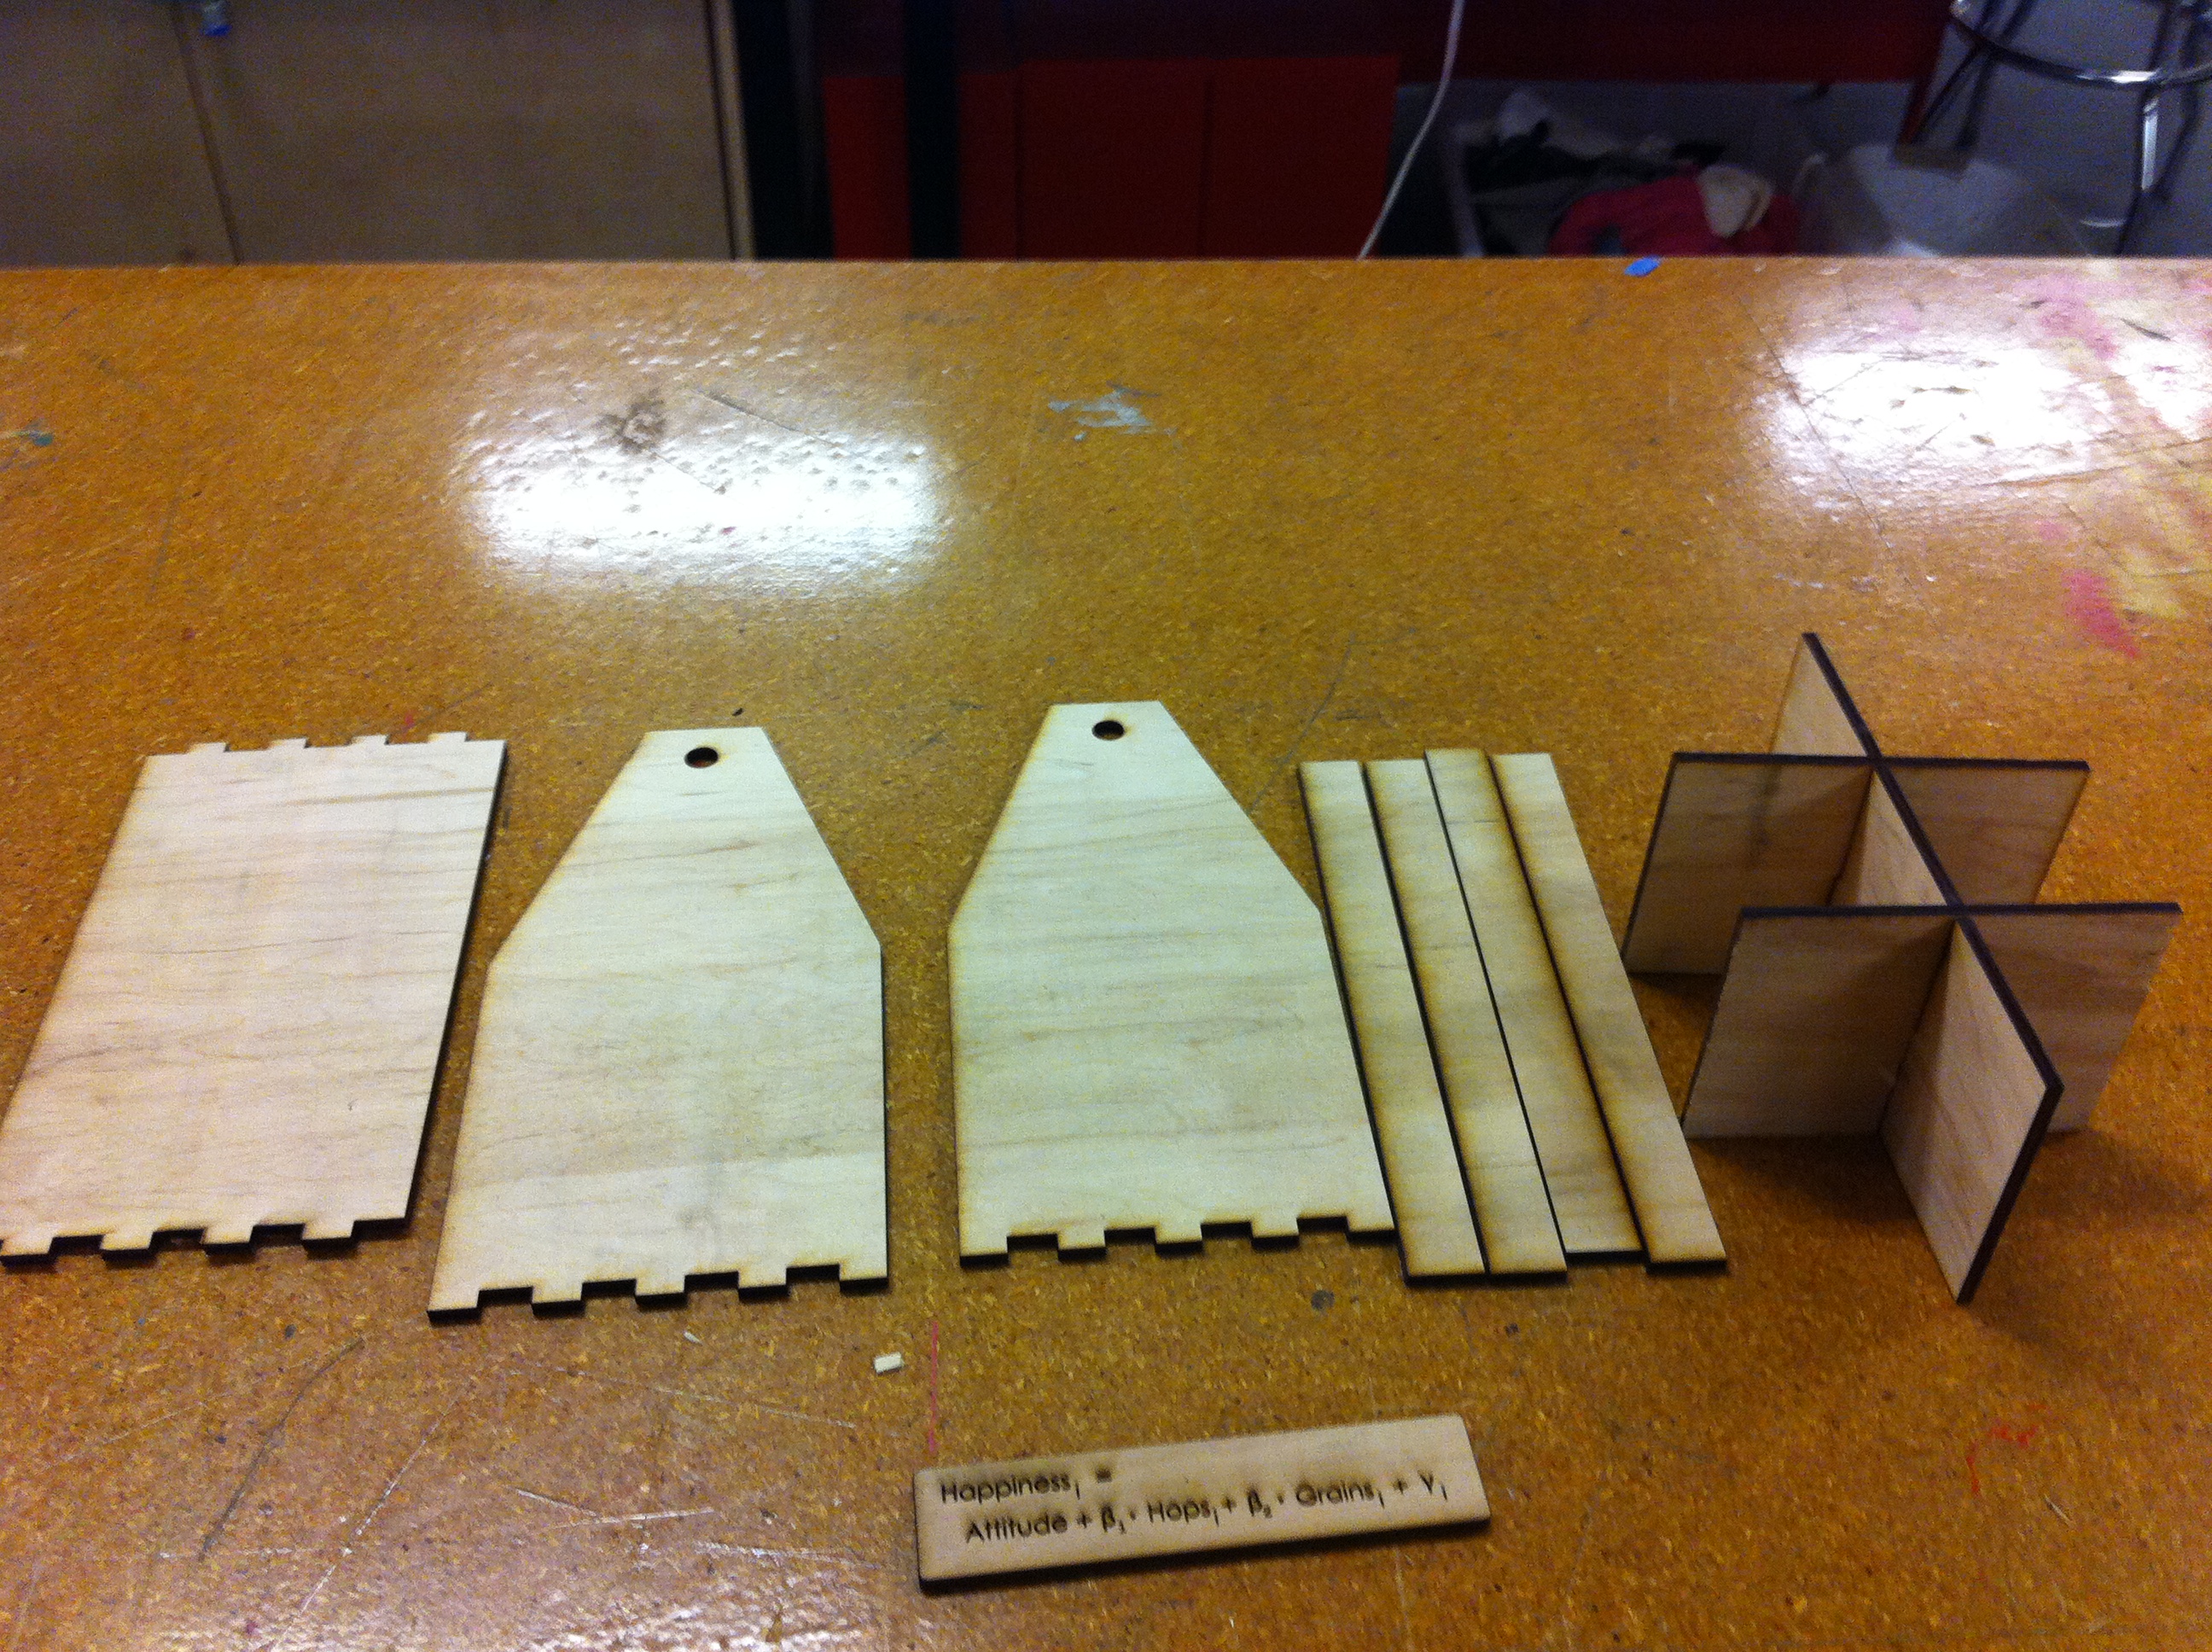
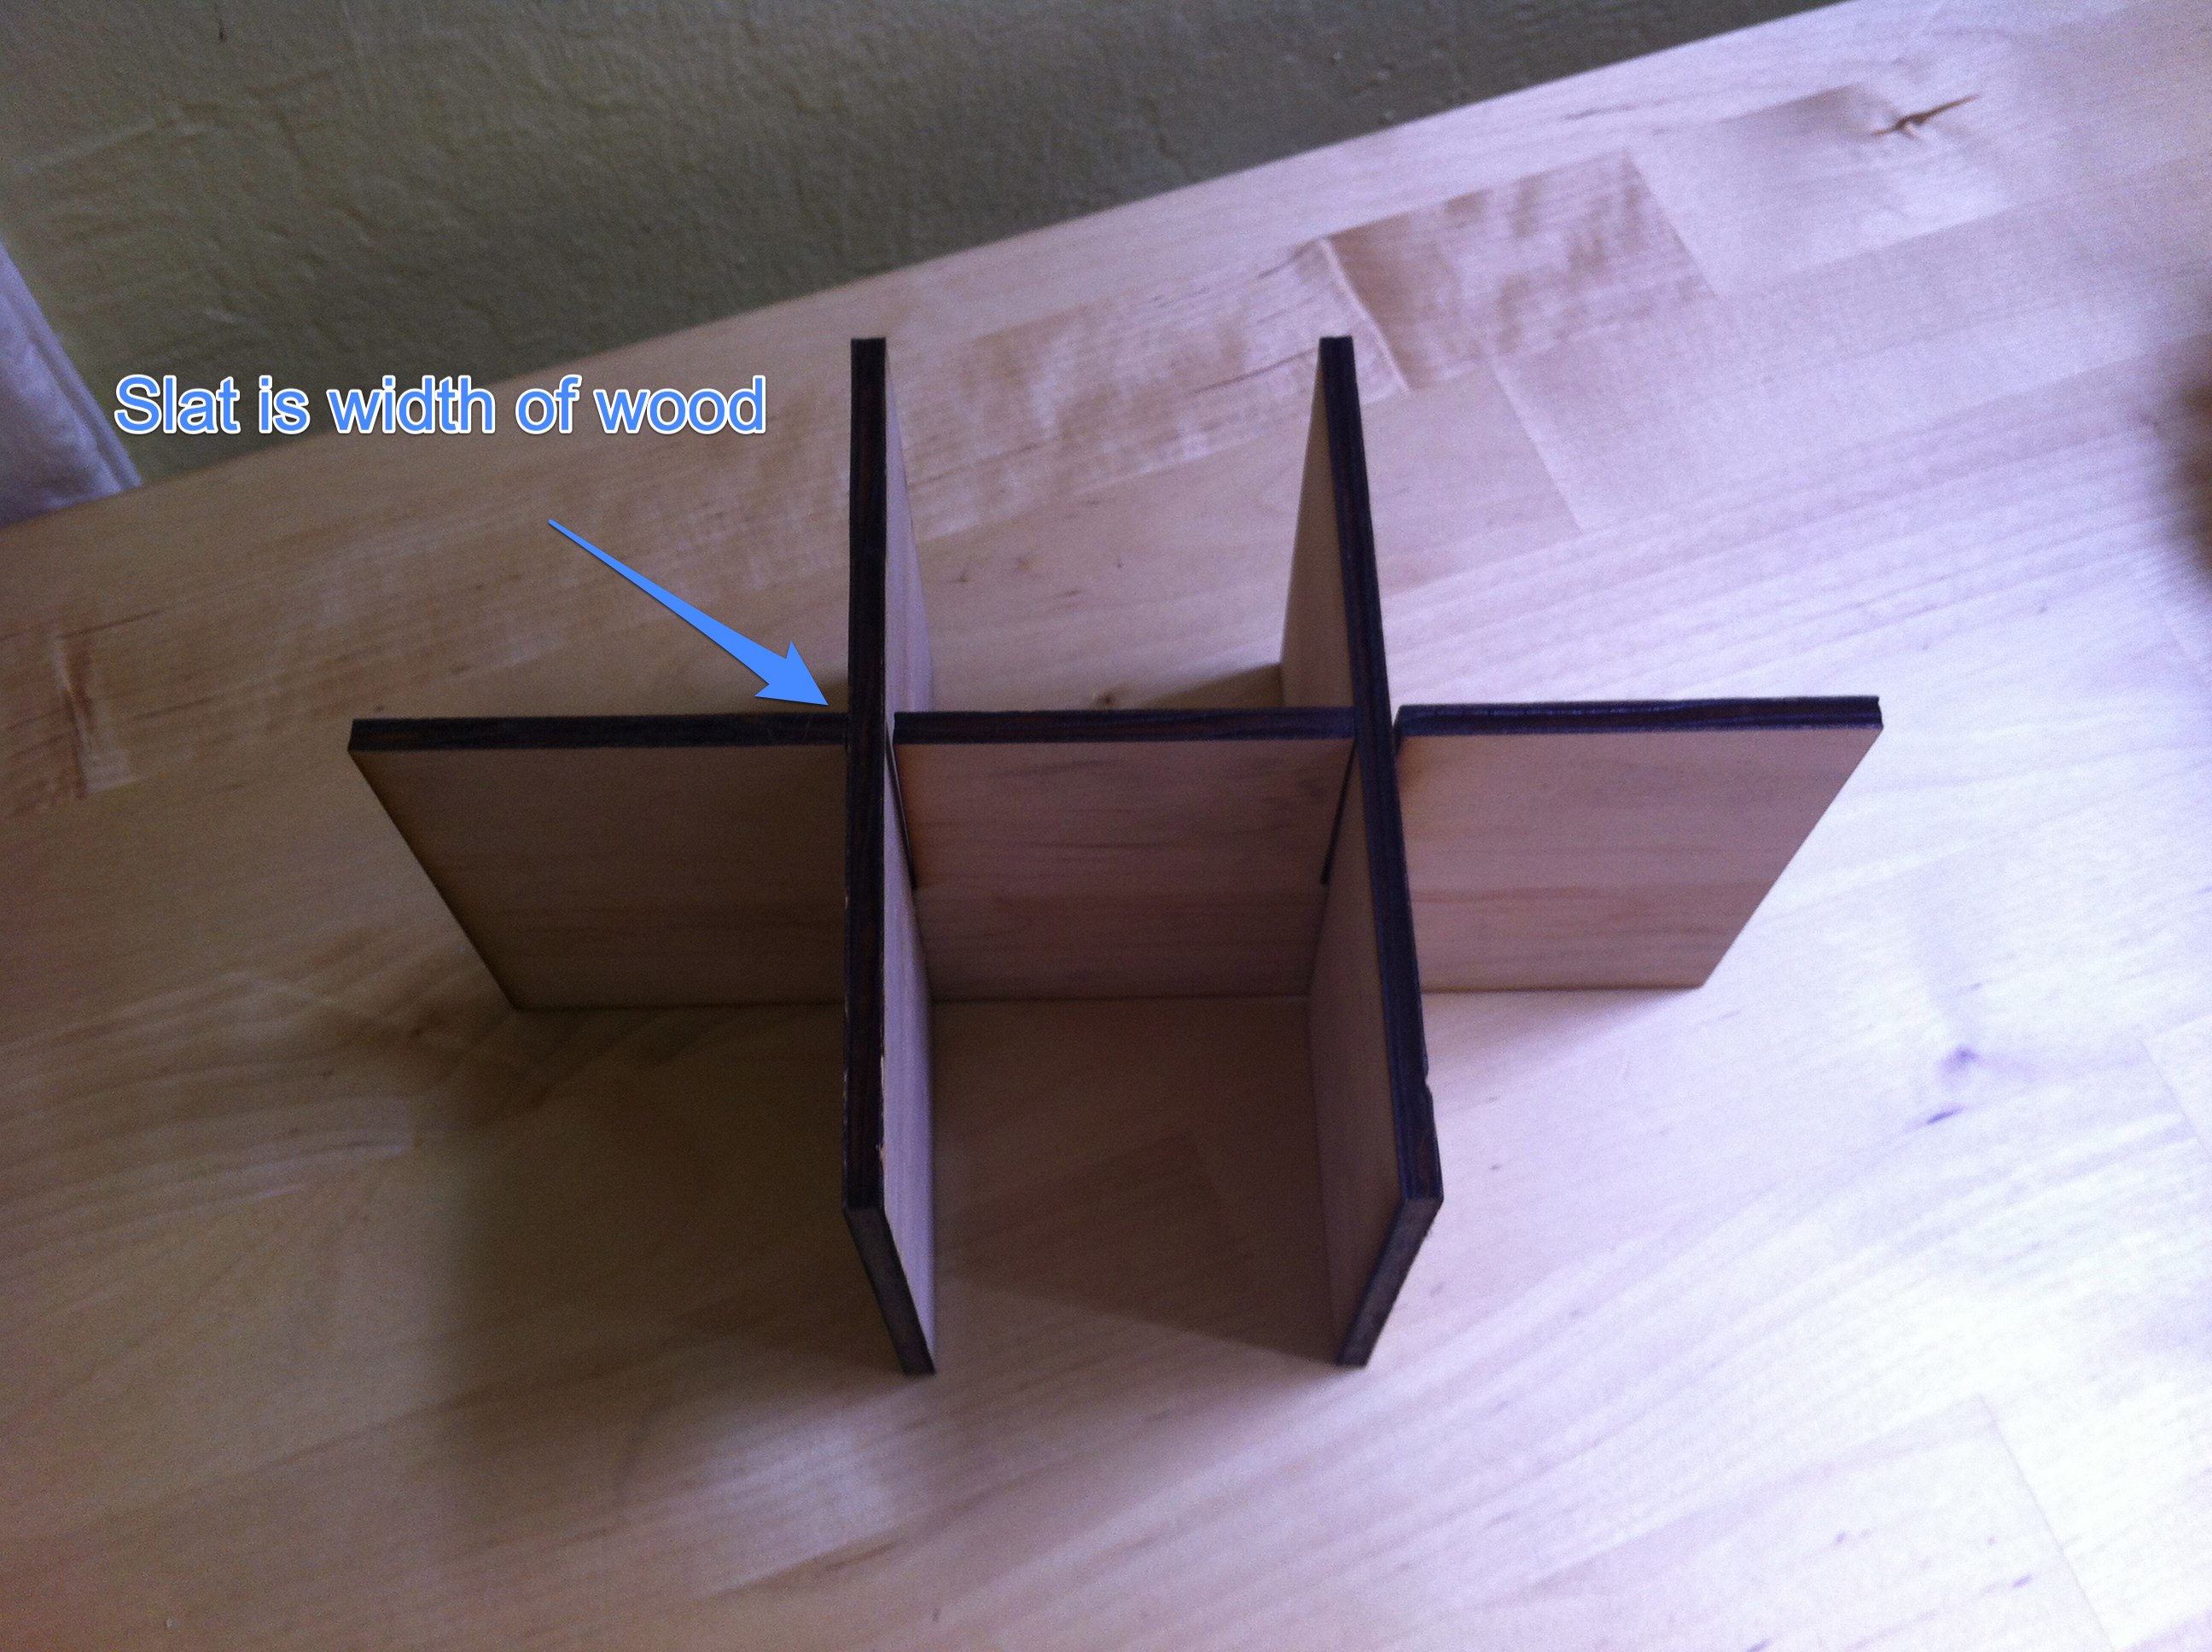
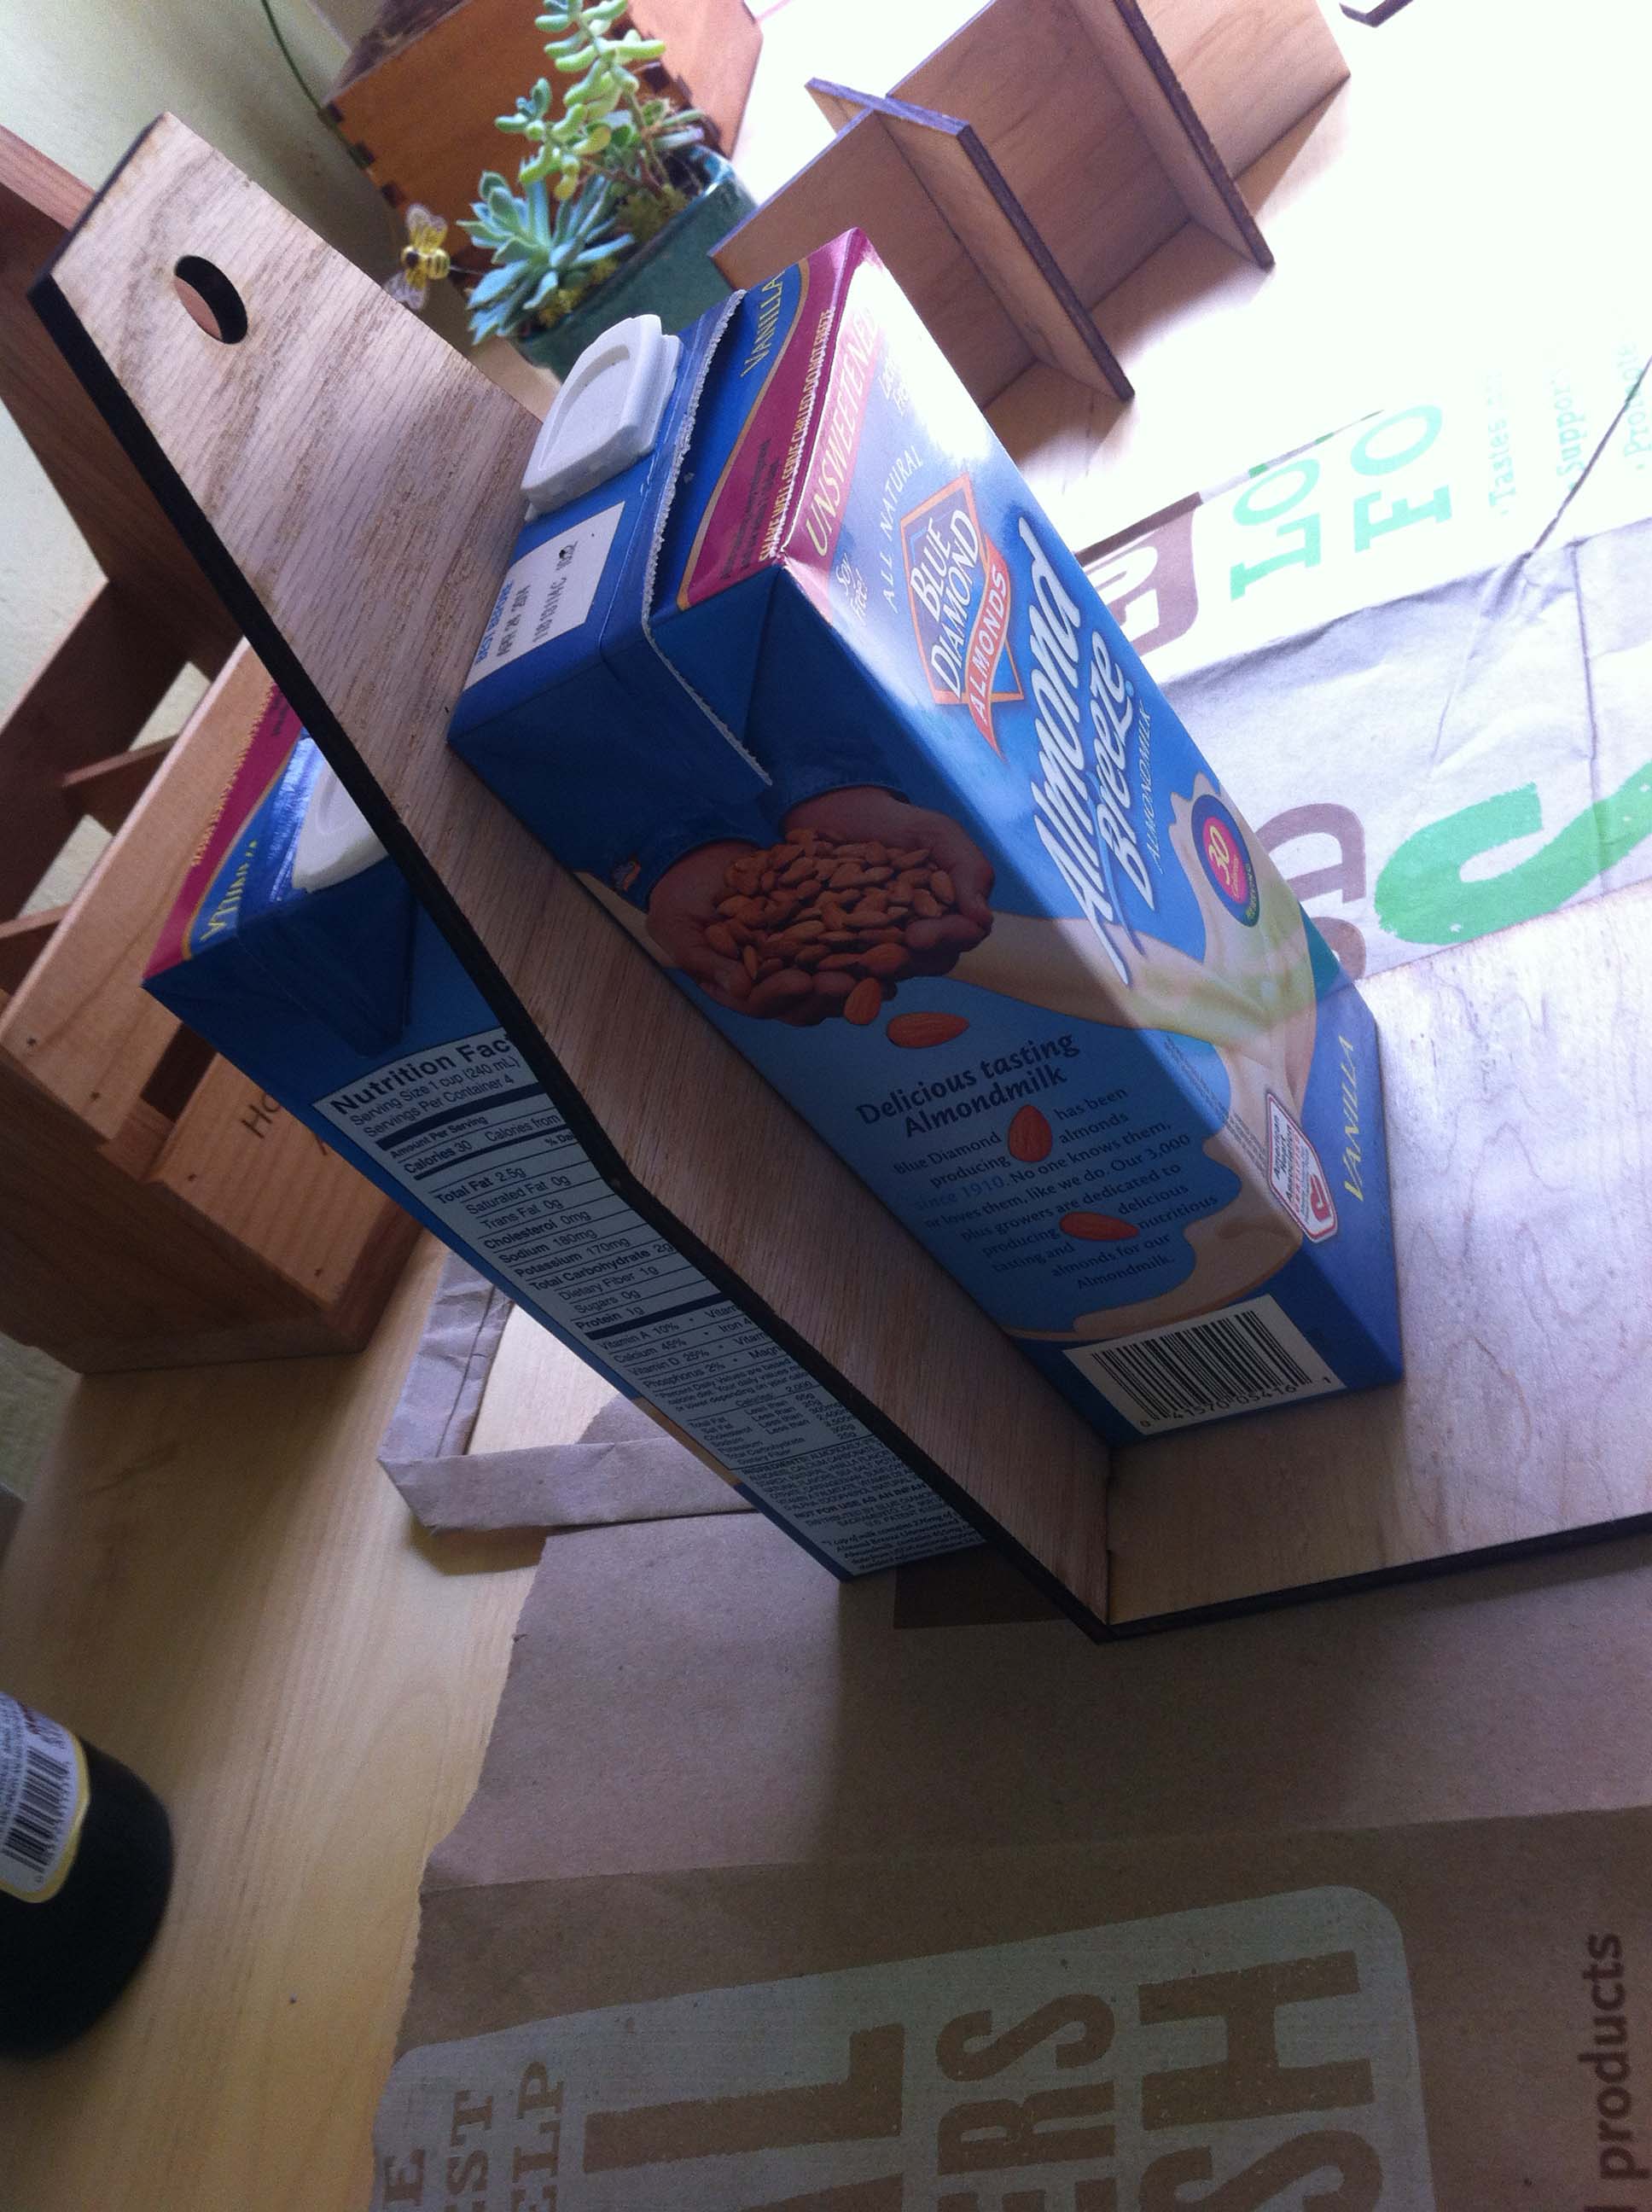
This video is the part where it's lasercutting the slats. Remember, these slats should be the width of your wood.
The Dowel Handle
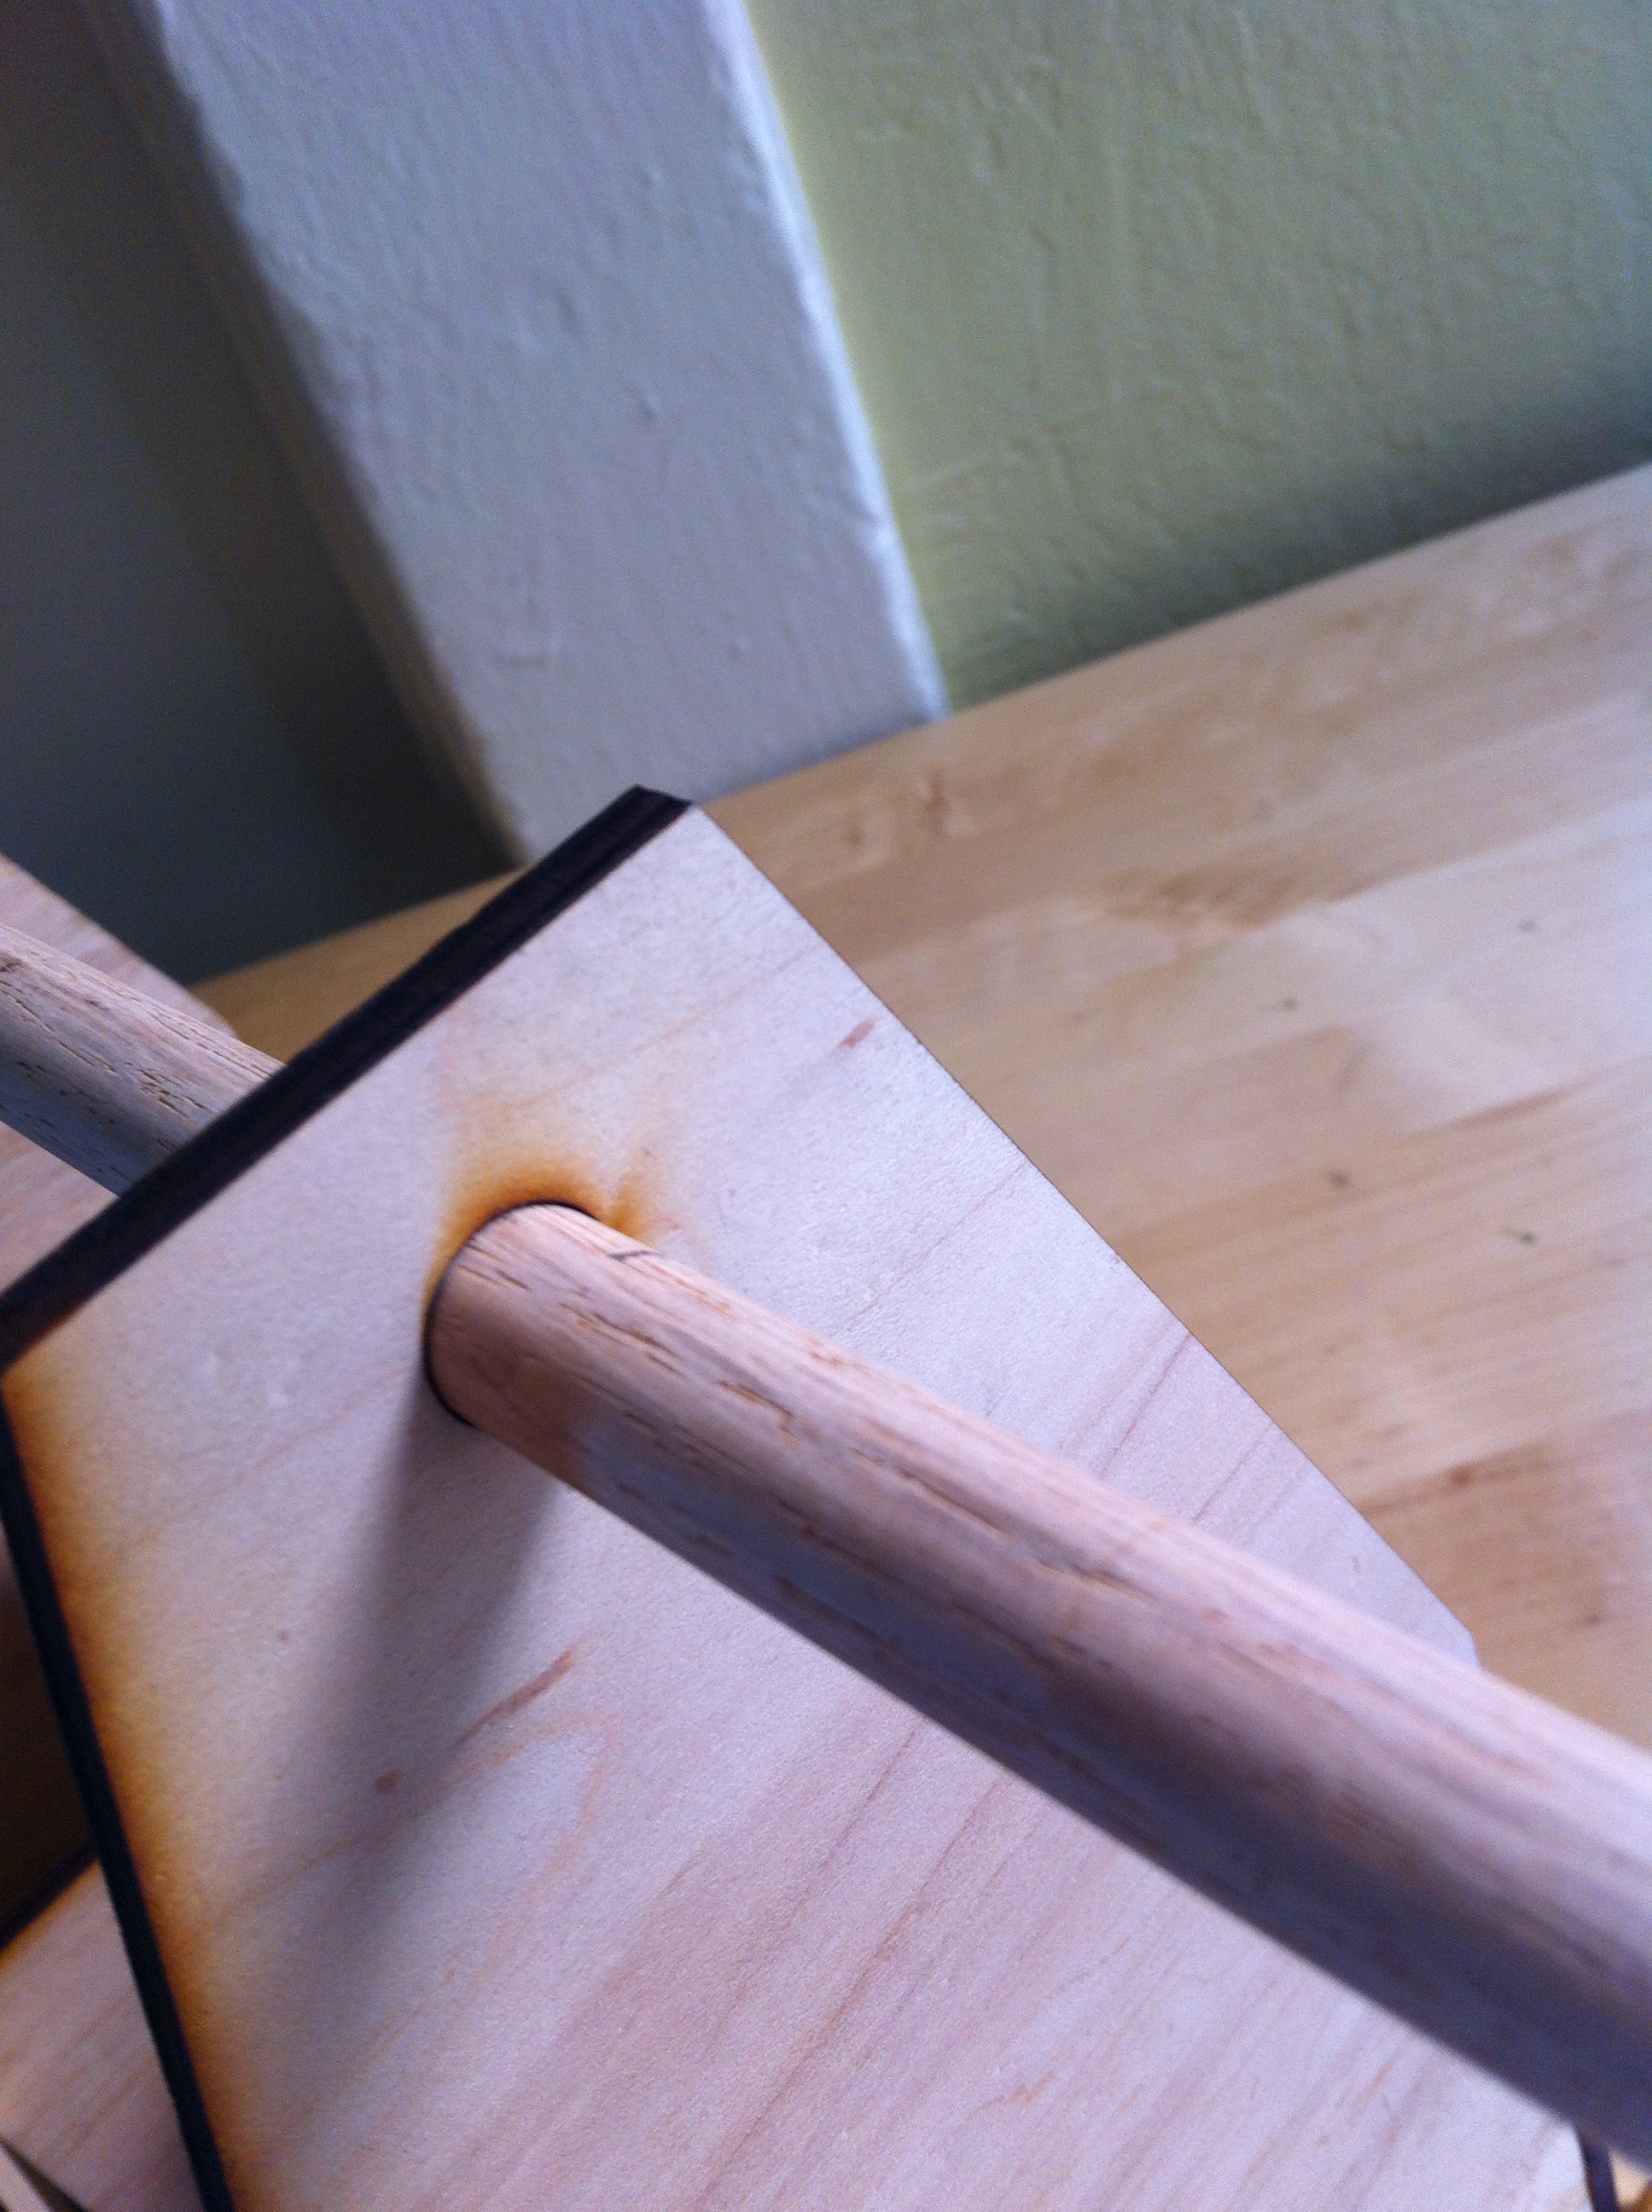
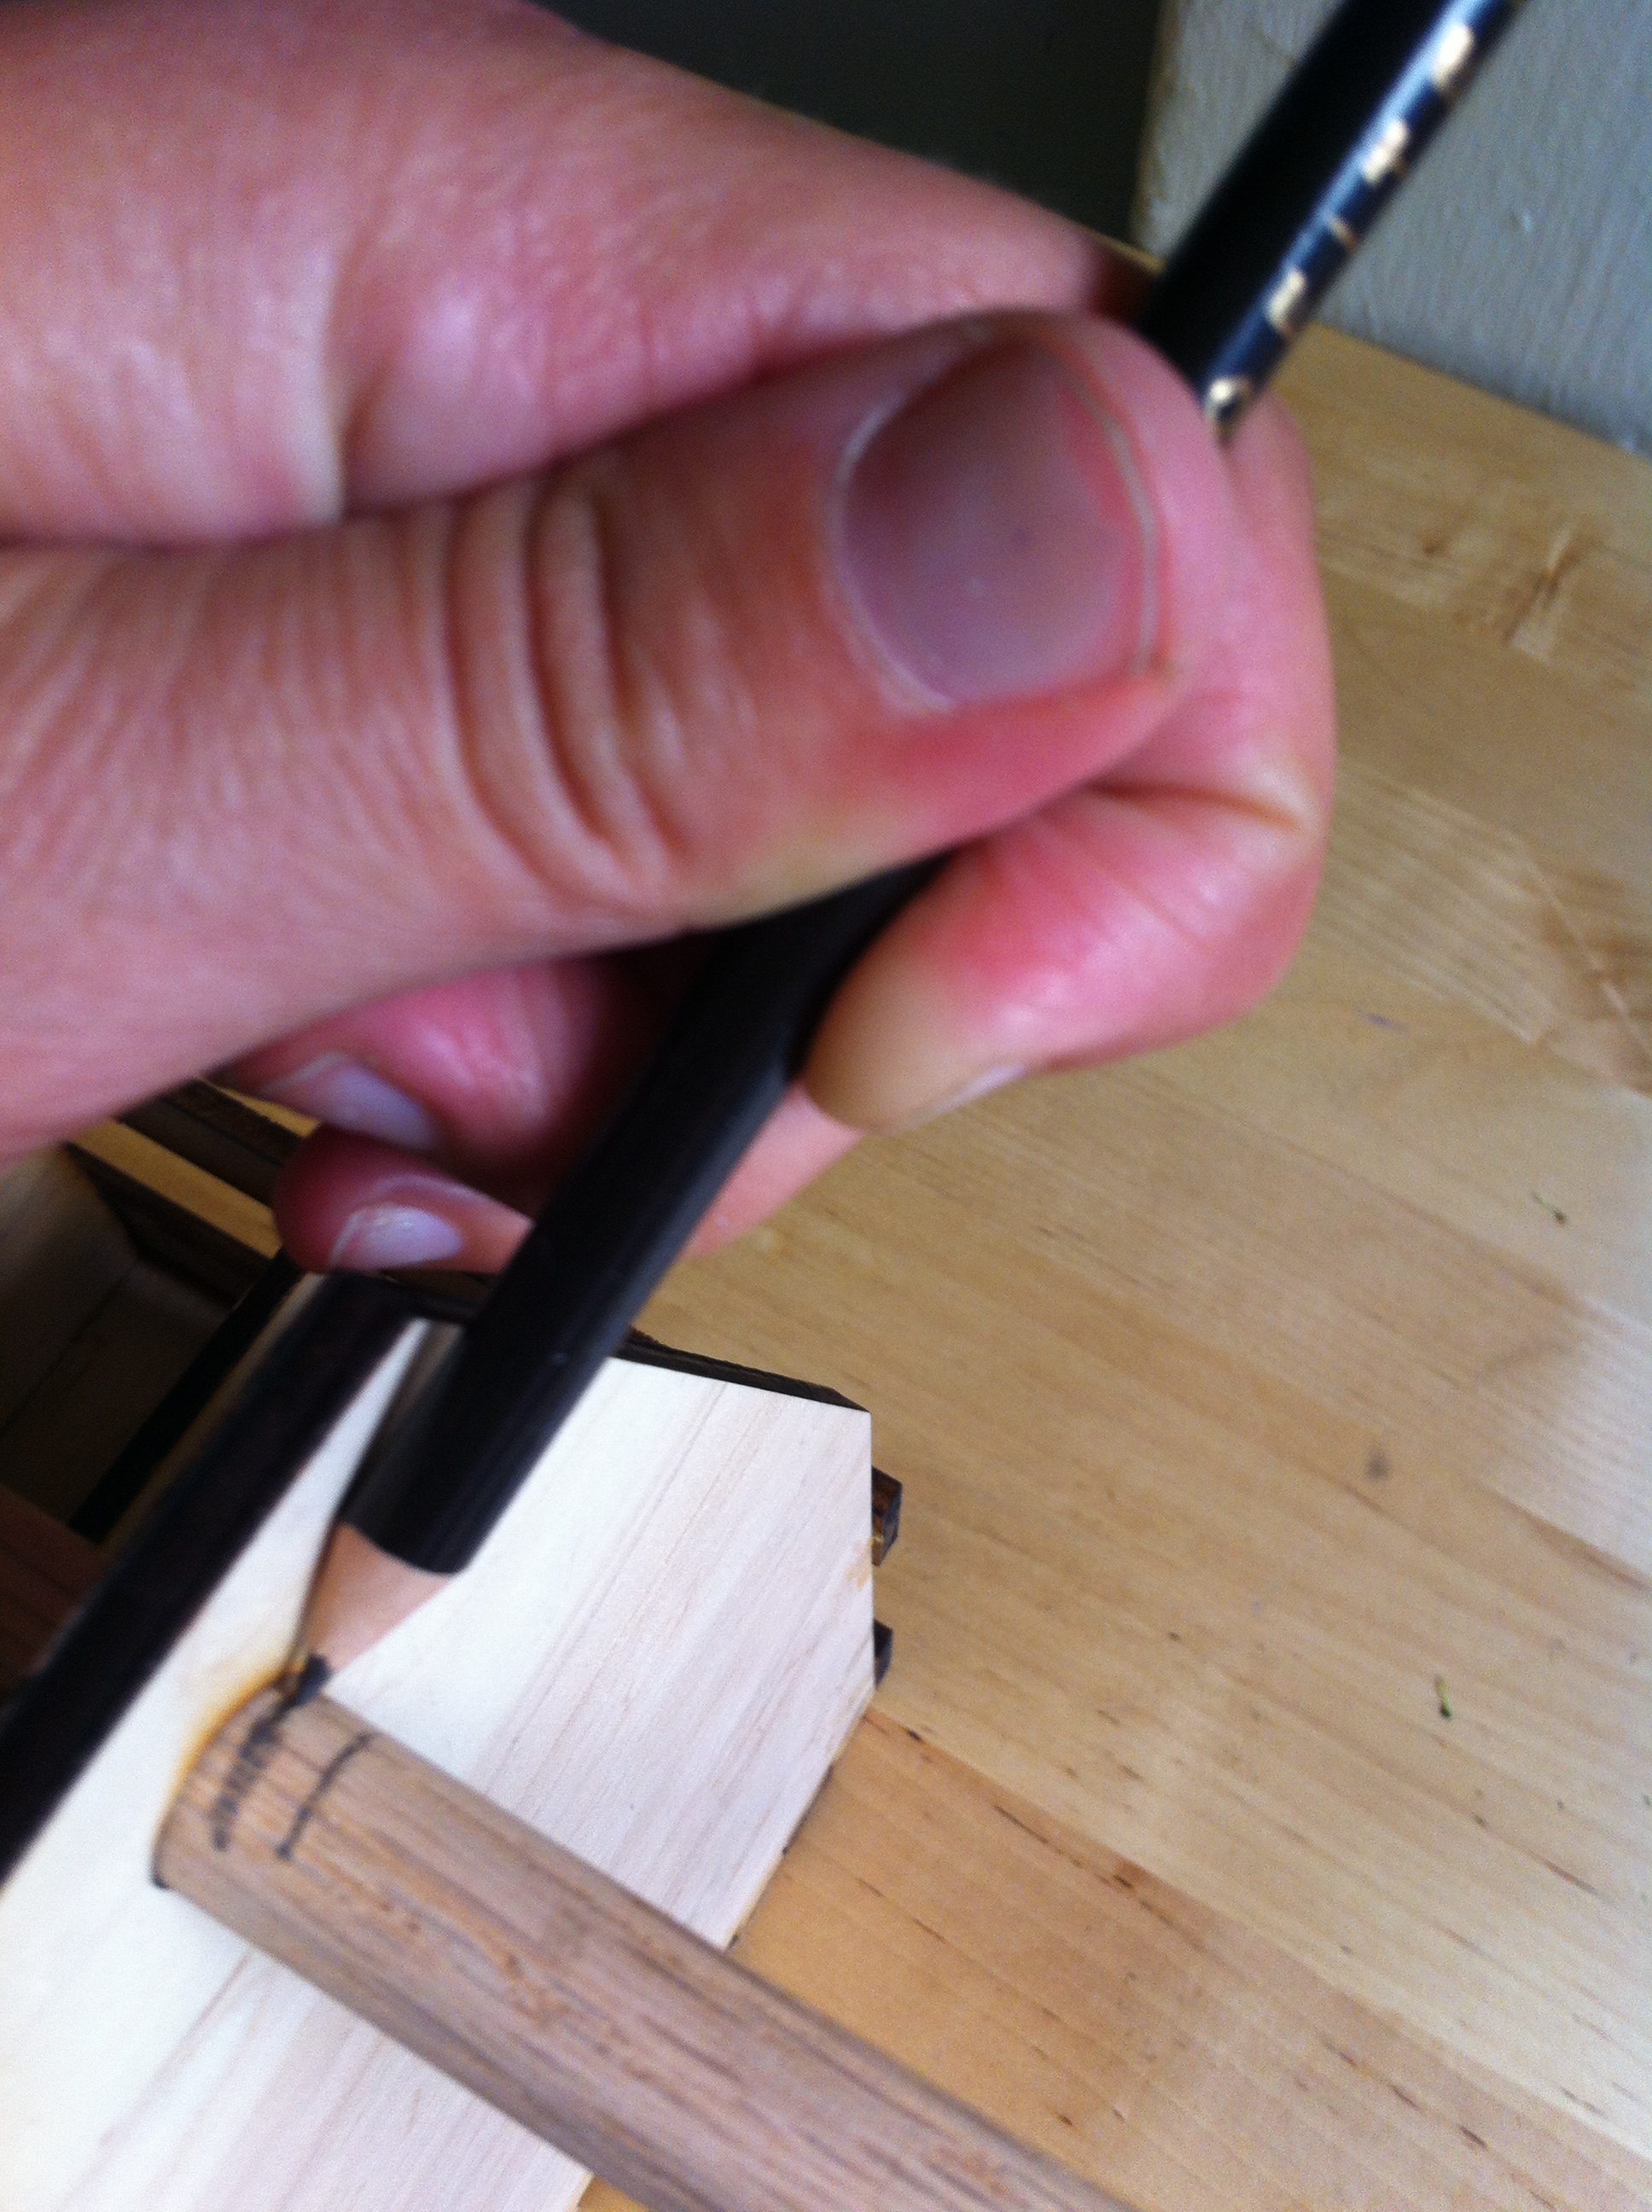
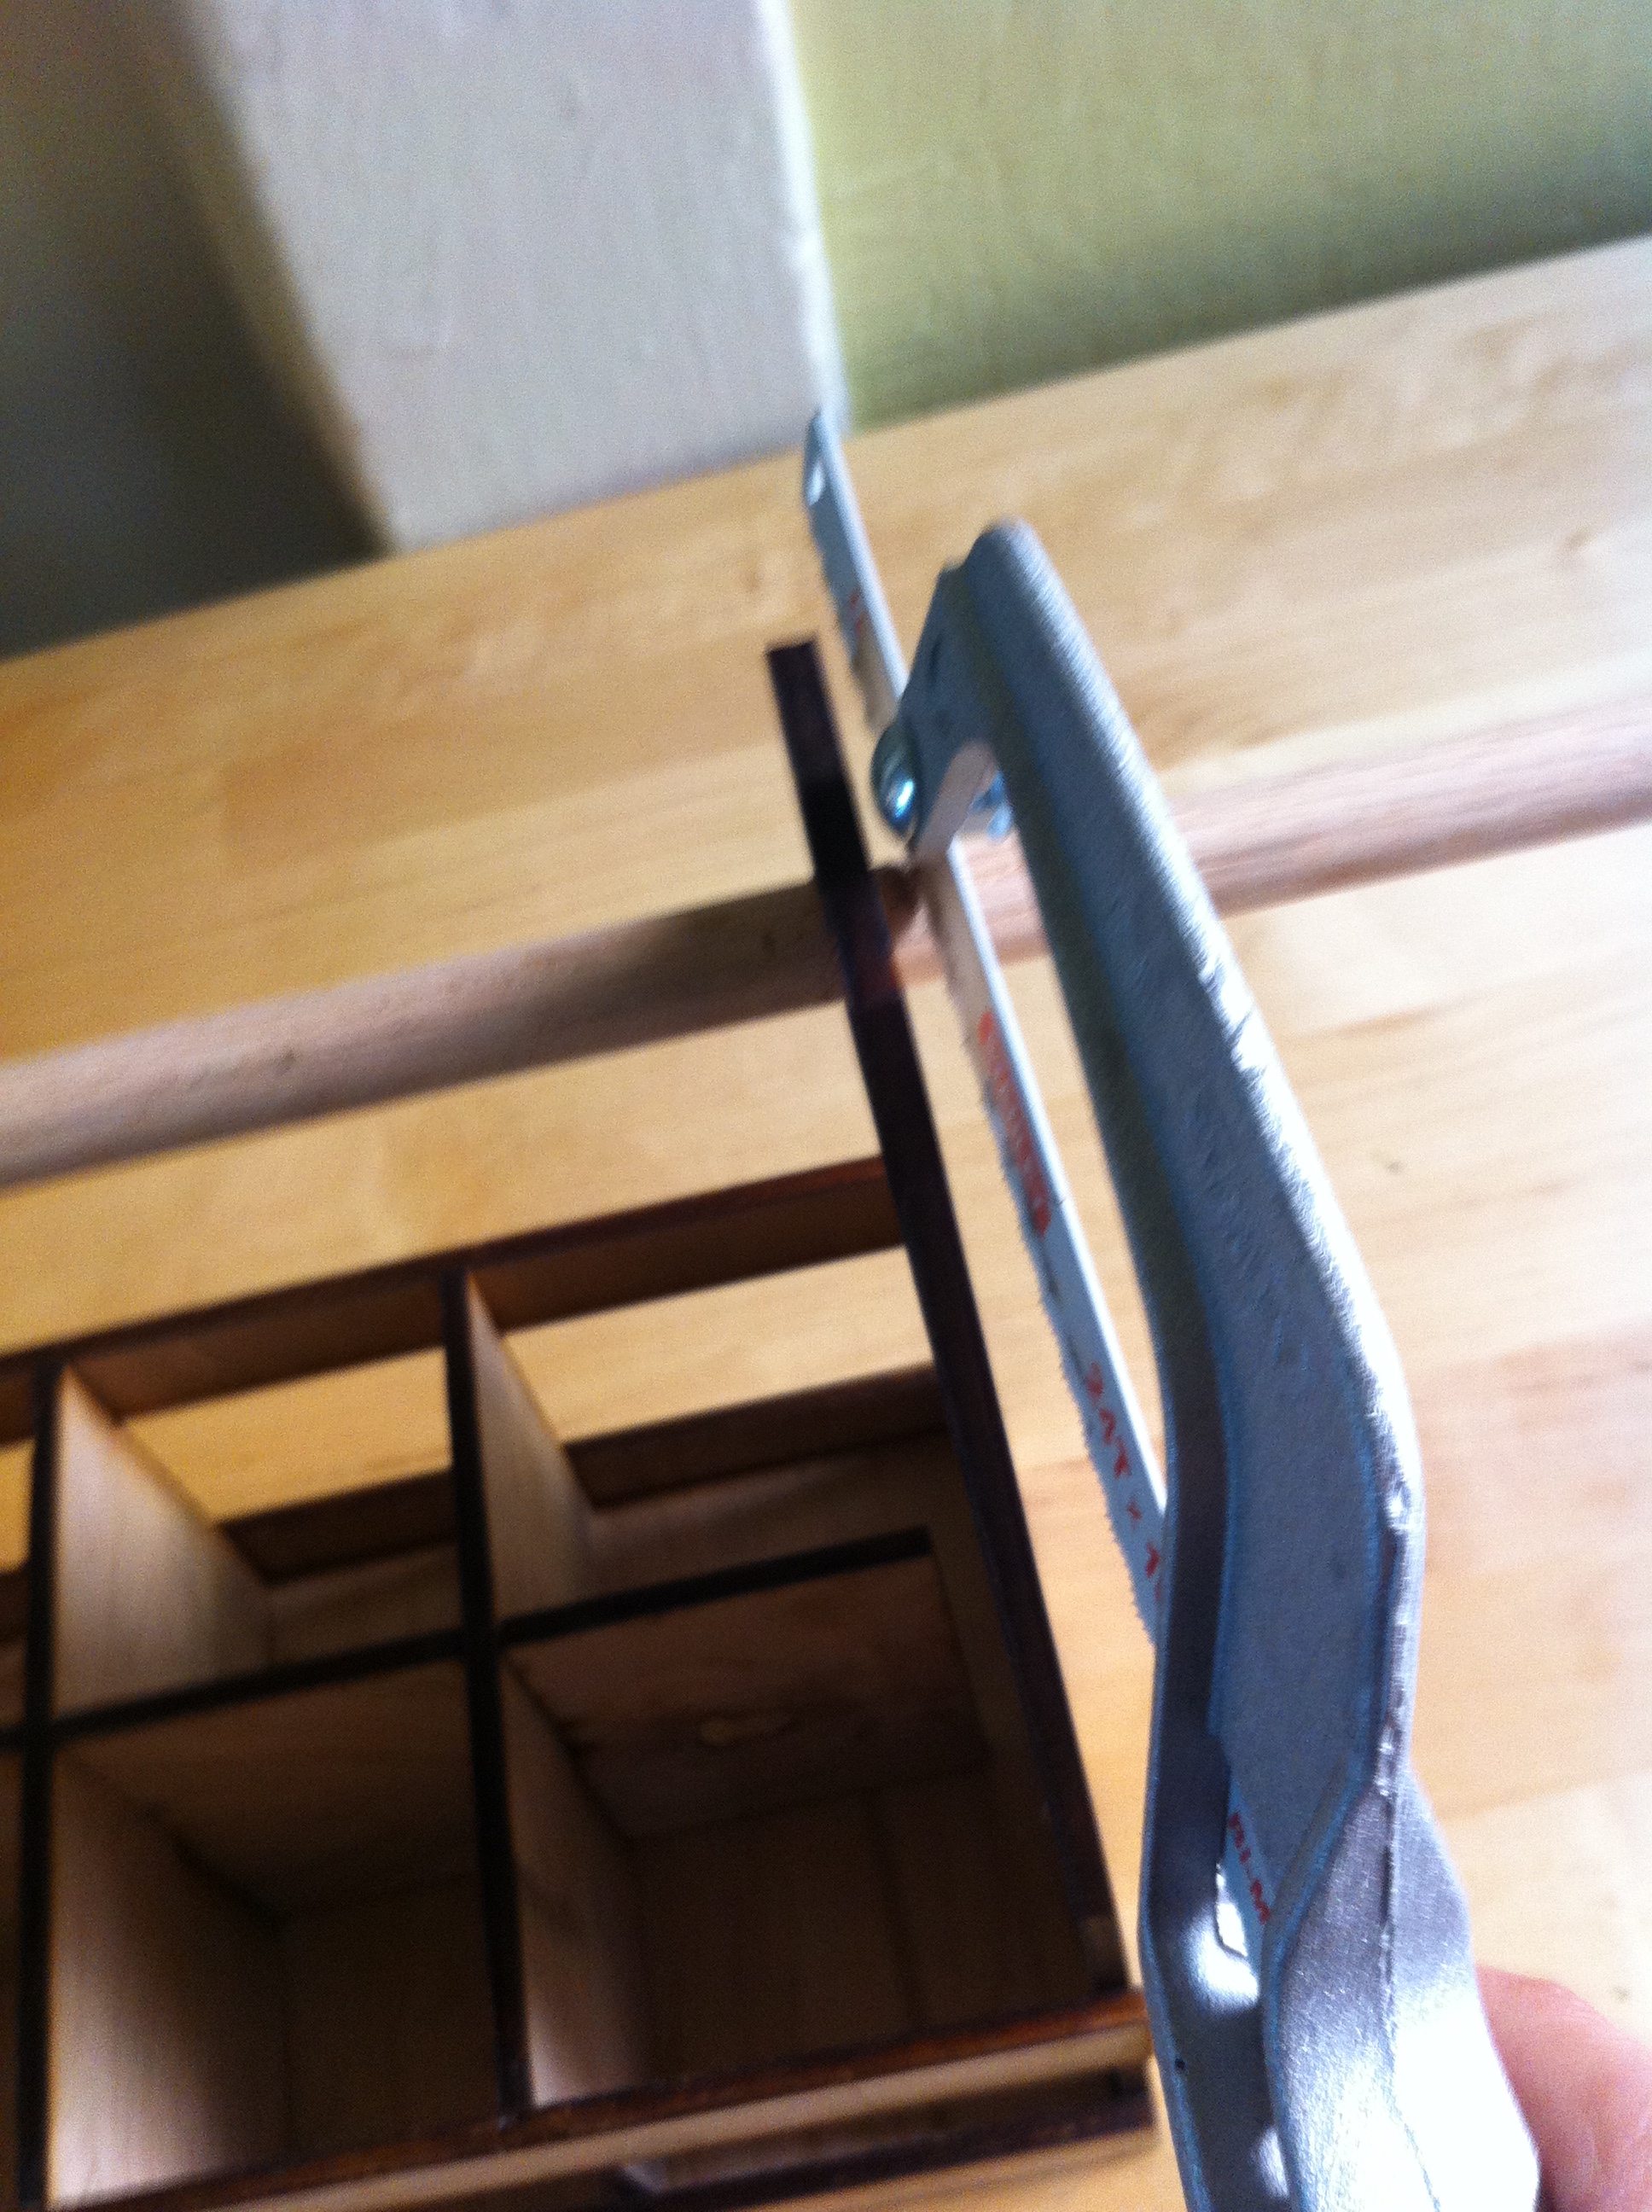
So first I made sure that the dowel was the correct fit for the hole we cut.
Then I measure it to the correct length, cut it a hand saw, then glued it in place.
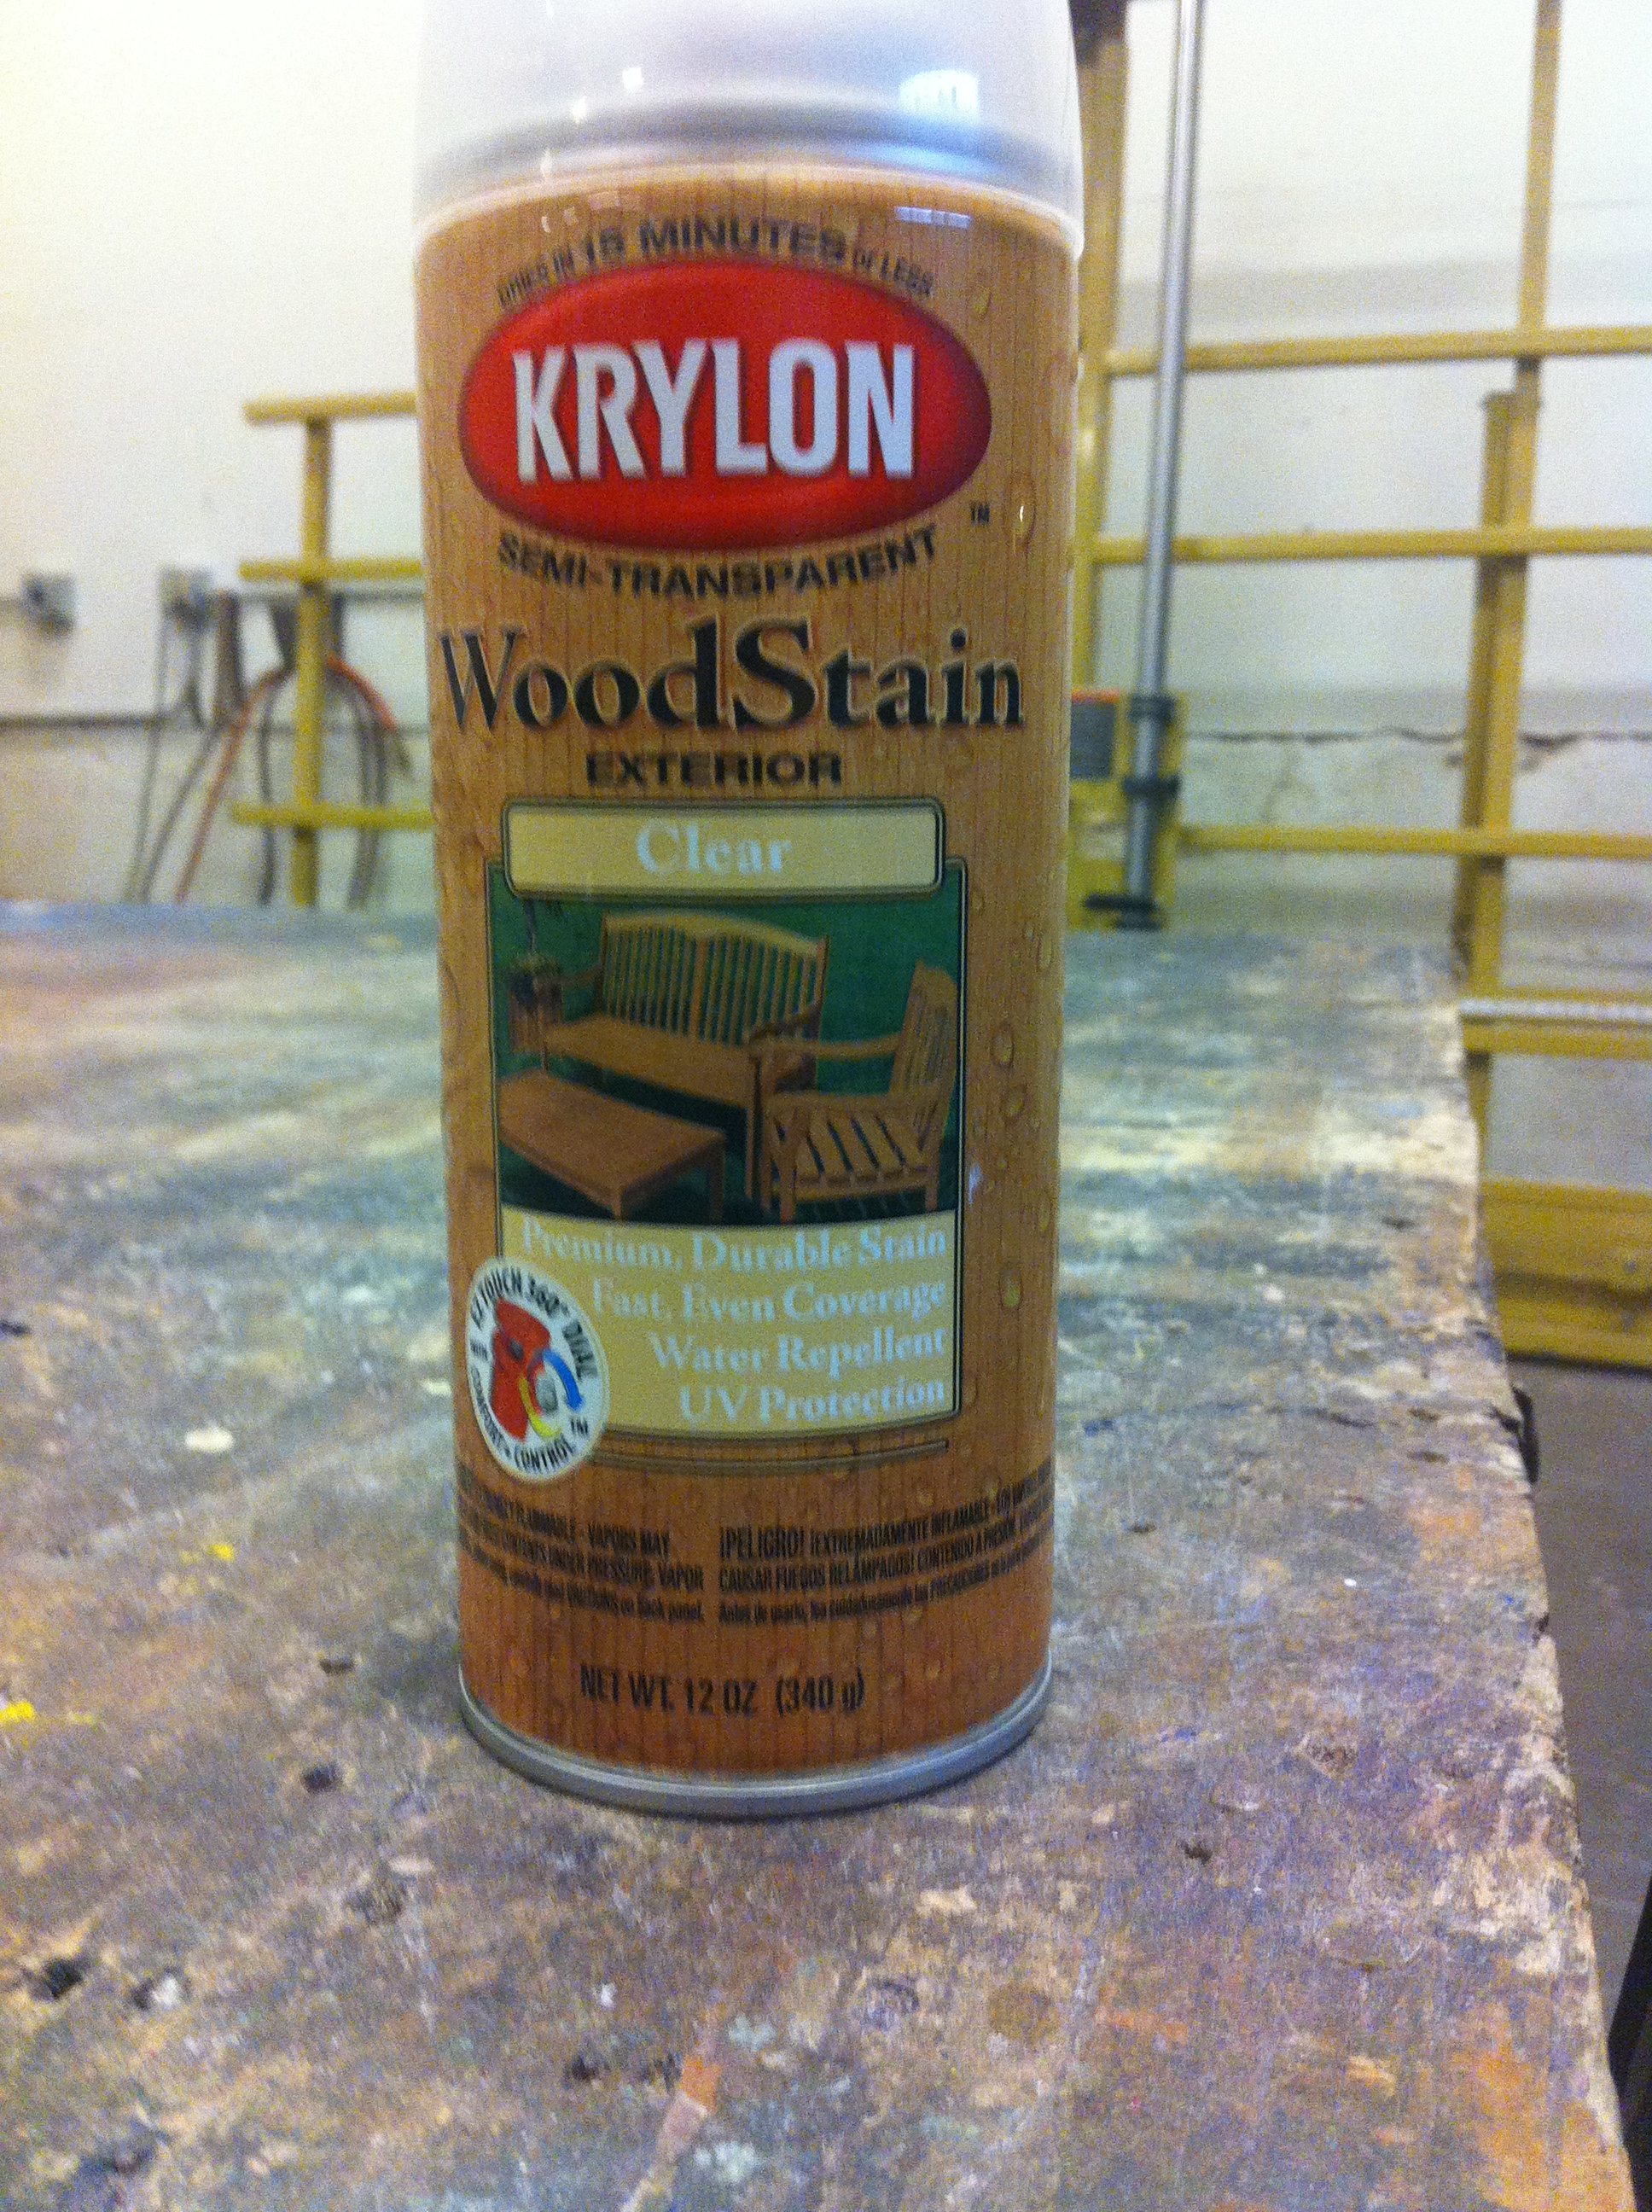
A quick spray with wood stain and it's water proof!
Then I measure it to the correct length, cut it a hand saw, then glued it in place.
A quick spray with wood stain and it's water proof!
Photo of the Finished Product
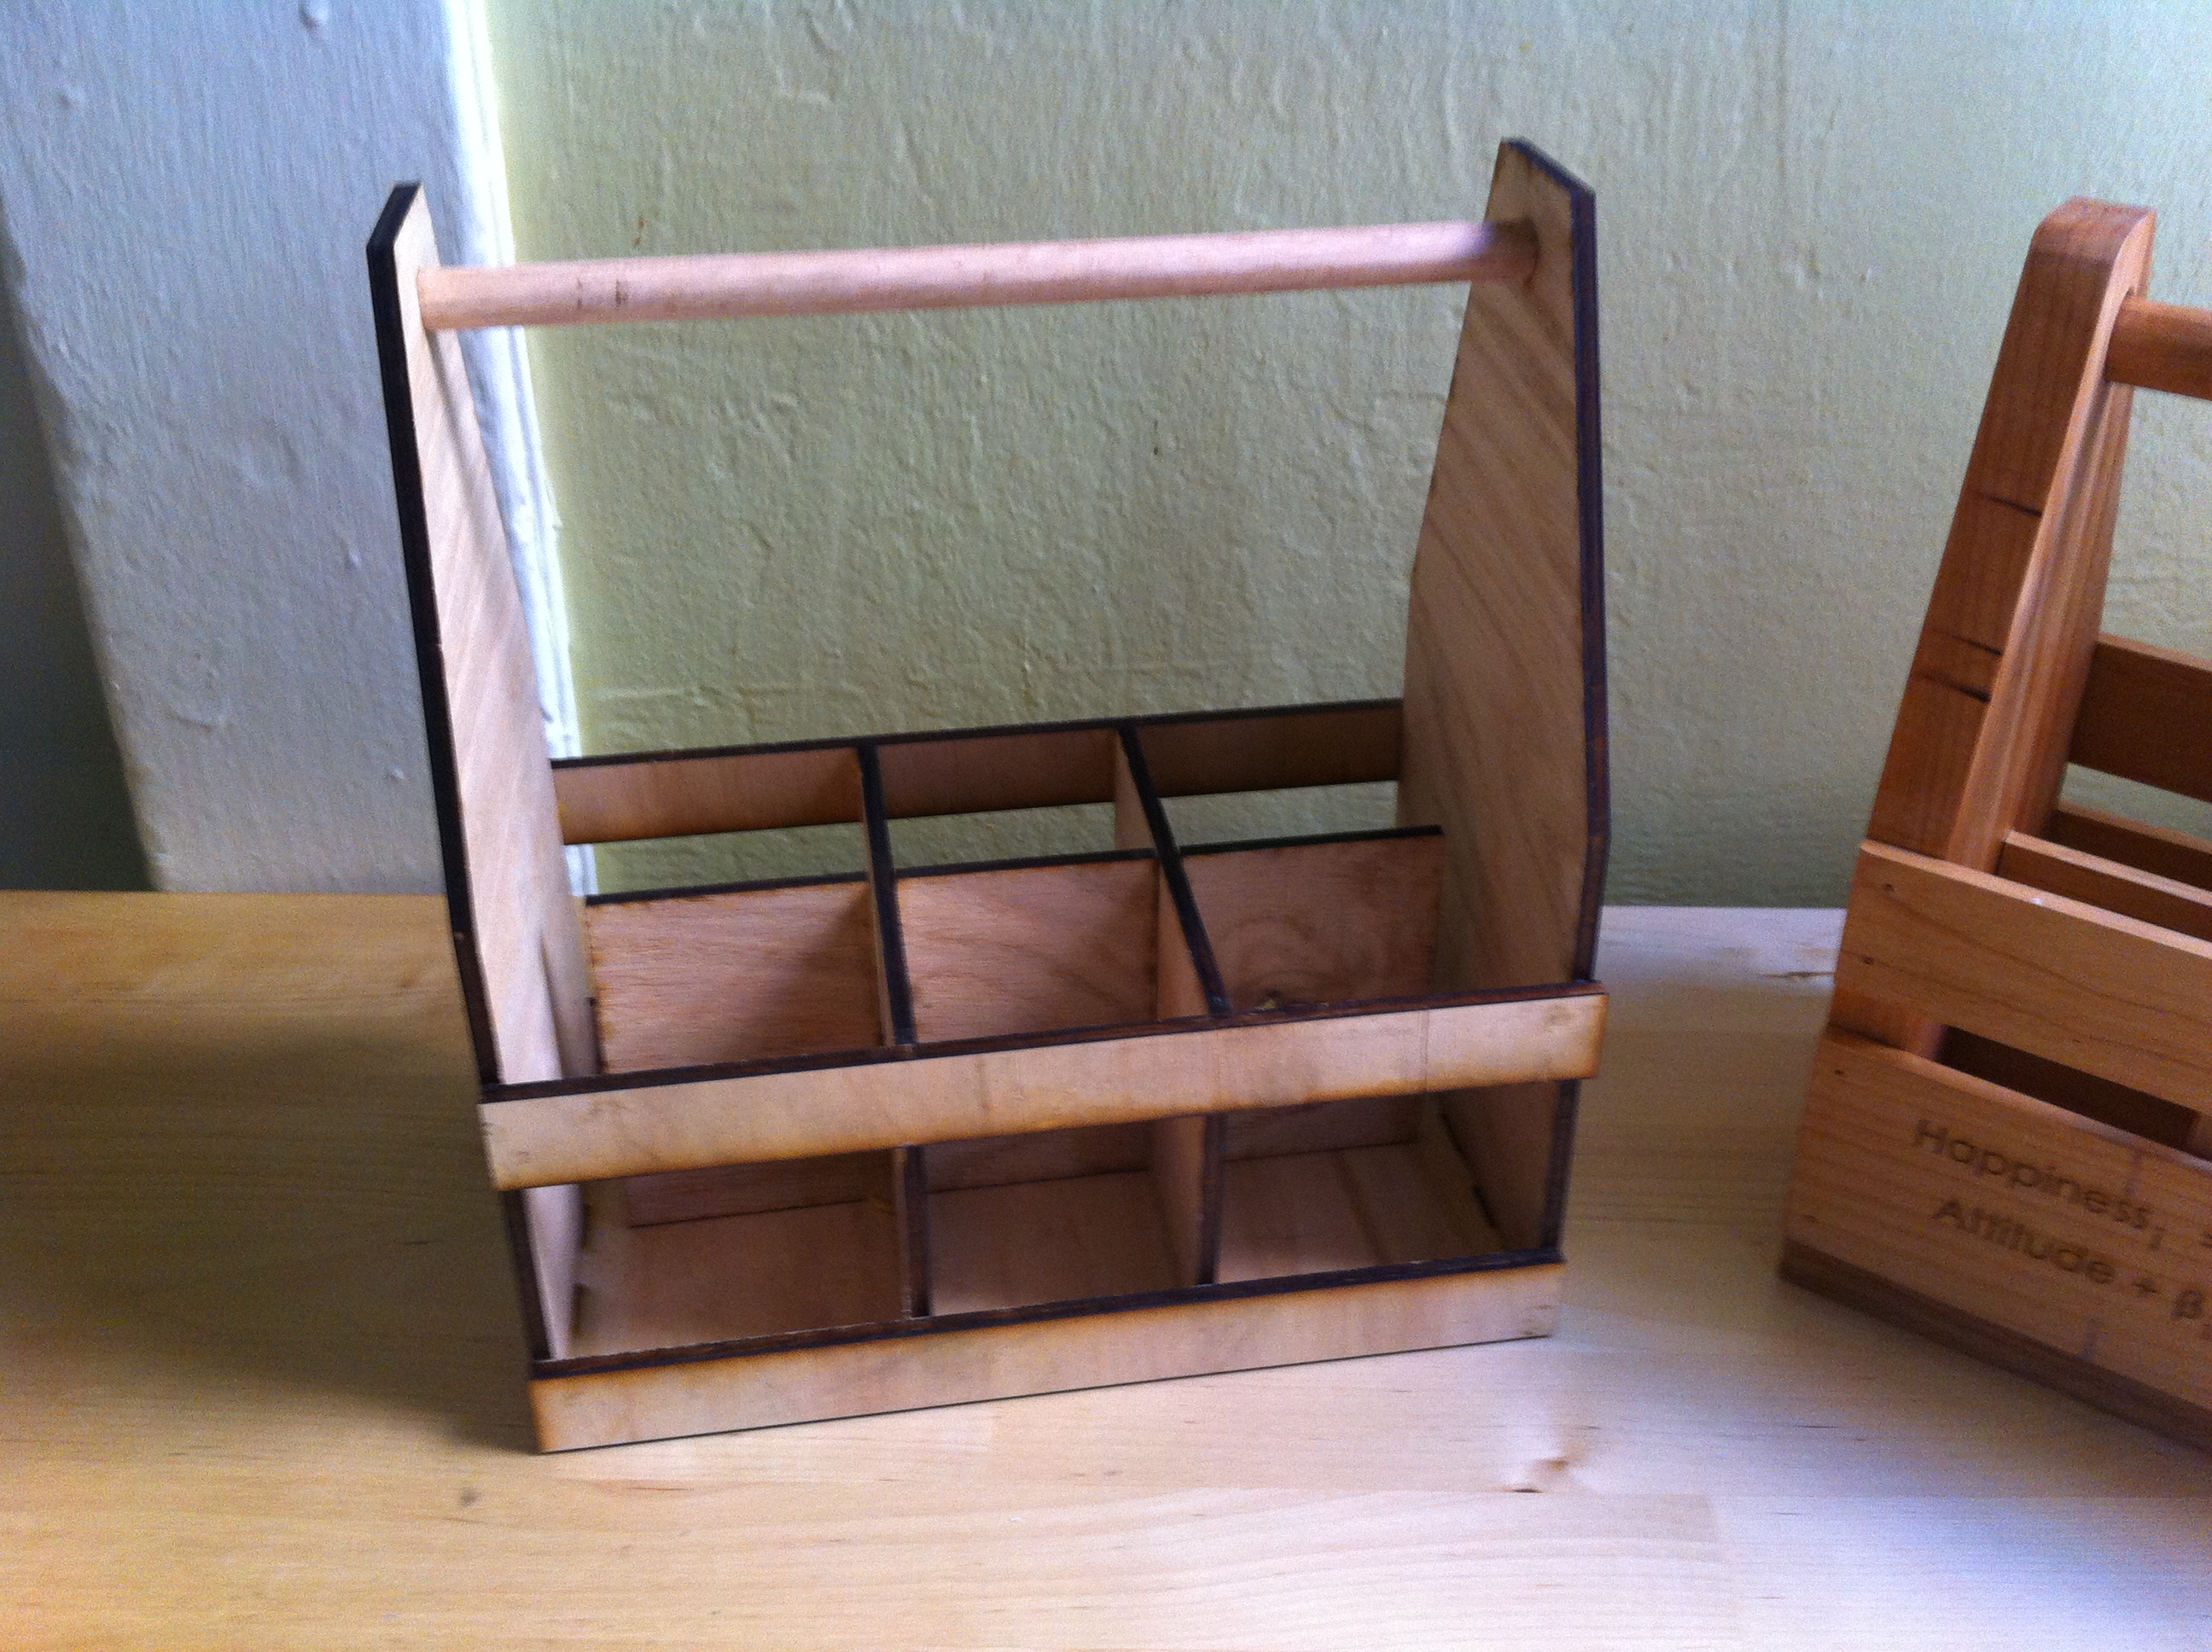
And that's it!
In review, I created a vector design of a box, modified it in Illustrator, cut it on a laser cutting machine, and then glued it together!
And, I made it at Techshop SF!!
In review, I created a vector design of a box, modified it in Illustrator, cut it on a laser cutting machine, and then glued it together!
And, I made it at Techshop SF!!