LaserCut Jewelry Using TinkerCad Codeblocks
by Theinnovationclassroom in Craft > Jewelry
865 Views, 7 Favorites, 0 Comments
LaserCut Jewelry Using TinkerCad Codeblocks

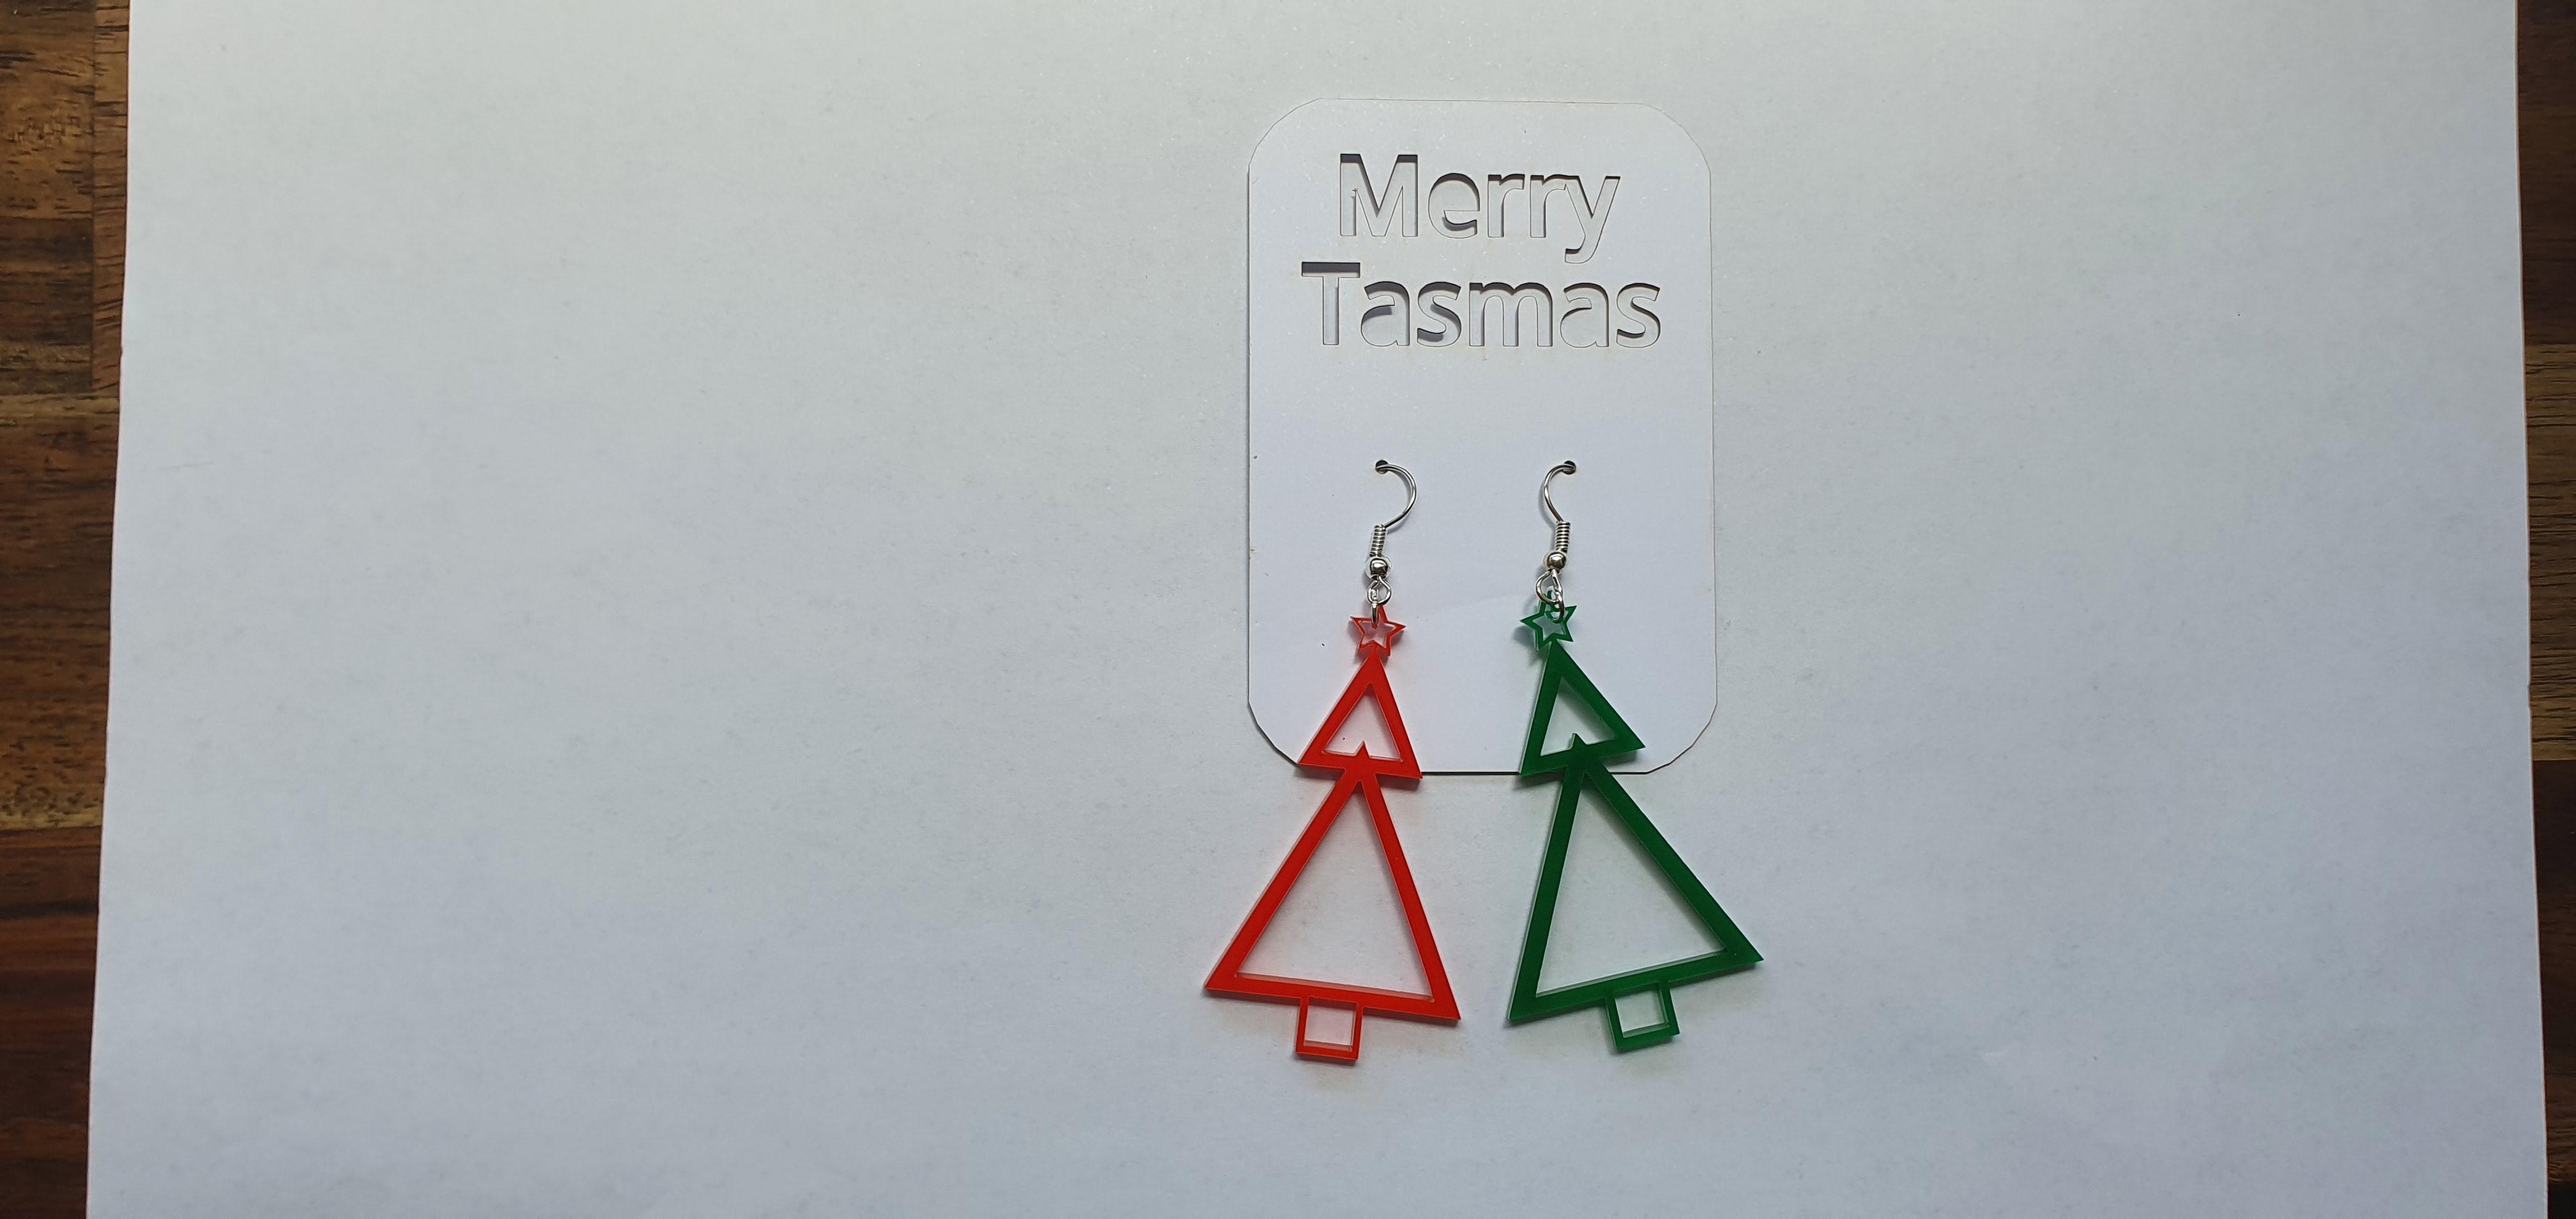
This Instructable will detail the process of designing in TinkerCad Codeblock with some linked examples for you to edit for yourself.
I will briefly give instructions on the Lasercutting & or 3d printing process, though the tutorial will mainly focus on the design process.
Link to TinkerCad Project - Christmas Earings
Link to TinkerCad Project - Geometric Designs Example 1
Link to TinkerCad Project - Geometric Designs Example 2
Supplies
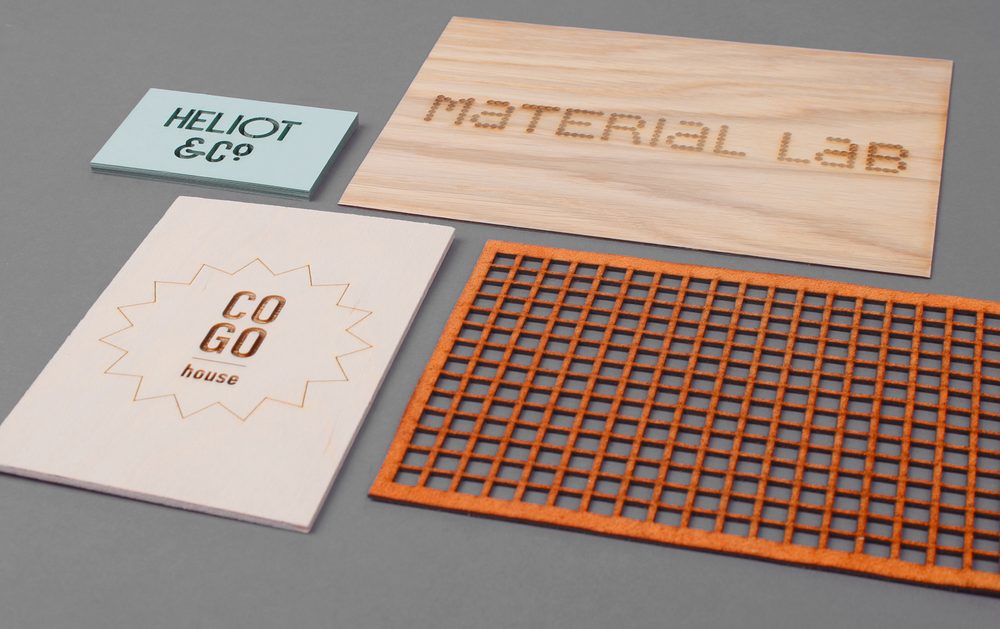
3mm acrylic (Colour of your own choosing) or any other material you wish to make your jewellery from!
Small Jump-rings
TinkerCad
Any 3D Print or Laser cutter
Coding Your Design - TinkerCad Codeblocks
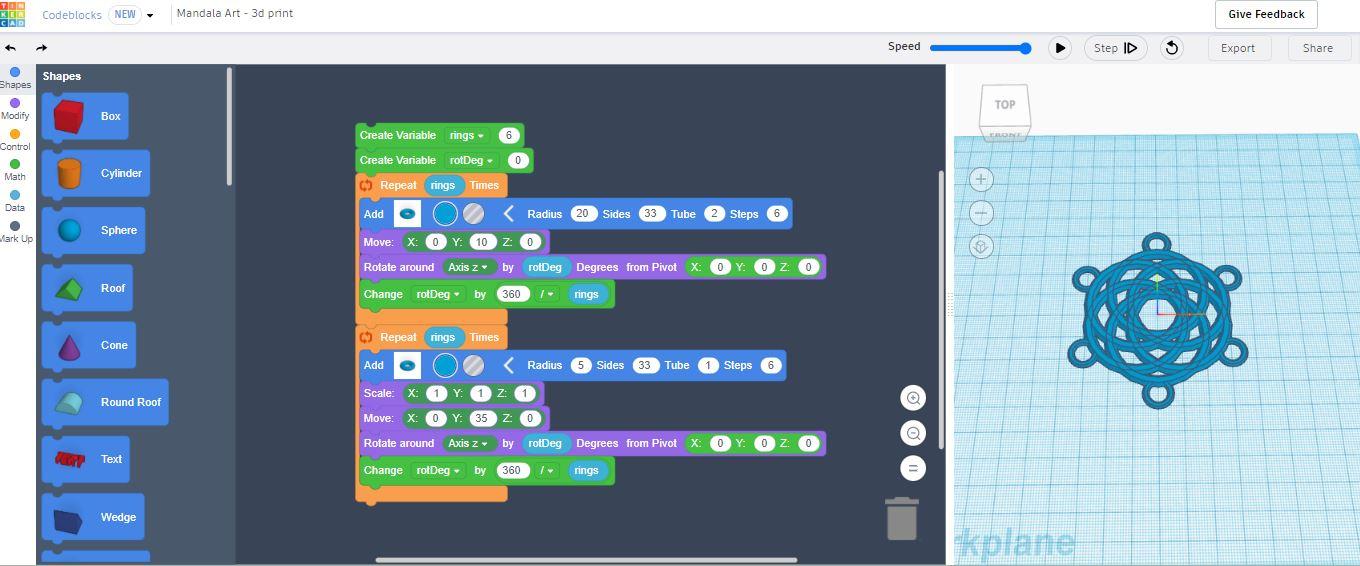

The first step is to start designing in TinkerCad Codeblocks.
Tinkercad Codeblocks allows you to automate your design process by using block code.
By placing shapes and manipulating the size, position and angles you can create designs that can be manipulated, duplicated and adjusted with just a few extra lines of code.
Using variables is the best way to make these adjustments and embed them into your code.
Follow this tutorial on Youtube to help you navigate the process of creating your own designs. Remember, with earings, you will need to include a hoop at the top of your design.
Lasercutting or 3d Printing Your Design

Once you have your design created in TinkerCad Codeblocks you will need to either export for 3d printing or laser cutting.
Lasercutting requires an SVG. file export. Follow this short tutorial to export your design from Tinkercad ready to be laser cut. Lasercutting software often requires a 0.01pt redline in order to cut. From experience, Tinkercad exported SVG. files do not always work when placed directly into the laser cutting software. Instead, you may need to manipulate your SVG. In software such as InkScape(free) or Adobe Illustrator.
3D Printing will require an STL Export. Follow this short tutorial to export your design from TinkerCad ready to be 3d printed. (The video is using a FlashForge Printer) though the concepts will consistent for all 3d printers.
Add Jumpring and Earing Hooks
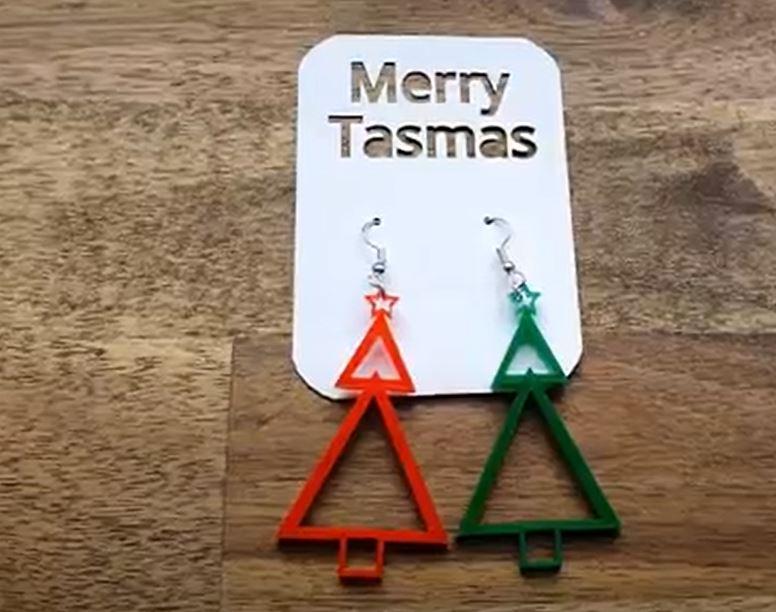
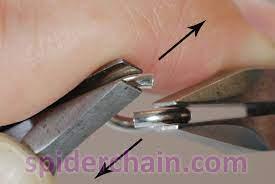
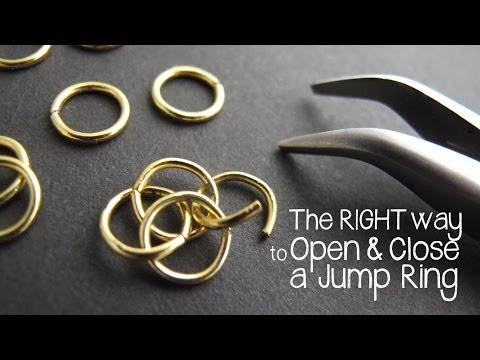
Once you have your lasercut or 3d Printed piece, it's time to connect your jump rings to the loop created at the top of your design and link-in your earing hooks.
And you're done!
Time to experiment with a range of designs, variables and materials!