Laser Etch Your Leather Wallet and Stop a Robbery
by alepalan in Craft > Leather
9567 Views, 31 Favorites, 0 Comments
Laser Etch Your Leather Wallet and Stop a Robbery
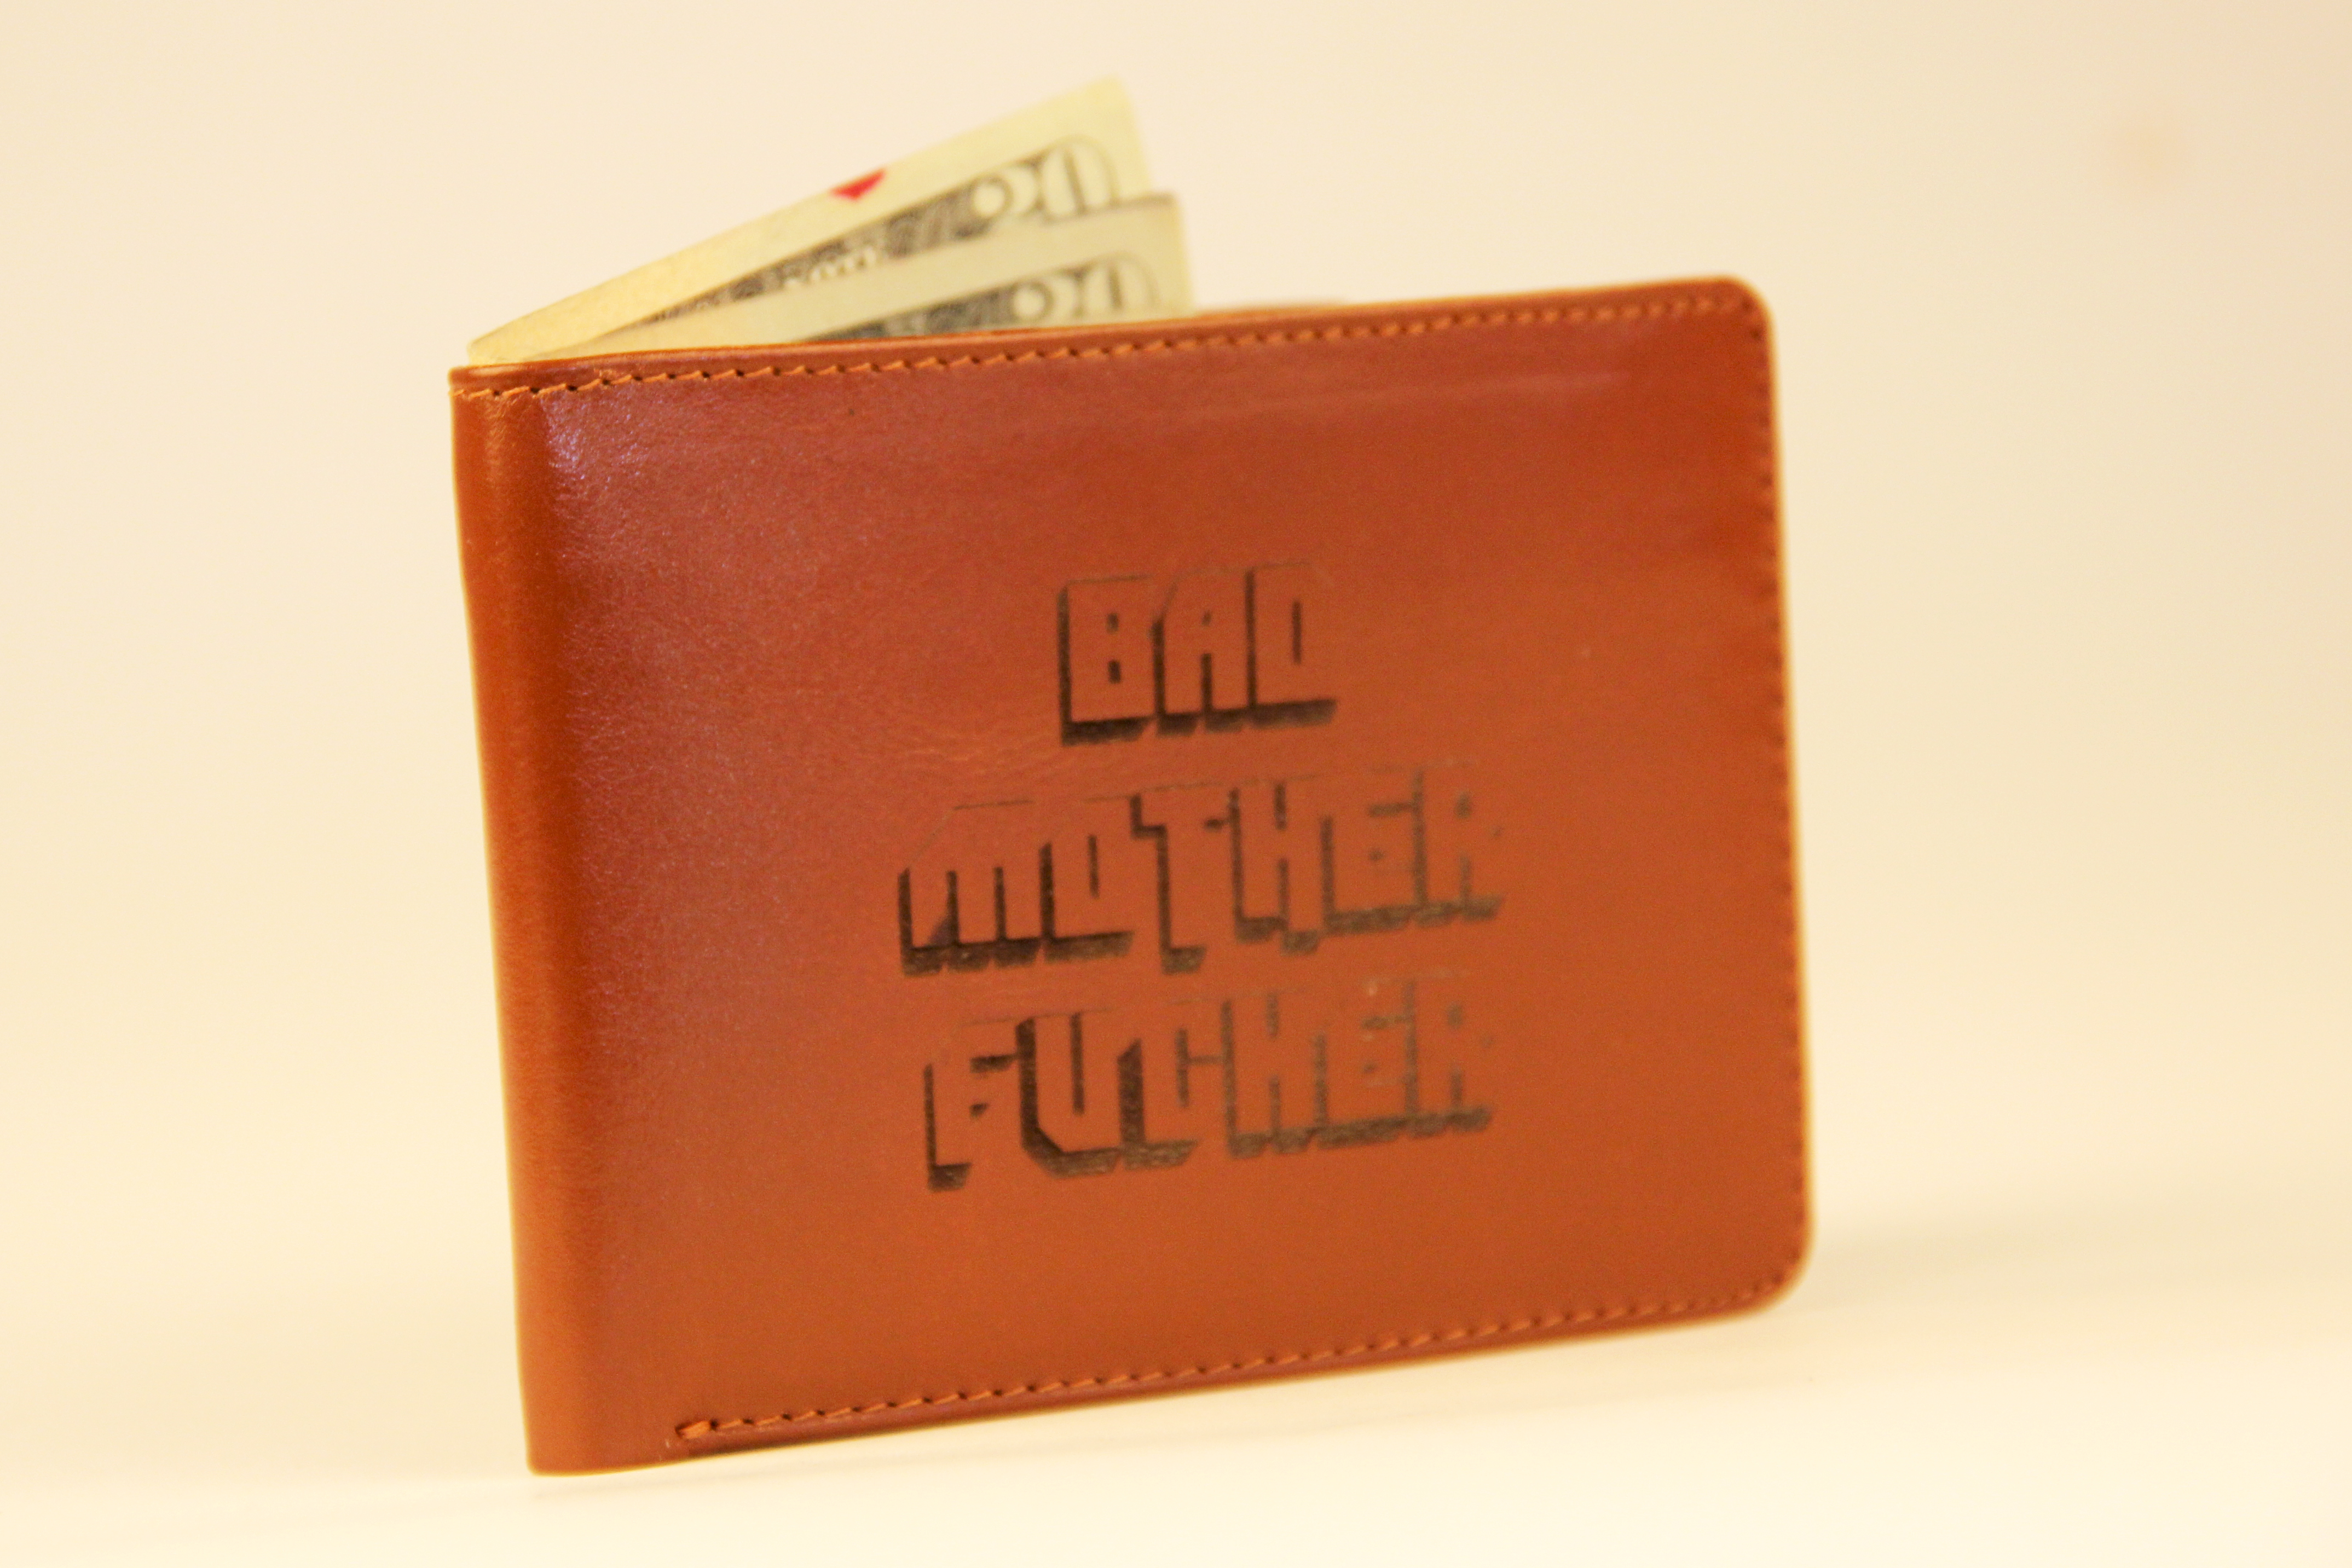
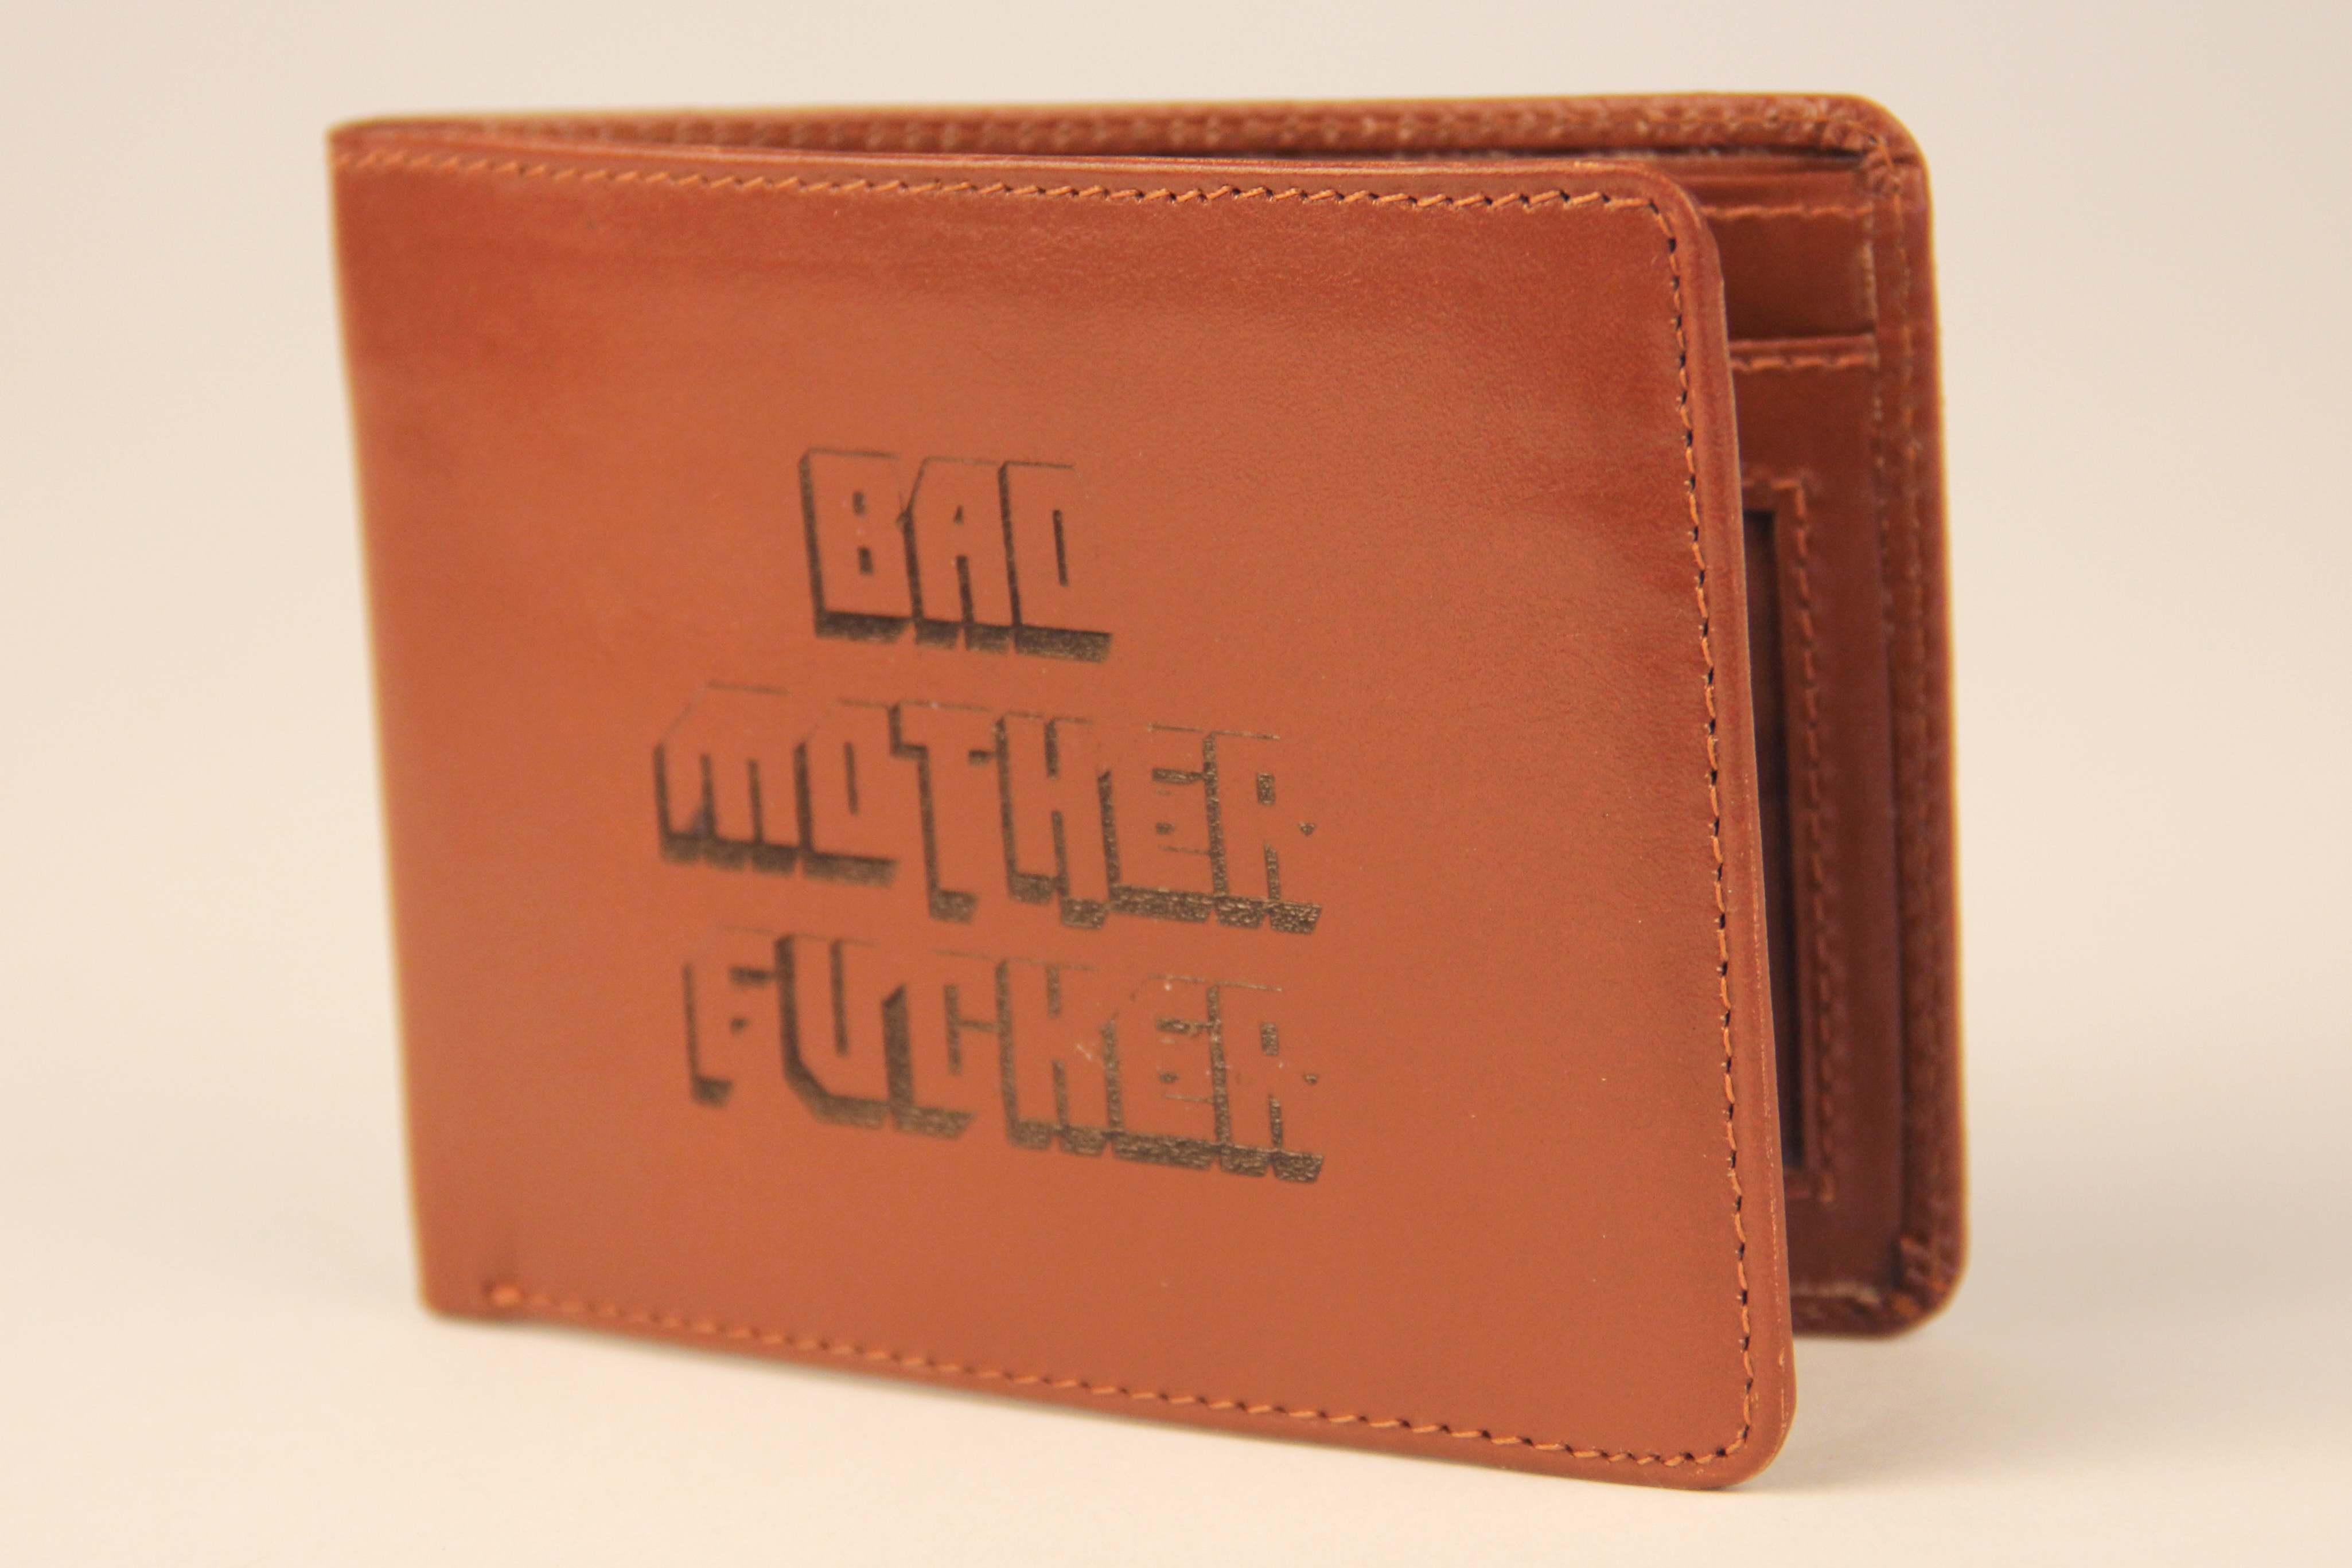
This is a simple instructable of laser etching your leather wallet but it might also lead to prevent a robbery like in the movie Pulp Fiction. The other day a friend forwarded me a funny news where a Local Man Stops Robbery By Quoting Pulp Fiction in Jonestown, AZ. I haven't verified if this is a real story but it gave me the motivation to laser etch my wallet with the laser cutter. For those who haven't seen Pulp Fiction, this is the scene I'm talking about:
I know you can purchase a “Bad Mother F*cker” wallet online from different vendors but honestly they don't look nice and there is something cool about taking your wallet and telling people you customized it.
I know you can purchase a “Bad Mother F*cker” wallet online from different vendors but honestly they don't look nice and there is something cool about taking your wallet and telling people you customized it.
Leather Wallet and Font

The first step is to find a leather wallet (or use your own). I actually purchased this one on Amazon because mine was not real leather.
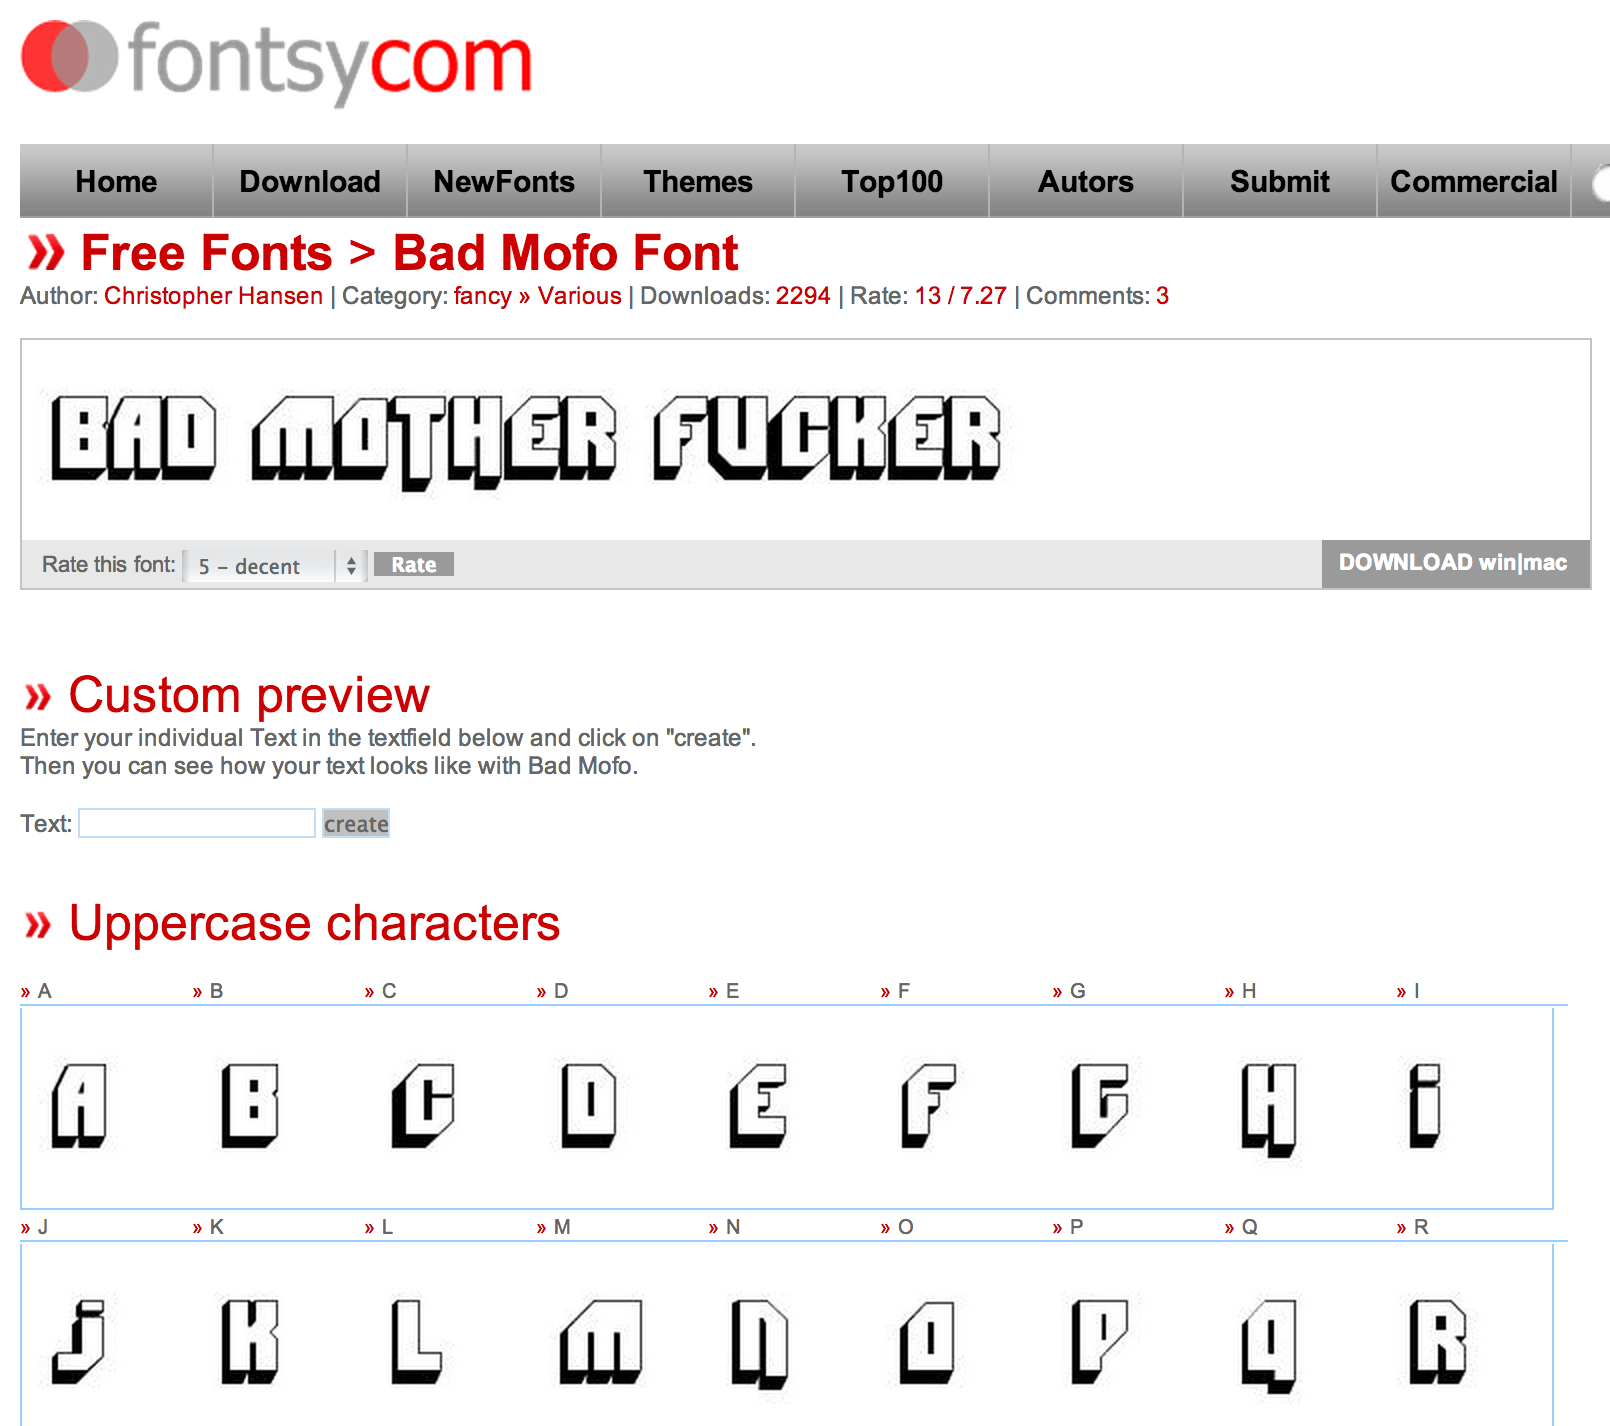
Second, you will need to download the Bad Mofo Font. You can download it from Fontsy but I also included it directly on this instructable because you never know if people will start charging for the fonts in the future.
Second, you will need to download the Bad Mofo Font. You can download it from Fontsy but I also included it directly on this instructable because you never know if people will start charging for the fonts in the future.
Design Your Wallet
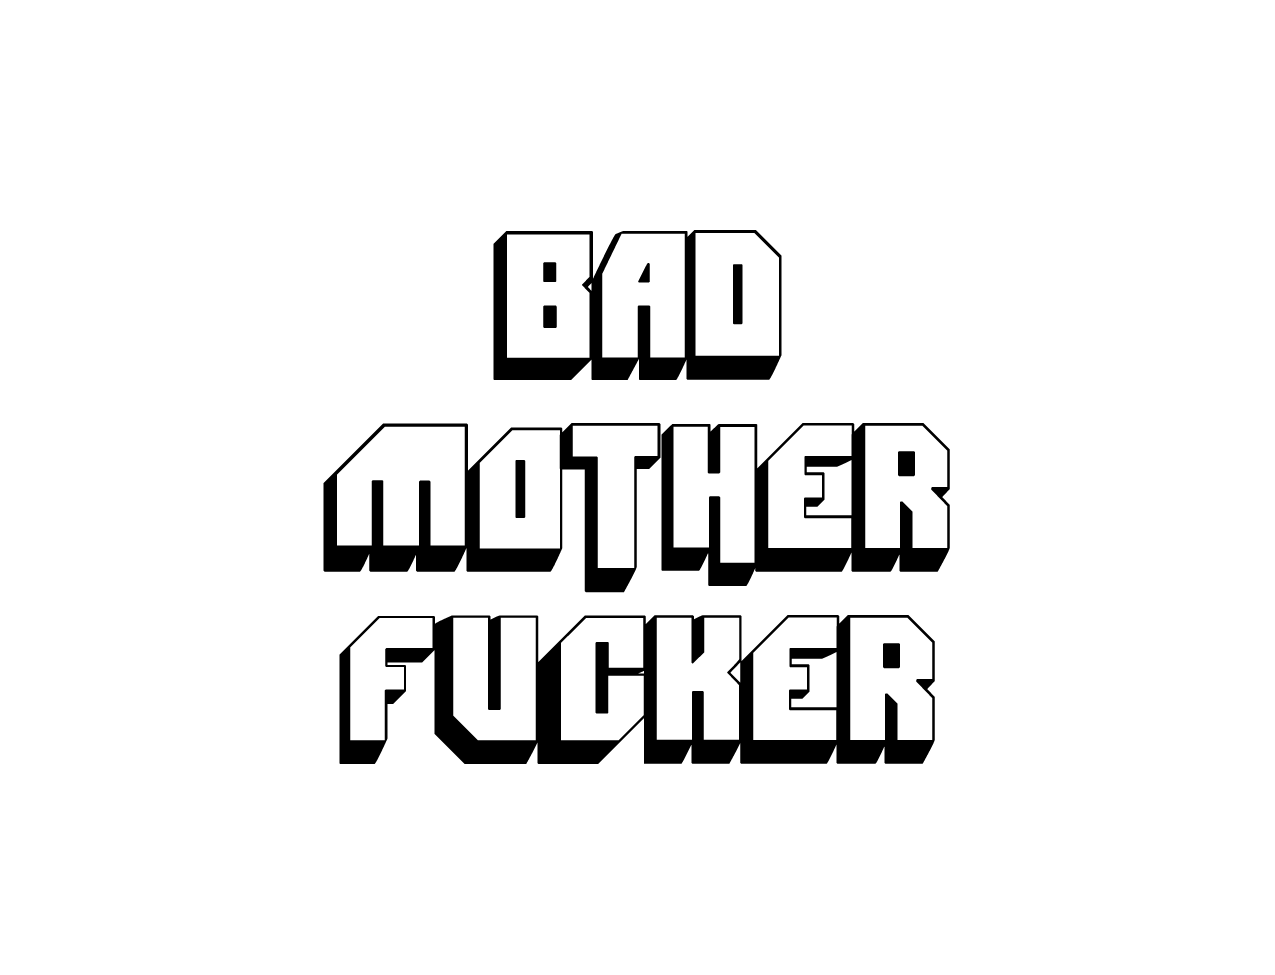
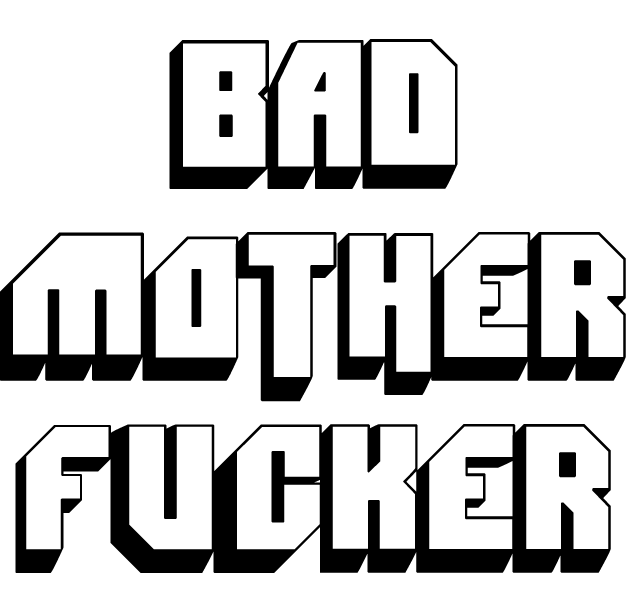
Open Corel Draw or Illustrator and use the dimensions of the wallet. Type: BAD MOTHER FUCKER and center it on the rectangle.
Export or convert your file as a bitmap and then select Print. Depending on the Laser Cutter you will need to set the power and speed of the laser. You will also need to focus the lens before you print.
Export or convert your file as a bitmap and then select Print. Depending on the Laser Cutter you will need to set the power and speed of the laser. You will also need to focus the lens before you print.
Downloads
Testing
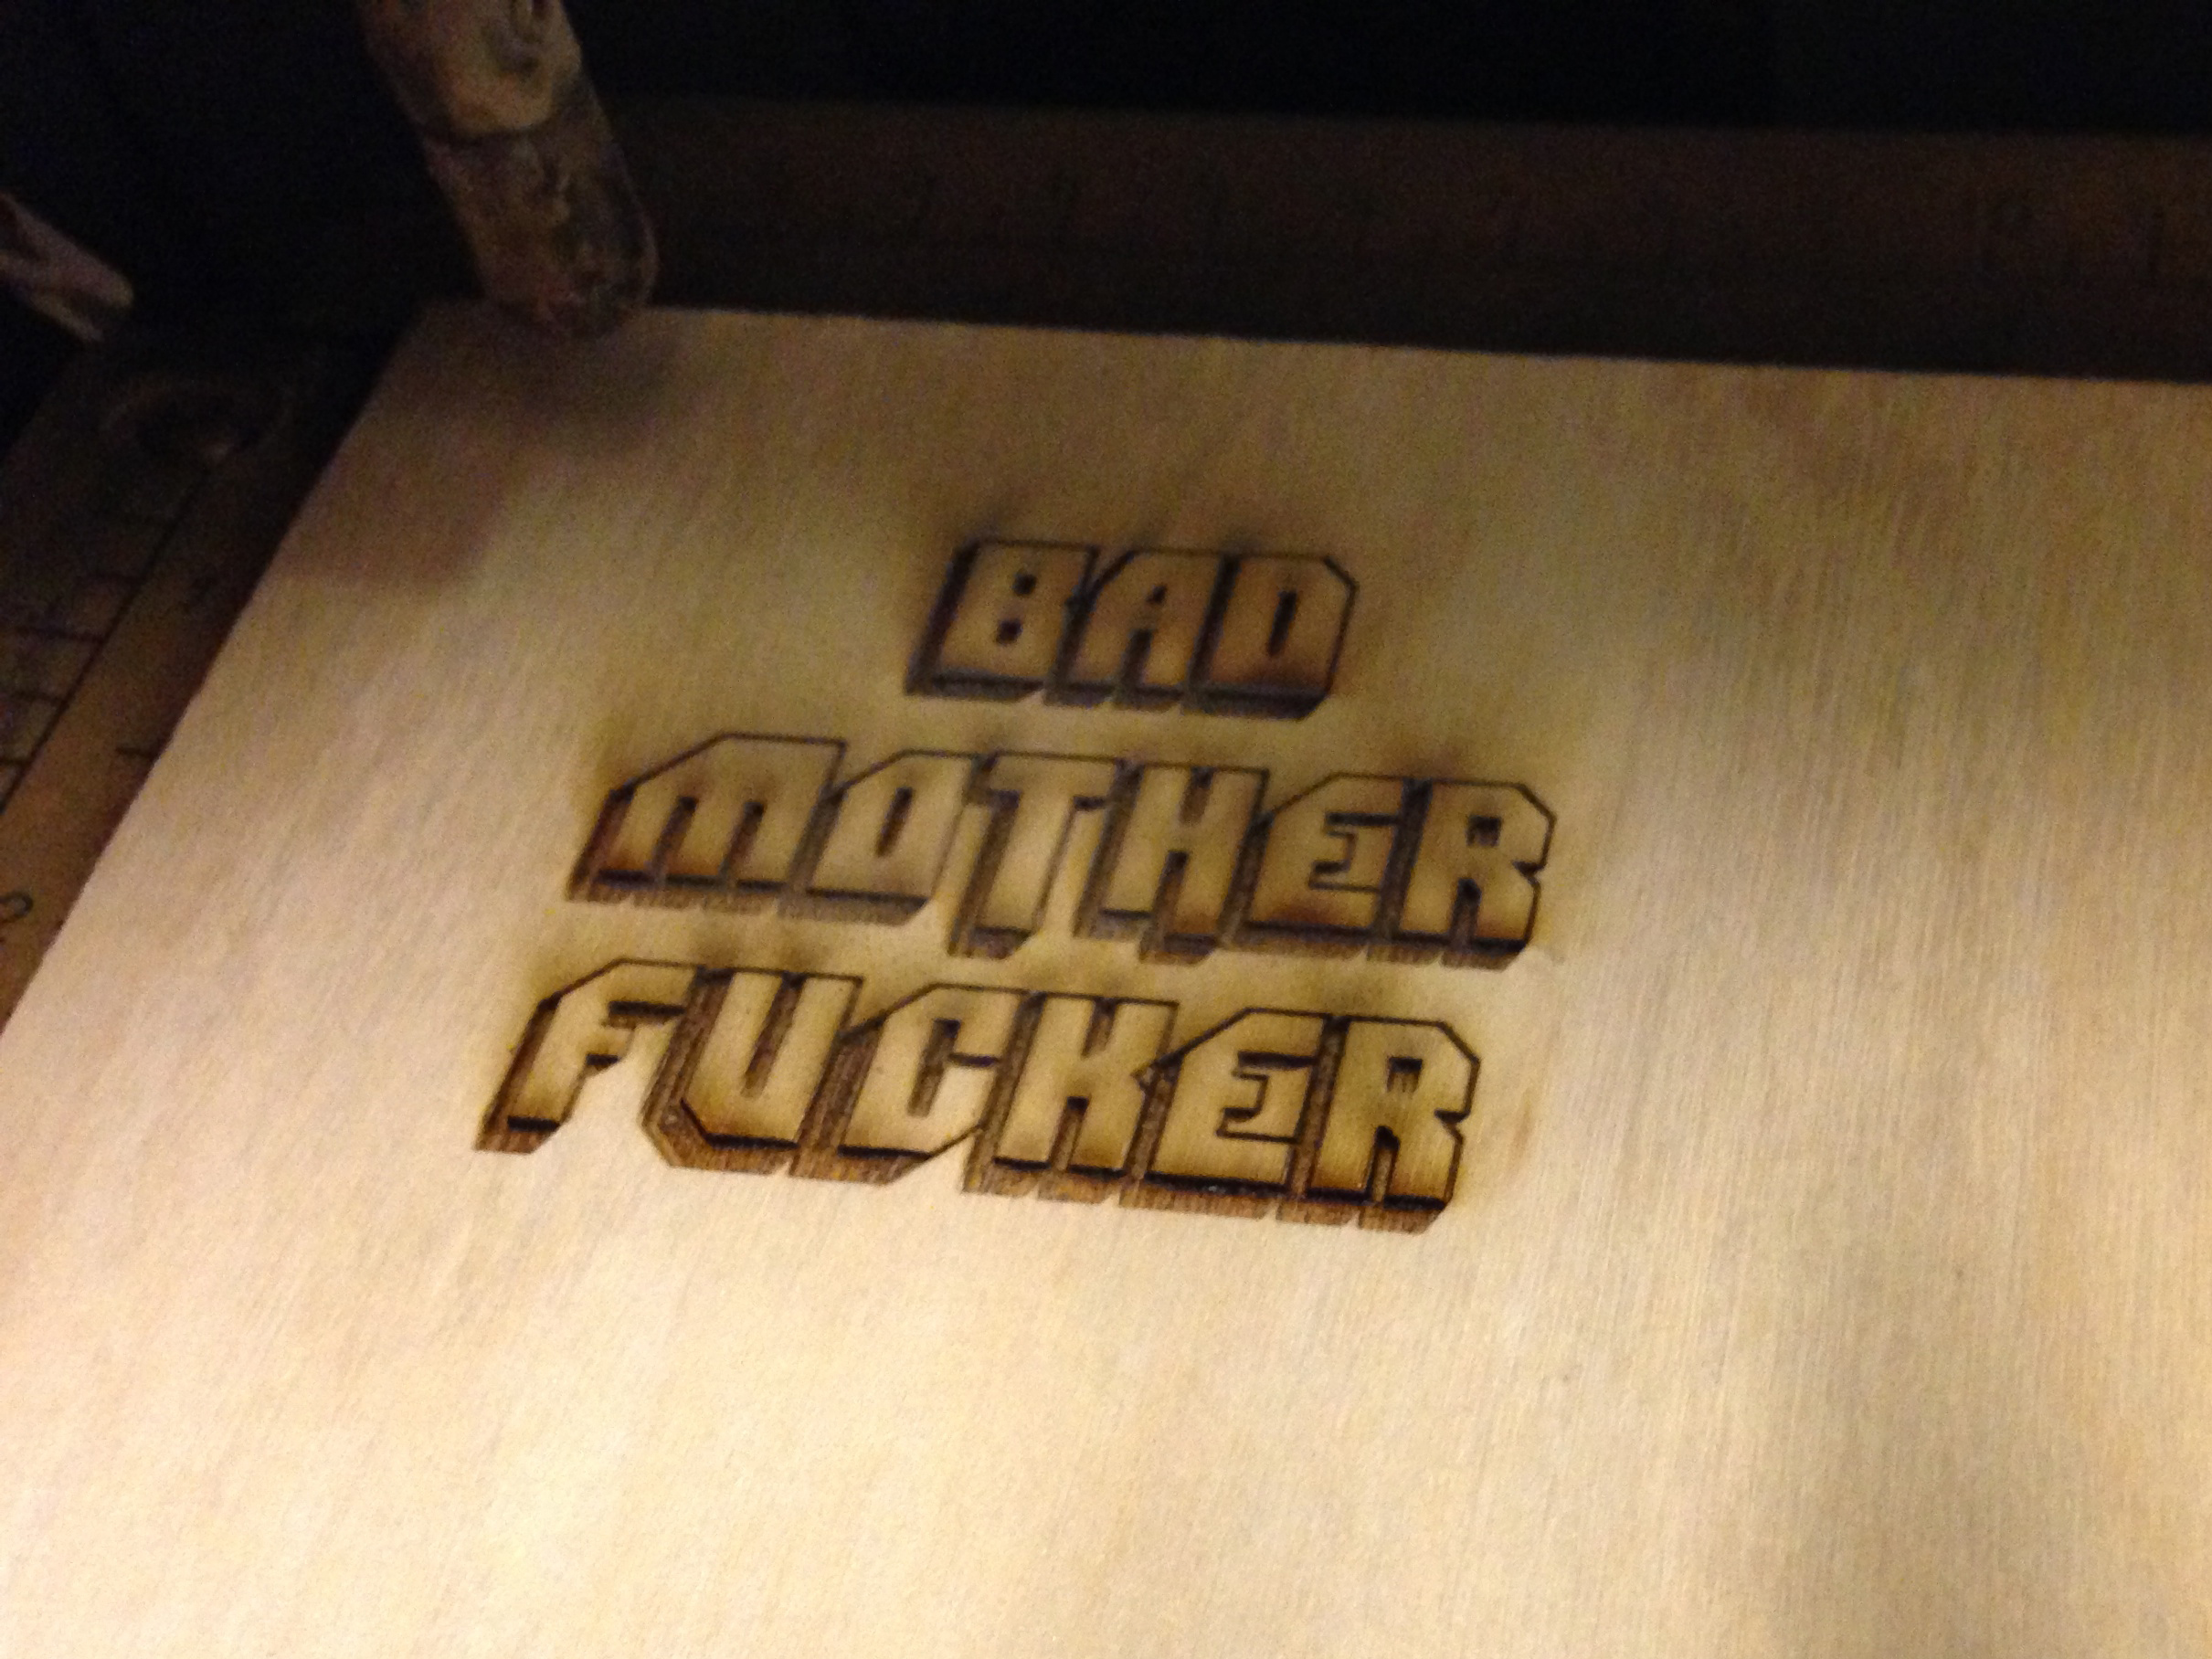
As this was my first attempt with the laser cutter I first etched a piece of scrap plywood. I put the piece on the upper left so I can align and square the plywood (and then the wallet) with the laser cutter.
Etch Your Wallet
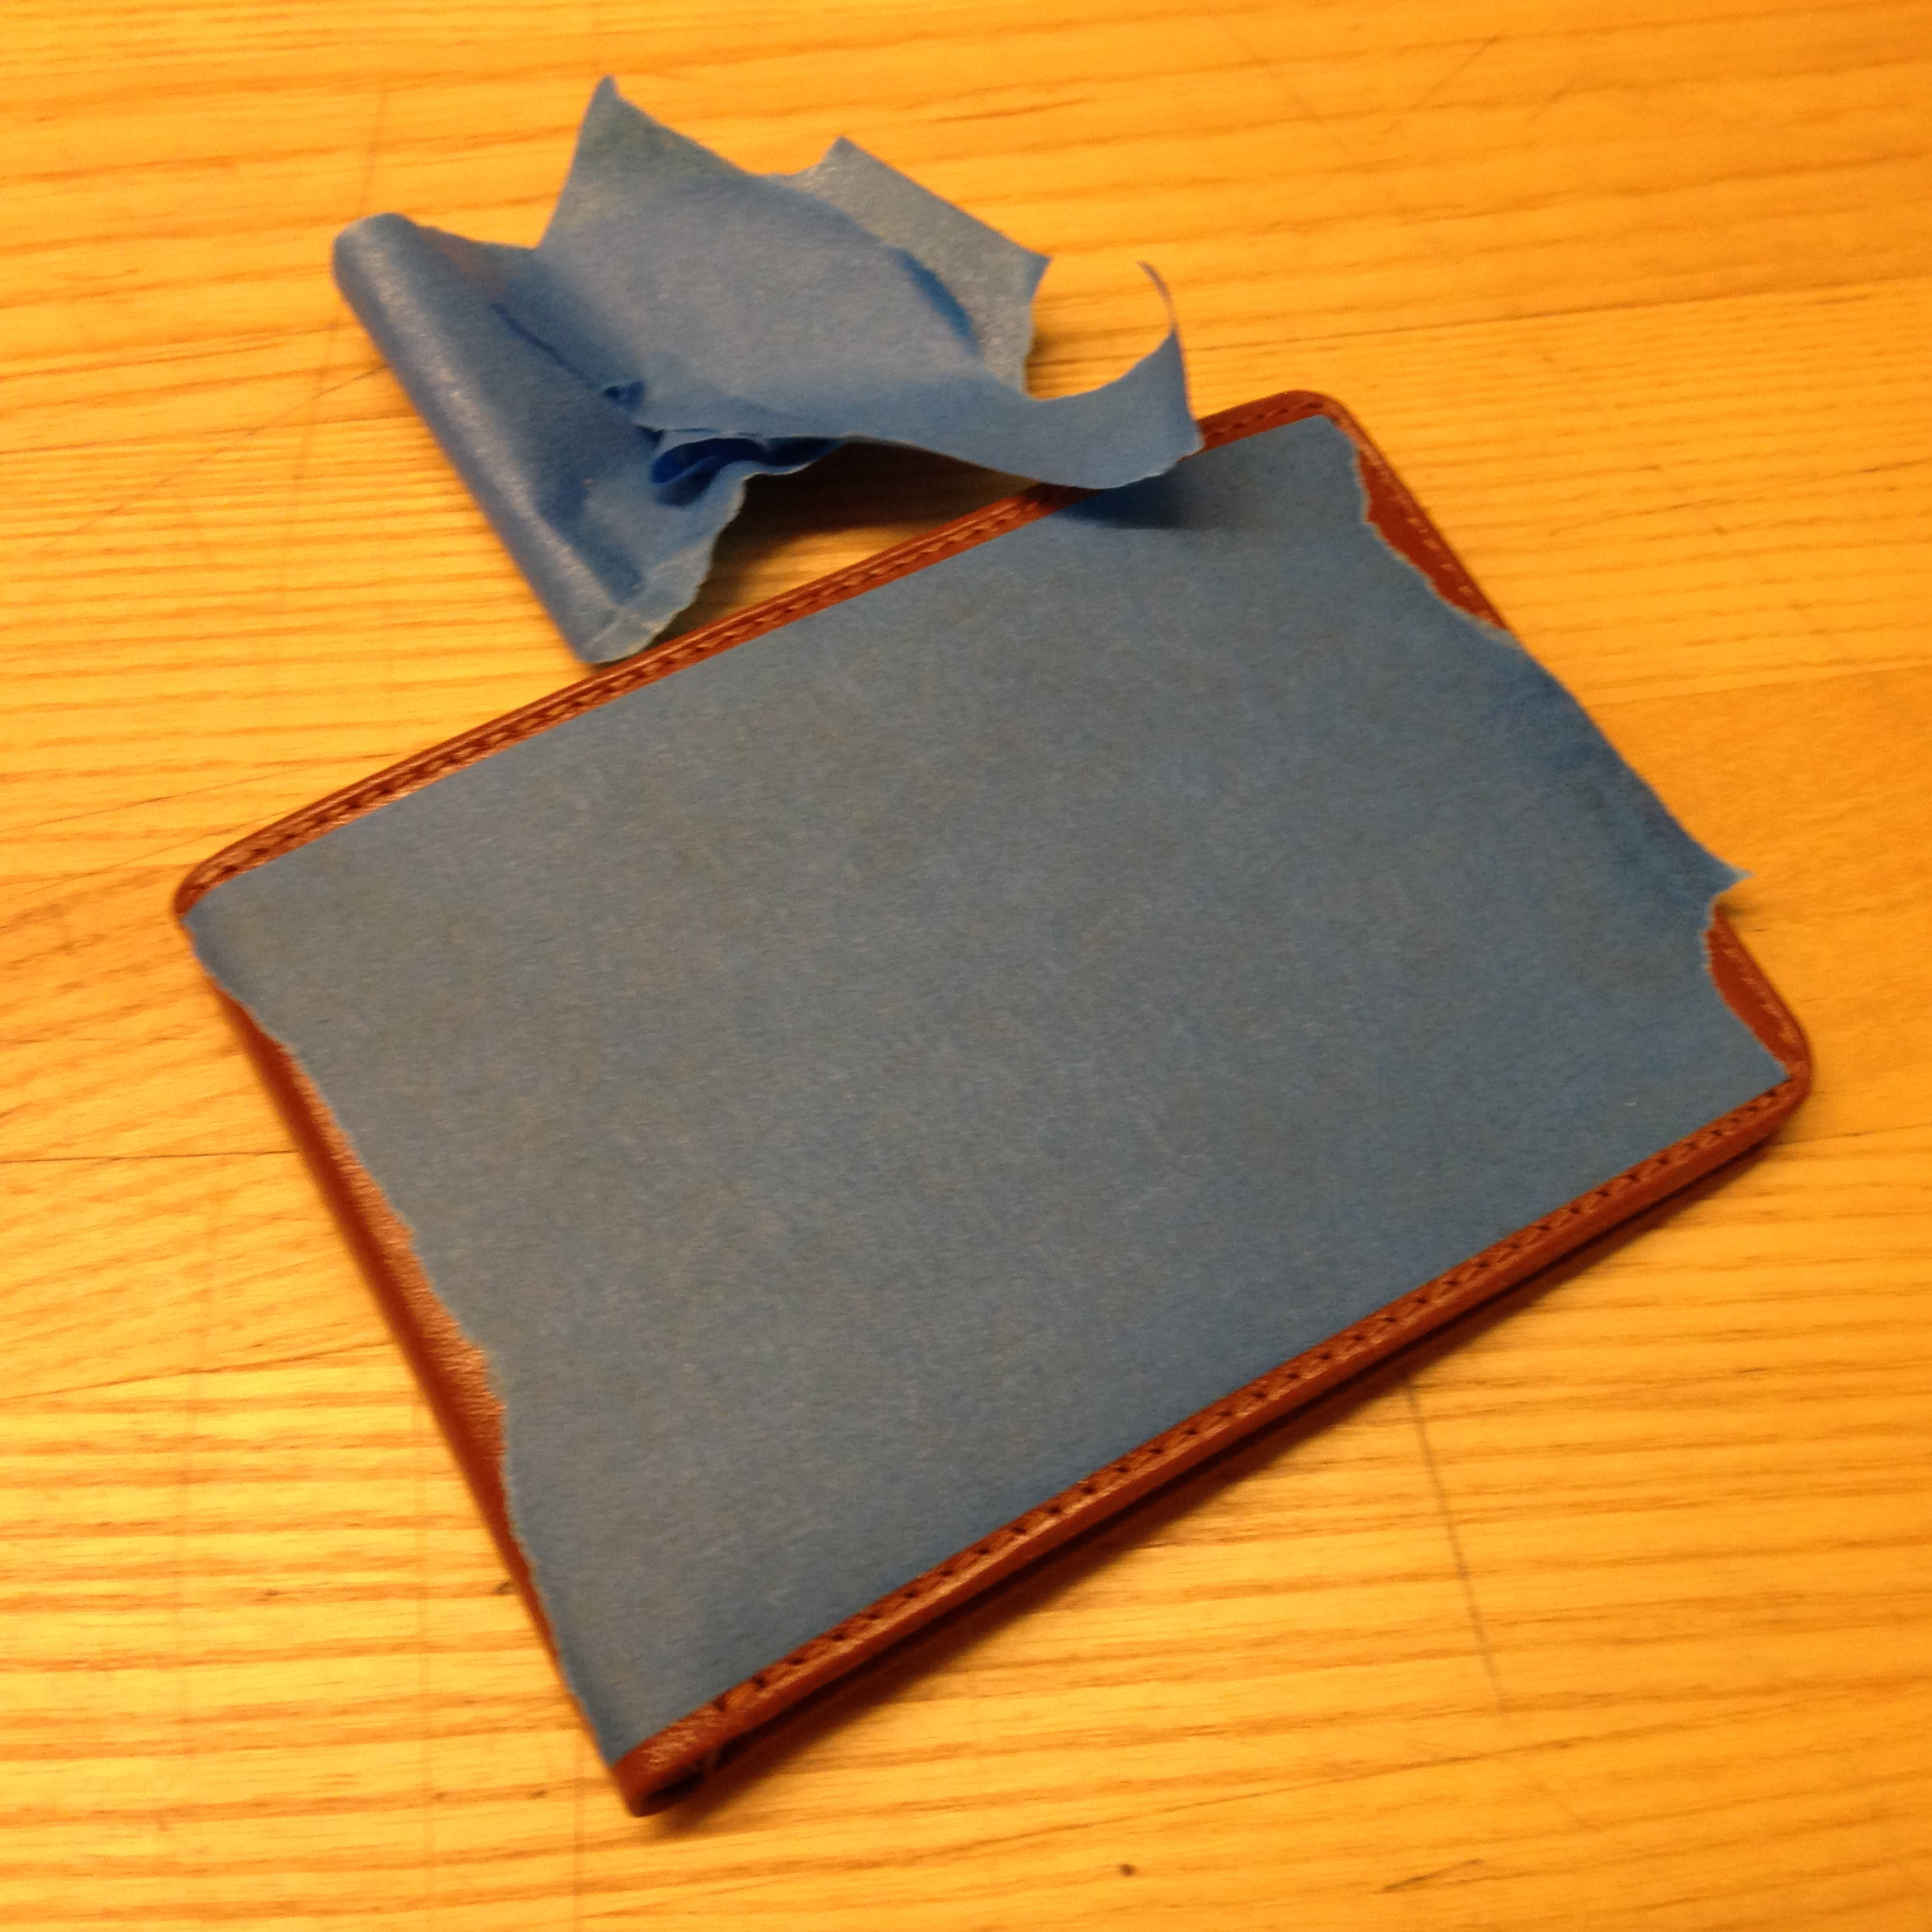
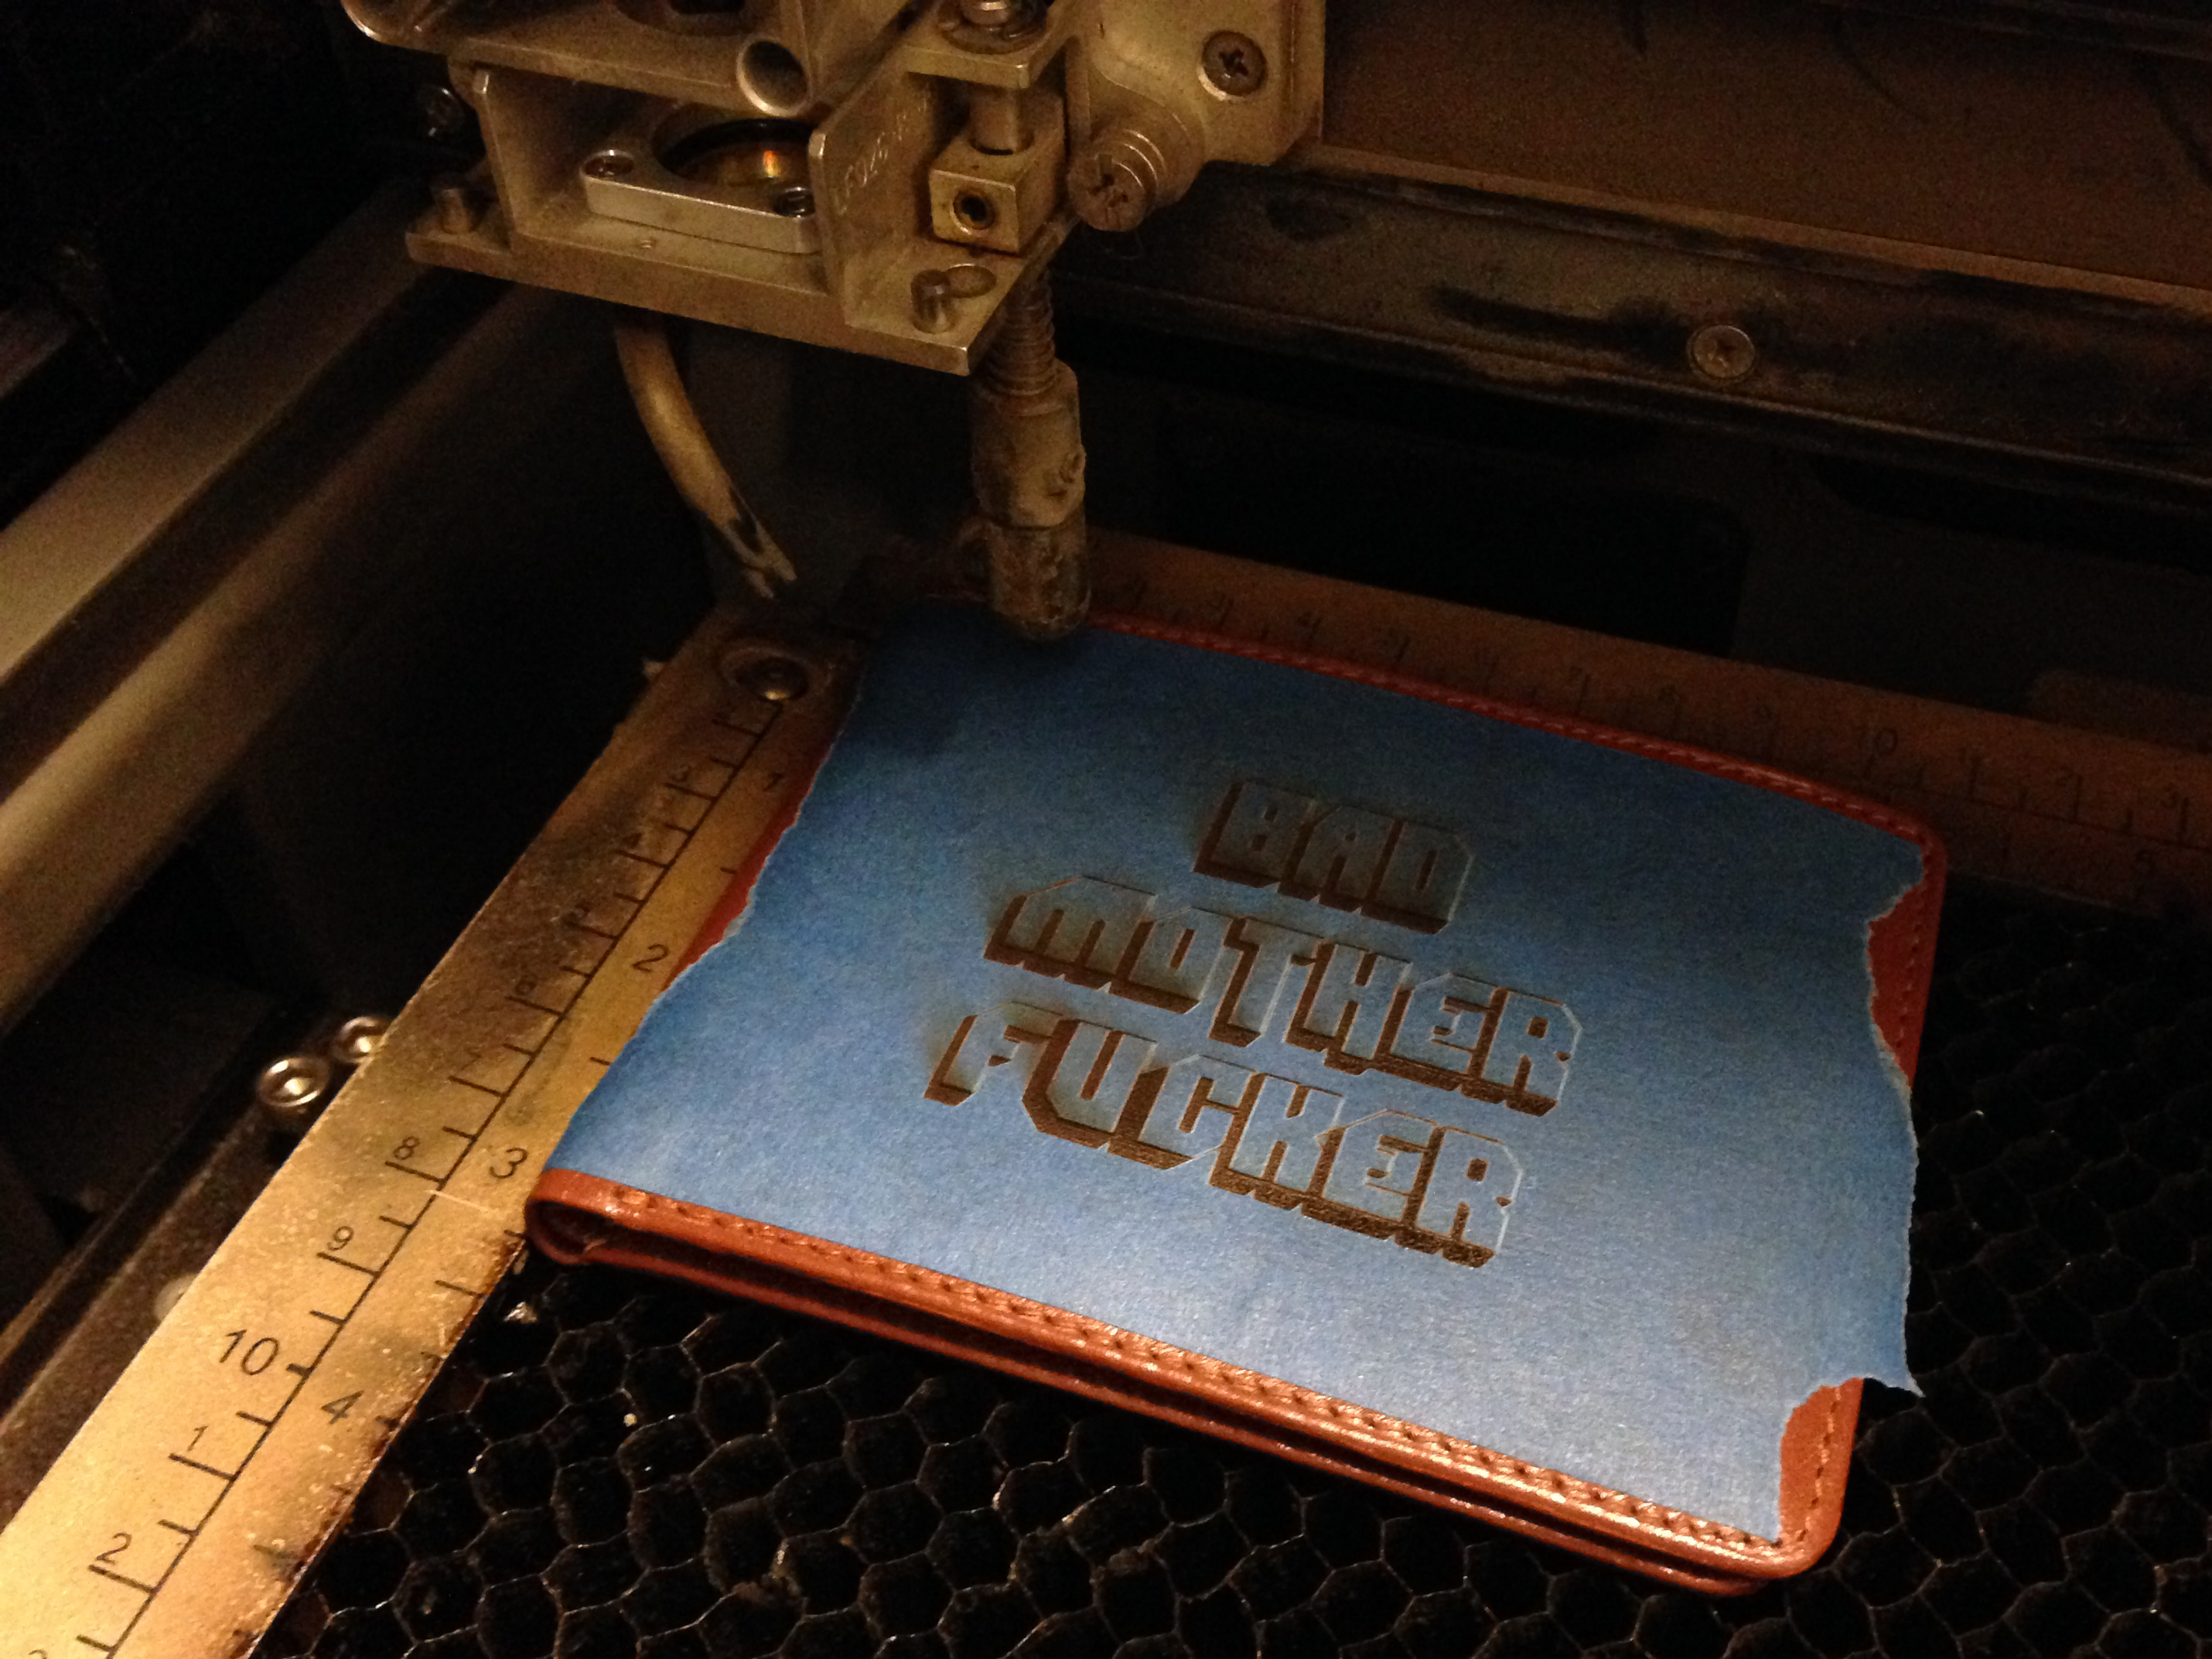
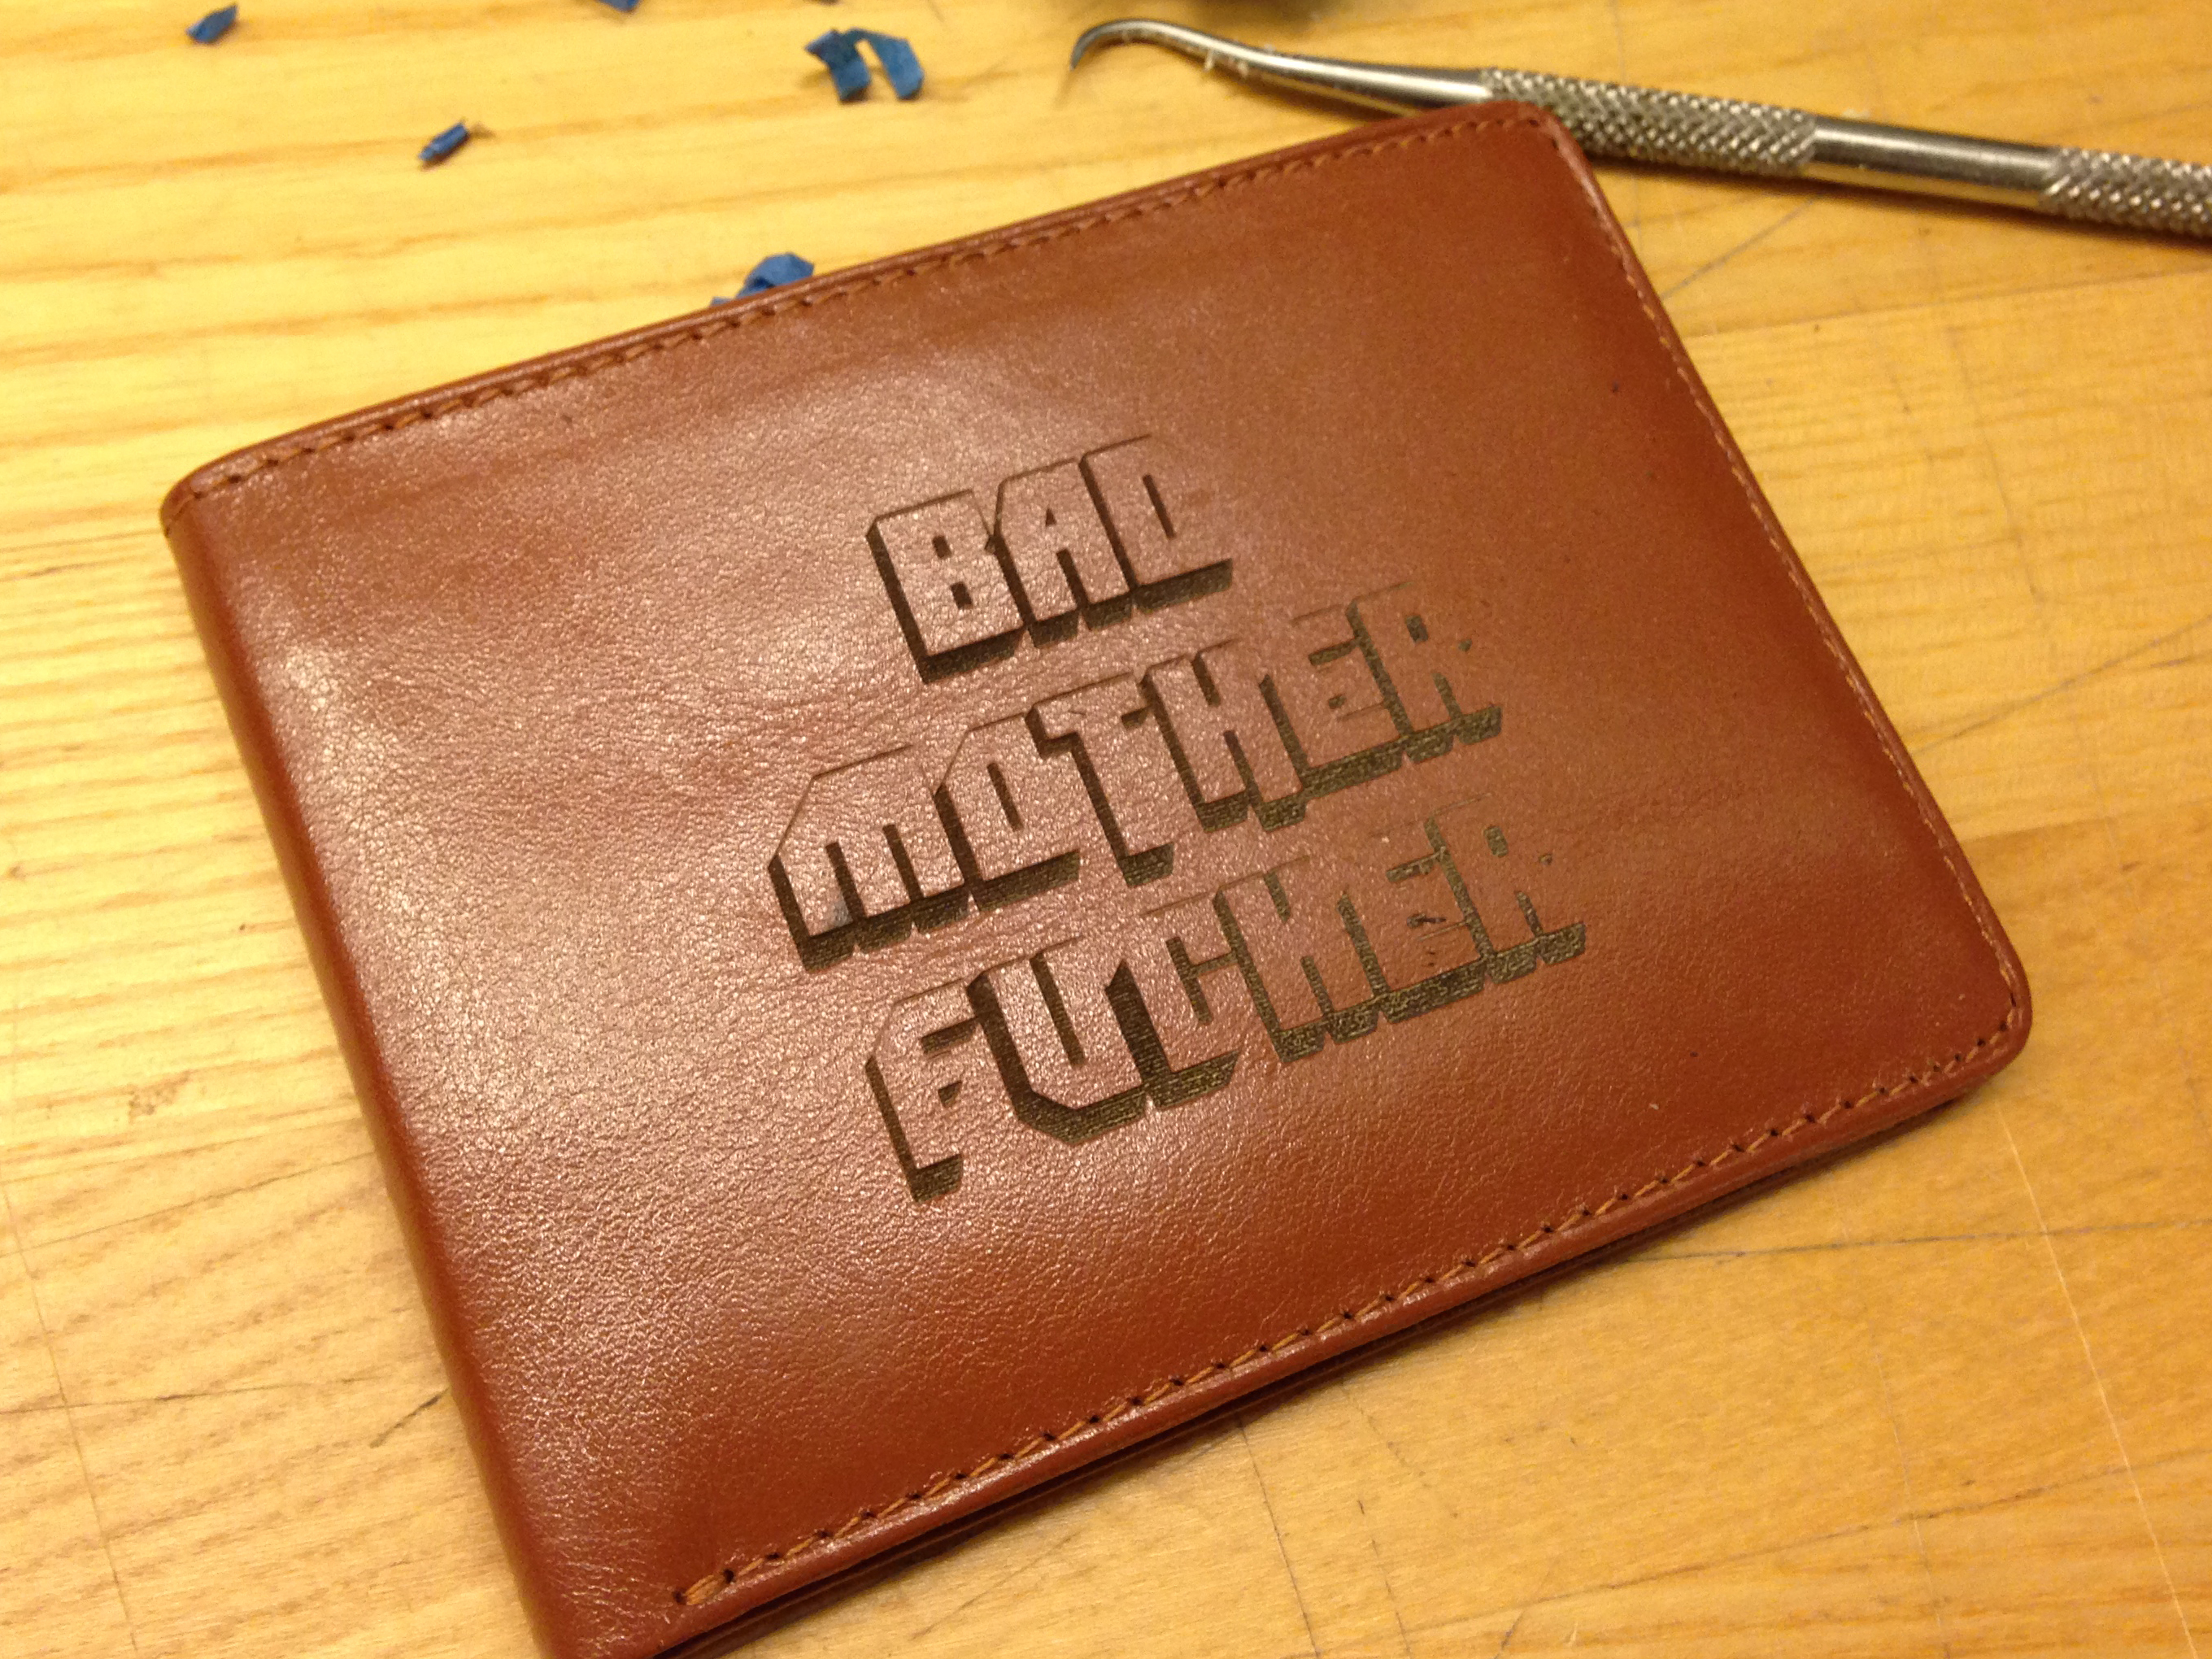
As I was happy with the results on the plywood I then grabbed the leather wallet and put some blue (painters) tape over it. I suggest using a wide tape so you don't have to overlap the tape. After that I adjusted the settings for leather and placed the wallet in the laser cutter. 90 seconds after I had my new wallet. I removed the tape with my fingers but some pieces were really small so I had to use some help with some tools I had (3rd photo).
Load It With Cash


Now go and stop robberies.