Laser-cut Leather Keyring
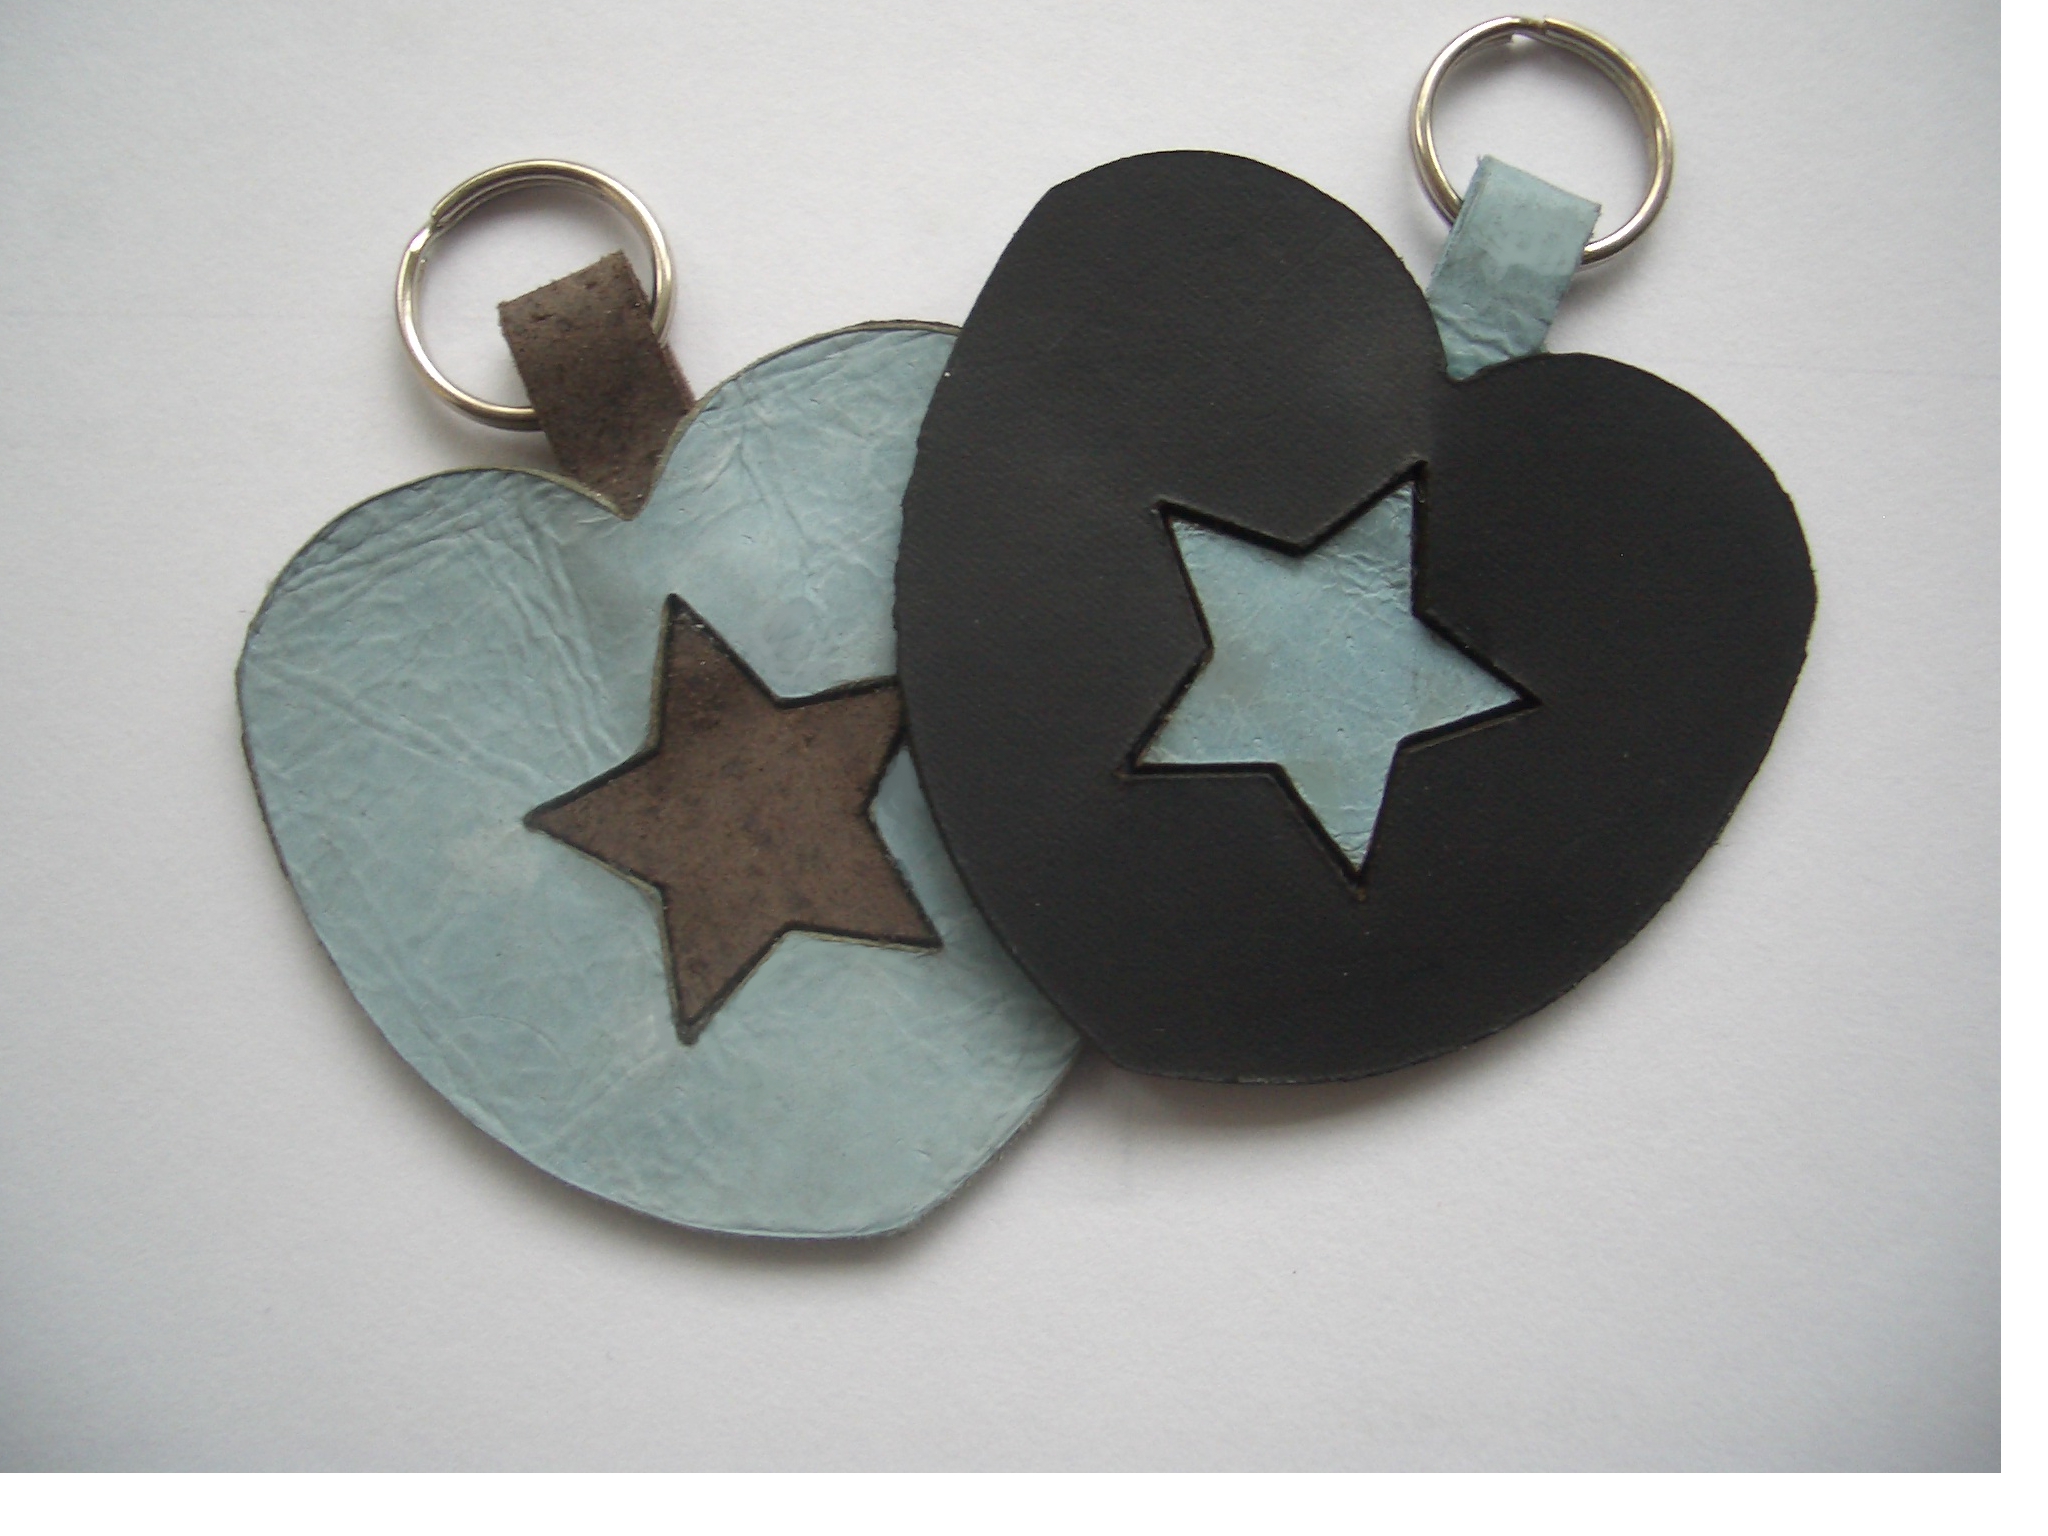
These cute heart keyrings could be made in the traditional way, cutting the leather by hand, but a laser cutter slices through leather like a knife through butter and does the job quickly and super-accurately. That means you can use the shapes cut from one heart to inlay into a different coloured heart. A Zing 16 would be perfect for small projects like this and if I win the Epilog challenge I'll be trying more ambitious leather inlays.
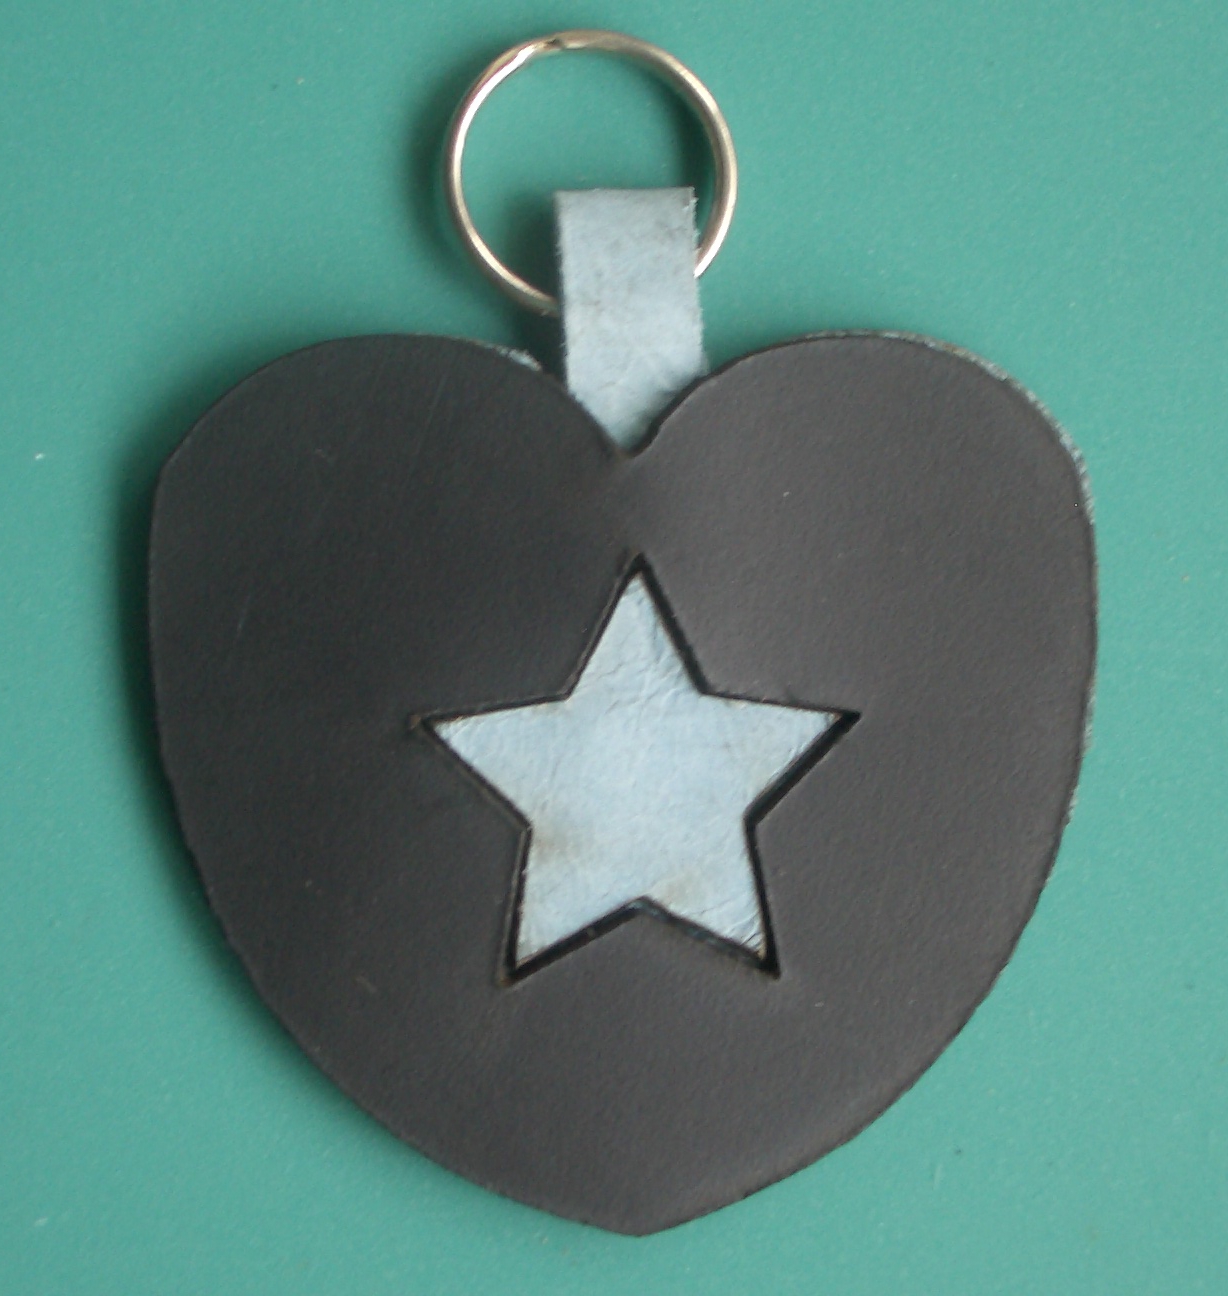
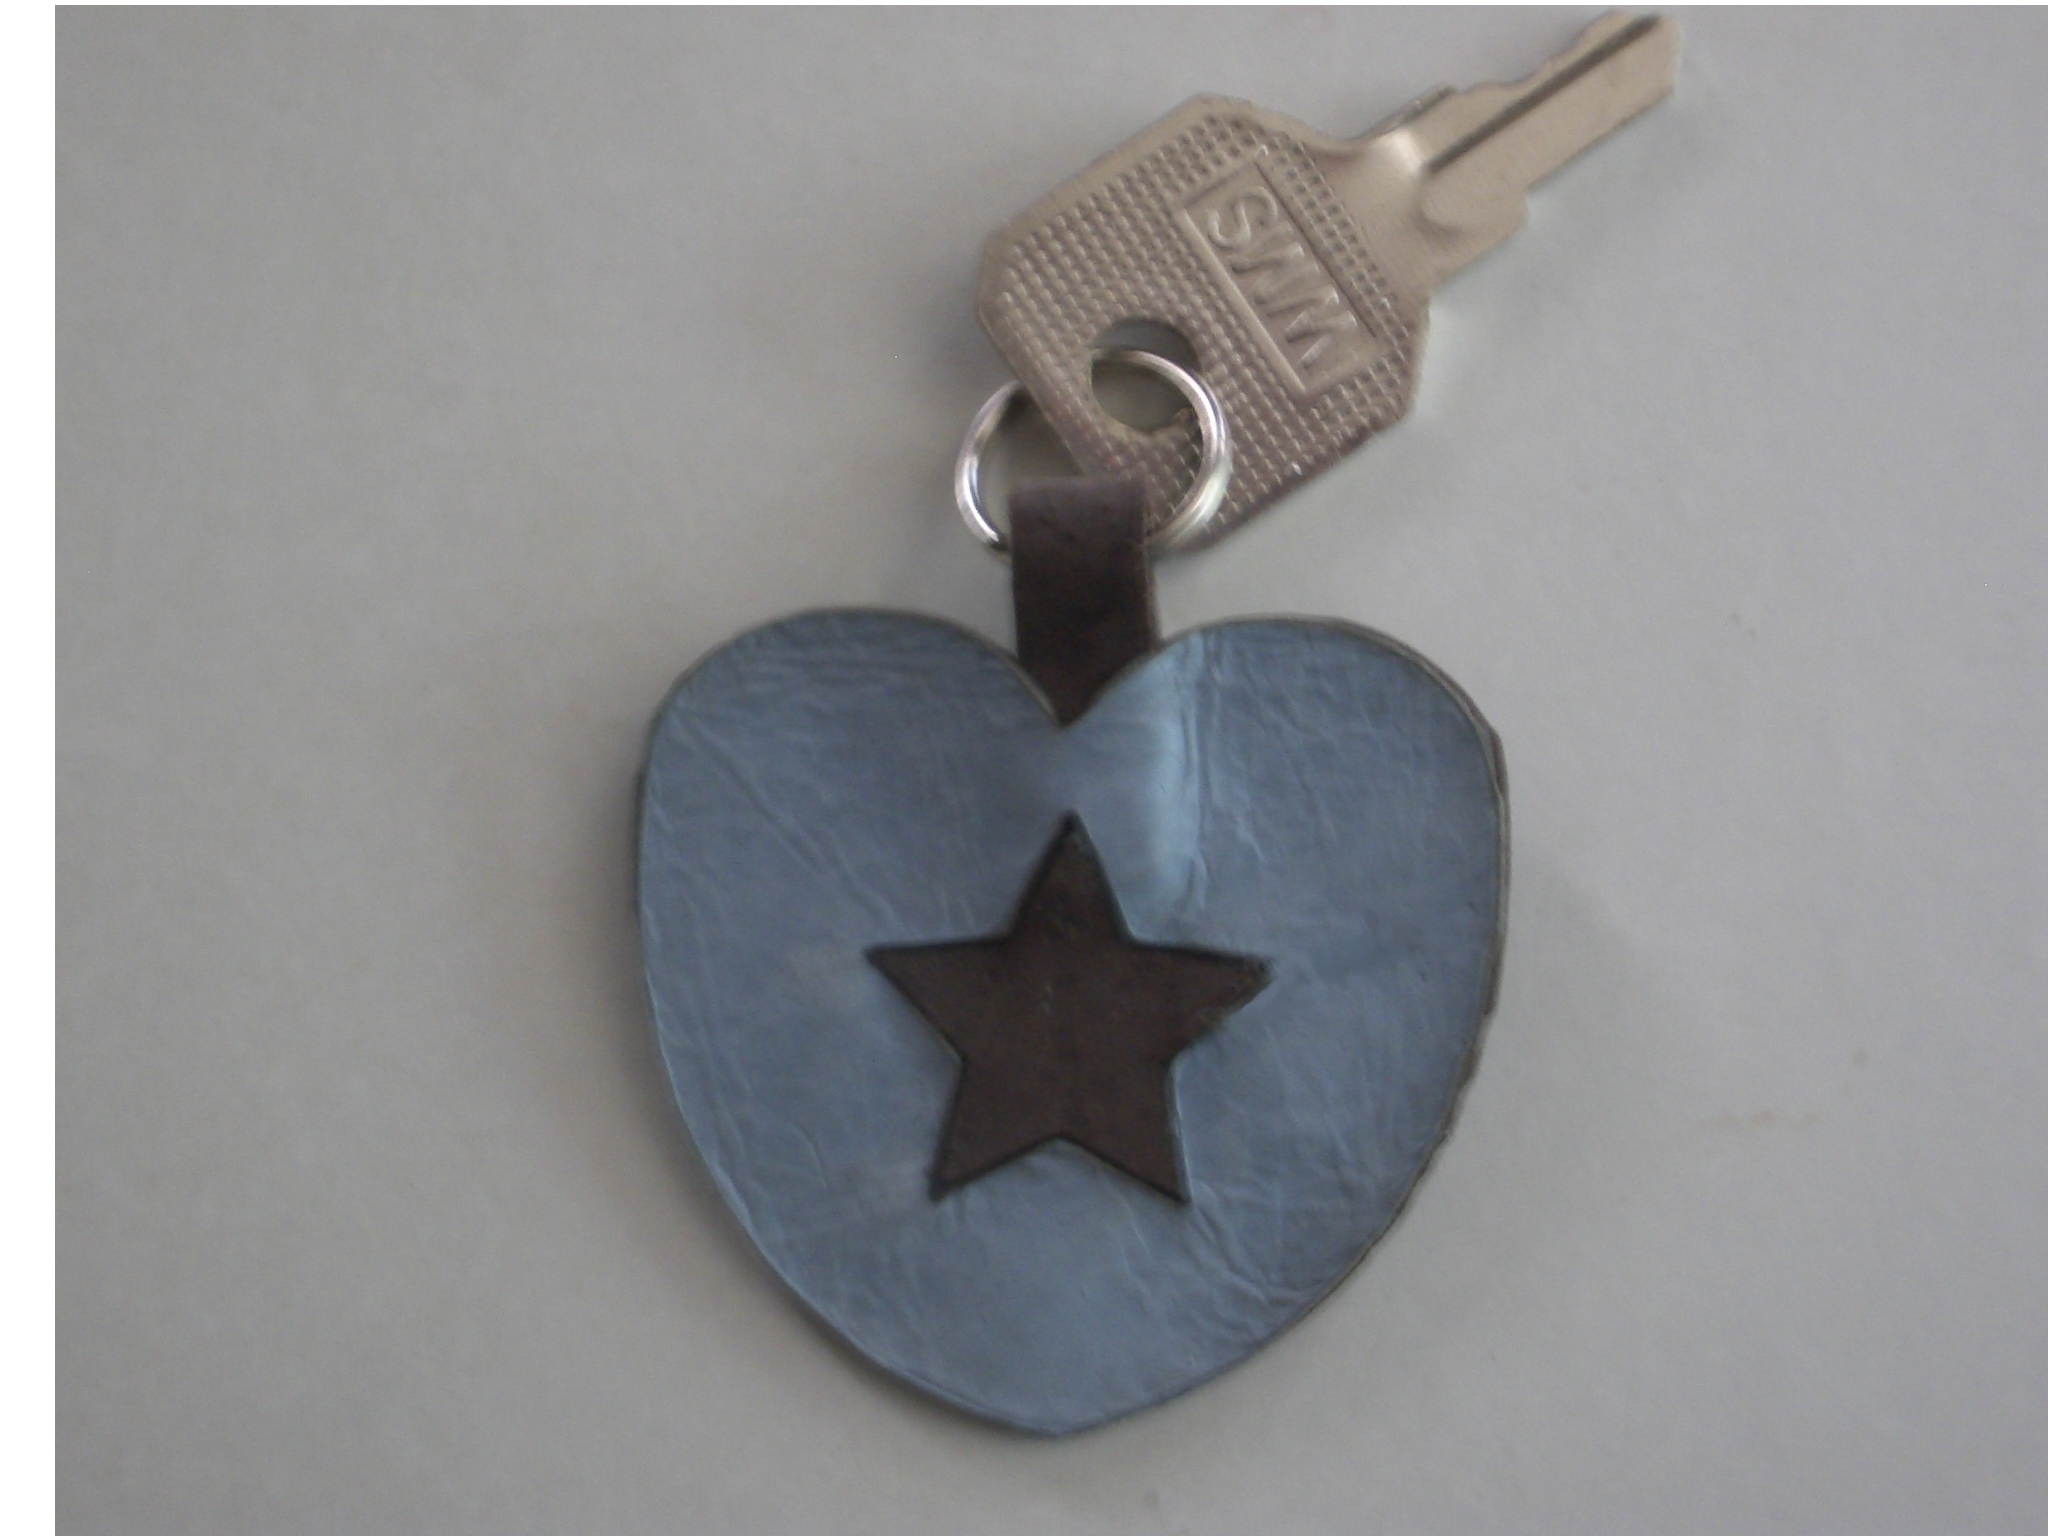
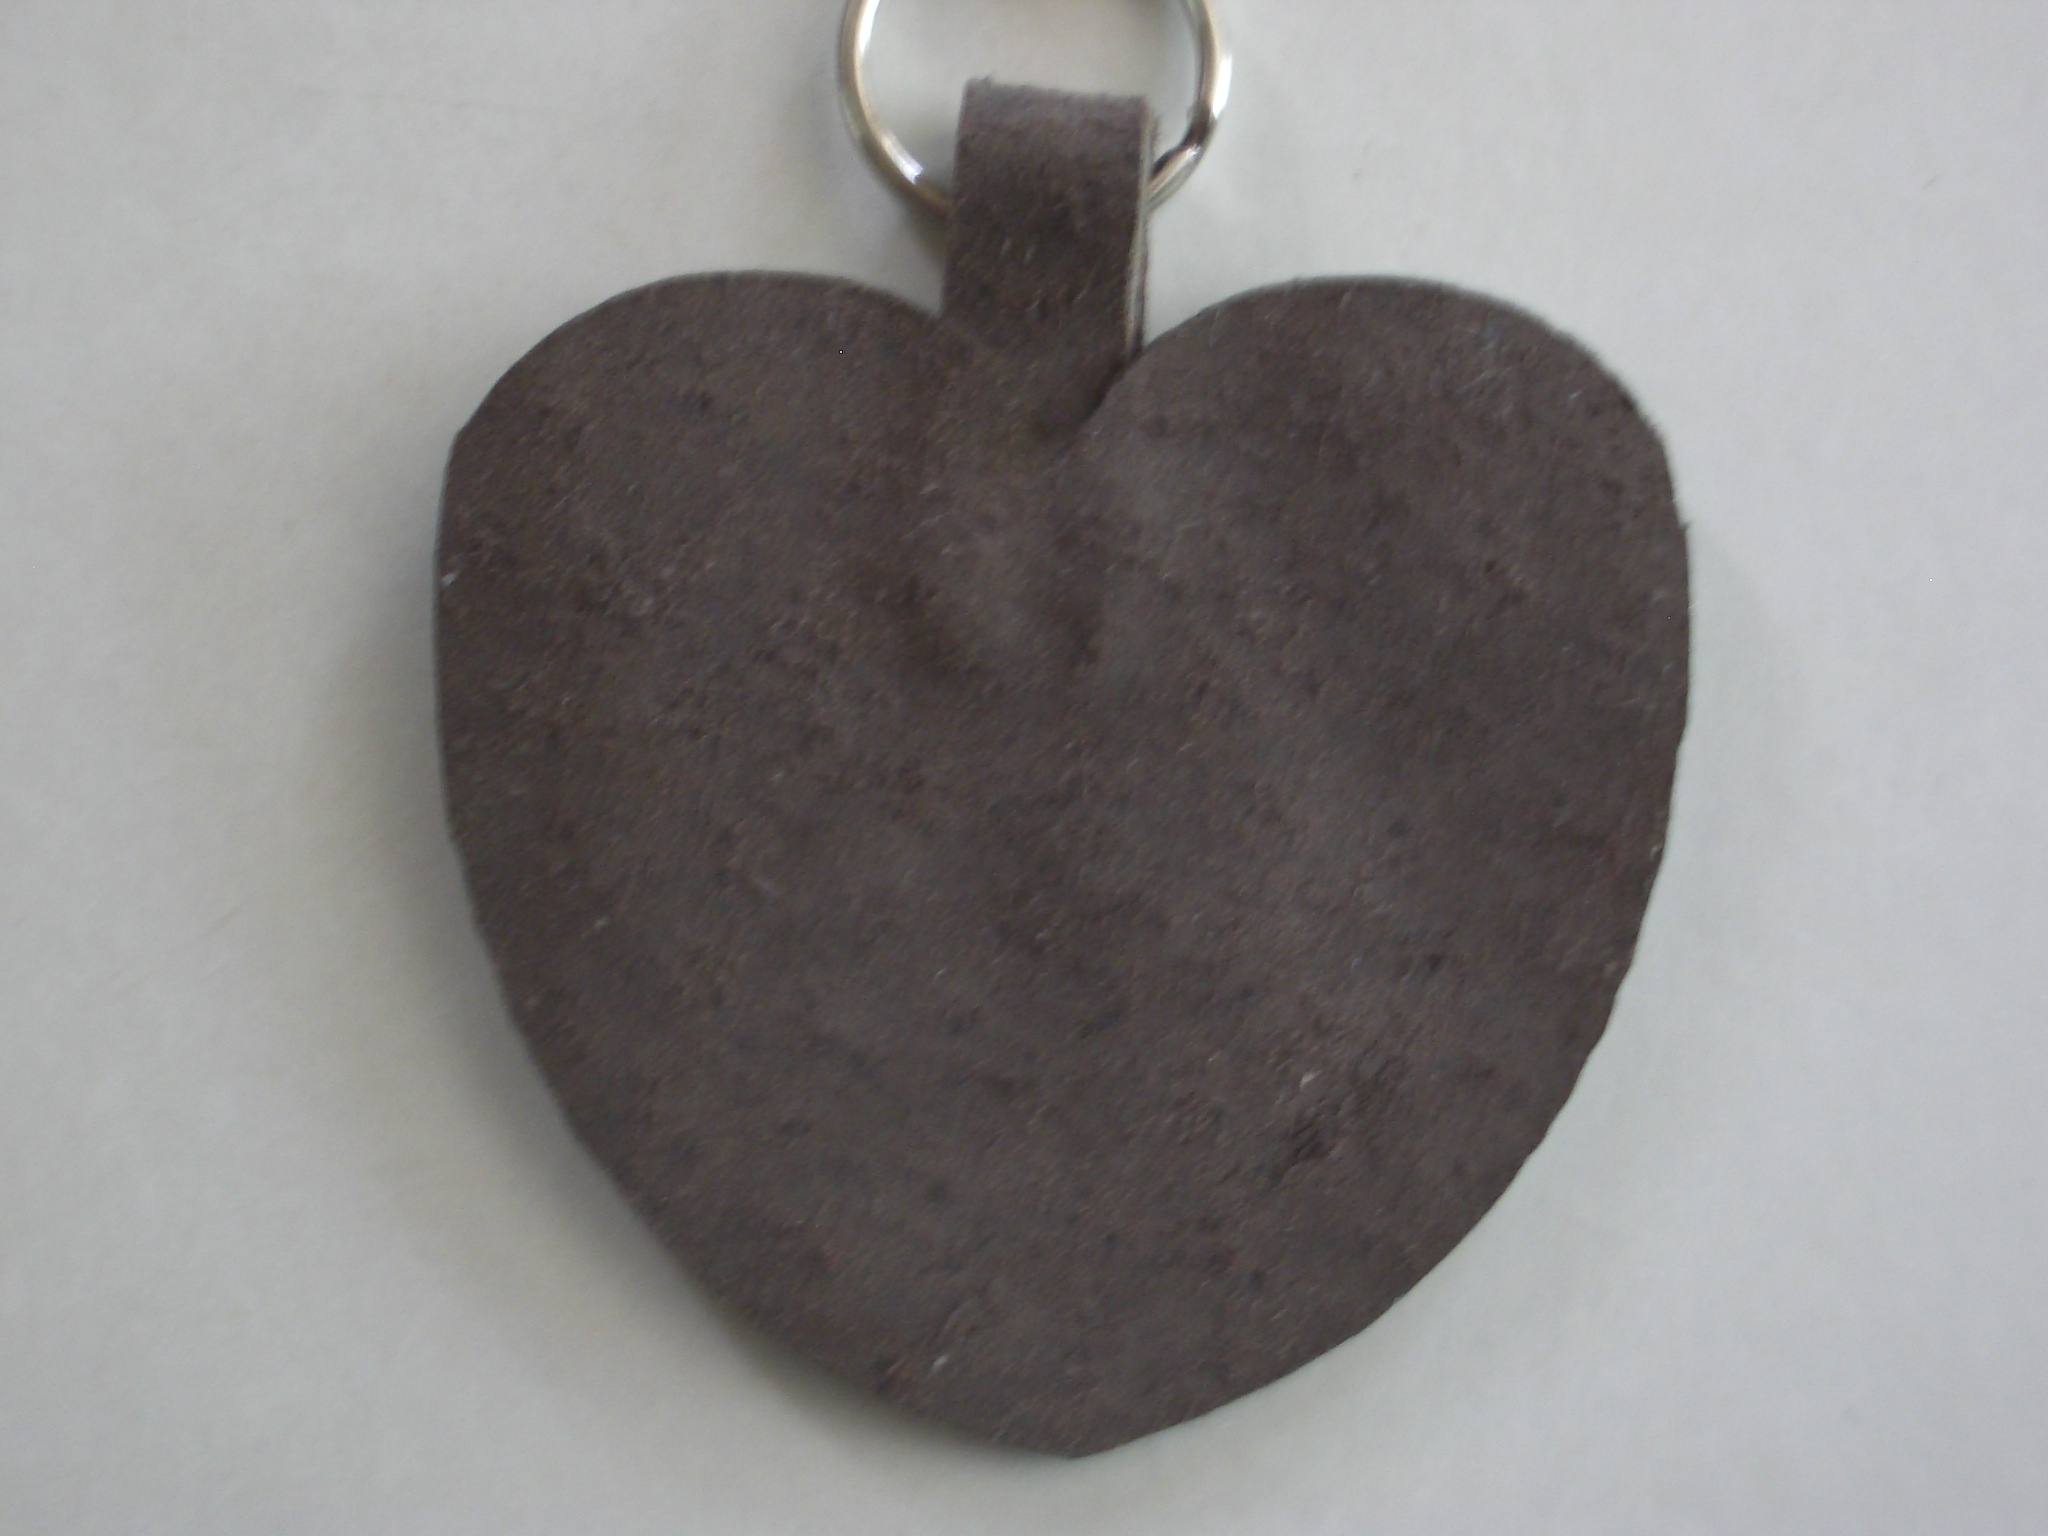
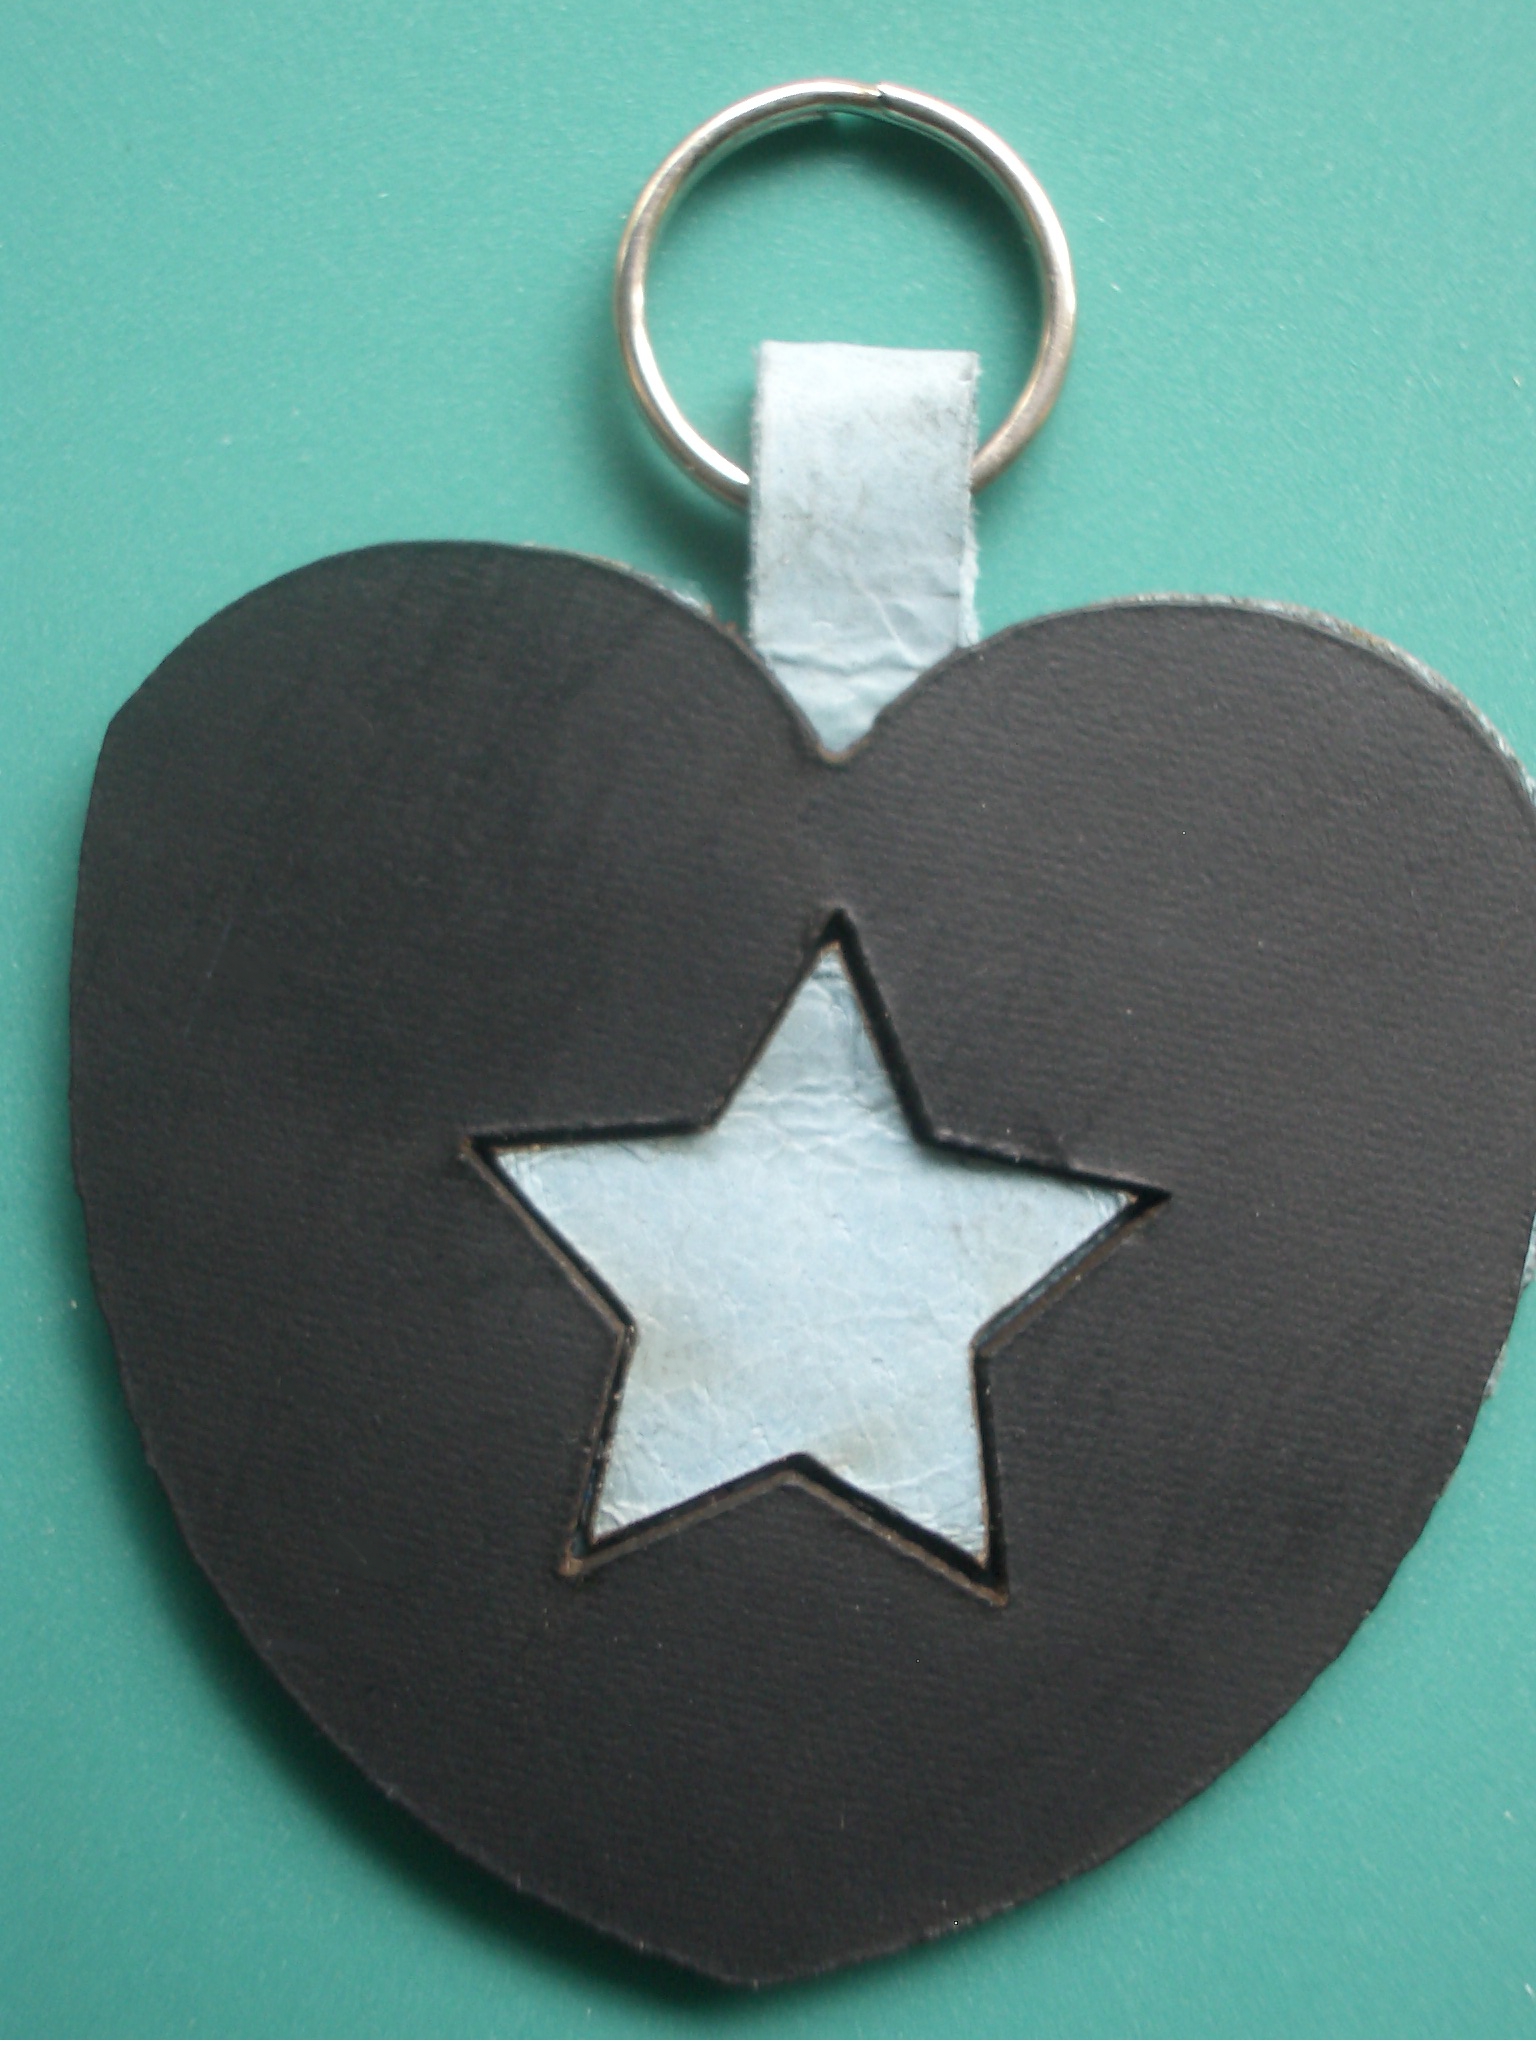
The heart measures 1.5" x 1.5". It's a good size for a keyring to use around the house, eg for a window key or a cupboard key. It would also make a neat handbag charm. The contrasting inlay is in the front only, the back is plain.
You will need (for 4 keyrings)
A 4" x 4" piece of leather in each of 2 colours
Four 1/2" diameter split rings
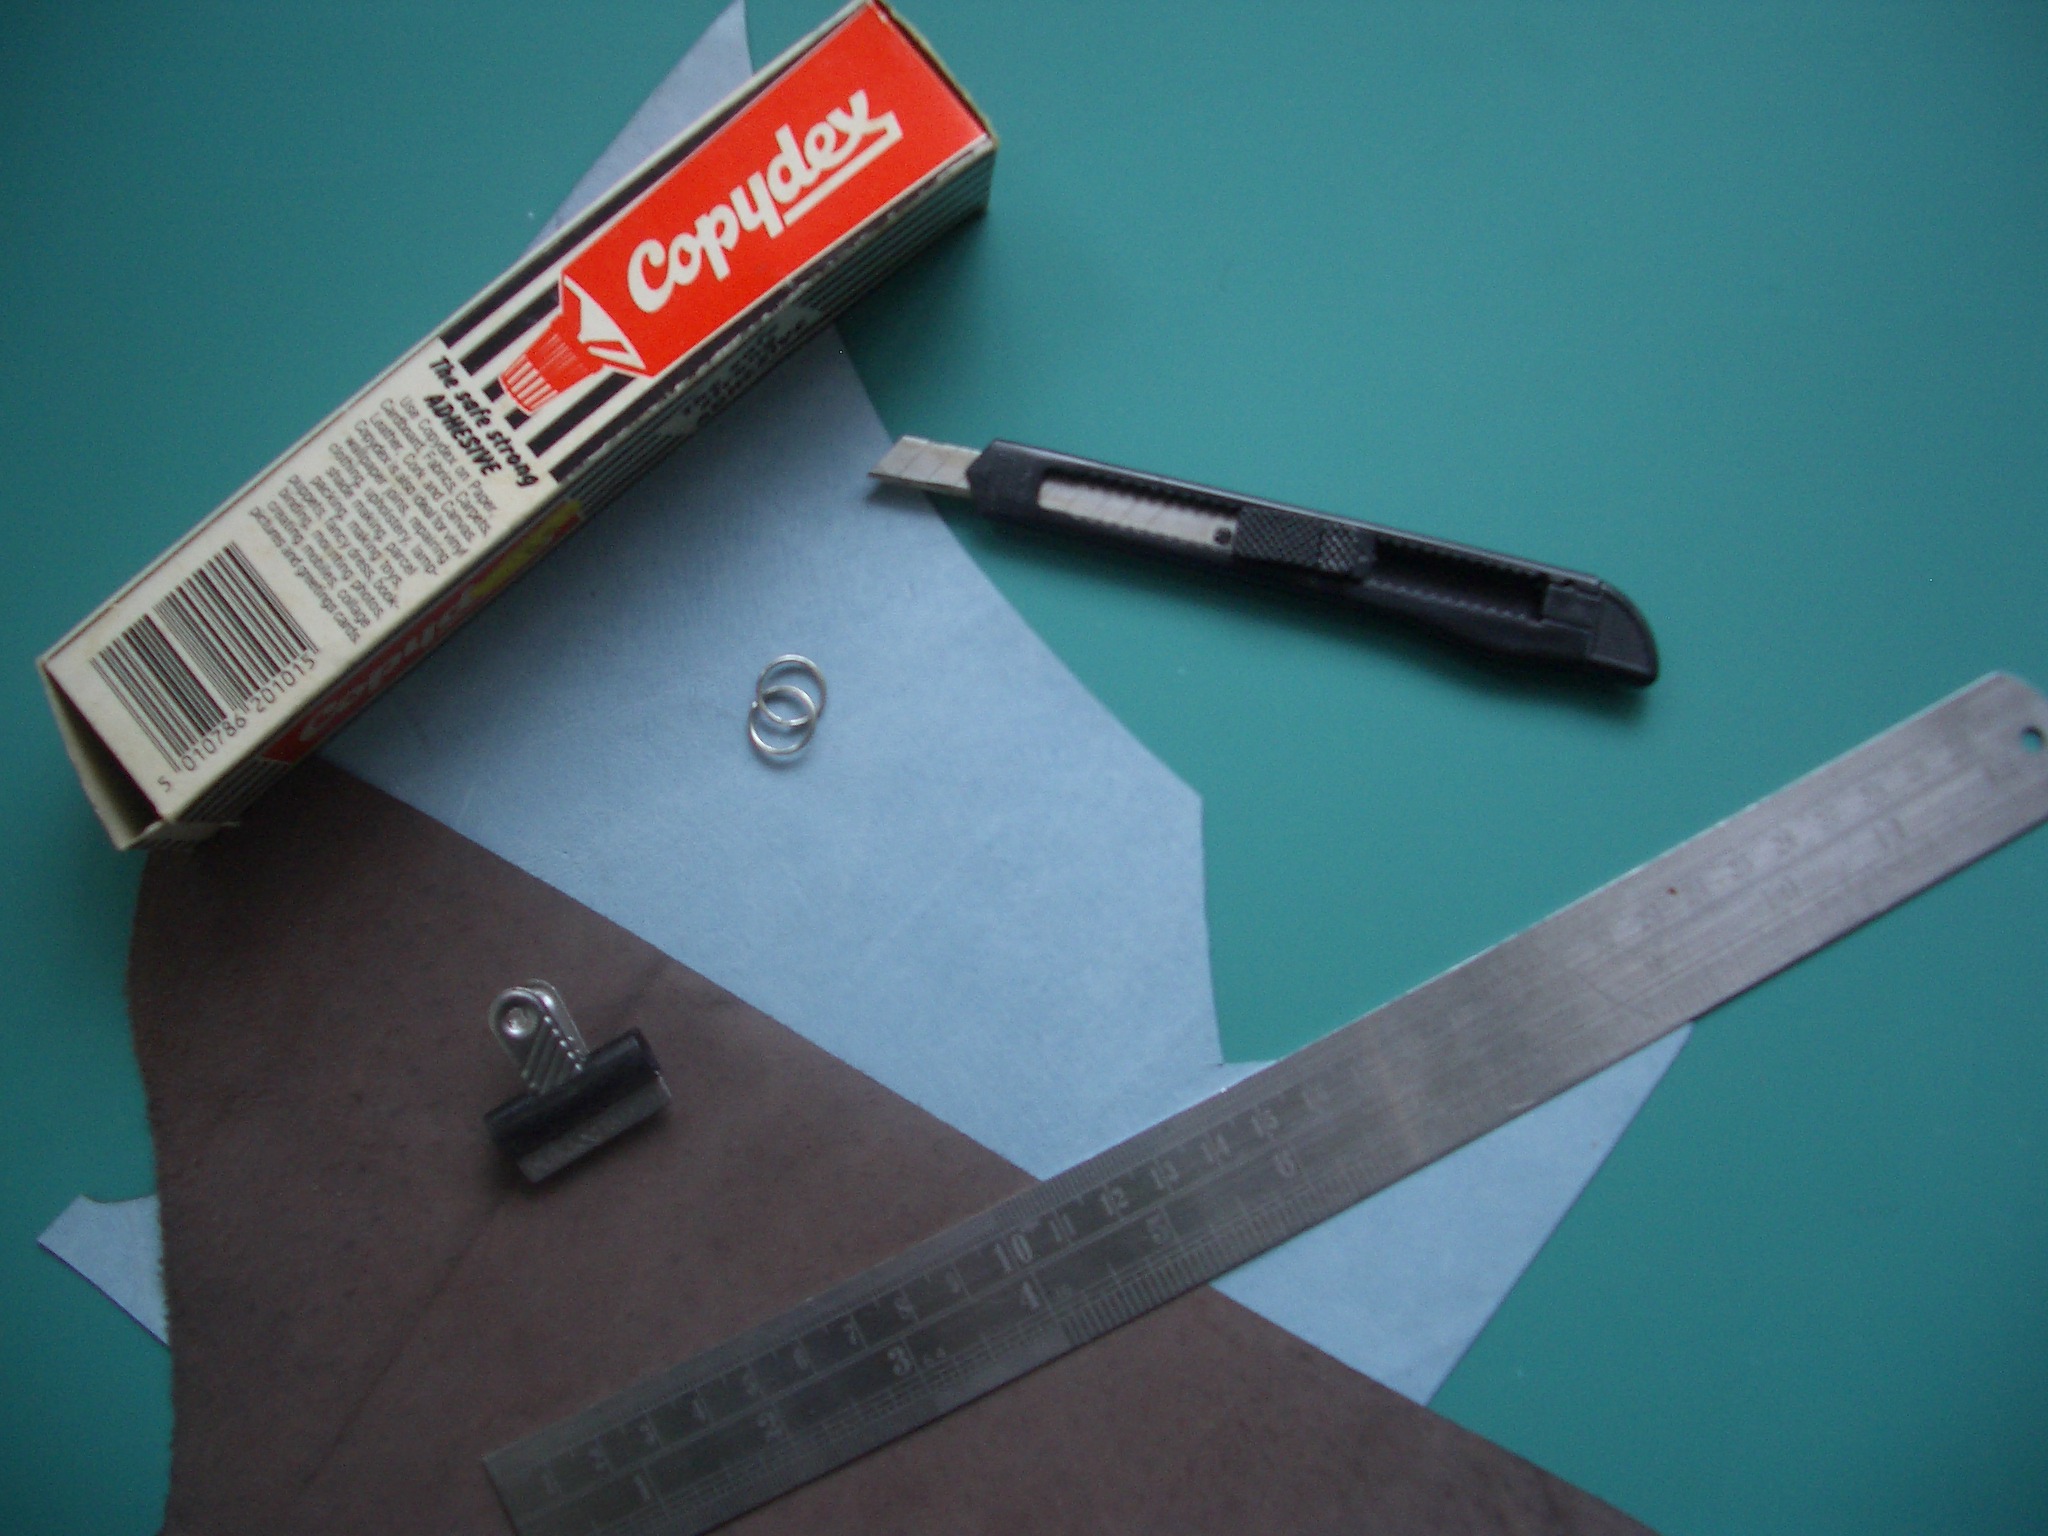
Rubber cement or other glue suitable for leather (the glue from a puncture repair kit will do)
A craft knife or Stanley knife
A metal straight edge
A bulldog clip or clothes peg (clothespin)
The thickness of the leather doesn't matter much, but the 2 colours should be of approximately the same weight.
You can use my design of a heart with a little star cut out of it, or create your own. Step 1 explains how to make a design of your own suitable for laser cutting.
The heart measures 1.5" x 1.5". It's a good size for a keyring to use around the house, eg for a window key or a cupboard key. It would also make a neat handbag charm. The contrasting inlay is in the front only, the back is plain.
You will need (for 4 keyrings)
A 4" x 4" piece of leather in each of 2 colours
Four 1/2" diameter split rings
Rubber cement or other glue suitable for leather (the glue from a puncture repair kit will do)
A craft knife or Stanley knife
A metal straight edge
A bulldog clip or clothes peg (clothespin)
The thickness of the leather doesn't matter much, but the 2 colours should be of approximately the same weight.
You can use my design of a heart with a little star cut out of it, or create your own. Step 1 explains how to make a design of your own suitable for laser cutting.
Creating the Design
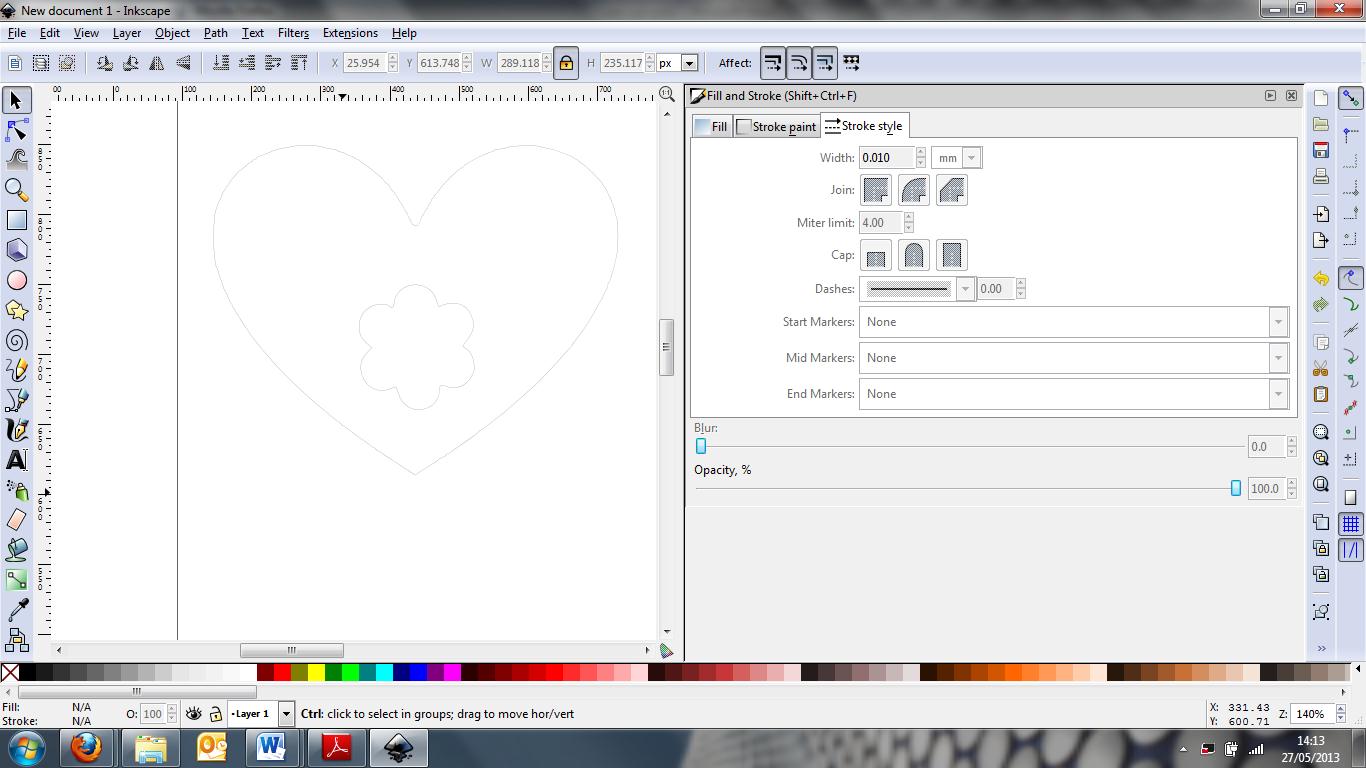
If you want to use this small heart design, just download the PDF onto a memory stick and take it along to your local FabLab or wherever else you can borrow a laser cutter. The lines on it are 0.01mm wide to suit the laser cutter I used, but you should check that this line thickness is right for vector cutting on your machine too. The file format needs to be correct as well - PDF files might not work for all machines.
For anyone who wants to create their own design, here is how I did it.
For anyone who wants to create their own design, here is how I did it.
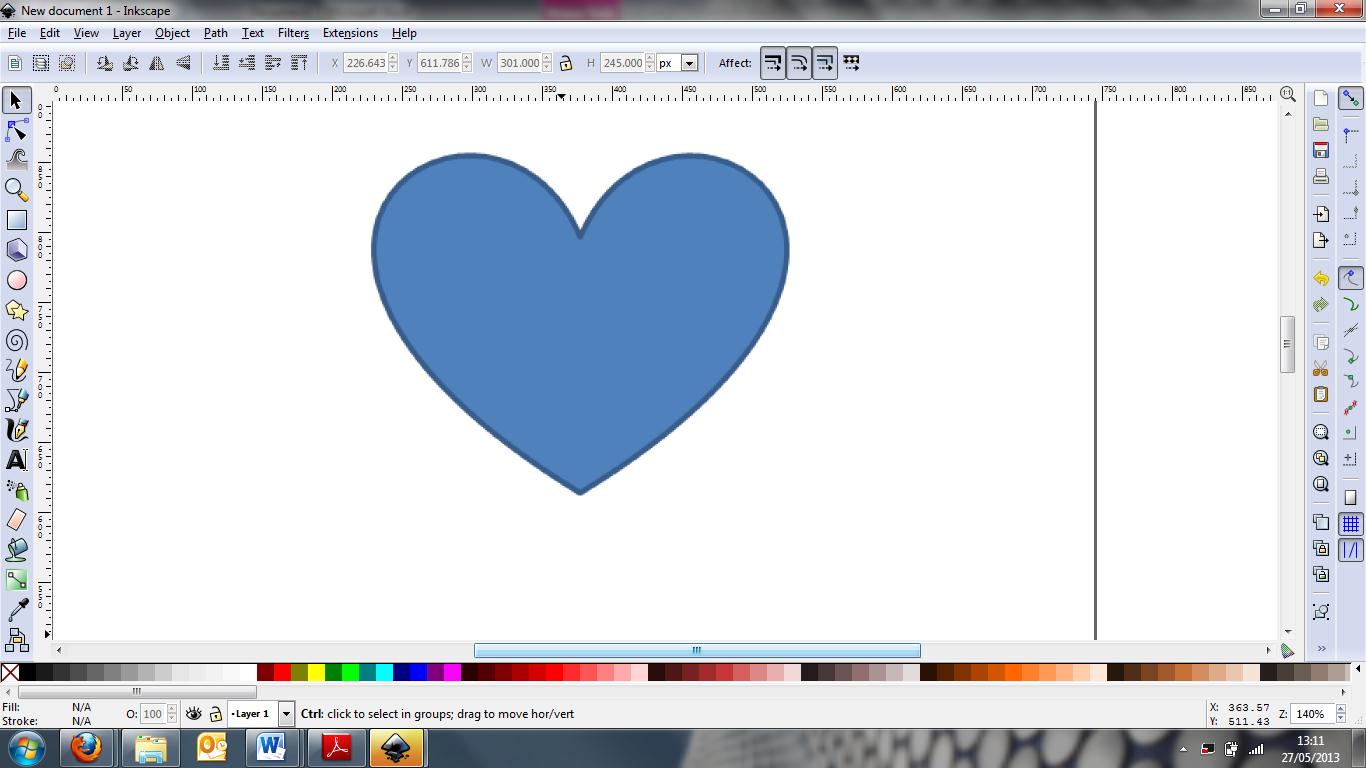
- Open up Inkscape (which is open source and free) and explore the shapes that can be created within it, like circles, ovals, stars and polygons. If you find something there that you like, fine, go ahead and draw it. The shape needs to be one that will work as a keyfob with a hanging loop, so an oval, circle or hexagon would be good, a star less good.
- If you want a more complicated shape like a heart or a flower, it's easier to find a suitable image on the internet or draw one using other software like Gimp or even Word - try Insert, Shapes in Word. Copy the image (click on it and then Control-C, or else right click and choose Copy), then open up Inkscape and paste the image (Control-V).
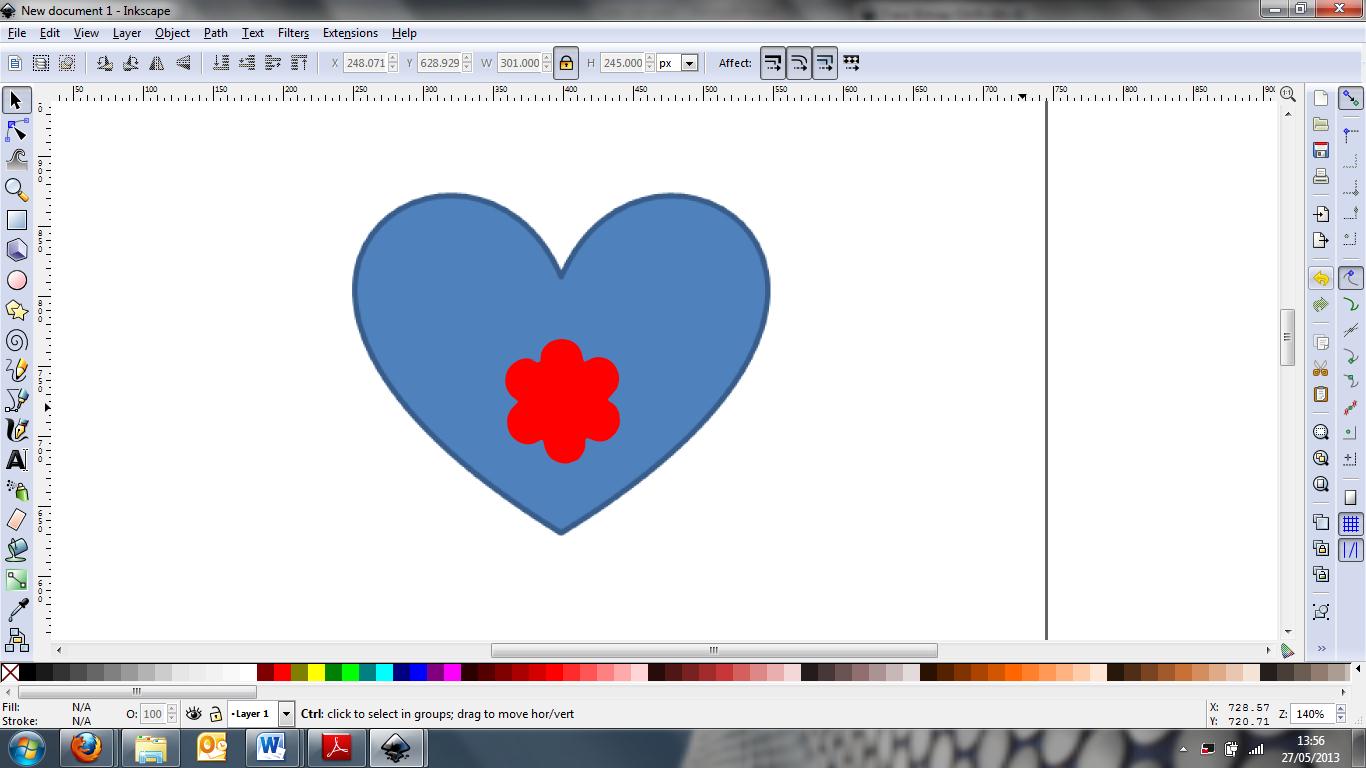
- Add a smaller cut-out shape in the middle of the first shape. Do this either within Inkscape or by pasting a new image on top. When you have it the size you want it and in the right position, group the 2 shapes by clicking to select the larger shape first, then hold down Shift while clicking to select the smaller shape. With both selected, click Object, Group. Test it has worked by dragging the shapes and checking they move together. Recolourise to make the outer shape one colour and the inner shape white, like the background.
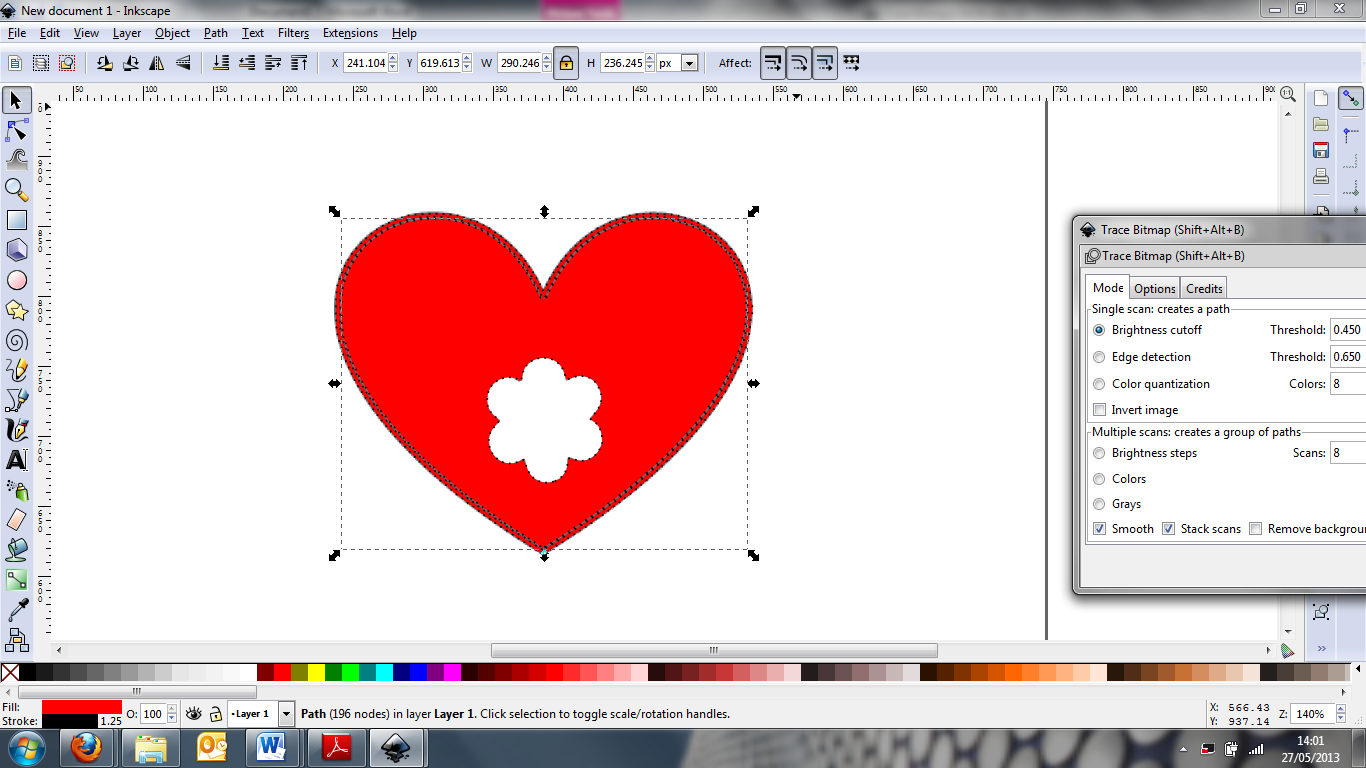
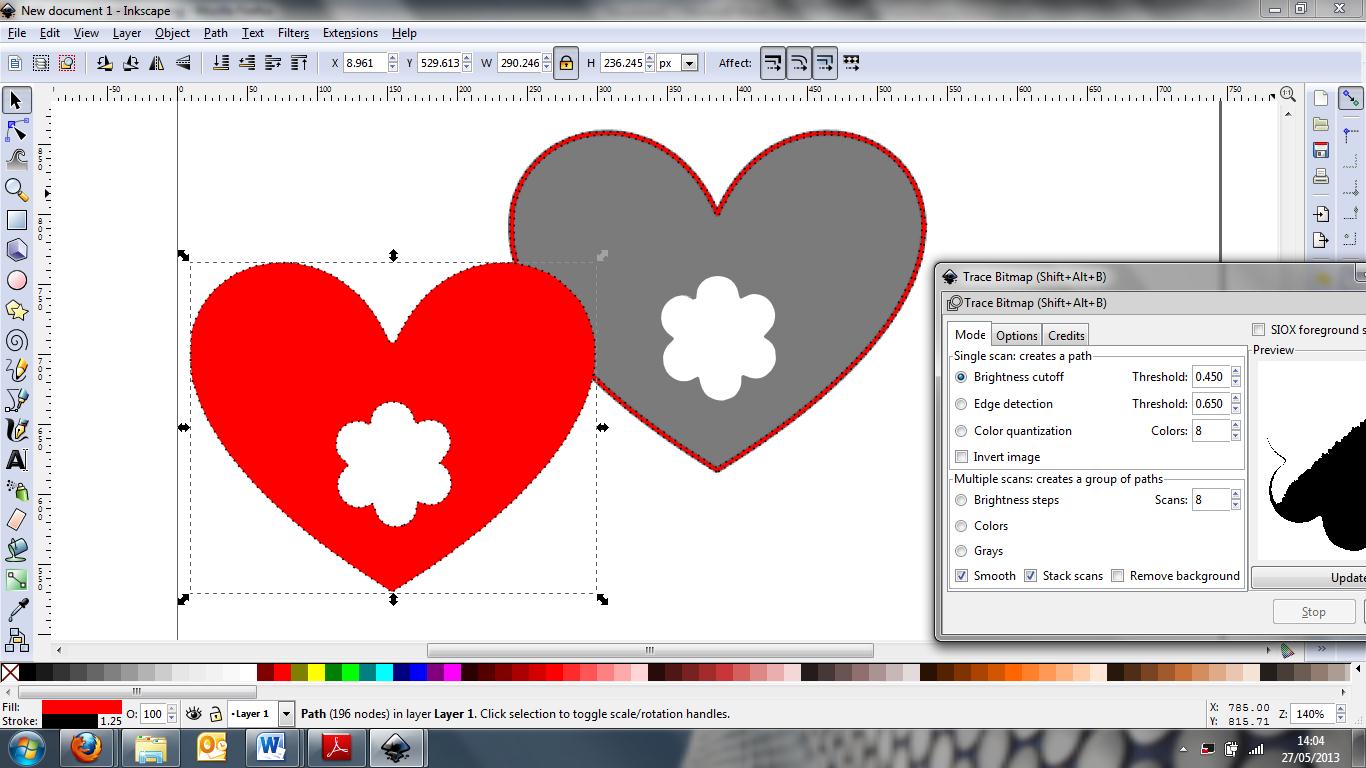
- Now you need to convert the image to a vector that the laser beam can follow. With the image selected, click Path, Trace Bitmap. In the Mode tab, tick Brightness Cutoff and then OK. Nothing will seem to have happened, but drag the new image off the old one, delete the old one and then drag the new one back again.
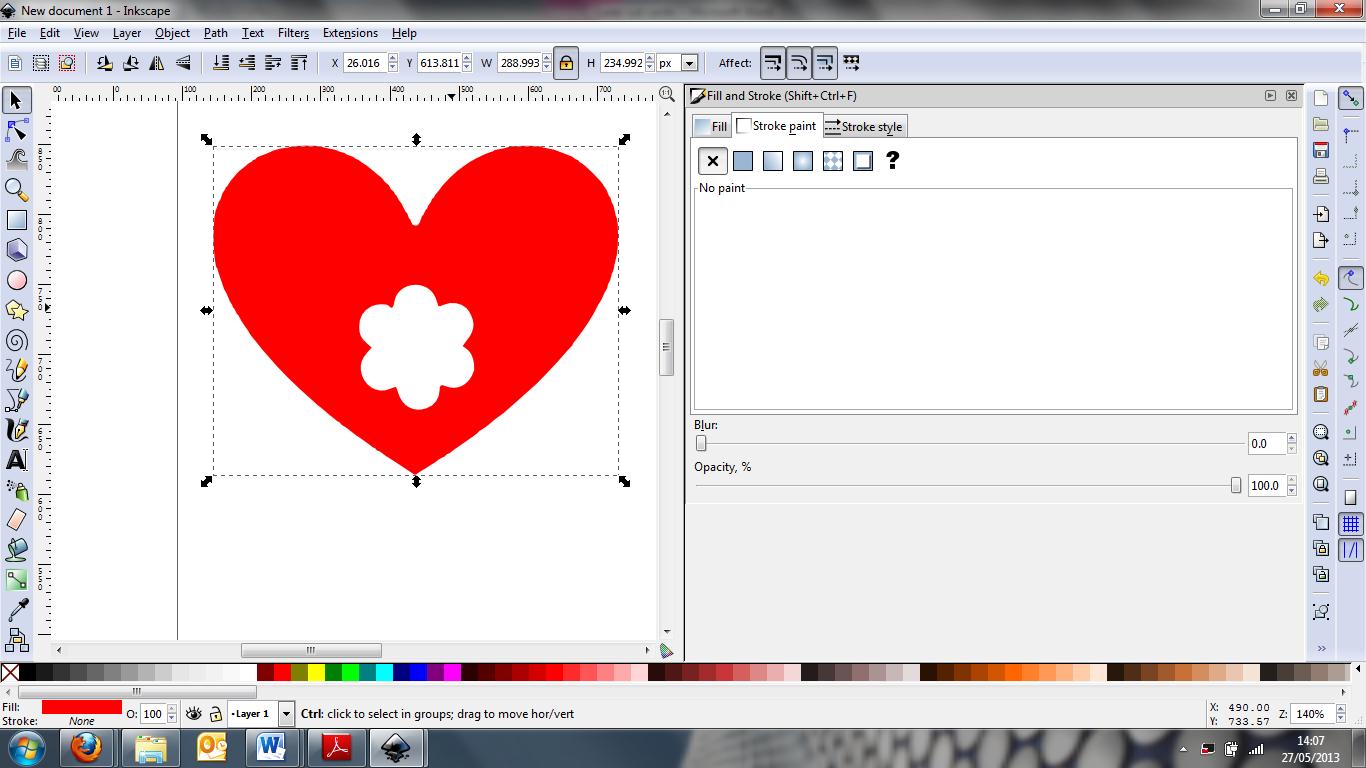
- In Object, Fill and Stroke, set Fill to no paint, Stroke paint to black and solid colour, Stroke Style width to 0.01mm.
- Copy the larger shape as many times as you need it, with and without the smaller insert, and fit them together to make efficient use of the leather. Change the size to suit the leather you have available and the size of keyring you want to make.
- Save as a PDF file, or print to a PDF.
Downloads
Laser Cutting the Leather
The leather must lie flat on the bed of the cutter, so flatten it by leaving it under a heavy book overnight if necessary. If it's thin and liable to get blown around by the cooling airflow, tape it down with masking tape.
Always laser cut leather with the right side upwards. This is counter-intuitive - you would think the side facing the laser beam would get burnt, but it is the underside that gets hotter so that needs to be the wrong side of the skin in case it chars a little.
Check the focus and do some test cuts with the laser using both colours of leather. You may need to tweak the settings but the following worked for me on a 40W laser:
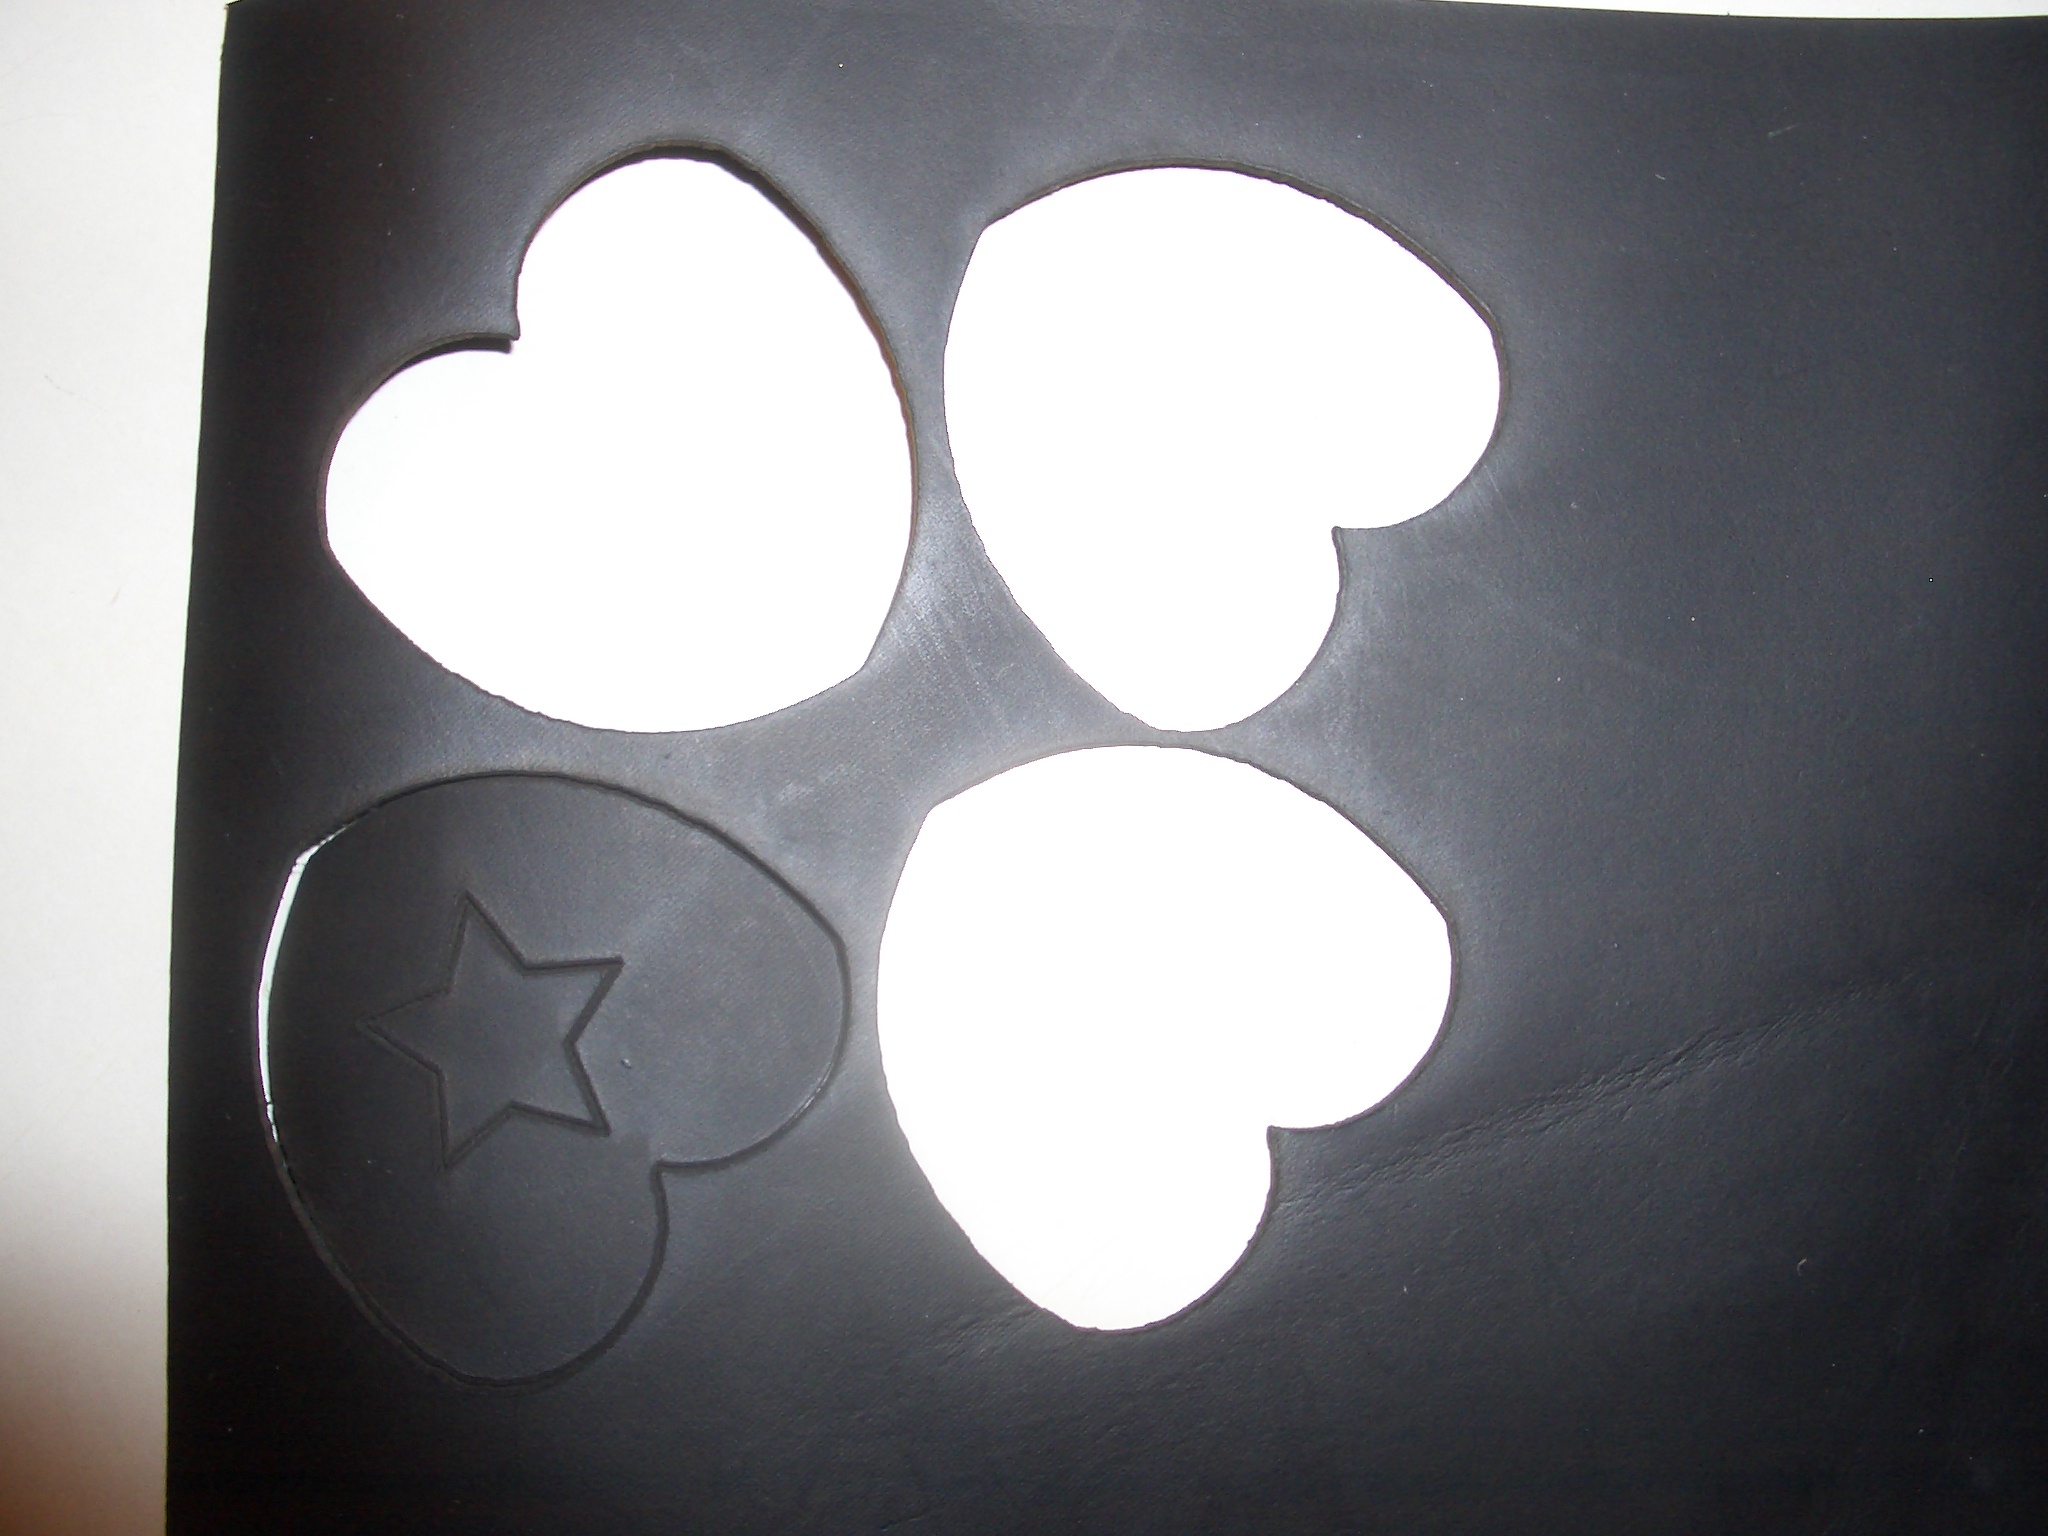
When you are happy that the cut is going fully through the leather without being overly powerful/slow (which would cause excessive charring), open the PDF file and send it to the cutter. It will take no time at all to cut out the 4 heart shapes and the small stars within 2 of them and then repeat this on the other piece of leather. Keep the leftovers, you will need them to cut small strips to attach the split rings.
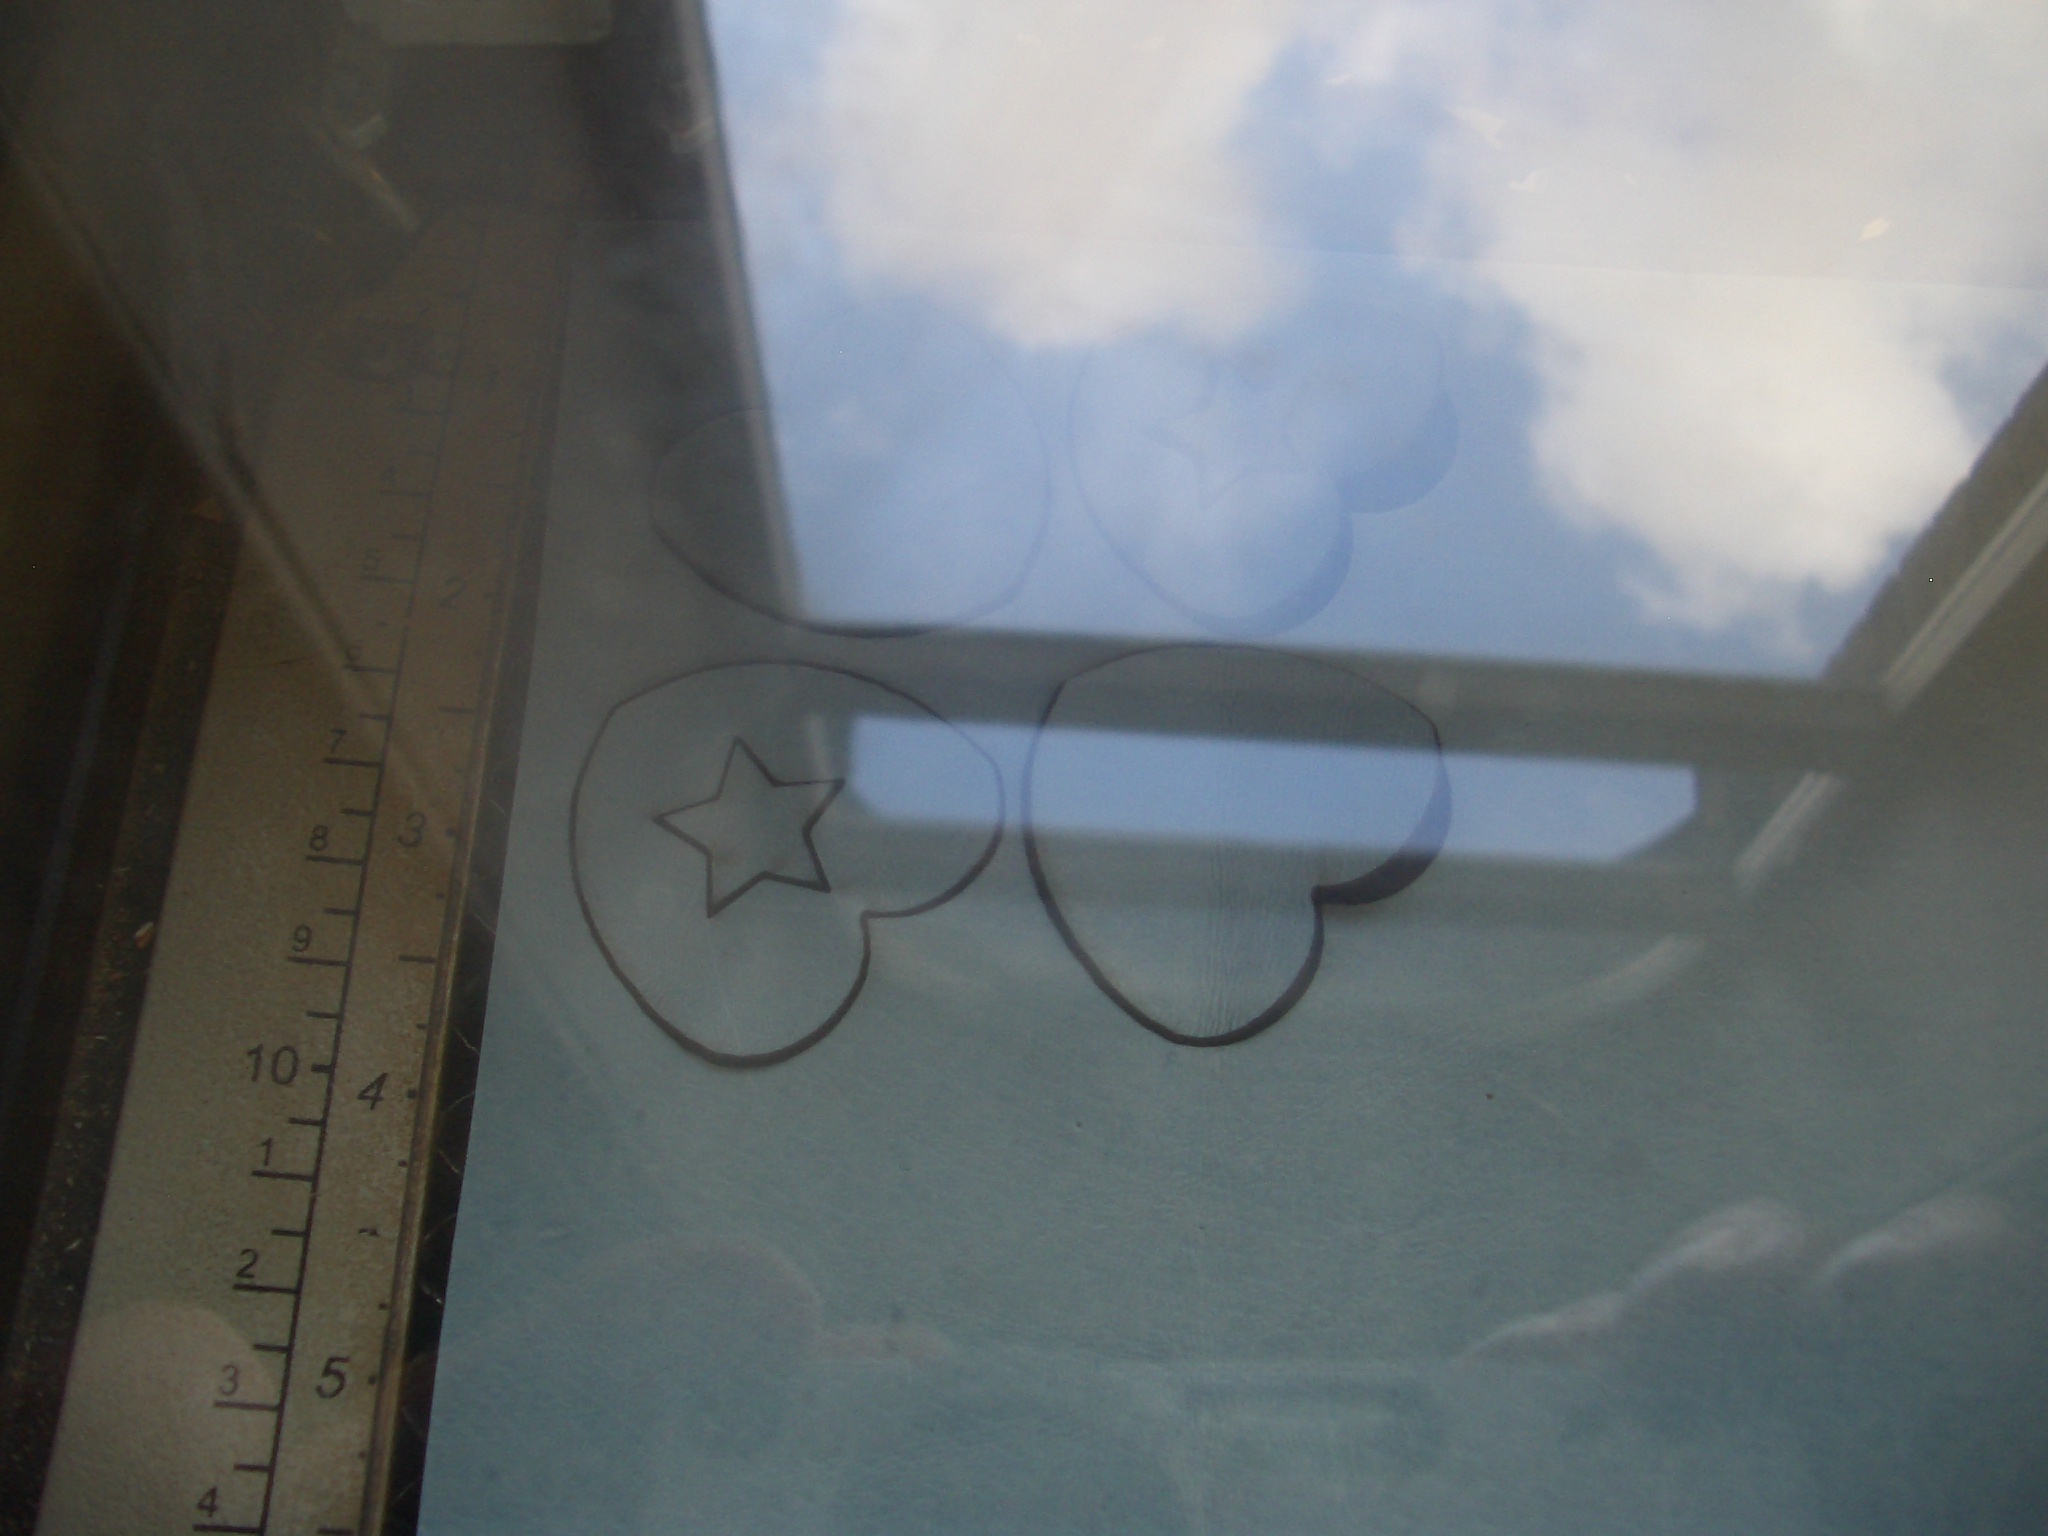
The first photo in this step was taken through the safety cover with the laser in operation and unfortunately there is a lot of reflection.
Always laser cut leather with the right side upwards. This is counter-intuitive - you would think the side facing the laser beam would get burnt, but it is the underside that gets hotter so that needs to be the wrong side of the skin in case it chars a little.
Check the focus and do some test cuts with the laser using both colours of leather. You may need to tweak the settings but the following worked for me on a 40W laser:
speed: 35%
power: 50%
frequency: 500 (not sure of the units - Hz? pulses per inch?)
power: 50%
frequency: 500 (not sure of the units - Hz? pulses per inch?)
When you are happy that the cut is going fully through the leather without being overly powerful/slow (which would cause excessive charring), open the PDF file and send it to the cutter. It will take no time at all to cut out the 4 heart shapes and the small stars within 2 of them and then repeat this on the other piece of leather. Keep the leftovers, you will need them to cut small strips to attach the split rings.
The first photo in this step was taken through the safety cover with the laser in operation and unfortunately there is a lot of reflection.
Finishing the Keyrings

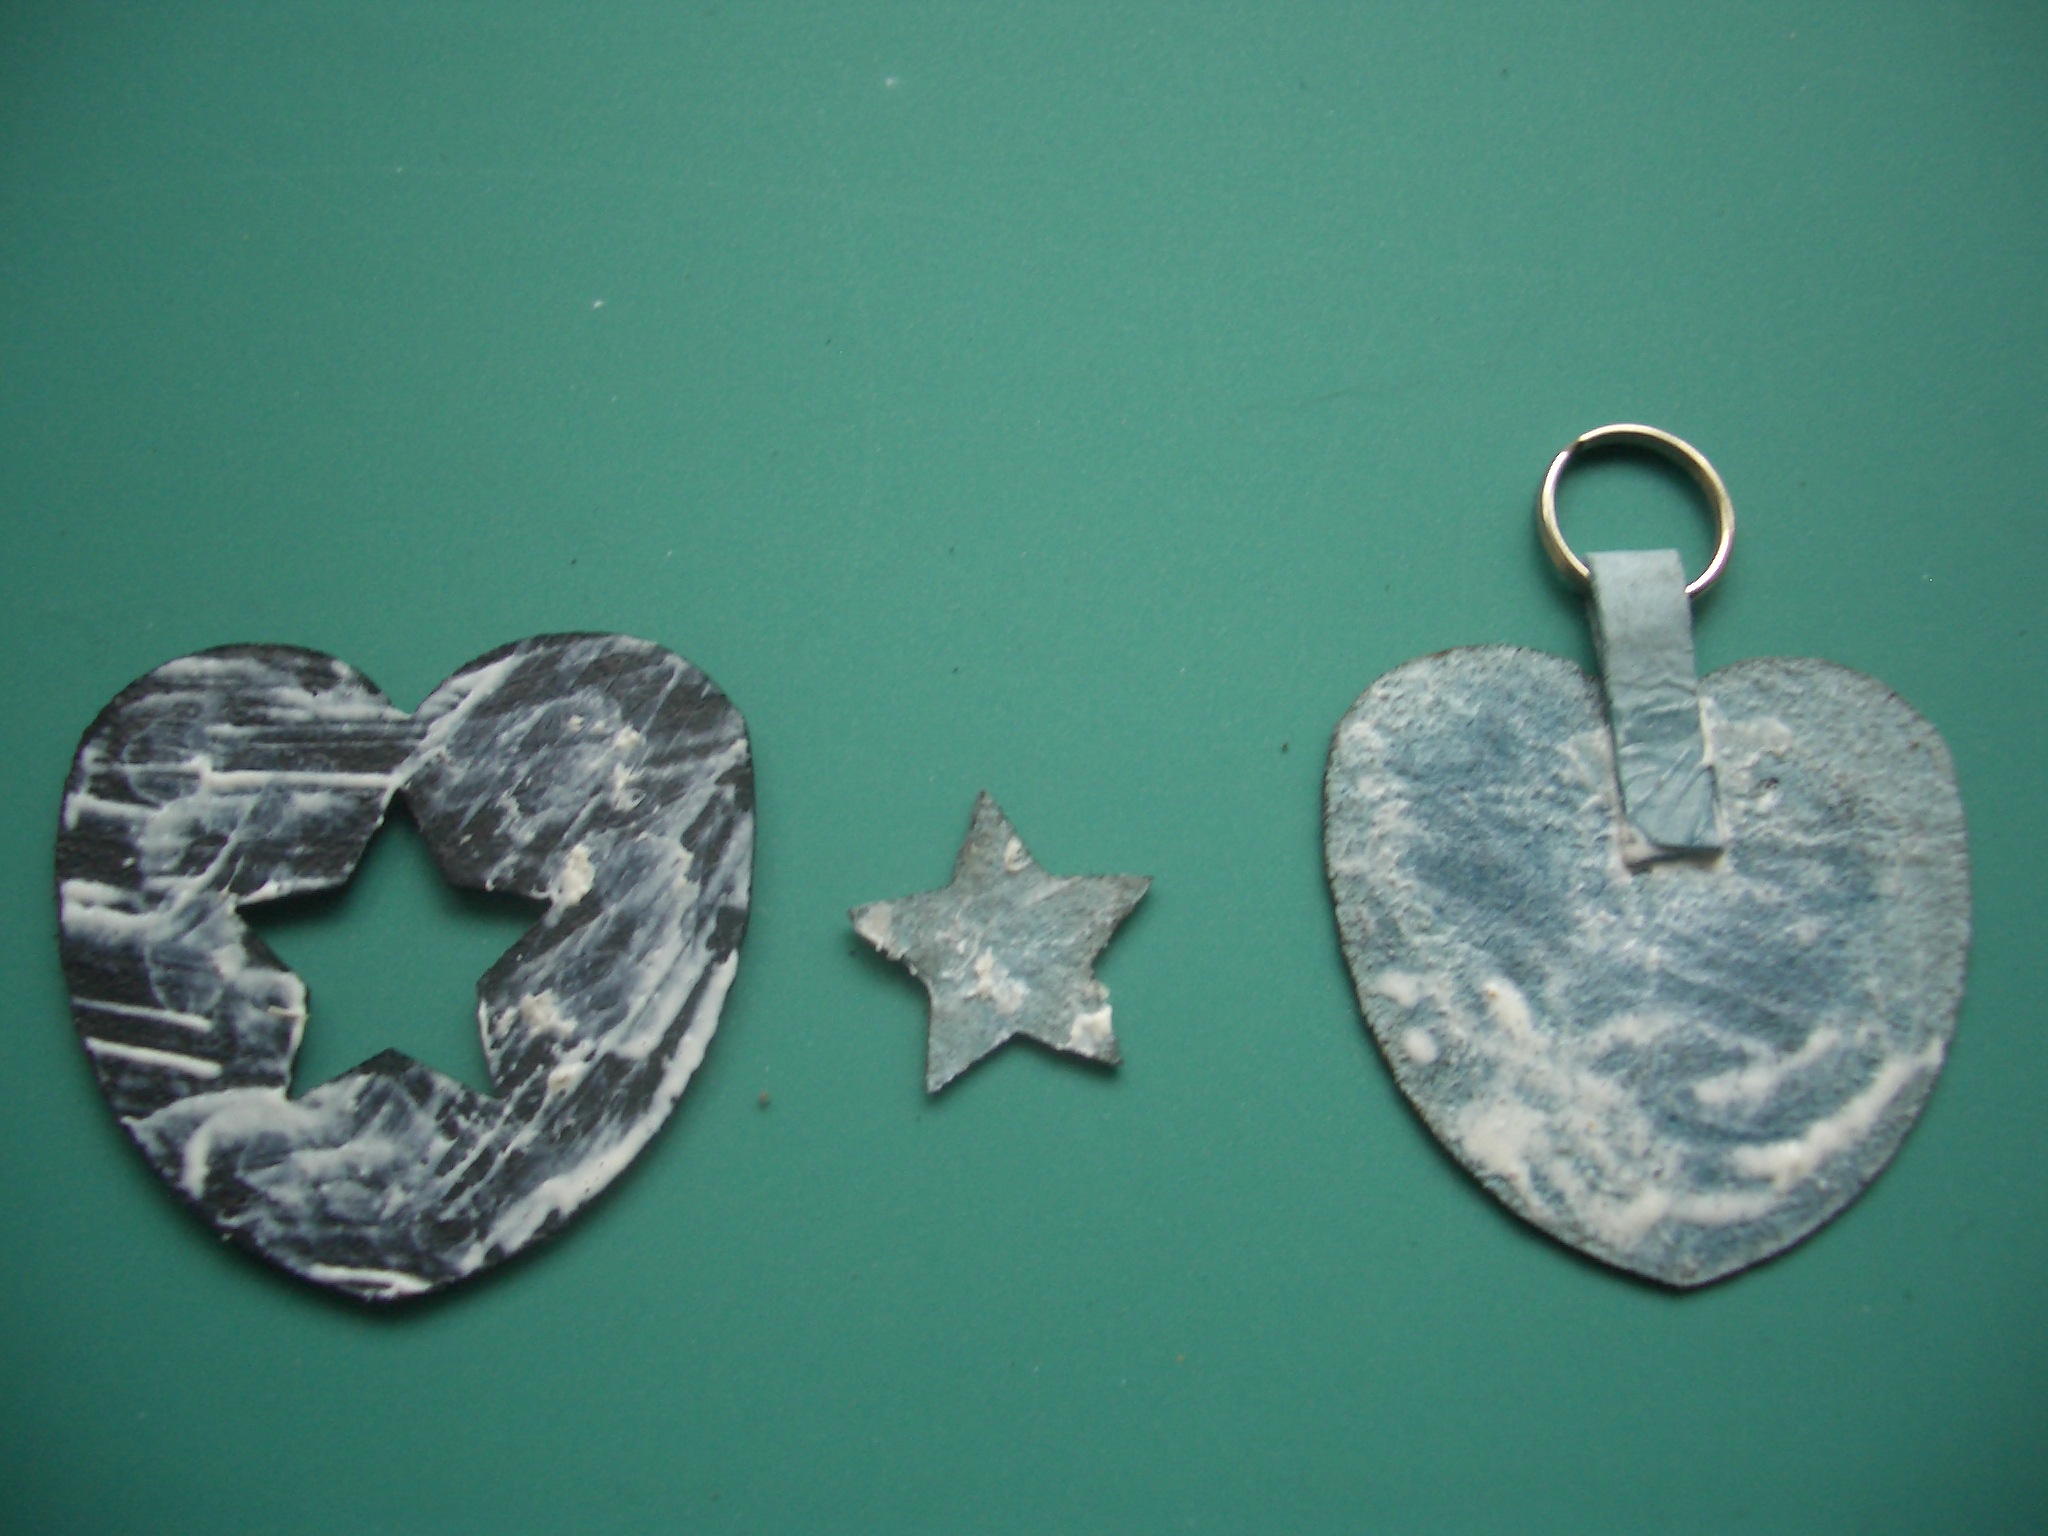
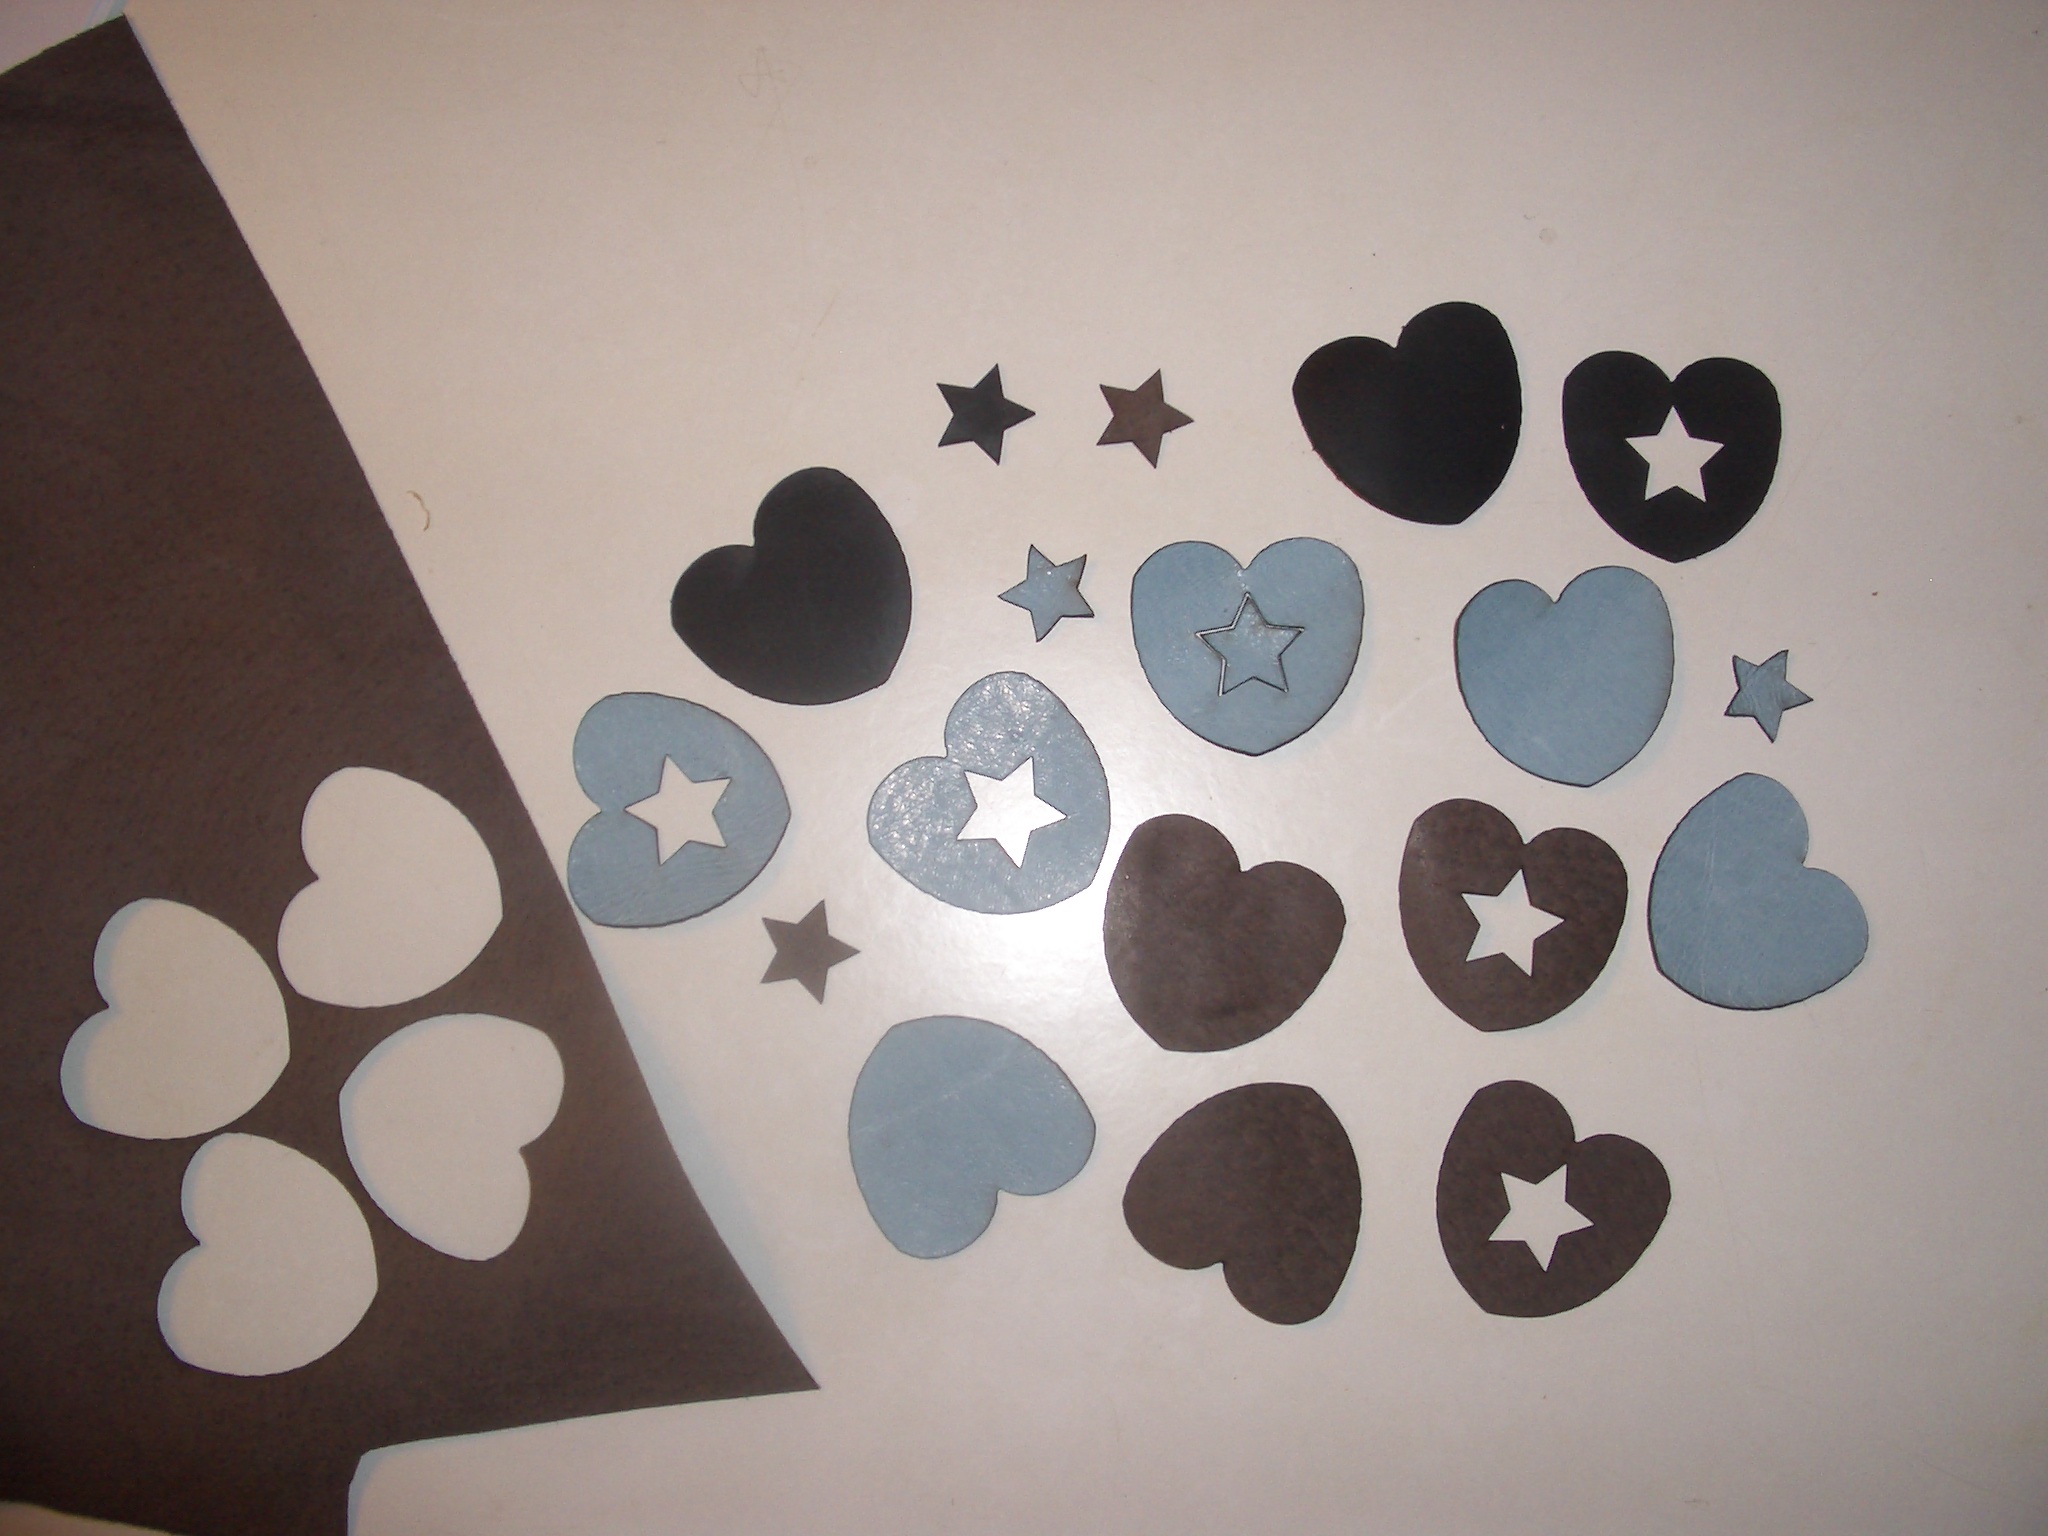
Wipe both sizes of the cut-out shapes with a damp cloth to remove any soot. Leave them to dry.
From the left-over leather, cut 1/4" strips using the craft knife against a metal ruler or other straight edge. If you don't have a cutting mat then use a piece of scrap wood or several sheets of cardboard to protect your table. Don't cut towards your body in case the knife slips, cut at an angle instead, and keep the hand that is holding the leather behind the knife blade. You'll need a strip that is about 1.5" long for each keyring. Cut 2 in each colour.
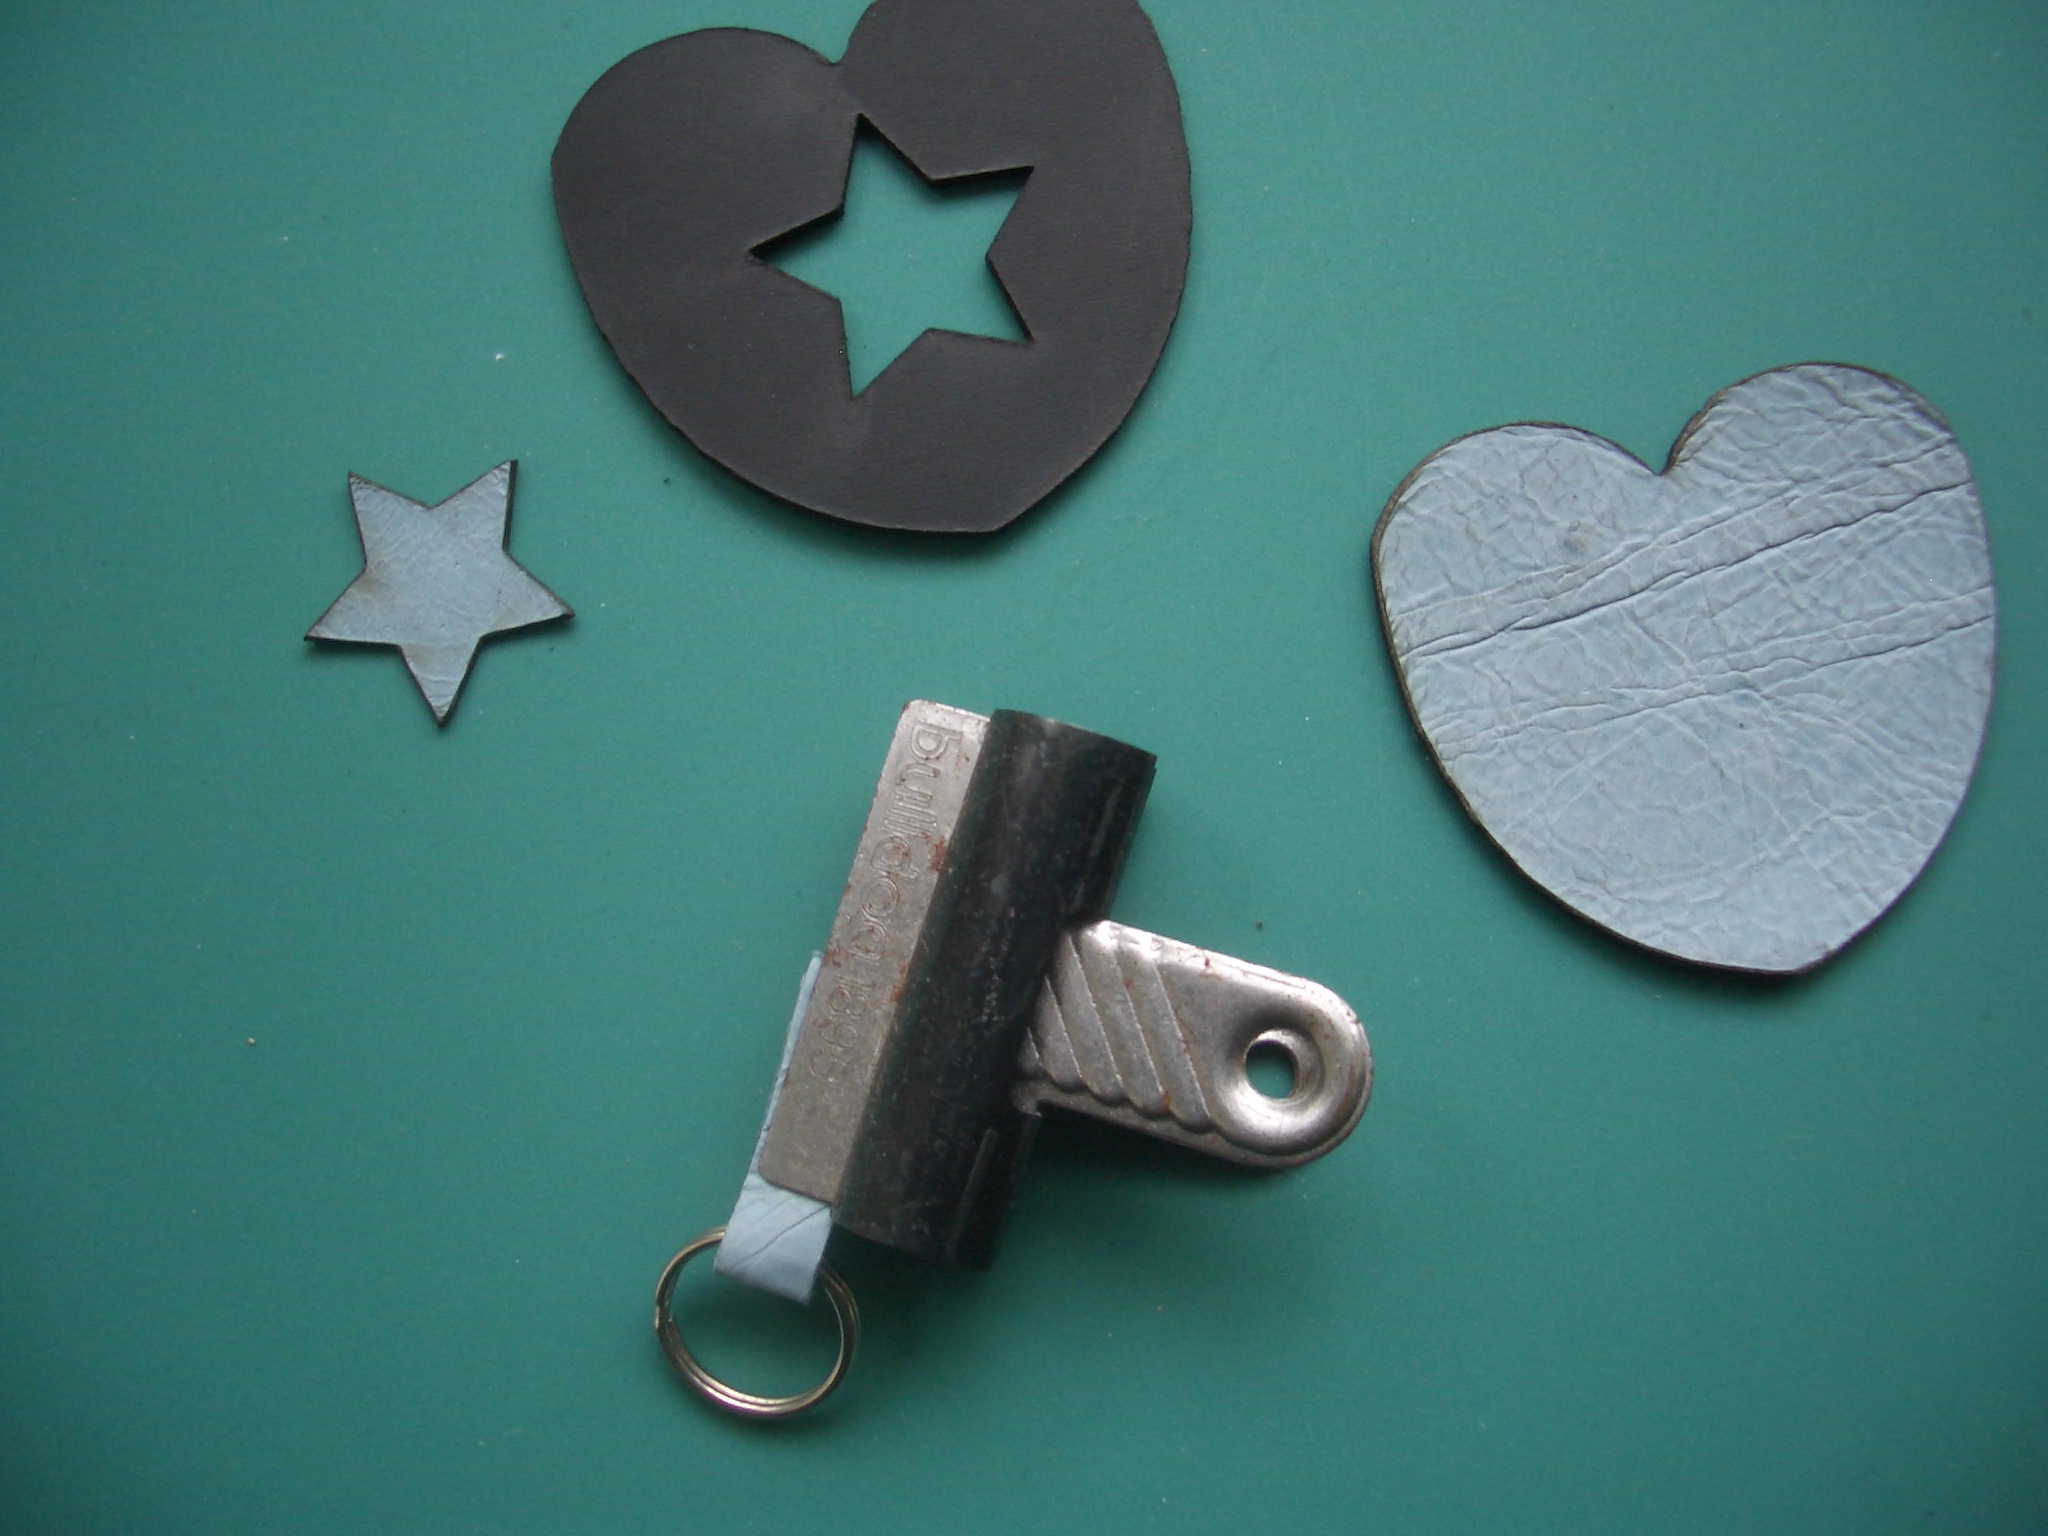
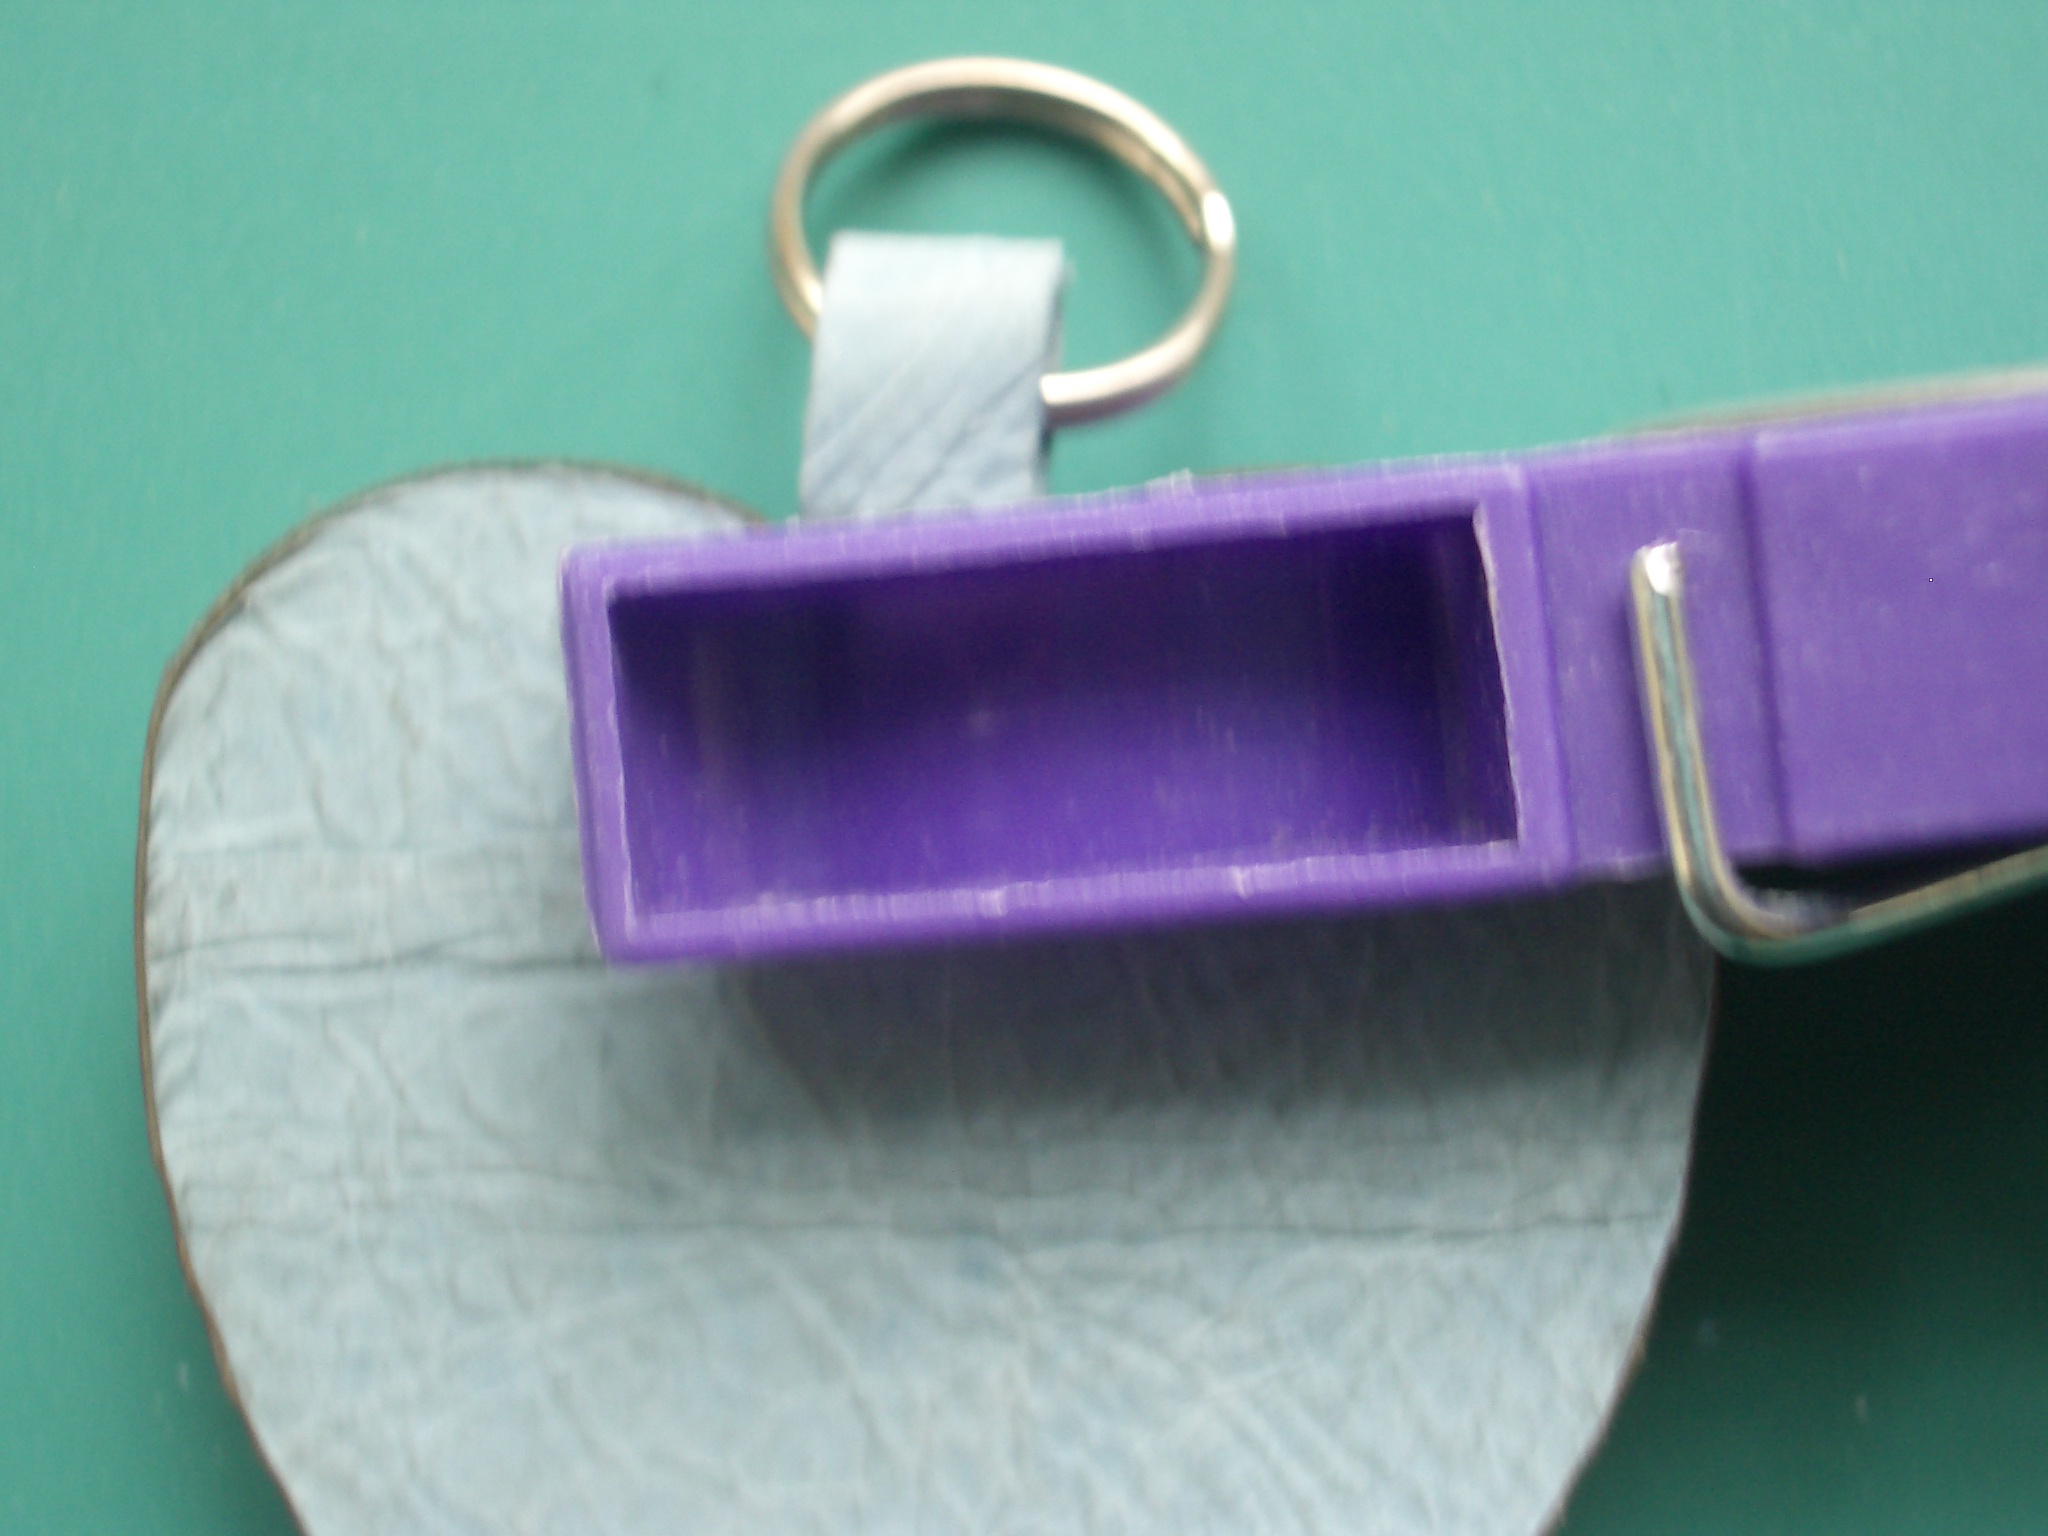
Place a strip wrong side up on the table and put a small amount of rubber cement on each end of it, spreading it to cover the last 1/4" or so. Leave the glue a few minutes to become tacky then feed the strip through a split ring and press the glued ends together. Hold them with a bulldog clip or peg until the glue is fully set.
Place a blob of glue on the back of the loop you have just made and spread it from the cut ends about a third of the way up. Put another blob on the wrong side of a plain heart of the same colour just down from the top where the loop will be attached. Spread the glue around a bit and leave it to dry for a while as before. Then, being careful to get the loop absolutely straight, press it down onto the glue on the back of the heart and clip it in place to dry. That's the back of the keyring made.
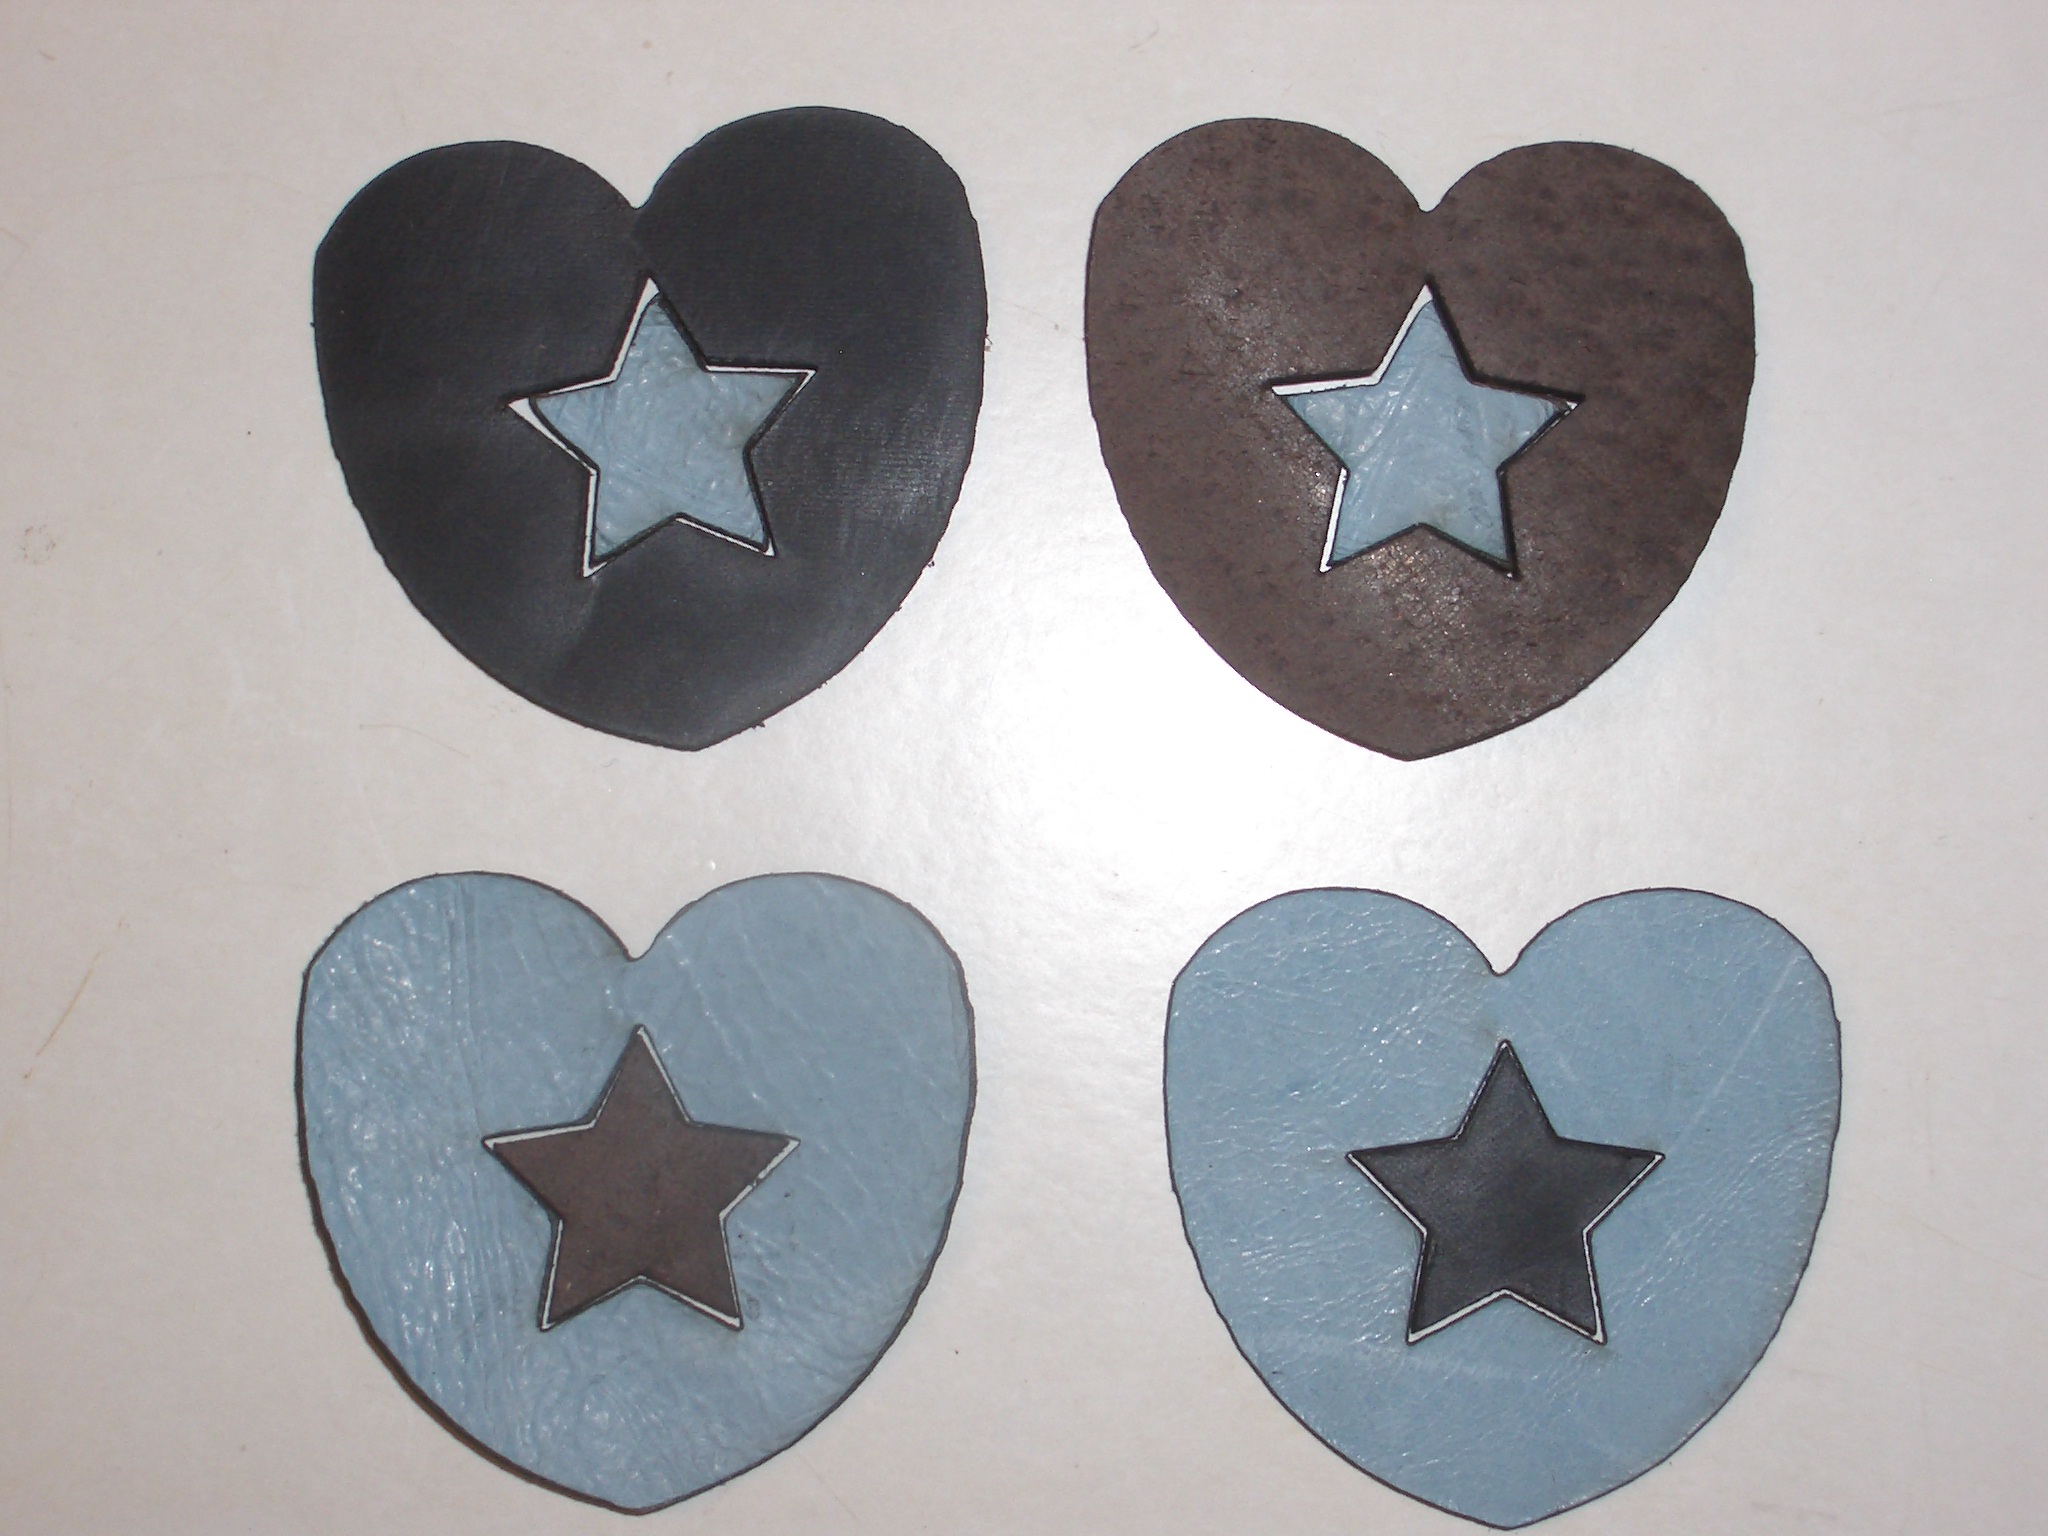
When the glue is completely dry, apply more glue to the whole of the wrong side of the keyring back and a contrasting coloured heart with a star cut-out. Also apply glue to the back of a star that is the opposite colour to the keyring front. When the glue has gone tacky, press the front and back together carefully and then put the star in place. Pop the completed keyfob under a heavy book until the glue sets.
Finally, pull off any strands of rubber cement that have got onto the outside of the keyring and give the leather a polish.
From the left-over leather, cut 1/4" strips using the craft knife against a metal ruler or other straight edge. If you don't have a cutting mat then use a piece of scrap wood or several sheets of cardboard to protect your table. Don't cut towards your body in case the knife slips, cut at an angle instead, and keep the hand that is holding the leather behind the knife blade. You'll need a strip that is about 1.5" long for each keyring. Cut 2 in each colour.
Place a strip wrong side up on the table and put a small amount of rubber cement on each end of it, spreading it to cover the last 1/4" or so. Leave the glue a few minutes to become tacky then feed the strip through a split ring and press the glued ends together. Hold them with a bulldog clip or peg until the glue is fully set.
Place a blob of glue on the back of the loop you have just made and spread it from the cut ends about a third of the way up. Put another blob on the wrong side of a plain heart of the same colour just down from the top where the loop will be attached. Spread the glue around a bit and leave it to dry for a while as before. Then, being careful to get the loop absolutely straight, press it down onto the glue on the back of the heart and clip it in place to dry. That's the back of the keyring made.
When the glue is completely dry, apply more glue to the whole of the wrong side of the keyring back and a contrasting coloured heart with a star cut-out. Also apply glue to the back of a star that is the opposite colour to the keyring front. When the glue has gone tacky, press the front and back together carefully and then put the star in place. Pop the completed keyfob under a heavy book until the glue sets.
Finally, pull off any strands of rubber cement that have got onto the outside of the keyring and give the leather a polish.