Laser-cut Dimensional Wall Art Made at Techshop!
by sundog arts in Workshop > Laser Cutting
2724 Views, 9 Favorites, 0 Comments
Laser-cut Dimensional Wall Art Made at Techshop!
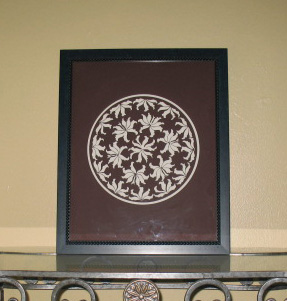
Transform a bland wall into classiness itself using an Epilog laser cutter, Adobe Illustrator, clip art from a Dover book, a couple of contrasting mat boards and a thrift store frame!
This is an intro-level project that requires minimal skills and basic materials. You do need access to a laser cutter and Illustrator or similar software but the vector-only graphic is pretty simple to process.
Check out techshop here:
http://www.techshop.ws
There are plenty of tools to enjoy, learn, or otherwise experiment with.
Ingredients
A laser cutter. Among the oodles of fun toys at my local Techshop are two 45-watt Epilogs and one 90-watt model. The example was cut on a lower-power one, so the settings are for 45 watts - your mileage may vary.
A design. Dover is a great source of design of many styles, and many are copyright-free. Some of their books come with disks containing vector files but this particular one, "Floral Ornament" is a hard copy only. I used a scanner but you may prefer to download something, create your own or alter a photo.
Adobe Illustrator. If you prefer Corel or something else and know how to use it with your laser, you know more than I do. These instructions are for Illustrator because I can usually muddle my way through on that and don't know anything else.
2 mat boards of contrasting color. If possible, try to match the front of the base mat (the bits that will show through) with the back of the top. This will minimize the appearance of any tearout or fuzzies from incomplete cuts or hand trimming.
A frame to fit your mats, preferably one with glass.
Rubber cement. You can use something else if you like, but this is quick, non-staining and provides a cheap high for those with a surfeit of brain cells.
A craft knife - I prefer the #16 blades because they have less wiggle and the points are less likely to chip and embed the tip in a thick mat.
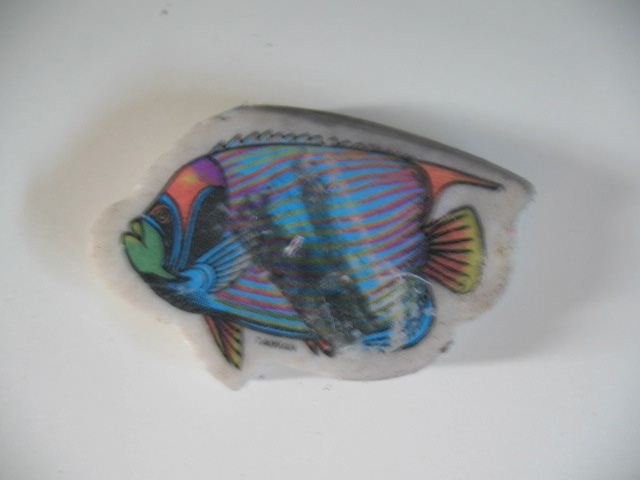
A good eraser. I find that the plastic novelty type smears less than pink pearls or the beige gummy cubes, but kneaded erasers probably work great too. Mine is super excellent because it is shaped like a tropical fish.
Design
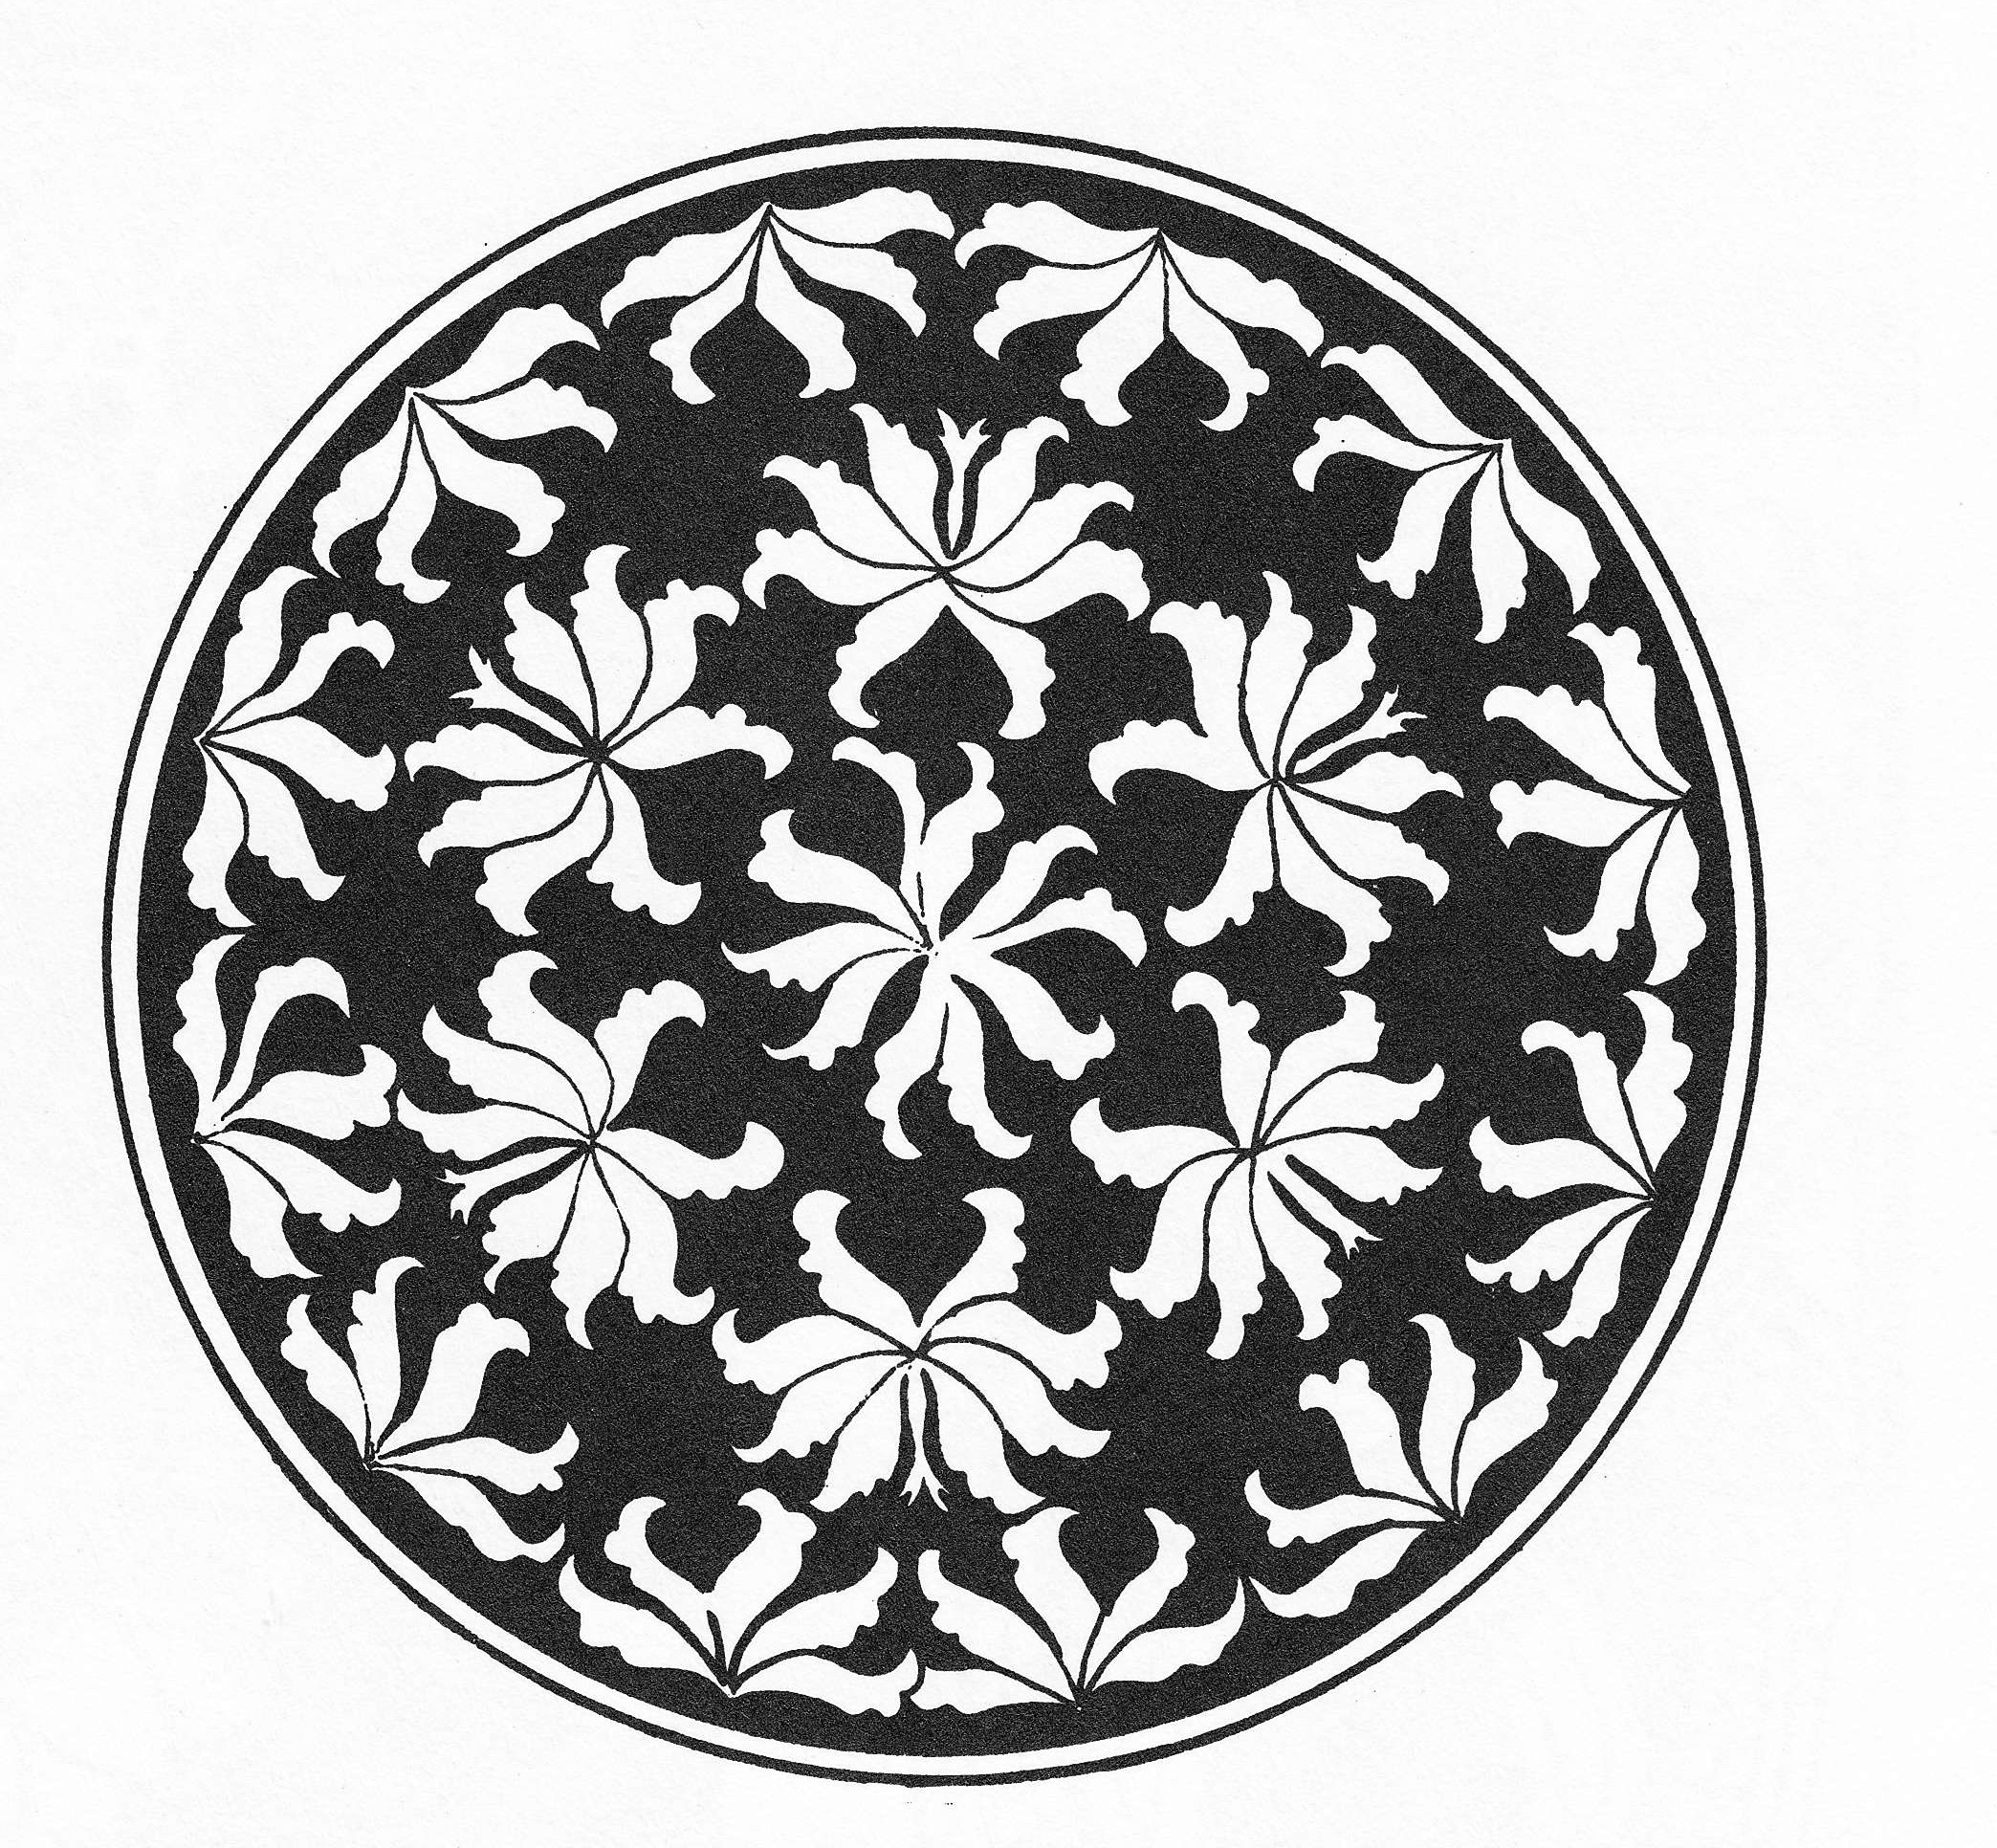
The first step is to make the art usable. This project will be easiest when the design is a simple one-color design like a logo or stencil: there should be solid areas of black with a minimum of completely enclosed white within (this is reversed in the example because the design is cut out of dark mat board with a white figure and the bottom mat is white; sorry for any confusion). It will still work if there are interior details but the effort and fussiness during the assembly phase increase substantially, so it is a good idea to try a simple one first. In the example, the ring is the only enclosing element.
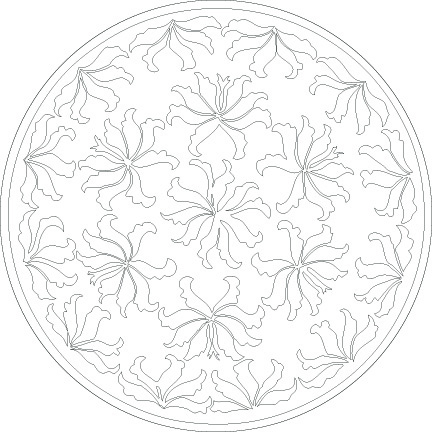
Open your design in Illustrator and vectorize that baby. CS5 and younger versions have a tool called "live trace" that works magic; I have heard that it can be problematic in some circumstances but I am no expert. It has worked for me. Select the "black and white logo" option. Hit "expand." Fiddle with the results until you like it. Then remove the fill and set the stroke to 0.001 inch. This will show the outline where the laser will cut. Save this file as your base vector design.
Laser Magic
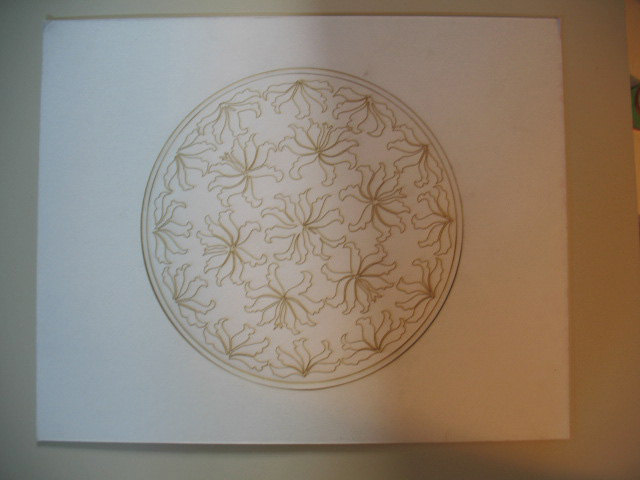
The laser seems to work best doing two fast, lower-power passes than one slow, high-power one. The cuts seem more precise and there is less soot, which is especially important when using a light-colored mat. Rather than sending the file twice, copy the layer(s). This is faster because the laser repeats the path of each element when it gets back to the beginning rather than doing the whole design and then starting again from the beginning. Save your file as a final draft.
Place the mat board on the bed of the laser. If the front of the mat is light-colored, put it face-down to minimize possible marking with soot. (This may require you to go back into the file and flip the design if it has text or is otherwise asymmetrical; you may prefer to take your chances with the soot if the mat is dark or if you like the smoky effect. It's up to you, but a test run is not a bad thing.) Adjust the focus and set the home coordinates. In the printer driver window, designate the file as vector only with 50% speed, 50% power, and frequency of 500 Hz. Select vector sorting and enter the size of the mat board and confirm the orientation of the material on the bed. Press "OK." Close the lid on the laser and press "go." Monitor it as it cuts to catch any potential fire but don't just stare at the darn thing. It is a laser, after all.
Place the mat board on the bed of the laser. If the front of the mat is light-colored, put it face-down to minimize possible marking with soot. (This may require you to go back into the file and flip the design if it has text or is otherwise asymmetrical; you may prefer to take your chances with the soot if the mat is dark or if you like the smoky effect. It's up to you, but a test run is not a bad thing.) Adjust the focus and set the home coordinates. In the printer driver window, designate the file as vector only with 50% speed, 50% power, and frequency of 500 Hz. Select vector sorting and enter the size of the mat board and confirm the orientation of the material on the bed. Press "OK." Close the lid on the laser and press "go." Monitor it as it cuts to catch any potential fire but don't just stare at the darn thing. It is a laser, after all.
Separation Anxiety
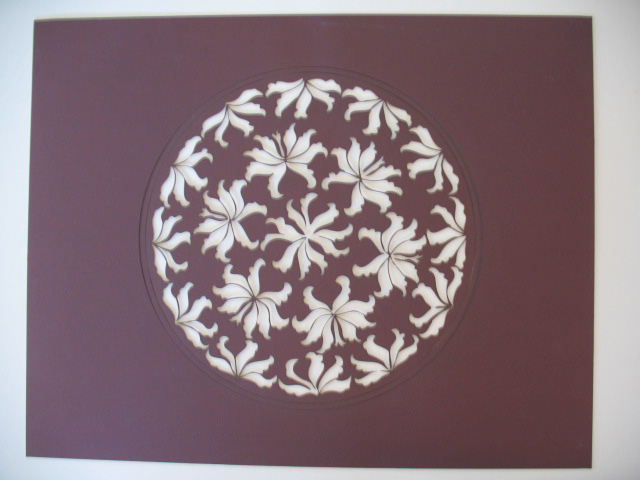
When the machine is done, remove the mat carefully. If the stars are in alignment, the pieces separate easily and small bits can be easily lost. Retain all of the cutouts, even the ones that will not appear in the final piece. (Depending on your design, sometimes these can be a second piece of art all on their own!) Remove any soot first by blowing gently, then clean up with an eraser. Separate all pieces that will be negative space in the final design (the ring and flowers in the example), working from the front to the back. They should come away easily if the two passes were sufficient, but if bits of the last layer sticks, cut the groove gently with a craft knife.
Assembly Part 1
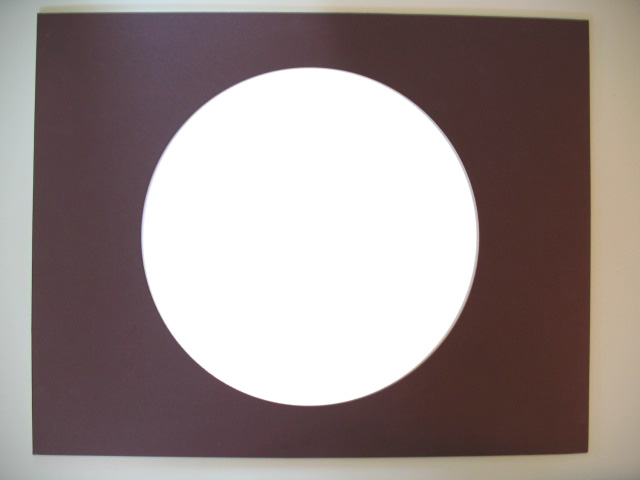
Using a contrasting mat of the same size as a backer, glue the body of the cut mat down with a few light dabs of rubber cement far away from any edge. If your frame has no glass, carefully glue down any little bits and corners that may curl outward over time. Cover the sandwich with clean paper and stack some hefty books on top. Go get a cup of tea or a breath of fresh air for a few minutes. Sorry, I forgot to take a photo for this step so I 'shooped out the center of another photo, but you get the idea.
Almost There!
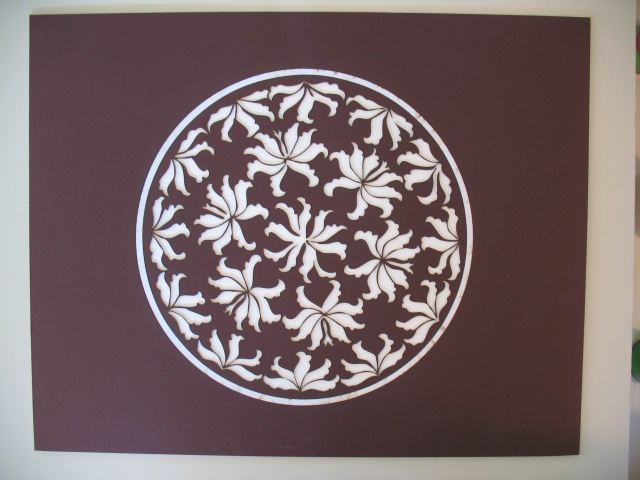
Unveil your creation! If your design has no interior elements, you're done! Put your masterpiece in the frame, hang it on the wall and await the avalanche of compliments!
If there are little bits yet to add, press the pieces that surround them into place gently. In this case, the surrounding ring puts the central boss into place. If it is symmetrical like this circle, put the registration pieces in upside-down to minimize marks on the underlayer and identify the pieces to be removed later (the reversed ring in this example shows some of the soot marks from facing the laser). Using very thin dabs of rubber cement placed far away from the edges, glue the interior bits into their spaces. The same rule about little details applies here if using a glassless frame, but be extra careful not to get any on the registration pieces. Cover and press again with books. More tea. More air.
If there are little bits yet to add, press the pieces that surround them into place gently. In this case, the surrounding ring puts the central boss into place. If it is symmetrical like this circle, put the registration pieces in upside-down to minimize marks on the underlayer and identify the pieces to be removed later (the reversed ring in this example shows some of the soot marks from facing the laser). Using very thin dabs of rubber cement placed far away from the edges, glue the interior bits into their spaces. The same rule about little details applies here if using a glassless frame, but be extra careful not to get any on the registration pieces. Cover and press again with books. More tea. More air.
The Finale!
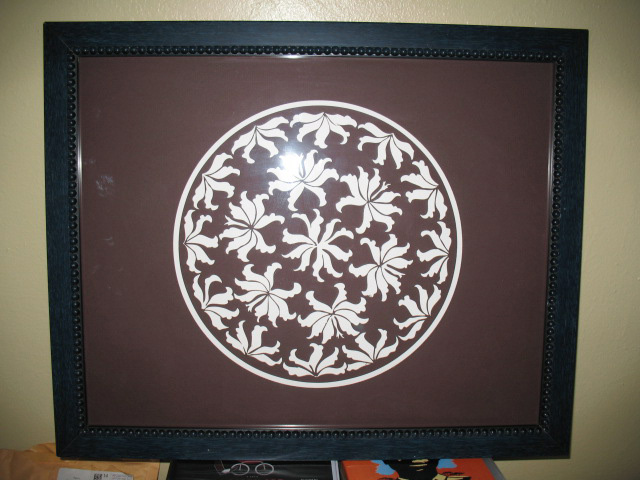
Uncover and remove the unglued pieces carefully. Sometimes a dental pick or the tip of a craft knife helps. Frame your creation and congratulate yourself on a job well done!
If you try this and want to show off your work, please post a pic or two or a link! I would love to see them.
Thanks for reading all the way through. This is my first Instructable, so please don't be too hard on me.
If you try this and want to show off your work, please post a pic or two or a link! I would love to see them.
Thanks for reading all the way through. This is my first Instructable, so please don't be too hard on me.