Laser Cut Dalek Jewelry From Black and White Images
by Sahrye in Workshop > Laser Cutting
3110 Views, 19 Favorites, 0 Comments
Laser Cut Dalek Jewelry From Black and White Images
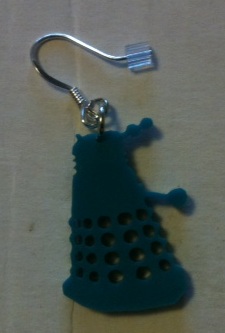
This project was made using Adobe Illustrator software and an Epilog laser cutter at TechShop SF. "I made it at TechShop" http://techshop.ws/
In this instructable you will learn:
1. How to use Adobe Illustrator to convert a black and white silhouette or image to a vector drawing that can be cut on a laser
2. Using a laser cutter to cut acrylic jewelry
3. Adding jump rings to your acrylic jewelry to make necklaces or earrings
what you need:
adobe Illustrator 5 or higher
laser cutter
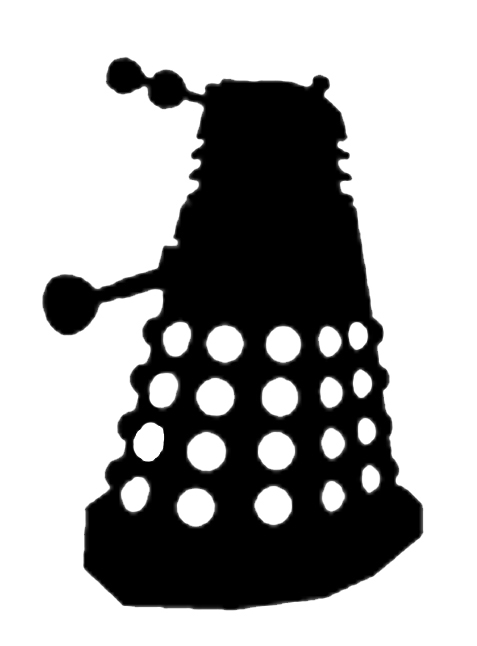
black and white dalek drawing or silhouette, I used the one from here http://doodlecraft.blogspot.com/2013/08/doctor-who-stencil-silhouette-outline.html
1/8 inch thick acrylic plastic
4mm or 6mm jump rings from the craft store
earrings hooks from the craft store, I like the nickel-free ones
2 plier, needle nose works best
Downloads
Converting Image to Vector
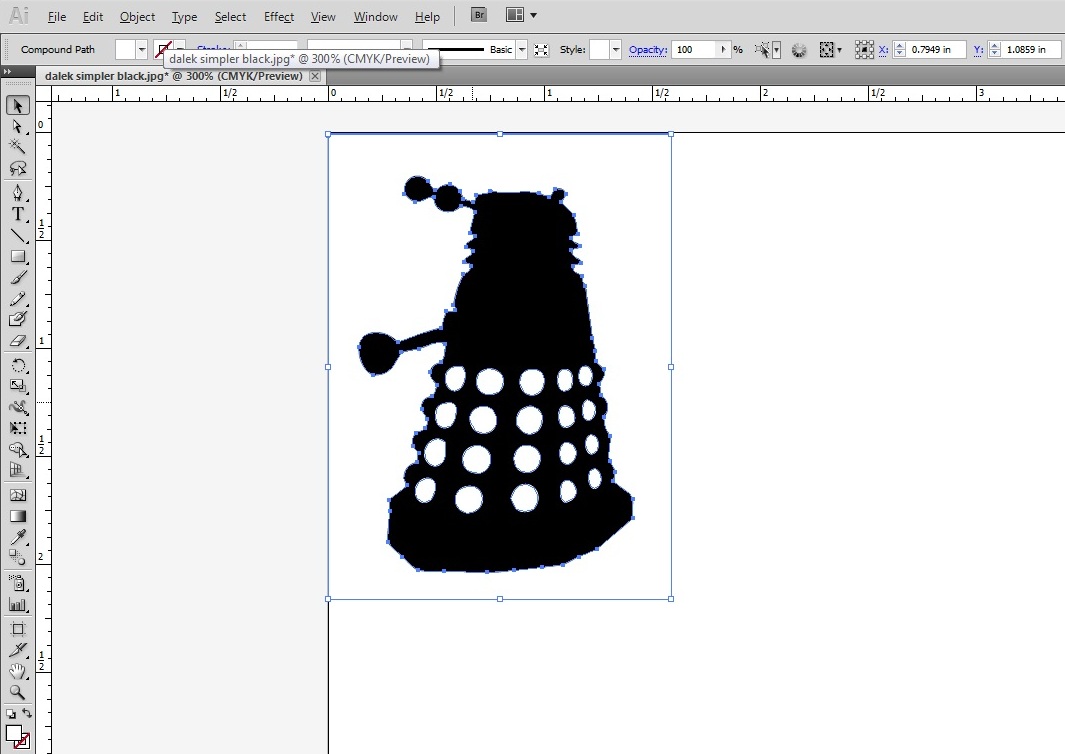
Open image and Live Trace
1. Open the image in Adobe Illustrator
Open > click on image > open
2. Select the image by clicking on it with the arrow, it should have a blue box around it
3. Locate Live Trace on the control panel and click on the arrow to the right, choose black and white logo from the pull down menu.
4. Select your image then click Expand in the tool bar, your image should now be outlined in blue with blue squares
Changing Colors and Defining Lines
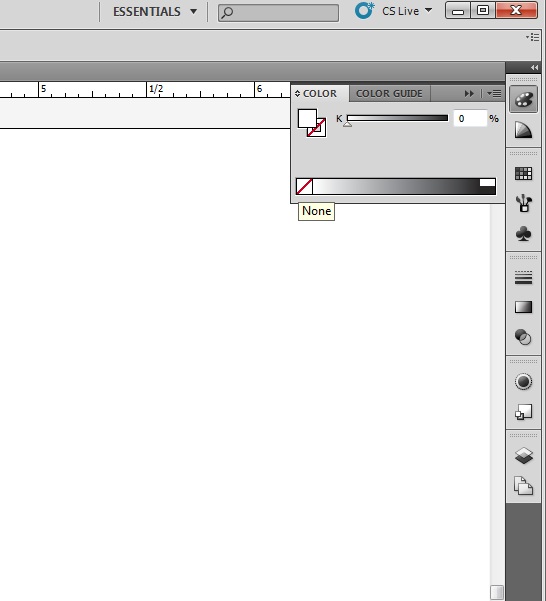
Change the colors and define the lines
5. Open the color palette in the right tool bar
6. Yous should see two boxes, one with a question mark and one with a box in a box. Selected the box in a box and click black. Select the box with the question mark and then select no color by clicking on the white box with the red slash, you should now have a dalek with black lines and no color.
7. If you are cutting this at TechShop the stroke needs to be 0.001. Fill that in in the upper tool bar.
Use the Ellipse to Add an Earring Hole
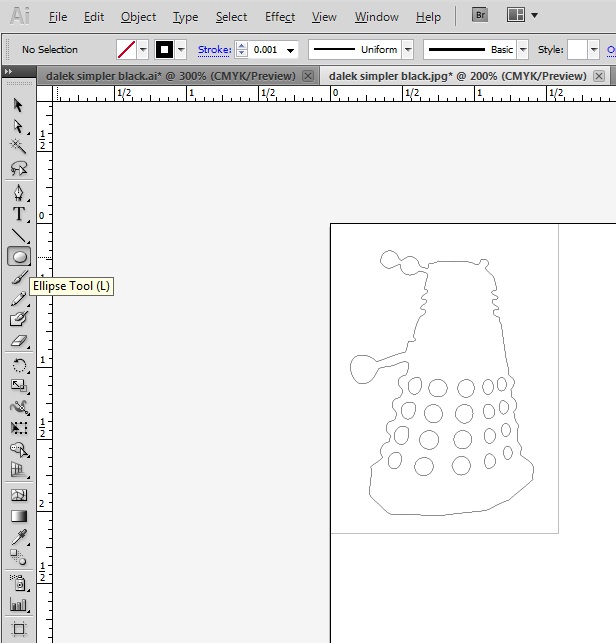
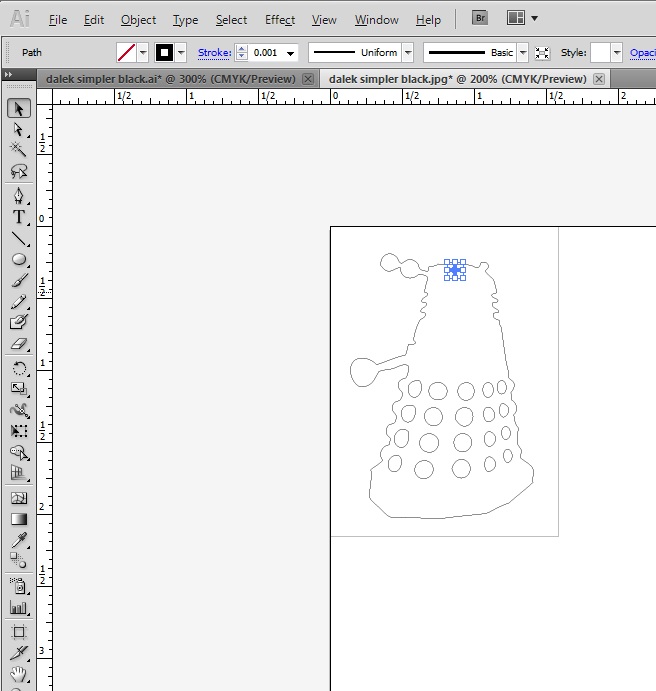
8. Add a hole for the earring. Locate the rectangle tool is the left tool bar. Click and hold to get the drag down menu. Select ellipse tool. Draw an ellipse on your dalek. Make sure it is big enough to put a jump ring or wire through.
9. Save your file!
9. Save your file!
Cut Acrylic on the Laser
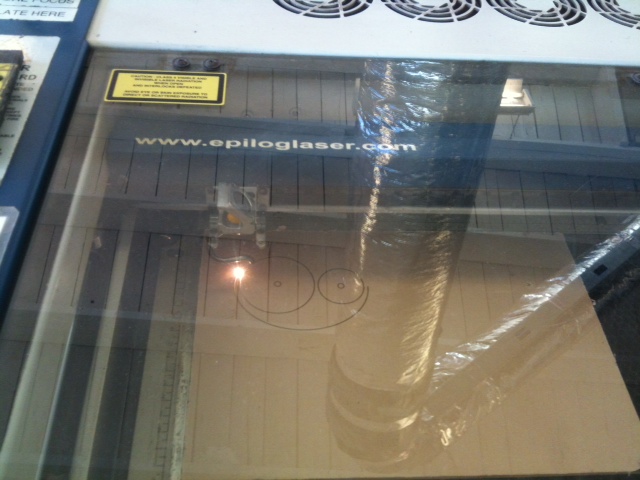
For this step we are using 1/8 inch acrylic.
1. Take the TechShop SBU for the Epilog Laser
2. Set the focus and home position on the laser.
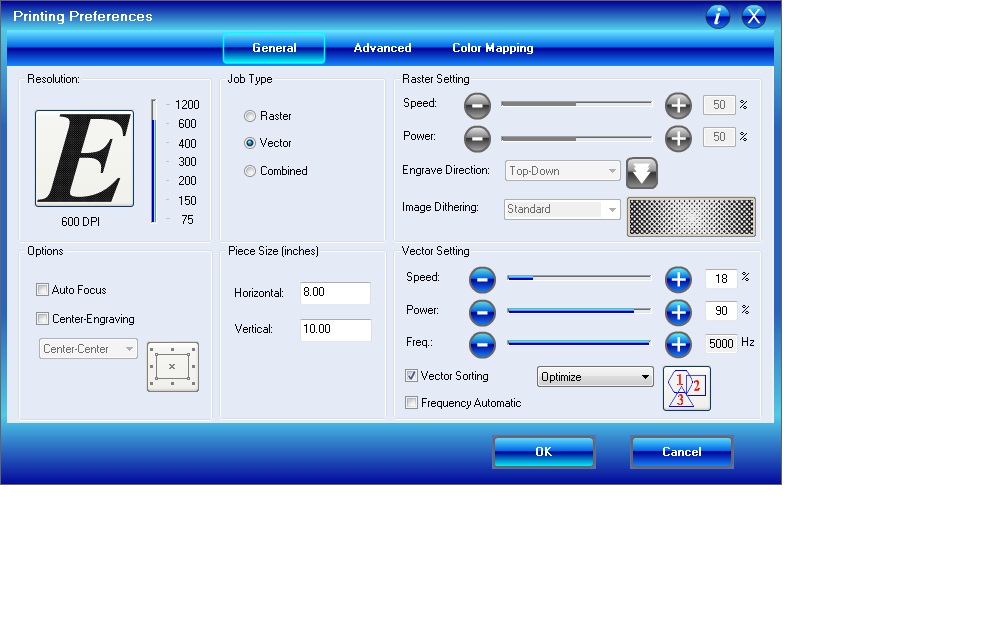
3. In the printing preferences set vector settings. I used Speed 18/ Power 90/ Frequency 5000. Click Print
4. Hit the green go button on the laser
5. Watch your laser to be sure nothing is on fire.
6. If the pieces have't cut through don't move the piece, just run the print again to cut more.
Assemble the Earring Pieces
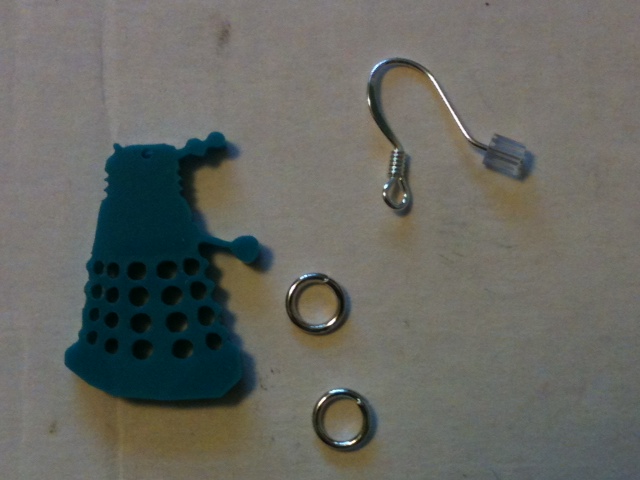
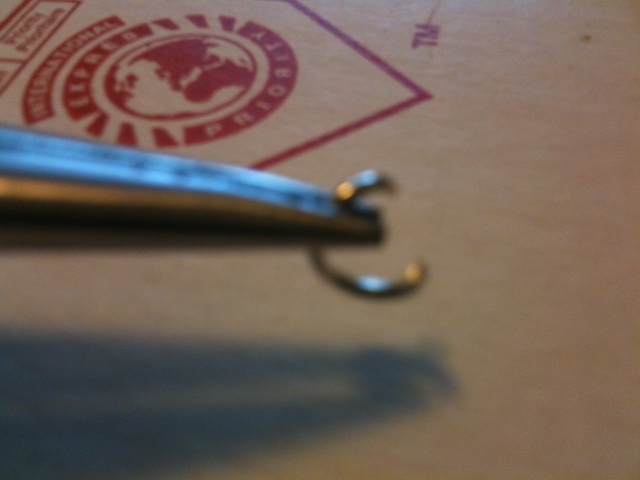
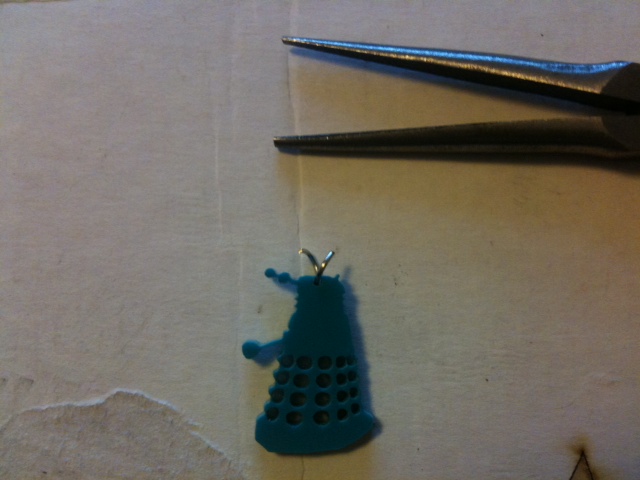
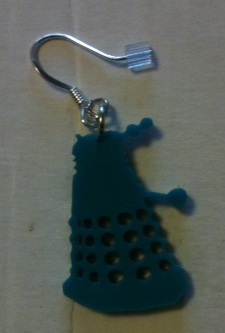
Make your plastic pieces into jewelry
1. Jump rings function by twisting, not pulling apart. Grasp your jump ring in two pairs of pliers and twist your hands to open the ring. Each side should go past each other, not opening up like a clam.
2. Thread the hole in your earring onto the jump ring. Thread the loop on your earring hook through the jump ring. If the plastic piece is hanging in the wrong orientation you may need to have two jump rings between your plastic piece and the earring hook.
3. Twist the jump ring closed.
Exterminate!