Laser-cut a Custom House Number Sign With Acrylic and Wood
by thunderlaser-nolan in Workshop > Laser Cutting
47 Views, 1 Favorites, 0 Comments
Laser-cut a Custom House Number Sign With Acrylic and Wood

Looking for a creative way to make your home entrance stand out? With just a laser cutter, some acrylic, and a wooden base, you can design a modern, eye-catching house number sign. This project is simple, stylish, and perfect for personalizing your space.
Supplies
Machine Used
Thunder Bolt 30W
Material Needed
3mm Plywood
3mm Acrylic (any color)
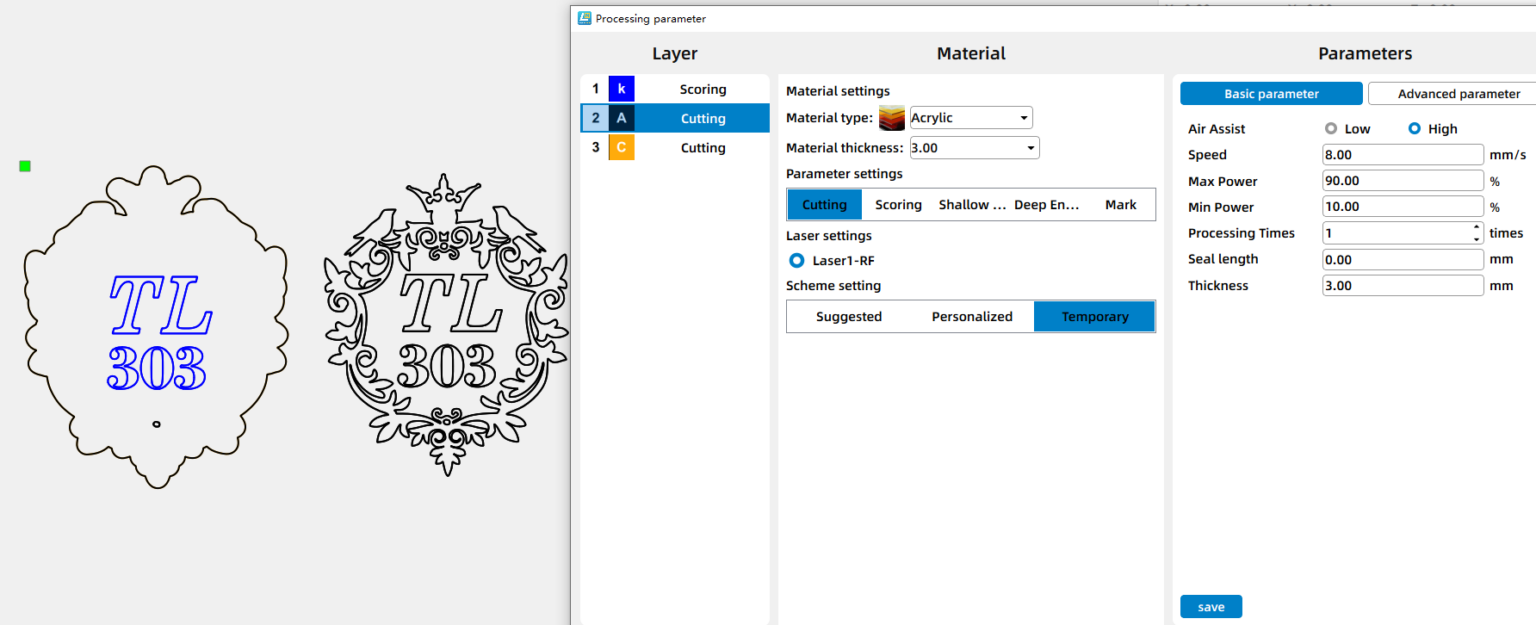
Settings
Cutting
- Speed:10mm/s
- Max Power:90%
- Min Power:10%
- Number of Passes:1
Downloads
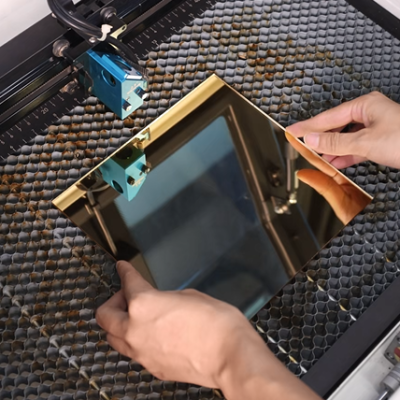
Get Materials Ready and Place Them on the Laser Bed
Lay your wood sheet flat on the work bed, making sure it’s secured with pins or magnets. Do the same for the acrylic sheet—both materials should stay steady during cutting.
Open the File and Check the Settings
Either design your personalized layout directly in your laser software (LightBurn, LaserMaker, etc.) or open the template file you downloadedhere. Use vector files for cutting and high-resolution PNG/JPG for photo-style engraves. Scale the artwork to the final physical size, check your units (mm/in), and assign clear layers or colors for engrave vs cut (e.g., red = cut, black = engrave). Make sure cut lines are hairline/stroke-only and that any text is converted to outlines/paths.
Before moving on, tidy the file: ungroup grouped objects, remove hidden layers, and confirm there are no tiny stray nodes. Account for kerf or tab fit where pieces slot together (add/subtract a small offset if needed). Finally, run the software Frame/Preview, save a copy of the project, and — if possible — test a small element on scrap material to verify scale and layer settings.
Tip: If you’re using my downloaded file, double-check its parameters after importing; templates sometimes import at a different DPI or unit.
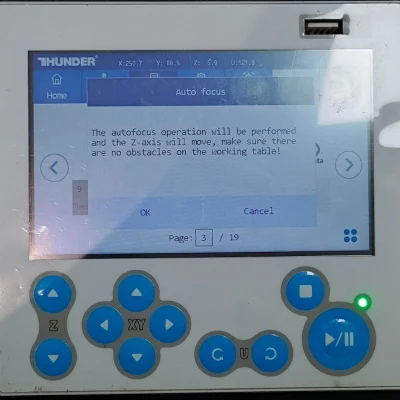
Focus Your Laser Machine
Proper focusing ensures neat, polished edges. If your machine has auto focus, use it for quick setup. For manual focusing, lower the laser head with the focus stick until it touches the wood surface at a perfect angle. Always double-check before cutting.
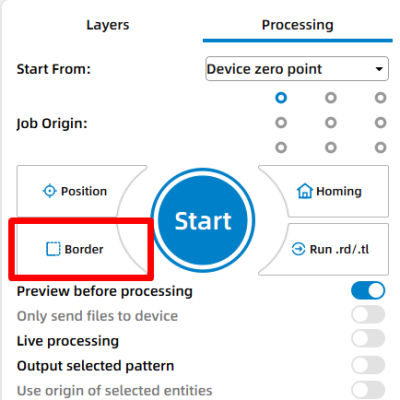
Frame the Design and Start Laser Cutting
Use the software’s border option to trace the outline of the design with a red light. This confirms your material placement and avoids wasting materials. Adjust as necessary.
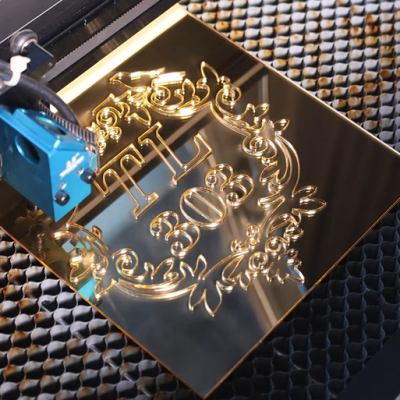
Monitor the Laser Cutting Process
Stay close to the machine while it’s running and watch the cutting and engraving progress. Keep an eye out for excessive smoke, small flame-ups, or any movement of the material that could affect the outcome. Make sure your workspace is well-ventilated, and rely on air assist if available to achieve cleaner edges on the wood.
Glue/Adhere the Layers Together
Use a strong adhesive suitable for both wood and acrylic. Apply glue to the back of the acrylic numbers and press them firmly onto the wooden base. Make sure they are aligned before the glue sets.

Complete the Task

Once the glue has dried, the custom house number sign is ready to use! Mount it by your door and give your entrance a fresh, personalized look.