Laser Wood Model Cutting – Cutting a Deer
by thunderlaser-nolan in Workshop > Laser Cutting
1969 Views, 14 Favorites, 0 Comments
Laser Wood Model Cutting – Cutting a Deer
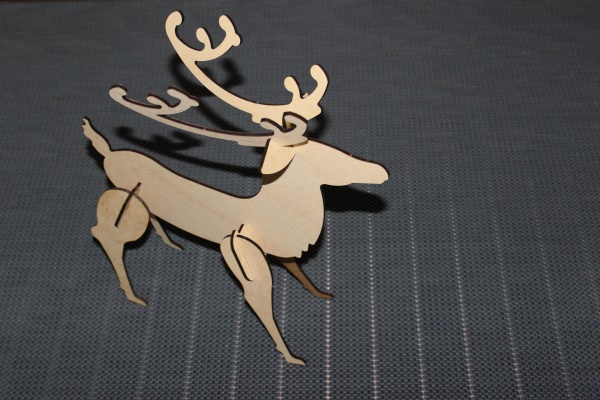
Required items:
5mm plywood
2” laser head
Thunder laser used:
Model: Mars 130
Laser Tube: 100 watt
Processing Mode:
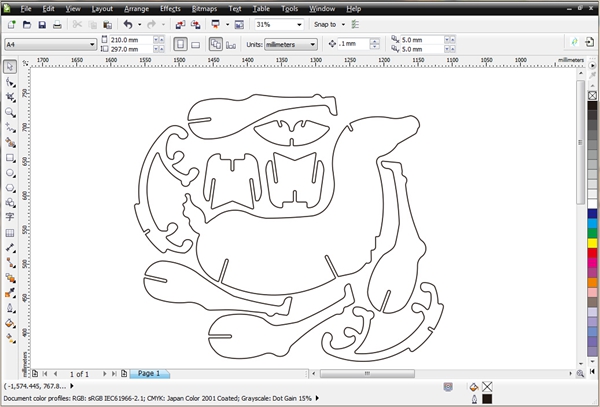
Setting:
Processing Mode: cut Speed: 15mm/s Max power: 60% Min power: 60% The settings are only for reference, users need to find the best setting by testing.
After we design the file in CorelDraw, we send the file to laser software directly by clicking the laser plug-in. Then we input the best setting parameters and “Download” the file to the laser cutter.
Put the Plywood on the Laser Cutter
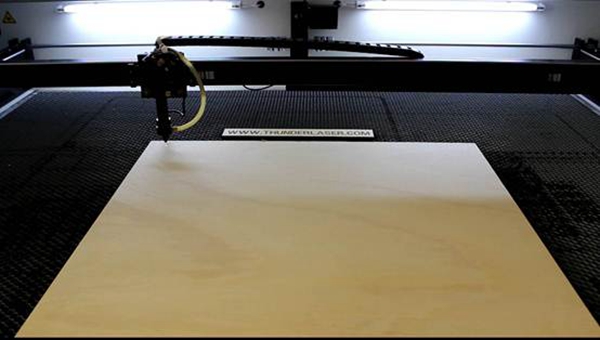
Place the wood sheet on the machine working table, move the laser head to the right start position, adjust the focal distance, press “Origin” button to set the starting point, then press “Start” to run the job.
Assemble
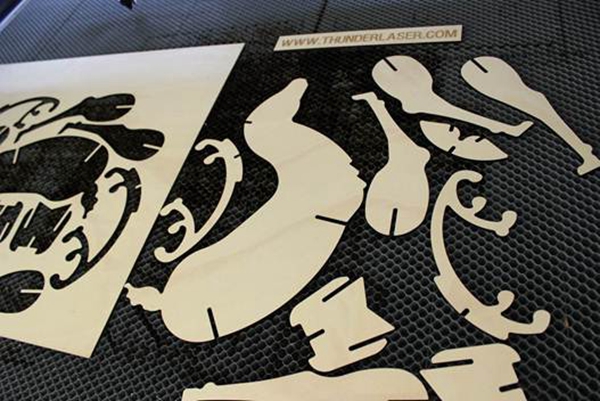
After the laser cutter finish working, take out the wood parts and assemble them. If you like to give a colorful world to Santa Claus, you can also decorate the deer by painting different colors.
Finished
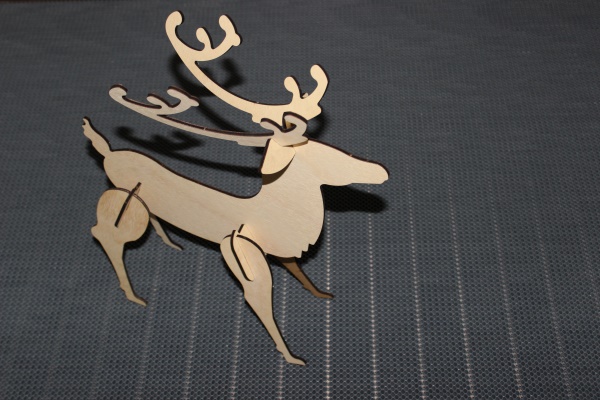
Look,make a deer is so easy!a fun deer was finished