Laser Tips 1: Engraved Geocache FTF Coins
by maecrab in Workshop > Laser Cutting
2322 Views, 24 Favorites, 0 Comments
Laser Tips 1: Engraved Geocache FTF Coins
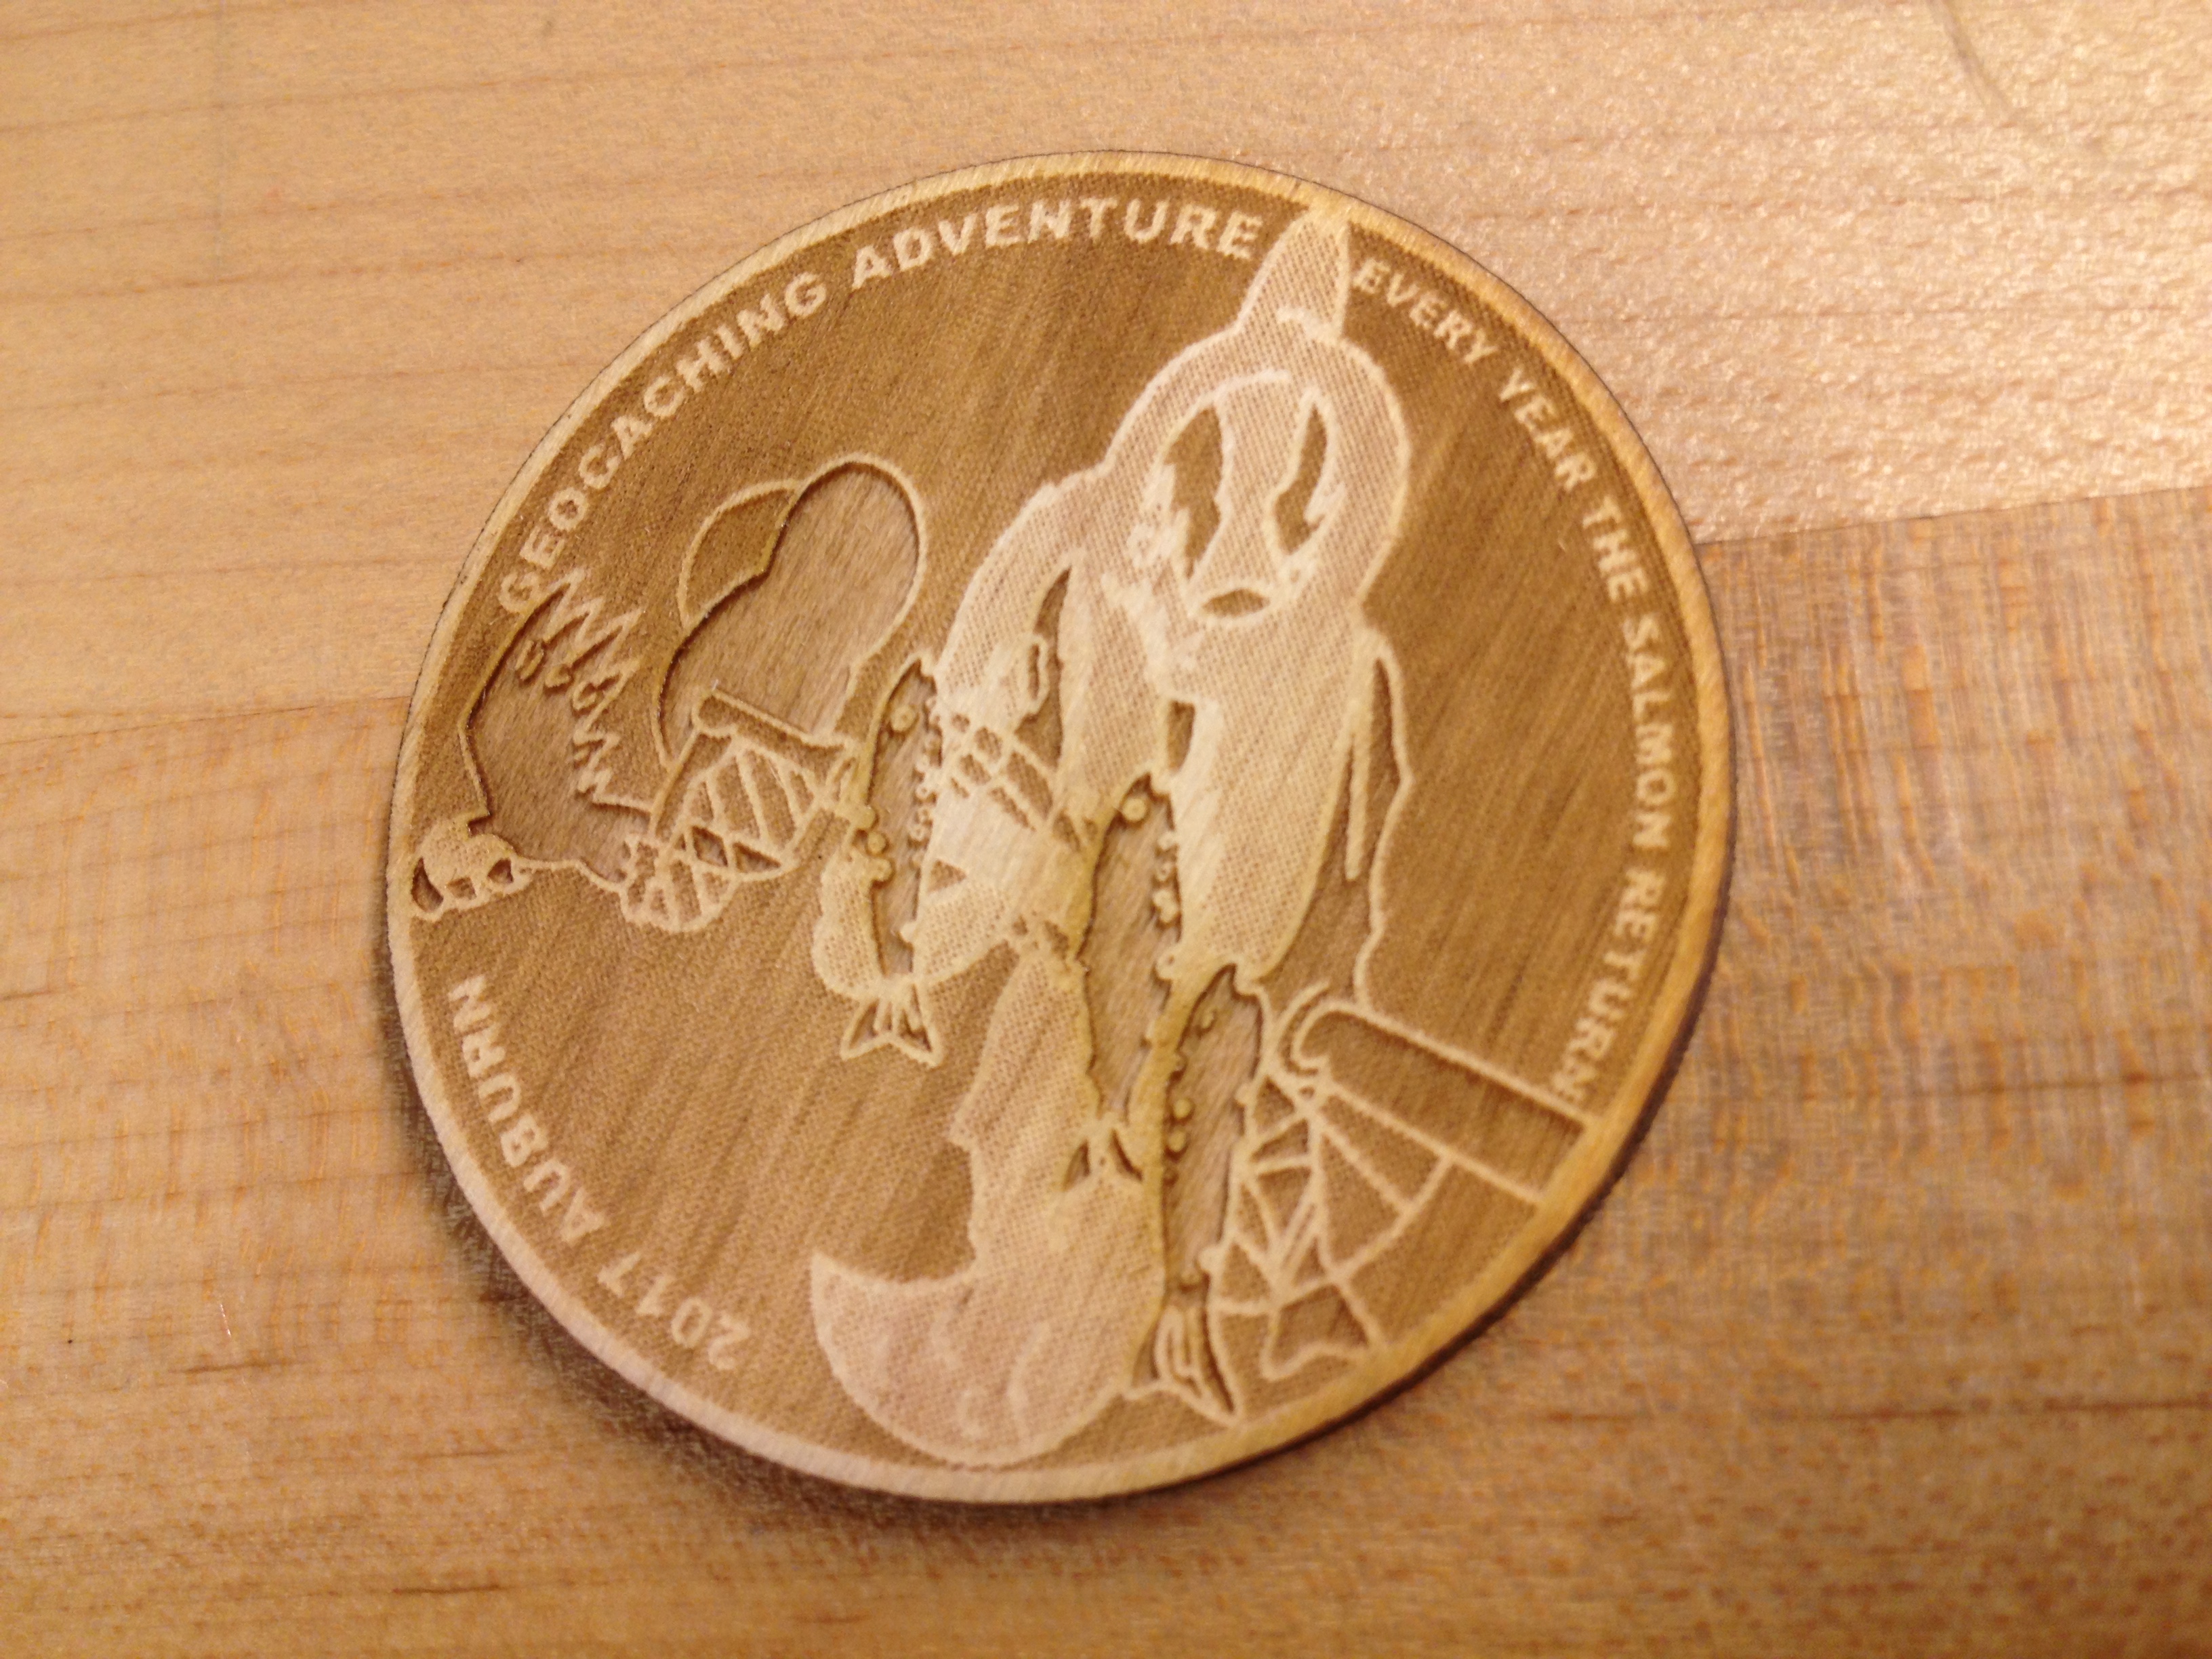
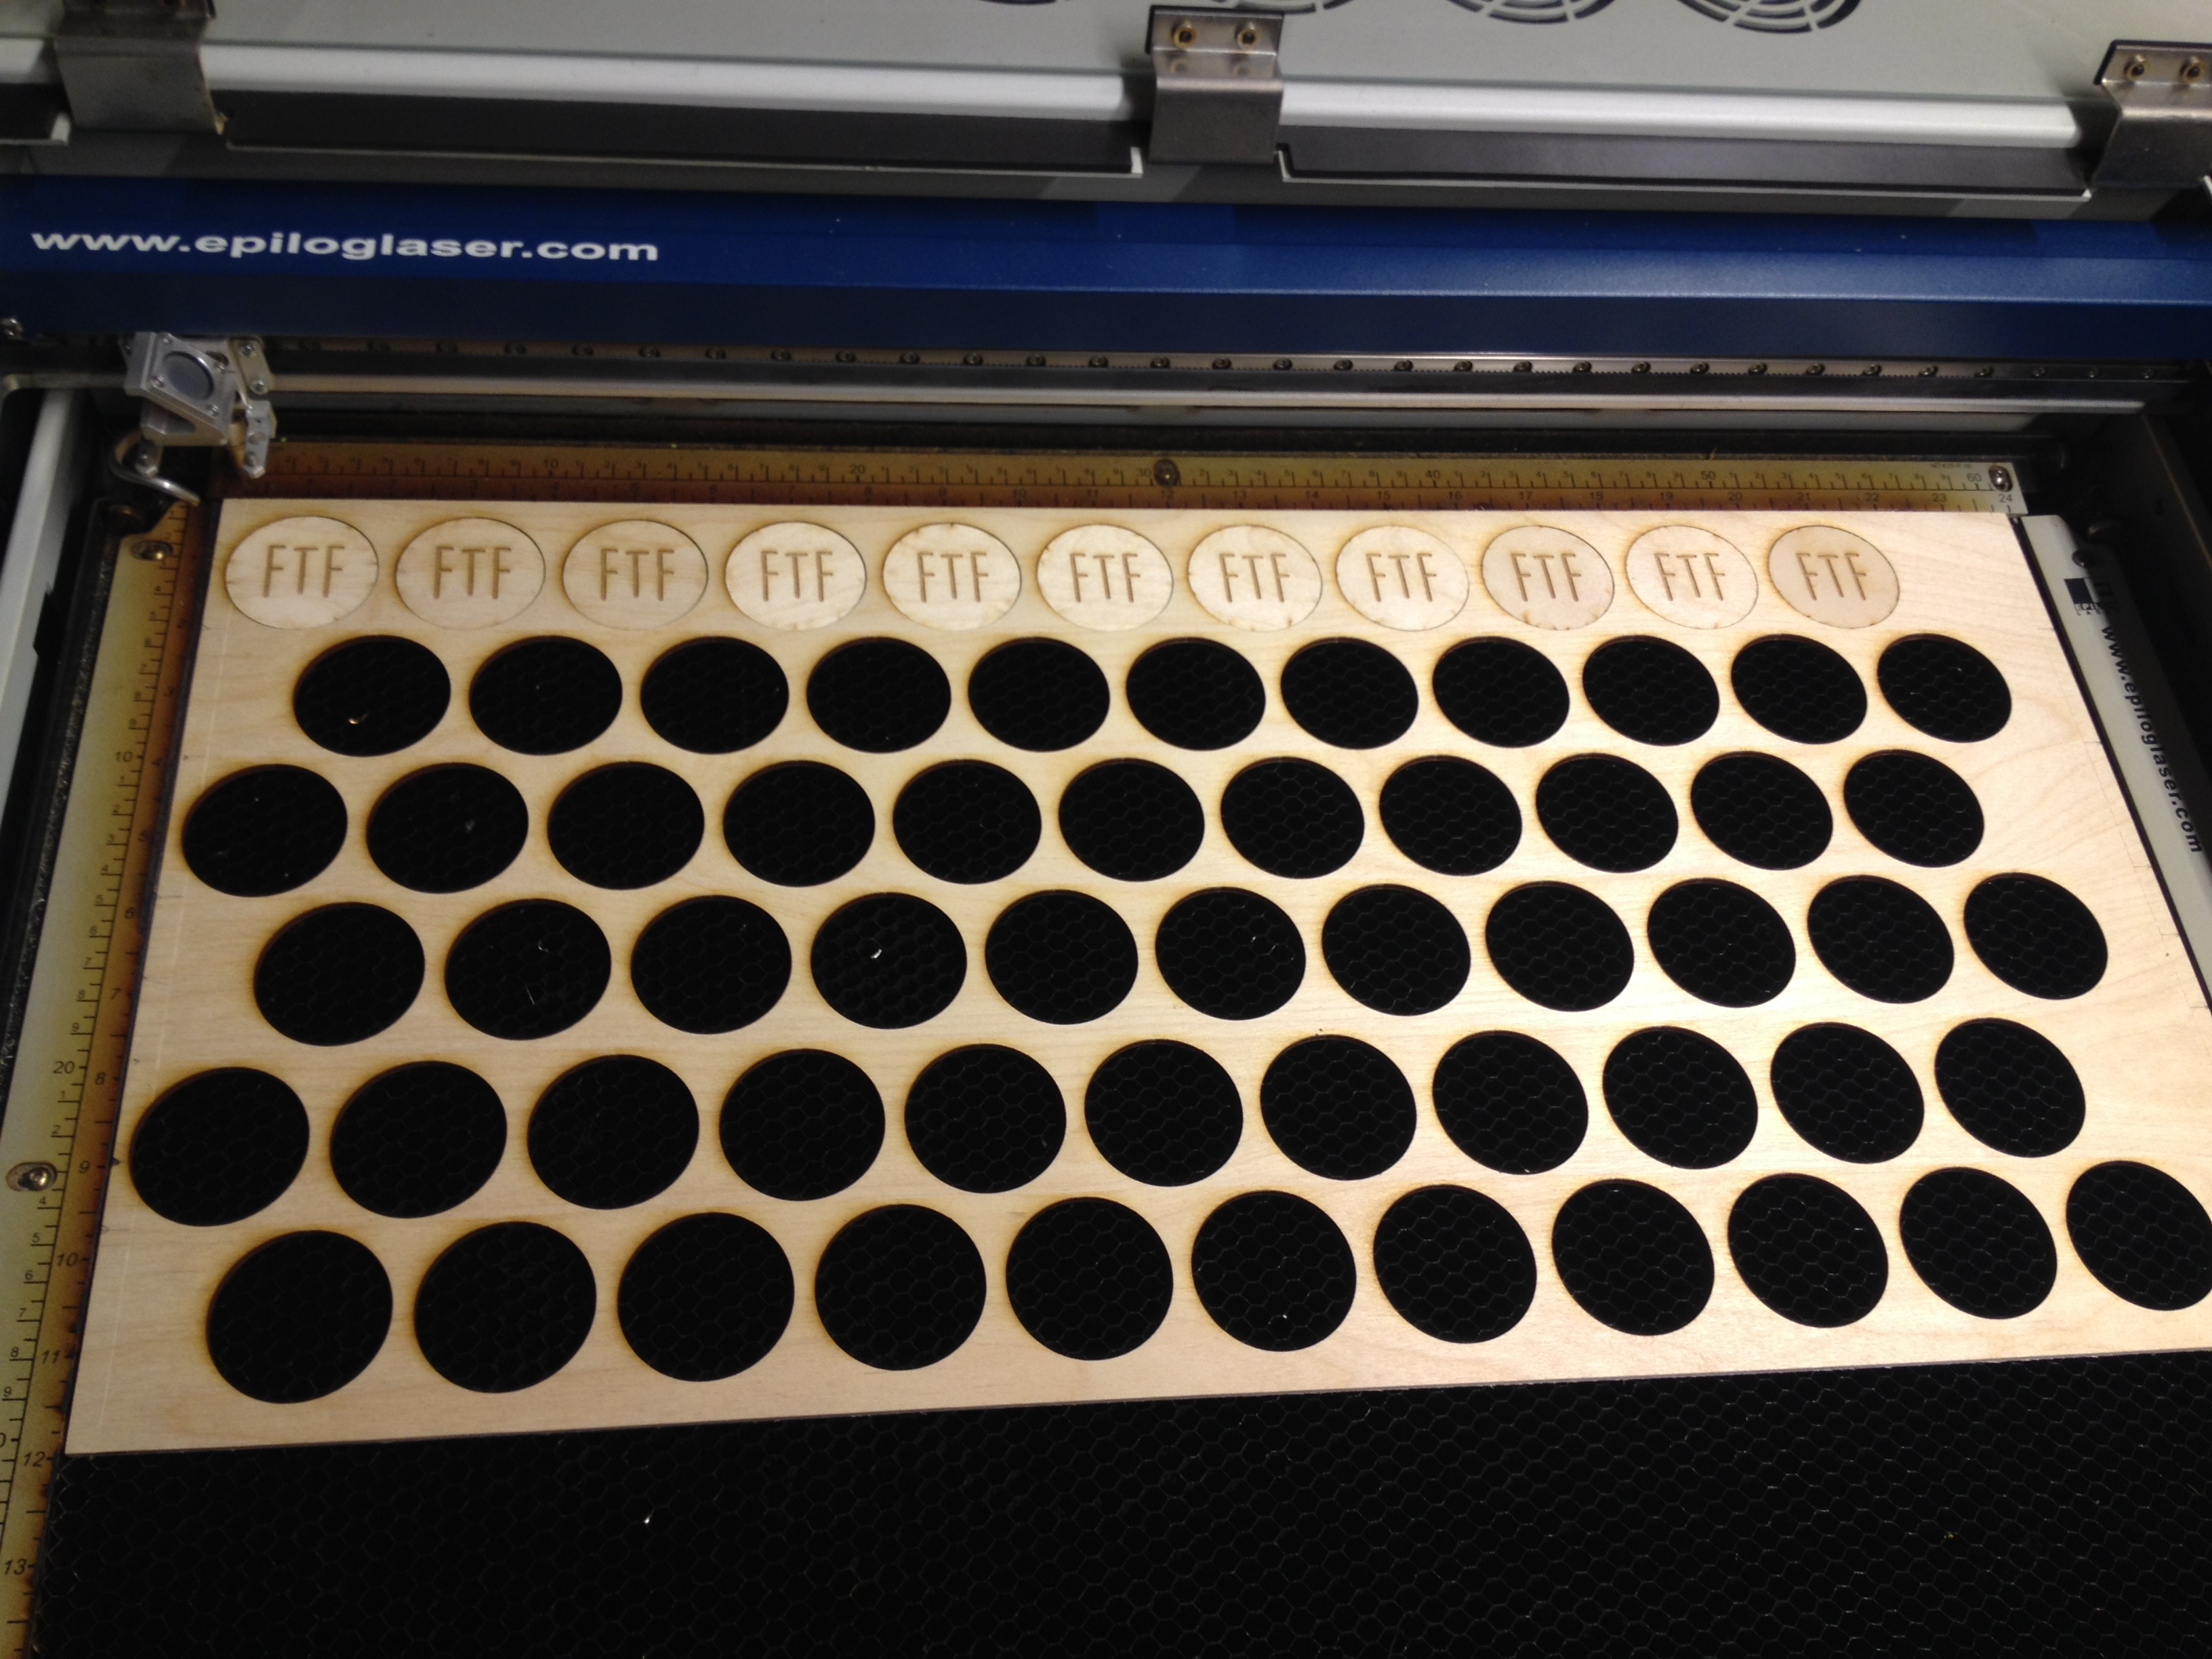
So say you have to make, like 100 of something. This comes up for me a lot at the Auburn Makerspace; Our laser is a great tool for semi-mass-produced stuff like awards for special events where it doesn't make a lot of sense to go to a commercial manufacturer (since a couple dozen of something is usually not a great price point, and a lot of events are one-time deals or need to be dated for the year), but there are still some challenges inherent in using the laser to accomplish this.
I'm not going to show you how to design a laser engraved coin or whatever. Protip: you draw a circle and you put a nice jpg or some text on there, mission accomplished. Instead, I'm going to show you how to address two common problems:
1. How to make something double-sided
--The issue here is how to make sure that your reverse-side images are centered within the outline of the same shape as the front.
2. How to keep from having to sand your fingertips away on your little widgets
--Generally speaking, your first row of doodads looks great! By the time you've engraved row 5 however, they might not be looking too hot due to smoke stain. My laser, an Epilog Helix 50 Watt 24x18" bed, has smoke exhaust near the top of the wood (so along the x axis past the 0 mark for the y), and as a matter of course the Epilog engraves raster files from left to right and top to bottom, just as you would write. This means that when you have a dense raster or vector job, there is quite a bit of smoke staining, especially towards the top of the sheet.
It's very difficult to sand items <2" across, not to mention tedious, time-consuming, hateful, loathsome, etc. Plus, if you have a very detailed file (such as the one shown here, which has 6 distinct grayscale layers), those details can be obscured by the sanding or by wood dust that's difficult to remove as a result.
Layout: for Pete's Sake, Use a Grid
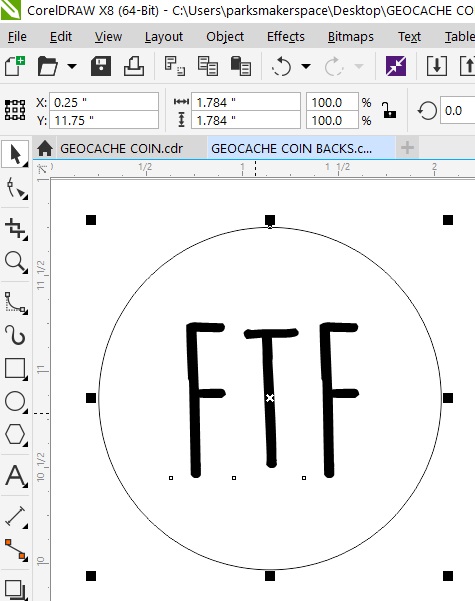
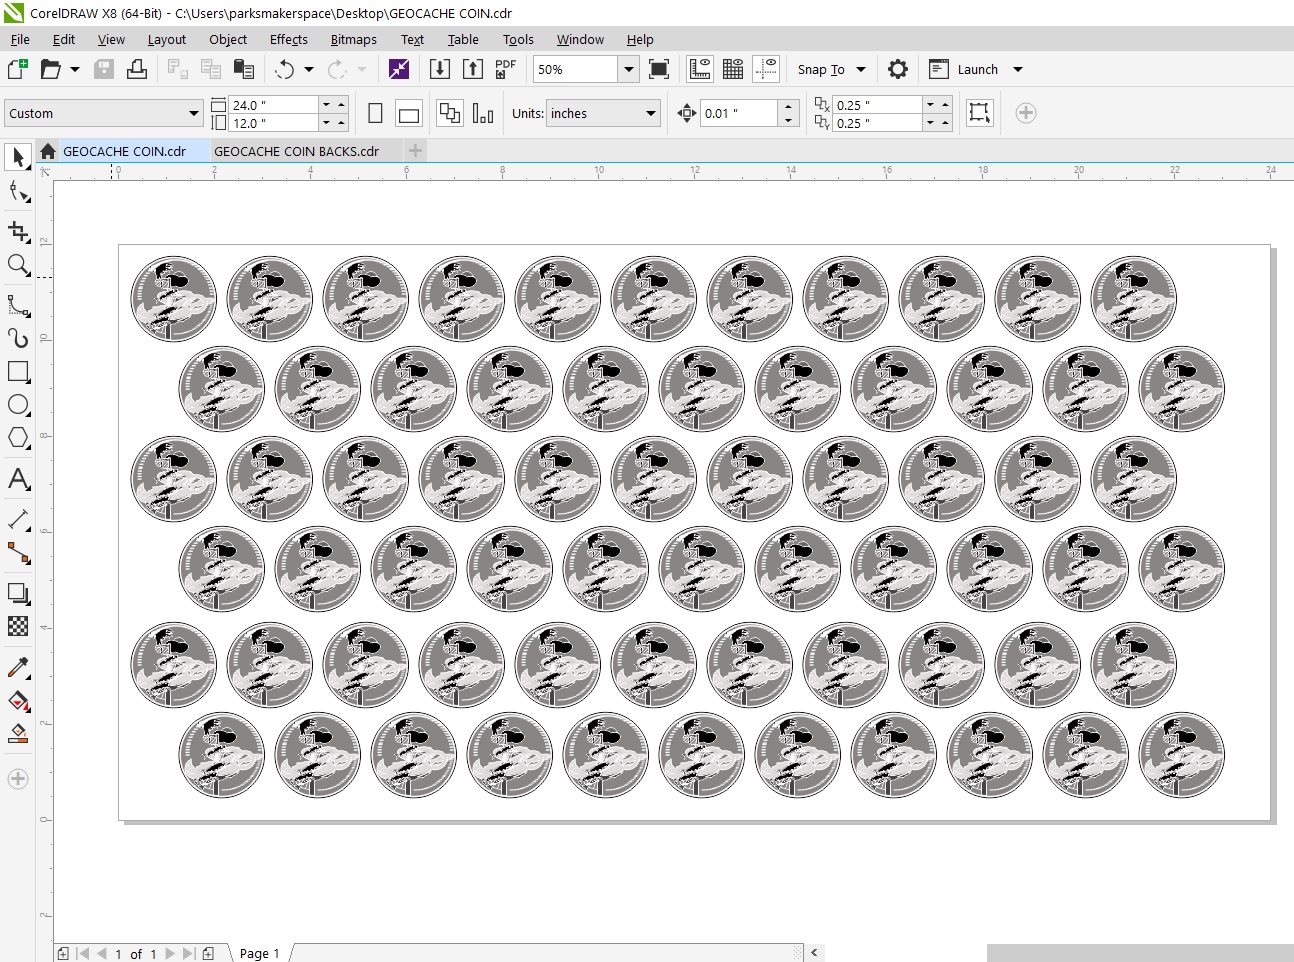
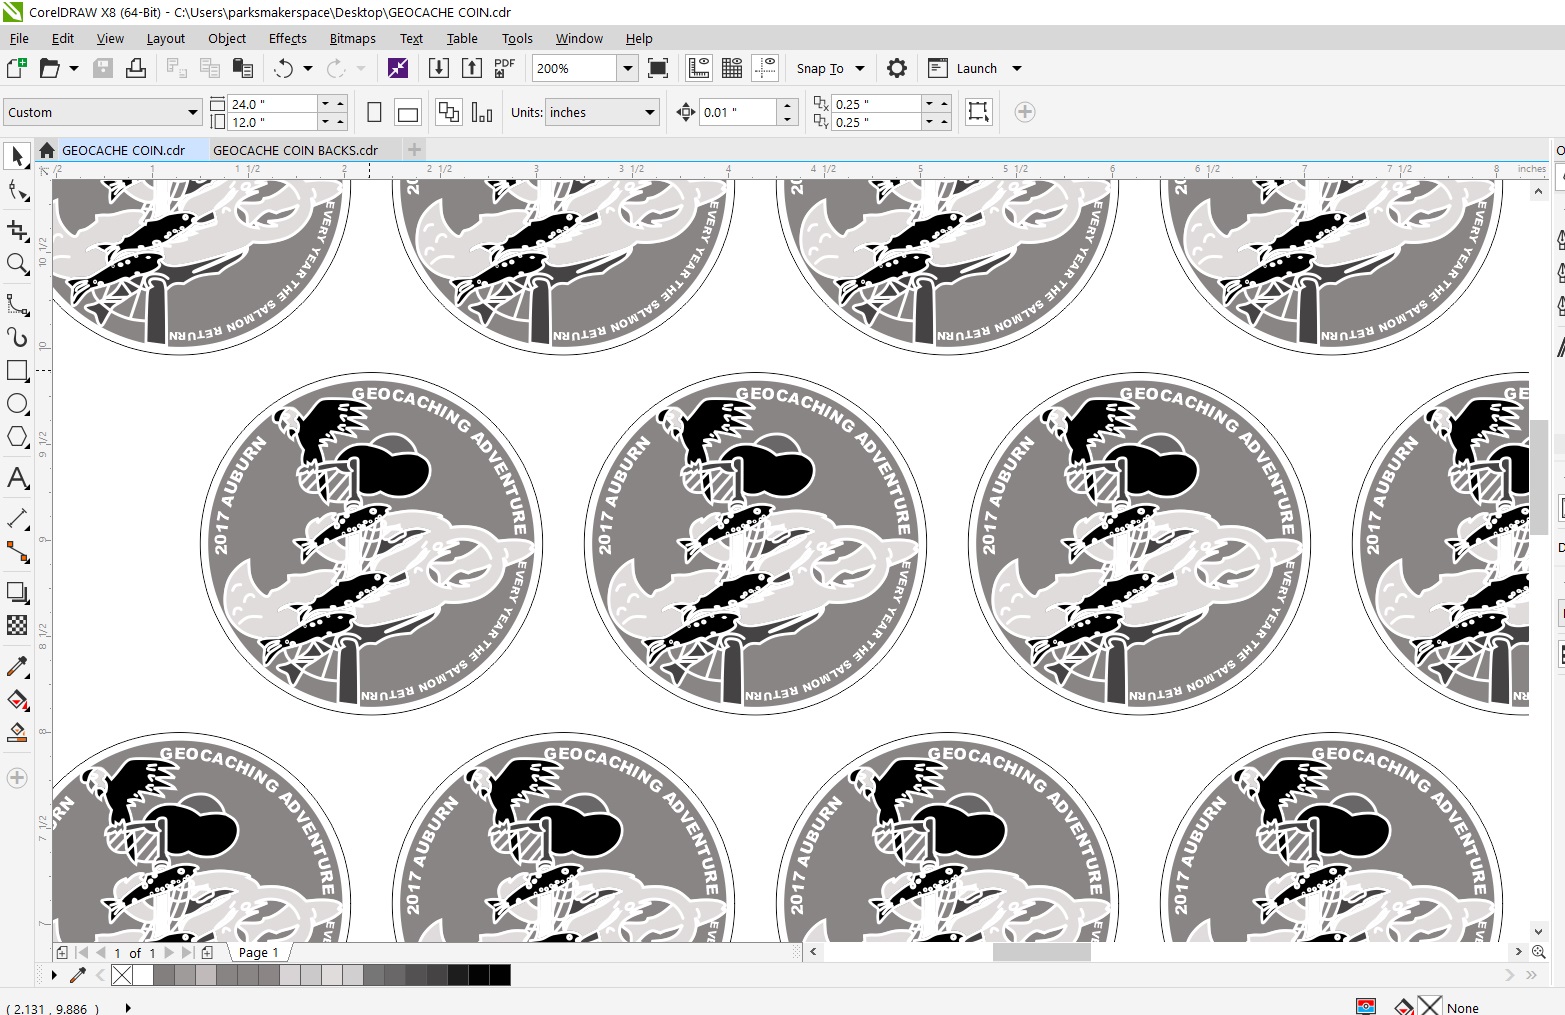
First, you want to create an evenly-spaced grid of objects in nice, duplicable units like 1/8" (.125") or larger. For this, I don't recommend dragging around with the mouse tool, but using the precision placement commands on your x and y axis.
*Maybe it does or maybe it doesn't go without saying, but your first step should ALWAYS be setting your document size to REAL units (not pixels), preferably at the same size as EITHER your piece of material OR your cutting bed's maximum cuttable size, and setting your design units to REAL units as well. If you haven't done this, this step will be an exercise in futility.*
I start with my object located at .25" from the upper left corner (what Epilog machines recognize as their 0,0) on both the x and y axes. You can see in the photo that my y coordinate is labelled as 11.75", that's because I set up my sheet for a piece of wood that's 24x12", and some joker changed the default 0,0 in CorelDraw (the design program shown here) to the LOWER left corner for some godforsaken reason. Also note that there's a little icon in most design programs that determines which part of your object your setting to this x,y position: in this case the upper-left-hand corner of my image is the most useful handle to determine my spacing.
You can see from the dimensions of my object in the image that the size is pretty irregular. That's fine. When I copypasta, I'll change my copy's x-axis coordinate to the nearest convenient number (in this case, 2.25) that clears the borders of my first object. I continue this with even spacing for my entire row. It's tempting to jam-pack your material; don't.
Next I copy the entire row, paste it and move it down on the y axis, again to the closest convenient number (like 8.875", or 8 and 7/8") that clears the top row. I also offset it along the x axis, which is not necessary, but I like it with round objects because it makes for even heat dissipation. Fill the sheet this way.
Now You See Why We Use a Grid
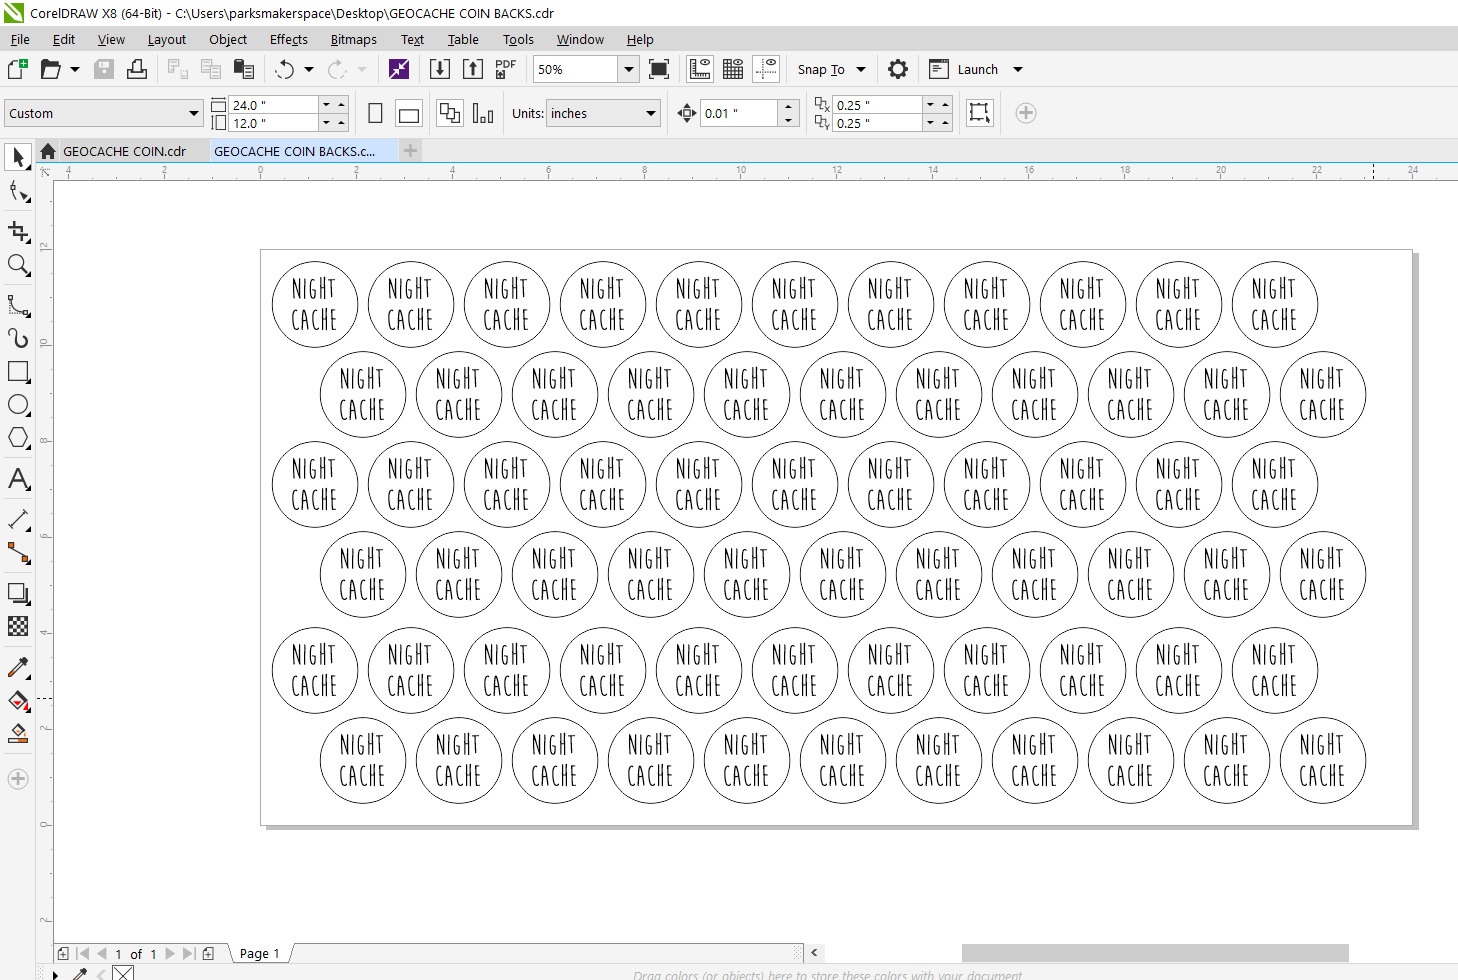
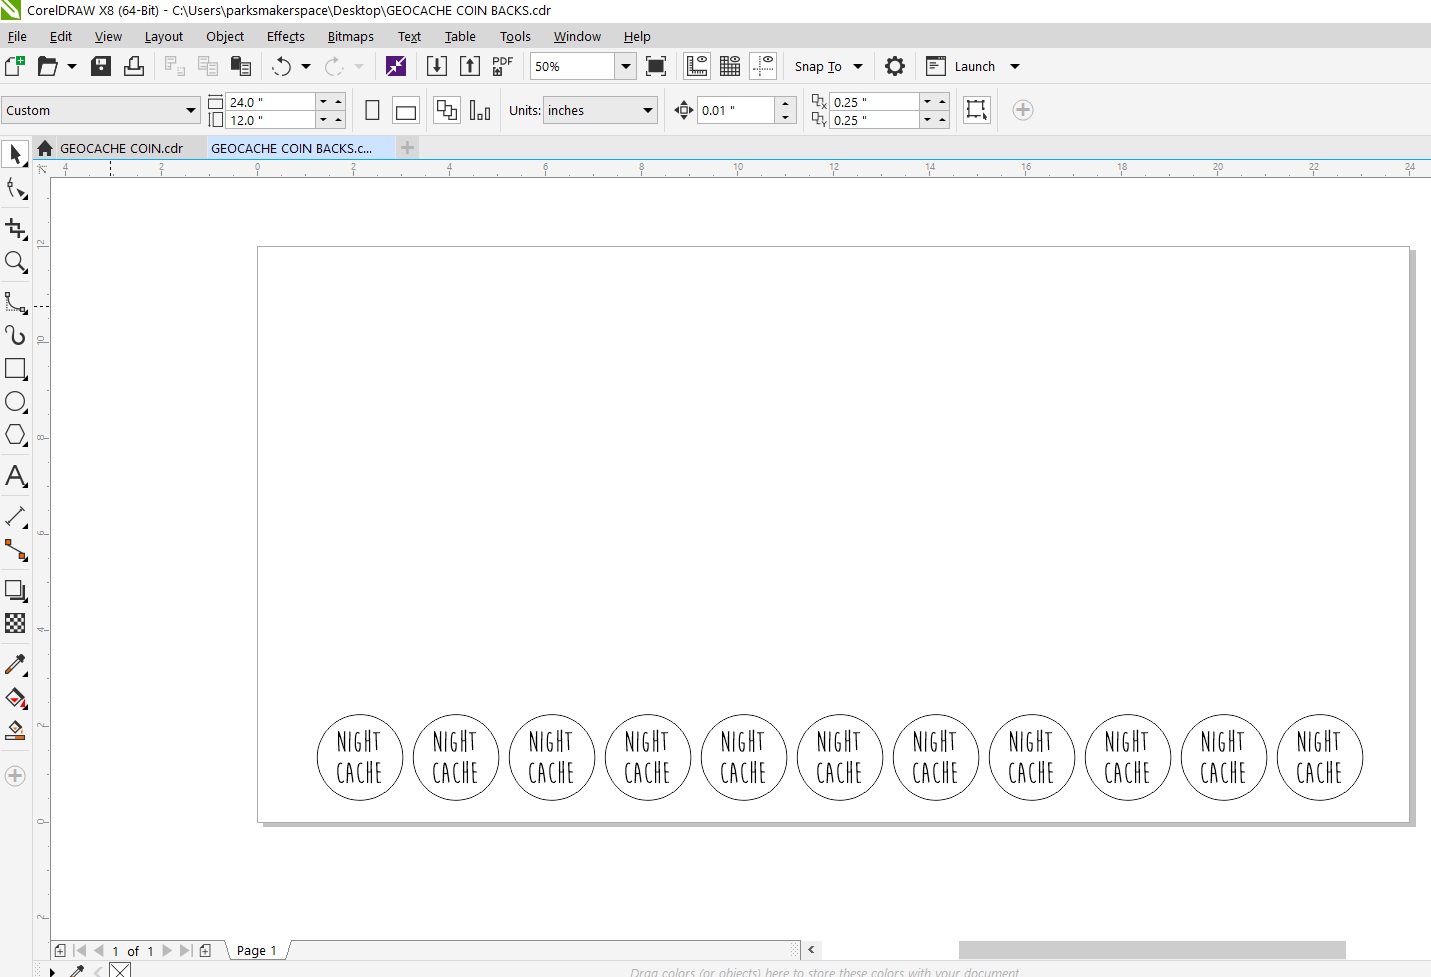
To make our image double-sided, we need our images to be in a PREDICTABLE spot. So to make the backside of your doohickeys, put your reverse image (INCLUDING the outline) in the same exact spots in a new document, using your easily-memorable spacing distances from the last step.
Now Get Ready to Cut
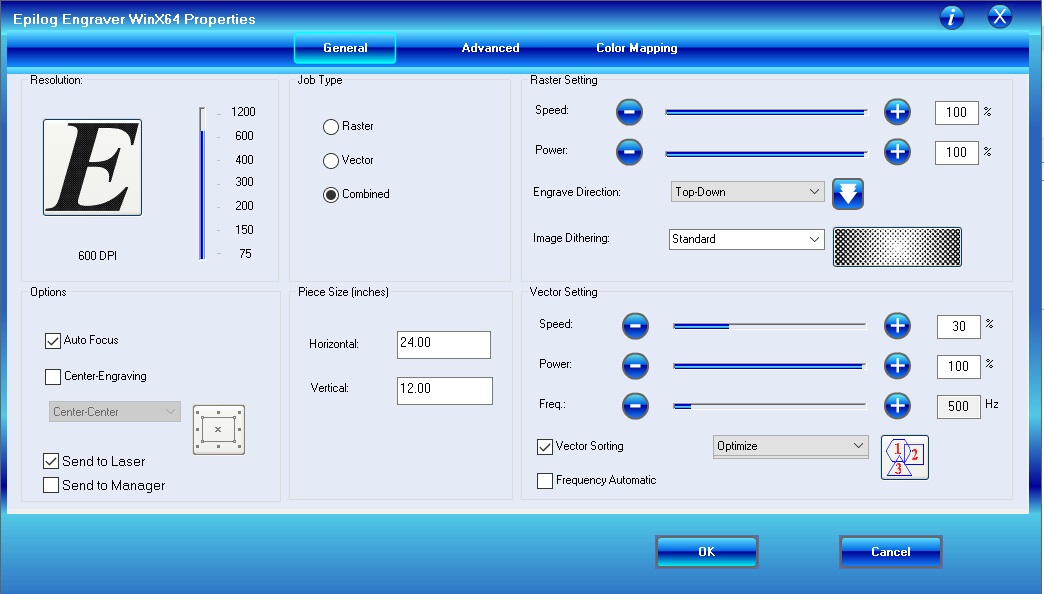
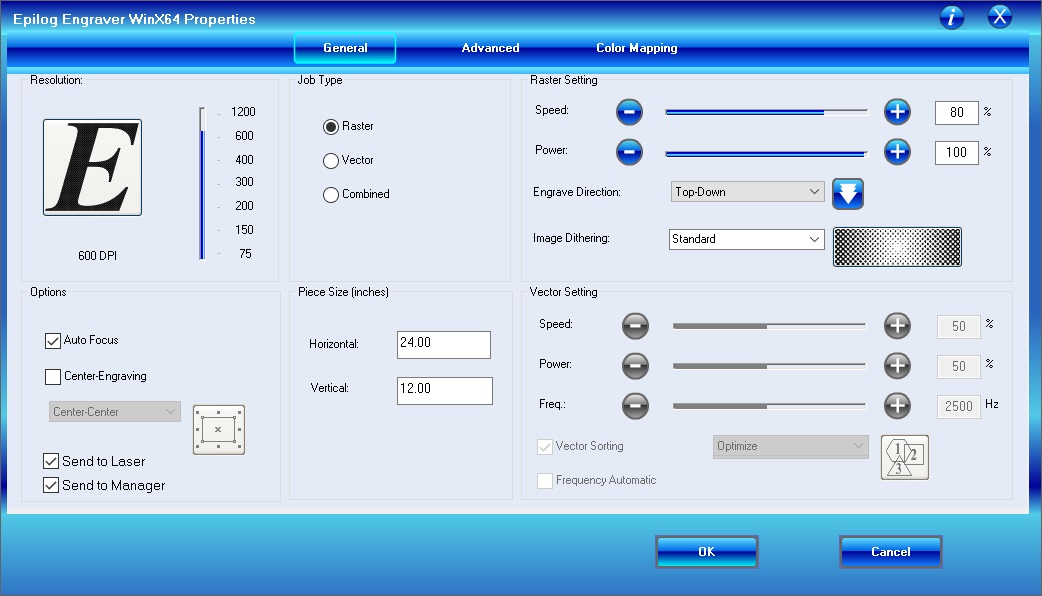
Before we move on to prepping our materials, let's set up our cut settings, so you can see why we use 2 completely separate documents.
1. We want different settings for the 2 sides (see the notes on the pics for more deets)
2. We'll be bouncing back and forth between the files as we cut (see the following steps)
Material Prep
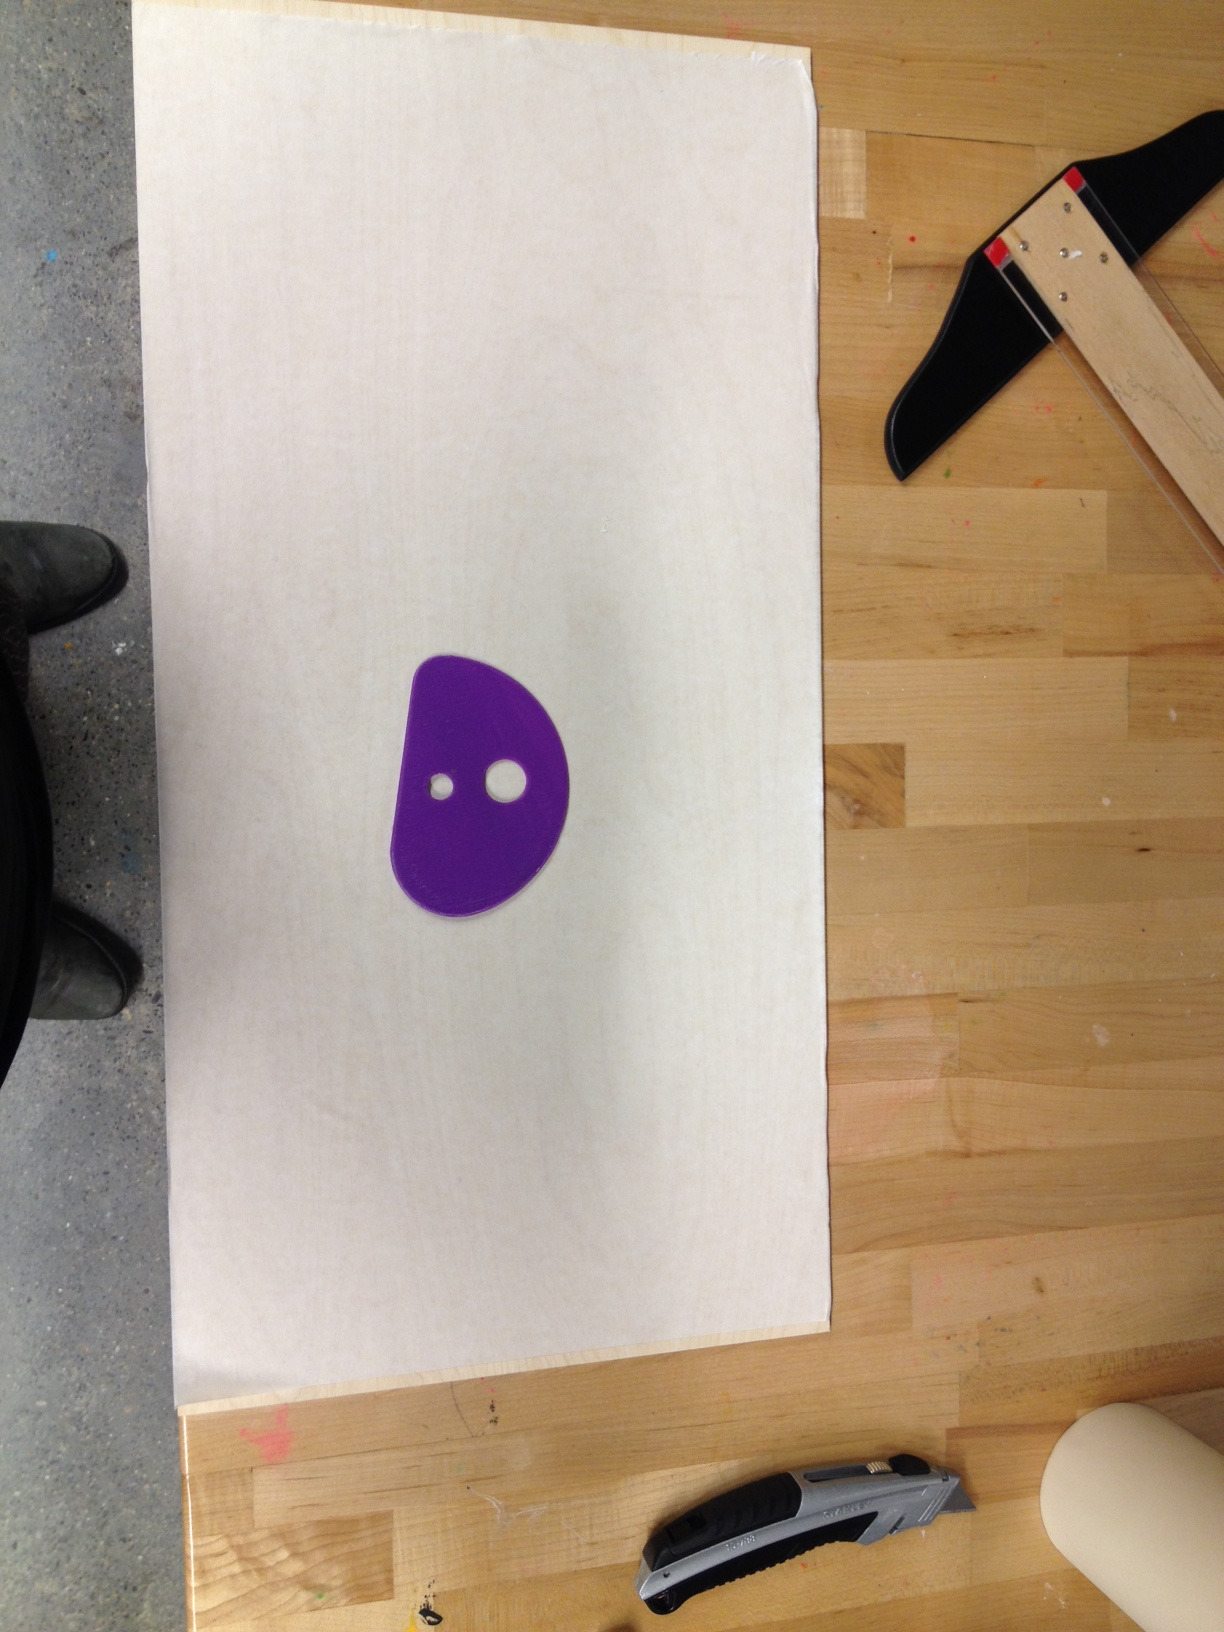
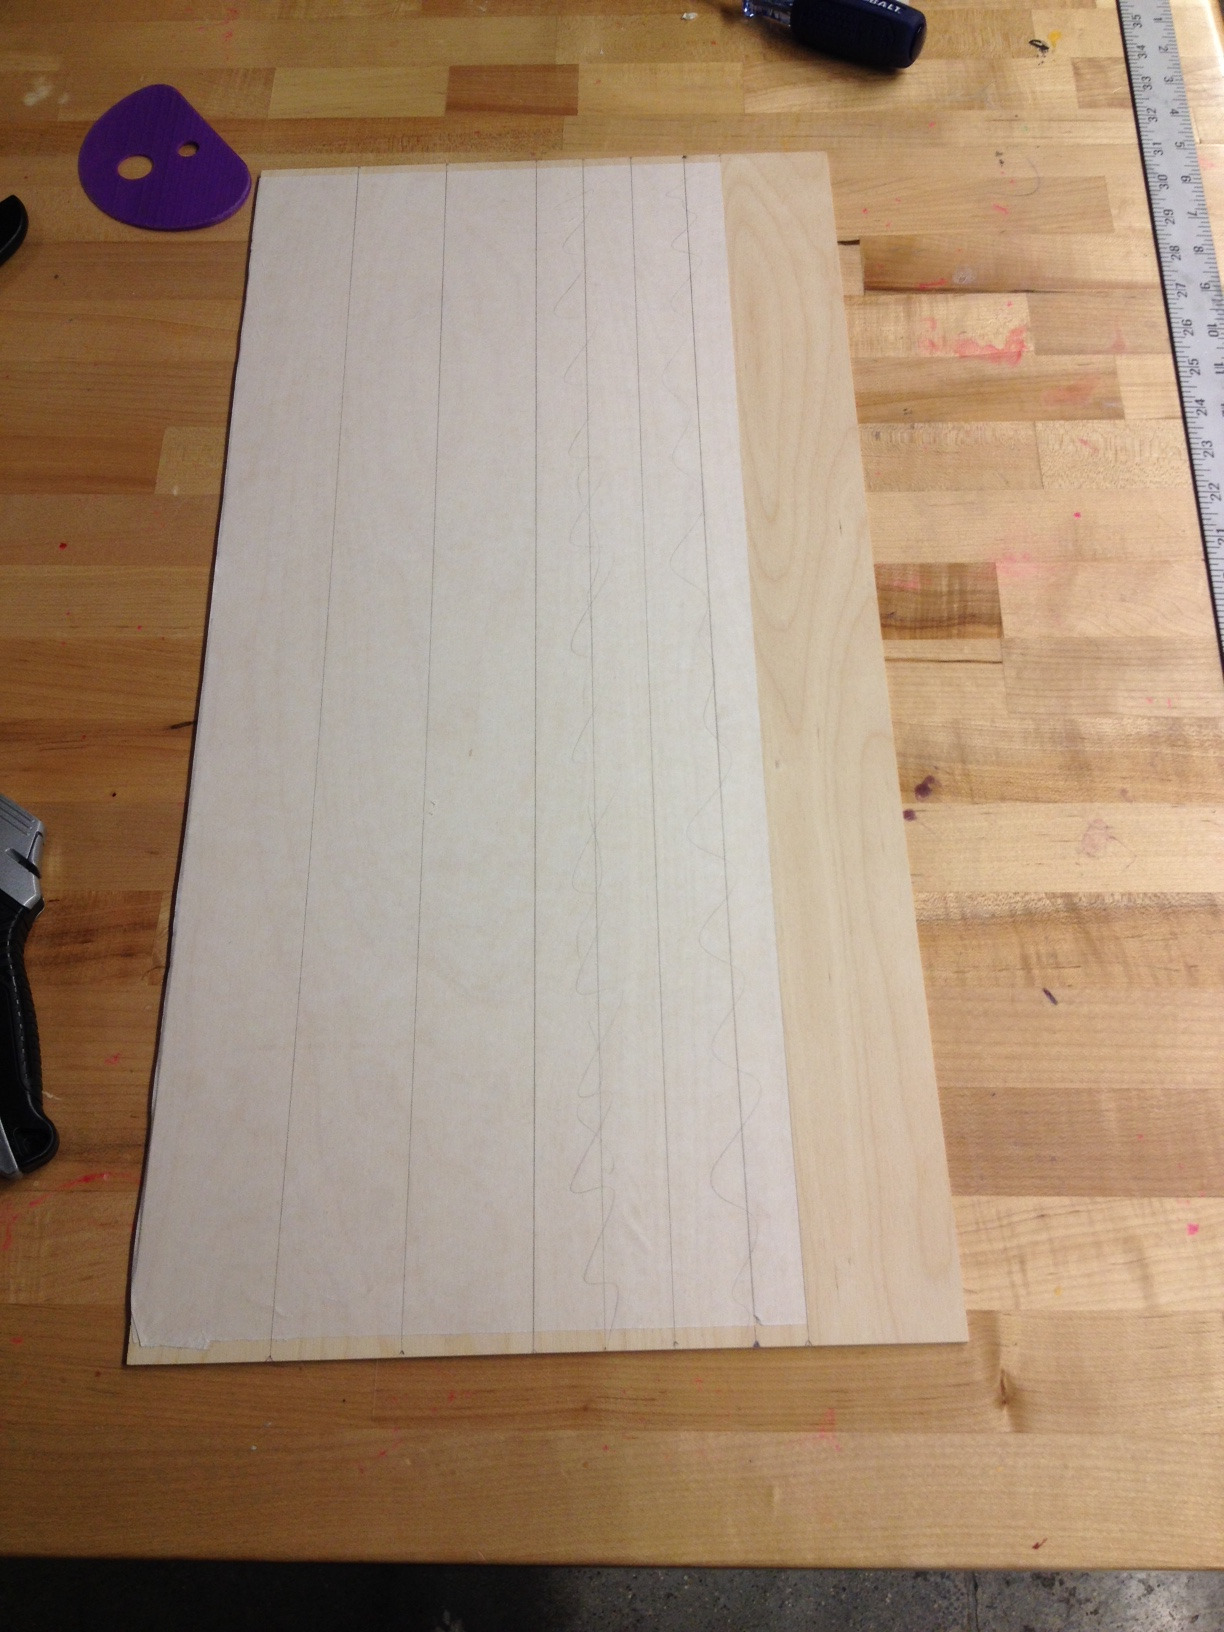
Ok, so now to prep your wood.
You'll need:
A sharp pencil
A sharp knife
a ruler and straight-edge
transfer paper
a squeegee
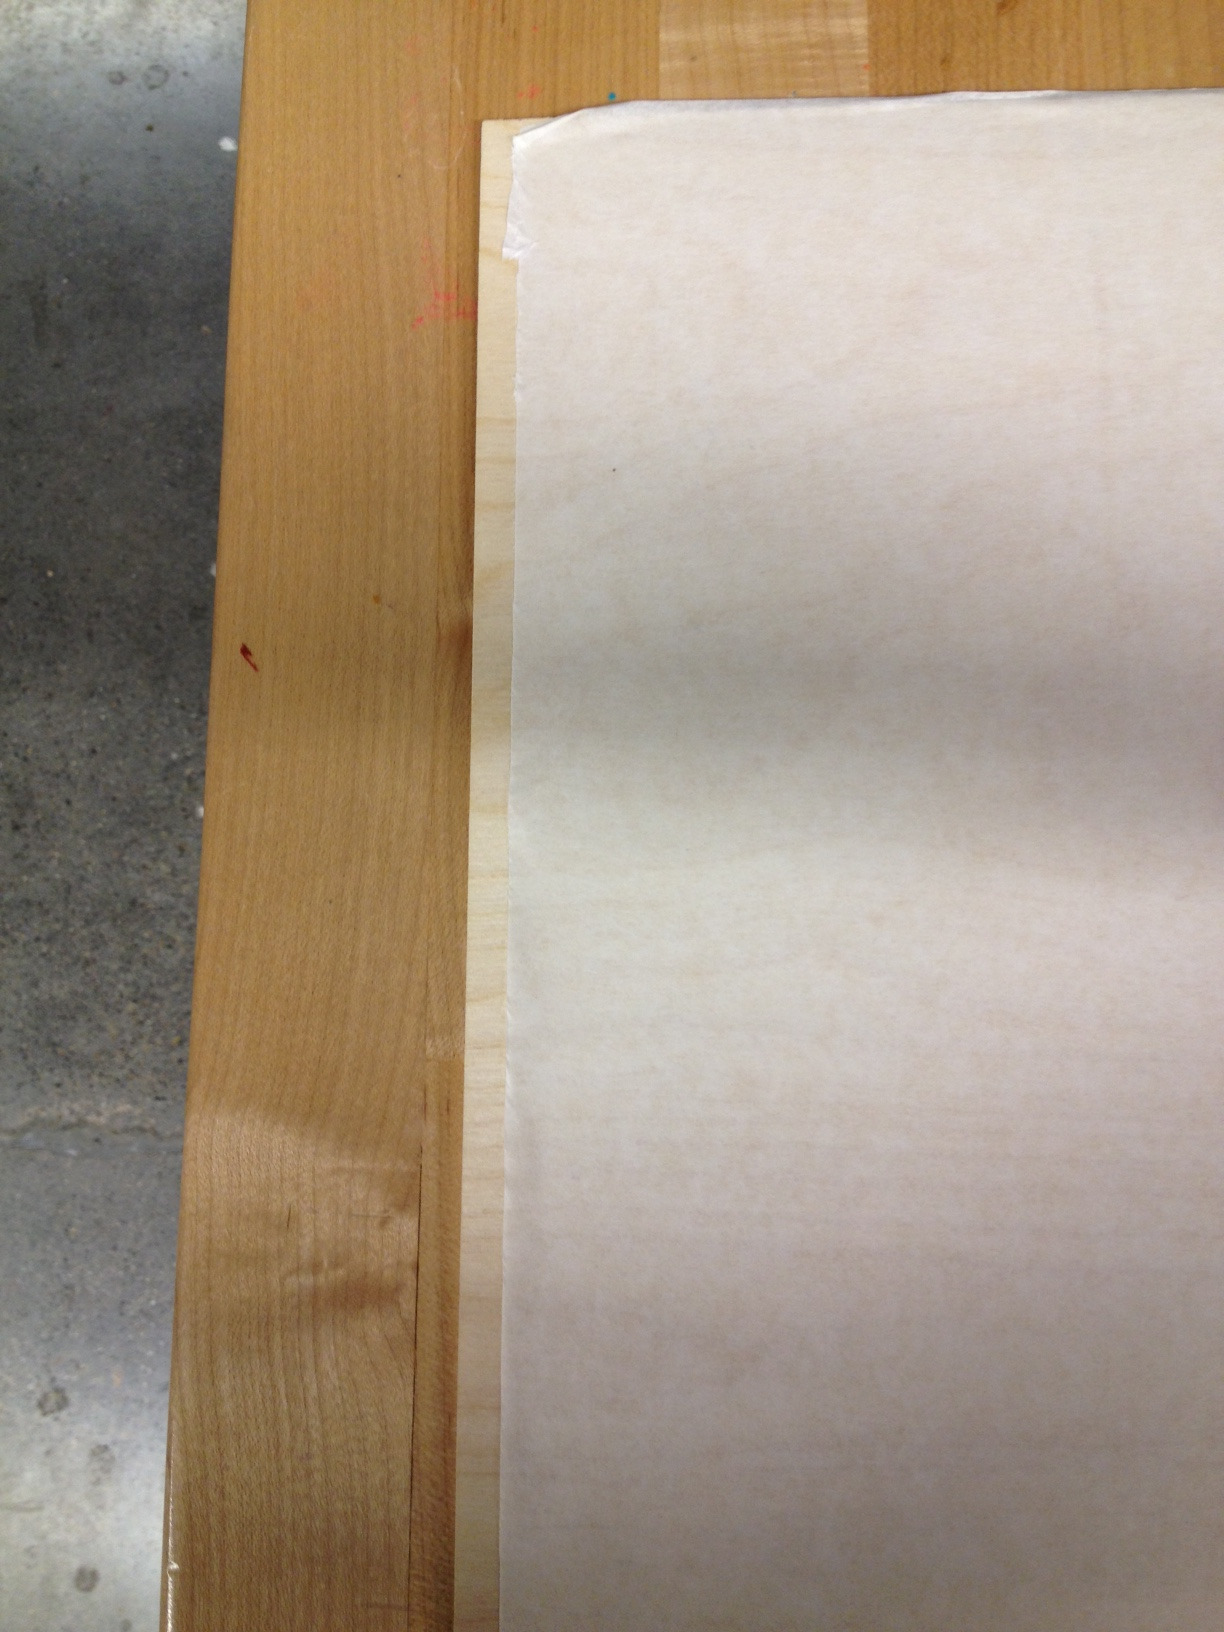
1. Cut a piece of transfer paper big enough to cover your wood and lay it down. The proper way to apply transfer paper is starting at one side and gently patting it down flat as you gradually lay it down from one side to the other. This helps prevent distortion of the paper and air bubbles. Then you have to squeegee it; a firm piece of cardstock works fine. Starting from the MIDDLE of your wood, firmly press with your squeegee and drag from the center towards the top, center to bottom, center to left, and center to right until it's fully adhered to the wood and there are no air bubbles.
2. Trim off any edges of your transfer paper that stick off the sides of your wood; these will prevent it from getting square in the machine. I like to just trim away a little border so I know for sure there will be no issues.
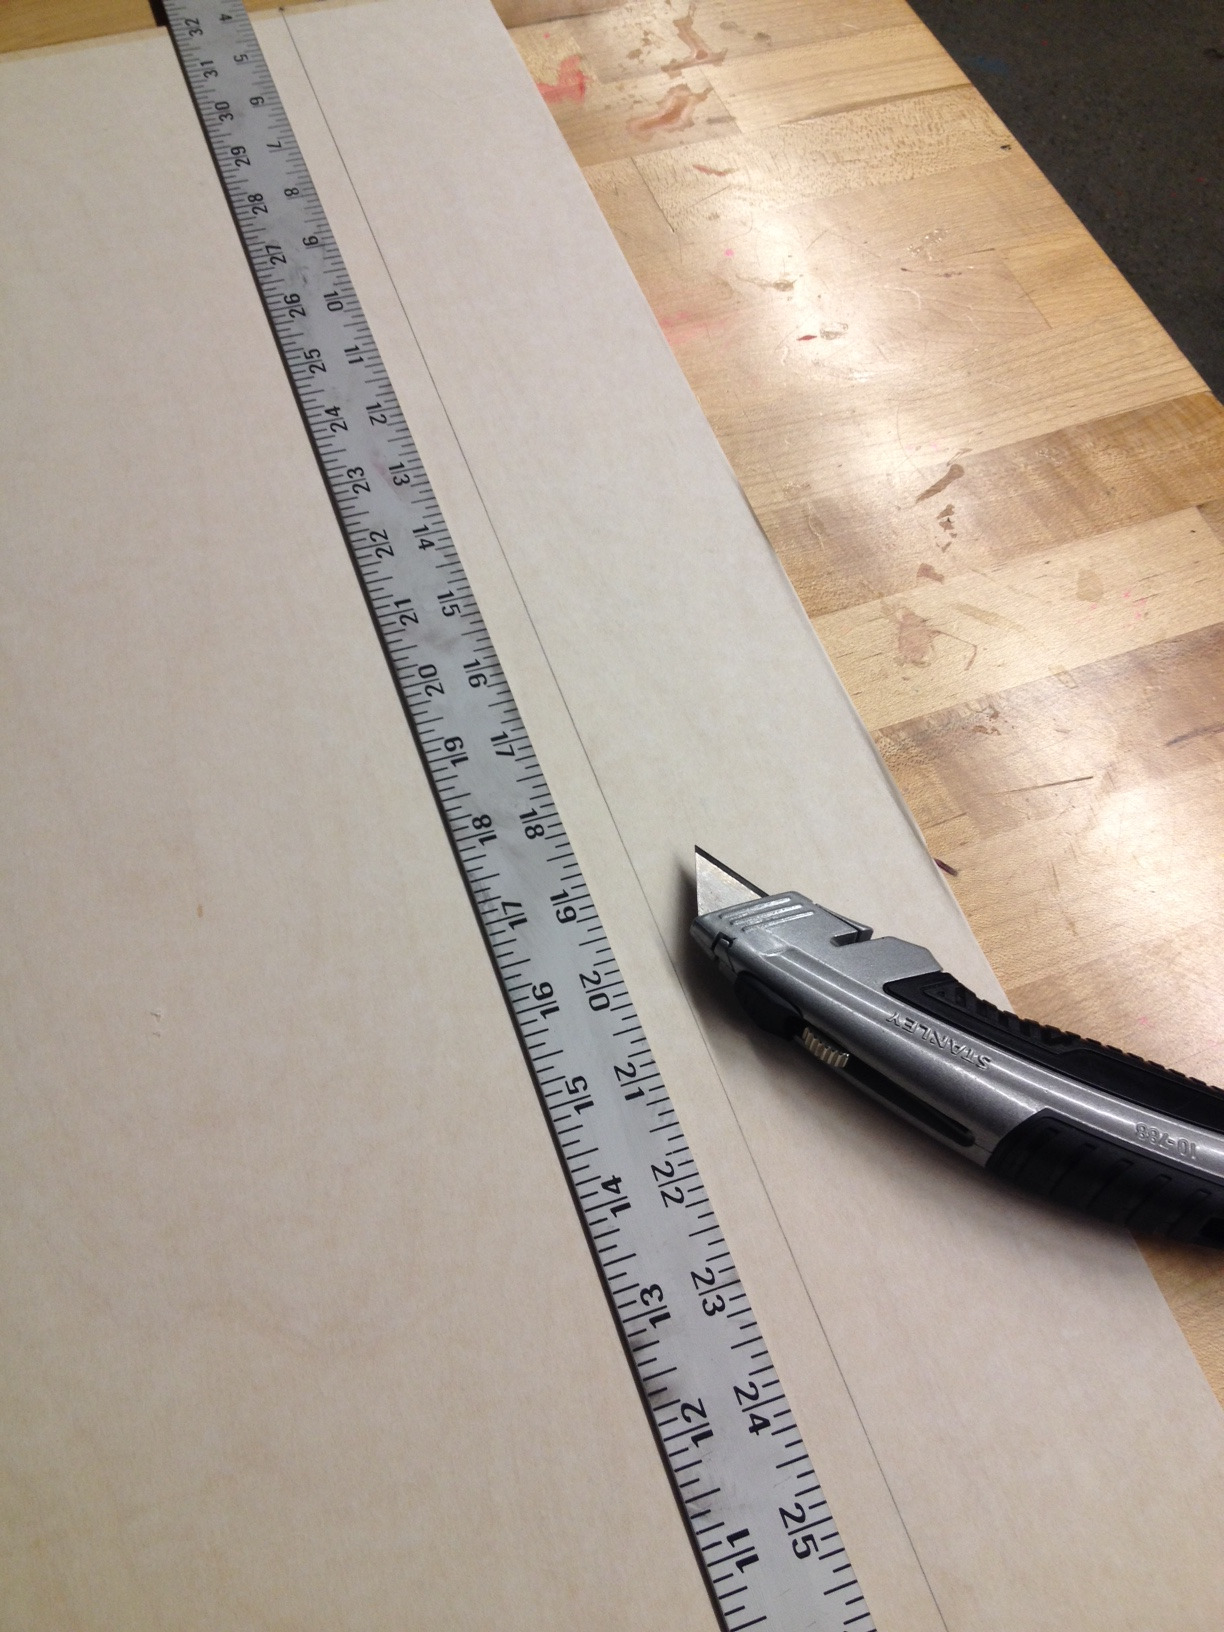
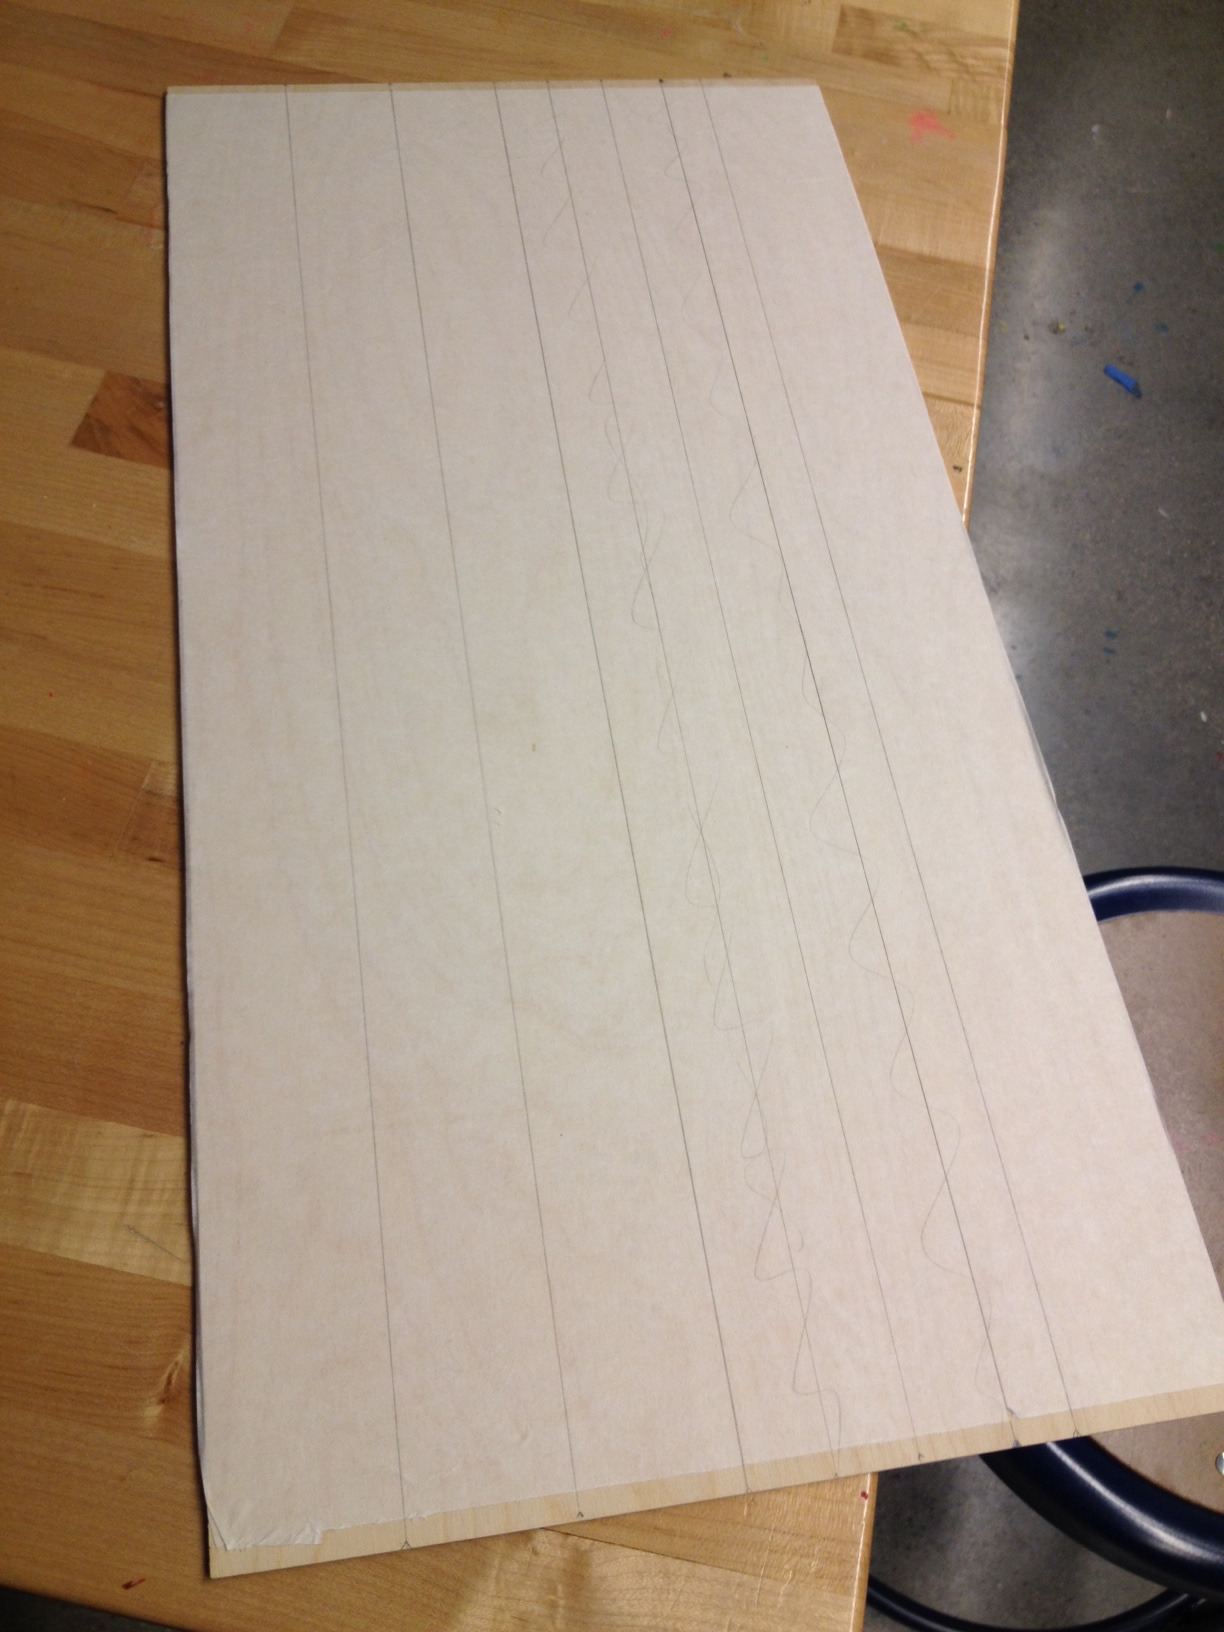
3. Using those memorable measurements from our spacing on the computer, use your ruler, straight-edge, and pencil to divide your wood into rows that match the individual rows of your pieces to be cut.
4. Using your knife and straight-edge, cut along the lines you marked in pencil. If you're using a boxcutter with a nice sharp blade, you shouldn't need to exert any downward force--just drag it along the surface of the paper.
5. Peel off the bottom row.
Time to Laser!
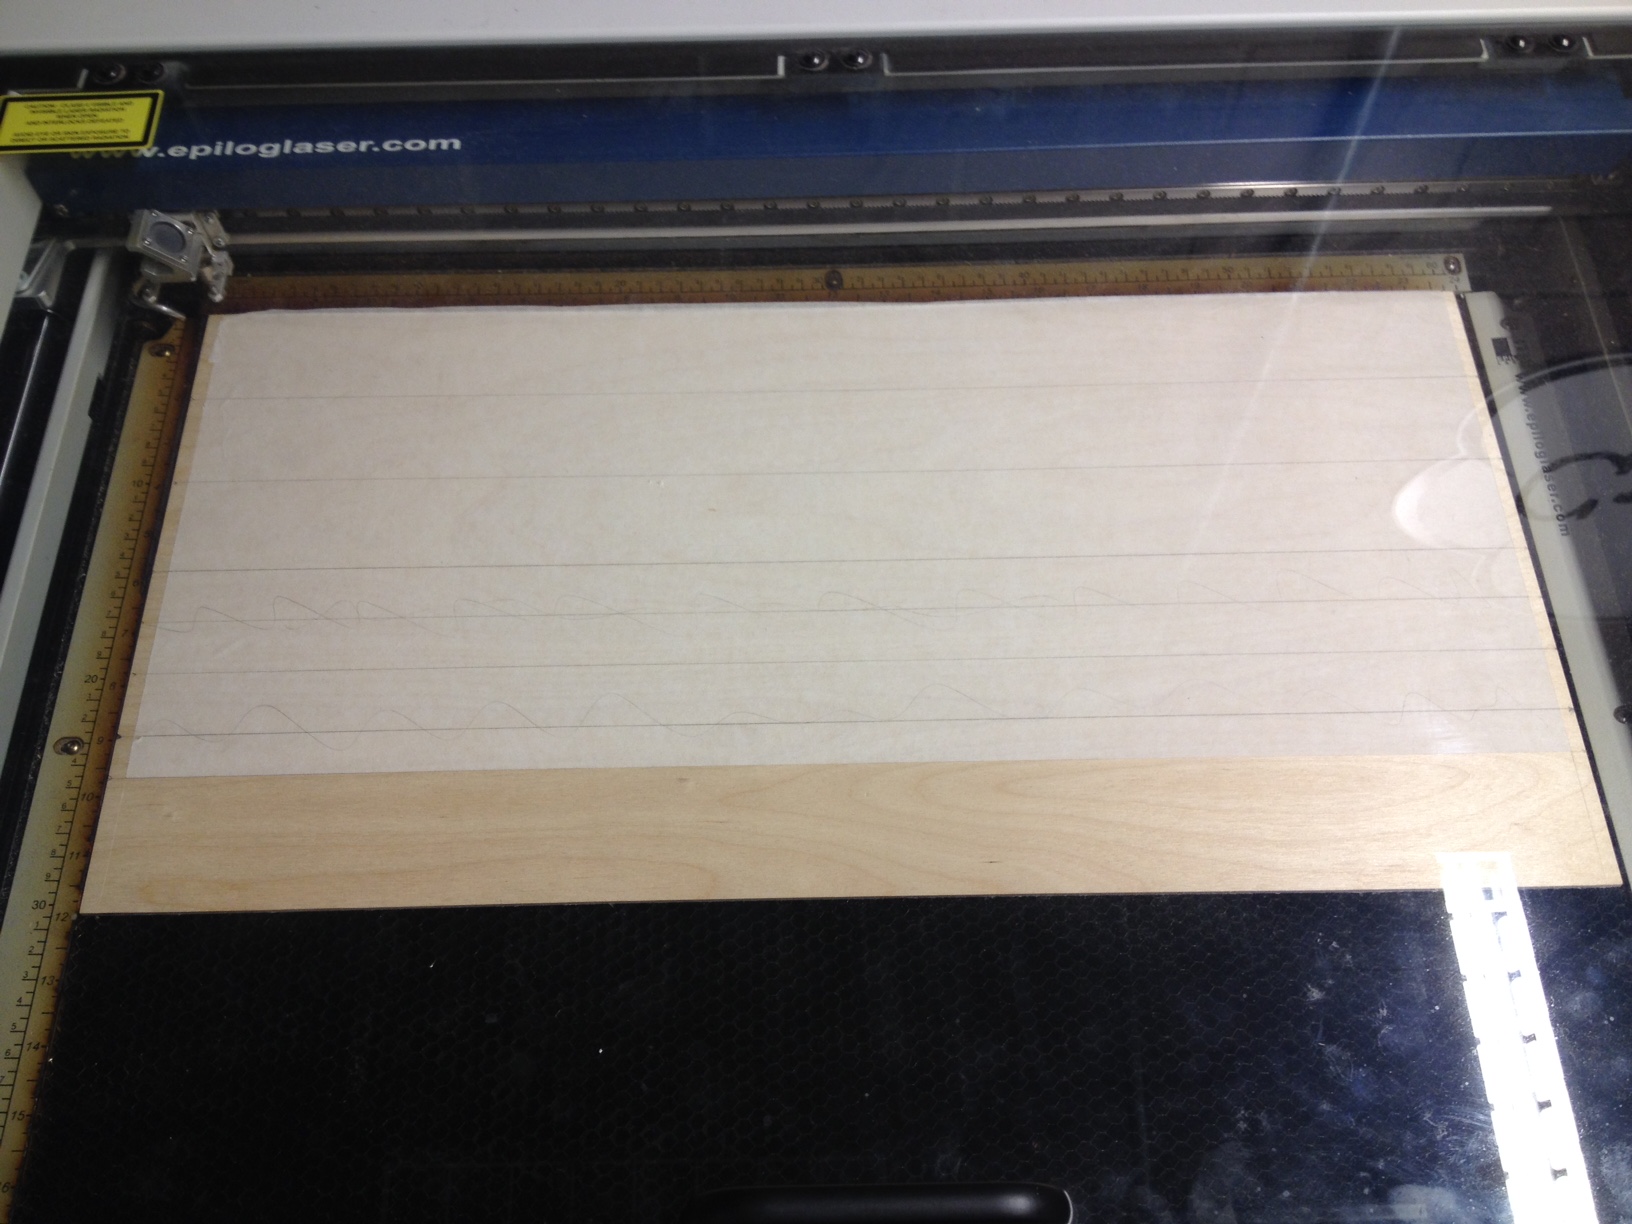
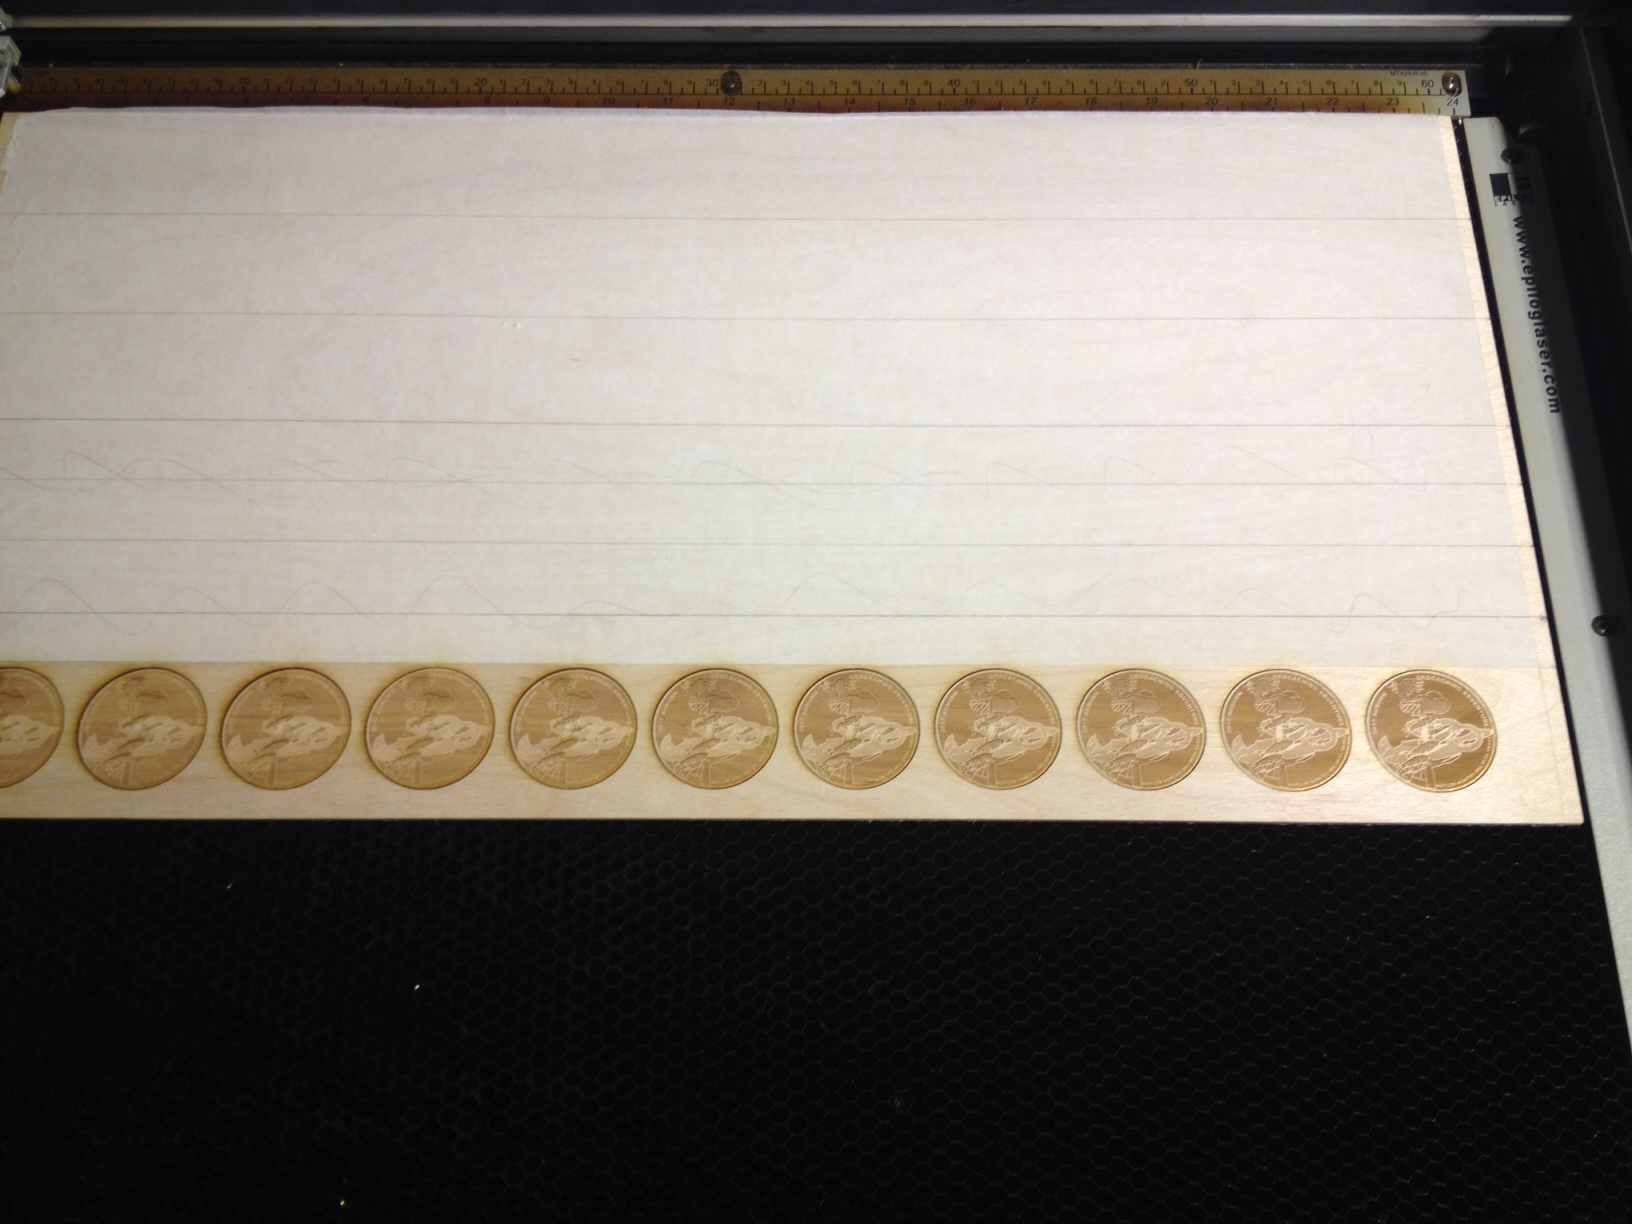
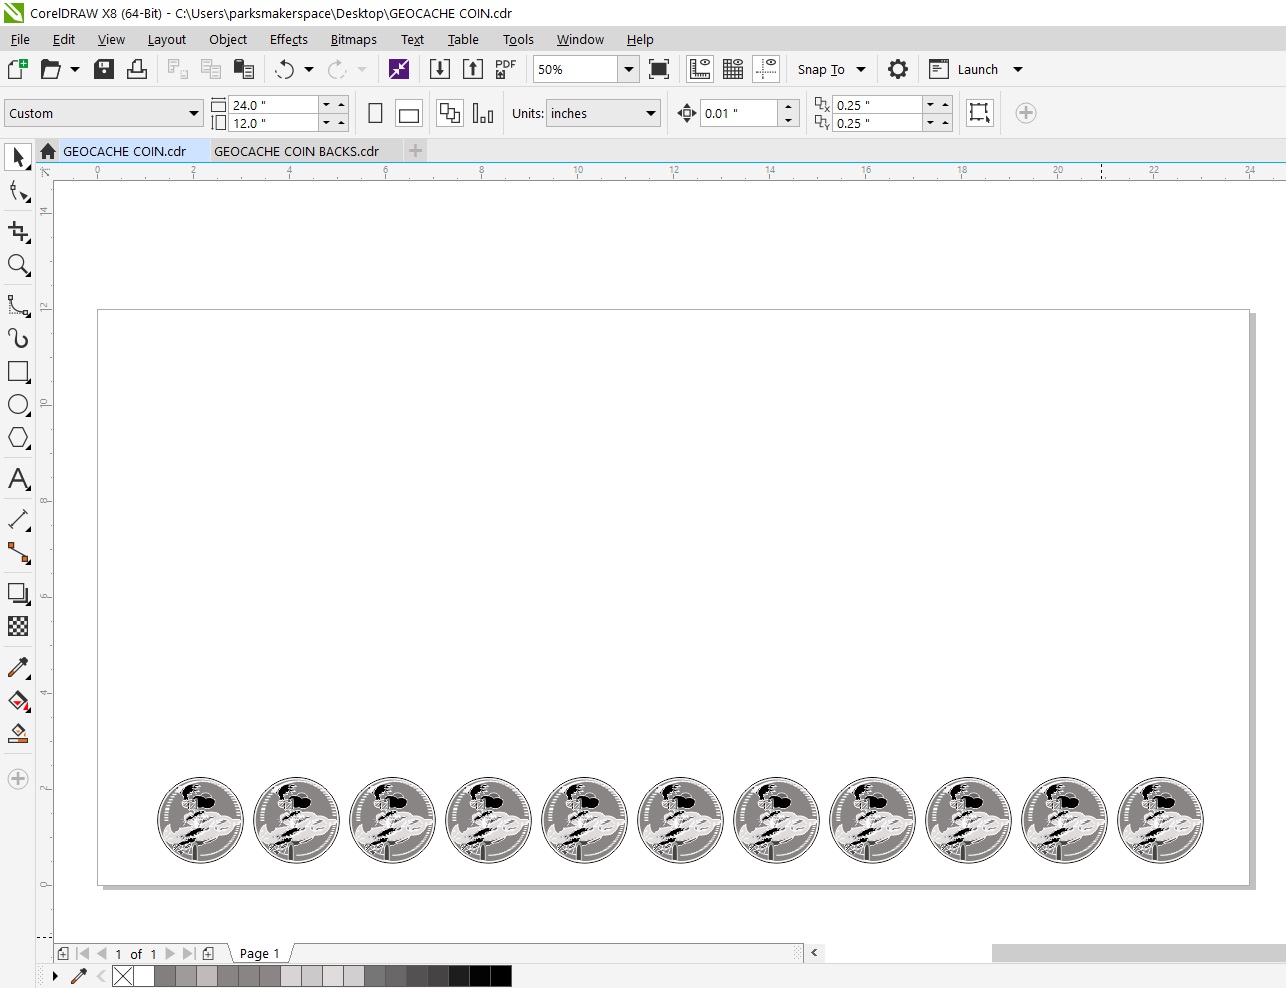
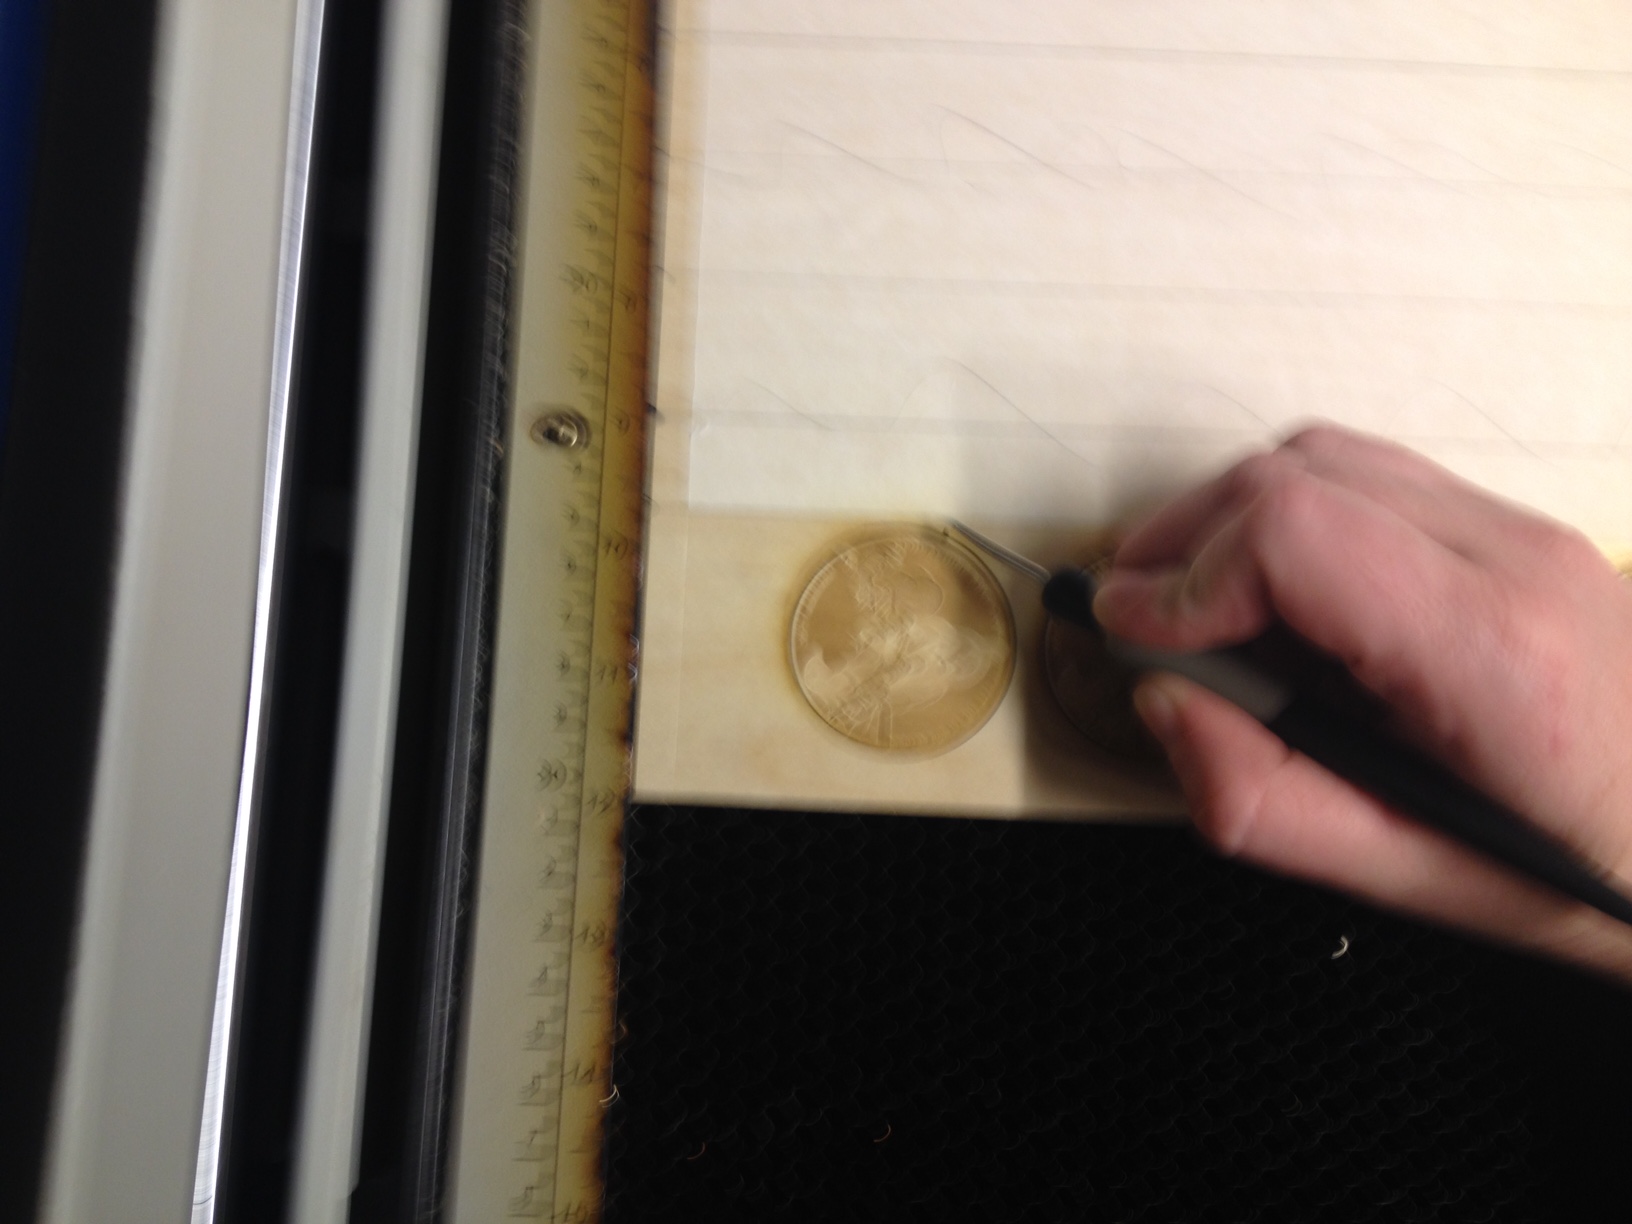
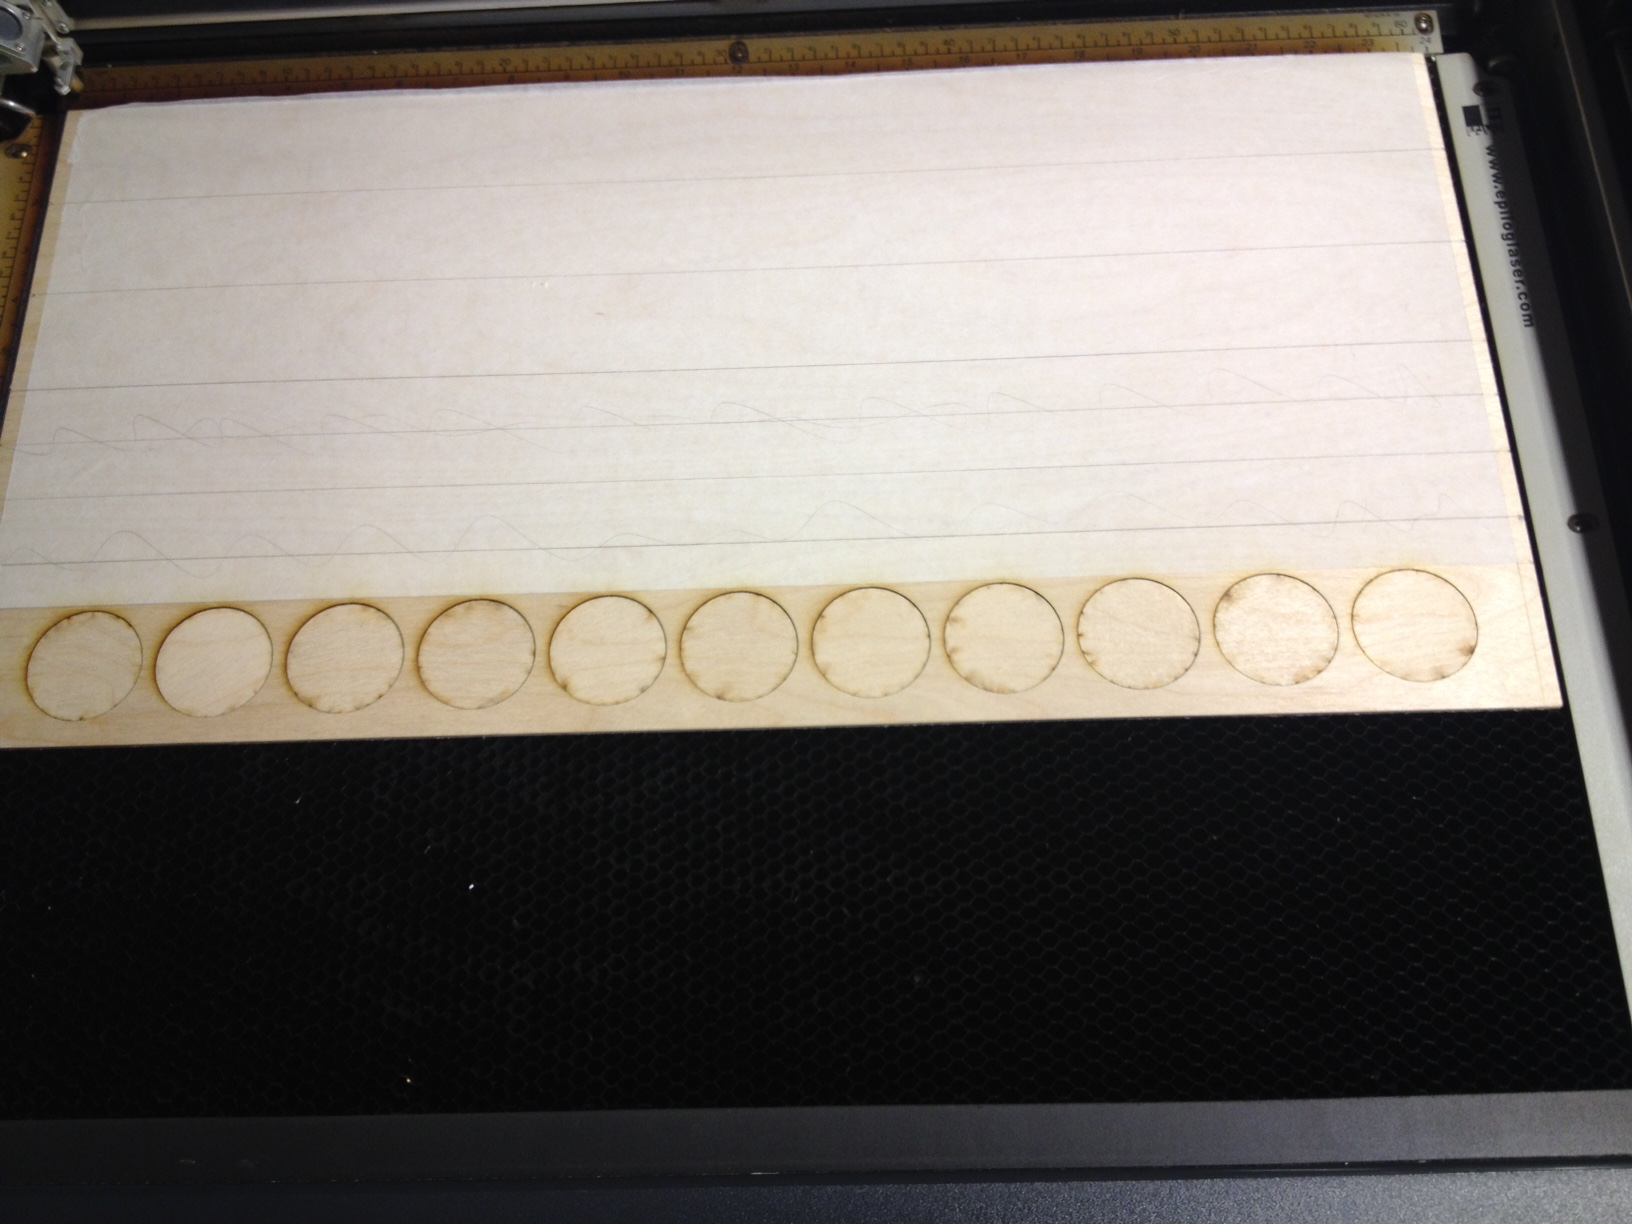
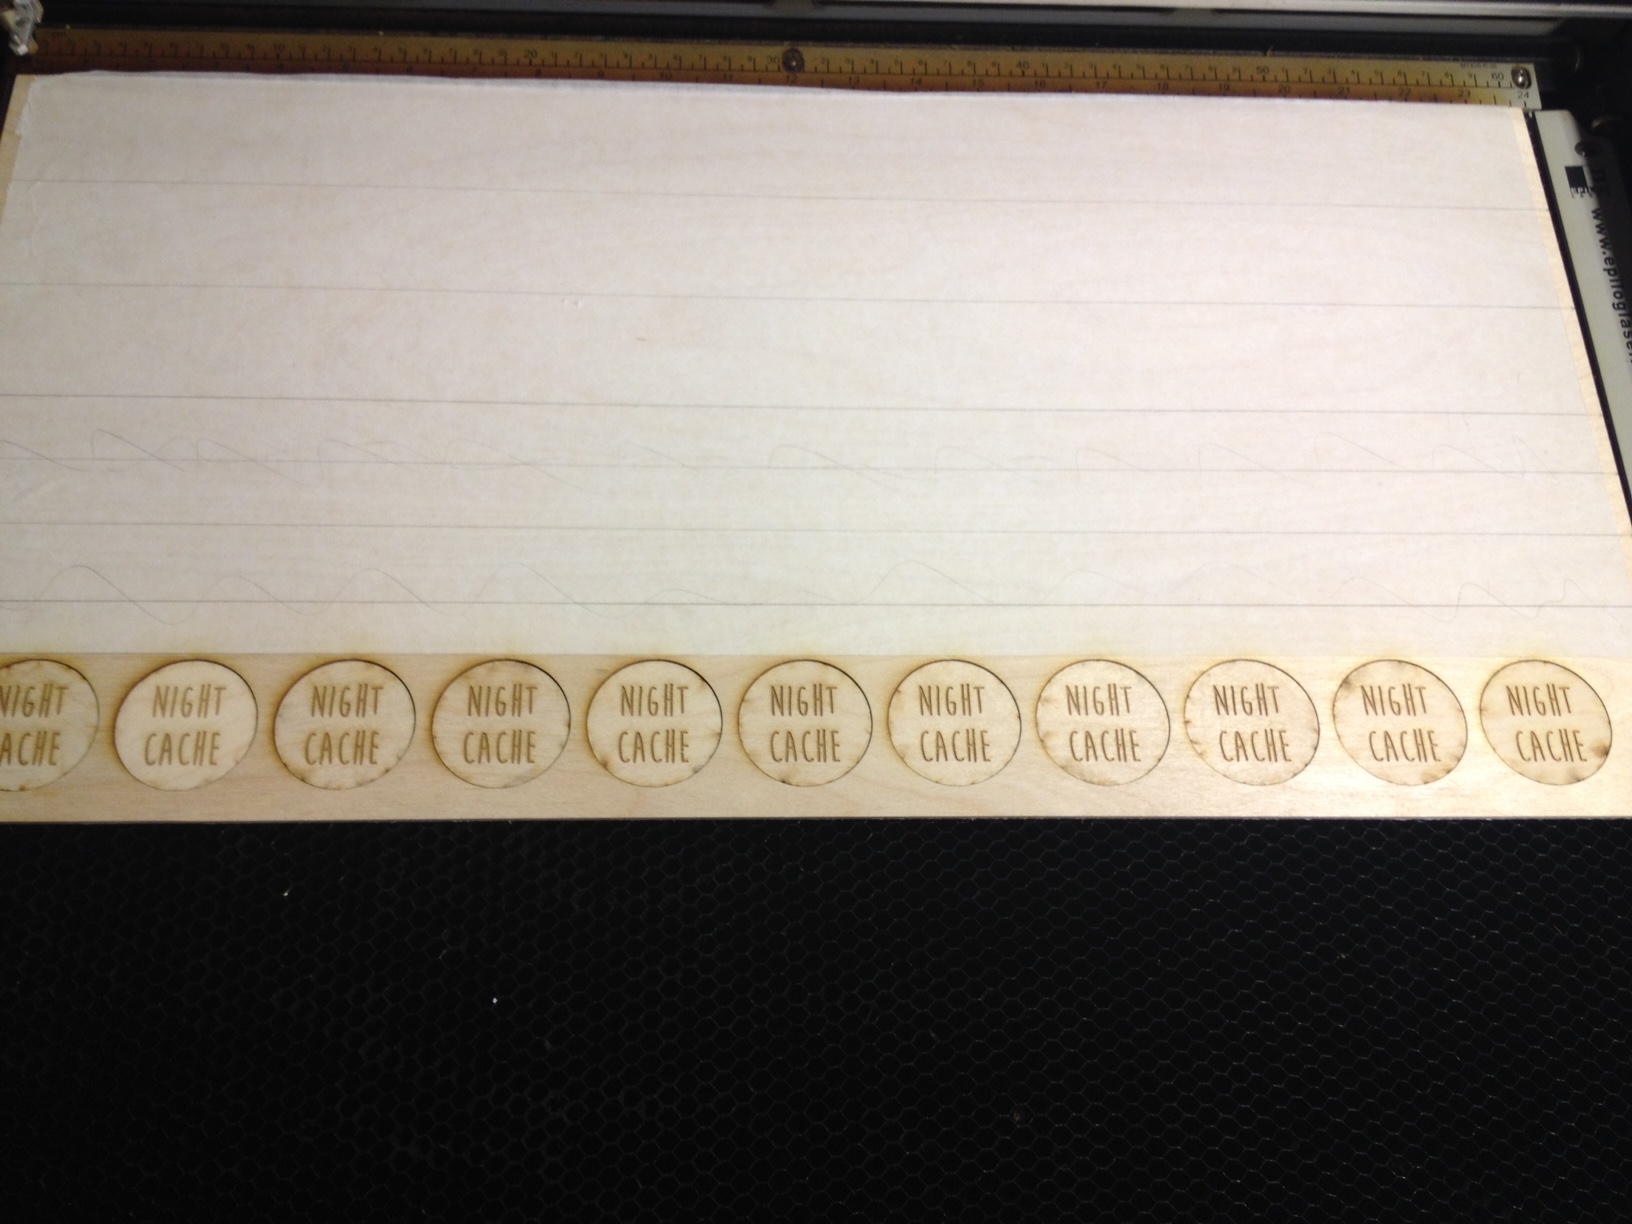
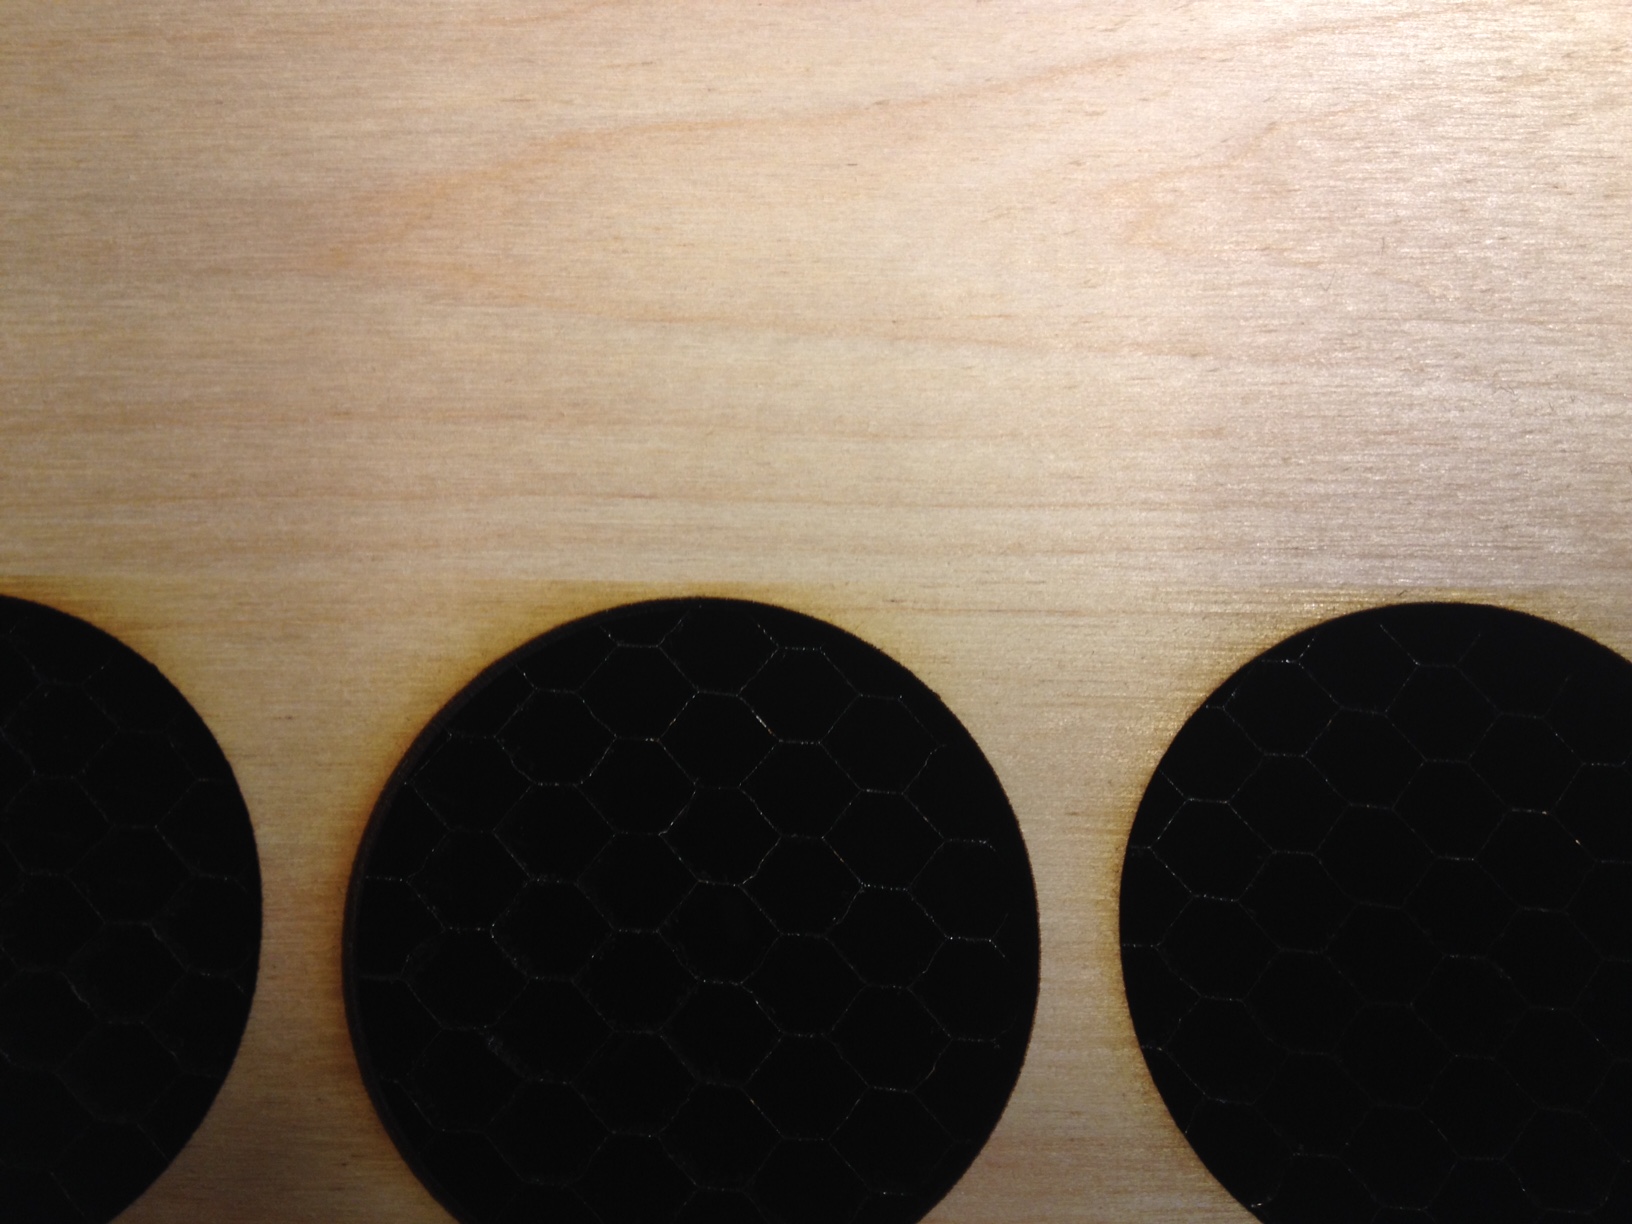
Stick your wood in the machine and make sure you get it firmly squared up in the upper left. I don't like using the ruler-clamps on the top and sides of the epilog when I'm doing this stuff, because if the piece gets jostled while under those rulers good luck ever, ever getting it to match up again.
In your files, delete everything except the bottom rows.
Send your front-file to the laser!
Use a pointy thing once it's done to flip the coins. Essentially you're now using your wood as a jig to engrave the back, in turn.
Send your coin back file, also with all deleted except the bottom row, to the laser.
Remove the coins when you're done so they don't get more smoke-stain from later engravings.
Reeeeeeepeat
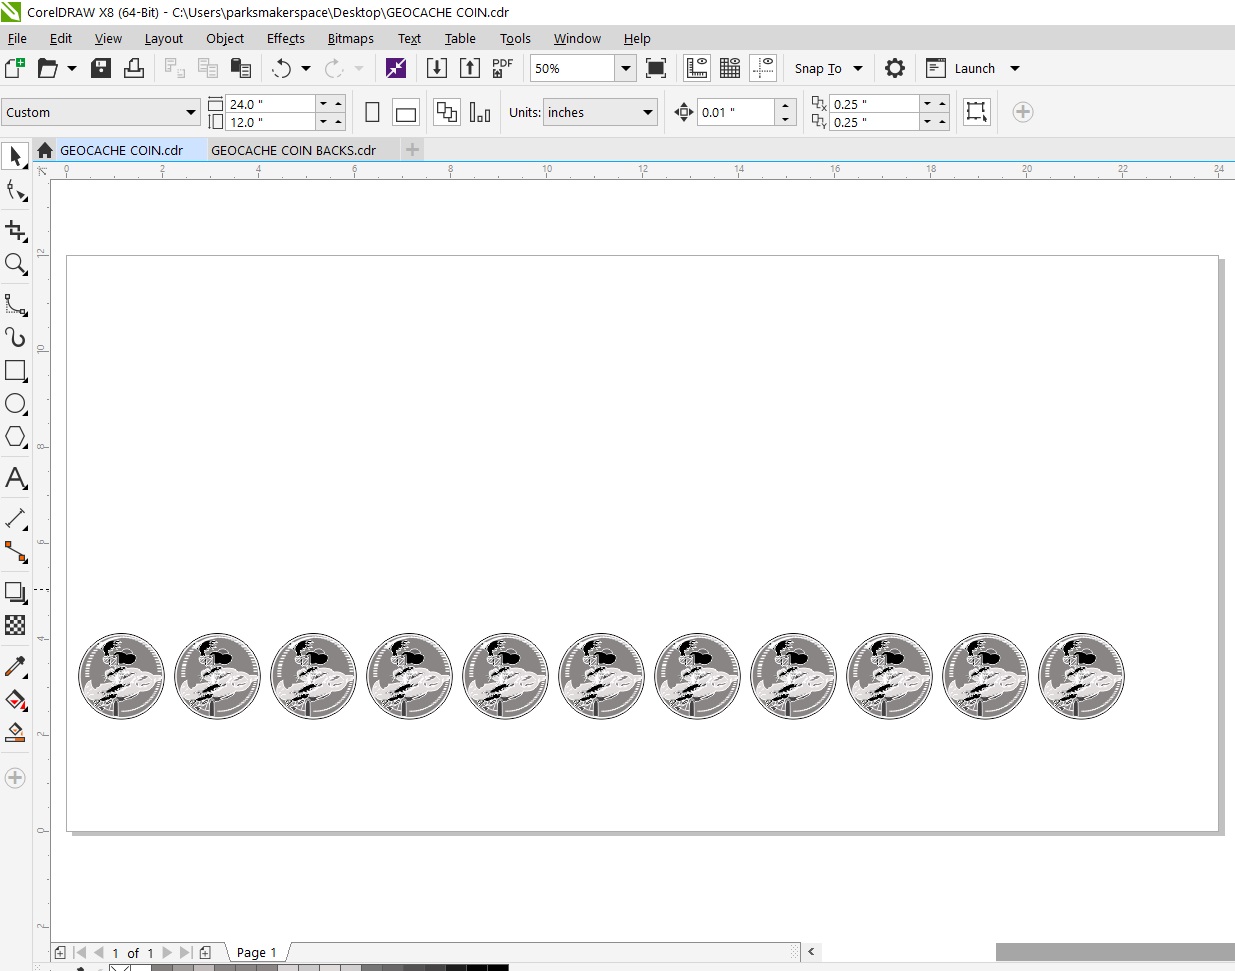
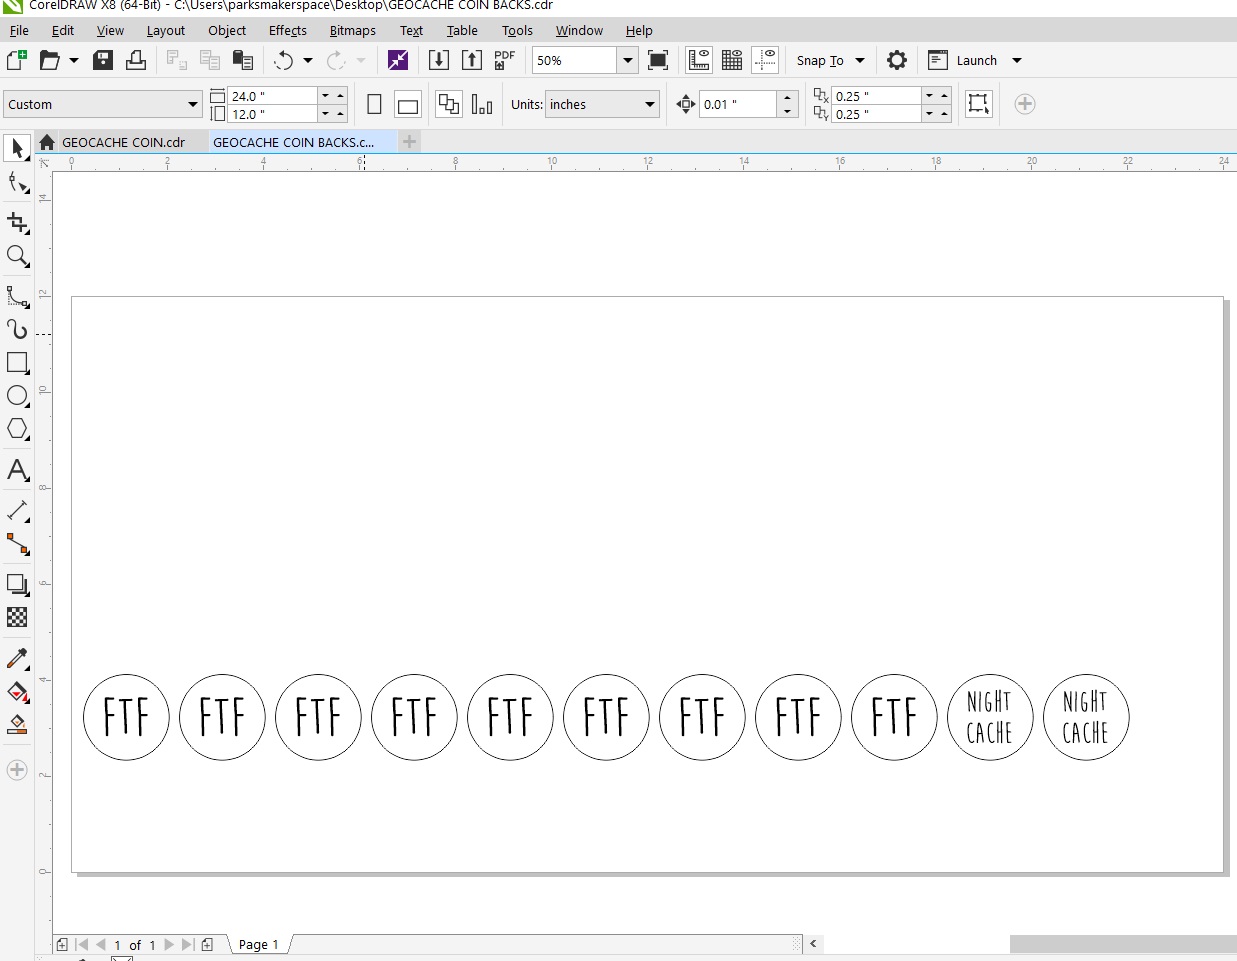
So after a swift ctrl+z to undo deleting all your rows, now you'll delete all but the SECOND-to-bottom of your coin rows, in the files for both the front and back, and repeat the process detailed above. Each time you're going to start a new row, peel off the corresponding strip of transfer paper from the wood.
You may be wondering, why not just leave the transfer paper on? Wouldn't that offer the fullest protection?
The reason is that pulling tiny bits of transfer paper off of tiny little wazoos is almost as obnoxious as trying to sand them. Plus, you have to power-up your engraving settings to burn through the paper, and on such a detailed image, chances are good that in some areas you'll burn off the paper but NOT quite the adhesive which will be an unappealing sticky mess that must be scrubbed. Also it can make the wood feel a bit tacky (again because of the melting of the adhesive), which gives it a bad feel IMO, and if I need to sand AFTER using transfer paper it totally defeats the point for me.
Bonus Tip:
While you're engraving row after row while writing up an instructable as you go, if you're eating chicago-style popcorn, make sure you turn the bag upside-down and give it a shake before you open it. The caramel corn is heavier and sinks to the bottom, so that will help keep the proper ratio of cheddar to caramel.
A Note About the Design
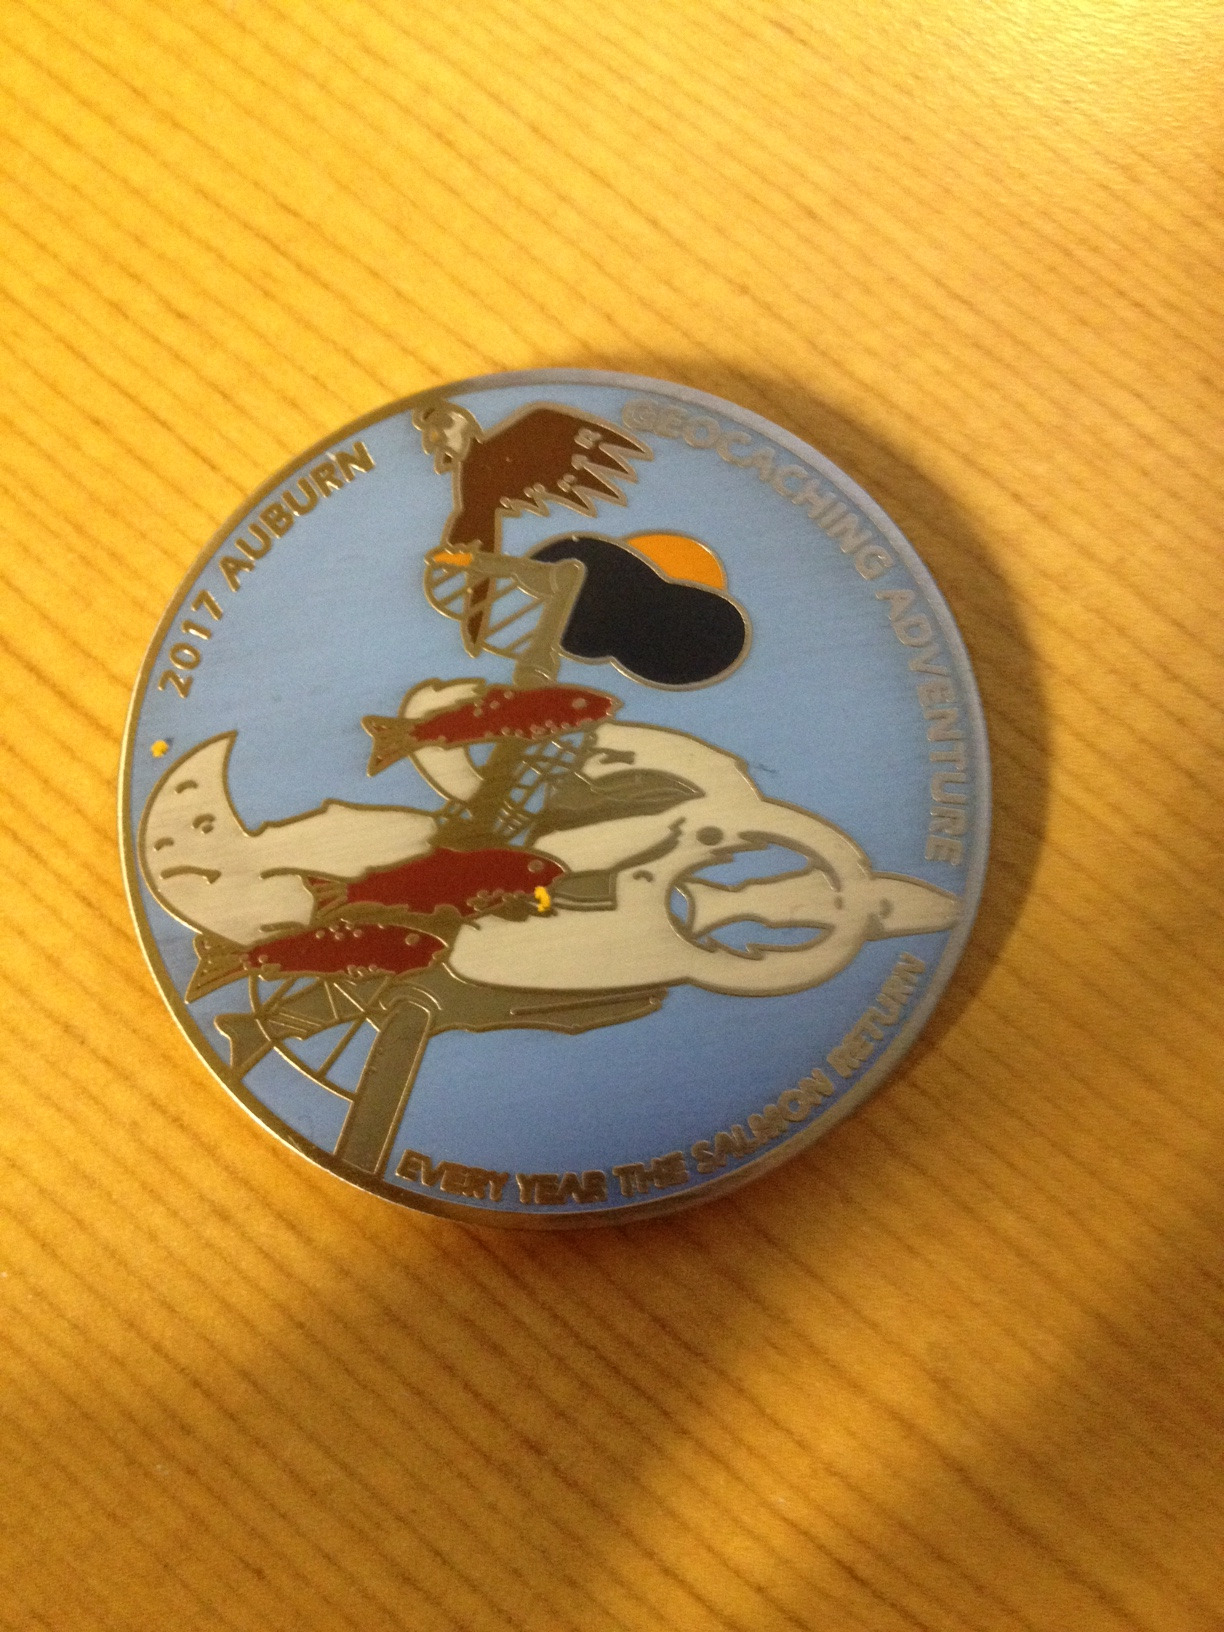
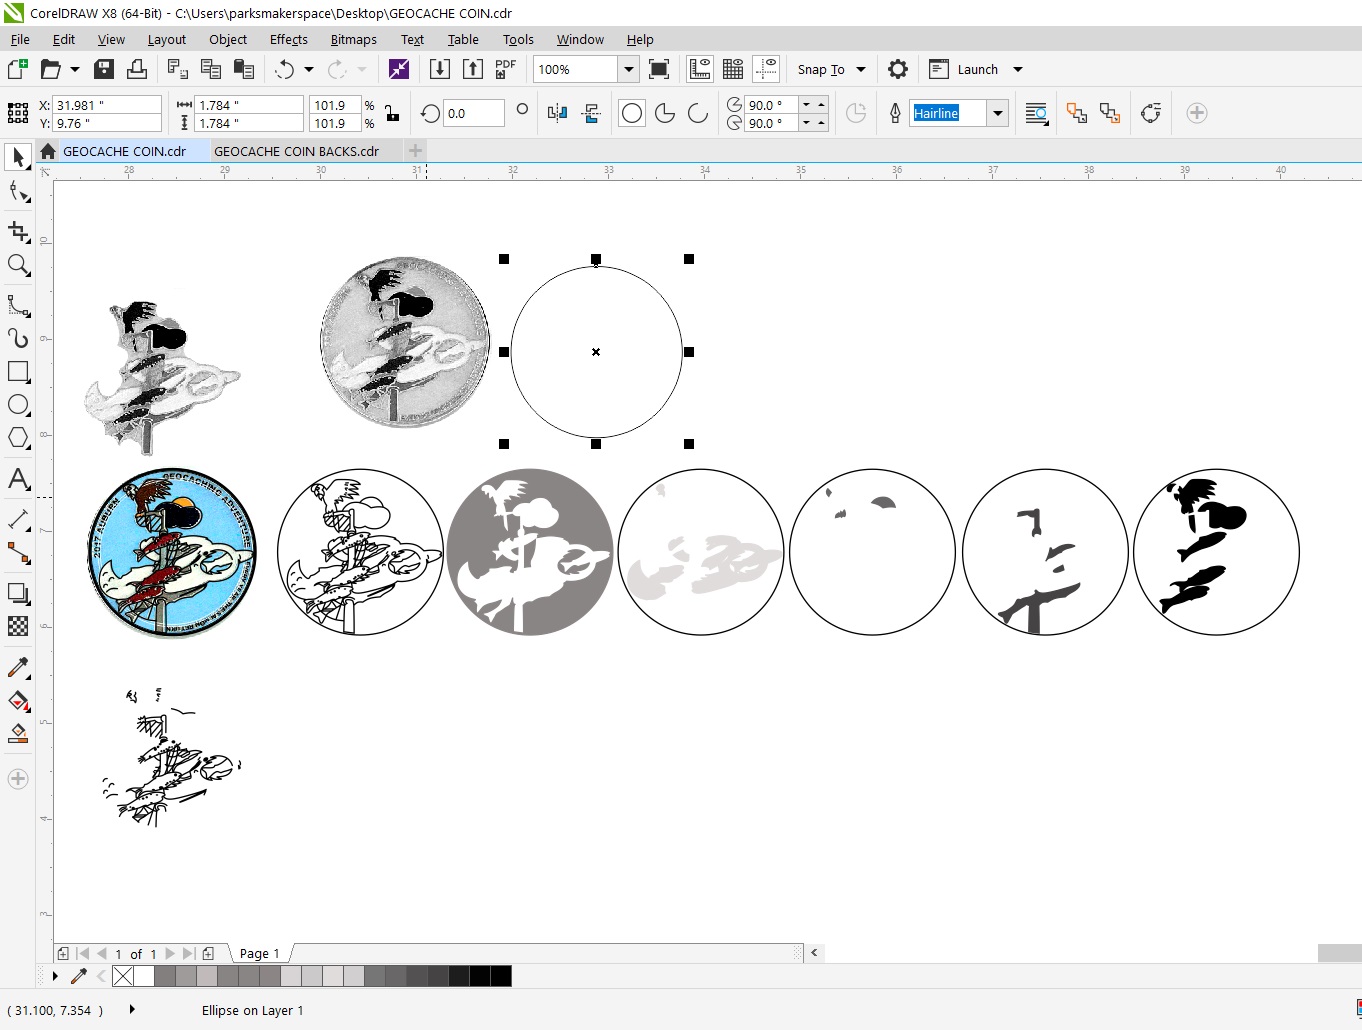
This isn't a detailed design tutorial, but here's a brief rundown of how I did this.
I was tasked with making a laser-cut version of a 7-color enamel coin, without access to the original graphic. To digitize this, I:
1. Scanned the coin
2. Imported the scan as a PDF into Corel and cropped it roughly
3. Adjusted the brightness/contrast to help the colors visually separate
4. Converted the image to grayscale, did more brightness/contrast until I had a pure white AND pure black in the image. This usually gives you the broadest range of apparent values to work from.
5. Realizing there was too low resolution to do a decent bitmap trace, I used the B-Spline tool to quickly go over all of the areas of the metal that separates the enameled areas. It helps while doing this to backtrack, and make the ends of all lines rounded and to clamp the control points to nodes where needed to create sharp corners.
6. Added in fresh text, fitted to circular paths to more or less follow the original design.
6. I repeatedly copypasta'd this outline to the left, each time isolating the outlines of different distinct areas of the different enamel colors. Then I would assign the layer a fill and outline color more or less at the same value on the grayscale as the color it originally was. Because the red of the salmon, the brown of the eagle, and the blue of the cloud (?) were of a similar value, I uncomplicated the image a bit and condensed them to a single layer. *VERY IMPORTANT* with each layer I preserved the outline so they could all be easily registered together later using the x and y coordinates.
7. I stacked my layers from bottom (darkest) to top, ending with the original outline representing the metal of the coin, which I then converted to white, so it wouldn't engrave at all.
Remember that when engraving, the darkest layer will also be the deepest, so it's best not to have too powerful settings or your image may look 3D in a way that doesn't work with the original graphic.
Ta Da
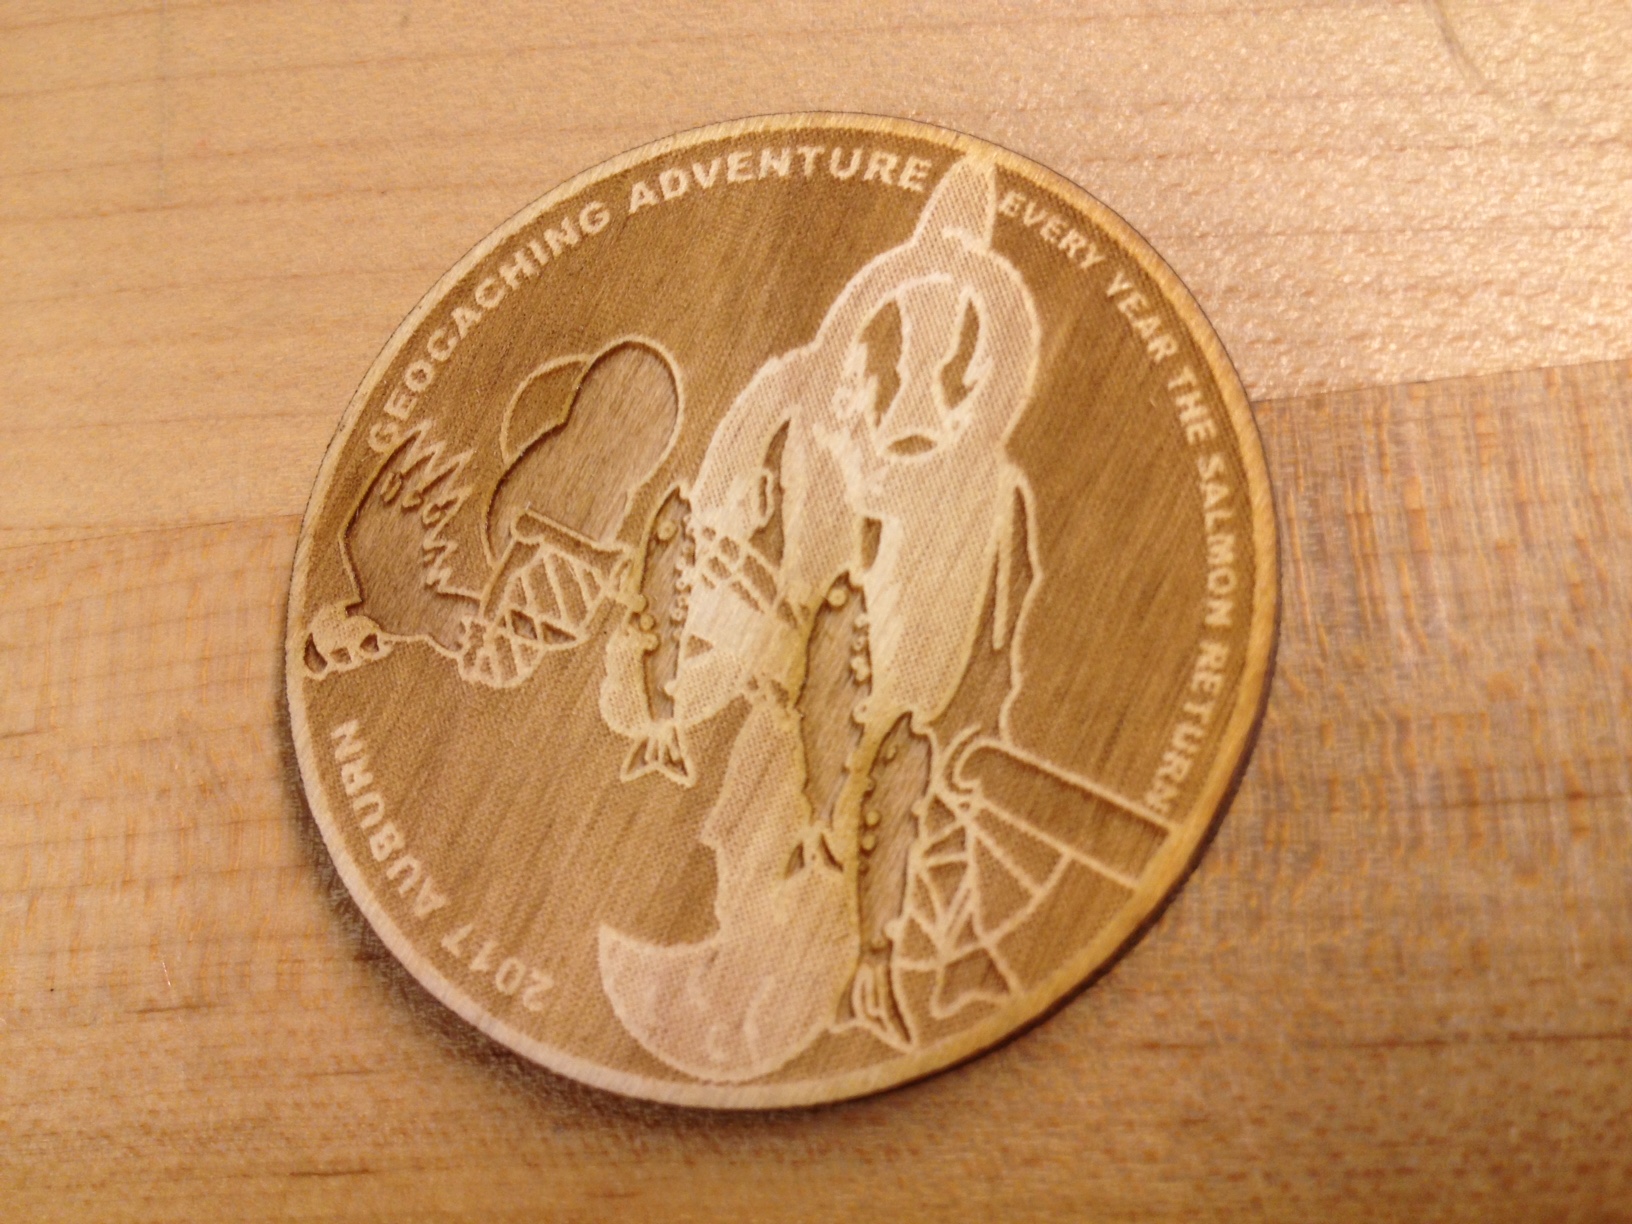
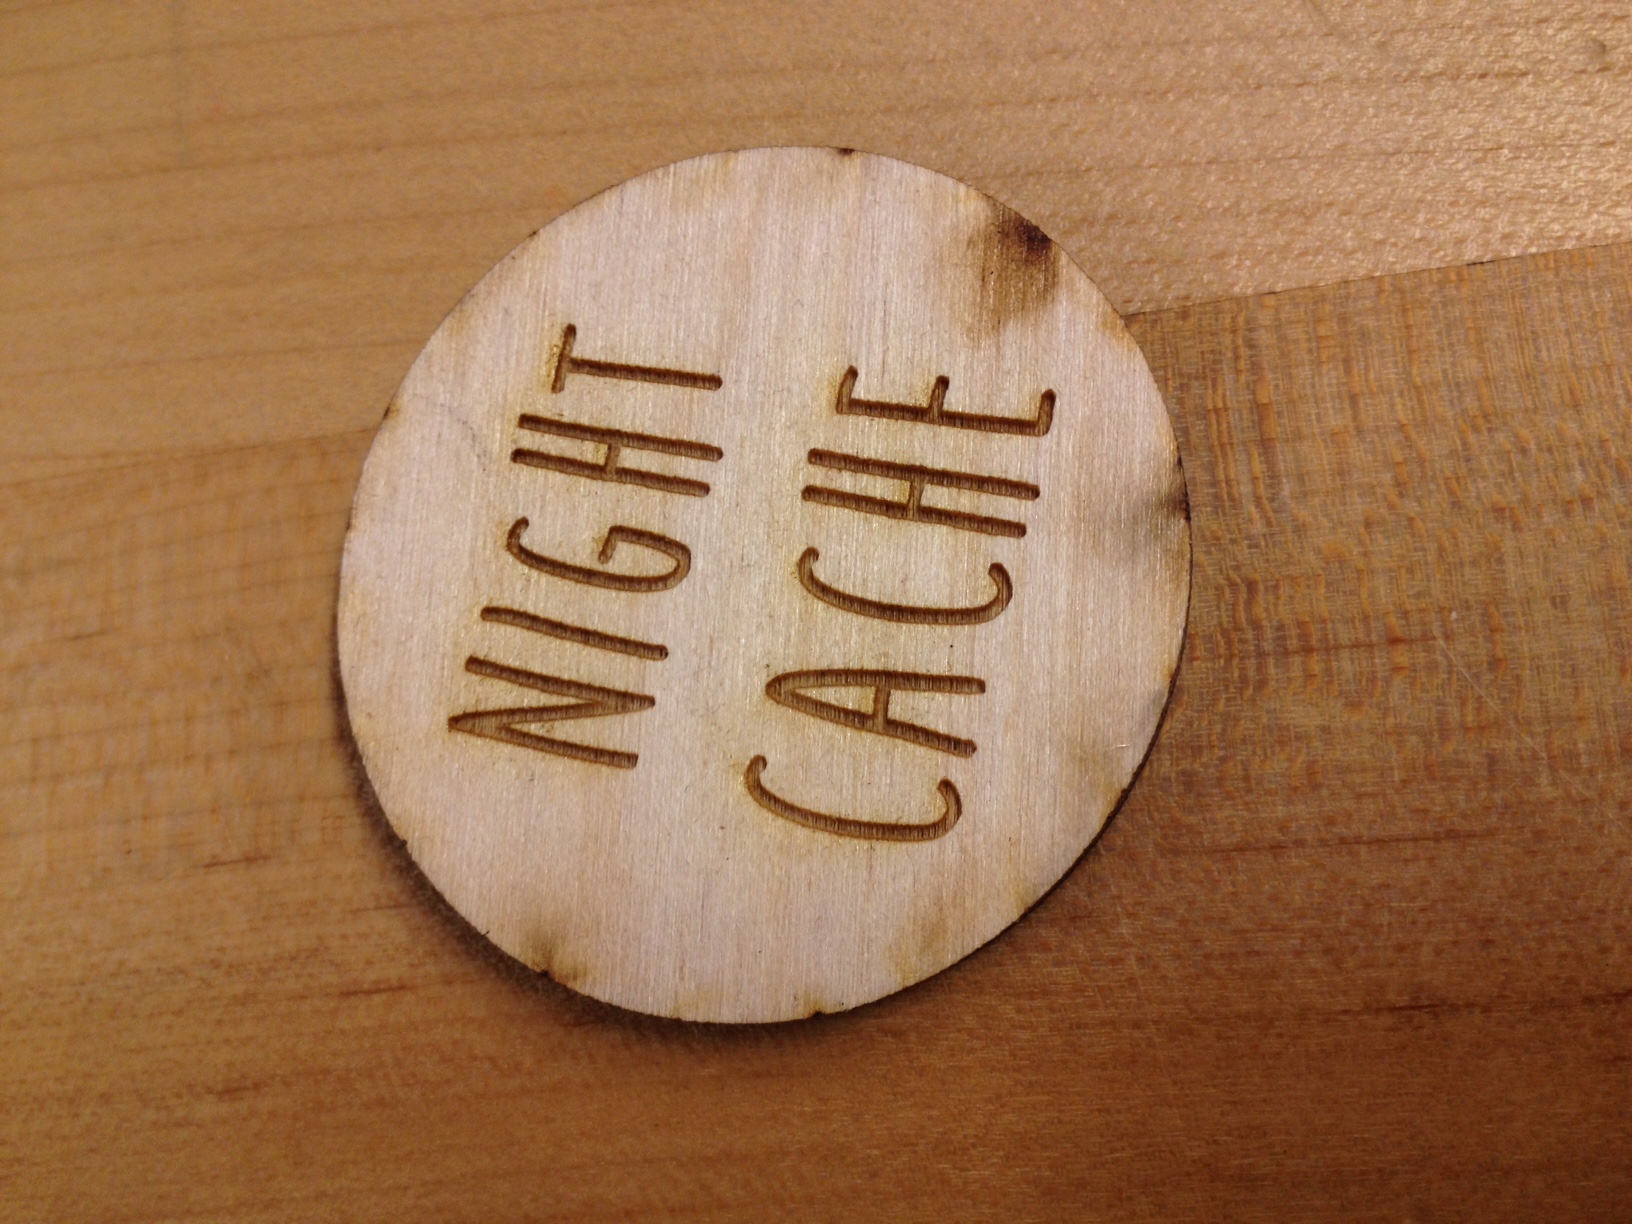
I firmly believe in 'an ounce of prevention is worth a pound of cure' and I'm glad I worked out this method to getting a workable final product with NO post-finishing necessary, with some basic planning and best practices (and transfer paper).
Have fun out there kids!