Laser Target Game
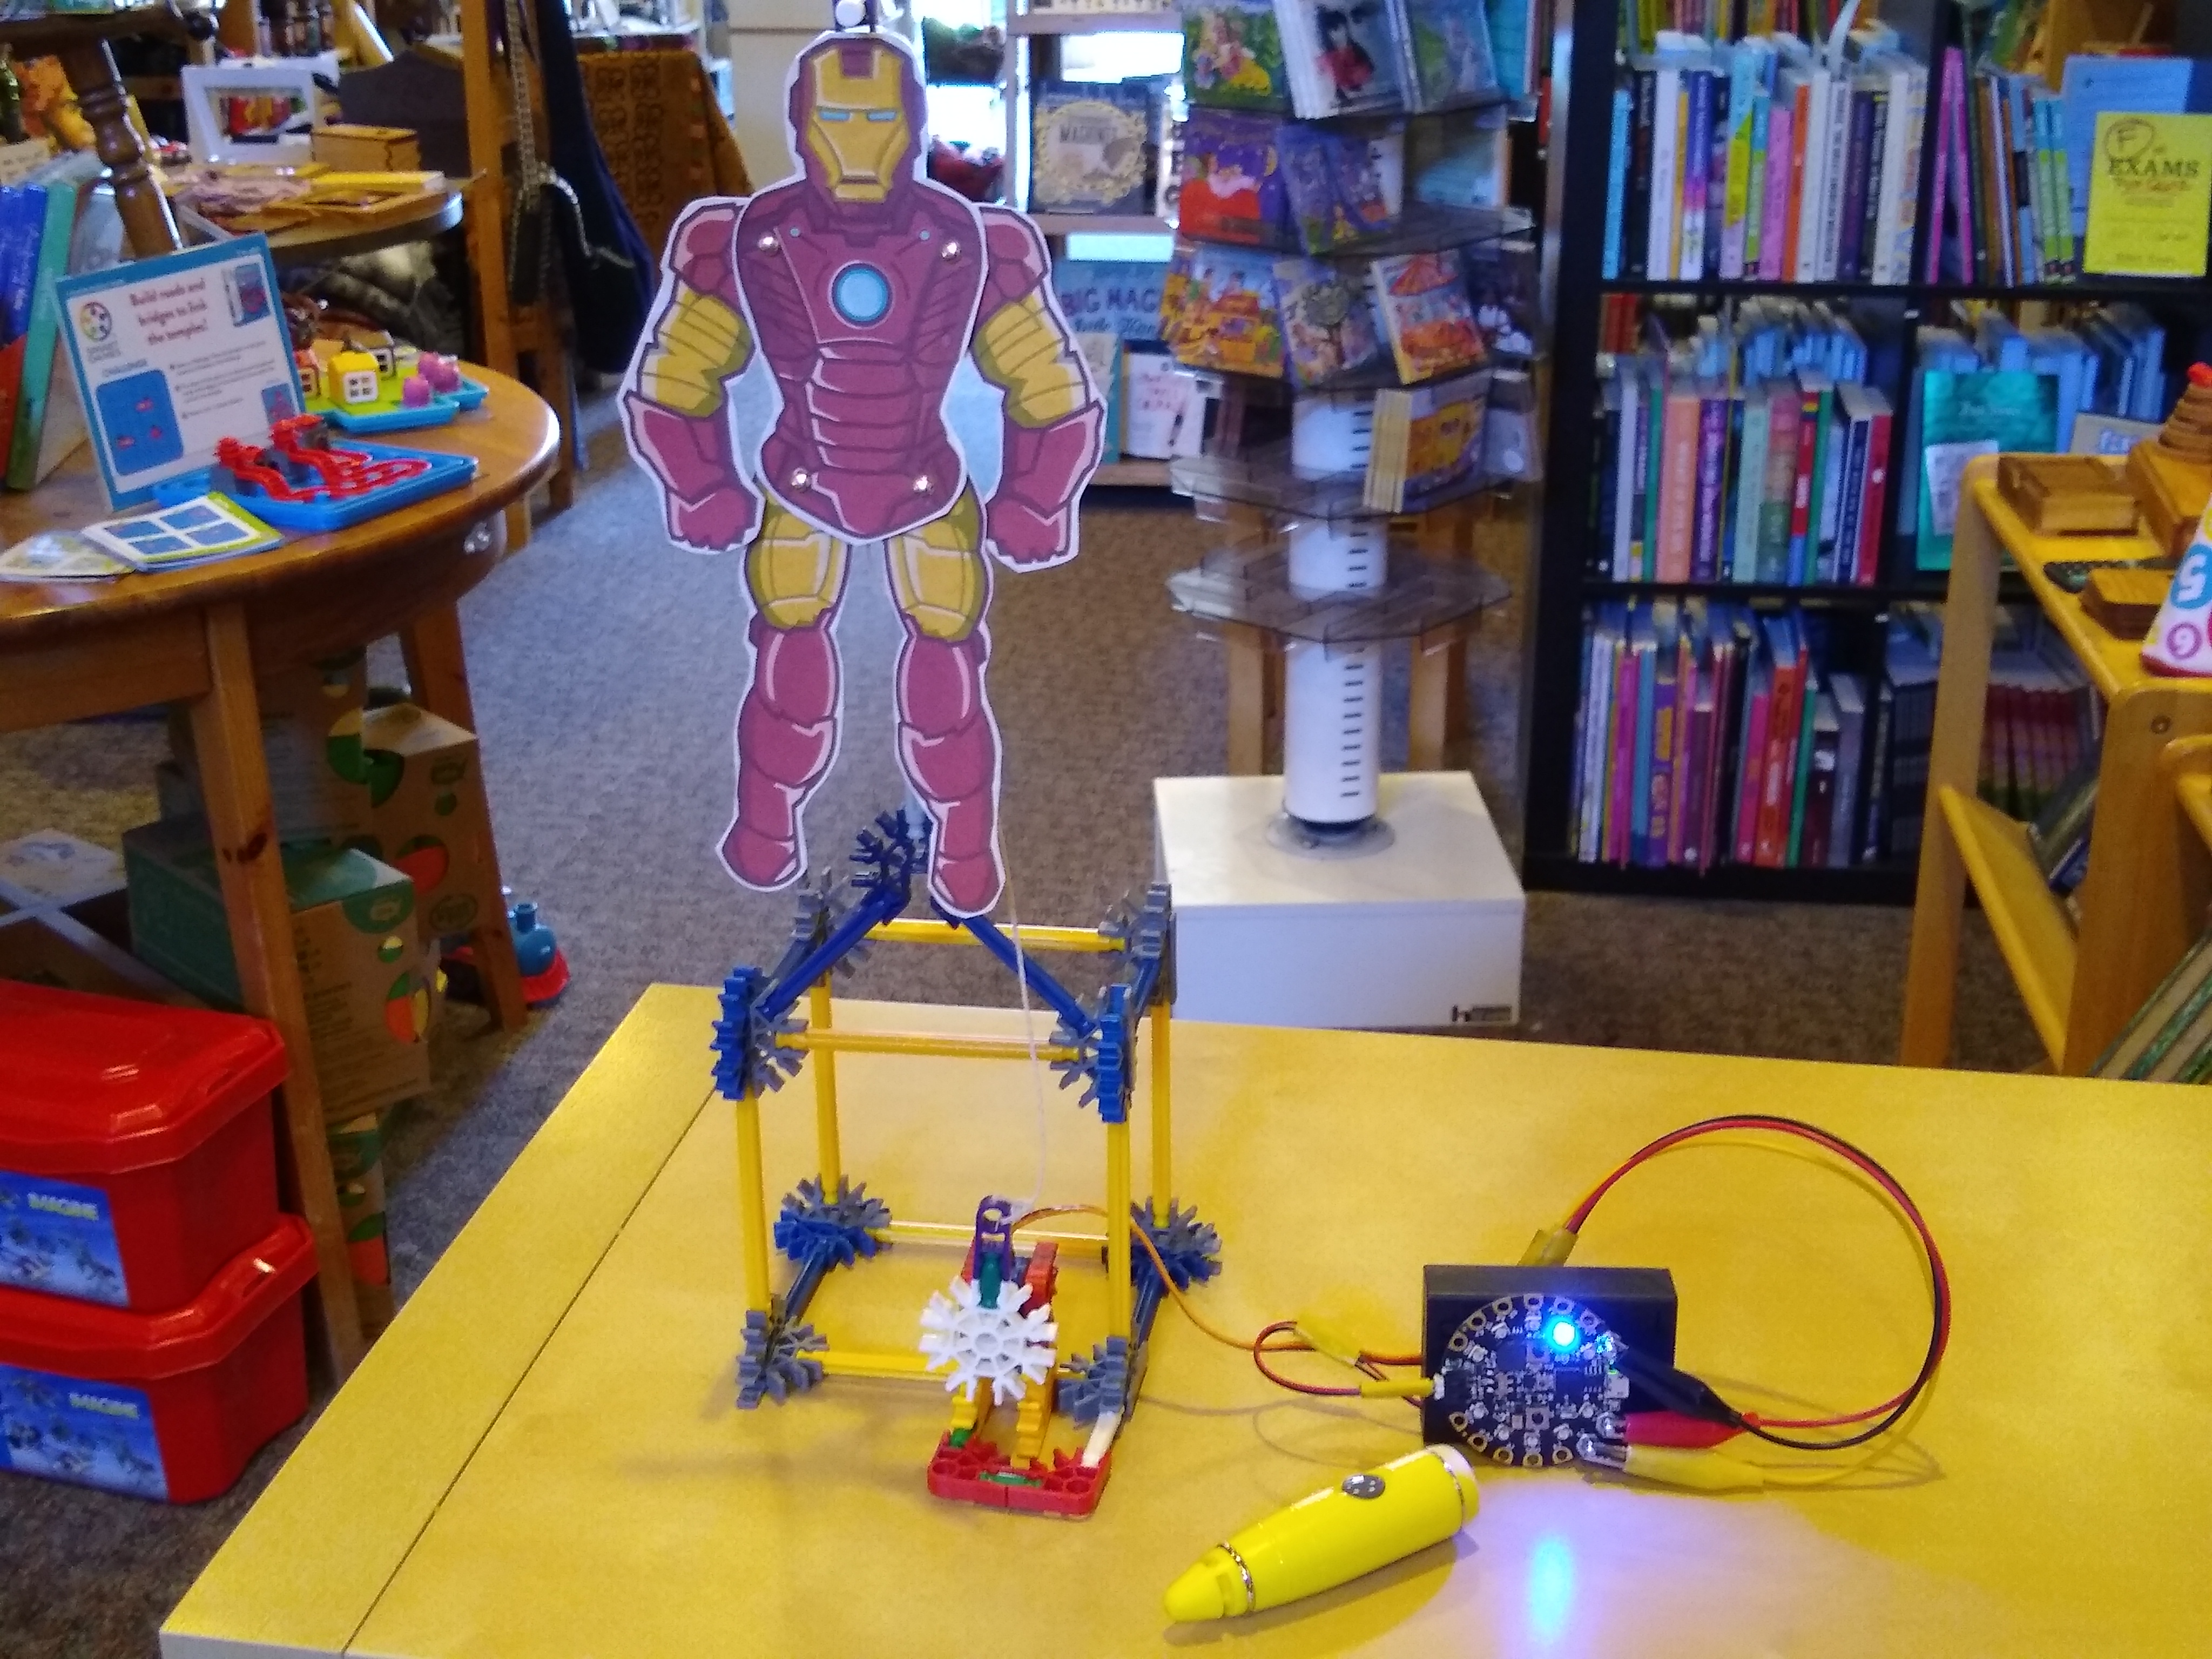
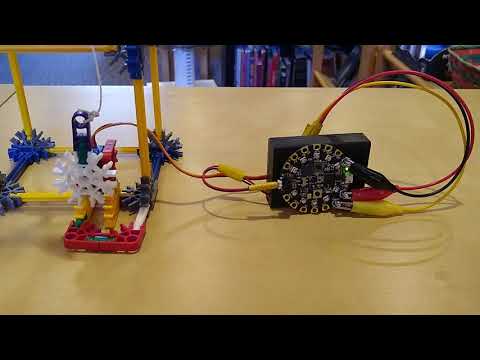
Using a servo, a cut-out jumping jack Iron Man (thank you mgulin.com), some K'nex, and a CIrcuit Playground Express, we have an easy to build laser target toy. Hope you have fun building this.
Parts Needed...
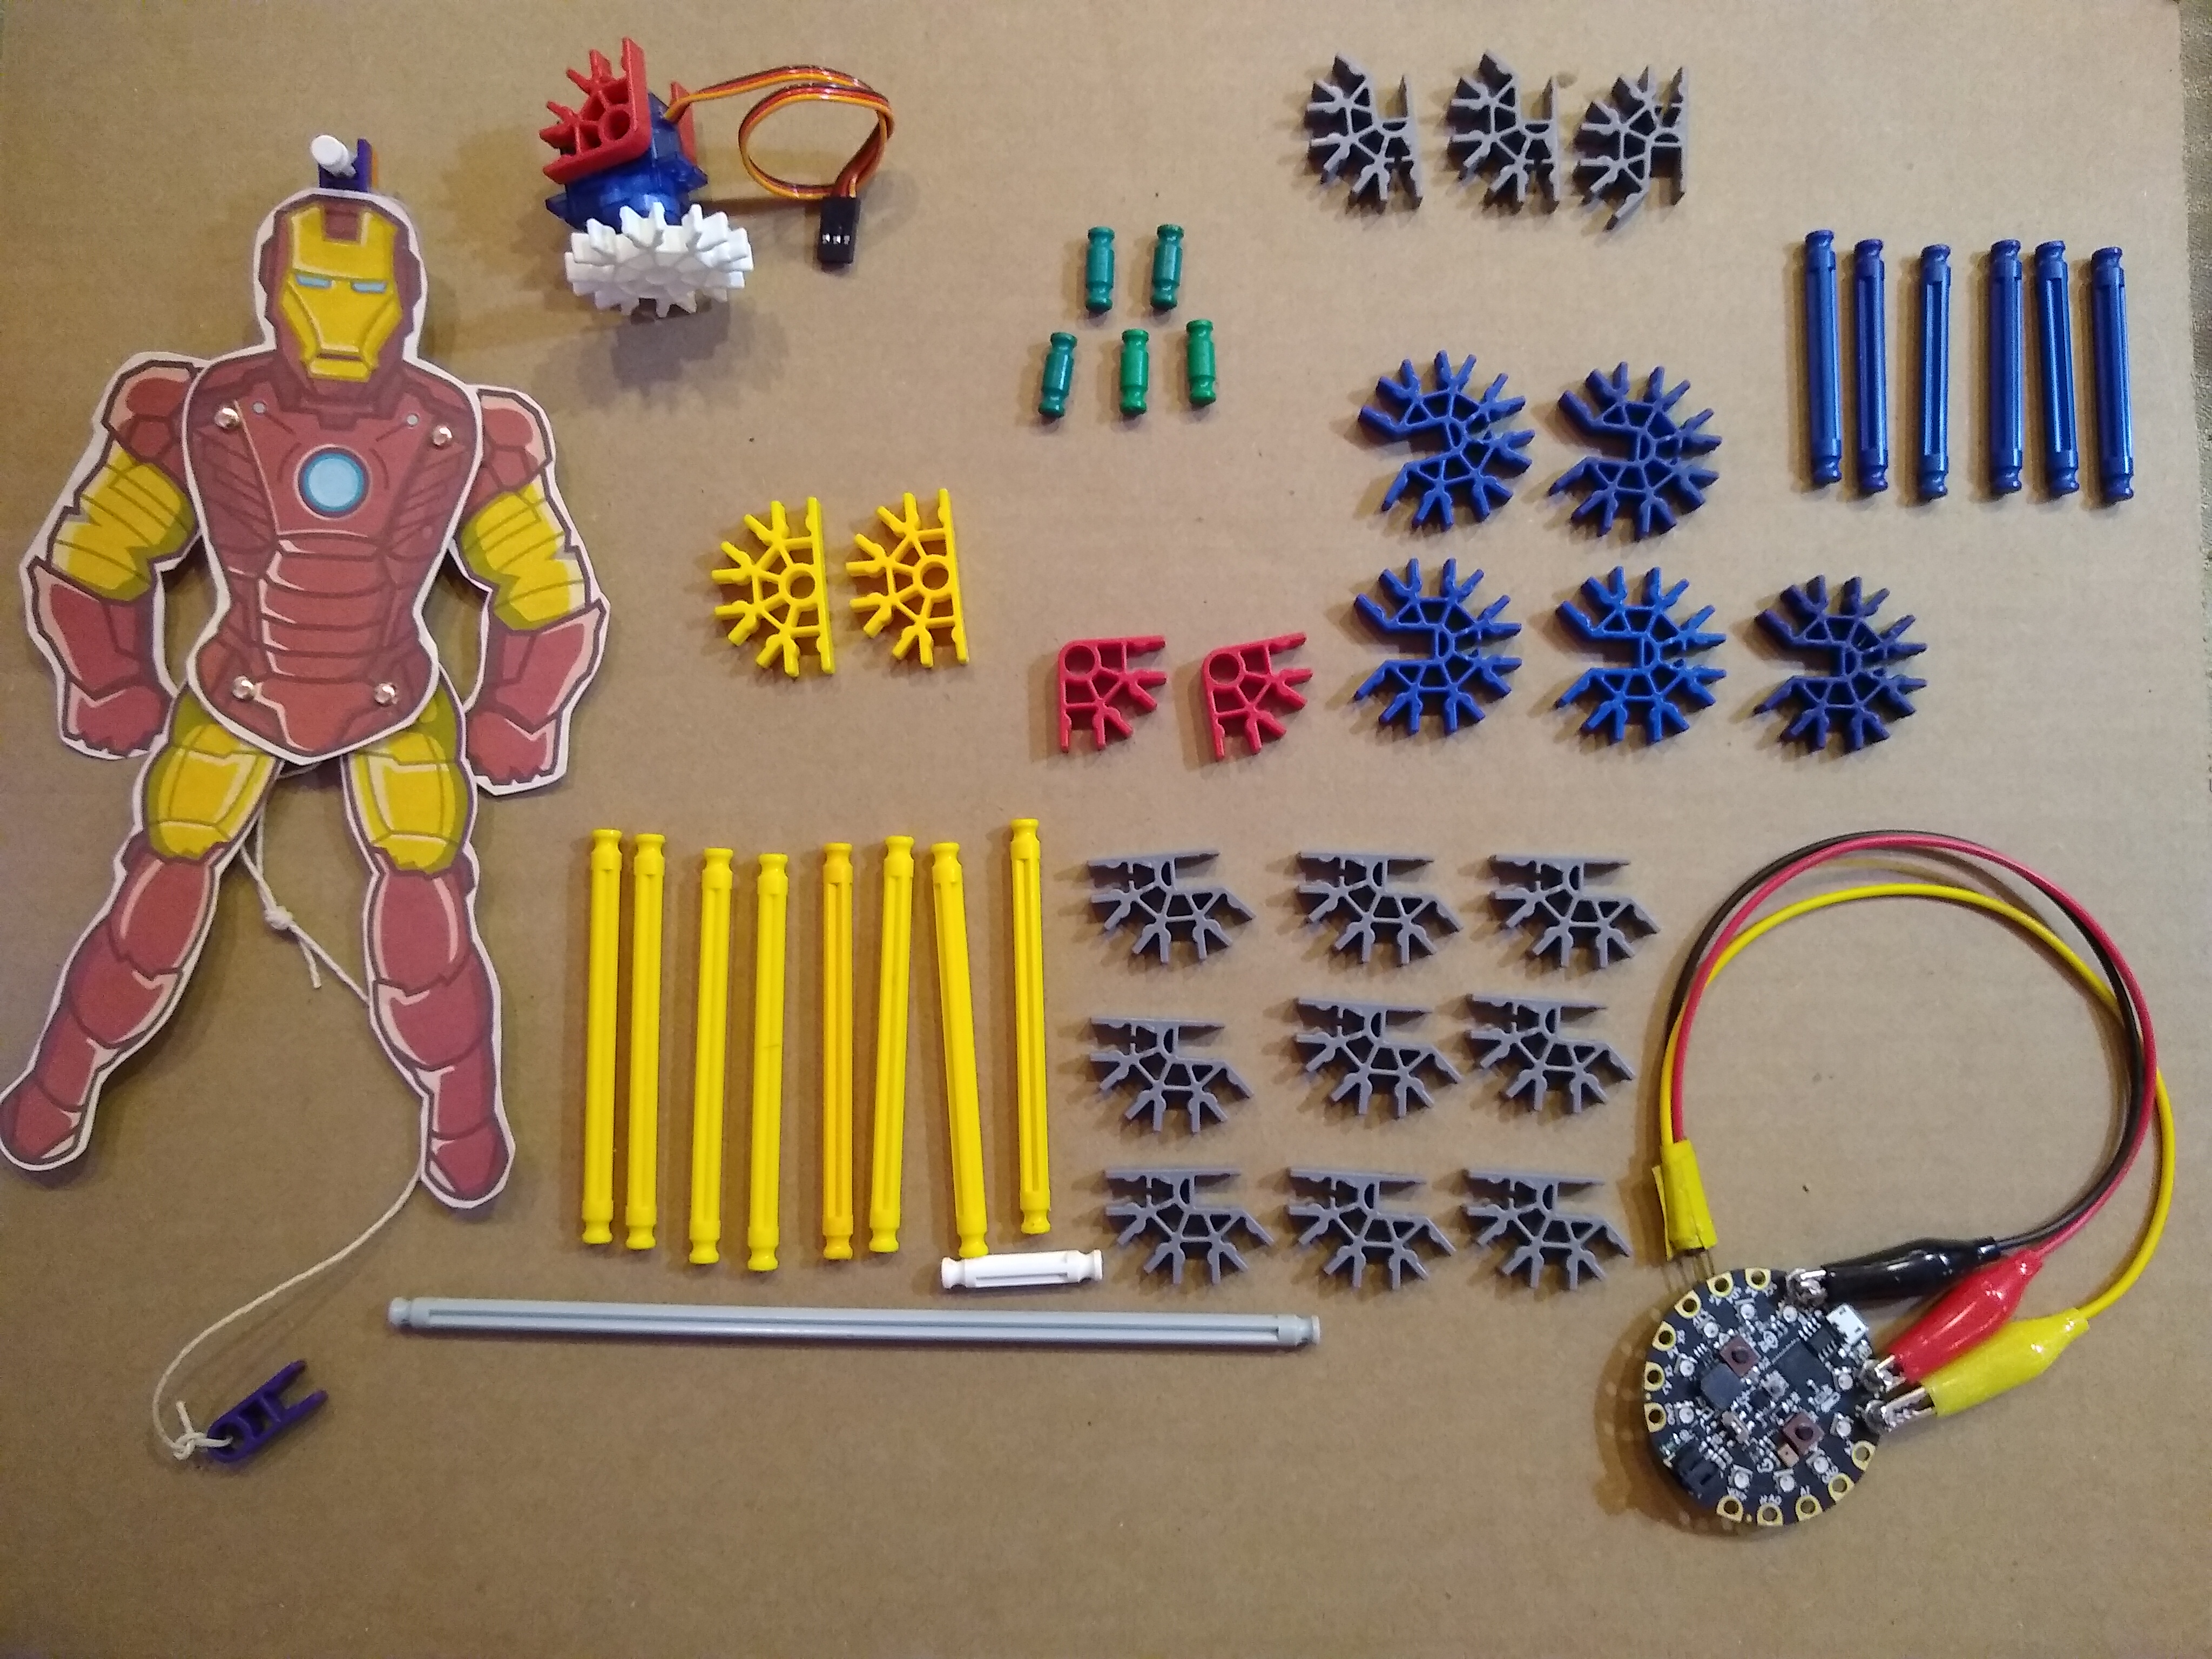
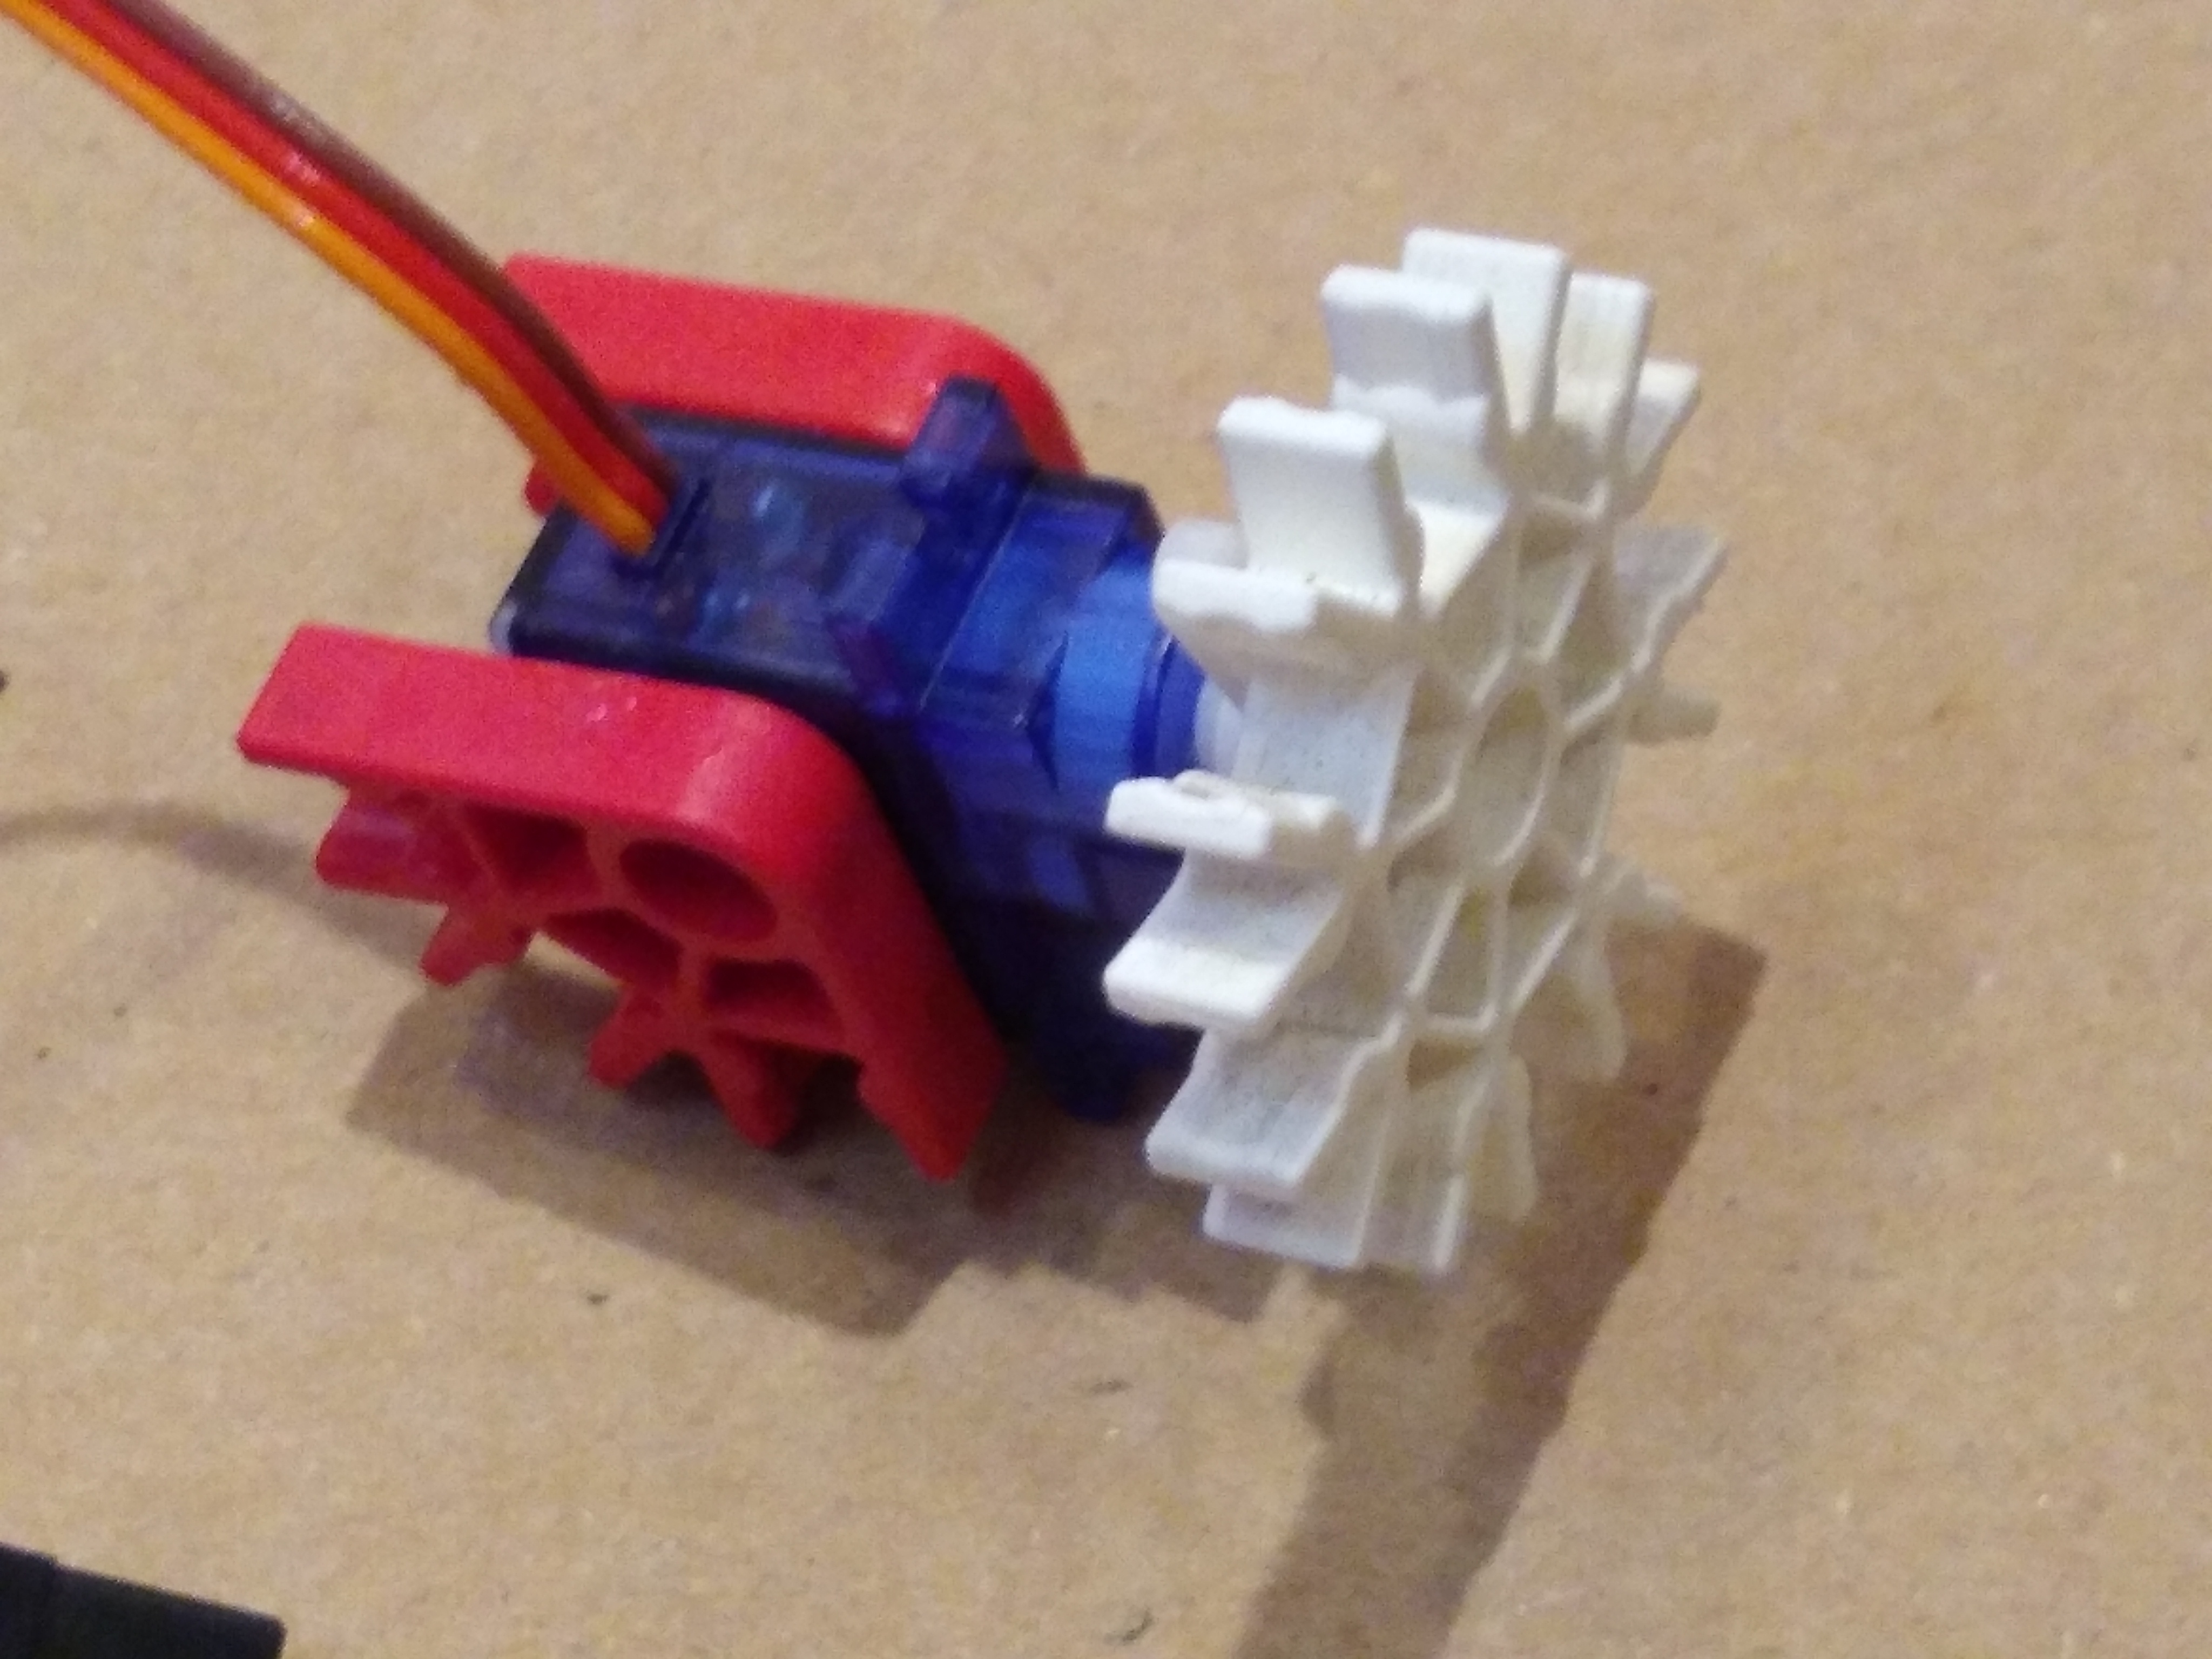
Besides the K'nex parts shown, you will also need a K'nex mounted servo. You can find instructions for making this in Step 7 of my Bobble Car Instructable.
You will also need a Circuit Playground Express configured with circuitpython from Adafruit.
Of course, you will also need a jumping jack toy. You can find some cool printable options at mgulin.com . That's where I got the template for the Iron Man that I used in this project. But of course, feel free to create your own jumping jack. You will see how to modify the toy for use with this project in the next step.
Make Your Jumping Jack Toy
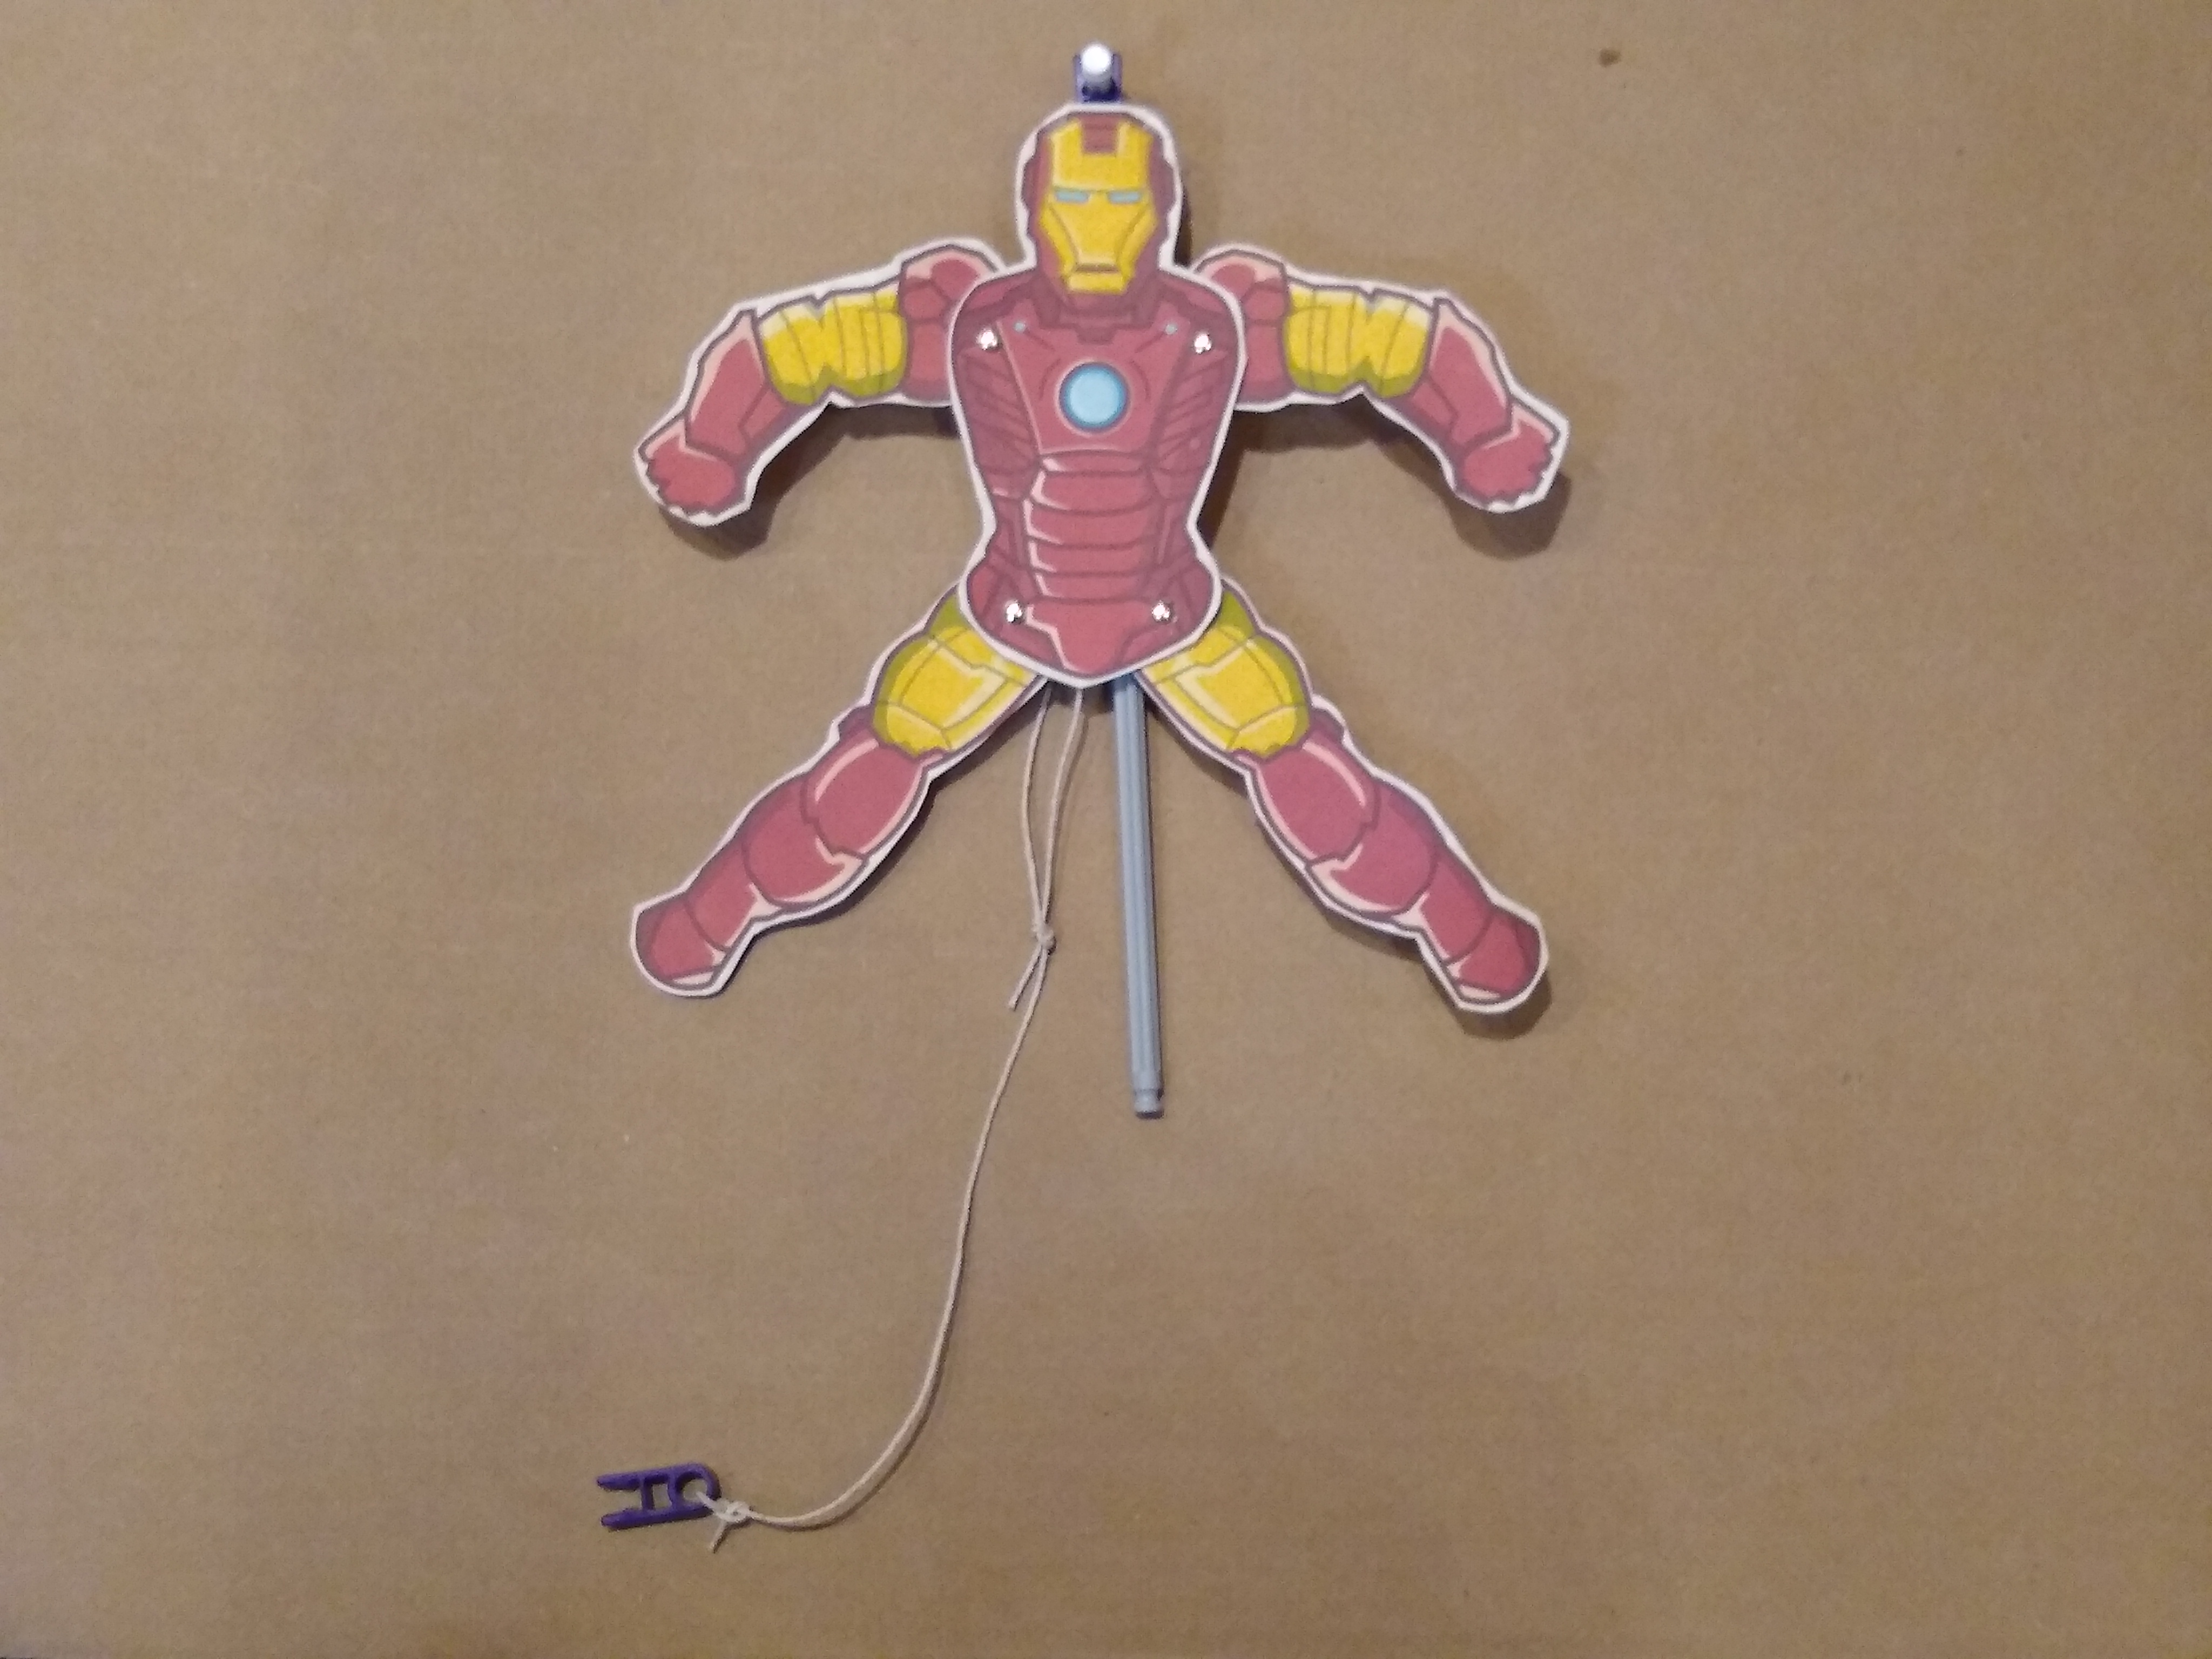
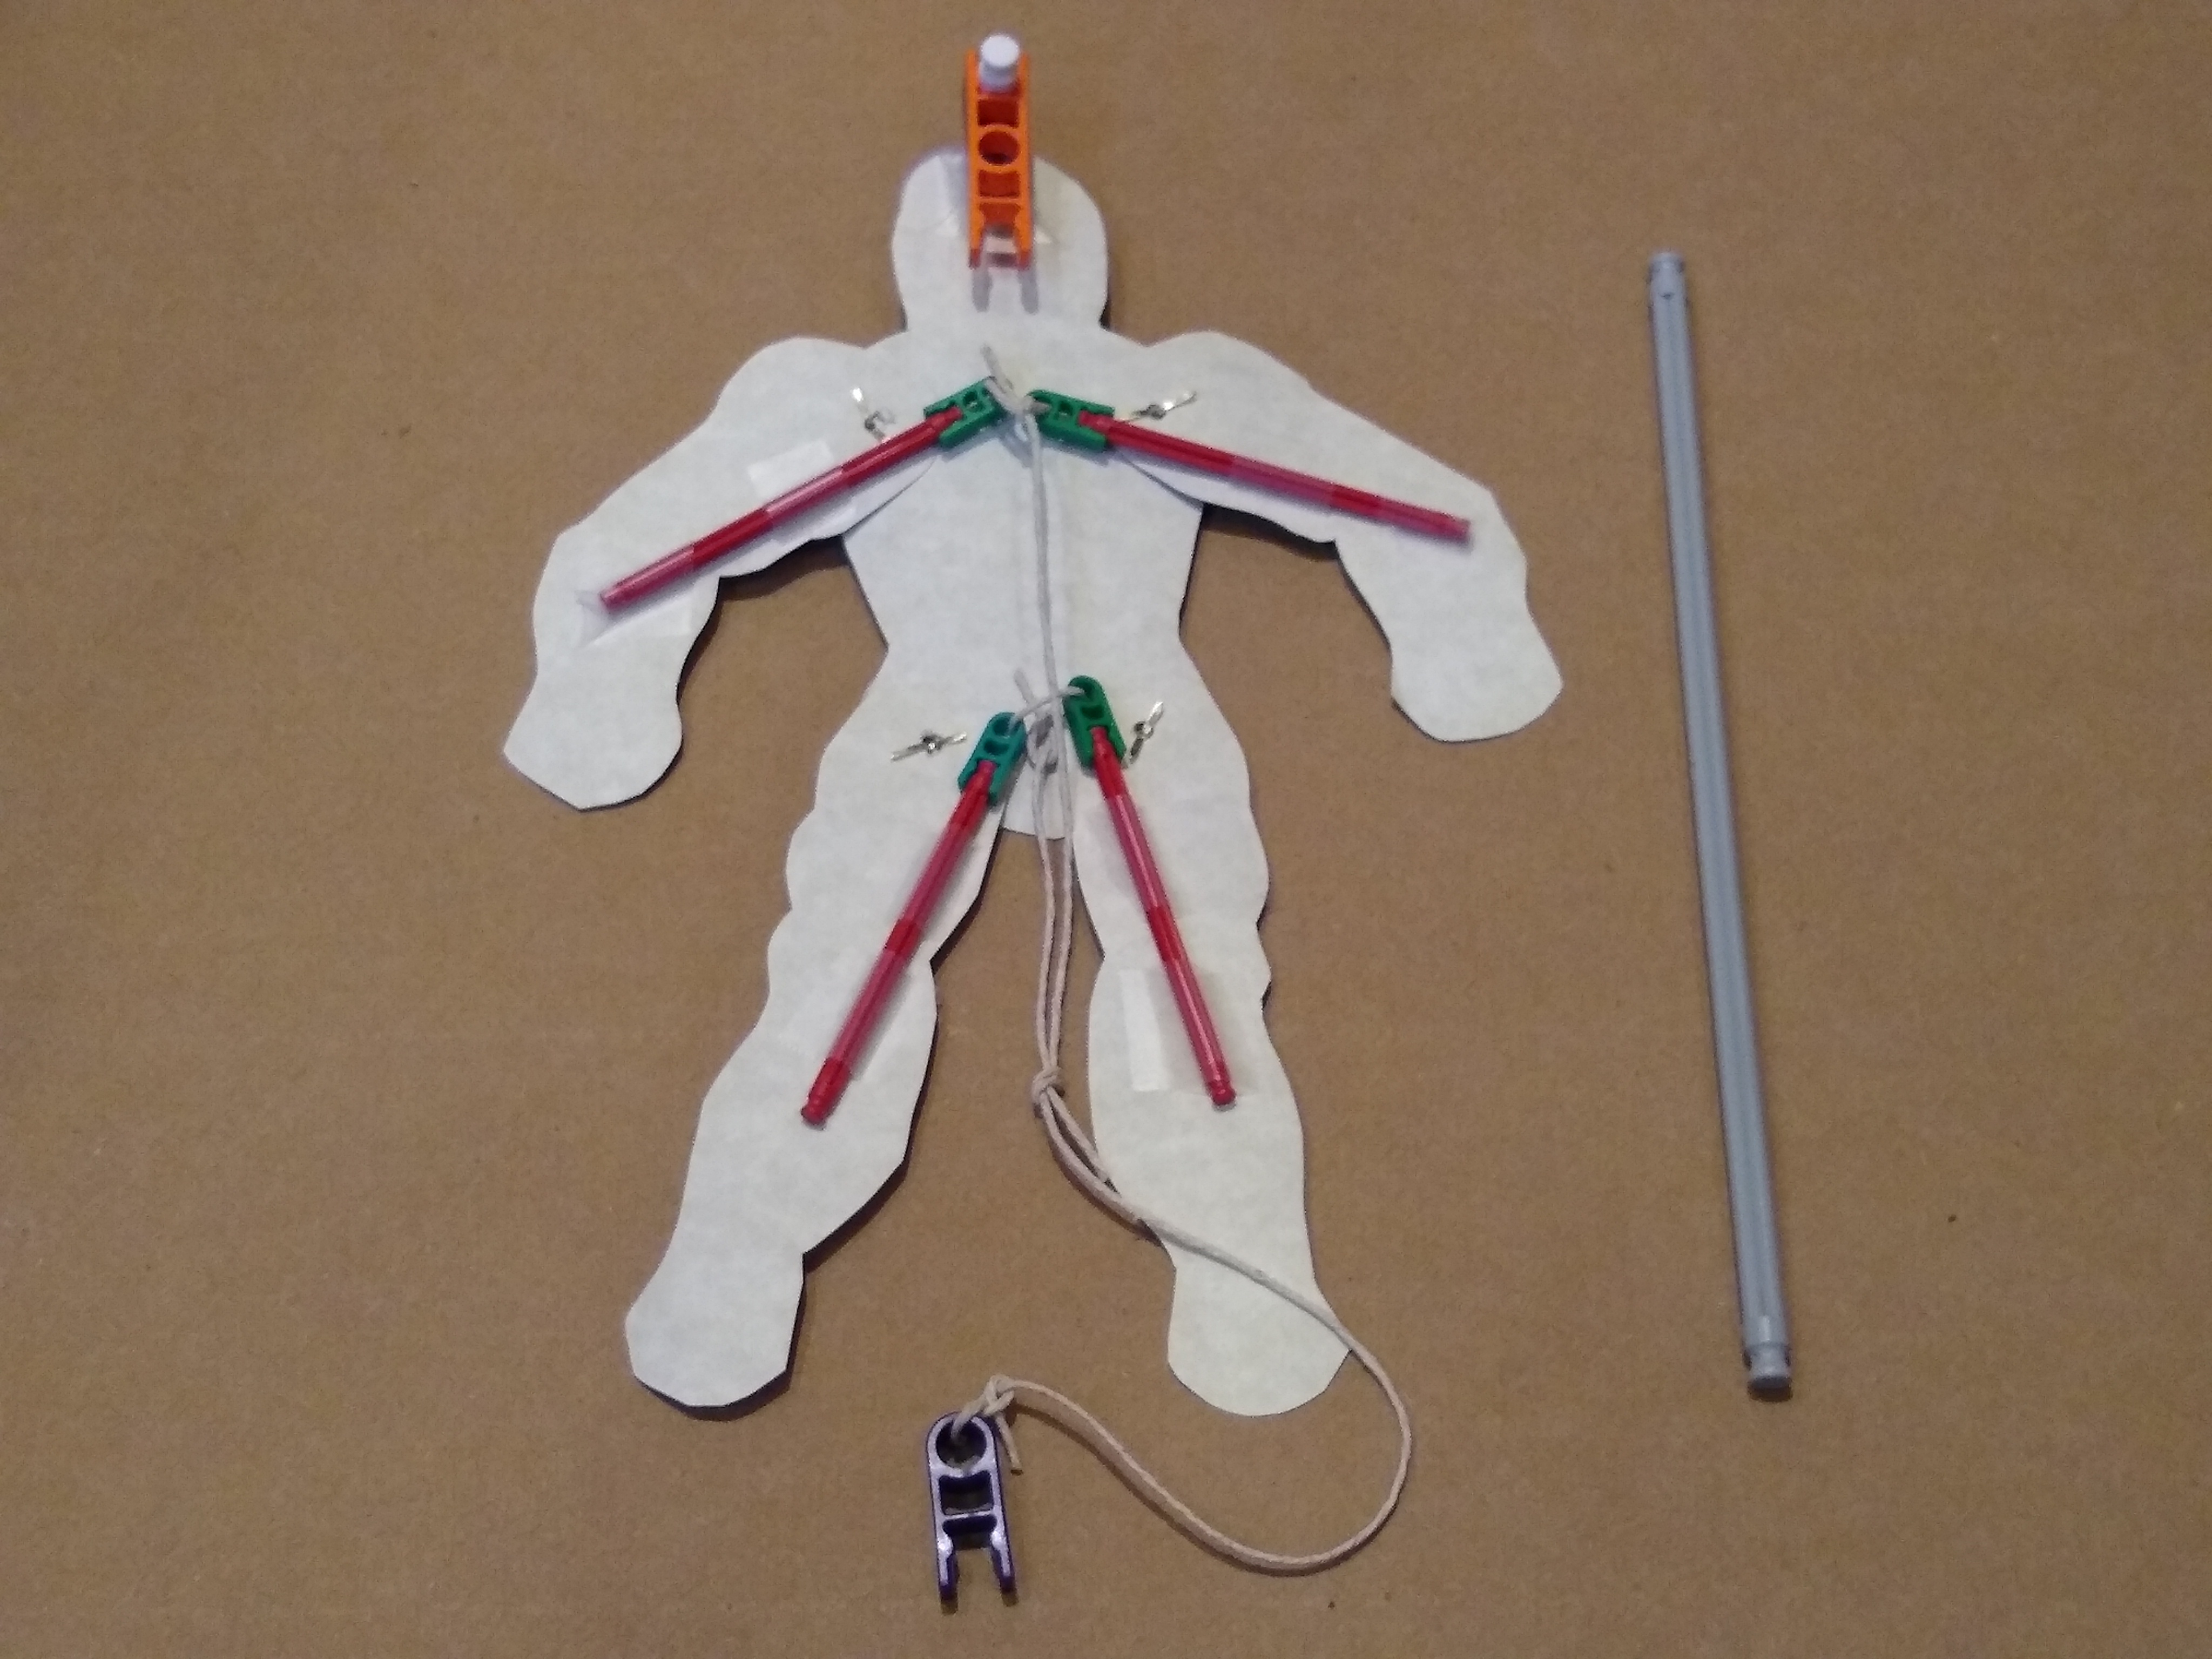
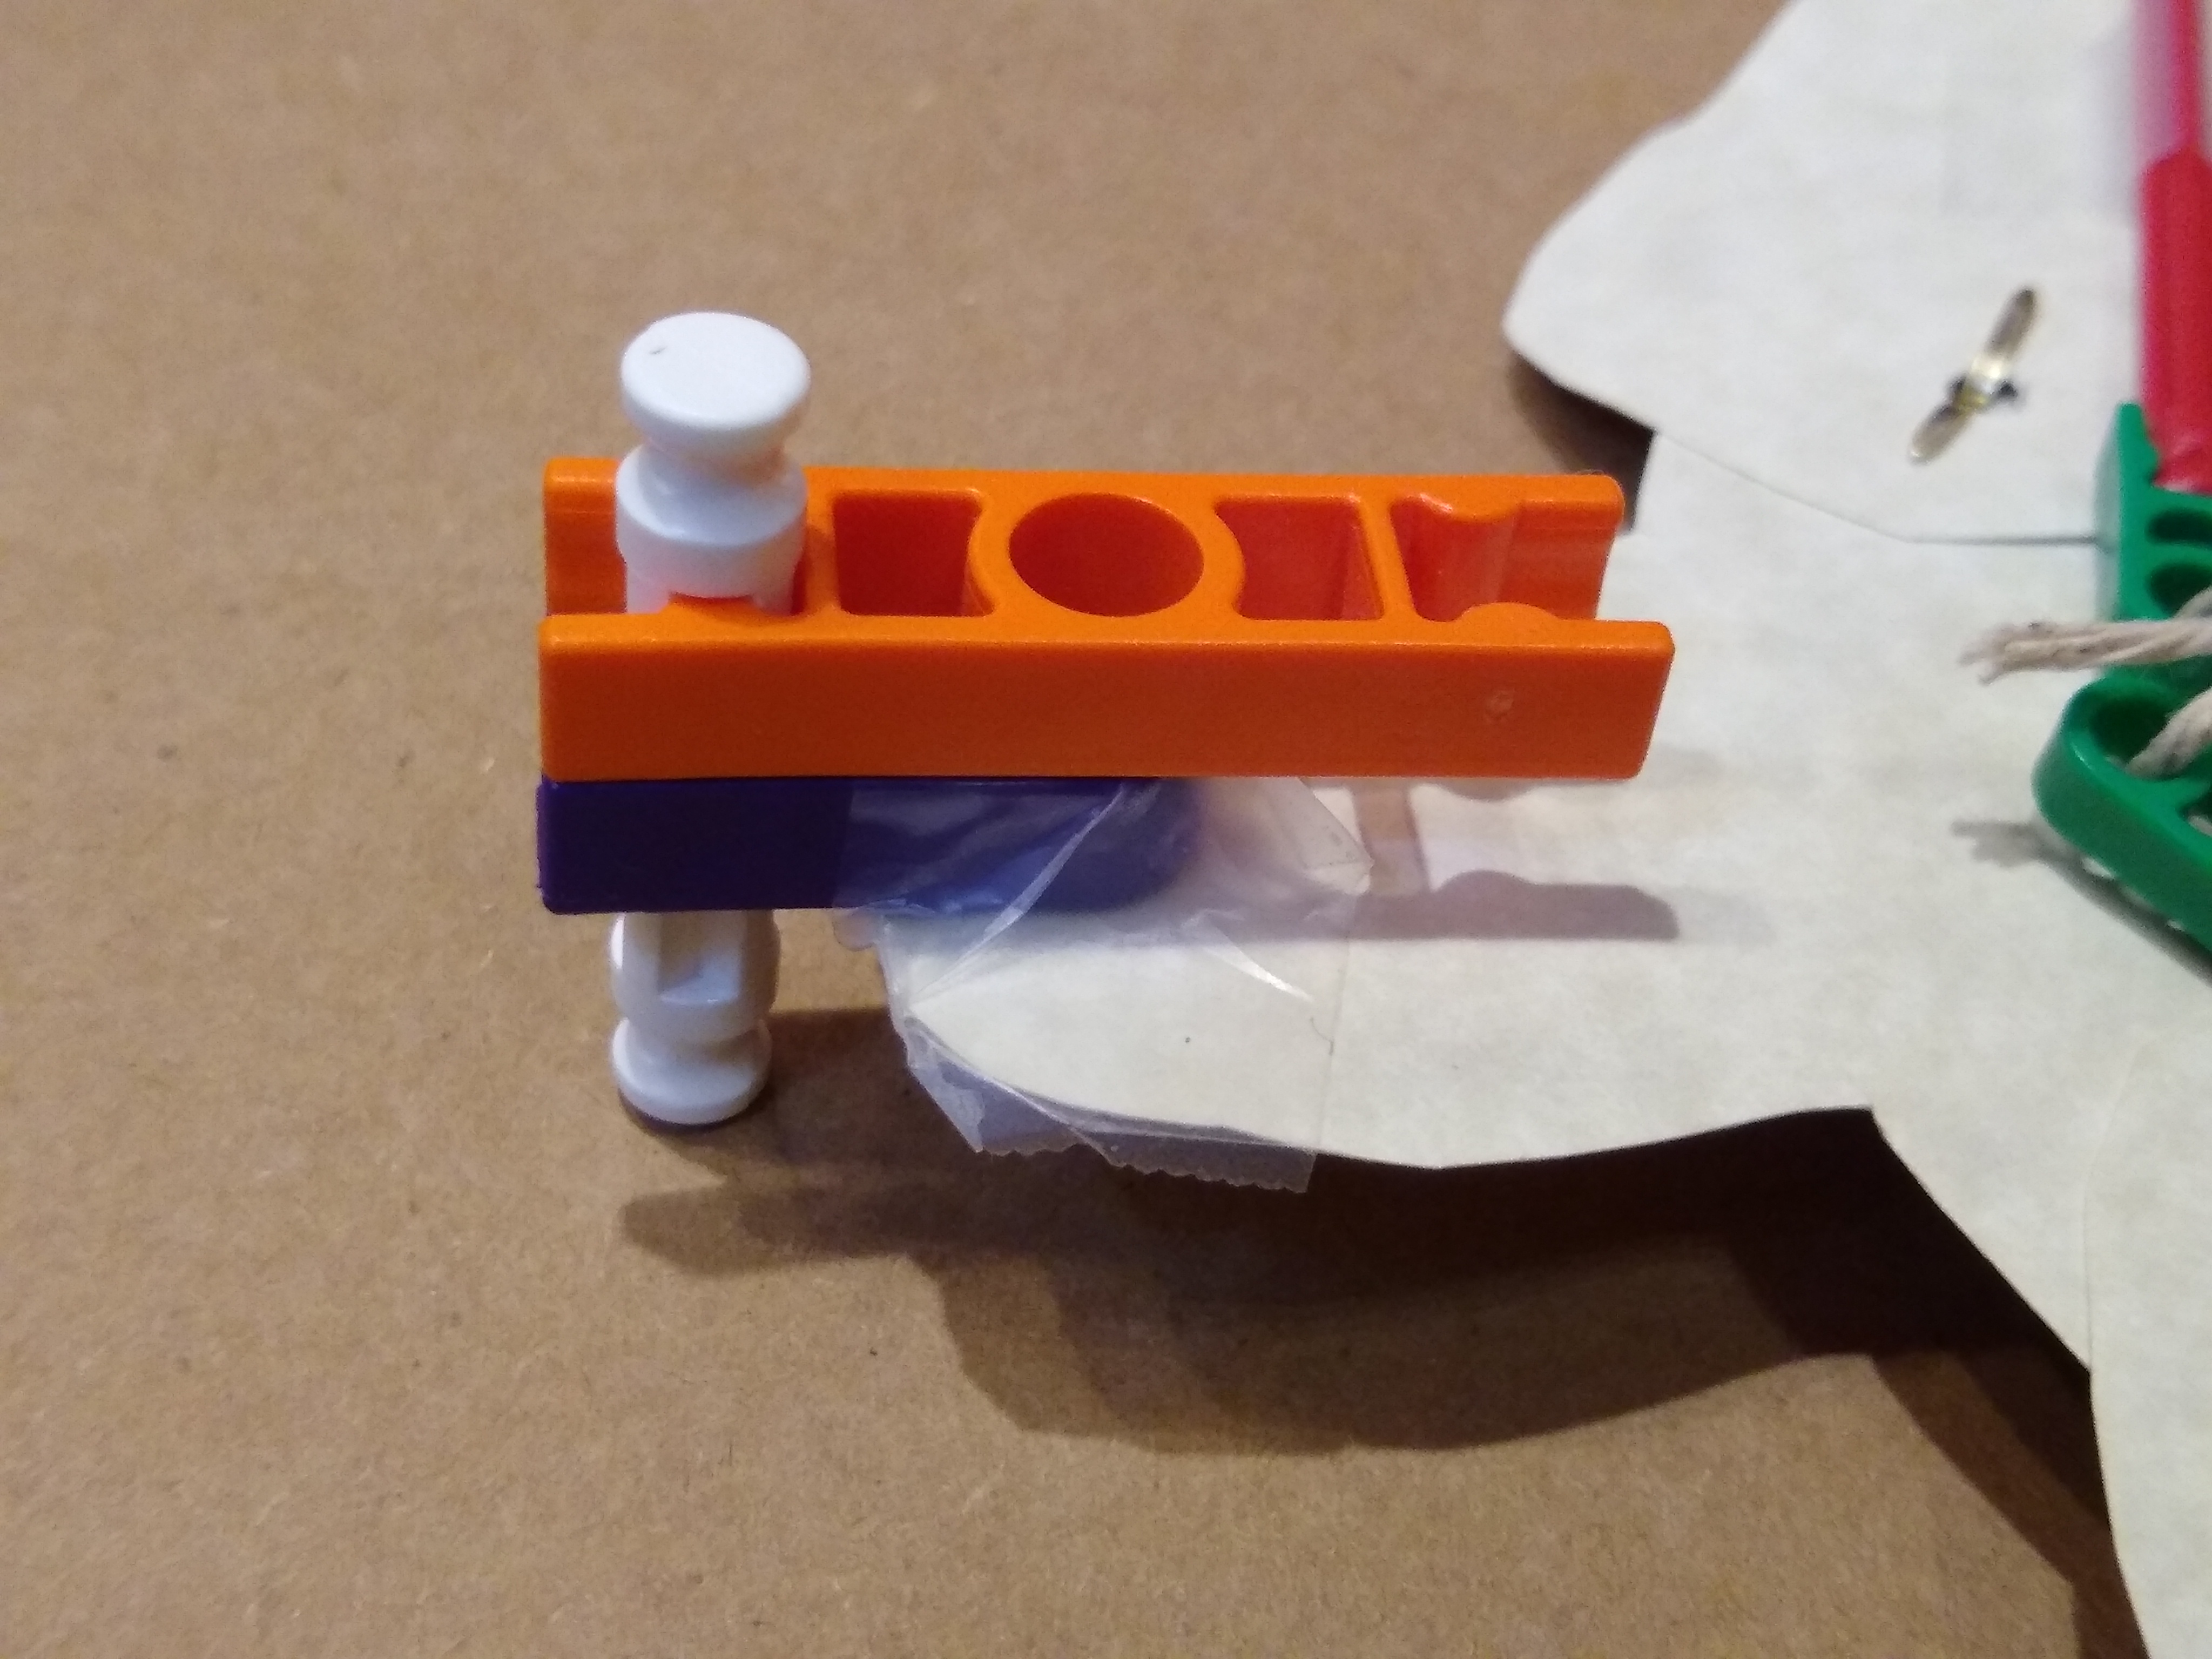
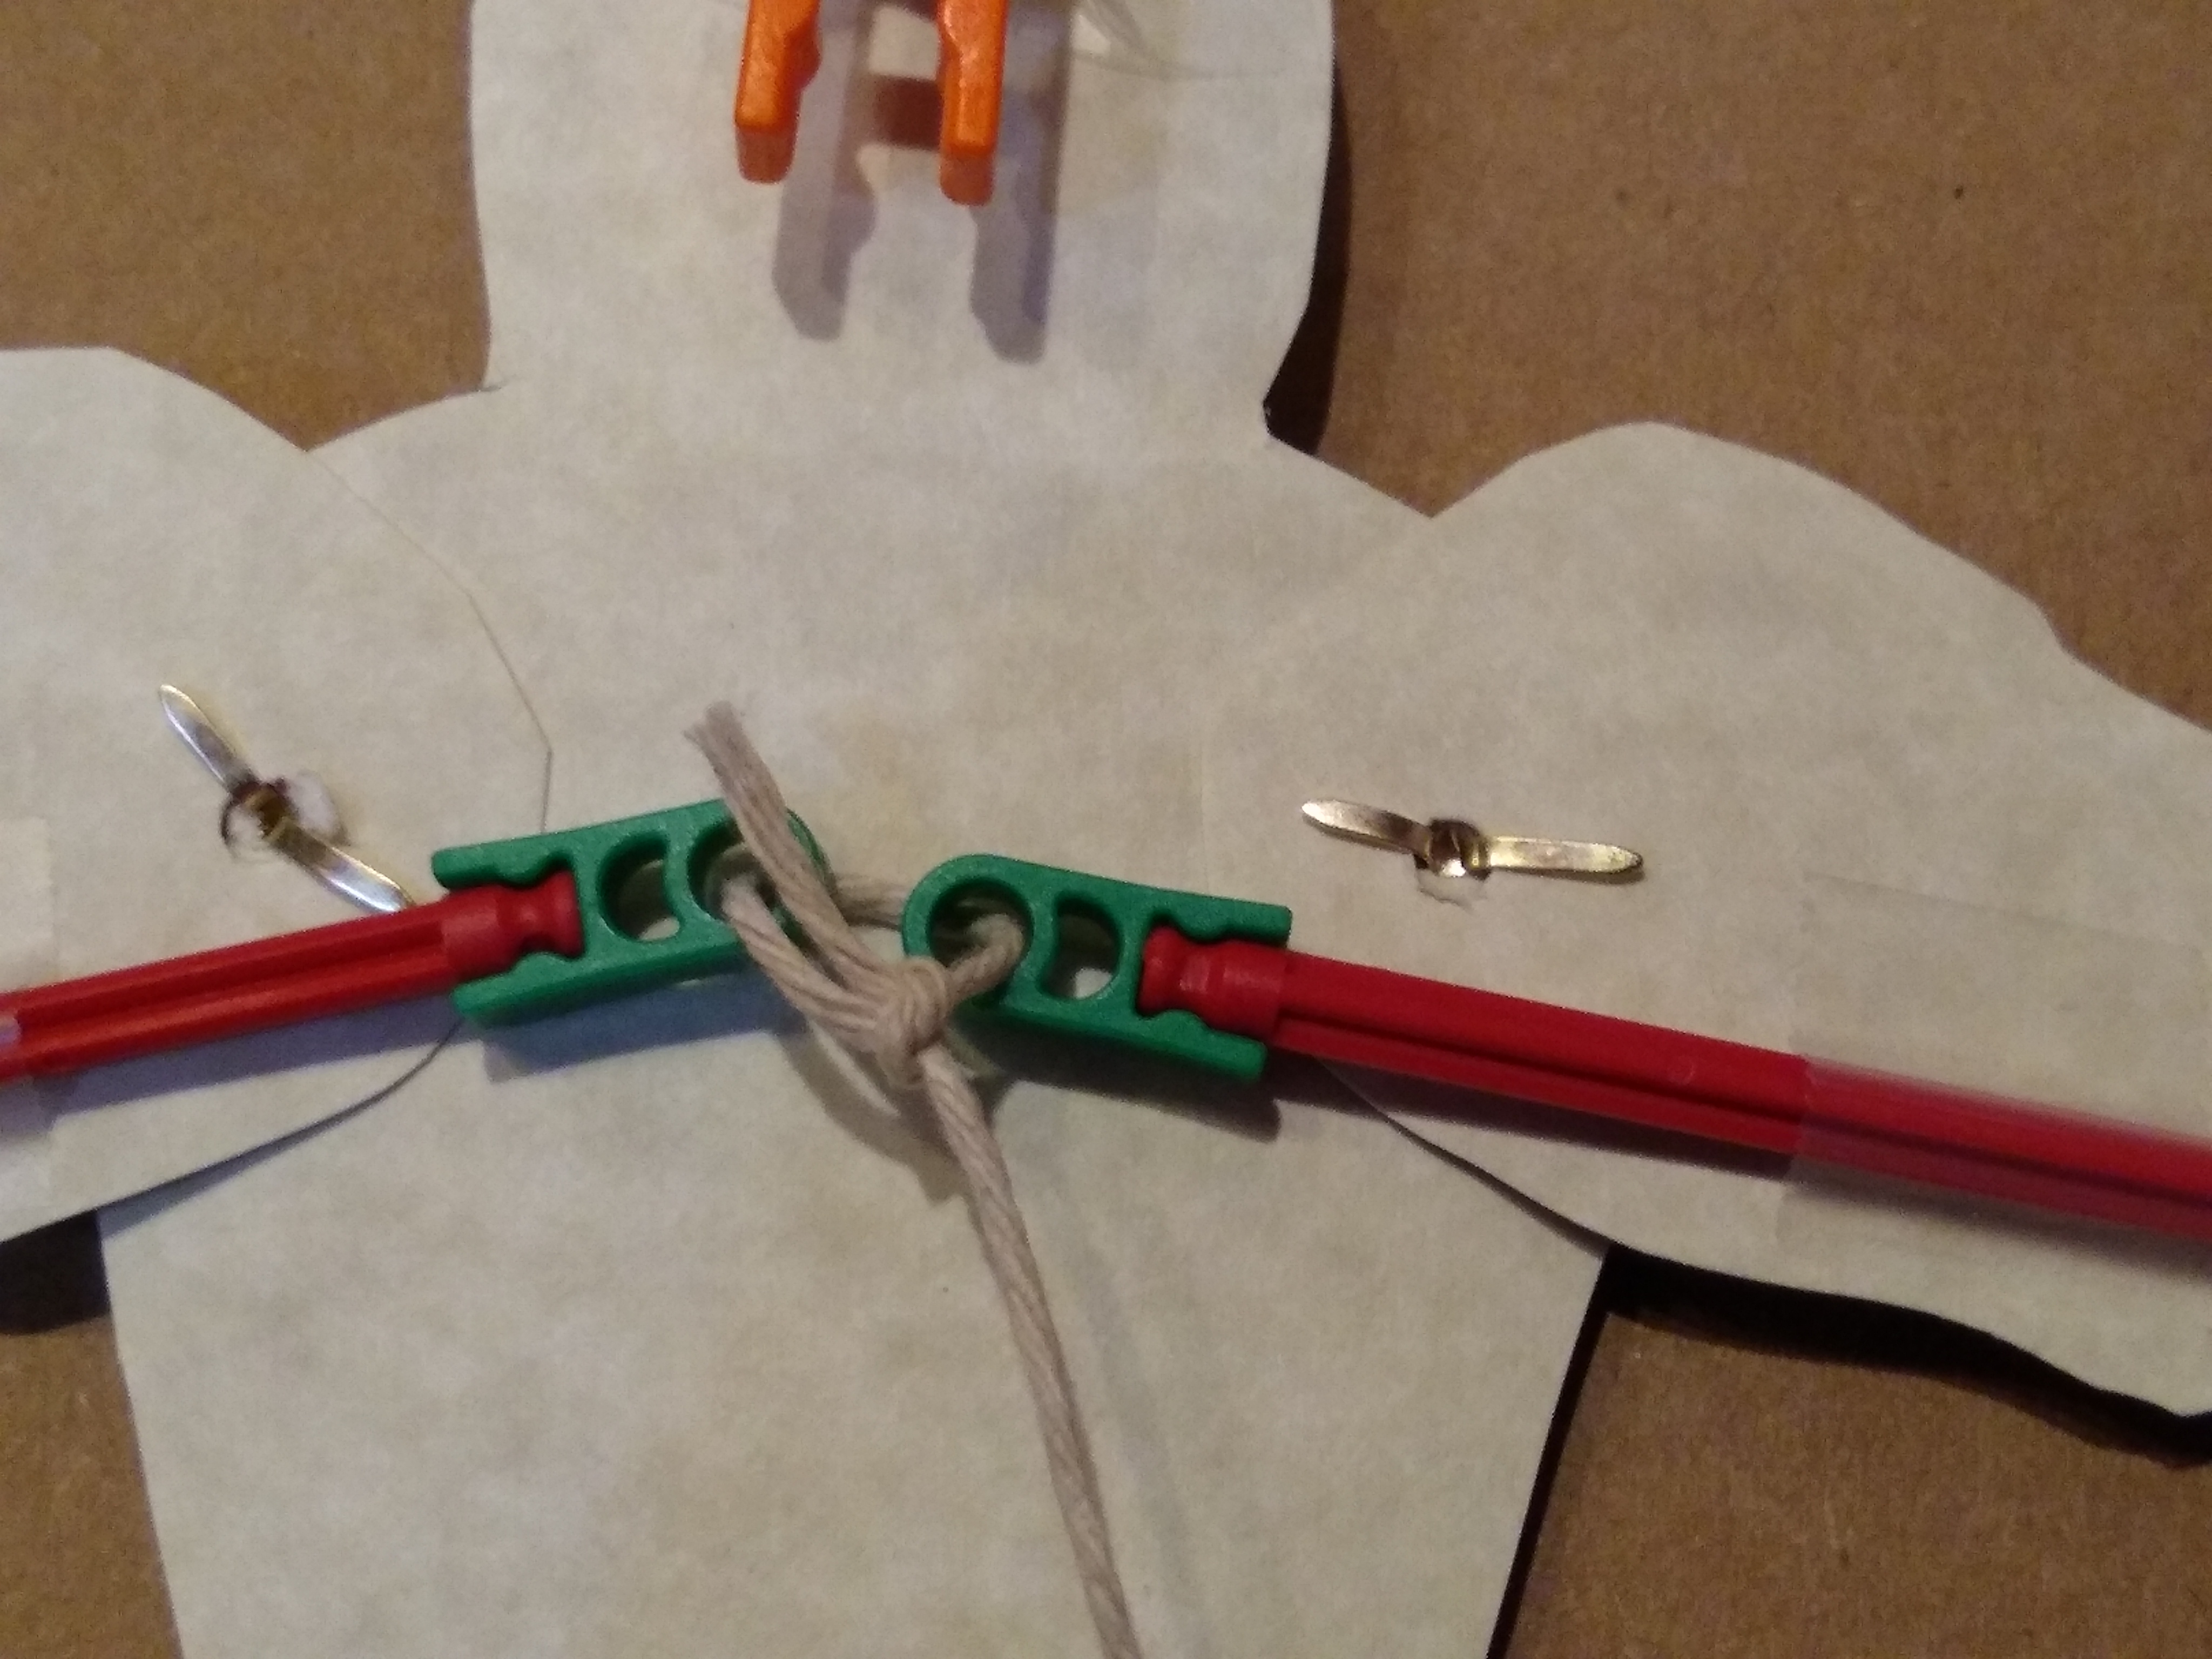
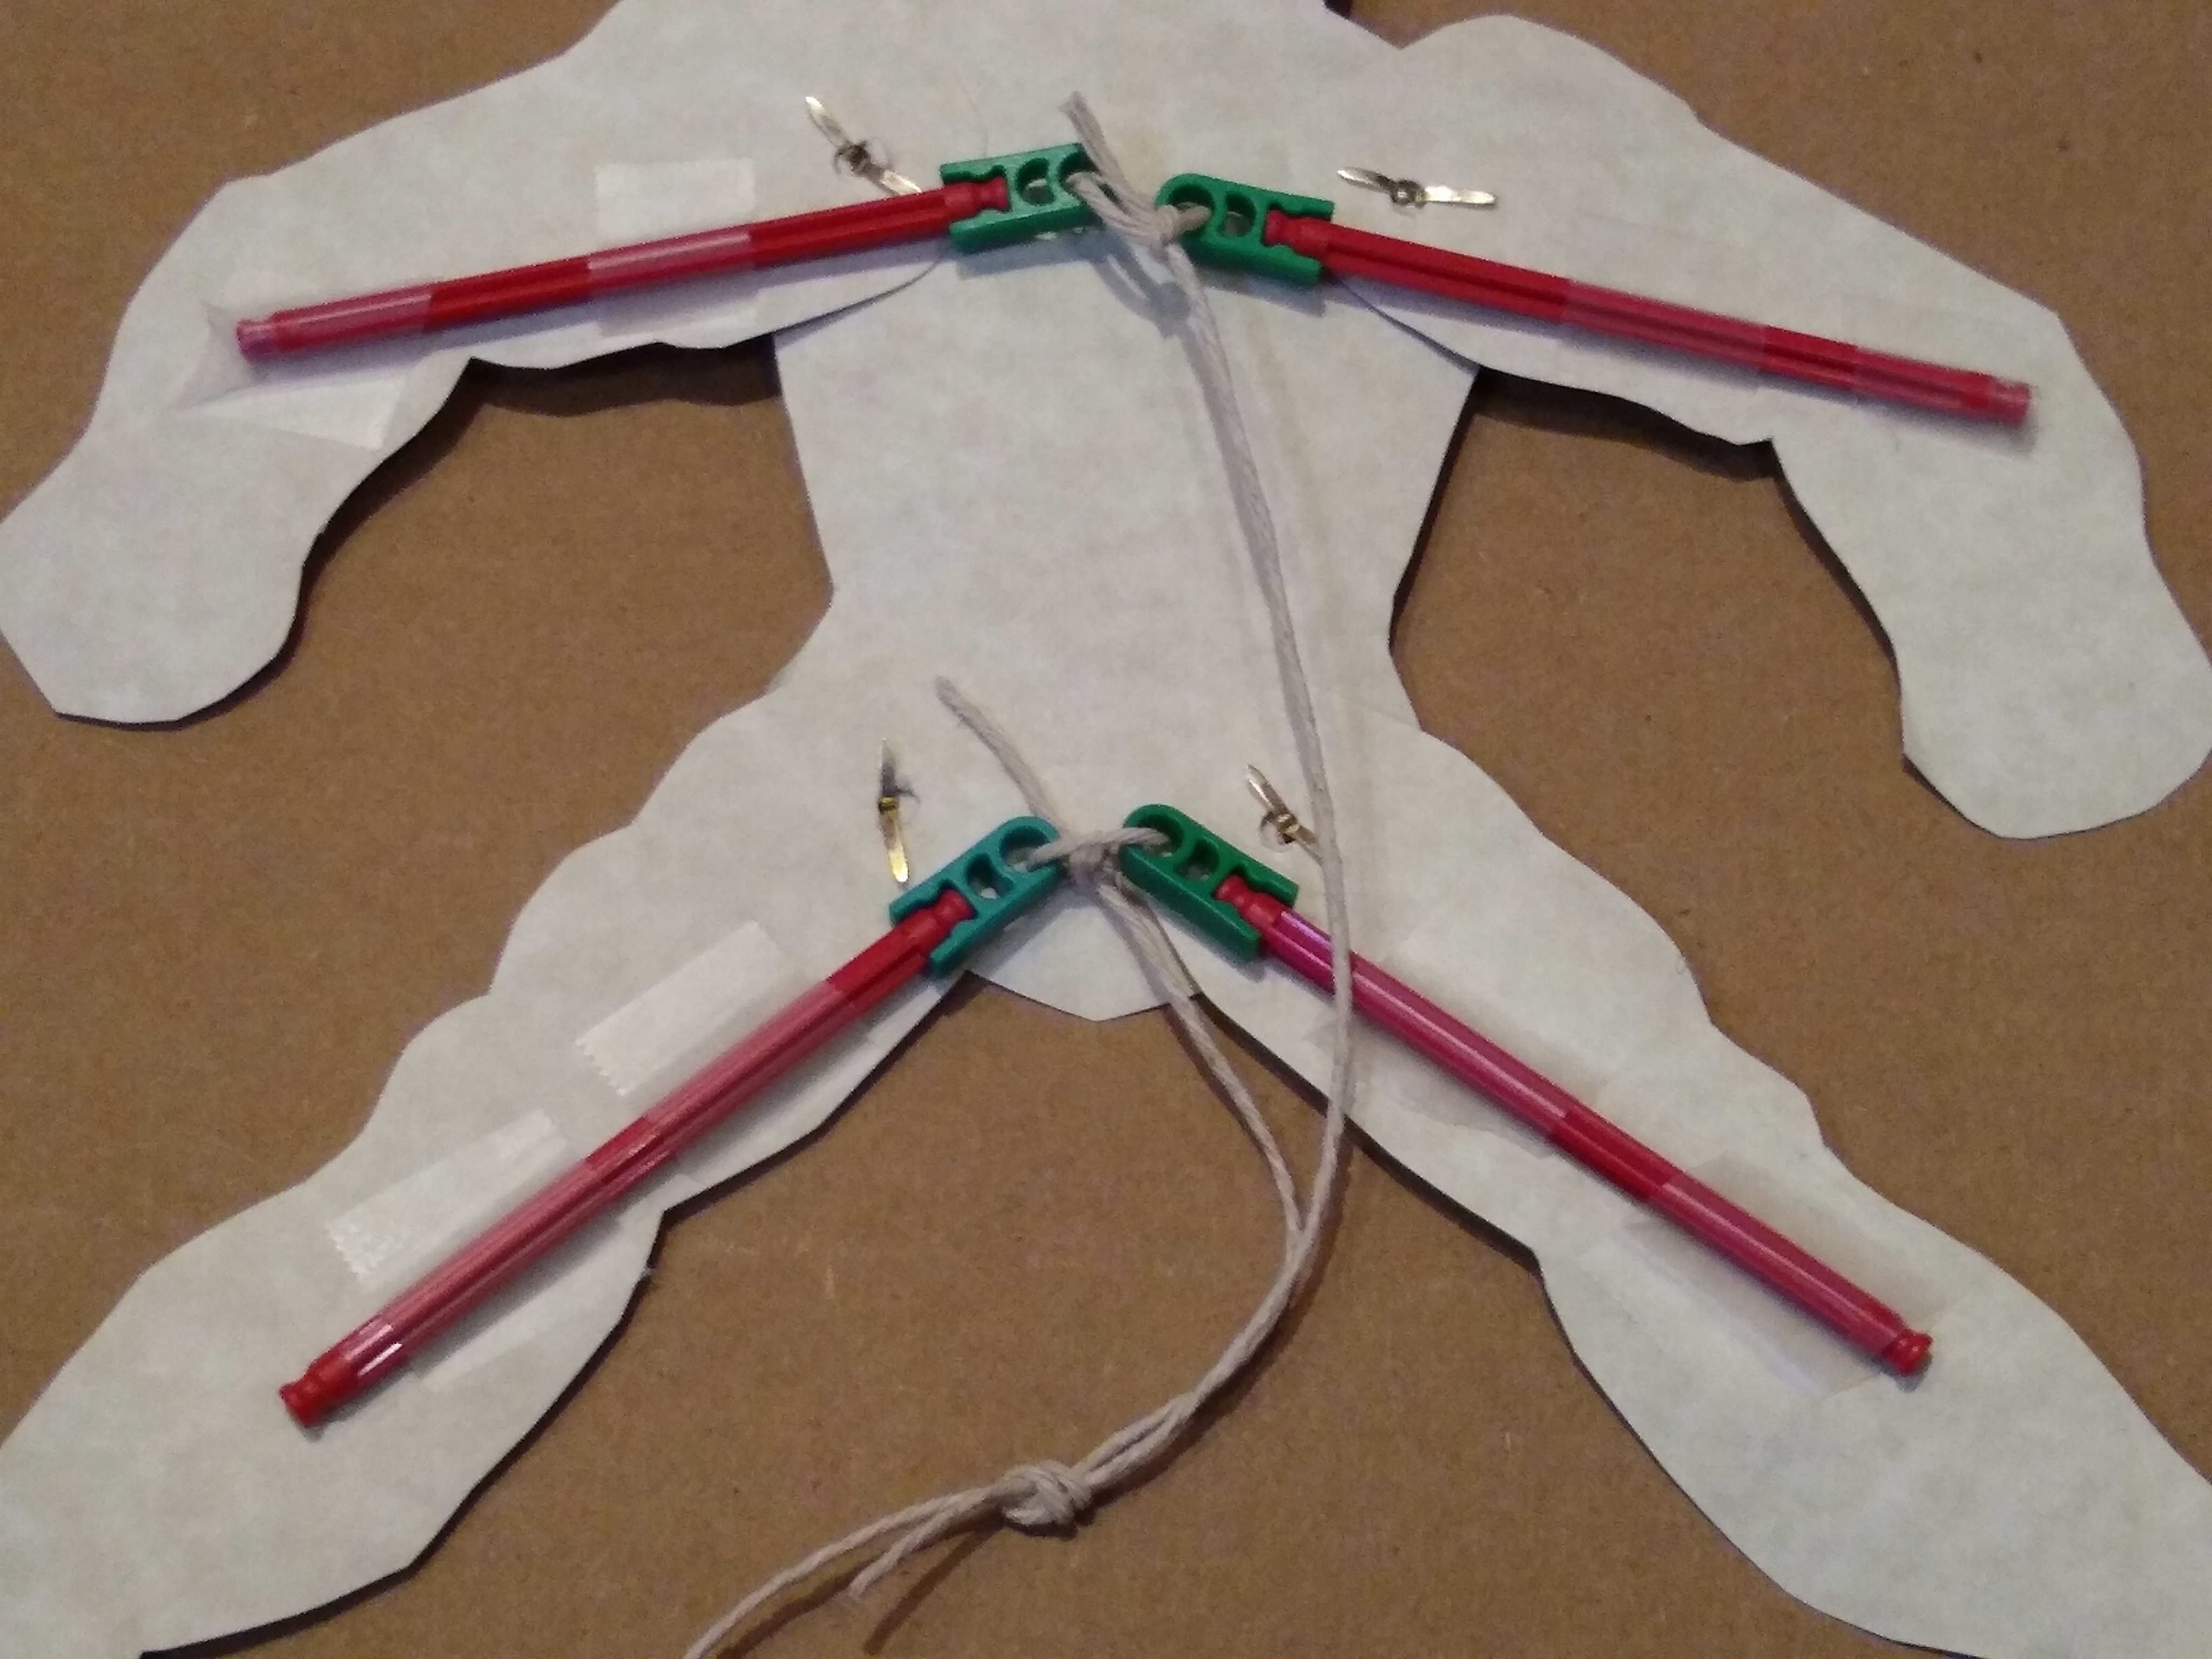
After printing the parts for the jumping jack toy on cardstock, use an eyelet punch to make the holes in the limbs and attach them to the body with small brass paper fasteners. The limbs should move smoothly and easily, so loosen the fasteners as necessary.
Turning the jumping jack print-side down, tape the K'nex parts to the jumping jack as shown.
Tie a string to join the K'nex pieces for the arms and tie another separate string to join the K'nex pieces for the legs. In this way, you can individually adjust the length for the arms and the legs.
Holding the jumping jack toy by the head, pull the two strings together until you have a smooth jumping jack action as desired. At this point, you can tie the two strings together. Now pulling on the combined string should cause the jumping jack toy to operate.
Build the Servo Assembly
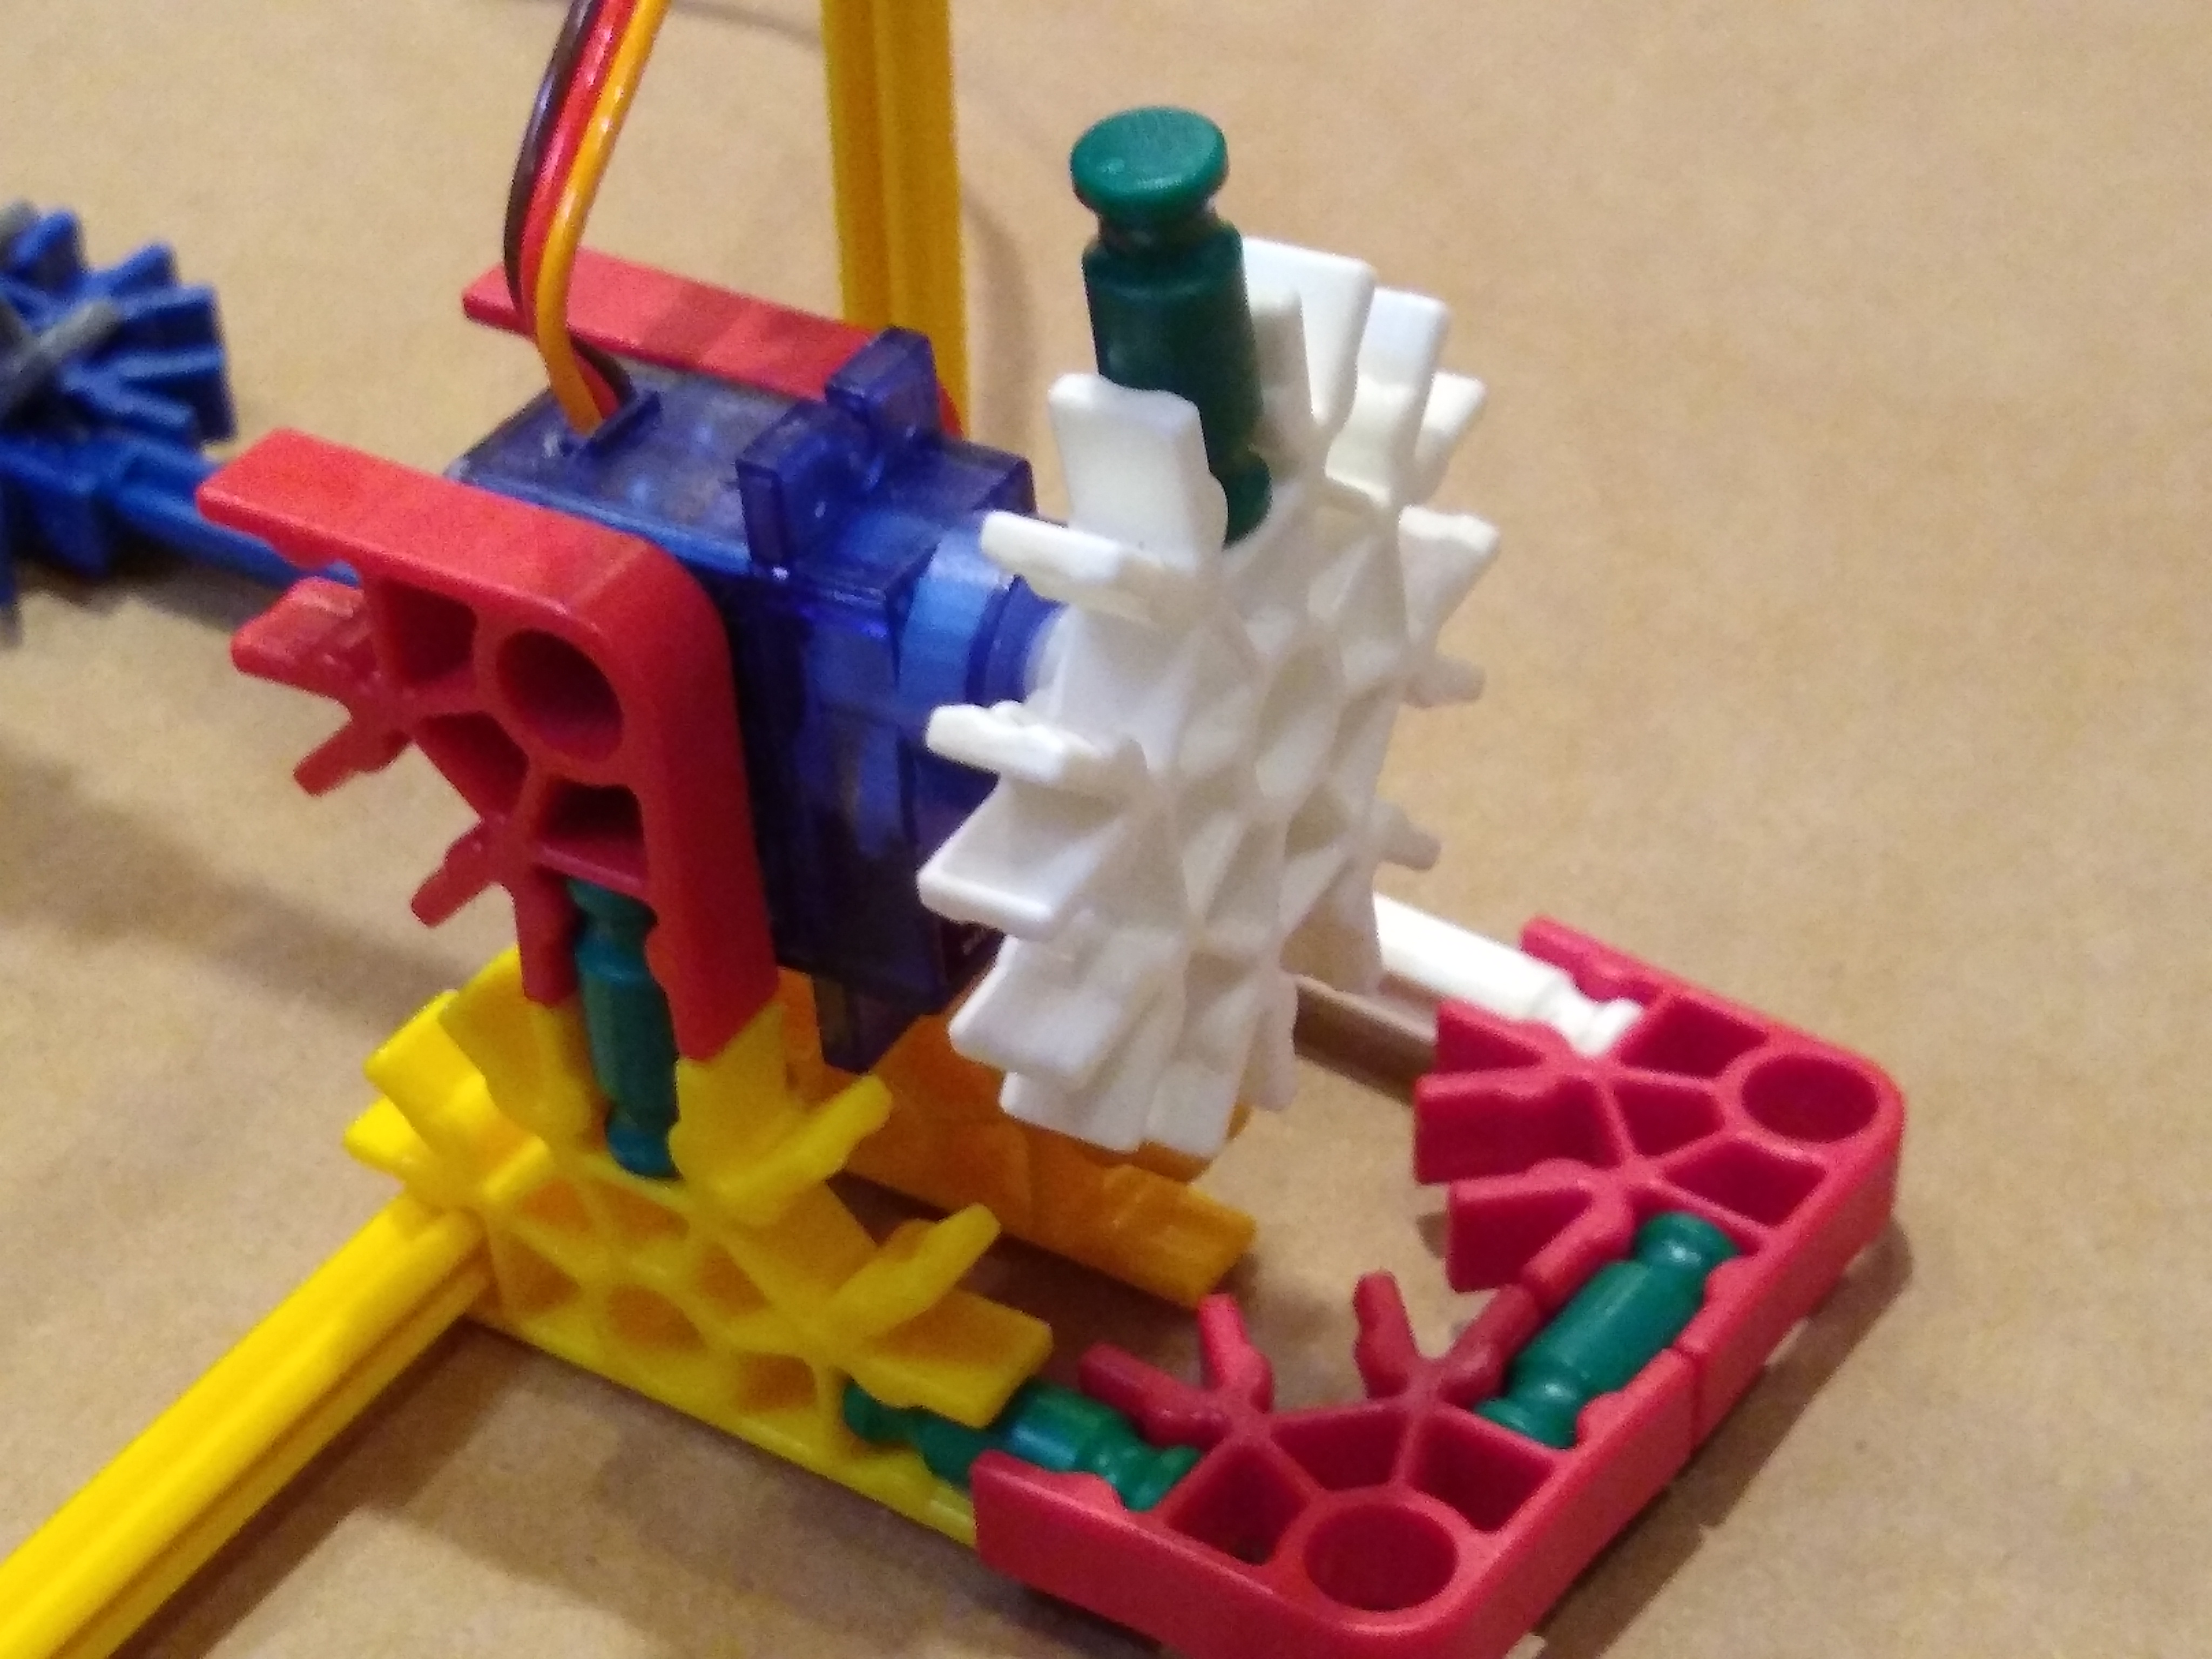
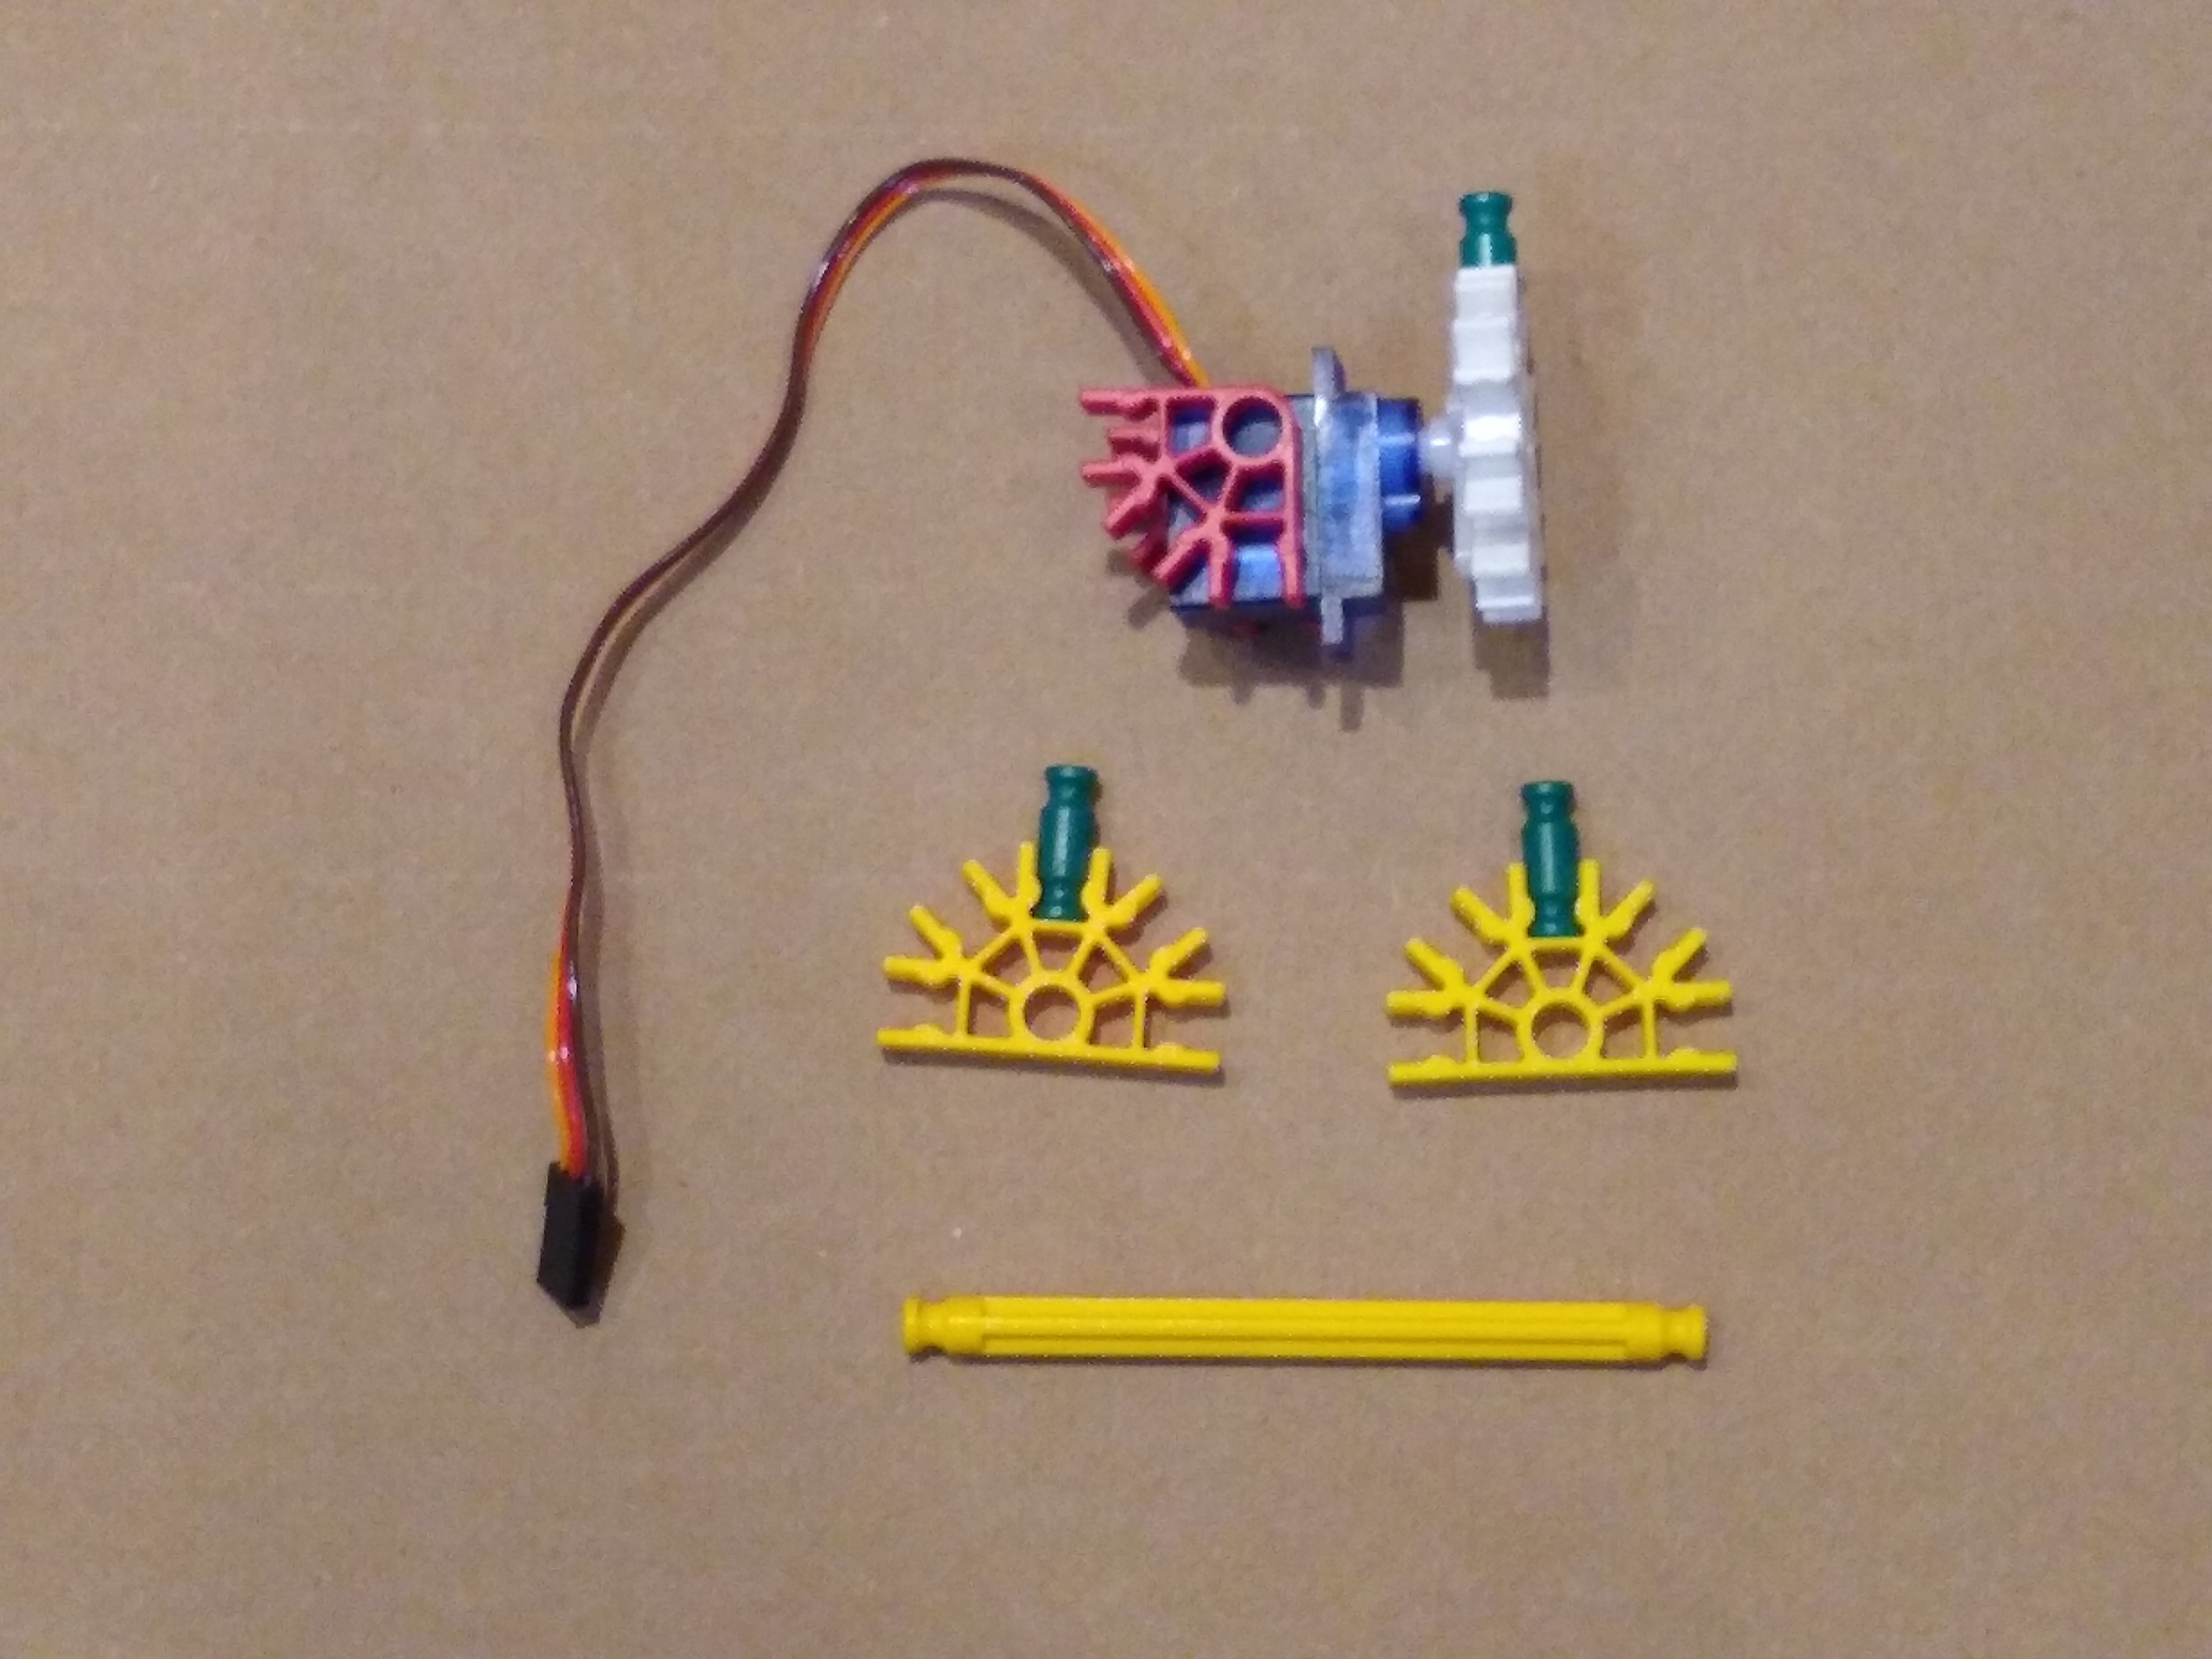
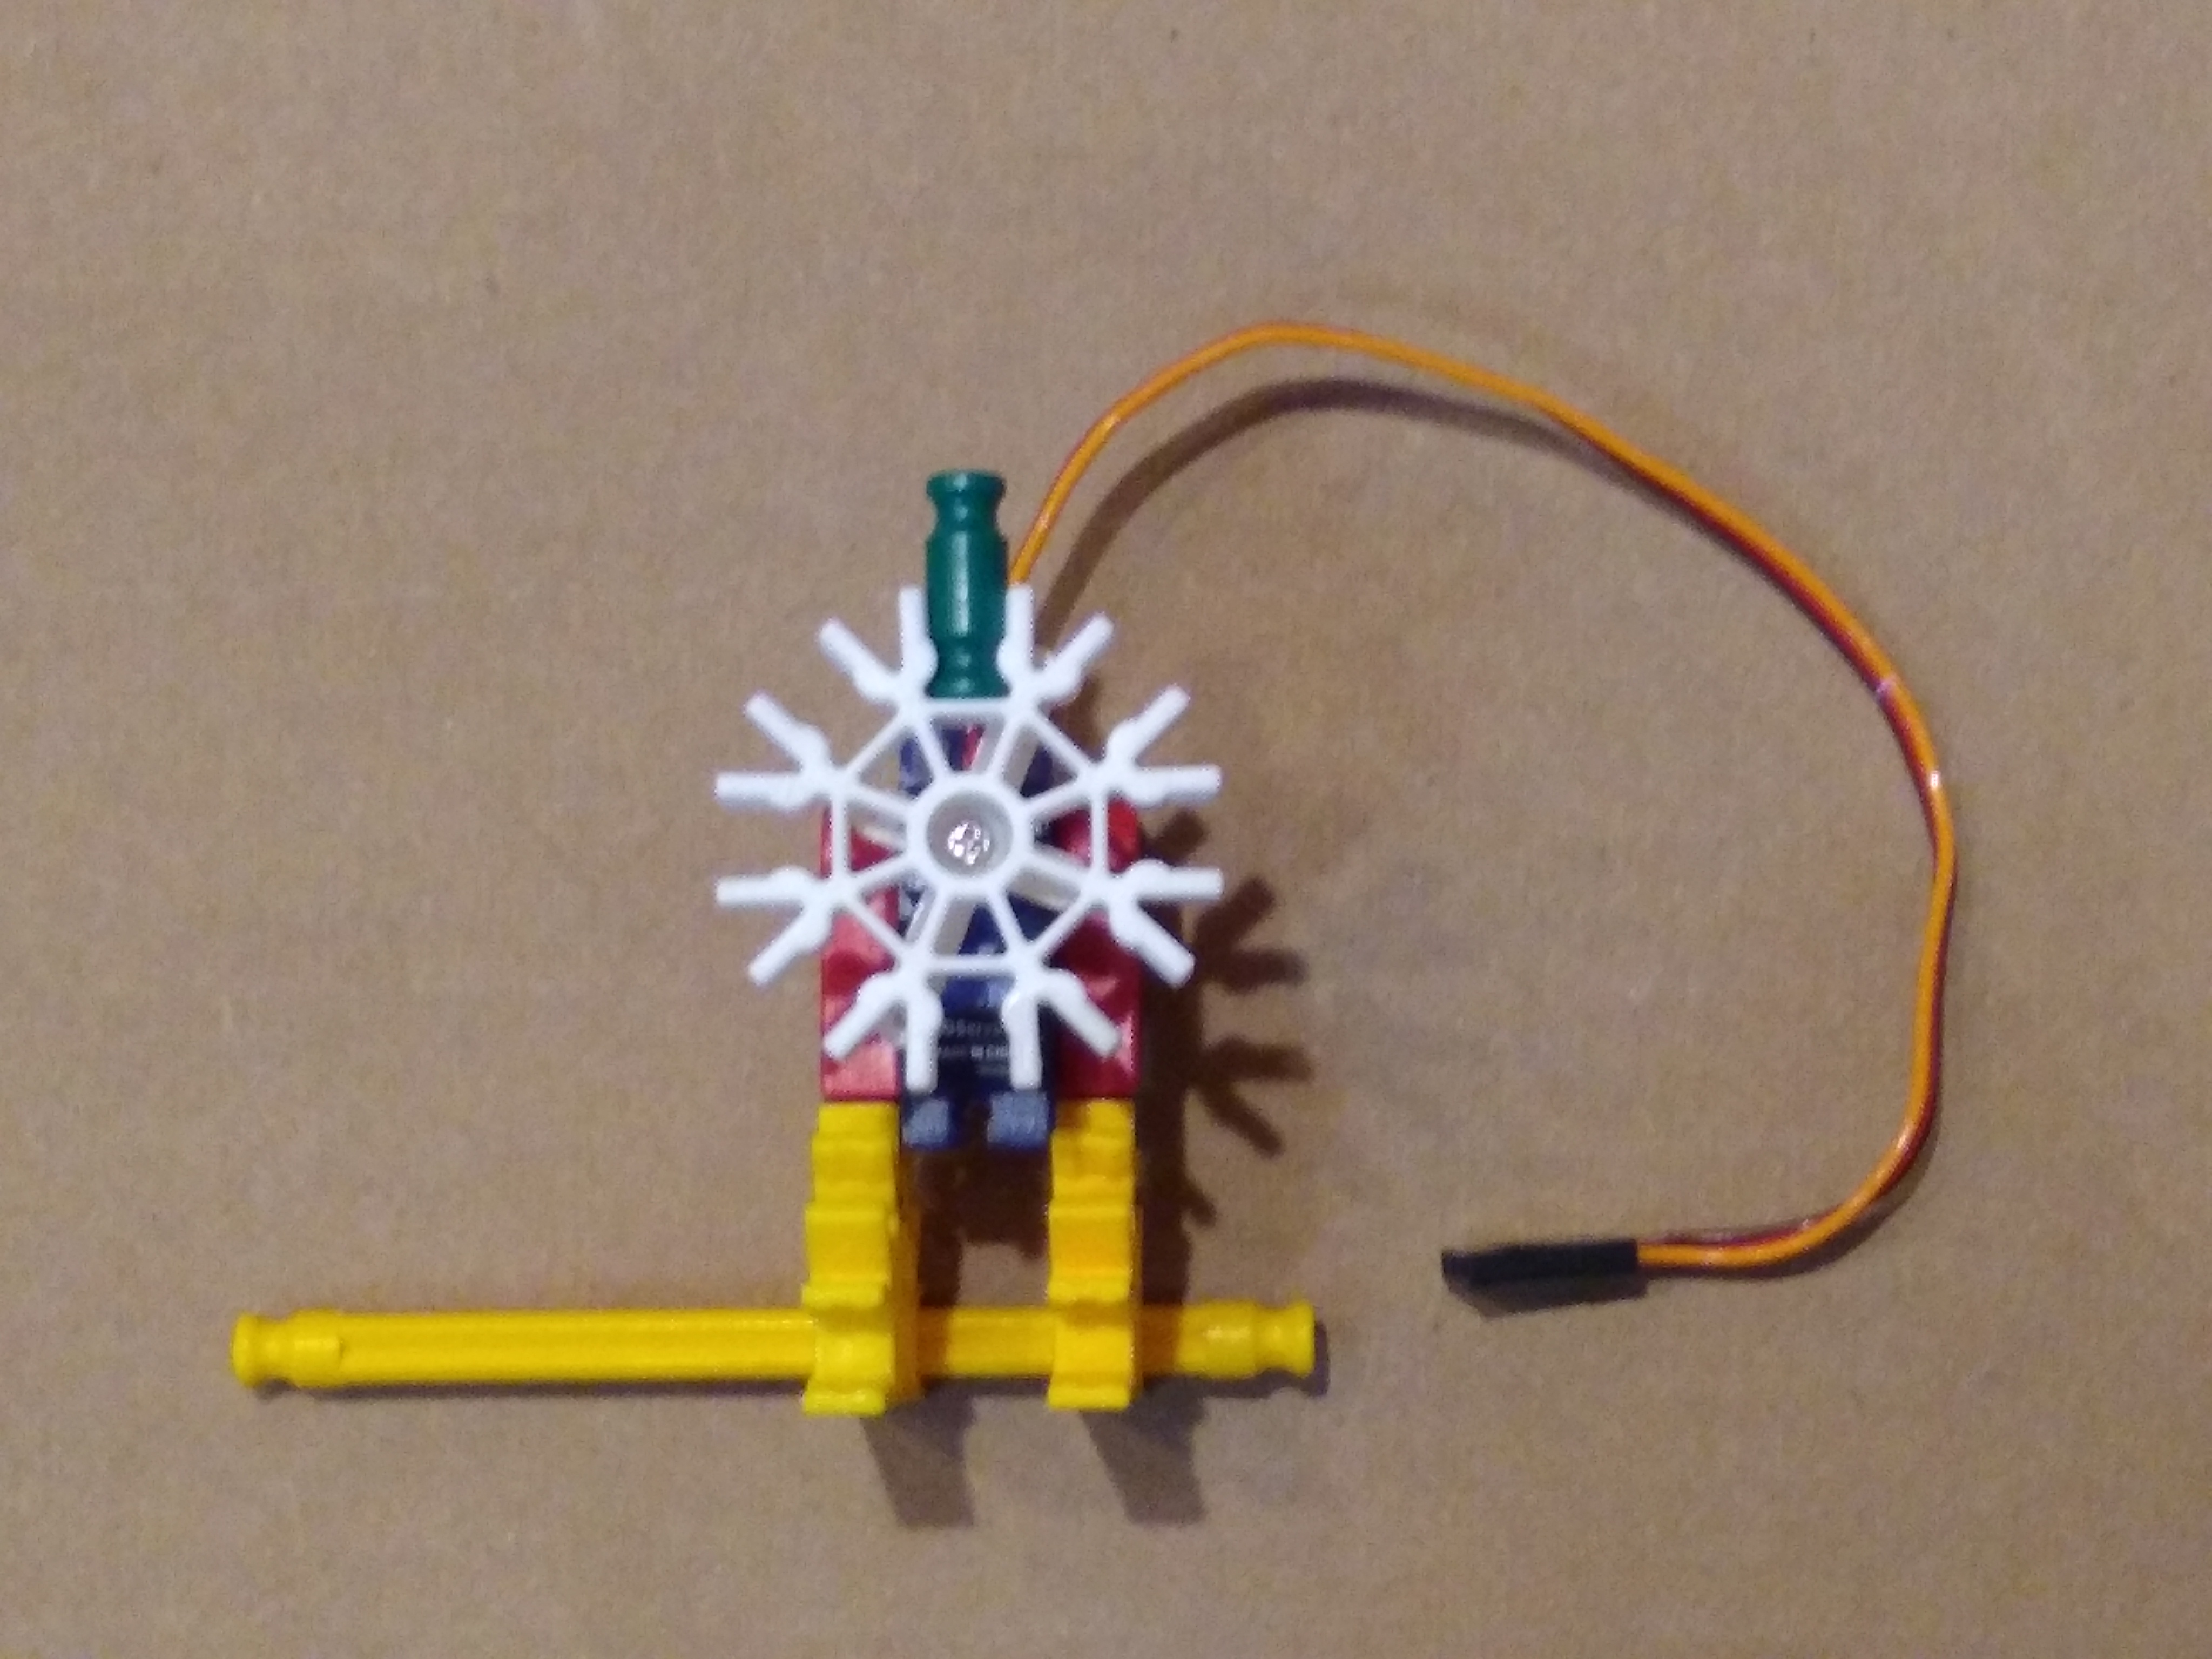
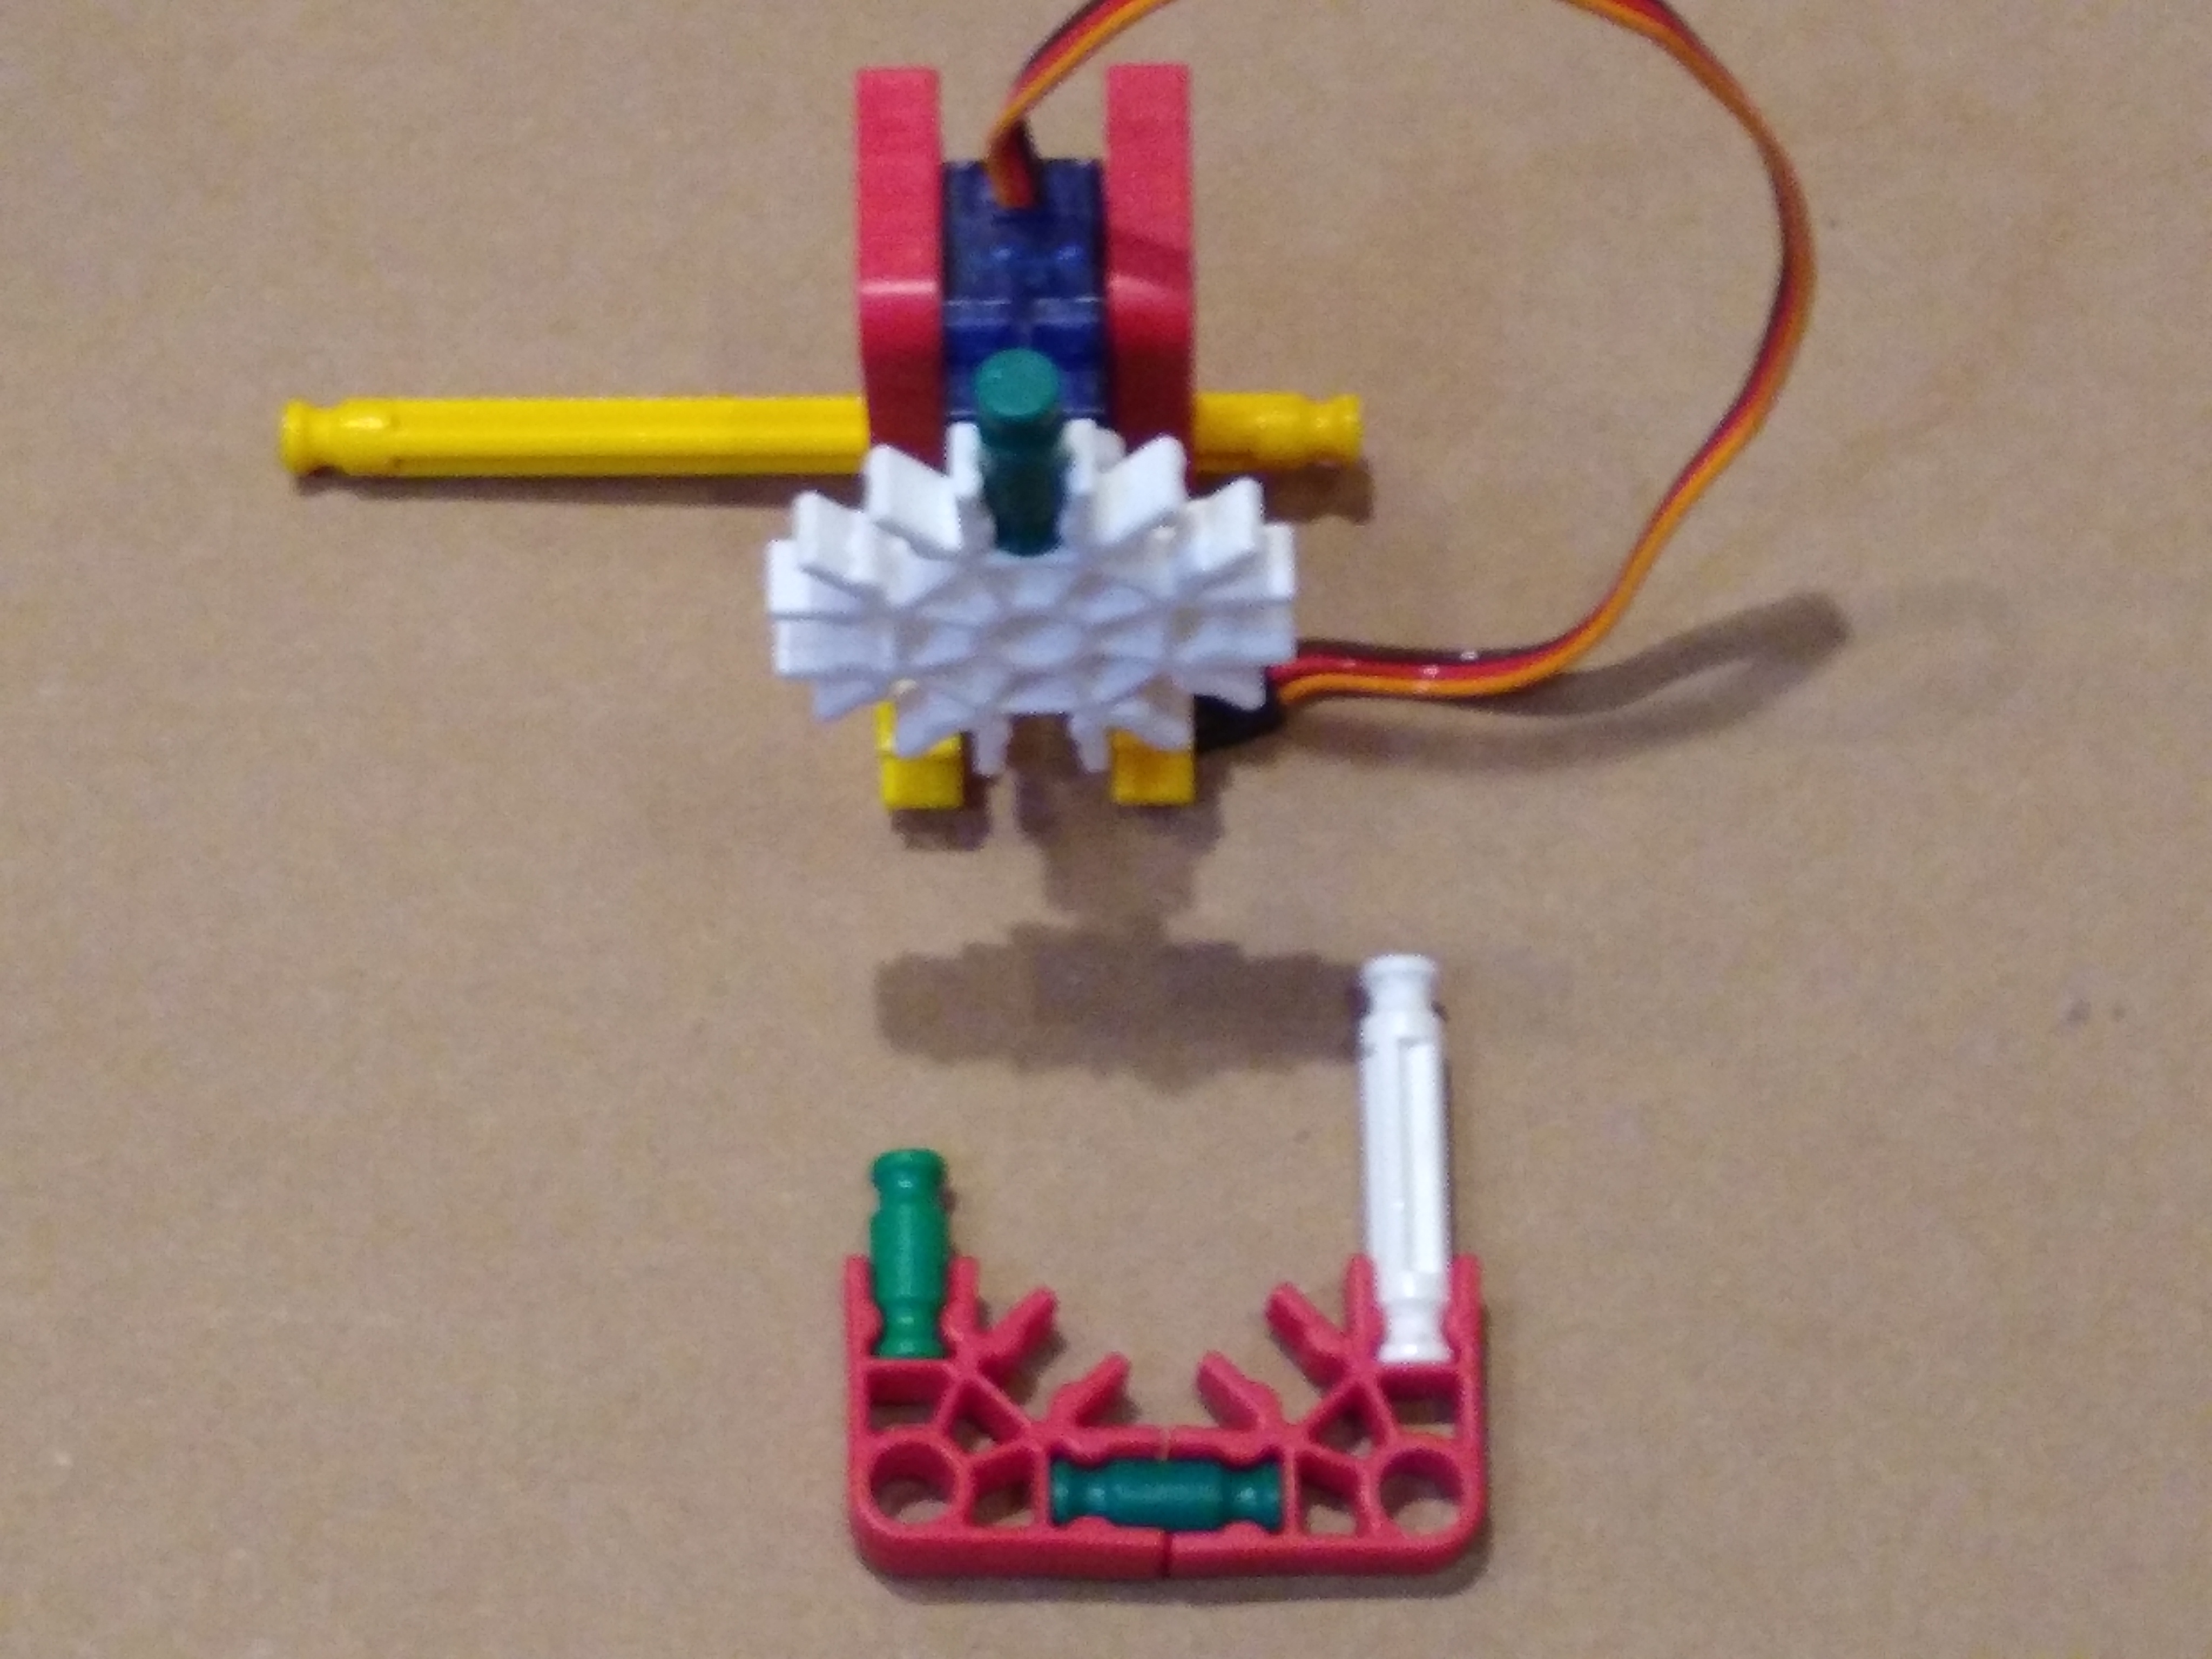
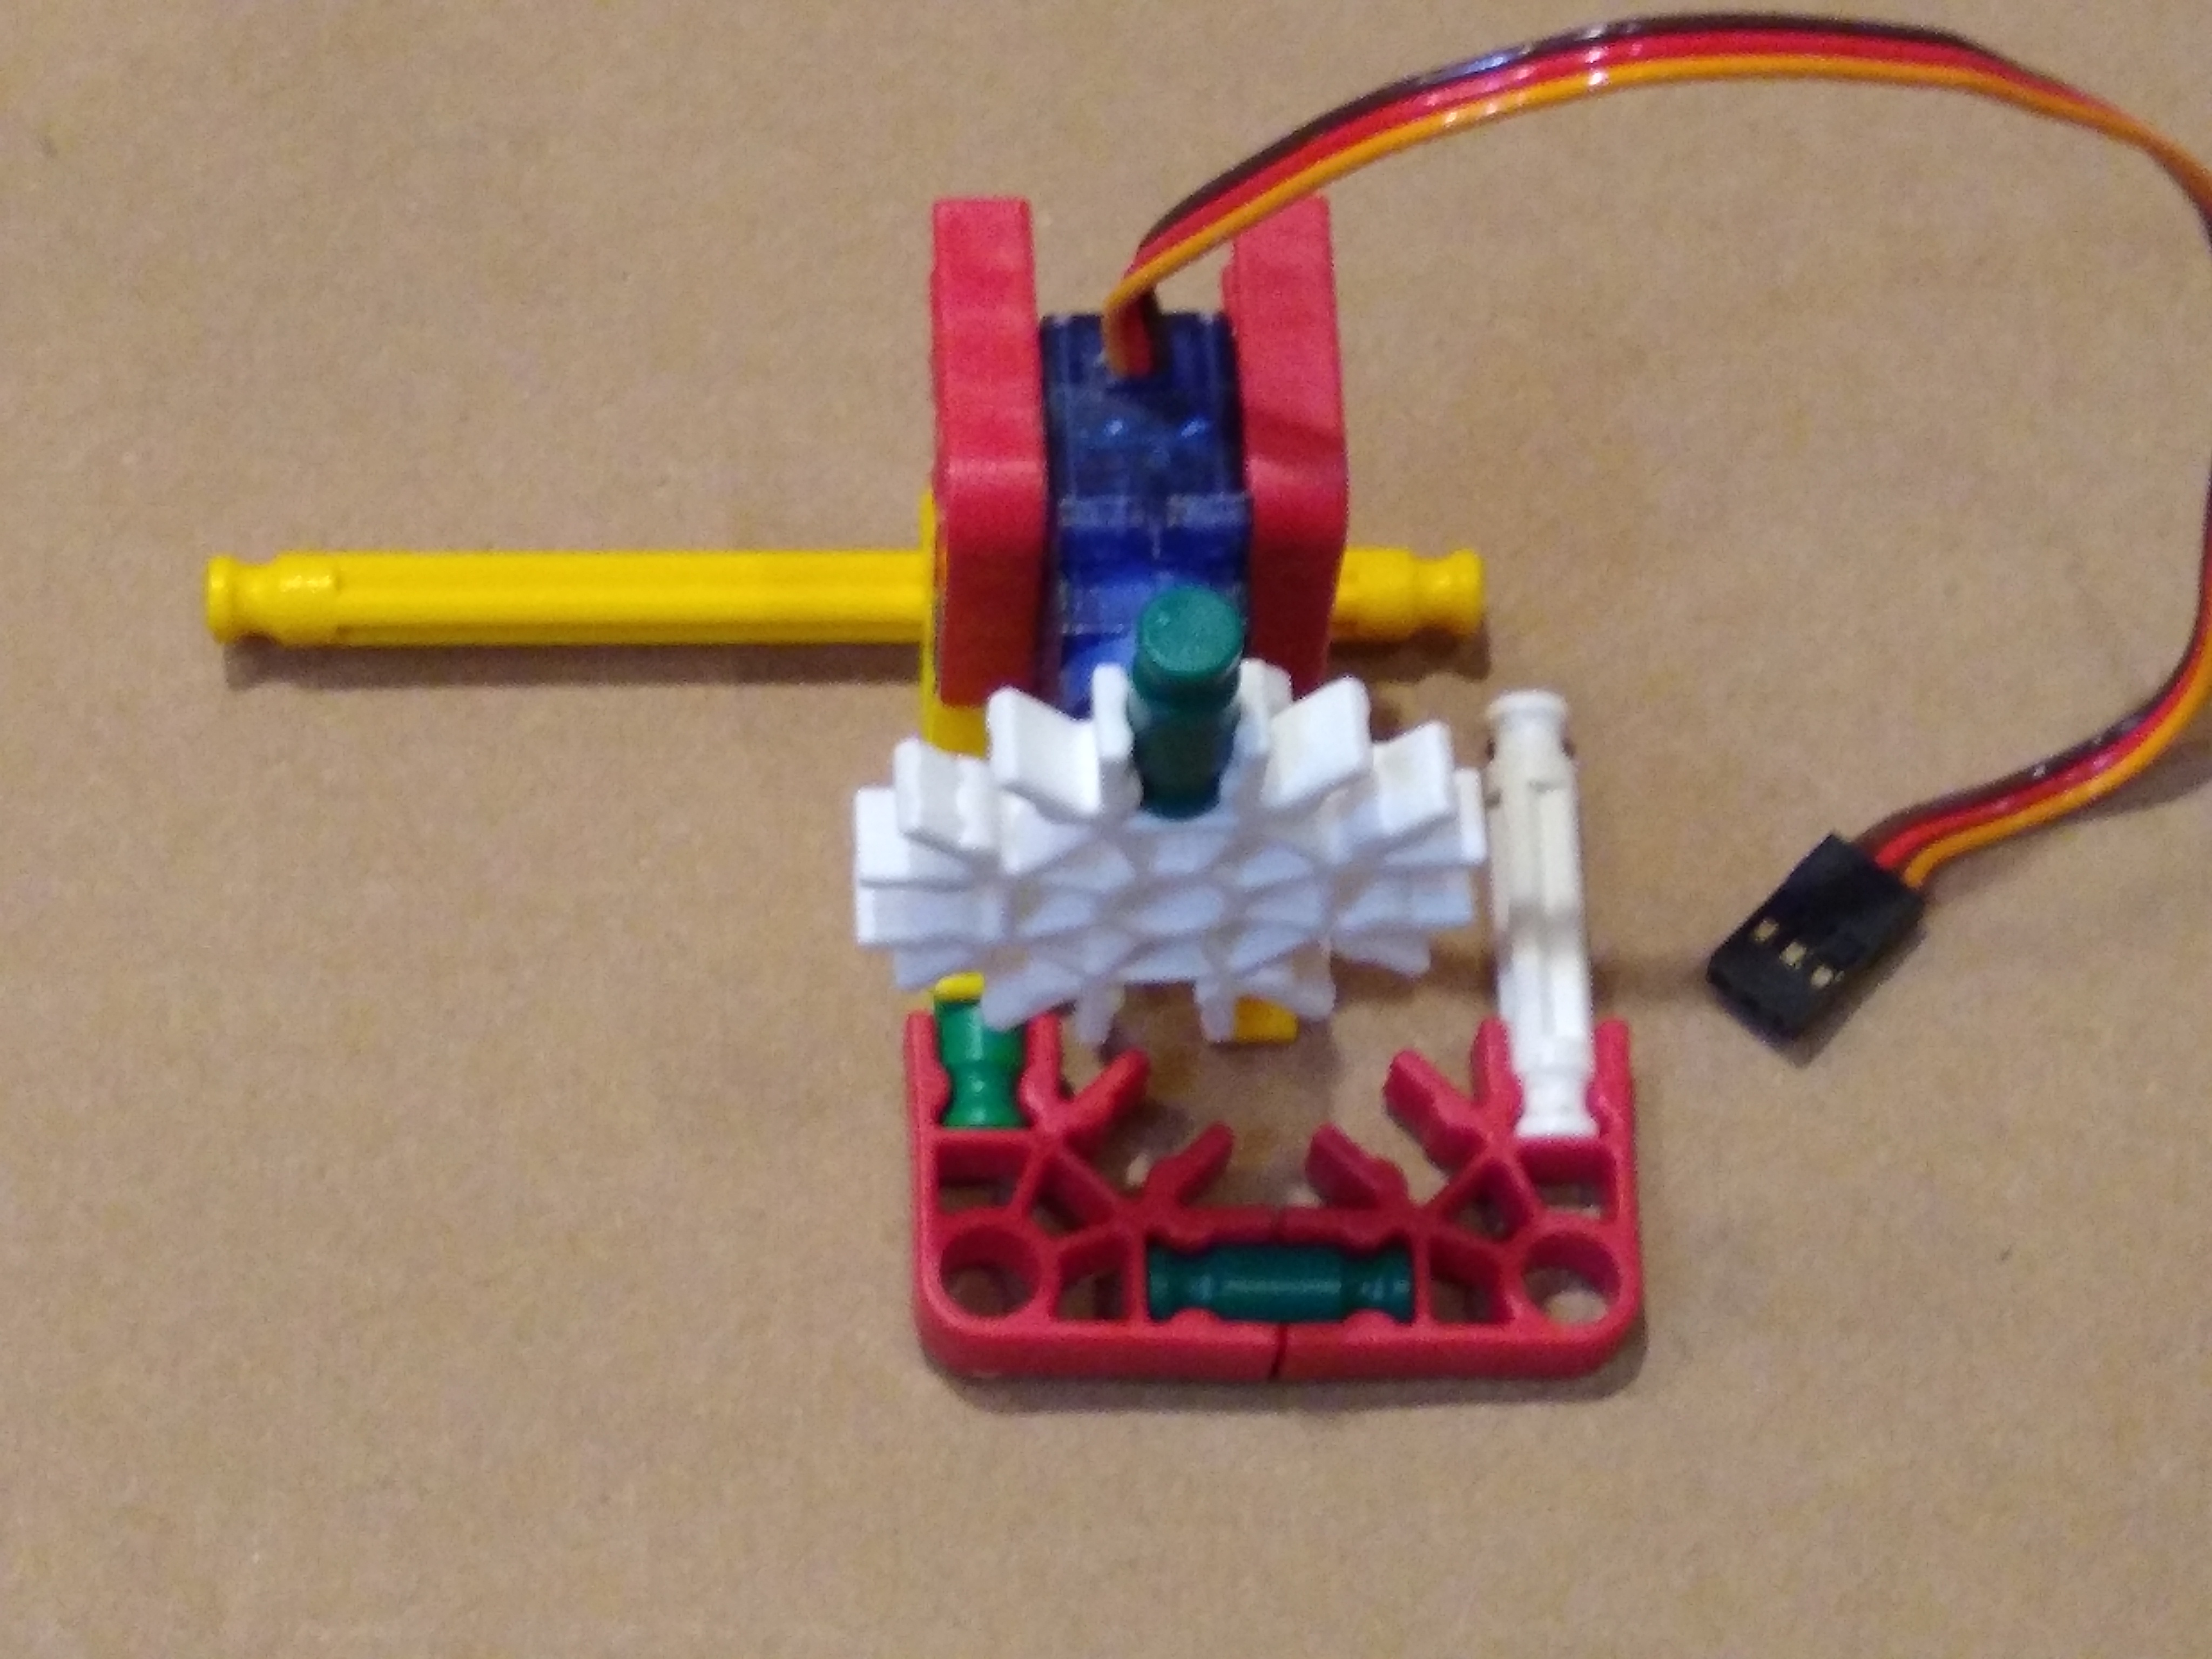
Build the Base Assembly
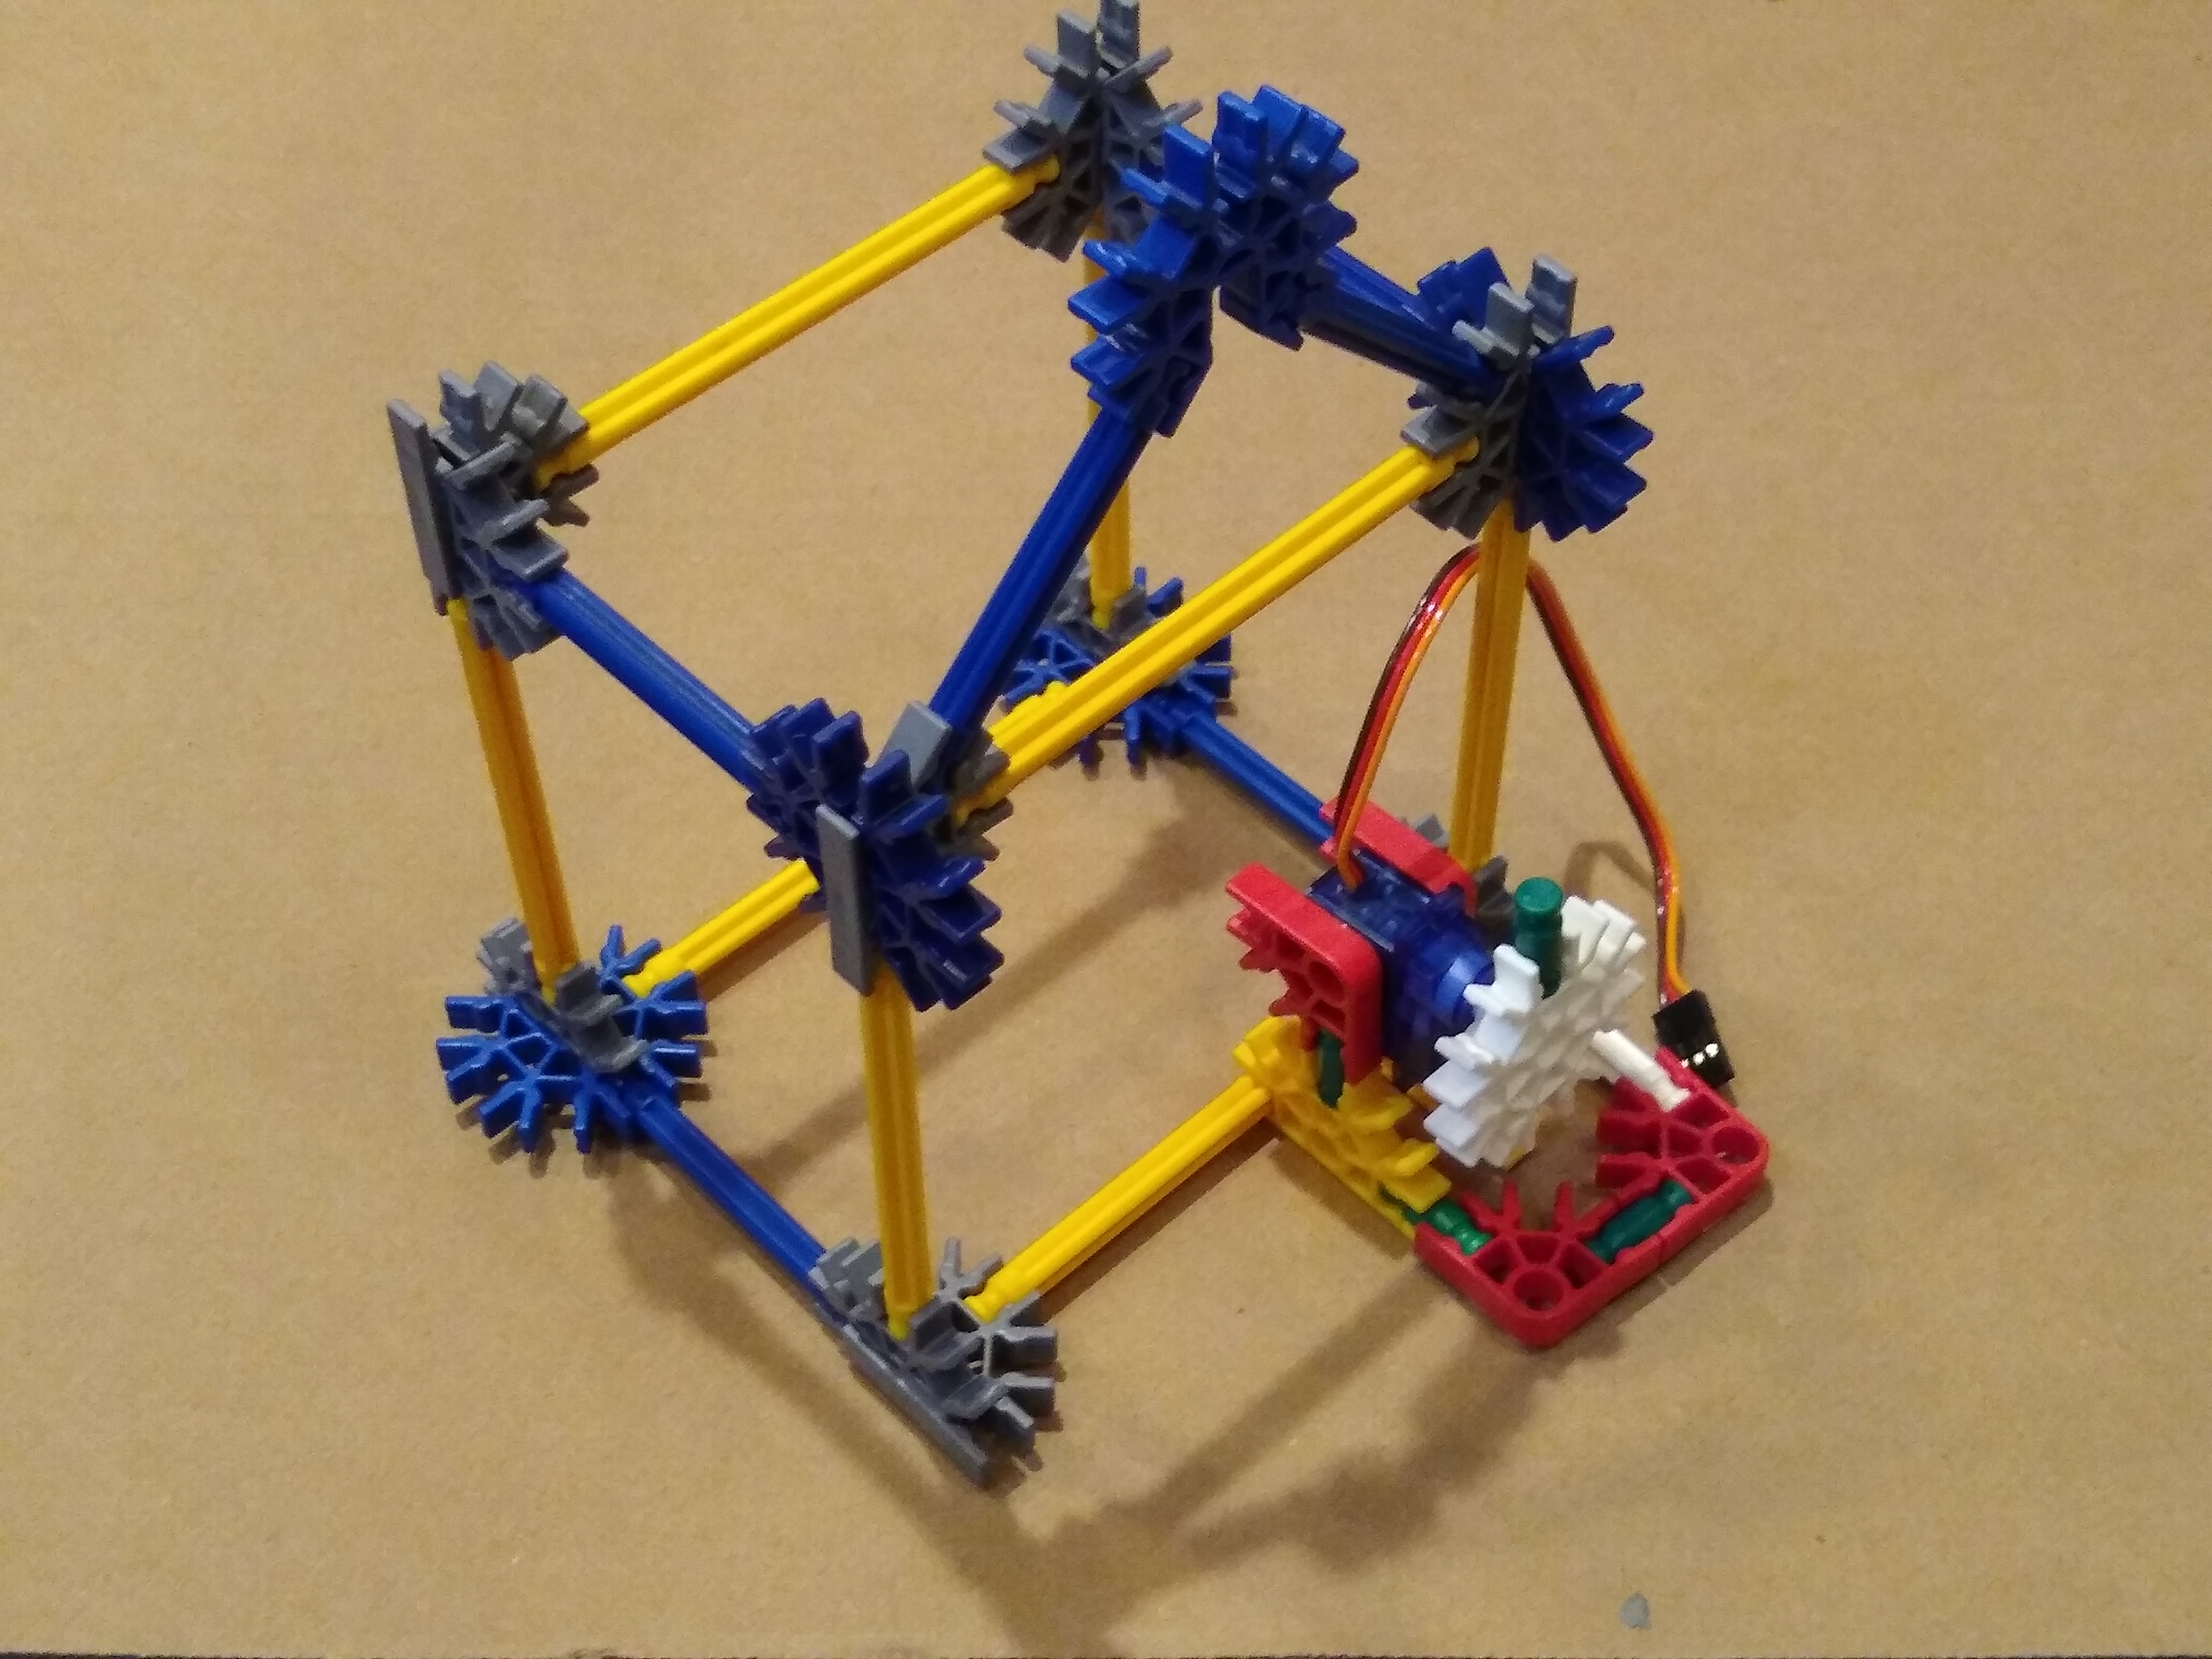
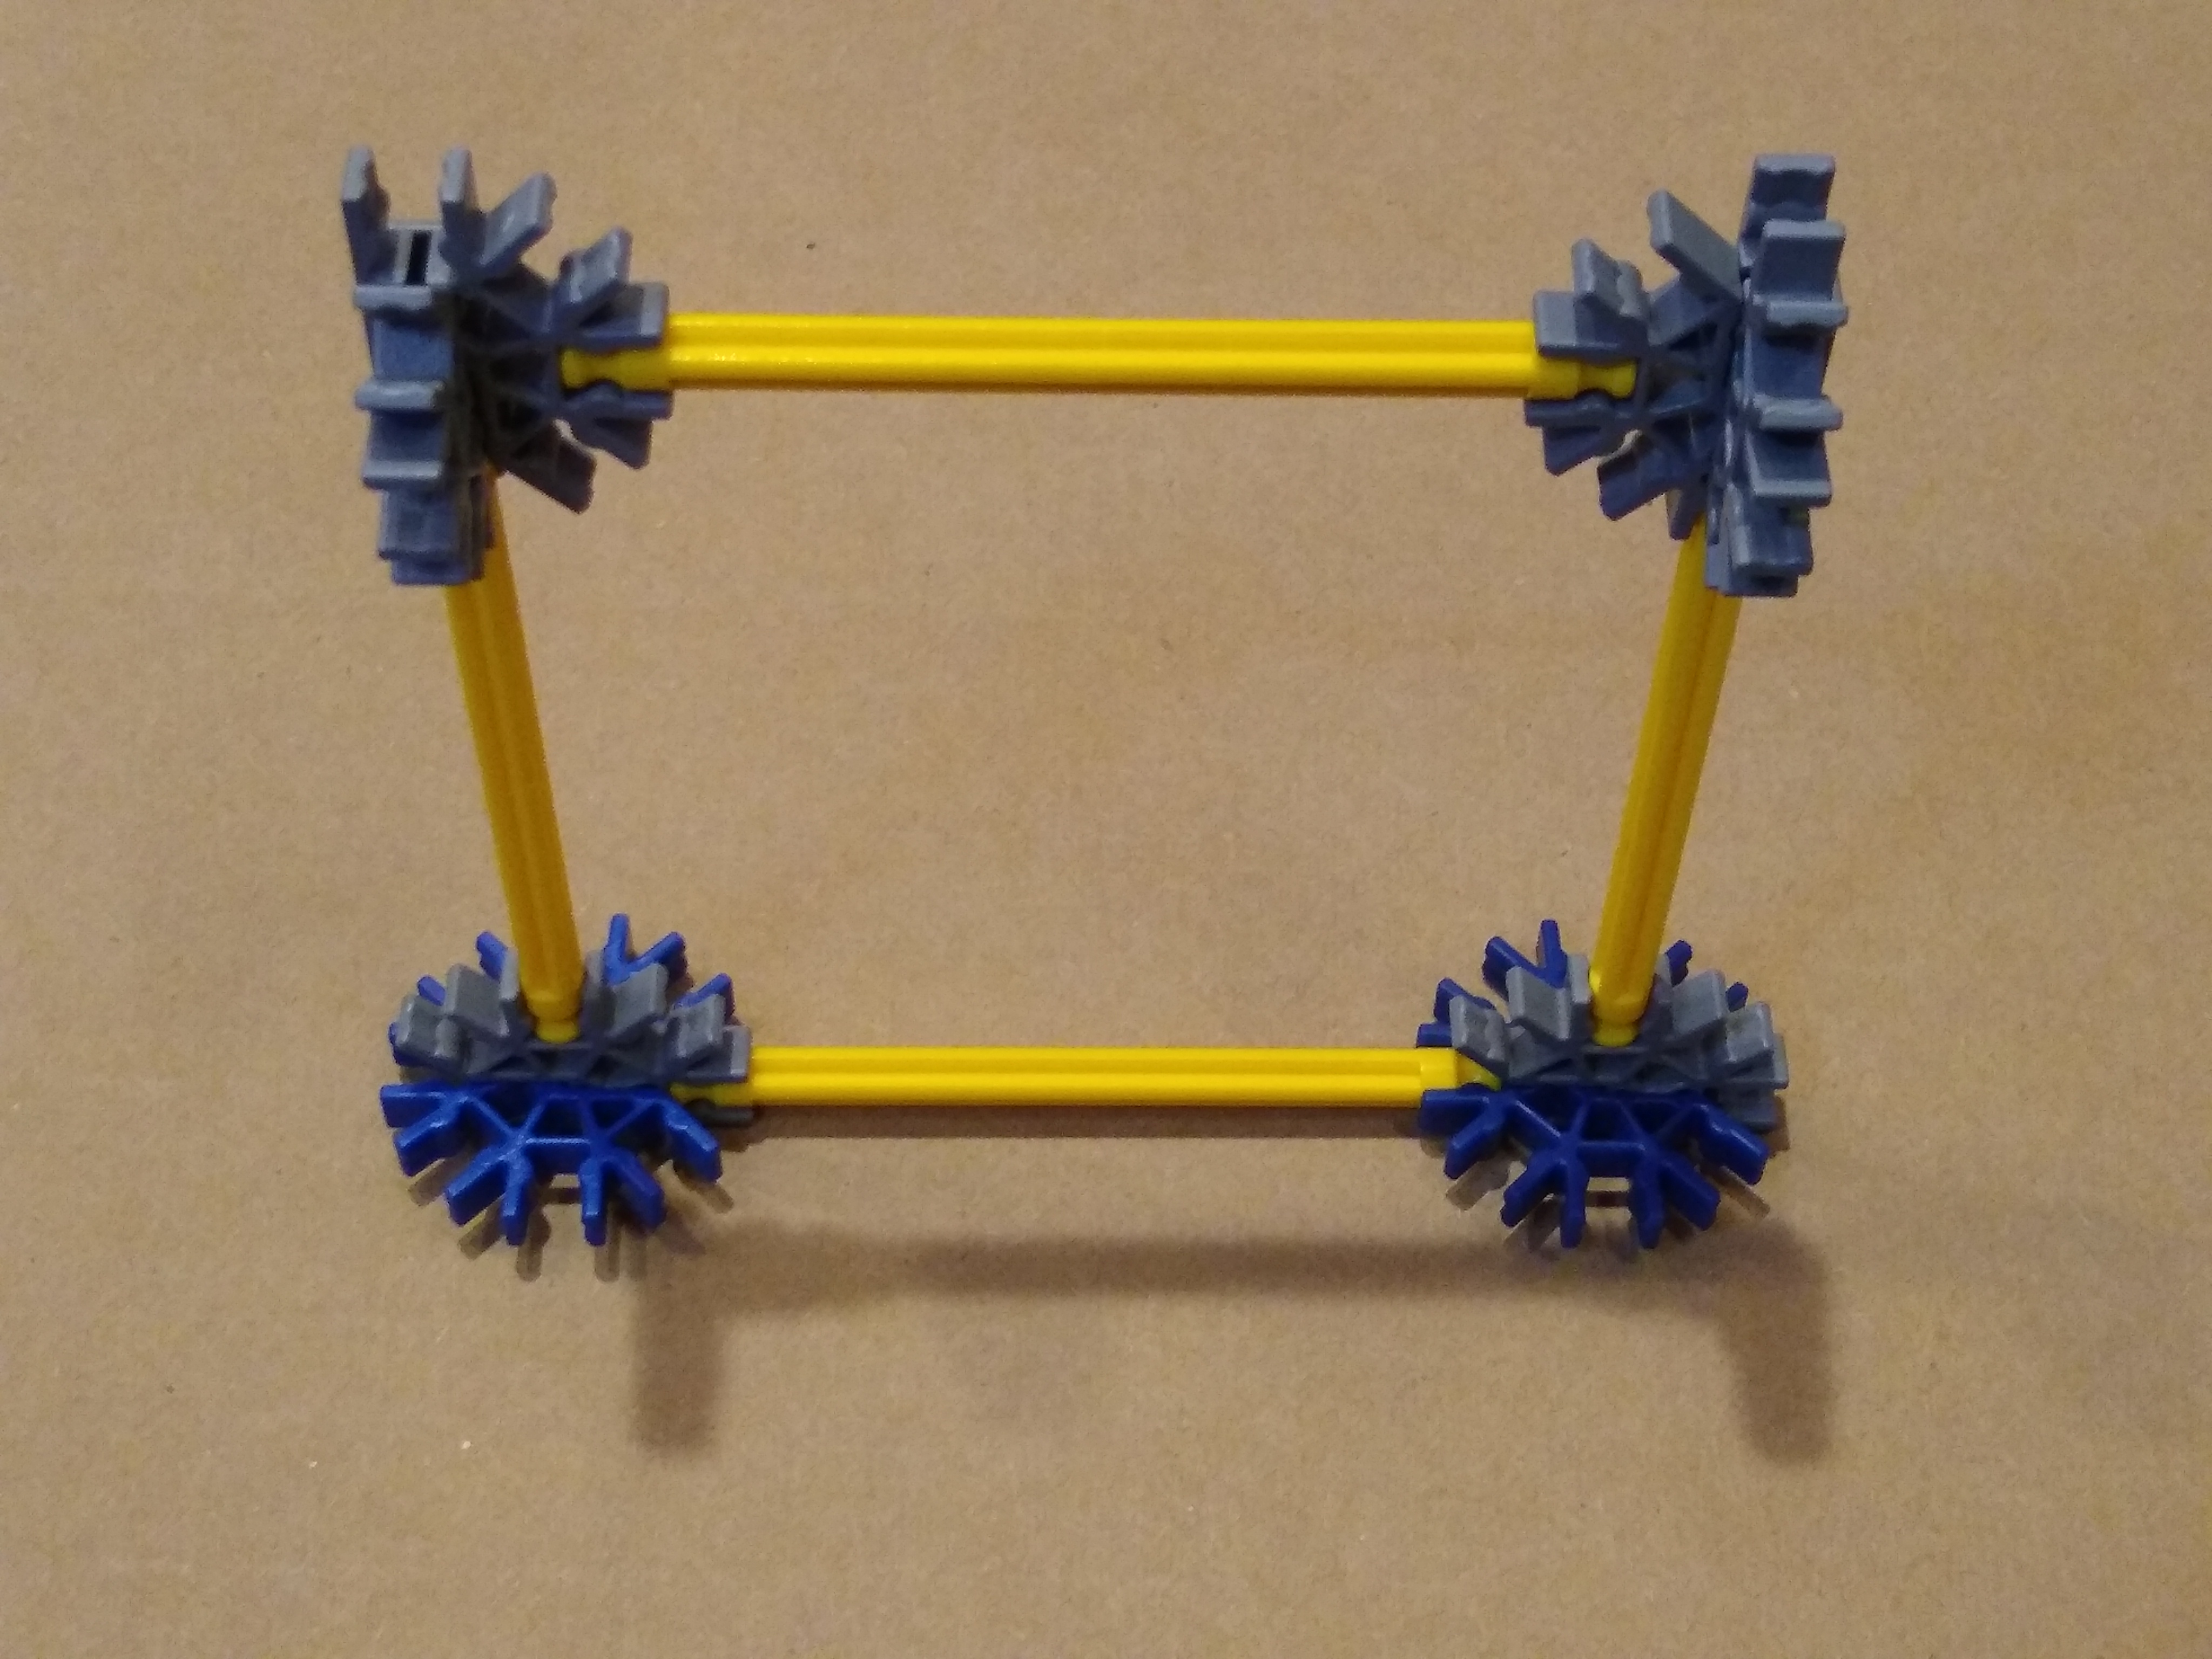
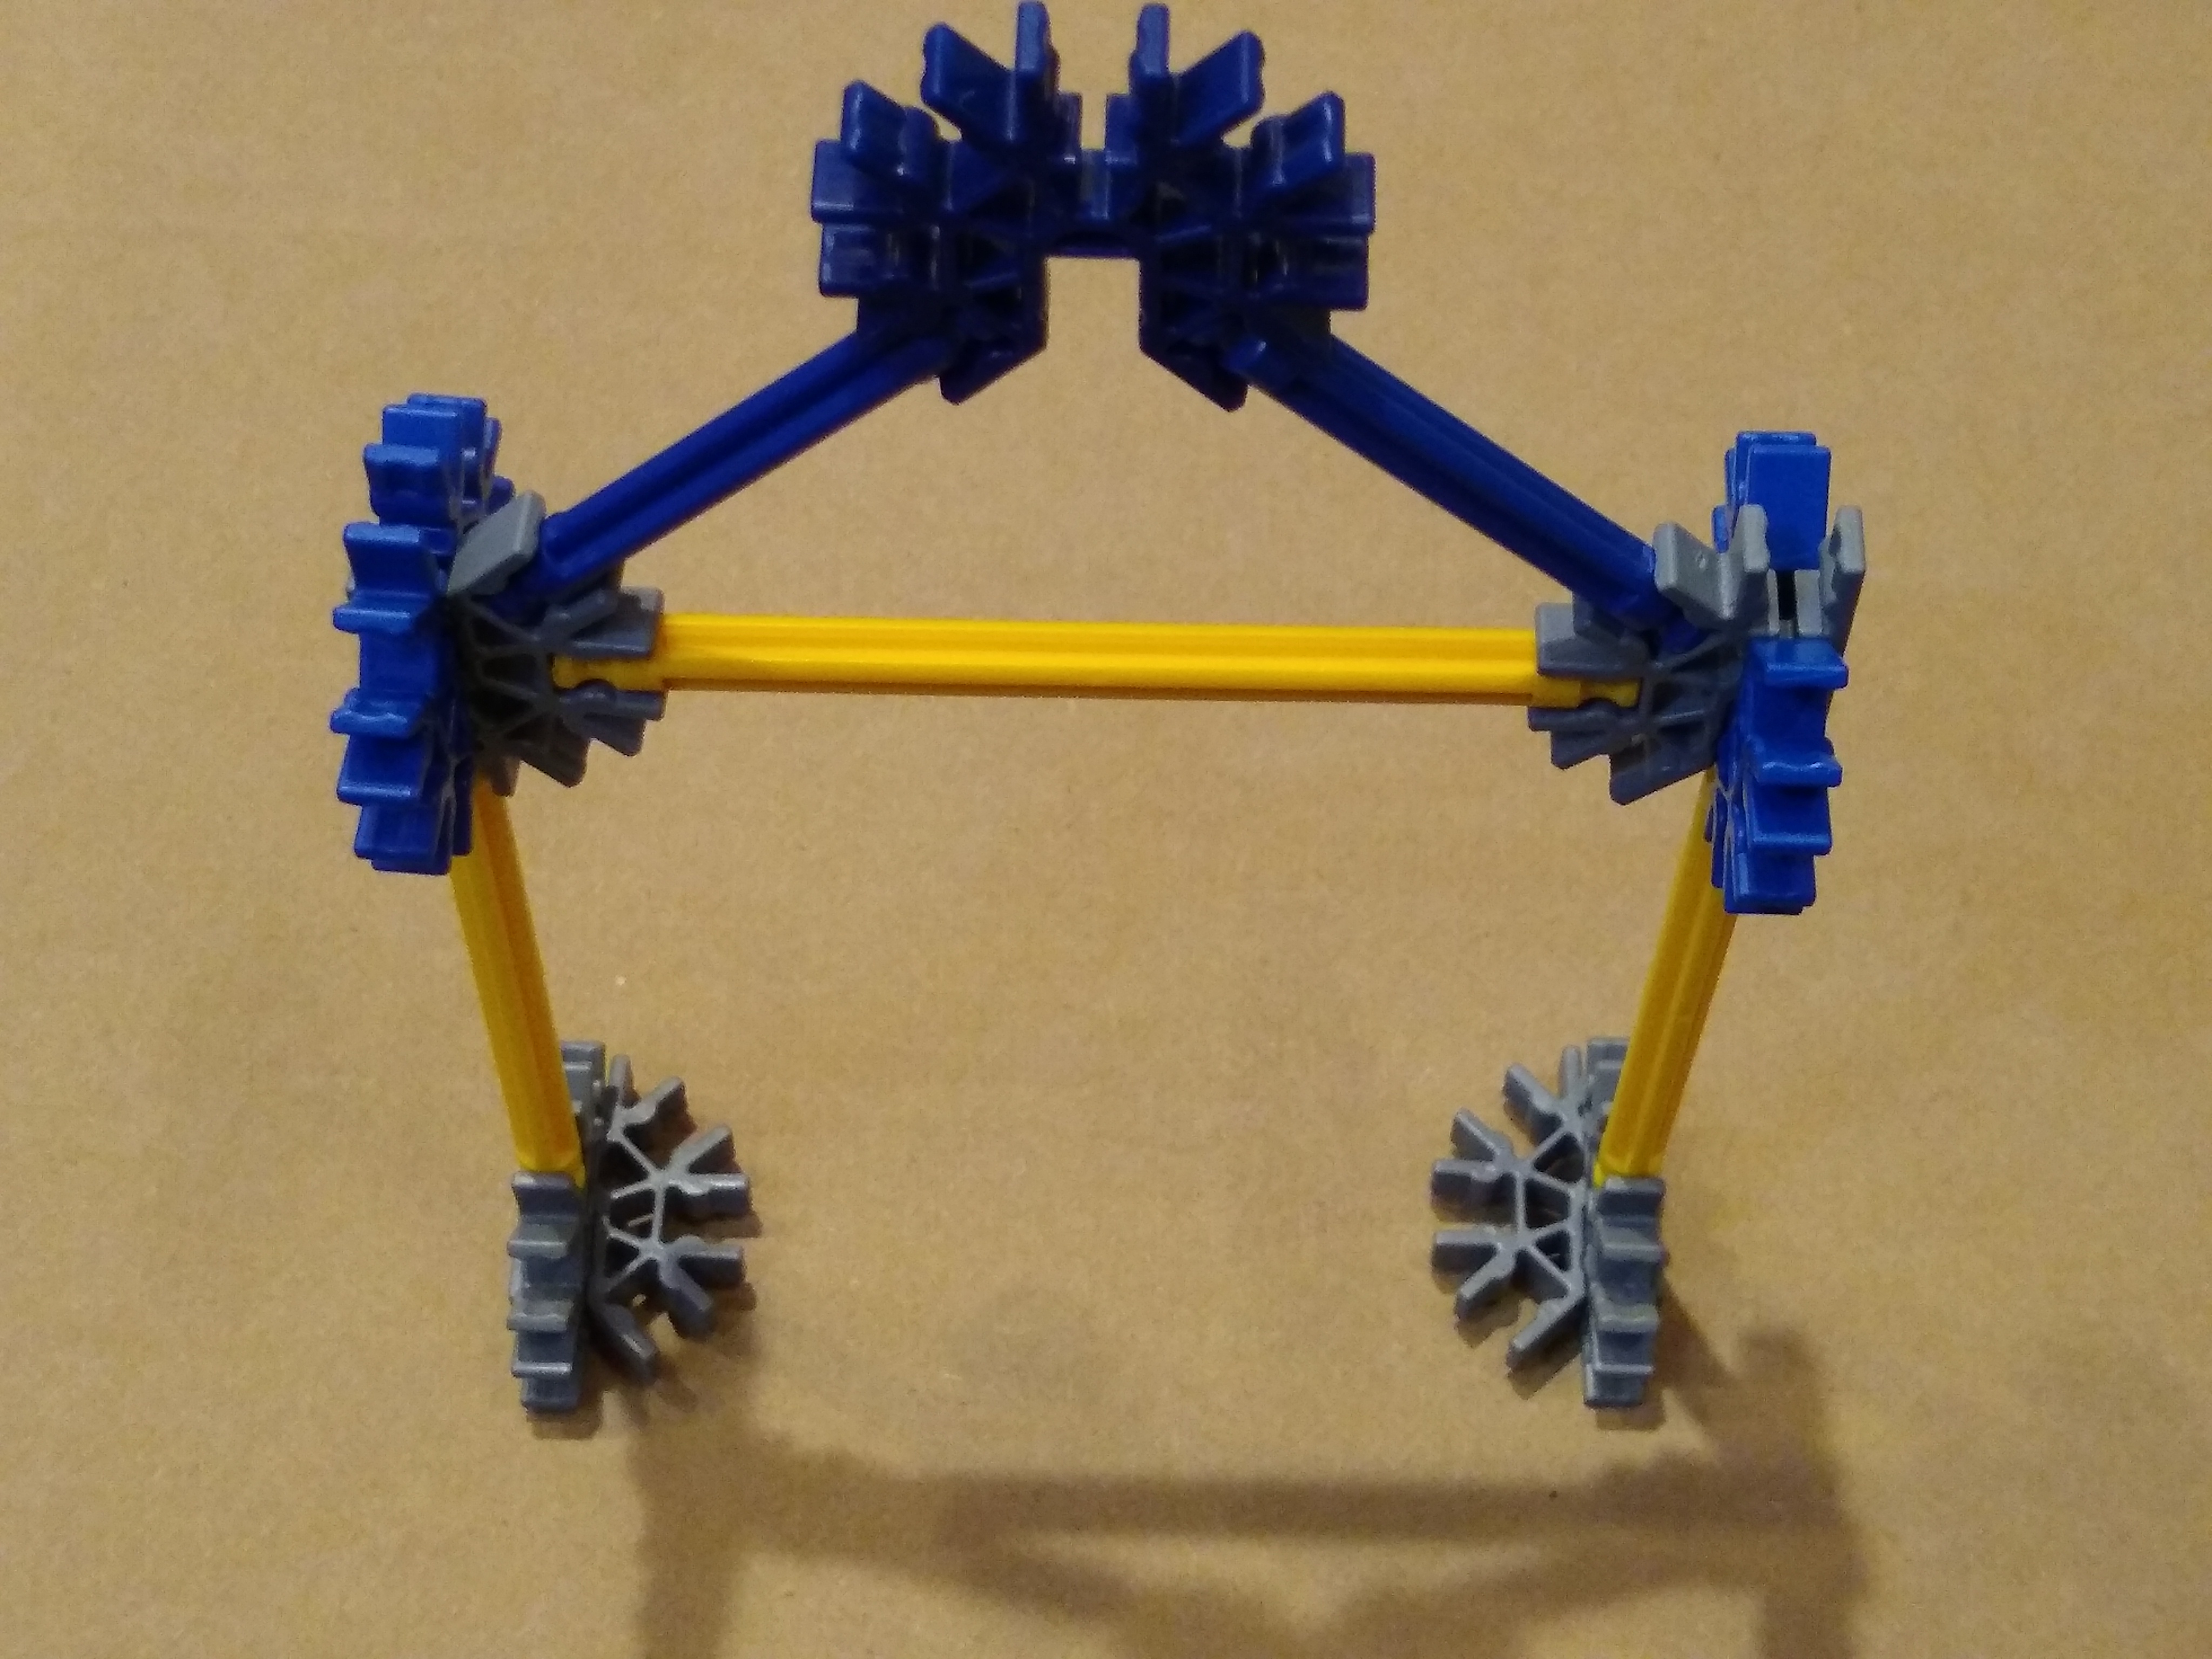
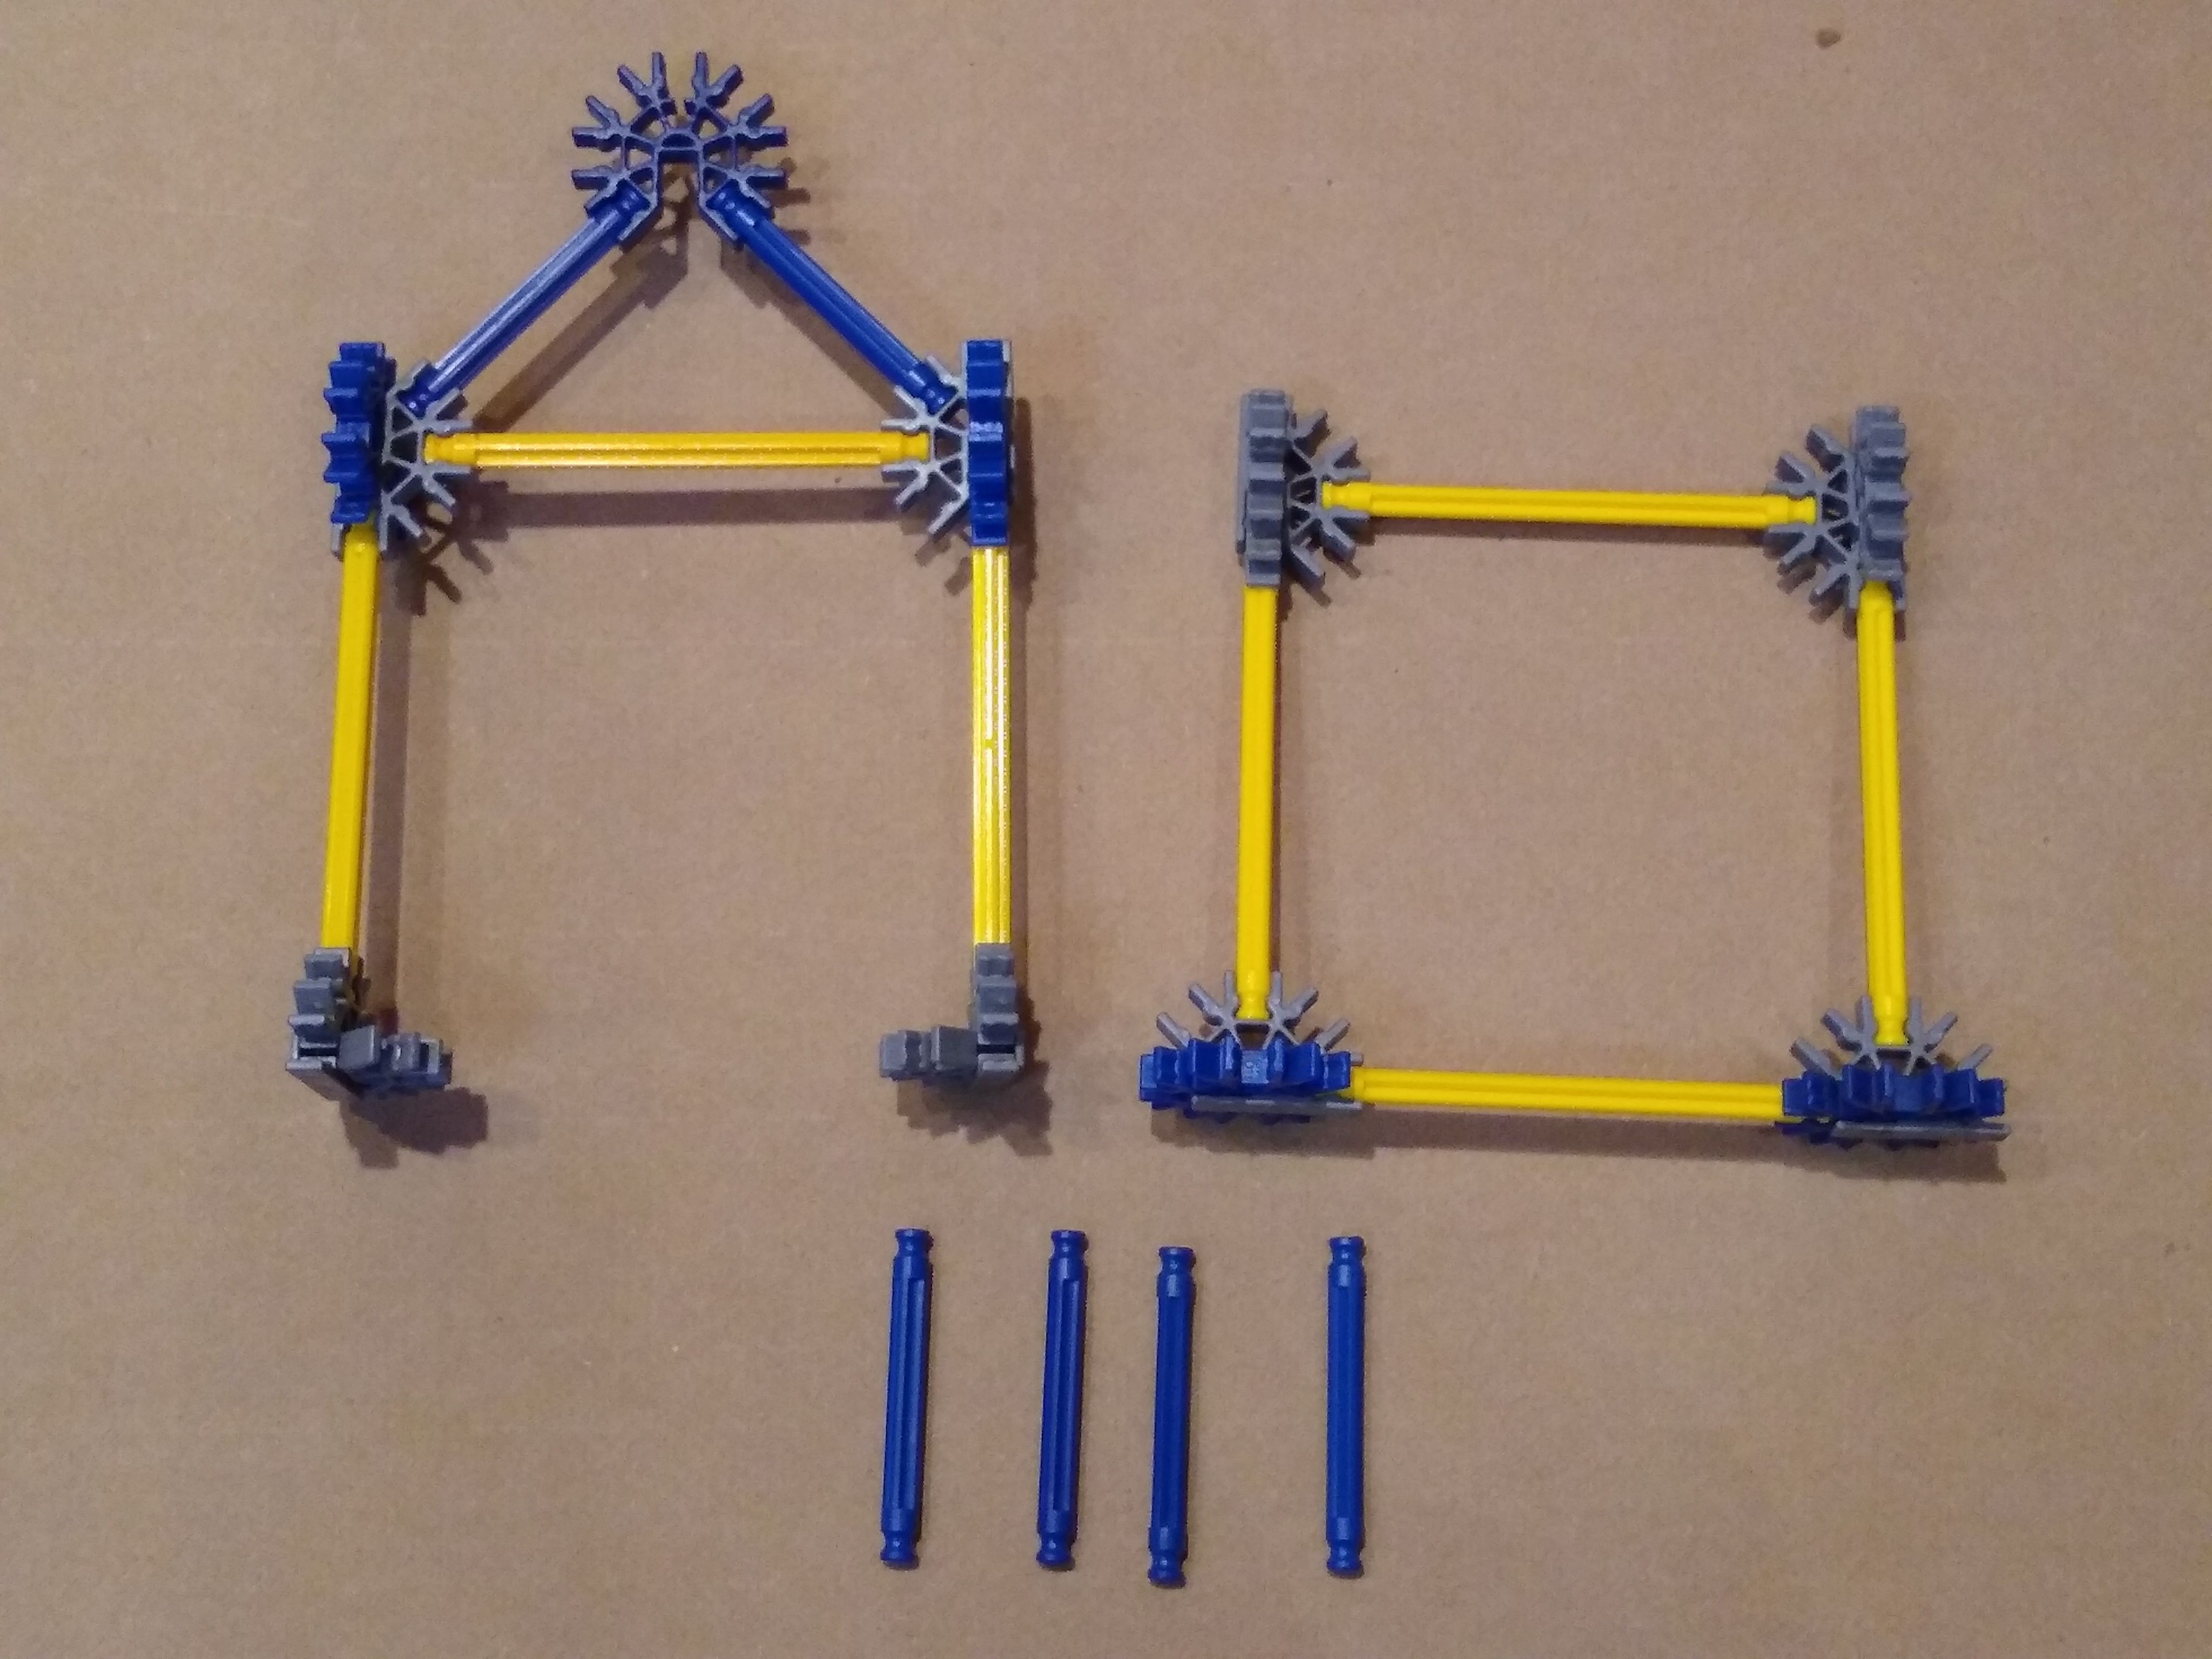
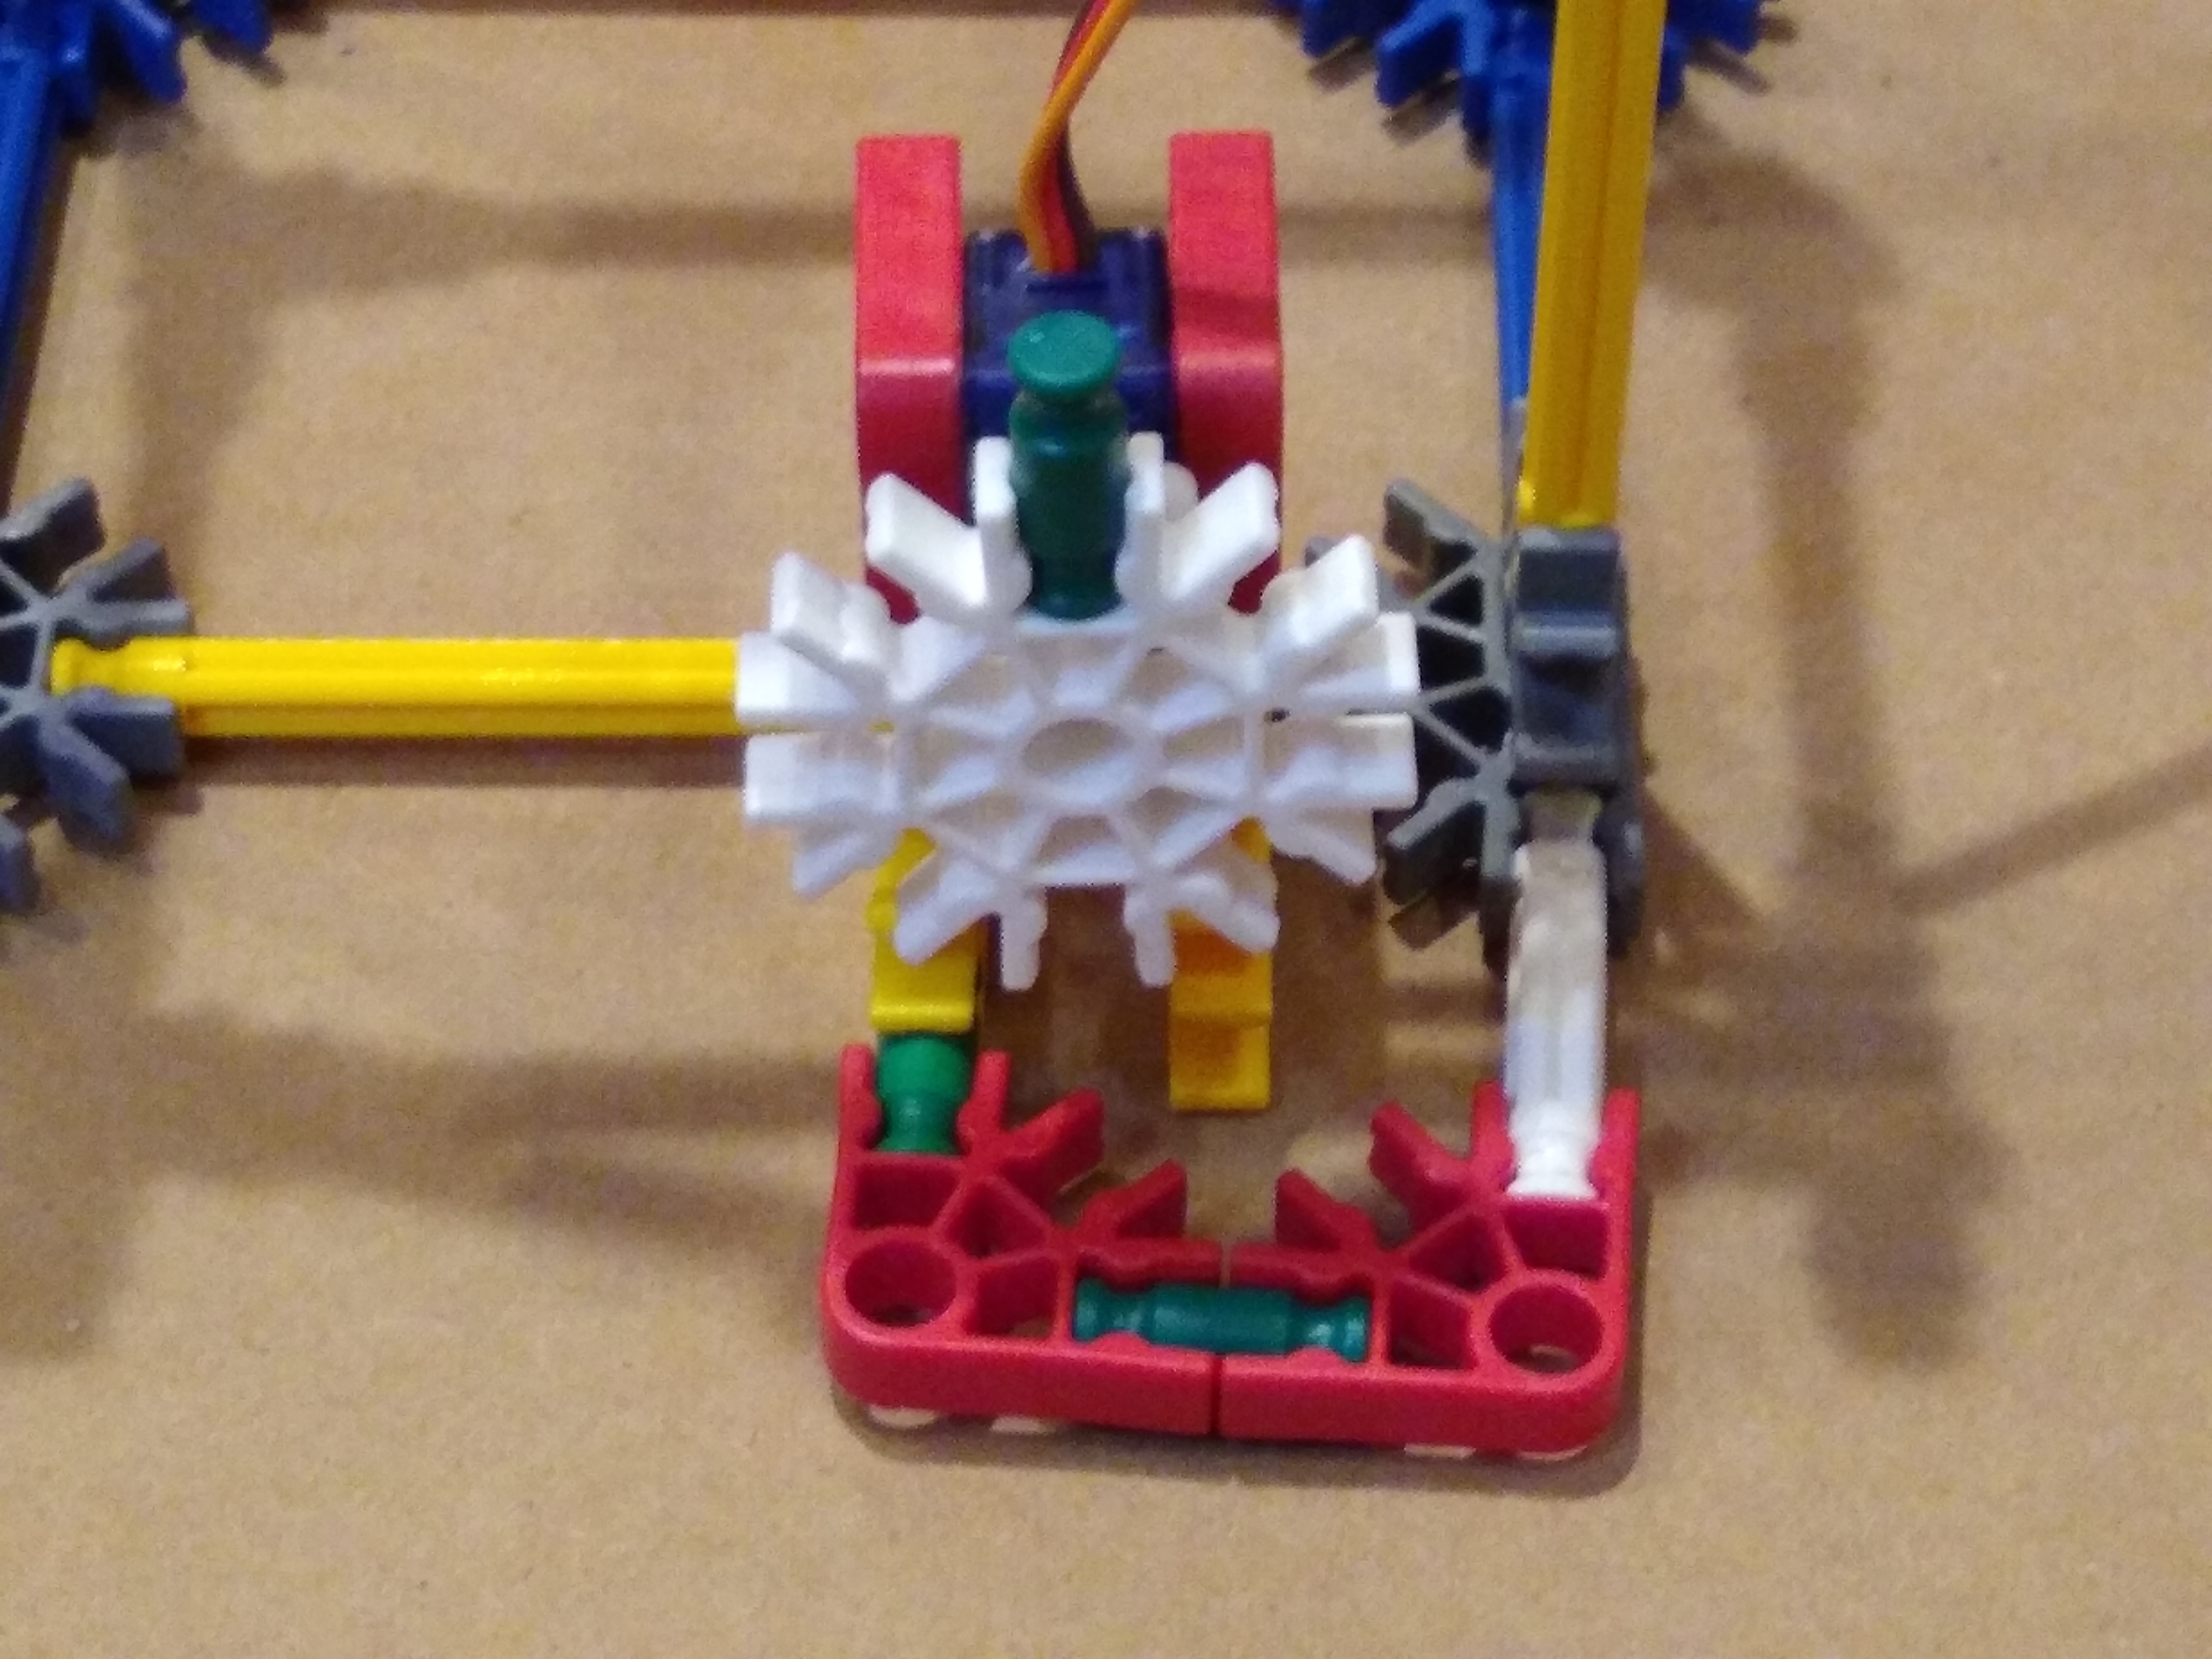
Load the Python Code and Test the Servo
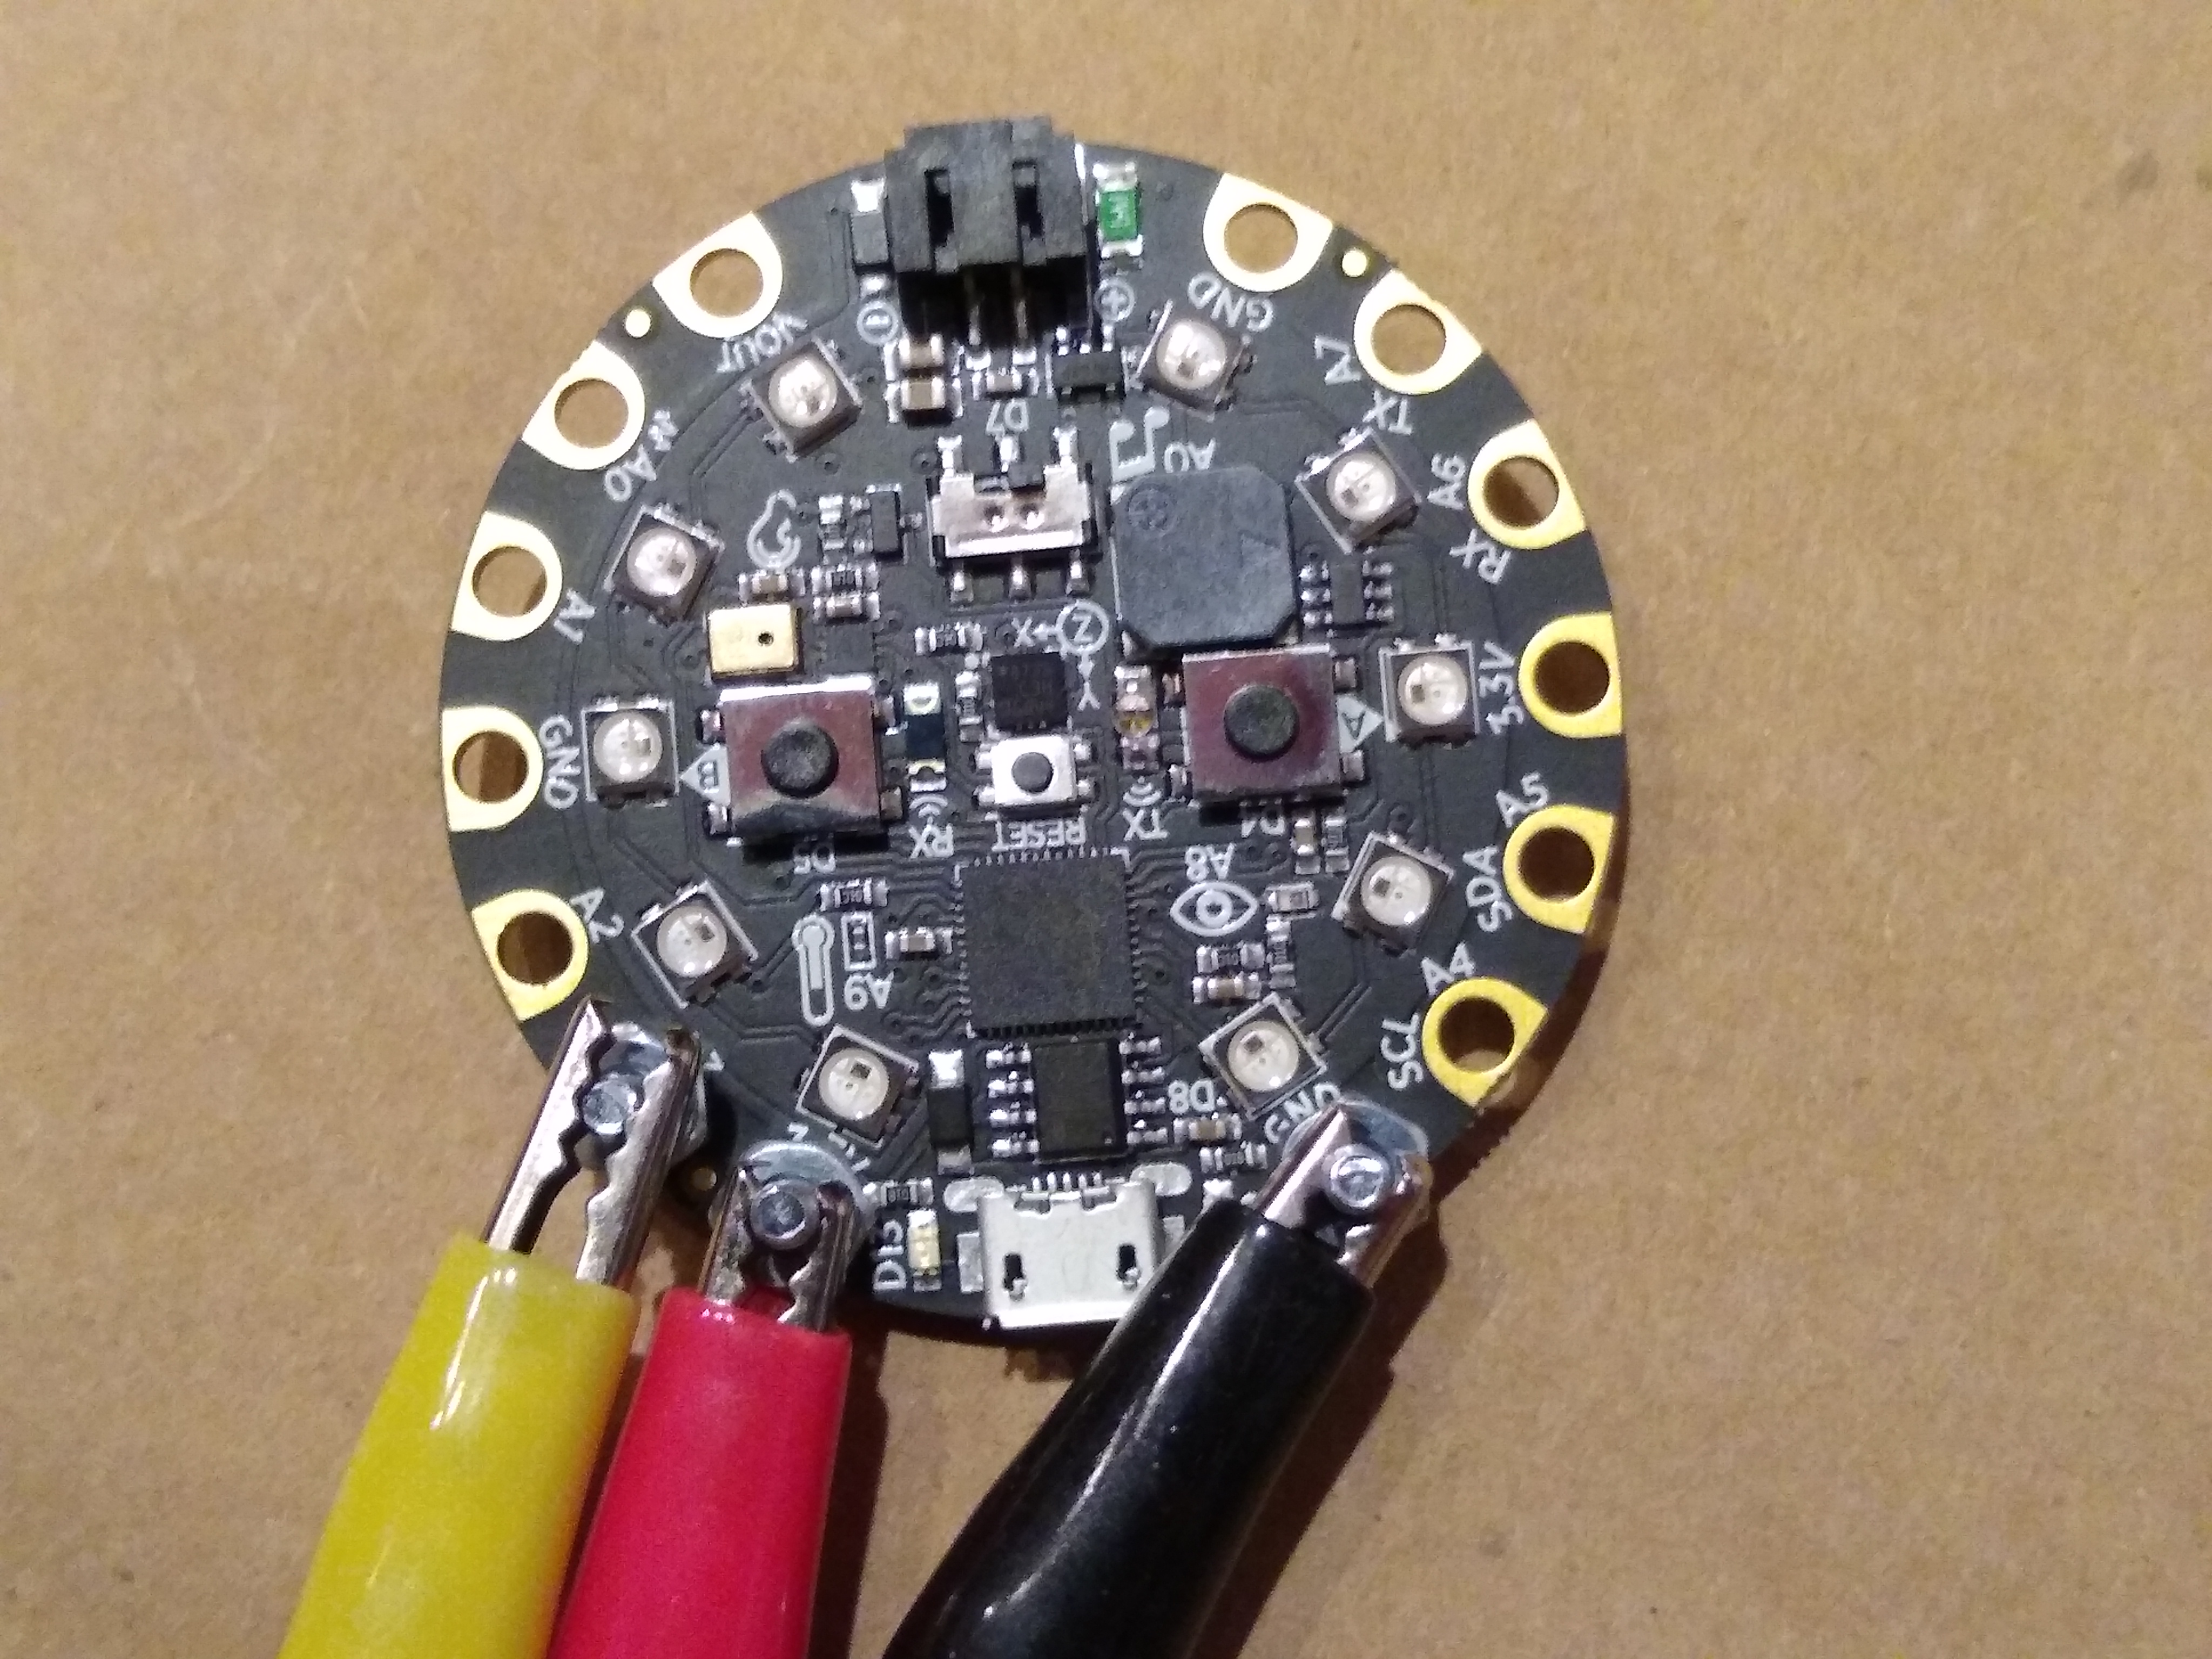
Load the following python code into the code.py file on the Circuit Playground Express.
# lasertarget.py by derrick @ reachandteach.com
# Creative Commons License Attribution-ShareAlike CC BY-SA
import time
import board
import pulseio
from adafruit_motor import servo
from adafruit_circuitplayground.express import cpx

def targetHit():
	cpx.pixels.fill((255,0,0))  # display a ring of red leds
	cpx.play_tone(600,0.1)      # play a tone
	cpx.pixels.fill((0,0,0))    # turn off all leds

# create a PWMOut object on Pin A3.
pwm = pulseio.PWMOut(board.A3, duty_cycle=2 ** 15, frequency=50)
my_servo = servo.Servo(pwm) # create servo
my_servo.angle = 0
cpx.pixels.fill((0,0,0))
lightref=cpx.light # set background level light
while True:
    cpx.pixels[1] = (0,0,128) # display blue led

    if ((cpx.light - lightref) < -100): # test for background level light
        lightref=cpx.light
    if ((cpx.light - lightref) > 100):  # test for target level light
        lightref= cpx.light
        my_servo.angle=120
        targetHit()
        time.sleep(0.5)
        my_servo.angle=0
    time.sleep (0.1)
Attach the servo to the Circuit Playground Express by attaching the servo's orange/red wire to the 3.3V pad, the black wire to any ground (gnd) pad, and the yellow wire to the A3 pad.
Apply power to the Circuit Playground Express. A blue LED will be lit next to the built-in light sensor. Shining a flashlight or laser on the sensor will cause a ring of red LEDs to illuminate, a beep sound, and the servo to move between 0 degrees, 120 degrees, and back to 0 degrees.
Attach the Jumping Jack to the Base Unit
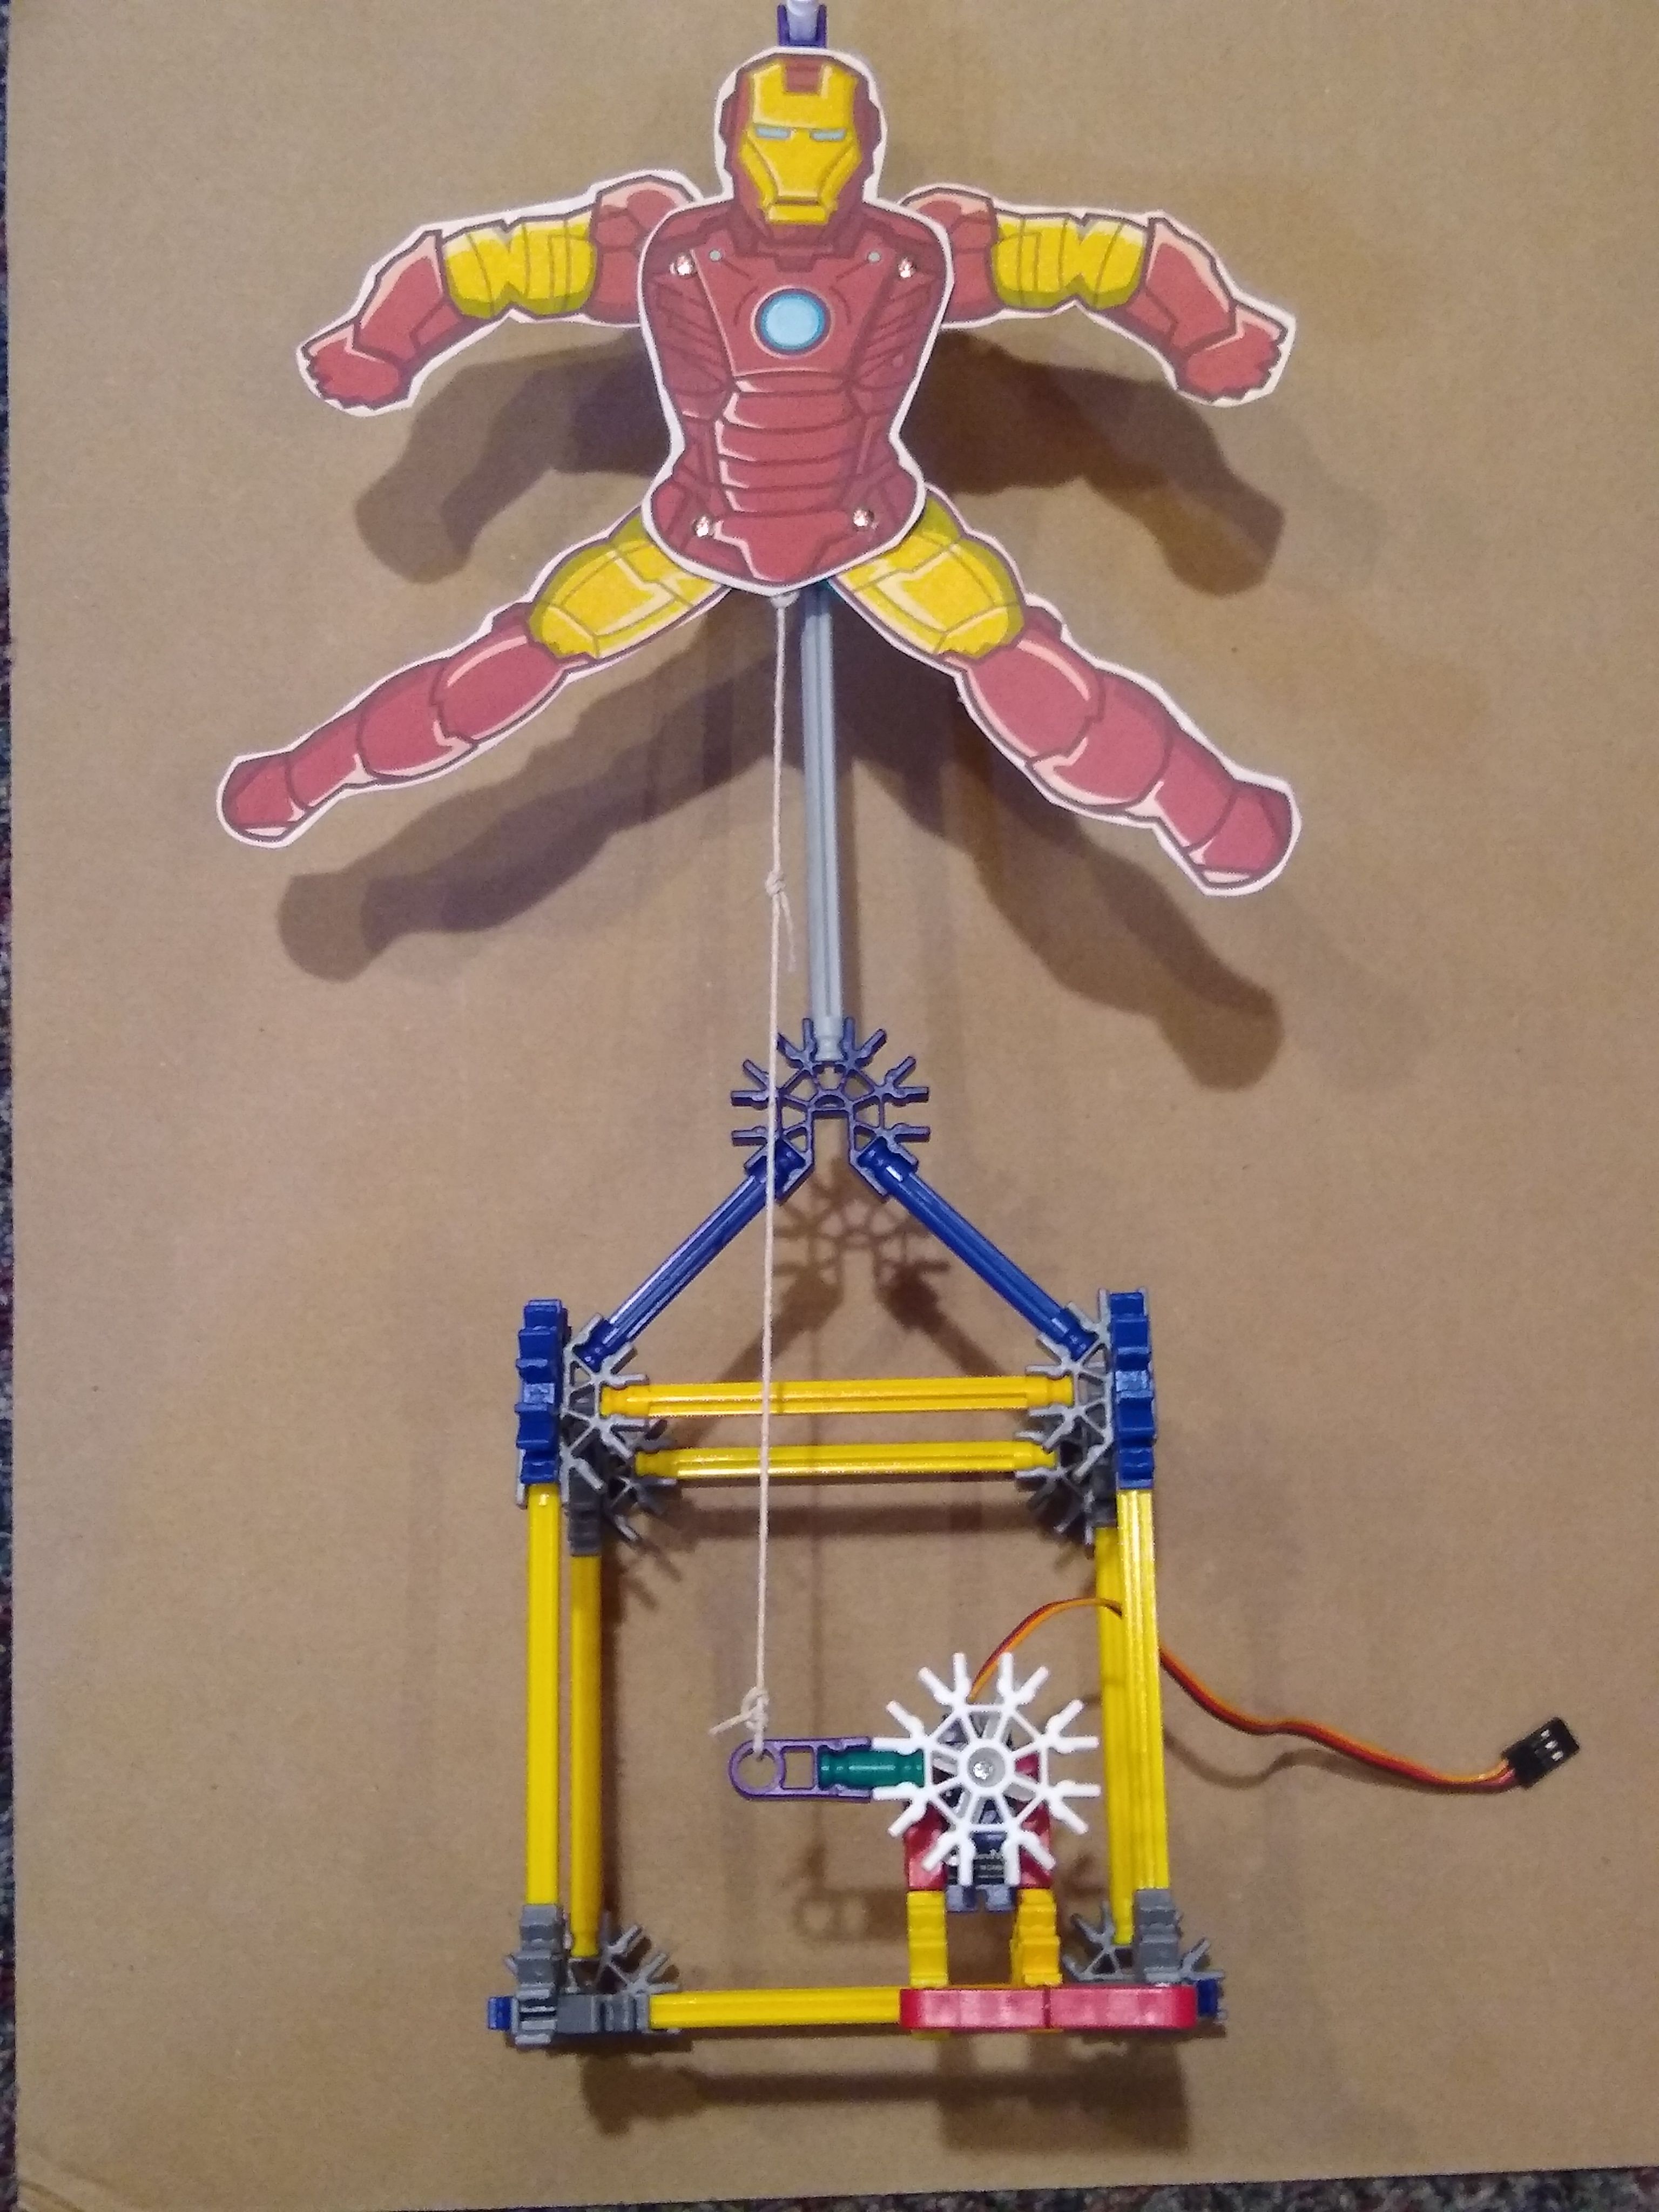
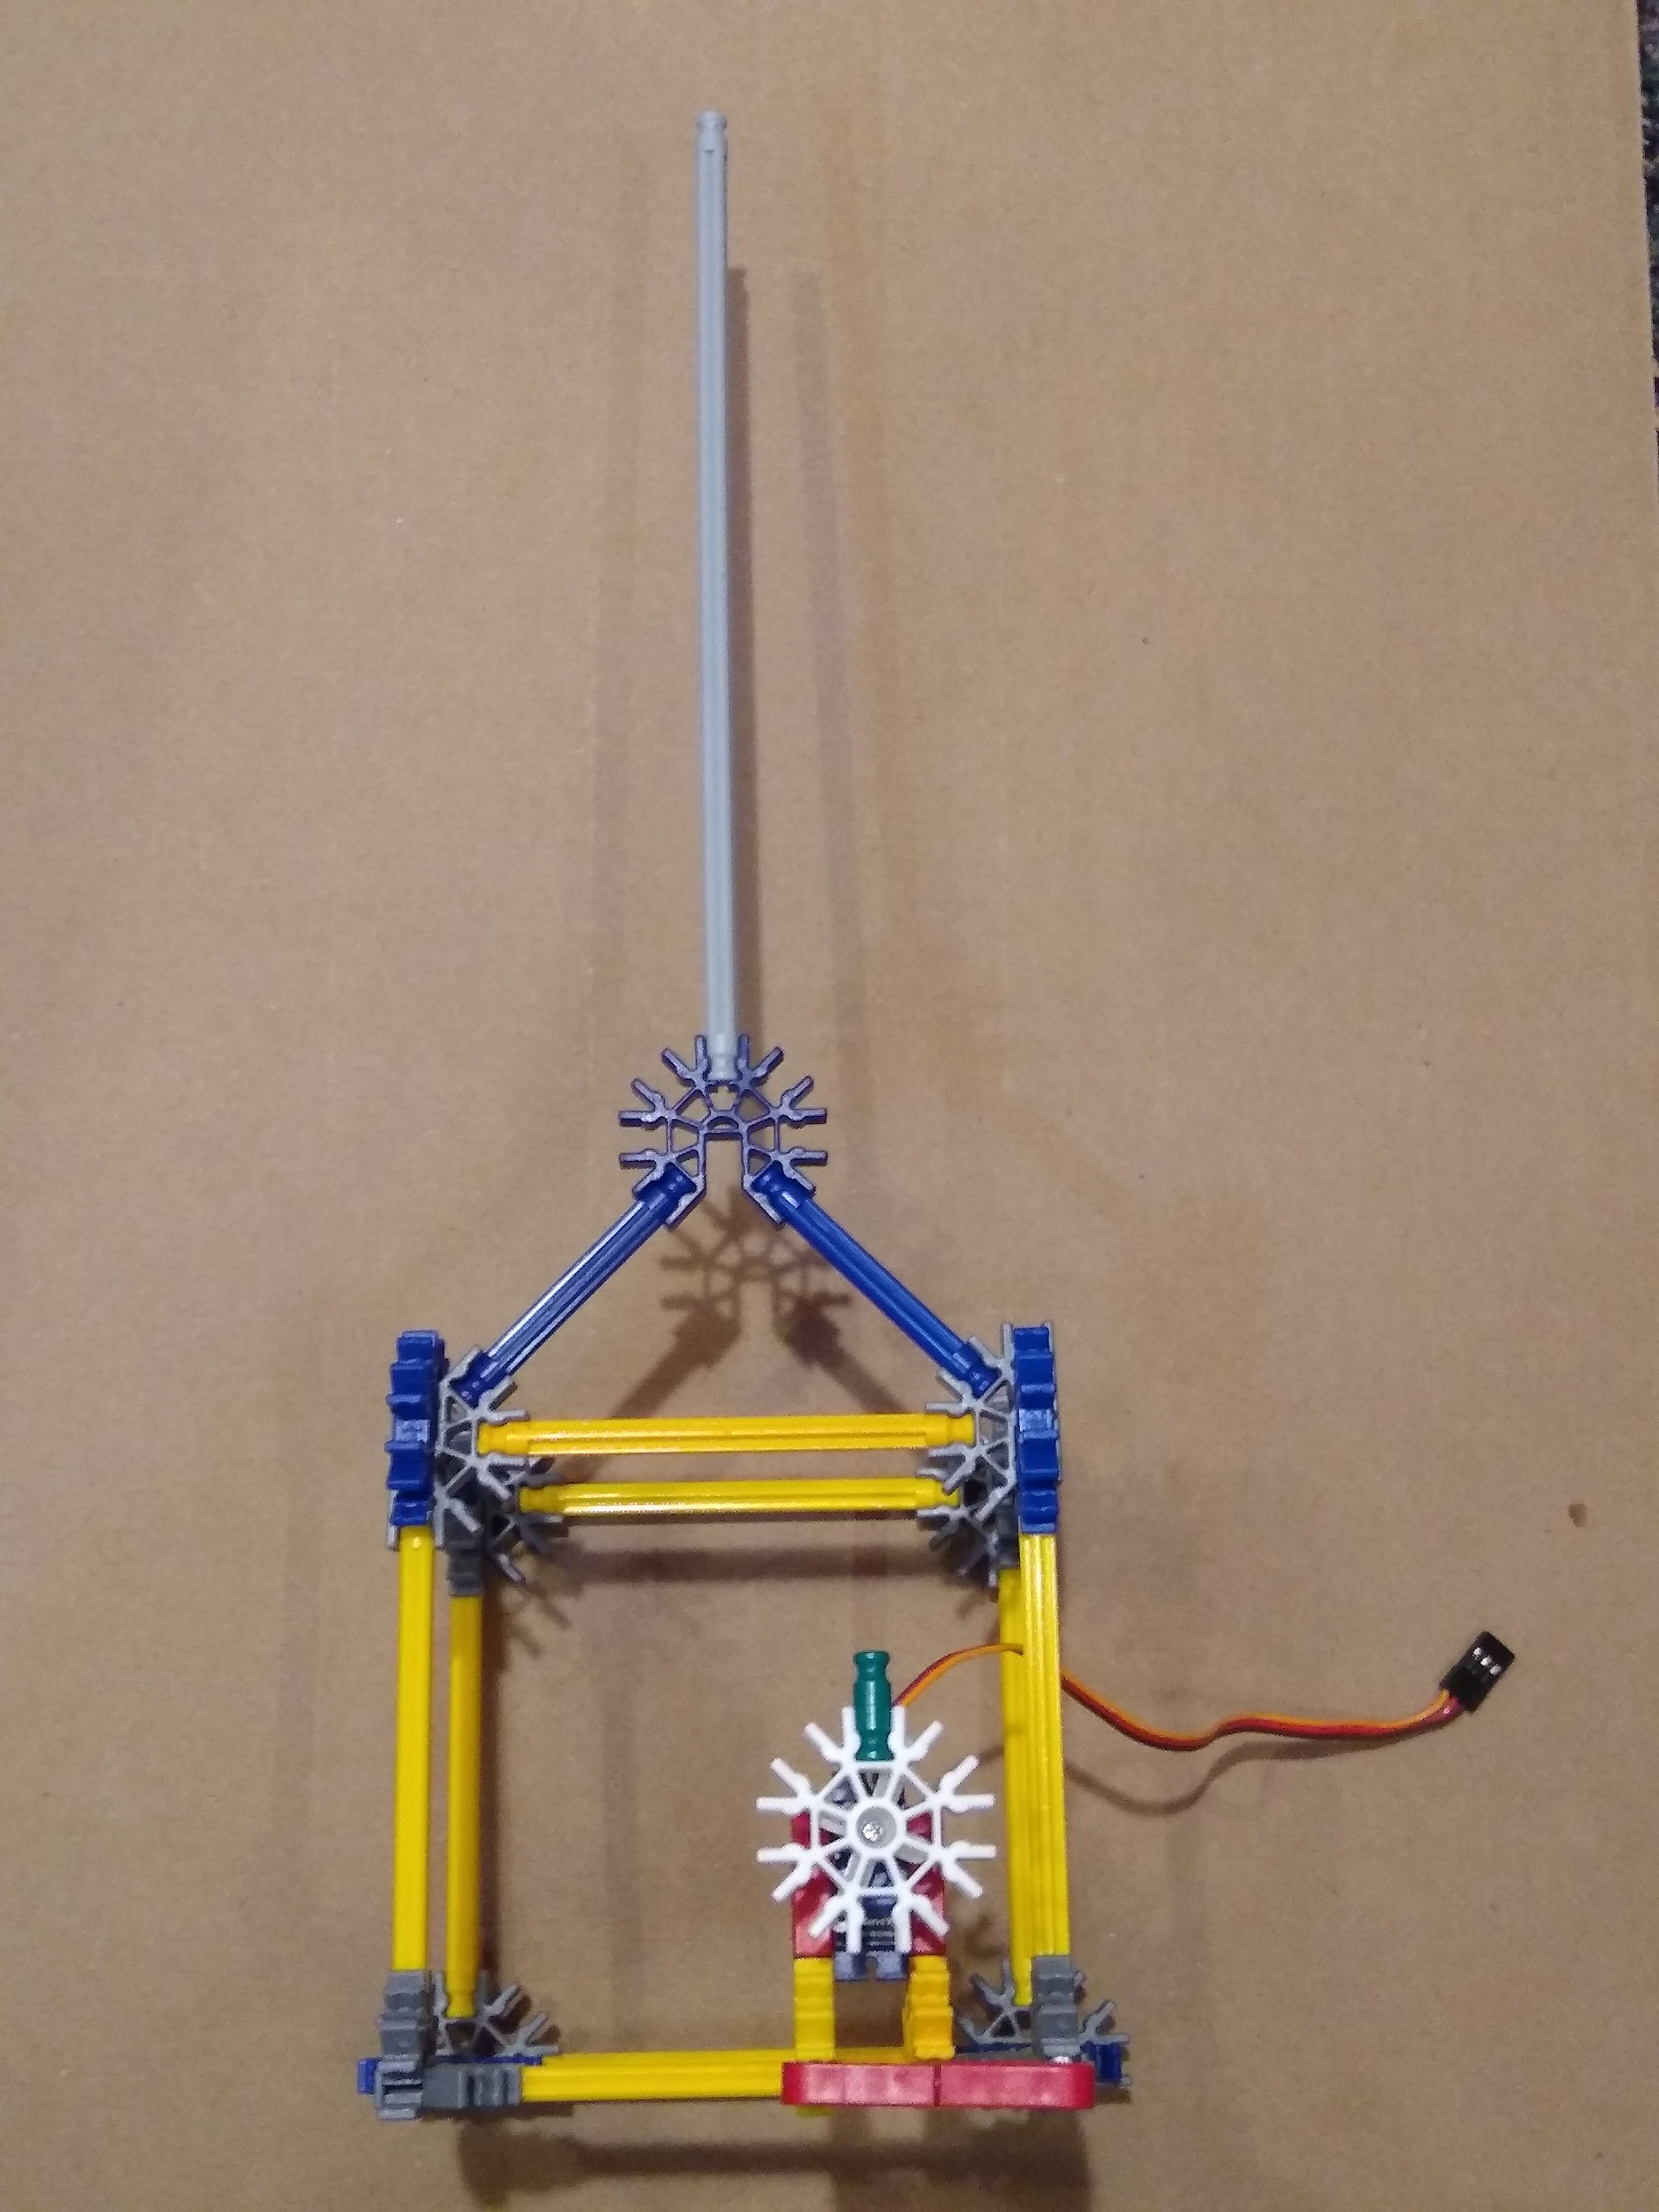
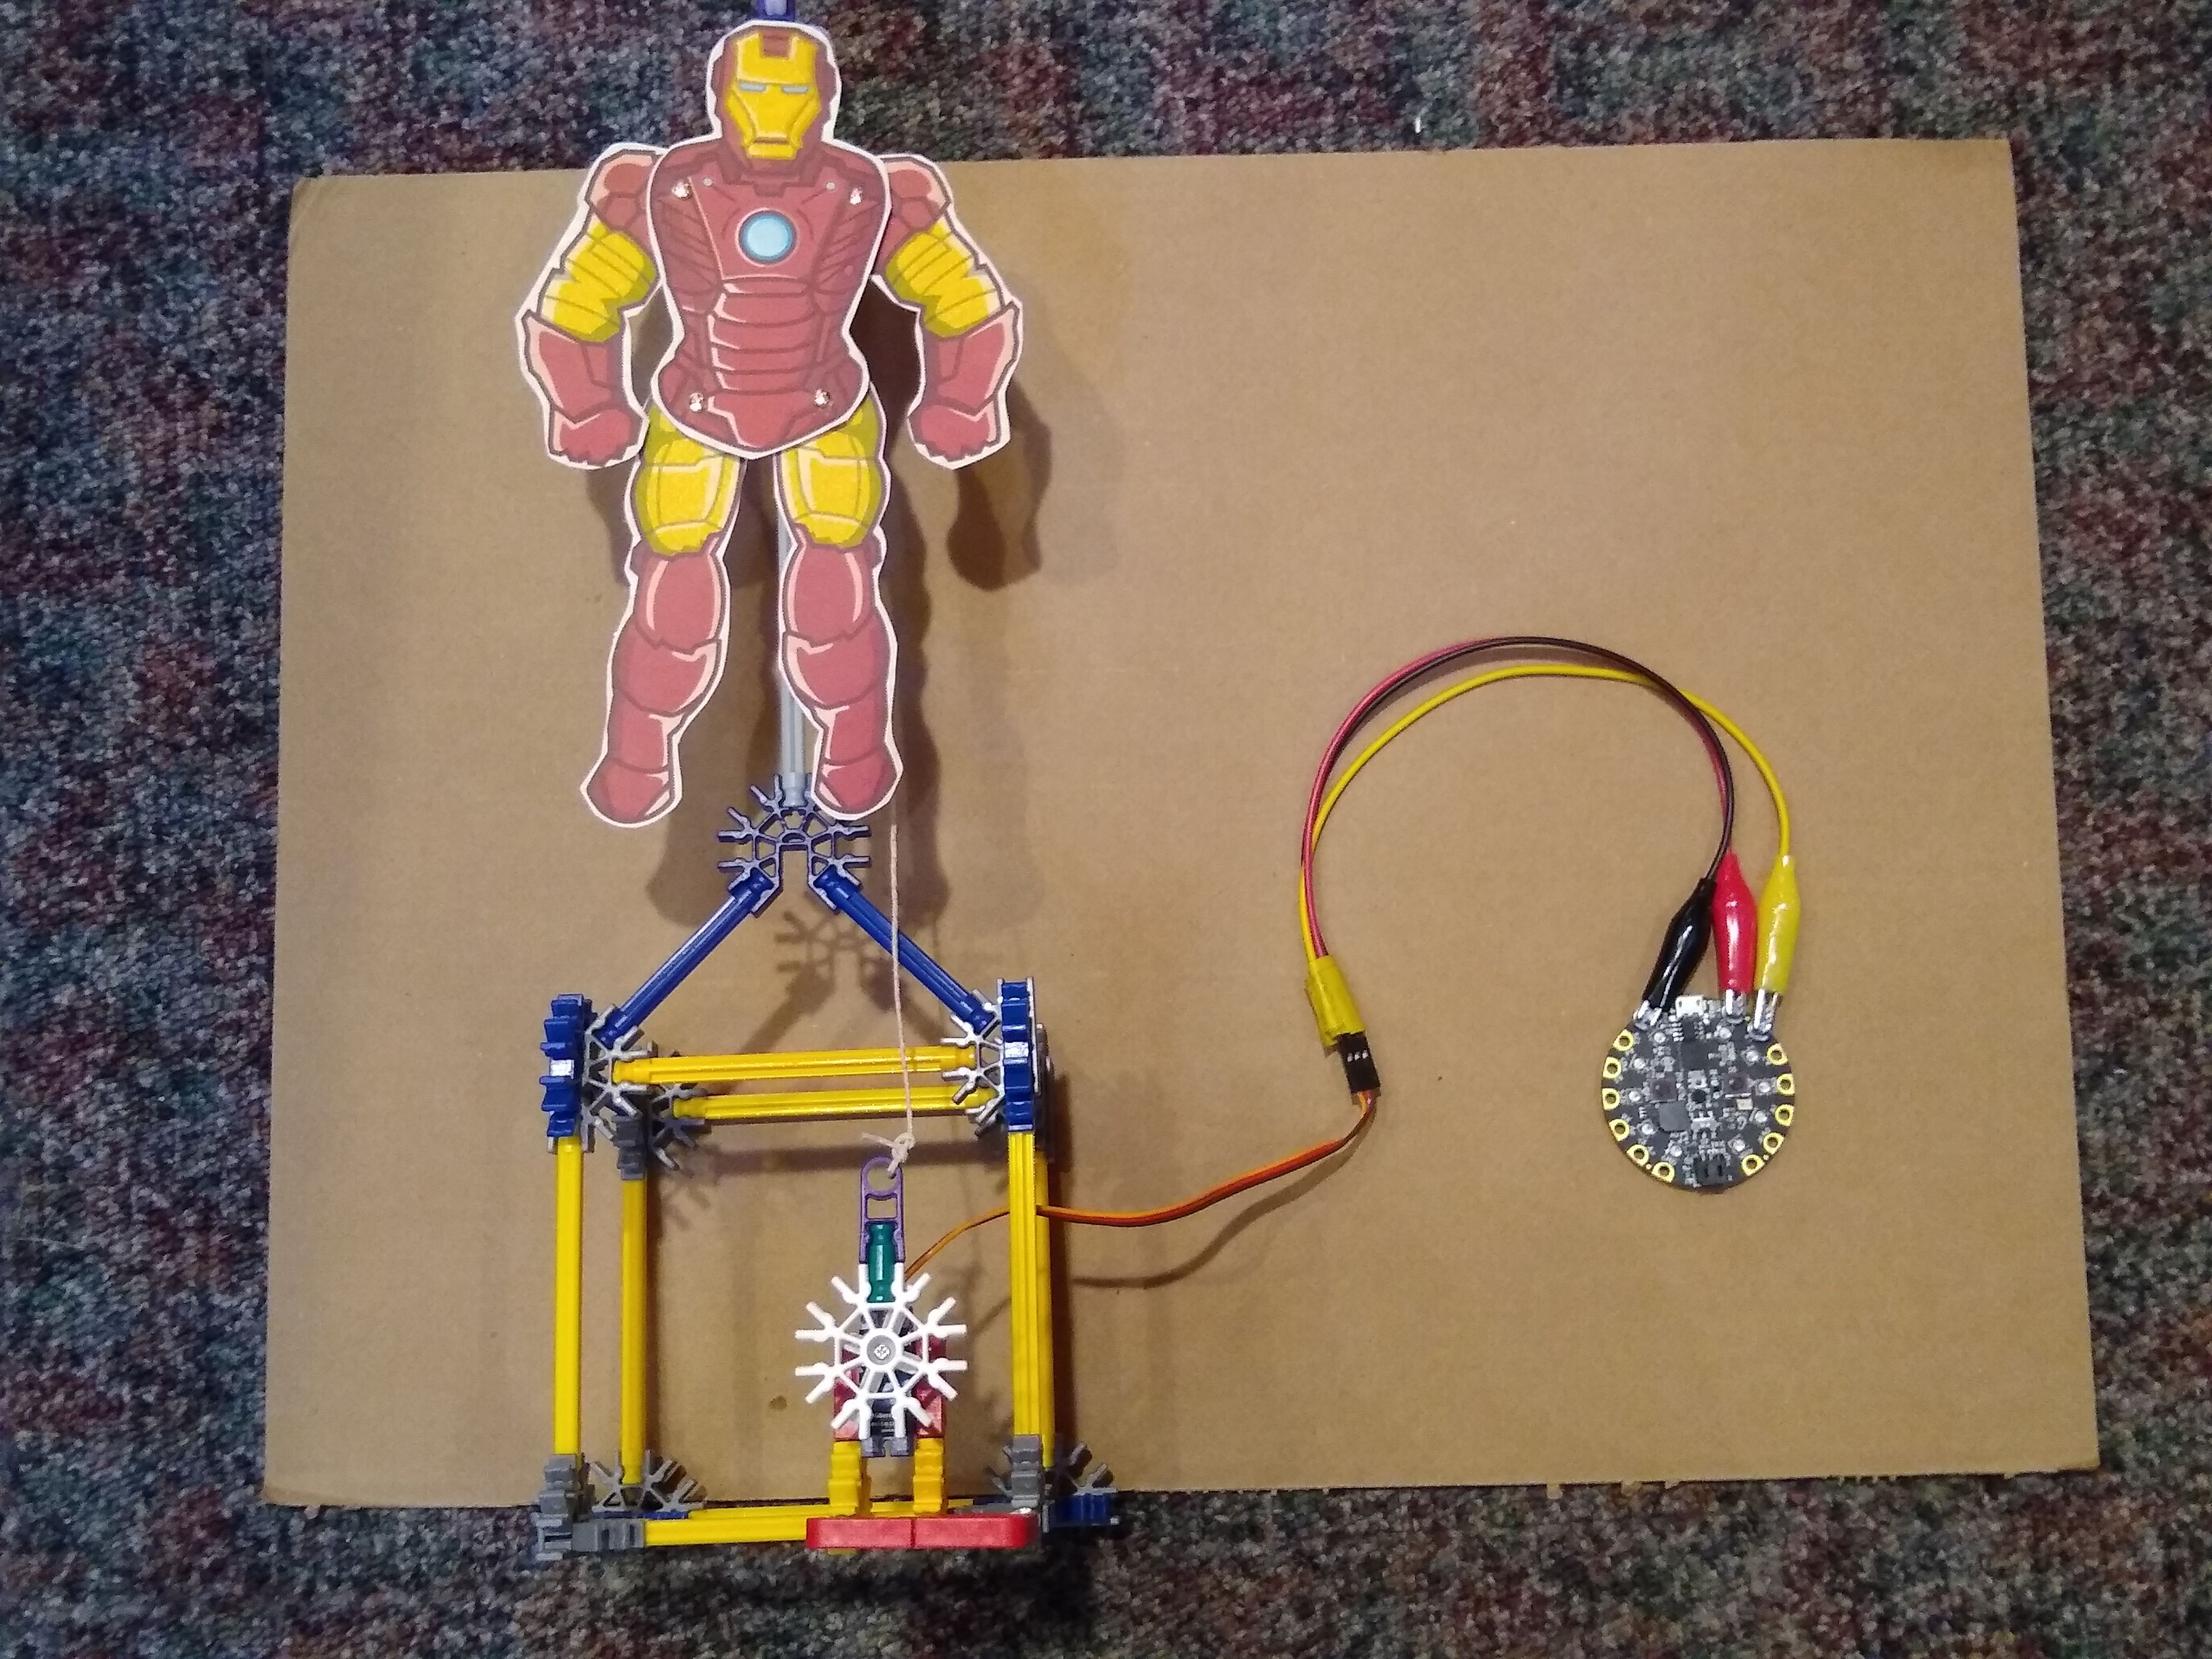
After attaching the jumping jack toy to the gray connector rod, you will need to tie the jumping jack's string to the green connector rod on the servo. To get the correct length, temporarily move the green connector rod to the 120 degree position and tie the string so that the limbs of the jumping jack are extended to the position desired. You can now move the green connector back to the 0 degree position and everything should be correctly adjusted.
You Are Done!

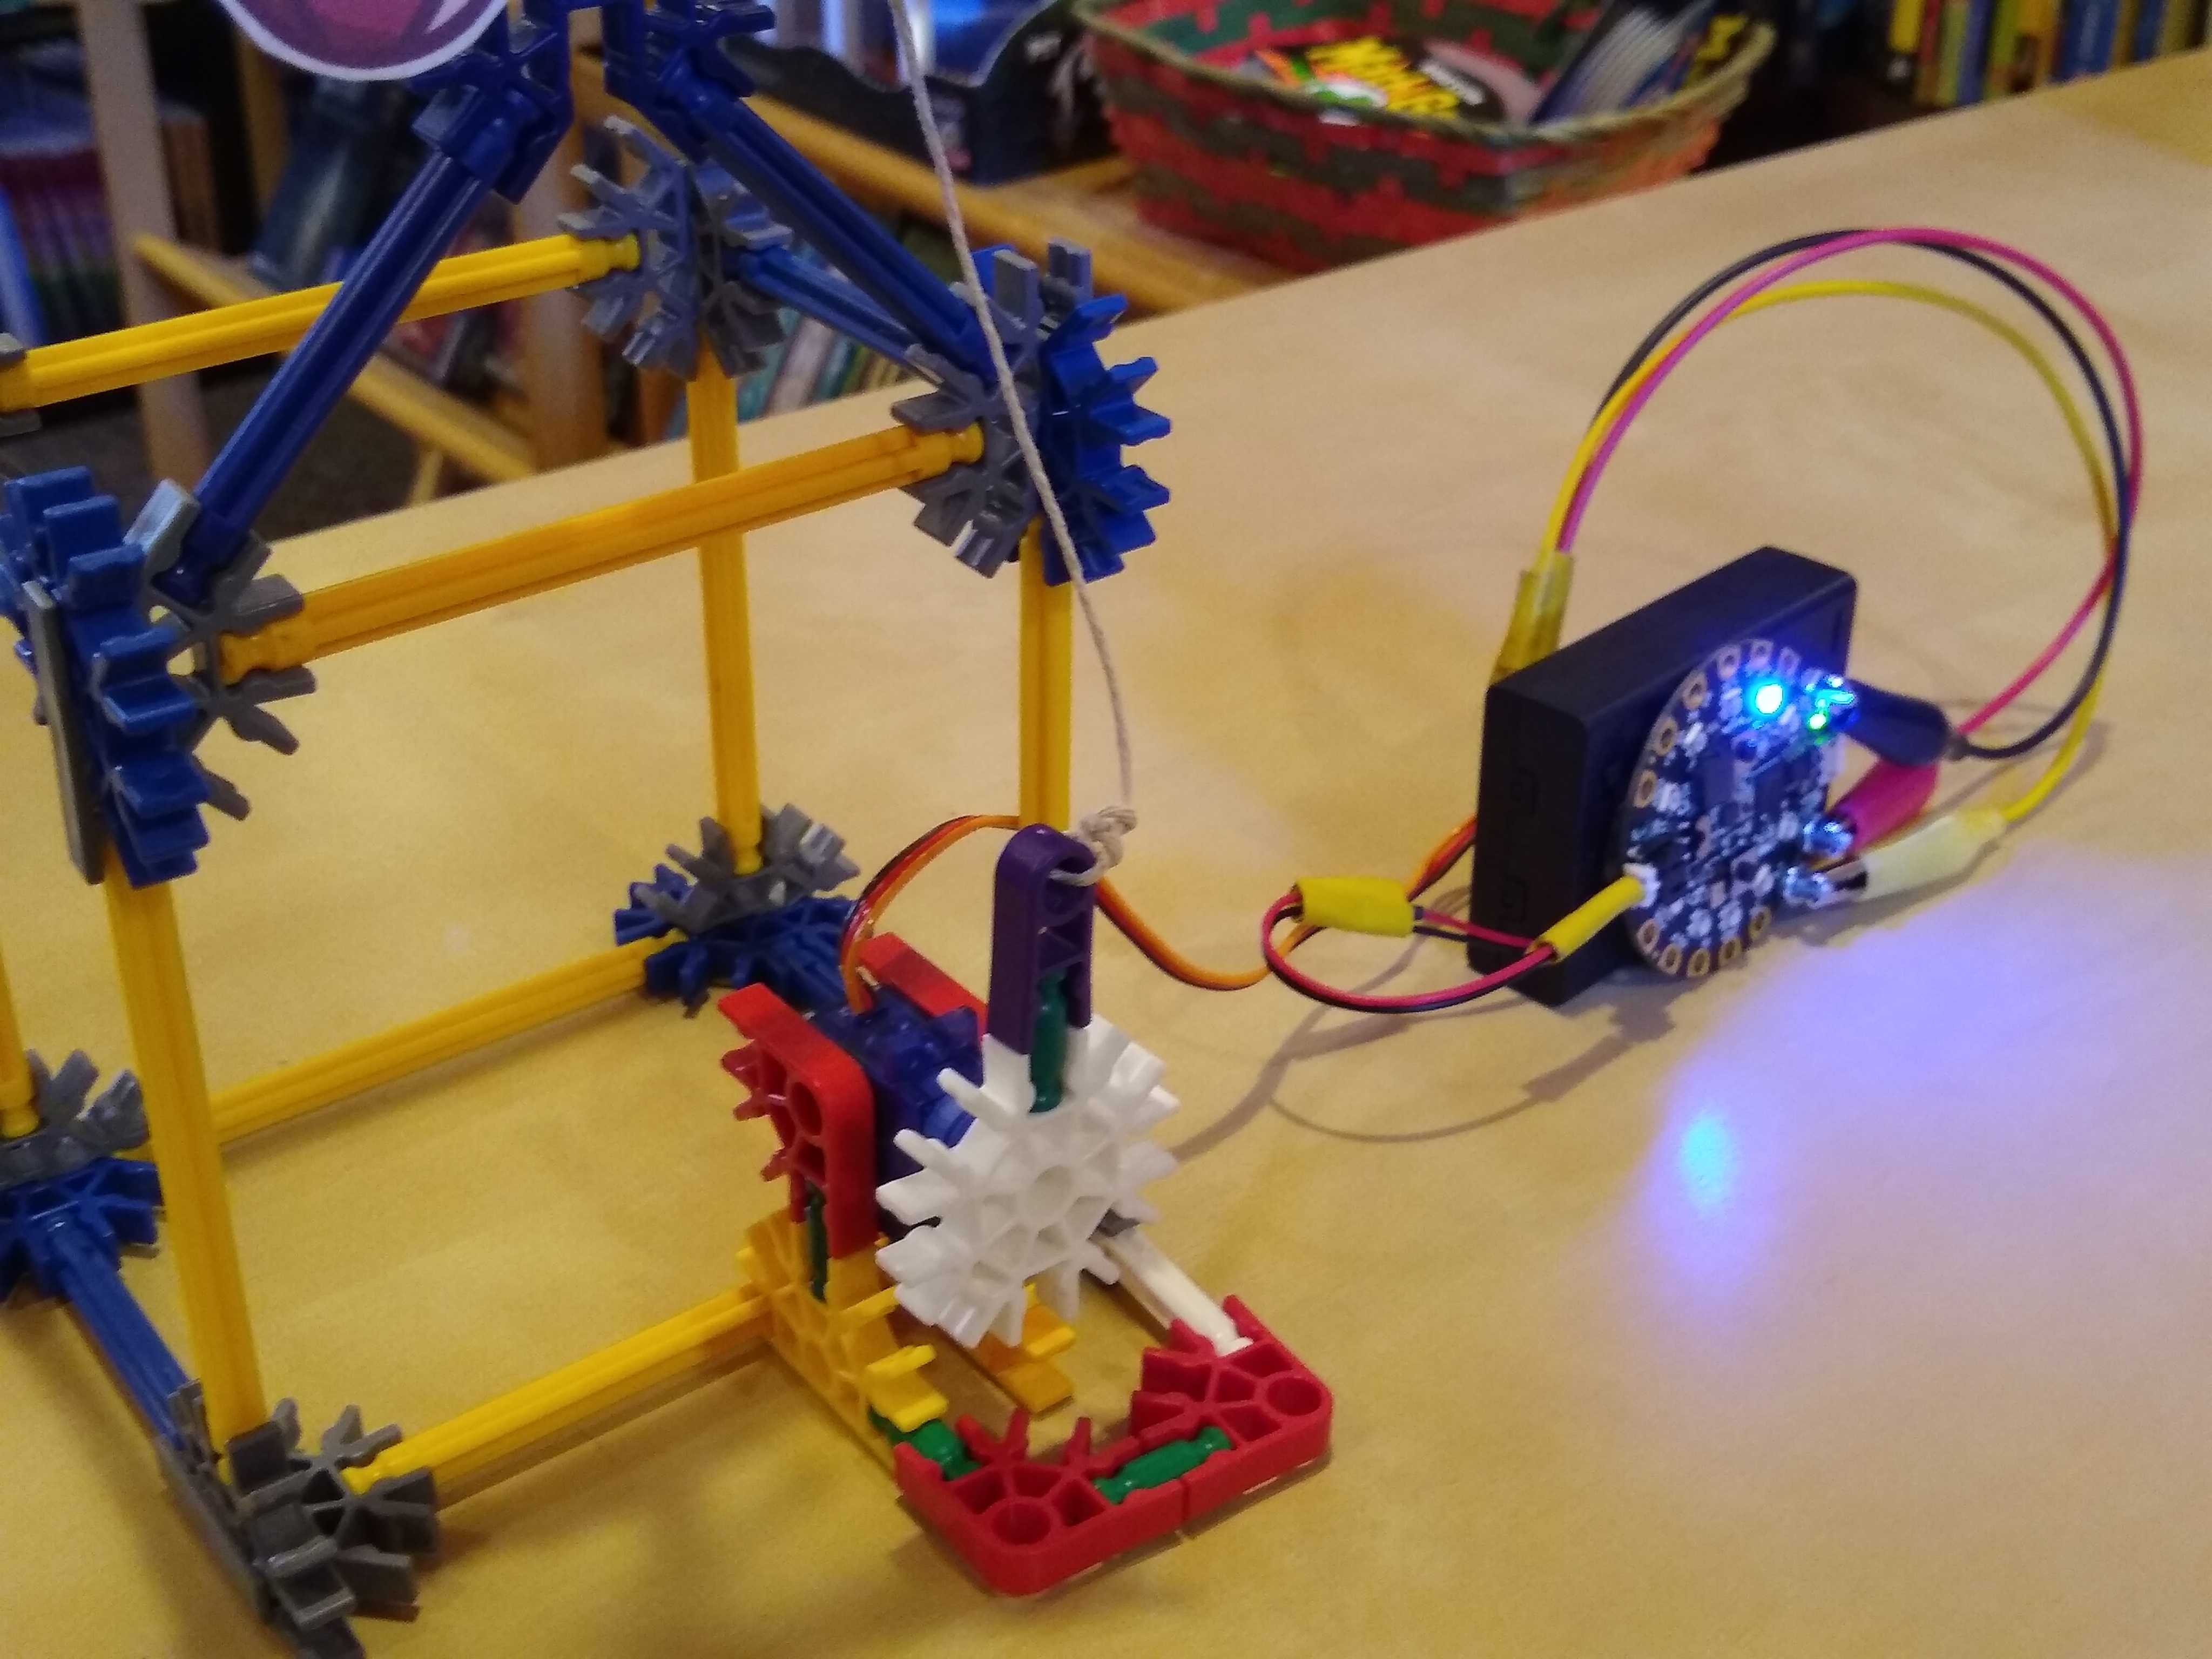
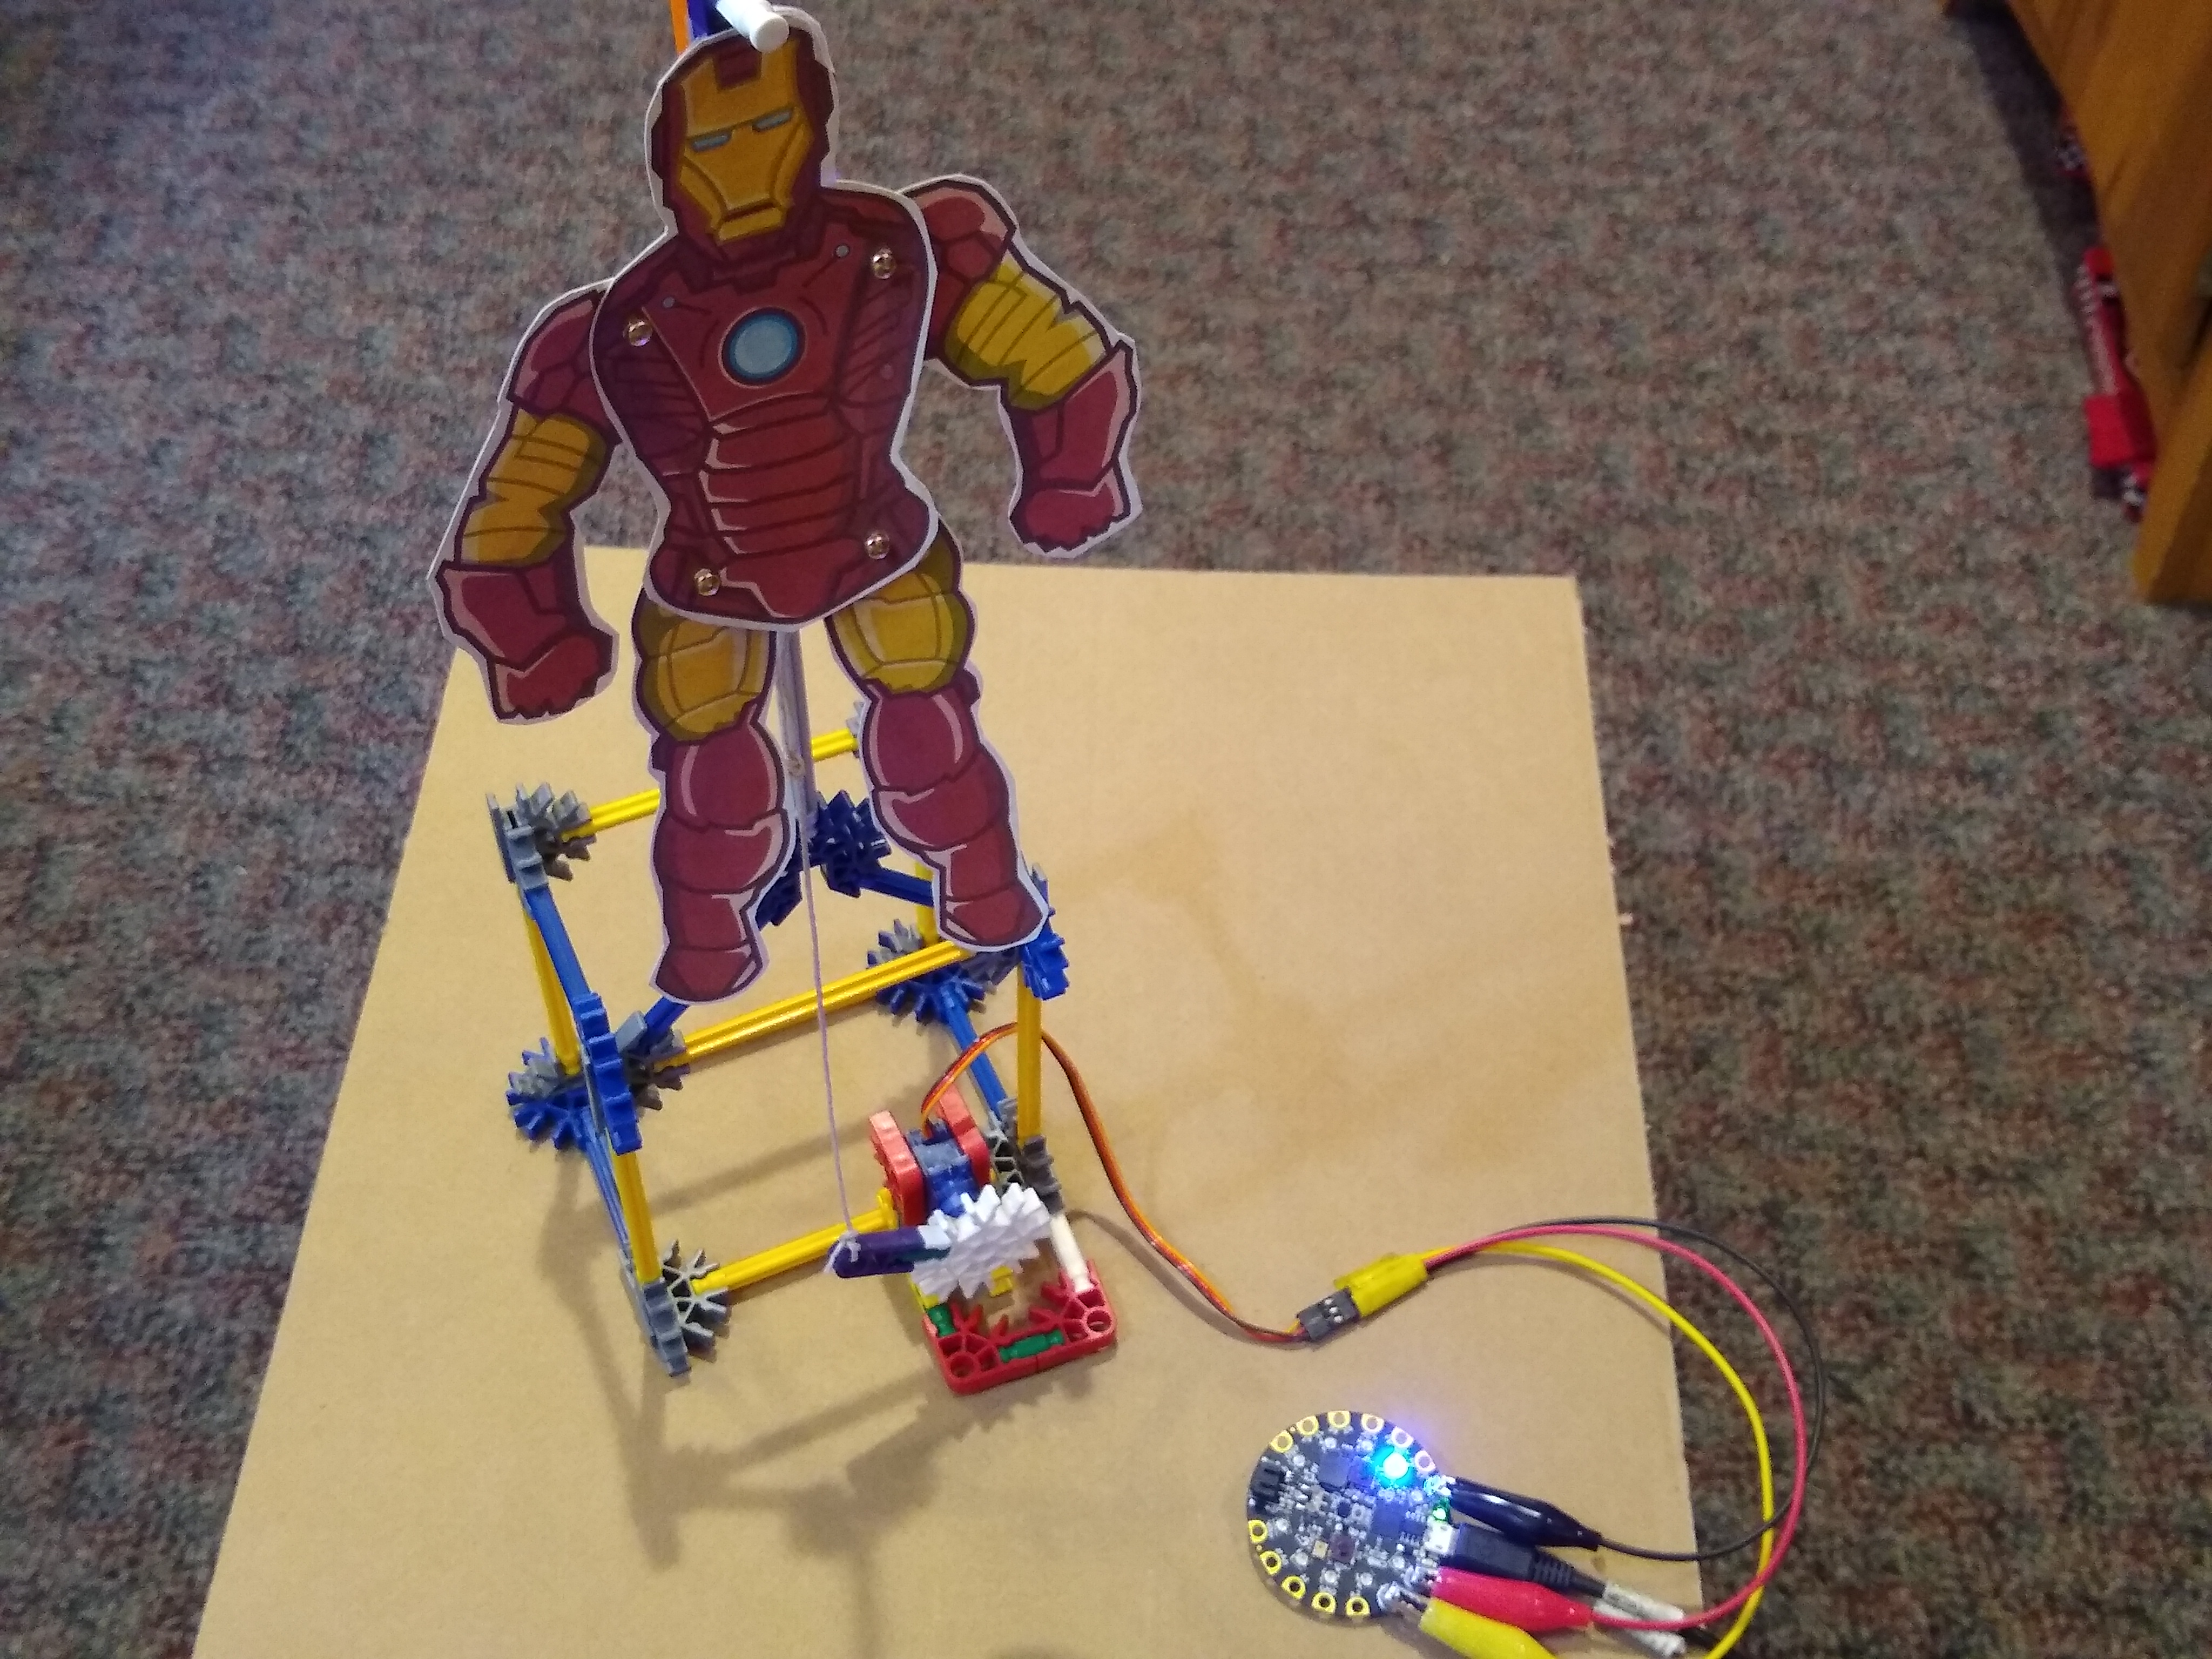
Put the toy anywhere you wish in your room and turn it on. Aim your laser at/near the blue LED light and watch the jumping jack toy come to life.
Let me know if you build this in the comments below and please share photos of your creation.
Thanks much!