Laser Night Lights

This is a fun project utilizing specific software and hardware. The night lights can be powered with battery operated candles, cell phones, or other small lights. You will need wood, glue, laser machine, computer with software...and a light.
Step 1 - Idea
Think of what you want to convey. Serious? Funny? Mysterious? Then design it. See the steps involved here.
Step 2 - 2D Drawing
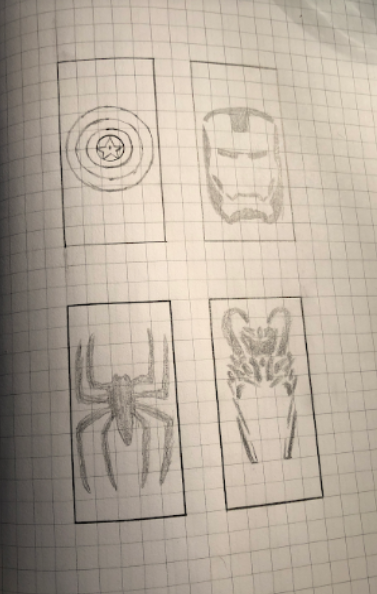
Turn your idea into a creation. First use brainstorming technique, then doodles, then cleaned up versions of your thoughts for the night light. They can be as big or as small as you want. You are only limited by the hardware, aka the laser unit.
Step 3 - Conversion
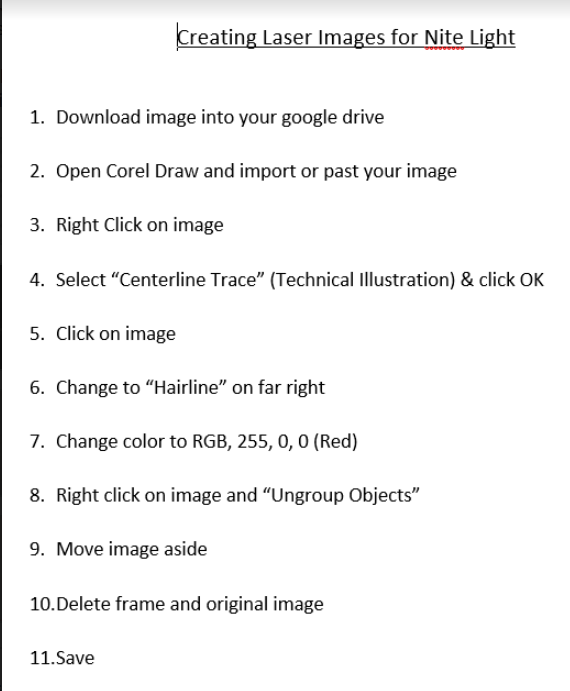
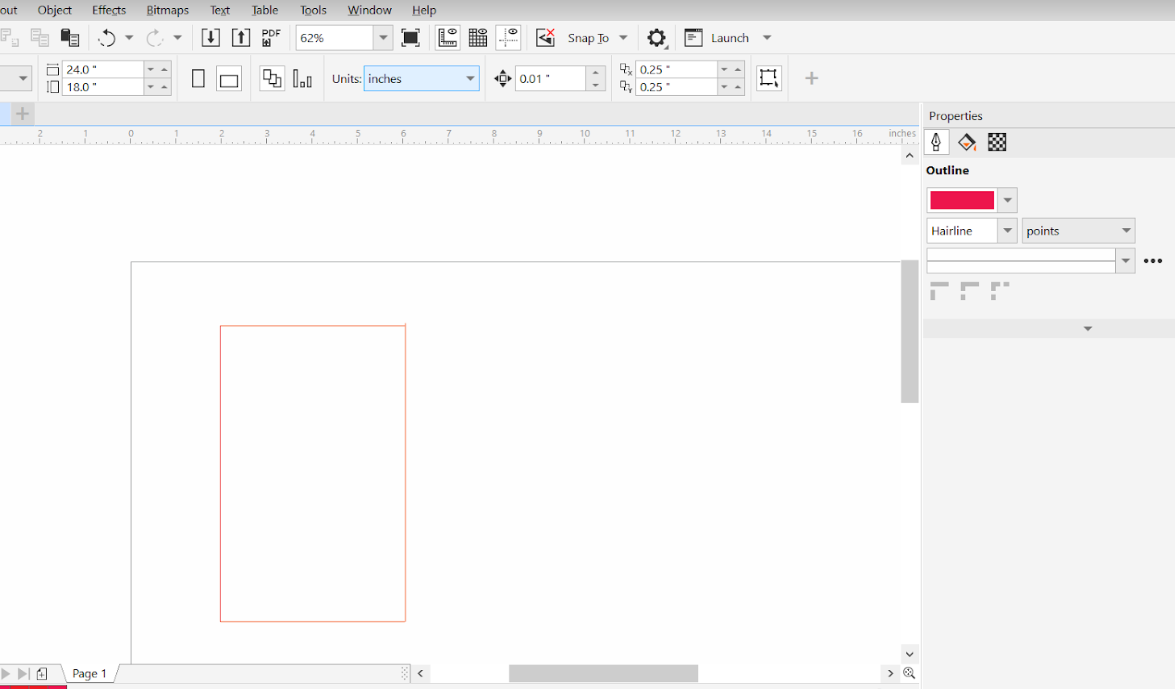
Once you have your idea, import it into the free version of Corel Draw software that you already downloaded. Then convert the image (or traced image) following the steps provided.
Step 4 - Import
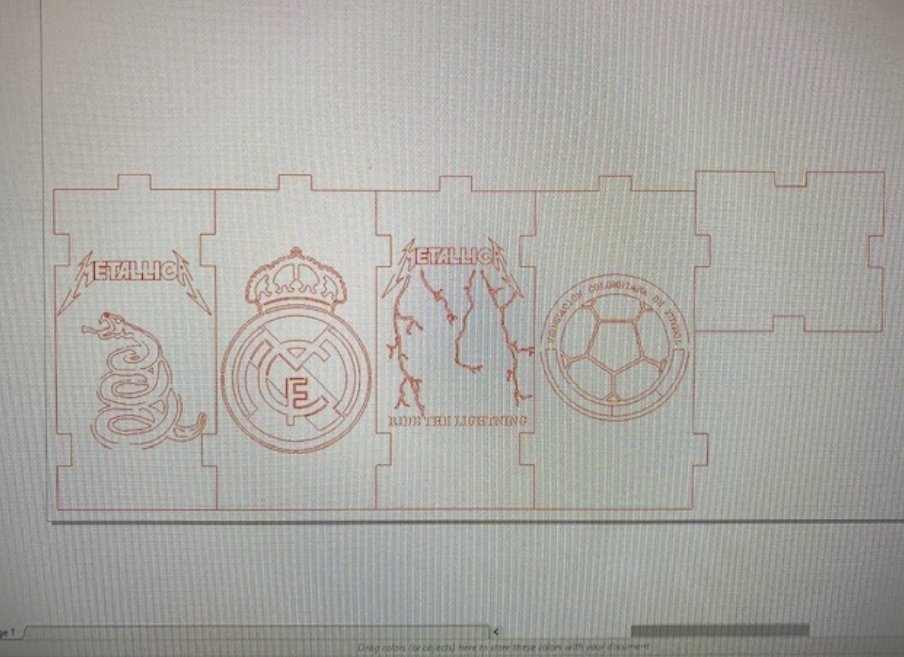
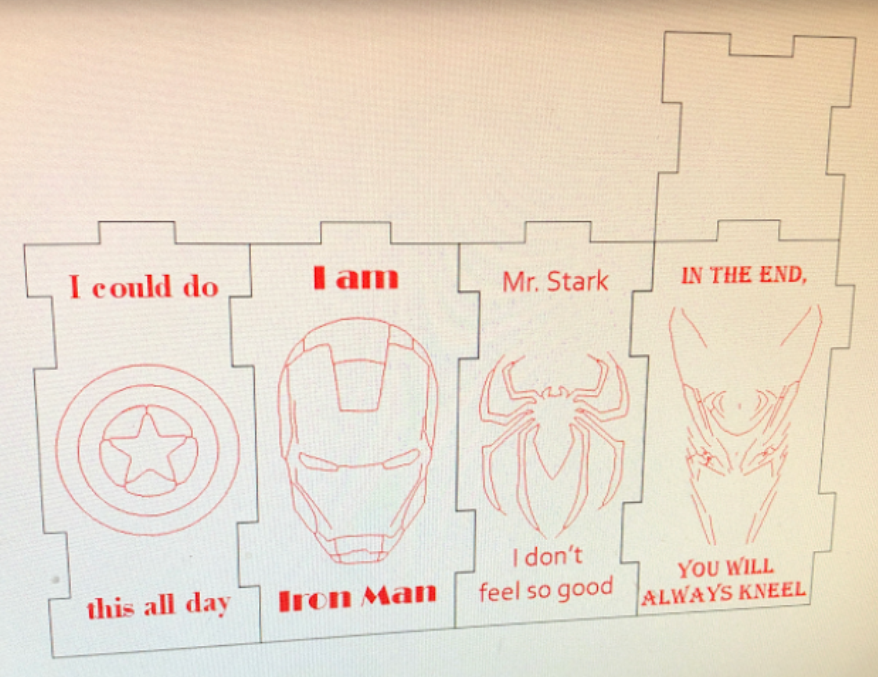
You can either create an image in CorelDraw itself or download an image, trace it, and clean it up. The laser reads colors as directions. Black is for rastering, red is for cutting, blue is for etching.
Step 5 - Finished Product
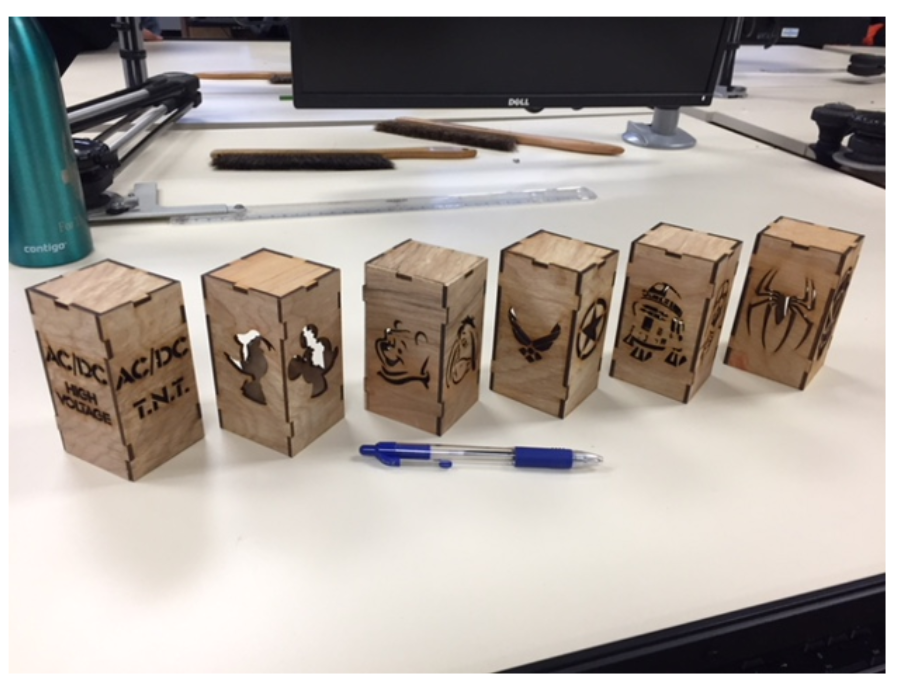
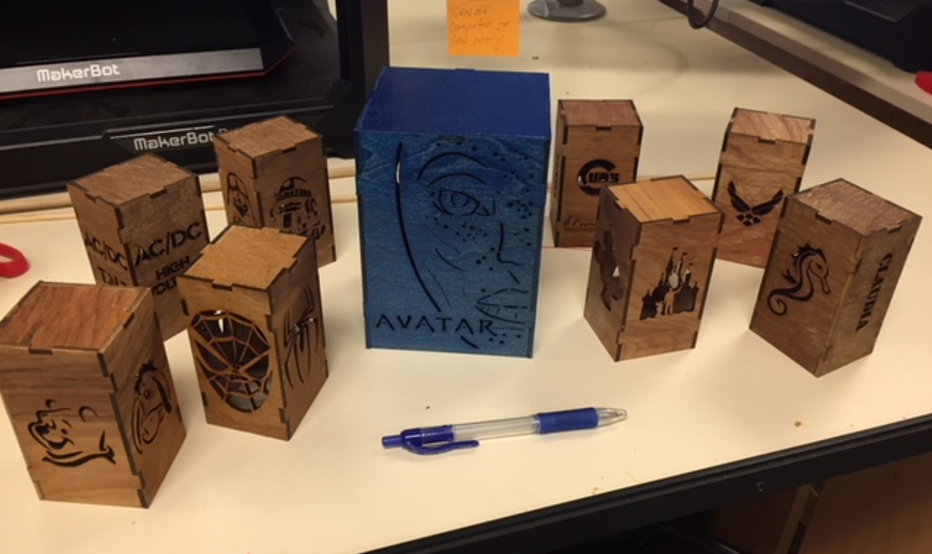
Using bass wood, 1/8" thick, place a sheet in your laser unit. Make sure all the selections are correct, then hit go! Afterwards, use some wood glue to assemble the unit and clamp in compression. Note: there is no bottom piece. Your finished product will slip over a small battery powered candle.
Step 6 - Light 'em Up!

Viola! You're done. On to the next design....